Instructions for assigning academic advisors to a student
1. Use the neumonic “STAD” to arrive at the student advisor listing. Entry screen looks like this

2. After entering STAD here, you will be brought to this screen. Enter the students last name, first name – or student ID if you know it.
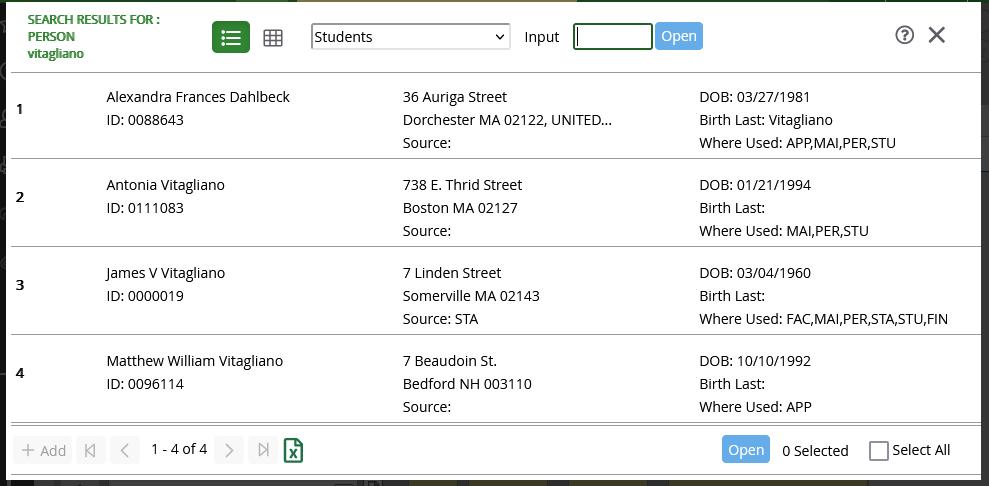
3. After entering the name or student ID for search, you will be brought to a resolution screen where you will have to select the student that you are working with. Choose the name and click “Open” at the bottom of the screen.

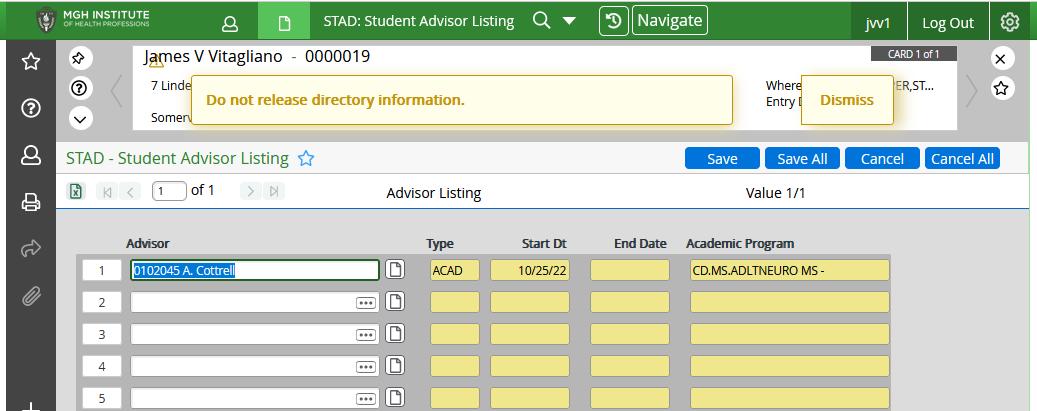
4. The next screen will bring you to a listing of all current advisors assigned to the student. To add a new advisor, click on the document icon on the next open line.
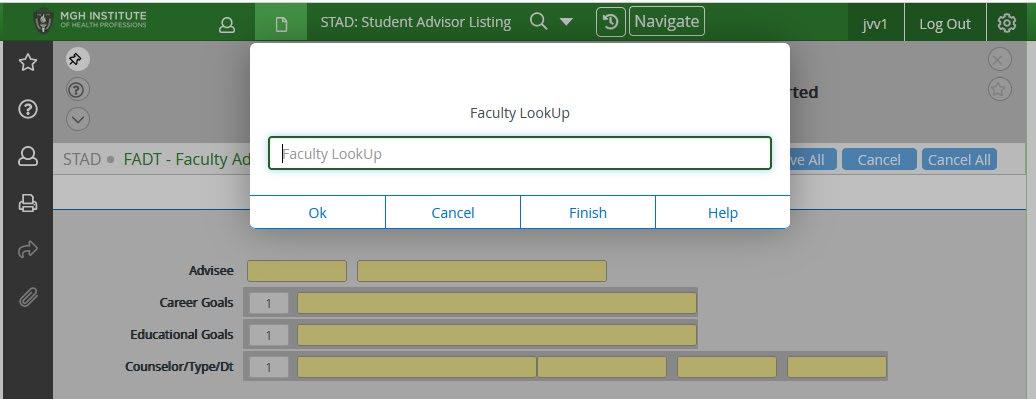
5. You will be brought to the following screen. Here you will do a faculty lookup. Use Last, First format here. Select your faculty member, then hit open – the same way you did when doing the student lookup.
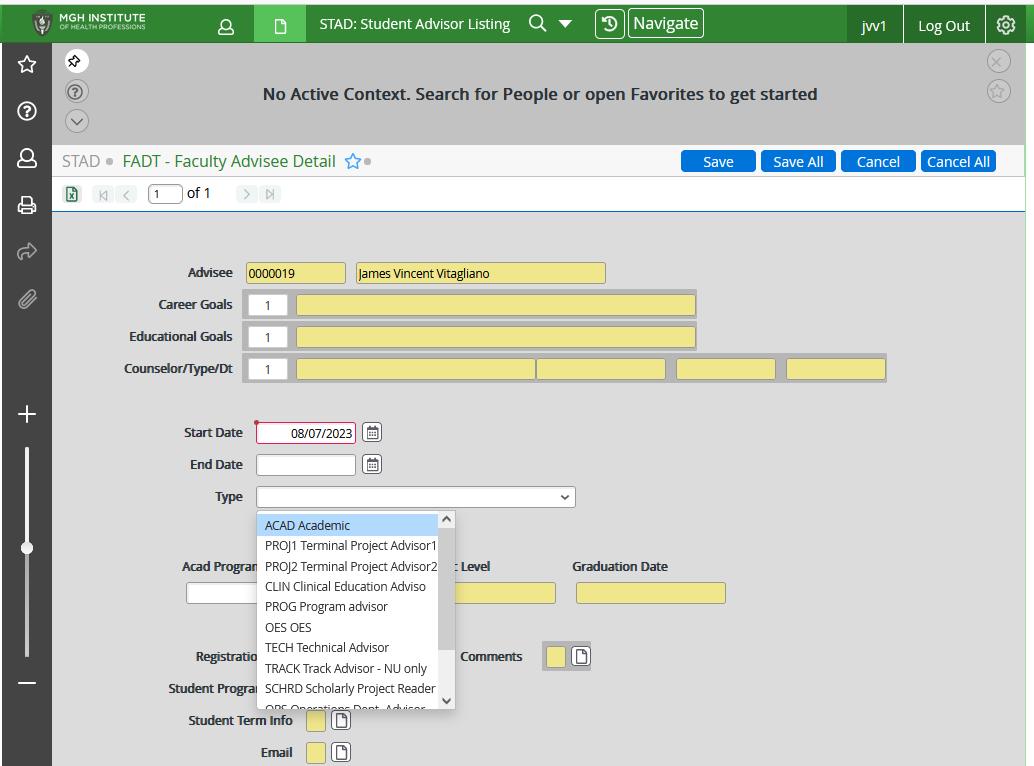
6. After you have selected your faculty member, you will be brought to this screen. The only information required here is the “Type” – choose “Academic” here.
7. After entering the advisor type, click on the “Save All” button at the top and you will have assigned the advisor to the student.

Note – when ending an advisor relationship – you would go through this same process. When you get to the faculty detail screen, you would enter and end date. This closes the relationship with this advisor.