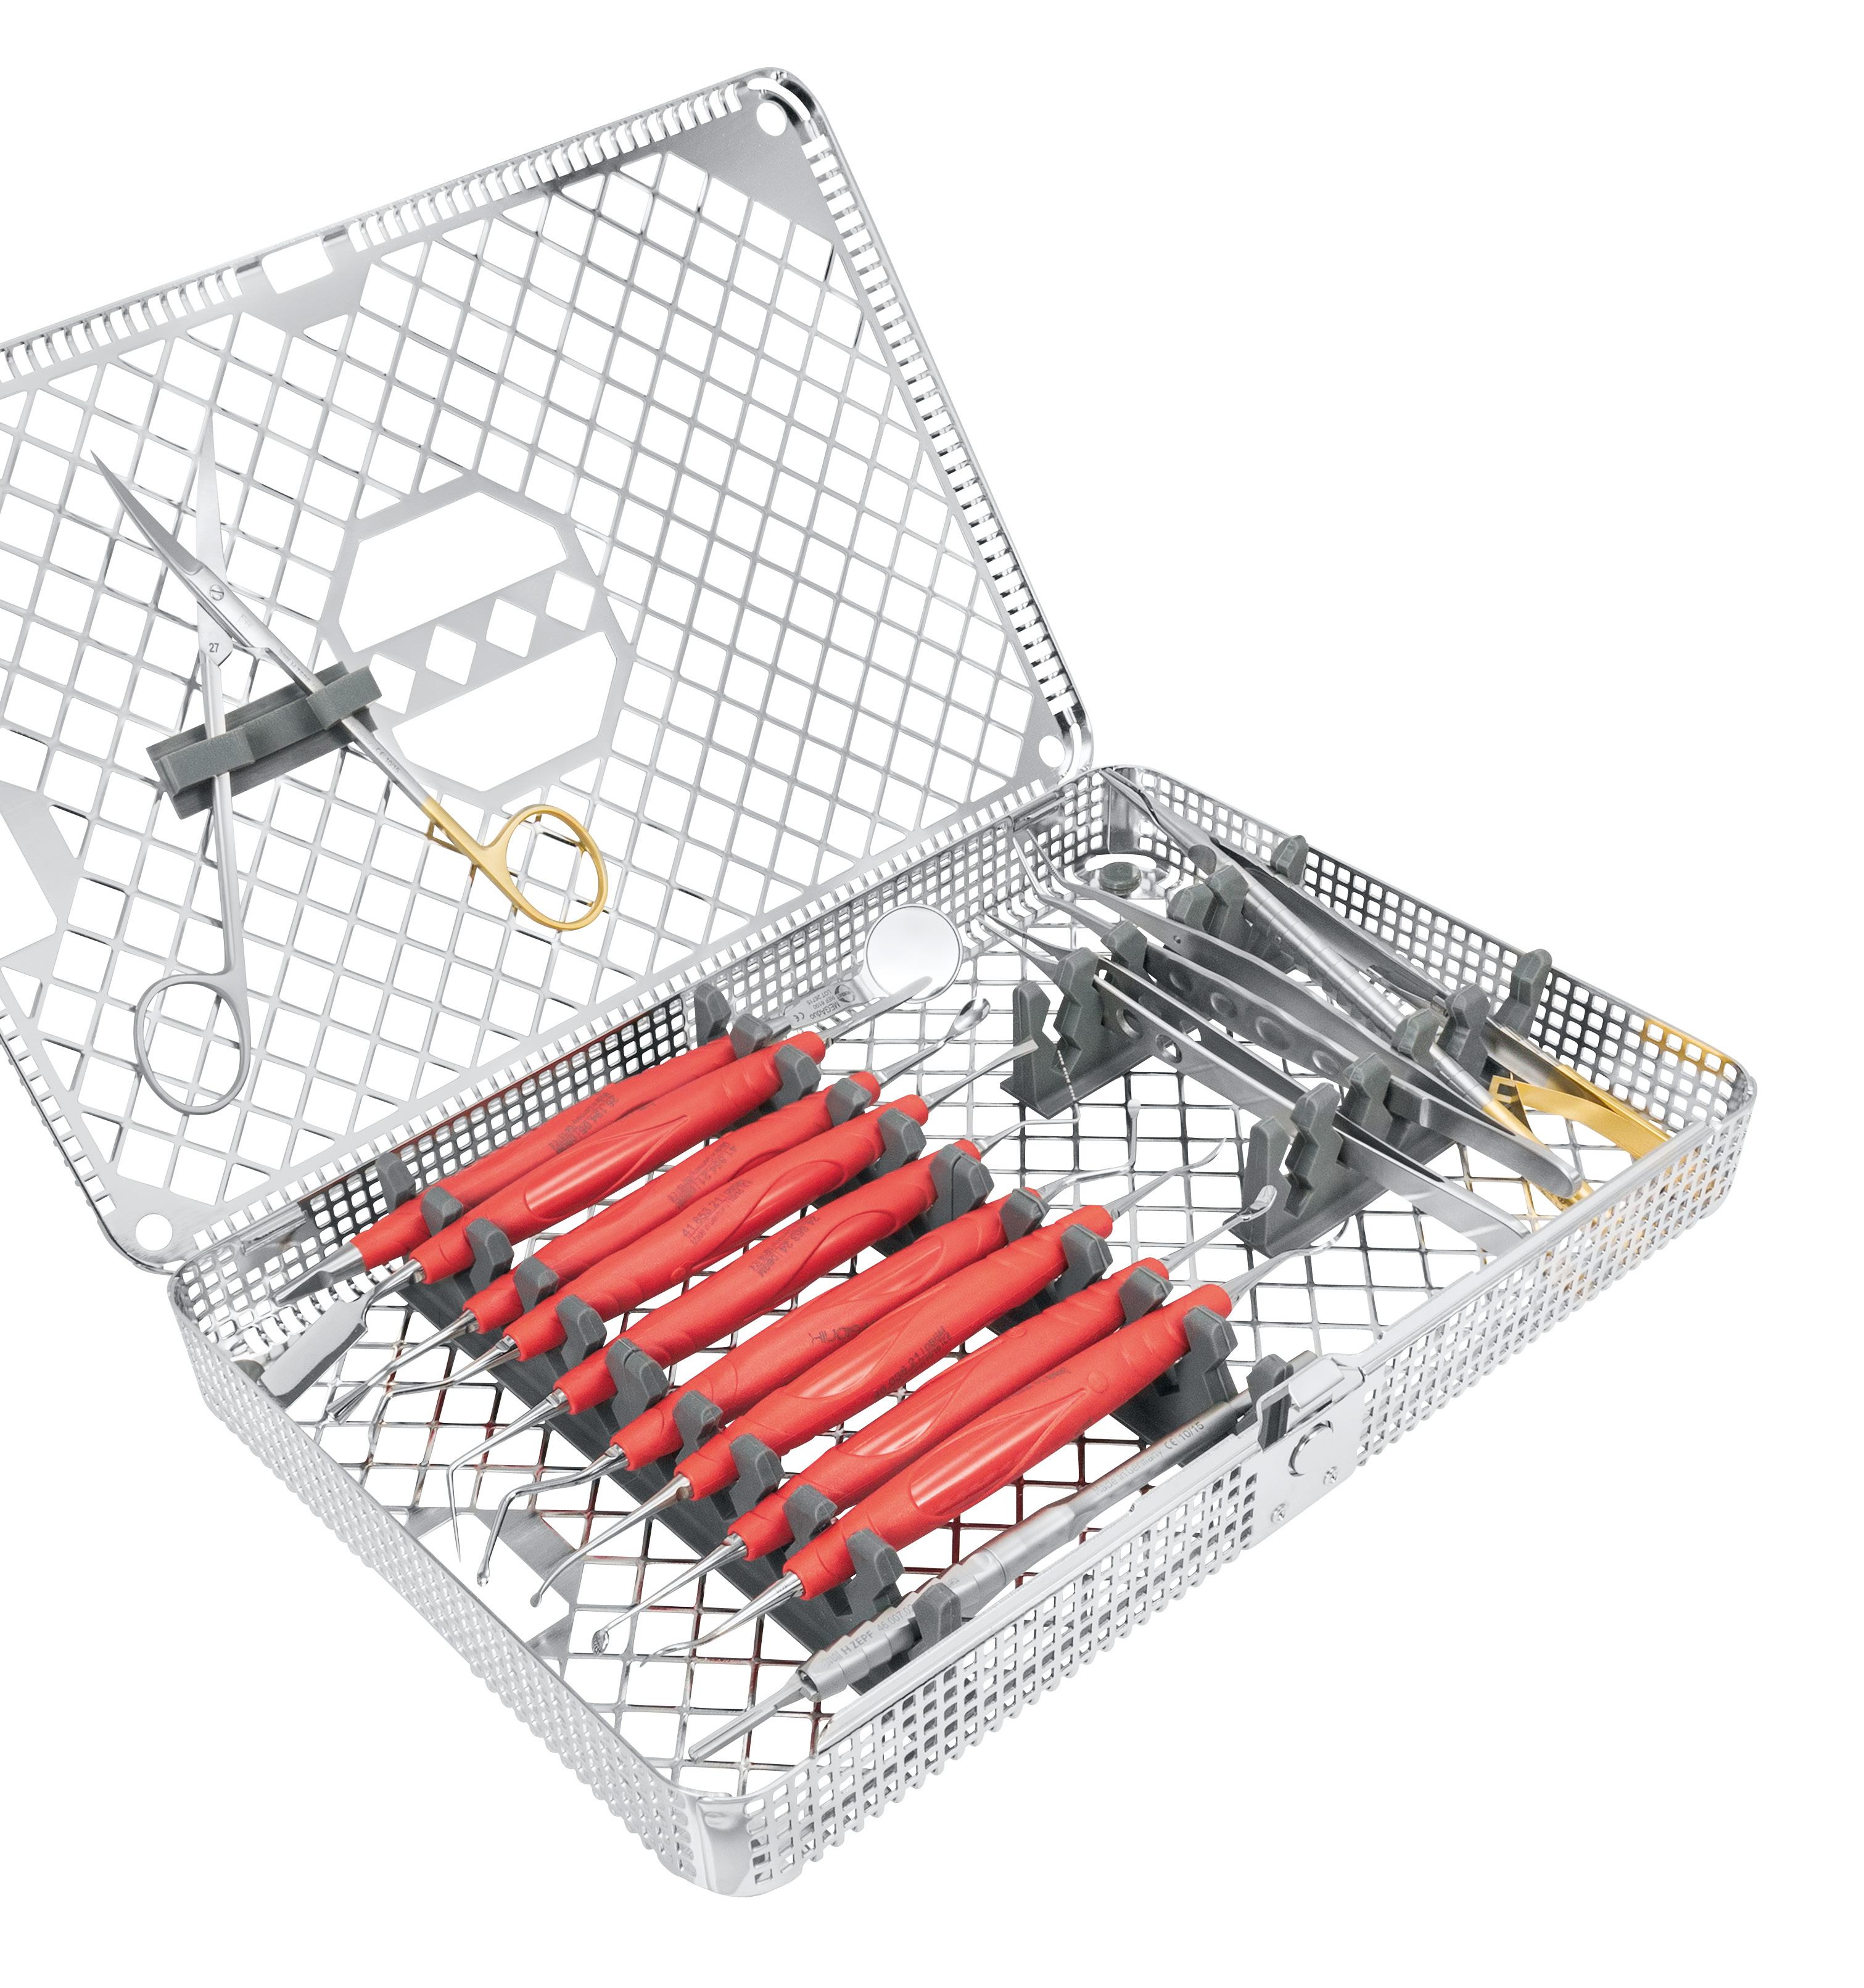
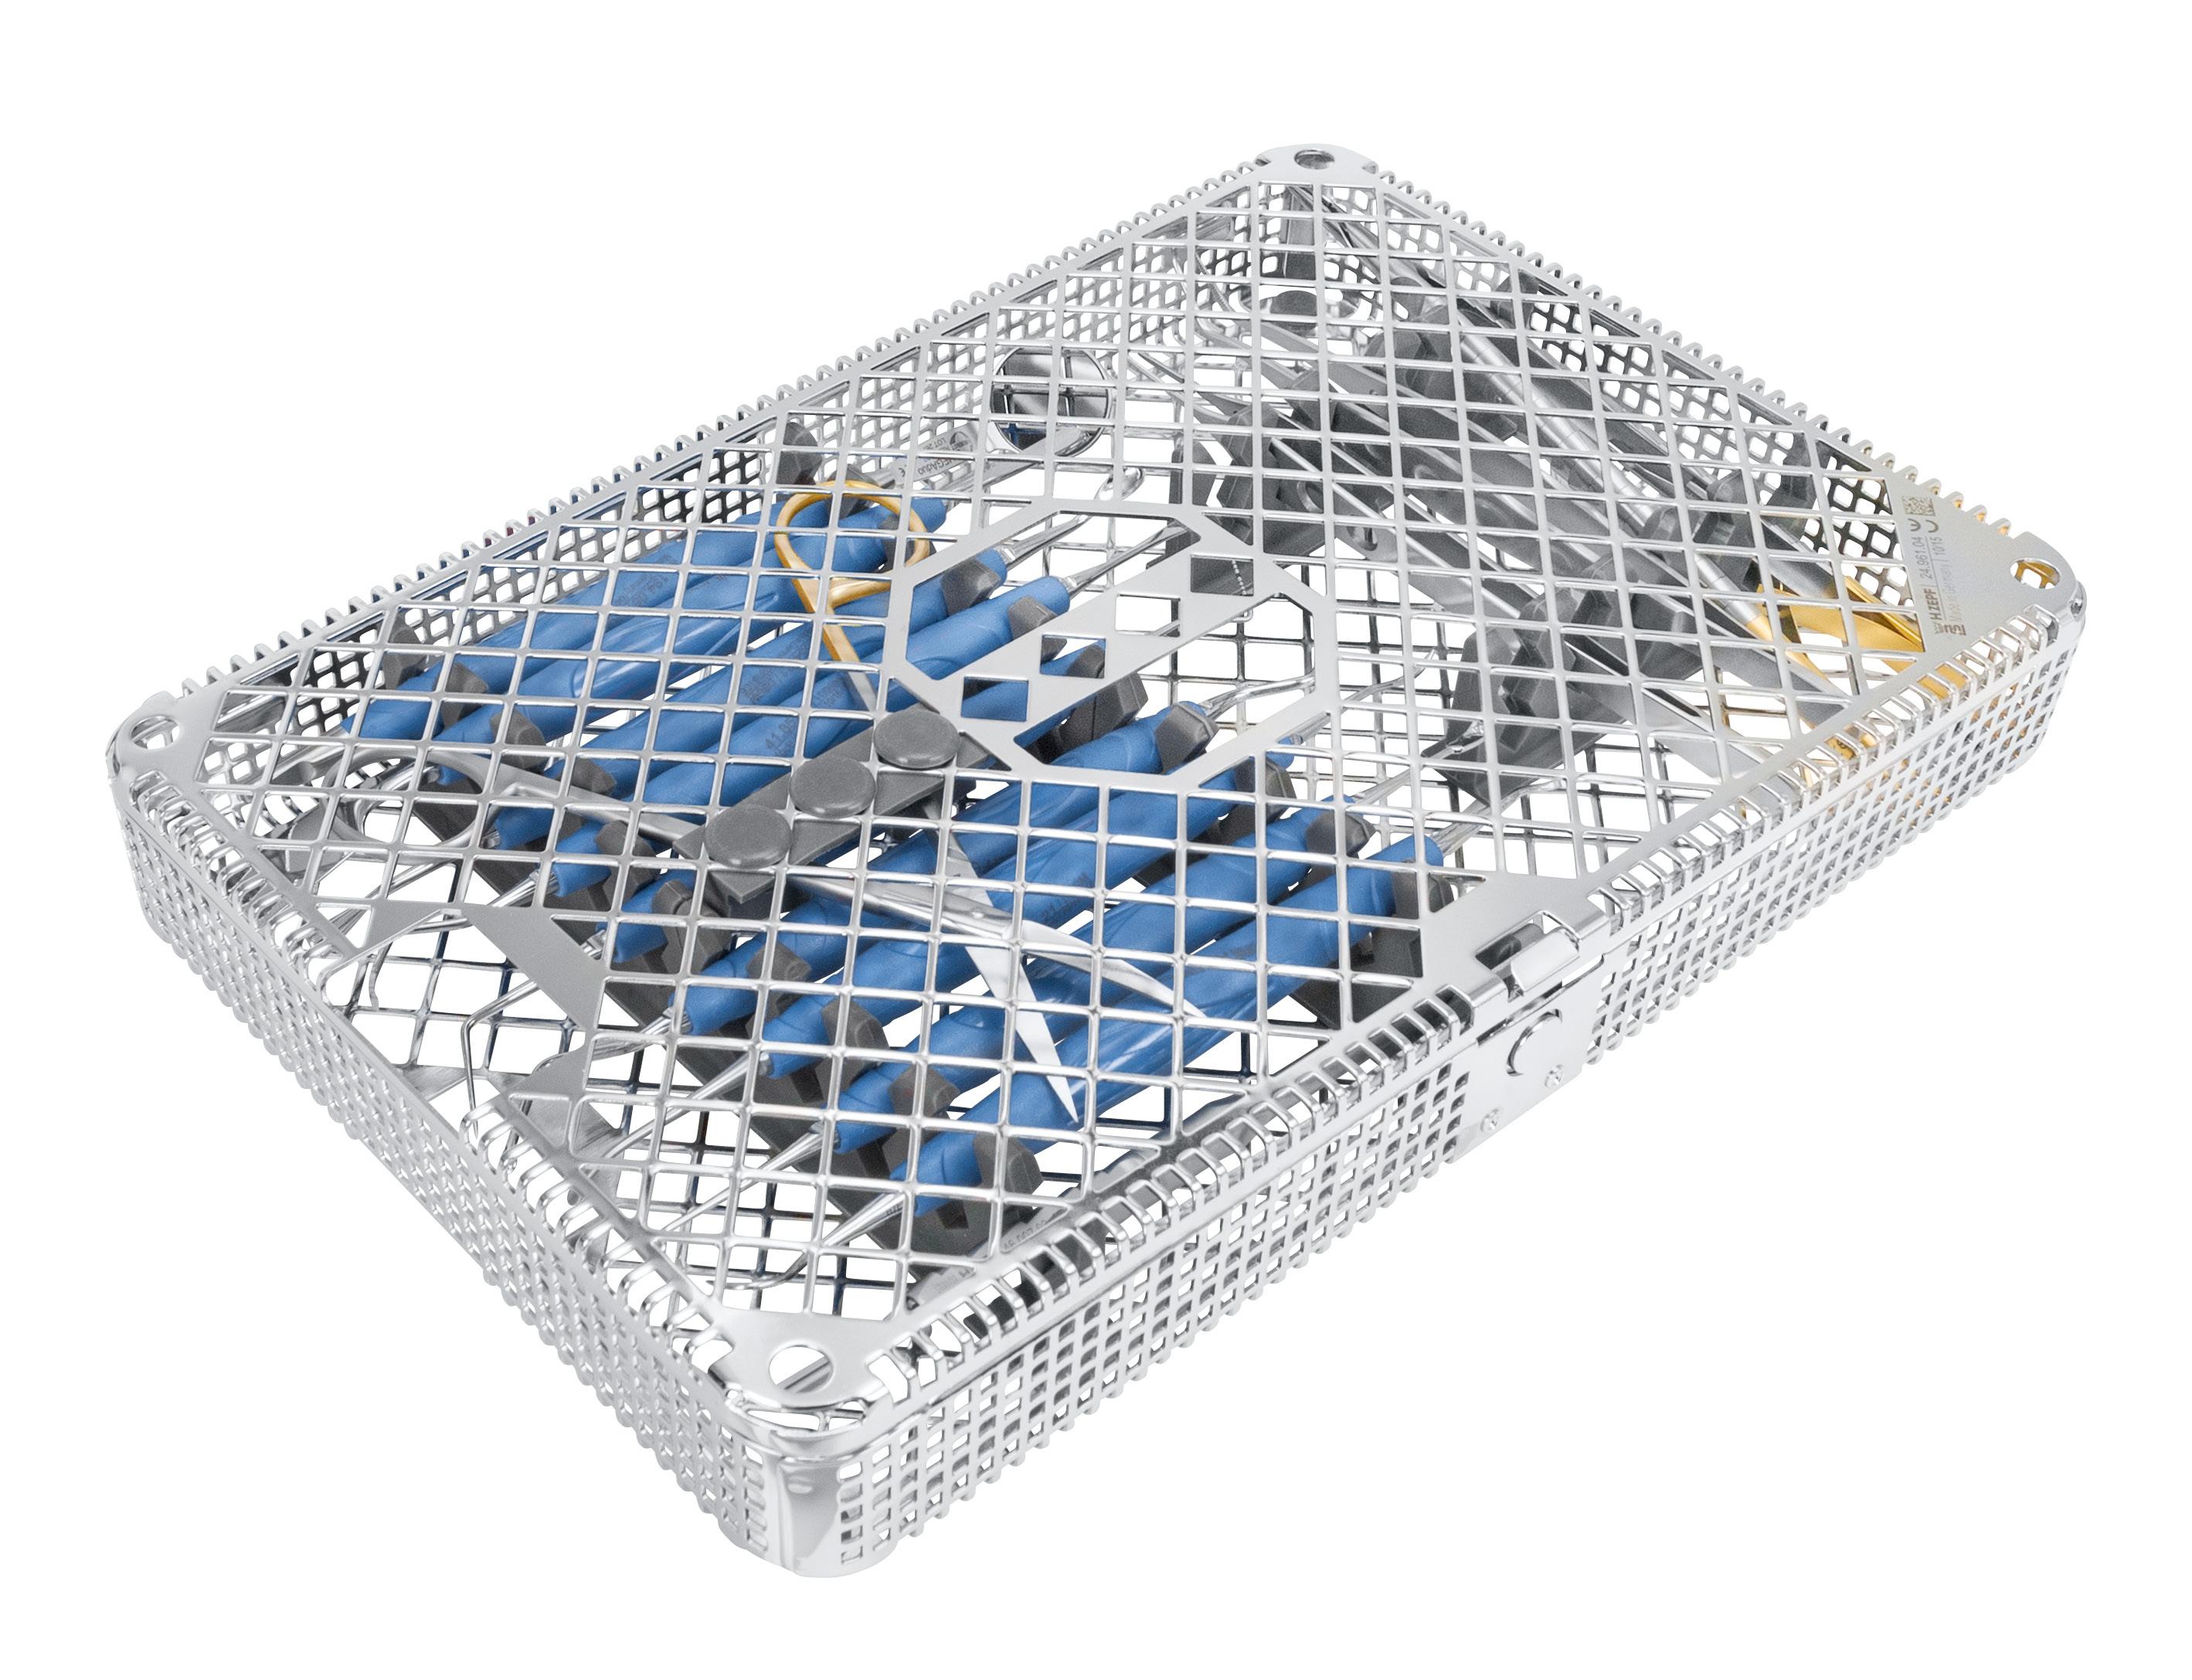
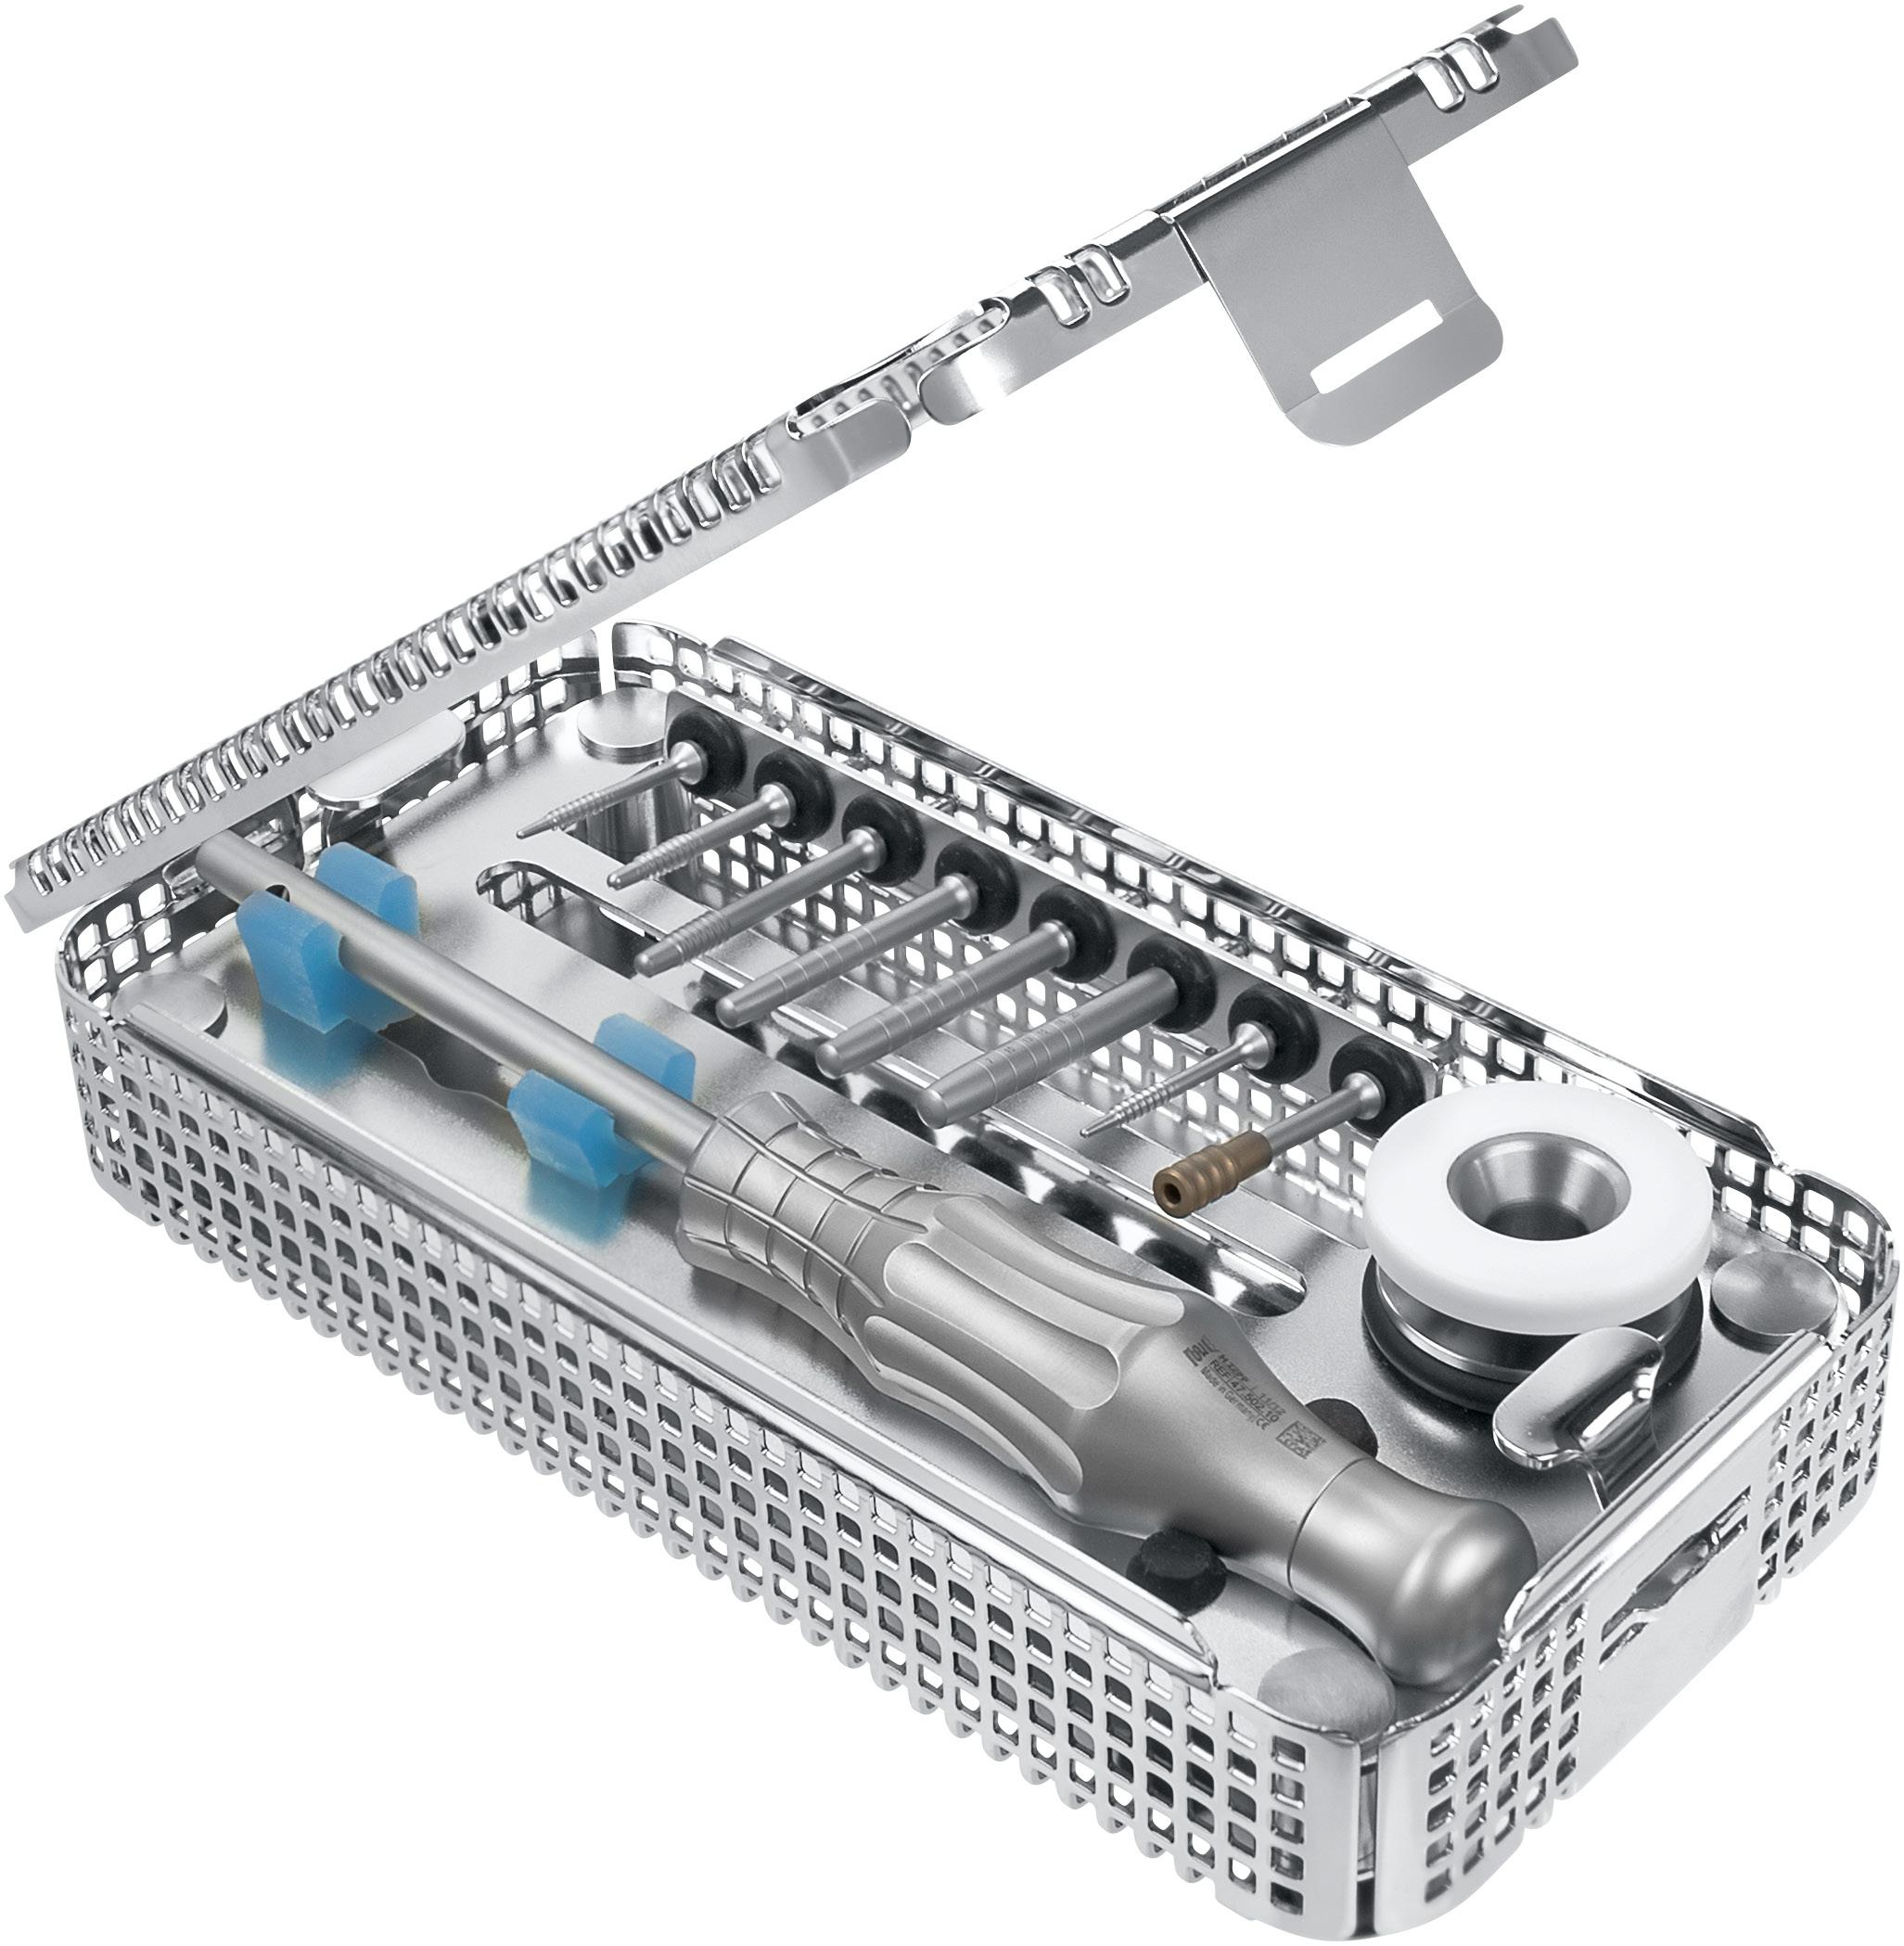
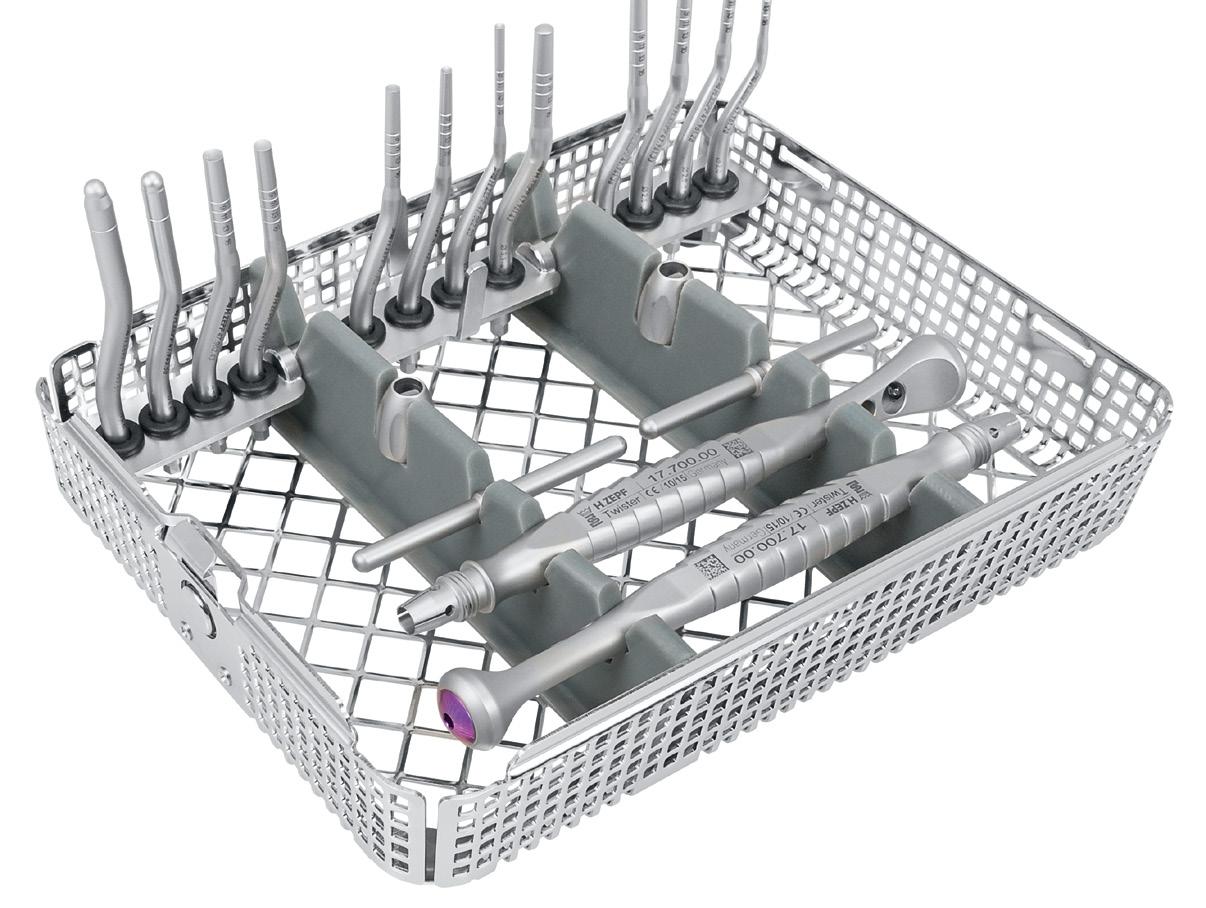
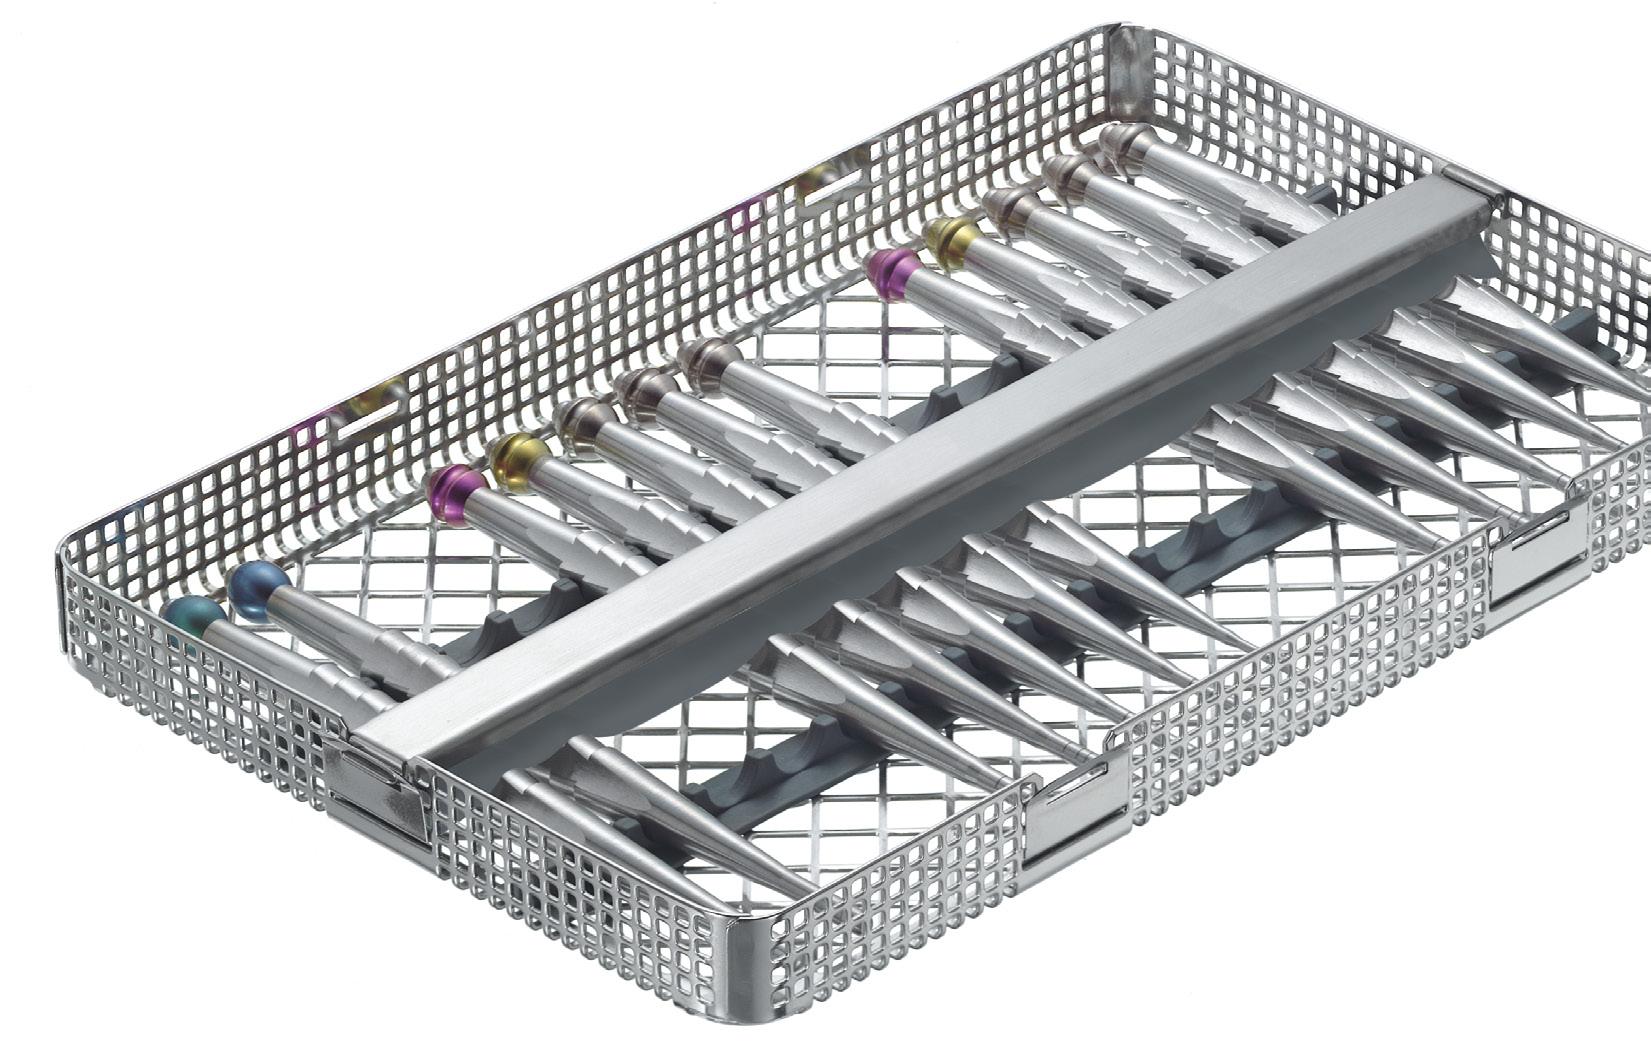
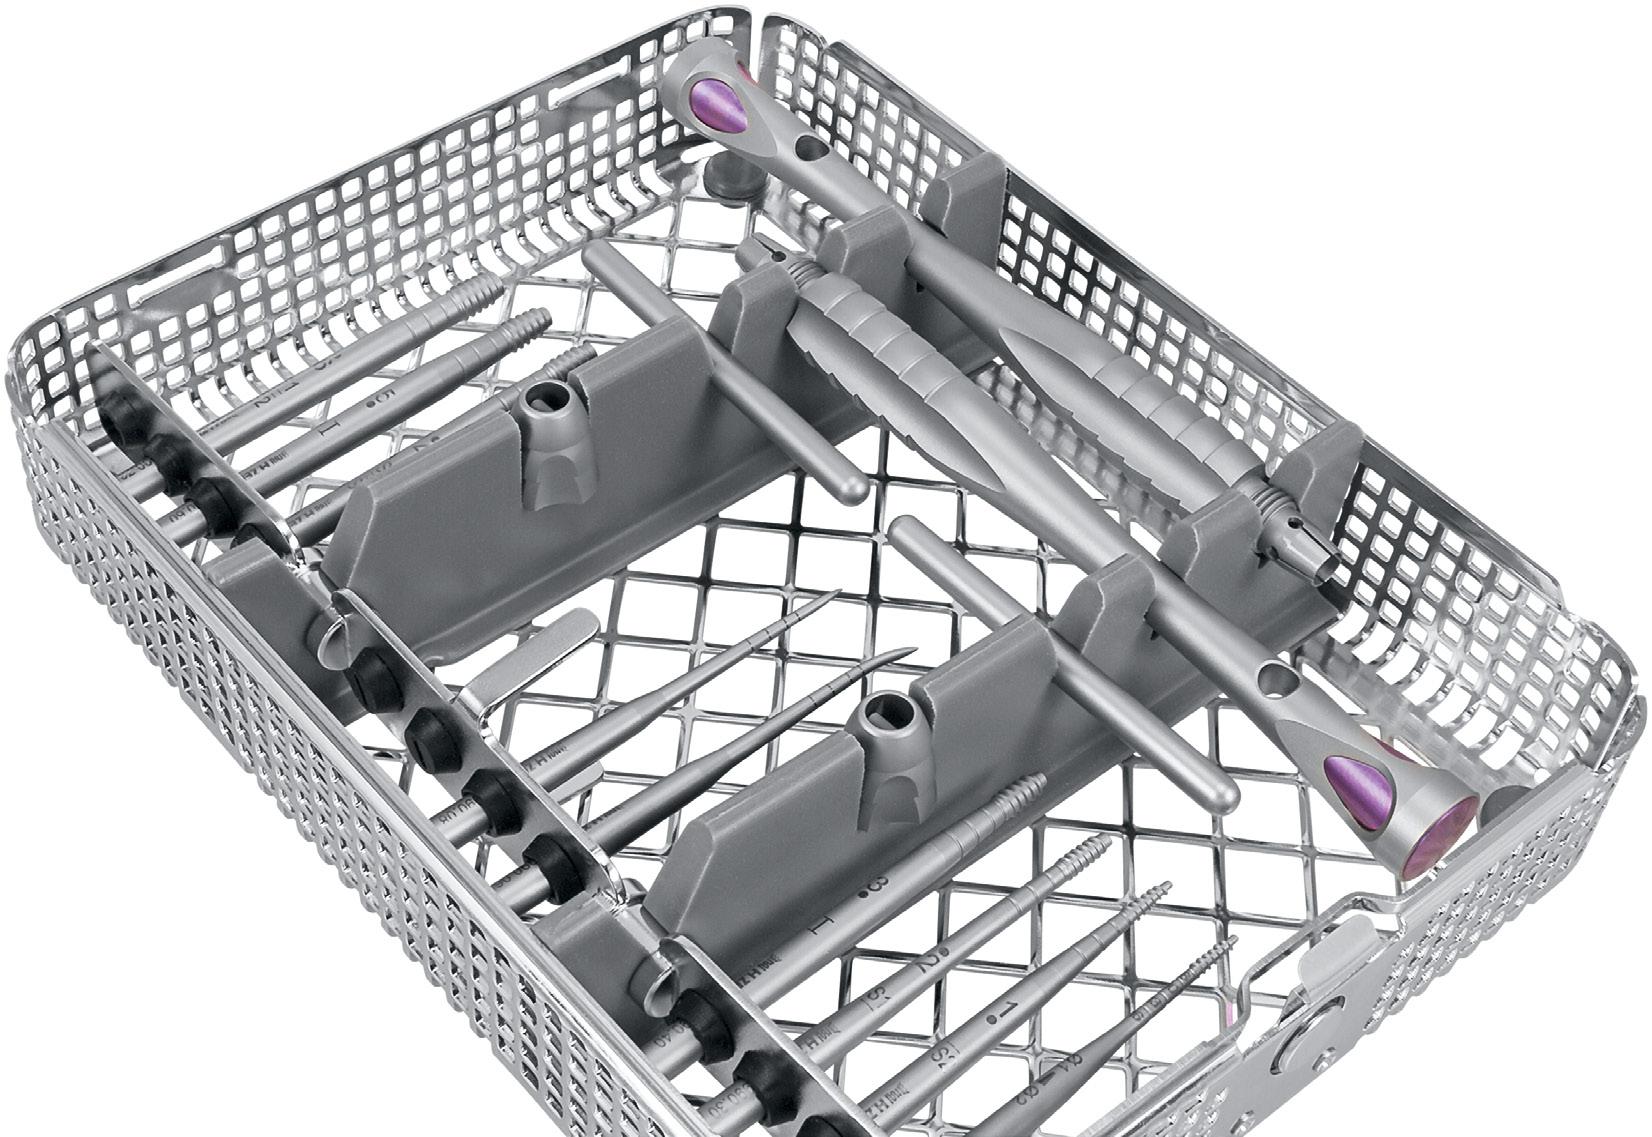
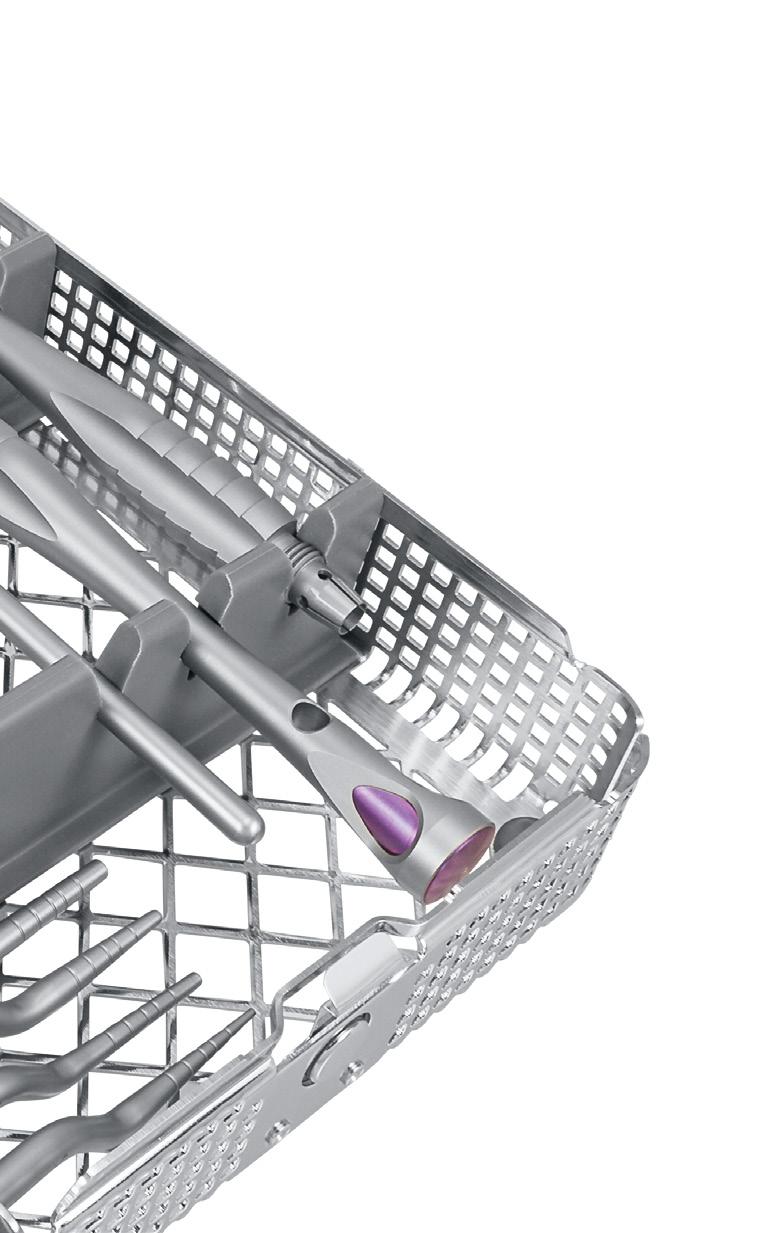
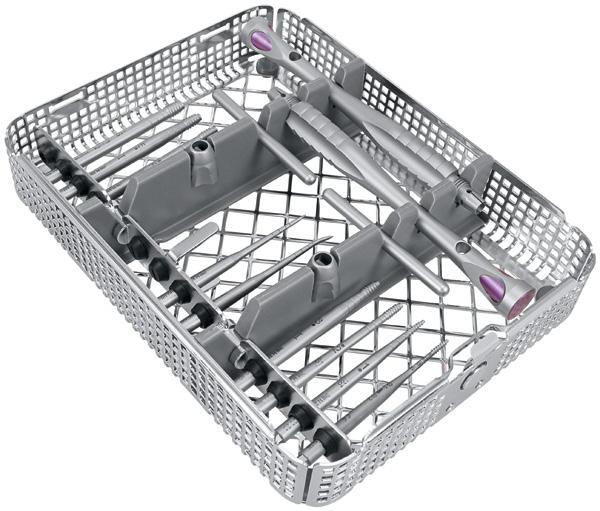
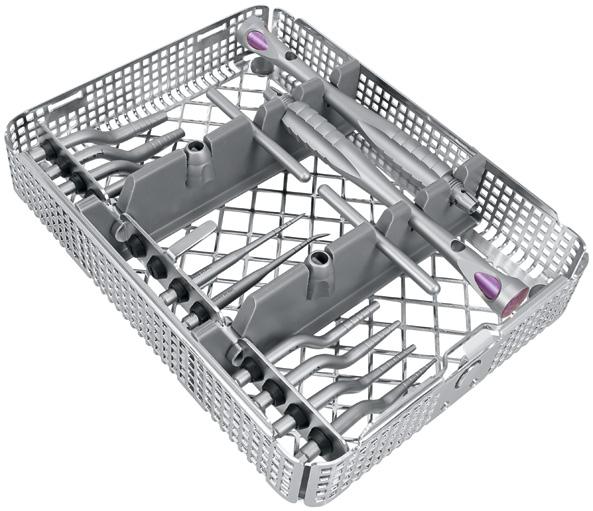
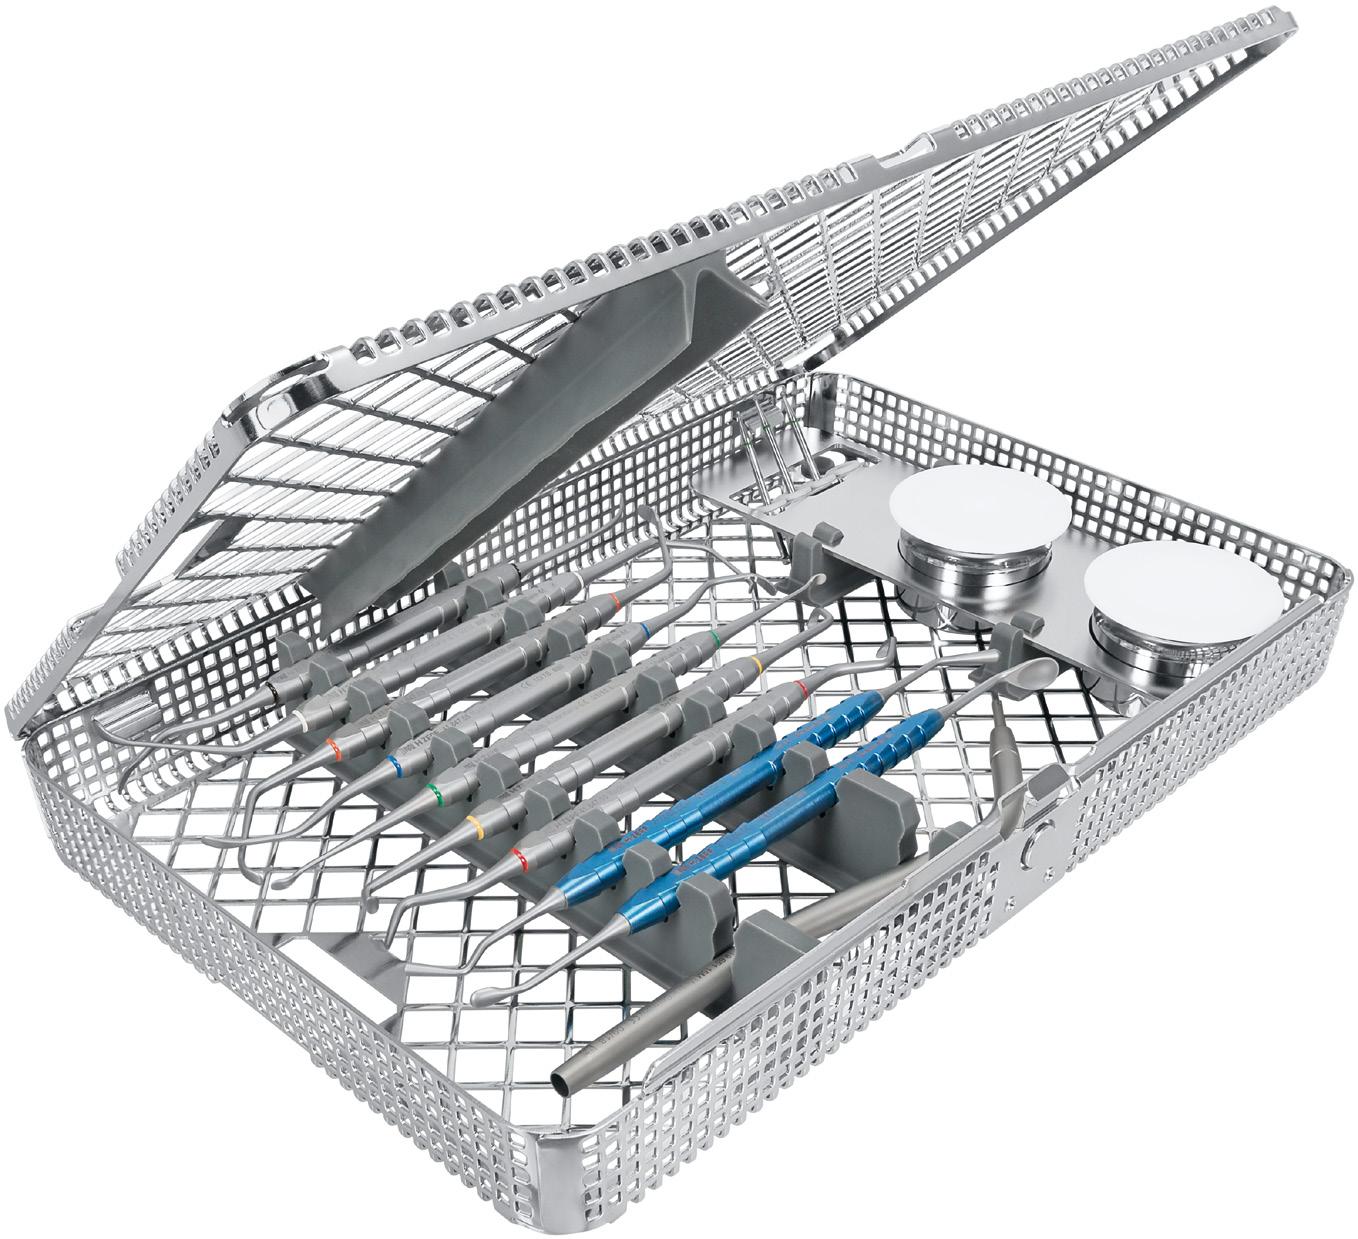
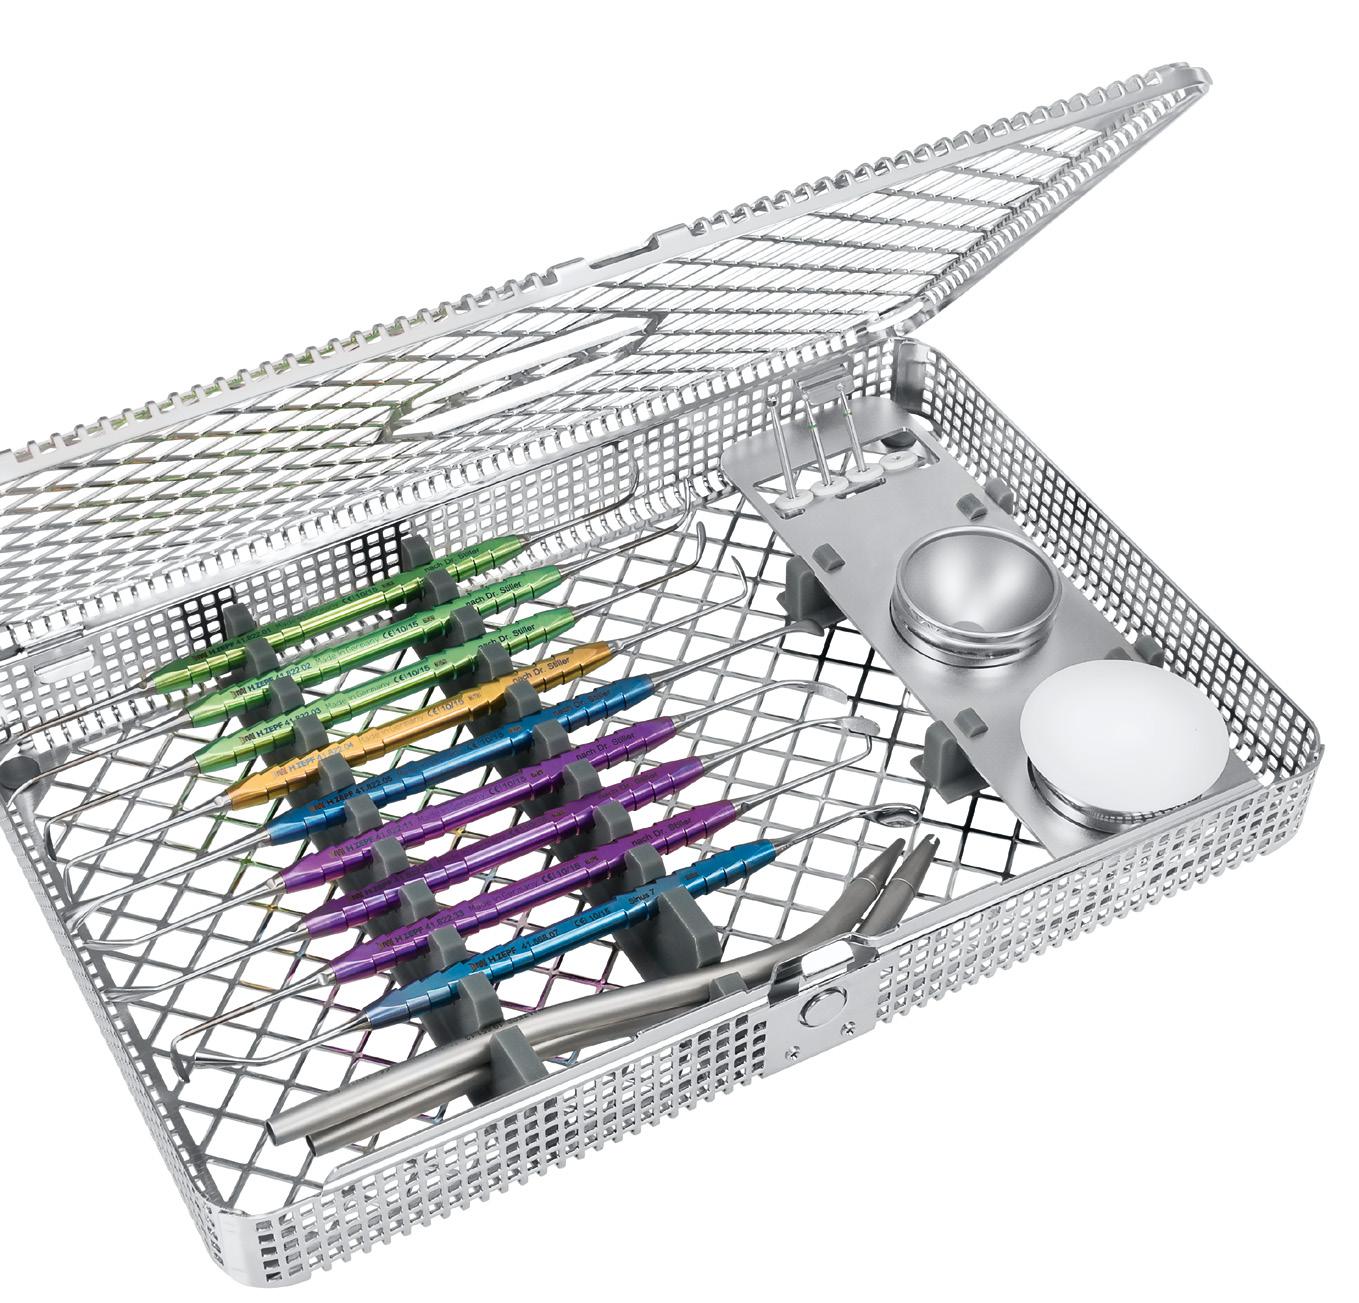
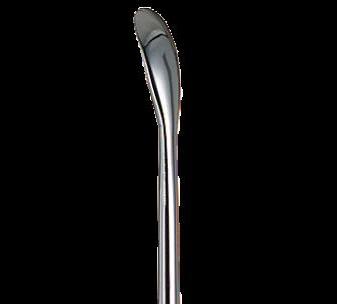
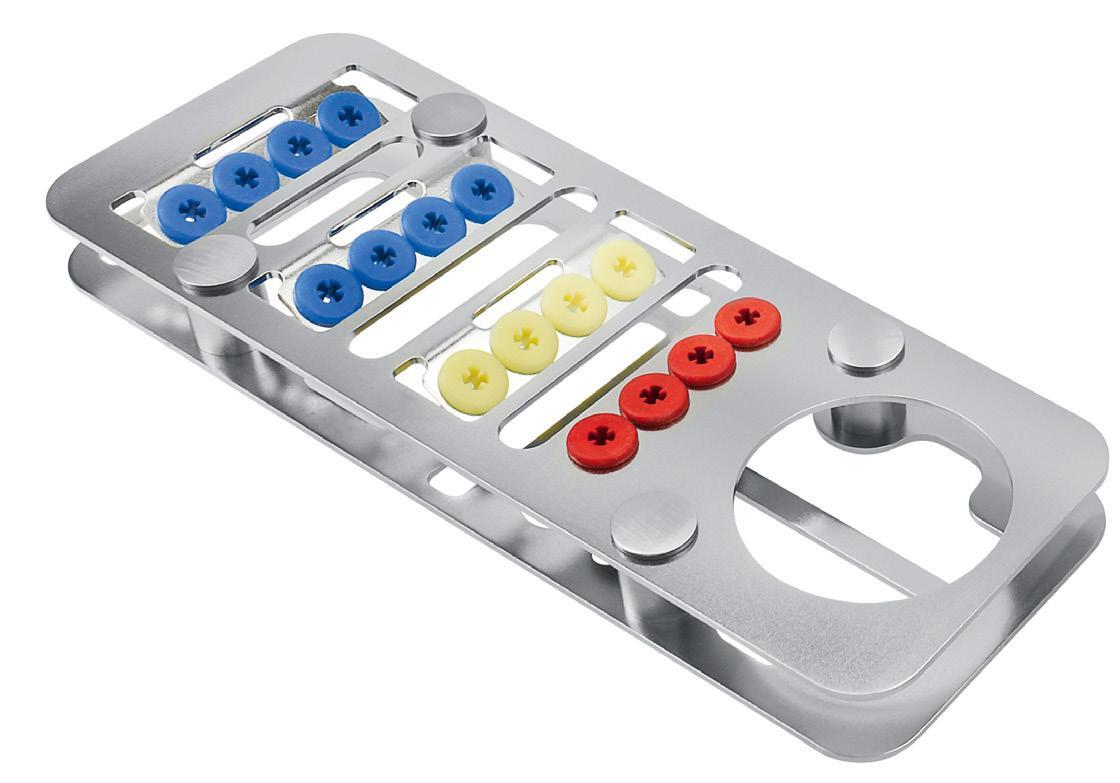
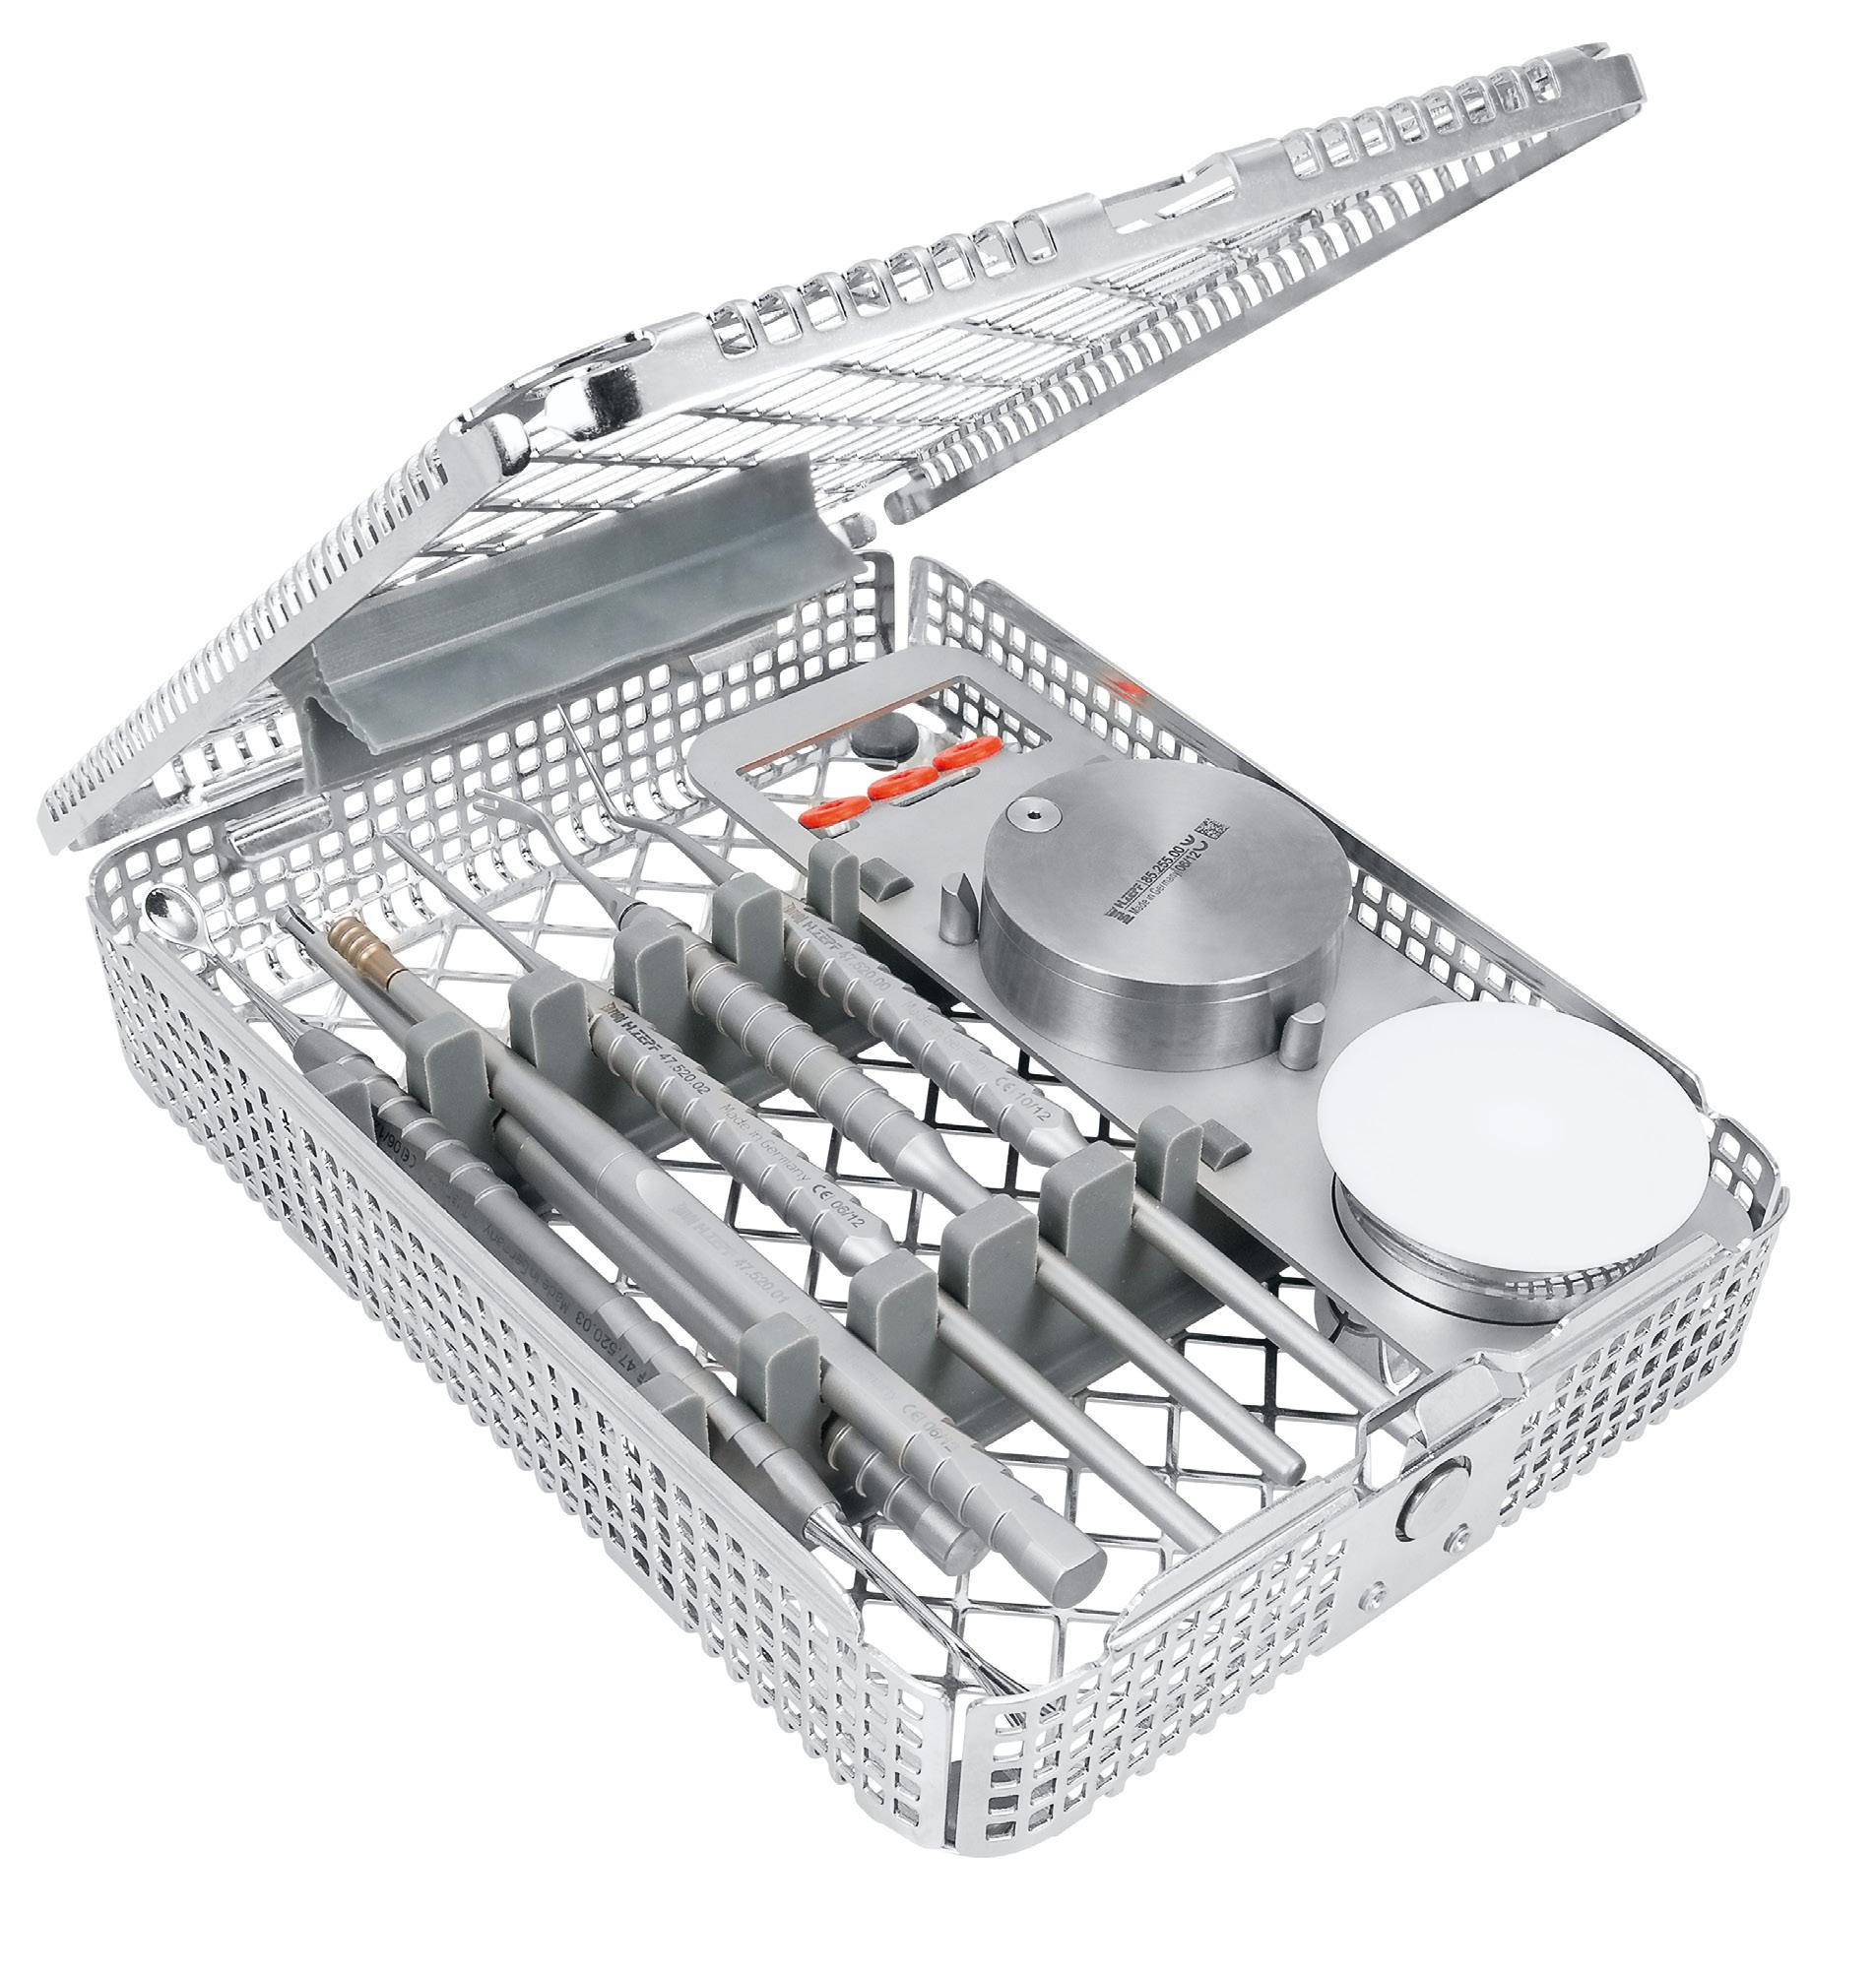
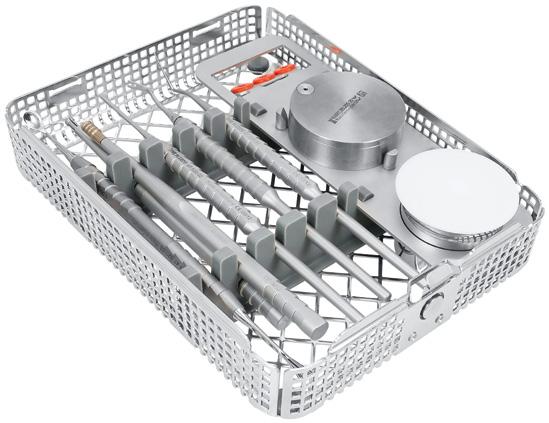
The ECO ImplaTool Set acc. to Dr. Hildebrand in cobalt-blue or lightred-magenta
Content: ECO ImplaTool Set
The ECO ImplaTool Set in cobalt-blue 24.961.05 or lightred-magenta
Out of his own experience Dr. Hildebrand came up with a complete instrument set for the whole oral surgery and the treatment in the implantology and periodontalogy. No matter if classical or new conceptions, like sinus elevation or microsurgical interventions, all demands can be covered.
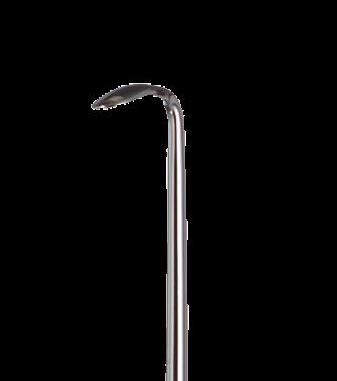
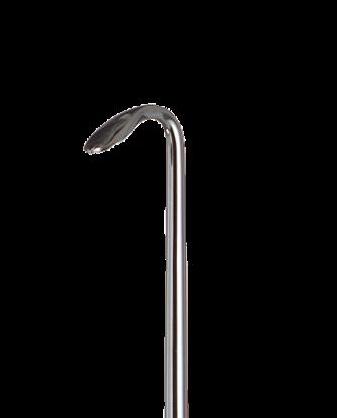
Special raspatories, elevators and dissecting instruments enable and simplify surgical procedures and mainly non-traumatic operations. The exchangeable working tips inserted in the ergonomic handle offer highest economy and best tactile handling.
Clearly organized in a washbasket – so everything is always easily at hand for the practitioner.
mm
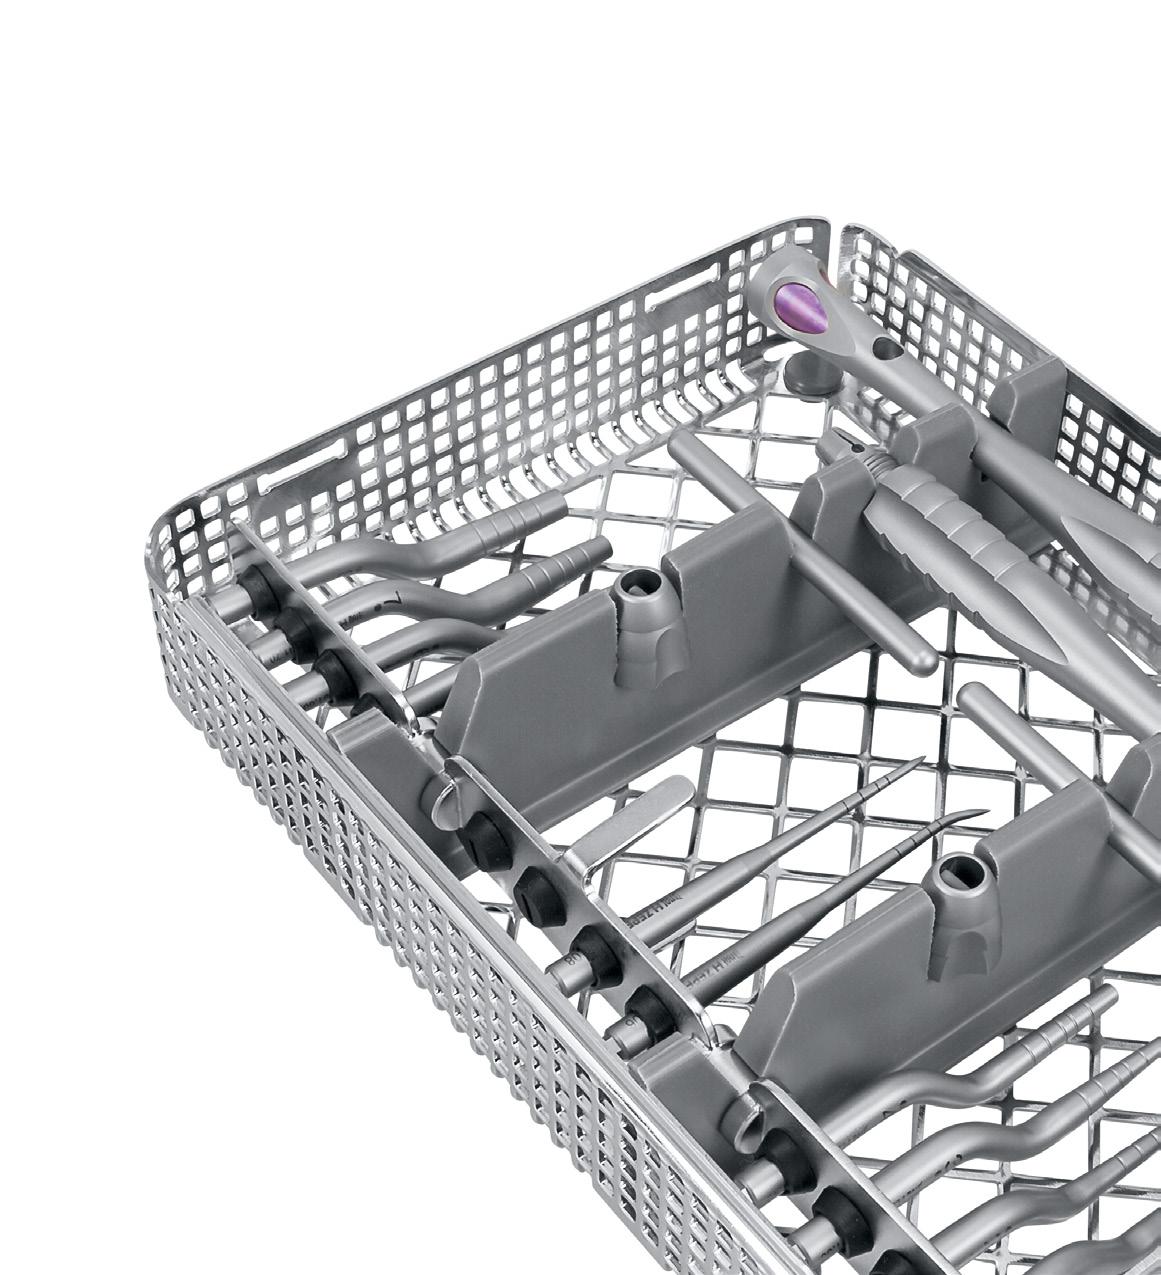
Content: ECO ImplaTool Set
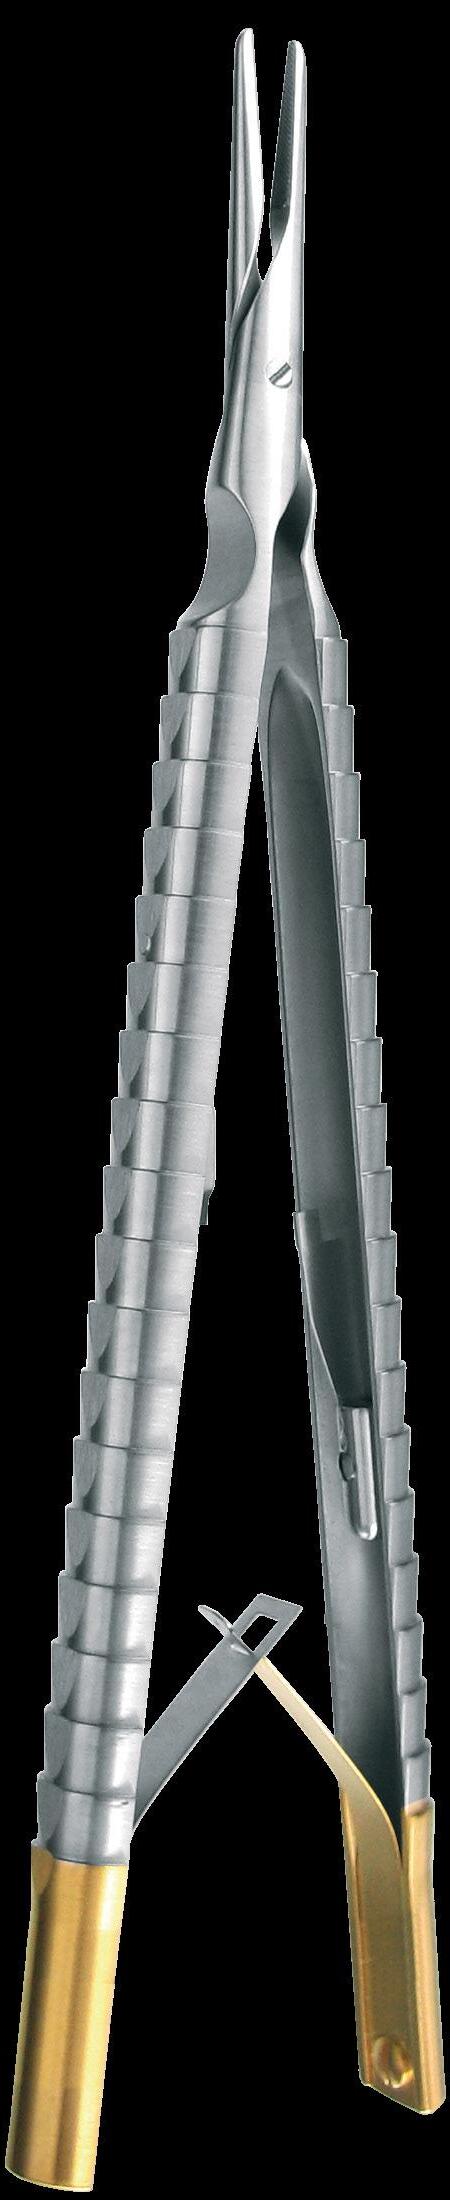
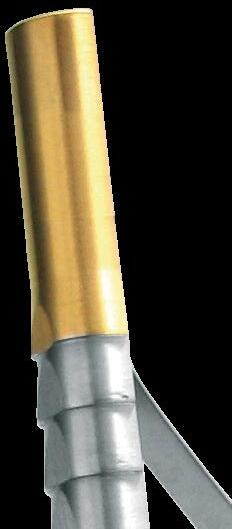
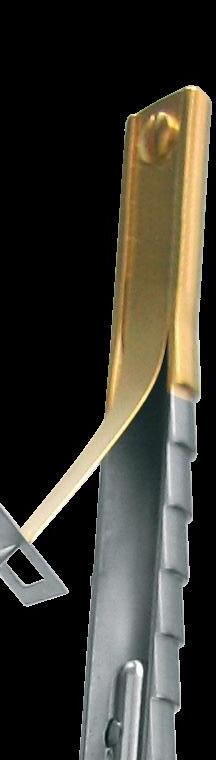
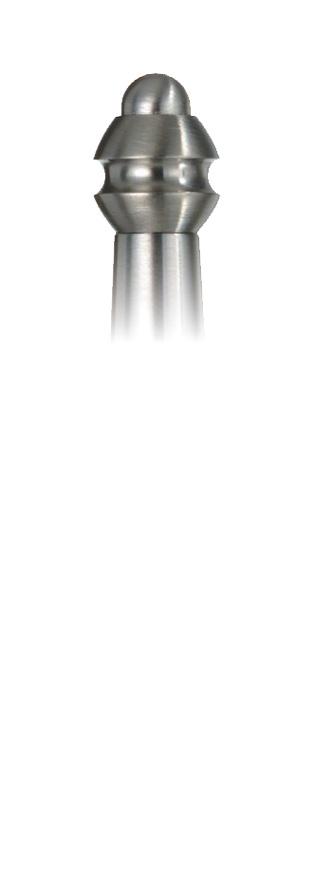
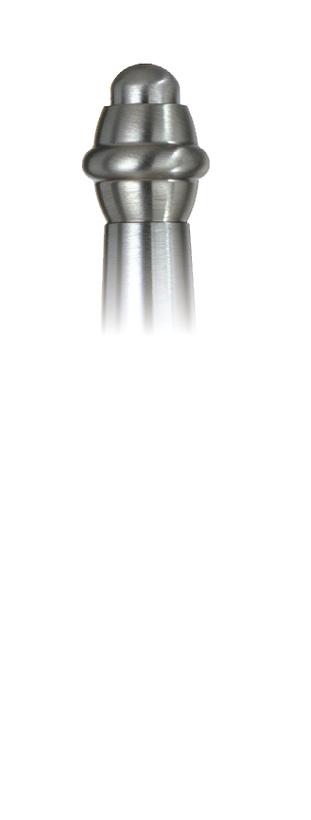
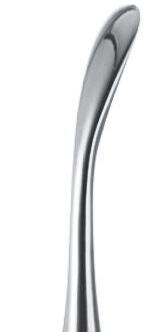
Micro Needle Holder
-Line, with lock & protected inner spring, SpinLock, stainless steel, 17.5 cm, TC
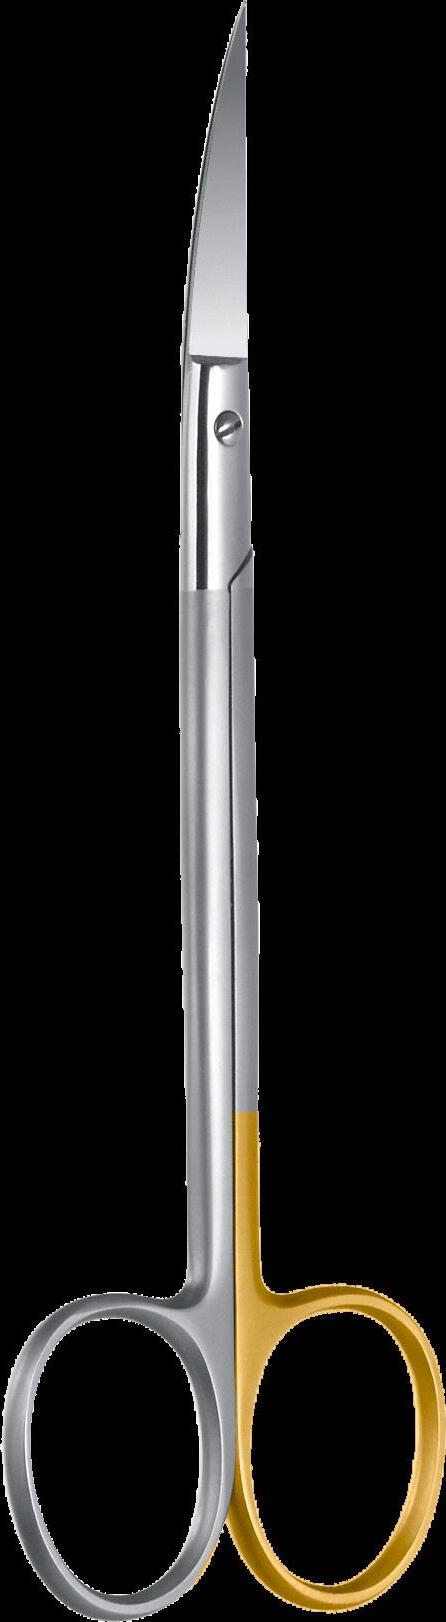
Joseph Scissors curved, micro serrated, SuperCut, 14 cm
Scalpel Blade Holder
Patent No. 10 2014 101 658
Micro-Adson 1 x 2 teeth, with suture plate, 15 cm Tweezers with stop-pin, ergonomic, 15 cm 0.6 mm
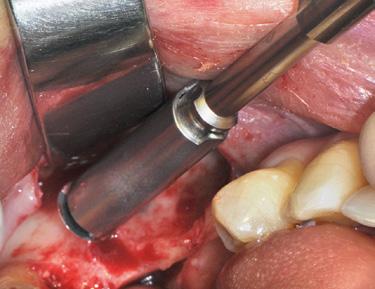
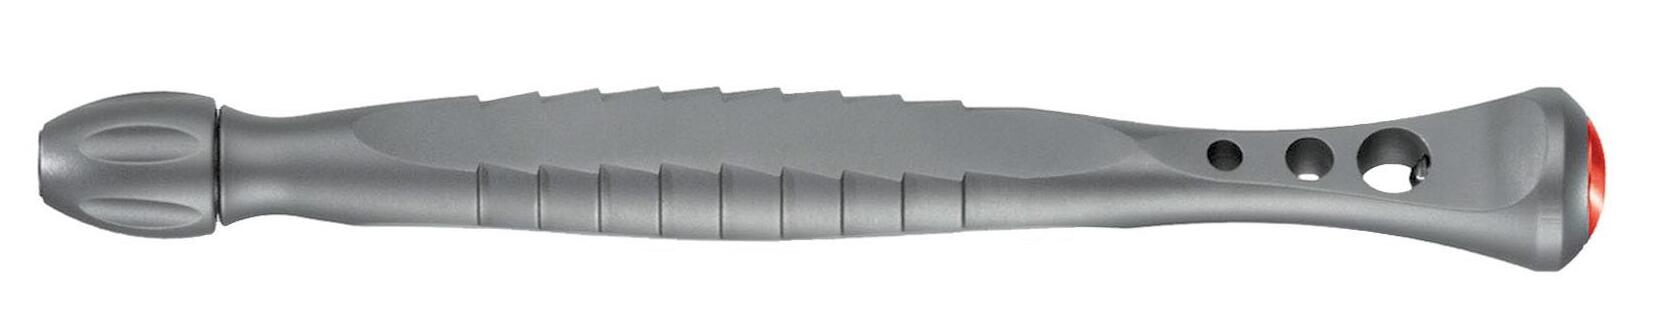
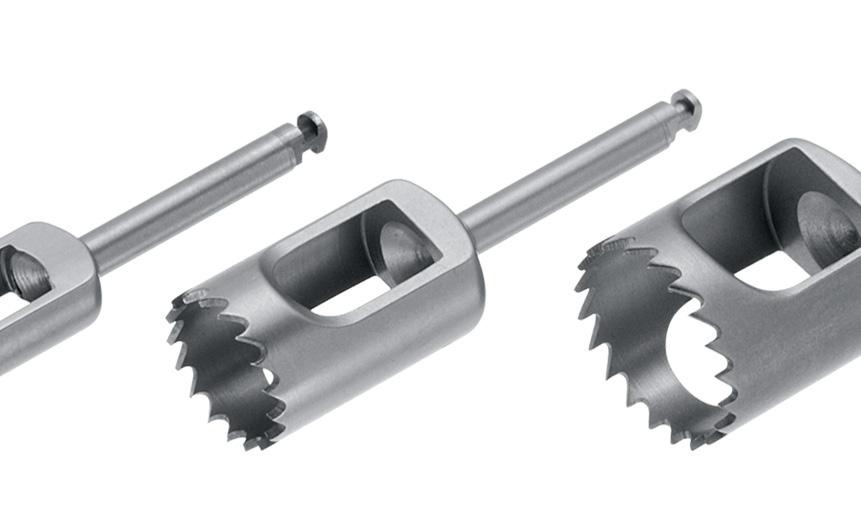
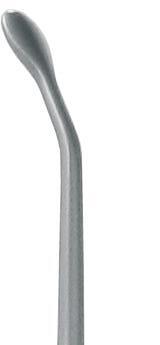
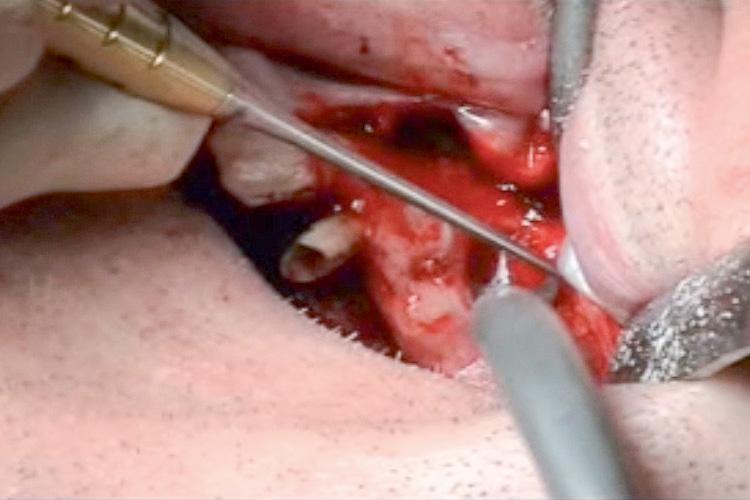
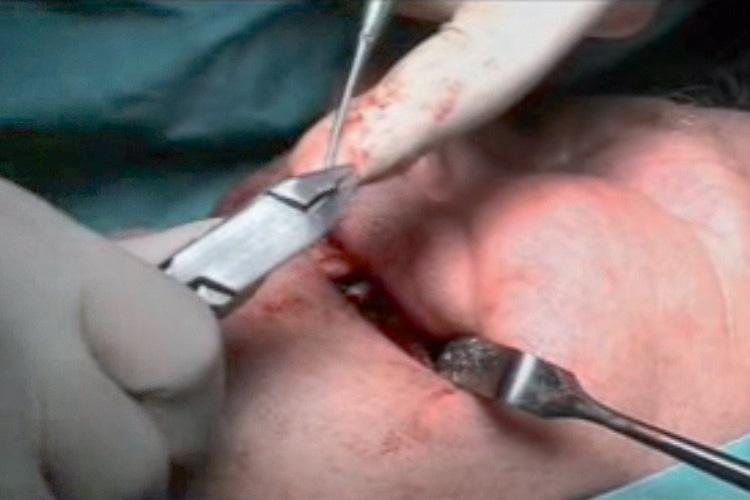
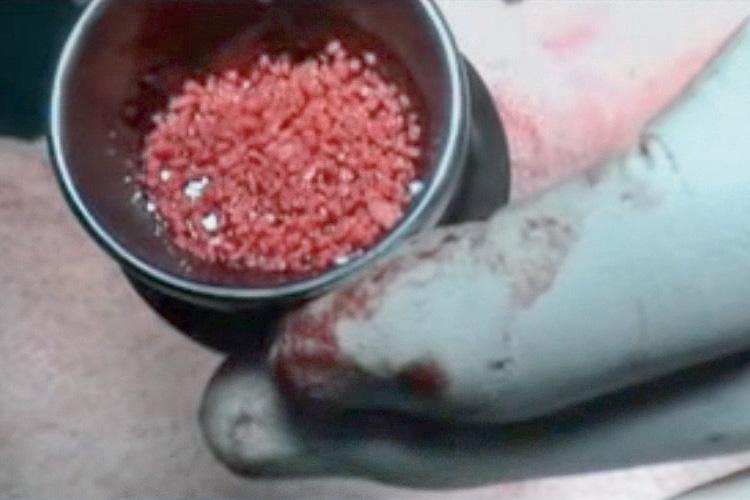
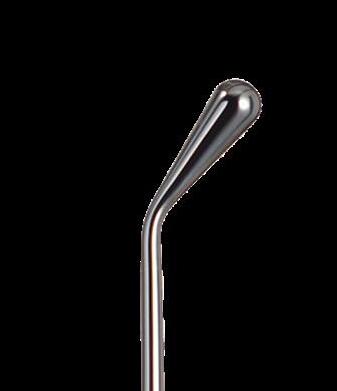
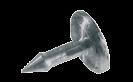
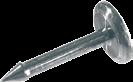
Bone Scraper
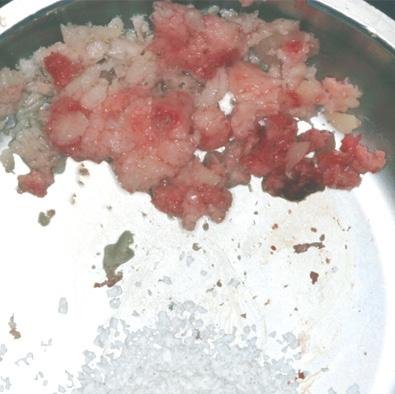
Collecting autologous bone material.
In oral surgery bone replacements and bone structures are often combined with autologous bone pieces during augmentations in order to use their osteoinductive effect. The Bone Scraper is the perfect instrument for an easy and quick collection of autologous bone structures. It enables you to scrape, collect and transplant the patients' own bone. Everything can be done without the usage of bone filter, trephine bur, saw or bone mill.
The blade makes a collection of cortical and spongious bone possible. The bone is collected in a chamber during the scraping and at the same time the bone is being mixed with blood. The bone material can be implanted directly out of the Bone Scraper which has been sterilized before.
Implantology
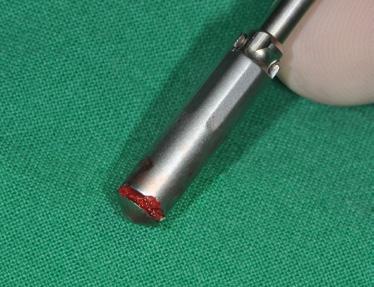
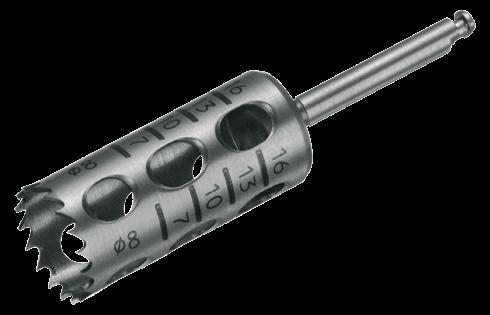
Bone Scraper II
By using the Bone Scraper, instruments like bone filters, trephines, saws and bone mills are no longer necessary. Its blades allow a fast harvesting of cortical and cancellous bone. The cost-efficient disposable blade offers the practitioner an always sharp and economical instrument.
Spare Blade replacements, available in quantities of:
47.957.30
PU 3 pieces
47.957.50
PU 5 pieces
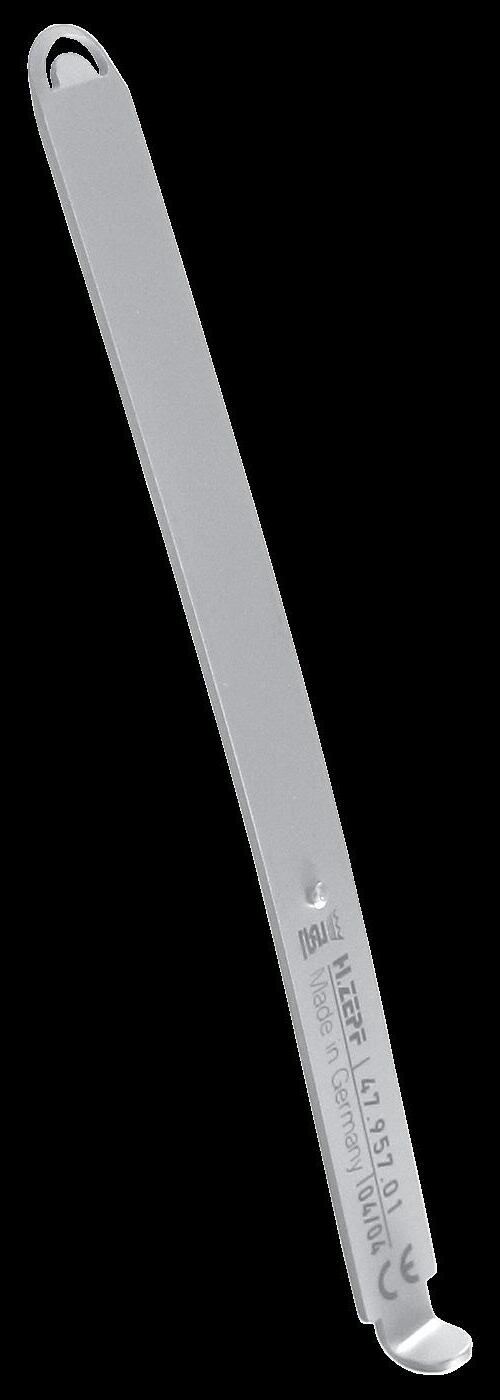
Sleeve
47.957.70
Bone Scraper II -Design, with sleeve and disposable blade
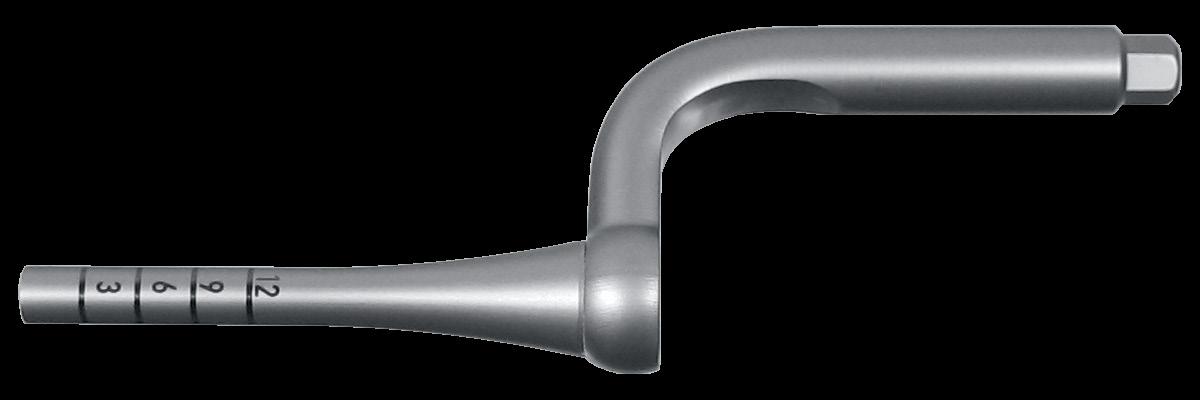
RA-Hex connection with shock absorption, graduation 7/10/13/15/18/20 mm
47.937.12
Ø shank 3.7 mm, Ø tip 3.2 mm
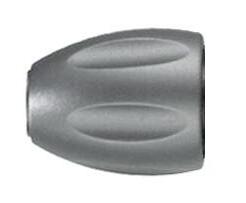
Screwdriver Handle with extension, RA-Hex connection with shock absorption, for screwing and hammering application
Optional Accessories not included in the set
47.937.05
Ø shank 5.0 mm, Ø tip 4.2 mm
47.950.03
Pin Applicator, short, to apply titanium pins
47.937.13
Ø shank 4.2 mm, Ø tip 3.7 mm
Without illustration
47.937.14
Ø shank 5.0 mm, Ø tip 4.2 mm
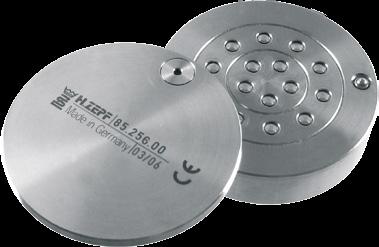
85.182.50 1/3 Washtray System
47.937.01 Tray for New Osteotome Kit
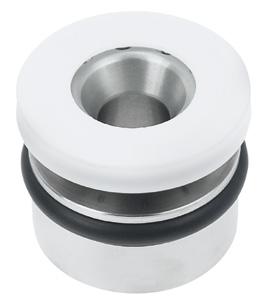
85.255.02
Storage Box for 10 titanium pins
Implantology
47.099.50
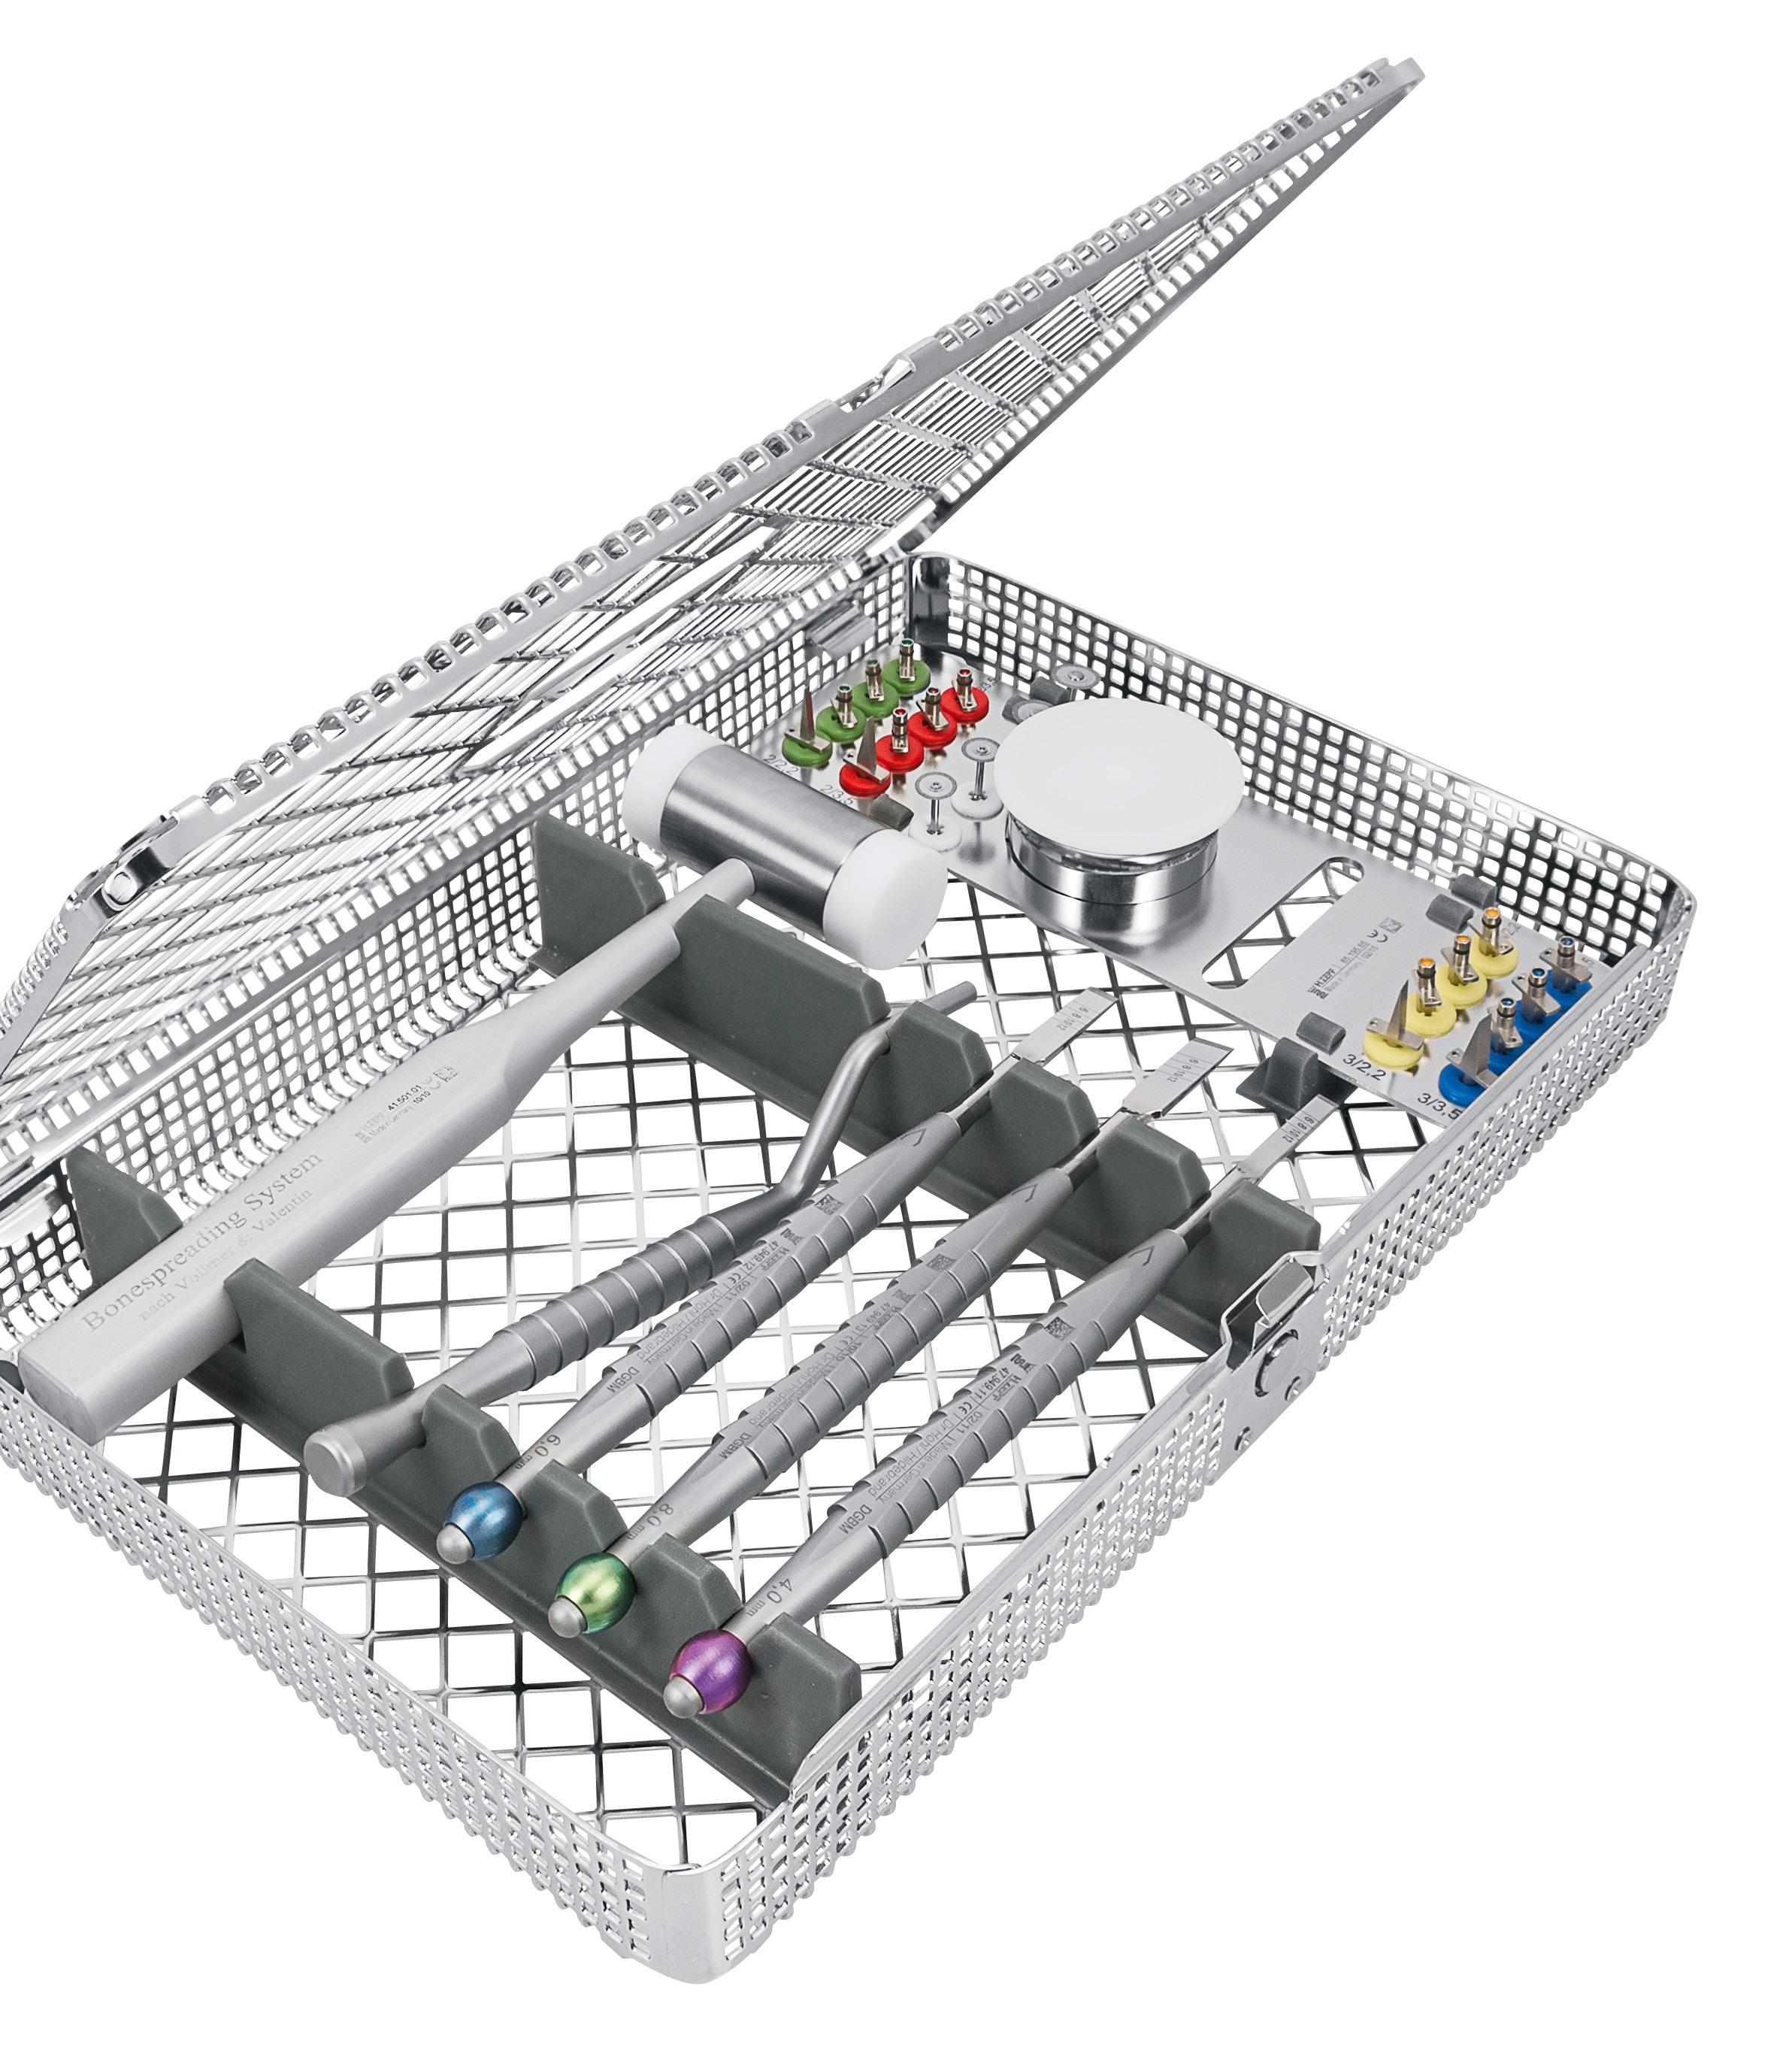
Bone Splitting System
acc. to Dr. Vollmer & Dr. Valentin
Bone Splitting System
acc. to Dr. Vollmer & Dr. Valentin
A successful implantation primarily depends on sufficient bone in the region of the alveolar process and especially on the quality of the bone. Only a stable bone structure can guarantee a safe anchorage of the implant.
In addition to modern augmentation methods, the bone splitting technique is becoming more and more important.
The principle is based on the creation of a similar alveolar cavity in the maxillary crest with a good potential of regeneration.
For this indication, the experienced implantologists Dr. Vollmer and Dr. Valentin have developed exactly adapted system components for different anatomical situations in co-operation with the company .
2.2 3 3 3.5
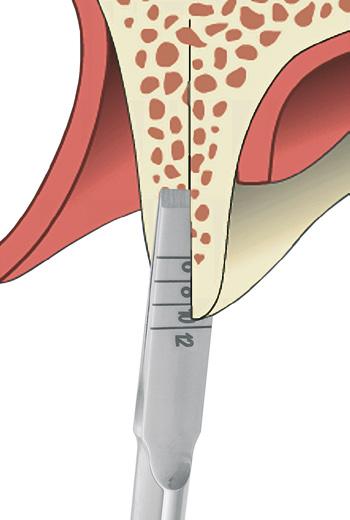
Comparison: Drilling without previous spreading
Implantology
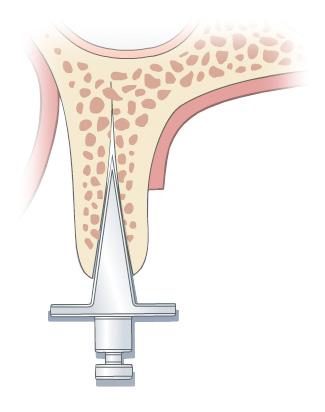
At first, the maxillary crest which has become too small due to atrophy is being separated in its longitudinal direction by diamond discs. Thereafter, it is split carefully by means of chisels. In doing so, the lateral cortical bone lamellae are preferably displaced in labial direction.
After these preparatory steps, small wedges are inserted in the gap. In each case, two wedges are used as placeholders for the drilling of the implant bed and the insertion of the implant.
While drilling, the bone lamellae are reliably prevented from springing back. Upon insertion of the implants and removal of the inter-implantatory wedges, the remaining gaps can be filled with augmentation material in order to allow an augmentation and, in opportune cases, an immediate and simultaneous implantation.
Content: Bone Splitting System
Implantology
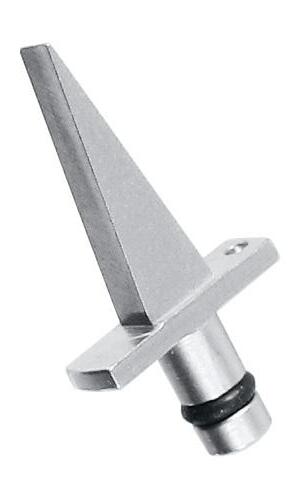
Separating Discs
41.501.01 acc. to Dr. Vollmer
Hammer with light metal handle and exchangeable plastic inserts Ø 25 mm
47.099.08 Separating Disc Ø 8 mm
47.099.10 Separating Disc Ø 10 mm
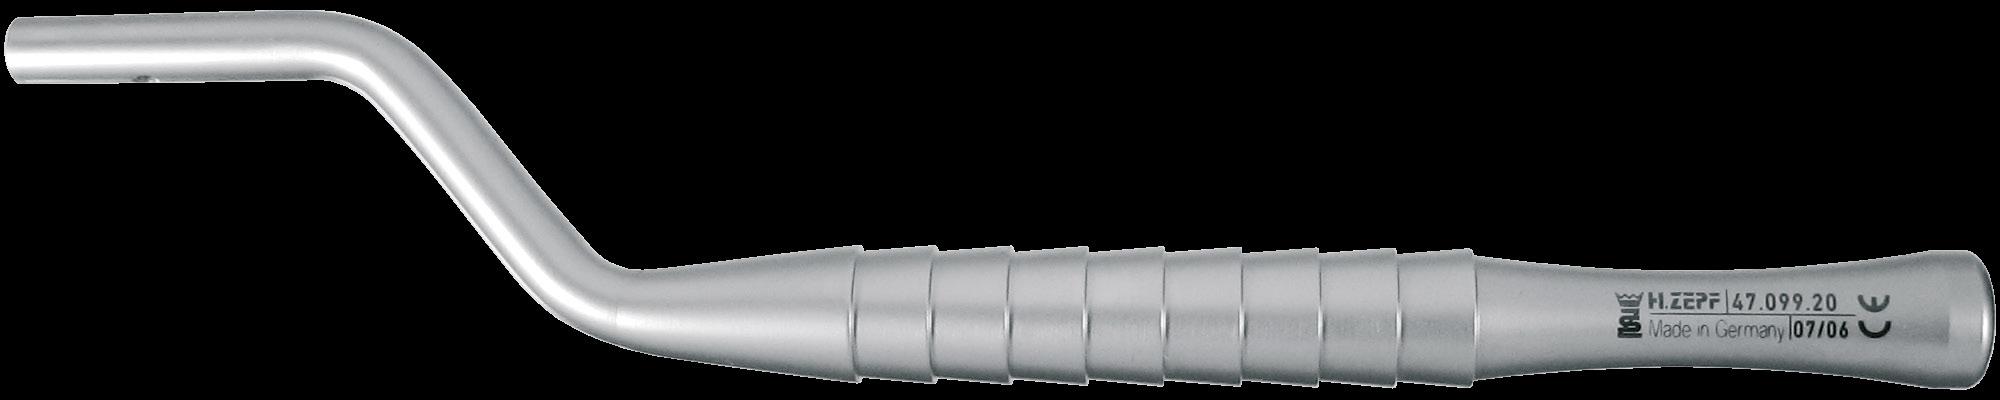
Wedge Applicator
47.099.20 Wedge Applicator
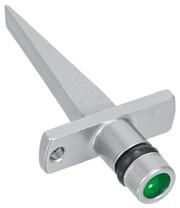
Inter-Implantatory Wedges
47.099.31
Wedge 2 mm / 2.2 mm, green
47.099.32
Wedge 2 mm / 3.5 mm, red
47.099.33
Wedge 3 mm / 2.2 mm, yellow
47.099.34
Wedge 3 mm / 3.5 mm, blue
Implantology
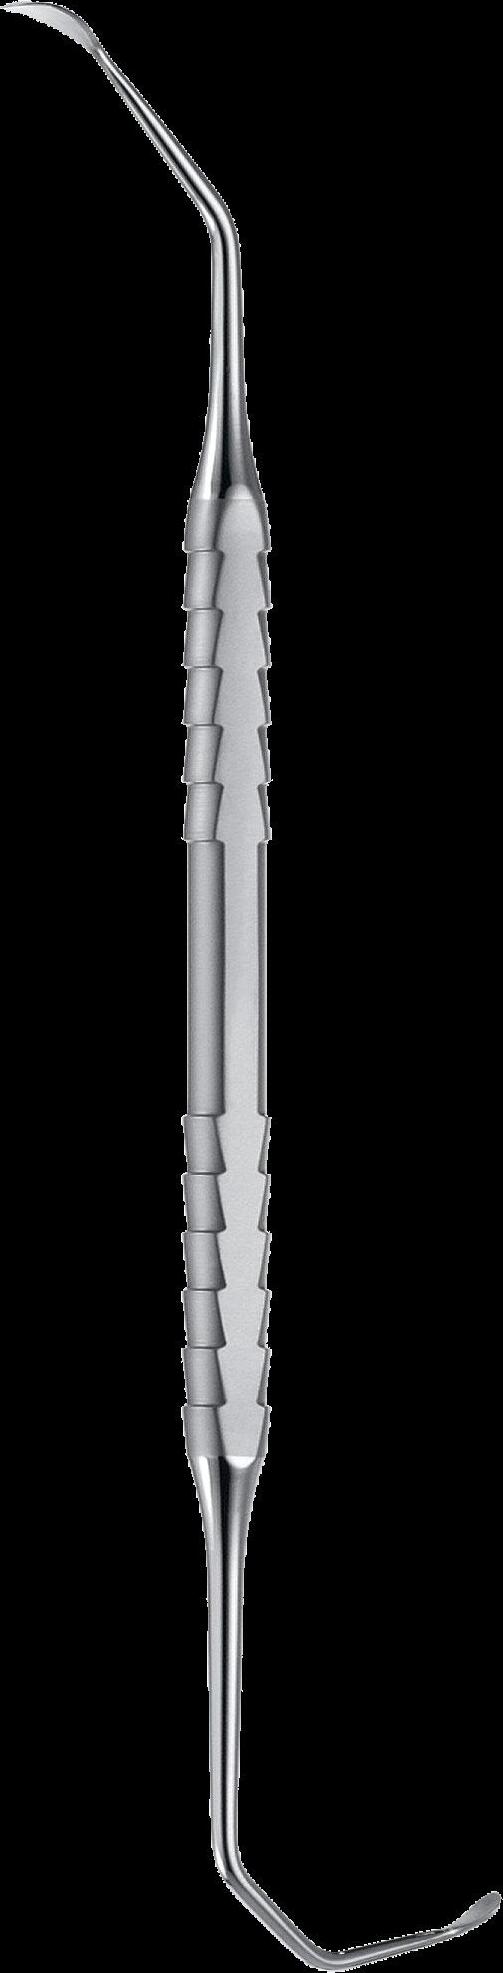
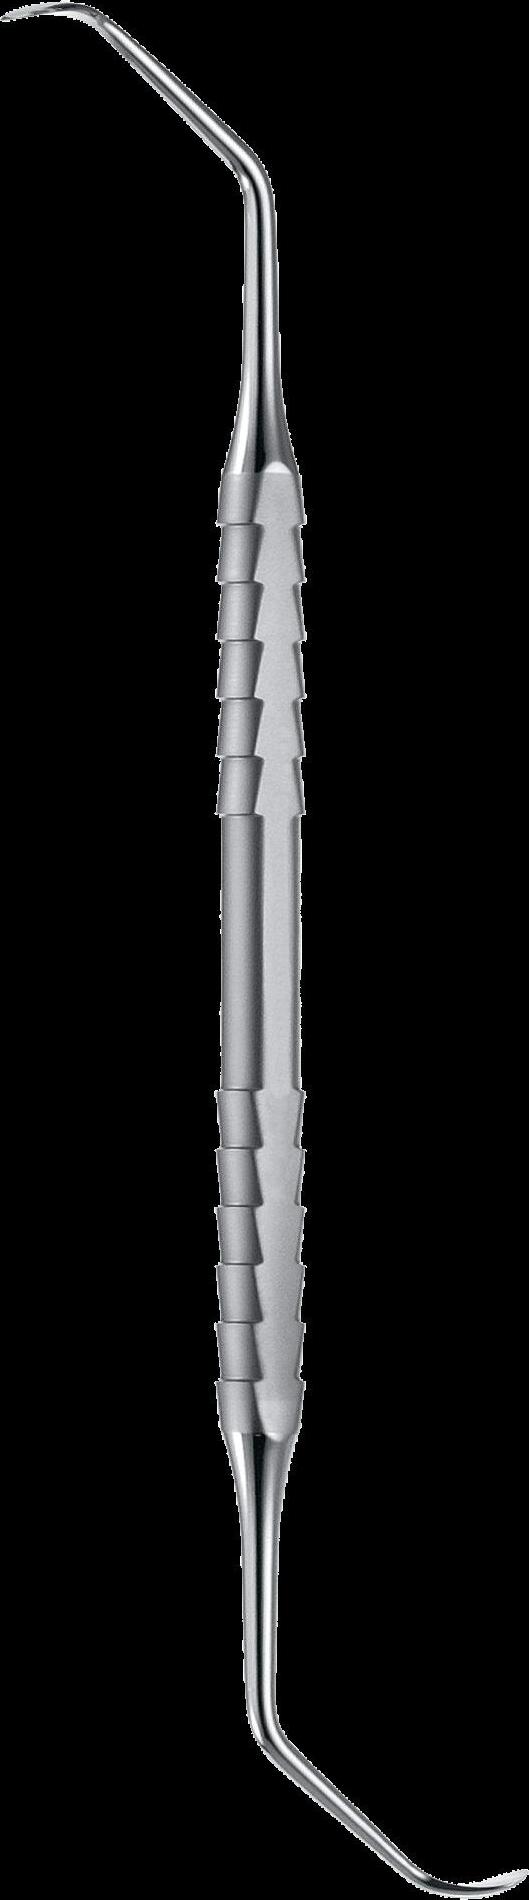
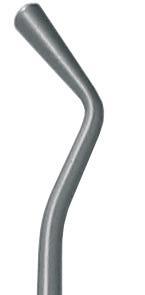
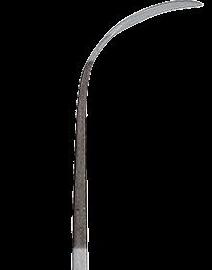
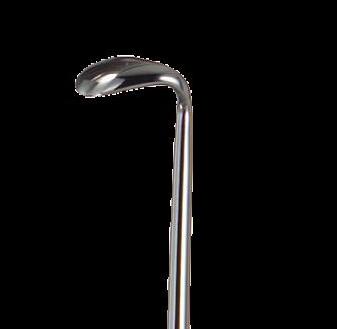
Back Action Chisel
Modified as Bone Scraper in different widths, to gain autologous bone during operation.
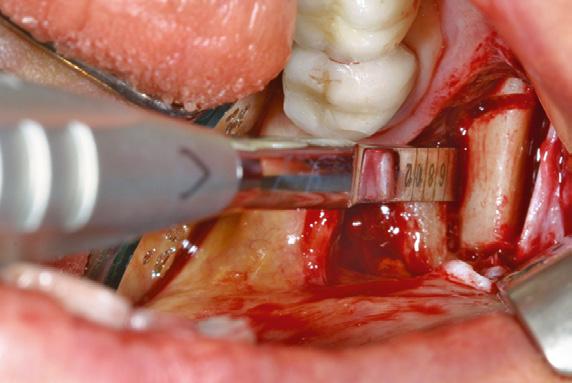
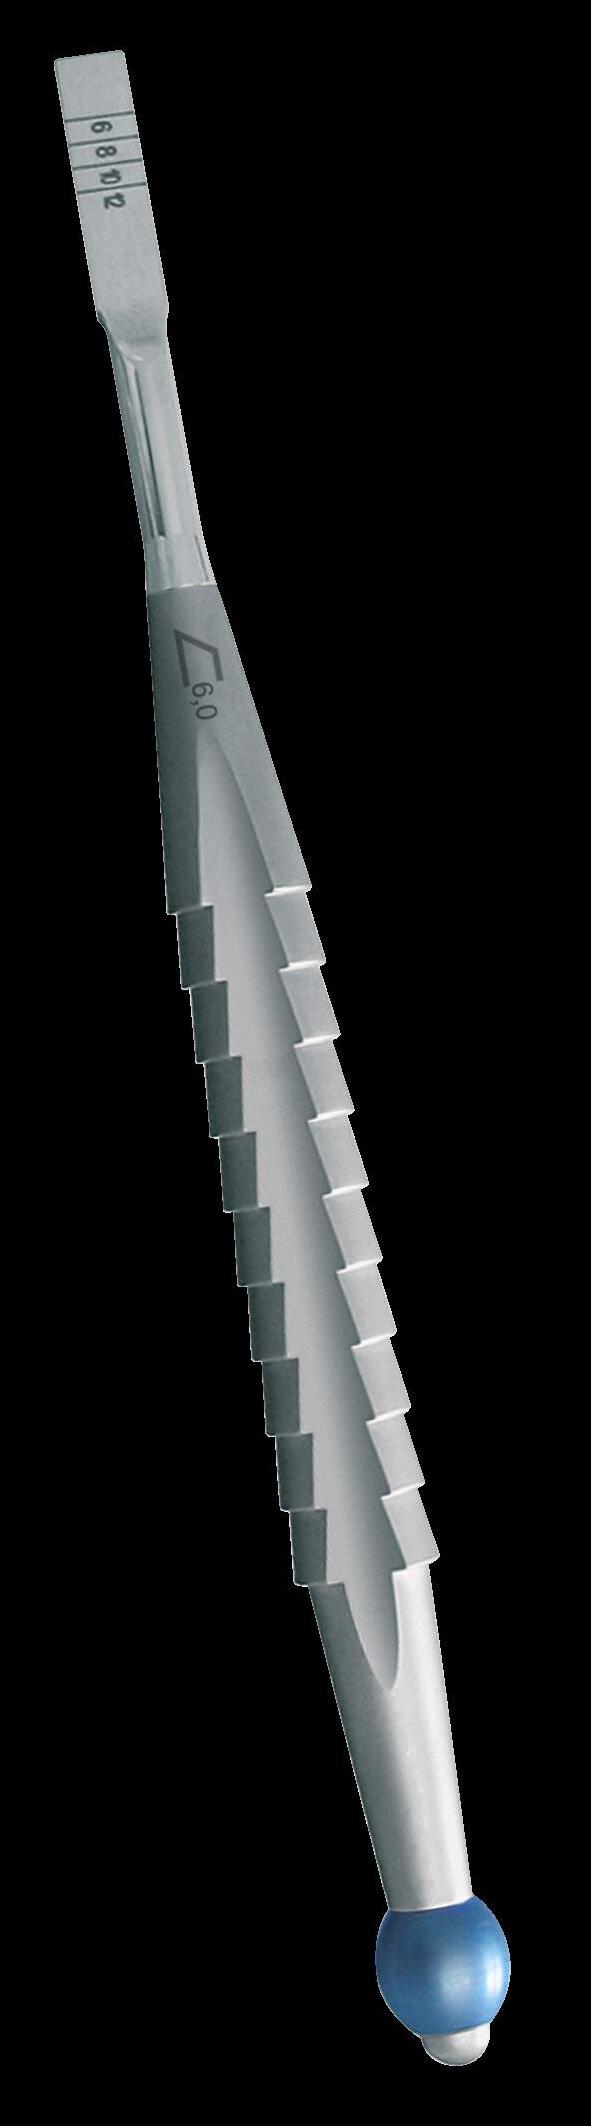
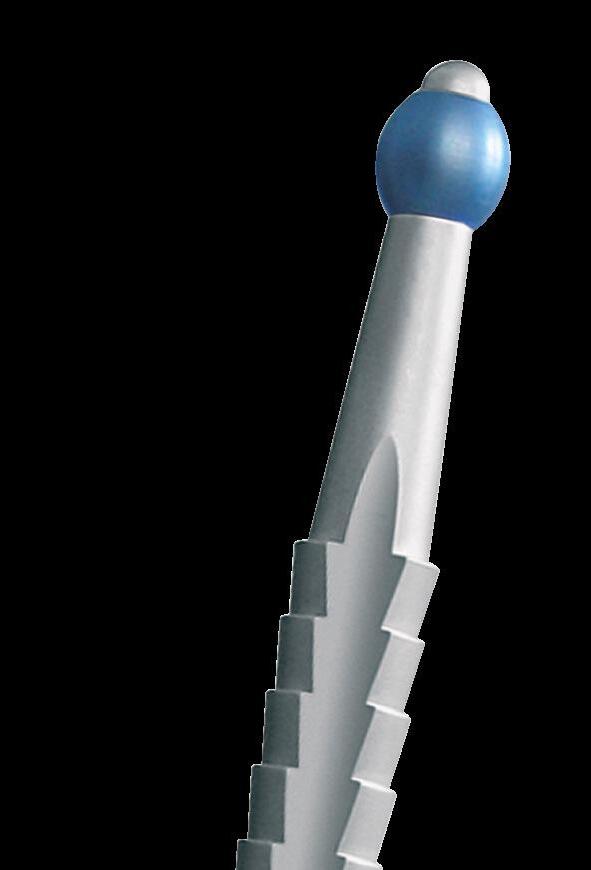
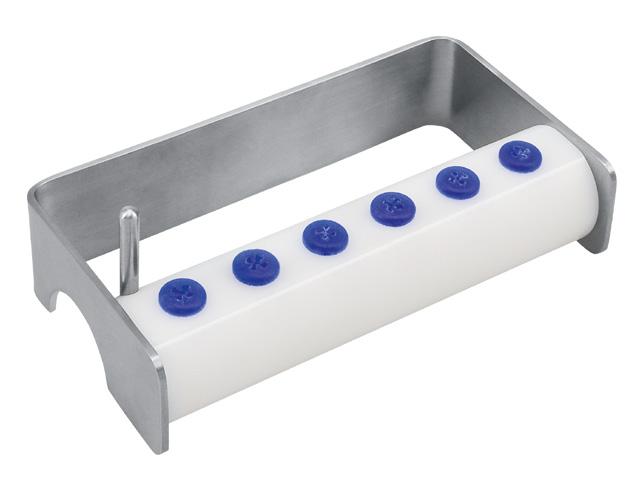
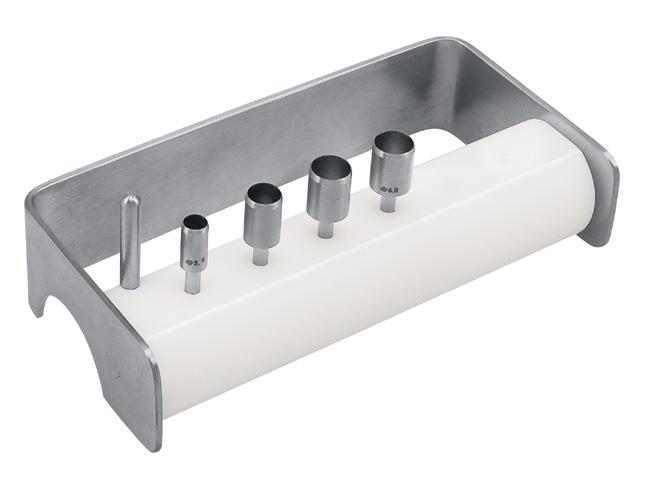
Bone Fitting Set
acc. to Dr. Hohl & Dr. Hildebrand
47.949.95
Bone chisels are used to gain bone chips, to shape bone structures and to widen bones from the cranial side. The pointed chisels are used for the first widening of the maxillary crest. The flat chisels smoothen and shape bone structures.
Content: Bone Fitting Set
47.949.11 (4.0 mm)
(6.0 mm)
(8.0 mm)
47.949.21 (4.0 mm)
(6.0 mm)
(8.0 mm)
Implantology
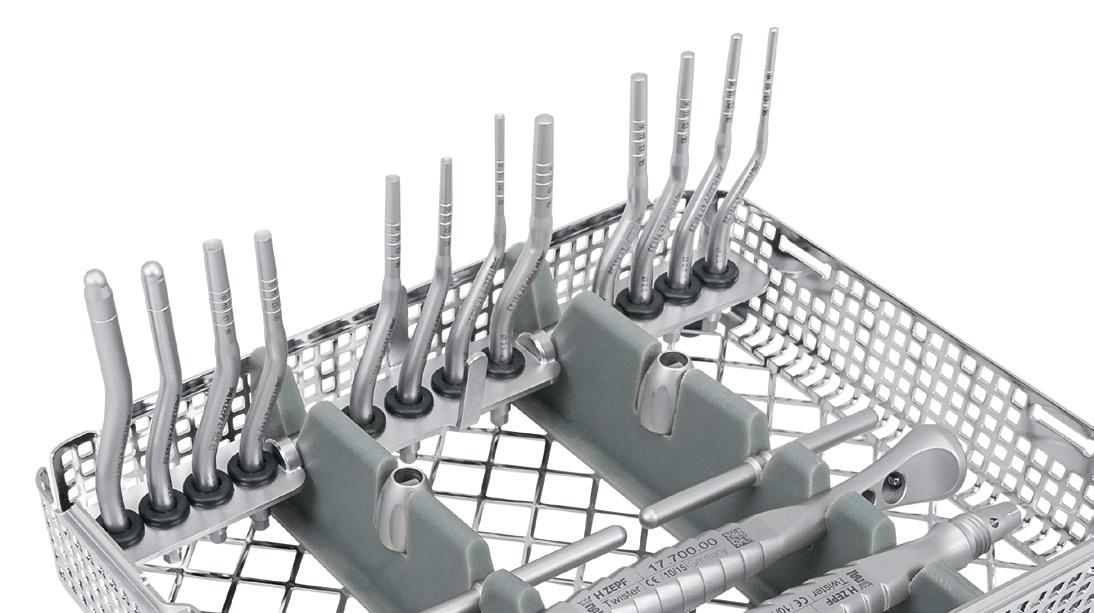
Osteotome Set with exchangeable inserts
47.961.00
1 x washtray 85.184.26
2 x handle 17.700.00 12 x insert (as illustrated)
See pages 10-01 to 10-05 for washtrays, washbaskets and Tray-in-Tray-System!
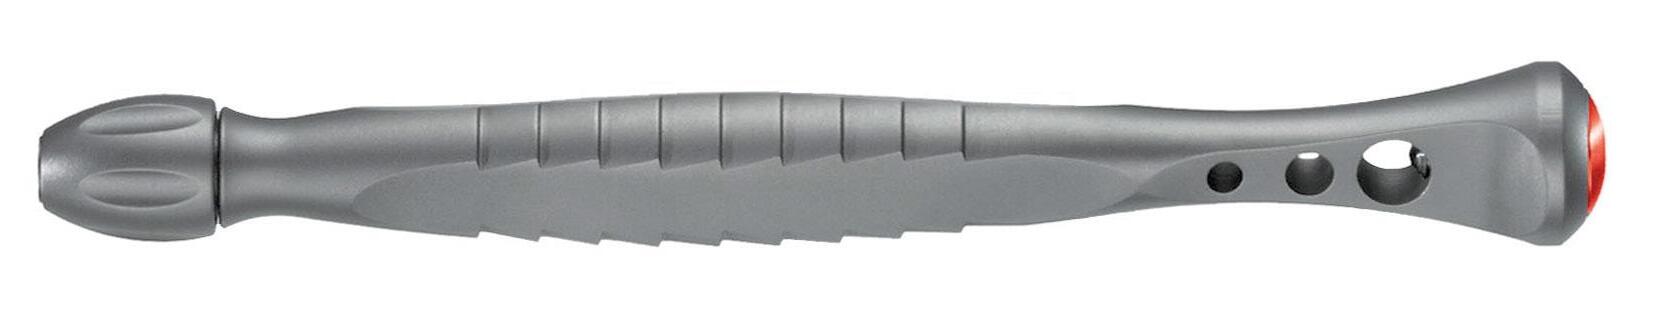
17.700.00 Handle for exchangeable inserts
17.700.45 Clamping Screw
Hollow Cylinder Osteotomes
acc. to Dr. Vollmer & Dr. Valentin
With the ejector, which will positioned at the distal end, the gained bone material can be implanted efficiently in another place. Comparable with solid osteotomes it comes to a condensing of the bone in order to get a better primary stability for the implant in a cancellous bone.
Osteotome Set
47.940.00
Osteotome Set, straight
47.940.01
Osteotome Set, angulated always including 85.180.00
Washtray 1/1, for max. 16 hand instruments incl. 2 silicone rubbers and instrument retainer, 275 x 178 x 24 mm
Implantology
concave straight
47.942.20 Ø 2.0 (for 2.0)
47.942.28 Ø 2.3 / 2.8 (for 2.8 / 3.3)
47.942.33 Ø 2.8 / 3.3 (for 3.3 / 3.8)
47.942.38 Ø 3.4 / 3.8 (for 4.3)
47.942.43 Ø 3.9 / 4.3 (for 5.0 / 6.0)
convex straight
47.944.20 Ø 2.0 (for 2.0)
47.944.28 Ø 2.3 / 2.8 (for 2.8 / 3.3)
47.944.33 Ø 2.8 / 3.3 (for 3.3 / 3.8)
47.944.38 Ø 3.4 / 3.8 (for 4.3)
47.944.43 Ø 3.9 / 4.3 (for 5.0 / 6.0)
concave angulated
47.943.20 Ø 2.0 (for 2.0)
47.943.28 Ø 2.3 / 2.8 (for 2.8 / 3.3)
47.943.33 Ø 2.8 / 3.3 (for 3.3 / 3.8)
47.943.38 Ø 3.4 / 3.8 (for 4.3)
47.943.43 Ø 3.9 / 4.3 (for 5.0 / 6.0)
convex angulated
47.945.20 Ø 2.0 (for 2.0)
47.945.28 Ø 2.3 / 2.8 (for 2.8 / 3.3)
47.945.33 Ø 2.8 / 3.3 (for 3.3 / 3.8)
47.945.38 Ø 3.4 / 3.8 (for 4.3)
47.945.43 Ø 3.9 / 4.3 (for 5.0 / 6.0)
Implantology
OST-Sets – ariable eometry steotomes
Ø 1 Ø 3 Ø 1 Ø 2
Advantages of the VGO Osteotomes
ZERO HEAT PRODUCED!
ALWAYS PASSIVE ENTRANCE!
DECREASED CRESTAL STRESS!
FULL CONTROL OF RATE OF DILATION! since hand-piece is not used at constant speed
3 MAIN MODES OF USE!
Implantology
REVOLUTIONARY FLEXIBILITY OF USE
All Osteotomes on the market may look alike, but they are not! We offer a unique stepped formula for tip escalation and a revolutionary flexibility of use like no other system on the market.
STANDARD MODE: PASSIVE ACTIVE ENGAGEMENT / NON ENGAGEMENT not recommended
PASSIVE ENGAGEMENT
PASSIVE ACTIVE ENGAGEMENT NON ENGAGEMENT
Best Least Crestal Stress
Good But causes Crestal Stress
Axis of Rotation
Bone is Gold: PASSIVE WAVE DILATION SYS TEM acc. to Pavel Krastev DDS
How do we manage the osteotomy ATRAUMATICALLY?
How do we manage the osteotomy for greater implant success? Bone is Gold, so how do we hurt the bone less? How do we mallet less, as to make procedure less unpleasant for our patients?
Let us control the bone as opposed to having the bone control us.
Because of the overlapping diameters of the Osteotomes, you are able to passively engage the previously made intrabony cavity, even when you didn't use the full length of the tip.
No No Causes Crestal Crushing
PASSIVE ENGAGEMENT – successive osteotome fits freely into the previous intrabony cavity and becomes active at a point deeper than crestal bone, as is currently done by the new Way.
PASSIVE ACTIVE ENGAGEMENT – when a traditional Summers Osteotome is used to full working depth of tool, the next tip will engage previously made intrabony cavity passively and will start being active immediately as it progresses further into cavity.
NON ENGAGEMENT – when next osteotome is used, it simply does NOT fit the intrabony cavity created by previous osteotome. This is what occurs when traditional Summers Osteotomes are used to partial depth of tip.
47.990.00
VGO Ost-Set – straight, in a Washbasket with Lid (REF 85.194.22) containing:
Included in both sets:
ANTERIOR OST-Set
with 7 straight screw osteotome inserts, numbered from 0 - 6
Tips have first 8 mm threaded
Produce micro cuts in bone
Increased bleeding and better angiogenesis
No malleting needed
Tip-0 is unique in straight kit (Ø 1 – Ø 2 mm)
Tip-0 to accommodate thin anterior ridges
Provides precision marking tips for immediate placement
17.710.00 Z-Shape Universal handle & instrument holder for inserts with HEX-adapter, AF4, sandblasted, 2 pieces included in the set
47.990.06
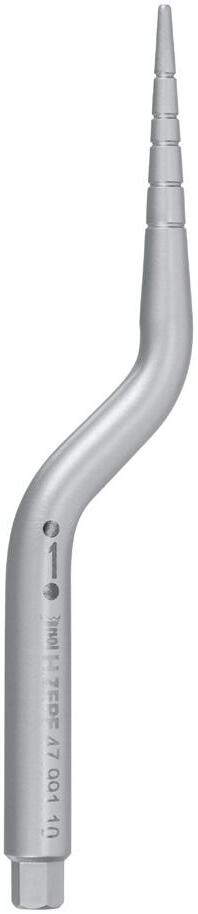
Precision Marking Tip, bent, scale 8/10/13/16 mm
47.990.08
Precision Marking Tip, straight, scale 8/10/13/16 mm
Straight Screw Osteotomes in the OST-Set
Exchangeable with Hex Connection for Z-Shape Universal handle
47.990.10
47.990.20
47.990.30
47.990.40
47.990.50
47.990.60
47.990.70
Screw Osteotome Insert straight, size 0, tapered Ø 1 - 2 mm, convex shank Ø 2 mm, scale 8/10/13/16 mm
Screw Osteotome Insert straight, size 1, tapered Ø 1 - 3 mm, convex shank Ø 3 mm, scale 8/10/13/16 mm
Screw Osteotome Insert straight, size 2, tapered Ø 2 - 3 mm, convex shank Ø 3 mm, scale 8/10/13/16 mm
Screw Osteotome Insert straight, size 3, tapered Ø 2 - 4 mm, convex shank Ø 4 mm, scale 8/10/13/16 mm
Screw Osteotome Insert straight, size 4, tapered Ø 3 - 4 mm, convex shank Ø 4 mm, scale 8/10/13/16 mm
Screw Osteotome Insert straight, size 5, tapered Ø 3 - 5 mm, convex shank Ø 5 mm, scale 8/10/13/16 mm
Screw Osteotome Insert straight, size 6, tapered Ø 4 - 5 mm, convex shank Ø 5 mm, scale 8/10/13/16 mm
47.991.00
VGO Ost-Set – angulated, in a Washbasket with Lid (REF 85.194.22) containing:
POSTERIOR OST-Set
with 8 angulated osteotome inserts, numbered from 1 - 8
No threads since turning motion limited 5 mm mark placed on all tips to mark threshold for crestal lift 5 mm is minimum available bone recommended for crestal lift
Tips have same taper as tips 1 - 6 for straight kit
Two additional tips (7 and 8) to accommodate wider ridges typically found in posterior area
Provides precision marking tips for immediate placement
Application of the Precision Marking Tips
Cortical bone lines socket
Purchase point
Osteotomy to follow purchase point
To be used during immediate placement surgery to initiate osteotomy offset towards palatal. Rotary drills usually slide down bone due to angle at which the osteotomy is initiated.
Angulated Osteotomes in the OST-Set
Exchangeable with Hex Connection for Z-Shape Universal handle
47.991.10
47.991.20
47.991.30
47.991.40
47.991.50
47.991.60
47.991.70
47.991.80
Osteotome Insert angulated, size 1, tapered Ø 1 - 3 mm, convex shank Ø 3 mm, scale 5/8/10/13/16 mm
Osteotome Insert angulated, size 2, tapered Ø 2 - 3 mm, convex shank Ø 3 mm, scale 5/8/10/13/16 mm
Osteotome Insert angulated, size 3, tapered Ø 2 - 4 mm, convex shank Ø 4 mm, scale 5/8/10/13/16 mm
Osteotome Insert angulated, size 4, tapered Ø 3 - 4 mm, convex shank Ø 4 mm, scale 5/8/10/13/16 mm
Osteotome Insert angulated, size 5, tapered Ø 3 - 5 mm, convex shank Ø 5 mm, scale 5/8/10/13/16 mm
Osteotome Insert angulated, size 6, tapered Ø 4 - 5 mm, convex shank Ø 5 mm, scale 5/8/10/13/16 mm
Osteotome Insert angulated, size 7, tapered Ø 4 - 6 mm, convex shank Ø 6 mm, scale 5/8/10/13/16 mm
Osteotome Insert angulated, size 8, tapered Ø 5 - 6 mm, convex shank Ø 6 mm, scale 5/8/10/13/16 mm
Implantology
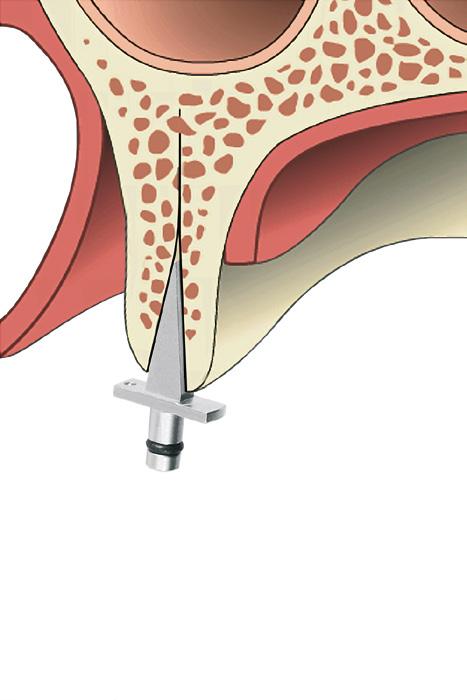
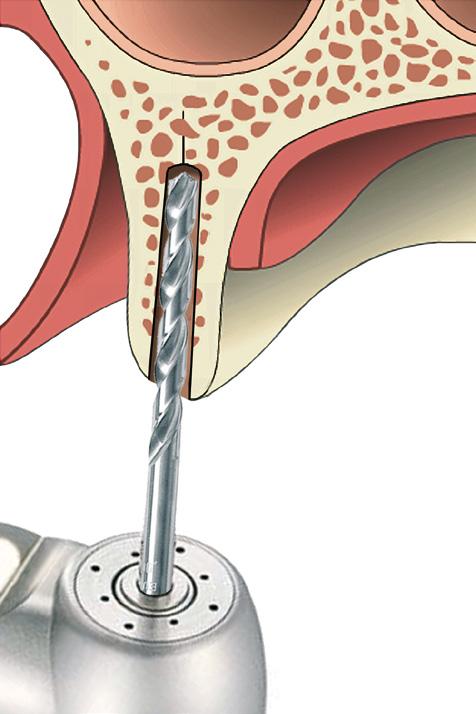
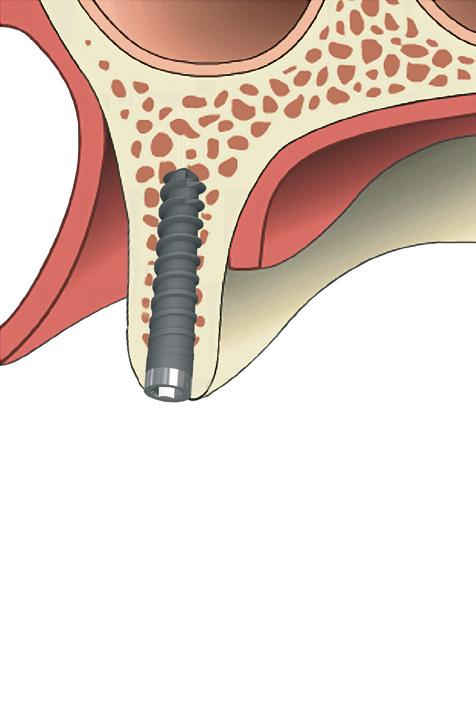
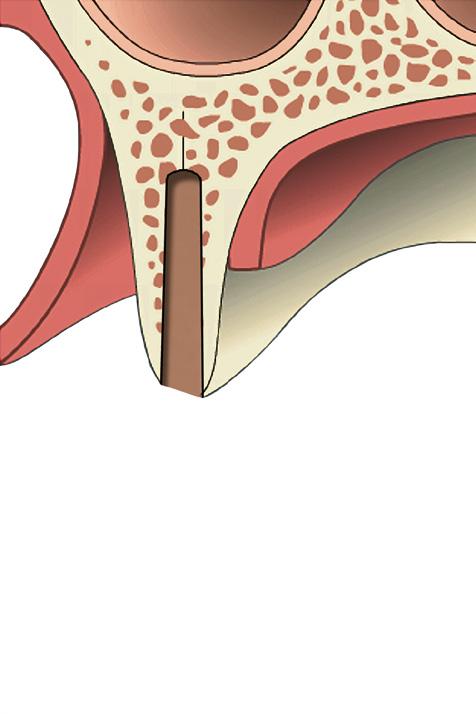
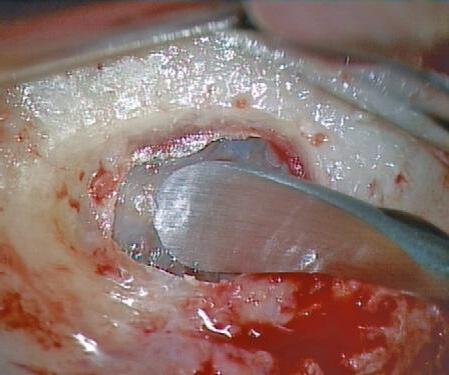
3D One Step Augmentation & Implantation
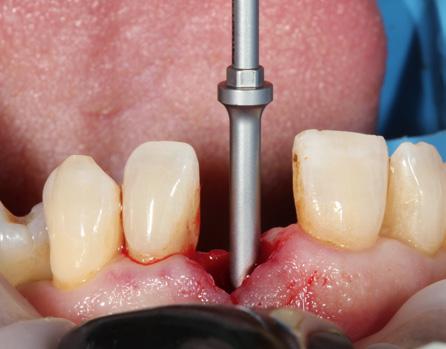
acc. to Dr. Bernd Giesenhagen
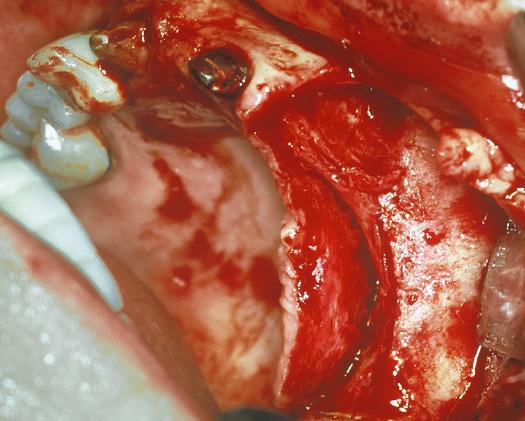
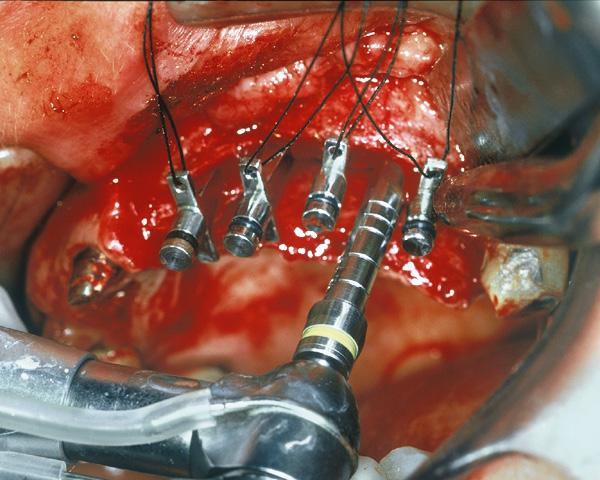
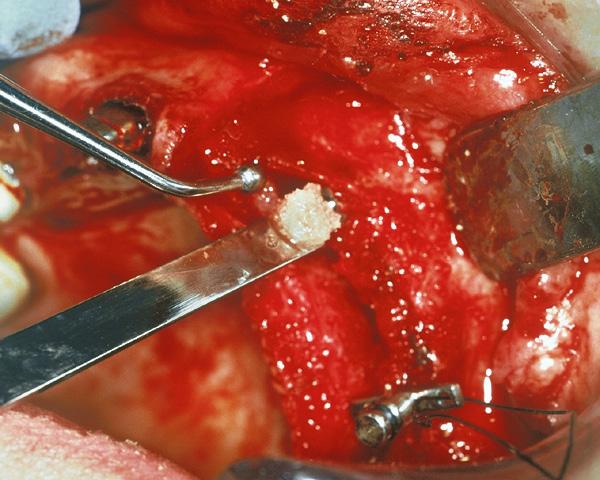
In co-operation with Dr.Giesenhagen, the company has developed a new set for the One Step Vertical Augmentation with ring-shaped bone transplants.
The aim of this development is an accelerated implant treatment. Thereby, the safety of the implantological success as well as the convincing result for the patient and the user have priority. In many cases, this new augmentation method can be used to build up the bone base for the insertion of one or more implants.
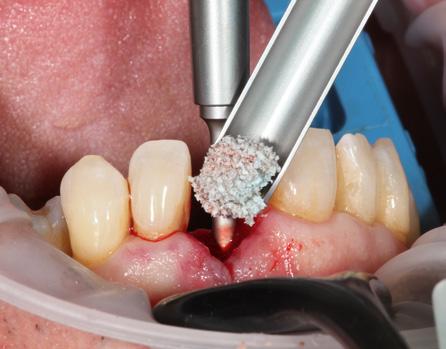
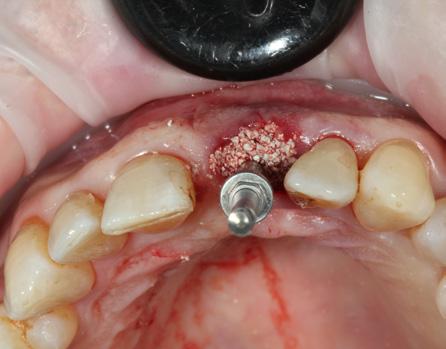
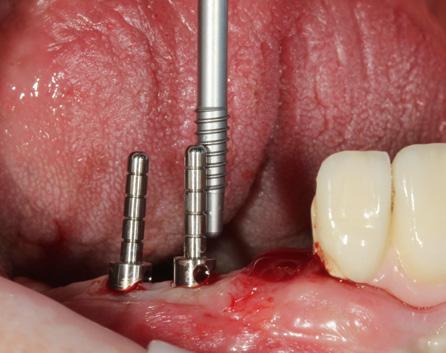
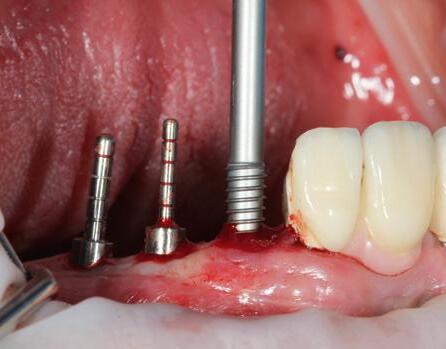
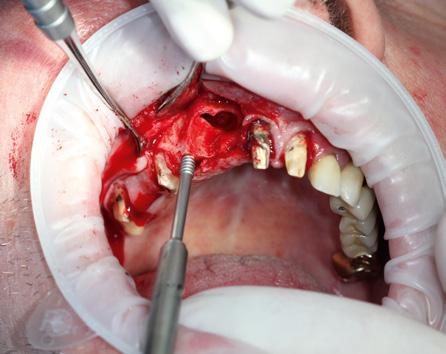
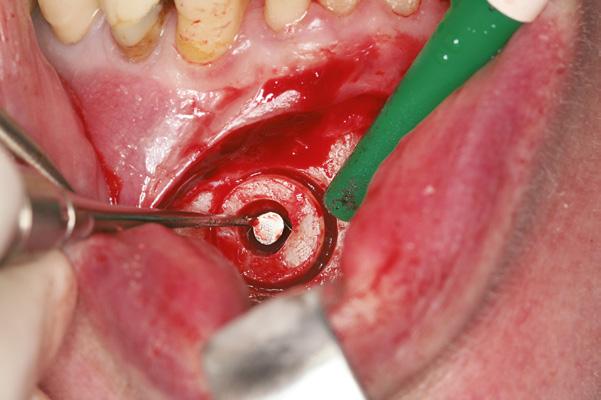
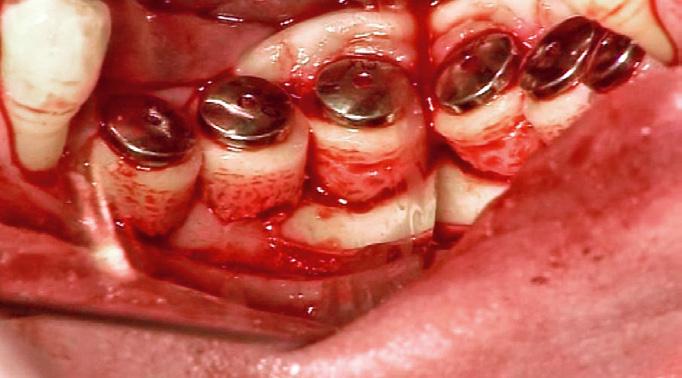
Particularly suitable for the vertical augmentation of the highly atrophied and distal mandible (pic.2). With this newly introduced technique, perfectly fitting ringshaped bone transplants are removed from the chin-, retro-molar region or from the palatal area (pic.1) by means of trephines and fixed immediately in the receiving area (pic.3) with a screw implant.
47.500.31
Complete Set with washbasket 85.184.18 and instruments; without optional accessories
Dr. Bernd Giesenhagen, the inventor of this procedure, and have selected a special range of instrumentation for precise and time-saving steps of treatment in order to ensure an optimal function.
APPLICATION
Application
The local cortical bone structure with spongious parts of vital cells guarantees a safe fixation with short healing time.
The filling of possibly existing cavities is usually made by spongious chips taken from the donor area or by bone substitutes.
For an additional coverage of the augmented area with a barrier membrane we recommend our Augmentation Kit 47.966.00.
07-19 zepf-dental.com
3D One Step
Augmentation & Implantation acc. to Dr. Bernd Giesenhagen
47.520.22 Adenoid Curette Ø 3 mm, 30° angled, double-ended
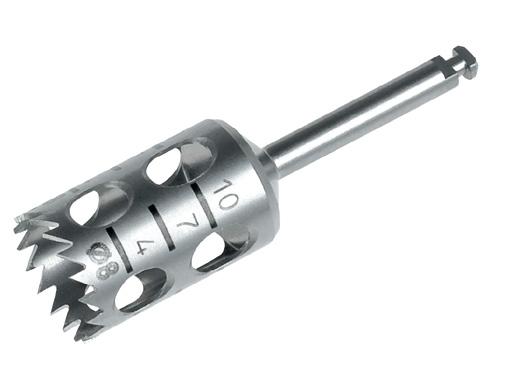
Trephines, short
08.910.13S inner Ø 5 mm
08.910.08S inner Ø 6 mm
08.910.09S inner Ø 7 mm
08.910.10S inner Ø 8 mm
08.910.11S inner Ø 9 mm
47.520.23 Adenoid Curette Ø 3 mm
Optional Accessories not included in set
47.520.25 Ring Breaker, small / large, double-ended
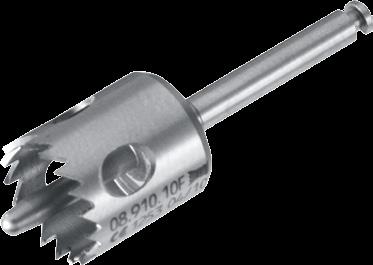
Trephines, with fixation support
08.910.13F inner Ø 5 mm
08.910.08F inner Ø 6 mm
08.910.09F inner Ø 7 mm
08.910.10F inner Ø 8 mm
08.910.11F inner Ø 9 mm
47.099.25
Ring Applicator for rings with Ø 5 mm and Ø 7 mm, extendable to Ø 9 mm by means of a metal ring – see article 47.099.26
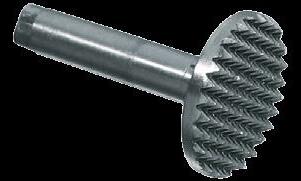
08.910.22 Plain Milling Cutter Ø 6 mm
85.251.04
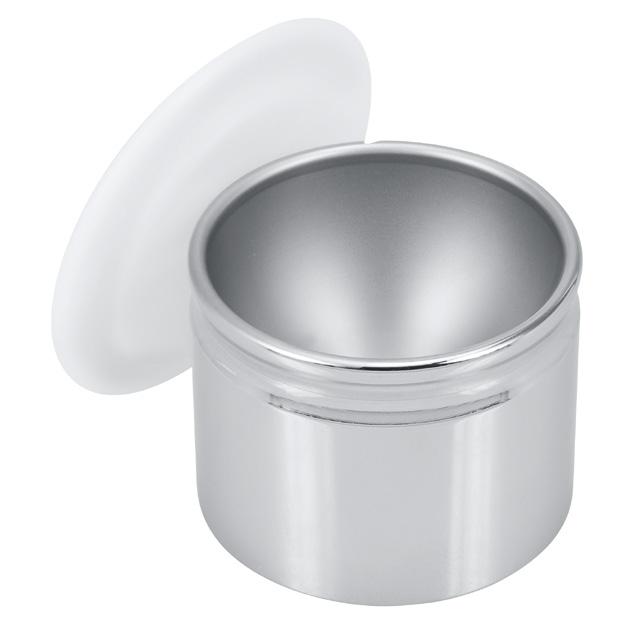
Mixing Cup, stainless, with POM Lid, Ø 4 cm
47.099.26
Metal Ring for Ring Applicator 47.099.25 – for holding bigger bone rings with Ø 9 mm
Implantology
Trephines
Trephines are used for a gentle and precise removal of an implant. They are used to win bone texture and to excavate implants accurately. The trephines are manufactured of stainless steel.
The grading is visibly laser-marked onto the burs and guarantees a secure depth orientation.
The windows in the body offer a better view for the excavation of the implants and make it easier to reject fragments. The bur stand offers a safe and perfectly clean storing and easy positioning through a snap-in system.
The marking of the rack allows a fast and uncomplicated identification of the trephines.
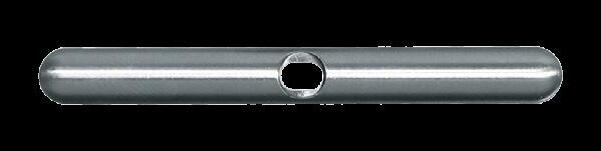
Bur Stand for Trephines
85.070.01 8.5 x 5.0 cm for 6 burs, shaft Ø 2.35 mm 85.070.05 8.5 x 4.5 cm for 6 short burs, shaft Ø 2.35 mm
Membrane Punches
Suitable Bur Stand for 6 Mucosa Membrane Punches
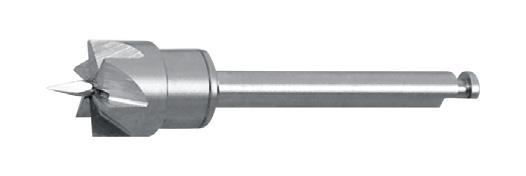
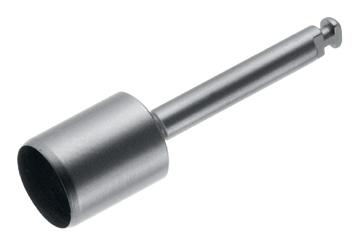
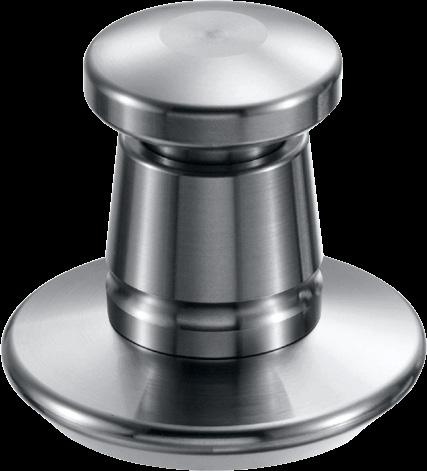
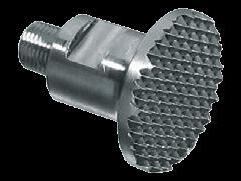
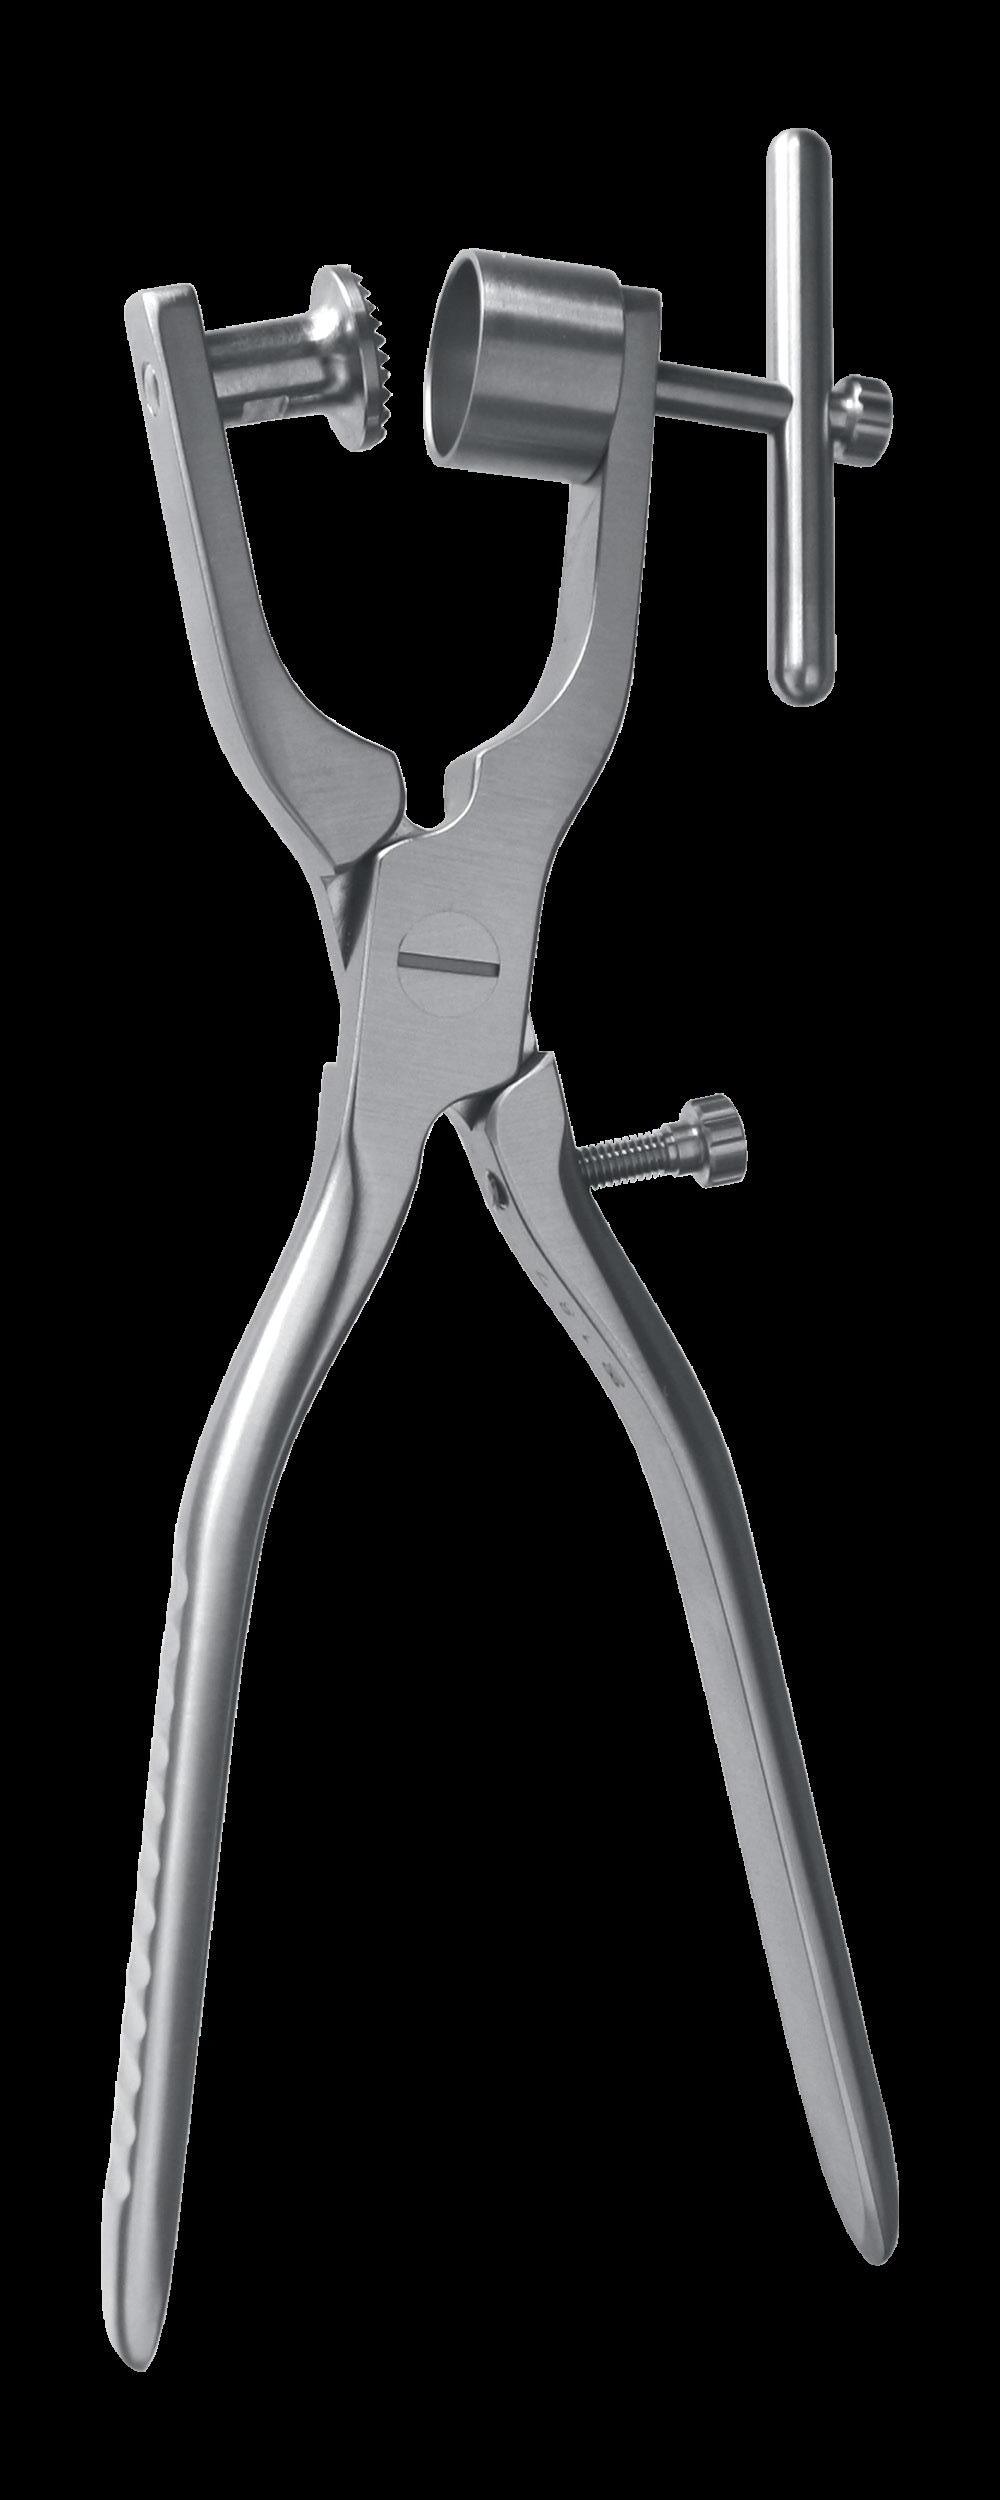
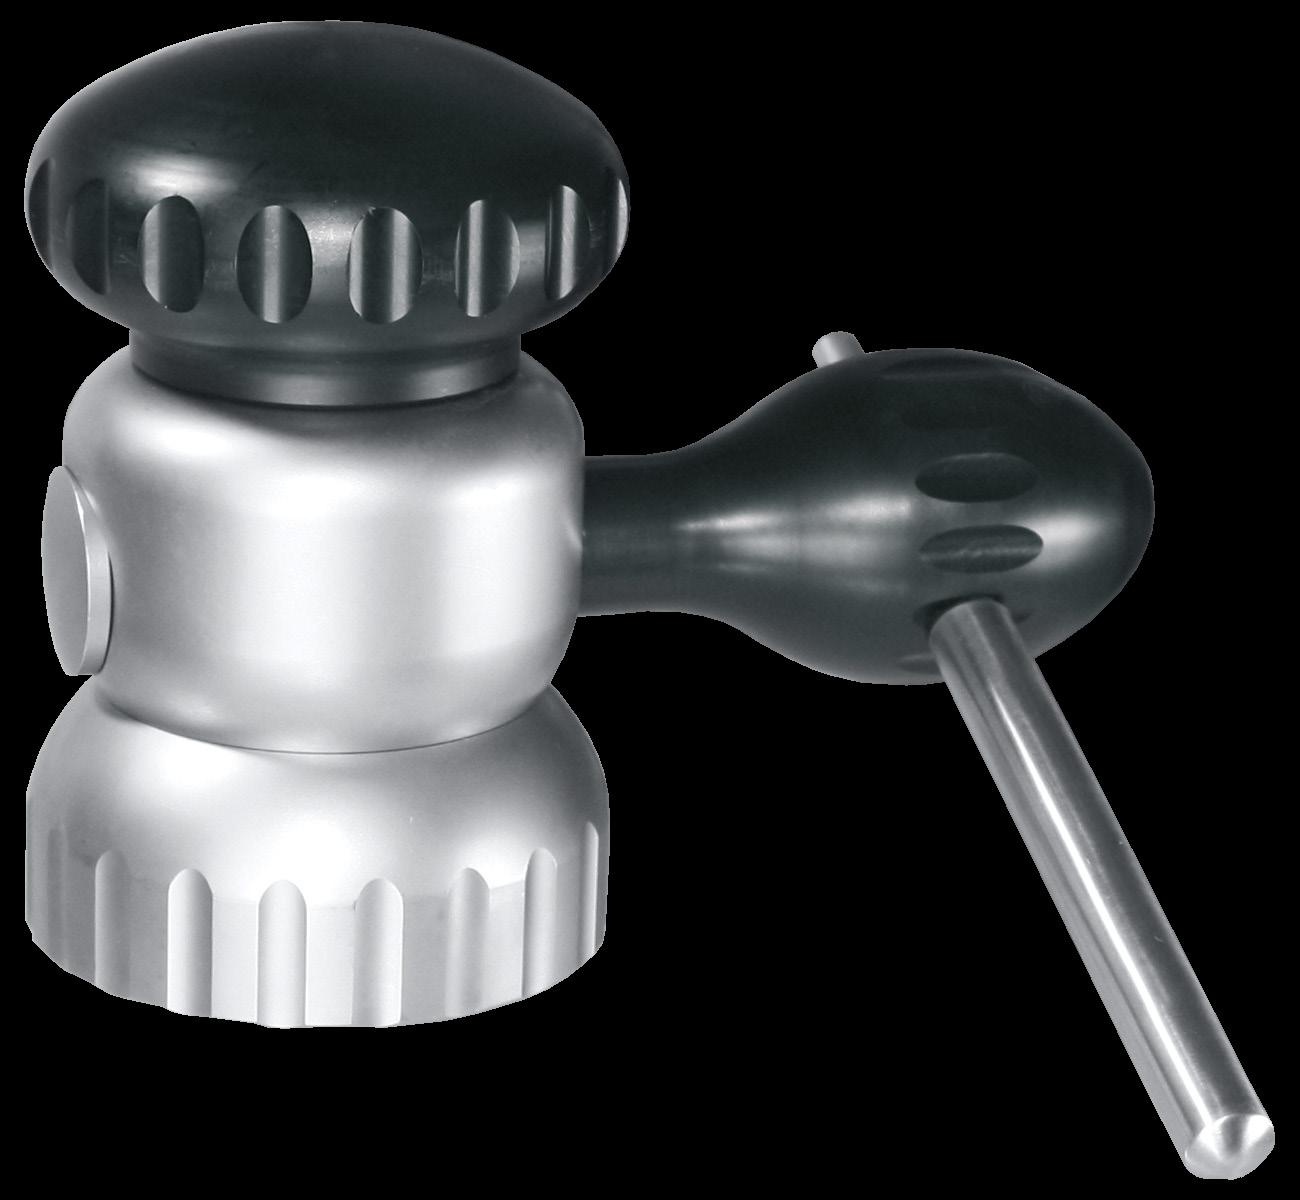
Bone Crusher
With this Bone Crusher we introduce a proven alternative to the more complex bone mill. Insert the bone piece into the crusher and use the Pusher in order to crush the bone. If necessary, you may additionally use the hammer 41.509.00.
47.955.00
Bone Mill Forceps
For gaining autogenic bone material. In order to correct bone defects, an intraoral harvesting of bone is often necessary. Pieces of bone may be gained with trephines or chisels. It is the aim of the Bone Mill Forceps to cut bone material into small pieces so that a maximum volume of bone chips can be achieved. The “grainy” consistency of bone chips created will ensure that it is adapted most favourably to osseous embedding.
47.958.01
Upper Titanium Milling Part, rigid
47.958.03
Handle Bar with Screw
Bone Crusher, Body, Sleeve, Pusher, Baseplate Ø 20 mm, stainless steel
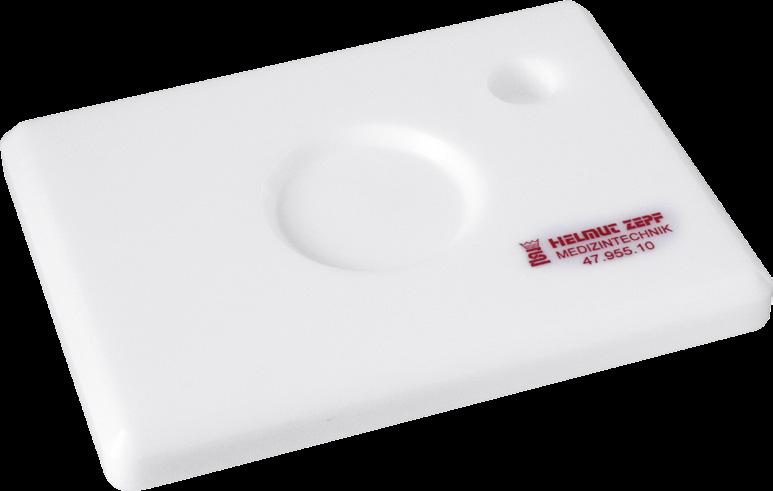
47.955.10
Teflon Support for Bone Crusher
After using the hammer, turn the Pusher 90° and crush again. With this movement the cutting edge is turned on the bone. After that, the desired result should be achieved.
47.958.04
Lower Titanium Milling Part, rotating
Advantages of the Bone Mill Forceps:
Titanium Bone Mill Inserts
Mill Inserts are detachable and exchangeable
no loss of bone material
conform to the RKI guidelines because of easy cleaning
specially designed new forceps, which allow parallel closing of the working parts, which allows a maximum milling result
stop screw avoids direct contact of the milling parts, due to this protection the milling parts will last longer
47.958.00
Bone Mill Forceps, Titanium Milling Part, demountable
Implantology
47.954.01
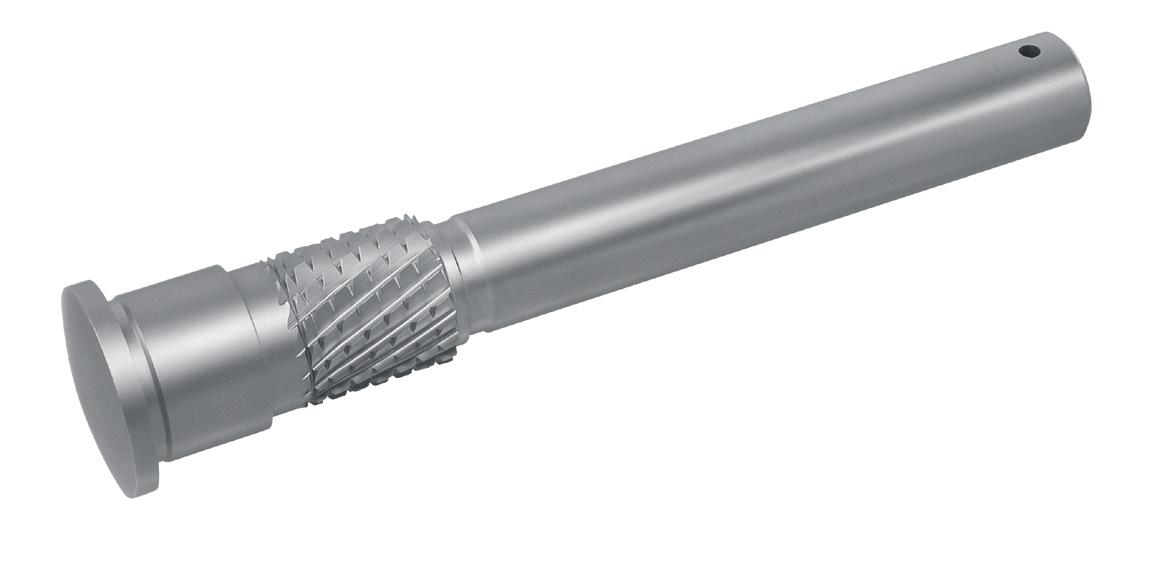
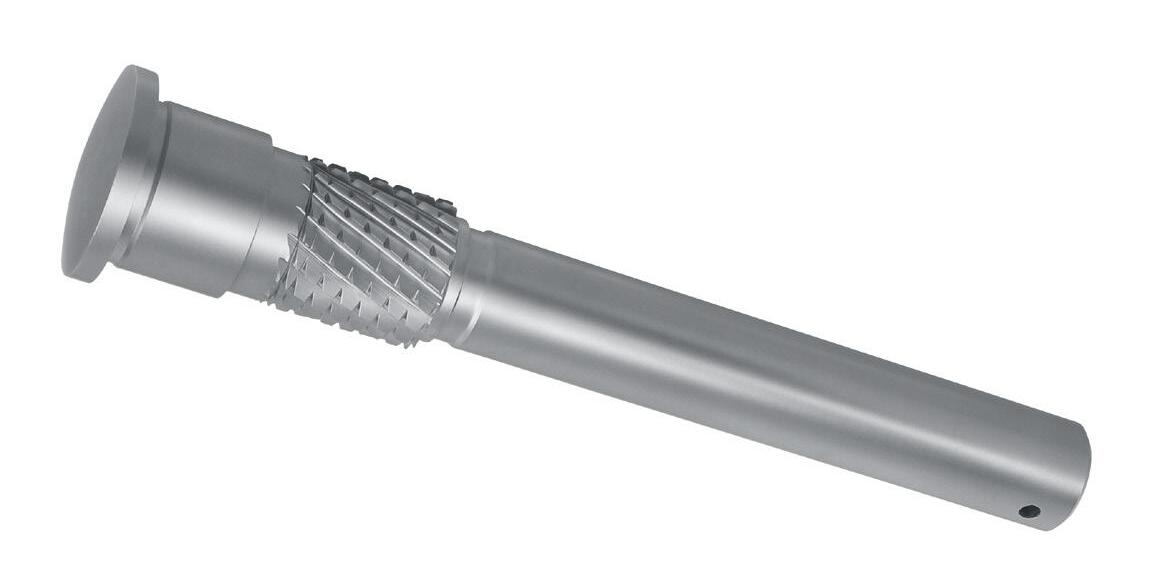
Bone Mill, to crush autologous bones, with helically toothed milling part
47.954.35
Helical toothed Milling Part for Bone Mill 47.954.01 and to be mounted in 47.954.00 / 47.954.01
(This new milling part can be ordered and subsequently be mounted in an older type of Bone Mill by the user himself).
Bone
Mill
Bone Mill, to crush autologous bones. In order to correct bone defects, bone harvesting is necessary elsewhere. Bigger bone pieces or boneblocks can be removed by using trephines.
The Bone Mill allows to crush bone in order to produce the greatest possible volume of bone graft. The grainy consistence of the produced bone graft guarantees an optimal adaption on the bone.
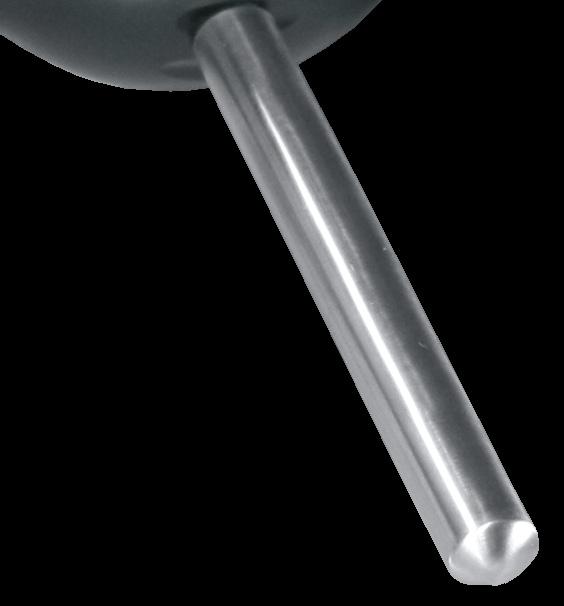
The extension bar which can be adapted on the rotary handle facilitates an optimized power transmission and torque. The new Bone Mill with helical toothed milling part makes milling easier.
47.954.55
Extension Bar for the rotary handle 47.954.50, to increase the lever effect
Advantages of the Bone Mill:
easy handling
quick assemby / disassembly without additional tools
no loss of bone material (even in the case of small quantities)
easy cleaning
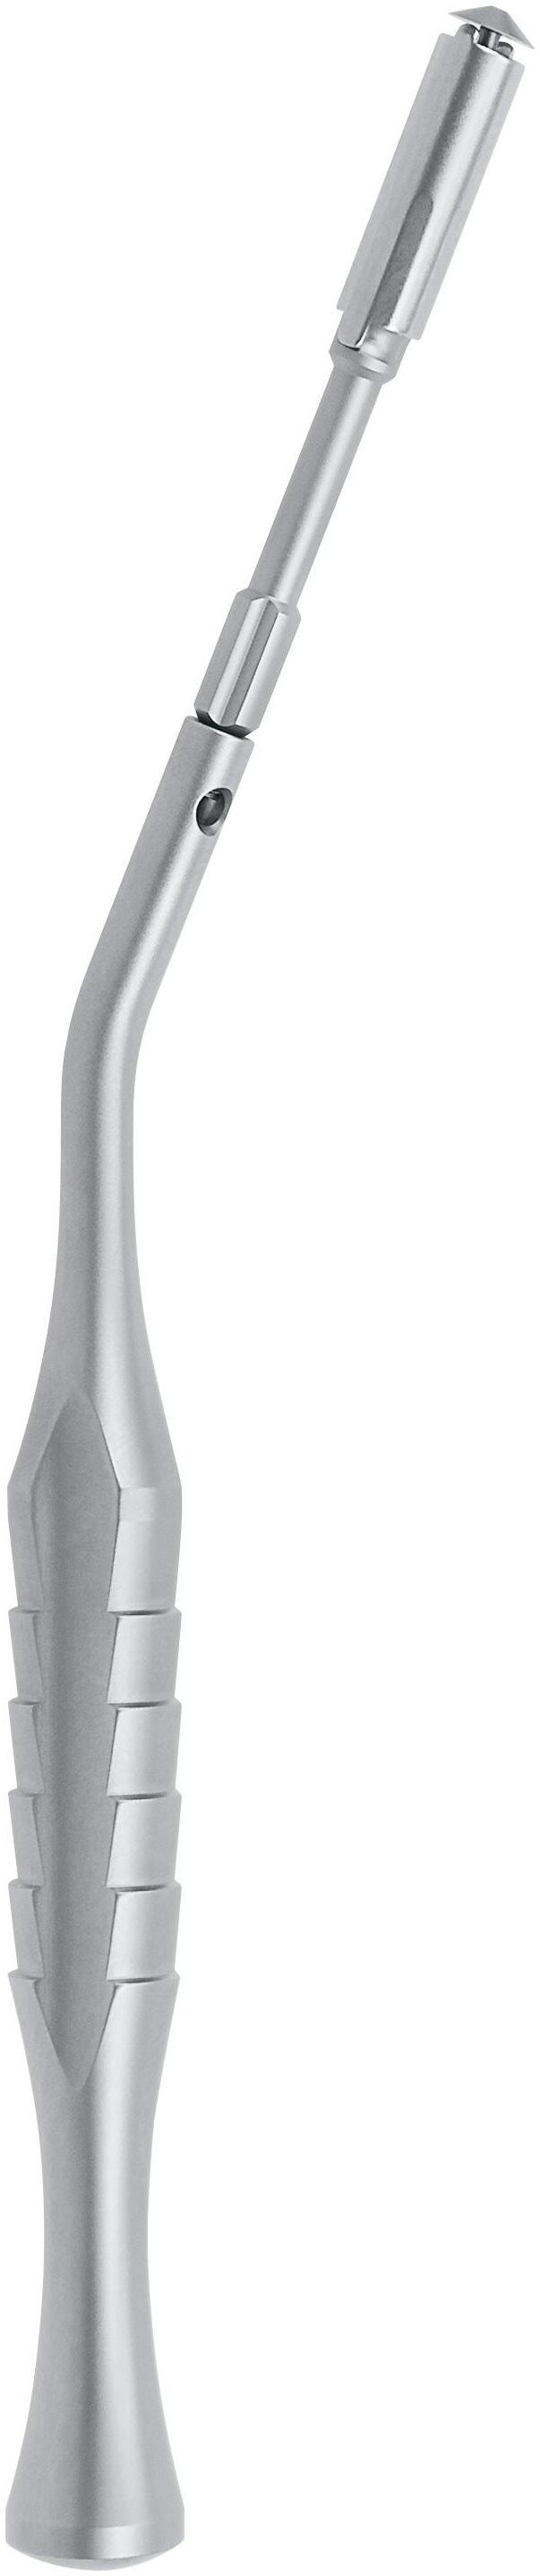
Sinus Elevators
acc. to Dr. Meiselbach
The 3 Sinus Elevators acc. to Dr. Meiselbach enable a gentle and atraumatic sinus floor elevation in all areas.
Due to their special shaping the Elevators are an ideal addition to the Universal Sinus Instruments.
41.848.51 Sinus Elevator 1 acc. to Dr. Meiselbach, 2.3 mm, blunt
41.848.52 Sinus Elevator 2 acc. to Dr. Meiselbach, 3.0 mm / 2.3 mm, blunt
41.848.53 Sinus Elevator 3 acc. to Dr. Meiselbach, 2.3 mm, blunt
41.868.07 Kirsch, Sinus 7, Plugger Ø 5.0 mm, Spoon 8 x 10 mm, Titanium -Line Handle, double-ended, 17.5 cm
47.530.00 Cleaning Instrument to collect autologous bones
Sinus Elevator, double-ended, 4.8 mm / 4.2 mm, blunt
41.848.01
Implantology
Universal Sinus Instruments
For implantological treatment in the maxilla, in case of missing vertical bone in the direction of sinus maxillaris.
Advantages:
angled instruments ergonomically and anatomically optimised atraumatic preparation and lifting of the sinus mucosa effective working due to a wide range of different angles
Sinus Elevator, double-ended, 6.5 mm / 4.0 mm, sharp
41.848.02
Sinus Elevator, double-ended, 7.3 mm / 8.0 mm, sharp
41.848.03
Sinus Elevator, double-ended, 4.4 mm / 8.5 mm, blunt
41.848.05
/
41.848.08 Sinus
41.847.00
Sinus Lift Instrument Set for microscopically guided elevation of the sinus bottom acc. to Dr. Shakibaie-M. incl. 1 x washbasket 85.195.00 and instruments illustrated on page 07-16 /17
Microsurgical Sinus Lift Instruments
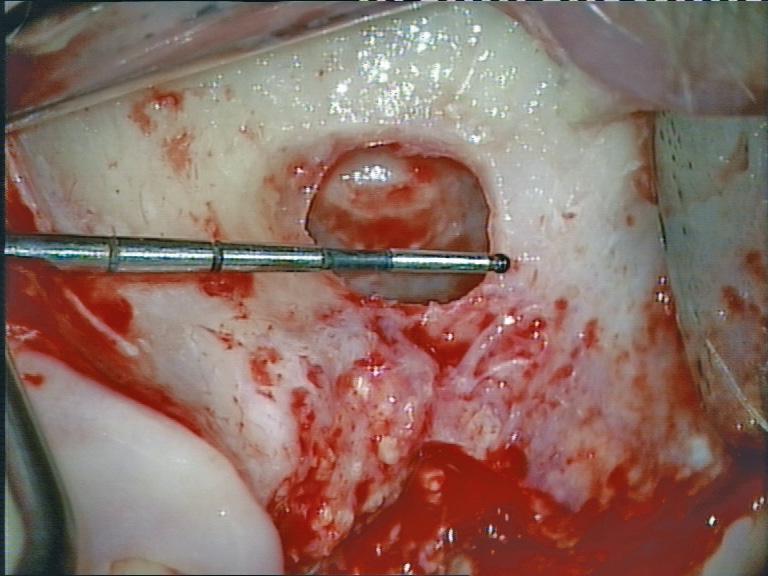
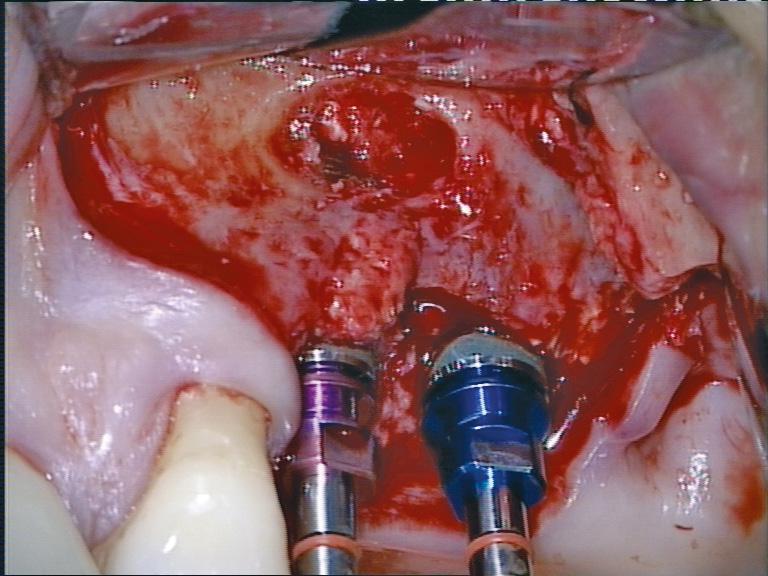
For microscopically guided elevation of the sinus bottom acc. to Dr. Behnam Shakibaie-M.
For the development of the new microsurgical sinus lift instruments acc. to Dr. Shakibaie-M., we resorted to the approved conventional shapes of sinus lift instruments.
The new instruments are approx. 60 % smaller, they were sharpened and the surface was abraded. Under appropriate optical magnification and illumination of the operation field (operation microscope or magnifying glass), those features offer the following essential advantages:
The reduction of the instrument size allows the preparation of a minimalized antral window without restricting the qualities of elevation or augmentation.
The sharpening of the instruments allows a precise initial fracture of the bone layer which is as thin as parchment. The initial fracture is possible as soon as the window is prepared by rotating the instrument, without injuring the Schneider’s membrane.
The delicate coarseness of the surface of the instruments prevents the unpleasant reflection of light from the operating microscope or the magnifying glass
In addition, the working tips of the instruments were bent in accordance with the reduced sinus lift window.
Finally, the instruments were also numbered and colorcoded to allow an easy, chronological use.
Thus, the surgeon is able to increase the safety during elevation of the sinus bottom and to apply this technique in a minimally invasive way for the patient.
Pictures by Dr. Behnam Shakibaie-M.
Implantology
zepf-dental.com
08.906.014C
Diamond, 014C, round, Ø 1.4 mm
08.906.016C
Diamond, 016C, round, Ø 1.6 mm
08.906.018C
Diamond, 018C, round, Ø 1.8 mm
85.251.03
Mixing Cup, stainless steel, with plastic lid, Ø 40 mm, 2 pieces included in the set
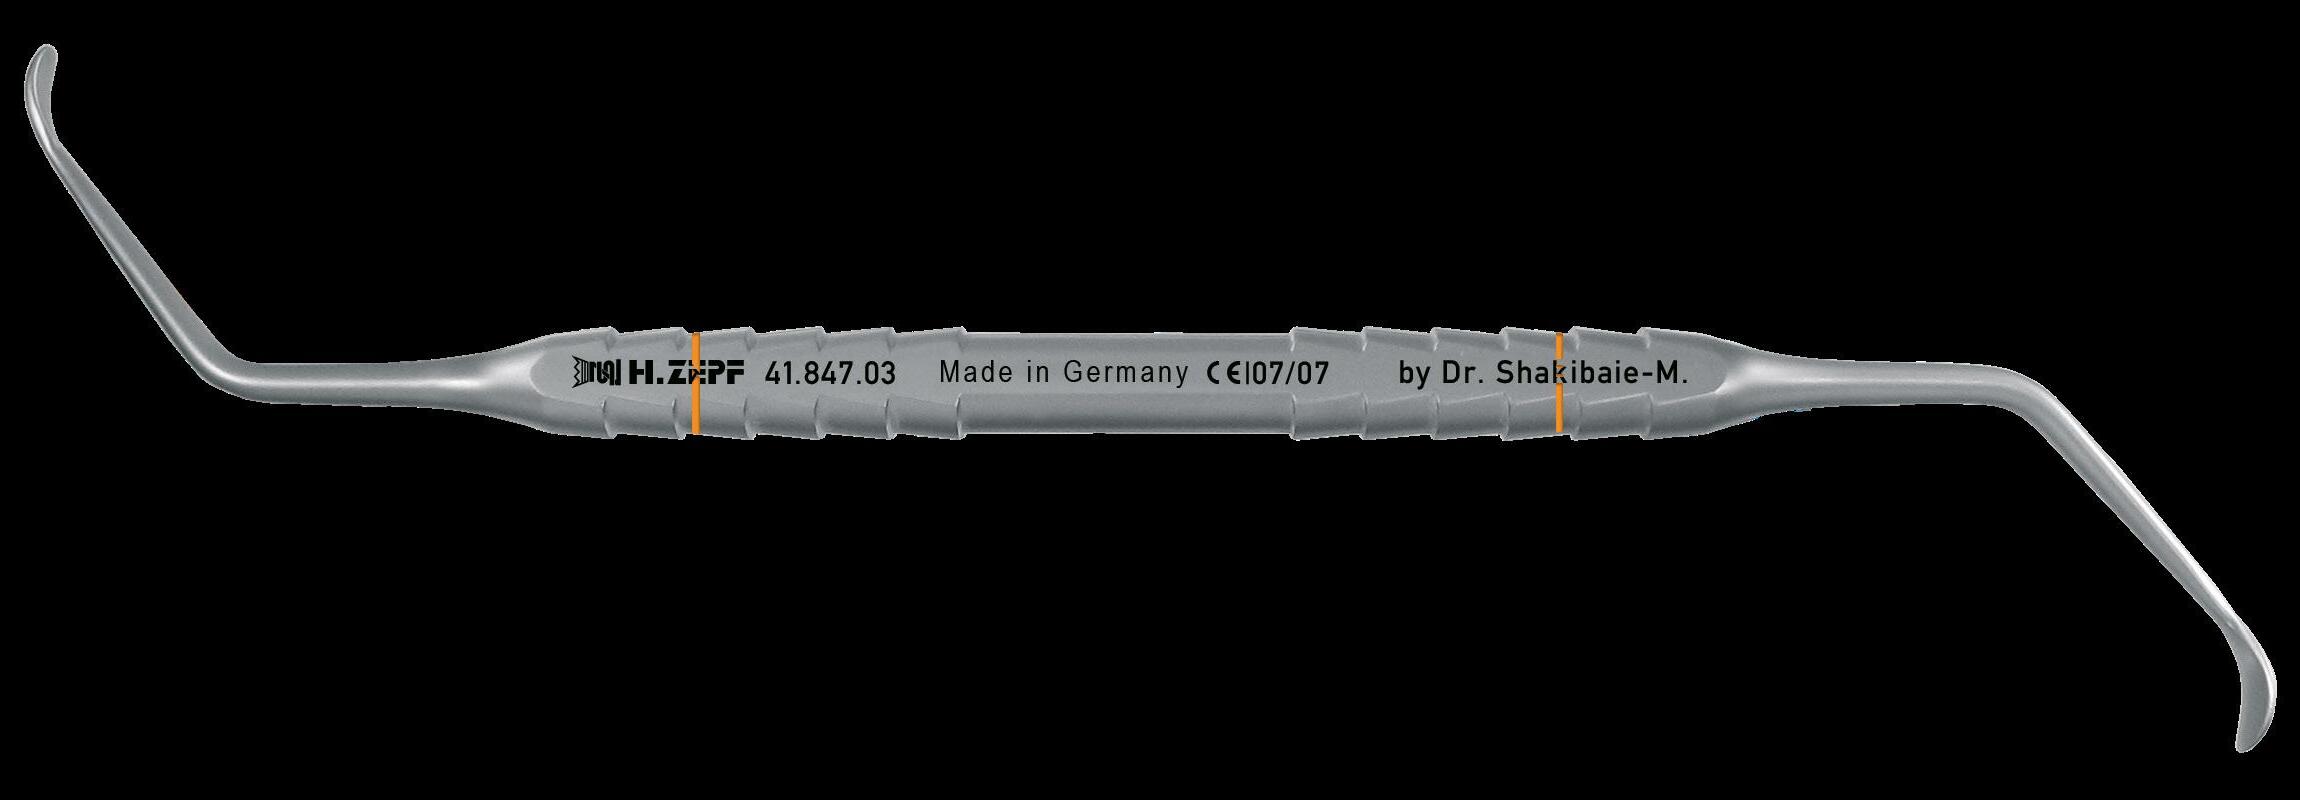
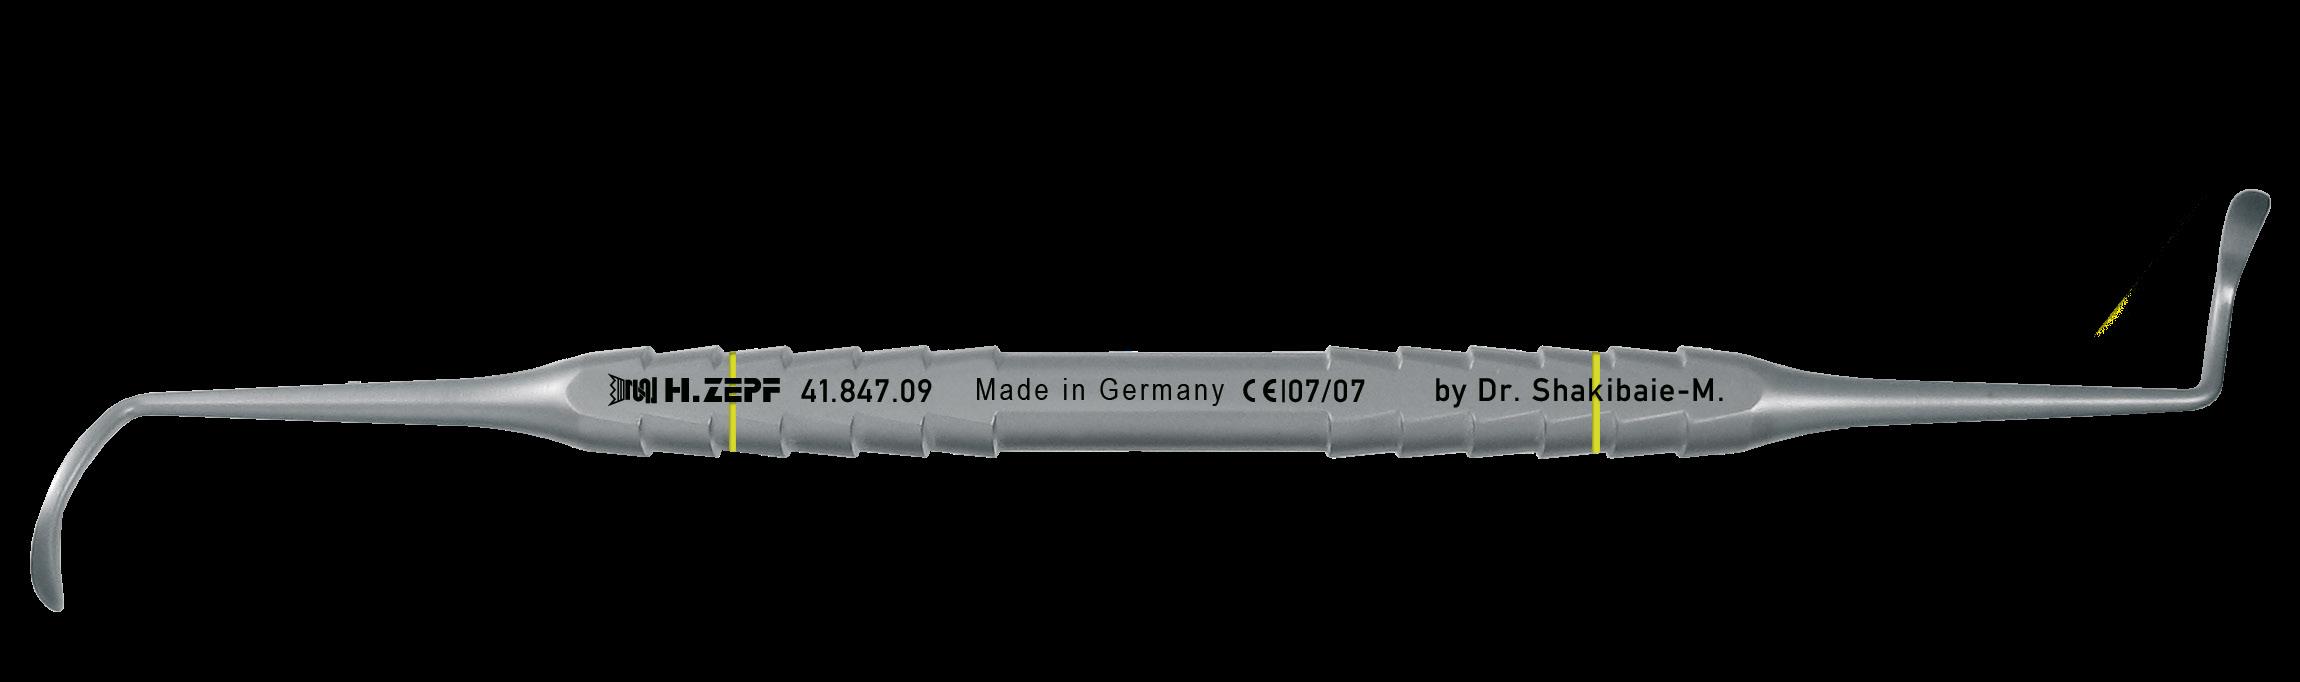
41.868.08M Micro Sinus Plugger, Plugger Ø 3.5 / Ø 2.6 mm, titanium handle, blue, double-ended, 17.5 cm, acc. to Dr. Shakibaie-M.
41.868.09 Micro Sinus Spoon, Spoon Ø 8 x 10 / Ø 4 x 6 mm, titanium handle, blue, double-ended, 17.5 cm, acc. to Dr. Shakibaie-M.
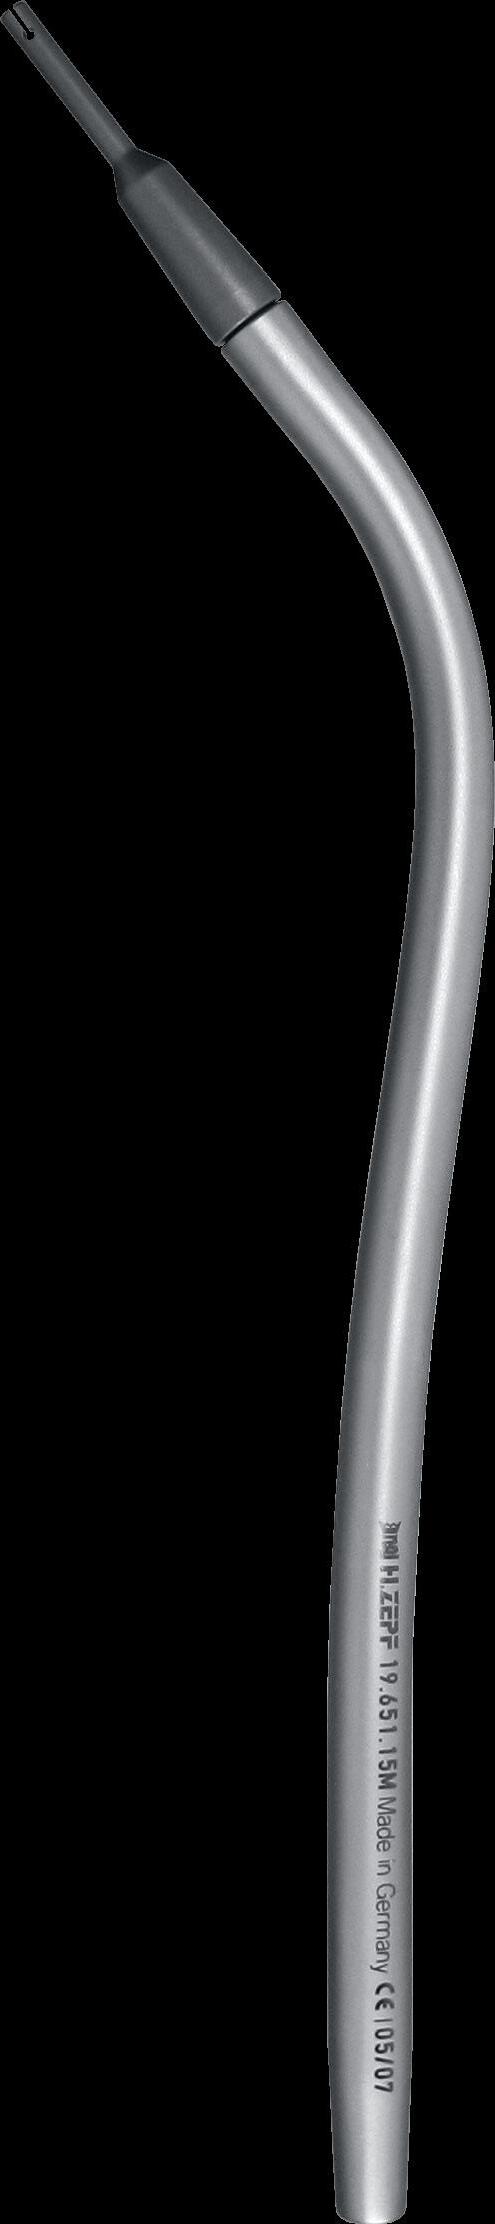
19.651.15M Micro Sinus Aspirator Sinus-Line, titanium tip modified acc. to Dr. Shakibaie-M.
Implantology
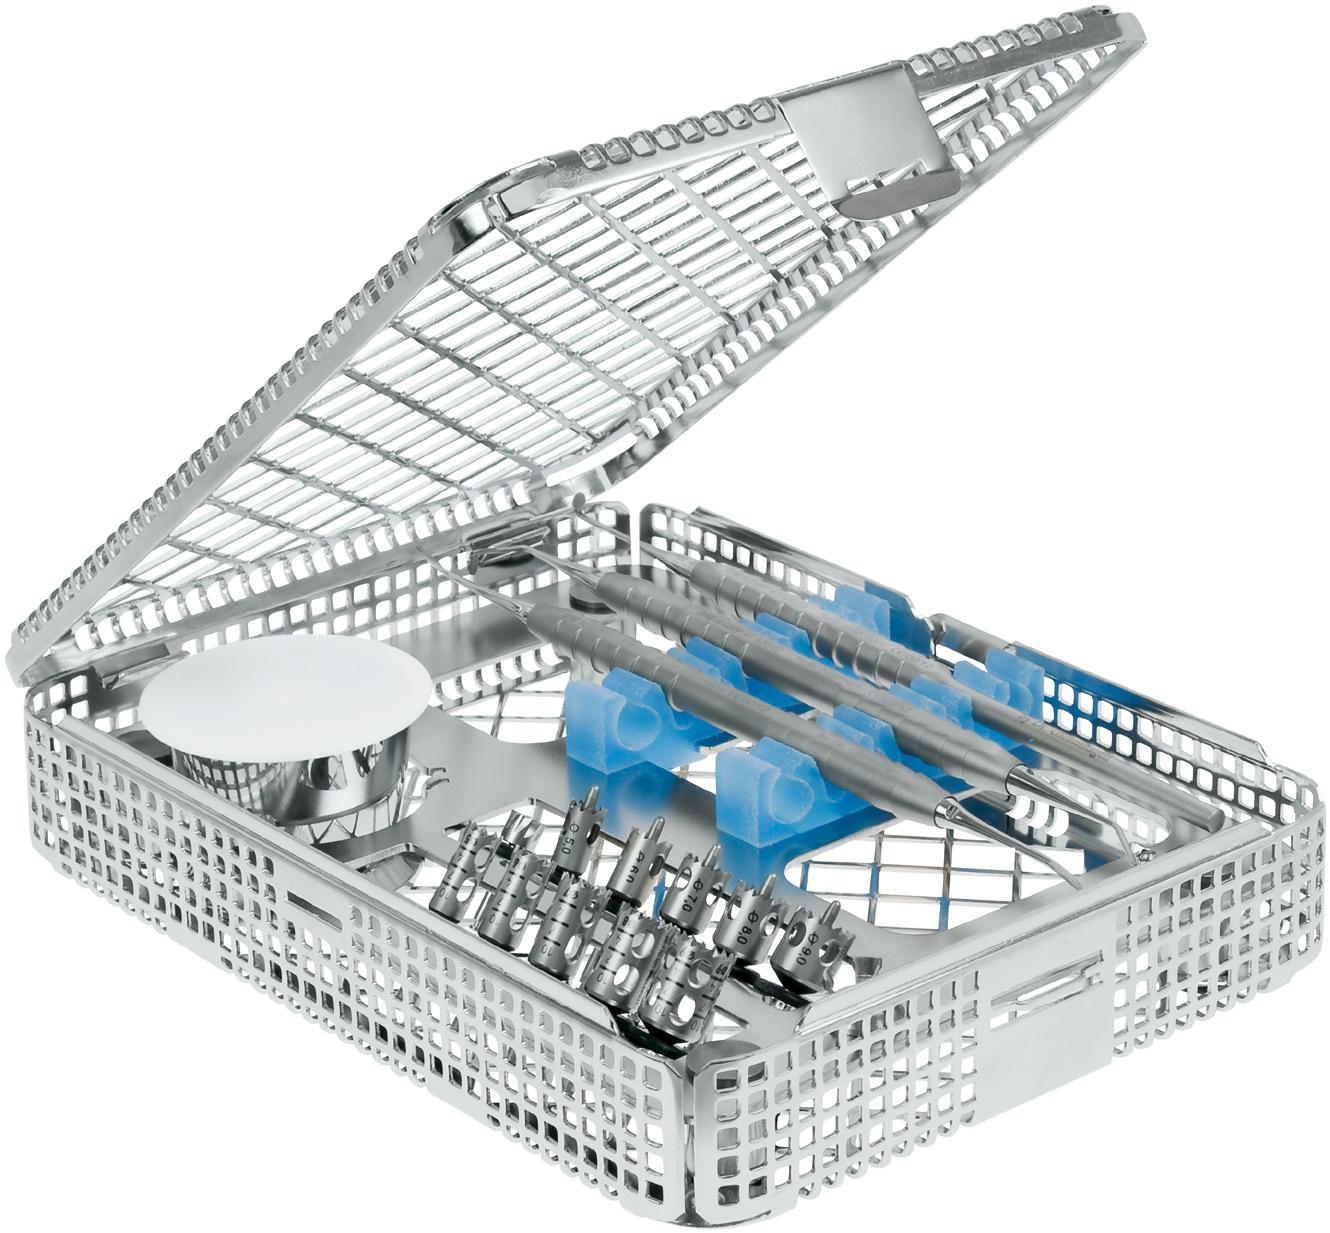
Sinus Instrument Set acc. to Prof. Dr. Dr. Stiller
Immediate sinus floor elevation with or without bone cover
The Sinus Instrument Set has been developed together with Prof. Dr. Dr. Stiller and is particulary suited for difficult maxillary sinus structure (septa, maxillary pillars, scarred mutations in change with intact maxillary sinus mucosa).
Advantages of the system:
Instruments which are adapted and adjusted perfectly to the anatomical conditions in the maxillary sinus.
Flexible working ends. Instruments are pre-bended for the normal enantral anatomy.
Two different kinds of instruments with blunt and sharp edges for dissecting mucosa on plane and rough internal surface of the maxillary sinus
24.995.01
Complete Set incl. 1 x washbasket with lid
85.195.00 and partition for Sinus Instrument Set acc. to Prof. Dr. Dr. Stiller
07-29 zepf-dental.com
Stiller Sinus Elevator, universal, 6.0 mm, Titanium -Line, blue, double-ended, 19.5 cm
41.822.05
Stiller Sinus Elevator, sharp, 4.0 mm, bendable, Titanium -Line, red, double-ended, 19.5 cm
41.822.11
Stiller Sinus Elevator, sharp, 2.5 mm, bendable, Titanium -Line, red, double-ended, 19.5 cm
41.822.22
41.822.33 Stiller Sinus Elevator, sharp, 3.0 mm, bendable, Titanium -Line, red, double-ended, 19.5 cm
41.868.07 Kirsch , Sinus 7, Plugger Ø 5.0 mm, Spoon 8 x 10 mm, Titanium -Line Handle, double-ended, 17.5 cm
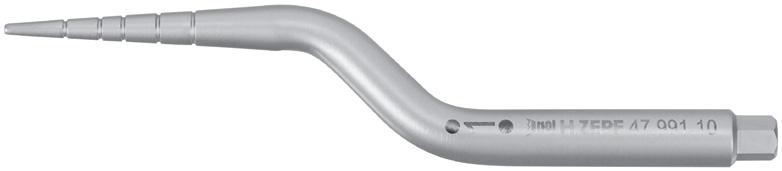
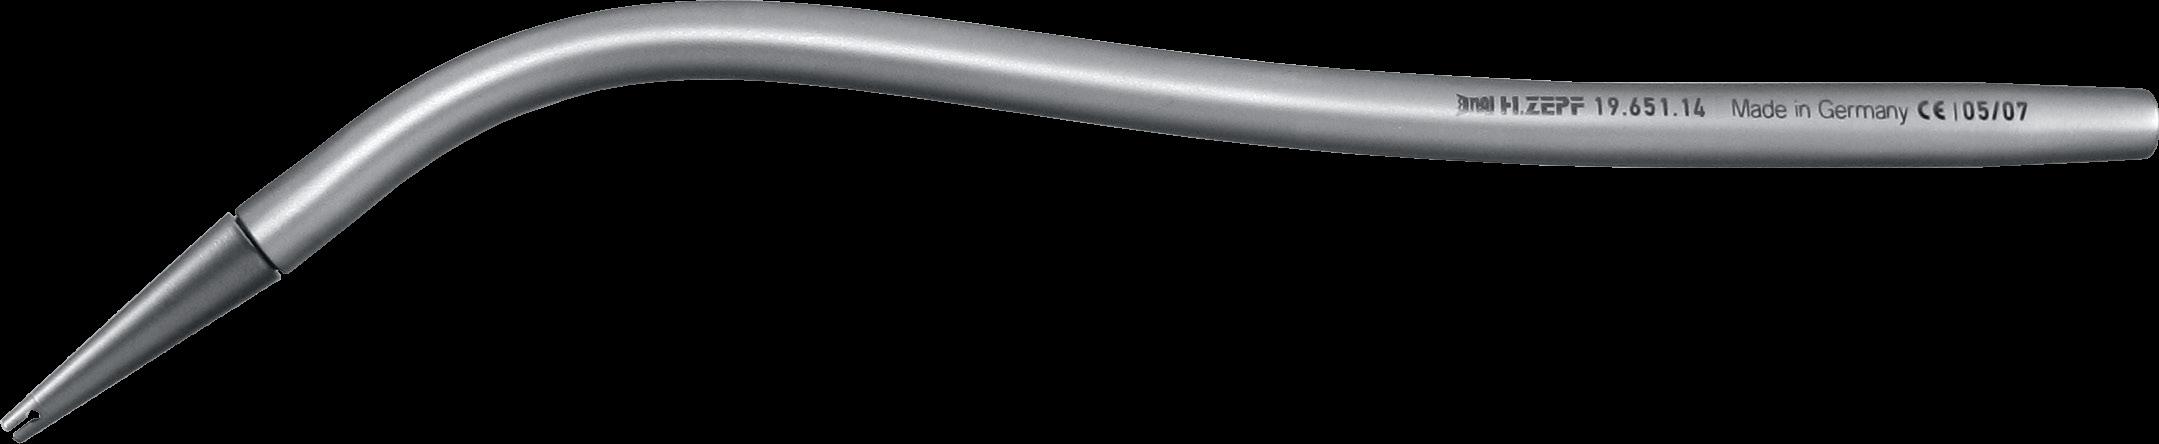
Surgical Aspirator
Sinus-Line, slotted, titanium tip, acc. to Dr. Maty
19.651.13 Ø 1.5 mm
19.651.14 Ø 3.0 mm
85.251.04
Mixing Cup, stainless steel, with plastic lid, Ø 40 mm
85.251.14
Mixing Cup without plastic lid, stainless steel, Ø 40 mm
08.906.029C
Diamond, 029C, round, Ø 2.9 mm
08.906.023C
Diamond, 023C, round, Ø 2.3 mm
08.902.031HF
HB Drill, 031HF, round
Implantology
Sinus Instrument Set acc. to Dr. Kirsch
24.995.00
Complete Set incl. 1 x washbasket with lid 85.195.00 and arrangement for Sinus Instrument Set acc. to Dr. Kirsch
Washtrays and washbaskets, Tray-in-Tray-System, see pages 10-01 to 10-05!
41.868.04
Kirsch
85.251.03
Mixing Cup, stainless steel, with plastic lid, Ø 40 mm
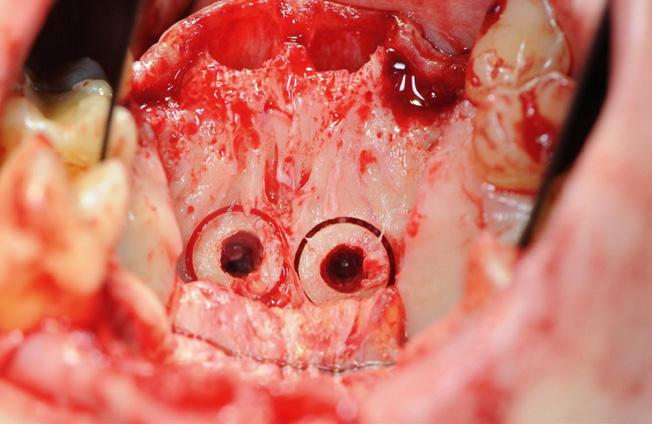
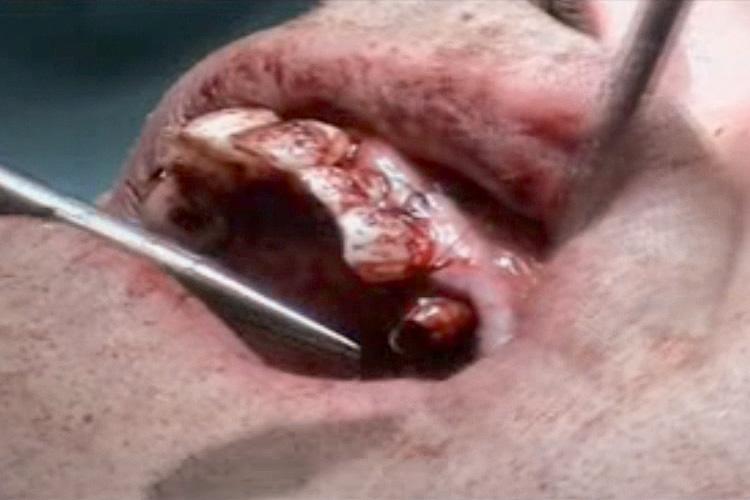
Reasons for reconstruction of alveolar ridge arise out of defects in the jaw ridge areas. The most frequent causes are: Atrophy of the alveolar ridge and extraction defects.
Out of esthetic reasons alone, in visible areas, these defects need to be reconstructed.
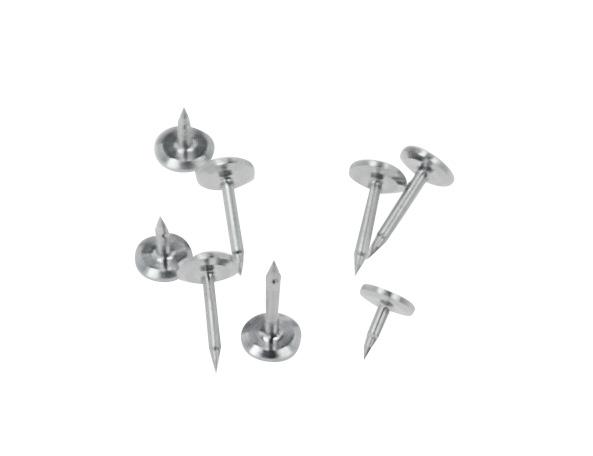
The augmentation is carried out with autologous bone and titanium foil. The bone implants are covered with a titanium foil after application. To avoid dislocation of the augmentation material below the membrane, the membrane is fixed with at least 2 pins.
The titanium pins with 3 mm or 5 mm length are taken out of the storage box by means of the applicators and pressed into the bone through the foil or membrane.
85.255.02
Storage Box for 10 titanium pins, optional
Implantology
Illustration
Article Description
47.966.00
Augmentation Kit, consisting of: Pin Membrane Probe, Pin Applicator, Perforation Raspatory, Sinus 7 Instrument, Titanium Pin 3 mm (10 pieces) / 5 mm (5 pieces), Sinus Elevator # 2, Mixing Cup, Storage Box, 1/2 Washbasket with Lid 85.194.15
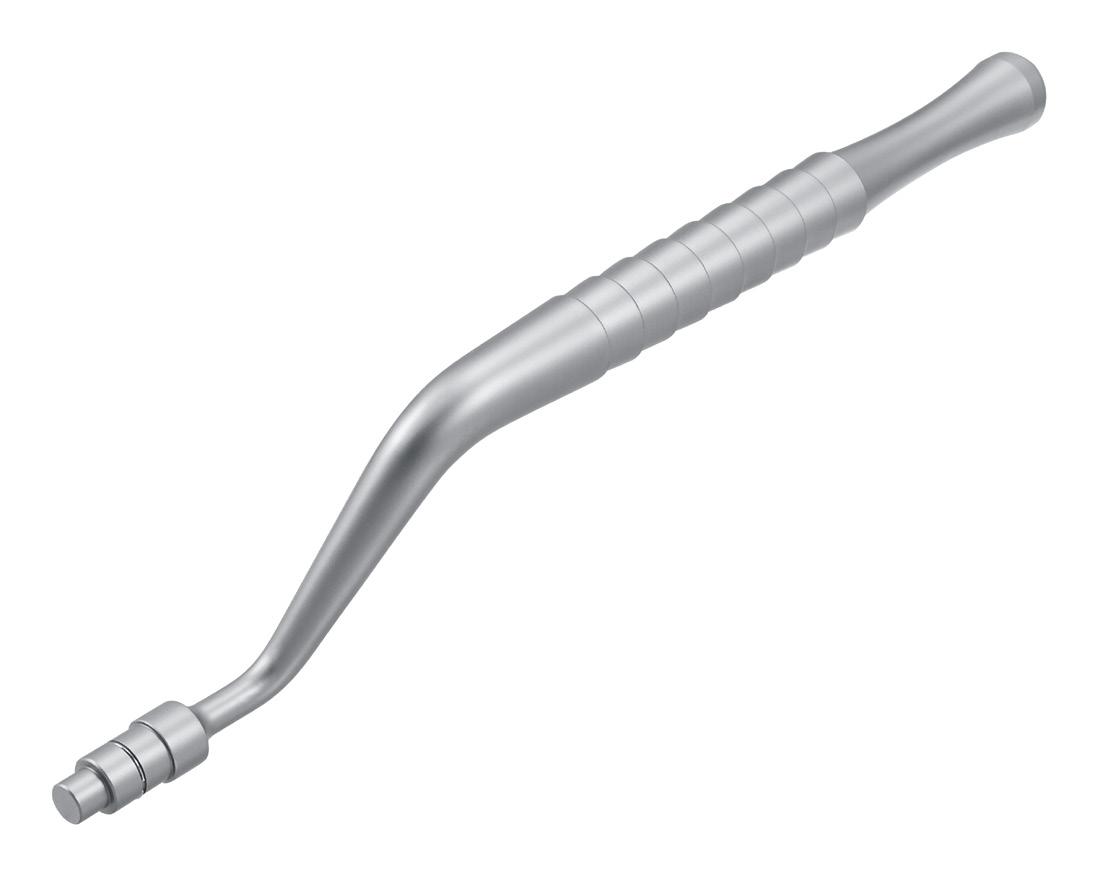
Pin Membrane Probe with -Design handle
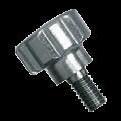
Pin Applicator
Perforation Raspatory
Sinus 7 Instrument acc. to Kirsch, Spoon Ø 6.0 mm / flexible Plugger Ø 5.0 mm
Titanium Pin, 3 mm (10 pieces included in the set)
Titanium Pin, 5 mm (5 pieces included in the set)
Pin Remover to remove membrane pins
Mixing Cup, stainless steel, with plastic lid, Ø 4 cm
Storage Box, for 5 soft tissue pins and 10 titanium pins
Storage Box for 10 titanium pins, optional, if a compact solution is requested
Implantology
Augmentation Material Applicator
The Augmentation Material Applicator supports the fractional filling of the subantral area with particulate augmentation material. To compact the augmentation material you use a sinus plugger.
The instrument with diameter of 5 mm is loaded laterally.
The augmentation material can be applicated precisely with the injecting mechanism.
The instrument can be taken apart for optimal cleaning.
Augmentation Material Applicator Ø 5 mm, straight, with a lateral opening to insert the augmentation material
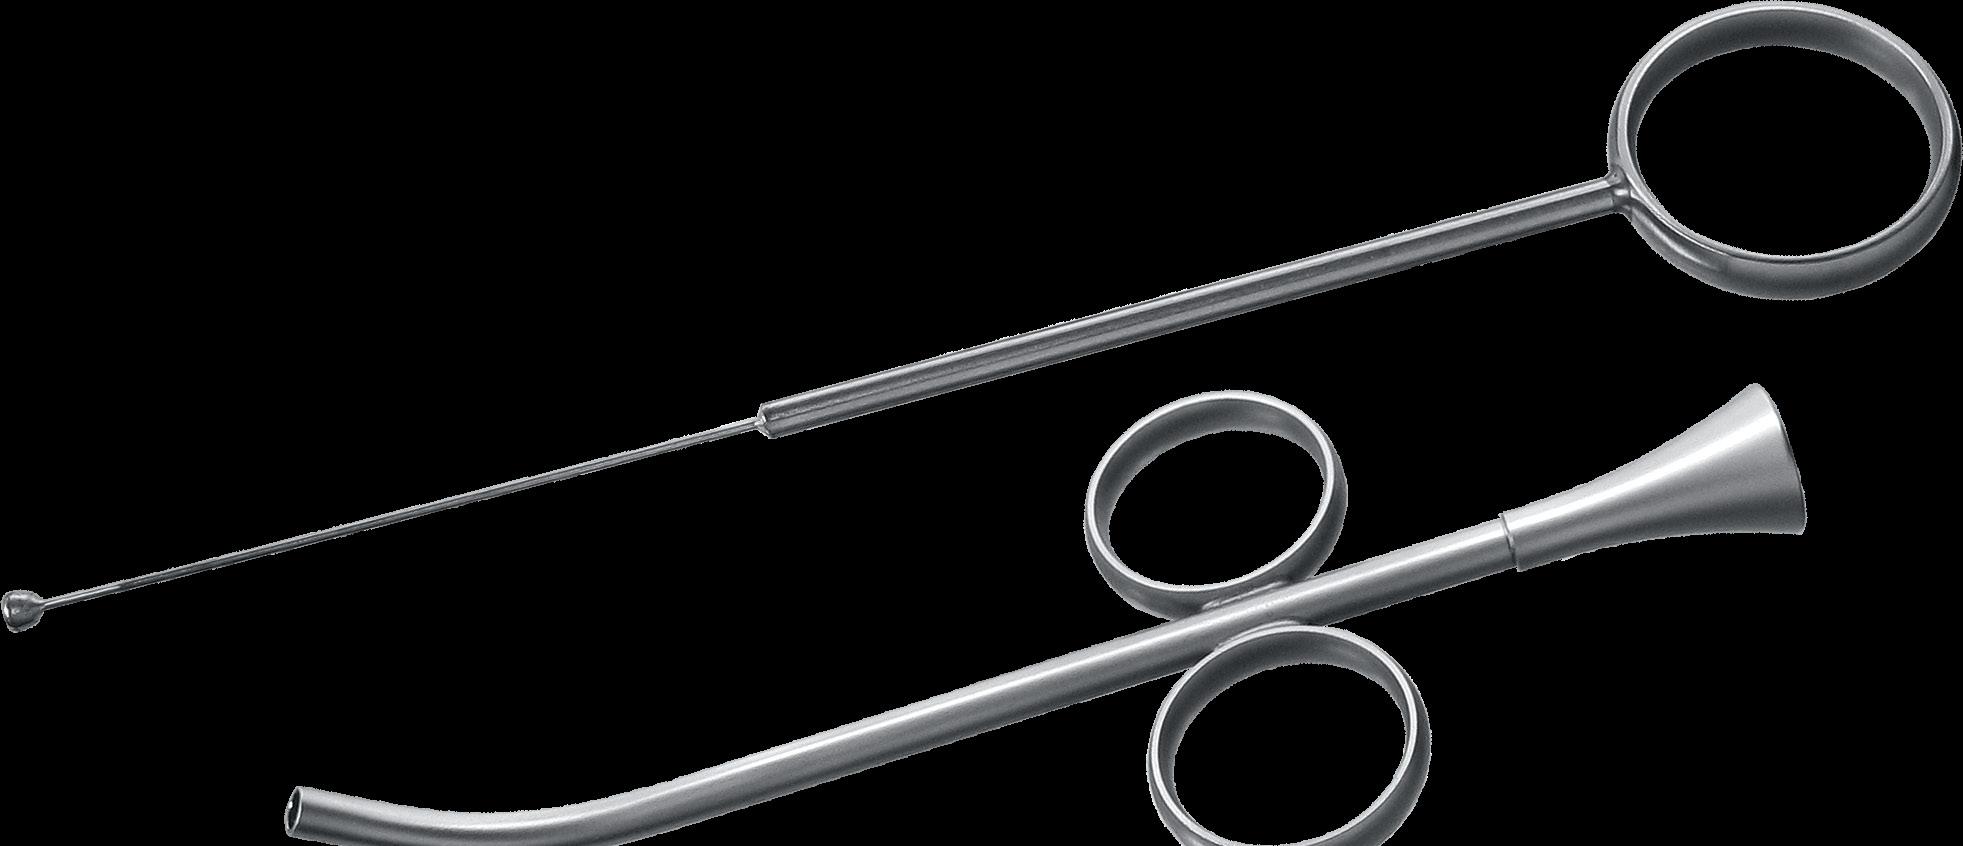
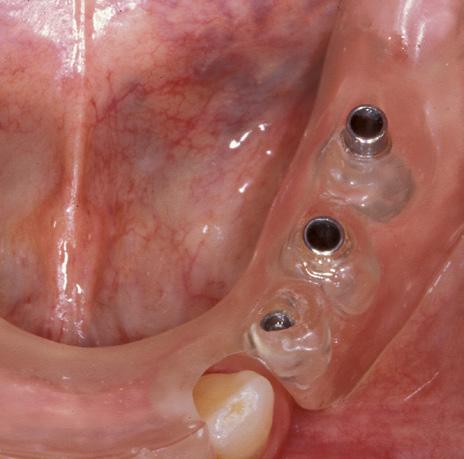
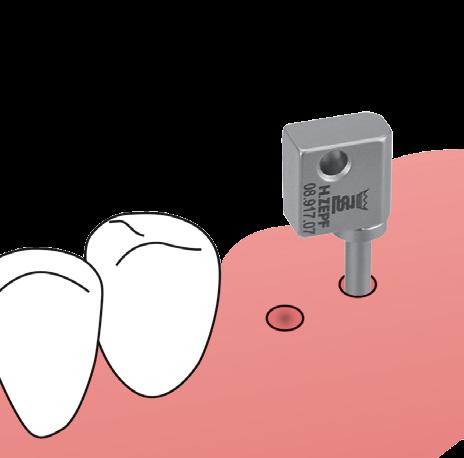
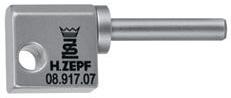
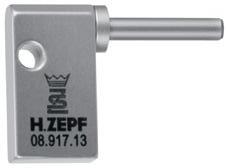
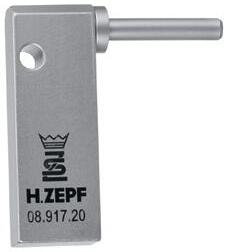
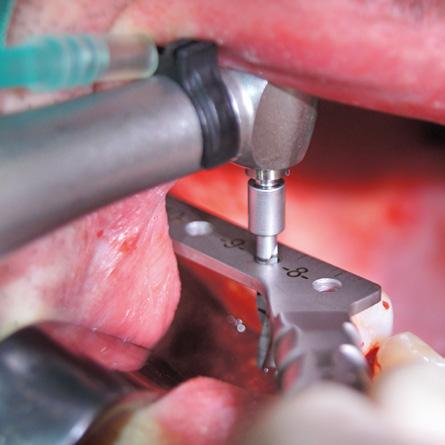
Flag Holder for easy and rapid control of parallelism of implant drillings.
08.917.05 5 mm for front teeth and premolars
08.917.07 7 mm for molars
08.917.13 13 mm
for checking a bridge; 2 piles as implant and bridge link, premolar
08.917.20 20 mm
for checking a rack supply in the lower front with a minimal distance of 20 mm for both implants
08.917.00
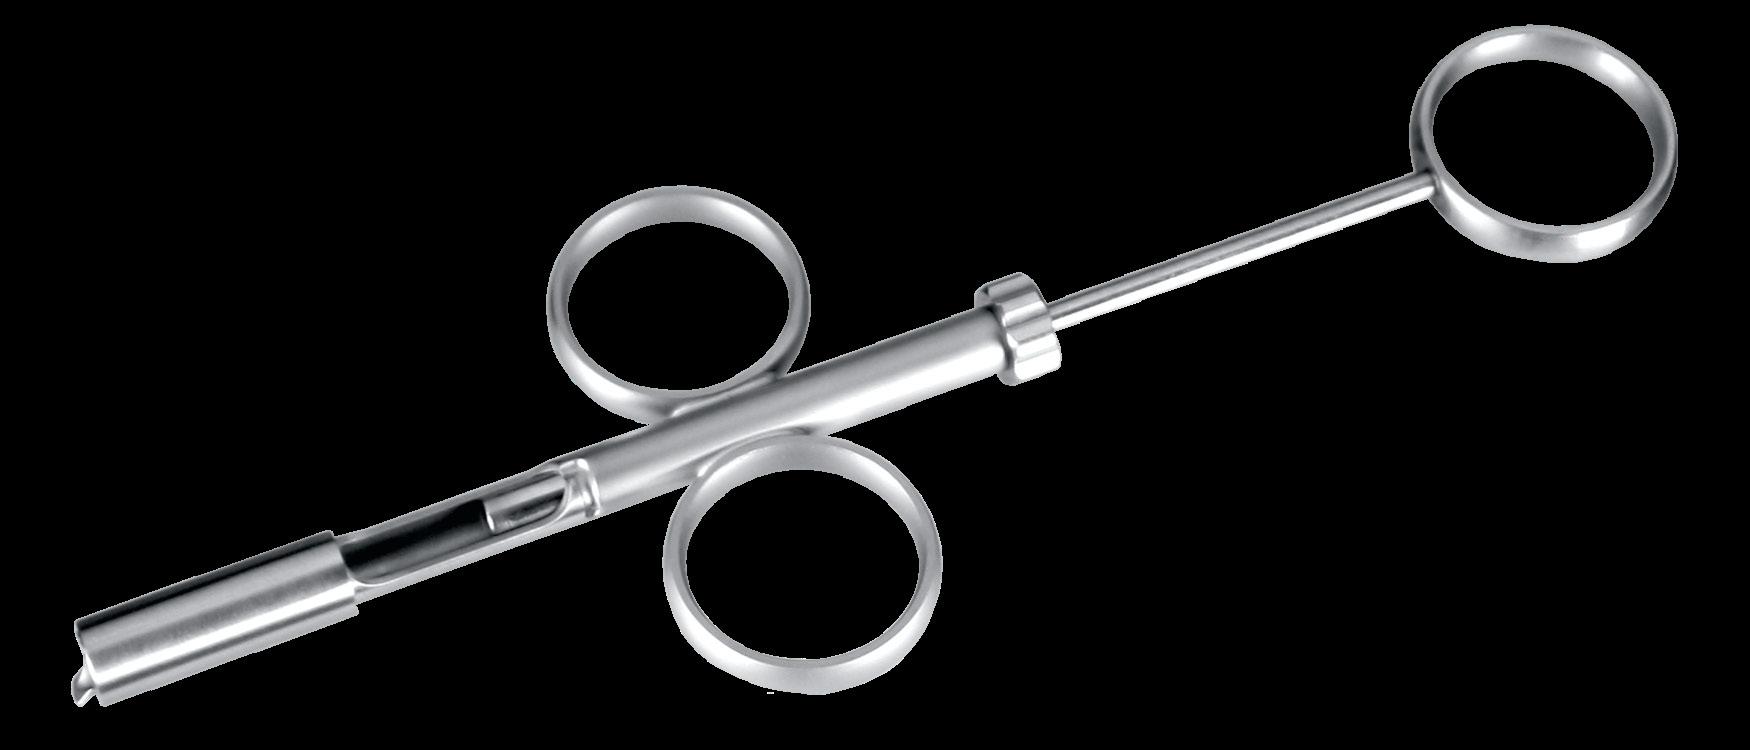
Flag Holder Kit consisting of 08.917.05 - .20 in bur stand
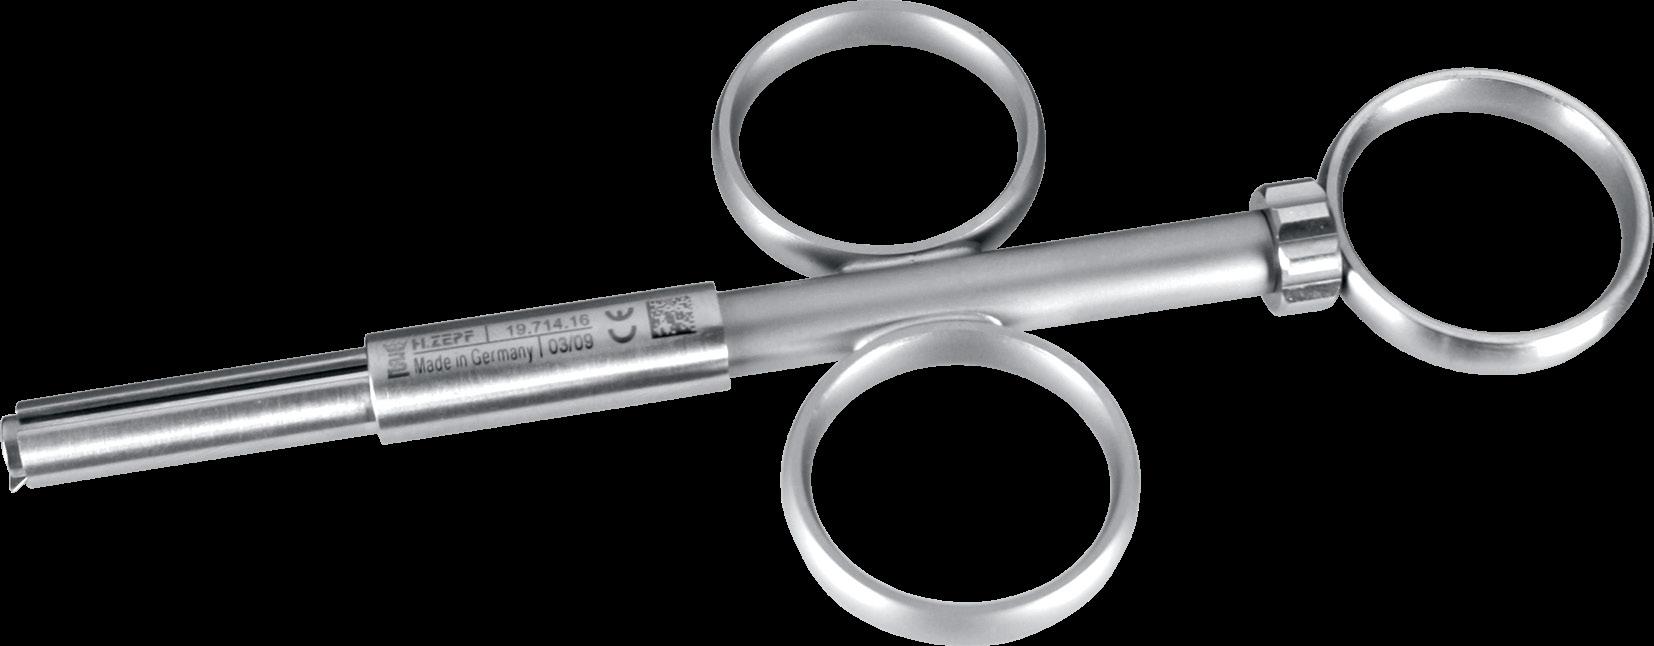
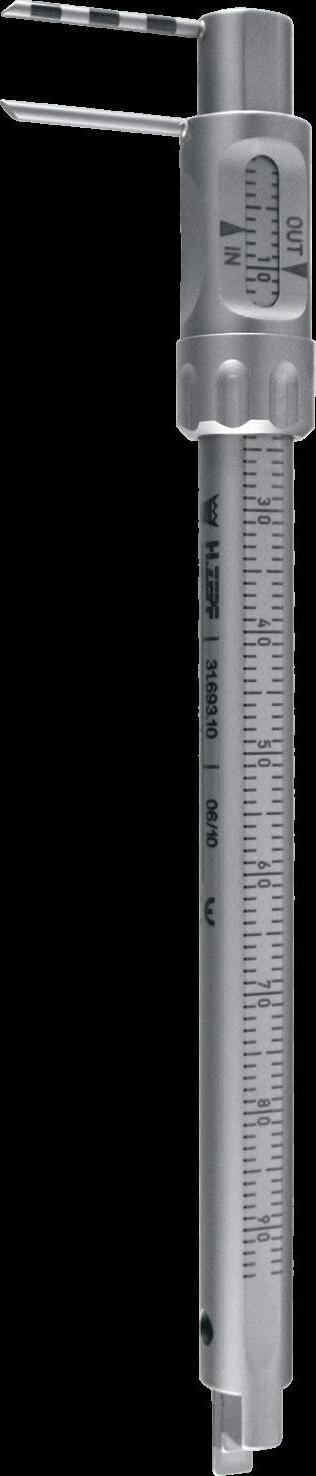
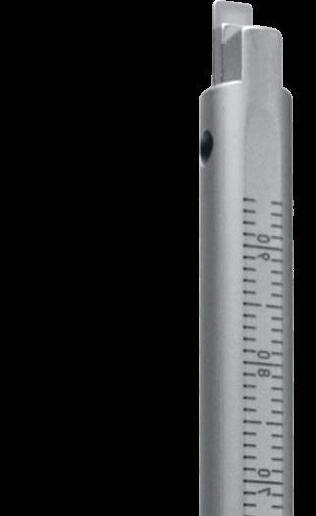
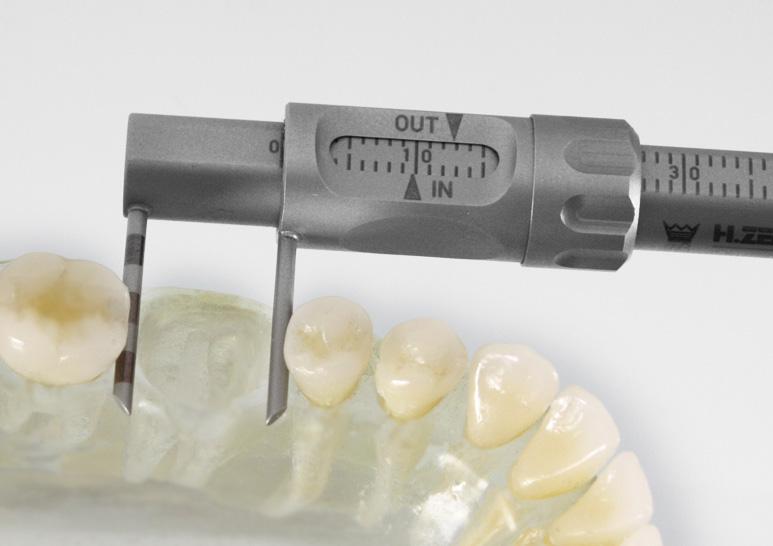
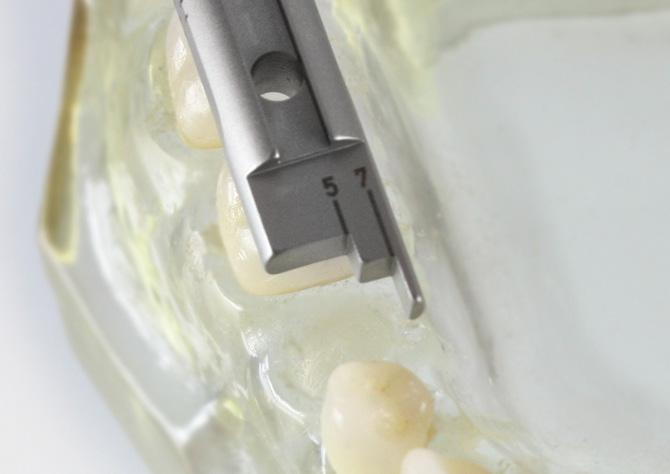
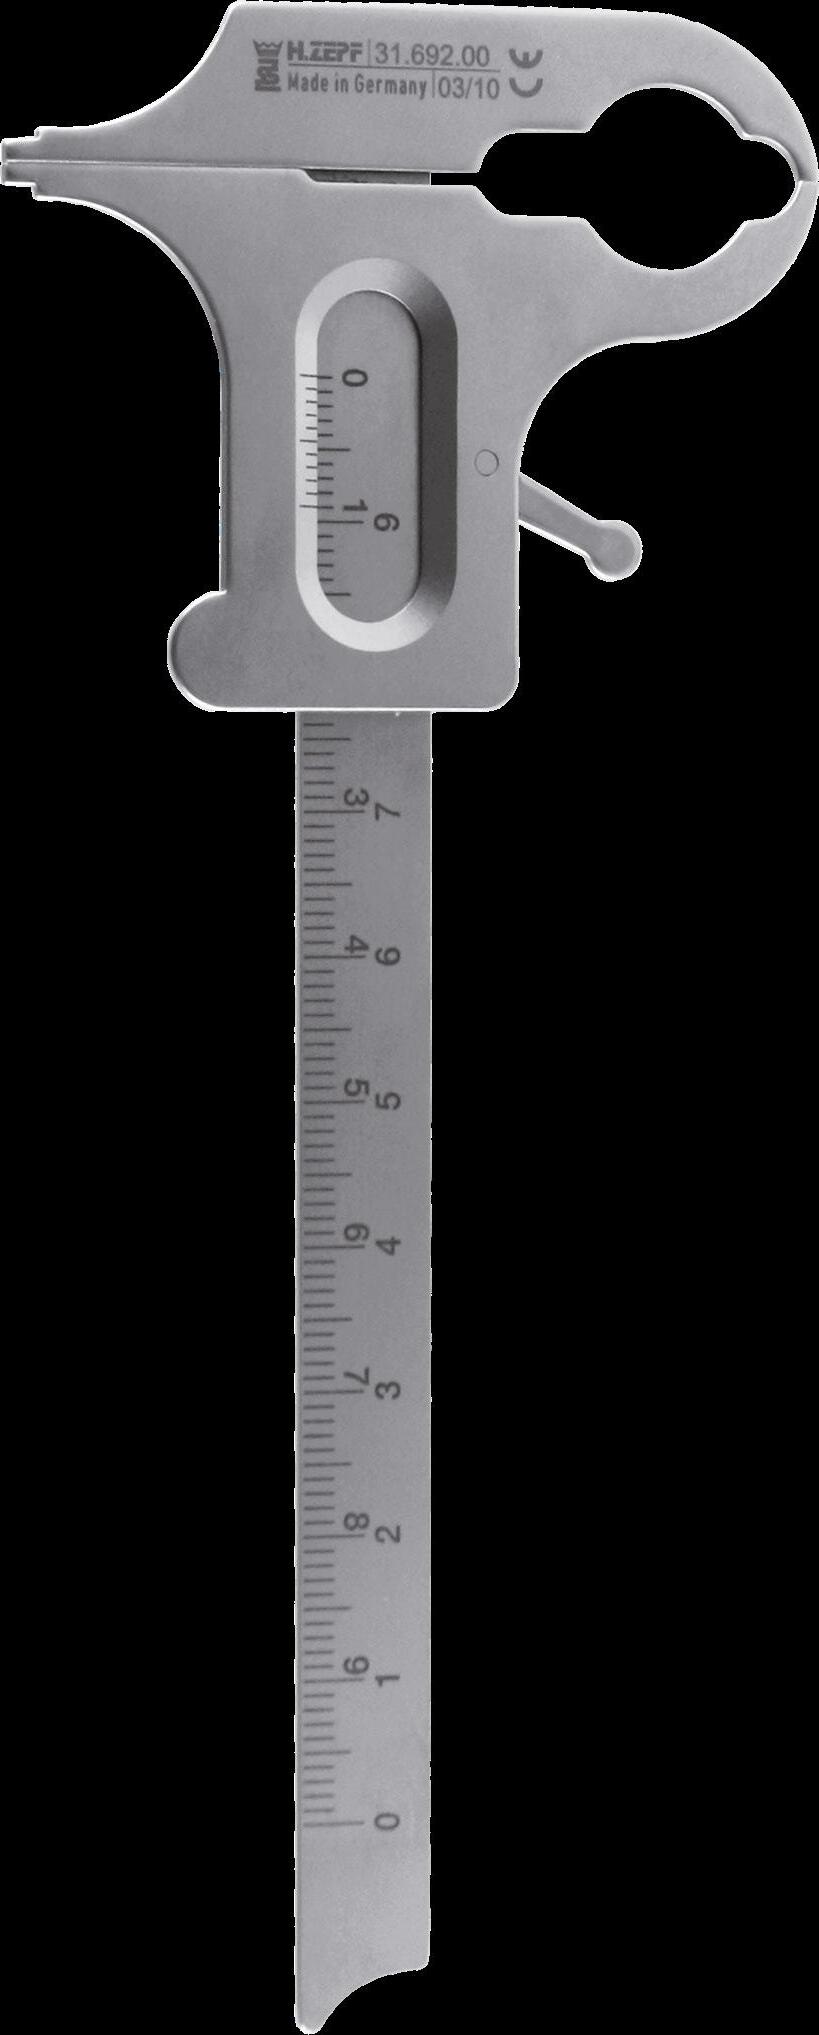
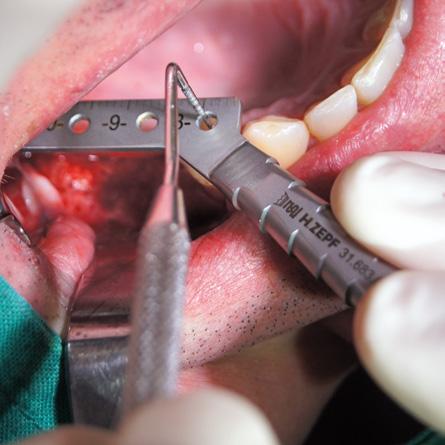
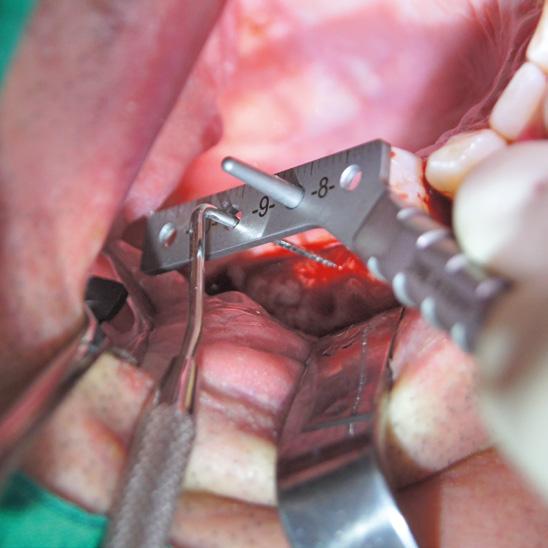
Krekeler Sliding Caliper
Acc. to Prof. Dr. med. dent. Gisbert Krekeler
Modif. Dr. med. dent. Sven Marcus Beschnidt
The Sliding Caliper combines a variety of functions in one instrument, thus facilitating the positioning of implants and enlarging the precision.
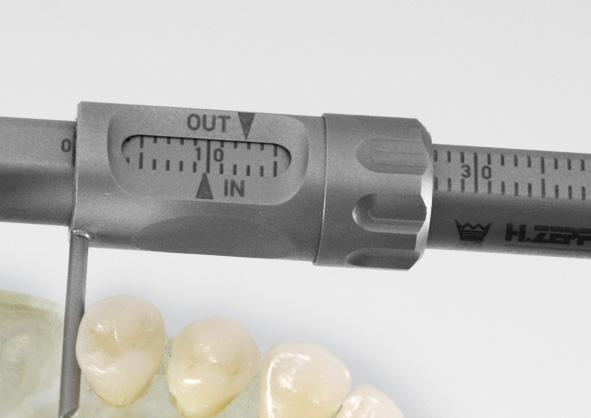
The measuring rods have a thickness of exactly 1.5 mm and allow immediate control of the maximum diameter of the implant which has to be inserted. (In order to assure maximum stability, please chose the largest diameter). Scientific examinations proved that the wall of the bone should have a thickness of at least 1.5 mm in order to avoid bone resorption after implantation. If the sliding caliper with its two measuring rods is inserted in the interproximal gap and opened in such a way that the measuring rods touch the respective root of the neighbor teeth, the maximum possible diameter of the future implant is shown on the marking IN. The upper marking OUT shows the determined outside dimension.
The new locating screw, at the end of the caliper, allows a fixation of the measured result. This practice-oriented development represents a significant relief with regard to a more precise, quick and and secure work
31.693.10
Sliding Caliper acc. to Prof. Dr. med. dent.
Gisbert Krekeler for measuring of implants with locating screw
OUT shows the determined outside dimension (Ø 1.5 mm), IN shows the inner diameter.
Locating screw for a safe fixation of the measured result.
The hole serves as drilling gauge and drilling guide. The marking allows the determination of the ridge.
zepf-dental.com
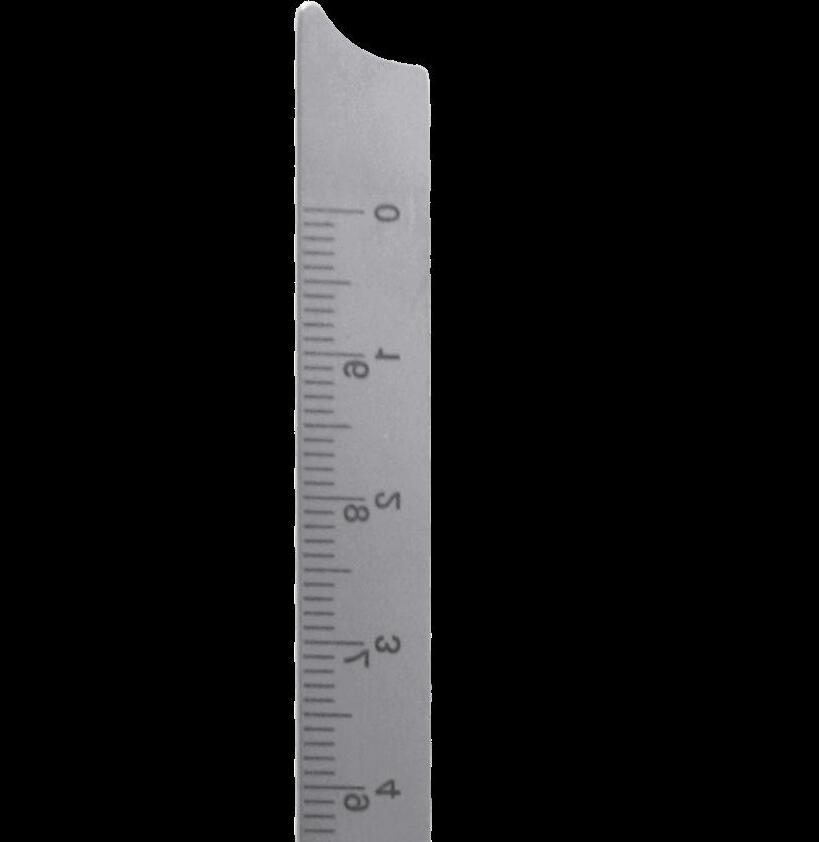
Sliding Calipers and Metal Ruler
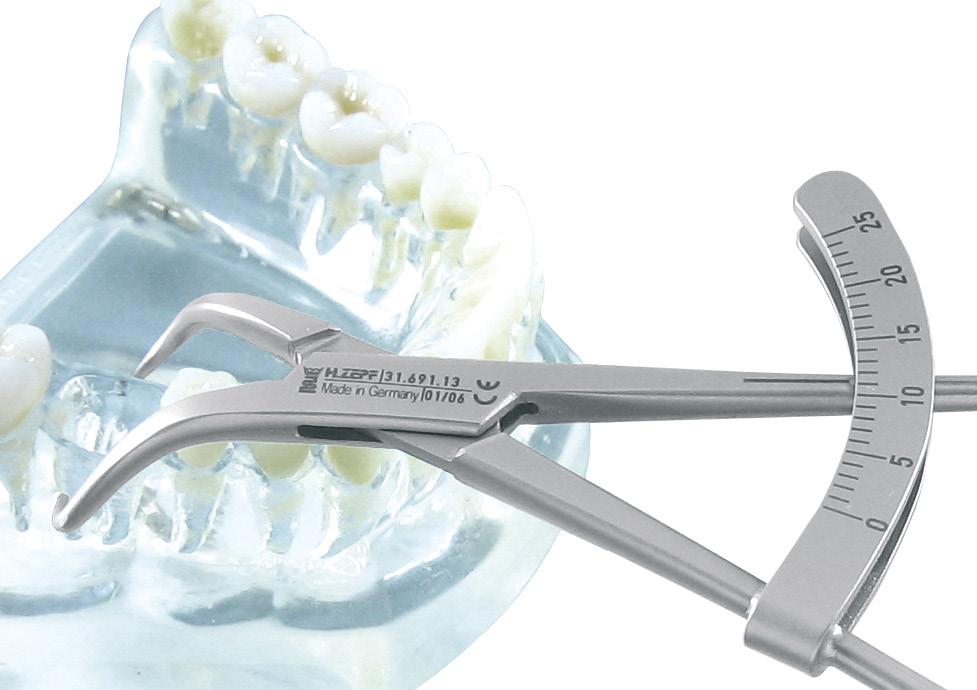
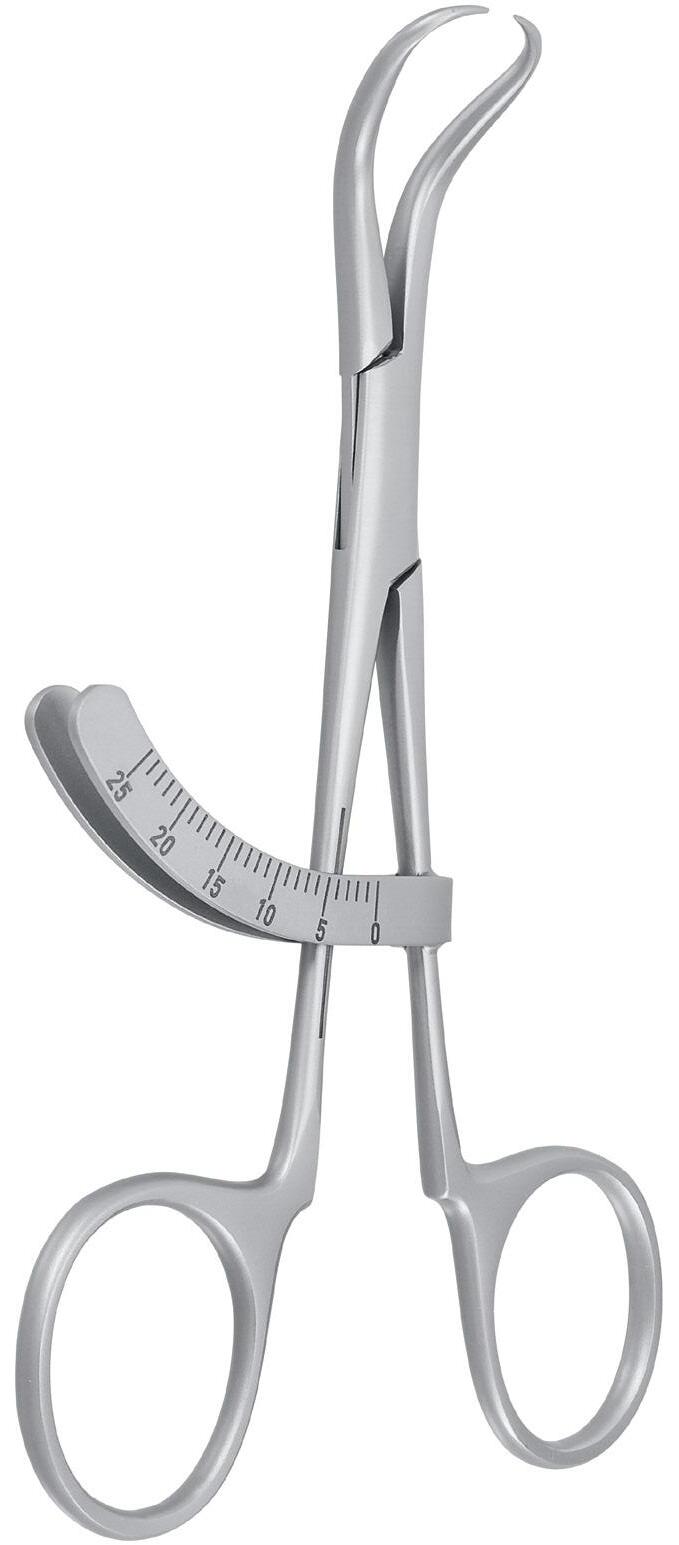
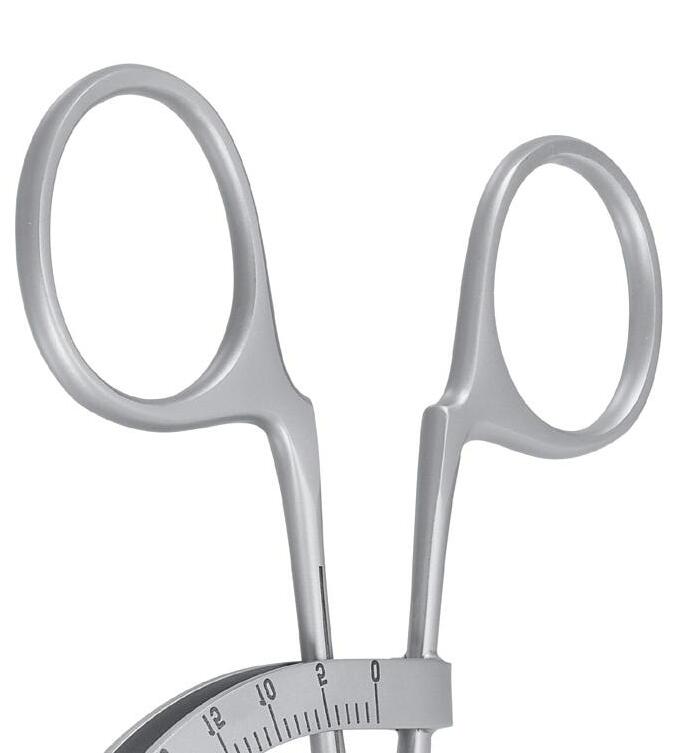
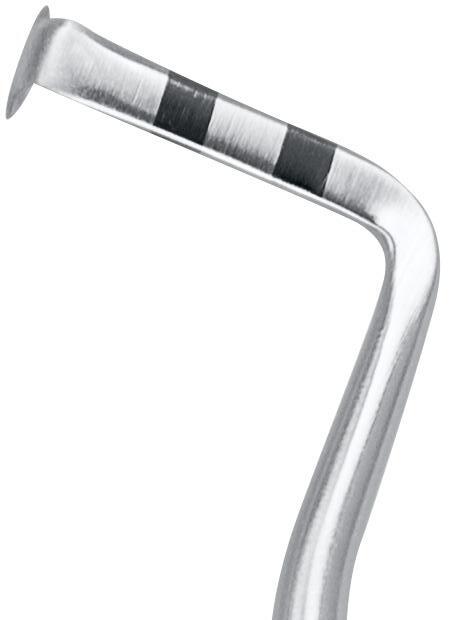
Bone Caliper 31.691.13
Bone Caliper for measuring the maxillary bone, radial scaling on the shanks of the ring handles, 13 cm
Implantology
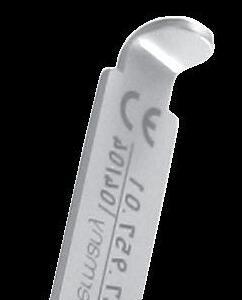
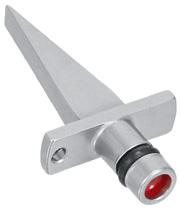
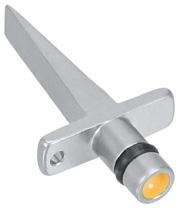
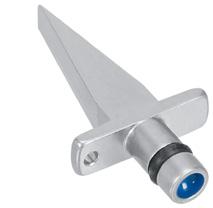
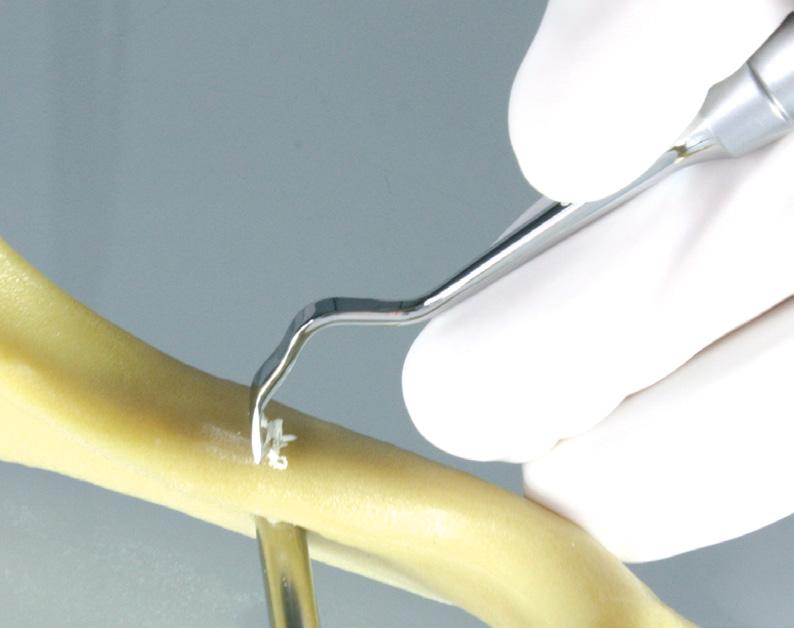
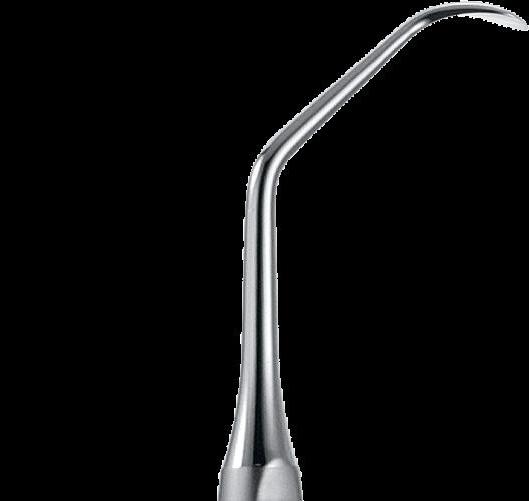
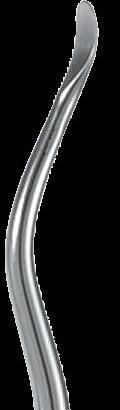
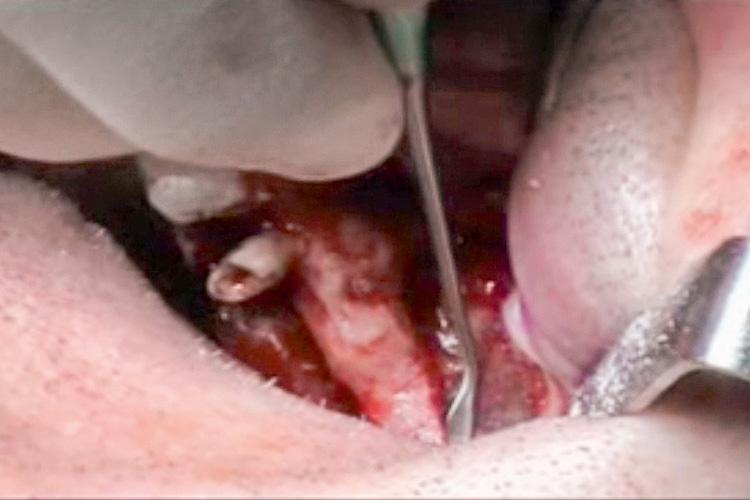
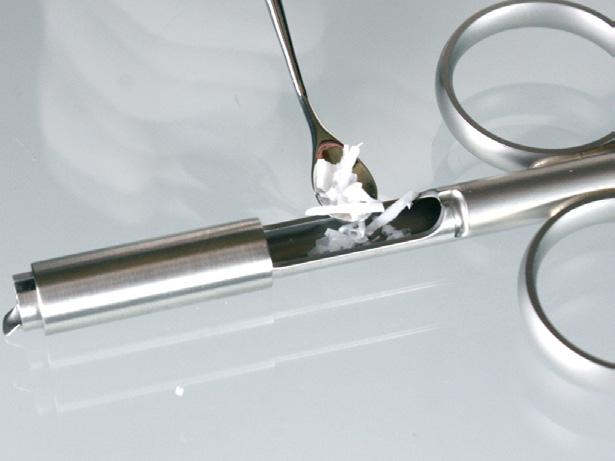
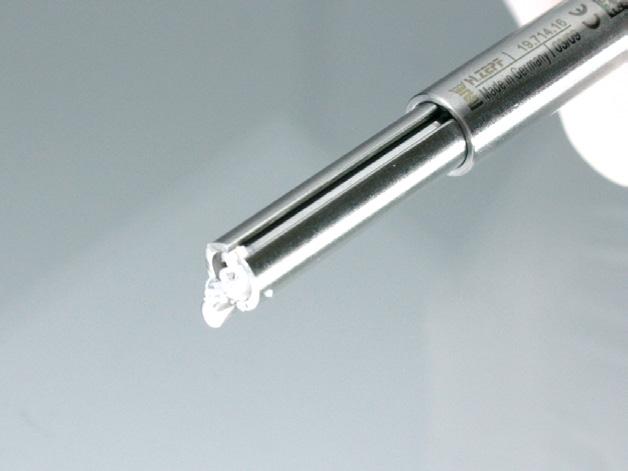
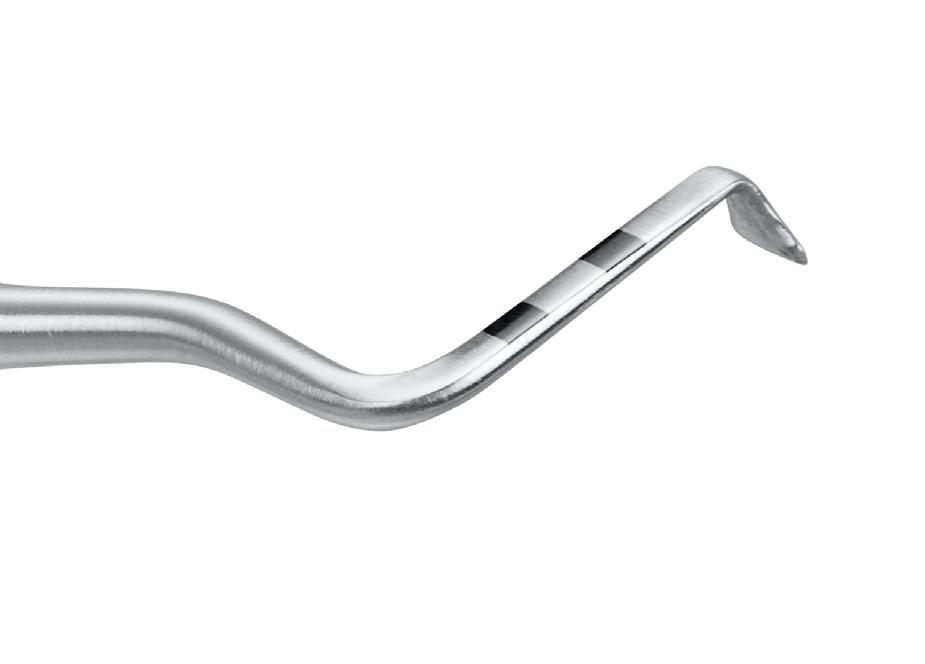
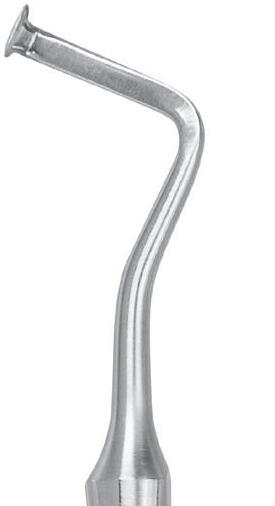
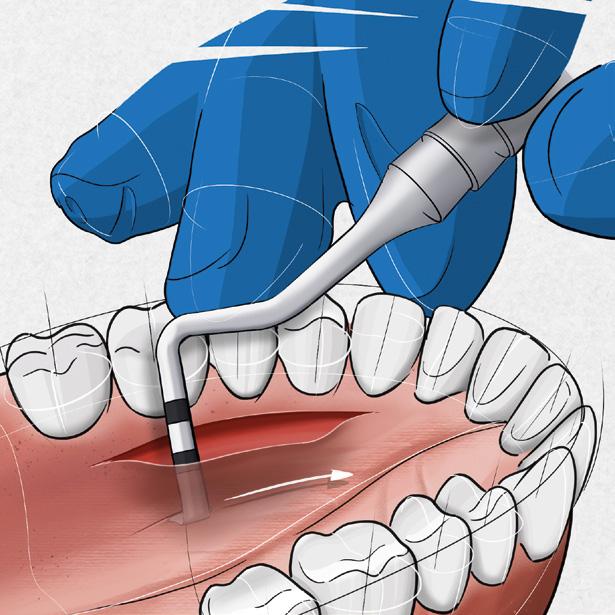
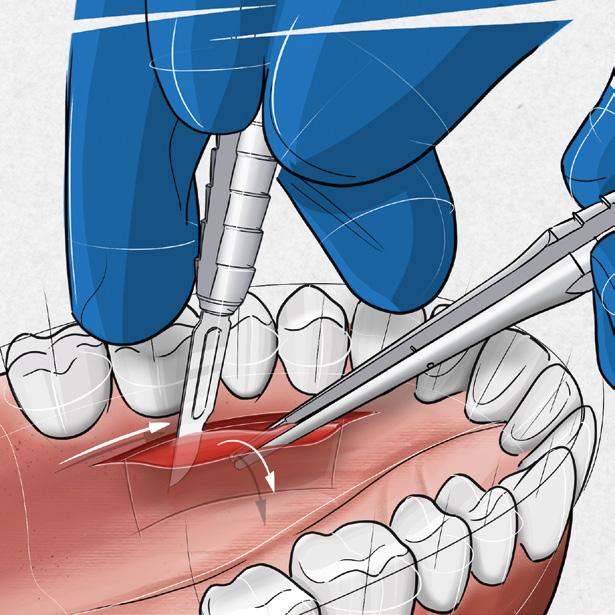
Palatal Knife
acc. to Dr. med. dent. Iman Mizani, MS
The novel Palatal Knife offers an innovative alternative to the conventional scalpel for the preparation of connective tissue graft.
The special design of the instrument promotes faster and safer graft removal. At the same time, the risk of injury to the palatine artery and perforation of the palatal flap is minimized.
Special features:
angled cutting edge, perpendicular to the palatal bone ergonomic, angled instrument neck / shaft depth gauge (graduation) for precise dimensioning
Advantages over conventional removal methods:
enhanced safety through reduced risk of injury to the palatine artery and perforation of the palatal mucosa simple and ergonomic handling fast, precise preparation of the graft consistently uniform thickness of the connective tissue graft abrading work and cutting in difficult-to-reach places
Application:
1 Singular palatal incision and formation of a flap
Scale 2:1
46.040.15
Palatal Knife acc. to Dr. med. dent. Iman Mizani, MS
2 Preparation to gain connective tissue, using the instrument
3 Dissection of the prepared connective tissue below the flap, removal of connective tissue as soon as the base is detached from the palatal bone
zepf-dental.com
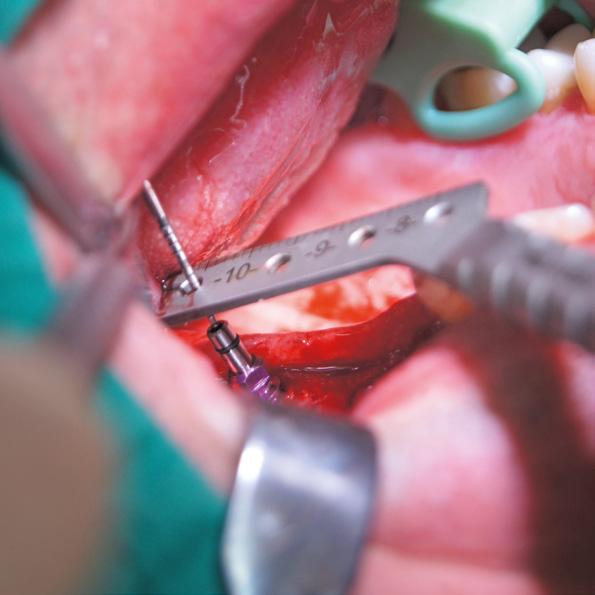
Implant Guide
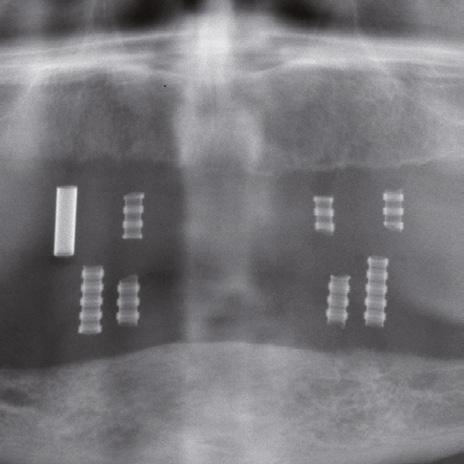
for the posterior tooth region, according to Wiedemann
This method quickly and effectively finds the optimal position for the implants in the posterior region.
Here, a standard tooth width is assumed.
Premolars 8 mm, molars 10 mm, so 1/2 premolar = 4 mm, 1/2 molar = 5 mm
The standard tooth widths used are neither scientifically nor individually 100% correct, but these values deliver highly usable implant positions particularly on edentulous jaws.
07-39
31.683.00
Drilling Template acc. to Wiedemann
Scale 2:1
Drilled holes: Ø 2.4 mm
Distance between drilled holes
8 mm: From the center of one premolar to the center of the next premolar (1 x 4 mm + 1 x 4 mm), e.g. center of number 4 to center of number 5.
9 mm: From the center of one premolar to the center of a molar (1 x 4 mm + 1 x 5 mm), e.g. center of number 5 to center of number 6.
10 mm: From the center of one molar to the center of the next molar (1 x 5 mm + 1 x 5 mm), e.g. center of number 6 to center of number 7.
If no premolar is available as a starting point then a canine can also be used. For this, a distance between the mesial end of the working part and the first hole of exactly 4 mm was chosen (1/2 premolar width).