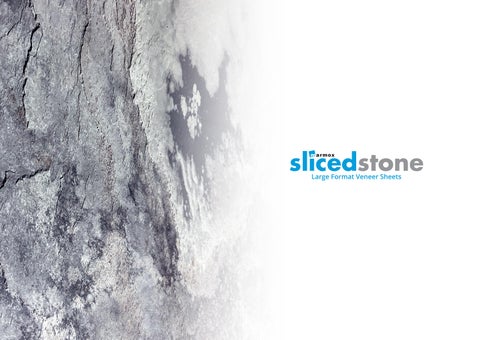
Large Format Veneer Sheets
Natural Stone
Ultra Lightweight
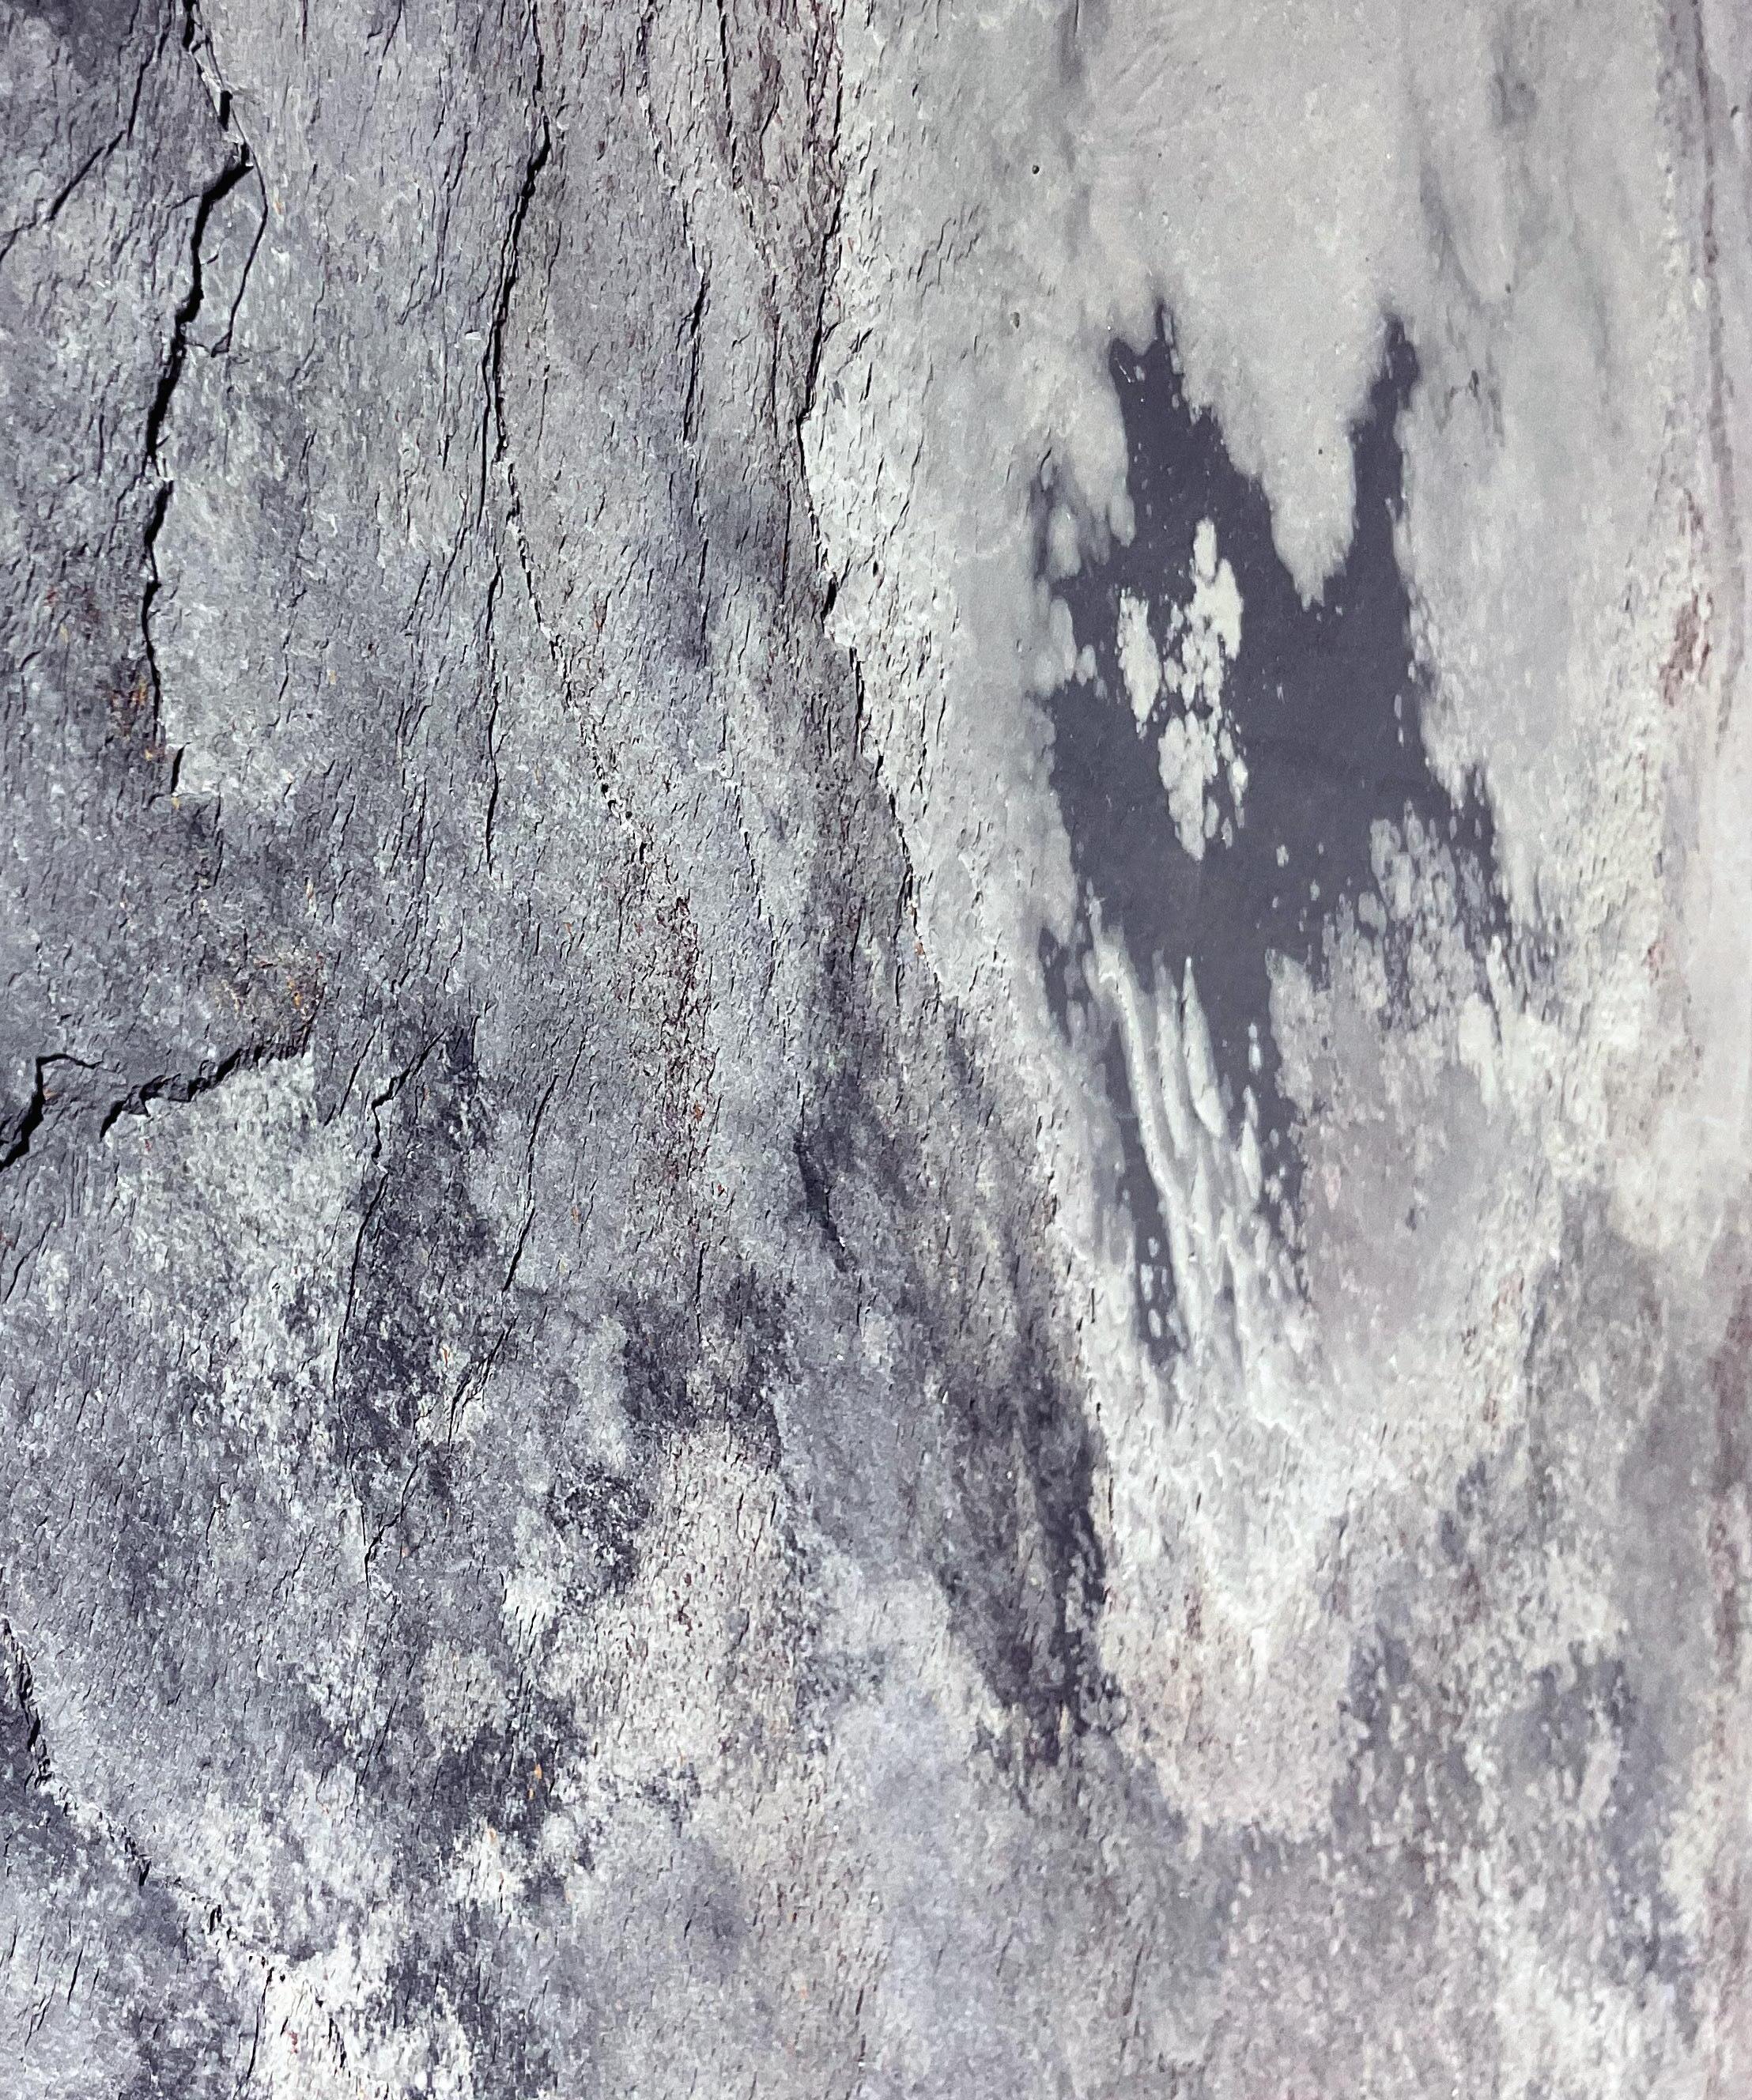
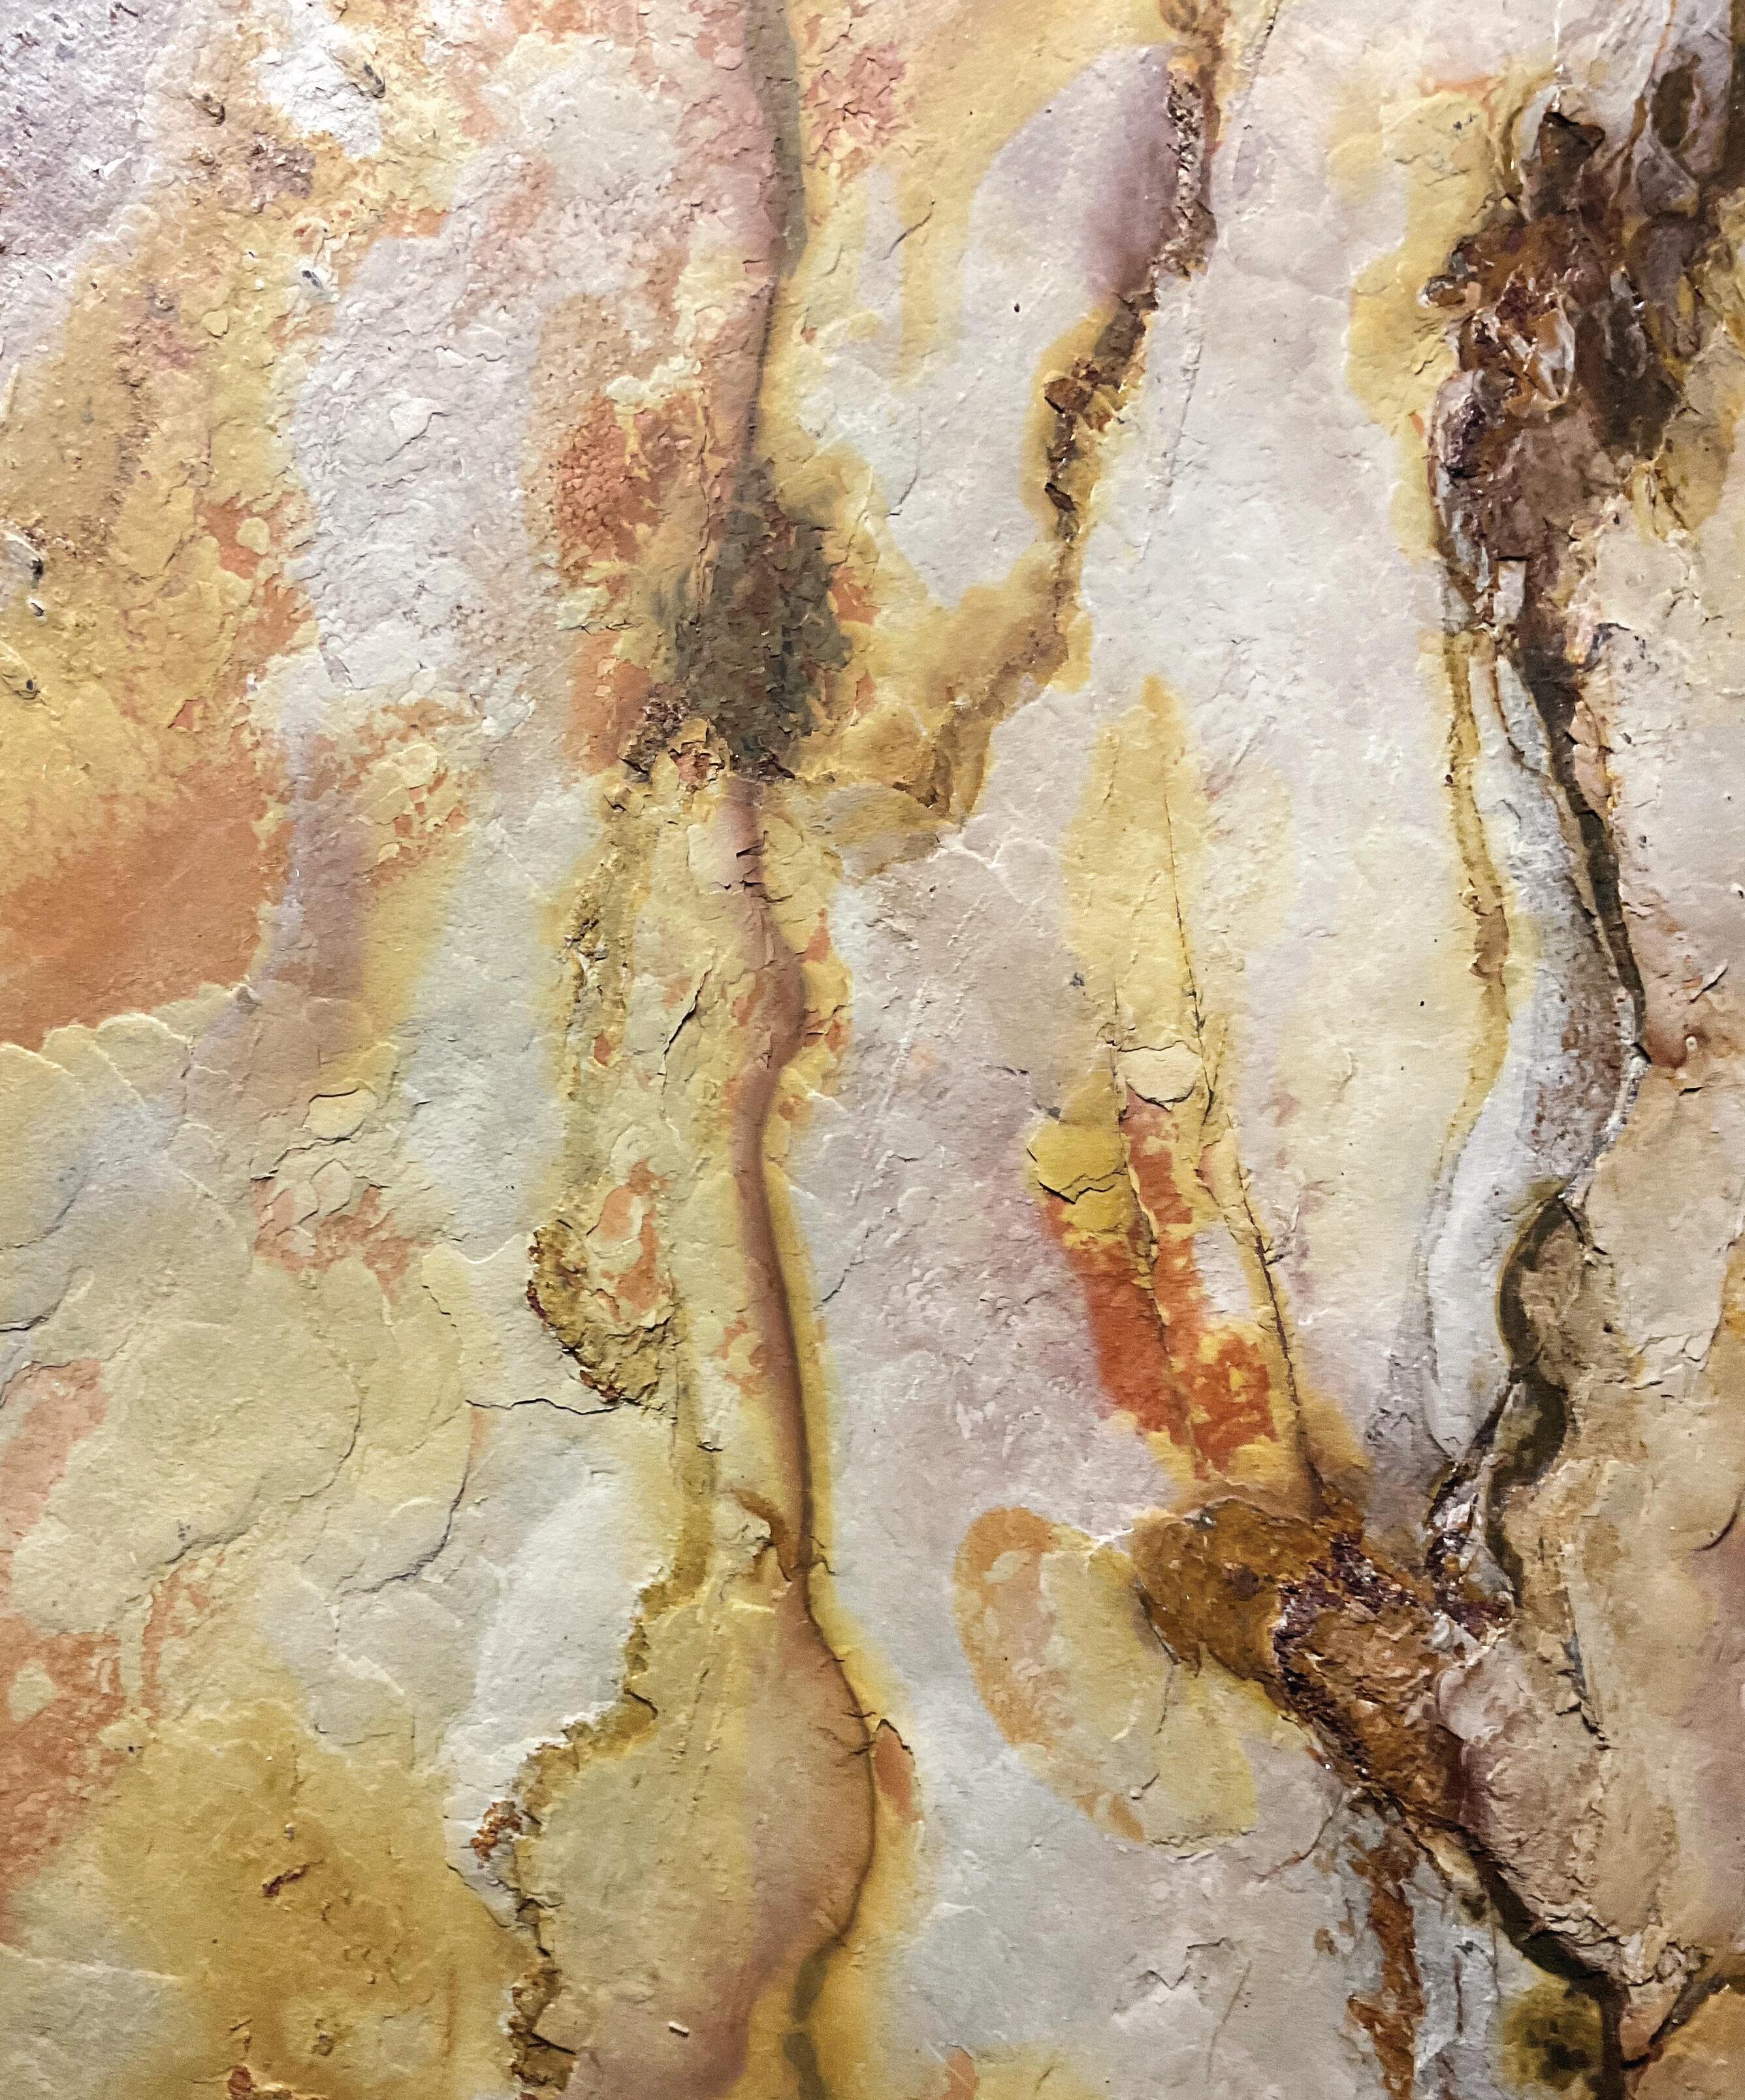
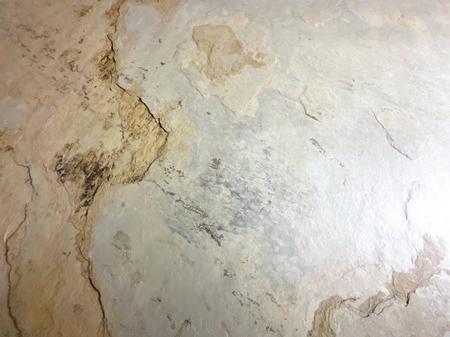
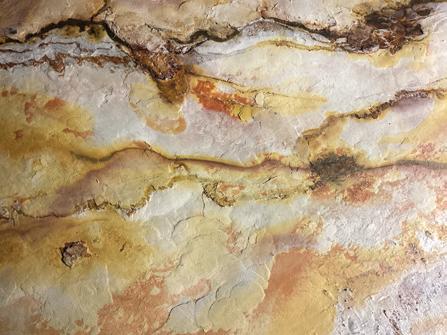
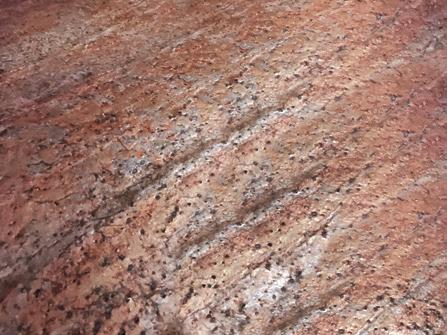
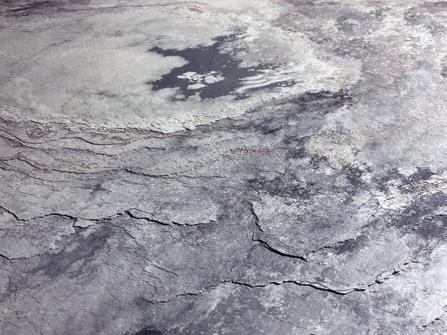
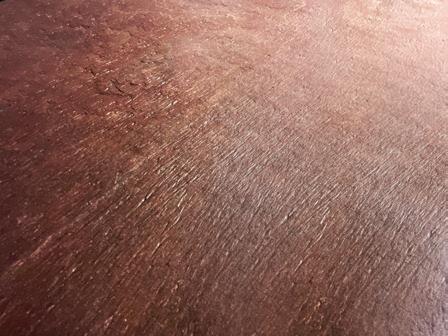
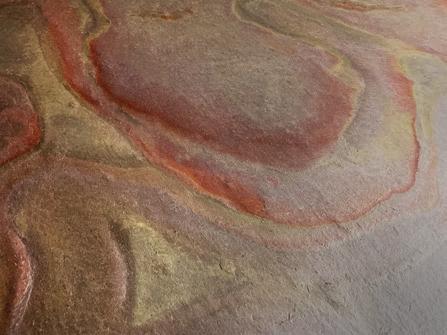
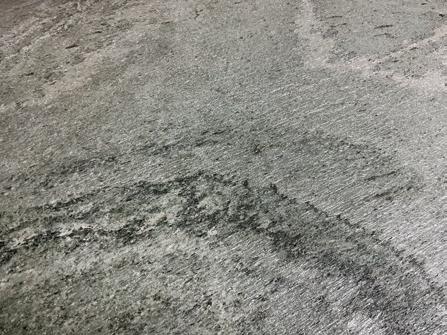
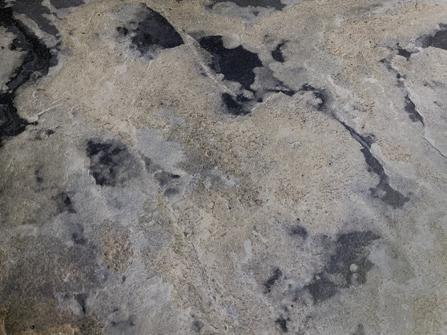
Each Sheet is Unique
100% Waterproof
Inbuilt Decoupling
Large Sheet Sizes
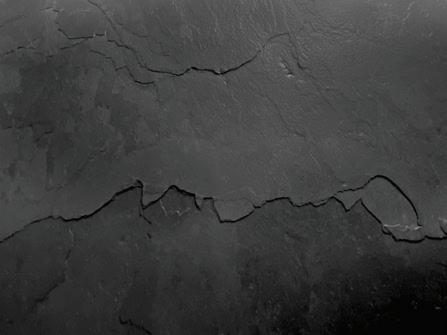
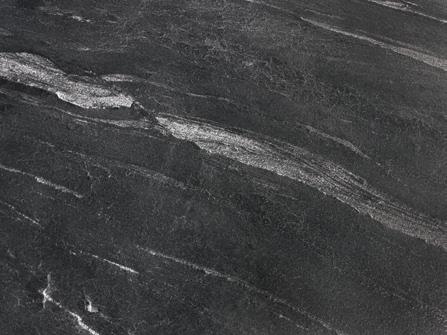
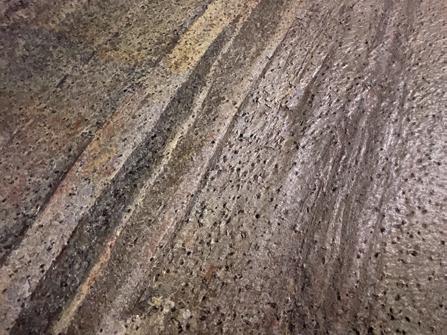
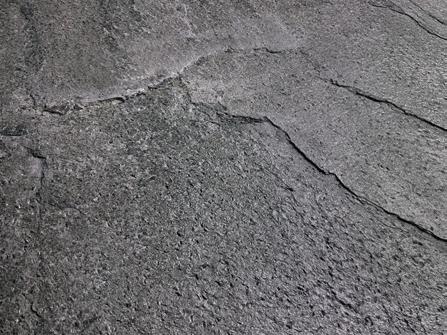
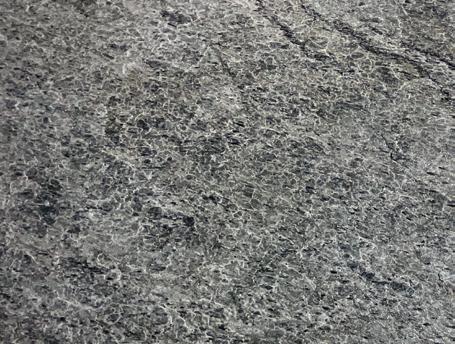
Many Flavours
Natural Stone Blend
Inbuilt Decoupling System
Large Flexible Sheets

Each Sheet is Unique
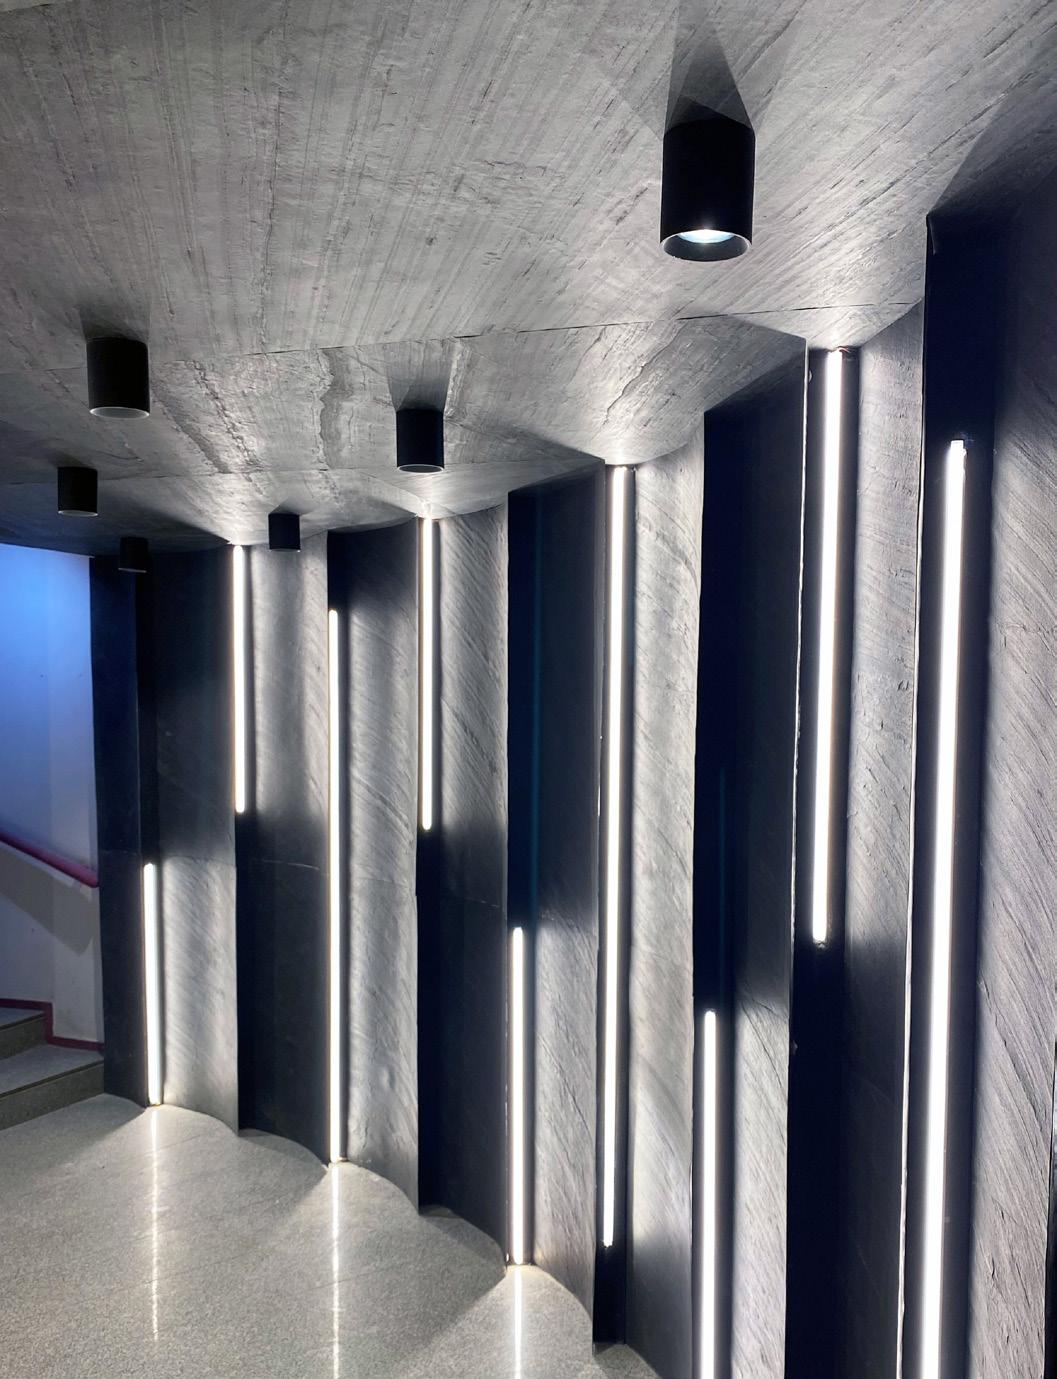
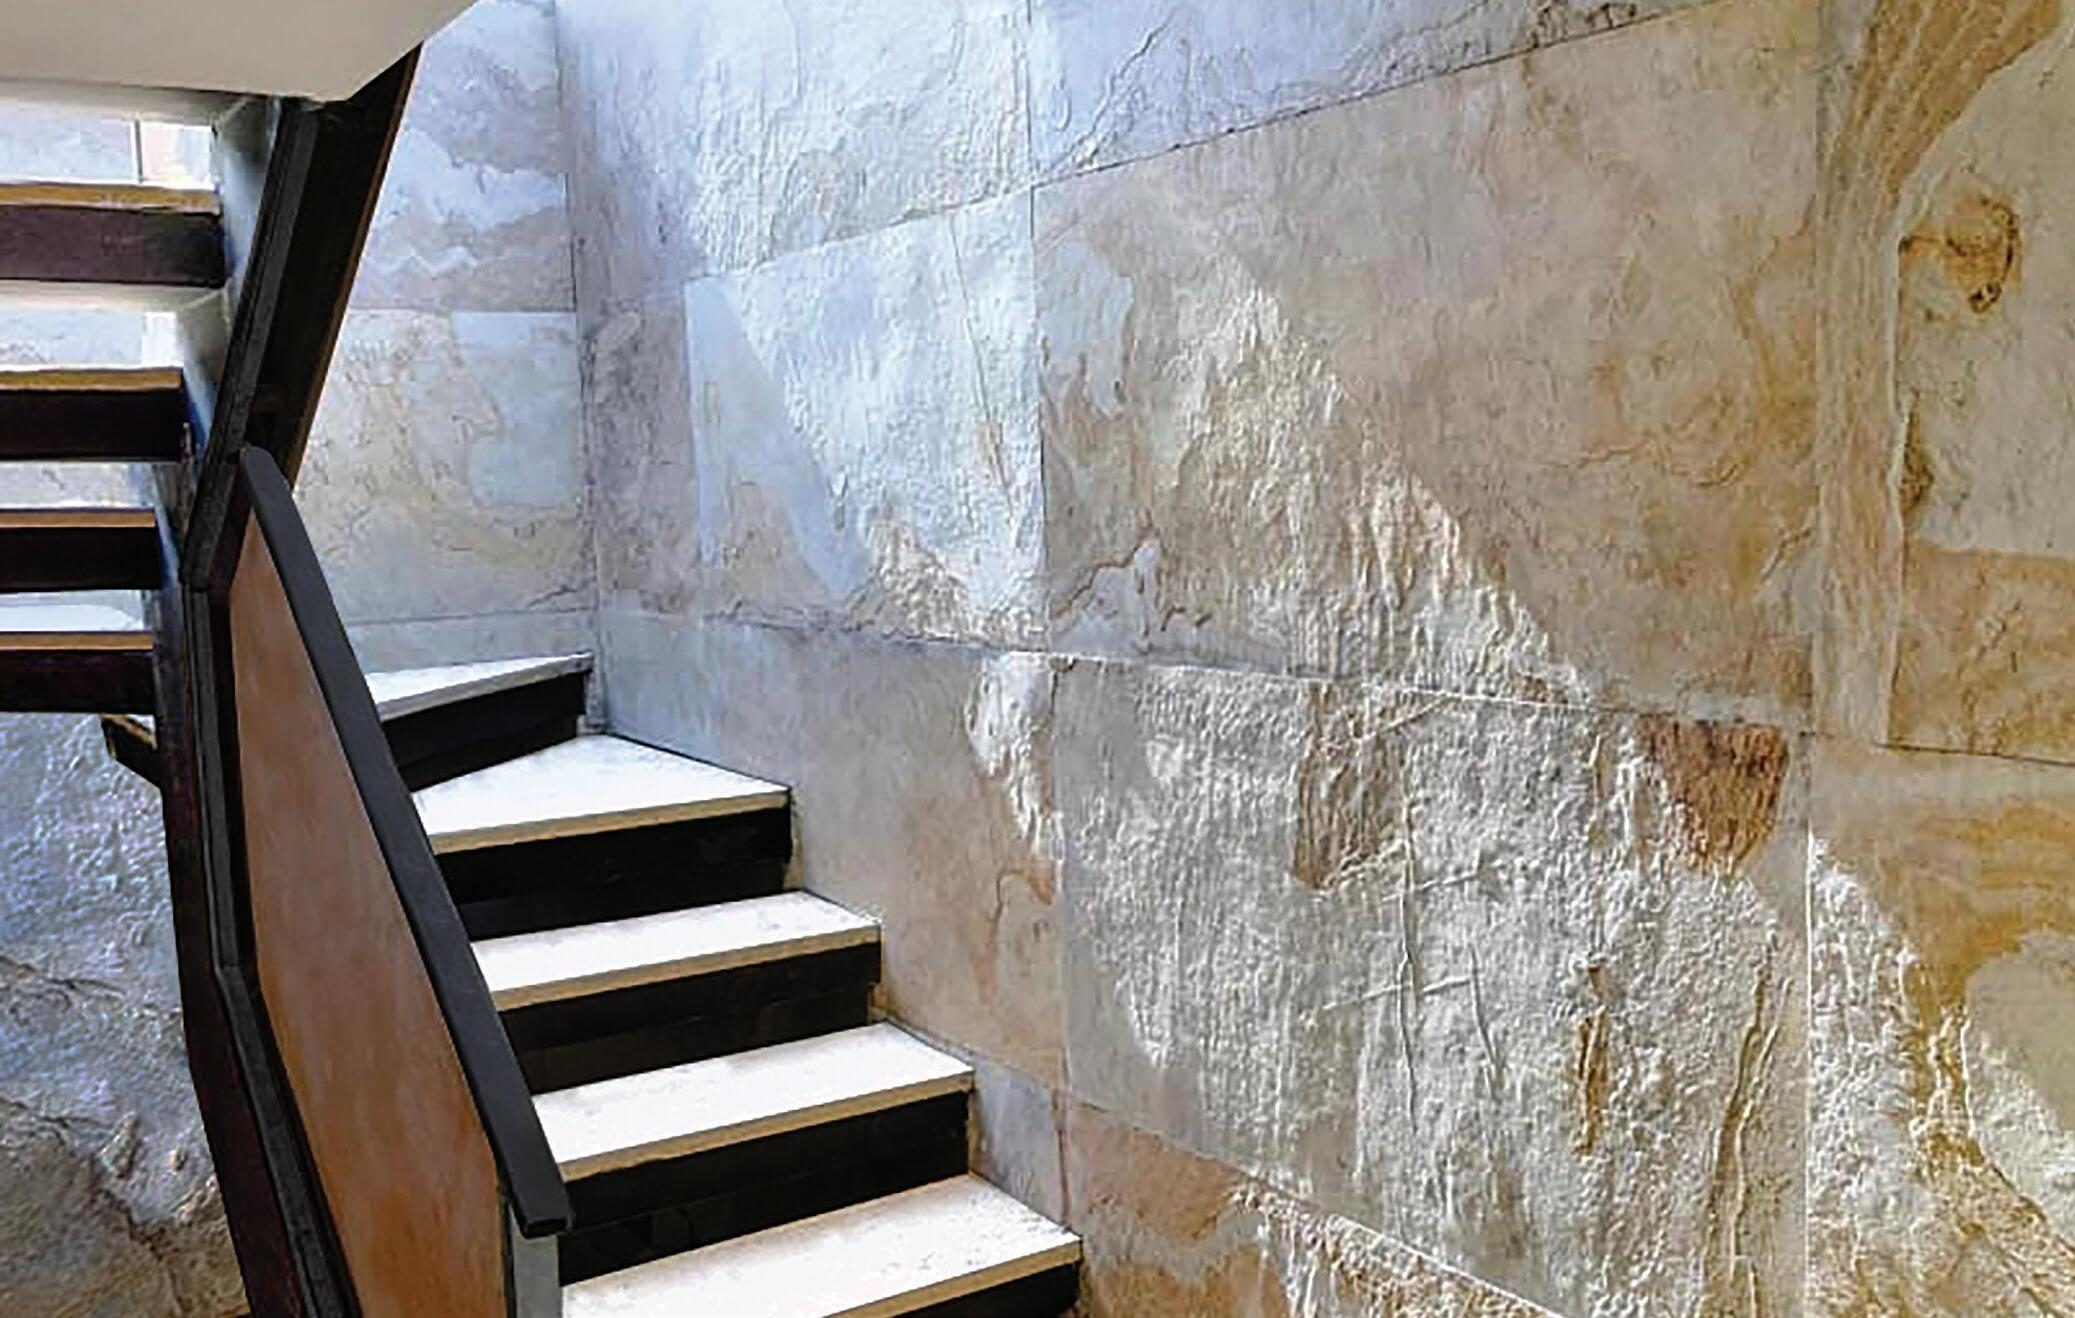
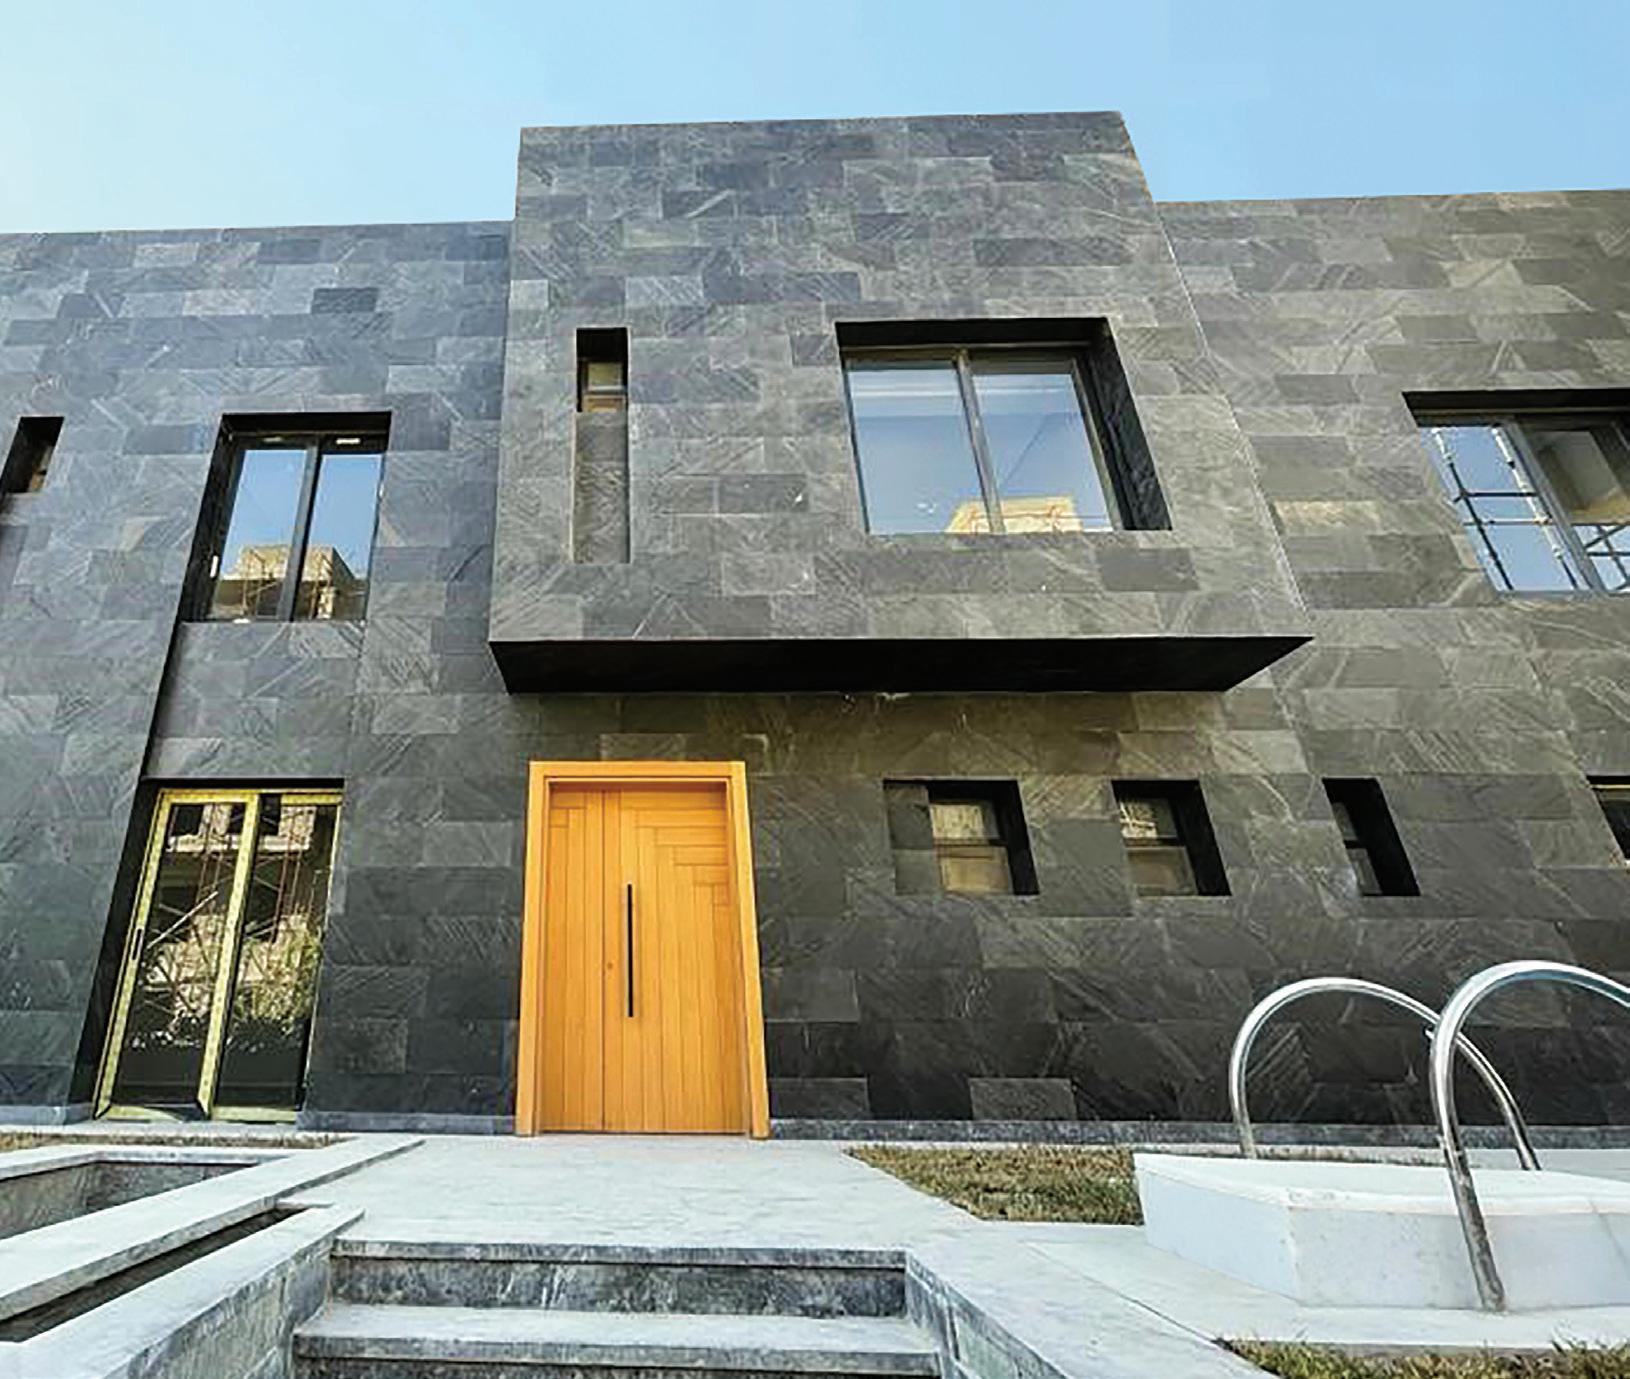
Marmox Slicedstone Veneer Sheets offer a stylish and completely natural stone finish to walls and furnishings.
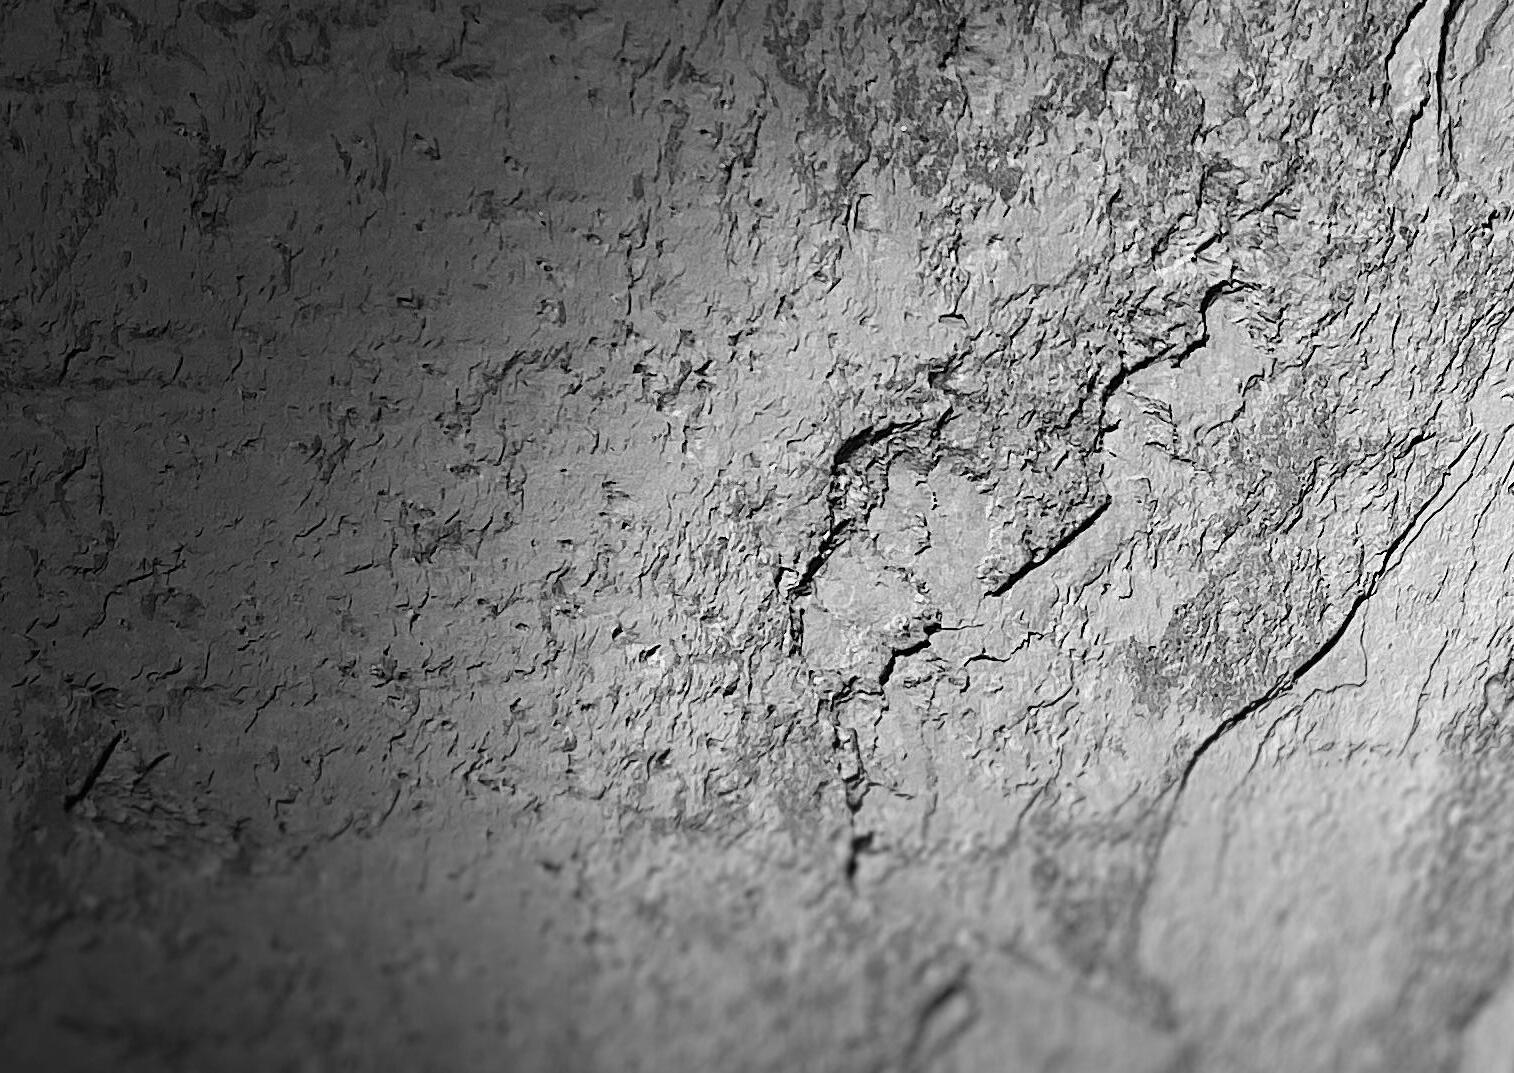
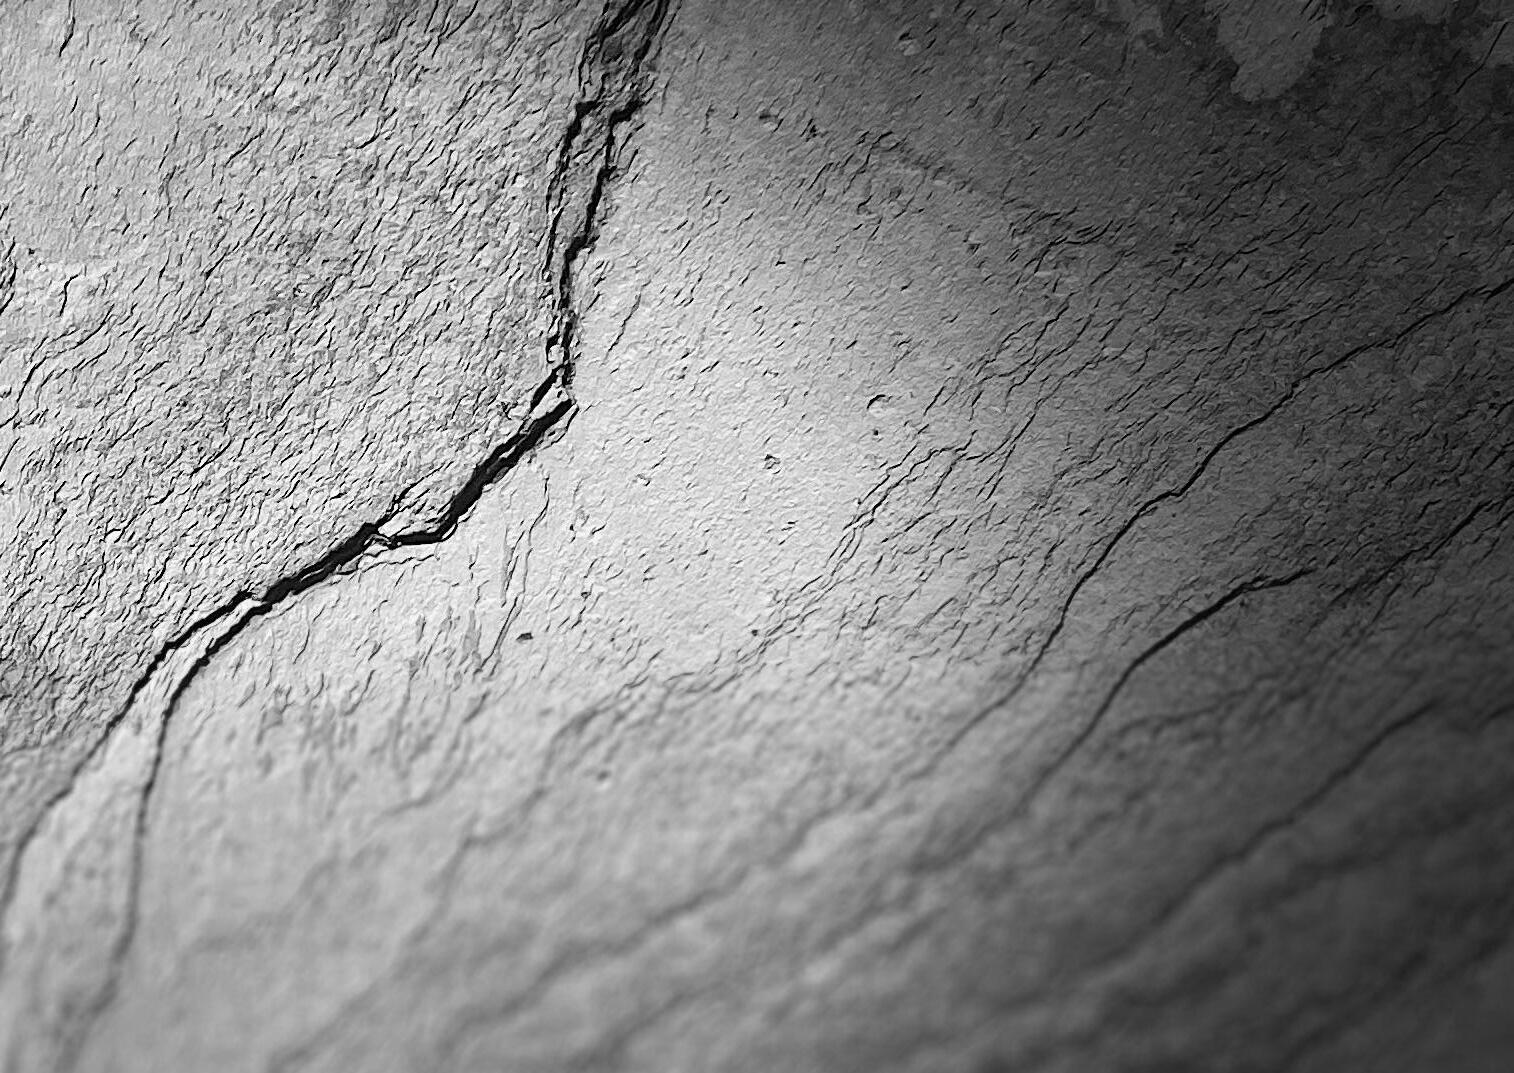
These real stone veneers are a lightweight, practical and yet highly visual surface for many different applications, both internally and externally.
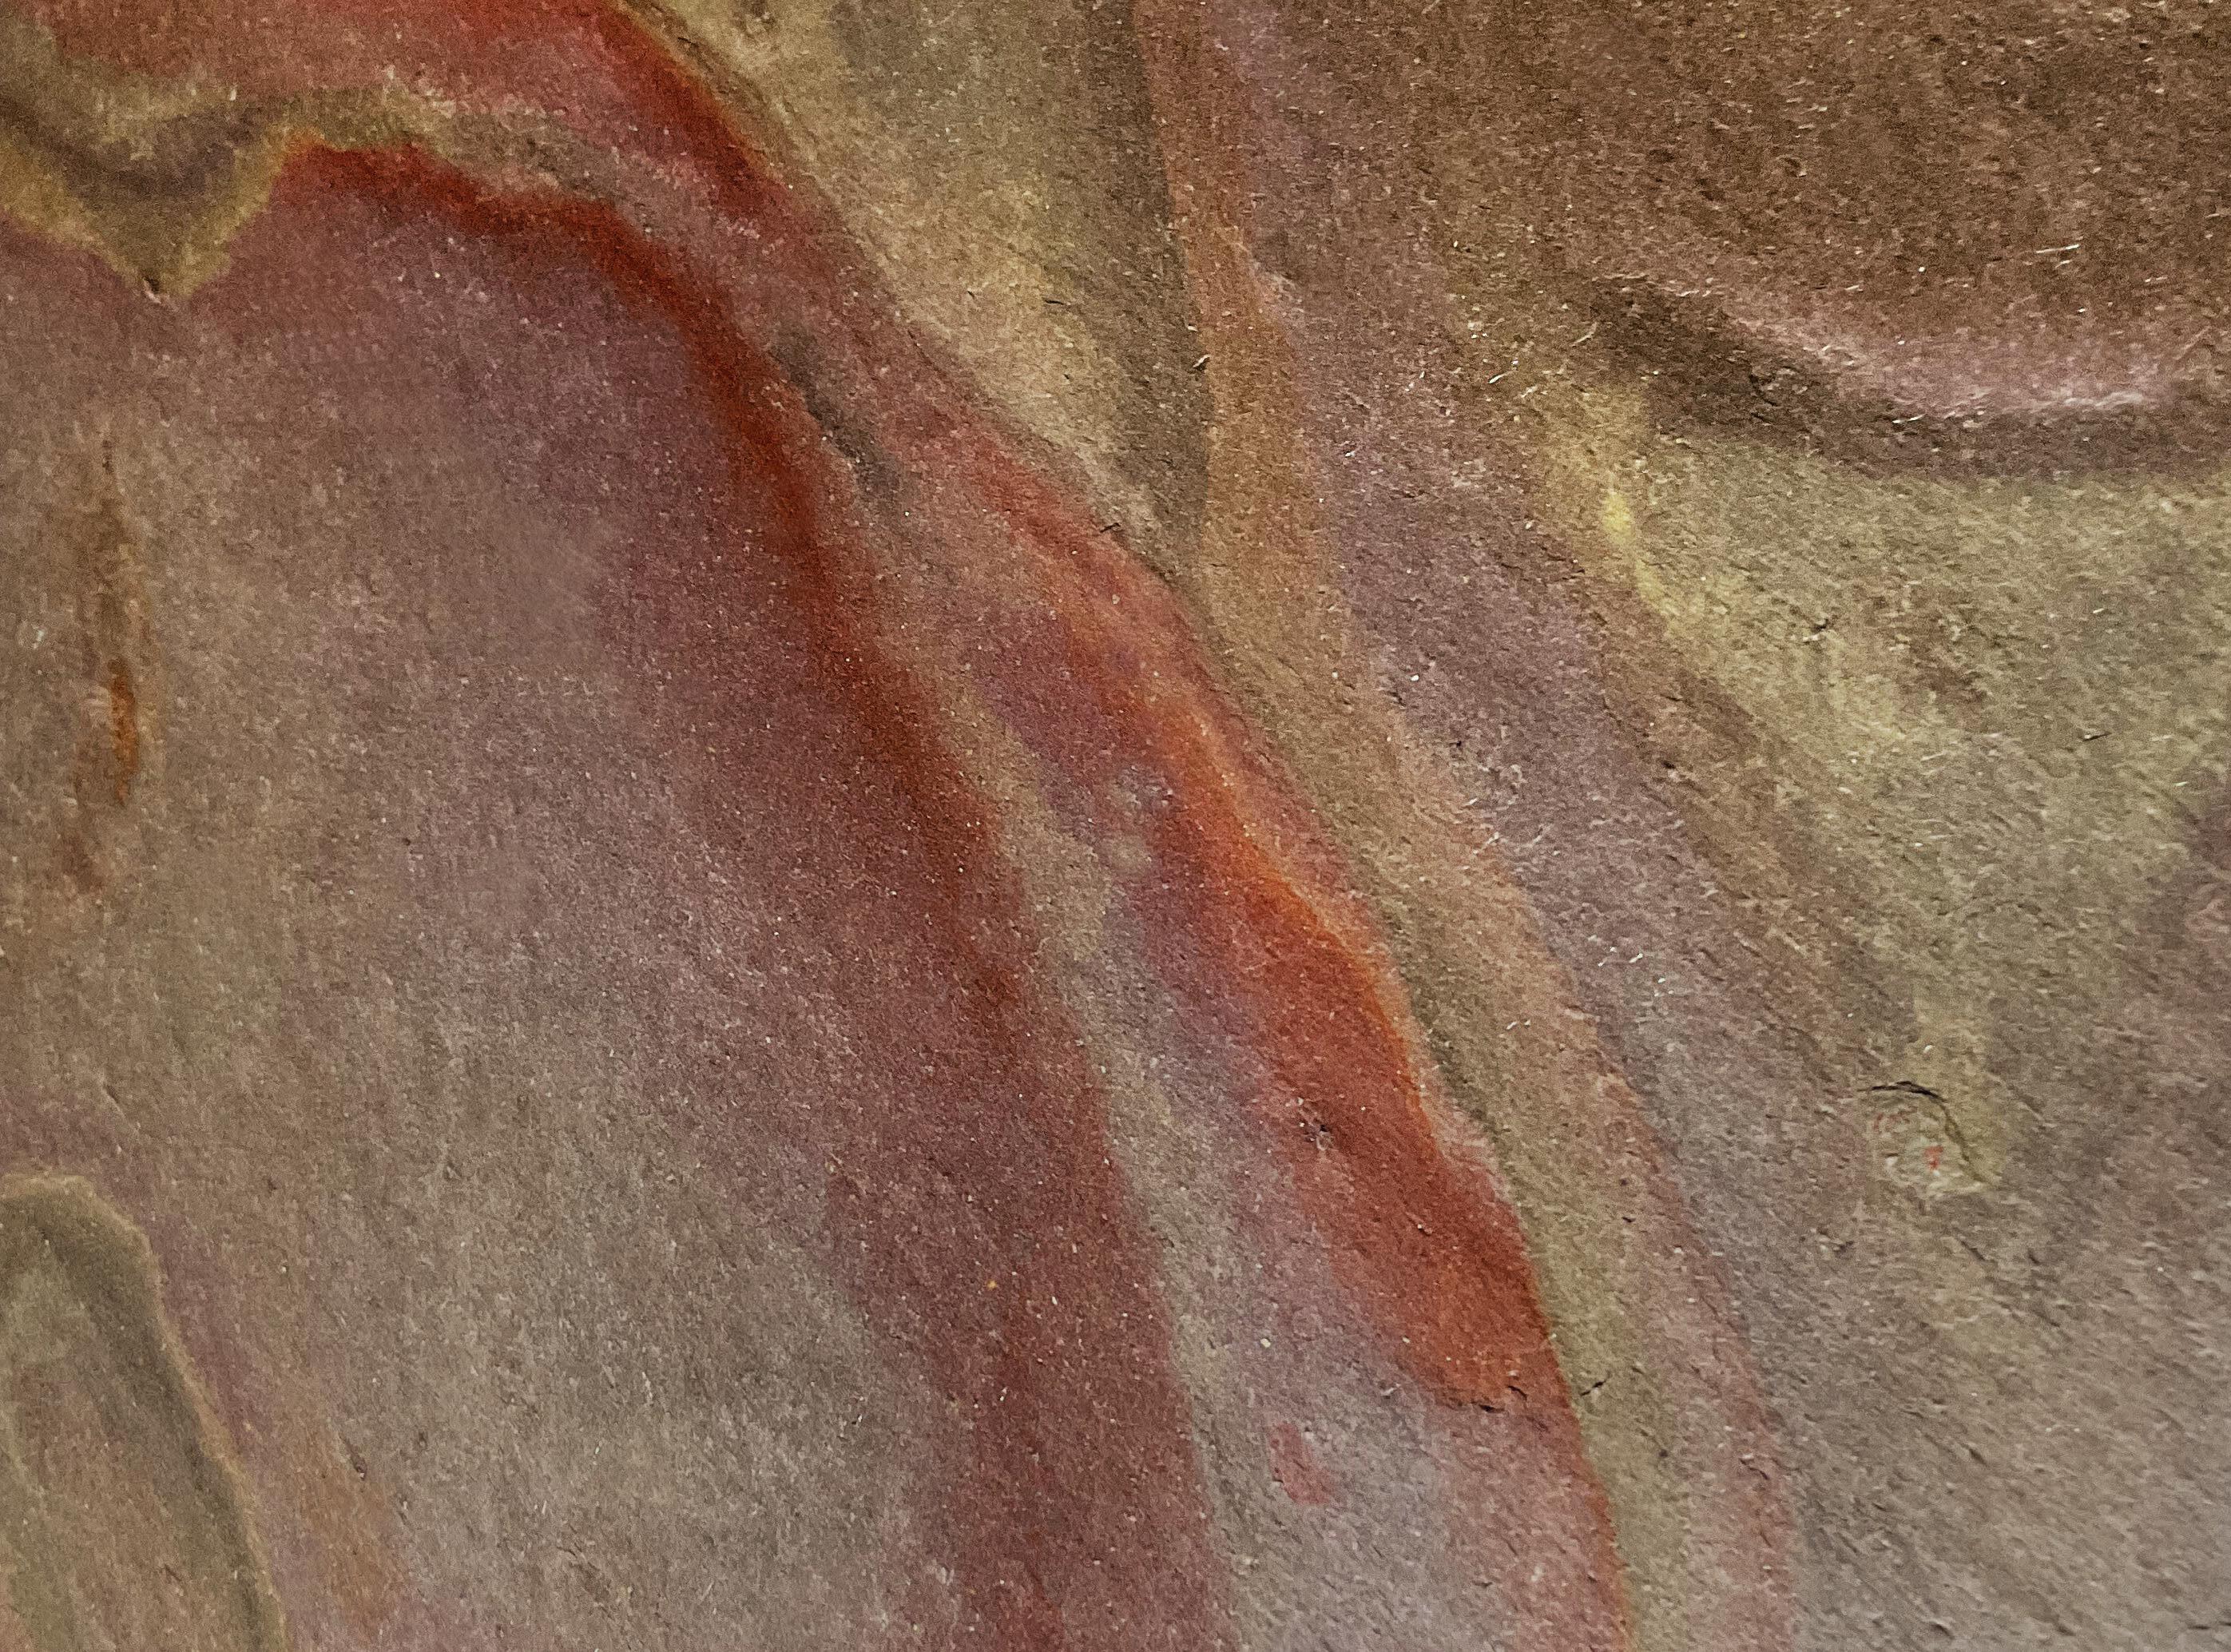
Using the latest technology, Marmox Slicedstone Veneers are peeled from the surface of Indian sedimentary rock and then re-engineered with a stabilised backing fleece, making them considerably more practical and cost effective than conventional, thicker cut, stone tiles.
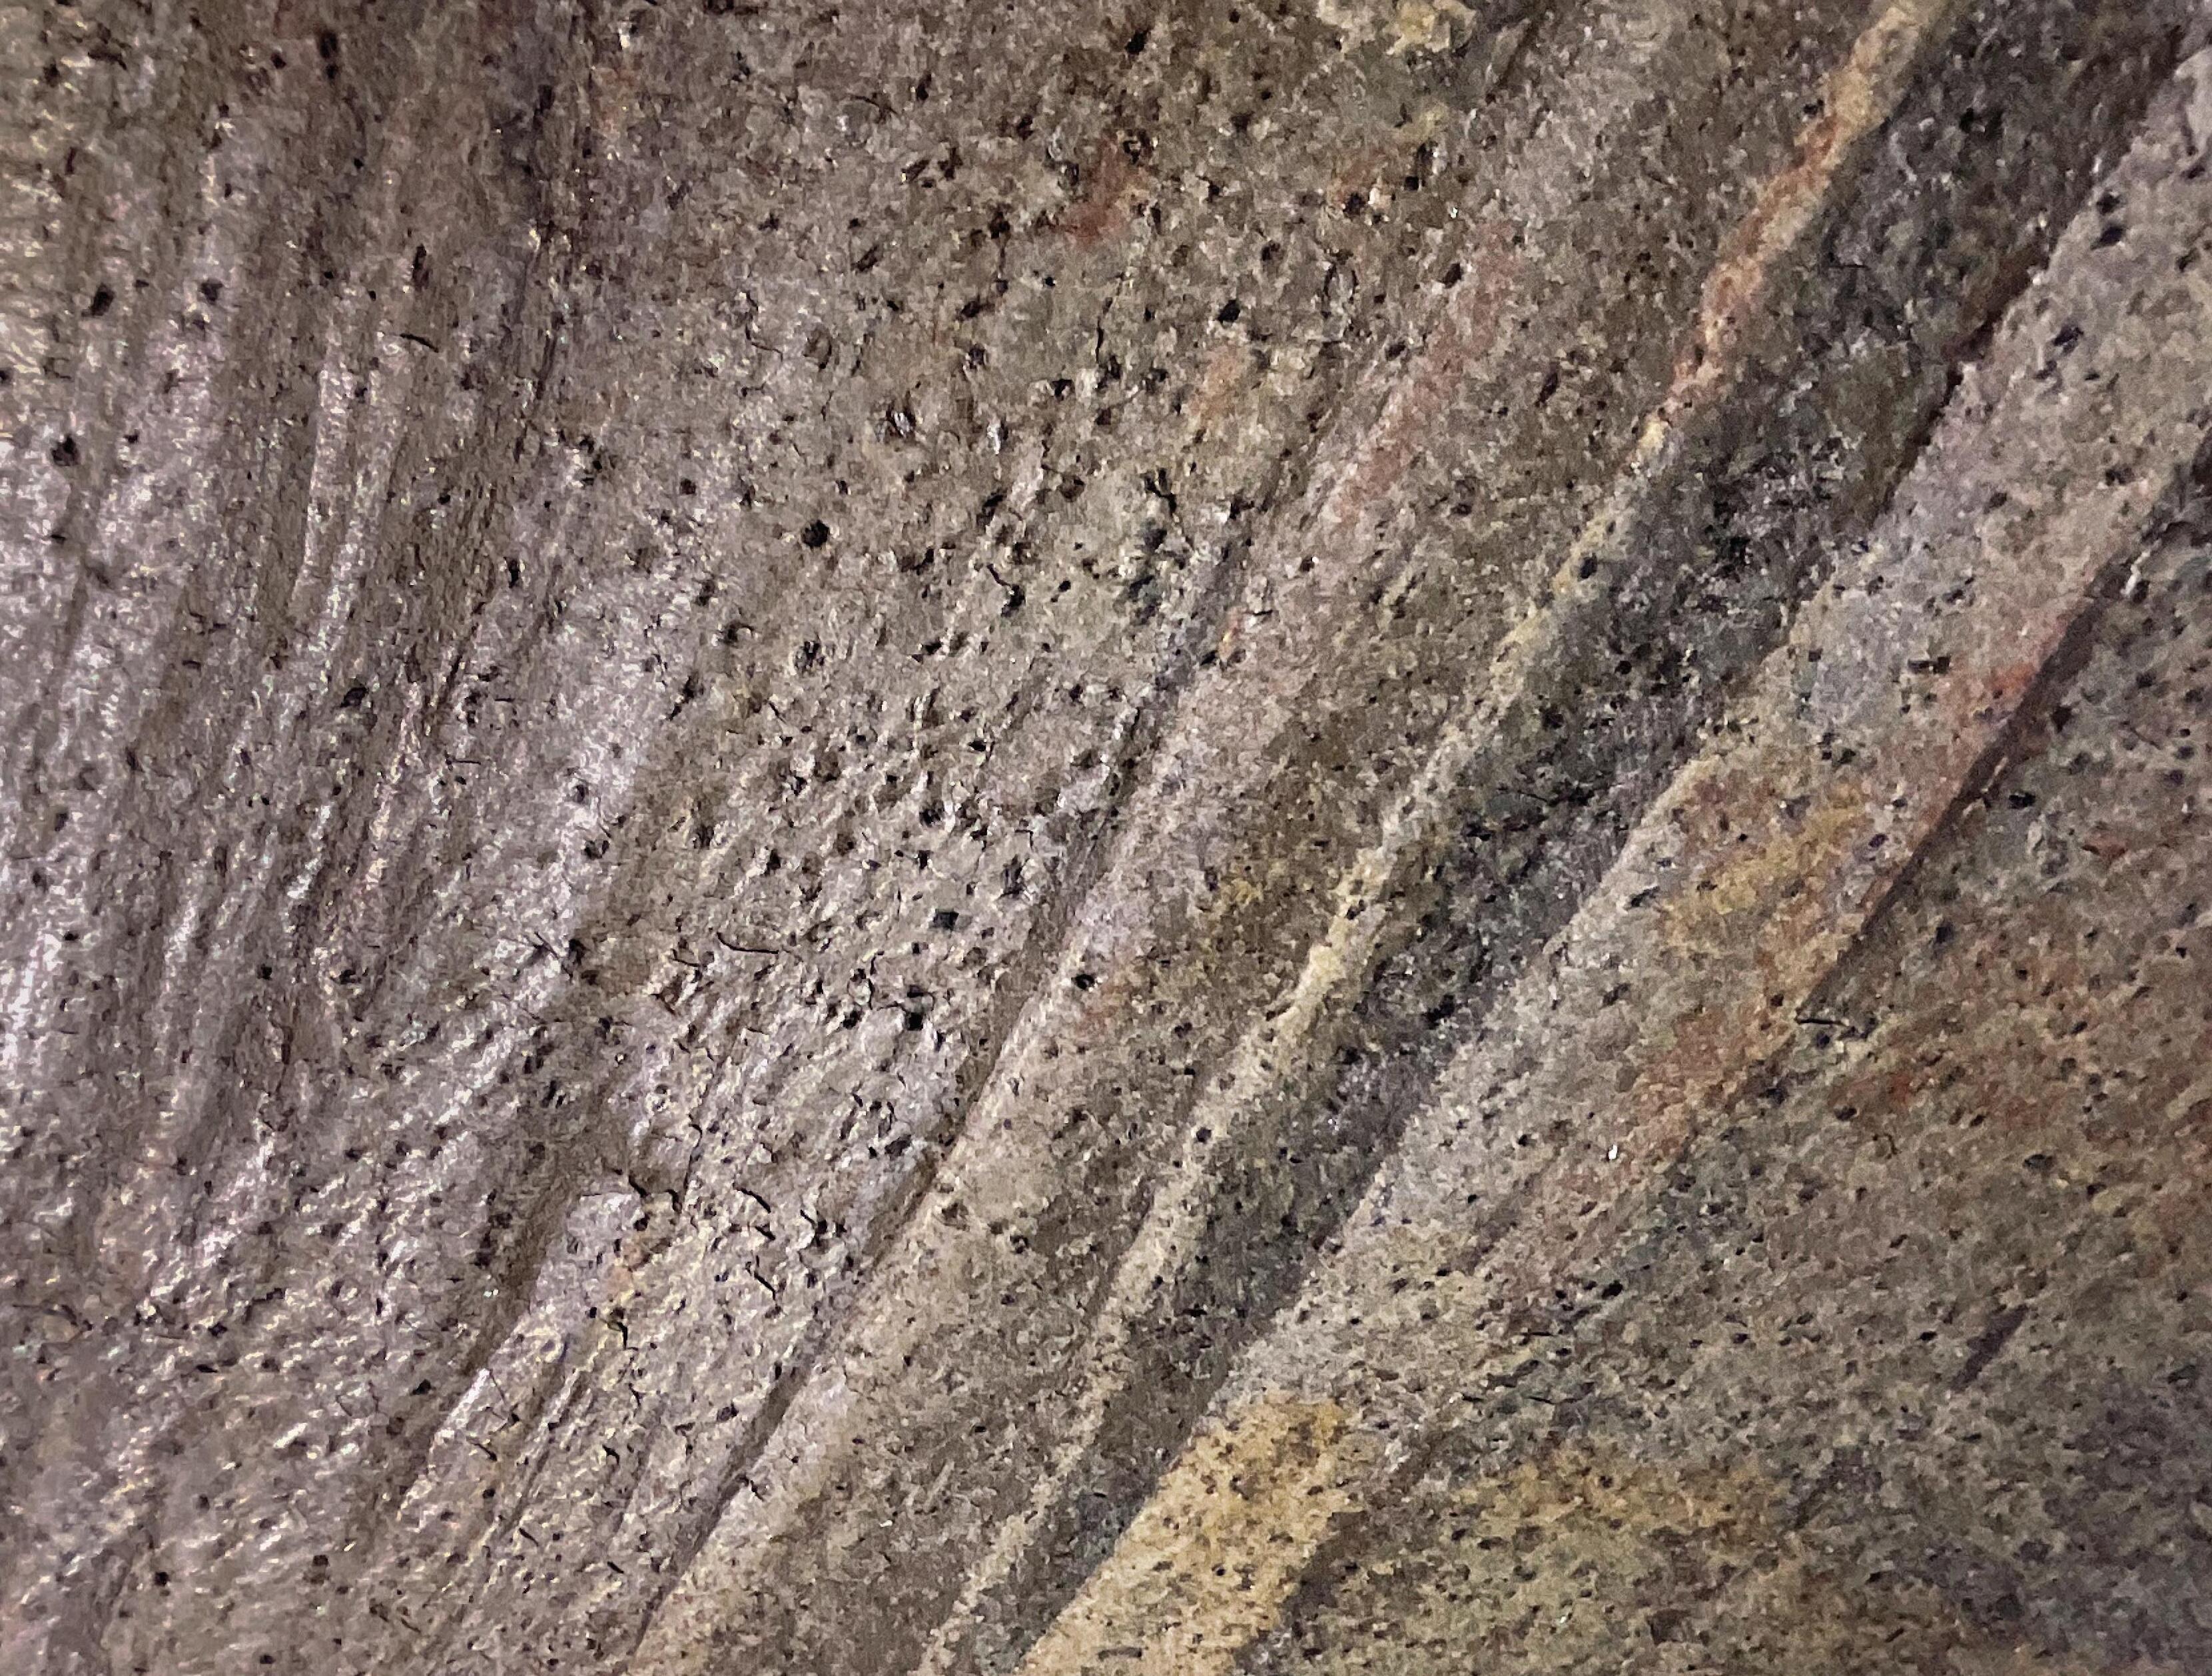
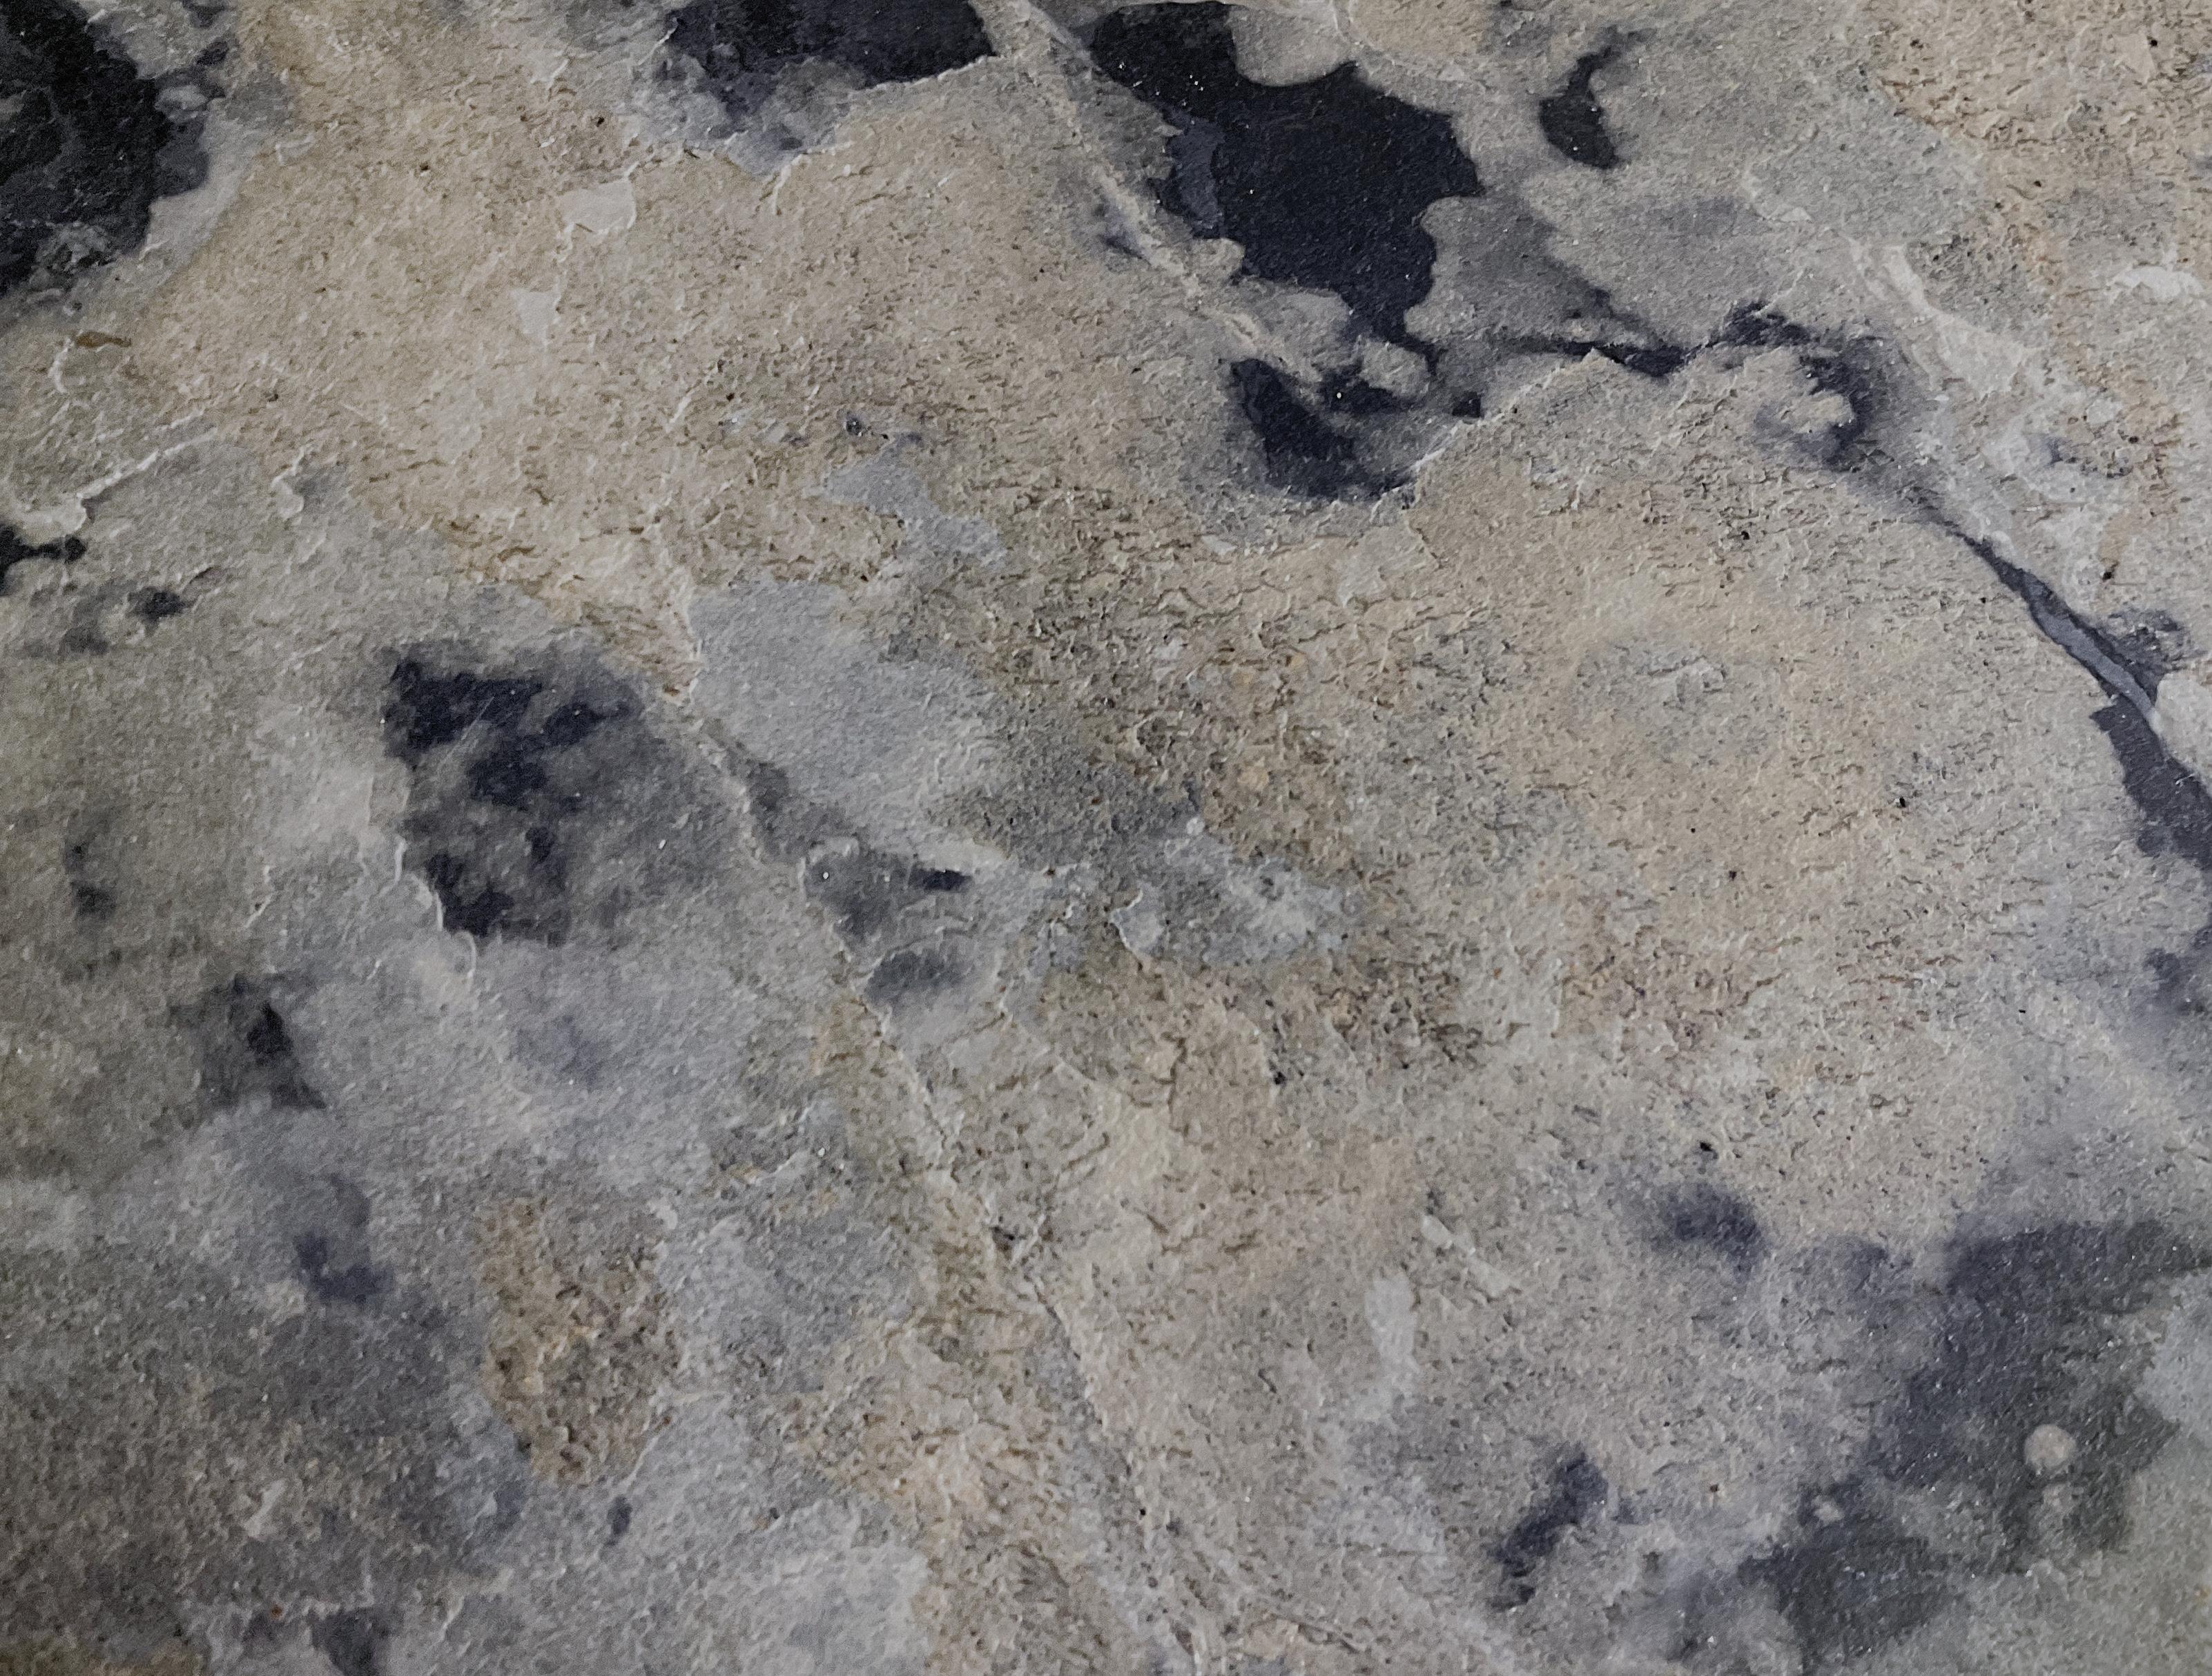
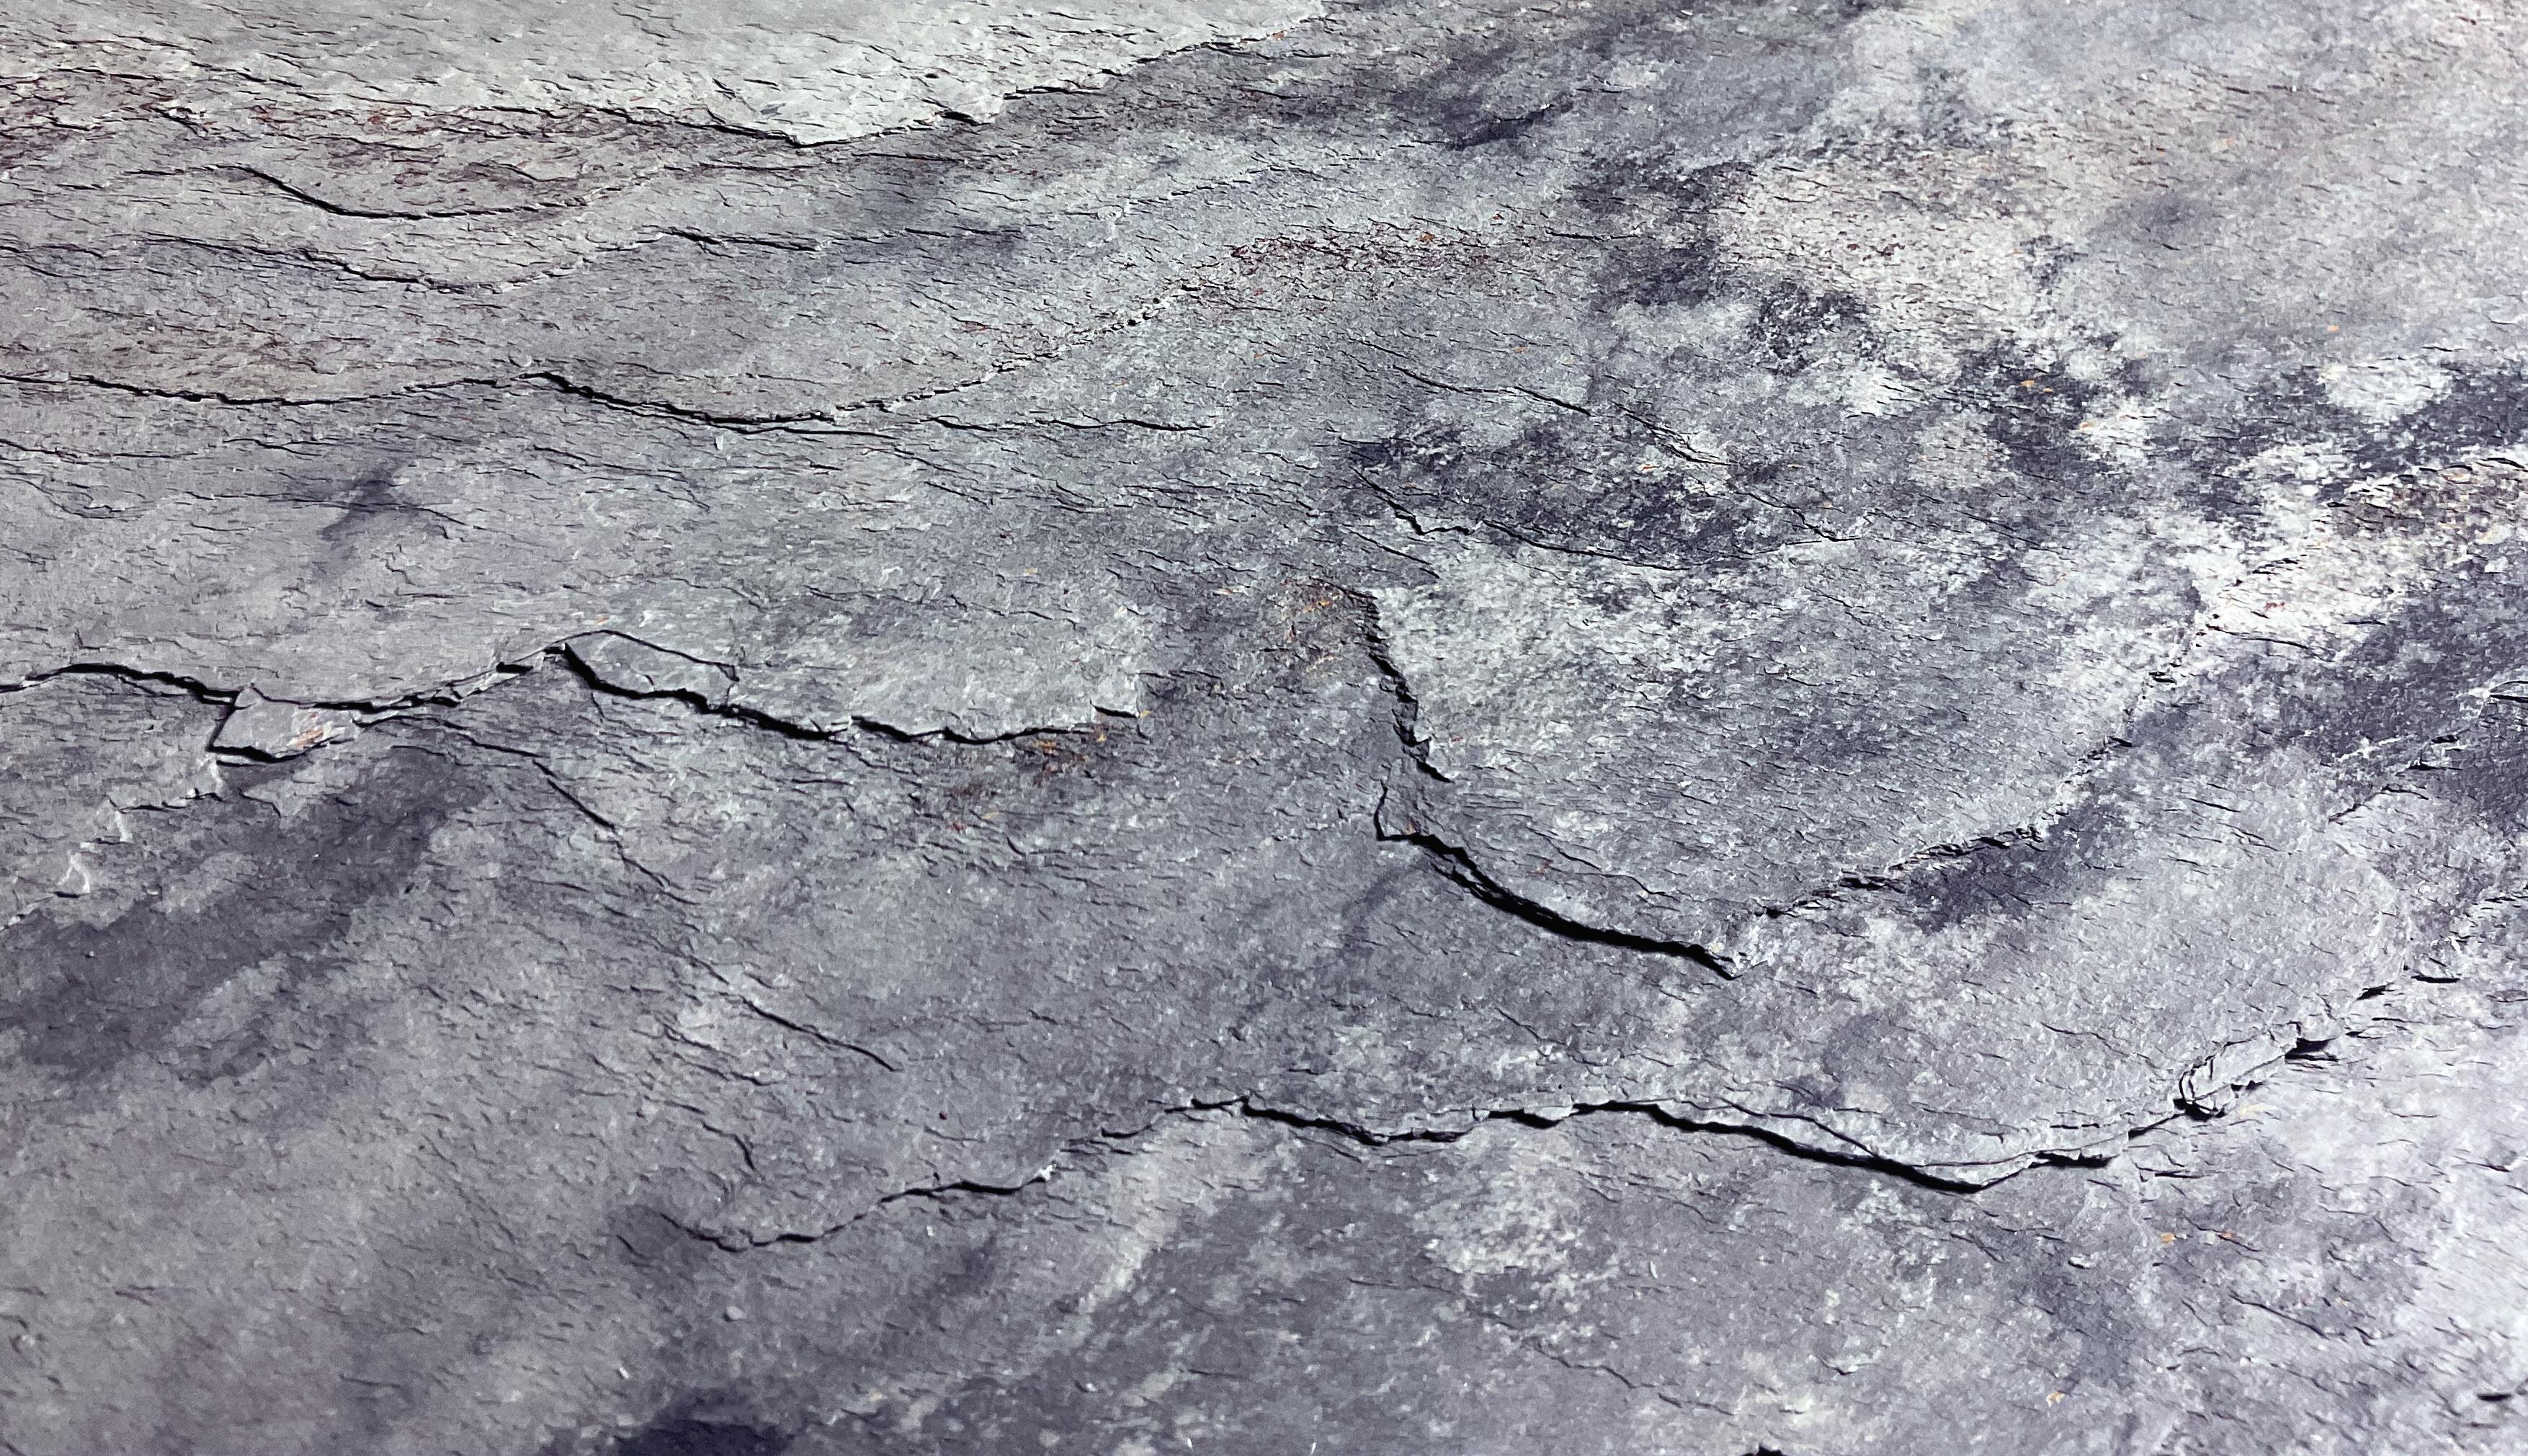
There are currently 13 different beautiful styles to choose from and because they are real stone, each sheet is unique.
The surface of each sheet has been treated with a clear, polycarbonate solution to create a stable surface which is waterproof, stain resistant and allows for easy removal of adhesive and grout residue.
Available to order in 3 different sizes, each veneer sheet displays the beautiful colour variations of natural Indian sandstone, yet at a fraction of the weight!
Product information
Thickness 4 ± 1.5mm
Weight 2.5 - 3.0 kg/m2
Moisture
< 2.5%
Many different applications
Use Slicedstone veneers to coat any wall in the house or they can be used to coat furniture and doors! As a result of a polycarbonate treatment, the sheets are flexible, which means they can curve around circular walls or columns and because they are waterproof, they are a great way to liven up bathrooms, wetrooms and shower areas.
2400mm
Absorption
Storage Horizontally on flat surface Sheet Size 1220mm x 610mm 2100mm x 1050mm
x 1050mm
Choose from many colour ranges...
Please note: These colours are a good indication but may not be an exact match. Because Slicedstone is made from real stone, by nature, styles and colours can vary in batches and from sheet to sheet.
927 925 920 915 914 913 910 907 906 902 903 901 905
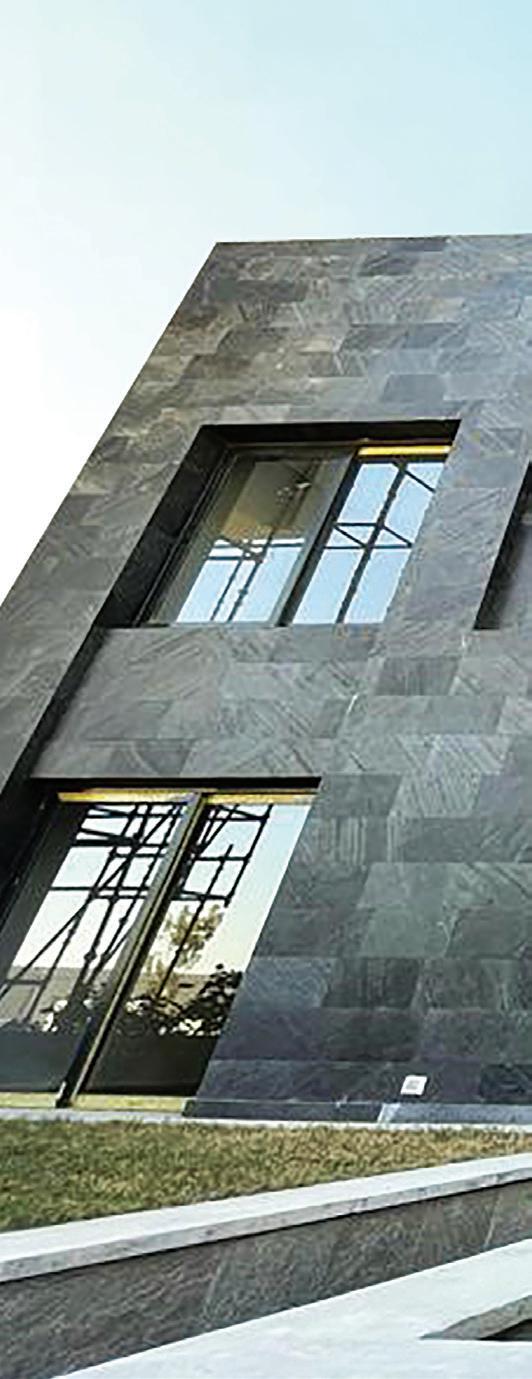
Can be used outside as well

They are a great material for cladding a buildings exterior walls
Or use them to coat garden walls and furniture.
Fitting instructions
Prior to installing your Slicedstone veneers, lay them out making sure of an even distribution of the texture and varying colouration of your sheets.
Cutting Slicedstone veneer sheets
Plunge saws, eg Festol or Exakt saw inconjuction with a diamond edged blade or a multi purpose tool (e.g Dremel) are ideal for detailing. Slicedstone sheets vary in thickness from 3mm to 5mm thick, you will find cutting Slicedstone easy and striaght forward, due to the nature of Slicedstone they cannot be cut with a traditional tile cutter or scribing knife.
Trims
When choosing a profile such as a Trim, for further information and expert advice to guide you on the products available go to www.genesis-gs.com/products. When choosing a profile take into consideration the thickness of the Slicedstone Sheets and the thickness of the adhesive you will be applying. Add these measurements together to end up with the overall height of the profile that you will require. When installing any profile always refer to the manufacturers preferred installation method.
Surface preparation
Ensure that the surface is suitable for the intended occupational use in line with British Standard BS8204. All surfaces must be free from materials that will affect the performance of the proposed installation. Any porous, loose or friable surface must be primed. Impervious surfaces and existing securely fixed coverings need to be cleaned of surface contaminants and lightly abraded to provide a key for an adhesive. For advice on choosing the correct primer contact your preferred adhesive manufacturers technical department.
Fitting with a thin bed adhesive with grout line or butt joins
Using a 4 or 6mm notched trowel, apply the sheets into the bed of adhesive, use plasterers float to firmly pat the sheets into the adhesive bed guaranteeing a full adhesive bond. To apply a grout line, use a tool to drag out the adhesive in between the sheets, any adhesive that attaches itself to surface of the sheets should be removed immediately with a clean damp cloth, failure to clean as you go will add more time and effort to the installation process. Once the adhesive is set, apply masking tape to the sheet edges prior to grouting. Grout as normal removing any haze as soon as possible. Butt jointing the sheet is the easiest installation method, for corner butt joints, lightly sand or file an angle on the edge of each adjoining sheet for a perfect join.
Fitting with a high strength polymer or epoxy adhesive with butt joins
Thin Bed: use 1.5mm Fine Notch – TKB A2 (2mm) Notch Trowel, apply the sheets into the bed of adhesive, use plasterers float to firmly pat the sheets into the adhesive bed, guaranteeing a full adhesive bond.
Sealing
After the grout has fully cured a seal coat can be applied to protect and densify the tile surface. Multiple coats can be applied, allow each coat to fully cure and dry before proceeding with the following coat. Always refer to the manufacturers instructions for the best results and to achieve the highest quality finish.
Marmox Technical Number: 01634 835290 Genesis Technical Number: 01642 713000
For more information visit: www.marmox.co.uk/slicedstoneveneer
Marmox UK Ltd
Caxton House, 101-103 Hopewell Drive, Chatham, Kent. ME5 7NP United Kingdom
For information and advice: Tel: 01634 835290
Email: sales@marmox.co.uk
Web: www.marmox.co.uk