Welcome to

Best Photo Background Removing Services
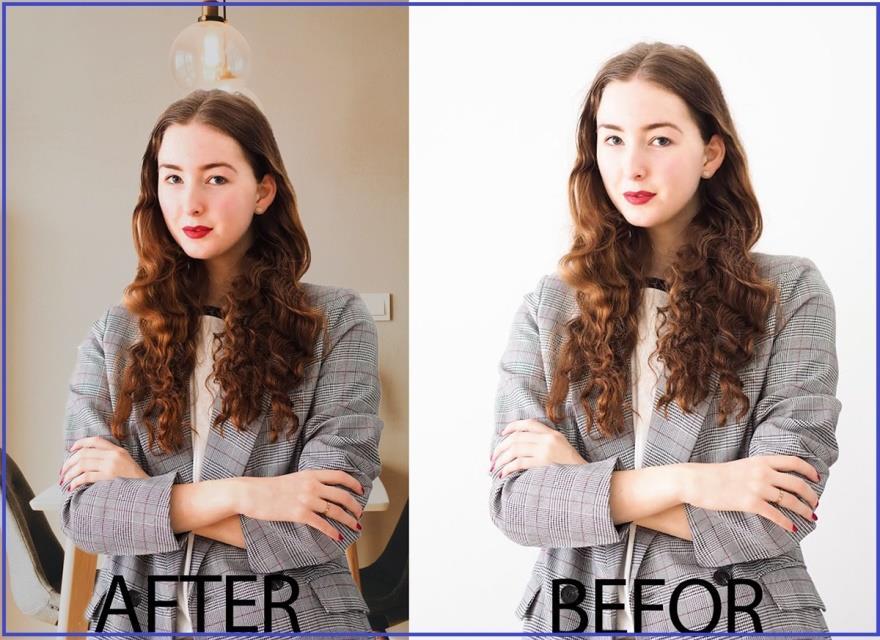
Photo background removing service is an essential technique in photo editing that involves removing the background of a photo to isolate the subject or object in the image. This Photo Background Removing technique is widely used in many industries, including e-commerce, fashion, advertising, and photography. Here is a step-by-step guide on how to perform a photo background removing service:
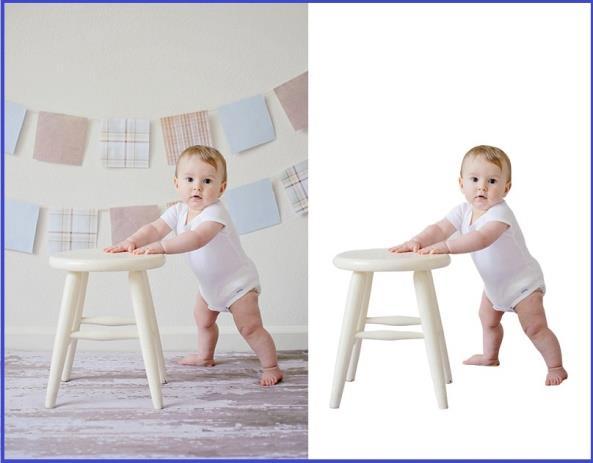 Photo Background Removing | Philippines Photo Editor
Step 1: Choose the right photo editing software
There are several photos editing software that you can use for photo background removing service, such as Adobe Photoshop, GIMP, and CorelDraw. Choose the one that you are most comfortable with and that has the necessary tools for performing photo background removing service.
Step 2: Open the image
Open the image that you want to apply the photo background removing service to in the photo editing software.
Step 3: Select the background eraser tool
Select the background eraser tool from the toolbar. This tool will allow you to remove the background of the photo while preserving the subject or object in the image.
Step 4: Start erasing the background
Start erasing the background of the photo by clicking and dragging the background eraser tool over the areas you want to remove. Be sure to be as accurate as possible and avoid erasing the edges of the subject or object in the image.
Step 5: Zoom in for precision

Zoom in on the image to get a better view of the areas that need to be erased, especially in areas with intricate details.
Step 6: Check for any missed spots
After erasing the background, zoom out and check the entire image for any missed spots. Use the eraser tool to remove any remaining background areas.
Step 7: Save the image with a transparent background
Once you have removed the background of the photo, save the image in a file format that supports transparency, such as PNG or TIFF.
Step 8: Add a new background (optional)
If you want to add a new background to the image, you can do so by placing the image on top of the new background layer in the photo editing software.
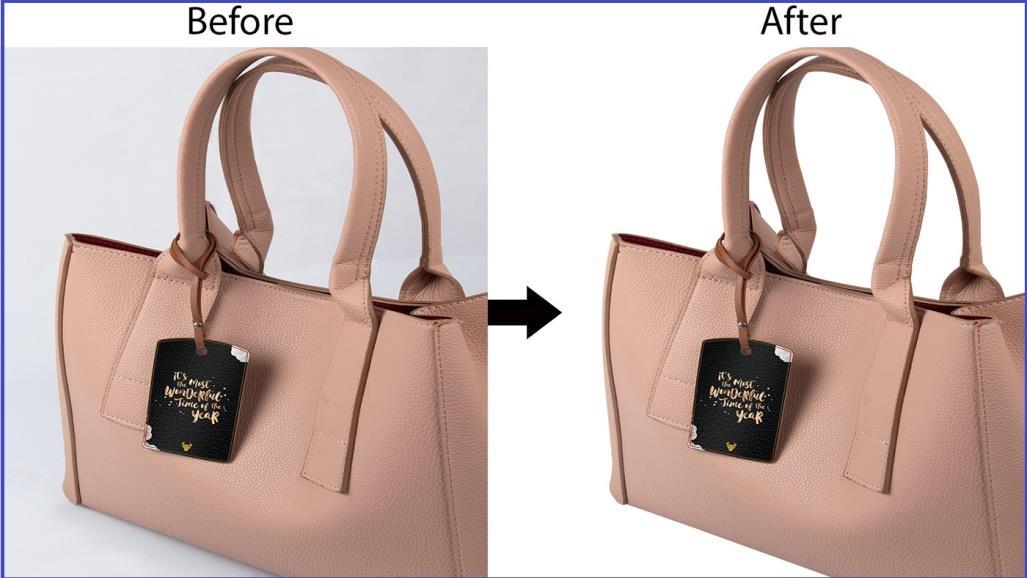
In conclusion, photo background removing service is an essential technique for various industries that require isolating subjects or objects in photos. By following these steps, you can create professional-looking images with a transparent
background or with a new background of your choice. Sure, here are some additional tips and tricks for performing photo background removing service:
Use a higher resolution image
Using a higher resolution image will make it easier to see the details of the subject or object and the background, making it easier to remove the background accurately.
Make use of selection tools
Selection tools such as the lasso tool or the magic wand tool can be used to select the background of the image quickly. This can save time and effort when erasing the background.
Use layer masks
Using layer masks can help you to make non-destructive edits to your image. You can use a layer mask to mask out the background of the image, allowing you to make adjustments to the image later if needed.
Practice patience
Photo background removing service can be a time-consuming process, especially if the image has intricate details. It's important to be patient and take your time to ensure that the background is removed accurately.
Experiment with different techniques
Different images may require different techniques for removing the background. Experimenting with different techniques can help you to find the best method for removing the background of each image.
By using these tips and tricks, you can improve your photo background removing service and create professional-looking images that meet the requirements of your clients or business.
Certainly, here are some additional tips to help you perform photo background removing service:
Use a graphics tablet
Using a graphics tablet can make the process of erasing the background of an image much easier and more accurate, especially if you are working with intricate
details. A graphics tablet allows you to use a stylus to erase the background, providing more precision and control than using a mouse.
Use the refine edge tool
Many photo editing software programs have a refine edge tool that can help you to refine the edges of the subject or object in your image. This tool can help you to make the edges of the subject or object look smoother and more natural, making it easier to blend the subject or object into a new background.
Consider outsourcing the service
If you have a large number of images that need background removing, consider outsourcing the service to a professional photo editing company. This can save you time and effort, allowing you to focus on other aspects of your business.
Keep a backup copy of the original image
Before starting to remove the background of an image, make sure to keep a backup copy of the original image. This will allow you to revert to the original image if you make a mistake or if the client requests changes.
Practice, practice, practice
The more you practice photo background removing service, the better you will become. Try working with a variety of images, including images with complex backgrounds, to improve your skills and develop new techniques. By following these additional tips, you can improve your photo background removing service and provide high-quality images to your clients or business.
Contact Us:
Website: https://www.photoeditorph.com/photo-backgroundremoving/
Email: info@photoeditorph.com
Price List: https://www.photoeditorph.com/pricing/
Phone: +8801723283638
Company Address: Majhira, Shajahanpur, Bogura5801, Bangladesh