
2 minute read
Ask the experts


how to frame a map
Question
Advertisement
I have a valuable map to frame but it needs to be floated so, whilst I could use hinges, I wondered if there was an alternative method which fits the bill?
Answer
Good question! And, fortunately, I have an answer which may help you. I have had to use this technique on a few valuable maps and I know that it is totally safe, reversible and appropriate. You will need:
■ Museum mountboard for the top mount and undermount
■ A sheet of mylar - also known as melinex - or
Polyester sheet (available from Conservation by
Design or online)
■ A sharp scalpel, pencil and ruler
■ Strong Conservation hinging tape or gummed tape (which is on the back of the board and not touching the artwork).
Method:
1. Calculate the size of your top mount/s allowing for a space around the map.
Cut a second piece of board onto which the map will sit.
2. Using your cut mount as a guide, lay the map onto the undermount and measure carefully to get the correct position. A lot of old maps are not square, so bear this in mind when calculating the space you want to show around the edge. The bigger the space, the less obvious it is.
3. Using a very fine pencil carefully mark in the corners (this will be erased later).
4. Removing the map, carefully and very lightly extend the corner lines about 7.5cm.
5. Using a scalpel, cut strips of mylar about 5mm wide and 15cm long.
6. On the pencil line, in each direction, measure 7cm from the corner and lightly mark; and then mark again at 8cm. The area between 7cm and 8cm is to be very carefully cut with a scalpel.
The idea is that you are making a fine slit into which the polyester strip will be fitted. Even though the strip is only 5mm wide you double that measurement to take account of the angle at which this the strip is placed.
See photograph. If you use wider strips, remember to double up for the slits. 7. Erase all pencil marks. It would be nice to be able to do this on the back of the board but because all maps are not square you would end up with the map in the wrong position.
8. Feed a strip through the two slits in each corner and fix firmly onto the back of the board using a strong conservation hinging tape. Ensure that the strip is laying completely flat before securing.
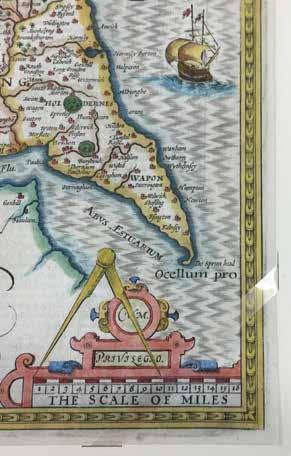
9. Turn the mountboard over and carefully slide the map into each corner strip (see photograph).
10. If additional spacing is required to avoid the glass touching, place another mount or mount strips beneath the top mount as seen in the photograph of the completed map.
Final Note
The strips are visible but not invasive. Most importantly, they support the artwork and are totally inert.
Lyn Hall GCF (APF) Adv International Framer/Trainer
www.fringearts.co.uk


