p11
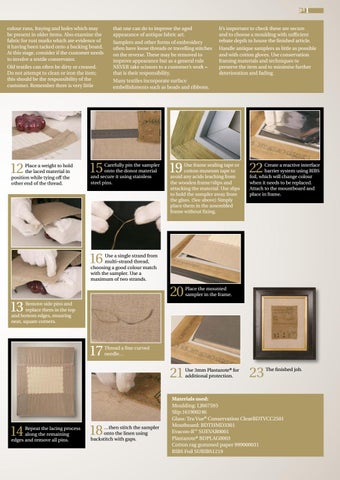
colour runs, fraying and holes which may be present in older items. Also examine the fabric for rust marks which are evidence of it having been tacked onto a backing board. At this stage, consider if the customer needs to involve a textile conservator. Old textiles can often be dirty or creased. Do not attempt to clean or iron the item; this should be the responsibility of the customer. Remember there is very little
12
Place a weight to hold the laced material in position while tying off the other end of the thread.
that one can do to improve the aged appearance of antique fabric art. Samplers and other forms of embroidery often have loose threads or travelling stitches on the reverse. These may be removed to improve appearance but as a general rule NEVER take scissors to a customer’s work – that is their responsibility.
It’s important to check these are secure and to choose a moulding with sufficient rebate depth to house the finished article. Handle antique samplers as little as possible and with cotton gloves. Use conservation framing materials and techniques to preserve the item and to minimise further deterioration and fading.
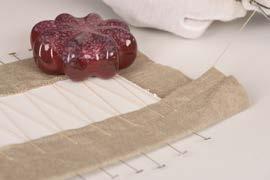
Many textiles incorporate surface embellishments such as beads and ribbons.
15
Carefully pin the sampler onto the donor material and secure it using stainless steel pins.
19
Use frame sealing tape or cotton museum tape to avoid any acids leaching from the wooden frame/slips and attacking the material. Use slips to hold the sampler away from the glass. (See above) Simply place them in the assembled frame without fixing.
22
Create a reactive interface barrier system using RIBS foil, which will change colour when it needs to be replaced. Attach to the mountboard and place in frame.
16
Use a single strand from multi-strand thread, choosing a good colour match with the sampler. Use a maximum of two strands.
13
20
Place the mounted sampler in the frame.
21
Use 3mm Plastazote® for additional protection.
Remove side pins and replace them in the top and bottom edges, ensuring neat, square corners.
17
14
Repeat the lacing process along the remaining edges and remove all pins.
18
Thread a fine curved needle…
…then stitch the sampler onto the linen using backstitch with gaps.
23
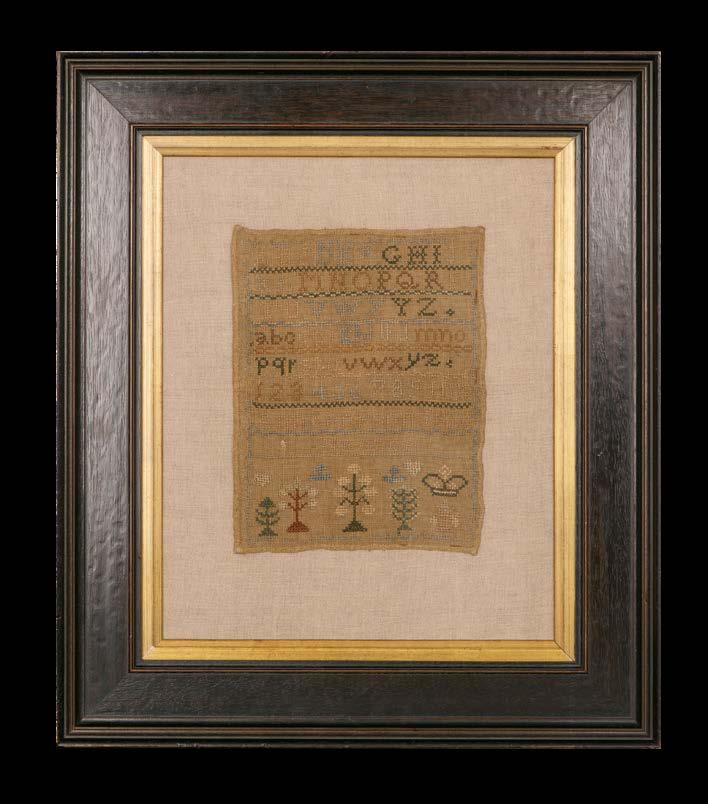
The finished job.
Materials used: Moulding: LJ667593 Slip:161900246 Glass: Tru Vue® Conservation ClearBDTVCC2501 Moutboard: BDTHMD3301 Evacon-R™ SUEVAR0001 Plastazote® BDPLAG0003 Cotton rag gummed paper 999000031 RIBS Foil SURIBS1219