p10
Top Tips
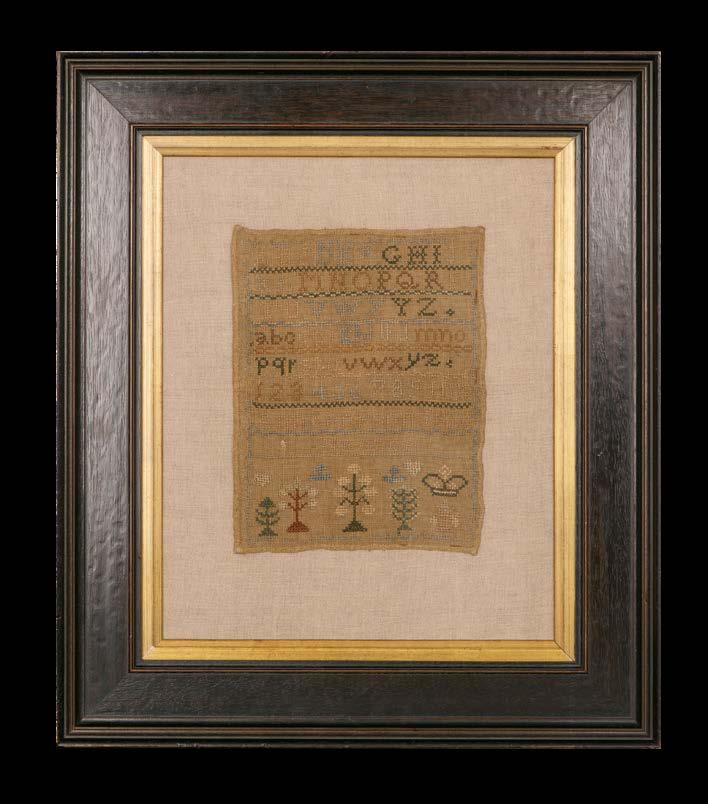
Mal’s Masterclass Antique Sampler
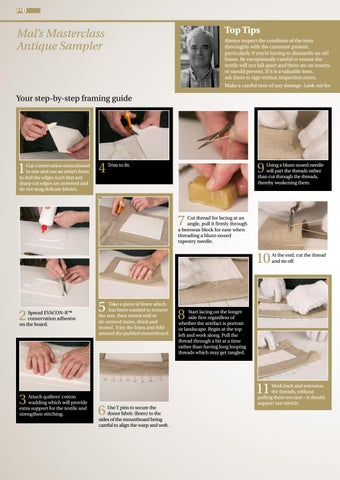
Always inspect the condition of the item thoroughly with the customer present, particularly if you’re having to dismantle an old frame. Be exceptionally careful to ensure the textile will not fall apart and there are no insects or mould present. If it is a valuable item, ask them to sign written inspection notes. Make a careful note of any damage. Look out for
Your step-by-step framing guide
1
Cut conservation mountboard to size and use an artist’s bone to dull the edges such that any sharp cut edges are removed and do not snag delicate fabrics.
4
9
Trim to fit.
Using a blunt-nosed needle will part the threads rather than cut through the threads, thereby weakening them.
7
Cut thread for lacing at an angle, pull it firmly through a beeswax block for ease when threading a blunt-nosed tapestry needle.
10
2
Spread EVACON-R™ conservation adhesive on the board.
3
Attach quilters’ cotton wadding which will provide extra support for the textile and strengthen stitching.
5
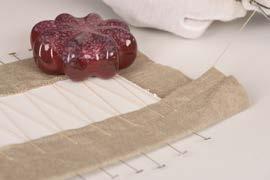
Take a piece of linen which has been washed to remove the size, then rinsed well in de-ionised water, dried and ironed. Trim the linen and fold around the padded mountboard.
8
Start lacing on the longer side first regardless of whether the artefact is portrait or landscape. Begin at the top left and work along. Pull the thread through a bit at a time rather than having long looping threads which may get tangled.
11 6
Use T pins to secure the donor fabric (linen) to the sides of the mountboard being careful to align the warp and weft.
At the end, cut the thread and tie off.
Work back and retension the threads, without pulling them too taut – it should support not stretch.