1 minute read
Engine - Engine and crankcase


Engine - Remove
NOTE: Emissions sensors mounted the exhaust stream are sensitive extreme Use tools that erate extreme such impact wrenches and will result damage emission A void using these tools during any service procedure close proximity emission sensors. the use these tools cannot remove the sensors using extreme caution prior performing any service Park machine a level surface and lower the bucket the Put articulation lock LOCKED tion and stop the engine.
Advertisement
Actuate the brake pedal several times discharge brake

Put key switch
Pilot control switch must the position and then move loader control lever(s) back and forth least times release any pressure from hydraulic Put key switch OFF
Engine - Engine and crankcase

Raise grill located above the cooler box just behind the Then slowly loosen the hydraulic reservoir filler cap release pressure the reservoir . RCPH10WHL099BAL
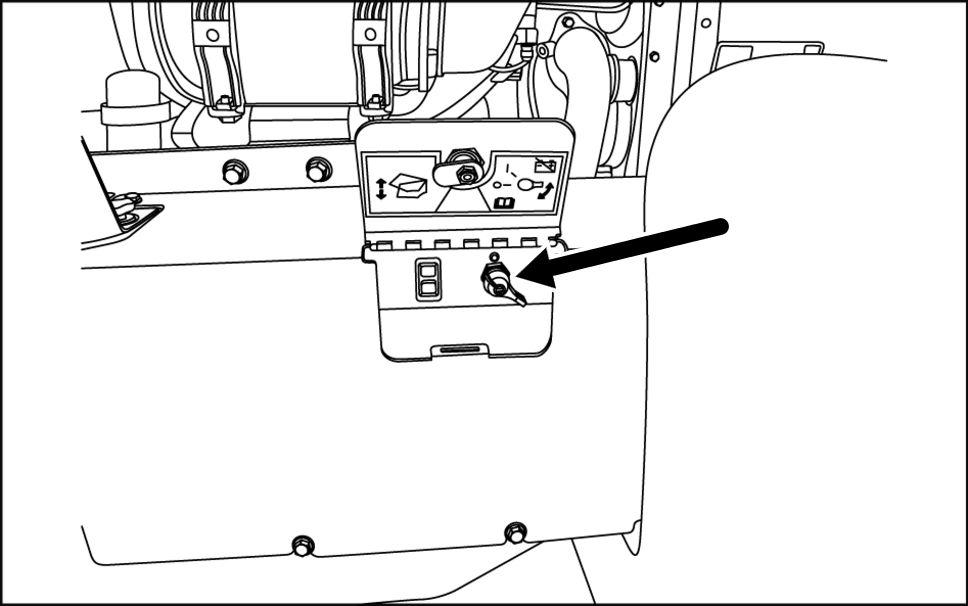
Locate the master and hood raise switch the tery Then raise the hood and put the master disconnect switch the OFF position. RCPH10WHL106AAH 5

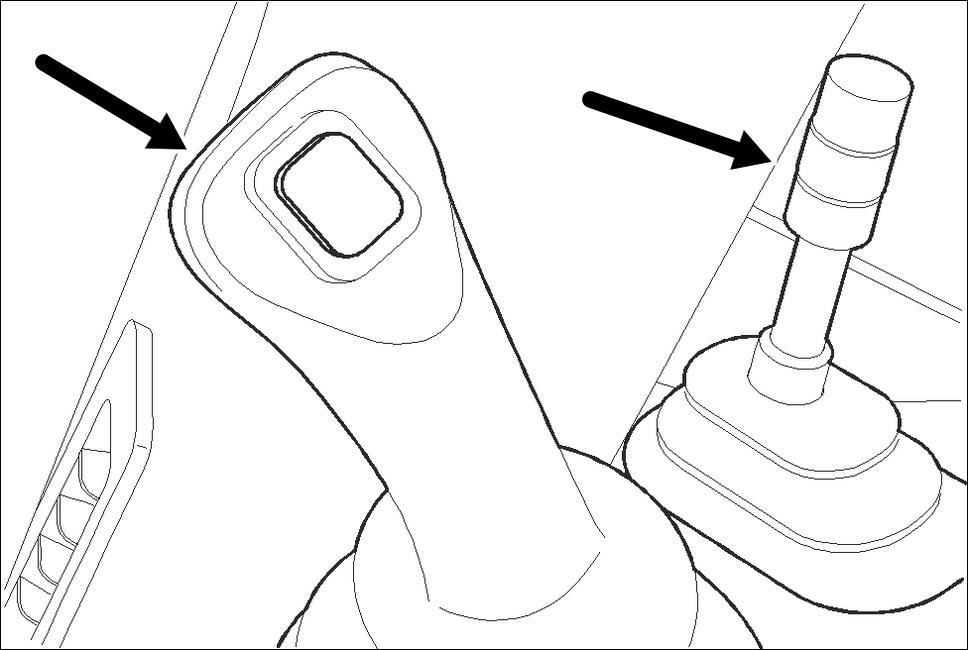
Raise both side panels (1) . Then remove the thumb screws (2) and inner fender panels (3)
NOTE: Left side the machine The operation similar for the right RAPH12WEL0597AA
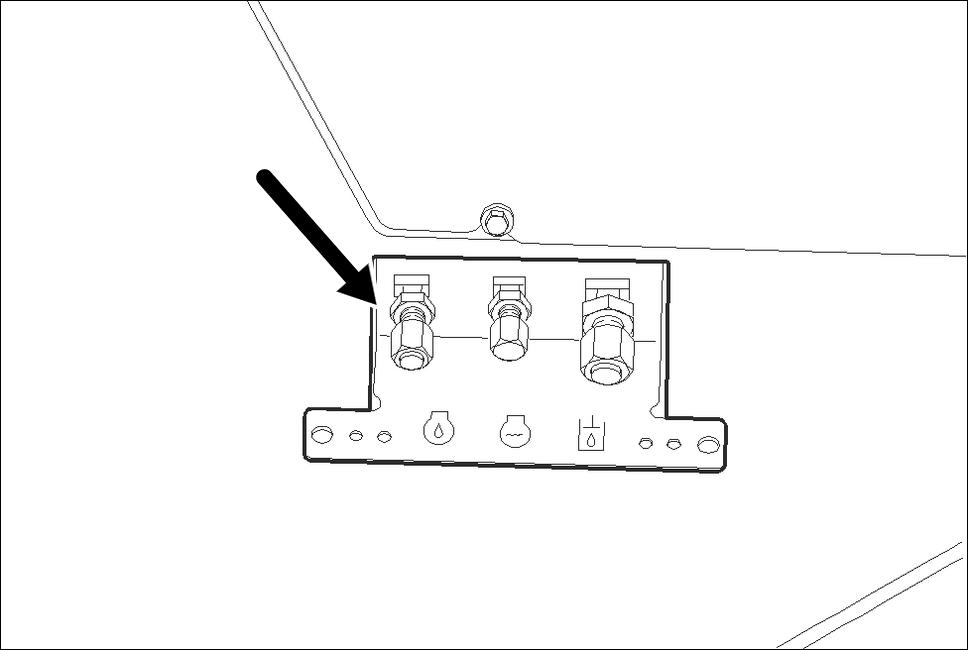
Place a suitable container below radiator move radiator cap and coolant drain plug (arrow) drain engine Then reinstall drain plug and radiator cap after coolant has drained.
NOTE: See machine specifications for cooling system

Place a suitable container below engine oil Remove drain plug and drain oil into container Then reinstall drain plug.
NOTE: See machine specifications for engine oil sump
RCPH10WHL054BAL 8
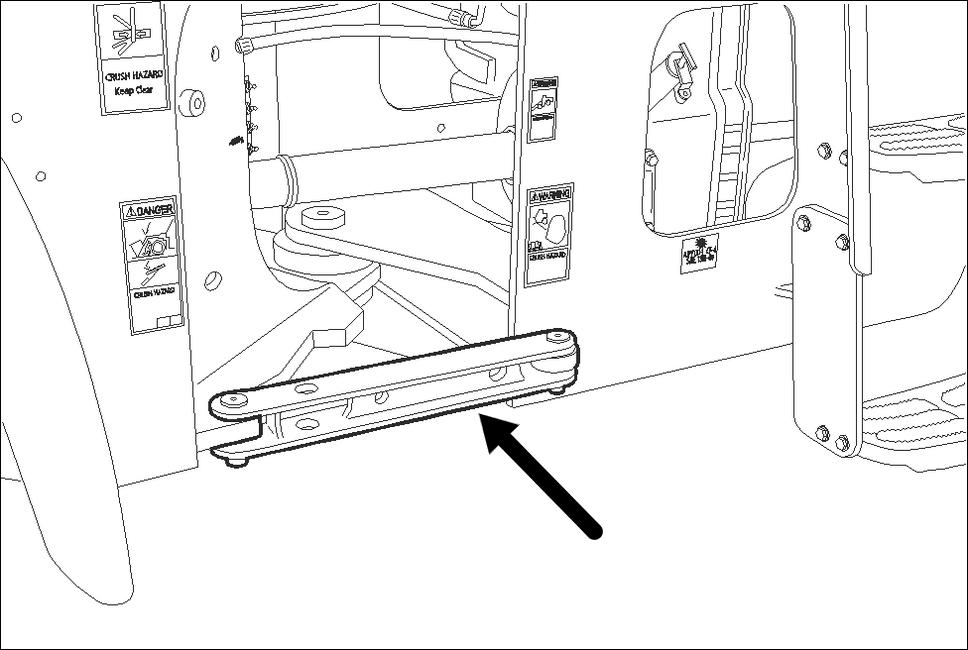
After oil disconnect drain hose from frame removing jam nut (1) . Then pull hose from frame preparation for engine (2)

RAPH12WEL0598AA 9
10. Double a nylon lifting strap (1) and slide through the exhaust stack (2) the
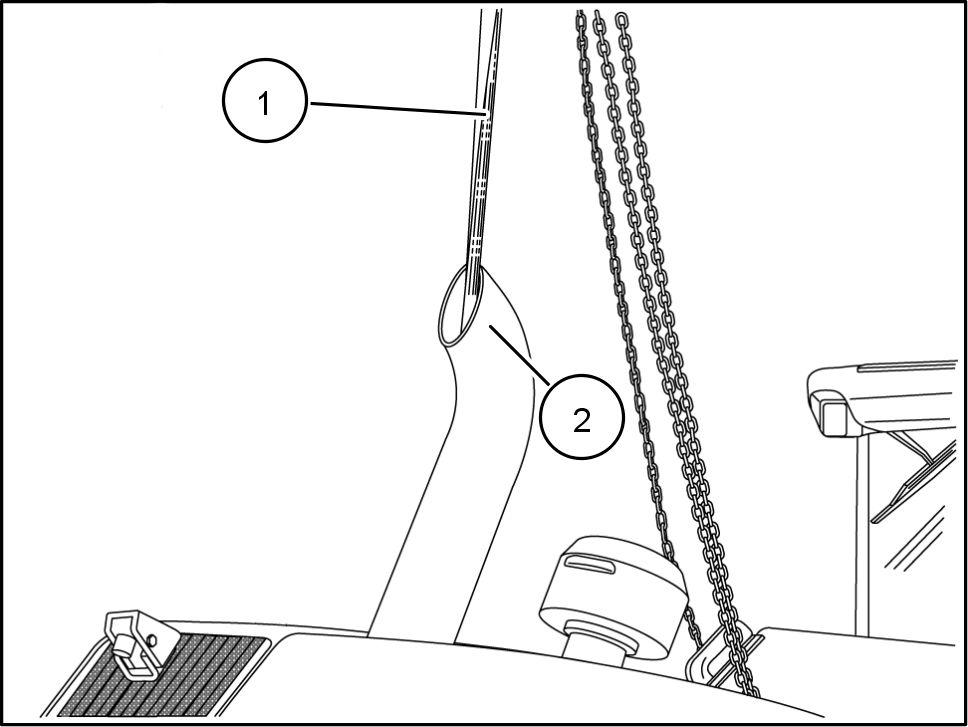
RAPH12WEL0599AA