GETTING STARTED WITH THE NEW TEACHER INTERFACE
klettwl.com/thekwlhub
FEBRUARY 2026
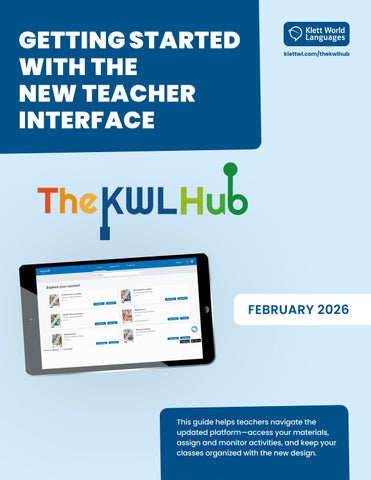
This guide helps teachers navigate the updated platform—access your materials, assign and monitor activities, and keep your classes organized with the new design.
GETTING STARTED WITH THE NEW TEACHER INTERFACE
klettwl.com/thekwlhub
FEBRUARY 2026
This guide helps teachers navigate the updated platform—access your materials, assign and monitor activities, and keep your classes organized with the new design.