
DIY Air Duct Cleaning Tips
Ductwork is your HVAC system's essential component, necessitating periodic duct cleaning for flawless HVAC performance and indoor air quality. HVAC ducts typically accumulate dust, pet hair, debris, and pollen over time. Moreover, sometimes ducts can harbor mold or catch bigger things, including demolition waste, animals, or insects. Thus, performing duct cleaning is paramount, allowing you to clean your home's HVAC supply and vents. You can accomplish this yourself. However, getting professional cleaning from experienced air duct cleaning Lincoln experts is also imperative. Let's proceed to get acquainted with a step-by-step DIY air duct cleaning.
When Should You Clean Your Air Ducts?
Consider cleaning the air ducts of seasonal HVAC systems for approximately a month before activating them. Otherwise, clean them only as necessary. If you discover a musty smell when you turn on your HVAC system or smell rat droppings, clean the air ducts instantly. Additionally, clean your air ducts after installing a new HVAC system, extensive repairs, or a dust-creating house renovation job.
Ways for Air Duct Cleaning
Turn Off the Hvac and Remove the Grills:
First and foremost, switch off the HVAC system thru the thermostat or the circuit breaker. Then remove the supply and return the vent grills. You can feasibly lift off the floor supply registers as they aren't usually fastened. Drill the screws holding the grills in place on the ceiling and wall supply registers. Return grills will also be screwed in place.
Clean the Grills and Prepare the Cleaning Brush:
Now at this stage, clean the supply grills using warm water, minimal detergent, and a soft brush. However, since the return vent might be too big to wash in the sink, use the hose, brush, and detergent to clean up its outside. After cleaning, place all grills against a wall to dry and screw together the flexible nylon rods to make a 10-foot pole and attach the cleaning head onto the rod's ends.
Evaluate the Supply Ducts:
Examine the duct's layout with a flashlight. The duct is usually run straight for a short distance before turning 90 degrees. However, sometimes, it reaches a tee and turns in two opposite 90-degree orientations.
Remove the Contaminants From the Supply Ducts: Insert the cleaning head into the duct until about 1 foot of the vent is visible, and slide the drill bit into the rod. Press the drill trigger forward to turn the cleaning head and bring it out slowly while spinning. Now, stop it once it reaches the end. Move the cleaning head along the other side if it's a tee.
Clean the Supply Vent's End and Prepare the Vacuum Hose: Eliminate the pollutants the cleaning head deposited at the supply vent's end. Now, connect the shop vacuum's 10 feet extension hose. While using a nozzle in the ducting, connect it to the hose using duct tape at the end.
Dislodge the Contaminants in the Return Duct and Clean the Supply Duct:
Clean the supply duct using a vacuum. Gently retract the hose. Jog it up and down to get as much of the vent as possible. Now, push the cleaning brush and rods into the return duct, similarly to the supply ducts. After that, slowly draw it back while turning it with the drill.
Clean the Return Duct and Replace the Grills and Vents:
Insert the extended shop vacuum hose into the return duct, as you did with the supply ducts, to eliminate the debris. After this, replace the cleaned grilles and vents on the vents once they dry.
Turn on the System:
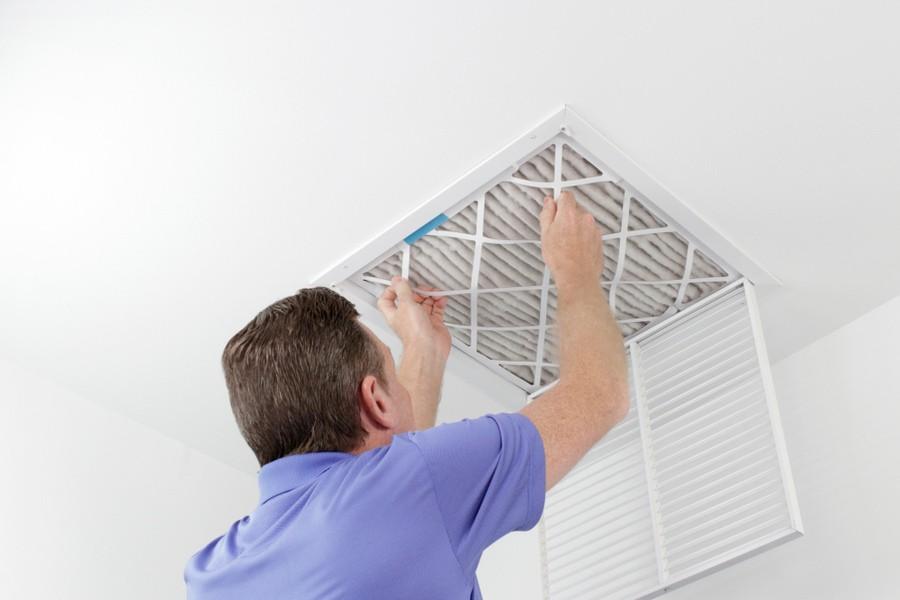
Voila! You have cleaned the air ducts. Now, restart the HVAC system and allow it to run for 20 minutes. Turn it off and inspect the filter, as it'll collect pollutants that the suction in the return duct was unable to remove. So, you may need to discard it and replace it with a new one.
https://dailybusinesspost.com/how-to-clean-air-ducts/