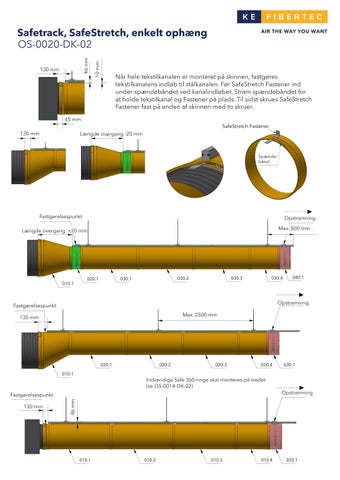
Safetrack, SafeStretch, enkelt ophæng
Fastgørelsespunkt
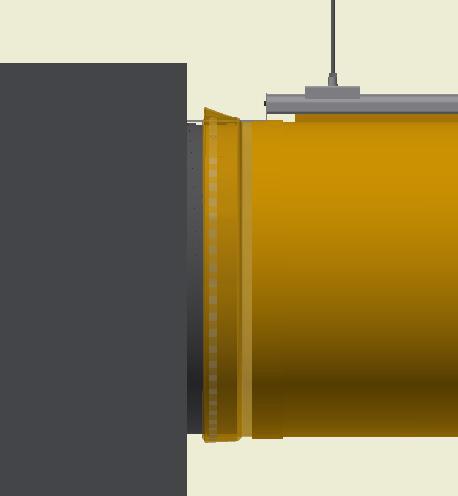
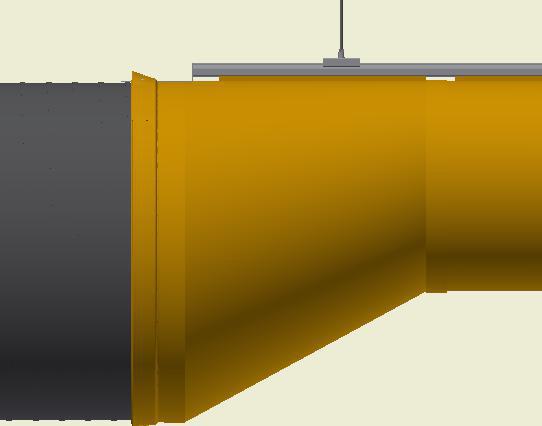
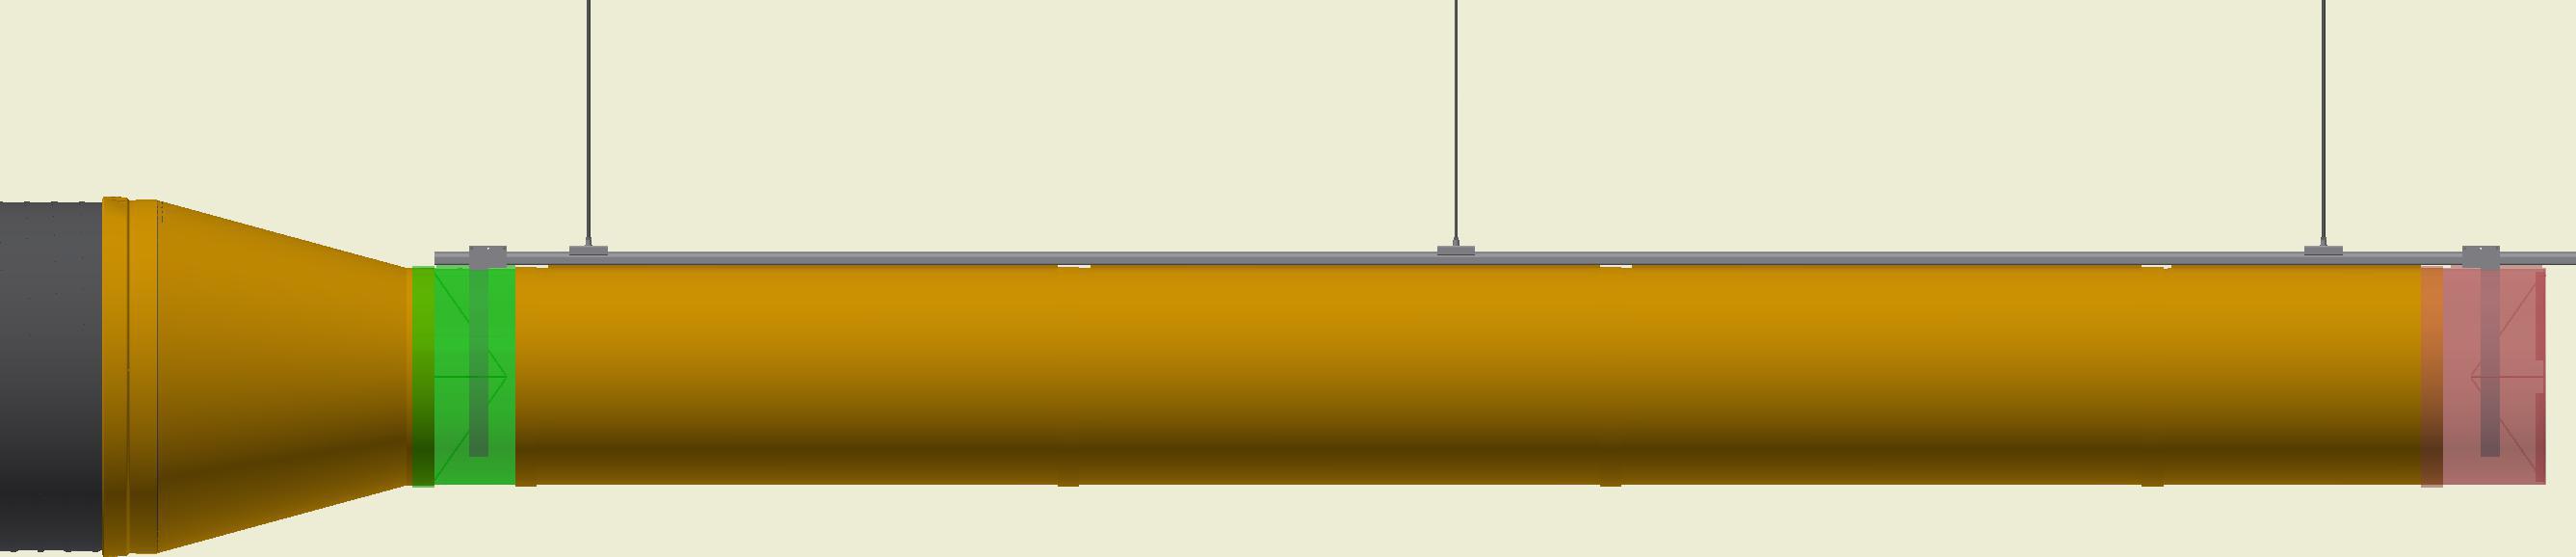
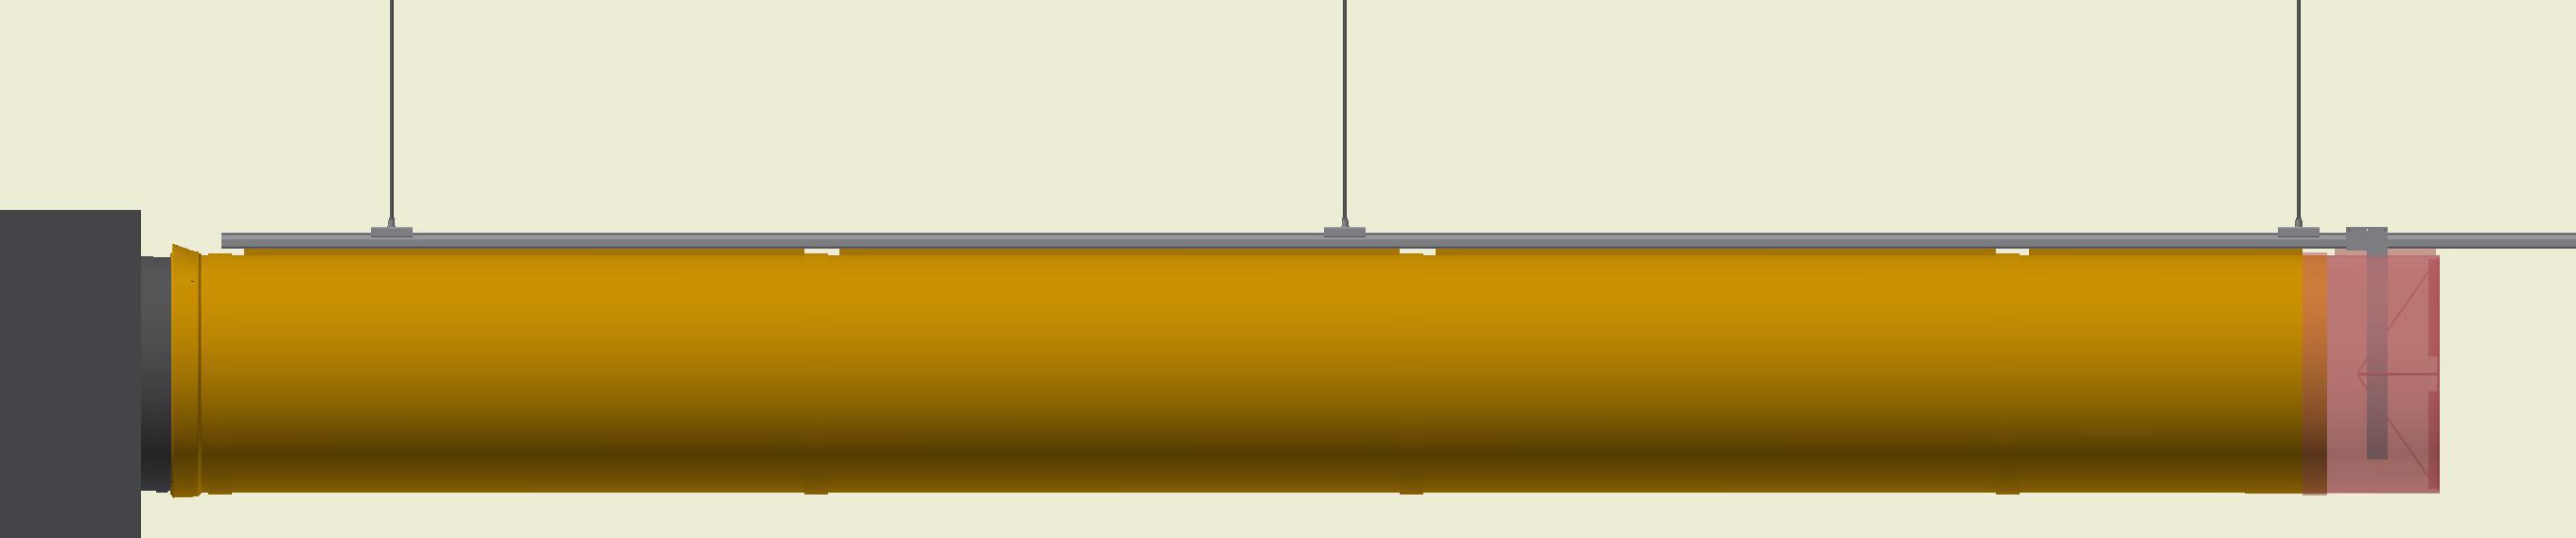
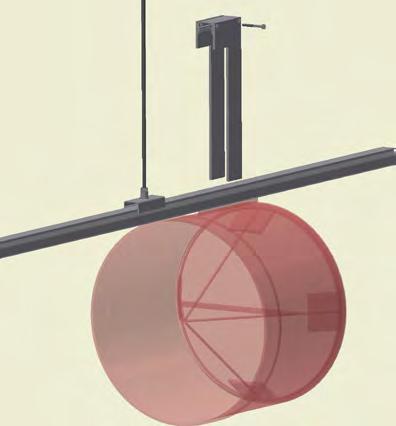
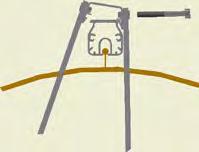
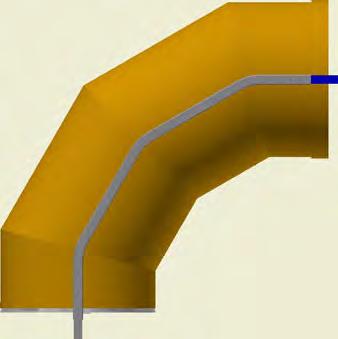
Når hele tekstilkanalen er monteret på skinnen, fastgøres tekstilkanalens indløb til stålkanalen. Før SafeStretch Fastener ind under spændebåndet ved kanalindløbet. Stram spændebåndet for at holde tekstilkanal og Fastener på plads. Til sidst skrues SafeStretch Fastener fast på enden af skinnen med to skruer.
When the whole duct run has been pulled onto the track, slide the duct opening over the end of the metal duct. Fix the SafeStretch Fastener to the end of the metal duct by sliding the fastener through the slot in the fabric starting sleeve and then under the worm gear clamp. Once in place tighten worm gear clamp to hold duct and fastener in place.Then fix the SafeStretch fastener with 2 screws to the end of the track.
SafeStretch Fastener
Spænde-
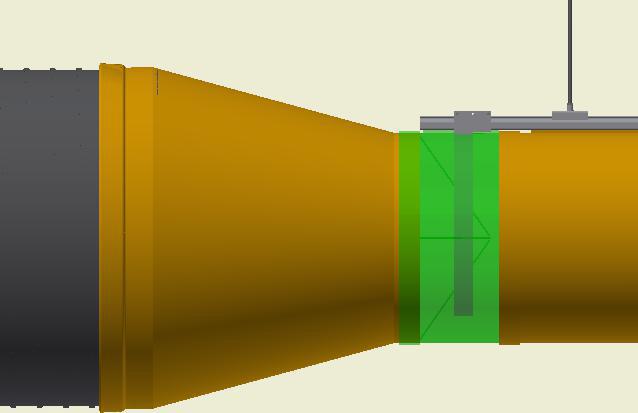
Opstramning
Fastgørelsespunkt
Opstramning
Indvendige Safe 360-ringe skal monteres på stedet (se OS-0014-DK-02)
Fastgørelsespunkt
Opstramning
Safetrack, SafeStretch, enkelt ophæng (bund)
OS-0021-DK-02
OS-0021-EN-02
Safestretch Bracket
SafeStretch Bracket
Bottom
Bund
A
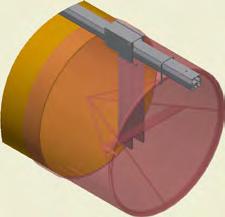
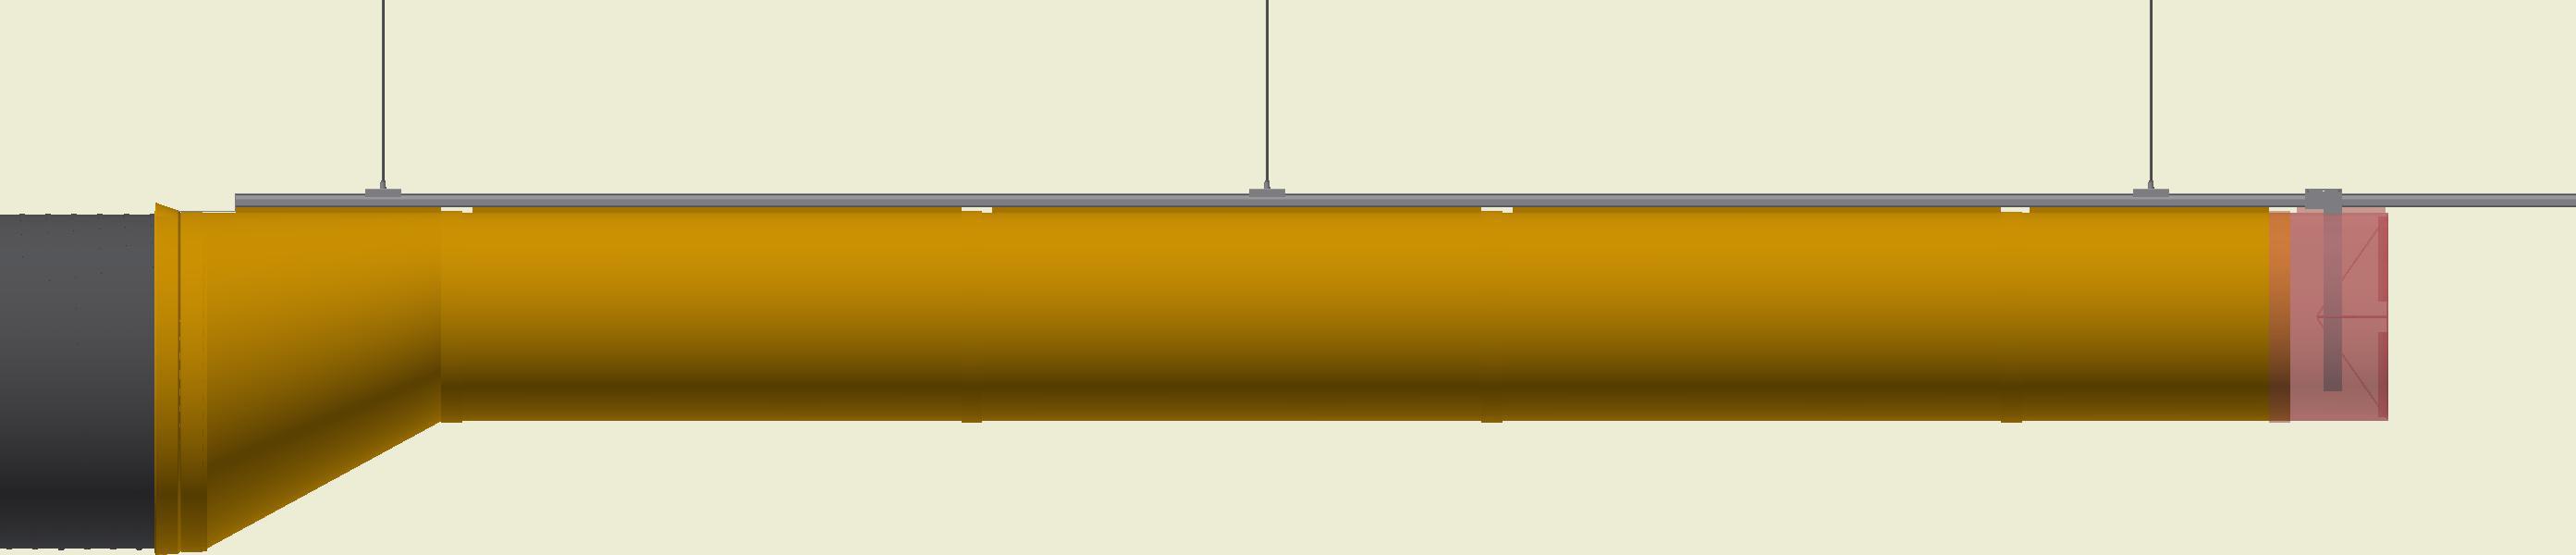
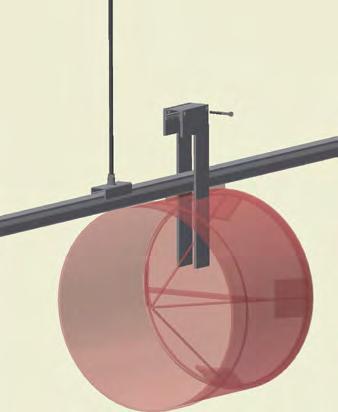
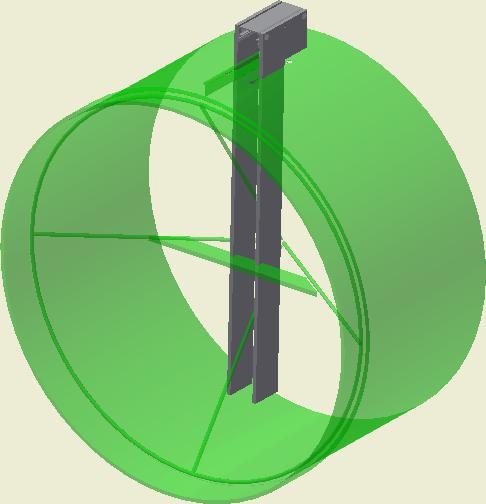
Use the SafeStretch Bracket to stretch the fabric duct by sliding the bracket towards the end of the duct till the duct is taut. Then tighten the set screw.
A
For tekstilkanaler med diameter større end 600 mm medsendes en krog til stabilisering af SafeStretch-ringen/ bunden.
For ducts larger than 24" diameter a hook is supplied to stabilze the safestretch ring/bottom.
Indvendig lynlås
Tekstilkanalen strækkes ved hjælp af SafeStretch Bracket, der skubbes hen mod endestykket af kanalen, indtil kanalen er udstrakt. Herefter spændes pinolskruen.
In Zip
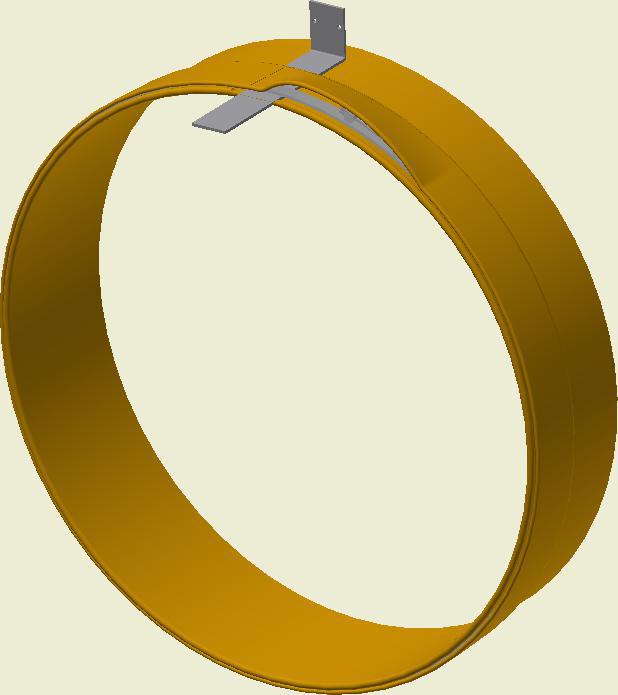
SafeStretch-ring
SafeStretch Ring

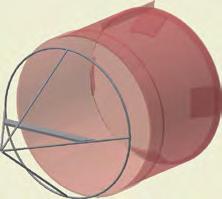
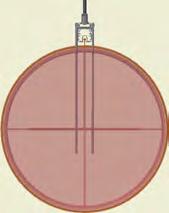
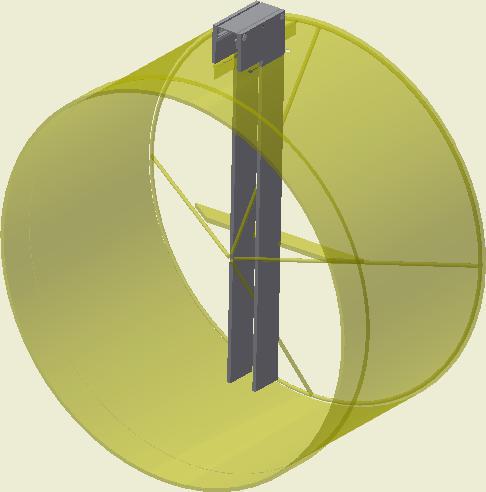
Montér SafeStretch-ringen i SafeStretchbunden og fastgør den med trykknapperne (eller gummiringen, hvis diameter er større end 600 mm).
Insert the SafeStretch ring into the SafeStretch bottom and fix it with the push buttons (or for sizes bigger than 24") the rubber ring.
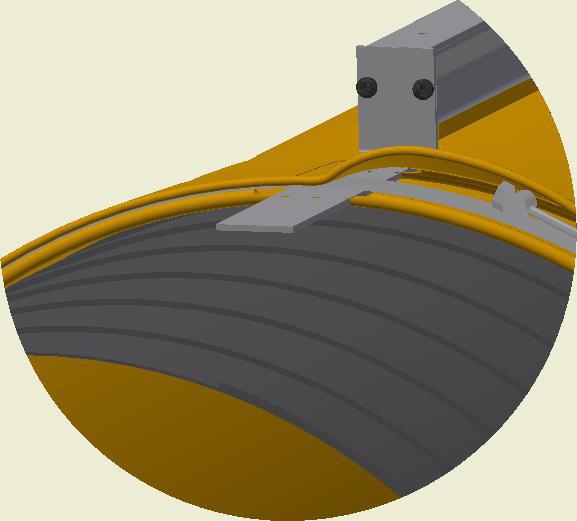
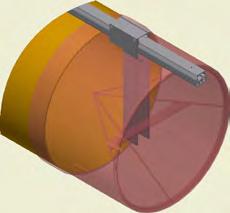
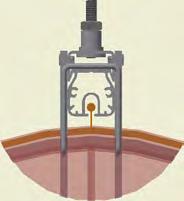
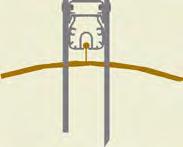
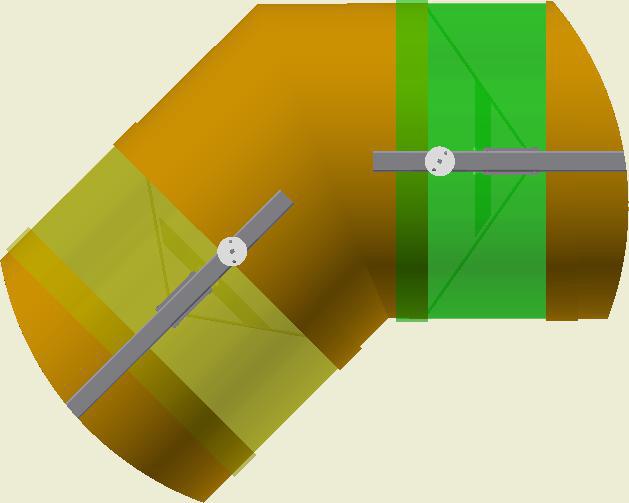
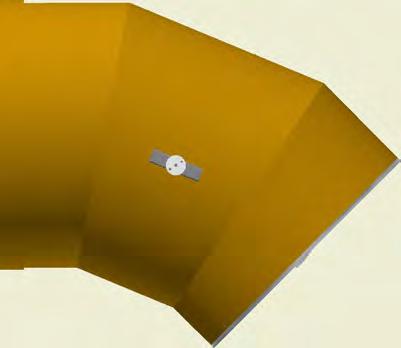
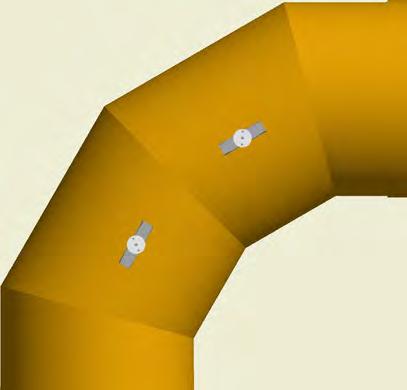
Ved kanalens endestykke sættes SafeStretch Bracket (uden pinolskrue) ned oven på skinnen og ind i tekstilkanalen gennem de to slidser i kl. 12-sektionen, indtil det klikkes på plads på skinnen. SafeStretch Bracket skal sidde i en sådan vinkel, at det ene spor sidder i skinnen, mens beslaget klikkes på. Sørg for, at det er monteret foran tværstiveren. Sæt skruen i, men stram den ikke helt, da SafeStretch Bracket stadig skal kunne justeres (for detaljeret visning, se OS-0022-DK-02).
At the end of the duct, lower the SafeStretch Bracket (without the set screw) over the track and into the duct through the 2 slots in the fabric duct section at 12 o'clock, until it "snaps" onto the track. The bracket must be at an angle so one groove sits in place on the rail, and then it can be clicked on. Make sure it is placed so that it is in front of the horizontal strut. Insert the screw, but do not tighten it fully yet, as the bracket still has to be moveable/adjustable.
- For a more detailed view, see OS-0022-EN-01

Safetrack, SafeStretch, enkelt ophæng


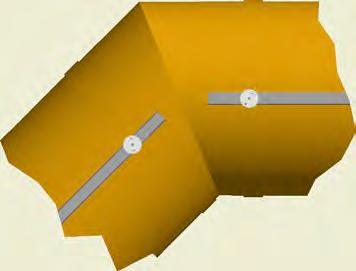
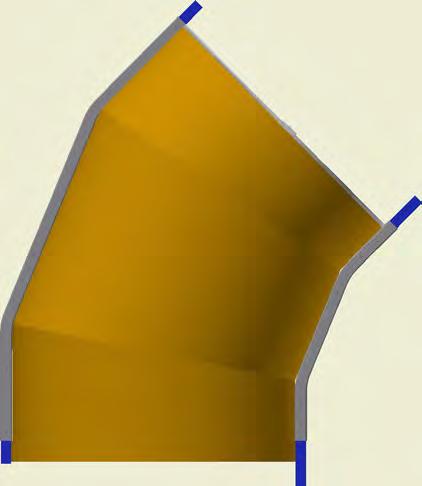
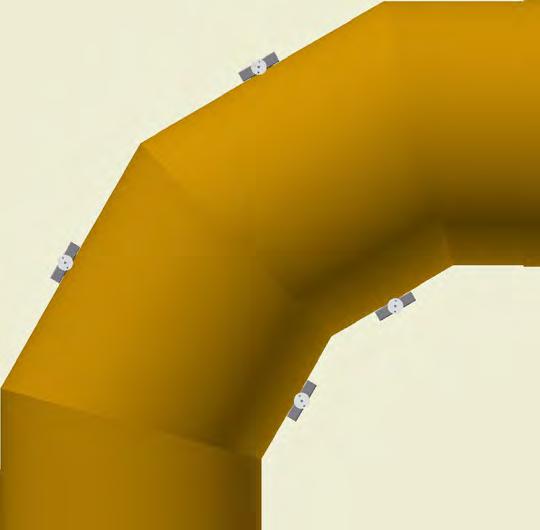
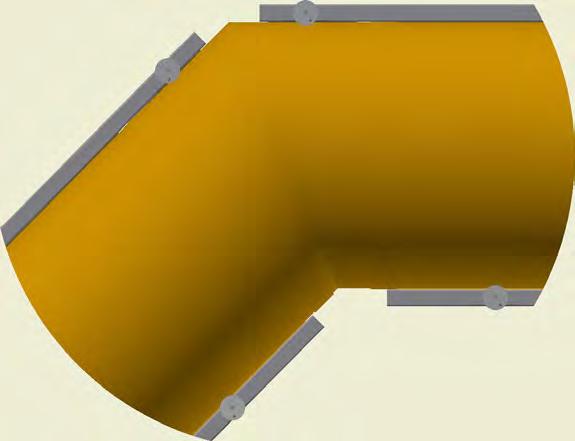
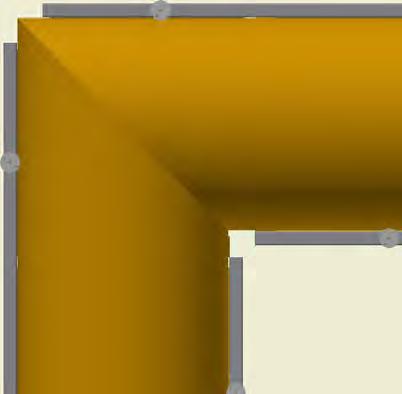
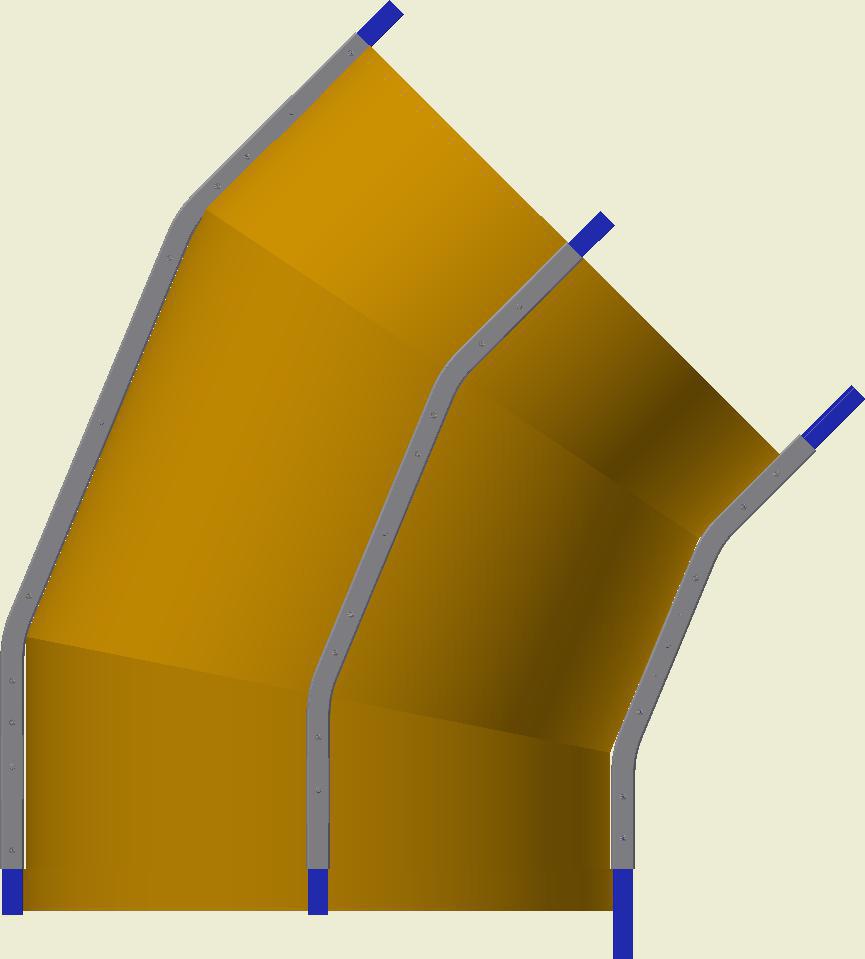
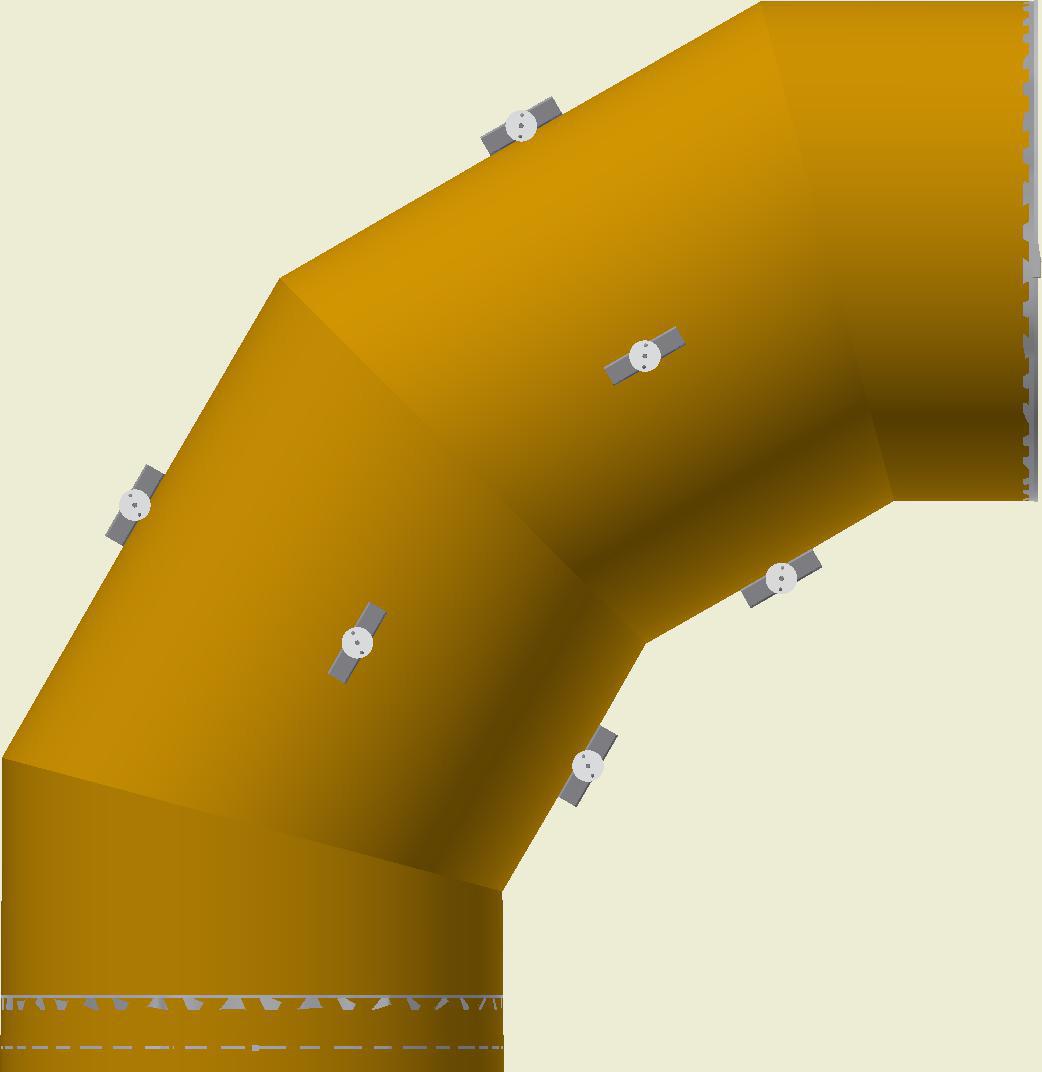
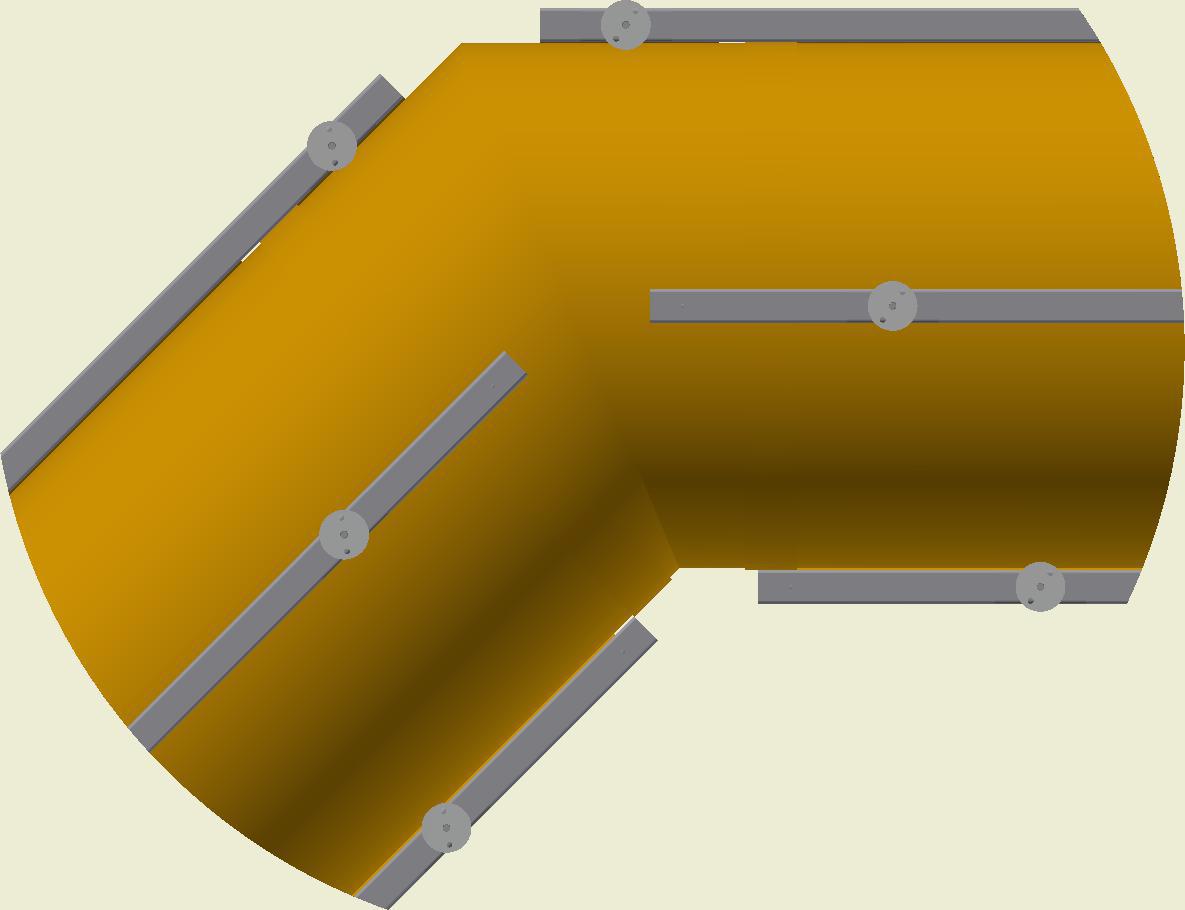
Rolled Bend 45° / Rolled Bend 90°

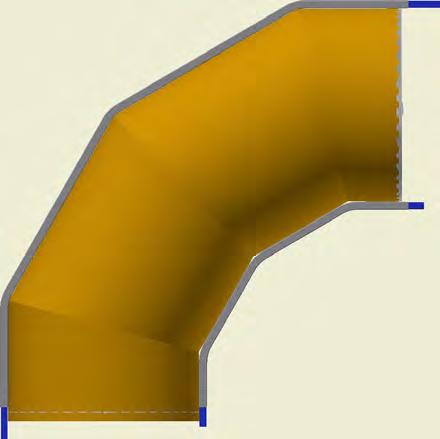
KE-Bøjning 45° / KE-Bøjning 90°
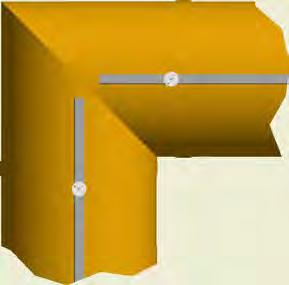
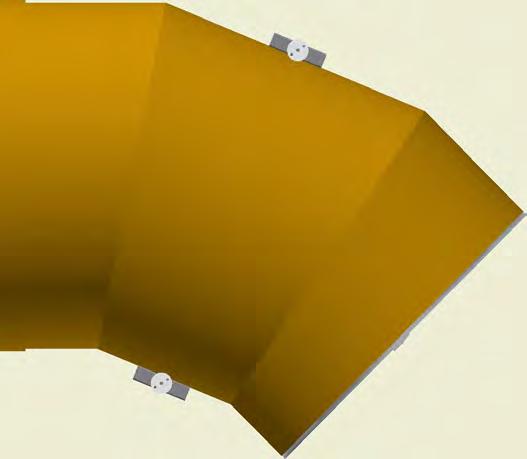
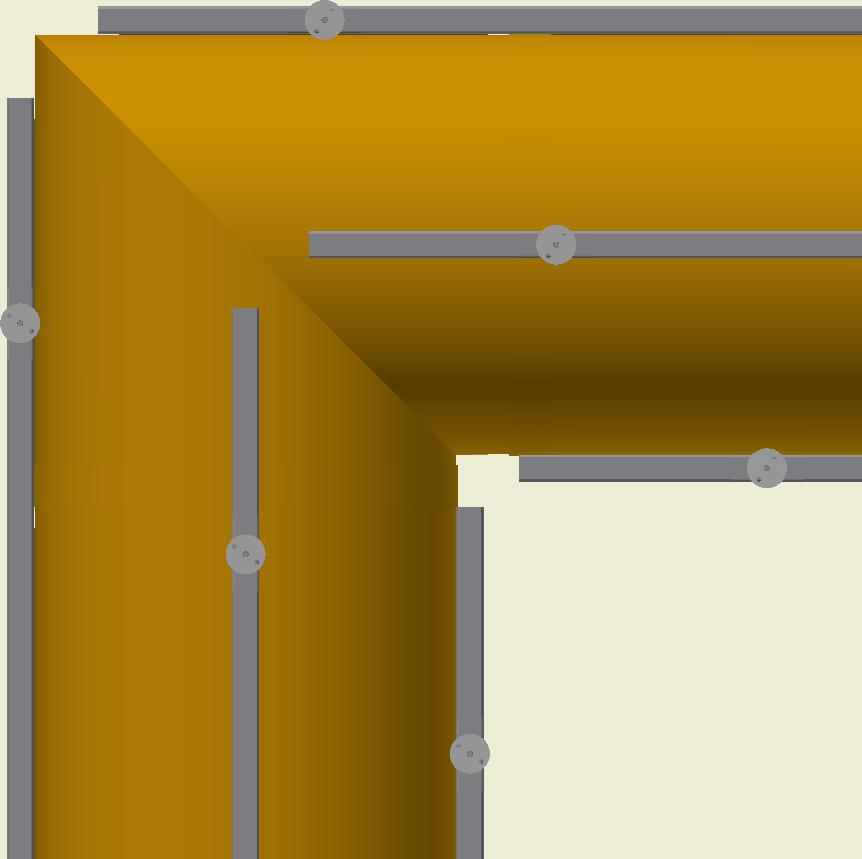
KE-Knæk (vilkårlig vinkel) / KE-Knæk 90°