TESSELLATIONS
SPRING 2024
Karest Nash


PRECEDENTS INITIAL SKETCHES
INITIAL FOLDINGS

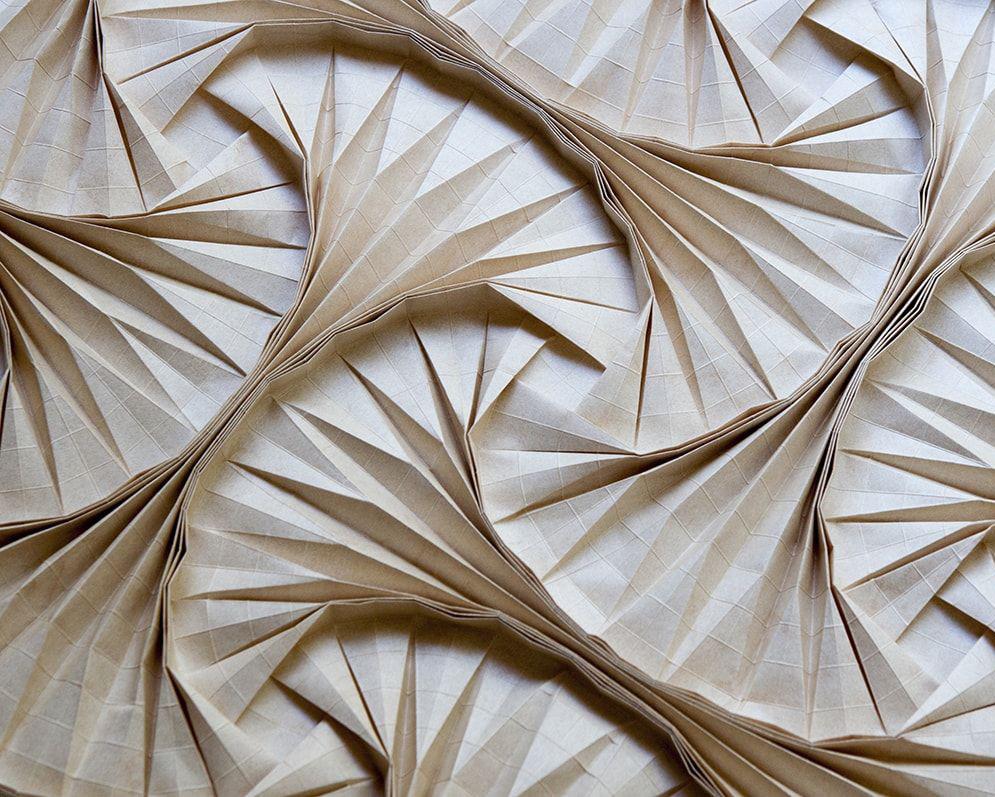
DEVELOPED FOLDINGS

DEVELOPED SKETCHES
RENDERINGS

RHINO

FINAL MODEL
CONTENTS

INITIAL FOLDINGS
DEVELOPED FOLDINGS
DEVELOPED SKETCHES
RENDERINGS
RHINO
FINAL MODEL
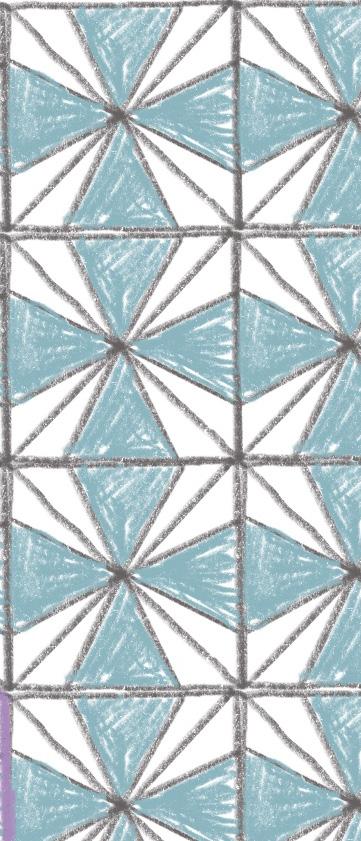
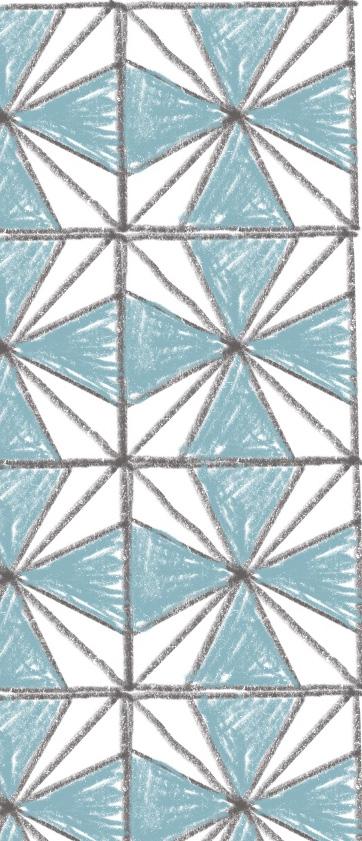
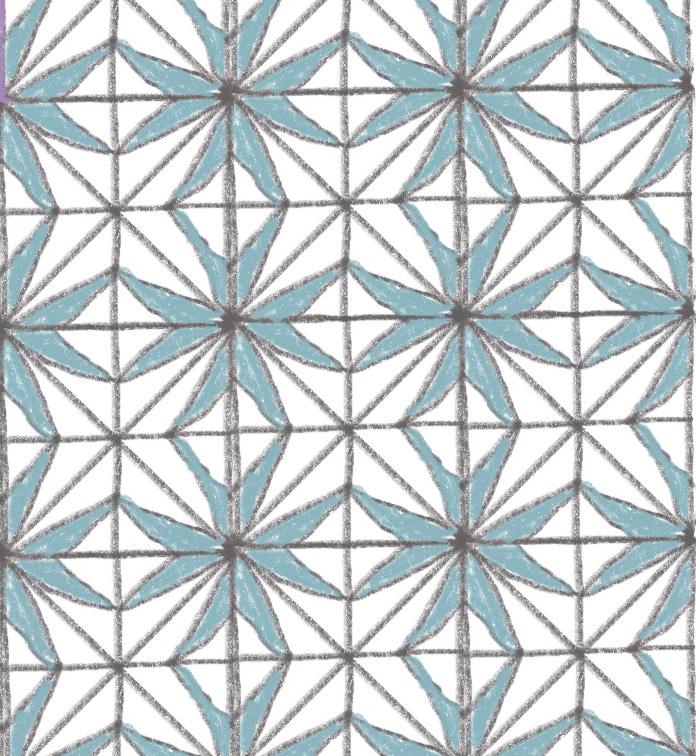
My precedents were based on complex folds beautifully coming together
together into an intricate shape.
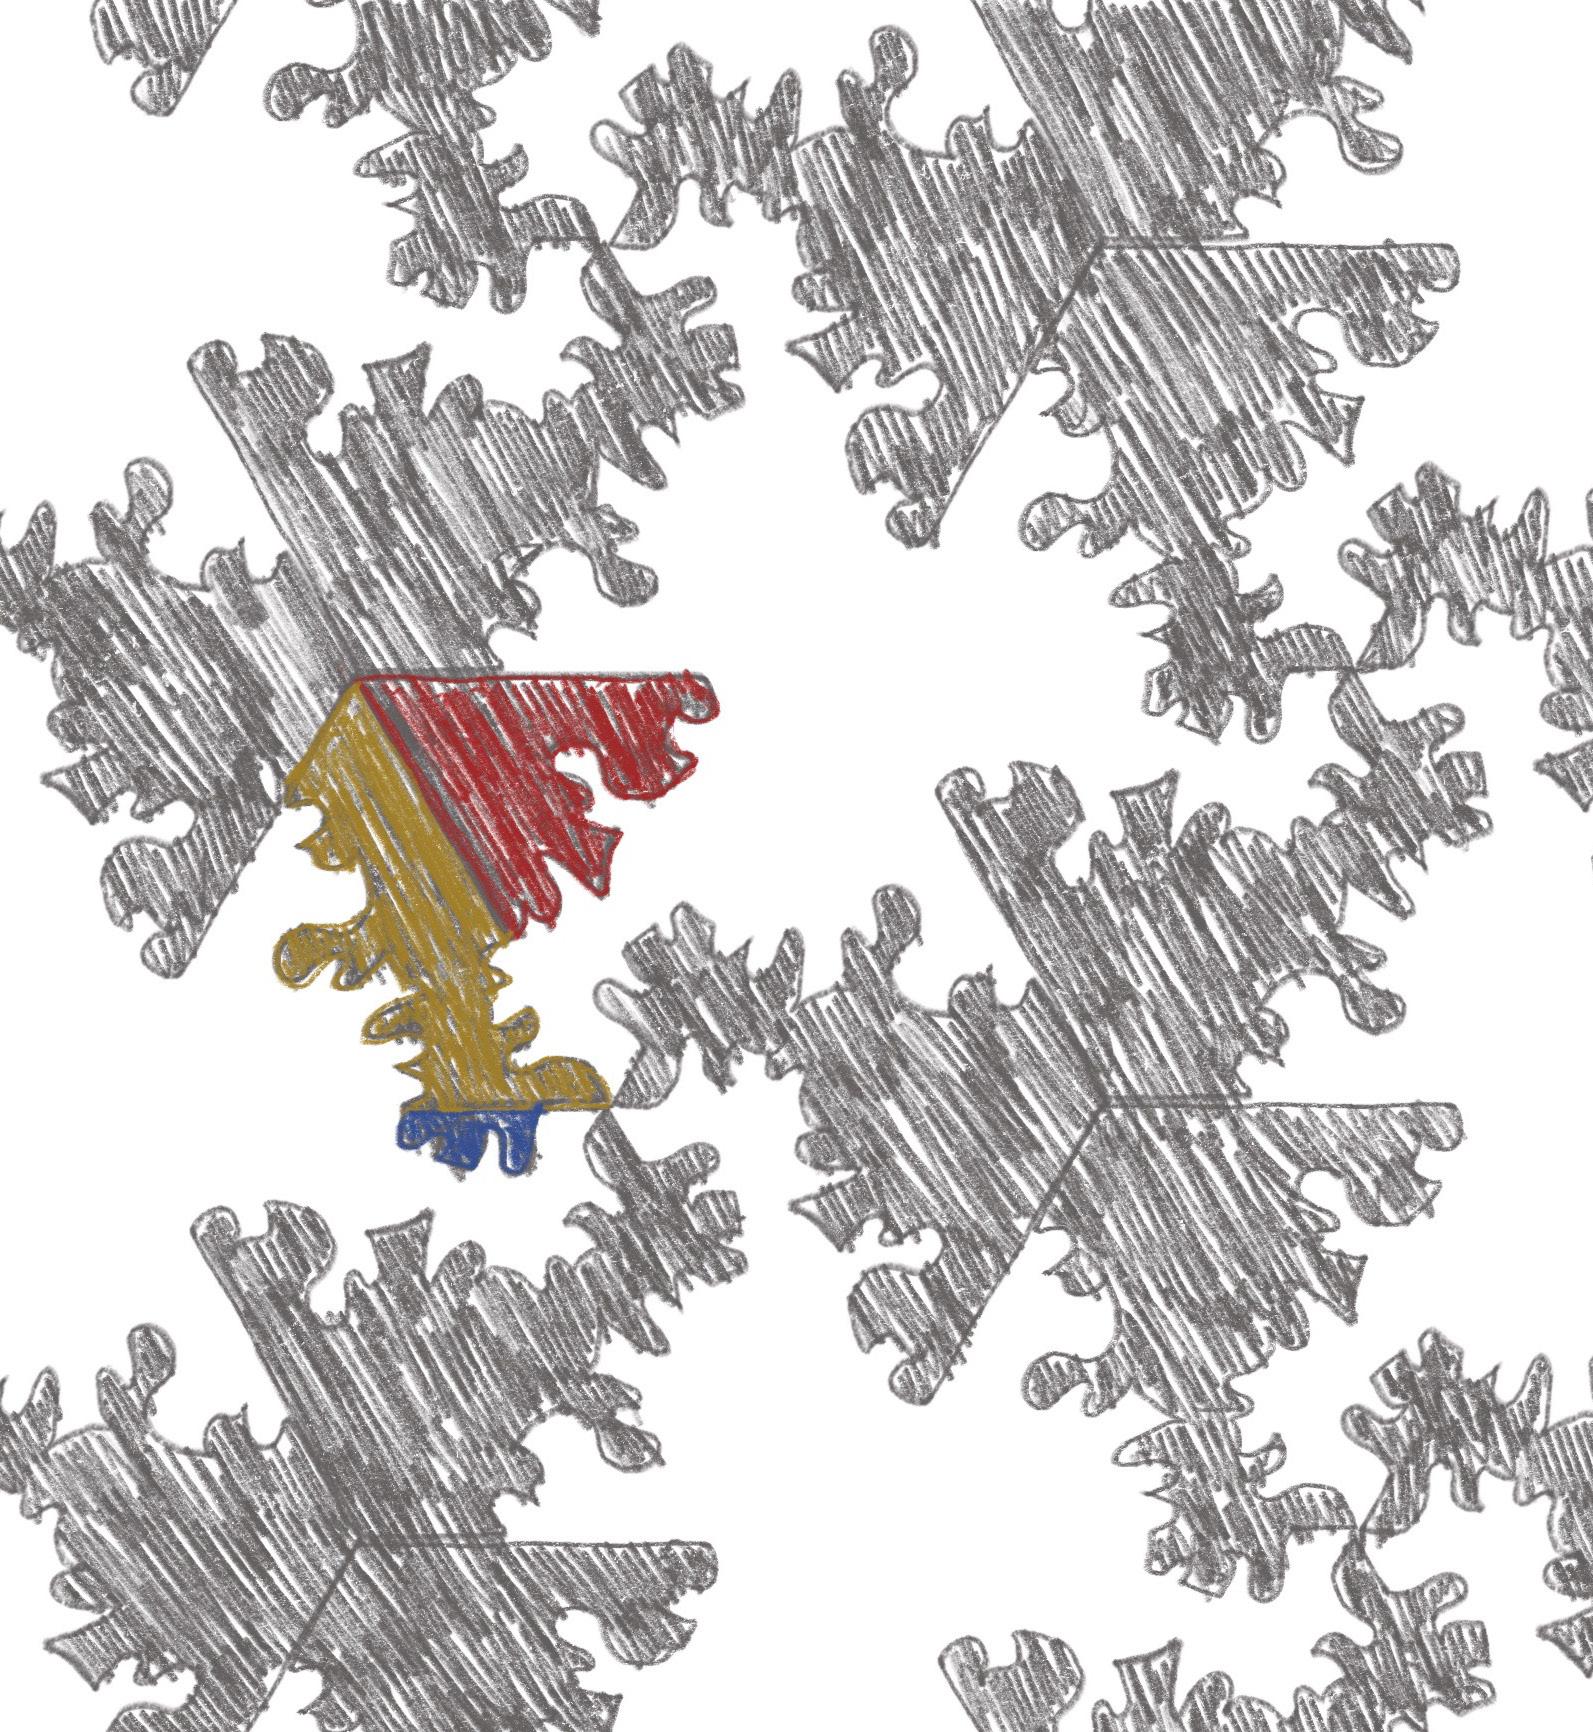
I started with a triangle and cut an undulating line through two sides removed the extra pieces and mirrored the triangle both vertically
sides of it. I then attached those pieces to the other sides. Secondly, I then horizontally. Lastly, I simplified the whole design.
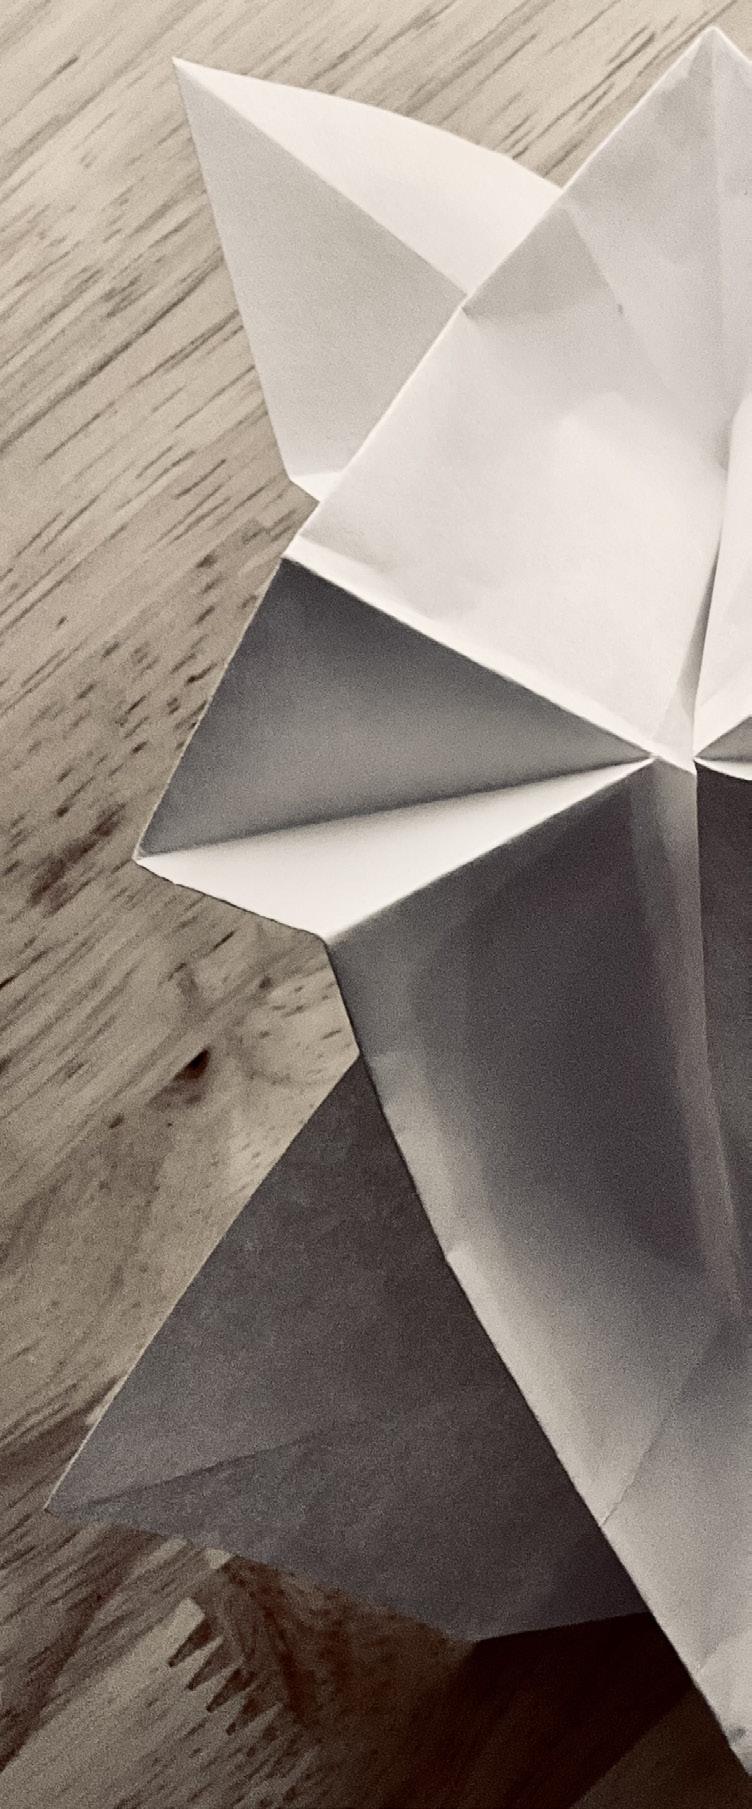
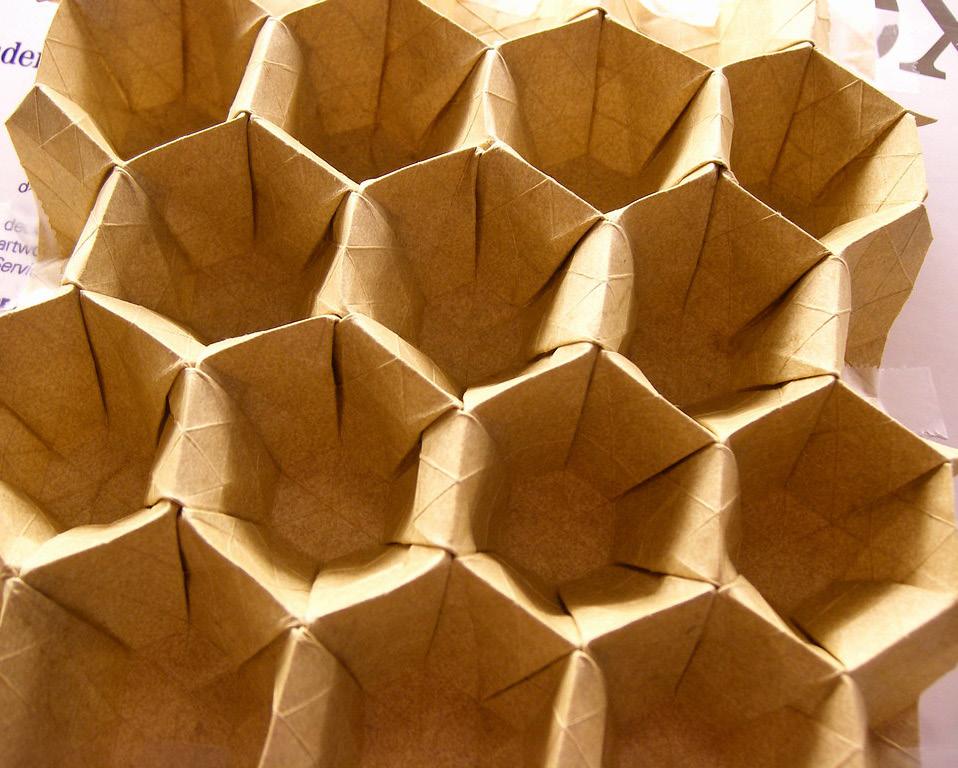
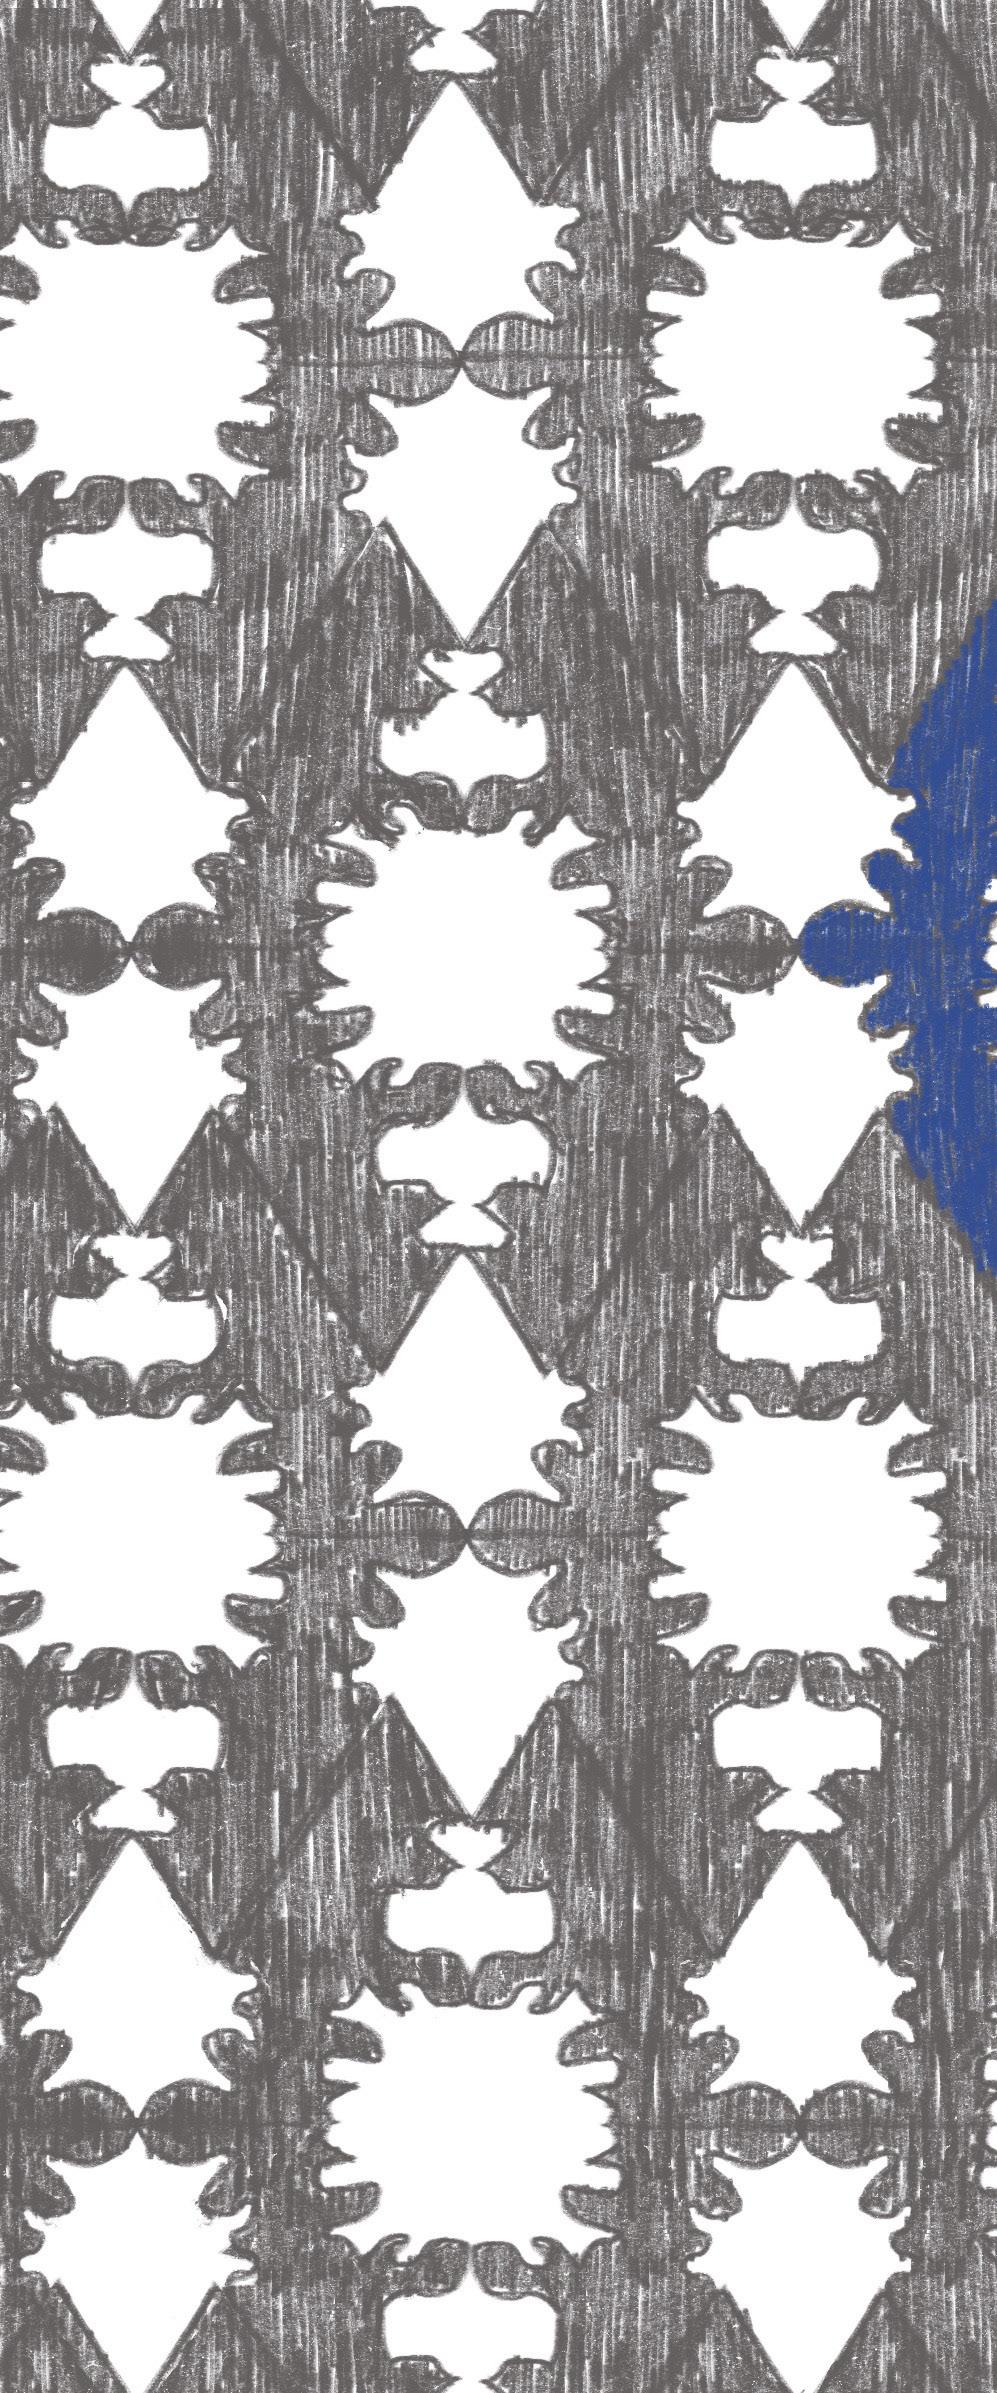
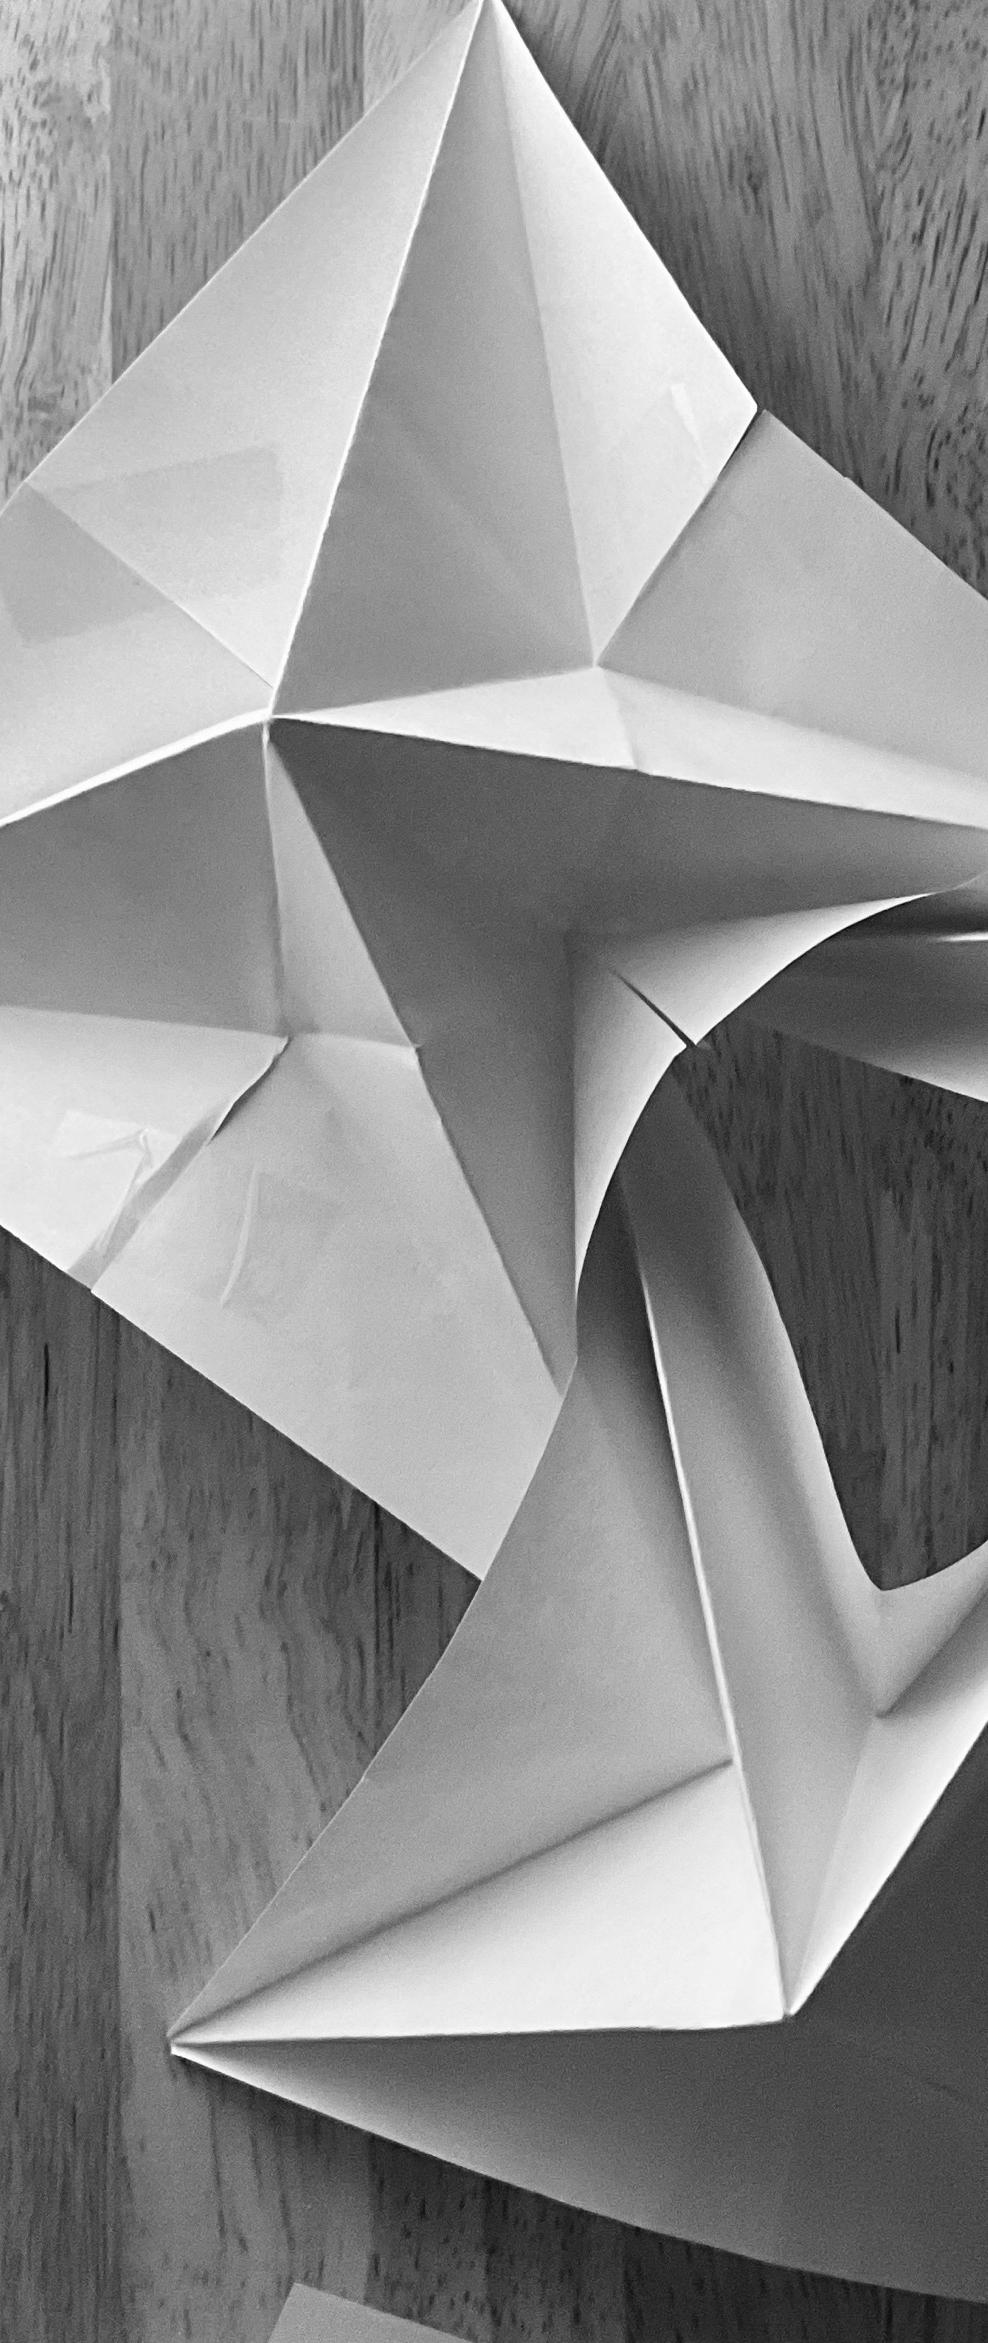
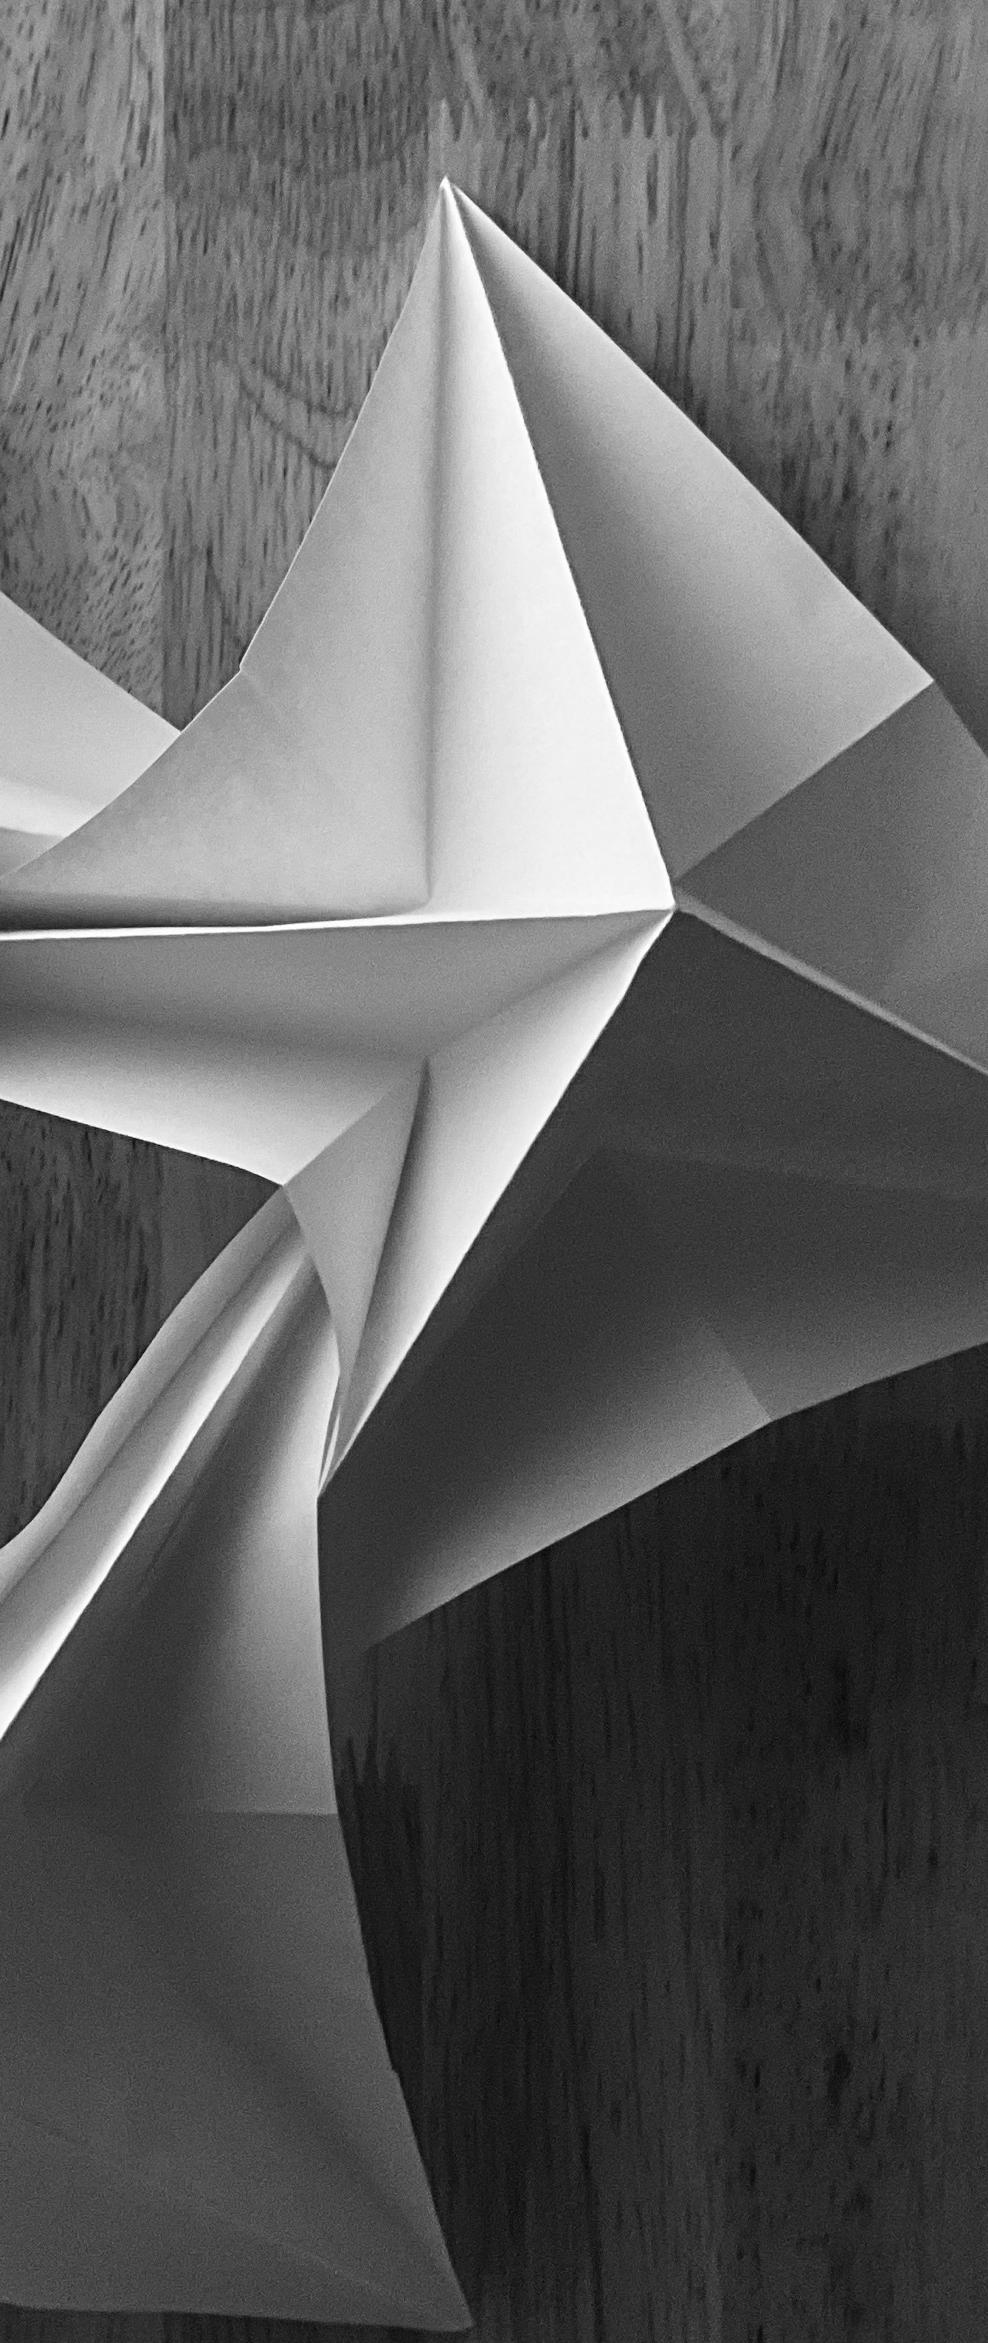
My initial foldings tried to mimic my third sketch as close as possible. there. I was able to replicate it pretty closely in the second photo, then
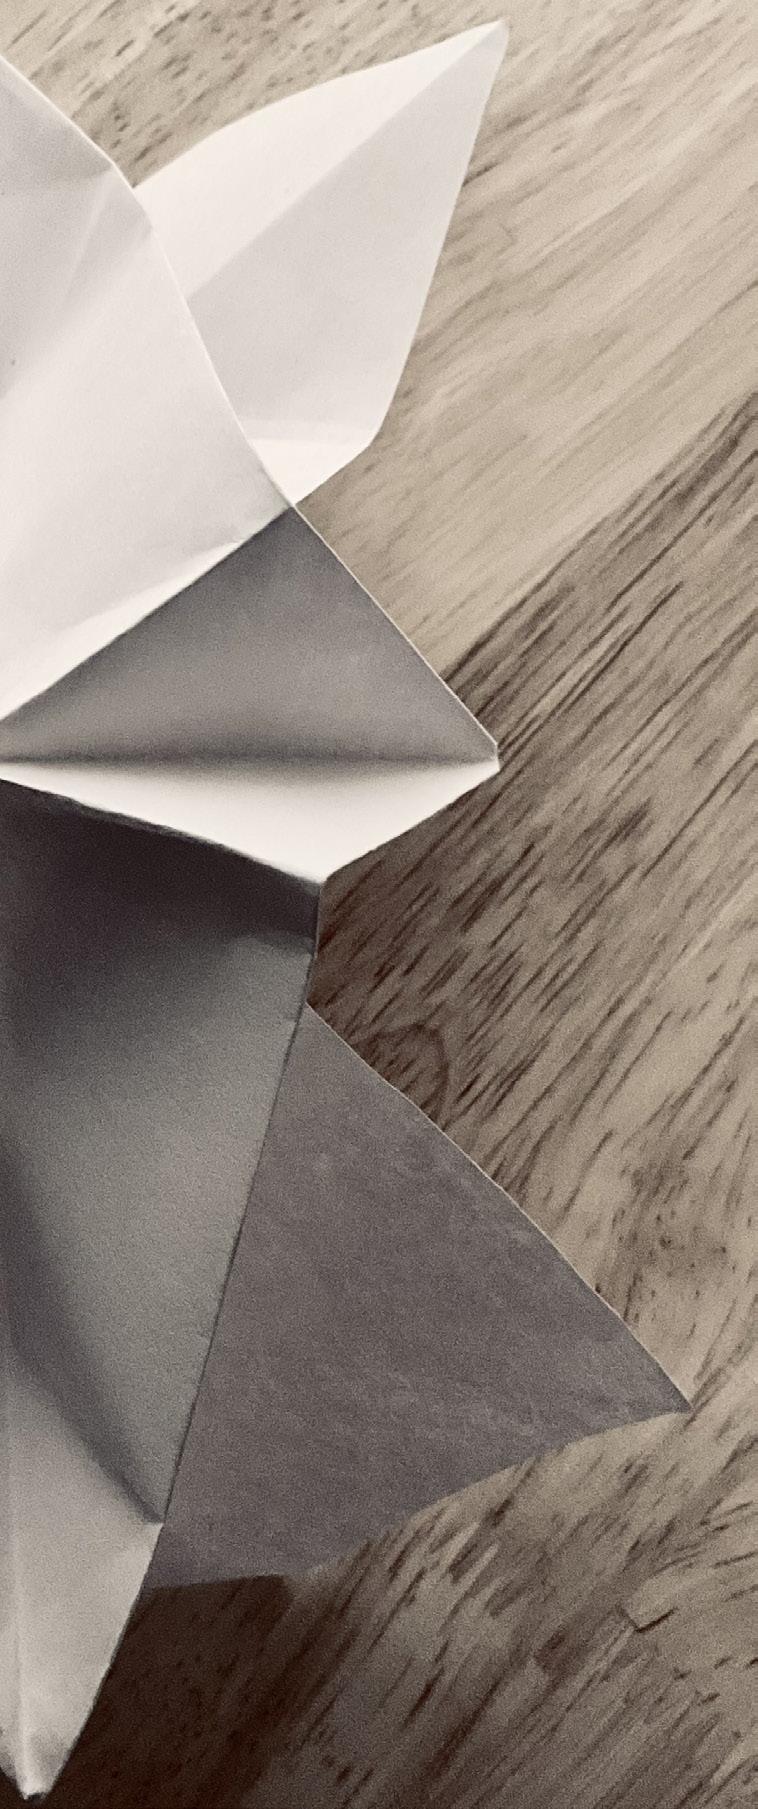
possible. I started with the diamond in the middle and tried to work from then took it one step further and added more dimension.
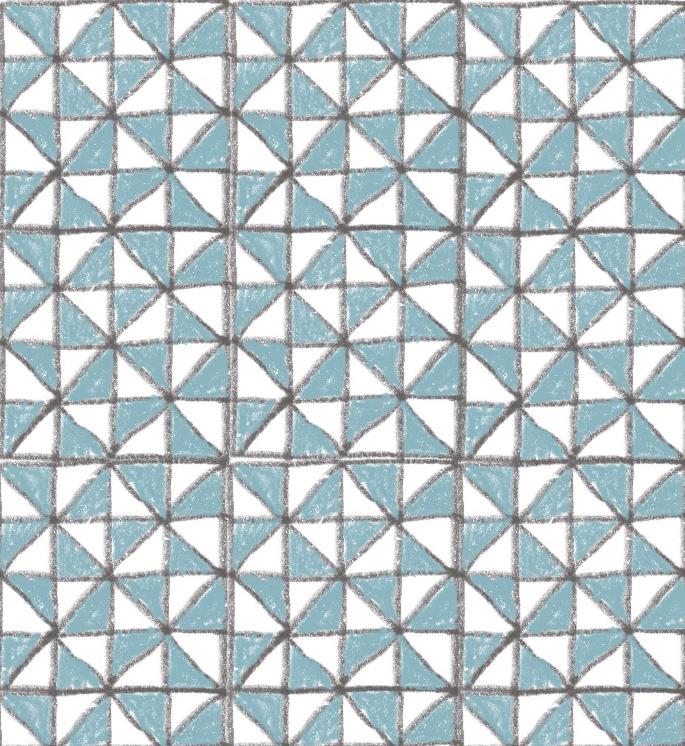
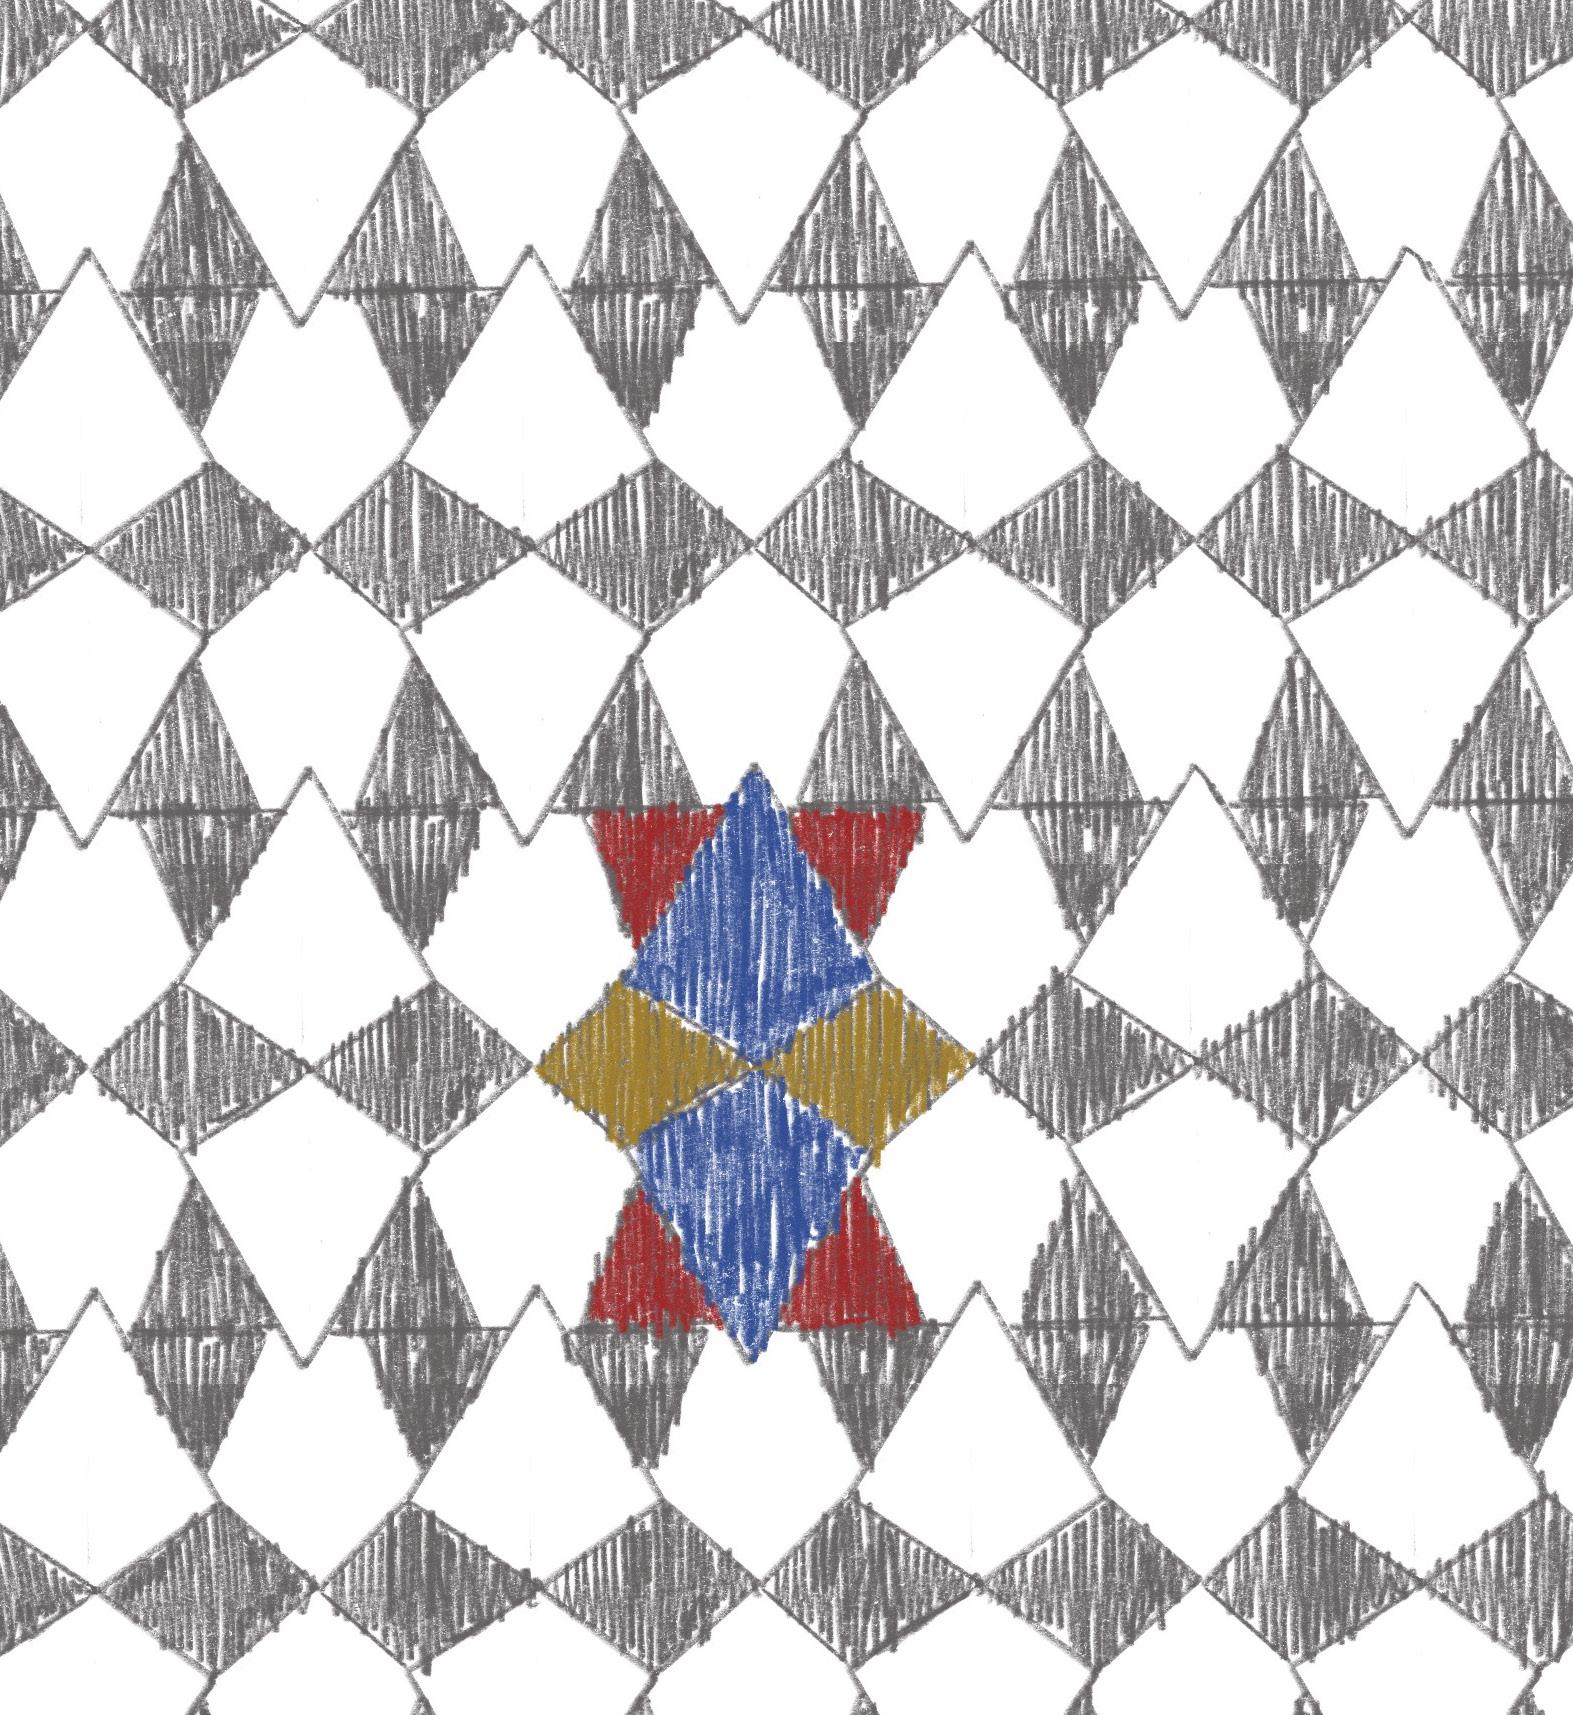
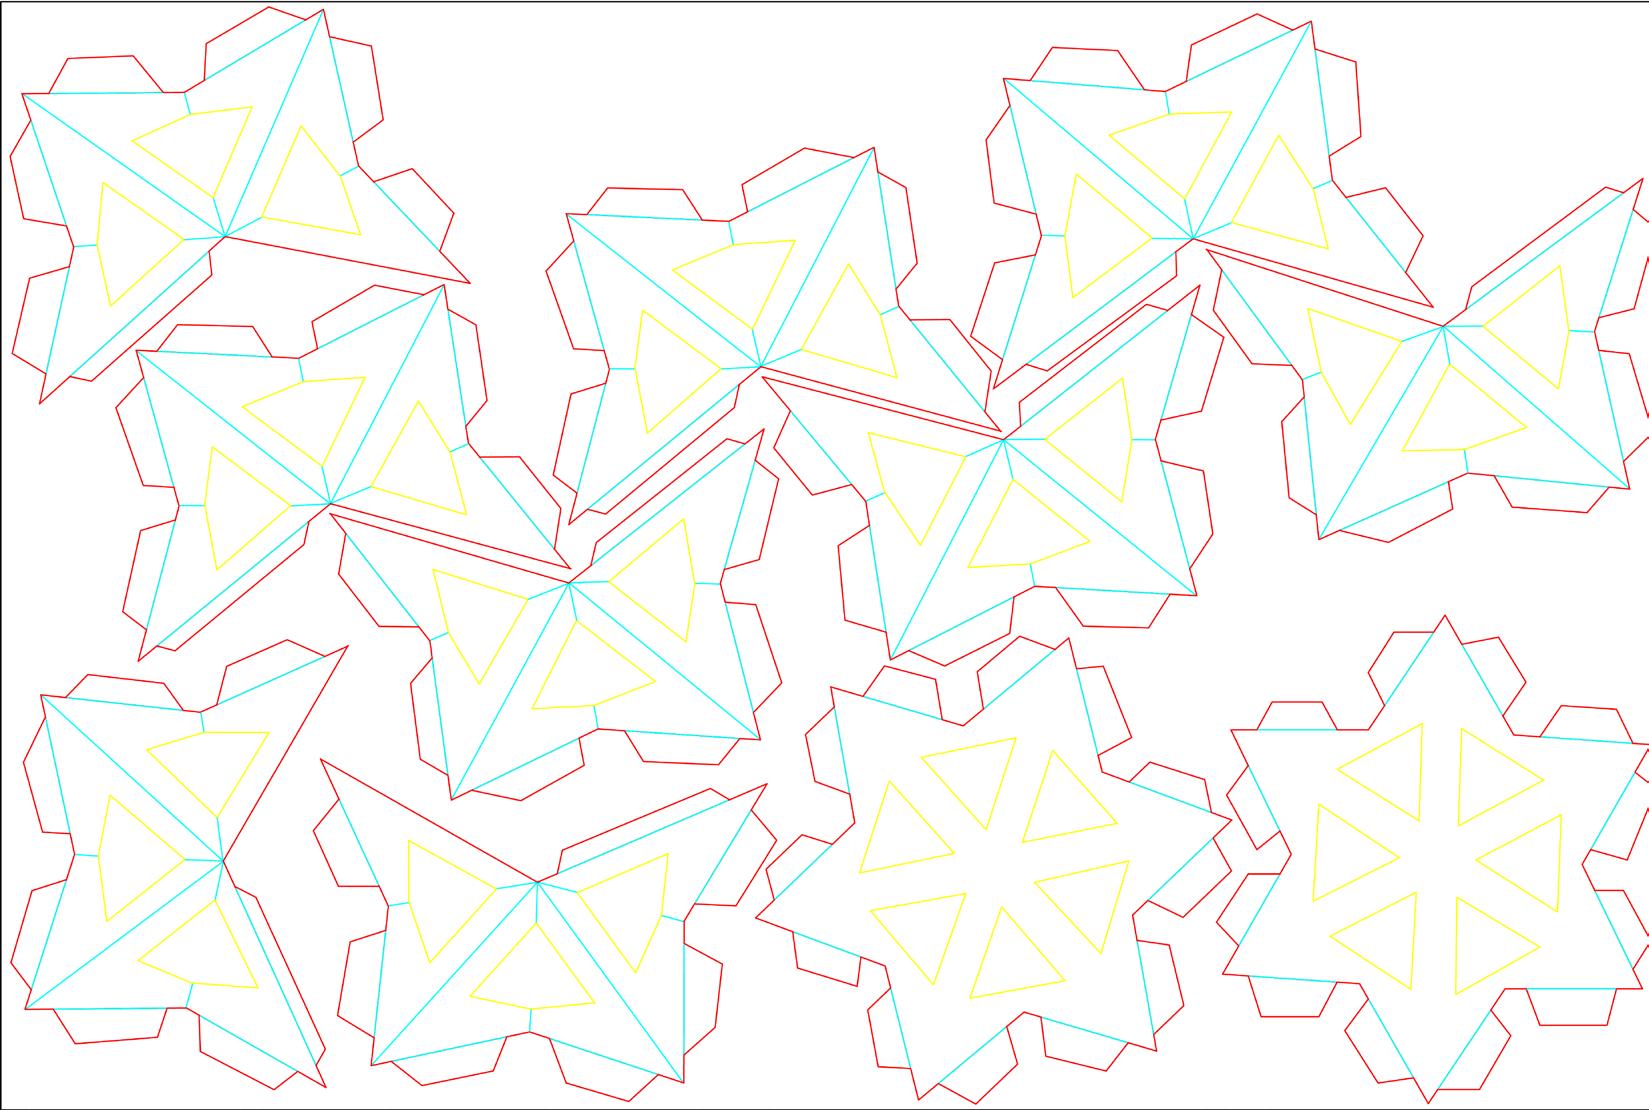
My next iteration of sketches started with dividing a square into 32 minimized them to 12 pieces. Lastly, I added a couple more triangles
smaller pieces. I then adjusted the pieces to different angles and triangles to the mix and ended with 24 pieces.

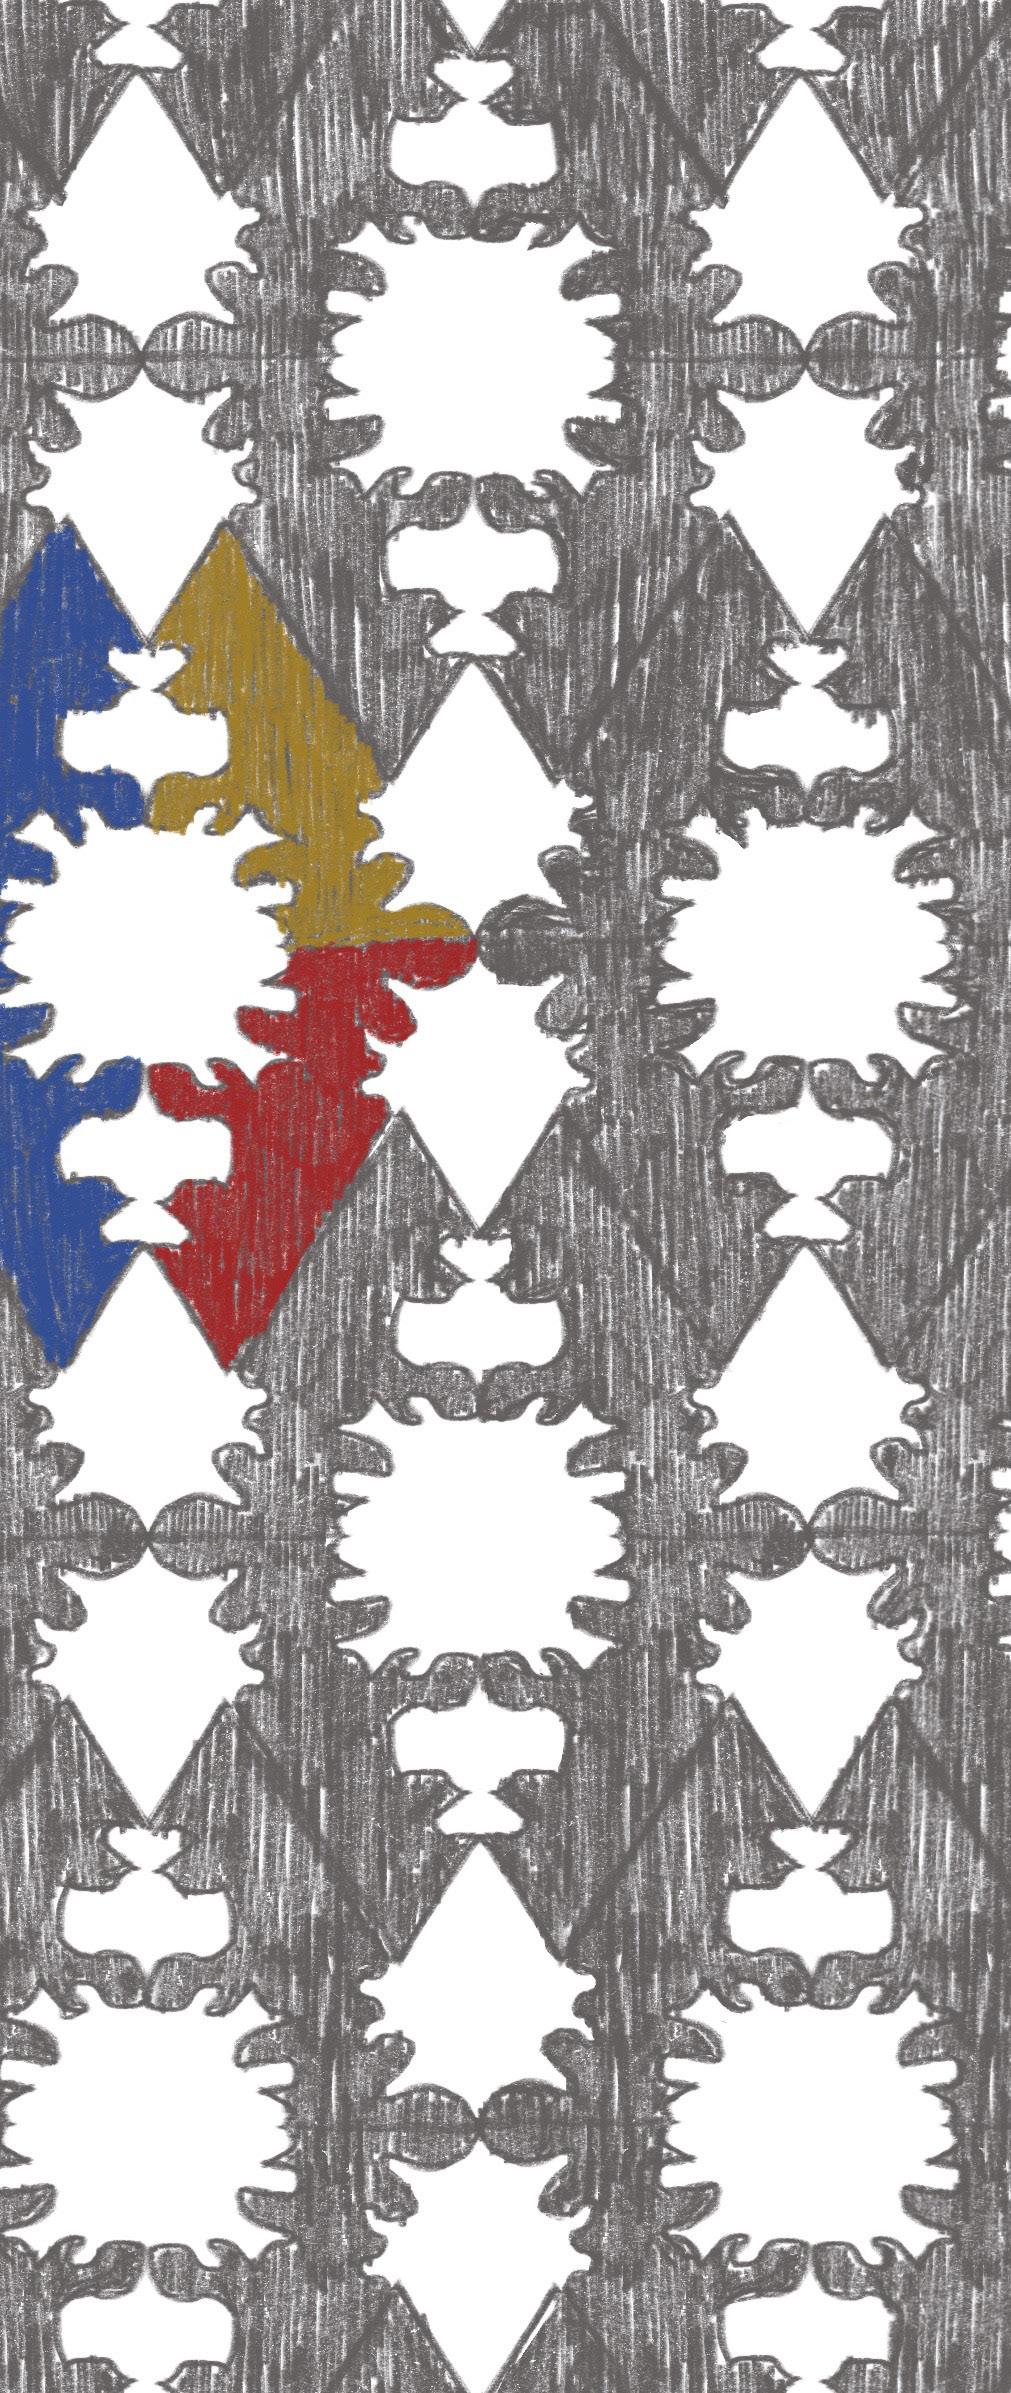
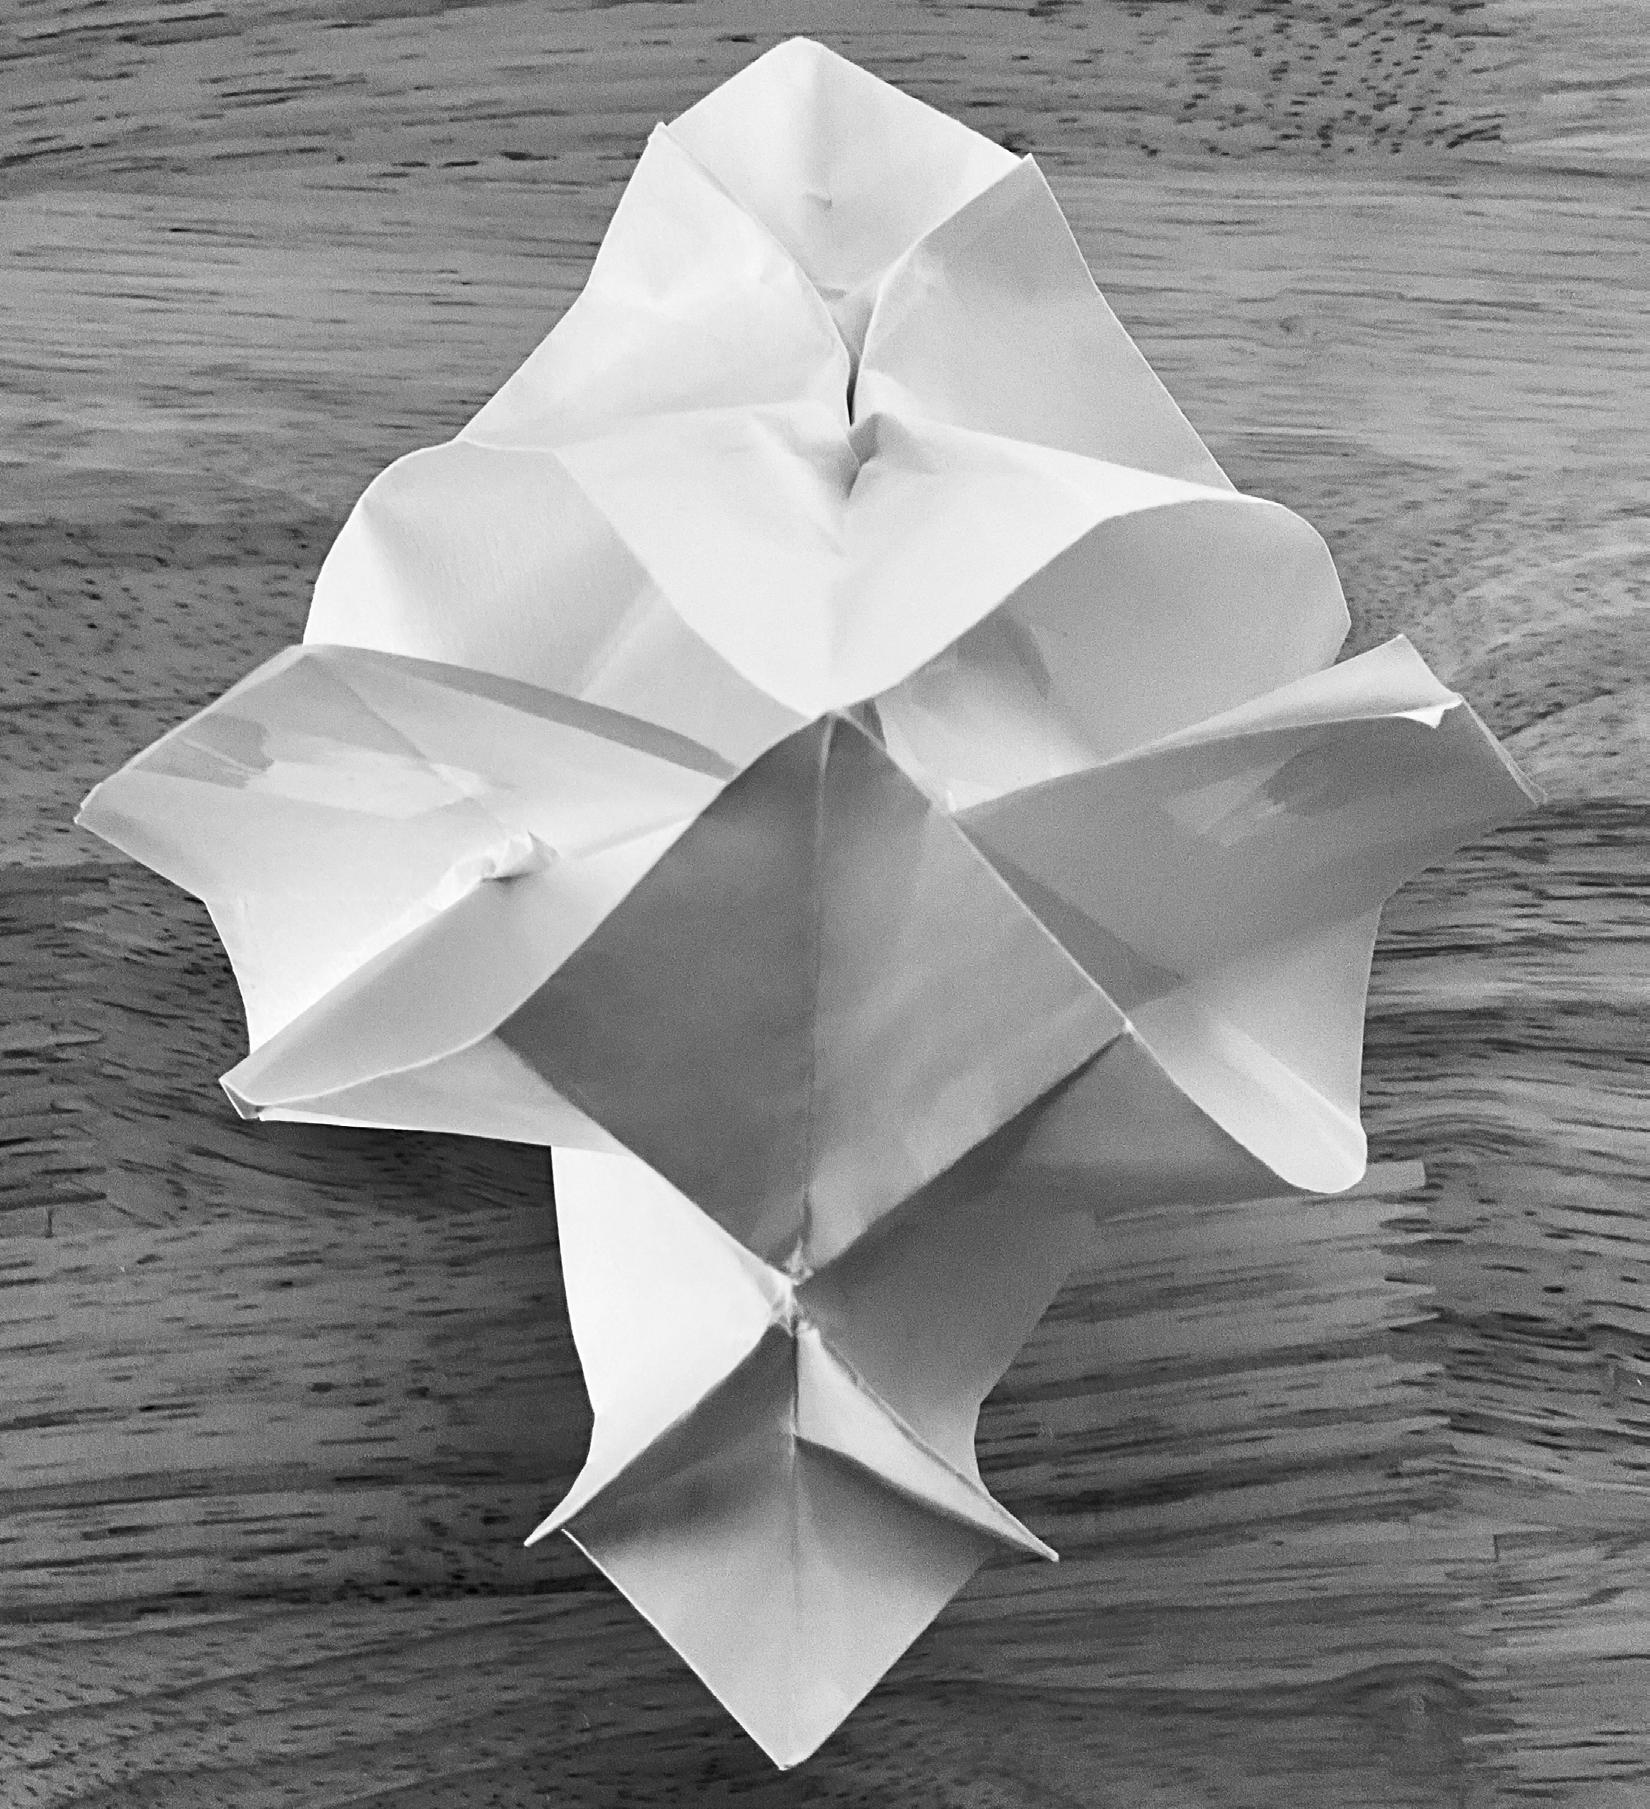
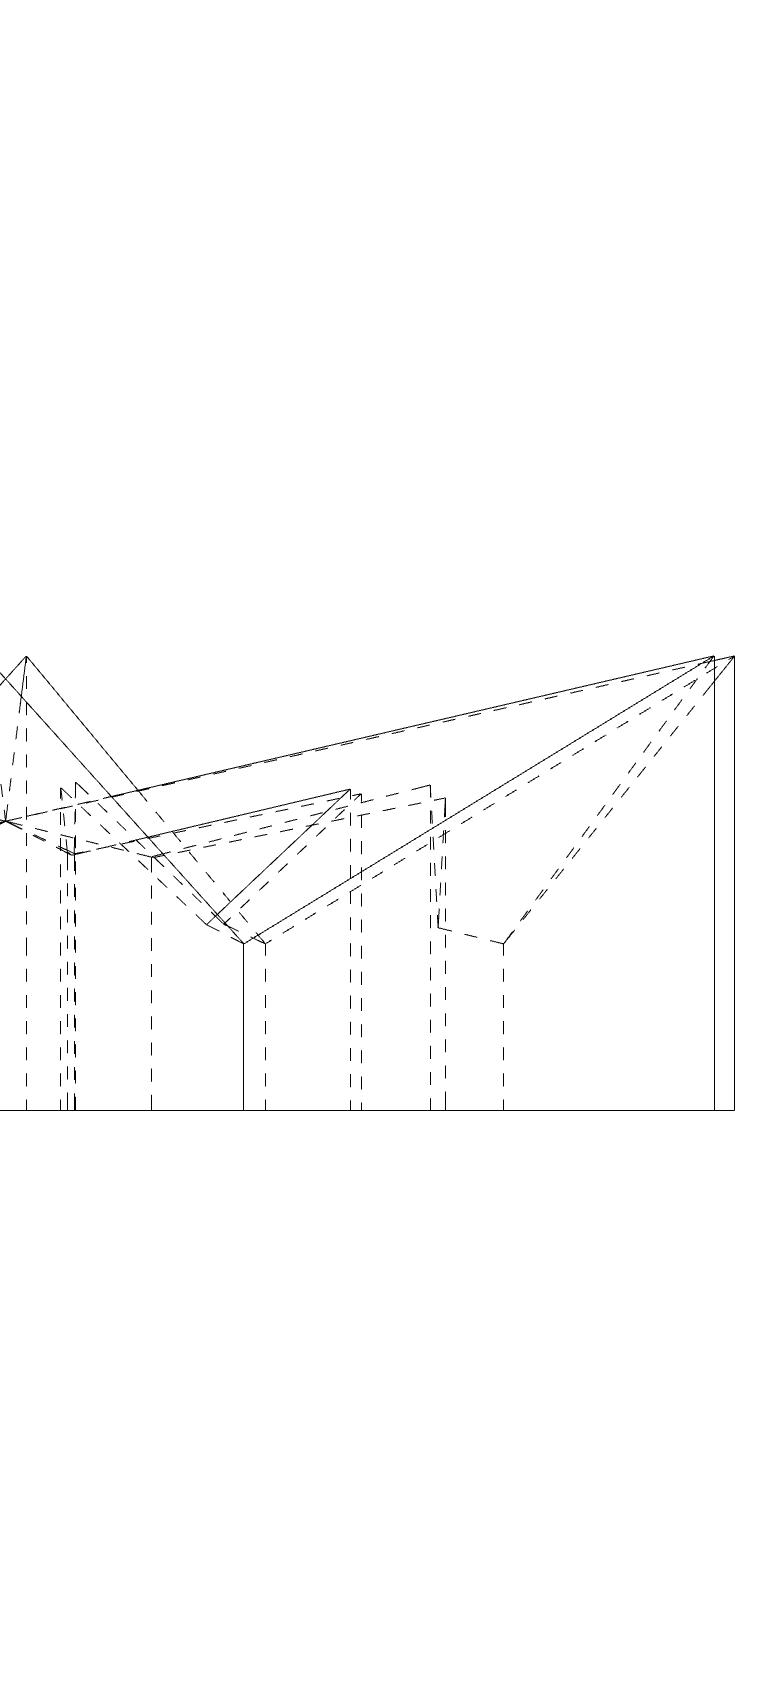
I was able to easily mimic my developed sketches and when I started shape. I ended up rotating six of the shapes around a central piece
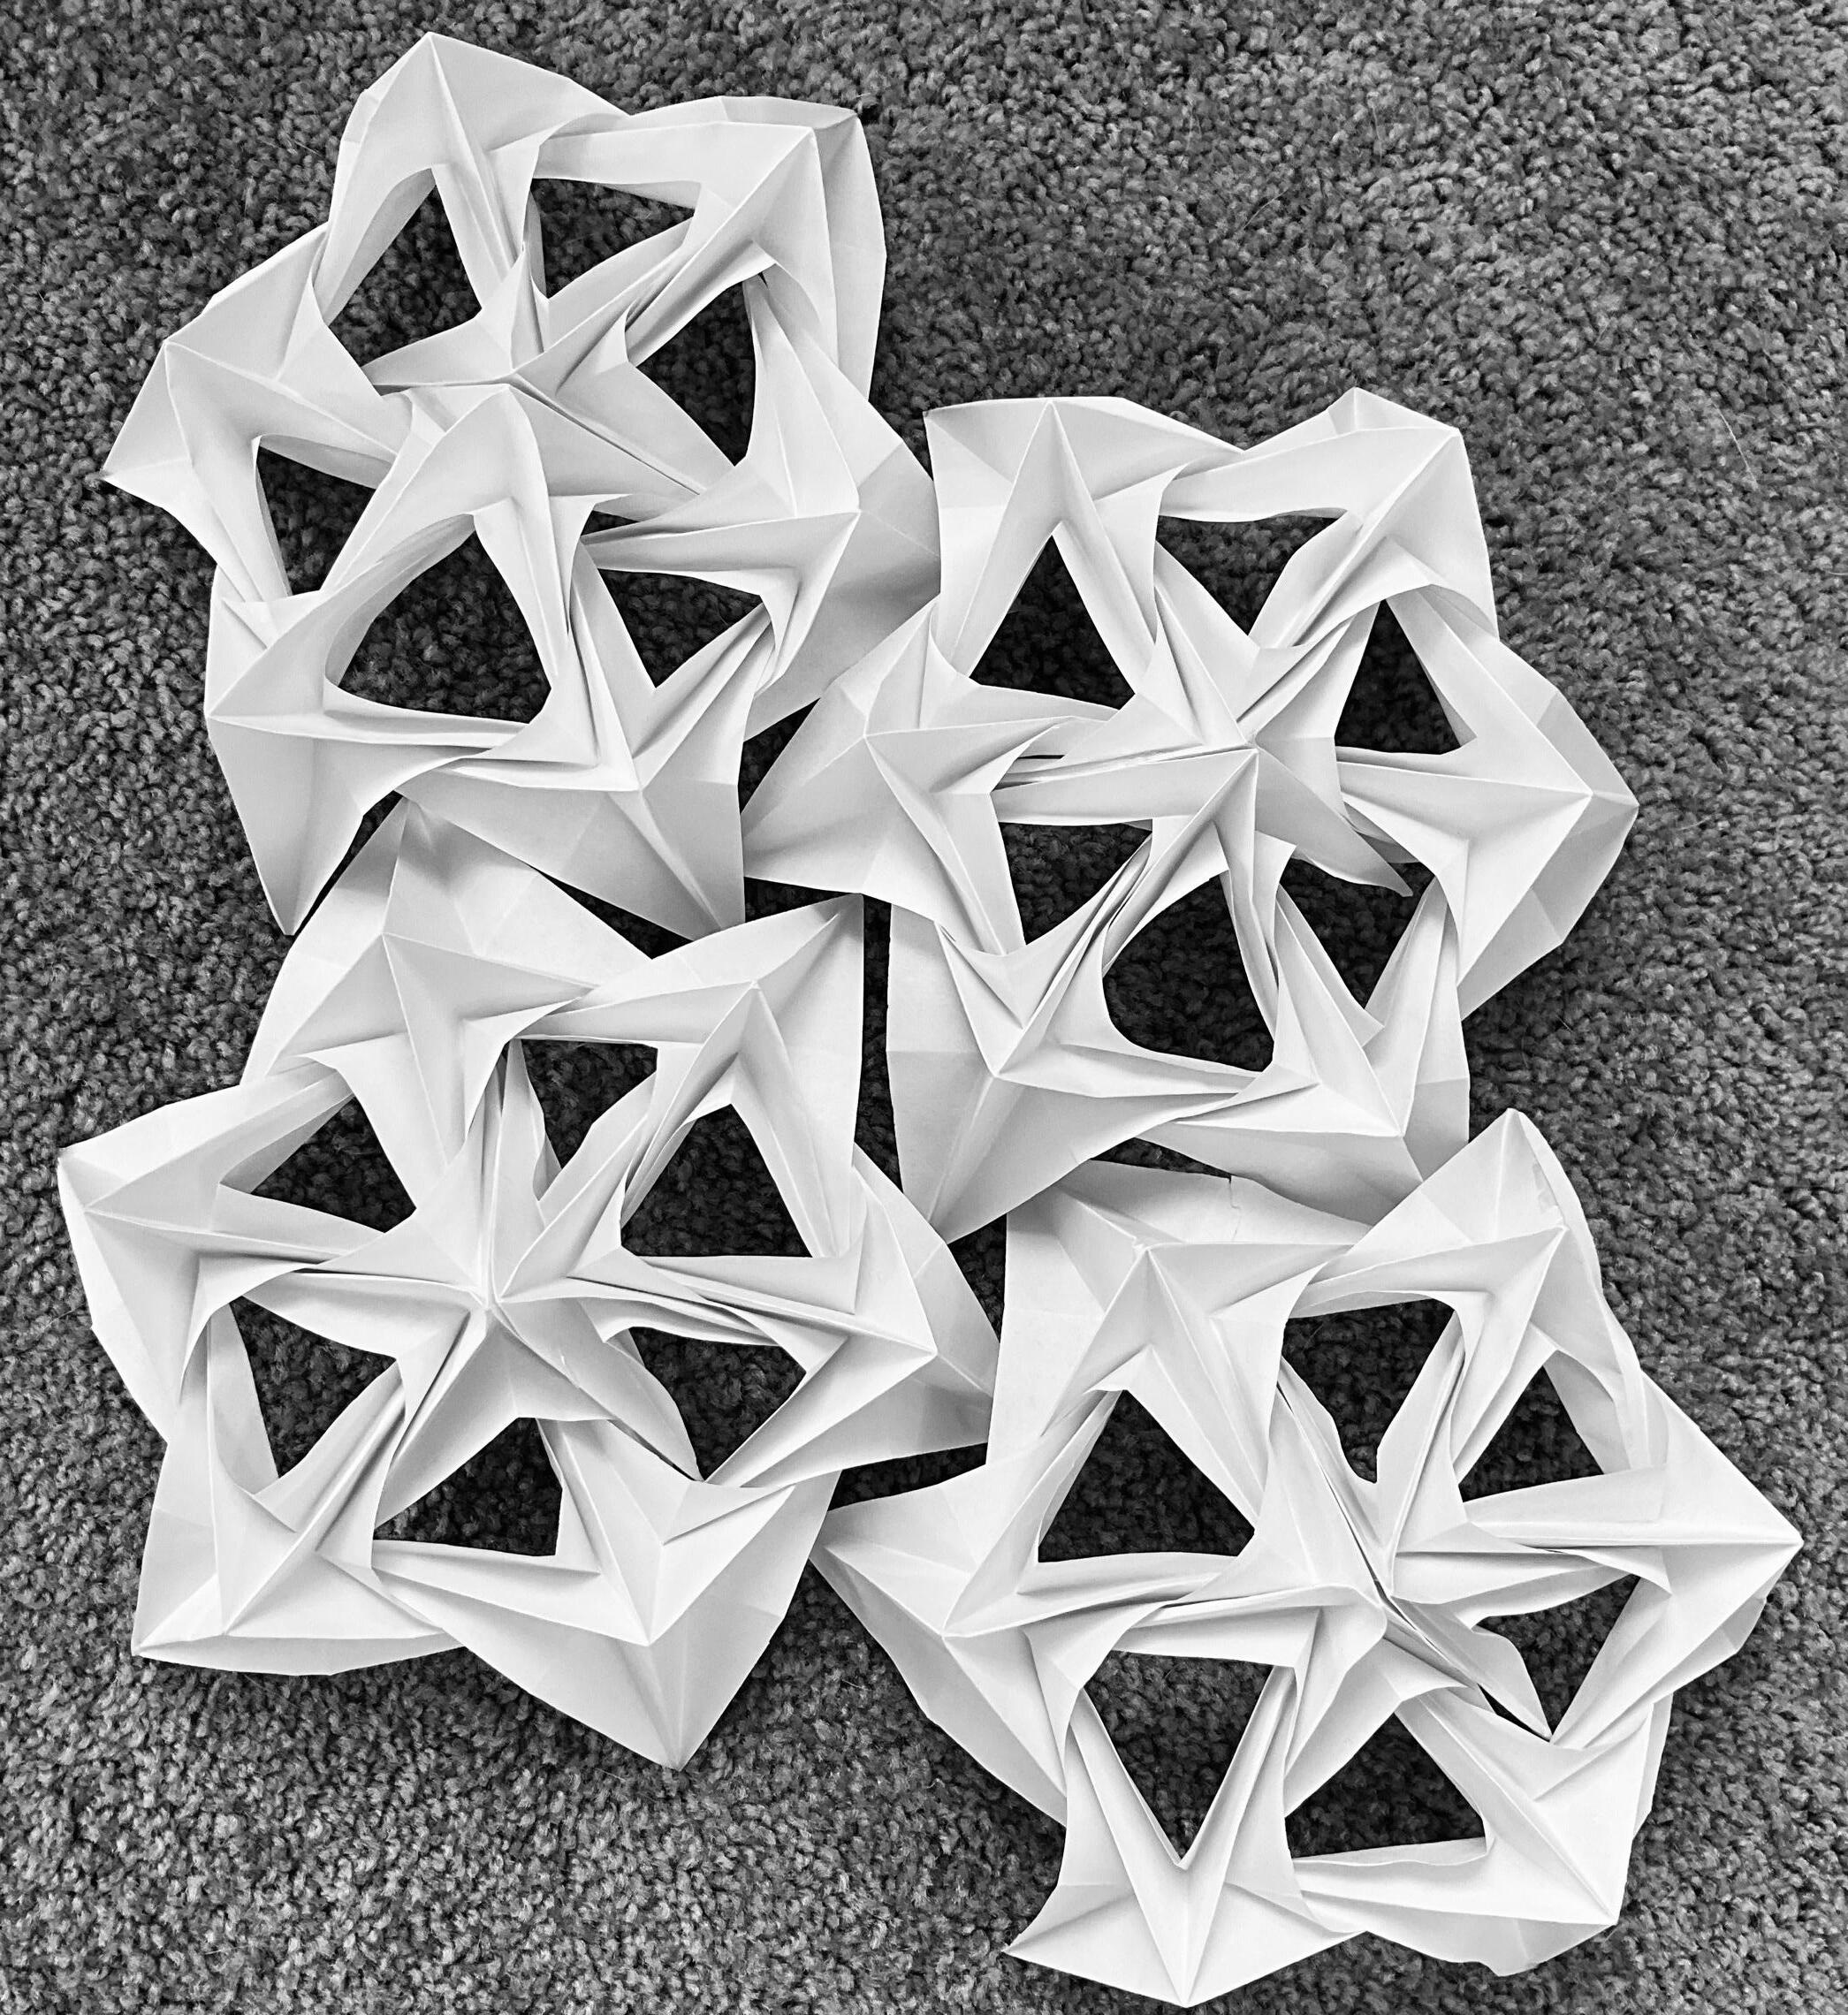
started putting them together something beautiful started to take
then took it a step further and tessellated those together.
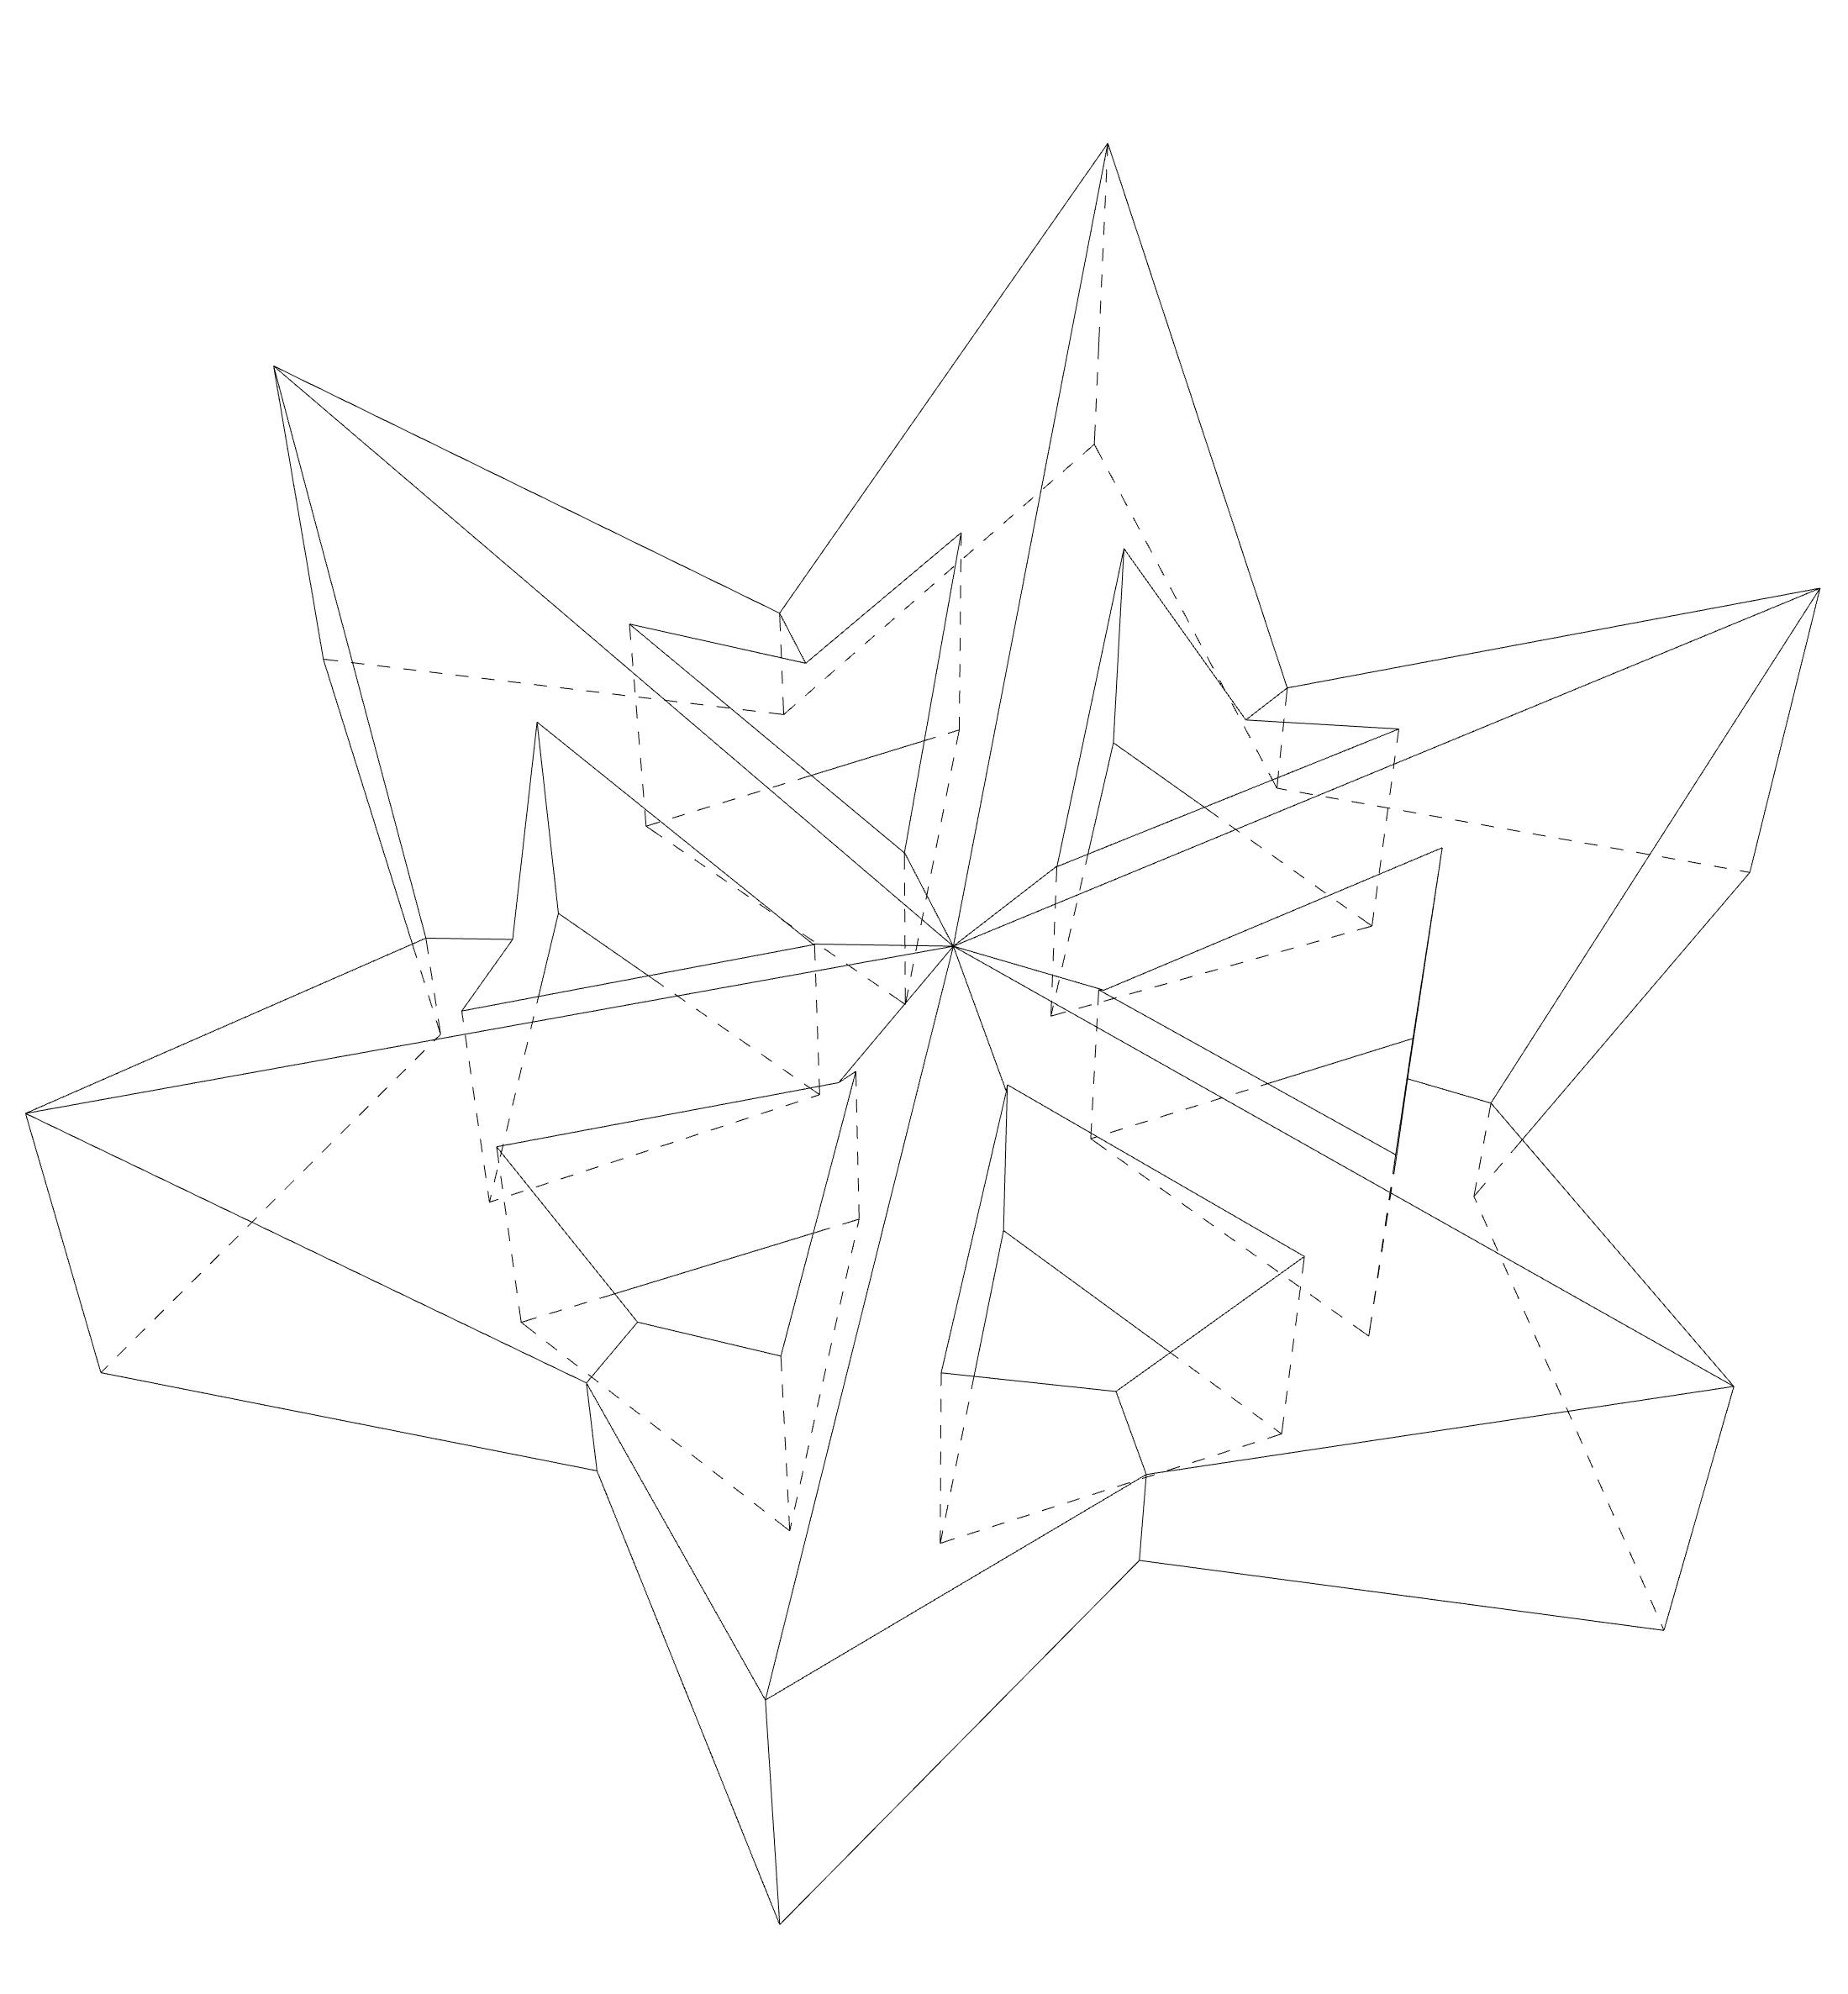
The next activity we had was to take our designs and input them to simplify it a little. I started with a triangle, cut a whole in it, brought the
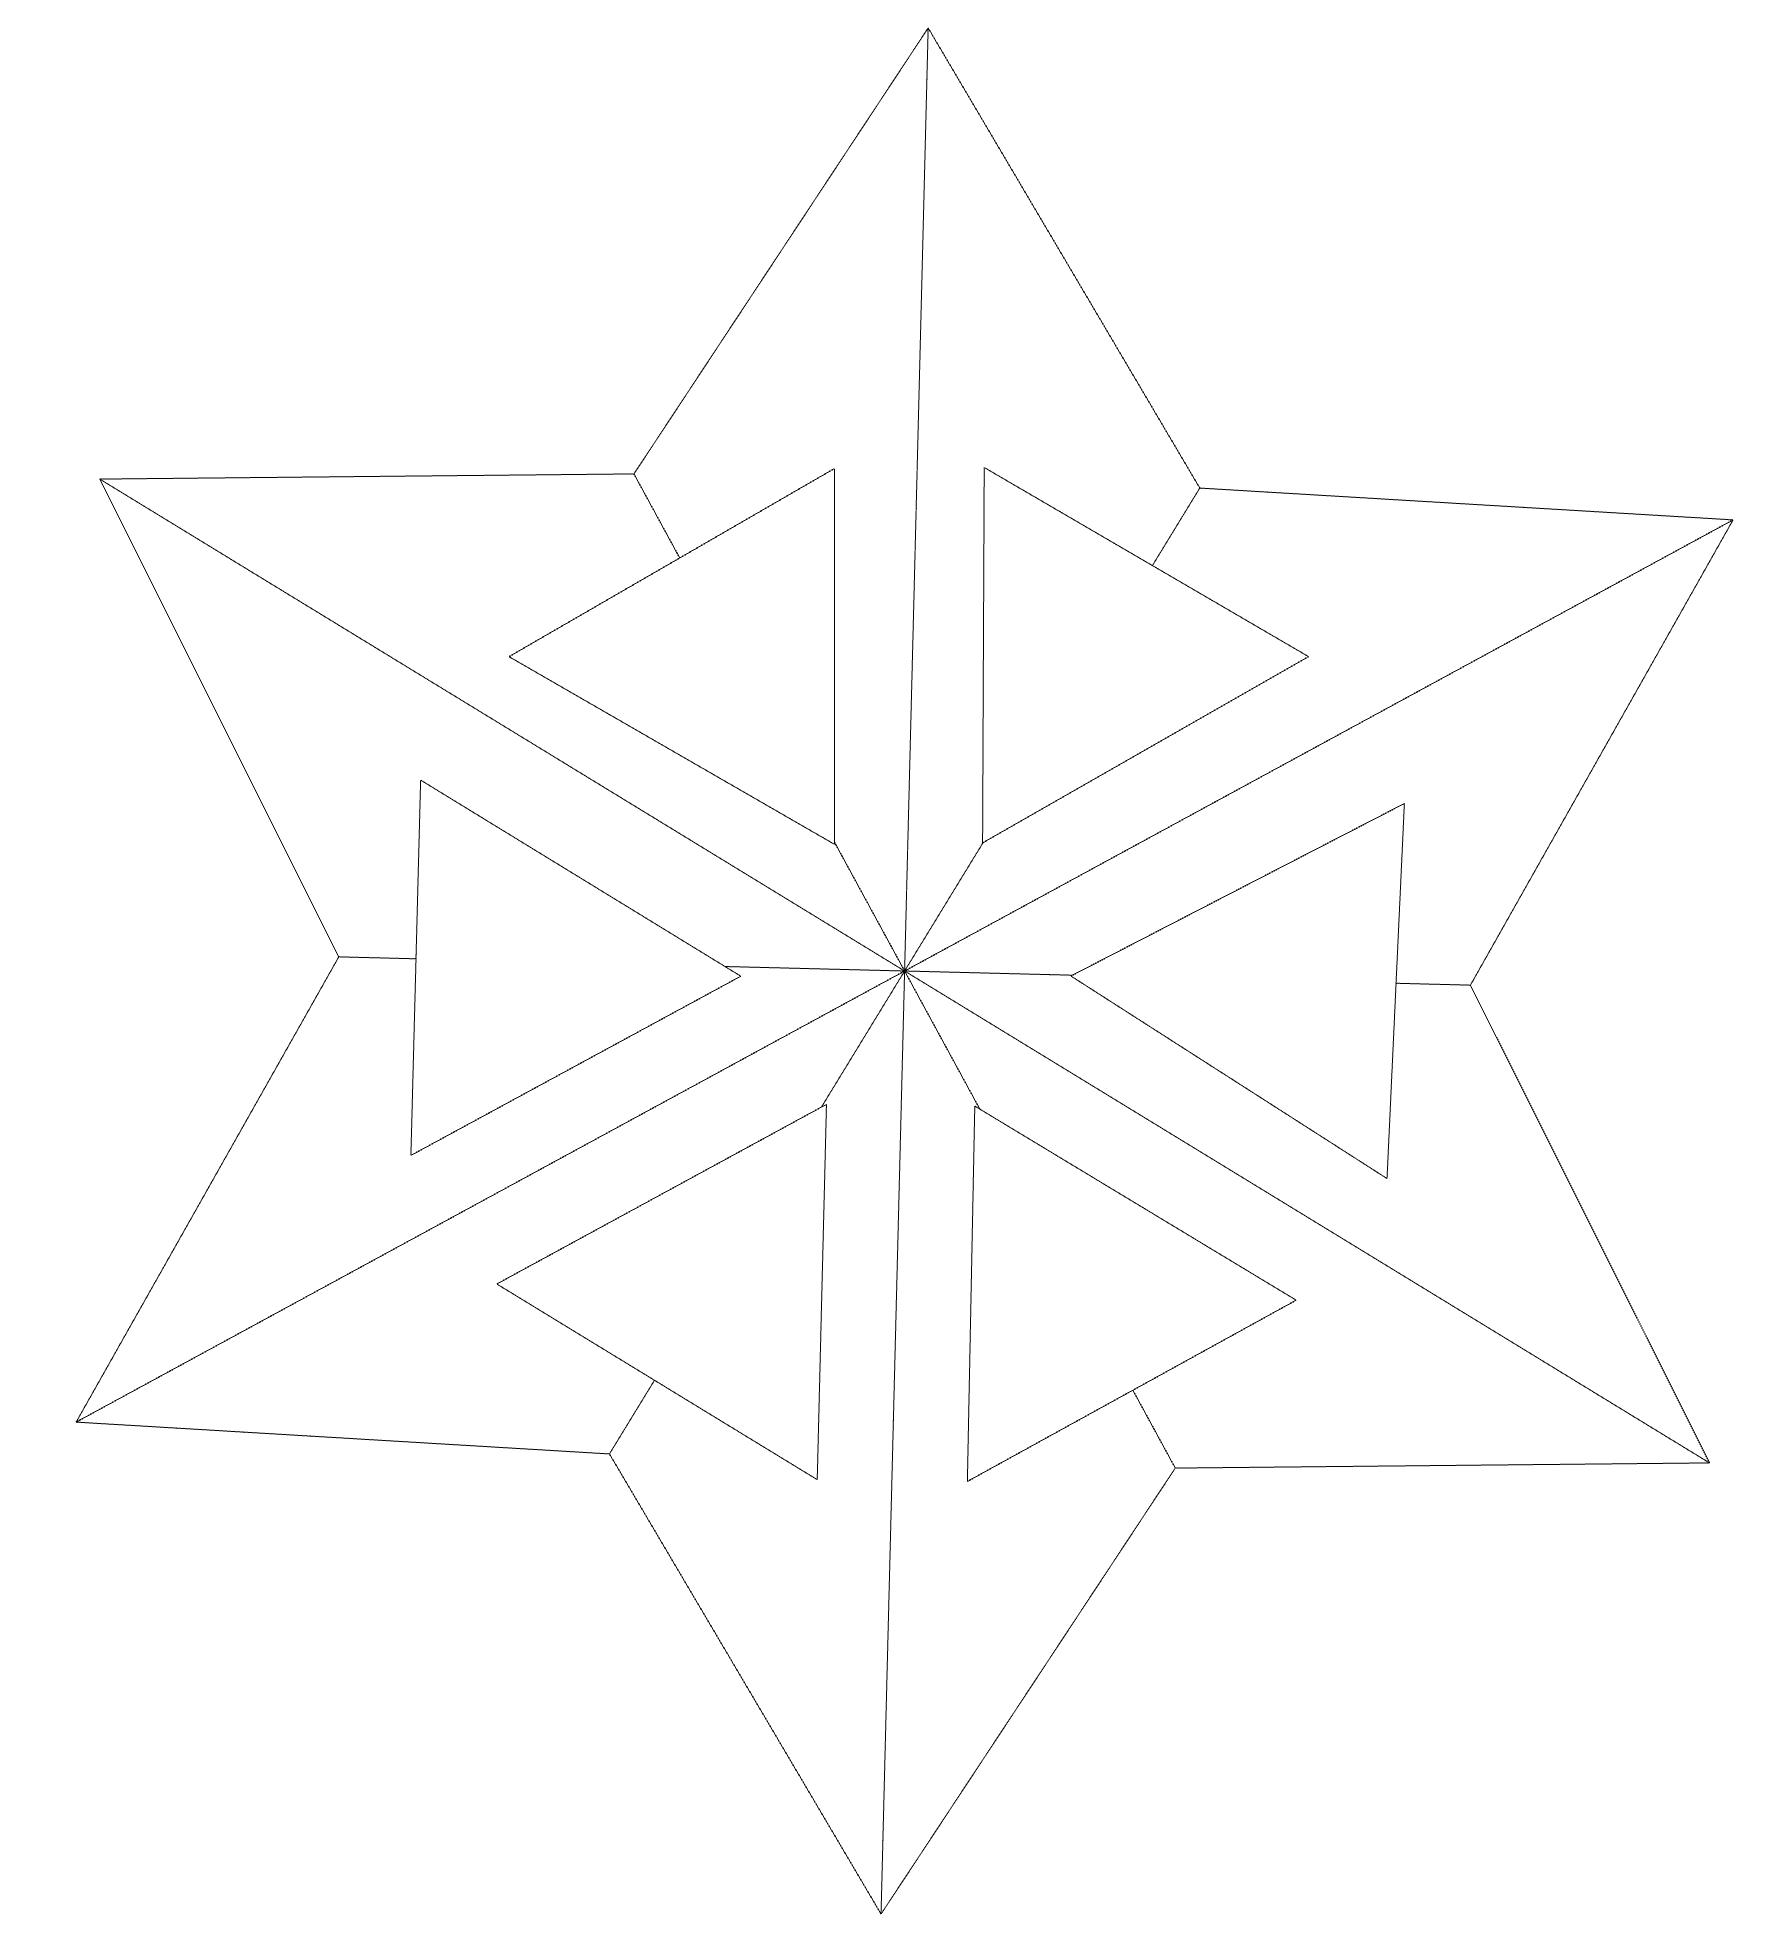
to Rhino. I realized my shape was really complex so I tried to the bottom edge inward, and rotated it six times around center.


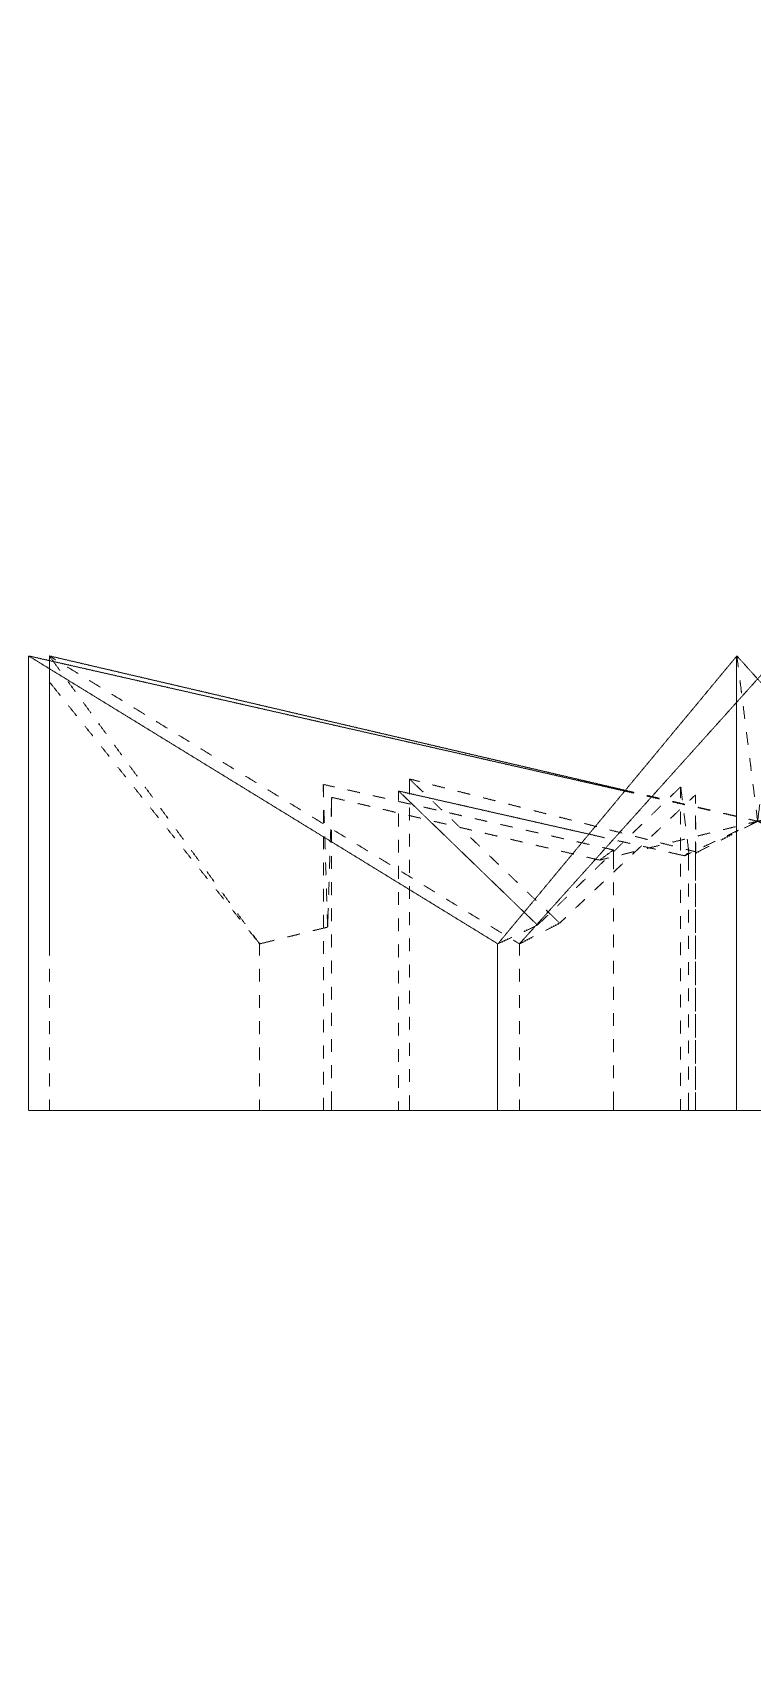
Next came unrolling the tessellation and bringing it into Illustrator to I went back and checked the option to explode when unrolling. I then

to be printed. When I unrolled my shape it was a jumbled mess, so then put the pieces back together in Illustrator.
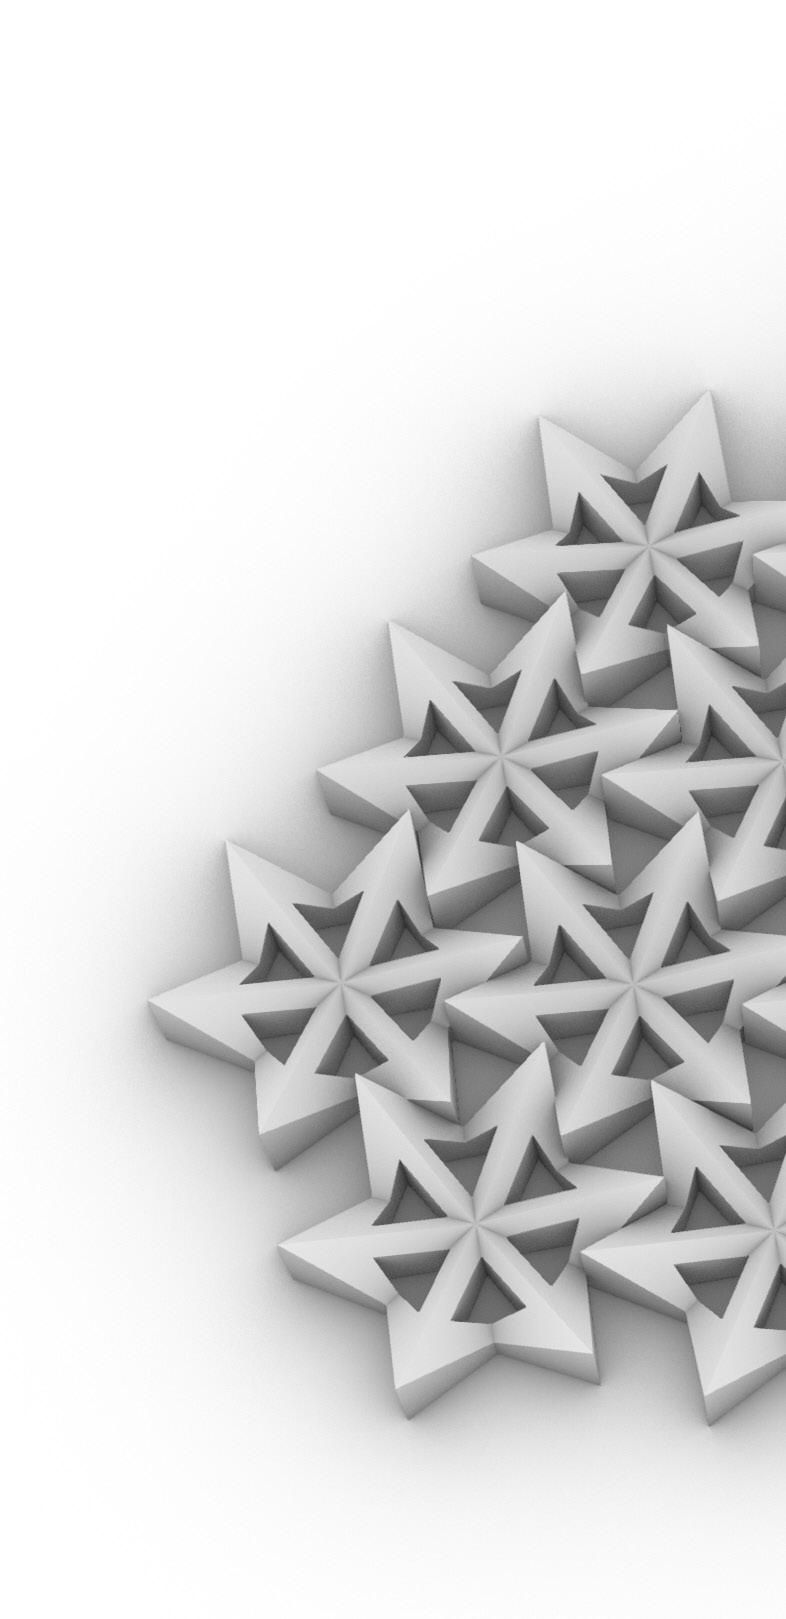
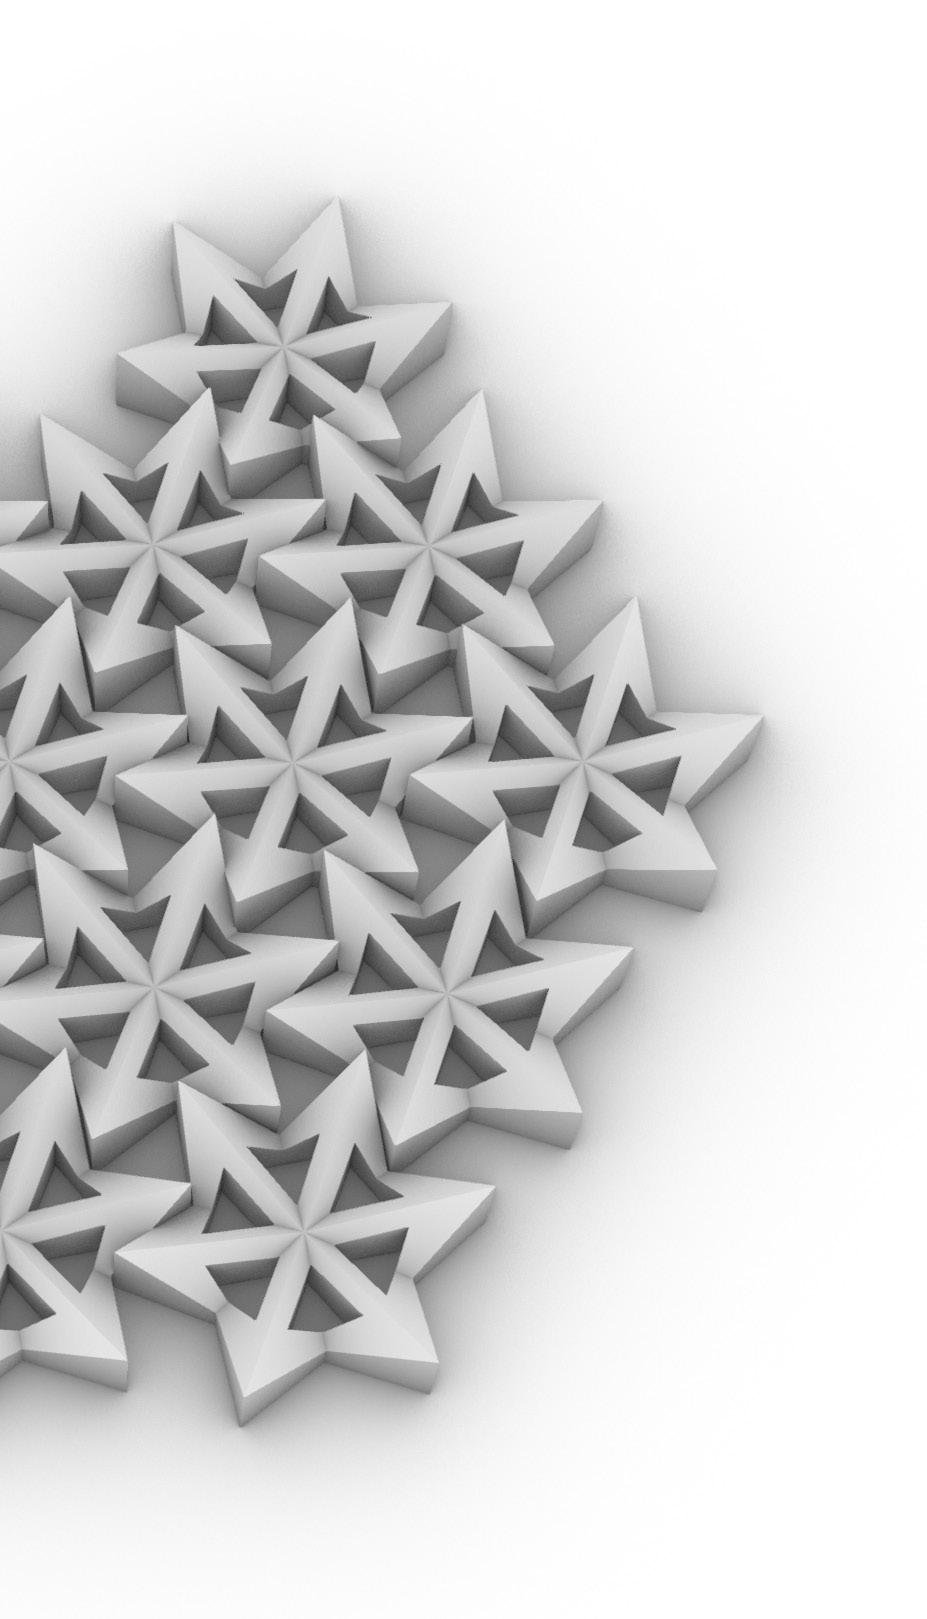
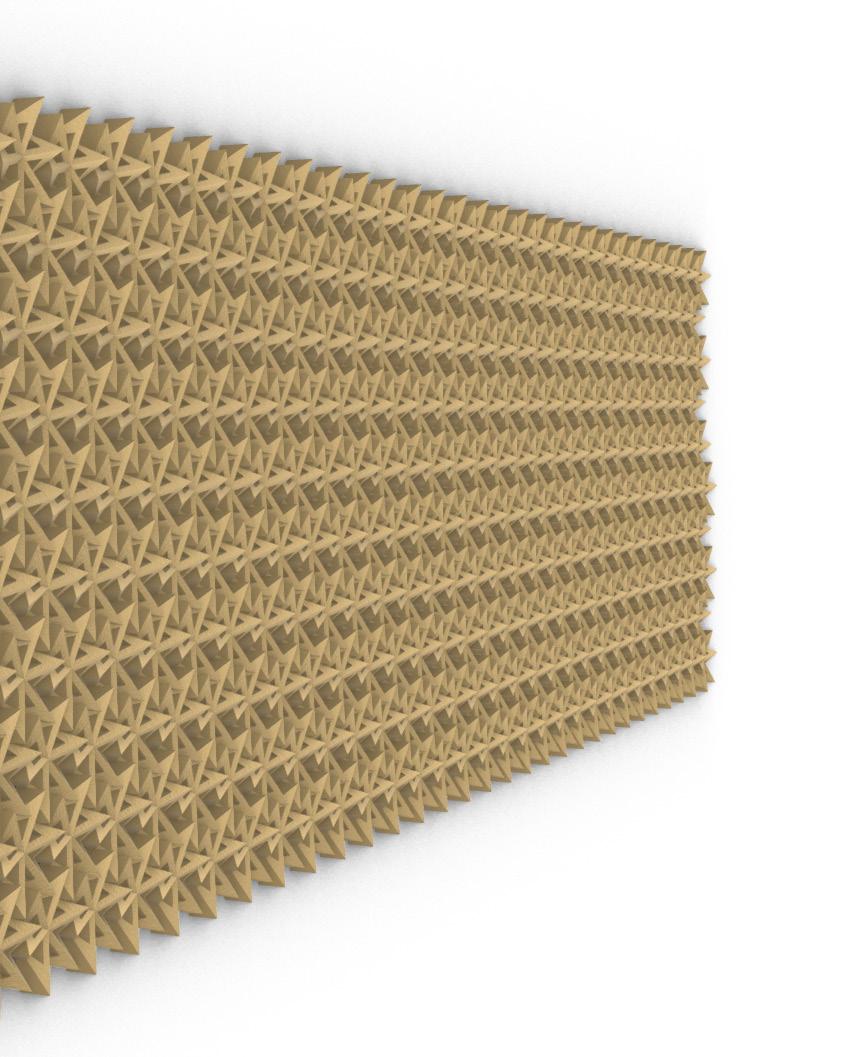
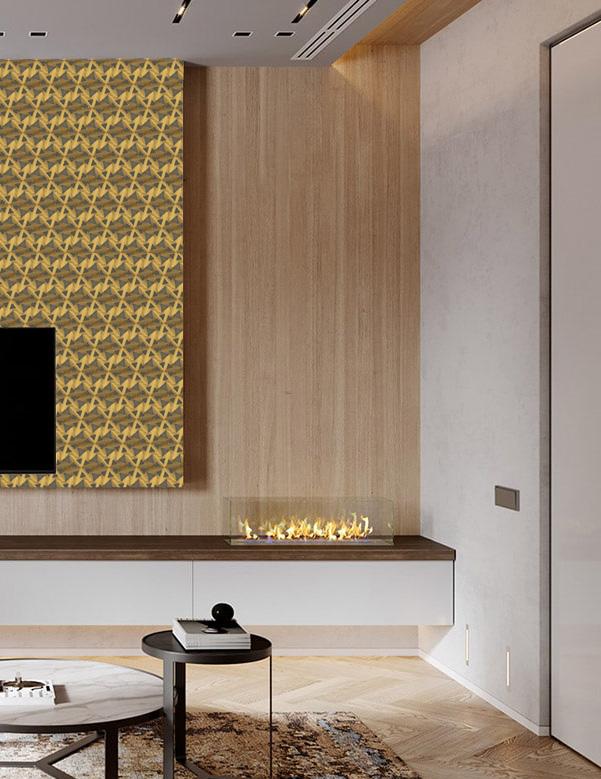
For this rendering I turned the surfaces to a hammered gold and set
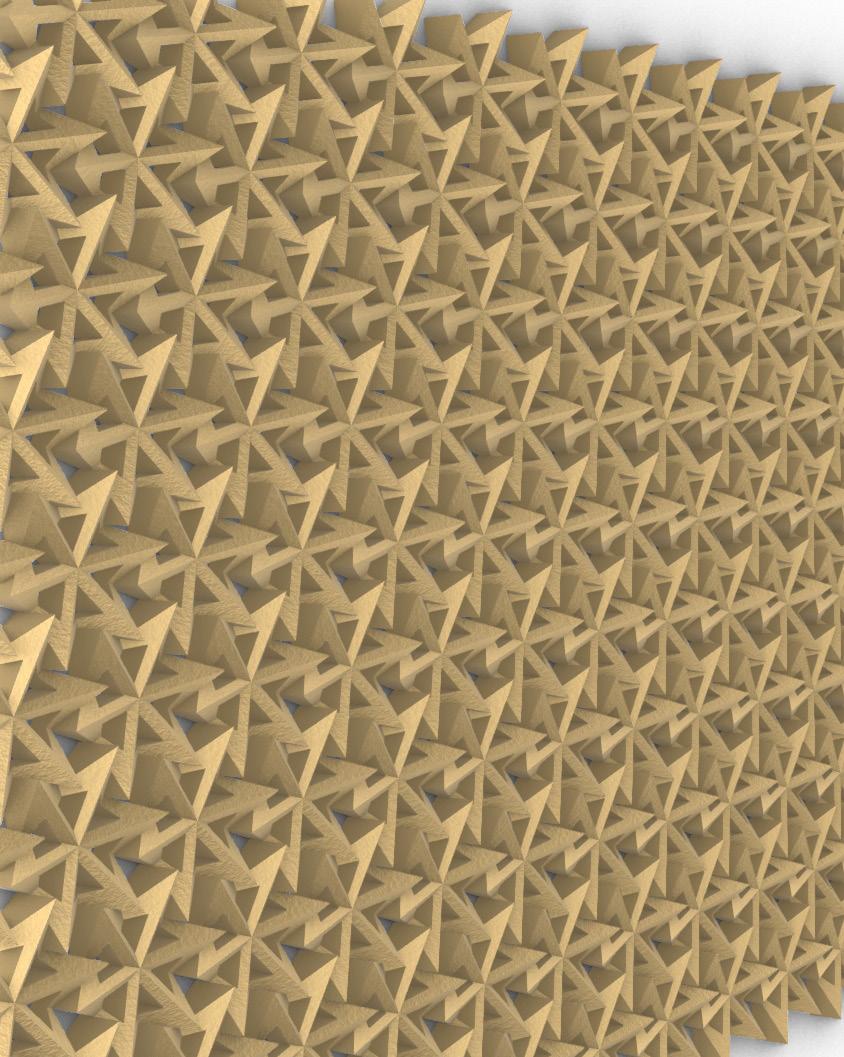
set up a scene as if looking at a wall covered in my tessellation.
I took the gold rendered tessellation into Photoshop and applied it
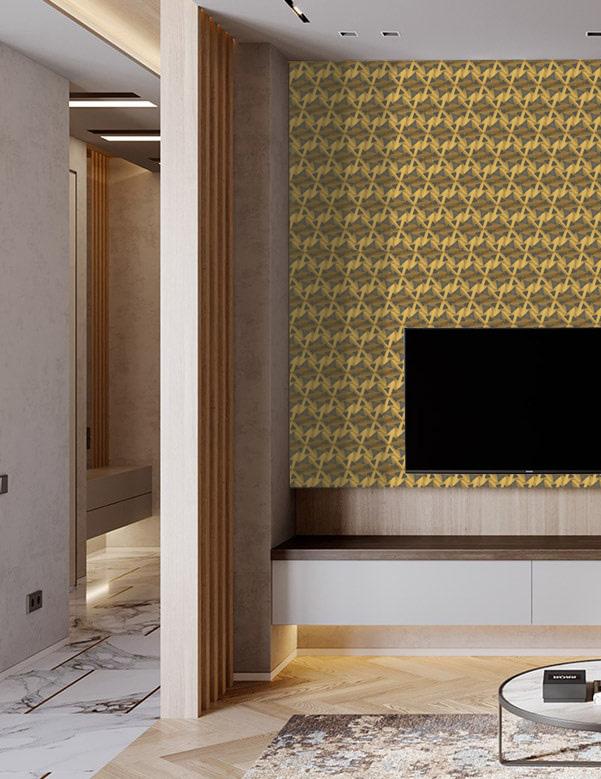
it to an accent wall, gave it an overlay and added some shading.
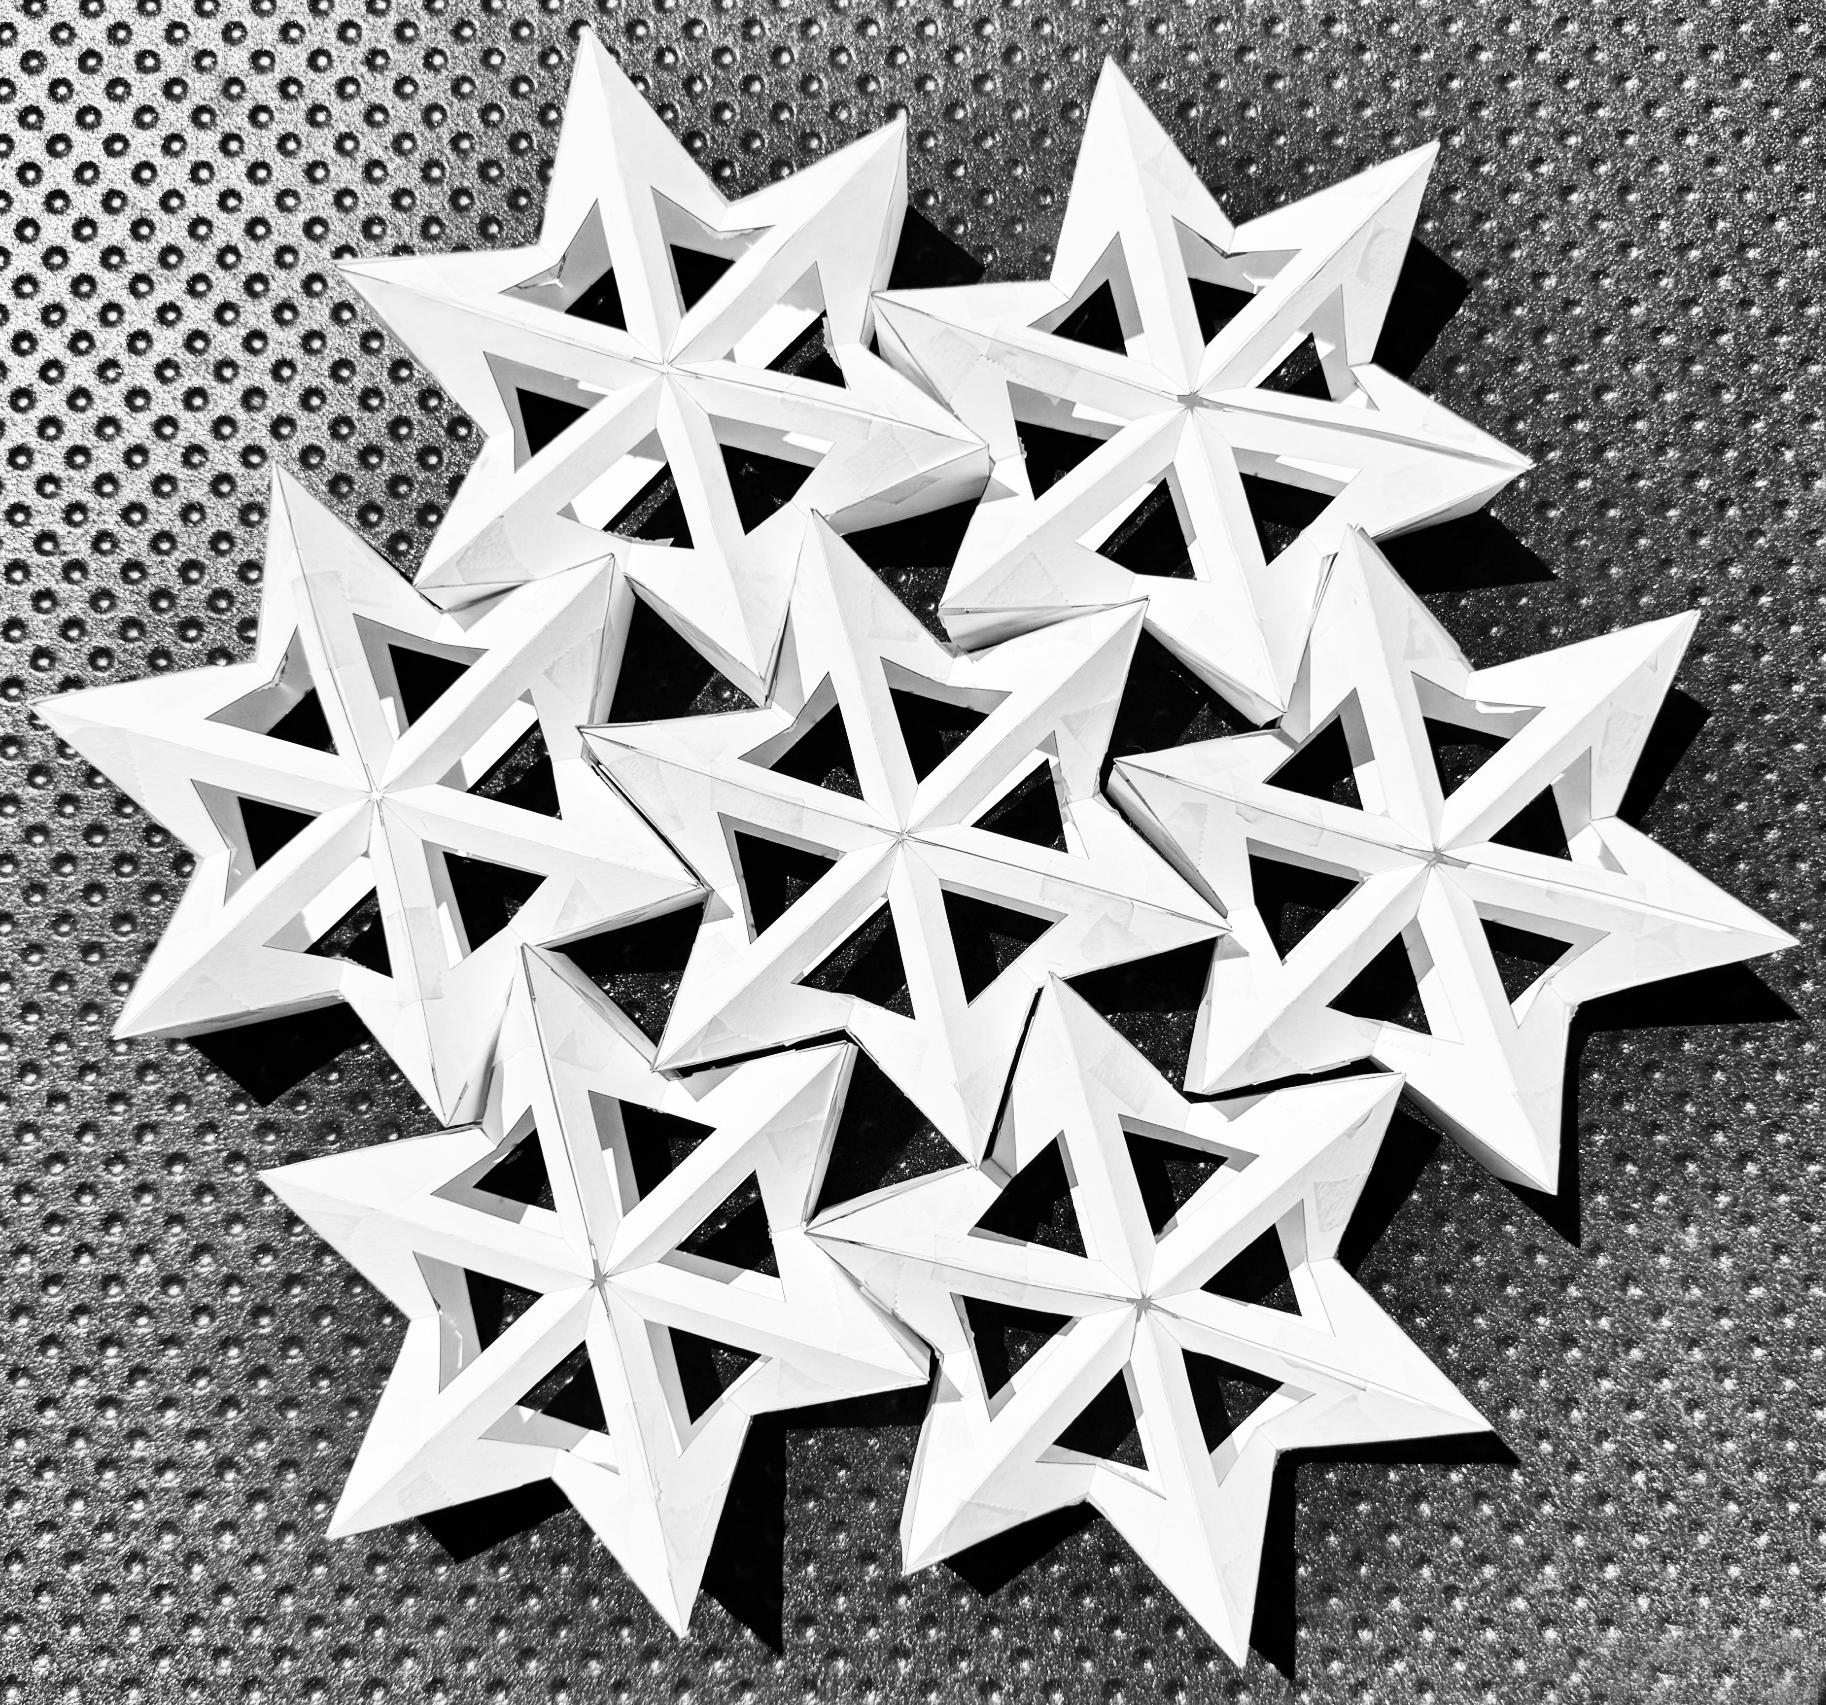
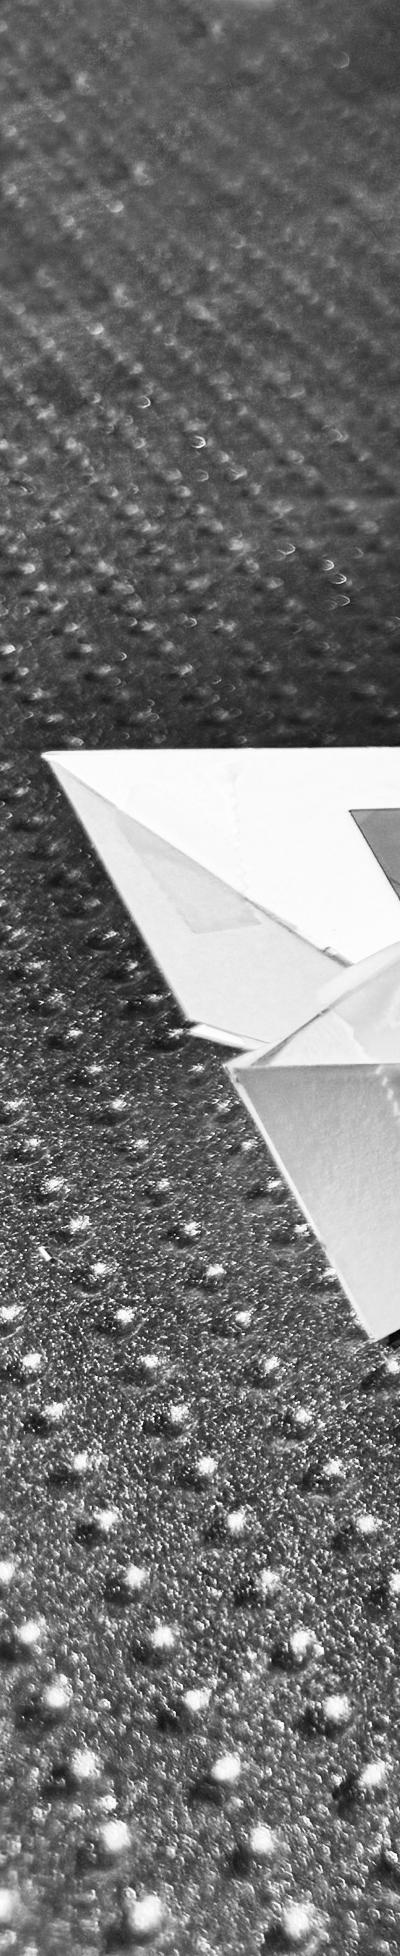
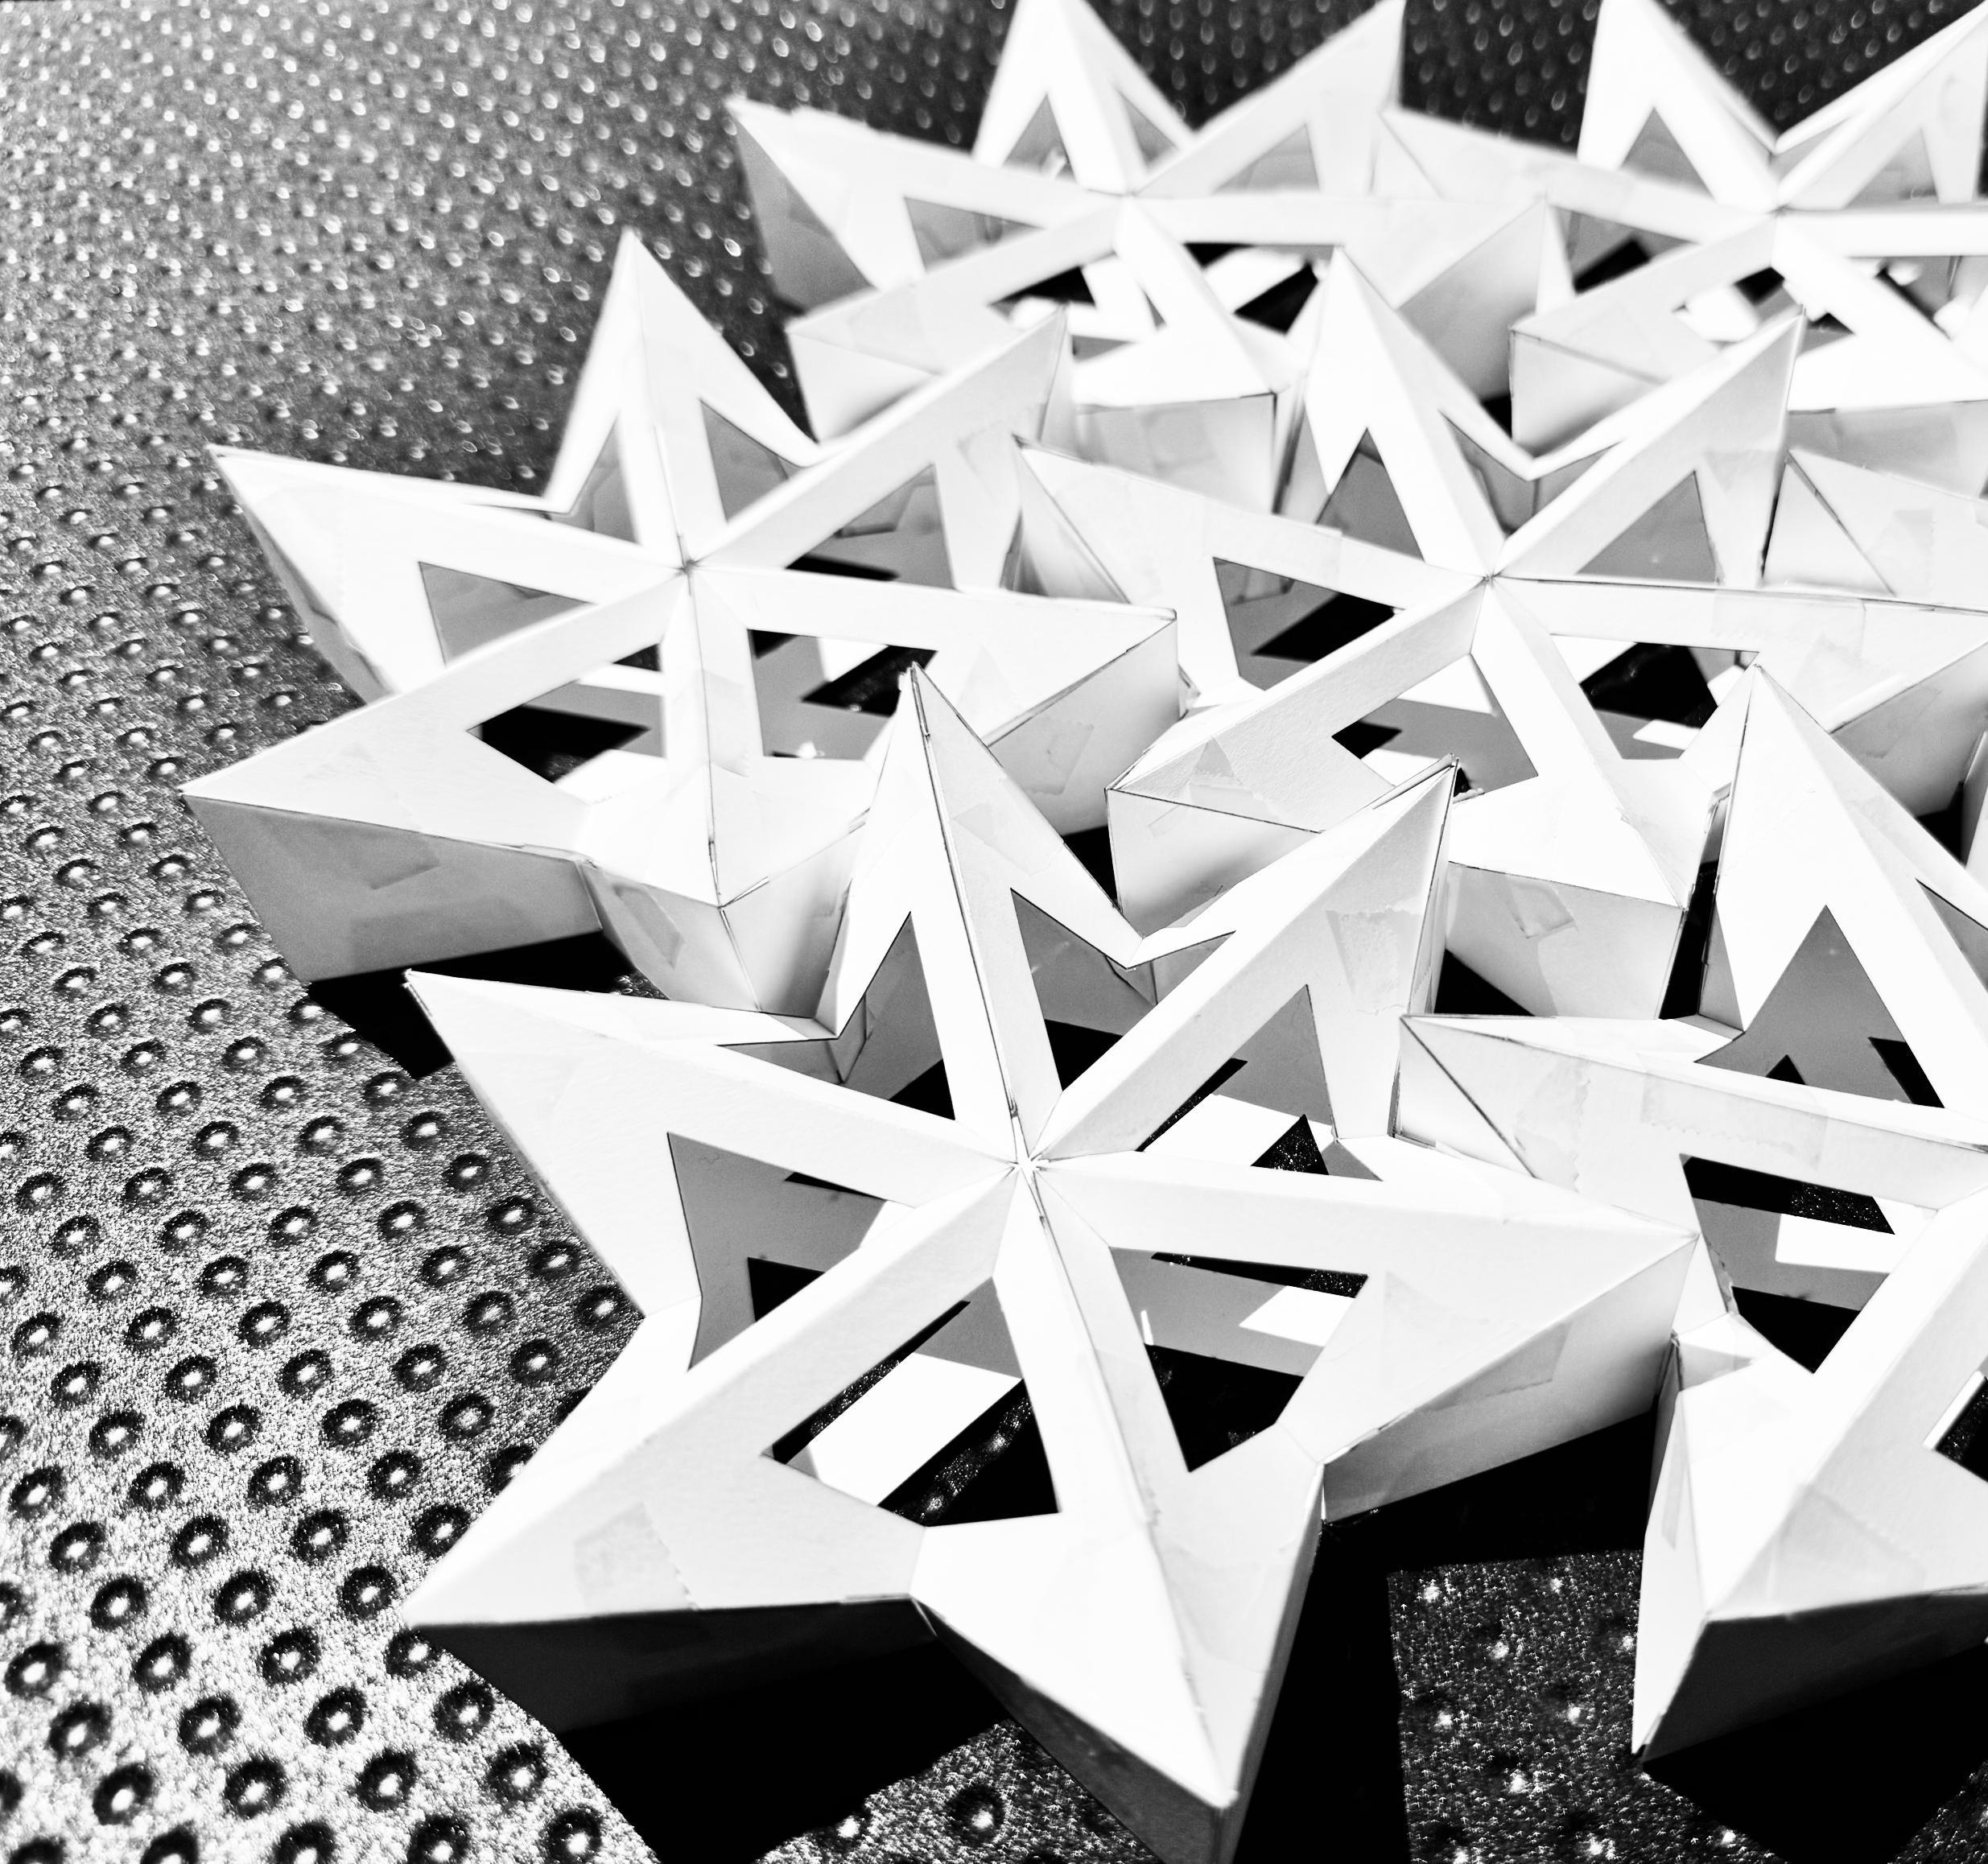
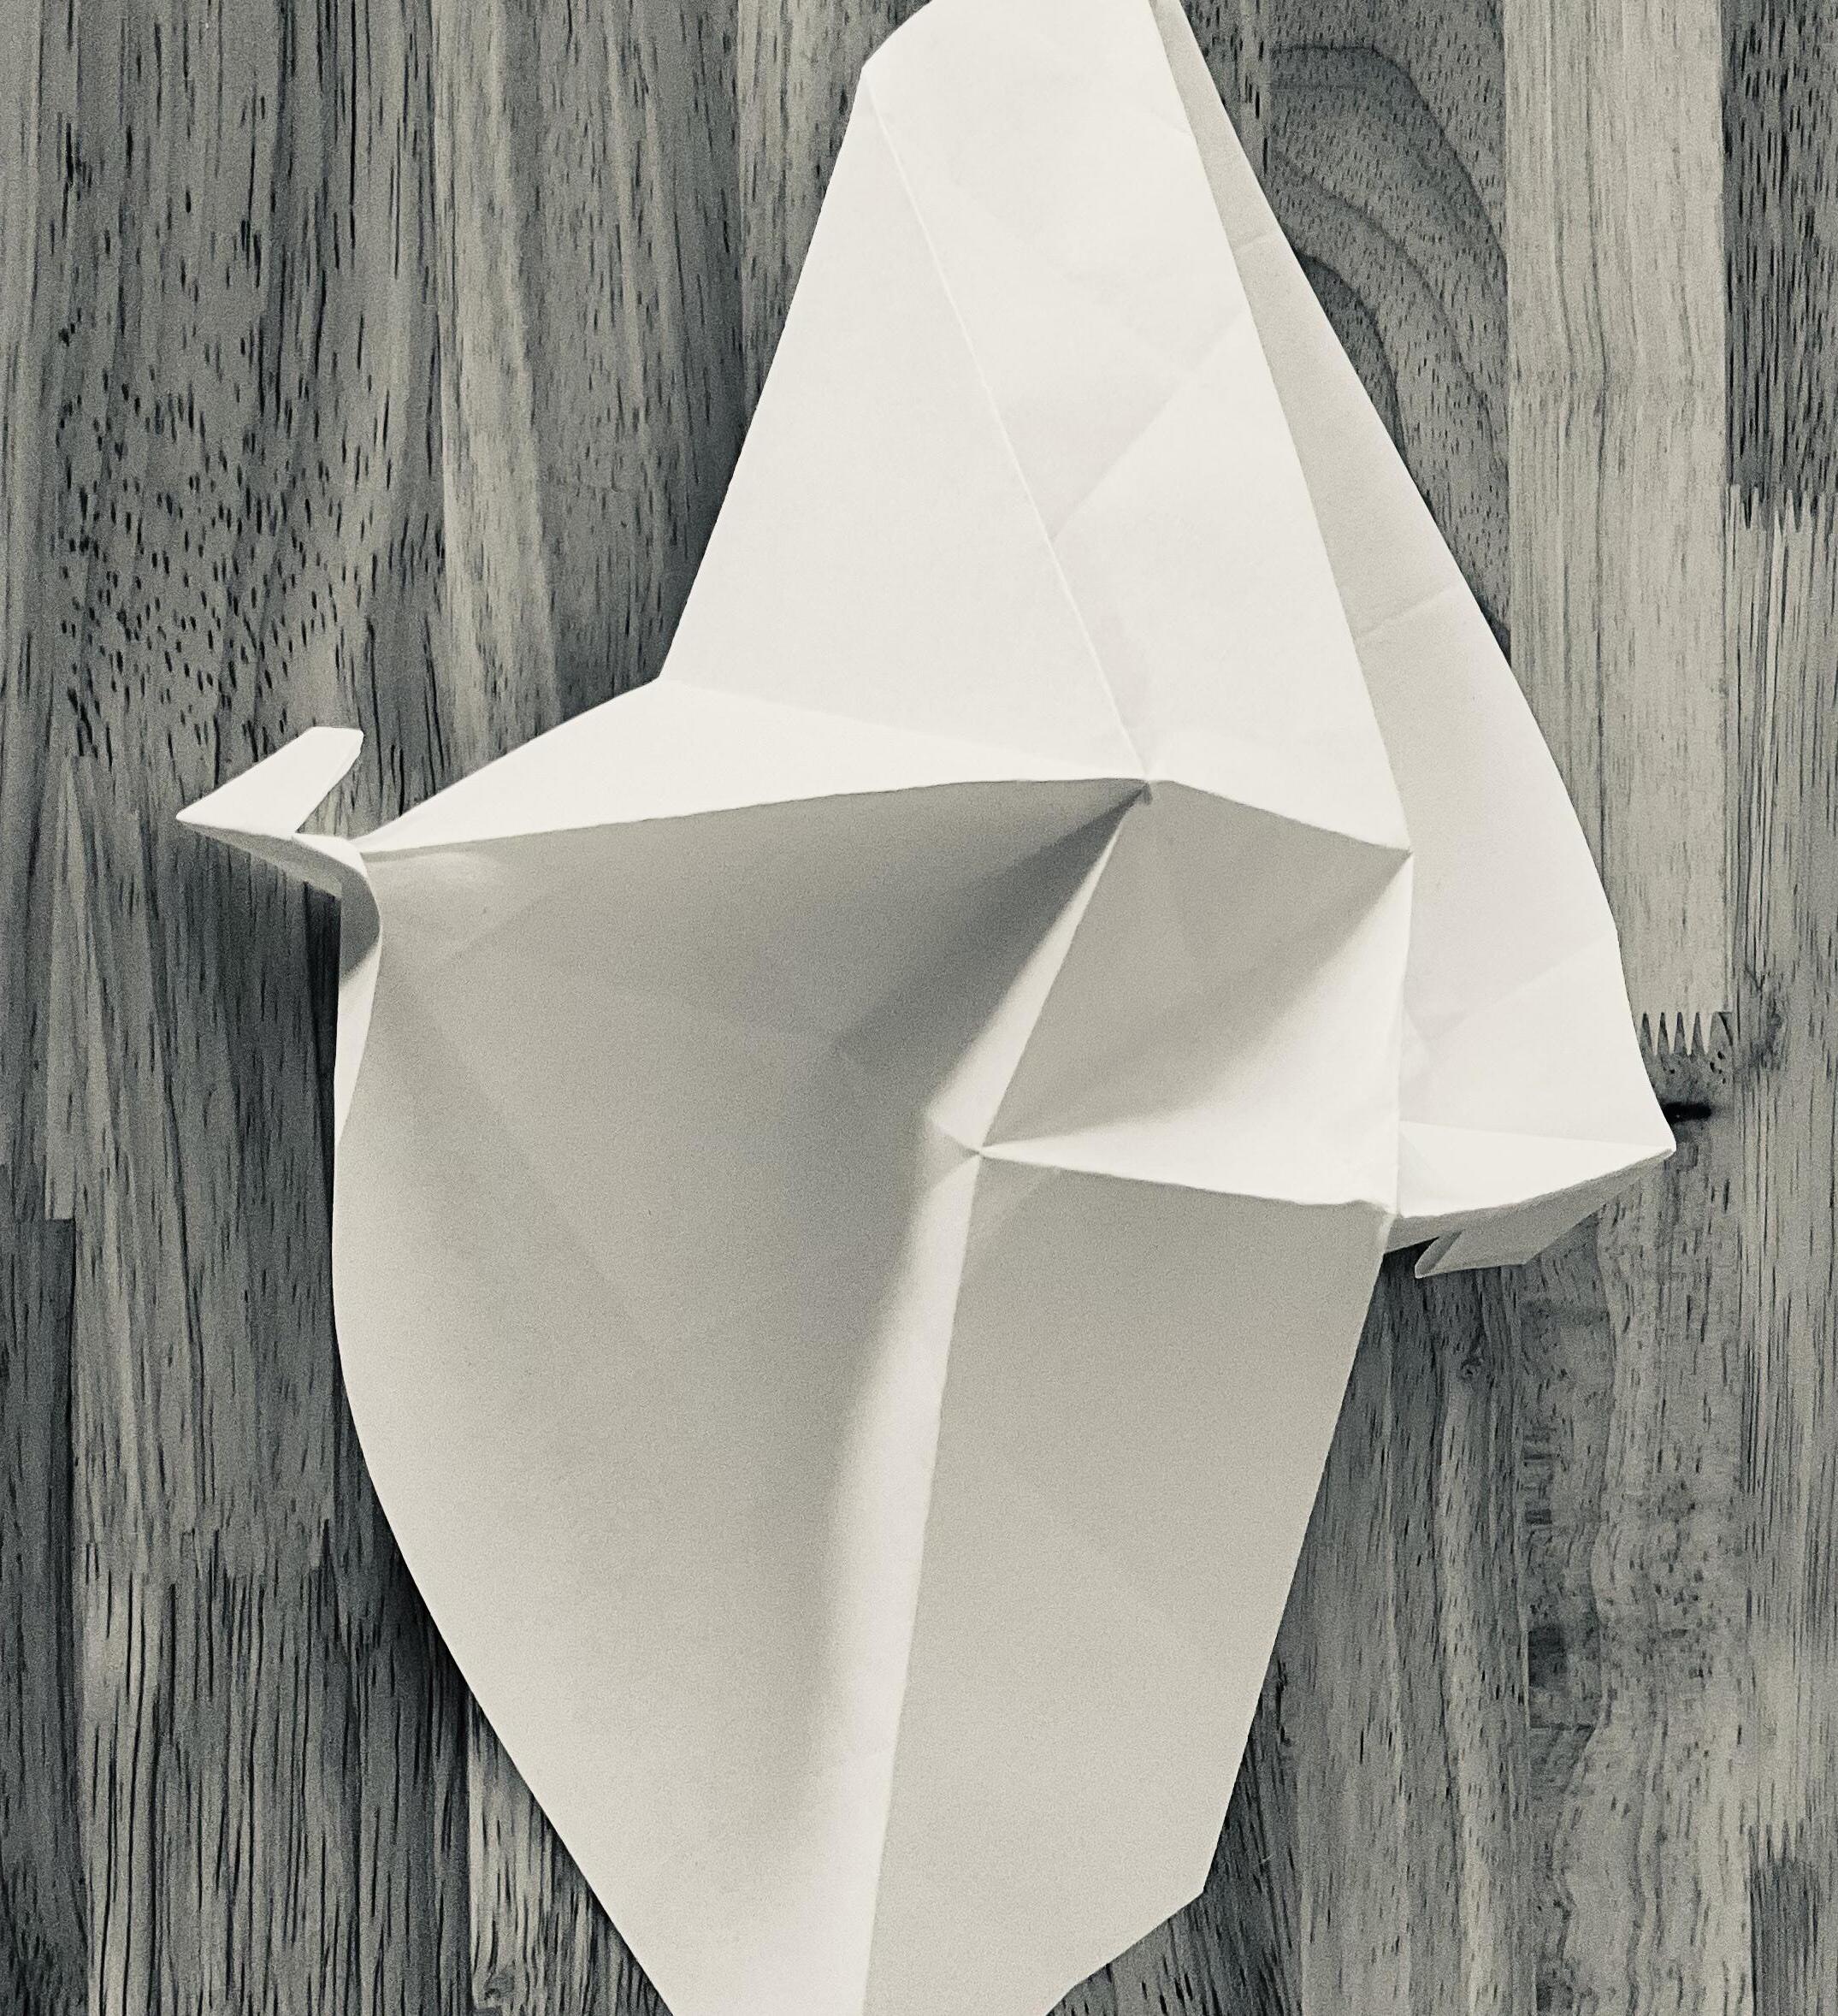
The laser cut paper was very flimsy and kept breaking, but I managed rotated around a center one due to the common theme of six around
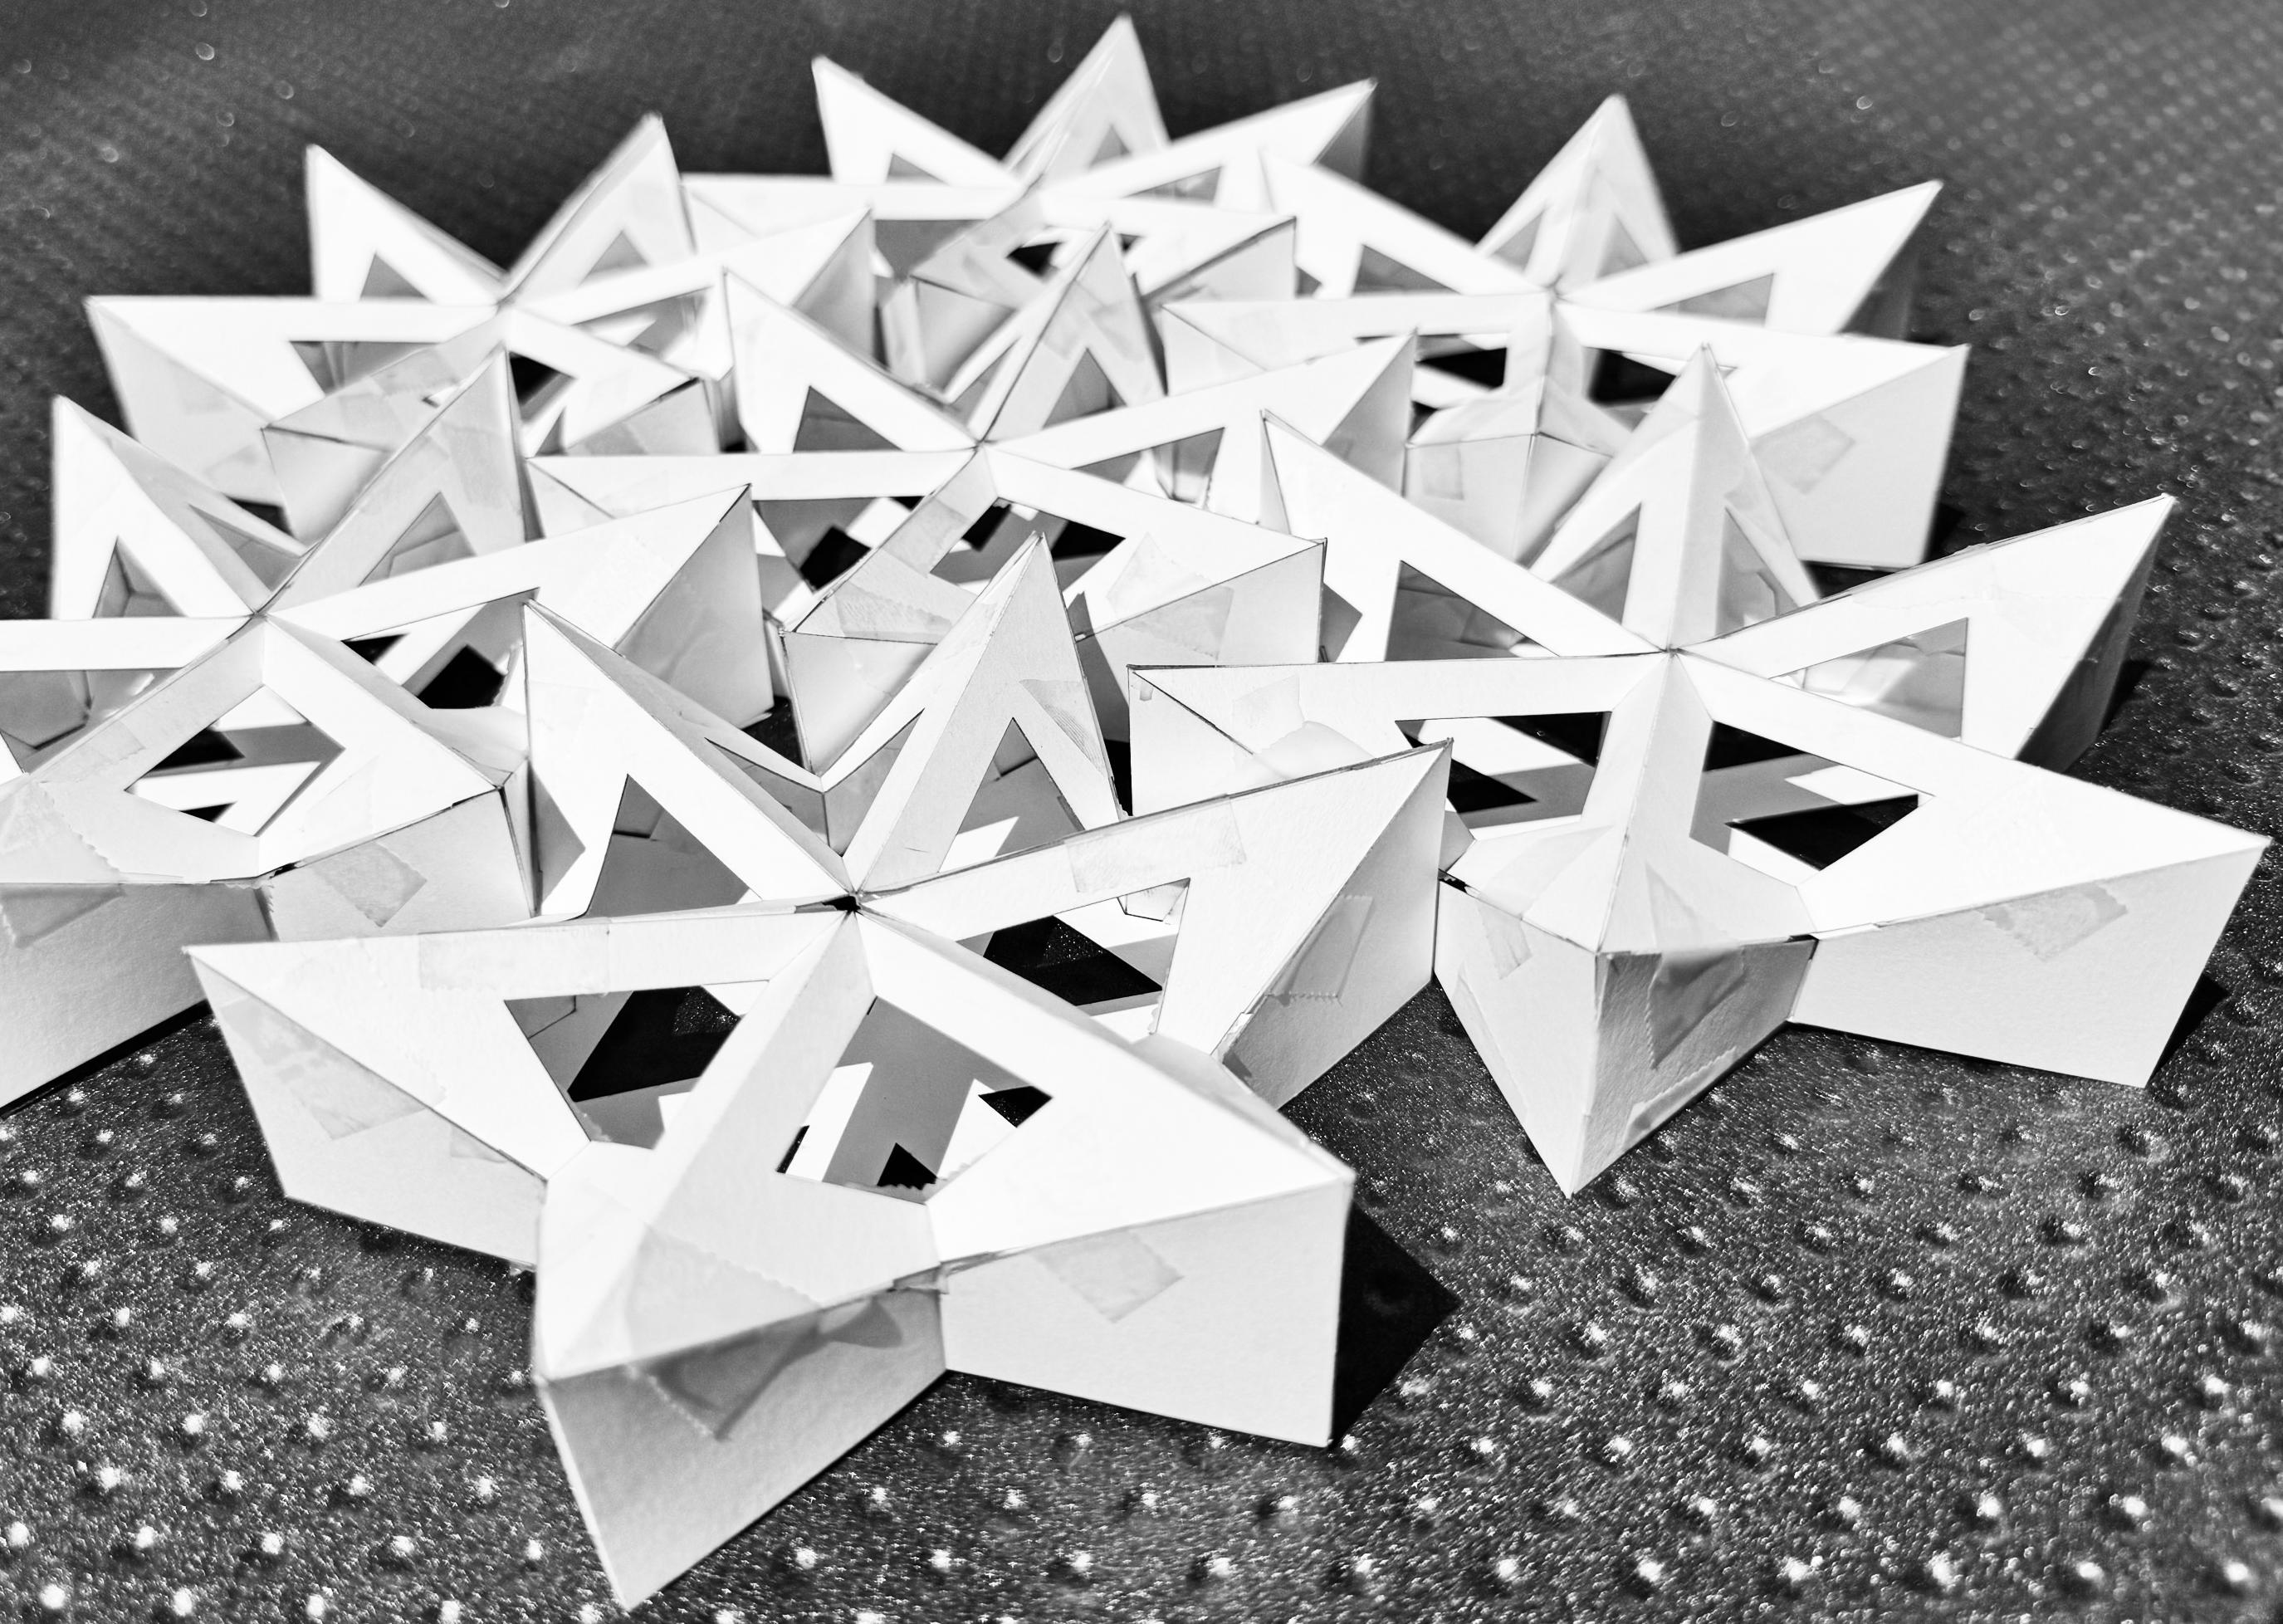
managed to put together the pieces of my tessellation. Six of them around center throughout this process.
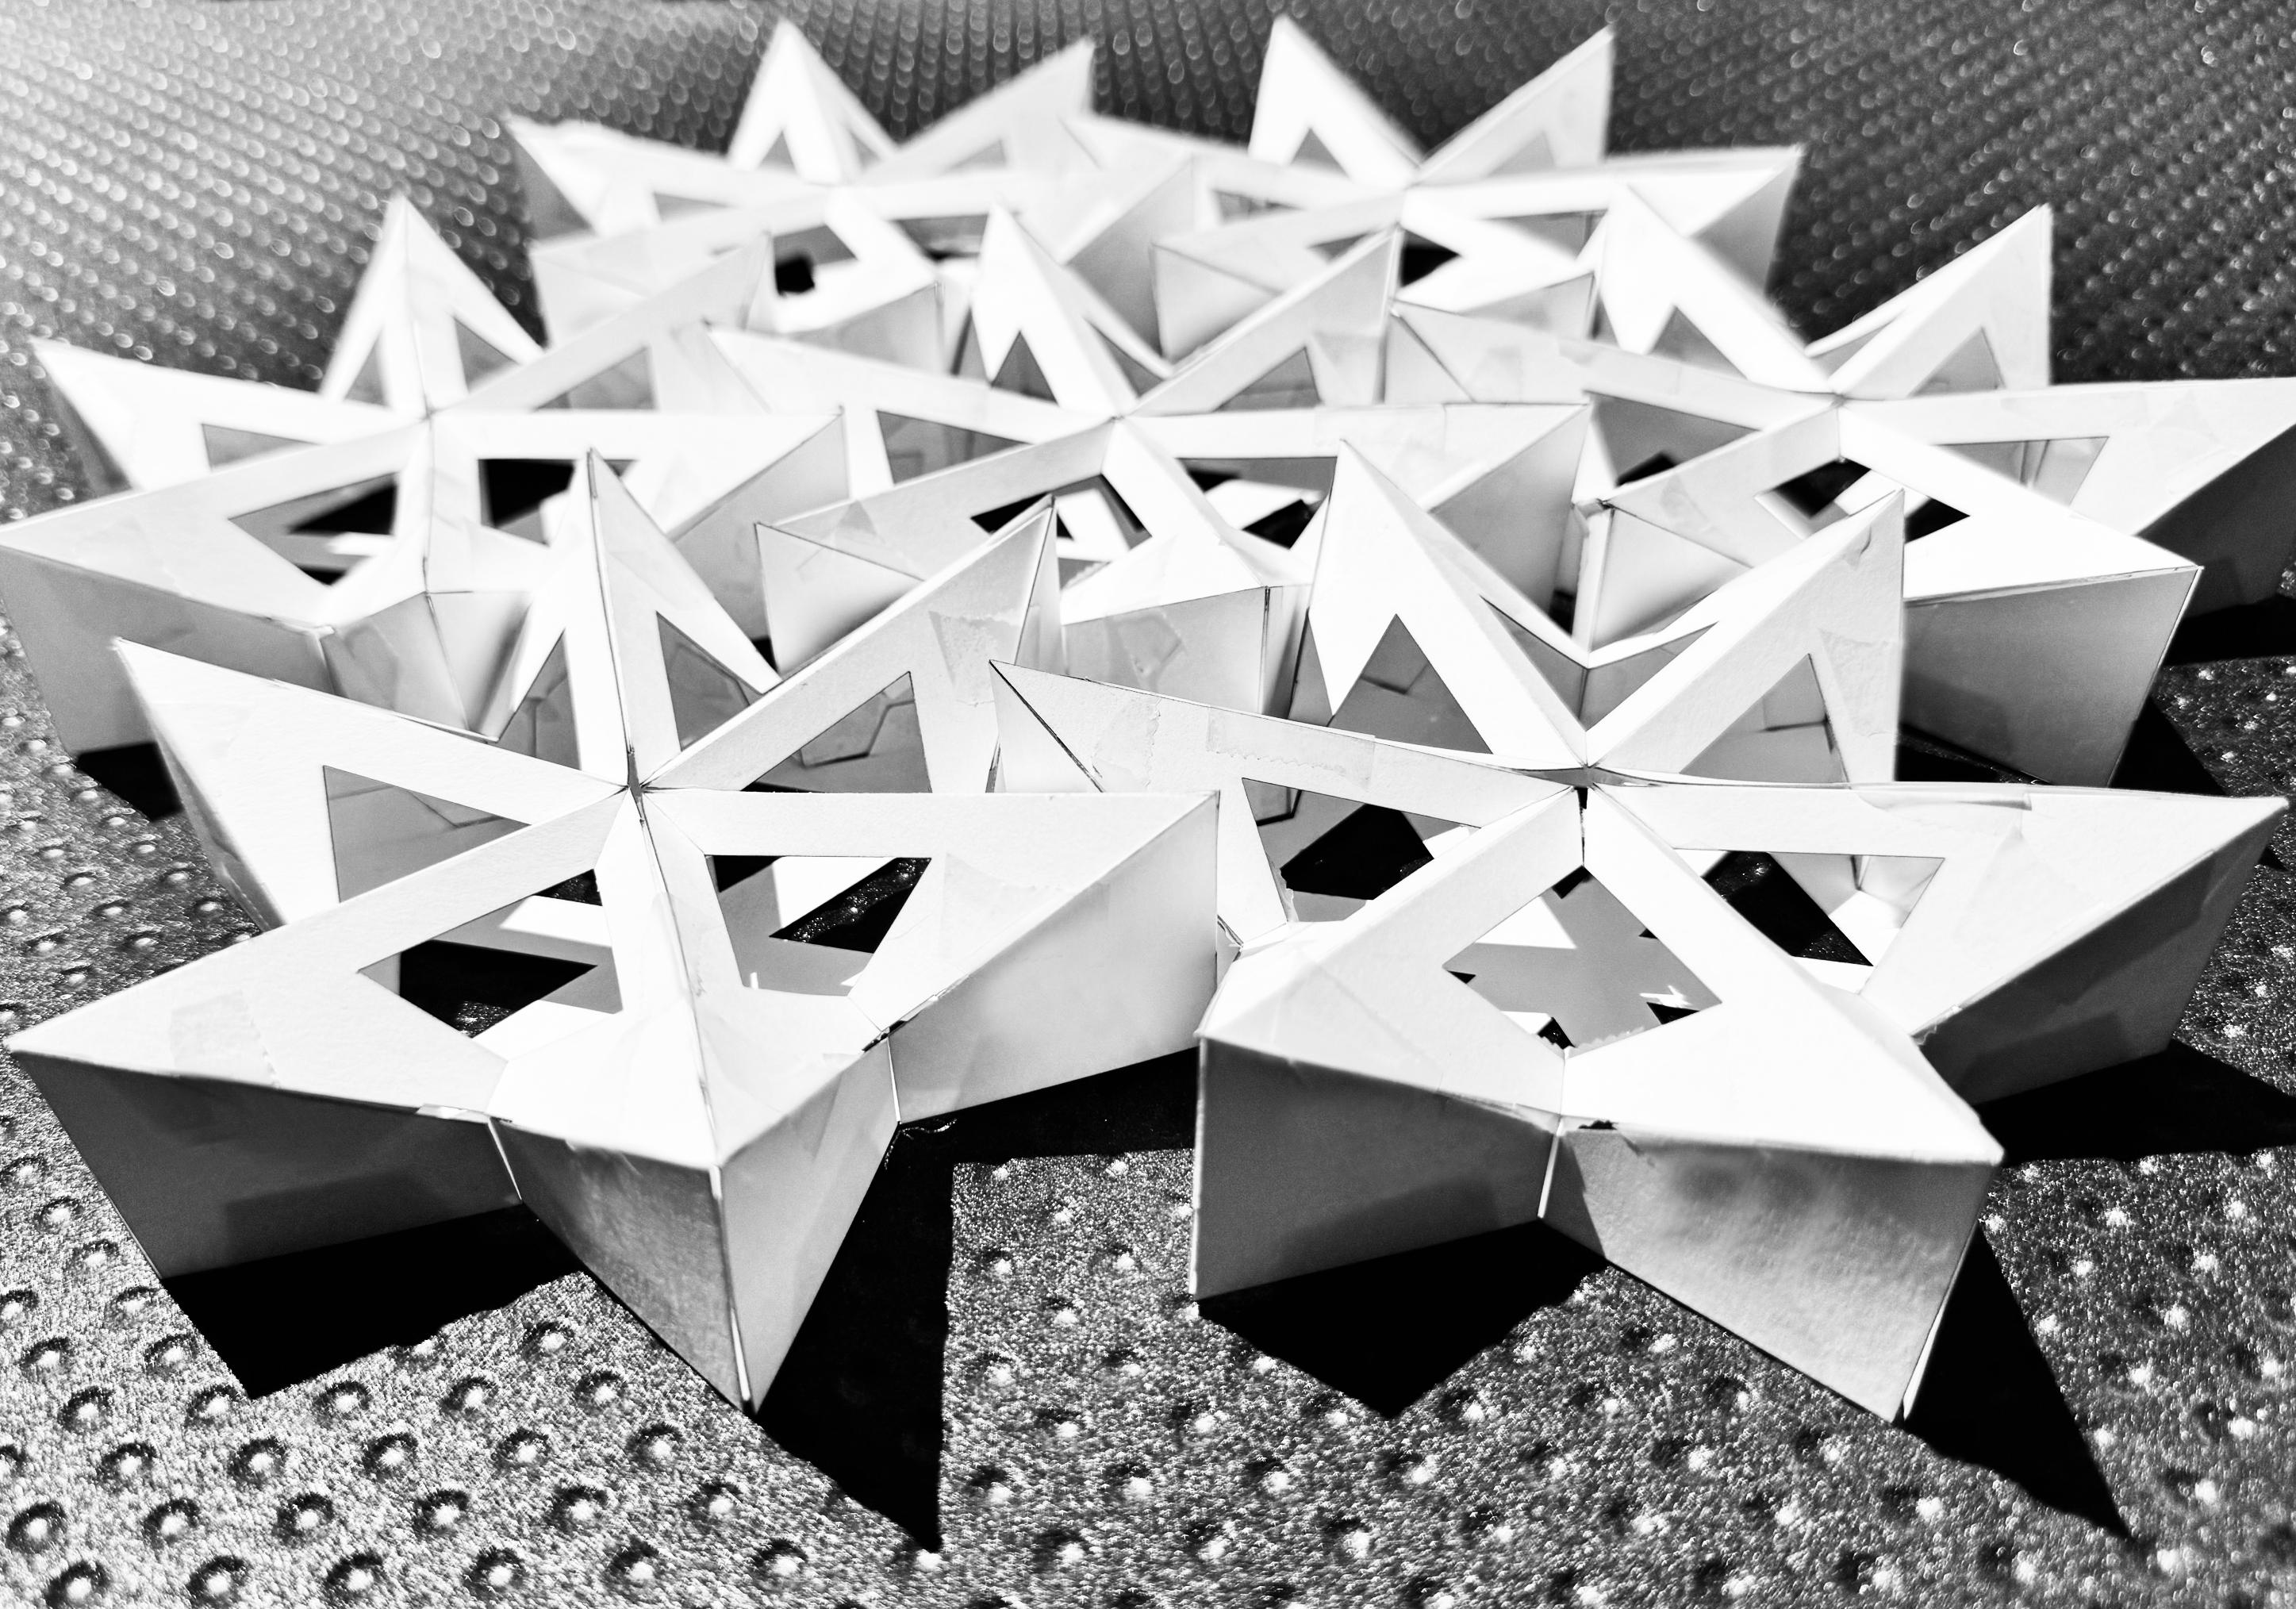
Seeing the different heights was a different experience in the physical the whole design.
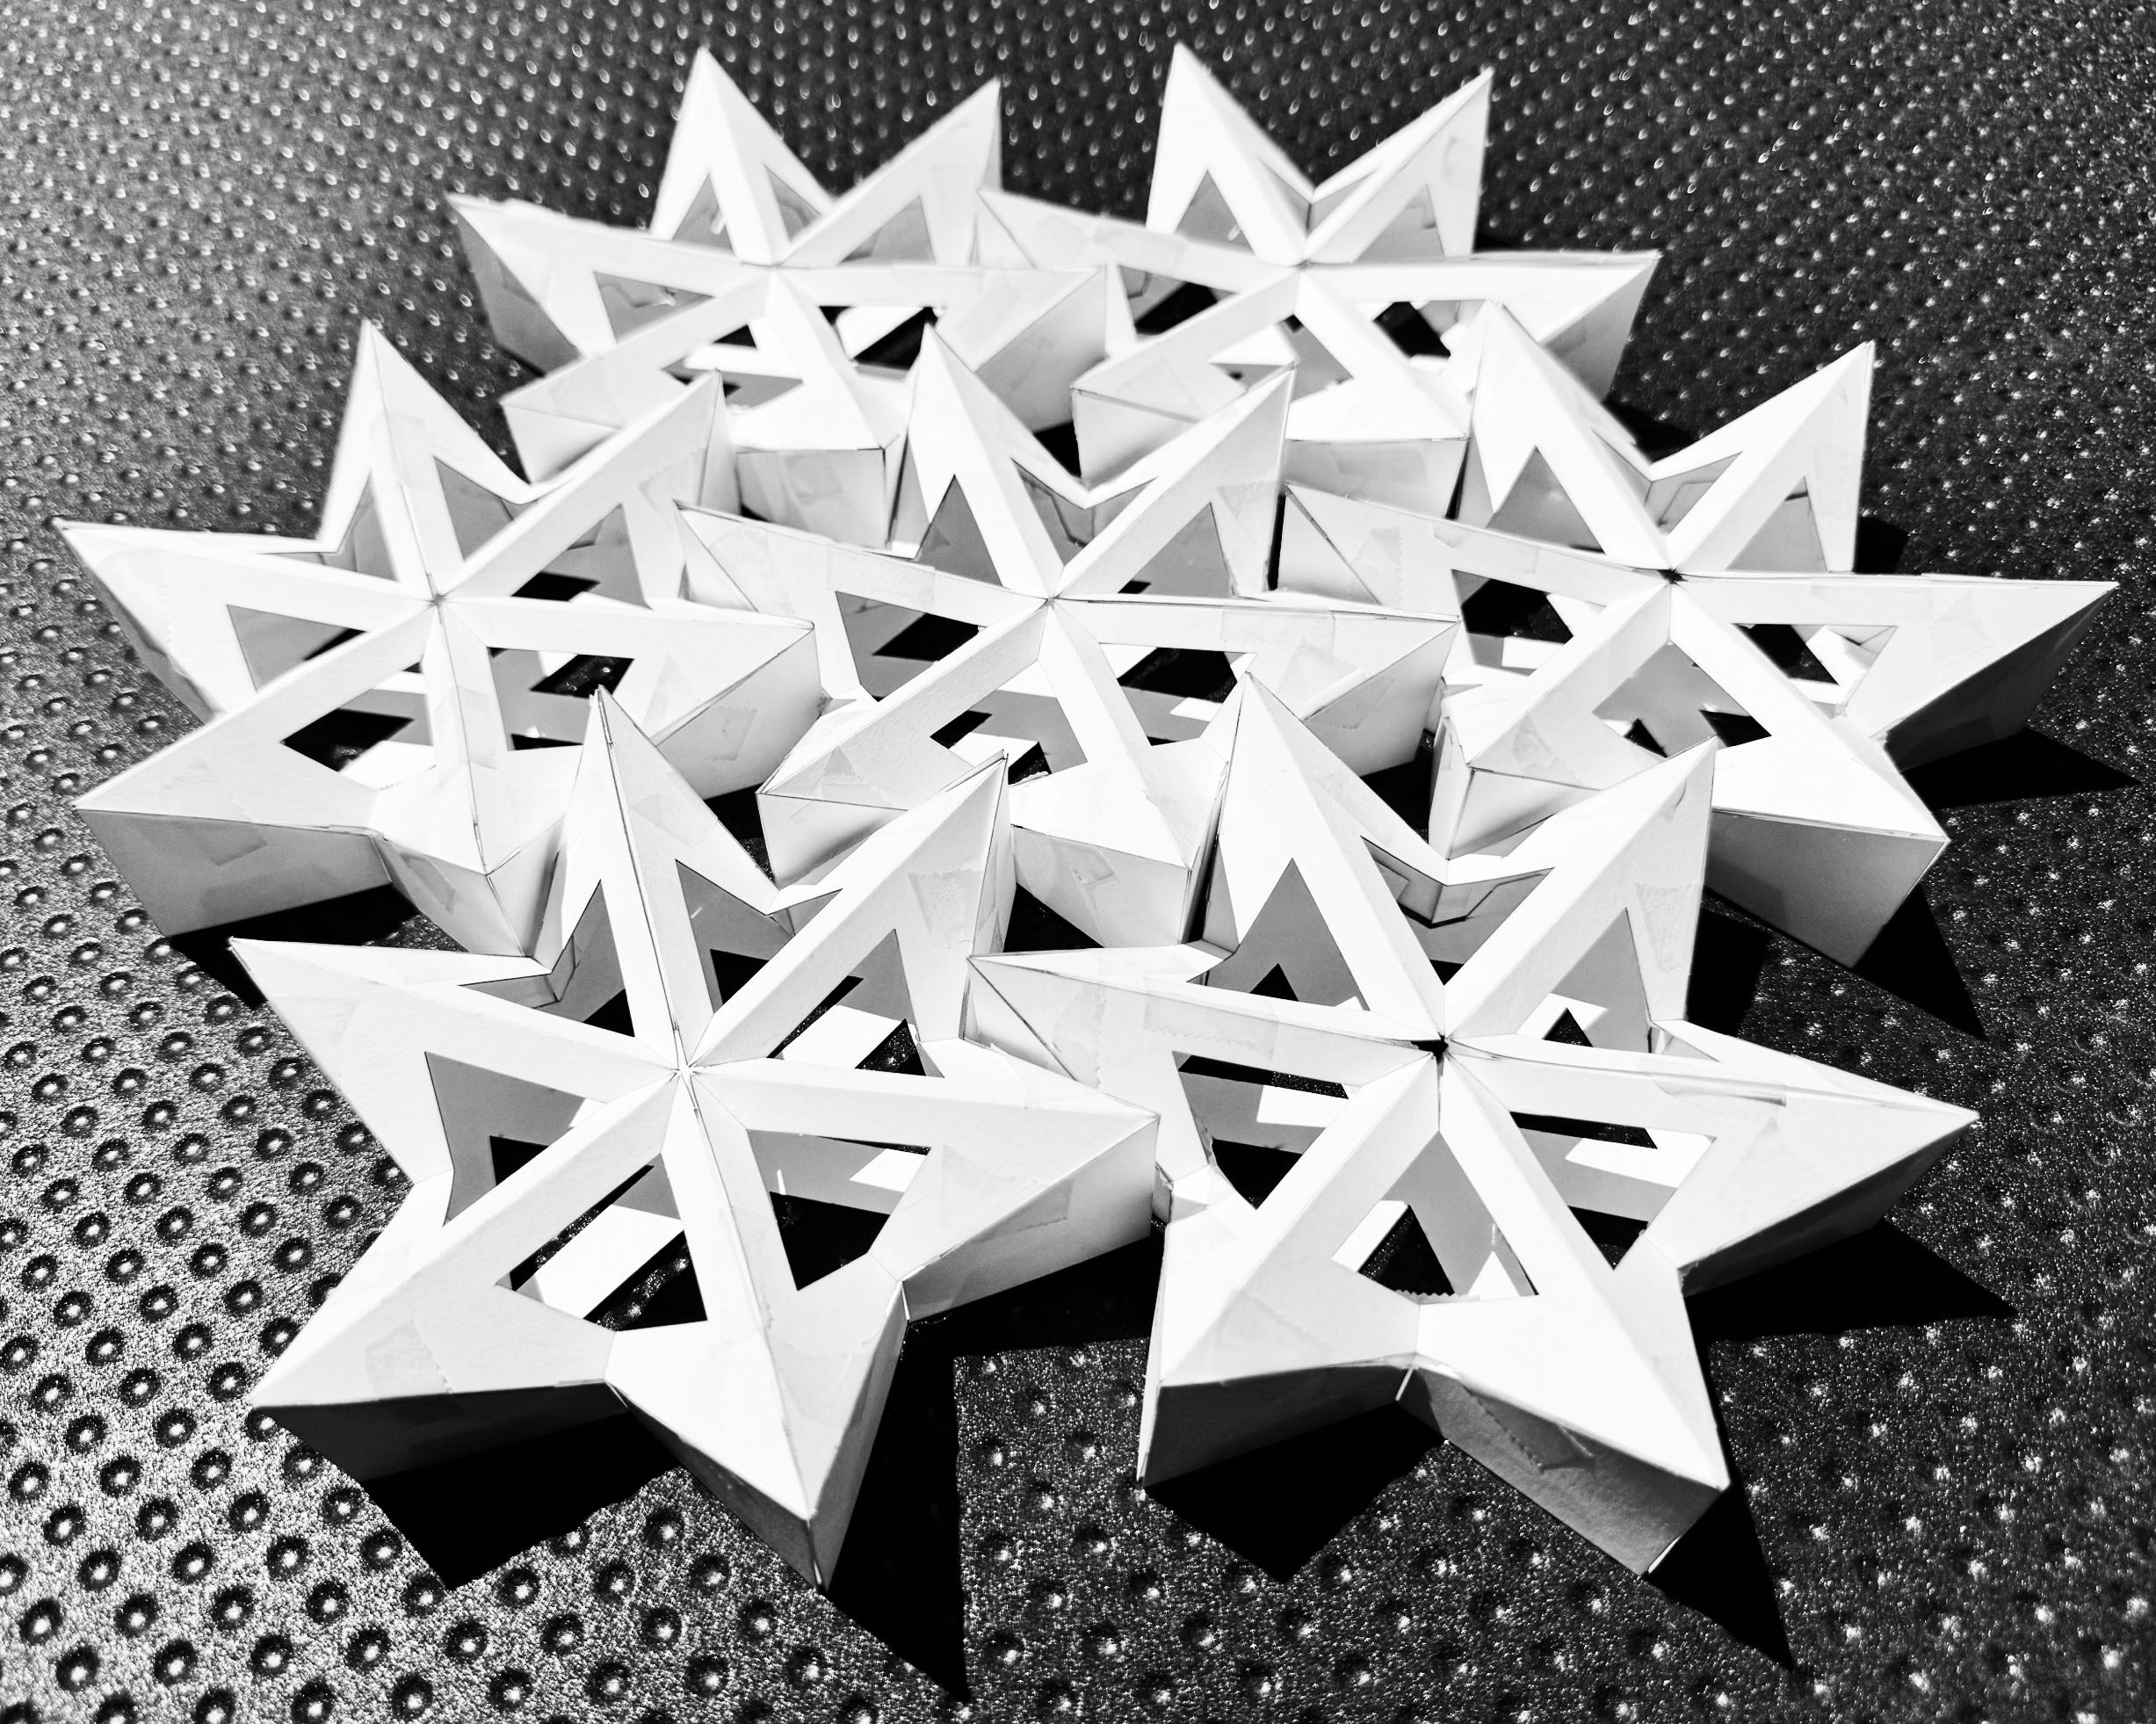
physical model along with how the light and shadows played a role on
THANK YOU