Instructional Concept Report
Wooden Bowl from Reclaimed Materials
Written By: Kameron Hover
Produced March 9th, 2025


Wooden Bowl from Reclaimed Materials
Written By: Kameron Hover
Produced March 9th, 2025
To start the project, gather any available scrap or reclaimed wood. Ideal options include old flooring, house siding, or dimensional lumber. Ensure the wood is free of any foreign materials, such as nails, staples, or embedded debris.
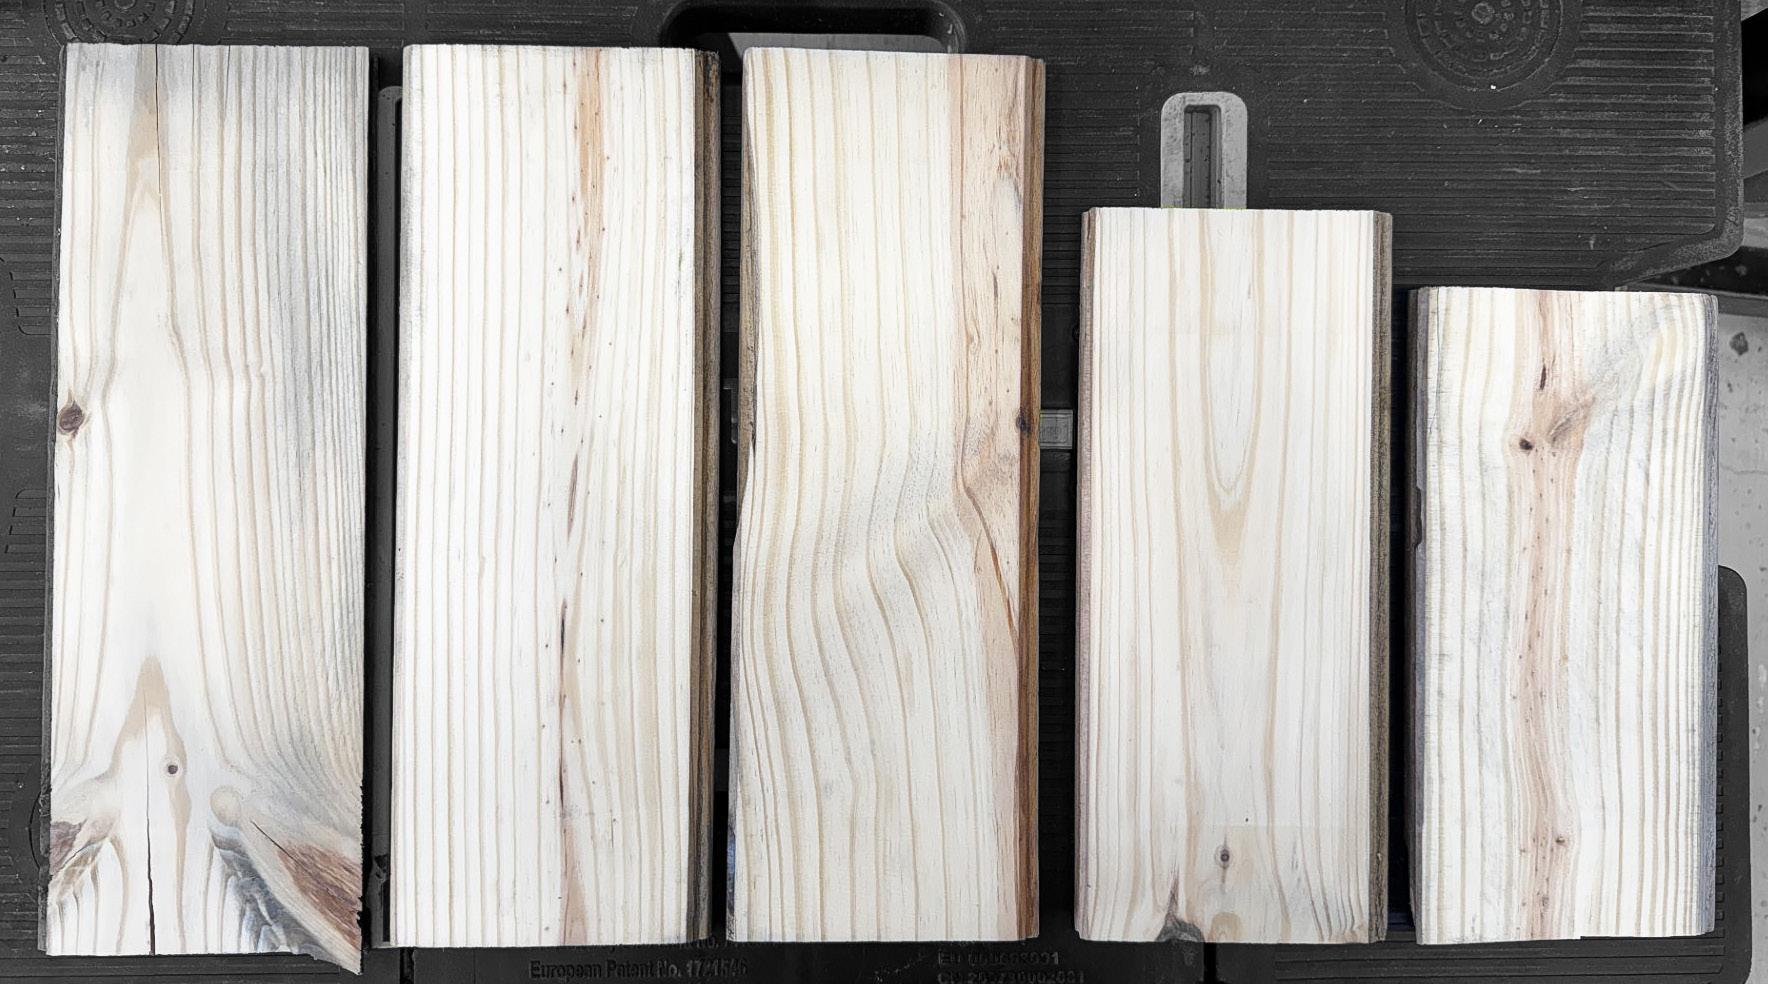
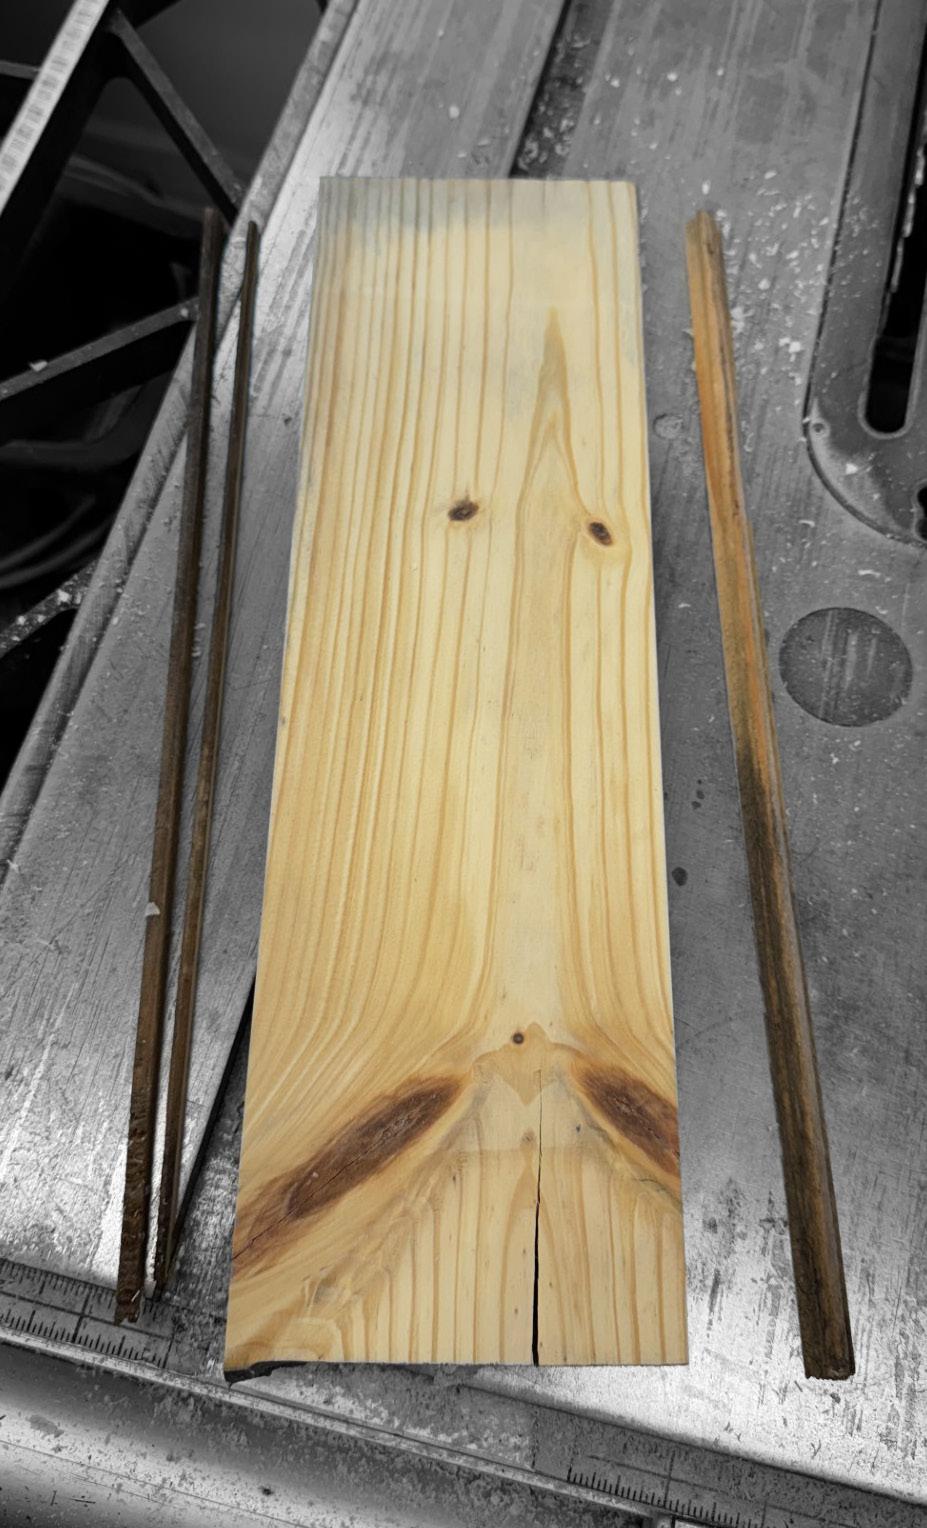
Select approximately 5 to 6 pieces with a thickness of at least 1/2 to 3/4 inch. Thinner stock will require additional boards to achieve the necessary material volume.
Inspect the short edges of the boards to determine if any cupping has occurred (see Image 2)
Using 120-grit sandpaper, lightly sand the board faces to remove any loose dirt or residual paint. Wear a respirator, as older surface contaminants may contain hazardous materials.
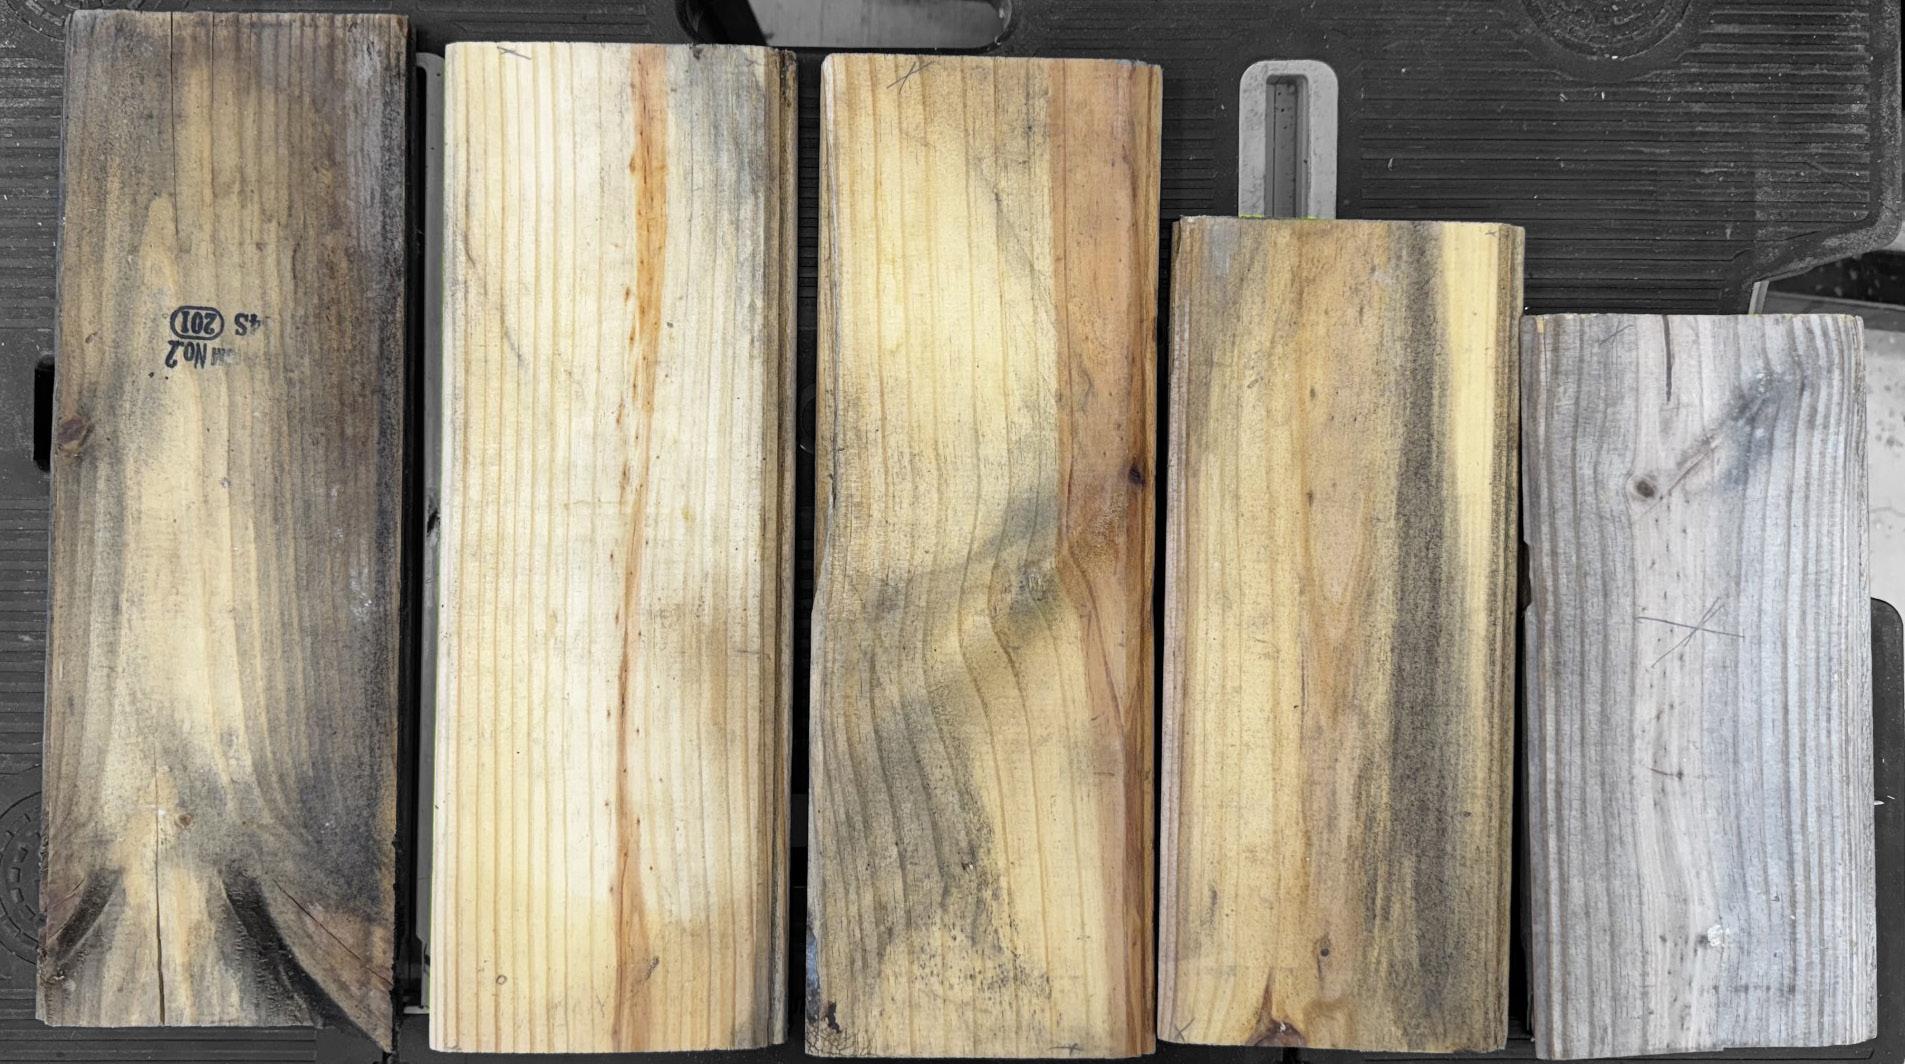
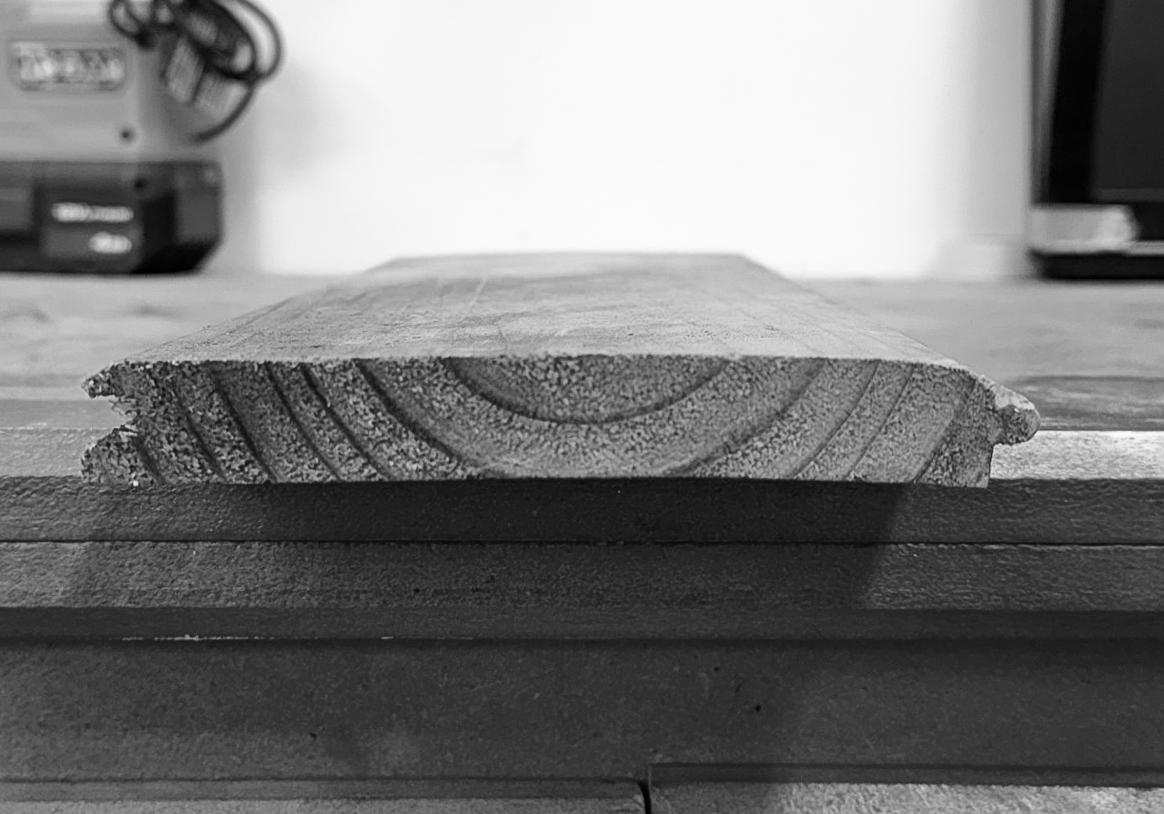
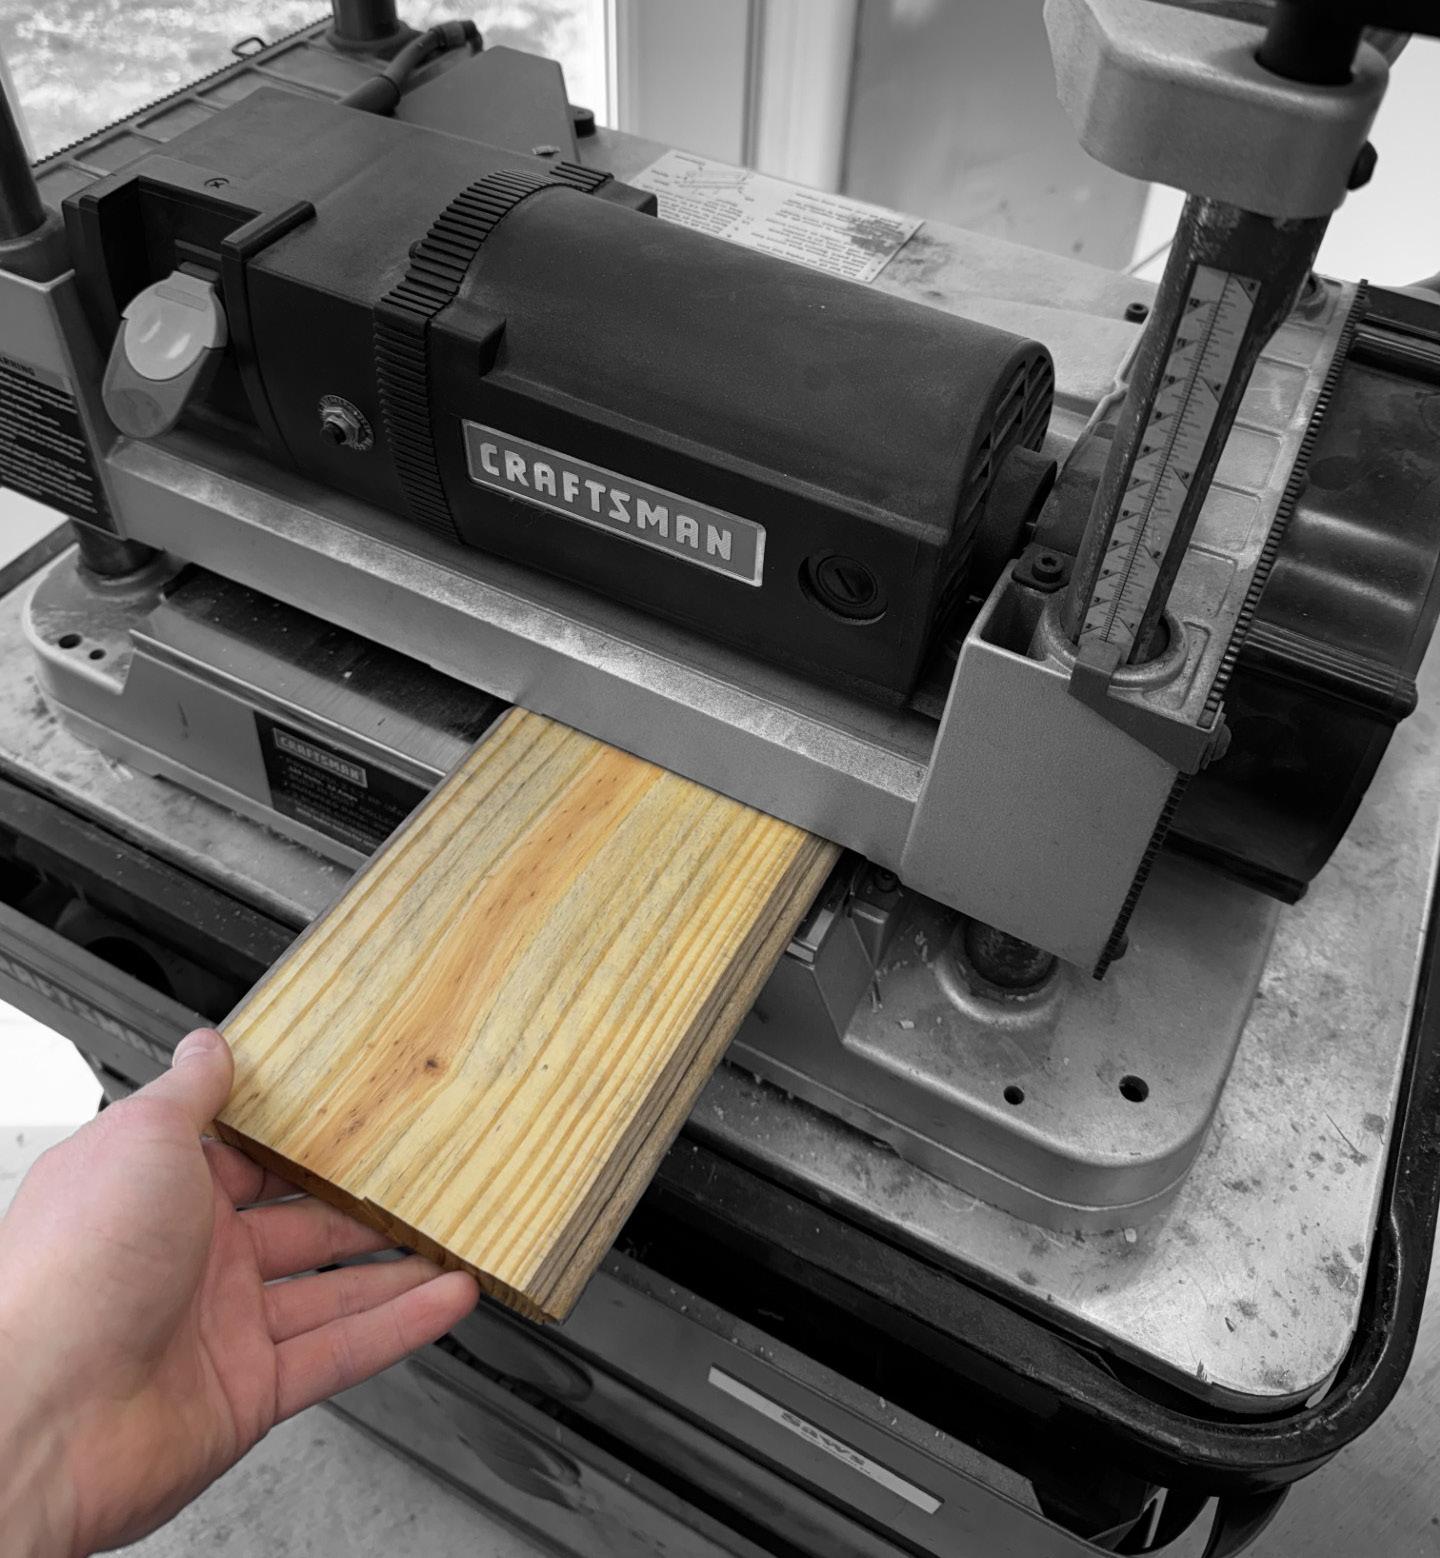
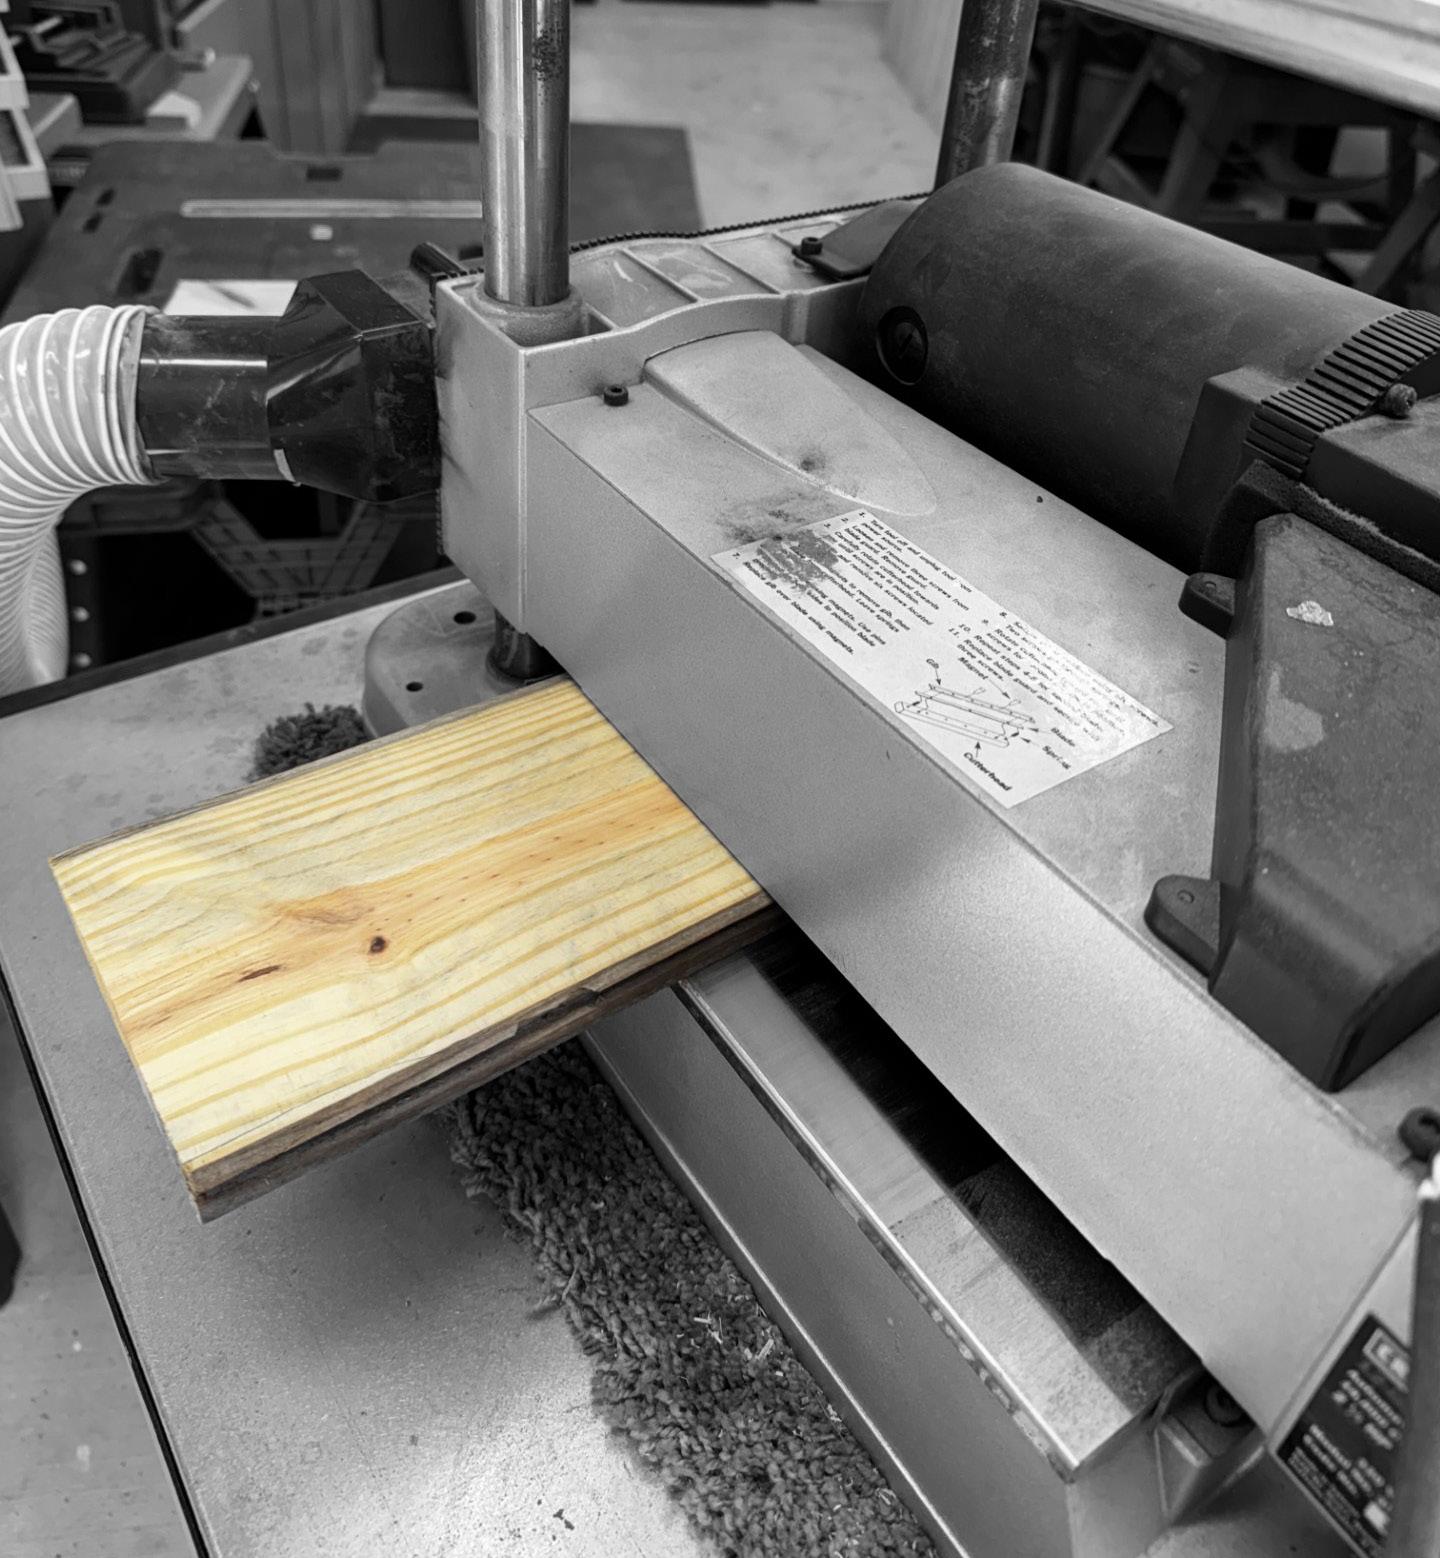
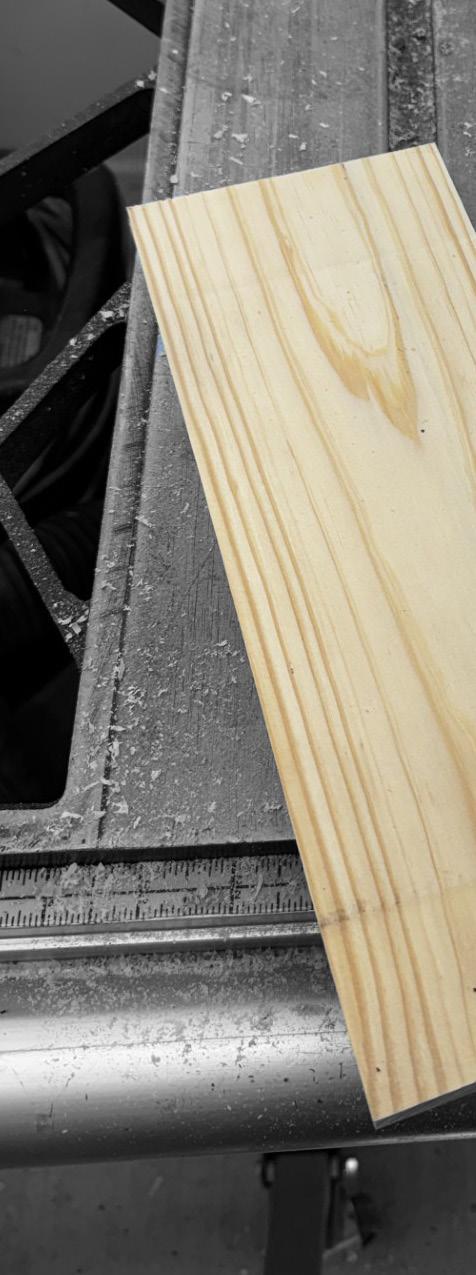
Image 3: The cup is placed down.
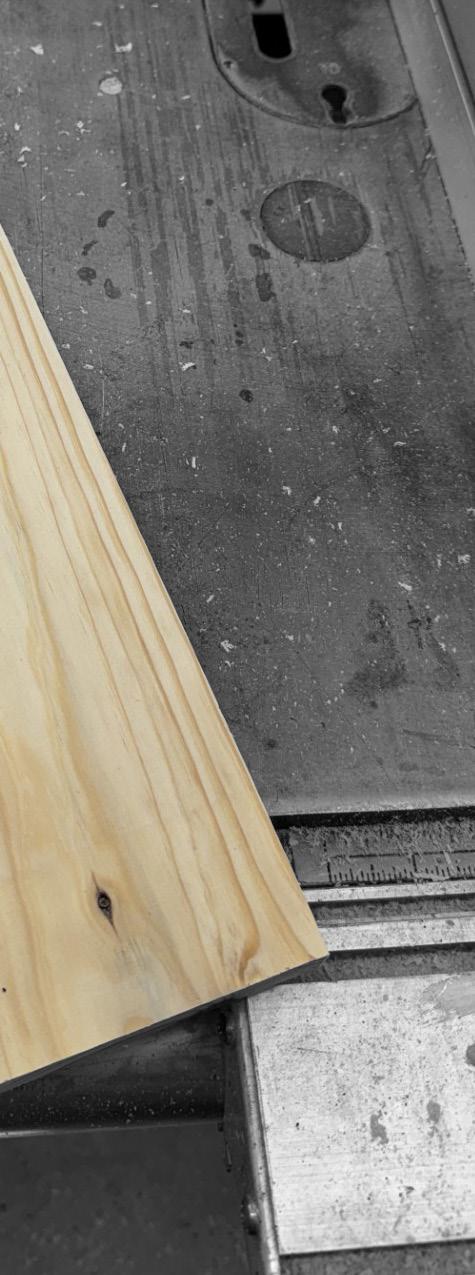
Image 4: The planer also creates a clean surface for the boards to properly adhere to each other later during the glue up.
Feed the boards through a planer with the cupped side facing down. This will help create a level and uniform surface. Process all pieces, adjusting the planer depth by 1/32” per pass until each board has a relatively flat face. Then, flip the boards so the flattened sides face downward and repeat the process, continuing to adjust by 1/32” per pass.
Once the boards have been planed on both sides, they are ready for trimming. In this case, the boards were reclaimed siding, each featuring a tongue or groove along the edges.
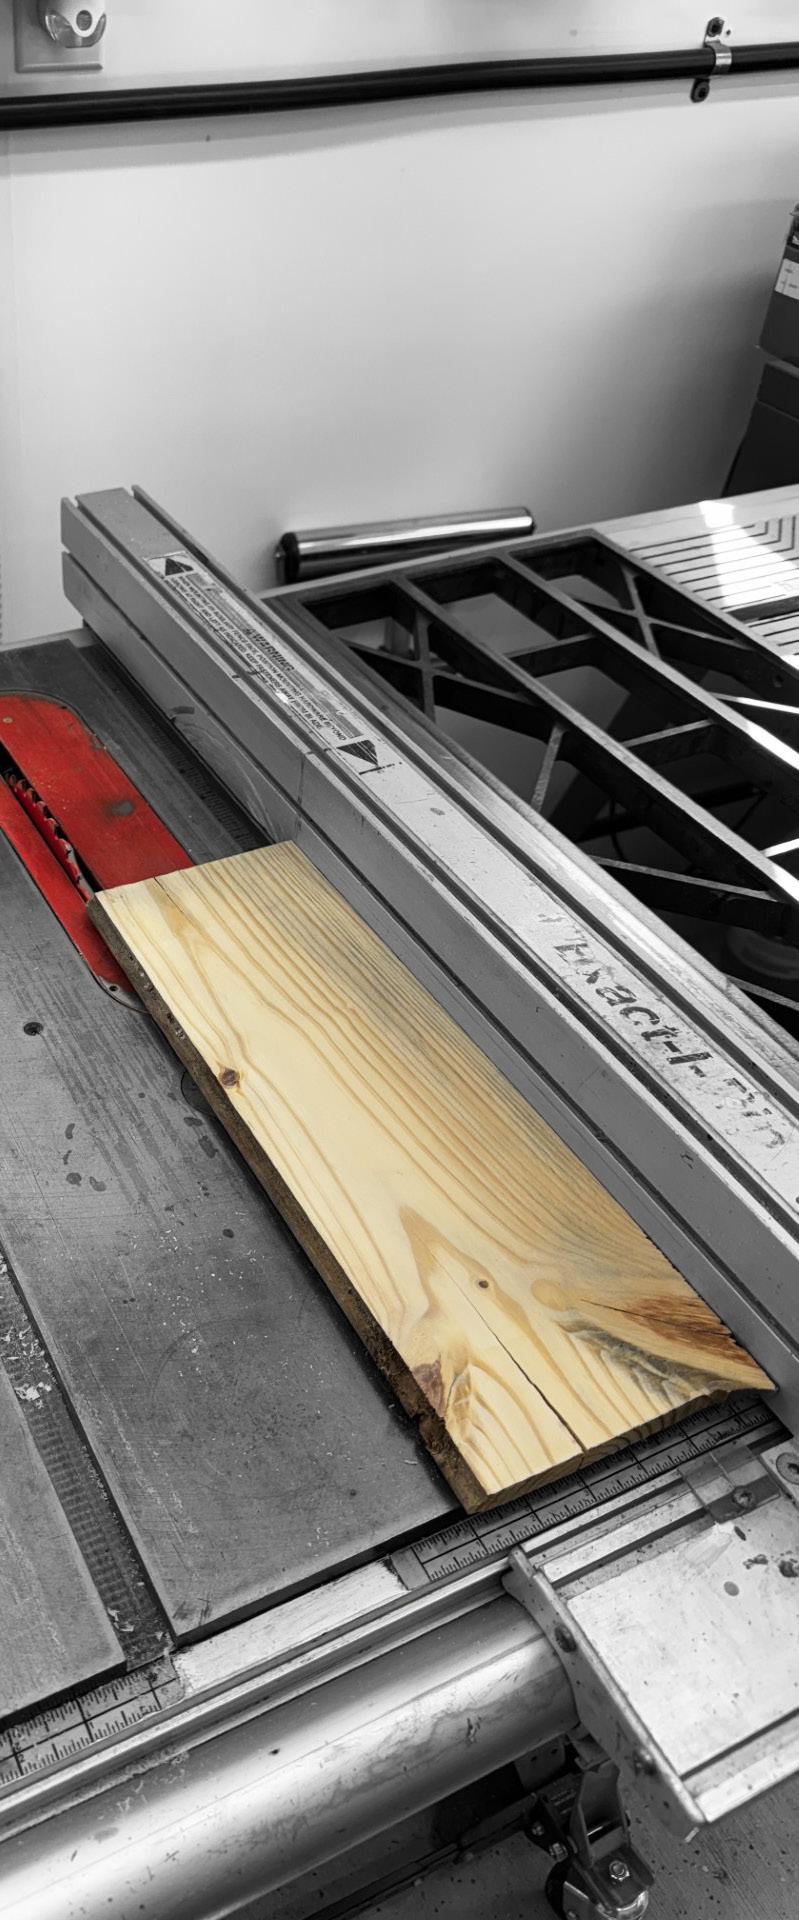
Remove the tongue and groove edges from the siding using your preferred ripping tool. In this case, a table saw is used. The tip of theblade should sit just above the wood.
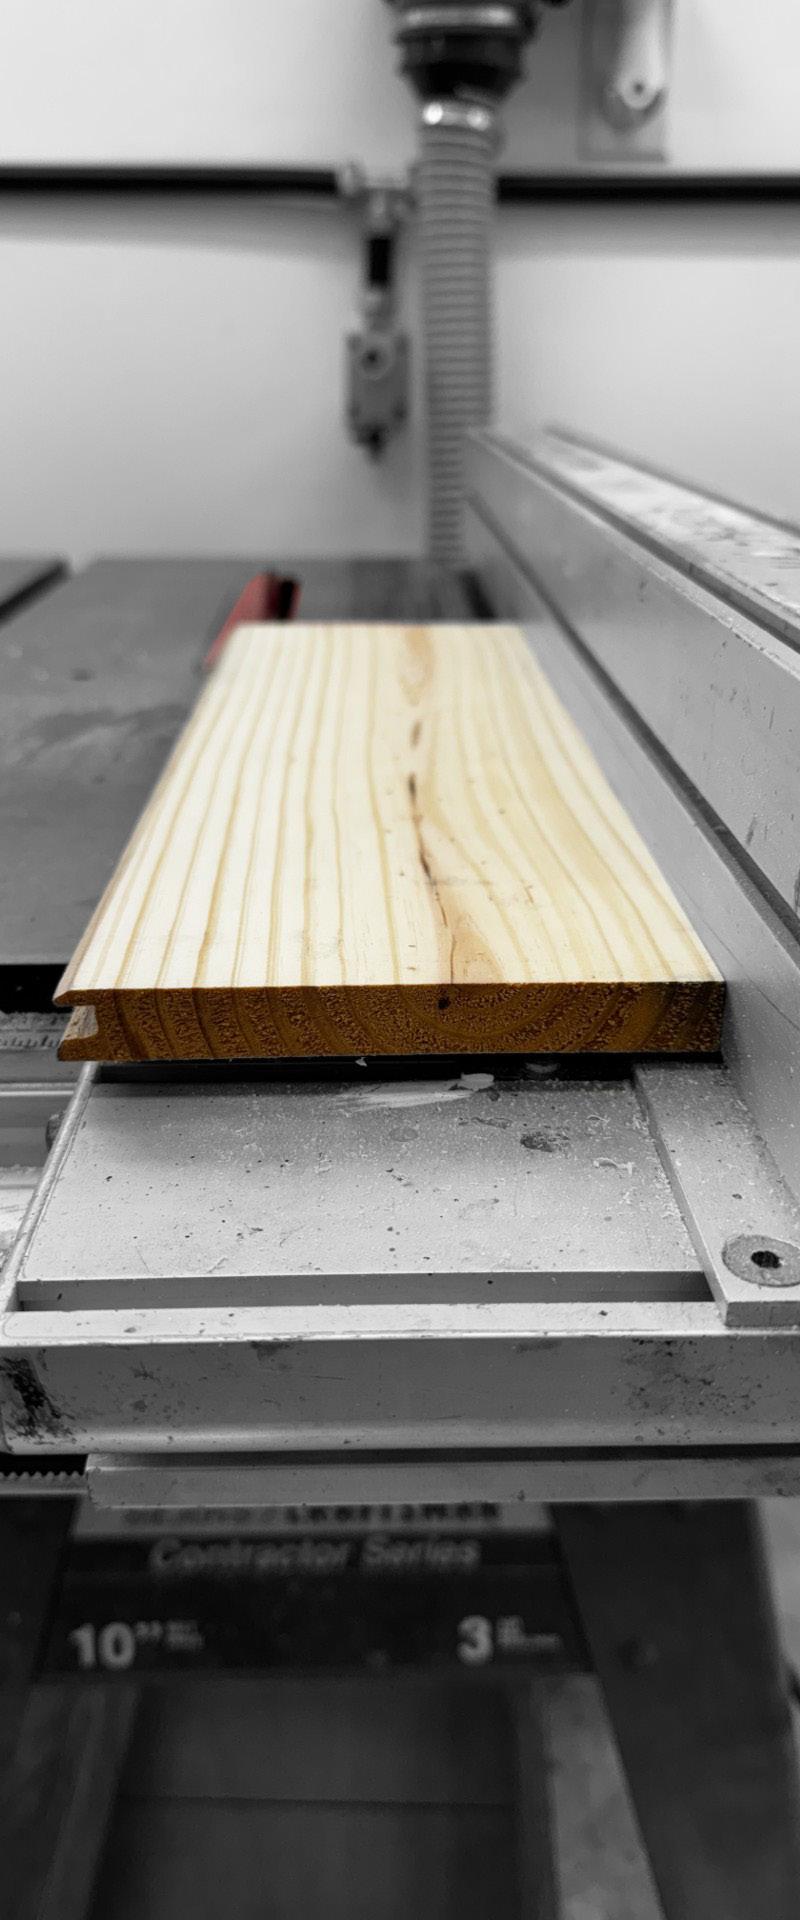
It is recommended to cut off the tongue side first, followed by the grooved edge. This sequence provides better control and ensures more precise cuts.
With the board edges now squared to the face, the material is ready for bowl blank preparation.
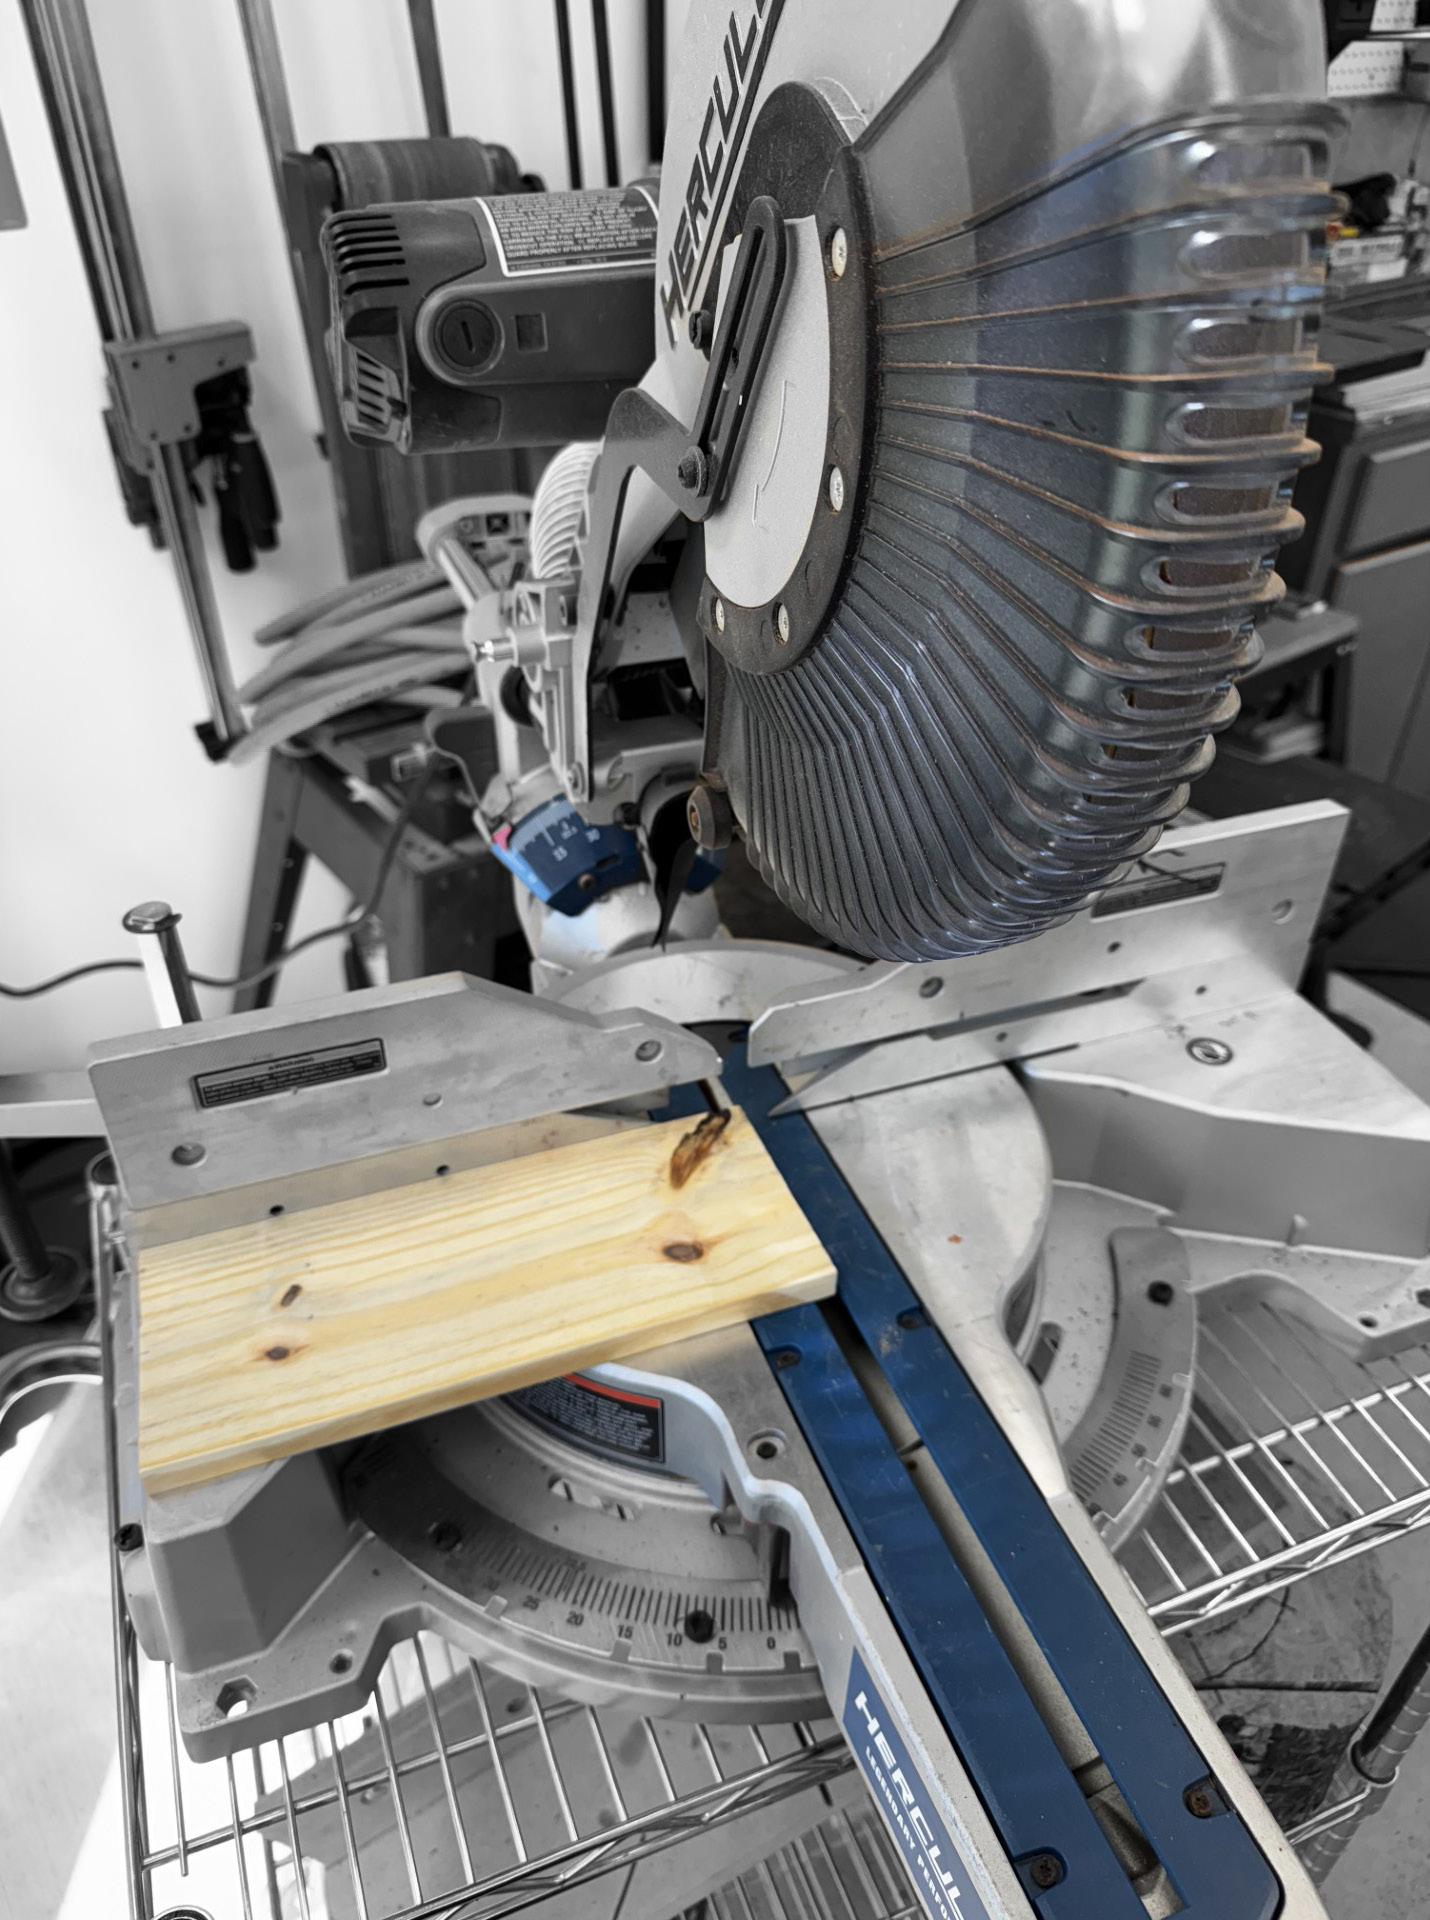
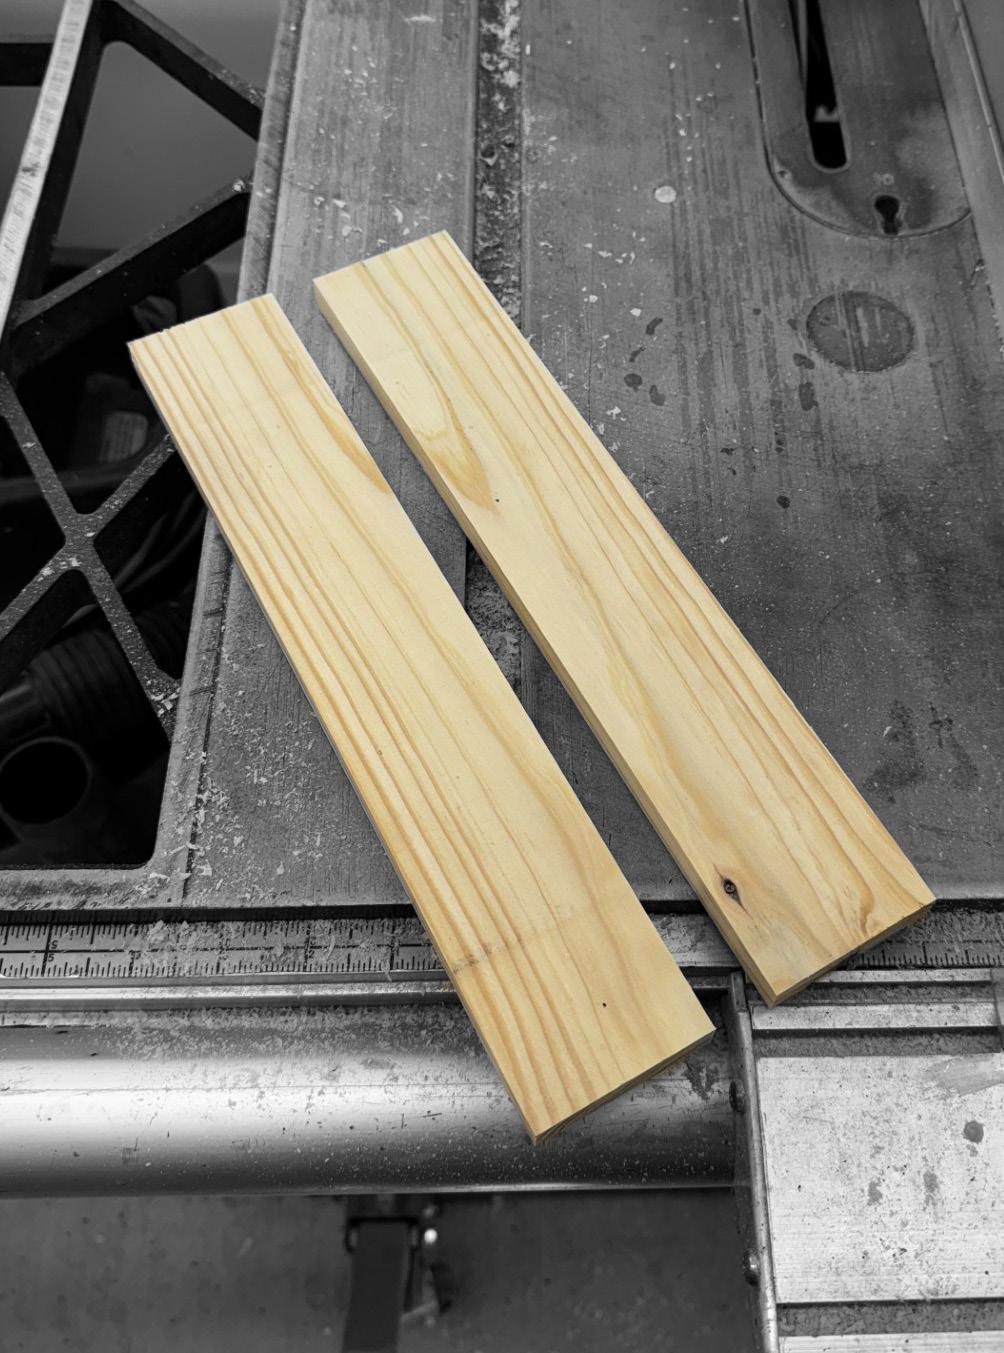
Cut the boards to the desired approximate bowl diameter using any saw, ensuring the cut is square. Here, they were cut to length on a compound miter saw, and ripped on a table saw. Leave the boards slightly larger than the desired diameter to accommodate potential glue-up errors. For example, if a 7” bowl is desired, cut the boards to 7.25”.
Once the boards are cut to length, rip them down the middle. This step can be omitted if a deeper bowl is preferred.
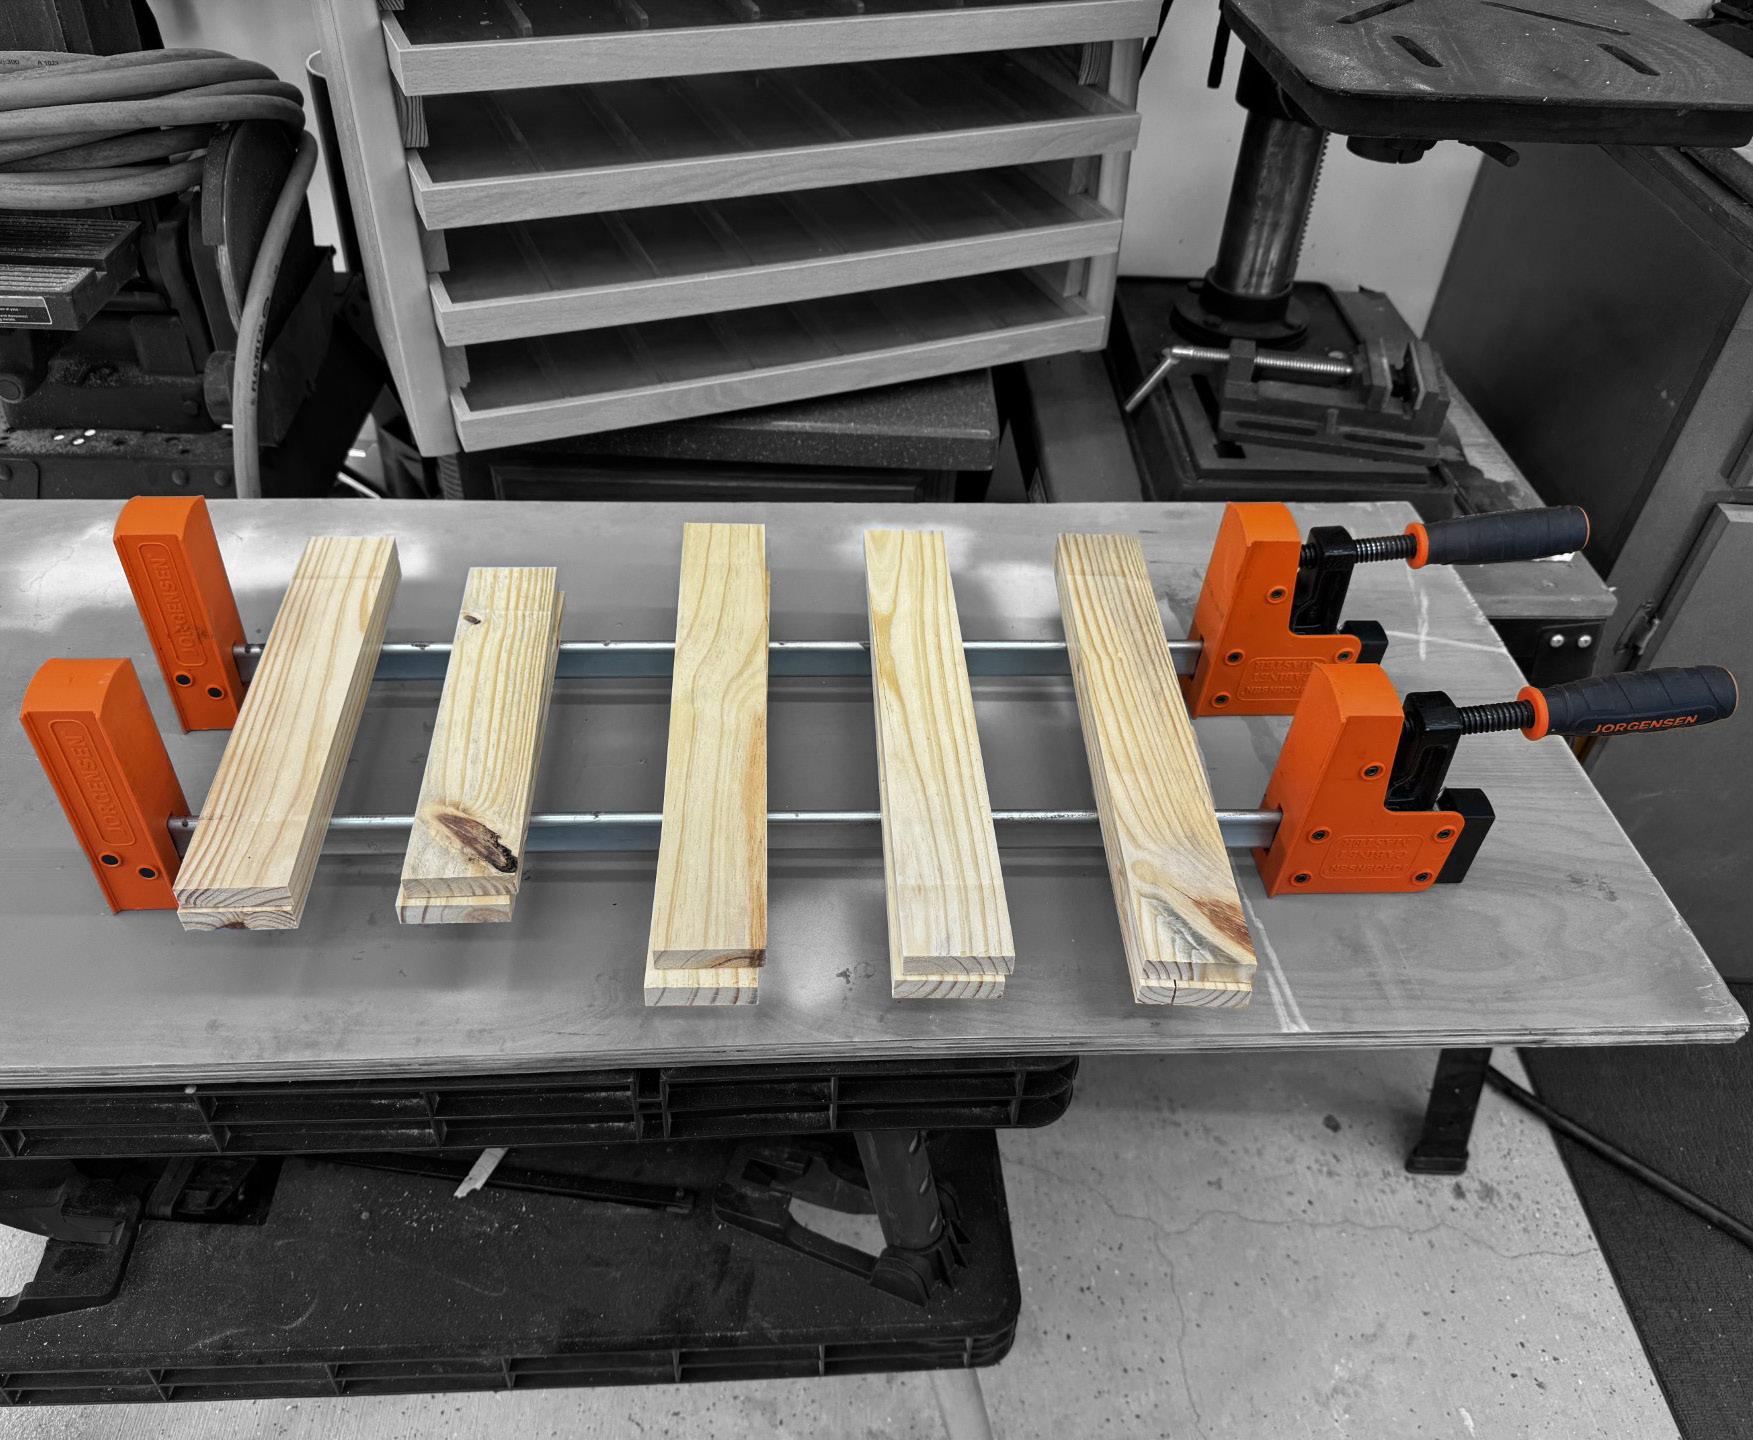
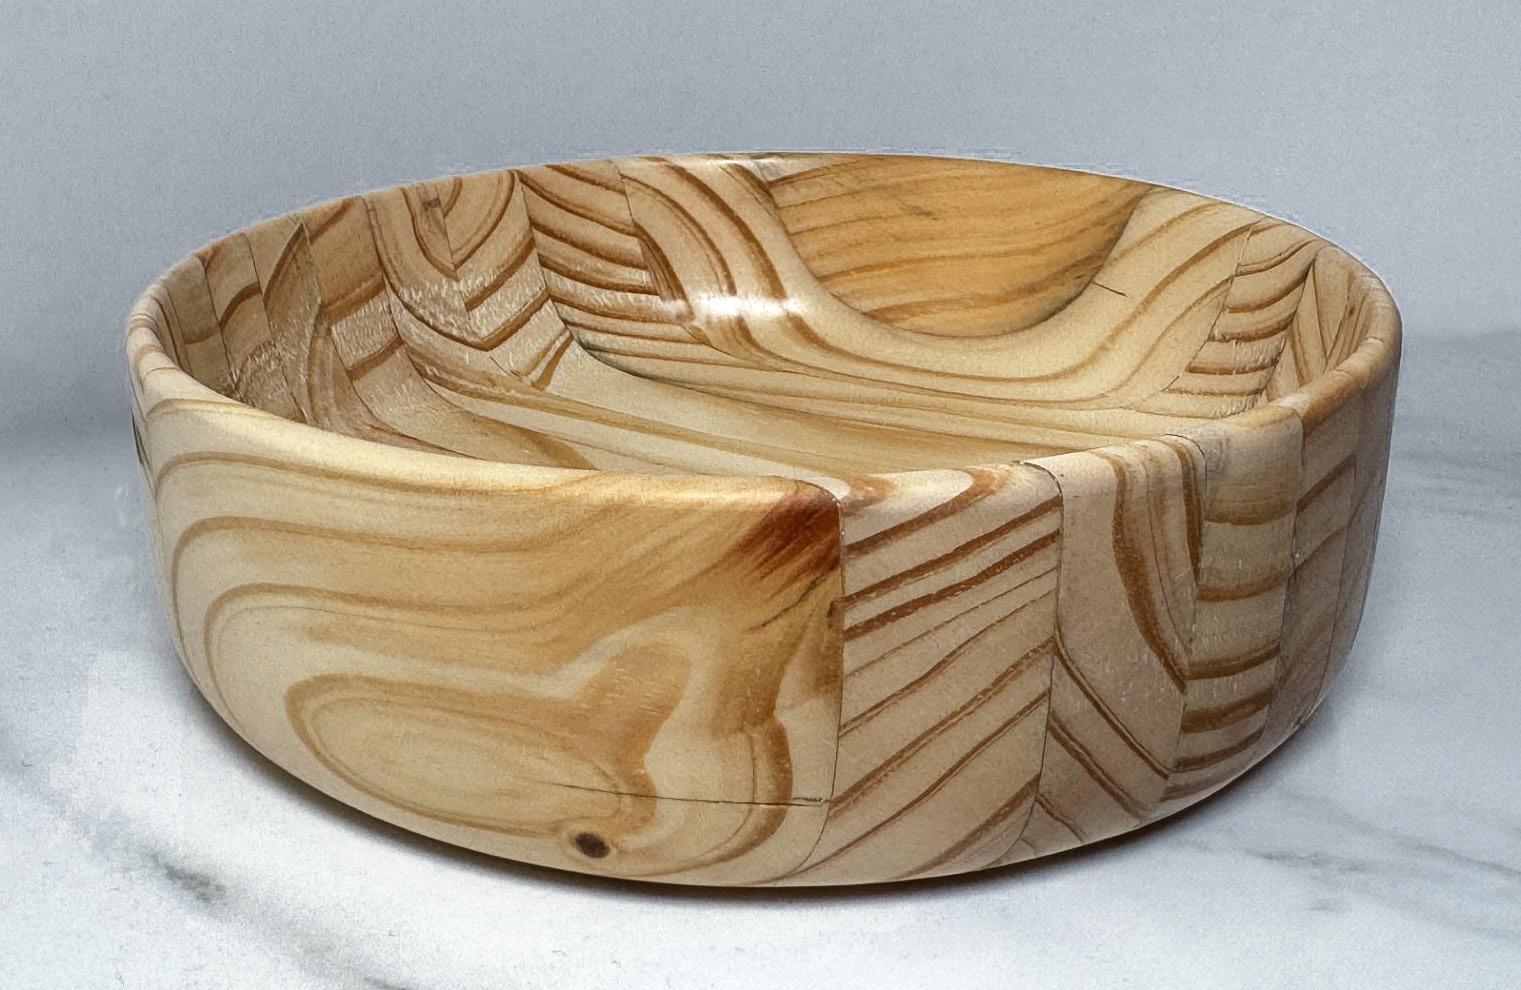
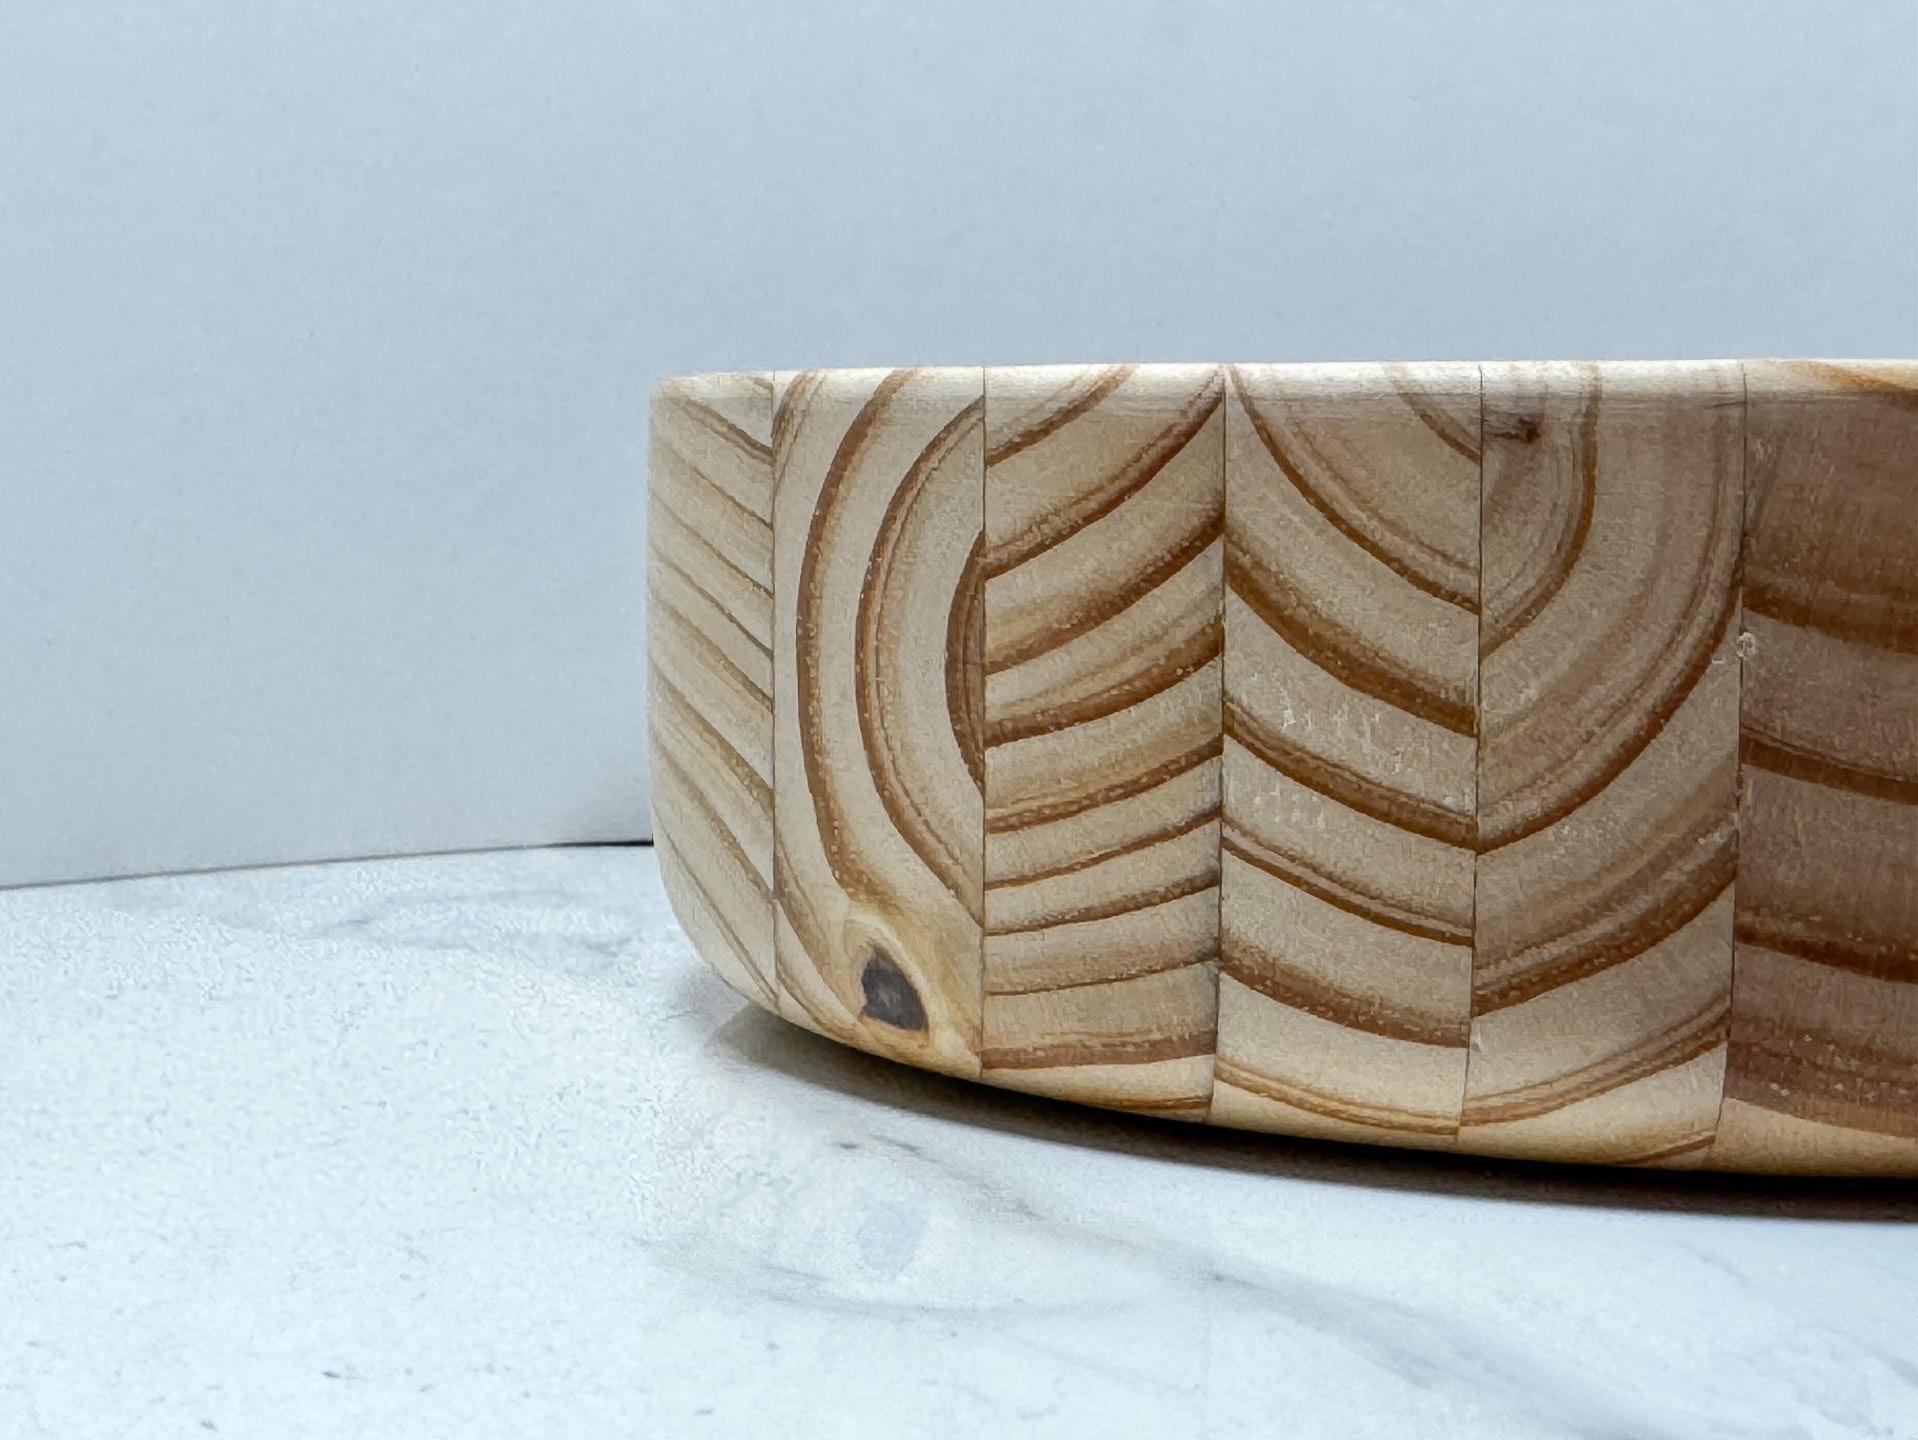
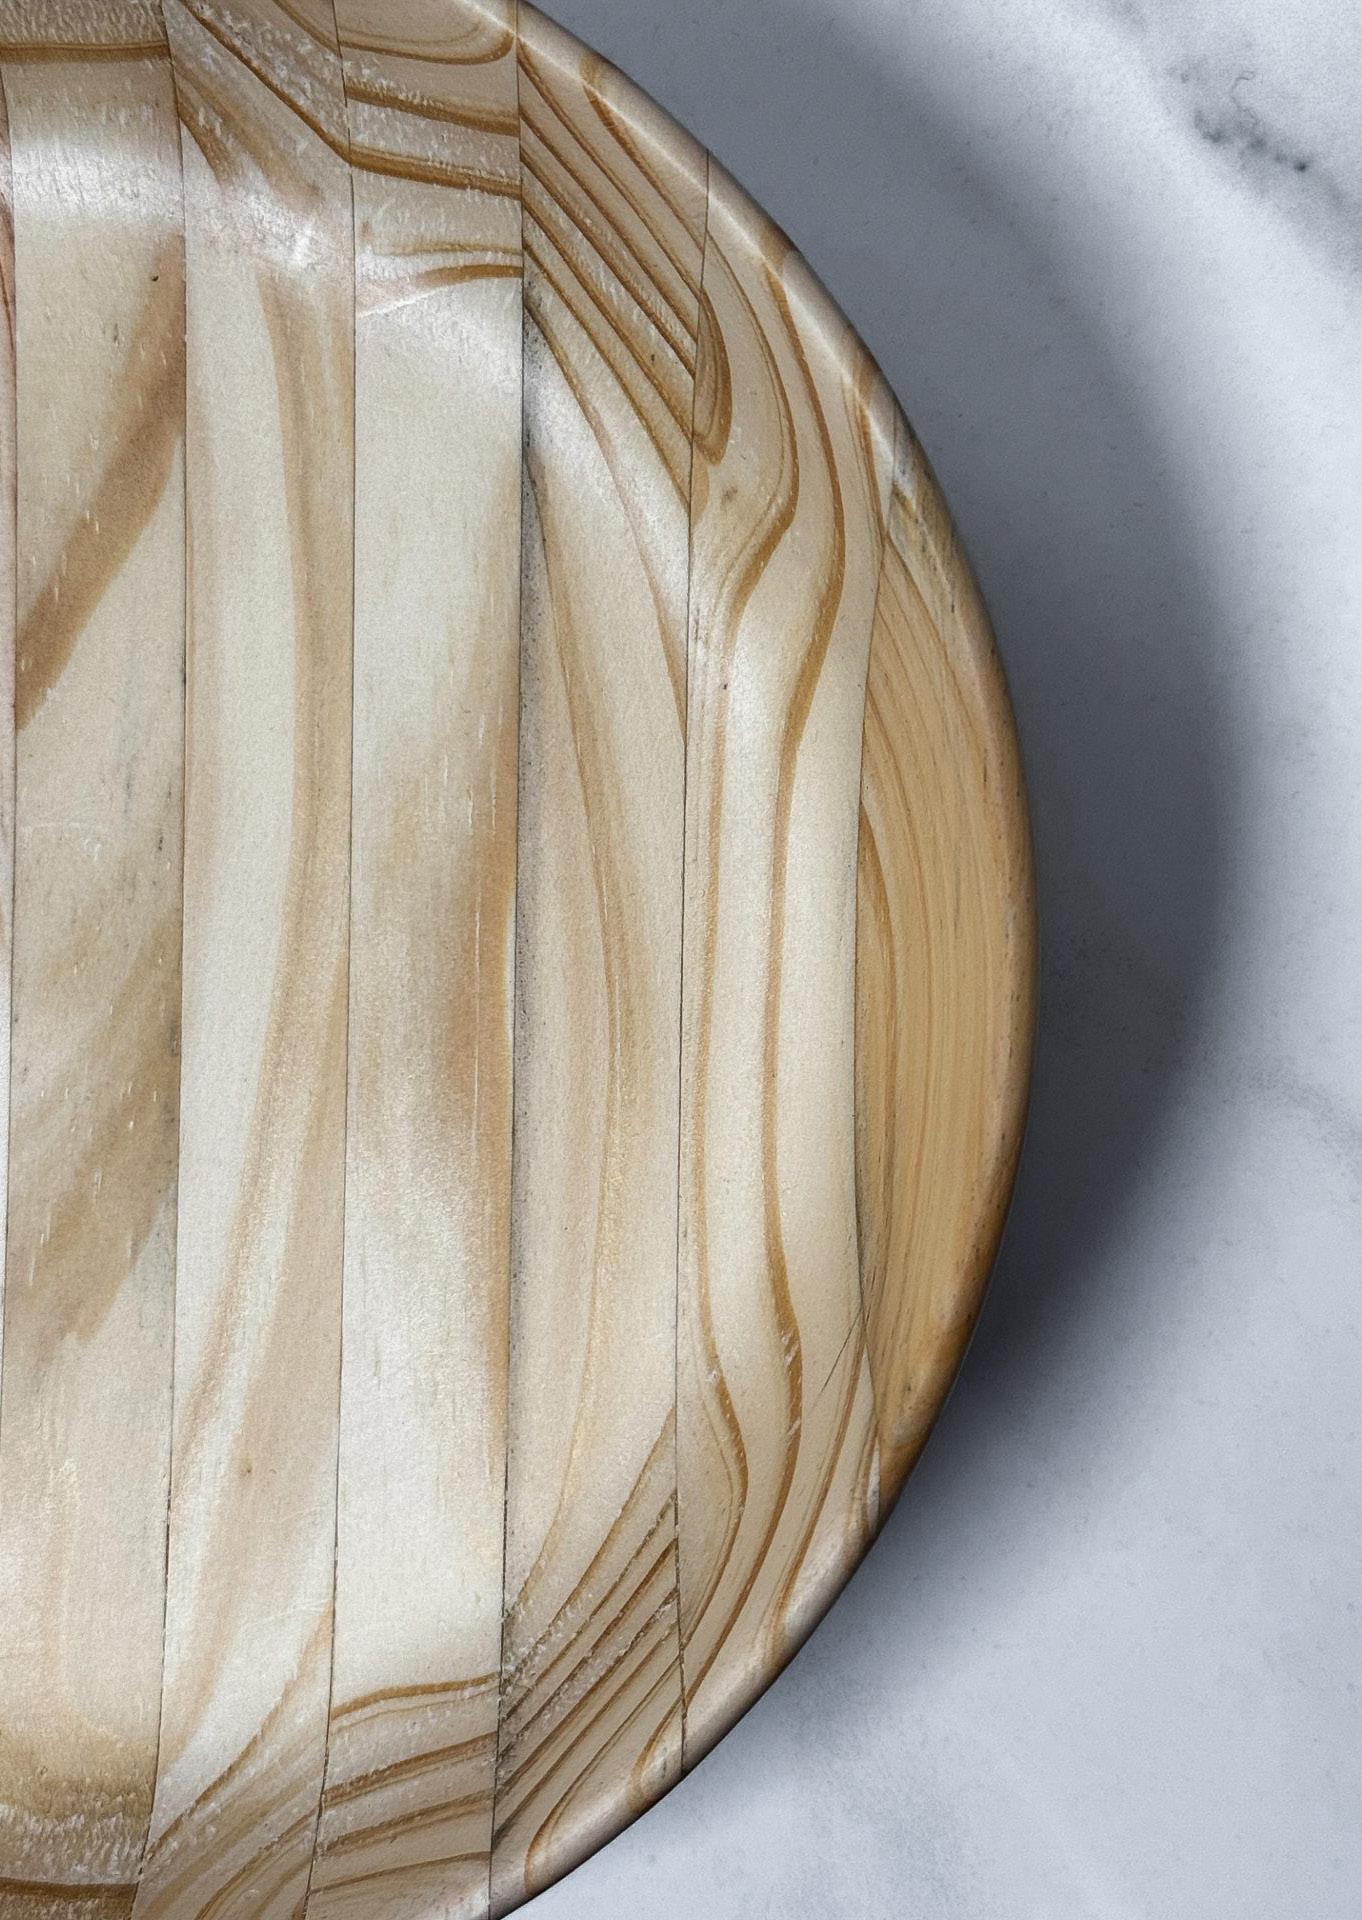
Lay the freshly cut strips across the clamps, ensuring the grain direction at the ends aligns with your preference. This choice can add unique character to each bowl.
Although this bowl is not intended for food use, Titebond III is the preferred adhesive due to its food-safe properties.
For a 7” bowl, I used the extra cutoffs from earlier, positioning them along the outer edges of the blank to achieve the additional inch (Image 13).

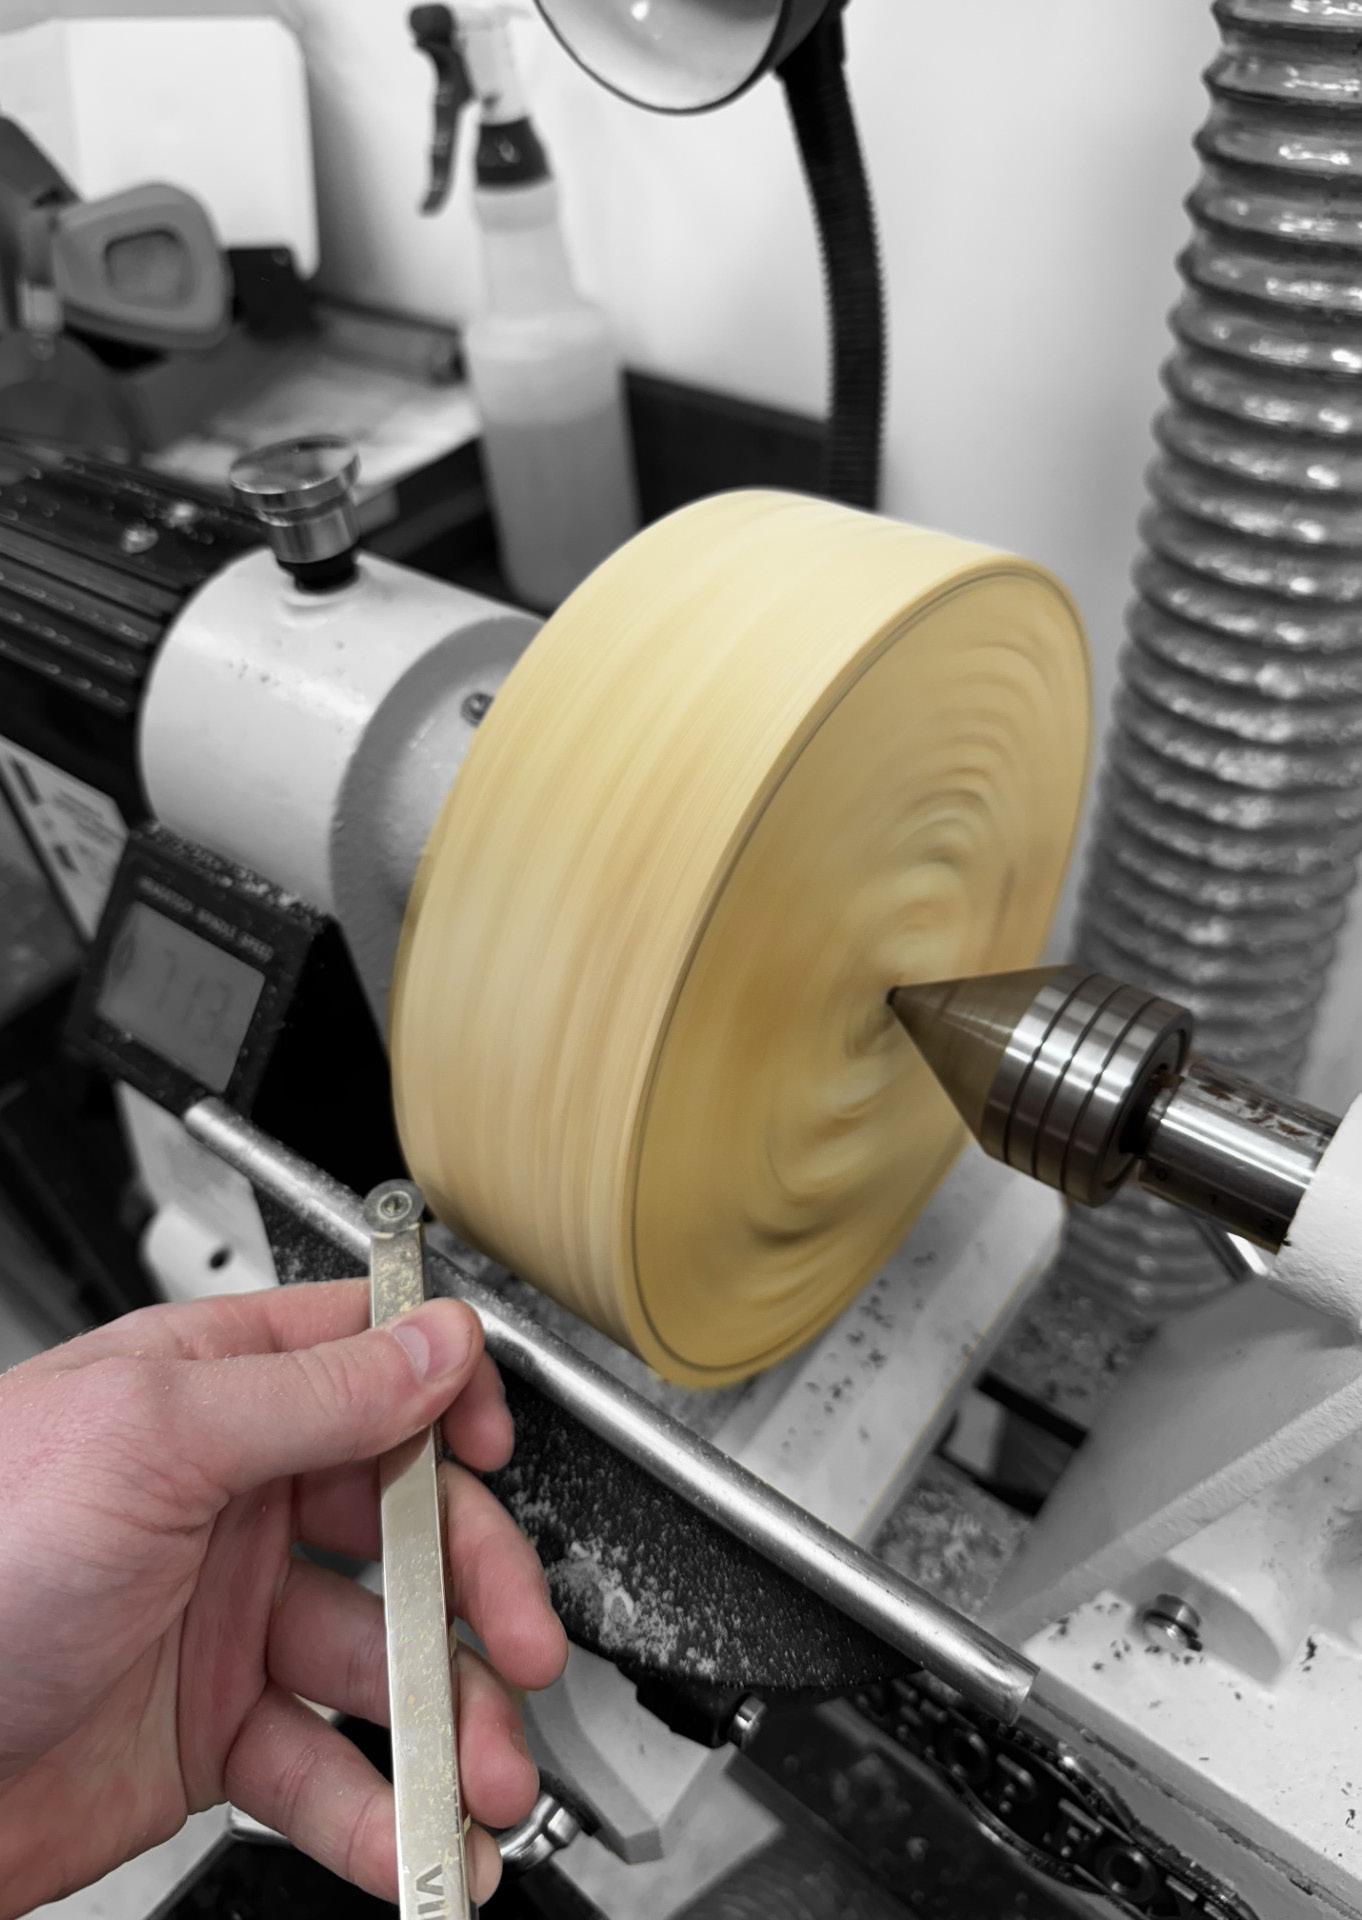
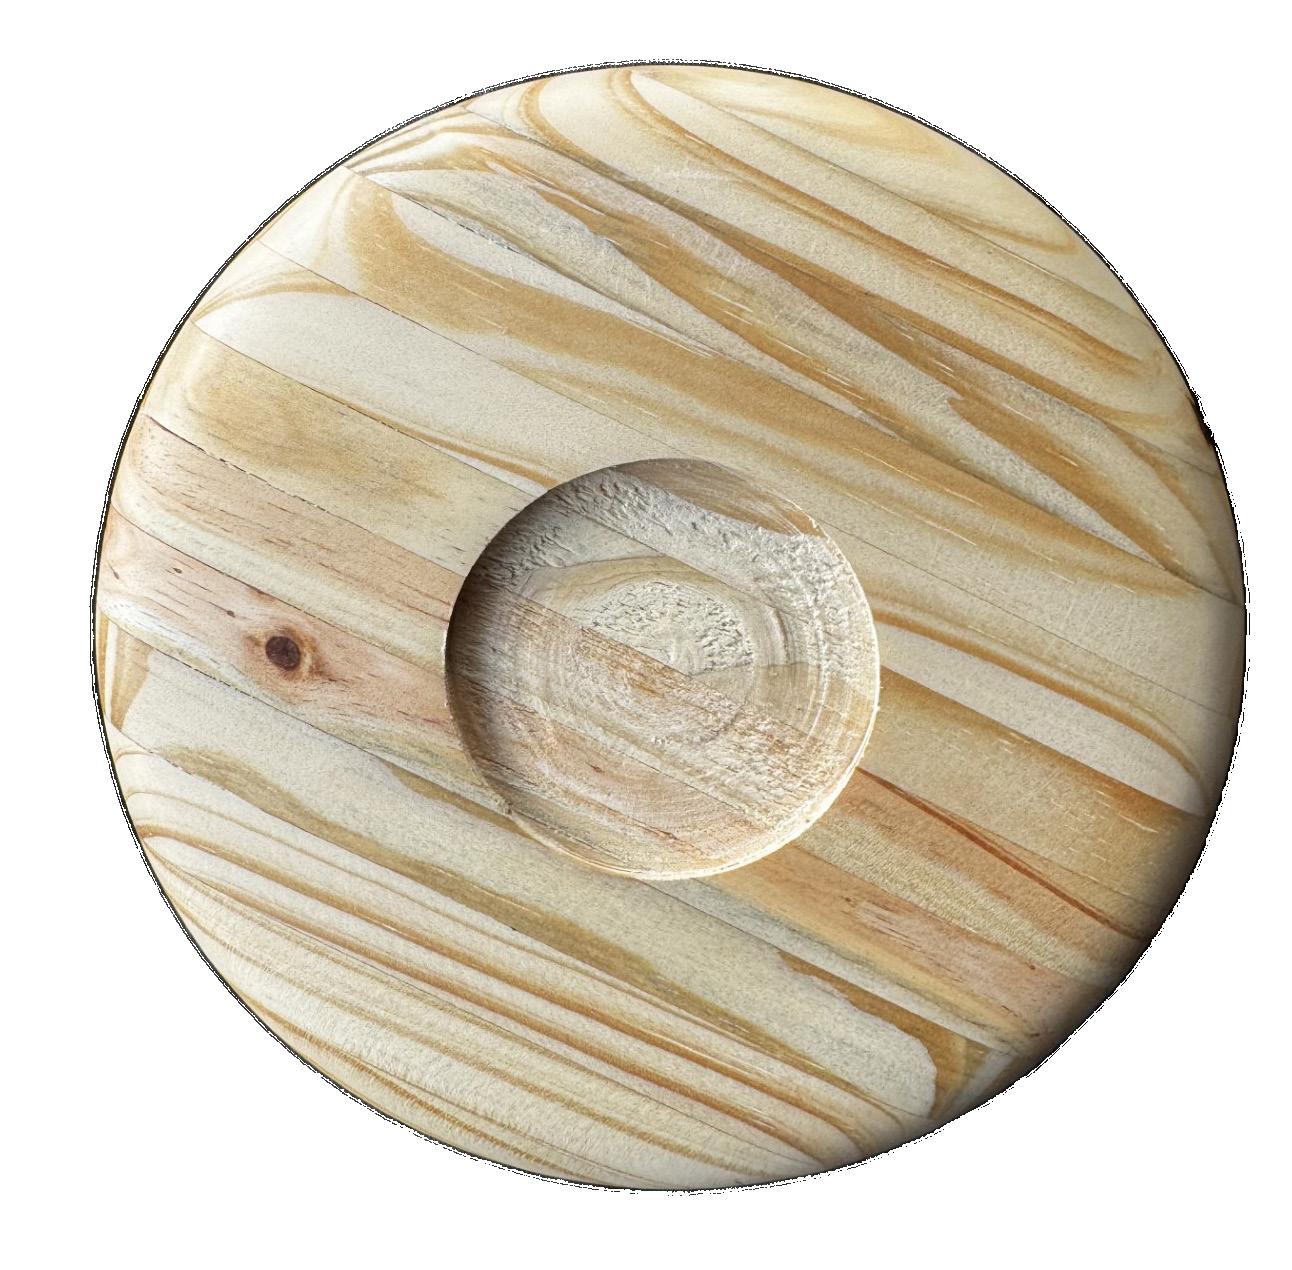
14: The blank has been turned round.
Now it’s time to turn the bowl. This step can be as simple or intricate as you prefer. To save time, the corners of the blank can be trimmed on a table saw or bandsaw, though this is optional.
For this turn, I primarily used a round carbide bit along with two different skew chisels.
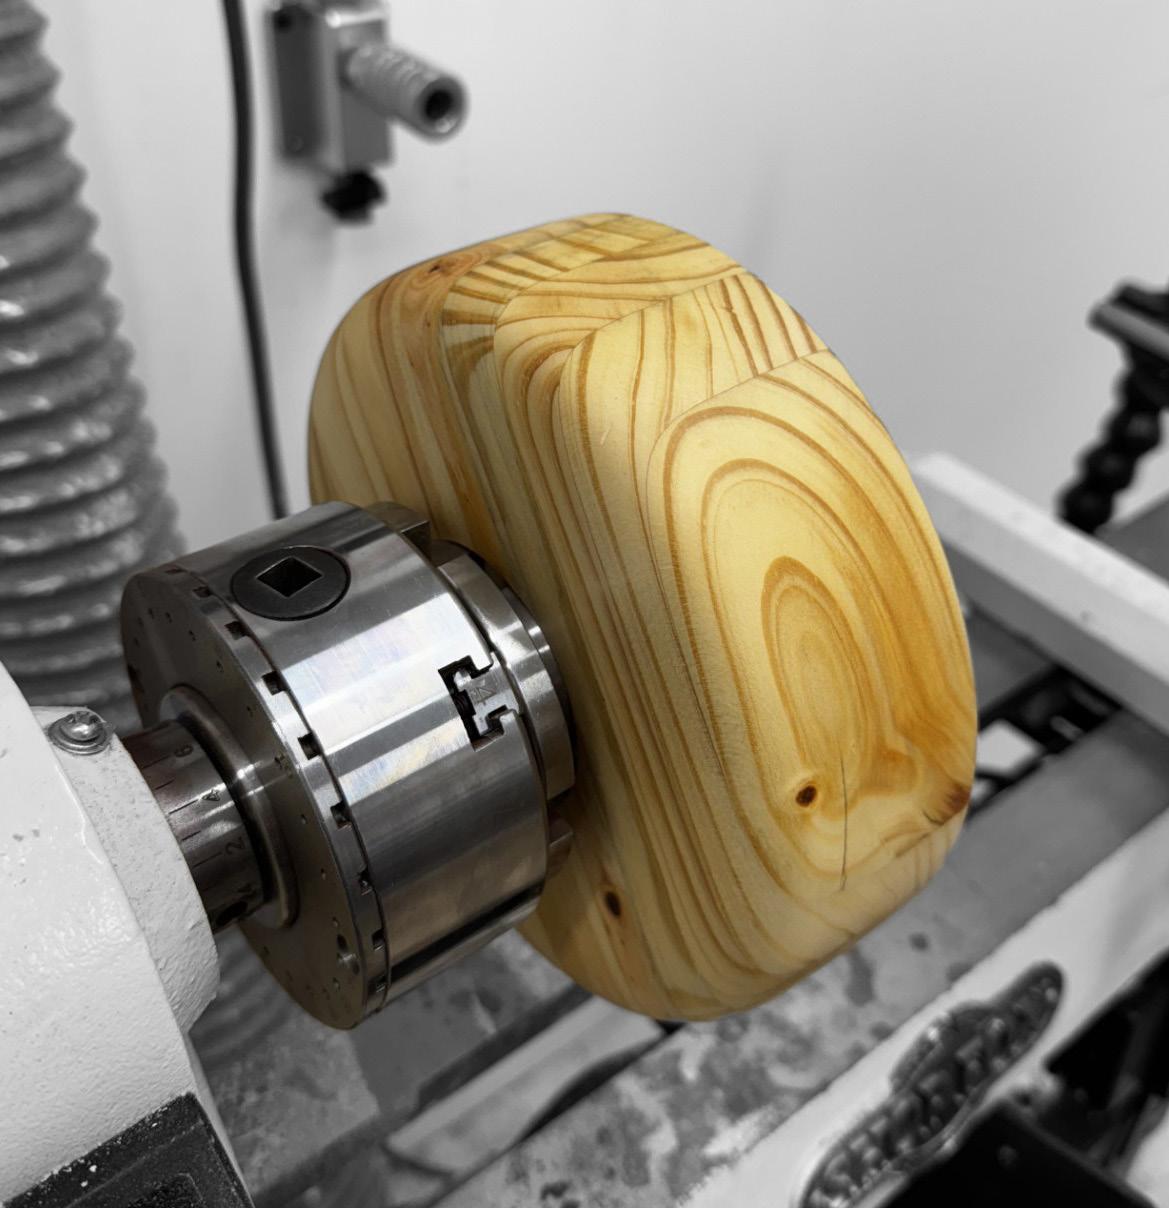
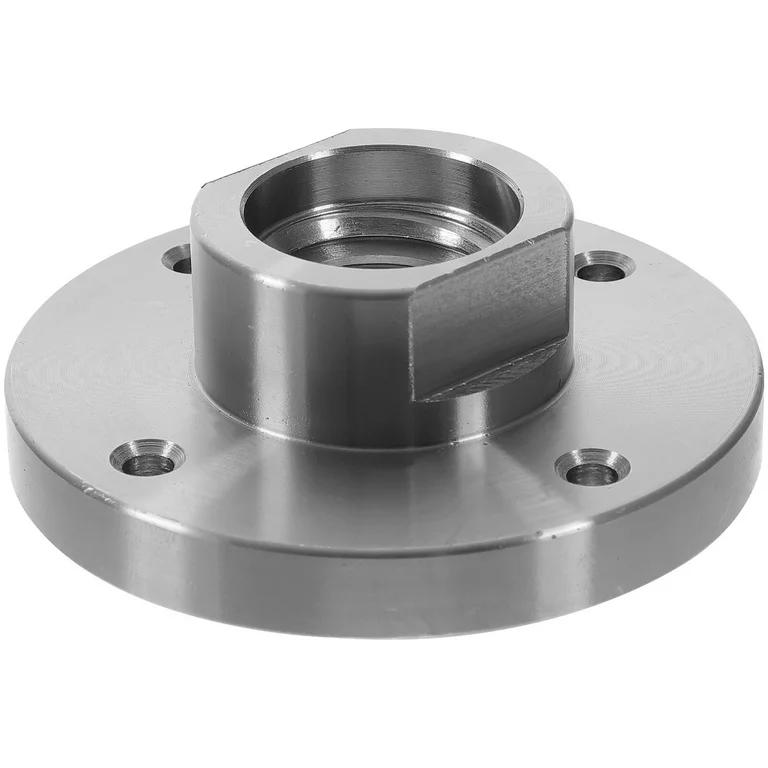
The blank is secured to a faceplate to begin turning (Image 15). This setup allows for the creation of a small mortise on the bottom of the bowl (Image 16), which will later be used to securely hold the piece while hollowing out the interior. I also took this time to turn the final shape on the outside.
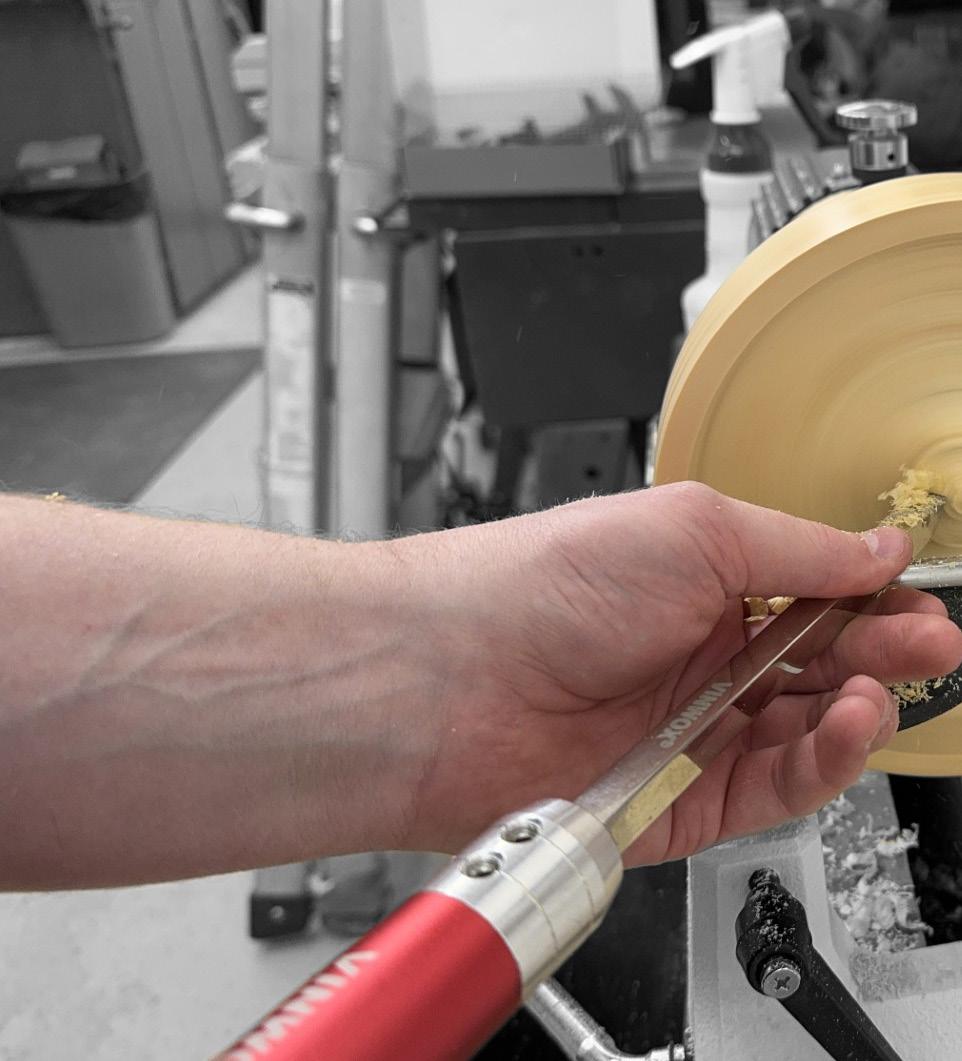
Once the outside was done, I flipped the blank and put the mortise into a 4 jaw chuck (Image 18).
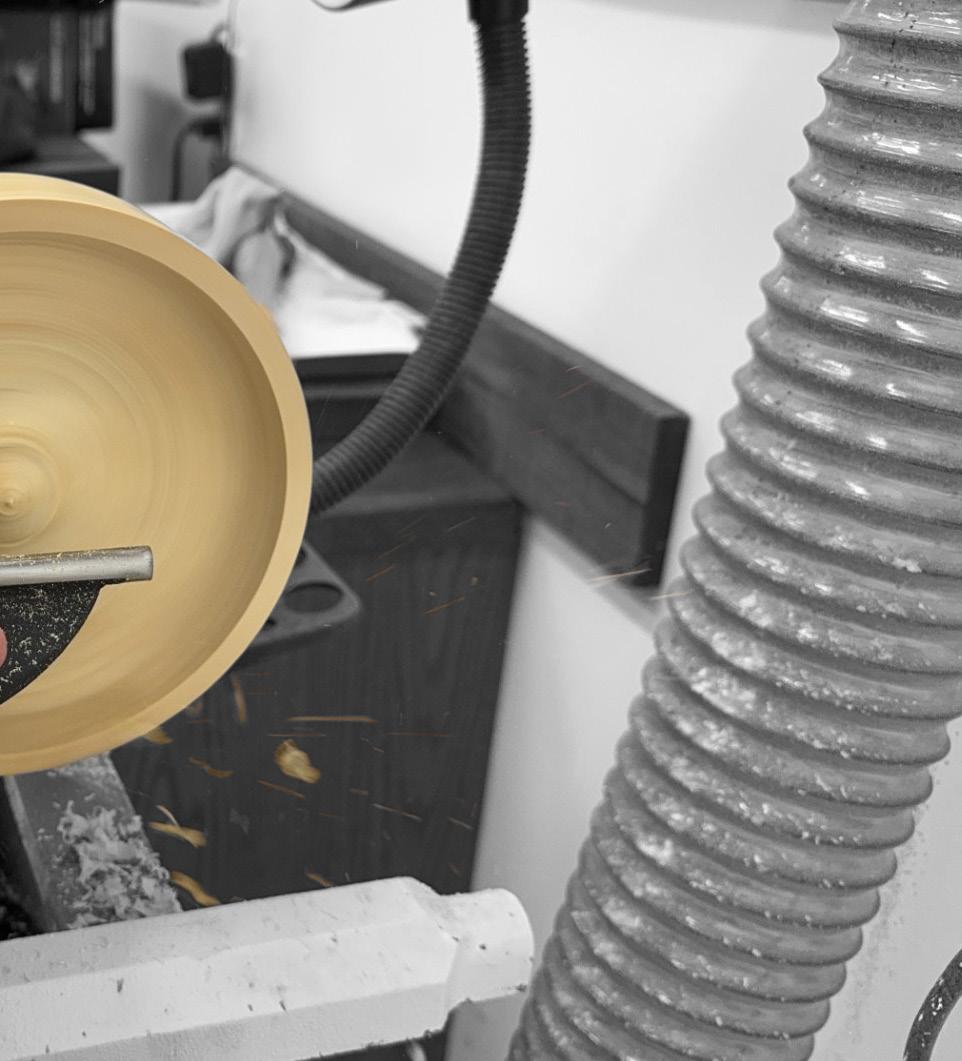
Pay close attention when turning the interior, as the material has a tendency to tear out or catch. Once the desired shape is achieved, gradually work through the sanding grits, starting at 80 and progressing through 120, 240, and 400.
A ‘waterpop’ technique was used between sanding stages. Lightly spraying the bowl with water after sanding raises the grain, allowing for a smoother final surface when sanded again at progressively finer grits.
To complete the bowl, a microcrystalline wax was used to coat the surface. This finish helps protect the wood from any future moisture.