


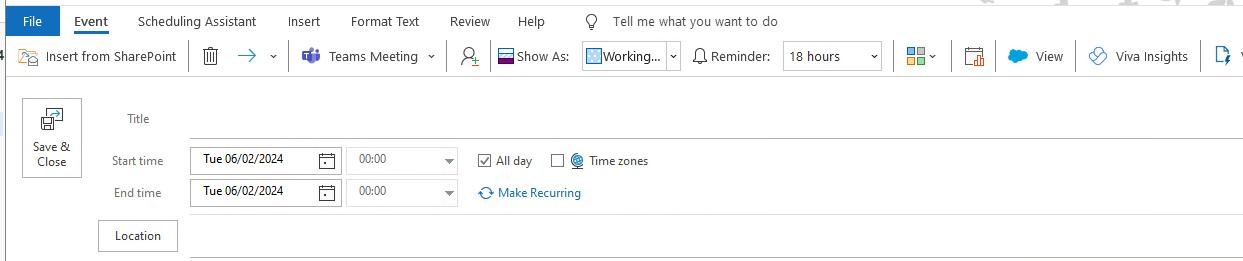
˃ To show that you are Out of Office in your calendar, select the ‘New Appointment’ tab in the top menu.
˃ Add the title of your leave; whether it is Annual Leave, Maternity/Paternity Leave, etc.
˃ Then select the ‘All day’ button and add in the calendar dates that you will be Out of Office.
˃ Once the relevant details have been filled out, select the drop tab ‘Show As:’ on the top menu to open up the drop-down menu and select the Out of Office option.
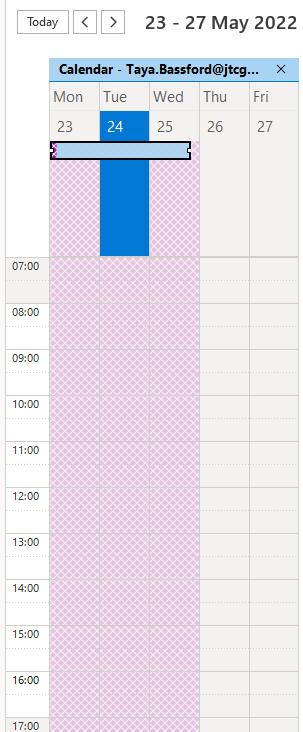
˃ Once you click ‘Save & Close’, your calendar then be blocked out with the purple shade to show you are on leave.

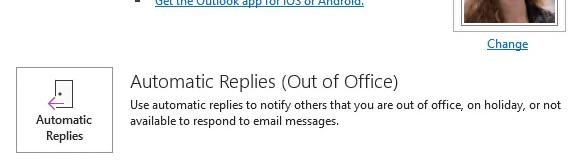
˃ Sending out Automatic Replies is beneficial to both other JTC employees who are emailing you and for those outside of JTC.
˃ In Outlook, select the ‘File’ tab in the top menu.
˃ In the ‘Info’ tab, select the ‘Automatic Replies’ button.
˃ From here you are able to select the time range you wish for the Automatic Replies to show.
˃ In the text box, add in the relevant information someone will need to know, e.g.
˃ That you are currently Out of Office,
˃ When you will be returning to the office,
˃ If their email has been forwarded and who it has been forwarded to,
˃ Who to contact if their request or query is urgent.

˃ Ensure that the same information is in your message under ‘Inside My Organisation’ and ‘Outside My Organisation’.
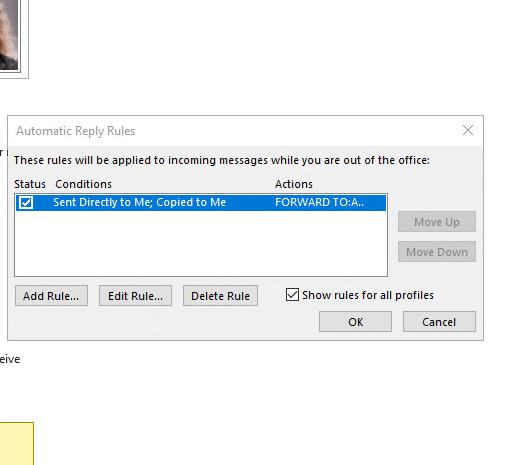
˃ When you are setting up your Automatic Replies, select the ‘Rules…’ button in the bottom left-hand corner.
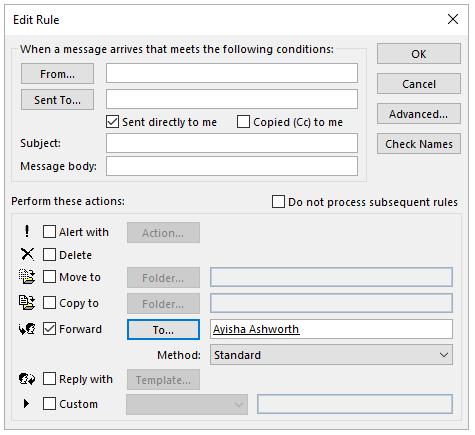
˃ Select the ‘Add Rule...’ button and fill out the relevant information, for example if you wish for all emails sent directly to you to be forwarded on, follow these steps:
˃ Select the ‘Sent directly to me’ box in the top section.
˃ In the bottom section, select the ‘Forward’ box, followed by selecting the ‘To’ box next to it.
˃ This will open up the search function and you will be able to select any JTC employee.
˃ Please make sure if you are forwarding your messages on to someone that the employee is in your team and is aware that this rule has been set in place.

To add your Work from Home days, follow the same steps as you would to set up your Out of Office:
˃ Select ‘New Appointment’.
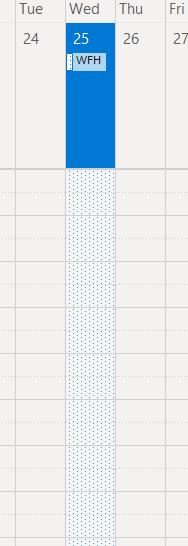
˃ Add WFH in the title and select the ‘All day’ box.
˃ Select the ‘Show As:’ drop down and select the ‘Working Elsewhere’ option.
˃ If you routinely WFH on specific days you can also make the notice recurring by selecting the ‘Make Recurring’ option and fill out the box for the days you will be Working From Home.


If you have a private appointment, you can still add it in to your calendar to show you are busy without revealing what the appointment is.
To do this, simply add it into your calendar as normal, but before selecting ‘Save & Close’ head to the top menu and select the lock image from the top menu. This will make sure that only you are able to see what they appointment is but for others they will see that your calendar is blocked out for a ‘Private Appointment’.
˃ Not everyone has the same working hours, and if yours differs from the standard 9-5, make sure that both your calendar and teams reflects this.
˃ To set up a recurring Automatic Reply to go out with your Working Hours when you are Out of Office, please contact Helpdesk.
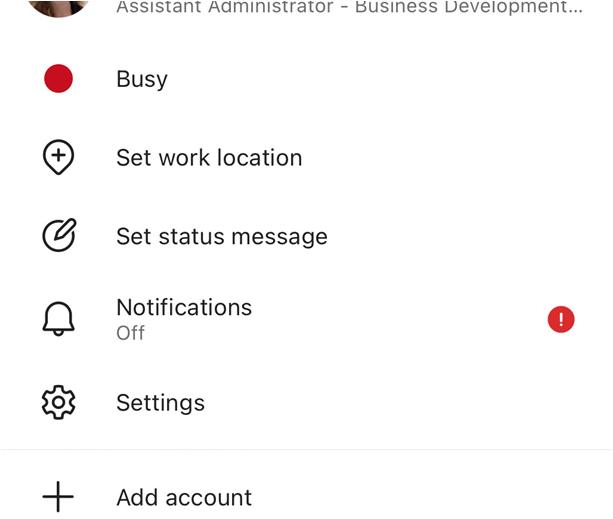
˃ In Teams, you will need to update your Status Message.
˃ In Teams, select your profile image in the top right corner. This will open up a drop-down box. In this drop down select the 'Set status message’.
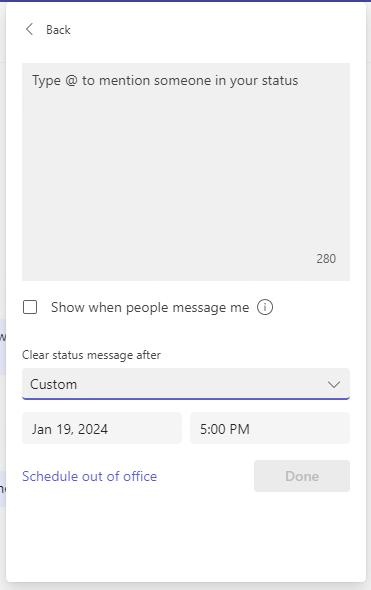
˃ In here you can add in the details of your working hours whether that be that you do not work on Wednesdays or that you work from 8am –4pm, etc.
˃ Under this you will then find a drop down where you are able to choose how long this message can show for.
˃ In the Calendar page of Outlook, head to the top menu and select the ‘Add’ tab.
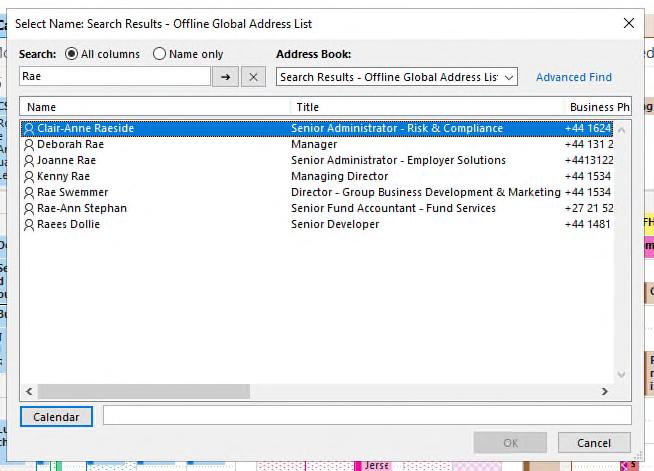
˃ In the drop down, select the ‘From Address Book’ option. This will open up the Address list. From here you will be able to look up any JTC employee’s calendar in order to check when they have availability.
˃ Simply type in the name, select the correct option and select the calendar button.
˃ Once you have selected the OK button the calendar will open next to your own.
˃ Their calendar will also remain in your Shared Calendars drop down in the side menu for you to access again at a later time.
˃ This will create an easier process for setting up meetings with colleagues without clashes.