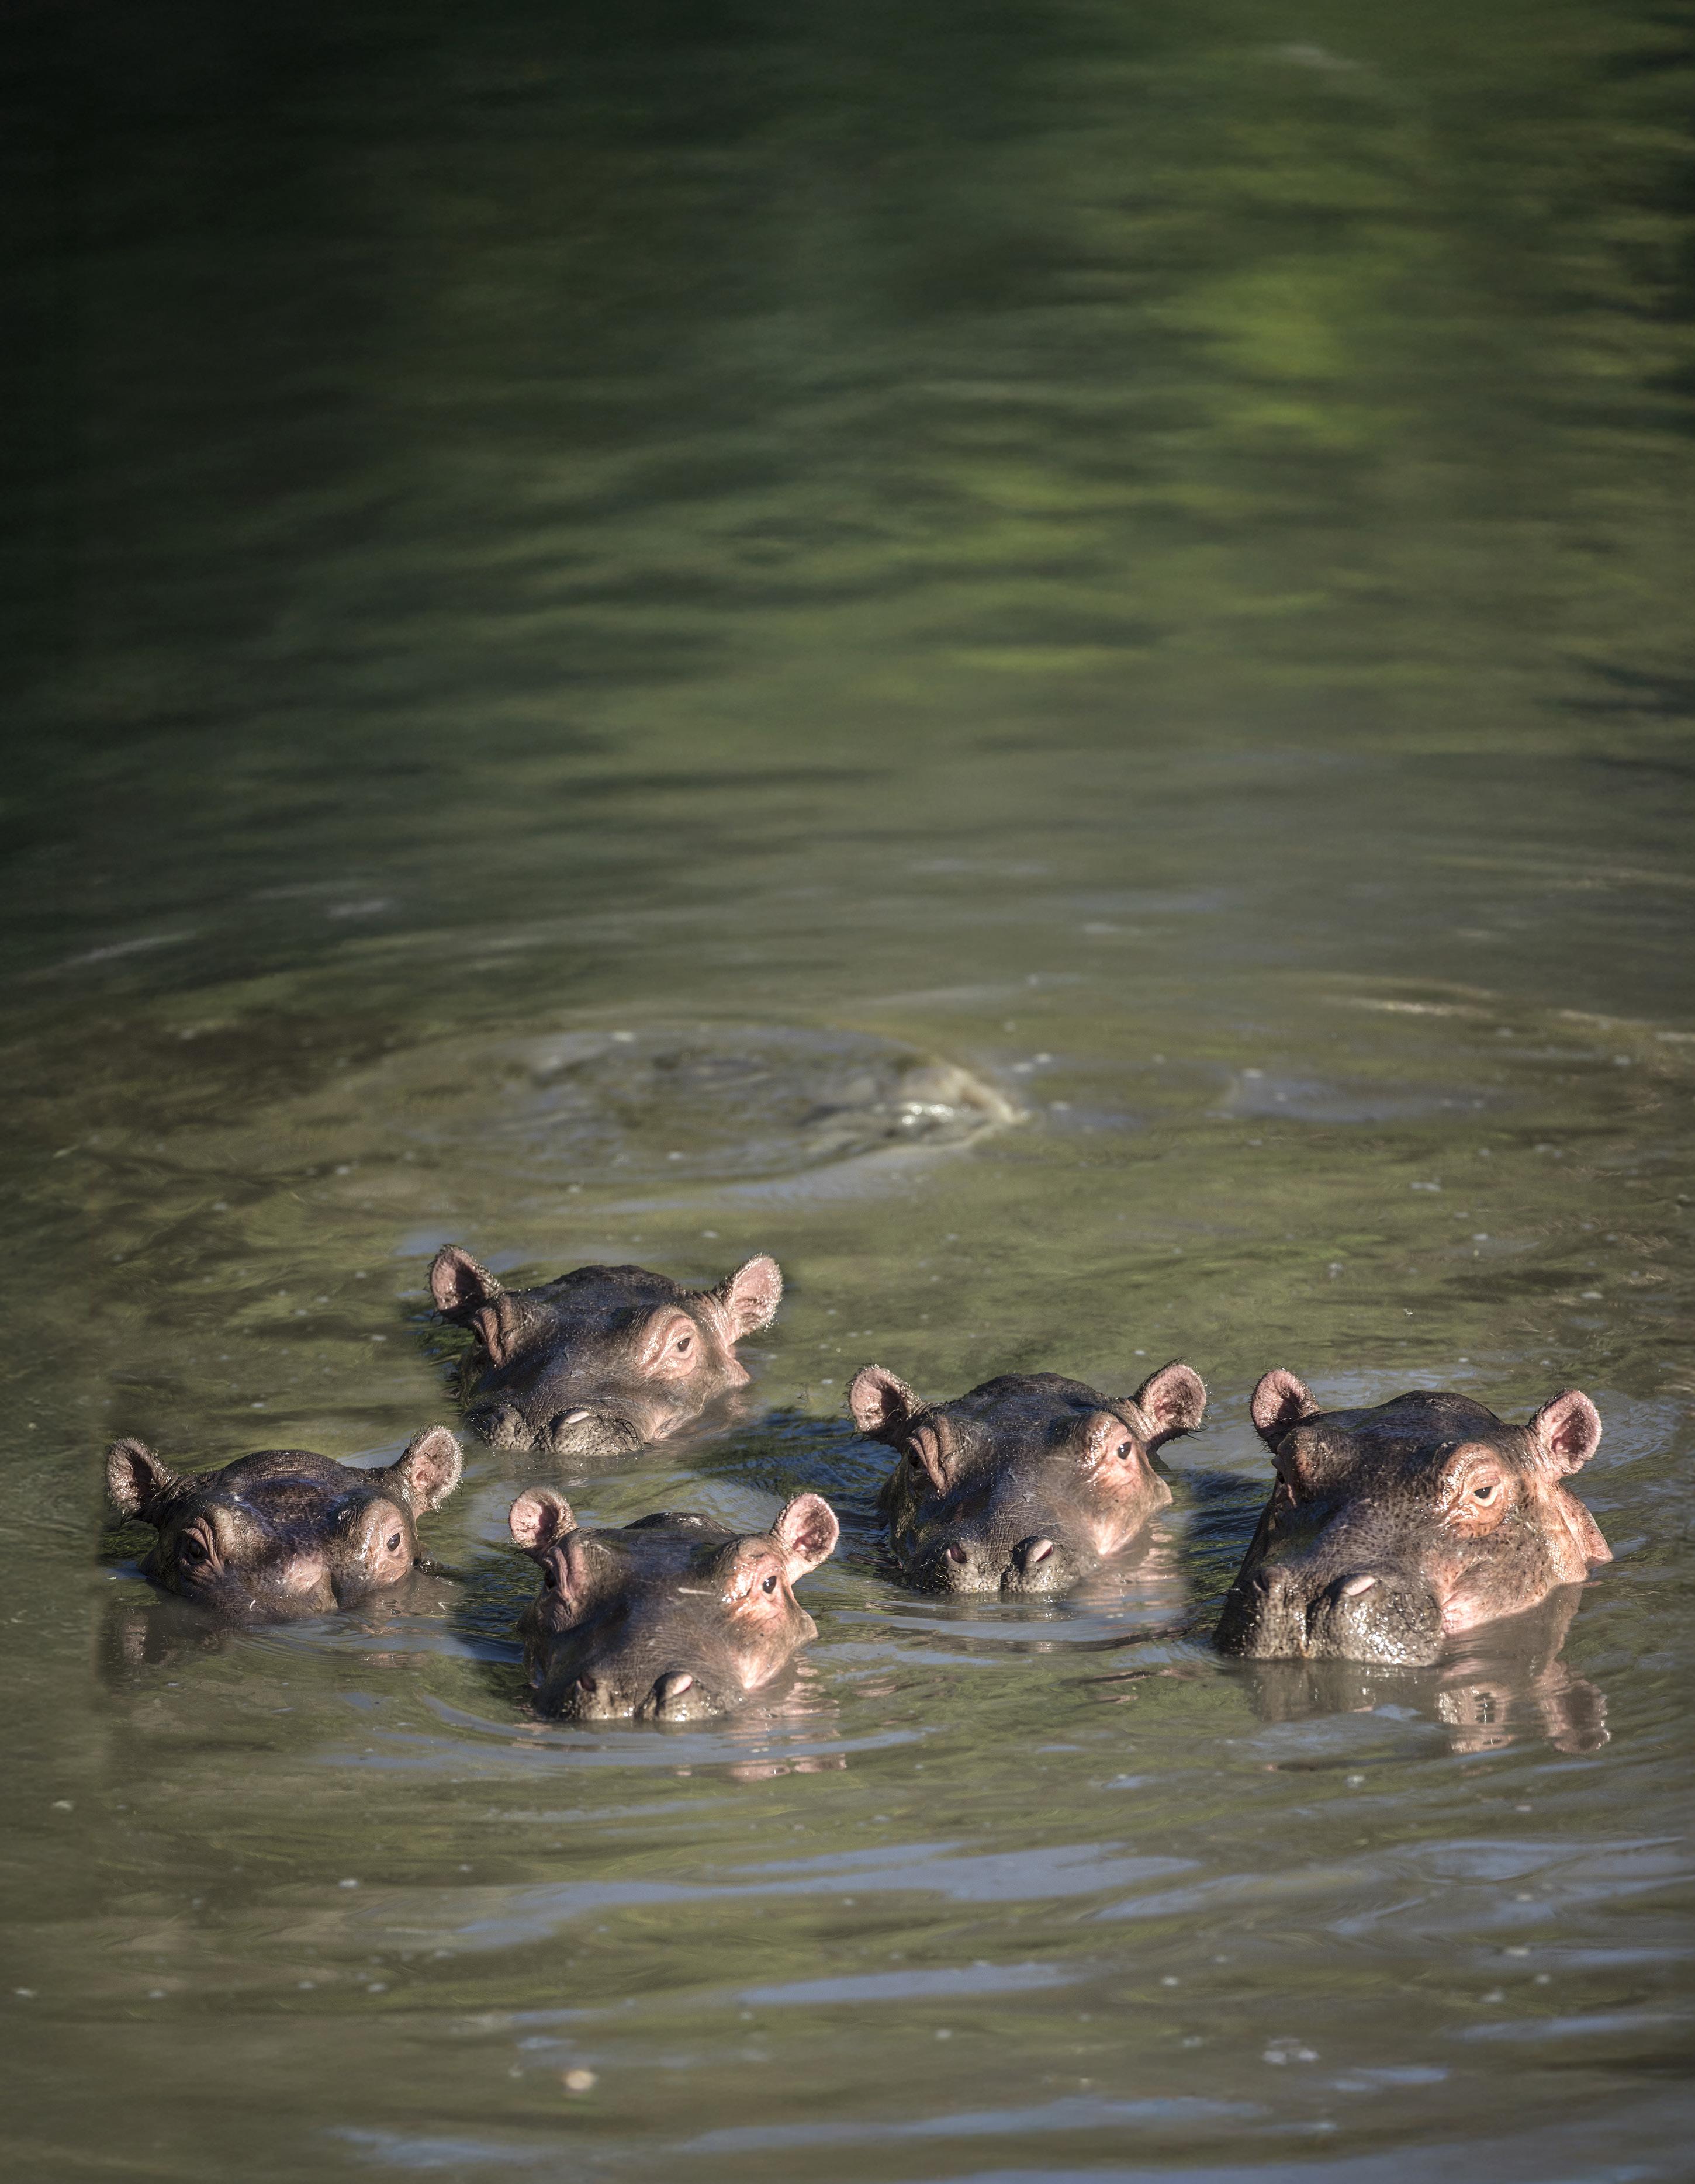
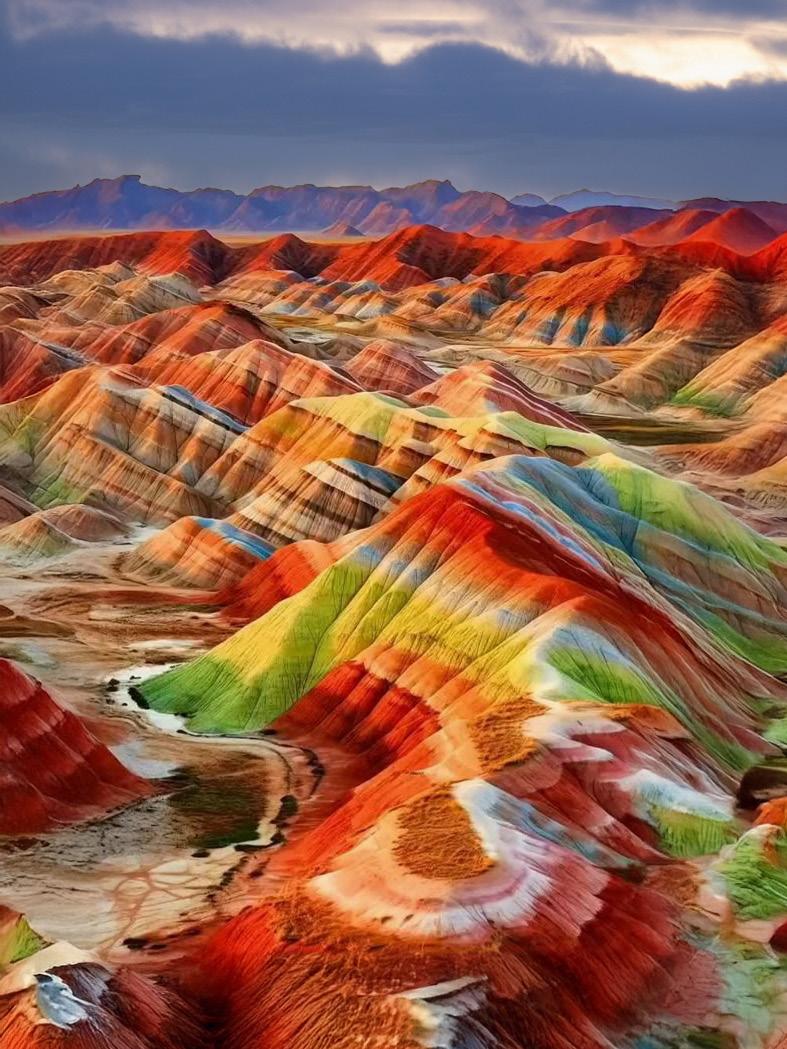
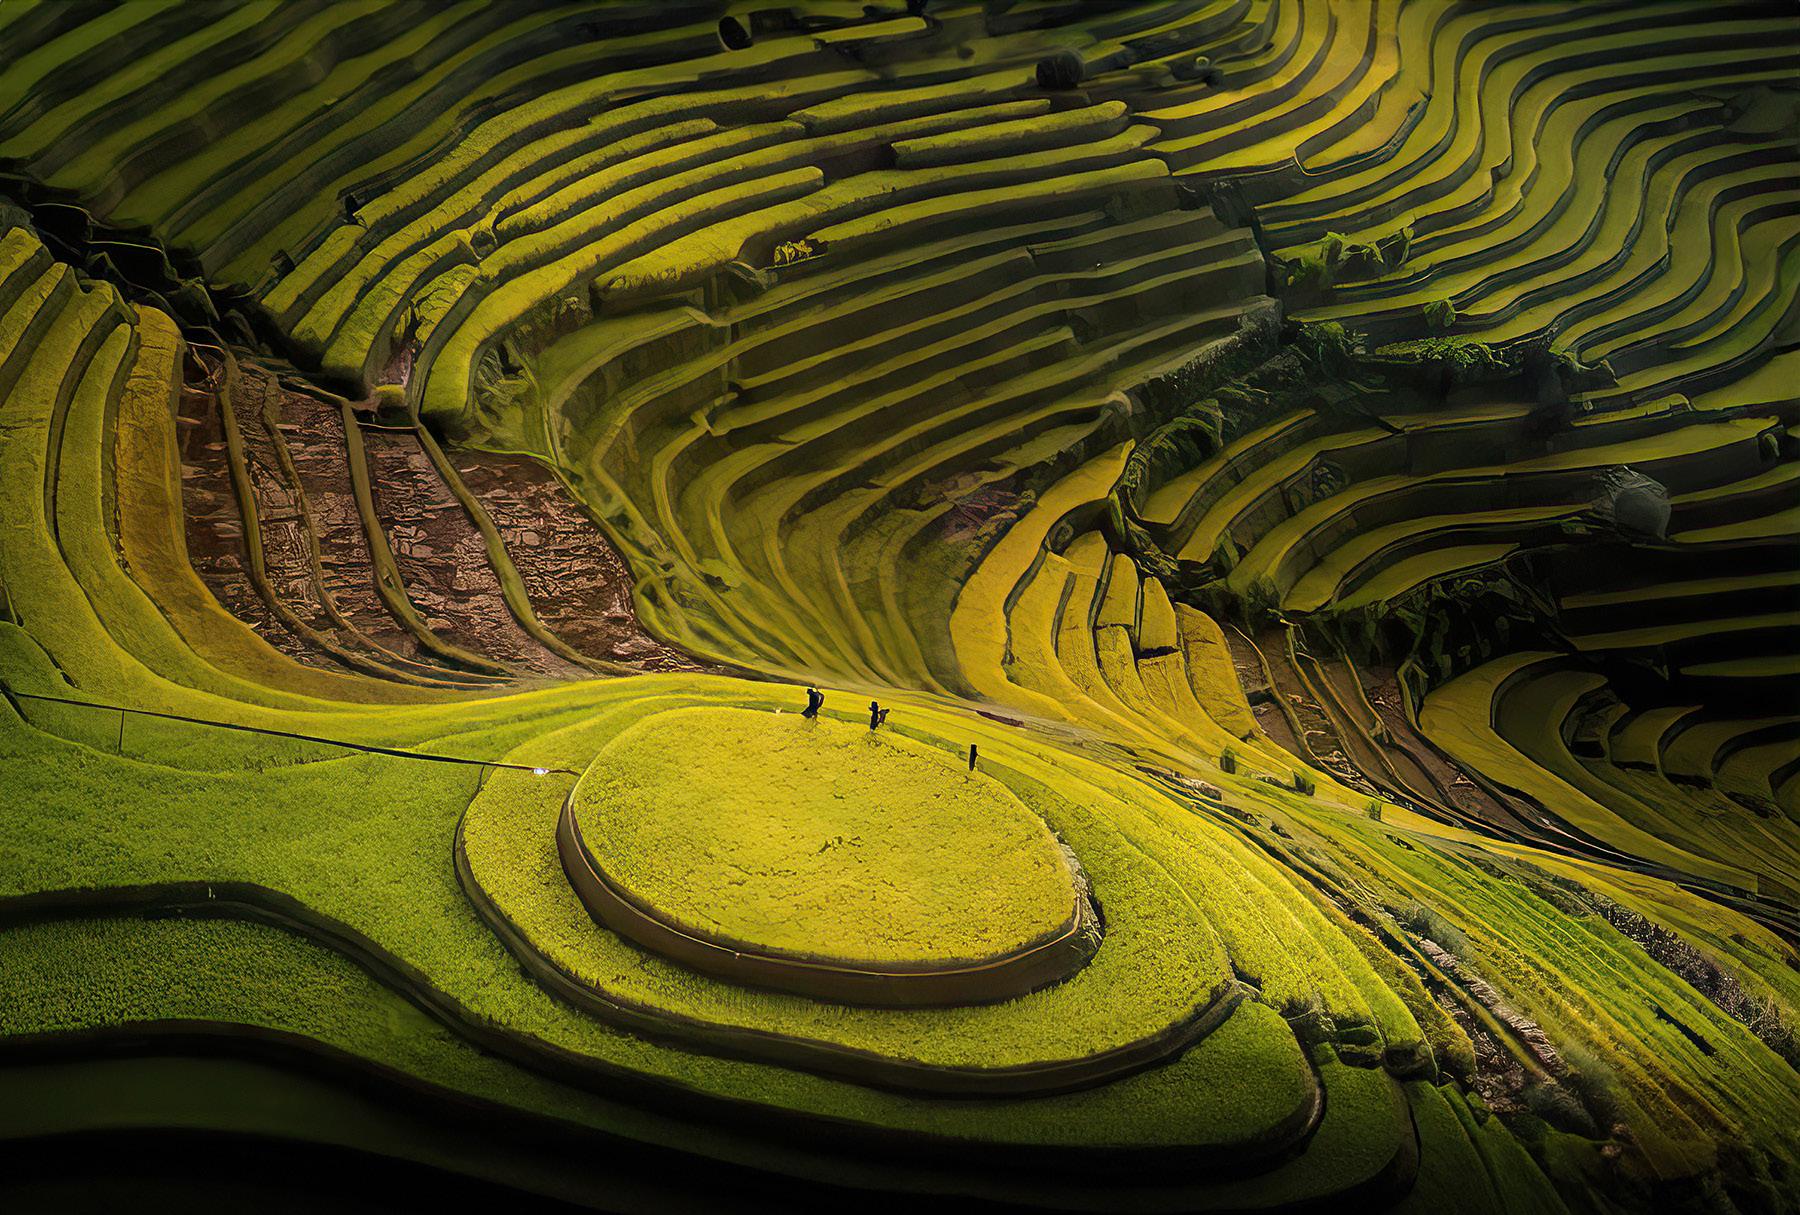
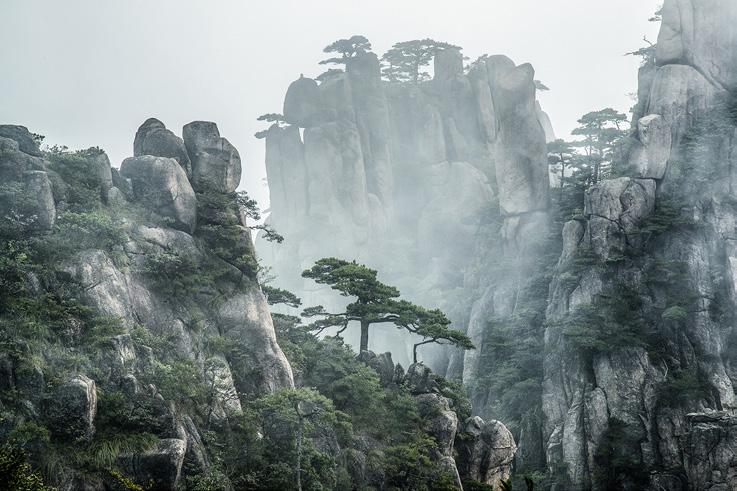
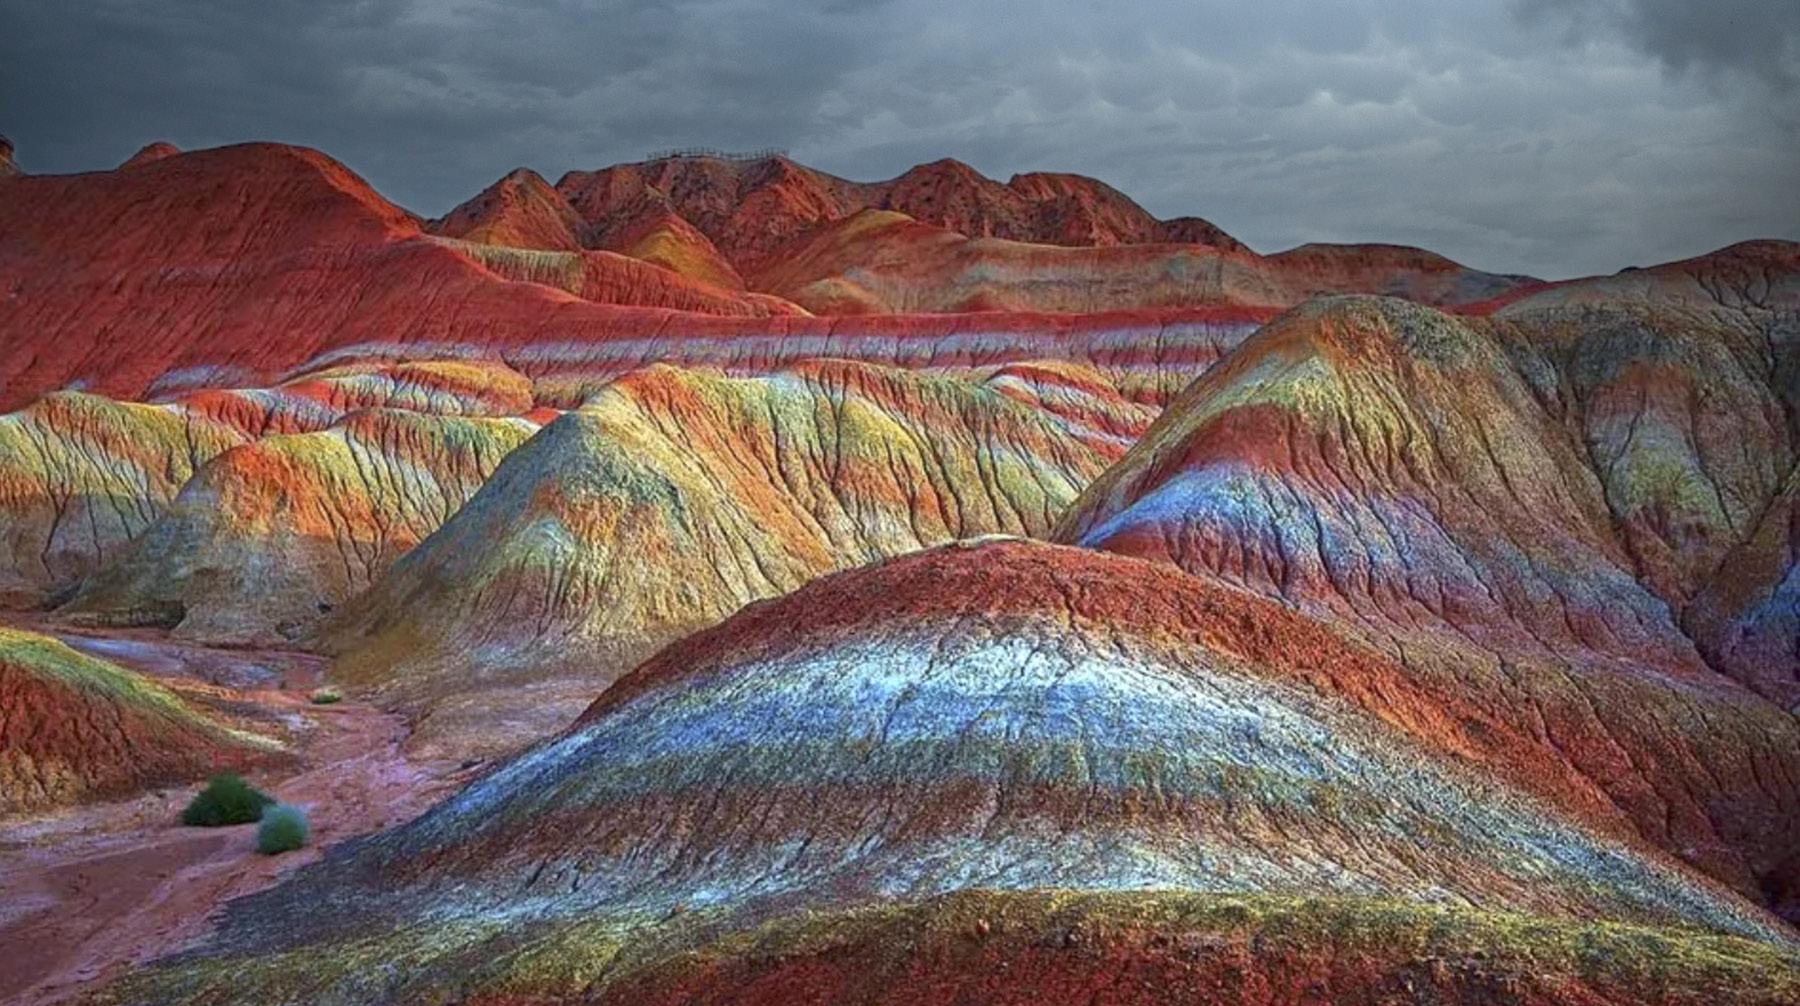
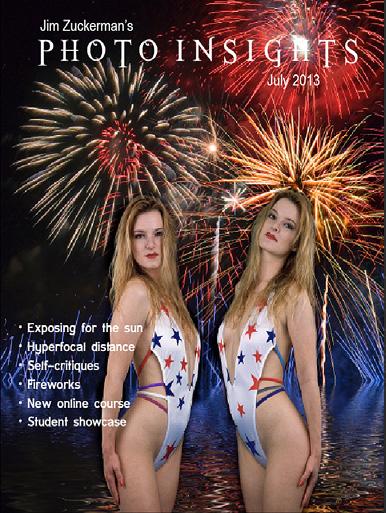
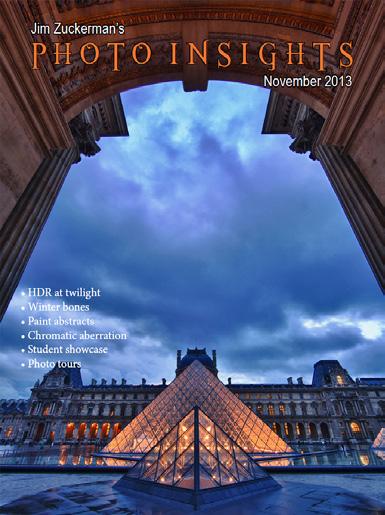
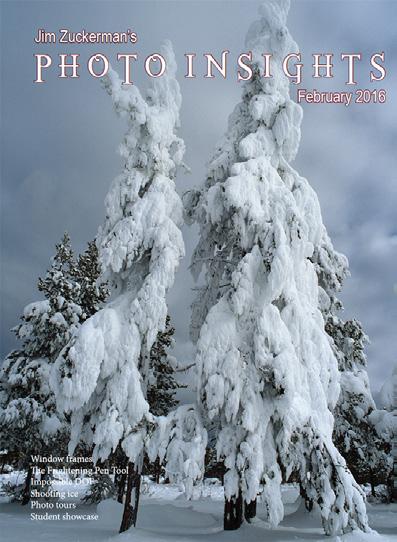
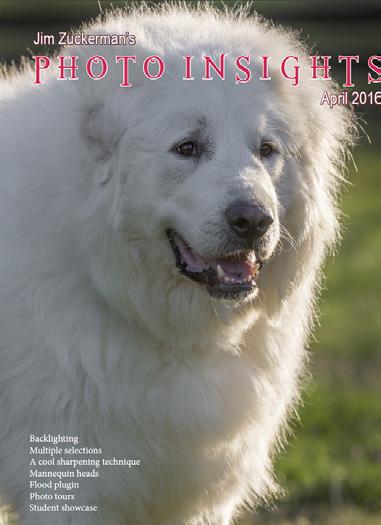
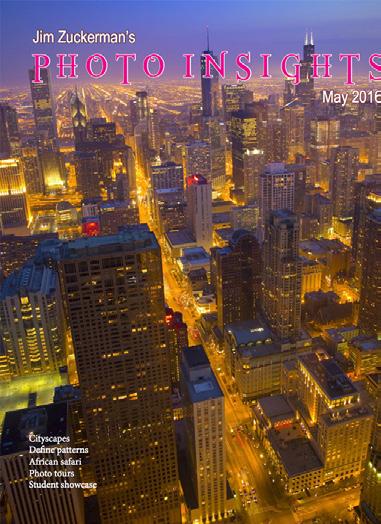
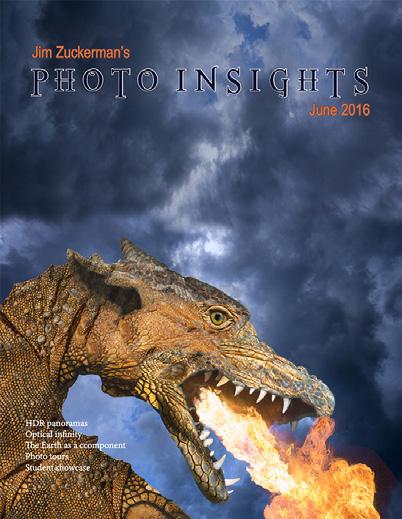
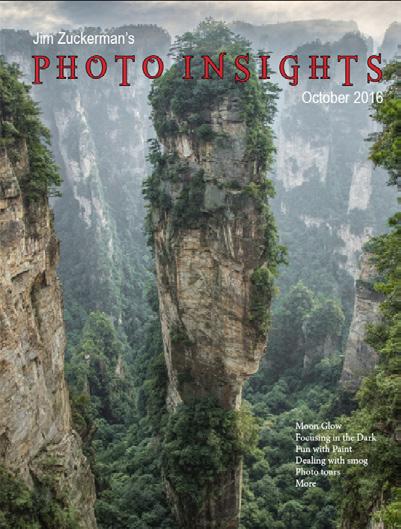
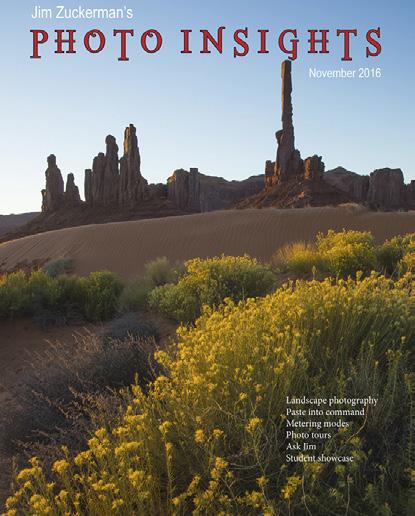
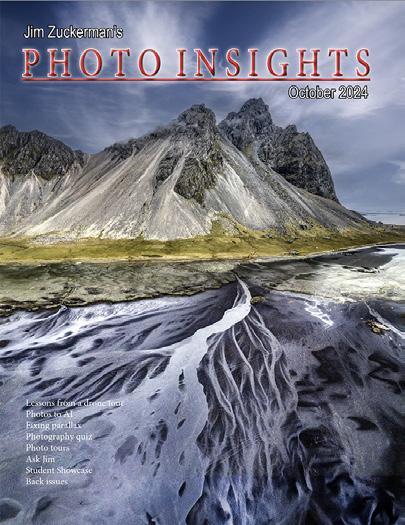
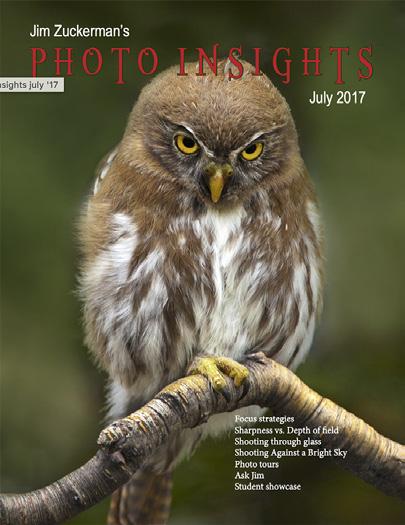
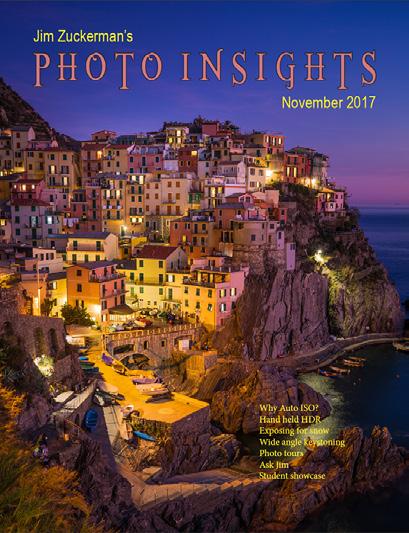
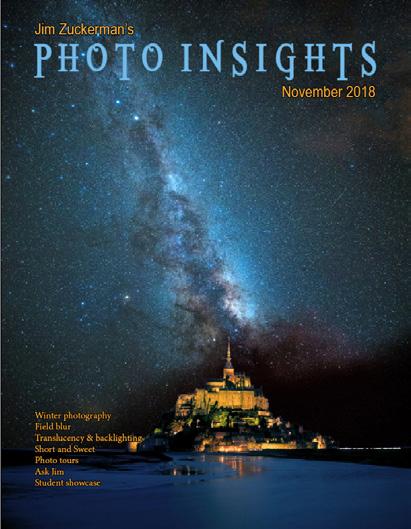
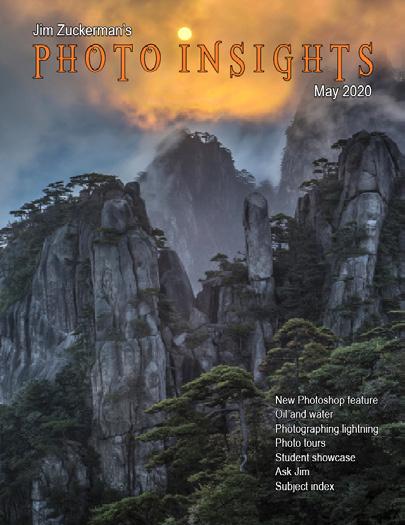
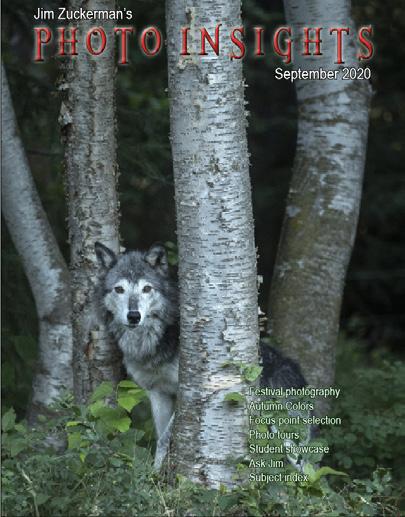
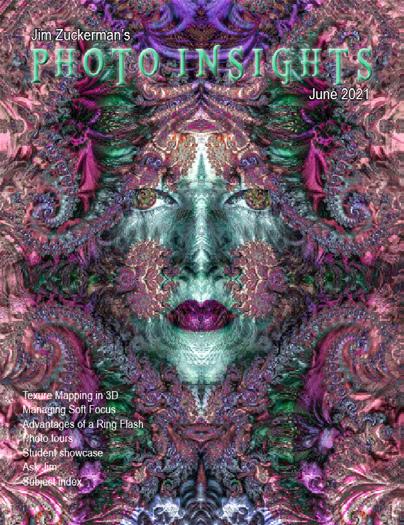
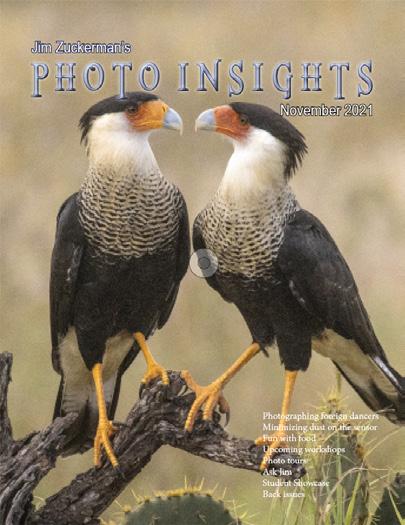
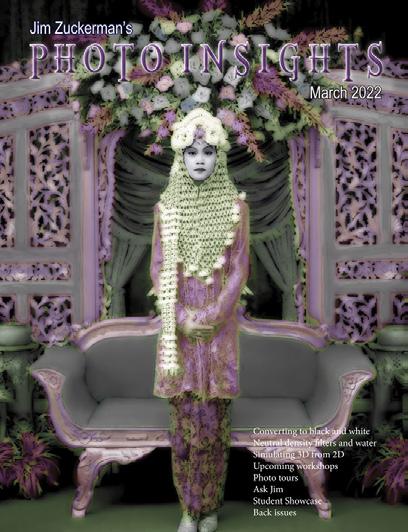
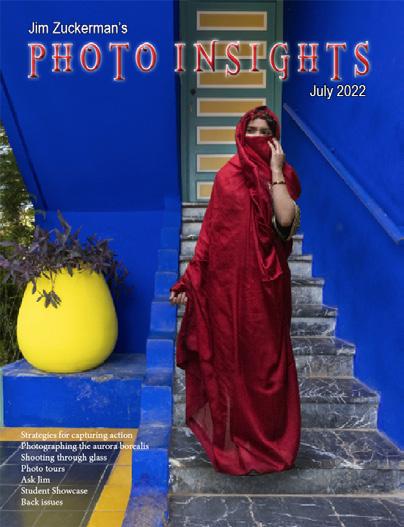
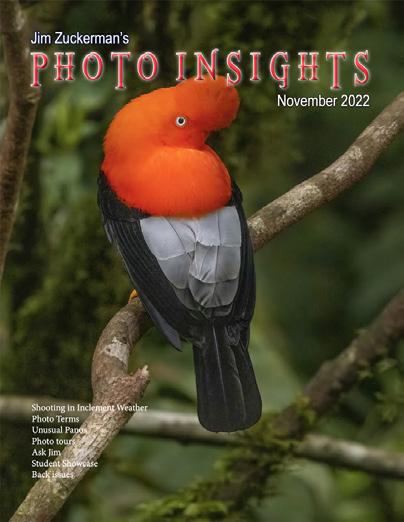
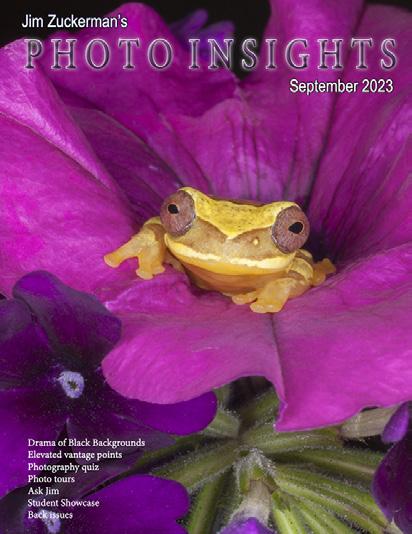
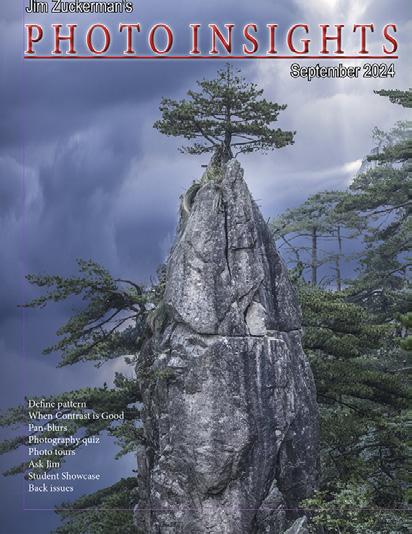
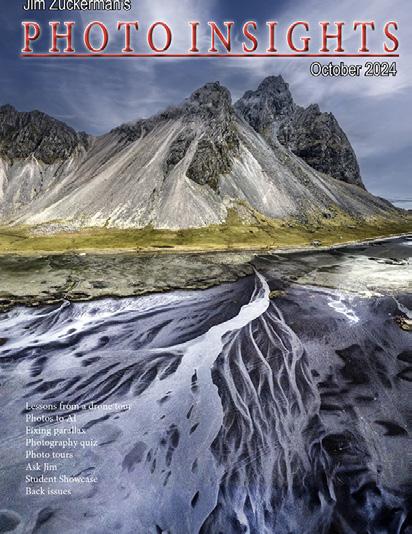
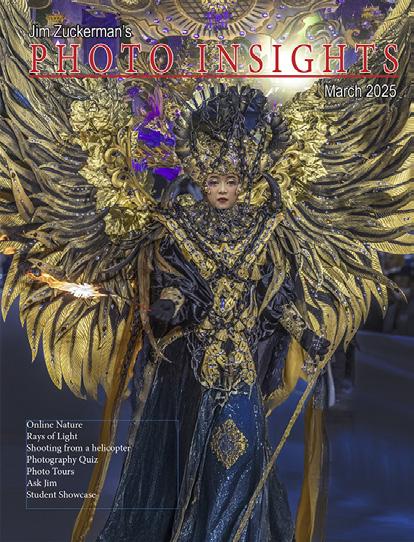
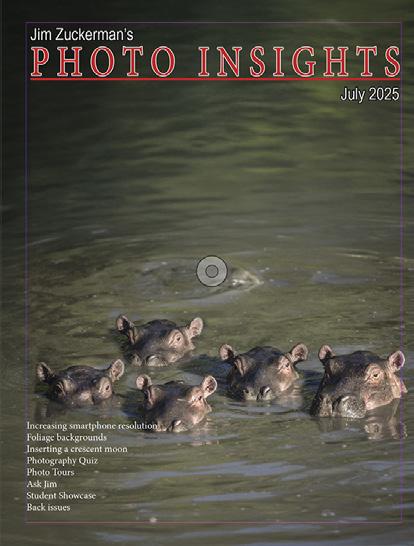
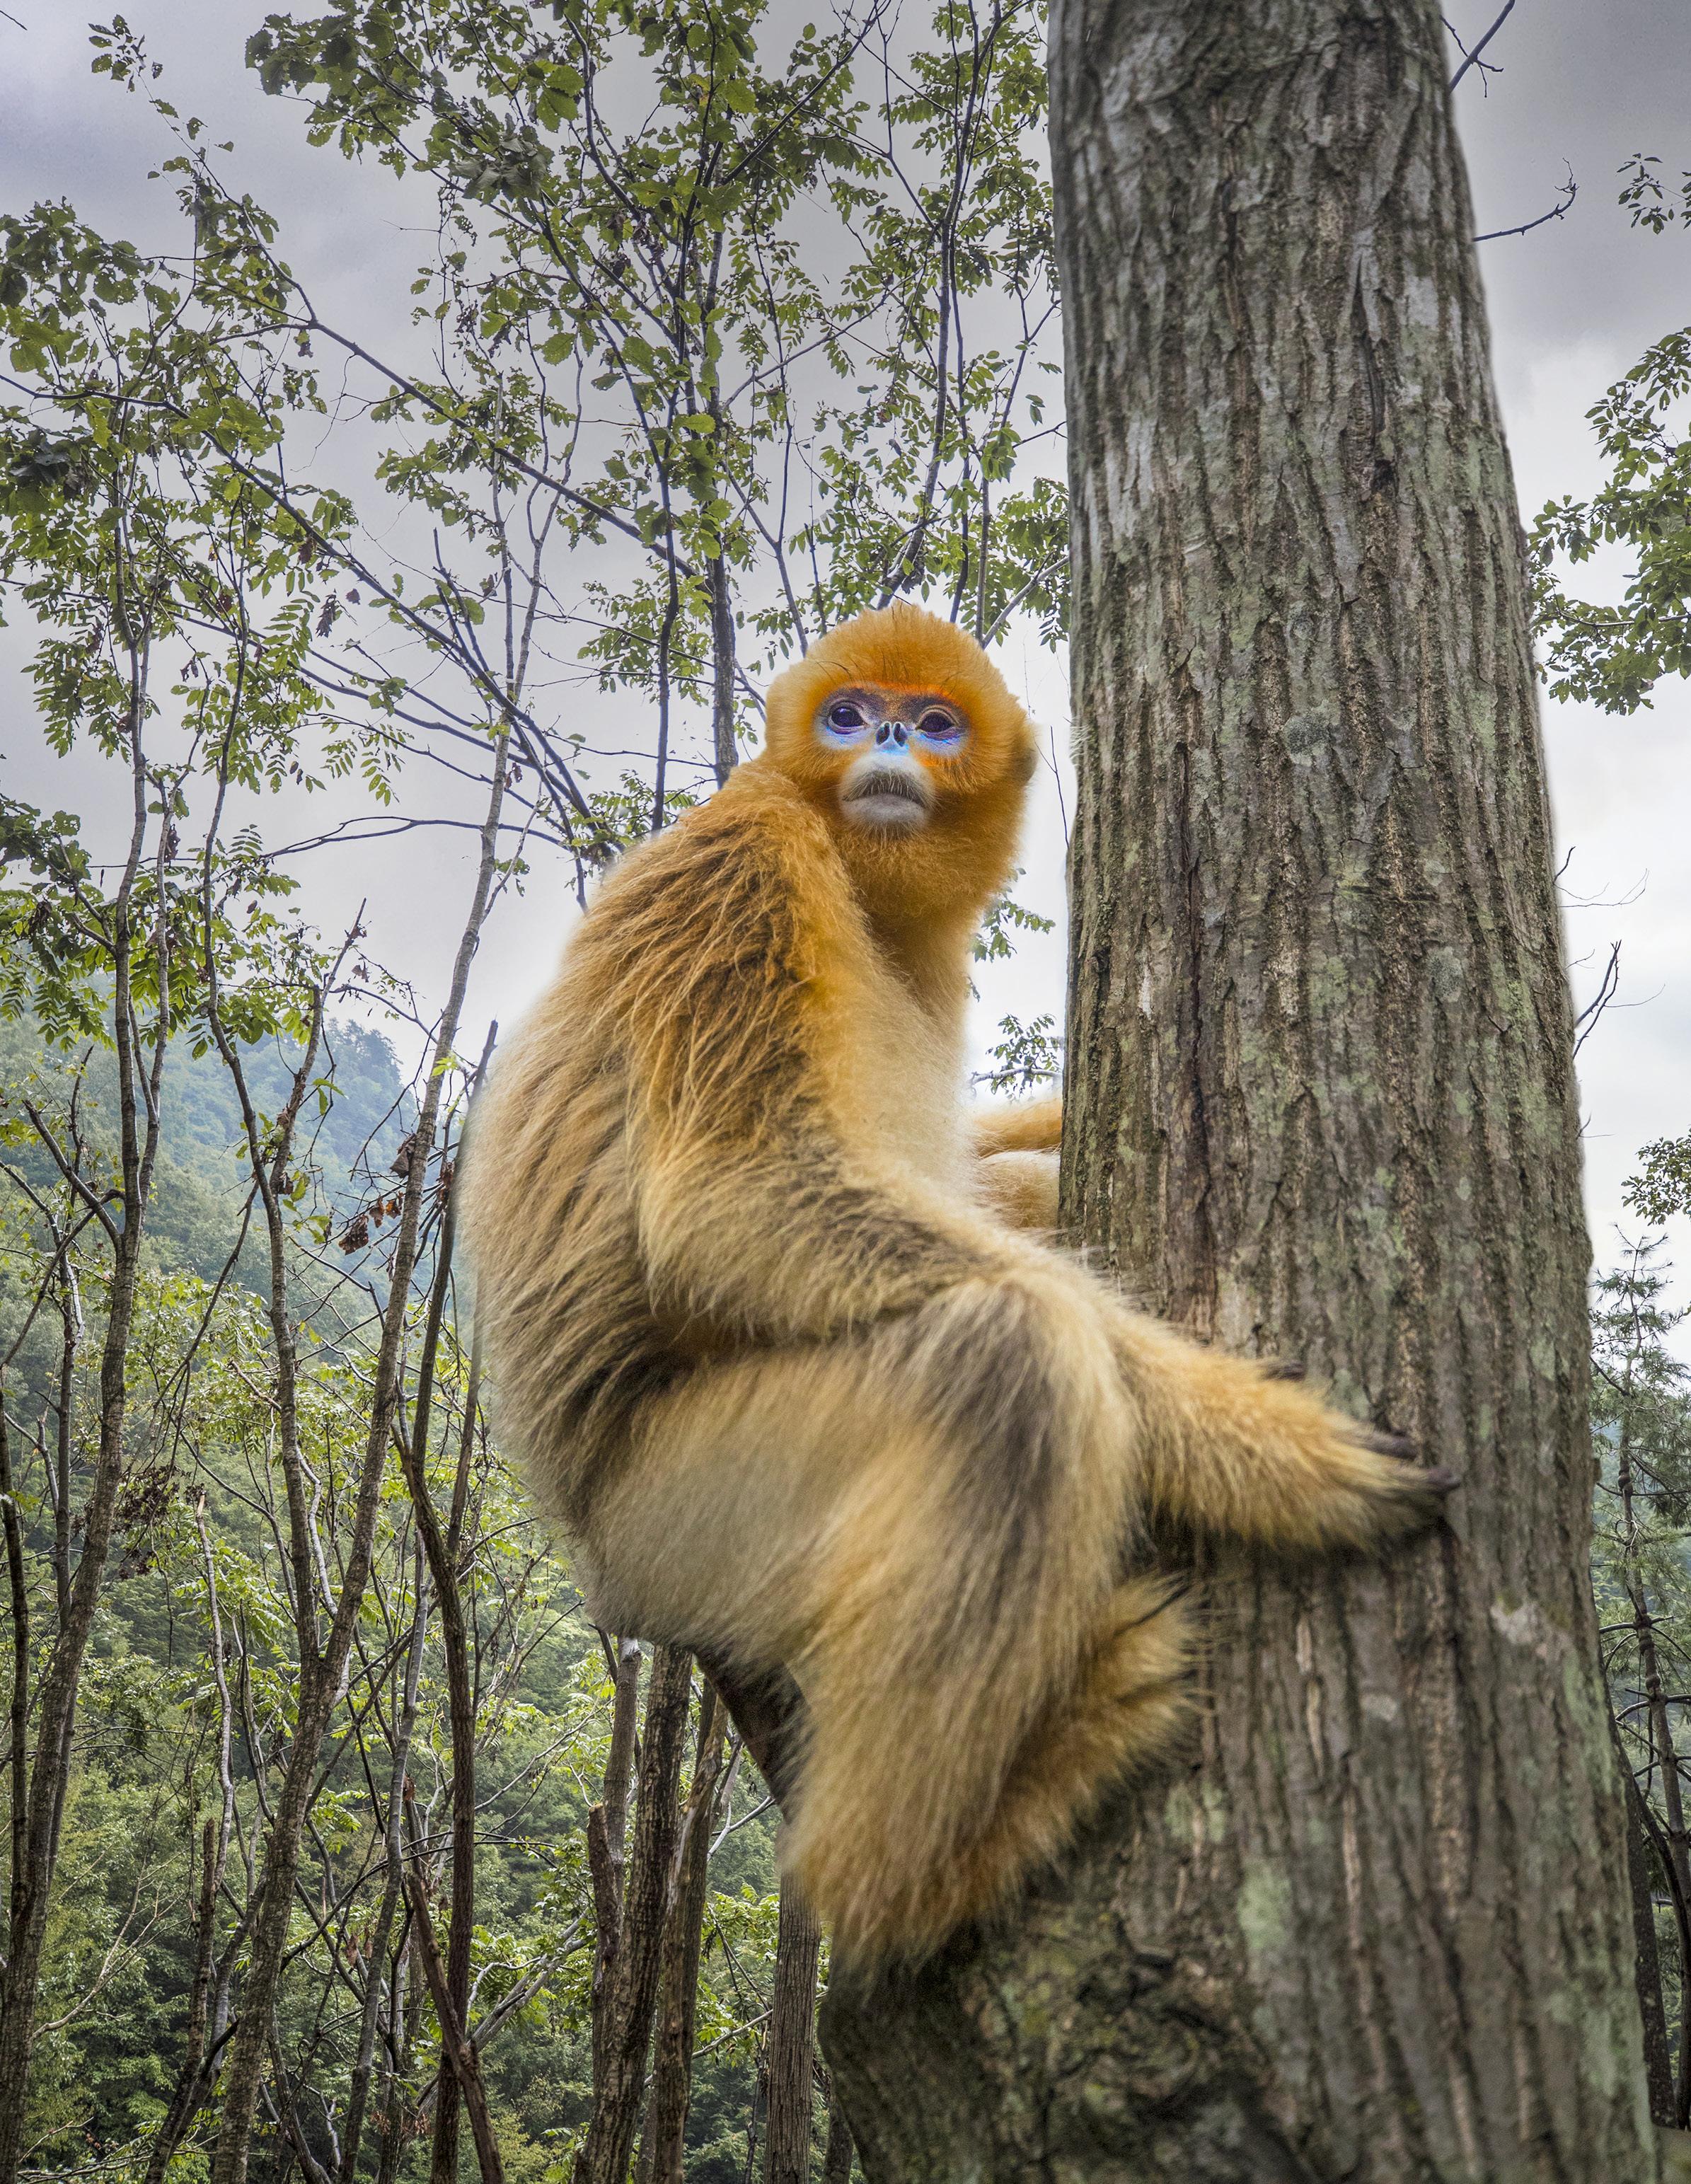
Hippos wallowing in the Mara River, Kenya. This page: The spectacular rainbow Mountains, China.
Some people must have the best of everything, and if you are that kind of photographer, I have the lens for you. If you are a Canon shooter, be the first on your block to own the Canon EF 1200mm f/5.6 L USM telephoto. It's easily manageable at 36.67 pounds, and the price is a mere pittance for successful photographers at only $120,000 . . . unless the price is bid upward due to supply and demand. The highest price I've seen paid is $180,000. It is believed there were only 20 of these lenses ever made. Unfortunately, this 1200mm f/5.6 super telephoto is no longer in production, but once in a while one comes up for sale.
This is the longest focal length autofocus lens ever produced for SLR cameras. The annual production volume was only two lenses because it took nearly a year to grow the massive fluorite crystals needed for the exceptionally large glass elements in the lens. Fluorite reduces chromatic aberration significantly, and it also reduces the size and weight of long lenses. Without the fluorite, this lens would undoubtedly be too heavy to handle. Birds in flight photography without a tripod would be a challenge.
The minmum focusing distance for this lens is a remarkable 45.9 feet, and it supports drop-in 48mm filters. It's good to know you can save money on the small sized filters. Canon thinks of everything.
Jim Zuckerman photos@jimzuckerman.com www.jimzuckerman.com
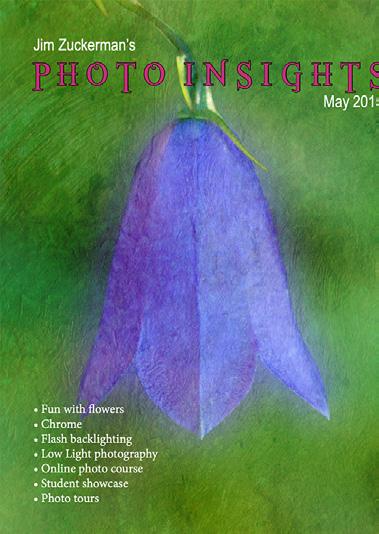
IncreasIng smartphone RESOLUTION
Let's face it. Sometimes it's a whole lot easier to use a smartphone than a dSLR or mirrorless camera. Smartphones are always in your pocket, the exposures are virtually perfect, the built-in HDR provides extensive detail in the highlights and shadows, and if photos are prohibited with Nikons, Canons, and Sonys, usually no one cares if you use a smartphone.
For those of us who take photography seriously, however, iPhones and Androids just don't have the resolution we require for our images. But, consider this:
I have an iPhone 15. When I open an image from this phone in Photoshop, it is a 34.5 megabyte file. If I do a panorama, though, the file size increases. The longer the pano, the higher the resolution.
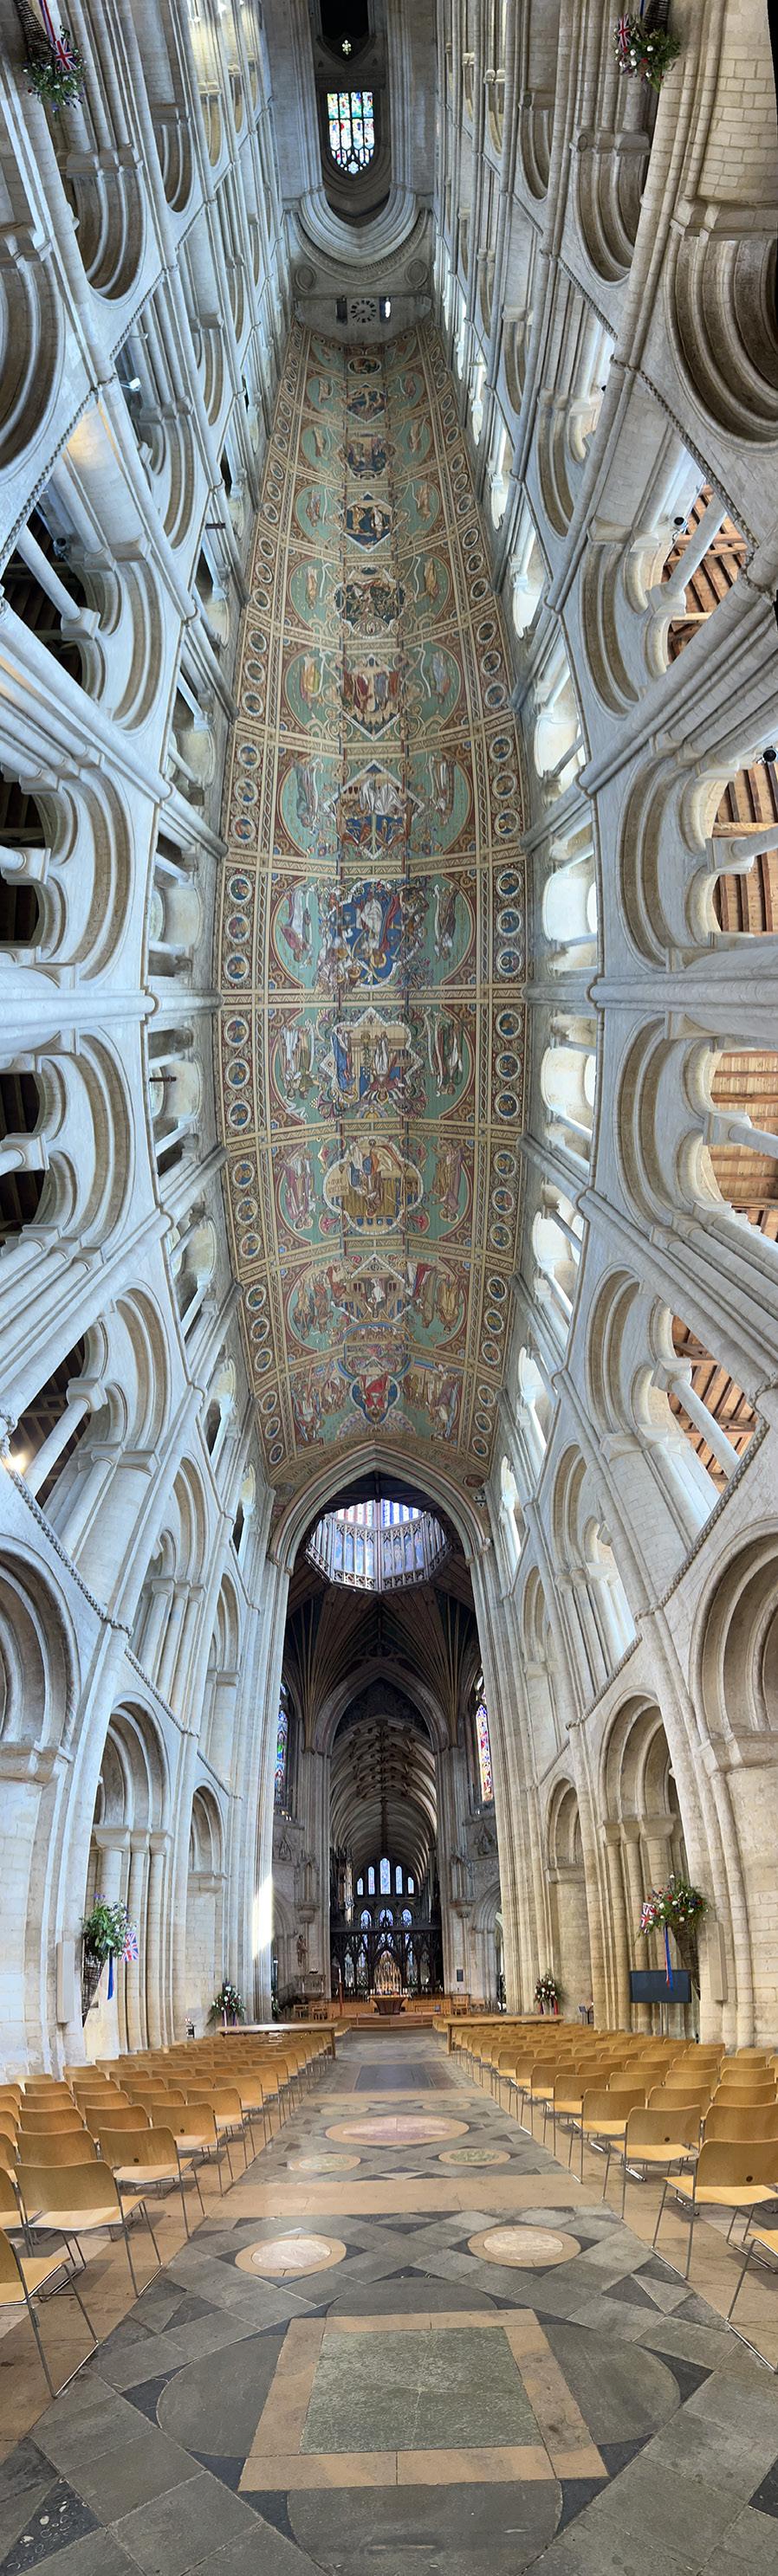
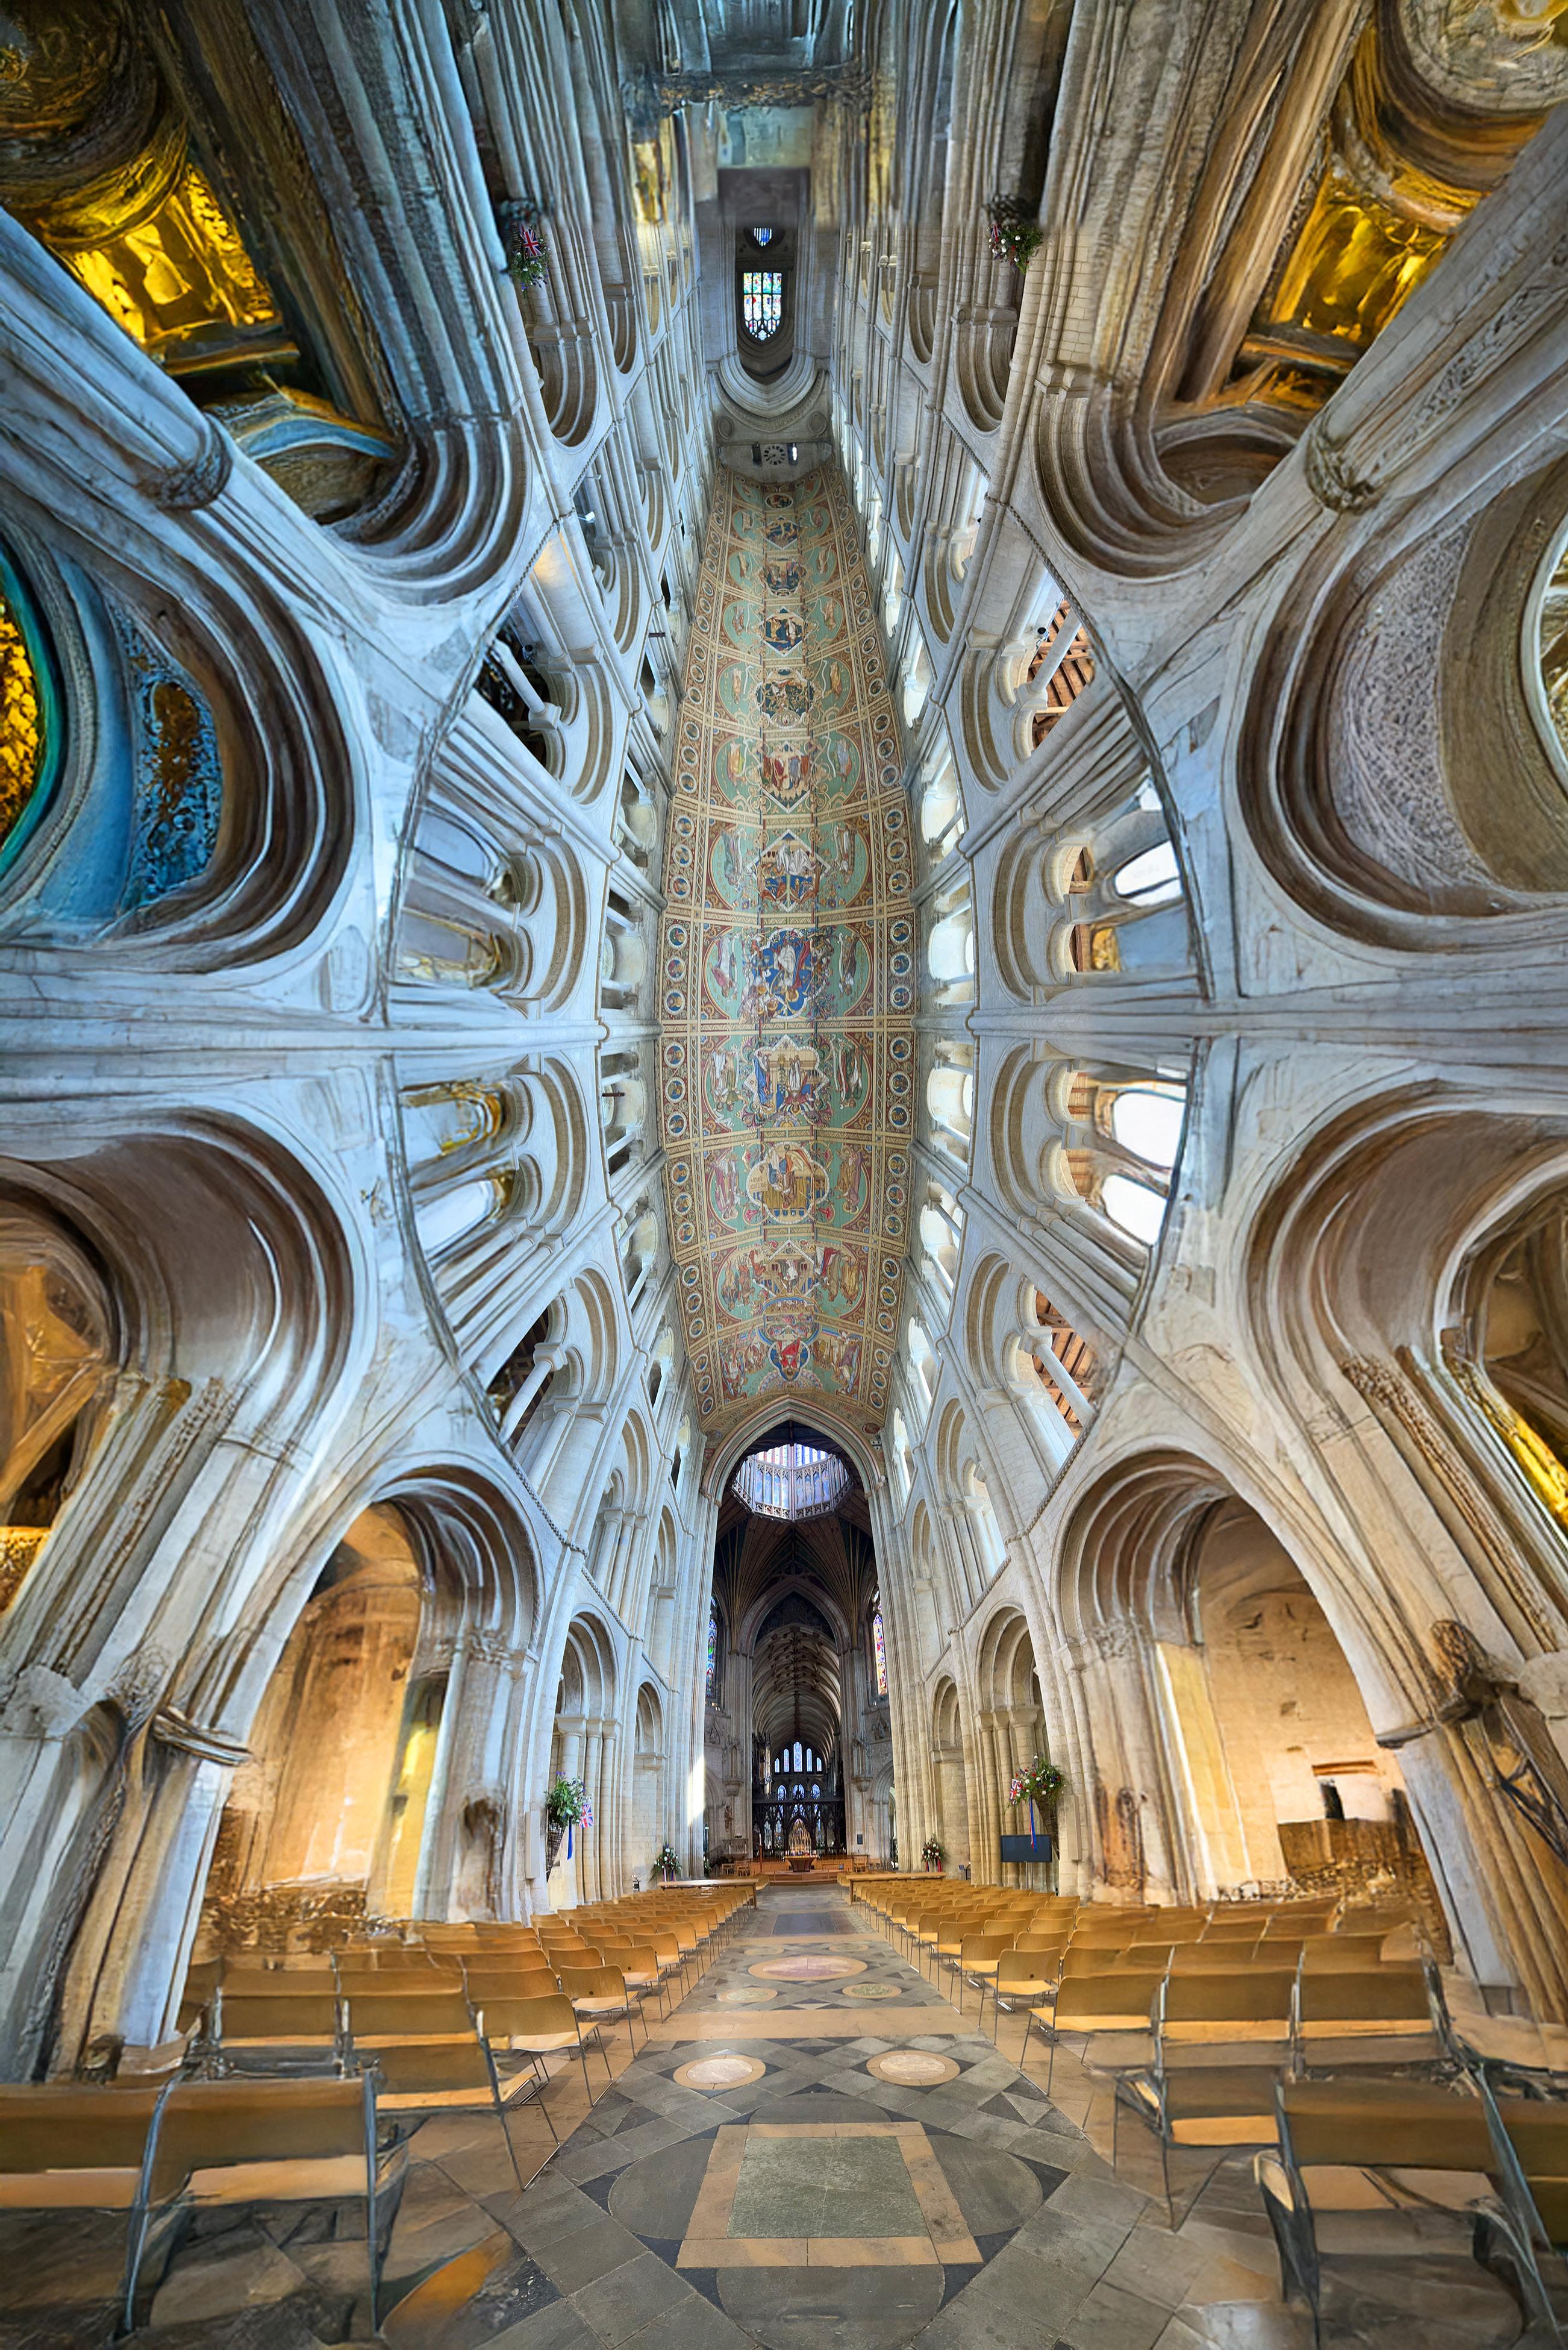
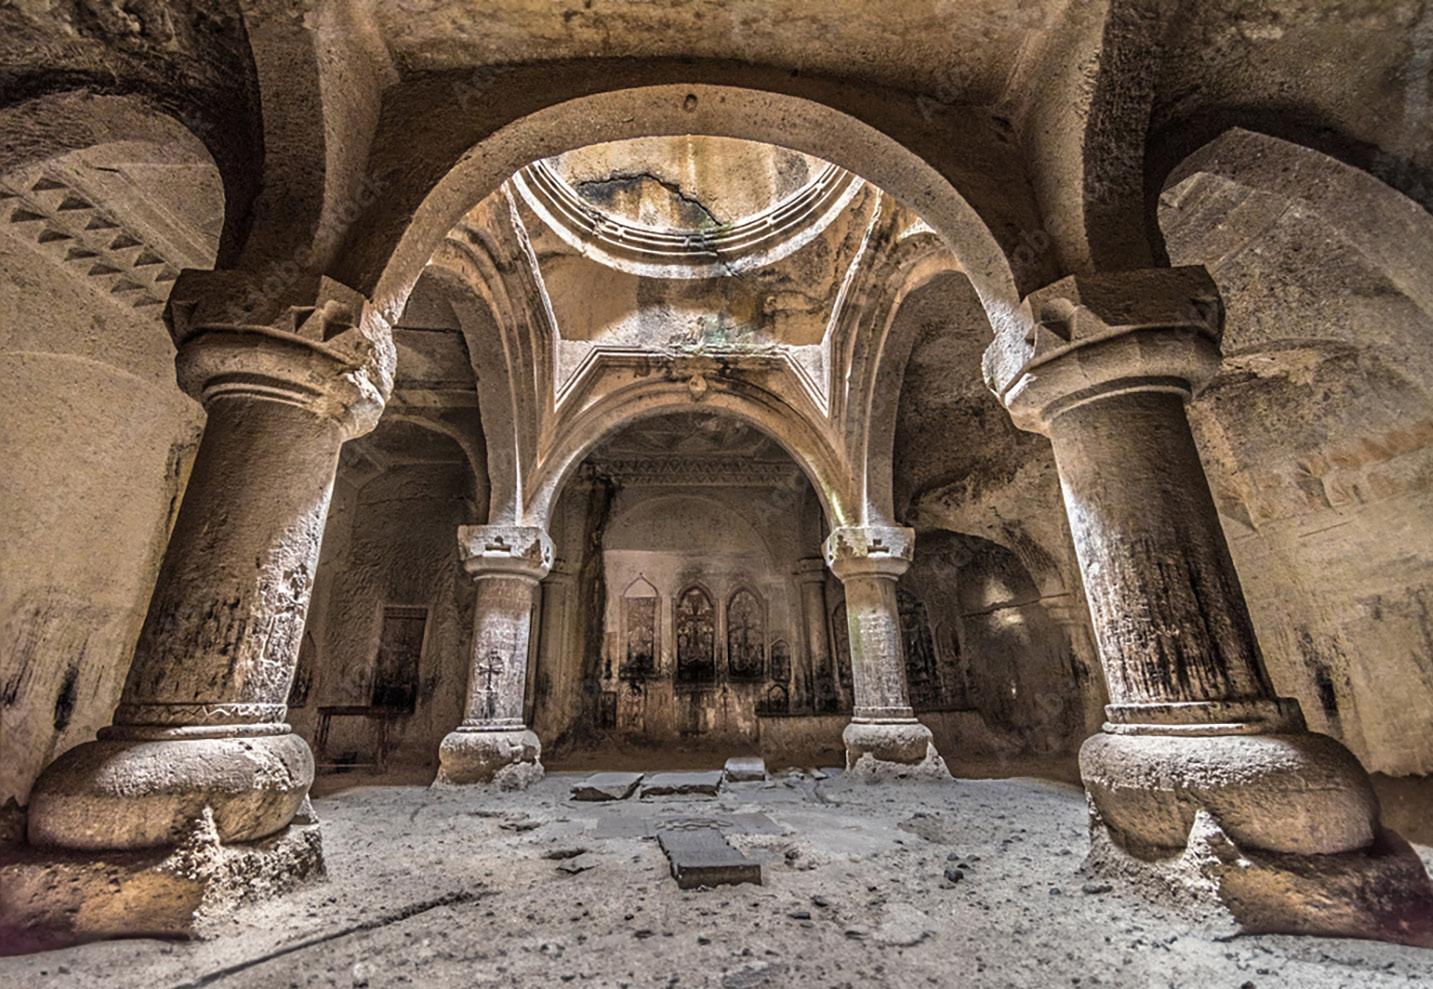
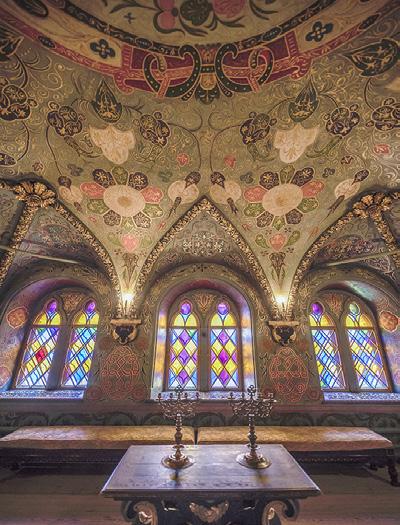
For example, for the interior of Ely Cathedral in Ely, England, right, I shot a vertical pano with my iPhone. I specifically did not use the wide angle lens option; instead, the focal length I chose was roughly equivalent to a 50mm lens in the 35mm digital format we all use. This resulted in a very long, narrow image of the cathedral. When viewed in Photoshop, it is a 134.7 megabyte file.
This kind of narrow image is difficult to use, of course. No one wants a print like this, and posting on social media with a super narrow proportion doesn't show well. In addtion, it's not a very pleasing rectangle.
I've discovered that it's possible to expand the picture area of a photo way beyond what one might reasonably expect. Using the generative expand feature, you can actually build a new area based on what the AI algorithms deduce should be there.
The image on the previous page illustrates this. The additional columns, arches and floor chairs on the left and right sides of the scene were there, but I didn't capture them with the narrow vertical pano. Instead, Photoshop filled in those areas based on its AI capability. This is similar to the actual architecture, but it's not precisely correct.
If you can accept that, then you can do many things. Aside from expanding a narrow panorama shot to the 2:3 ratio we are accustomed
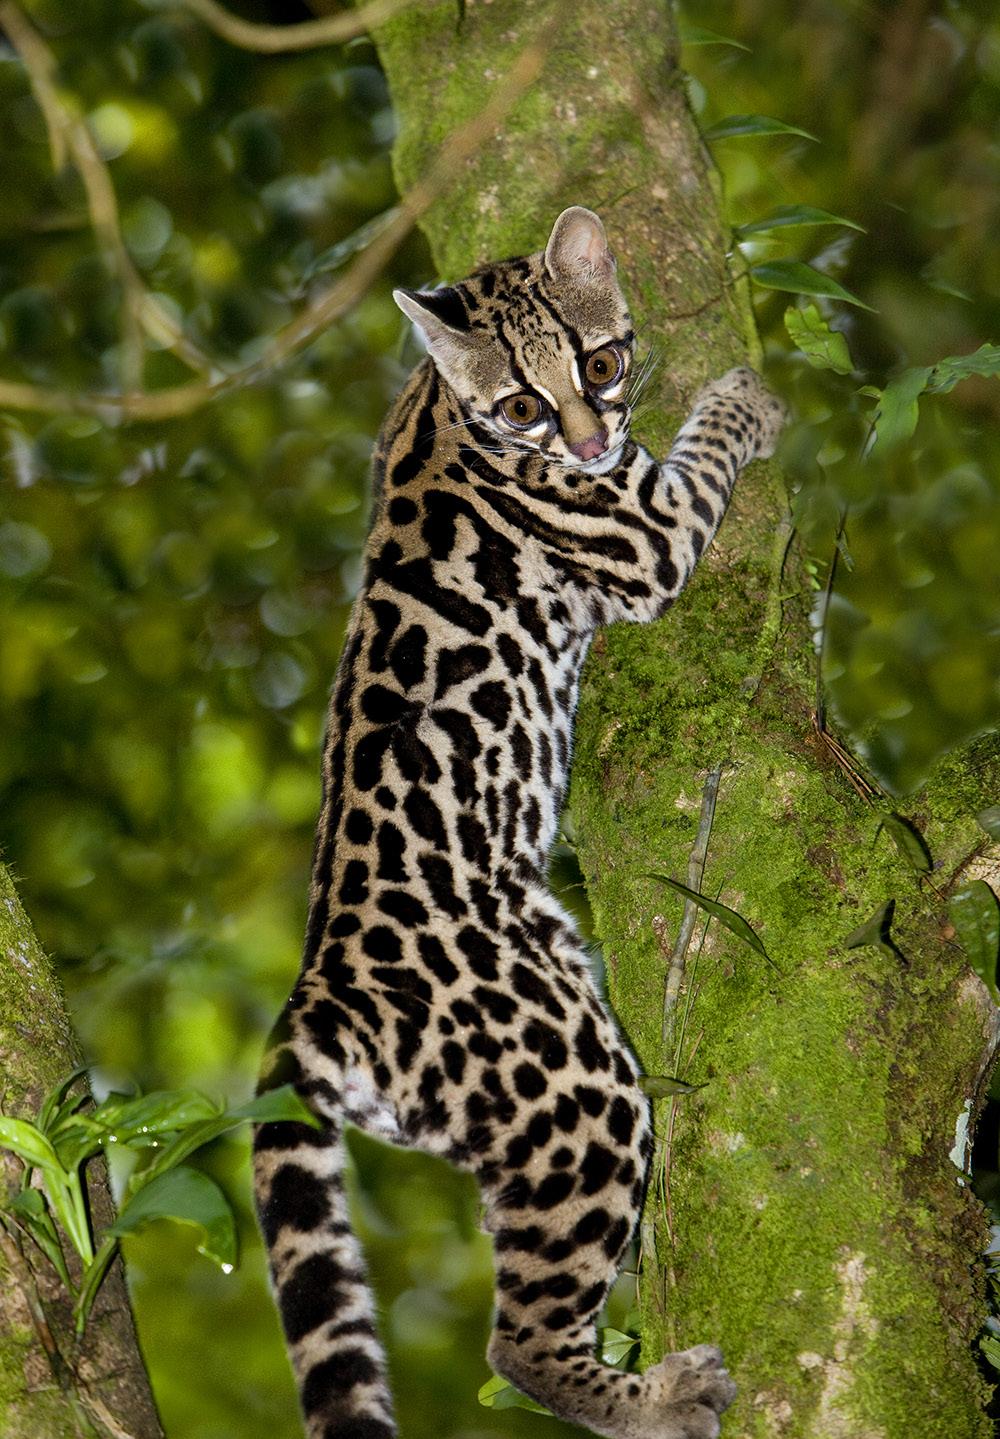
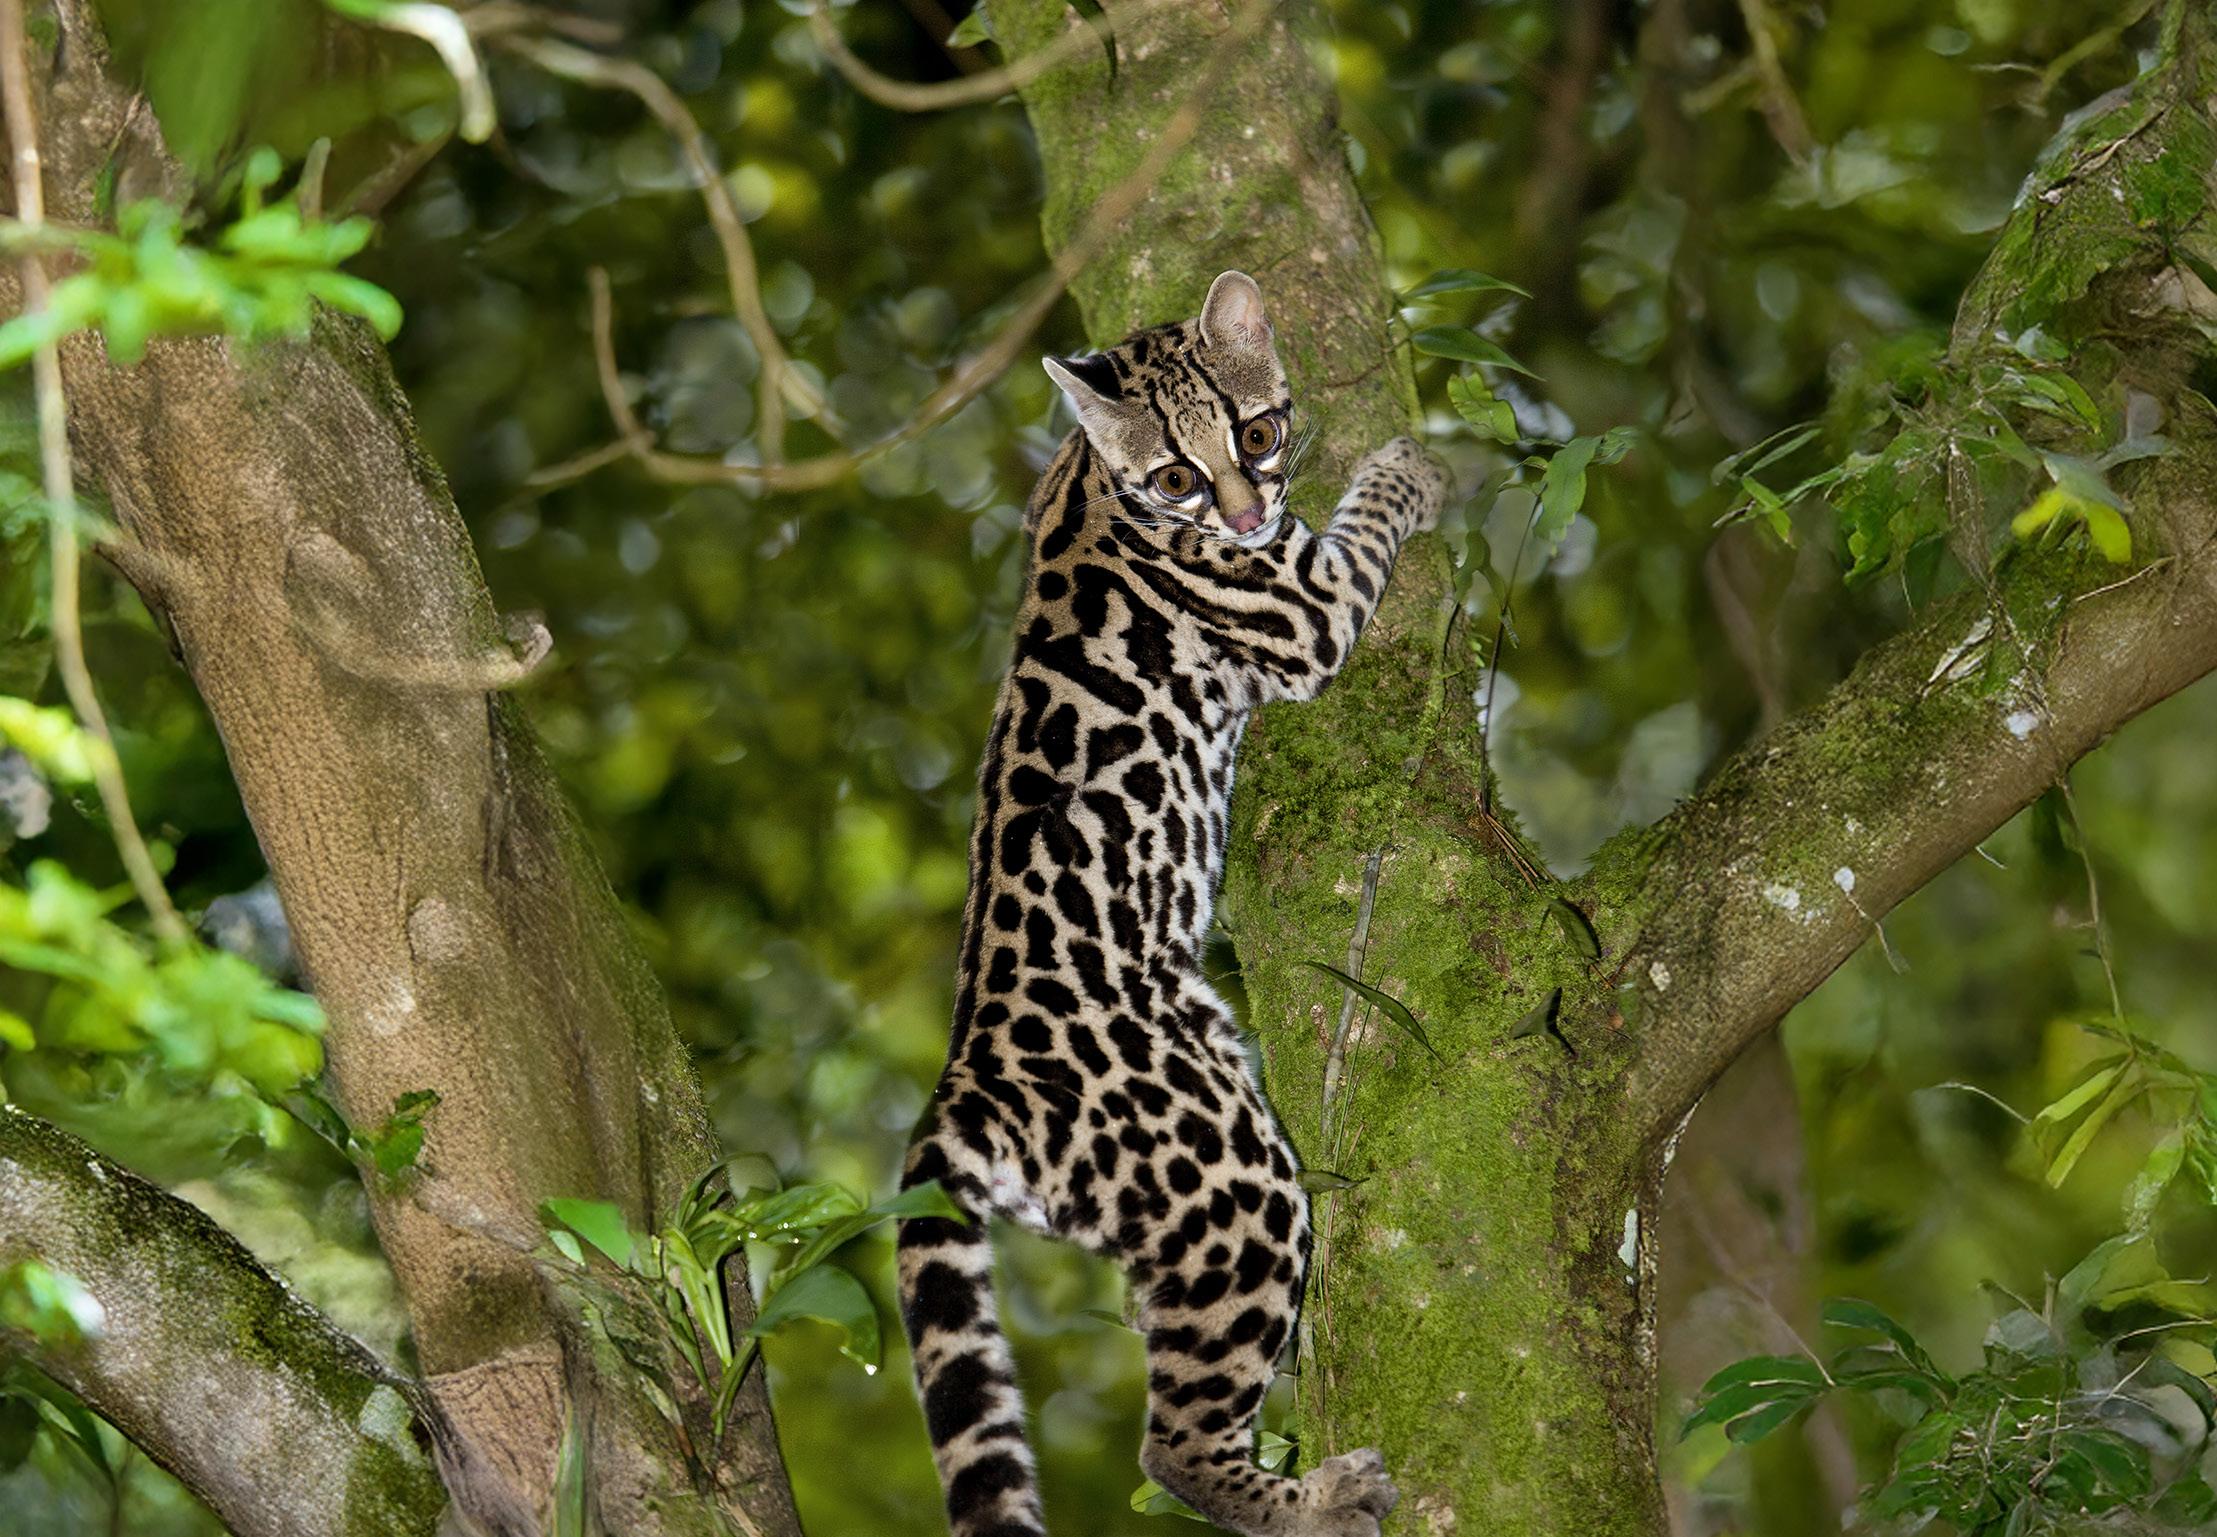
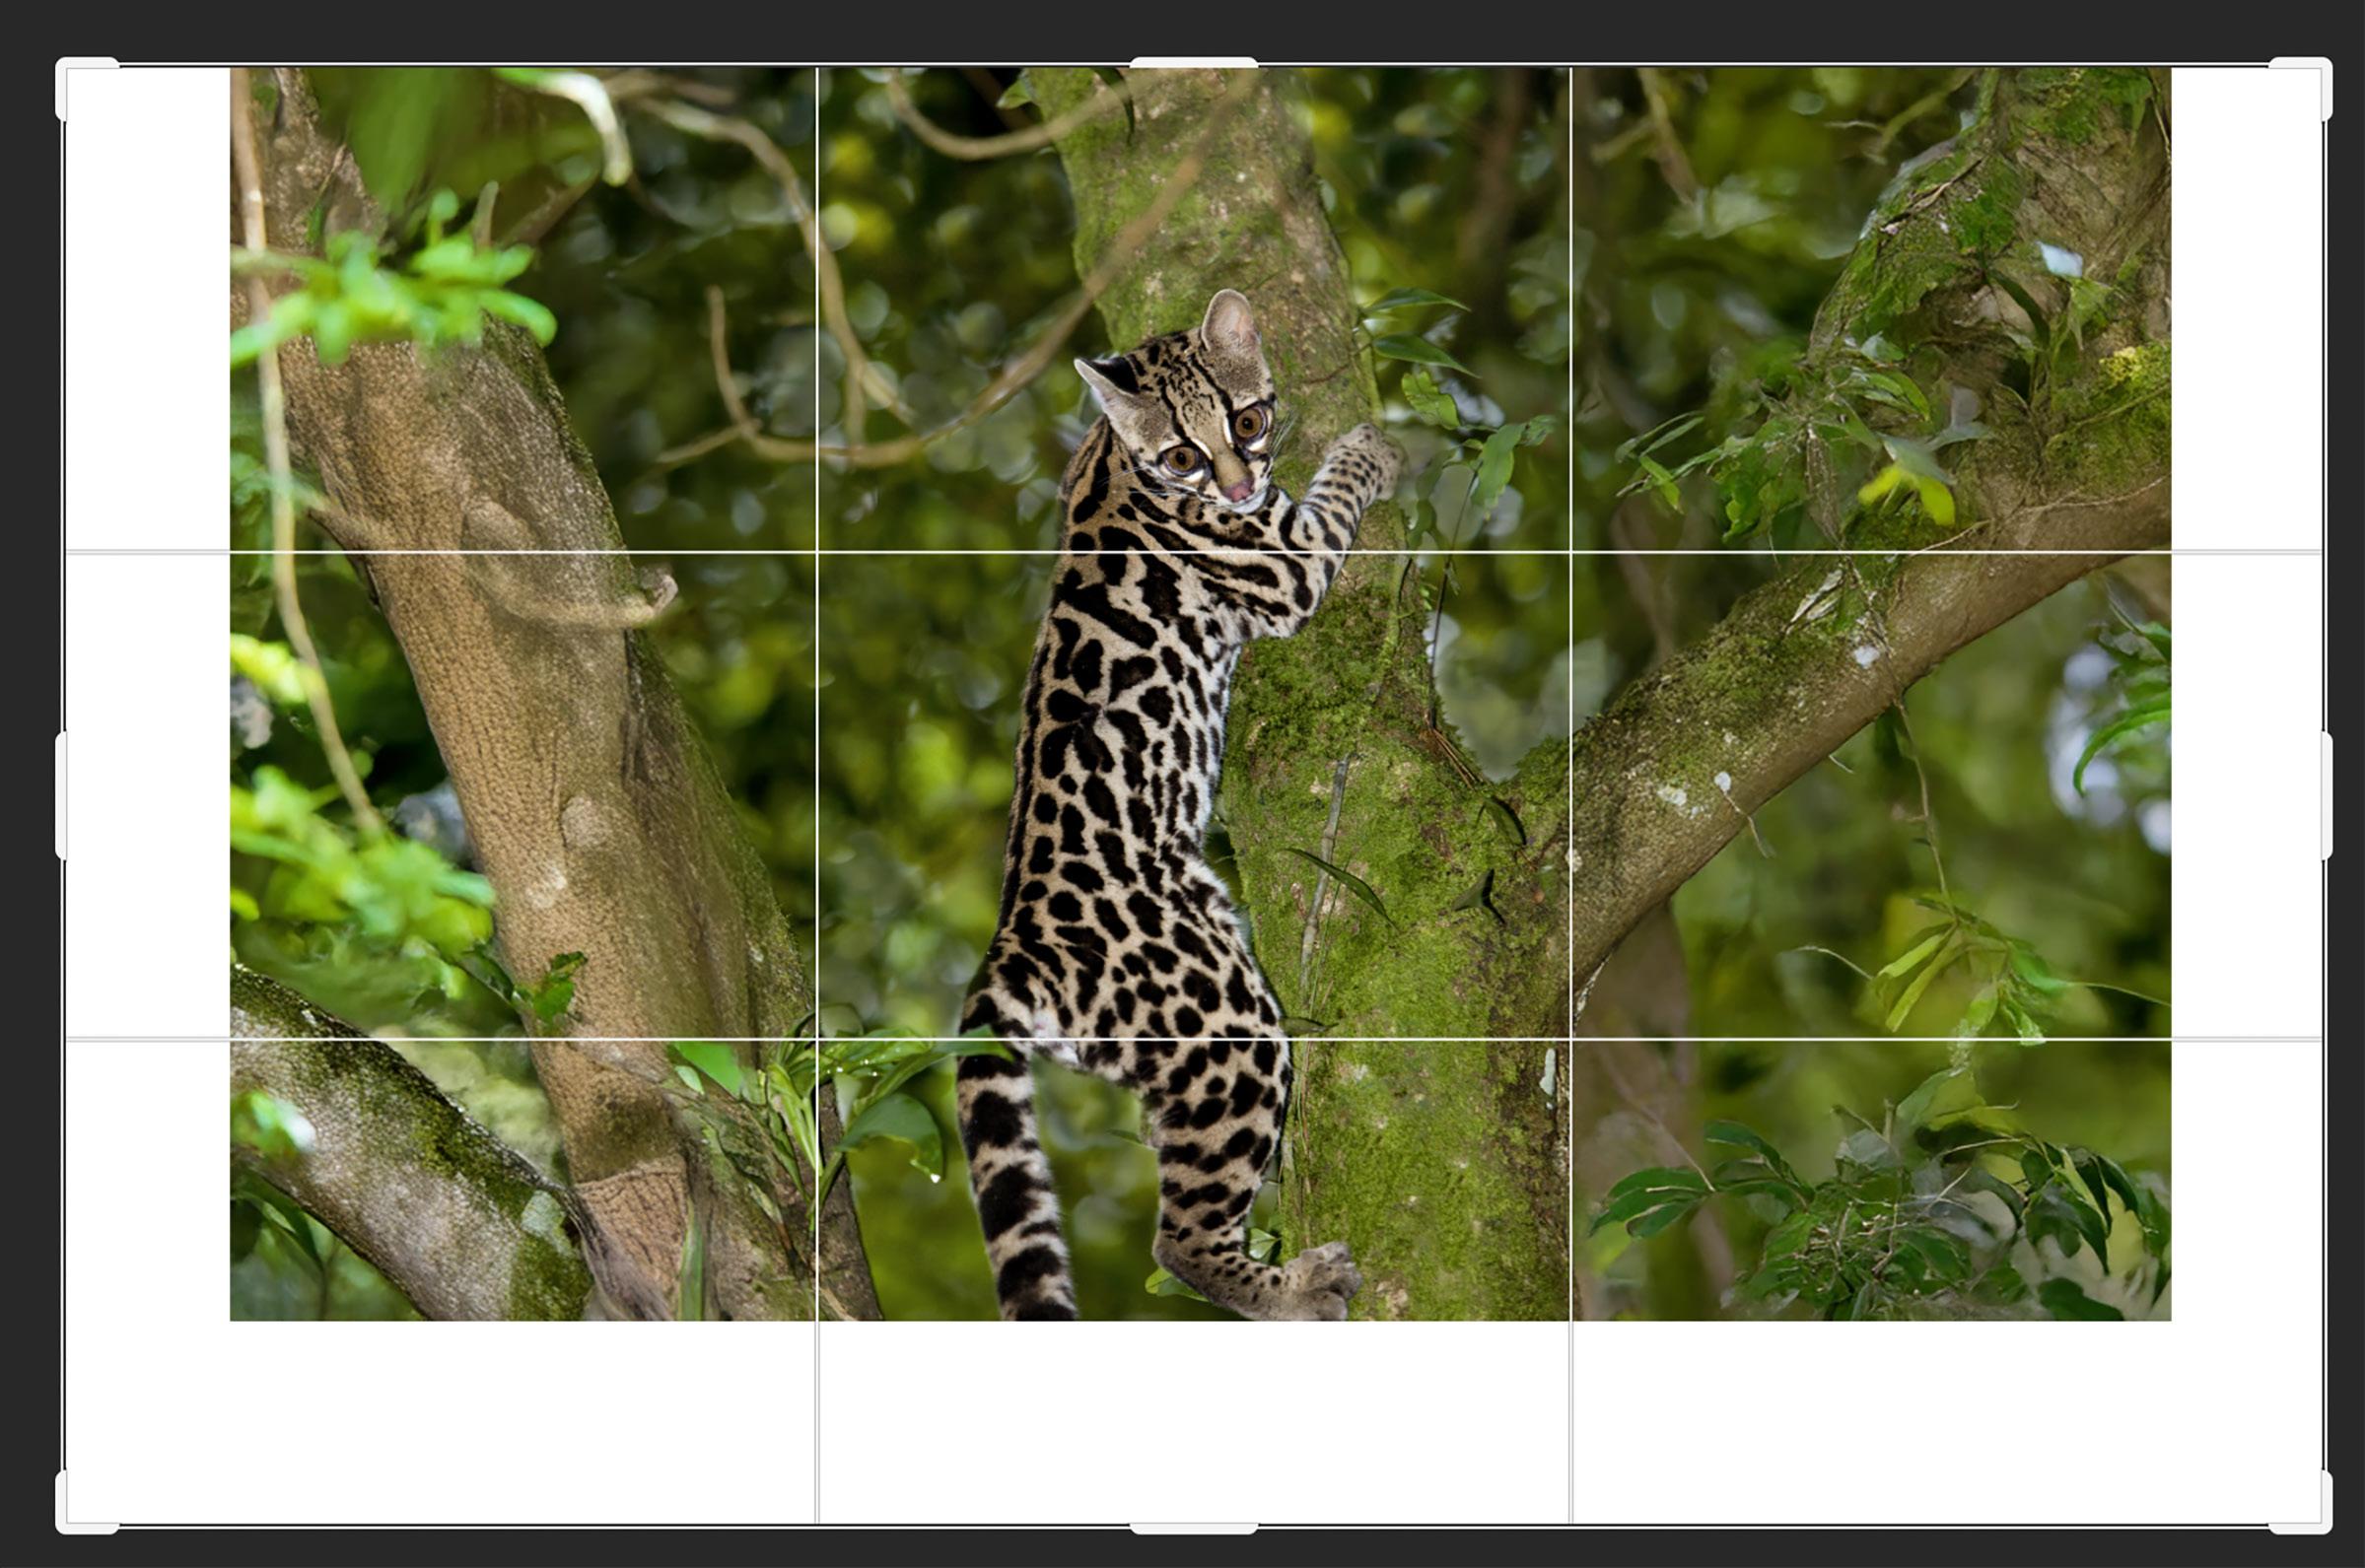
to seeing, you can also make a vertical picture horizontal. For example, the original picture above of a margay, a rarely seen jungle cat native to Central and South America I photographed in Costa Rica, was vertical. Using generative expand, I turned it into a horizontal with increased
resolution. The jungle foliage on the left and right sides of the horizontal image was totally fabricated by Photoshop.
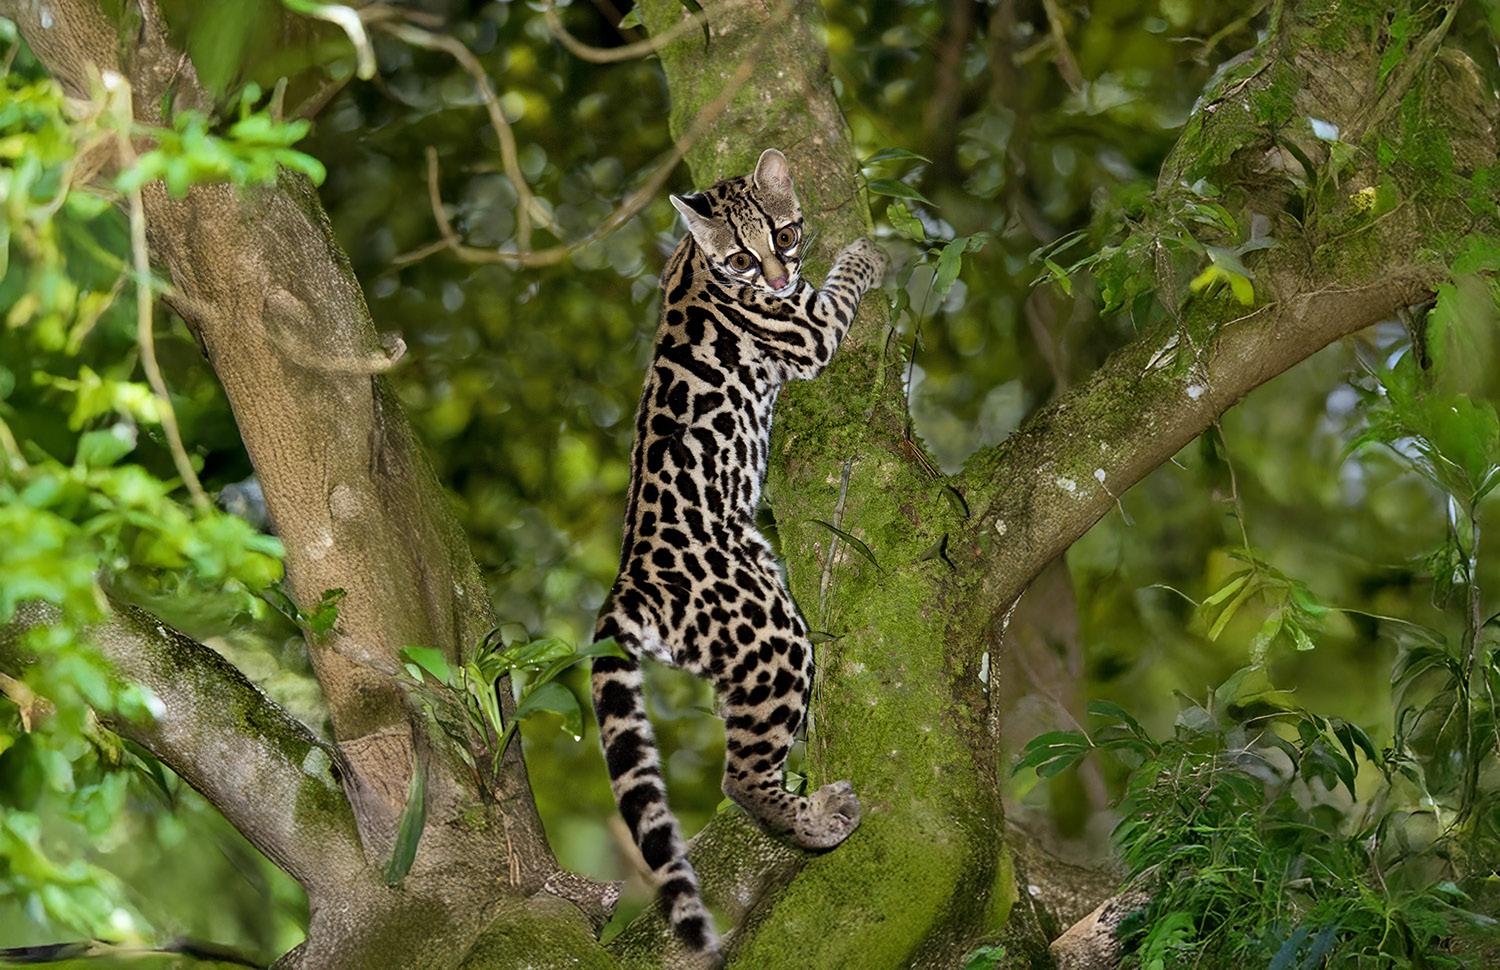
Generative expand is extremely useful when adding to the image area to complete a body part, like a tail. In the example of the margay photo, it's easy to extend the tail to its full and complete length. Here are the steps:
1. Choose the crop tool, and then in the tool bar select generative expand (red arrow upper right) from the fill pulldown menu.
2. Pull one or more of the corners of the image and expand it as shown in the image below. Hold the shift key down to maintain the correct proportions.
3. Hit the 'return (enter)' key twice.
Photoshop fills in the expanded area with contiguous detail, and in this particular case it completes the missing portion of the tail. This feature is a game changer! §
B A C K G R O U N D S
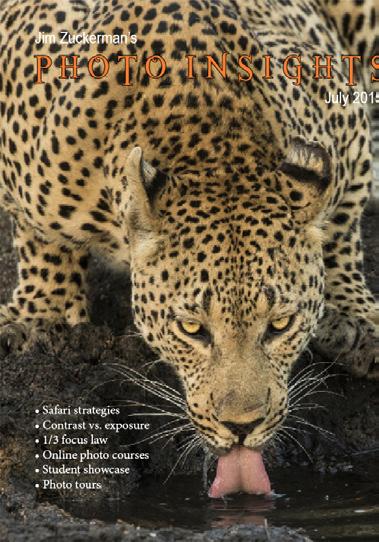
Oine of the best ways to focus attention on a subject in a photograph is to render the background completely out of focus. This isn't what we see, of course. With our eyes, we always see complete depth of field. It's an artistic technique, though, to direct a viewer's attention where we want it, which is virtually always on the subject.
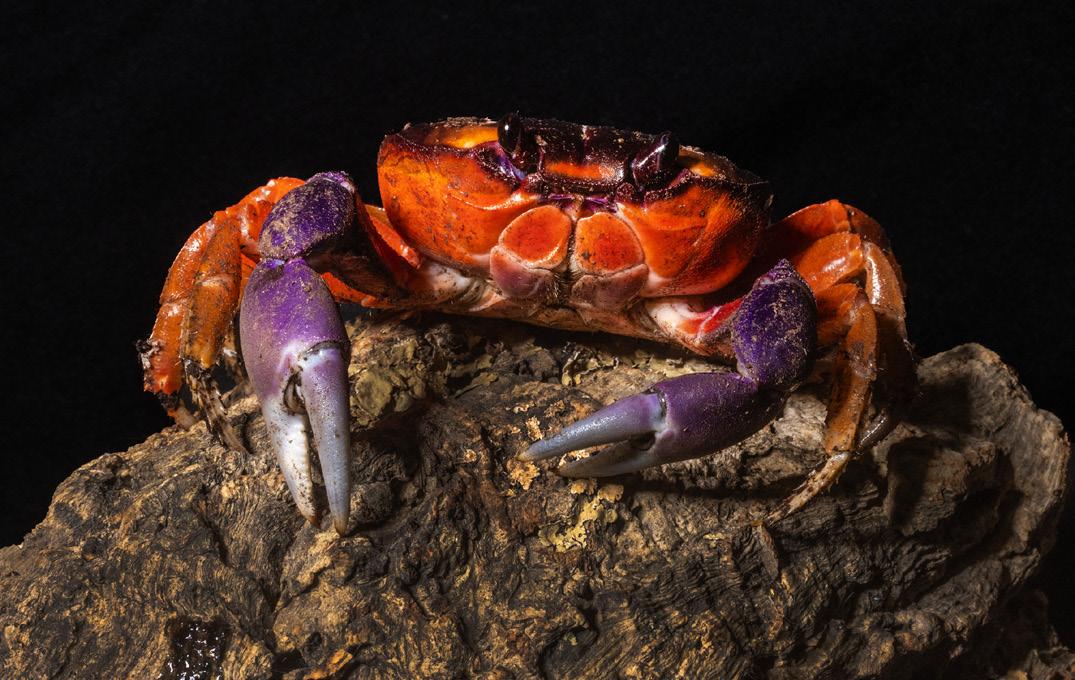
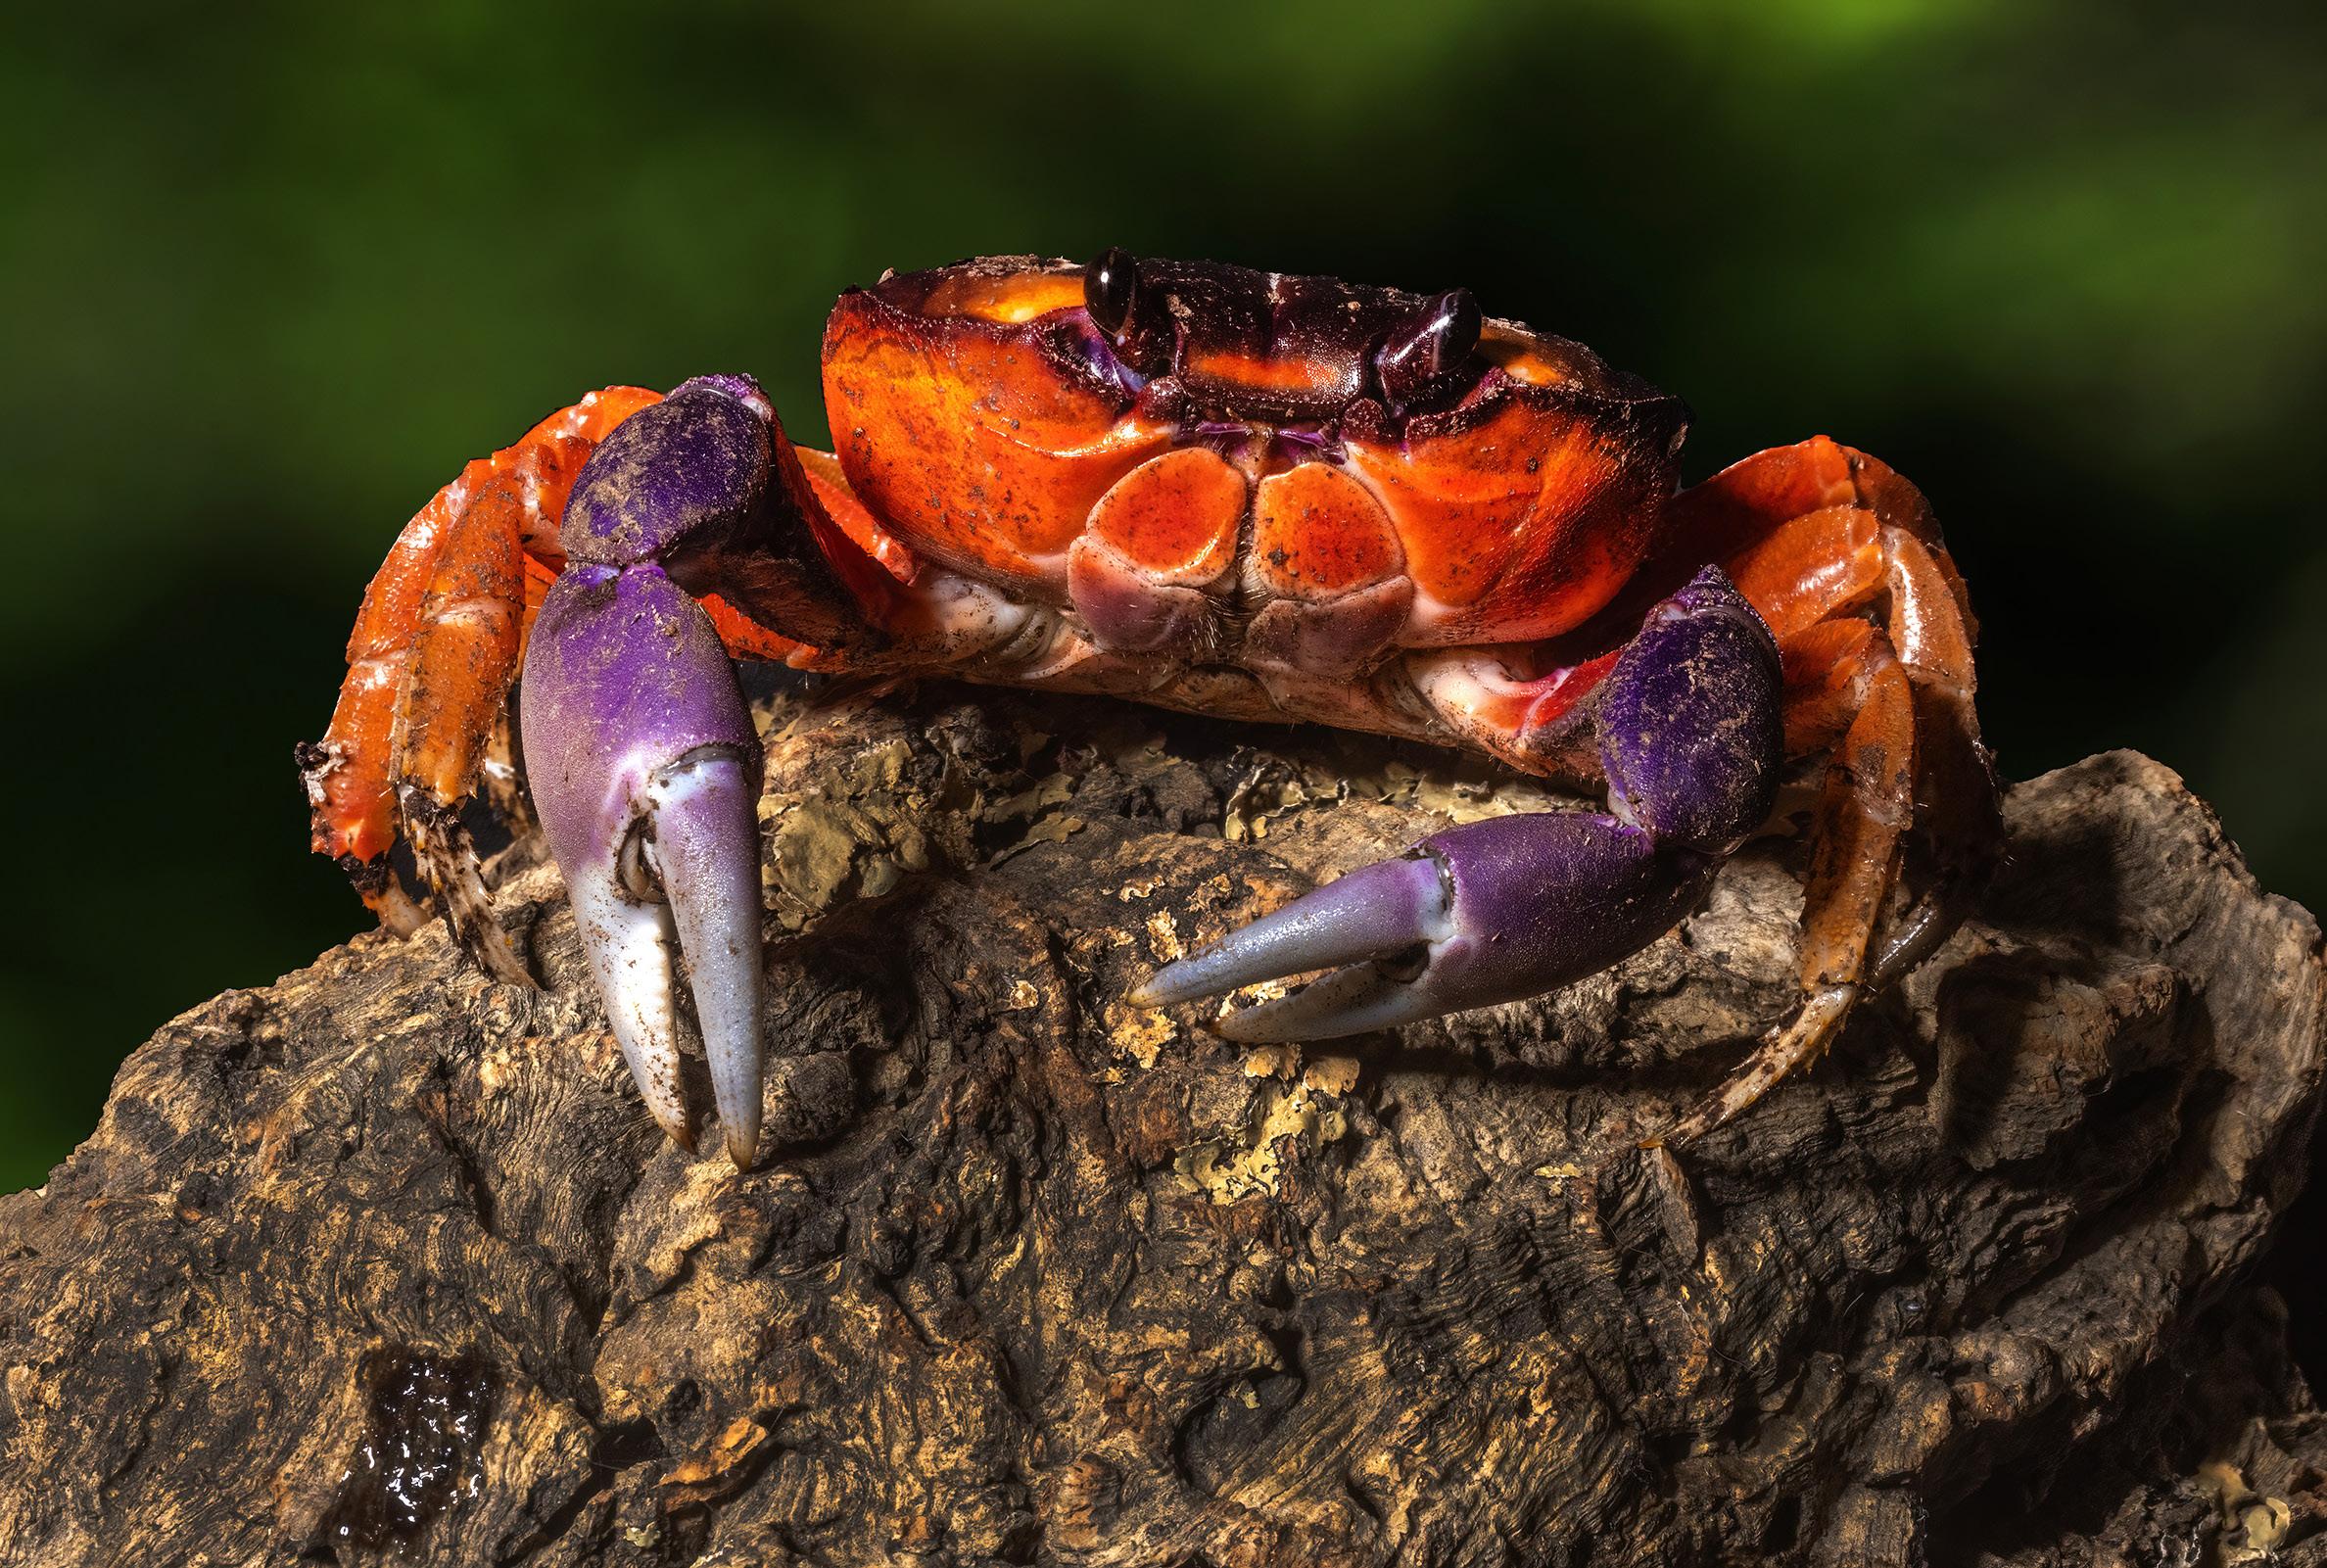
A black background also forces our attention on a subject, and I use it often as shown in the picture at right of a moon crab. When it comes to nature, though, I think a better ap-
proach in most cases is to replace the black with out of focus foliage.
That's why I have a folder of dozens of pictures
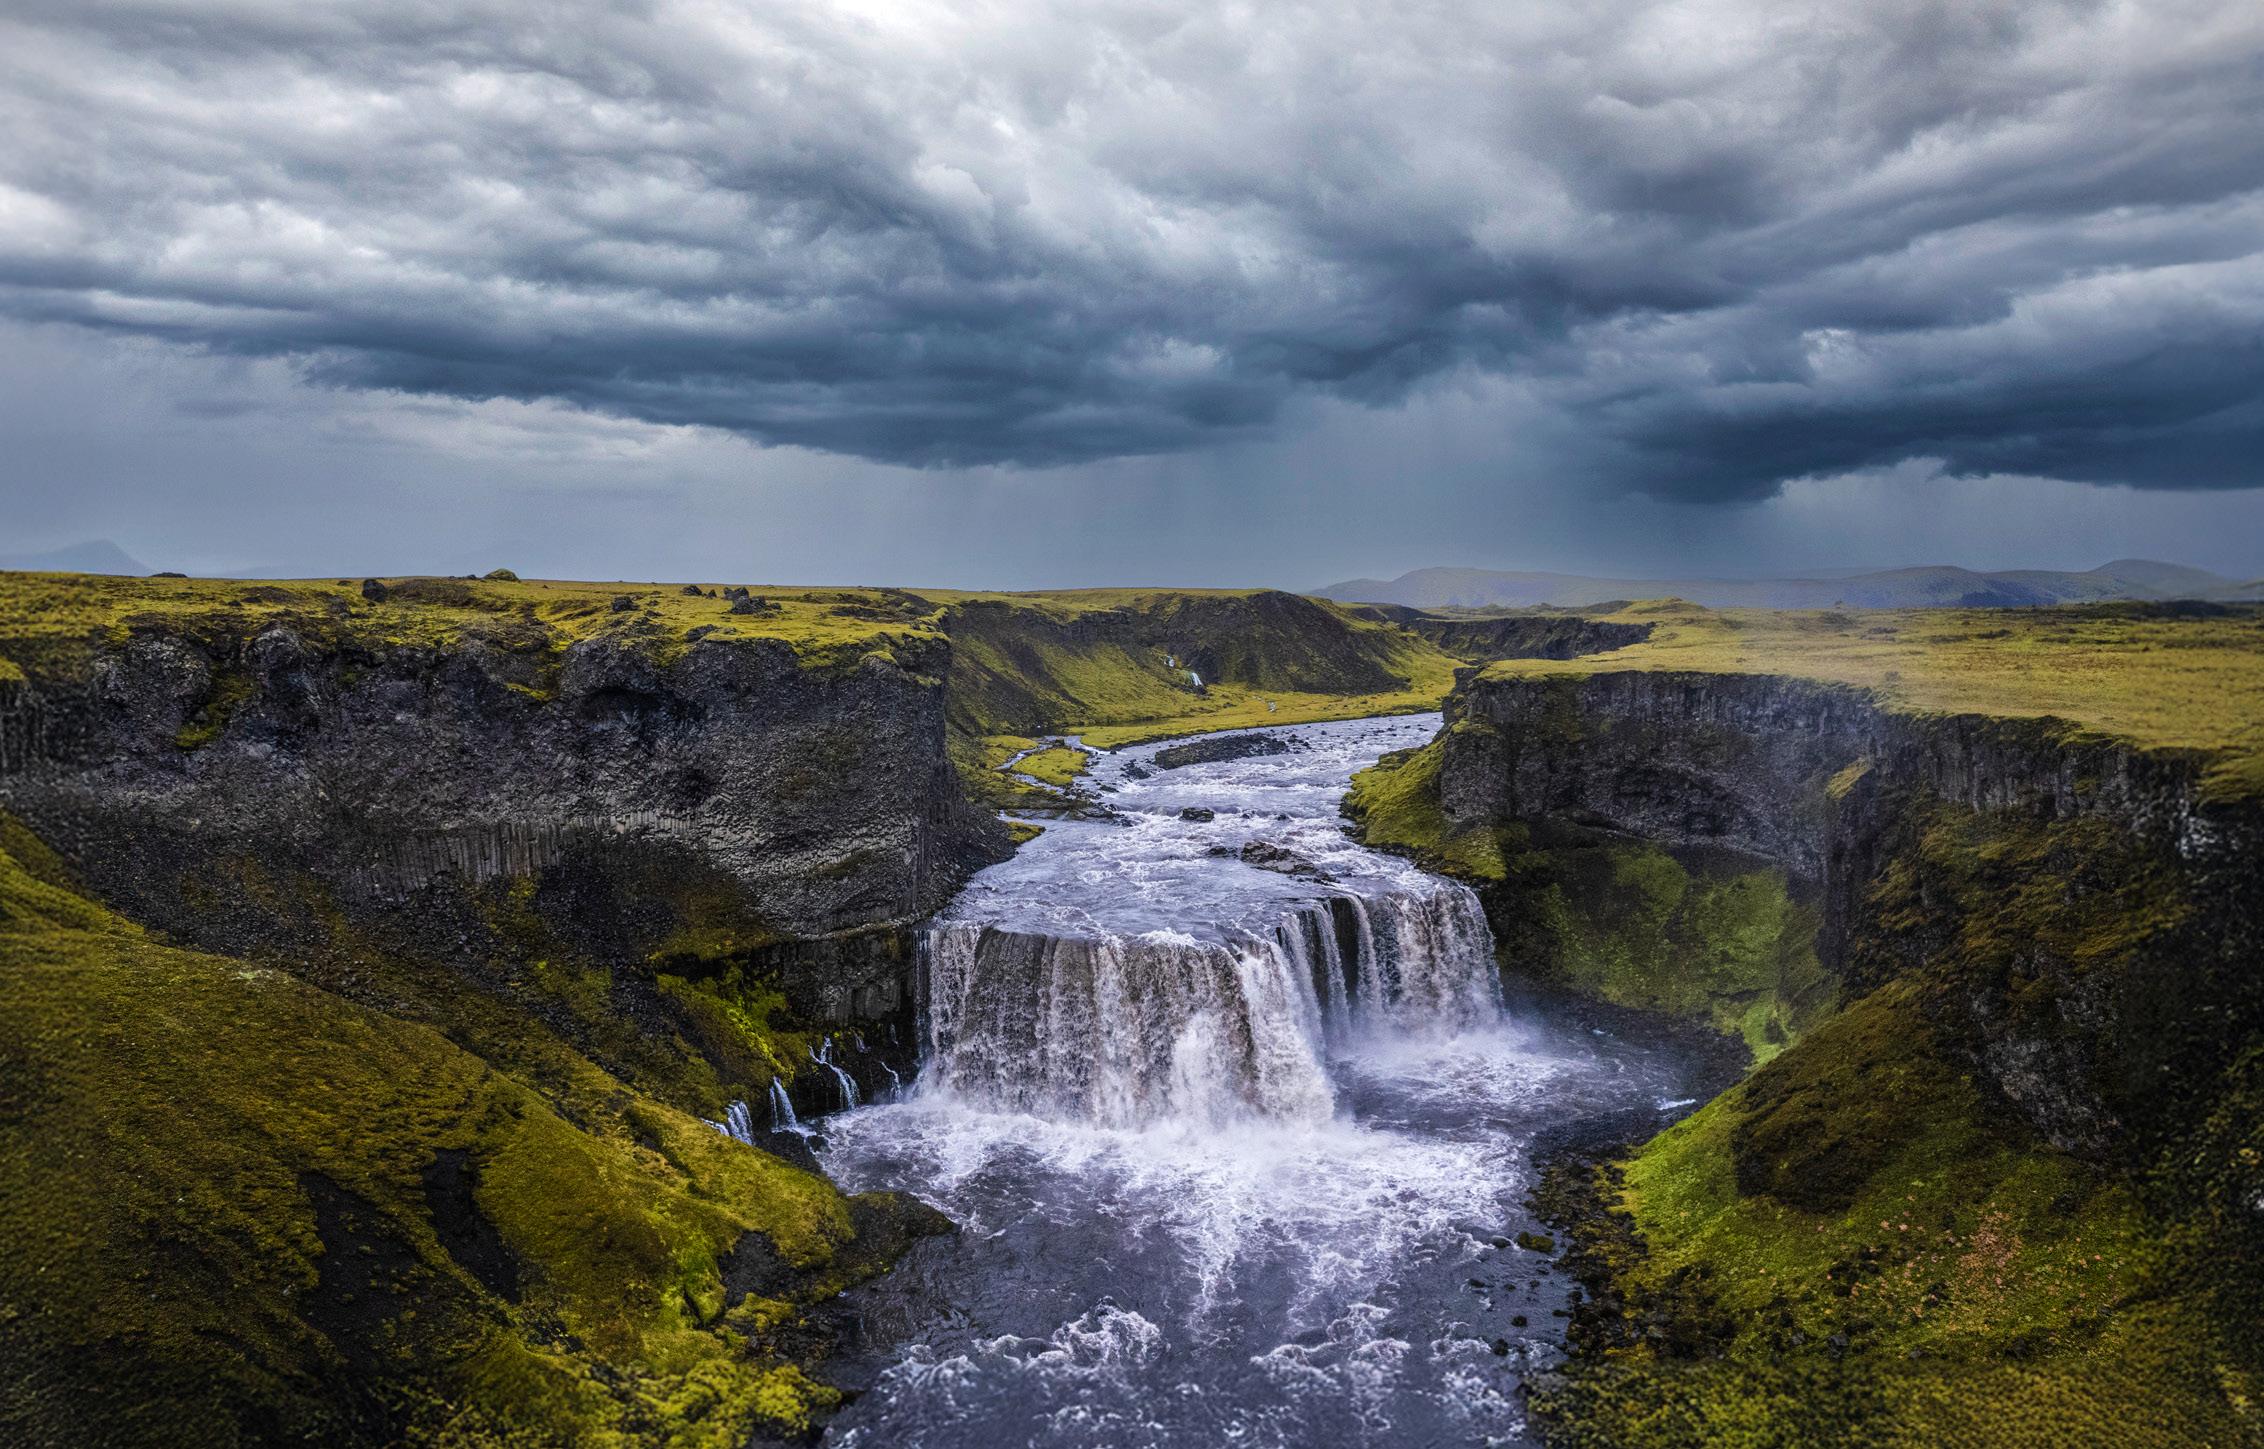
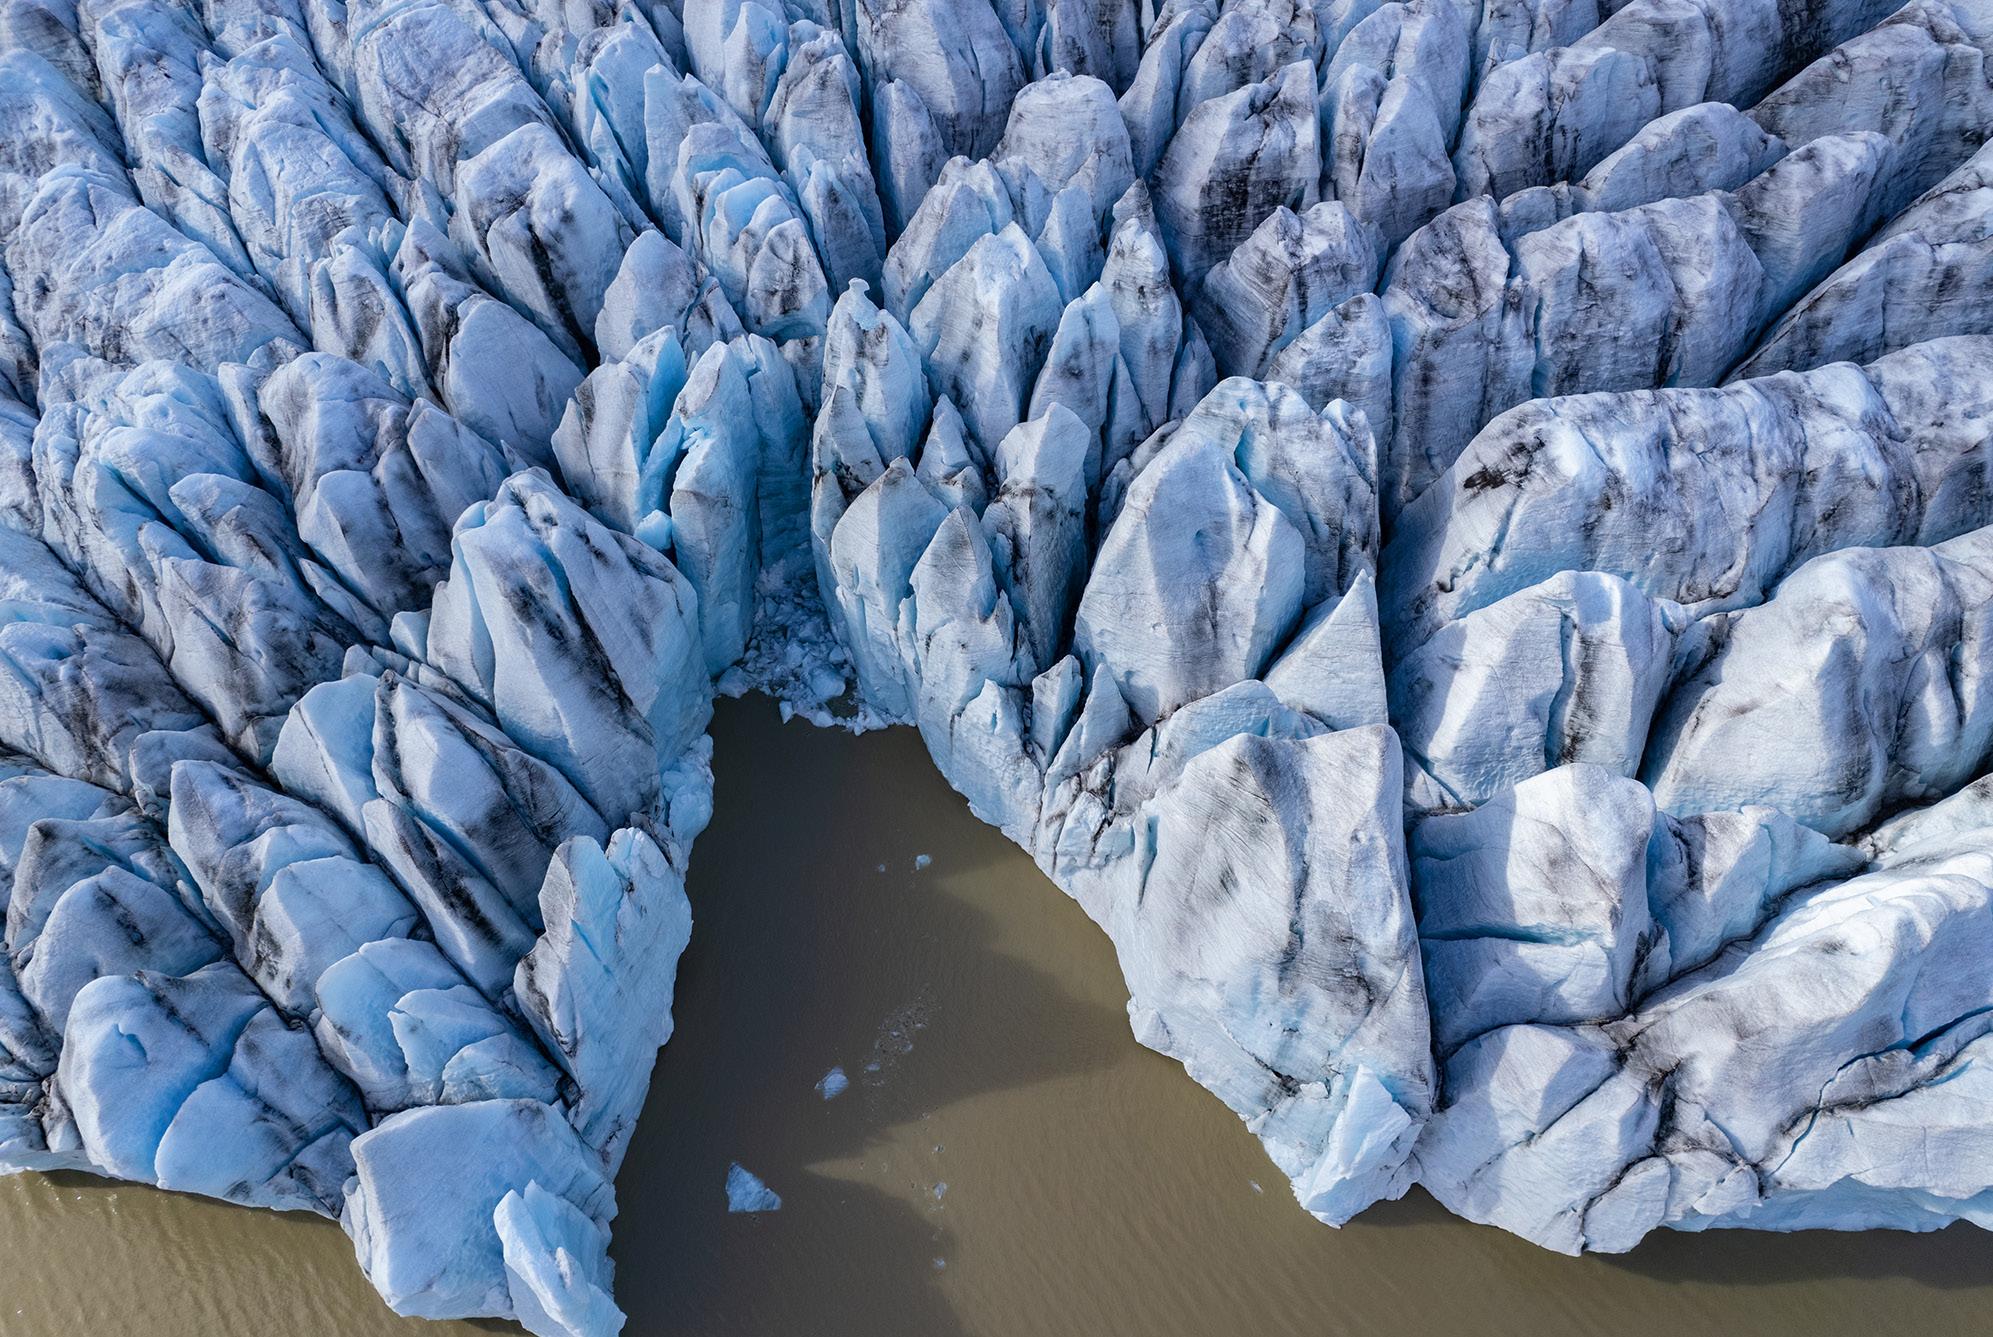
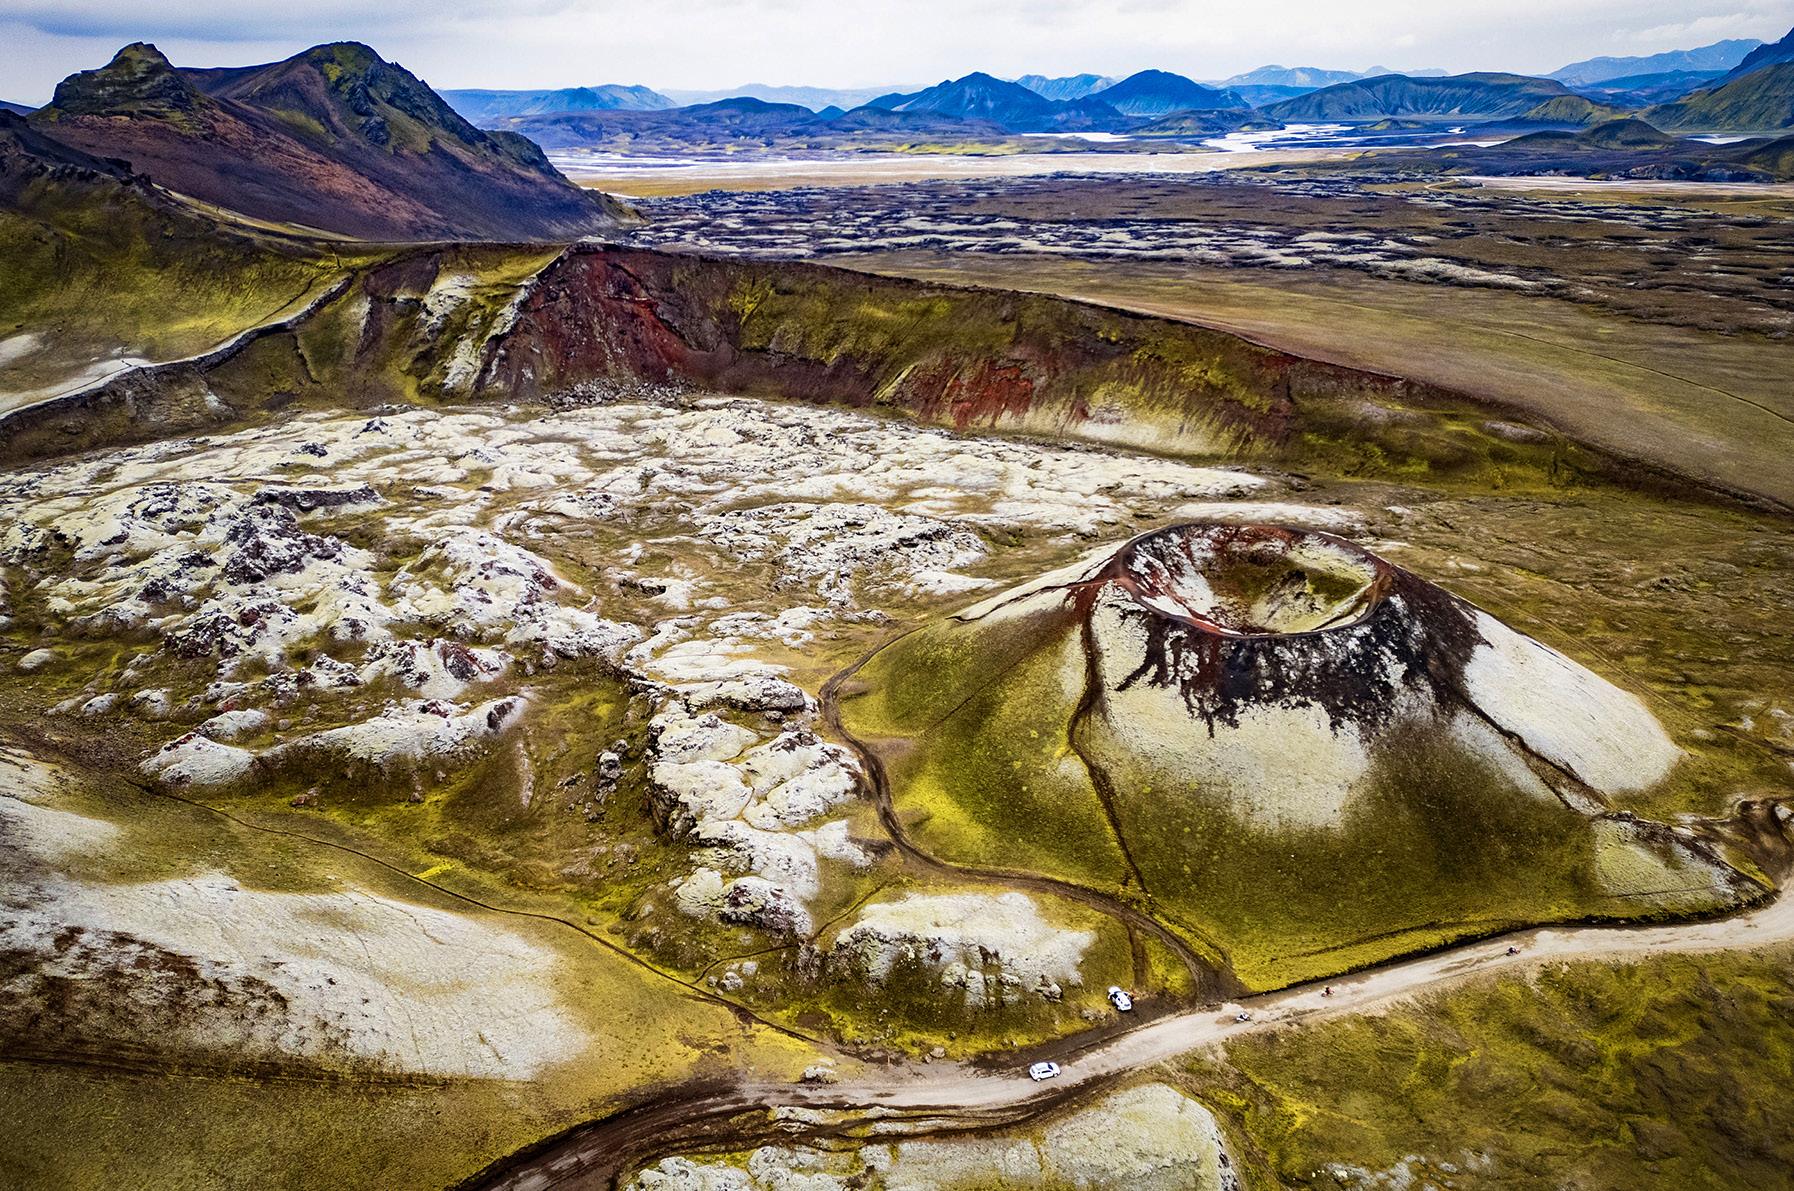
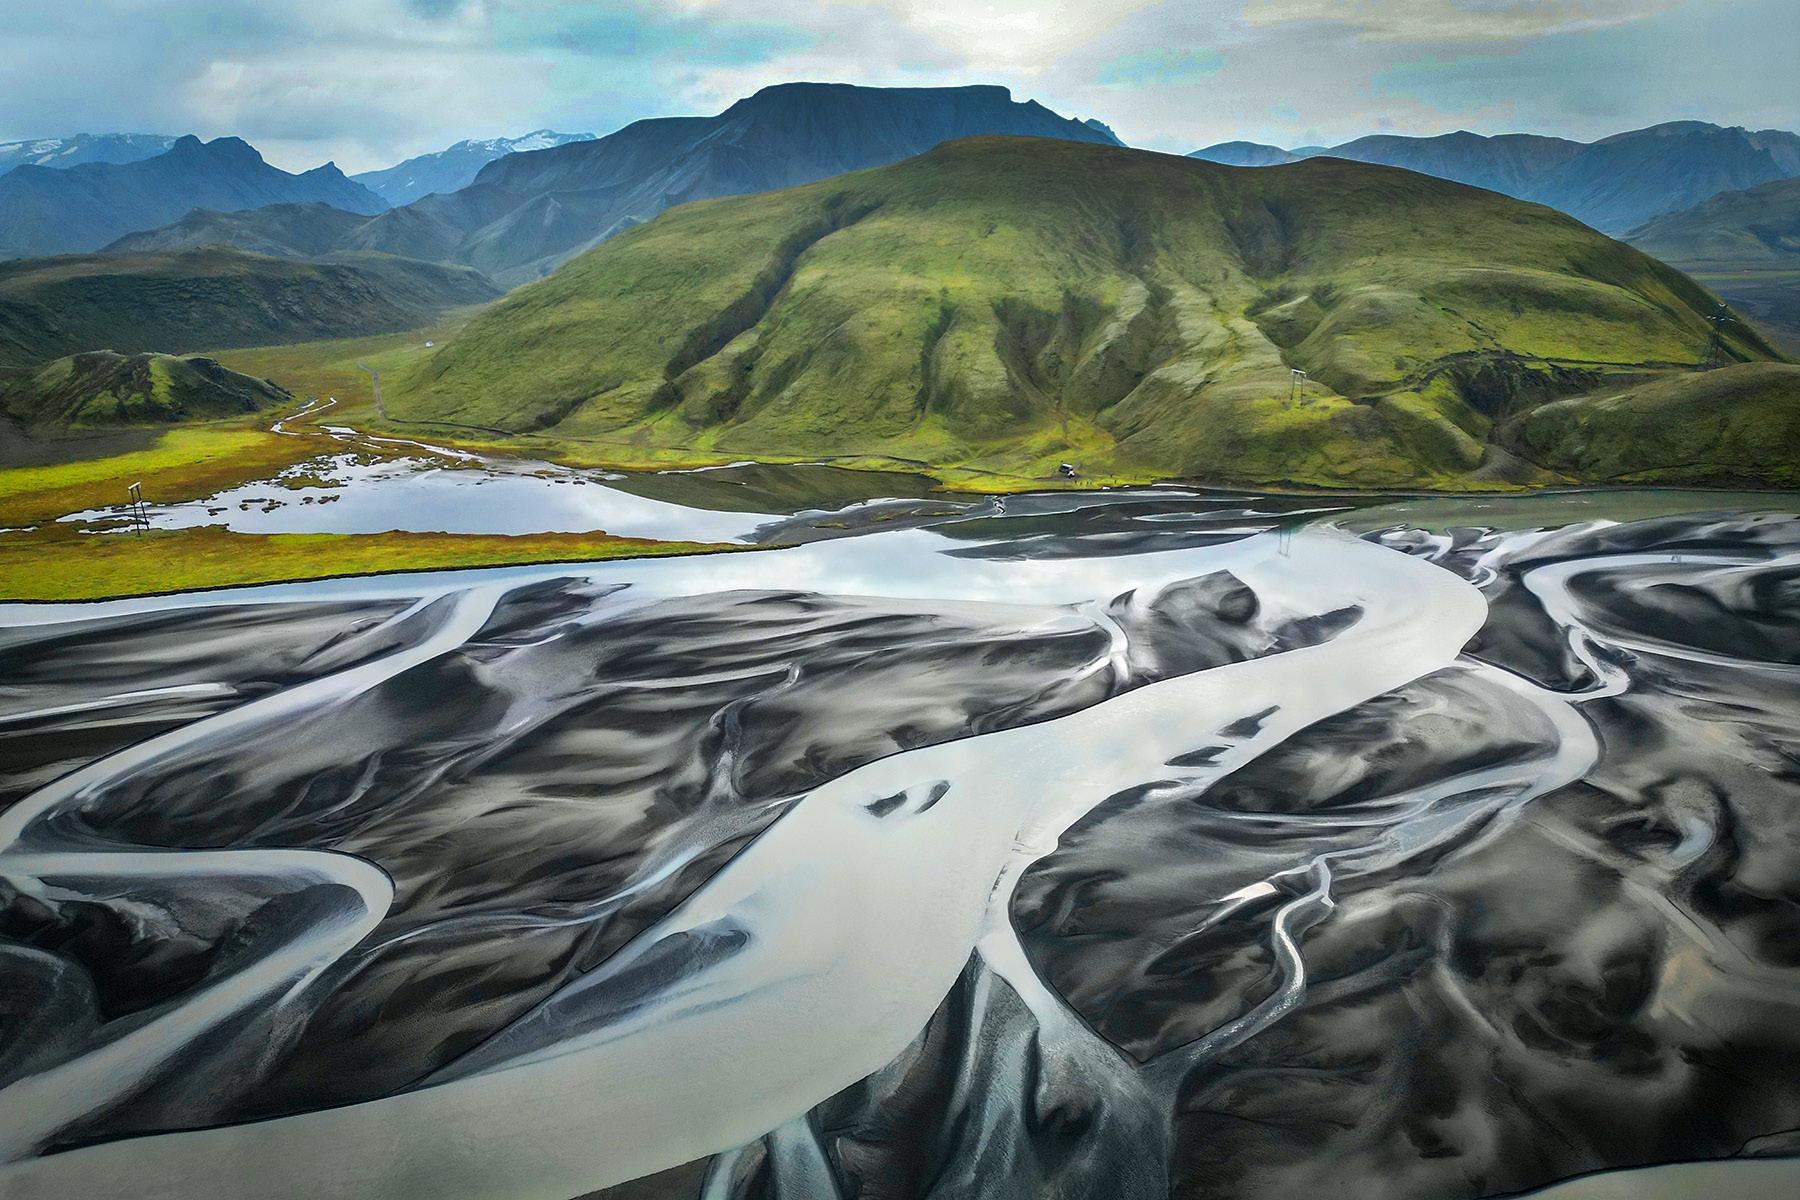
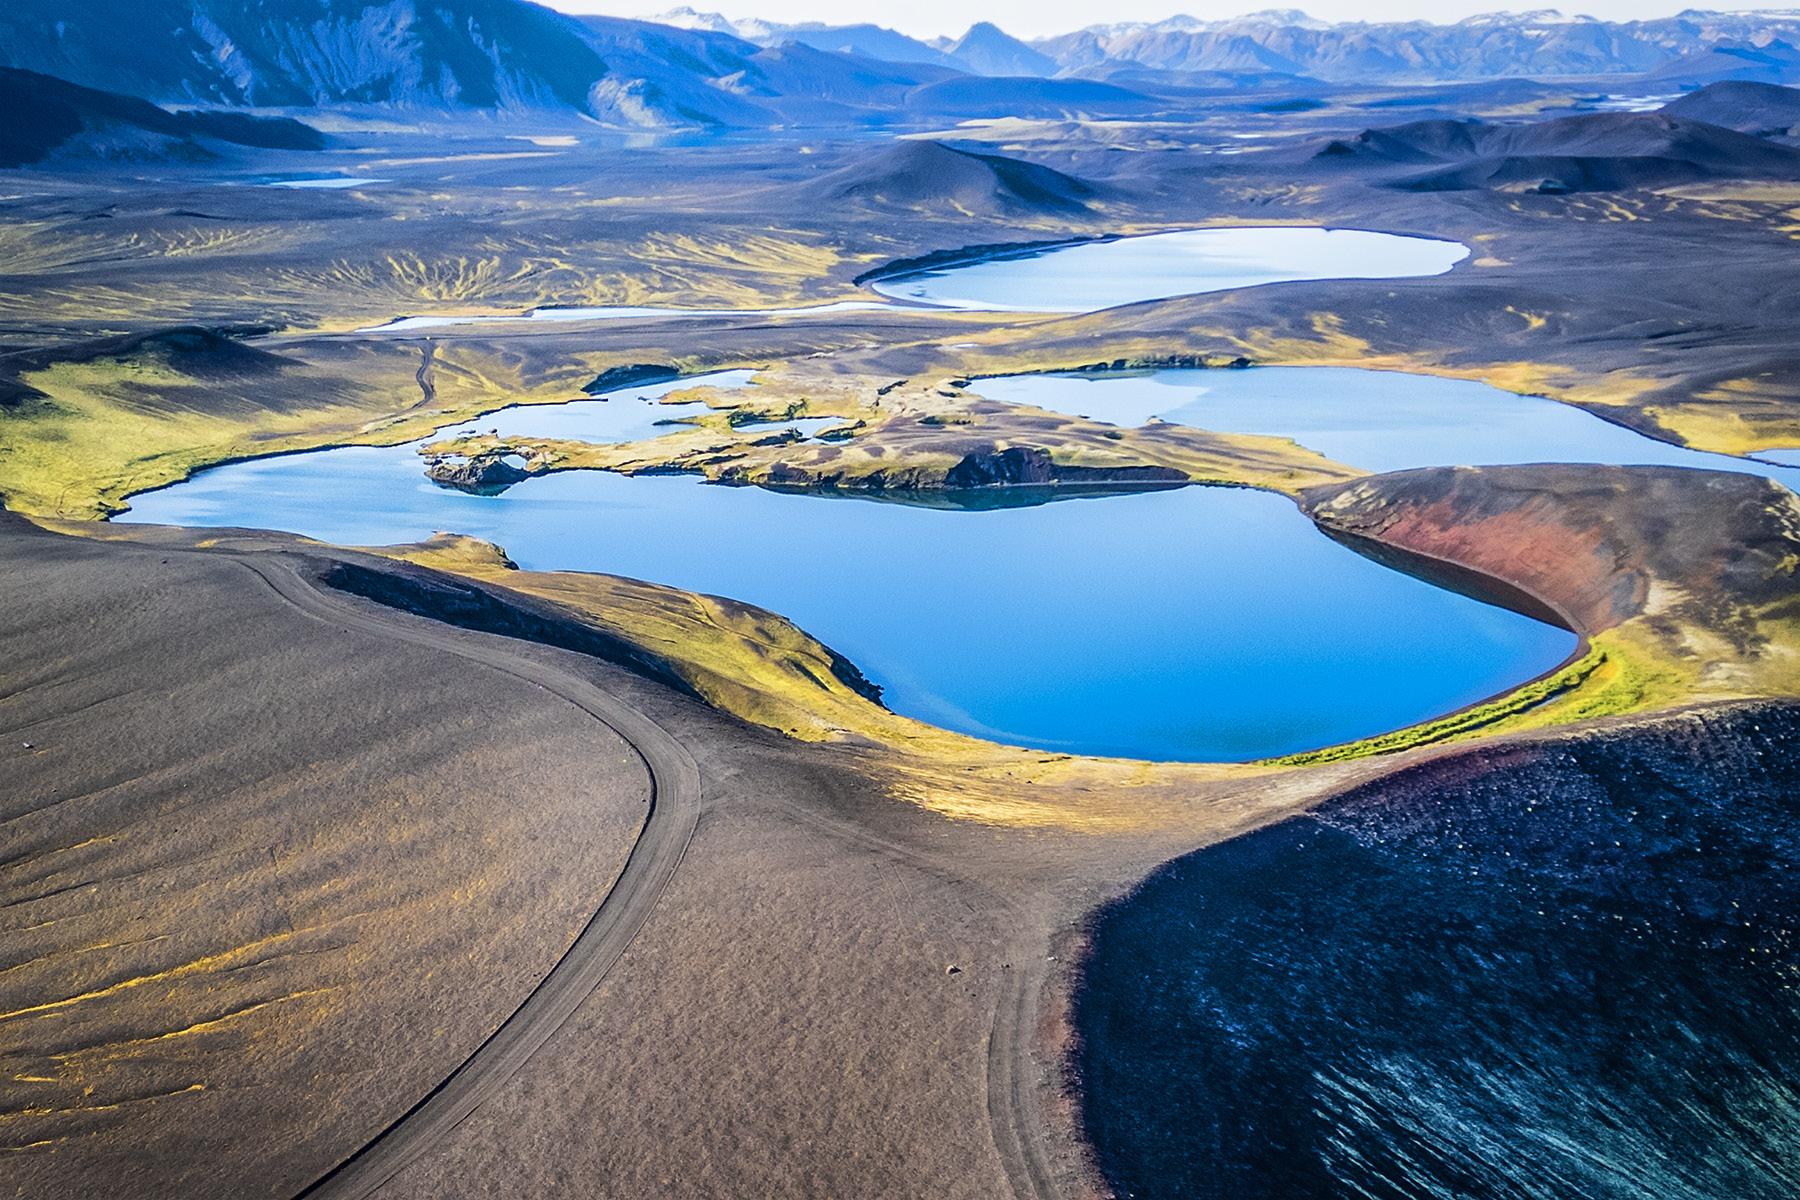
Iceland Drone Tour
August 24 - September 2, 2026
of out of focus plants. Using a telephoto lens and a large aperture, I photograph trees, bushes, flowers, bark and even the forest floor all in varying degrees of blur. You never know what kind of background will work with a particular subject. I shoot verticals and horizontals, shaded foliage as well as plants lit by direct sunlight, and even backlit foliage, all significantly out of focus.
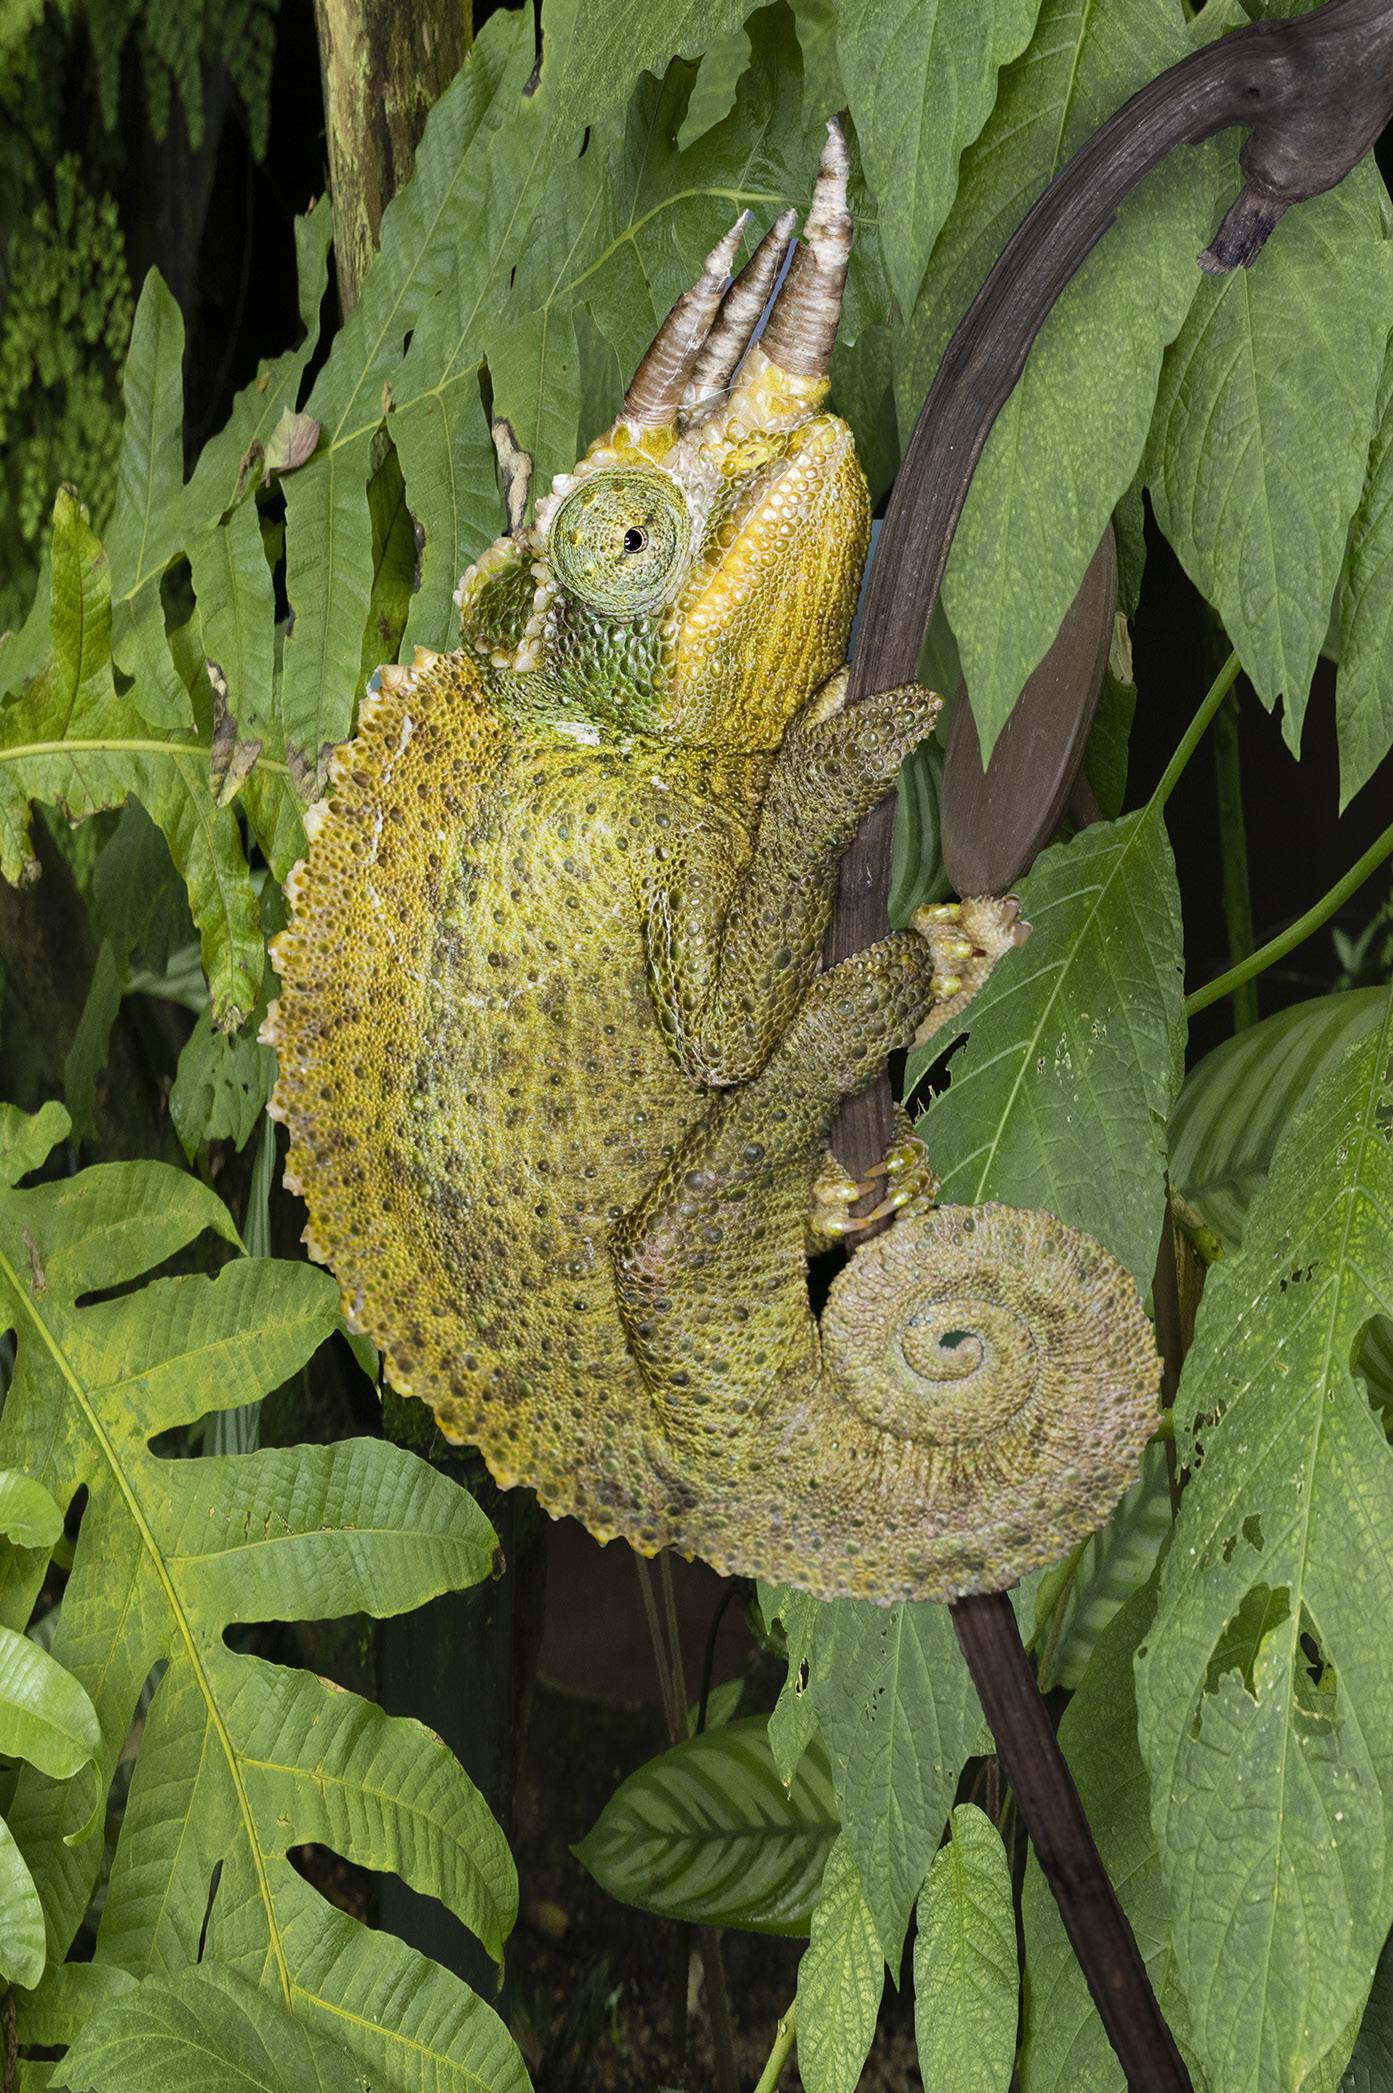
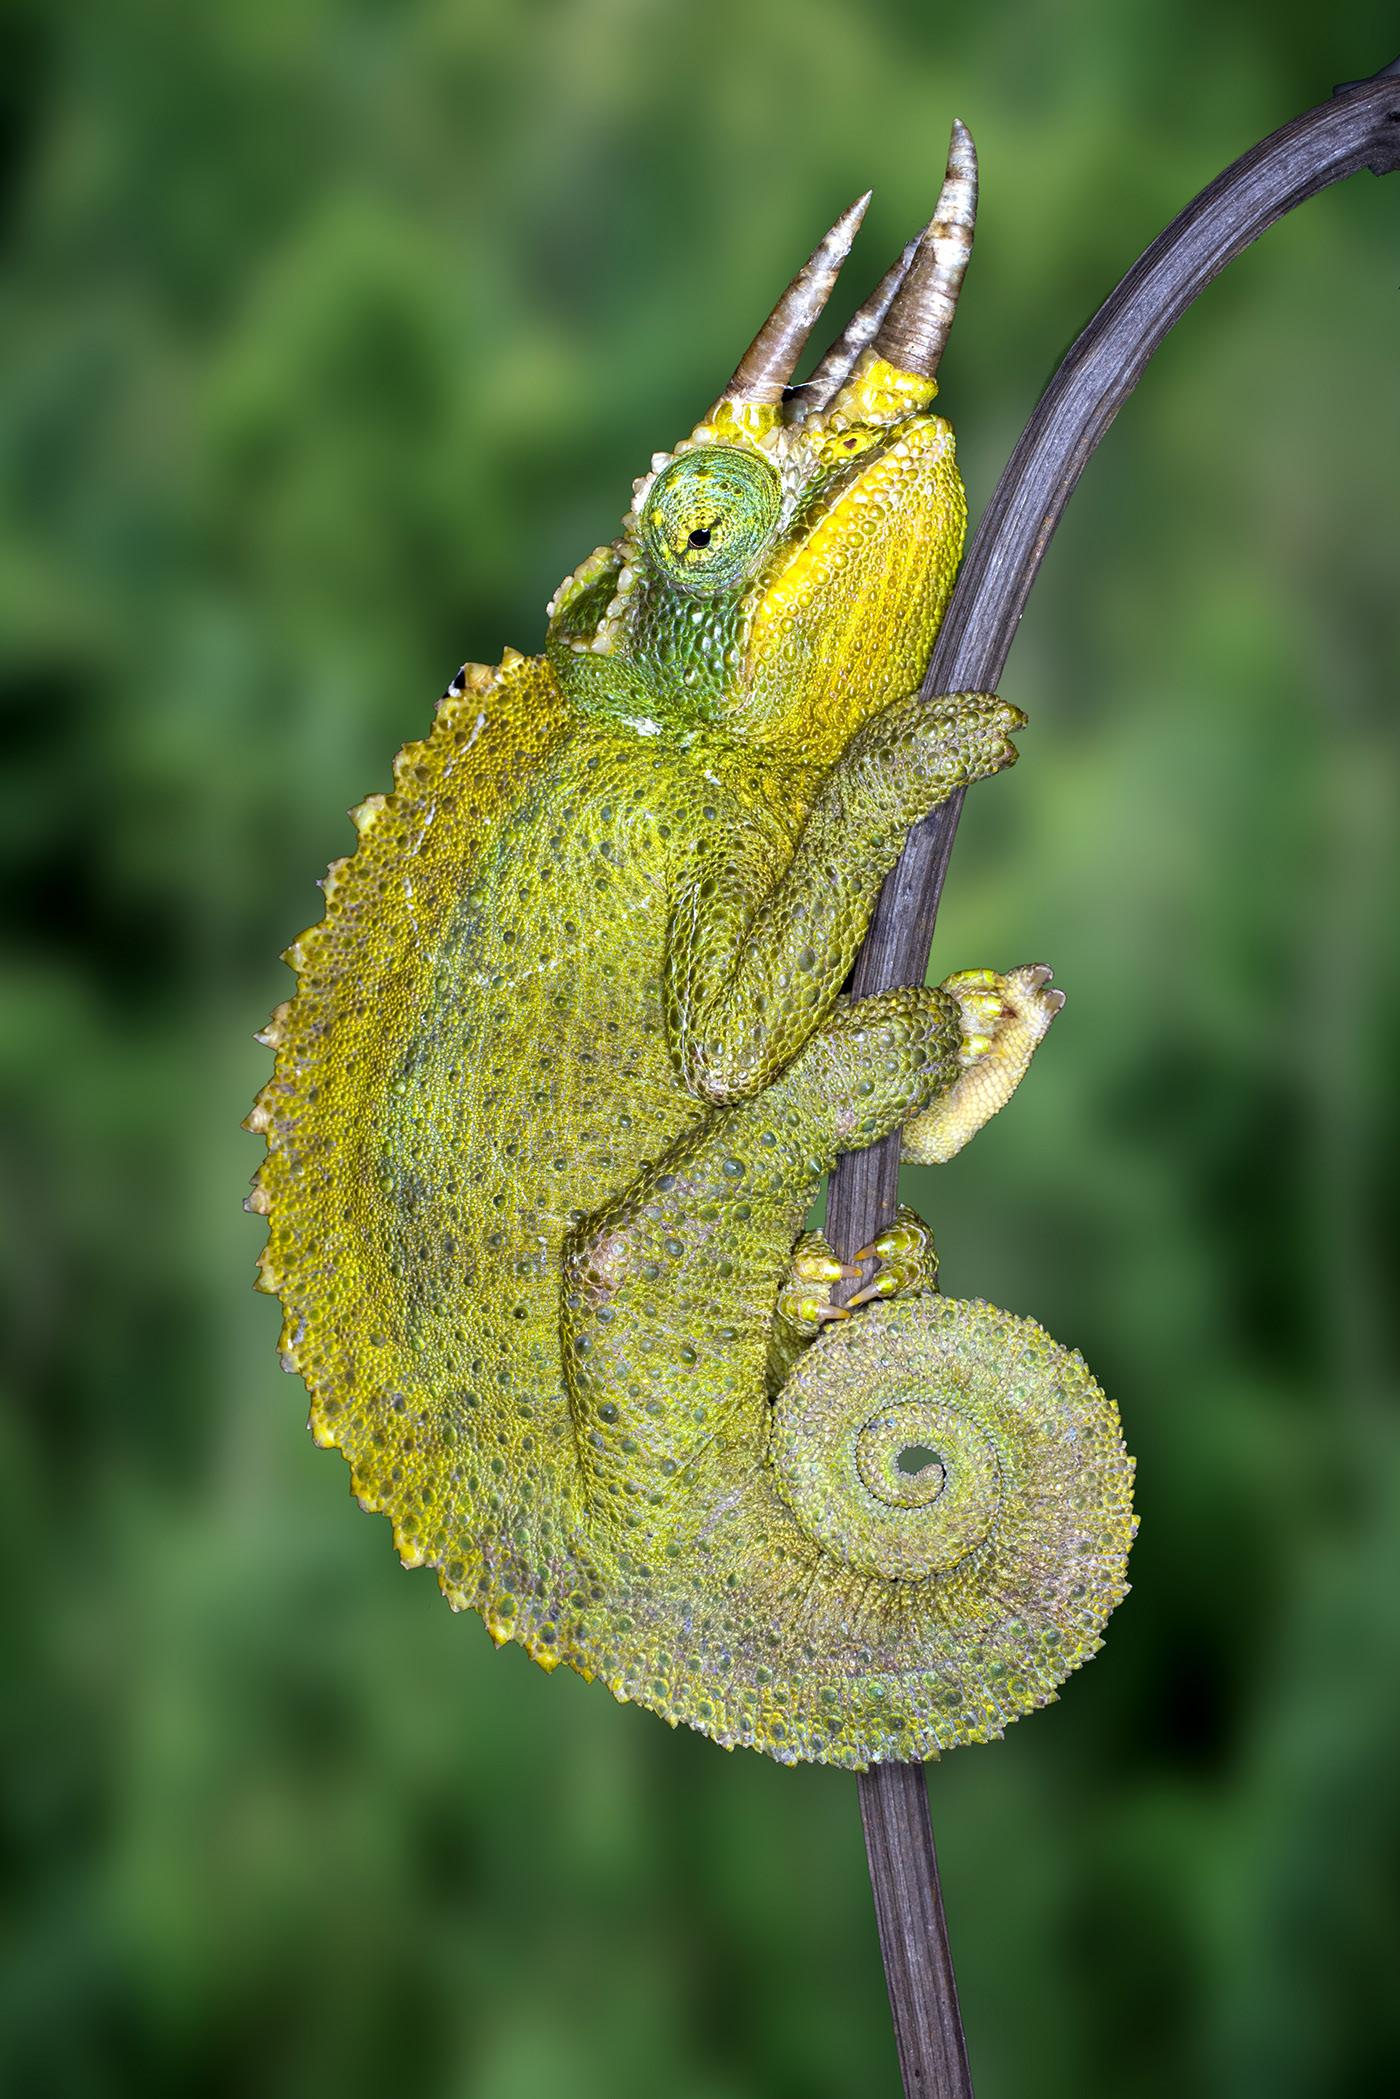
Sometimes you'll capture a subject with a natural background, like the Jackson's chameleon below, but it turns out to be very busy and distracting. This is another situation that calls for a blurred background so all of the viewer's attention is directed to the subject. You can see clearly what I'm getting at in the comparision shots below.
The only thing you need to learn how to do is make a perfect selection around the subject.
A black background can be selected with either the magic wand tool or the quick selection tool.
For complex selections like the chameleon, below left, you can try Select > subject. This is not completely accurate, though, in making a perfect selection around the periphery of the subject. For the best compositing technique, you will get the most accurate selection using the pen tool.
The pen tool is the most time consuming method of making a selection but it's also the most accurate. §
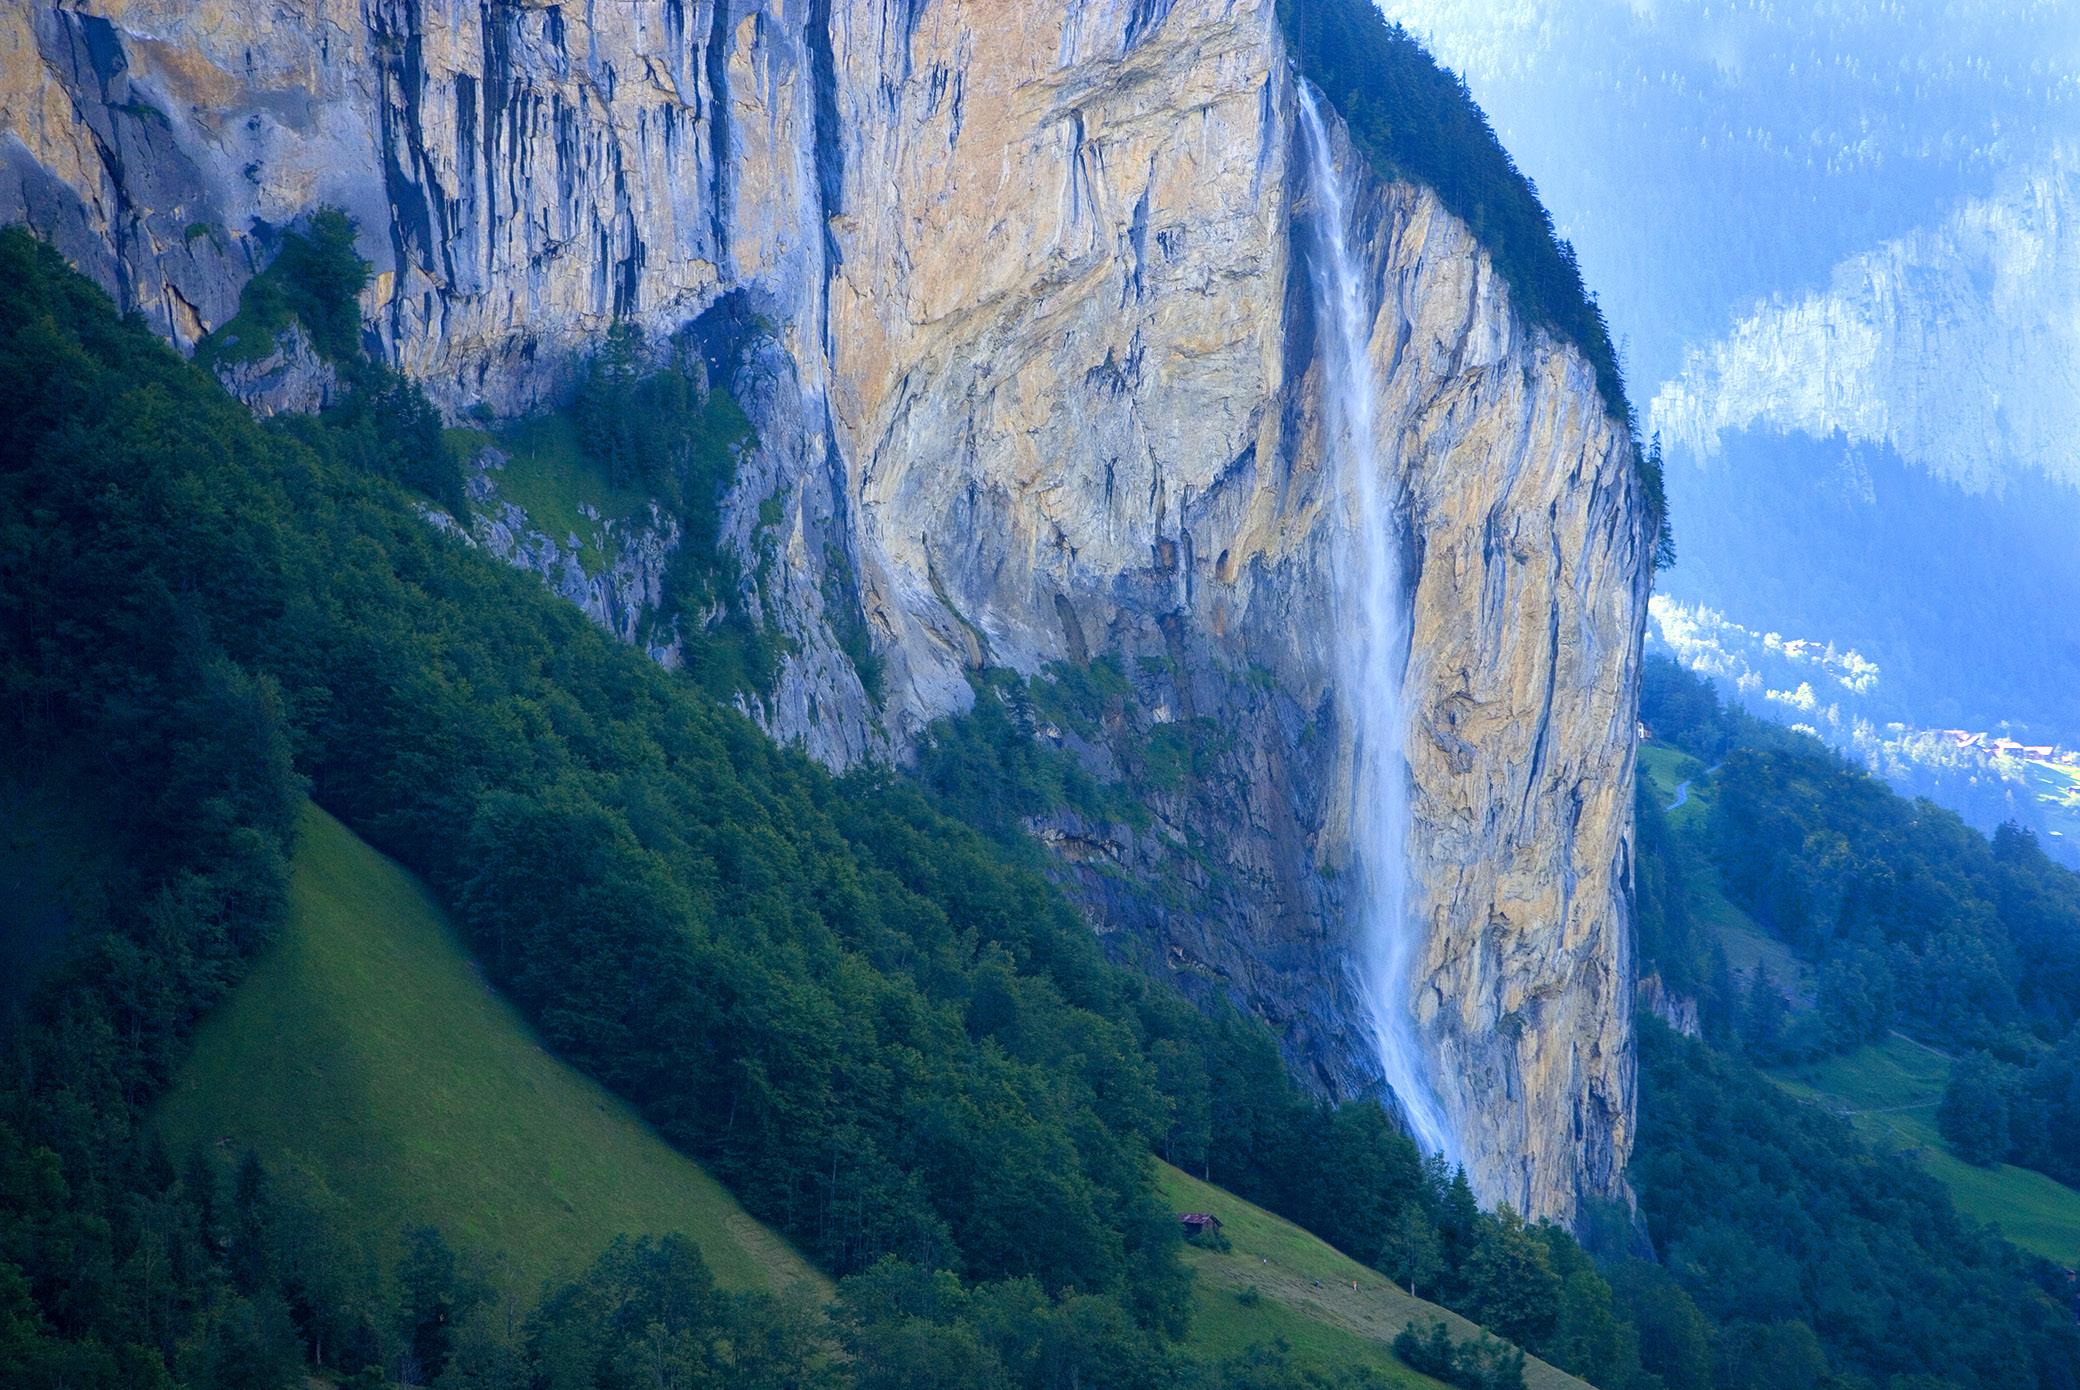
Switzerland Photo Tour
Sept. 23 - Oct. 2, 2025
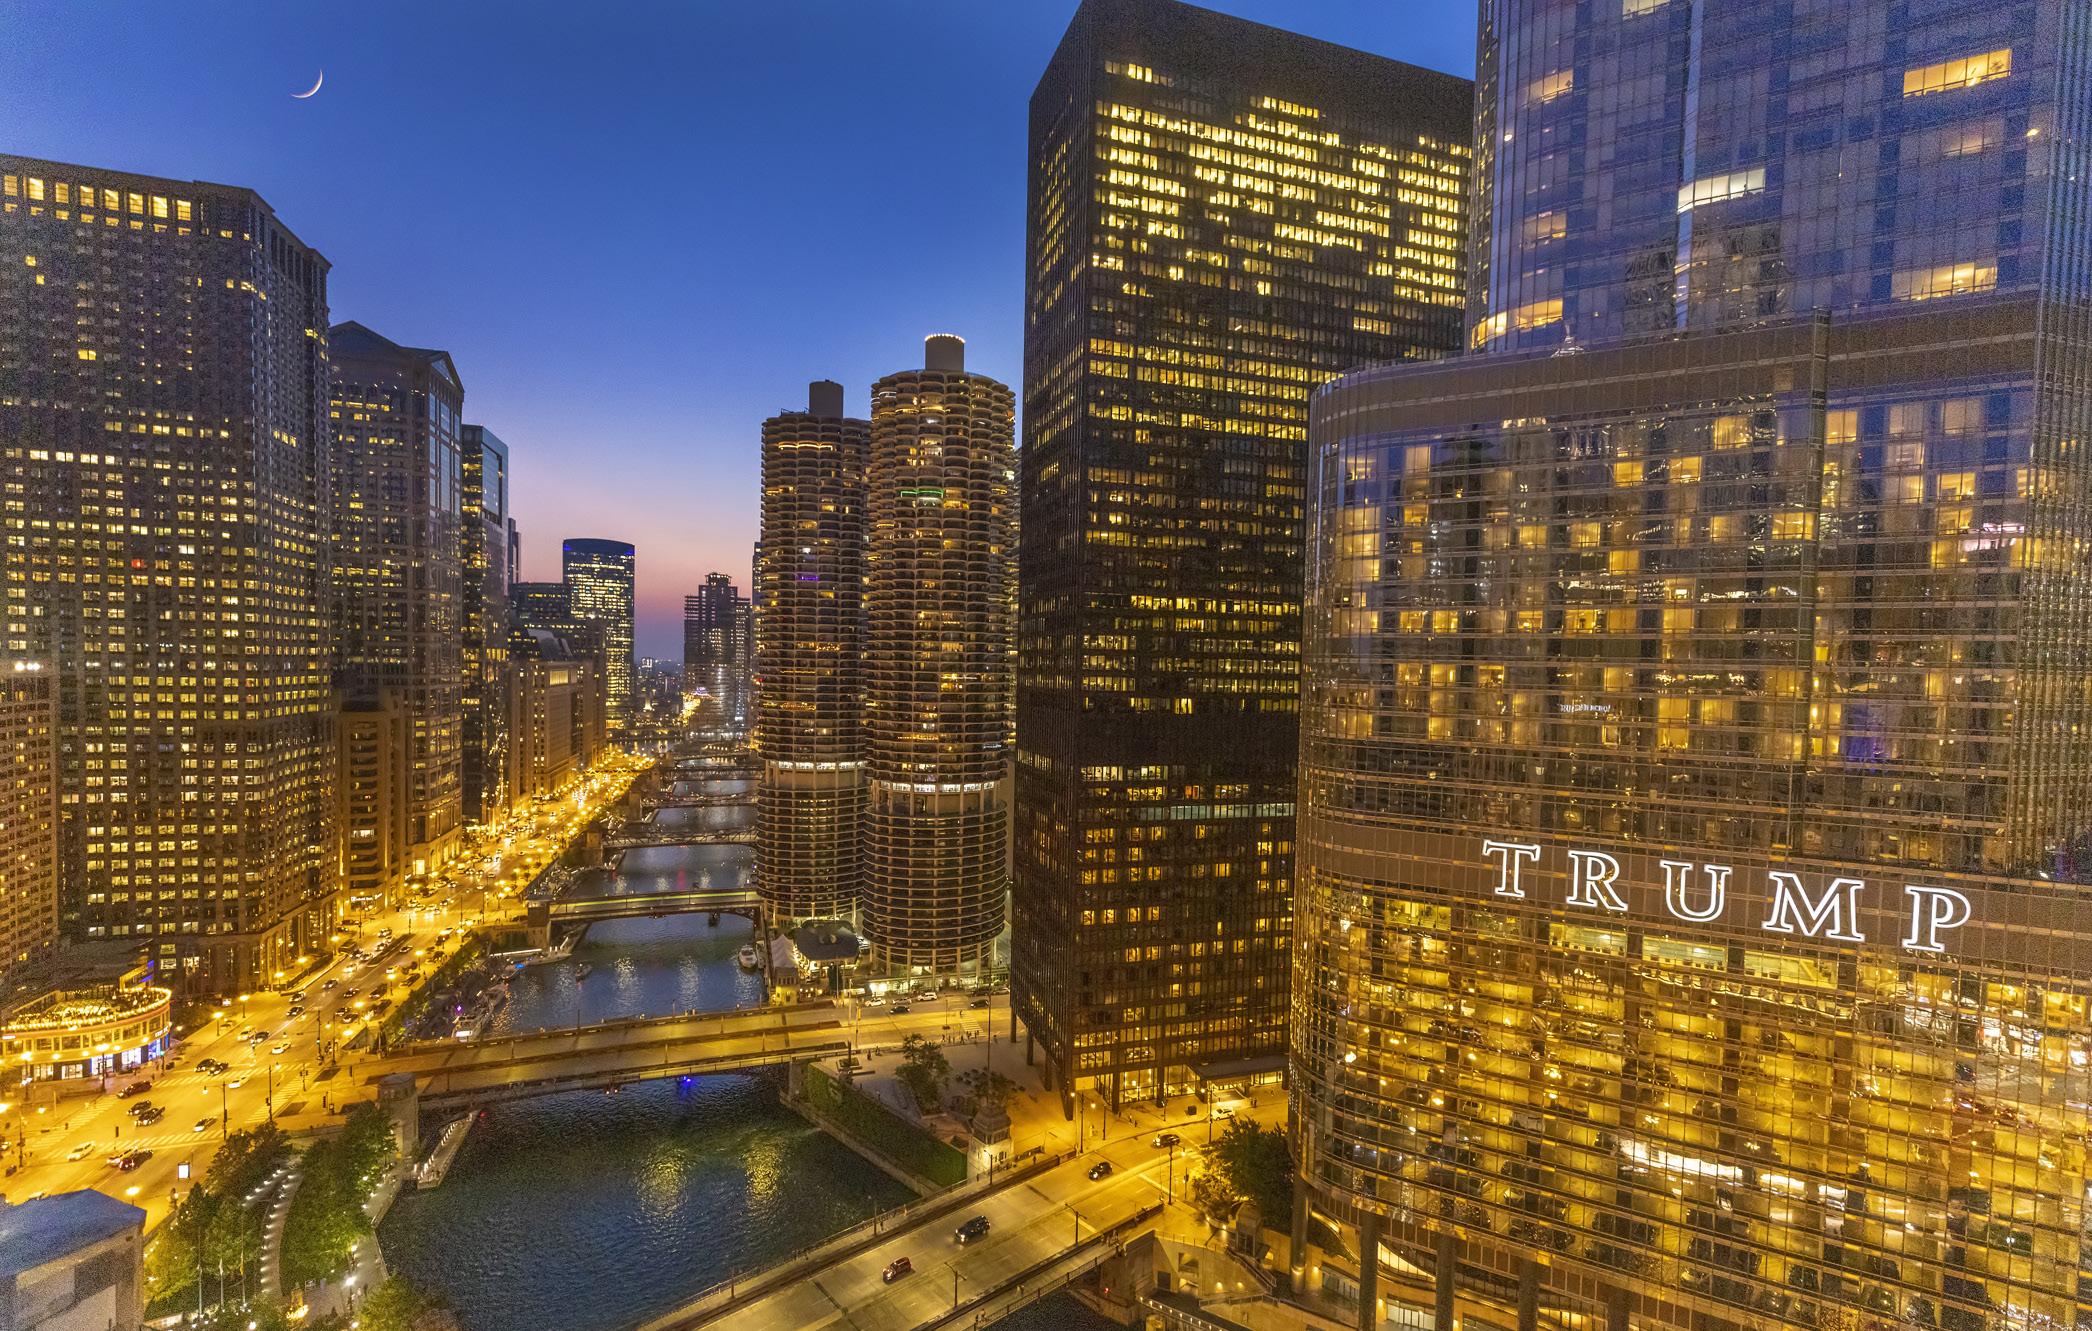
INSERTING A CRESCENT MOON
The easiest type of moon to add to a moonless sky is the cresent phase. It is too weak in the sky to give off a glow, so when placed strategically it looks completely believable.
Here are the steps:
1. Photograph the moon against a night sky so the background is black. You don't need a tripod. The settings should be 1/125, f/5.6, and 100 ISO. Remember, you are exposing for the illuminated lunar surface, not the sky.
2. Open the moon image in Photoshop and select the lasso tool. Make a rough selection around the moon including some of the black
sky all around the periphery of the moon.
3. Copy the selection to the clipboard, Edit > copy.
4. Open the background image, Edit > paste. This pastes the moon in the background.
5.t Choose Command/Ctrl T. This puts a box around the moon image. Hold the shift key down to maintain proportions and grab a handle to reduce the moon in size to look realistic. Use the move tool to move it in place.
6. In the layers palette, choose the 'lighten' blend mode. This eliminates the black sky around the moon perfectly. §
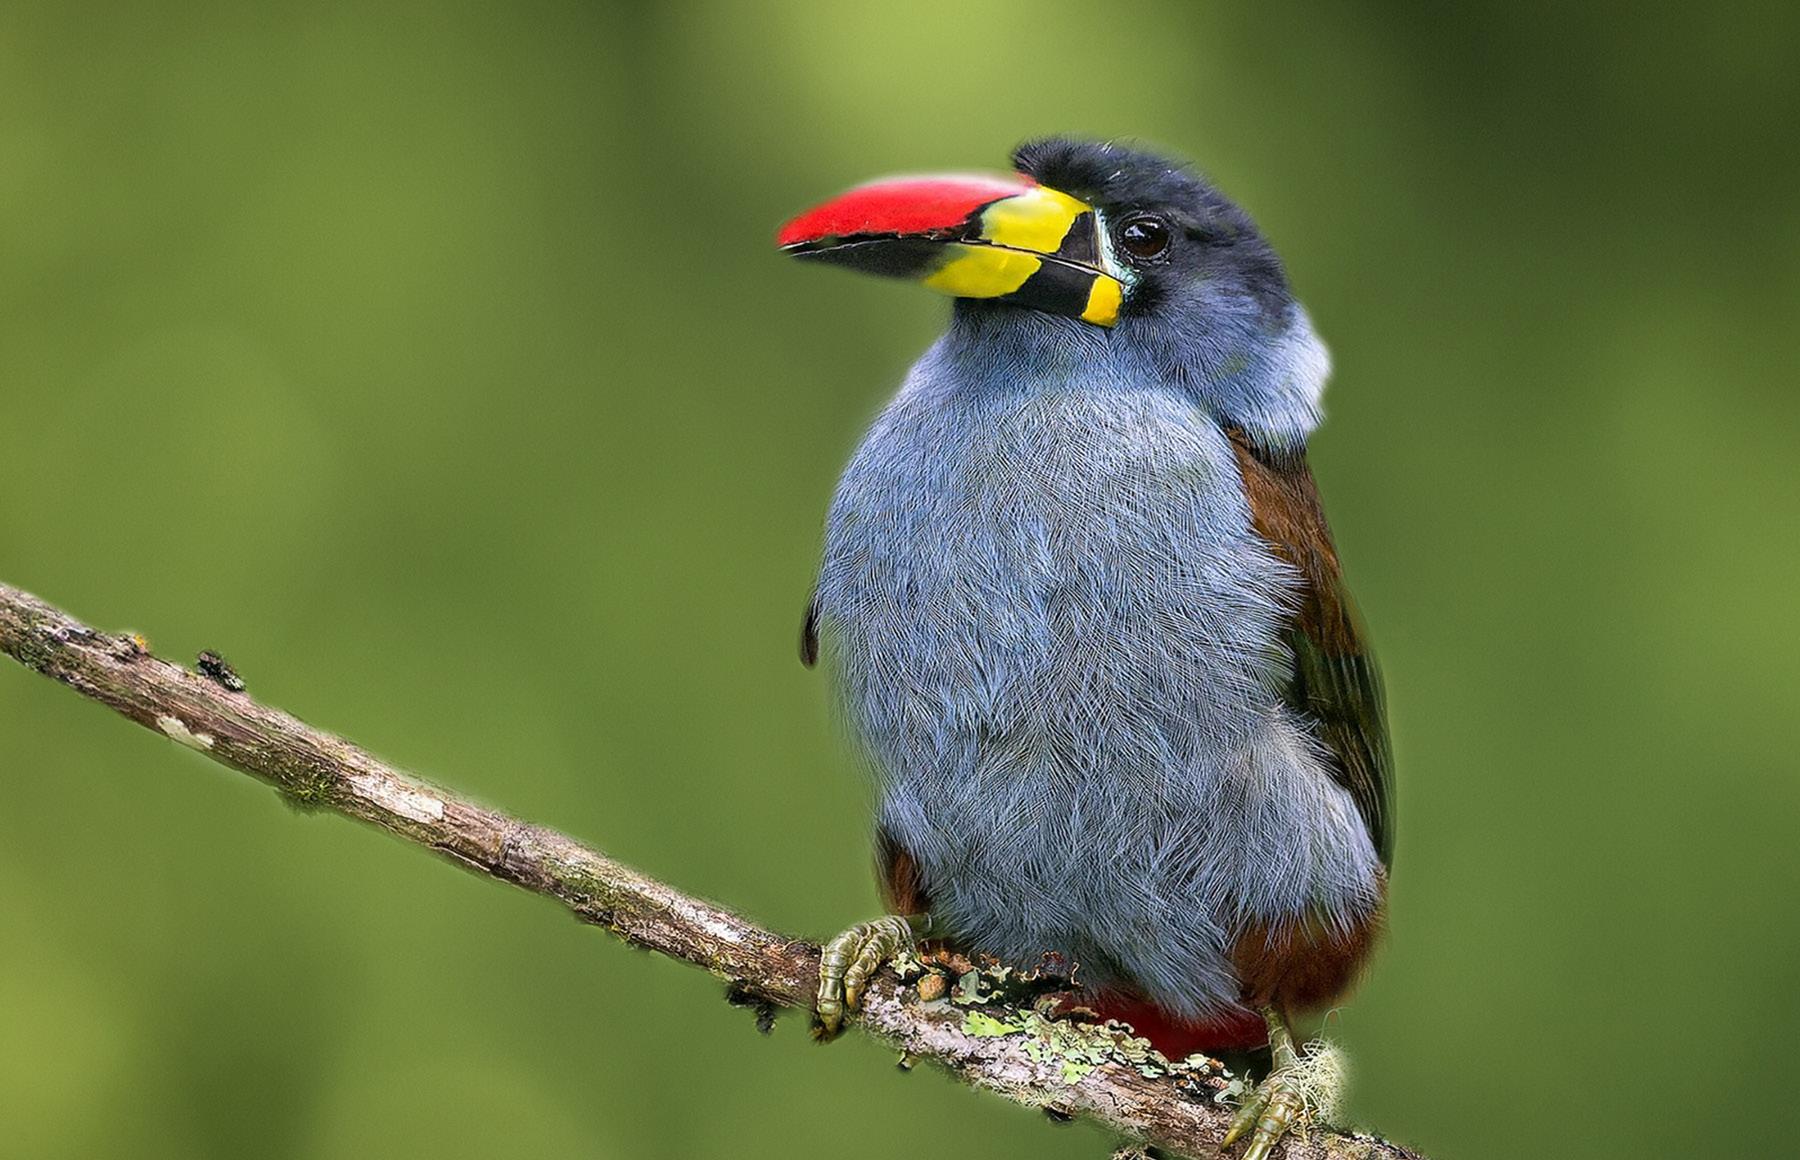
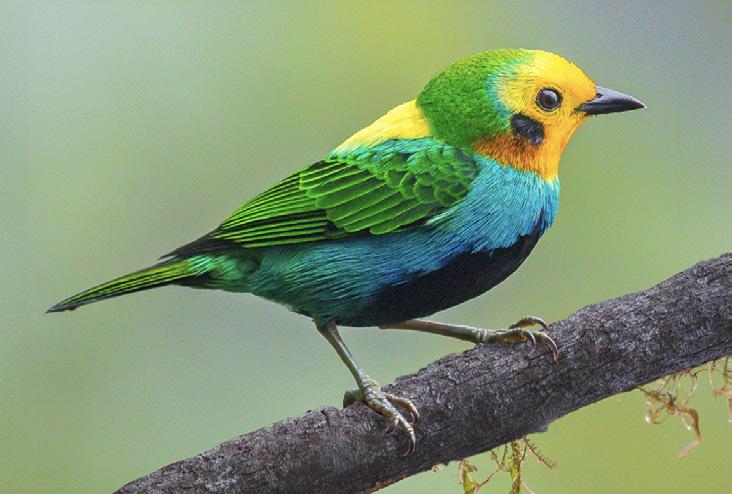
Exotic Birds of Colombia
Sept. 23 to Oct. 3, 2026
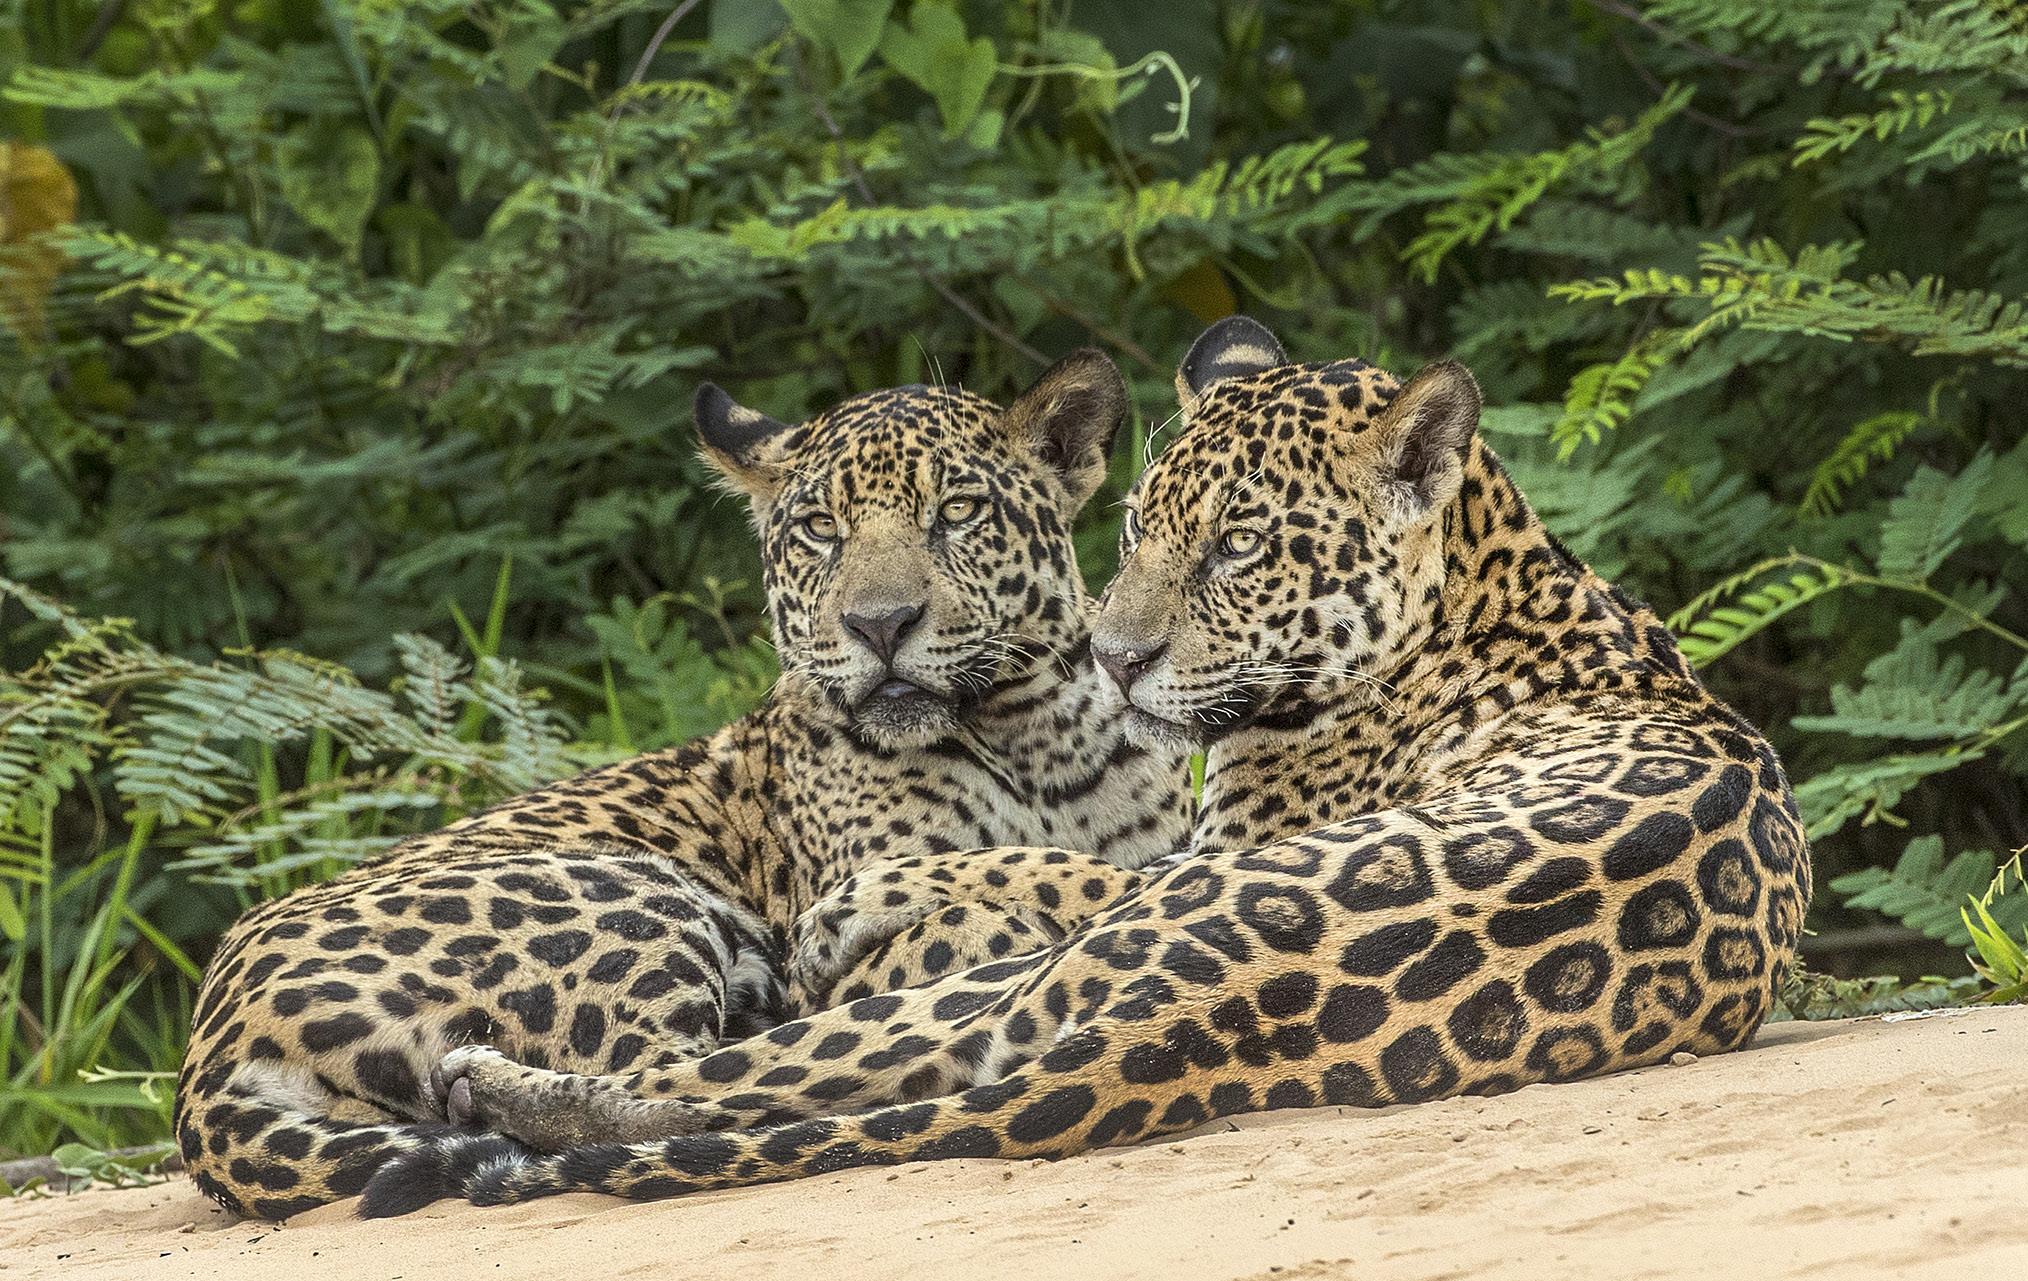
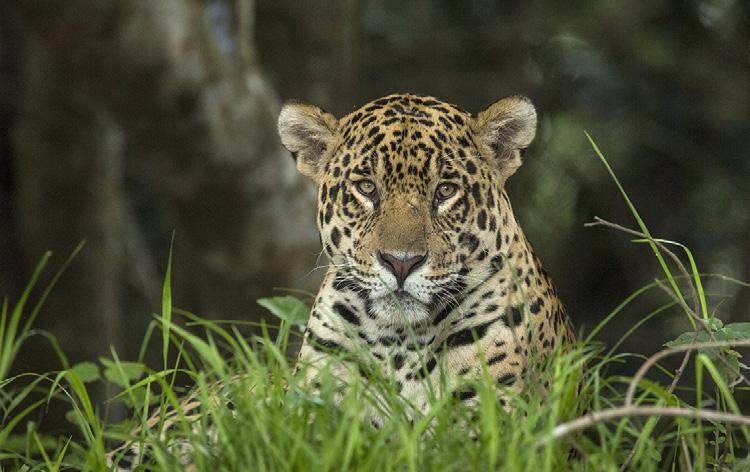
Pantanal Photo Tour, Brazil
Jaguars in the wild, birds in flight, caiman, otters and more
Dec. 1 - 9, 2025
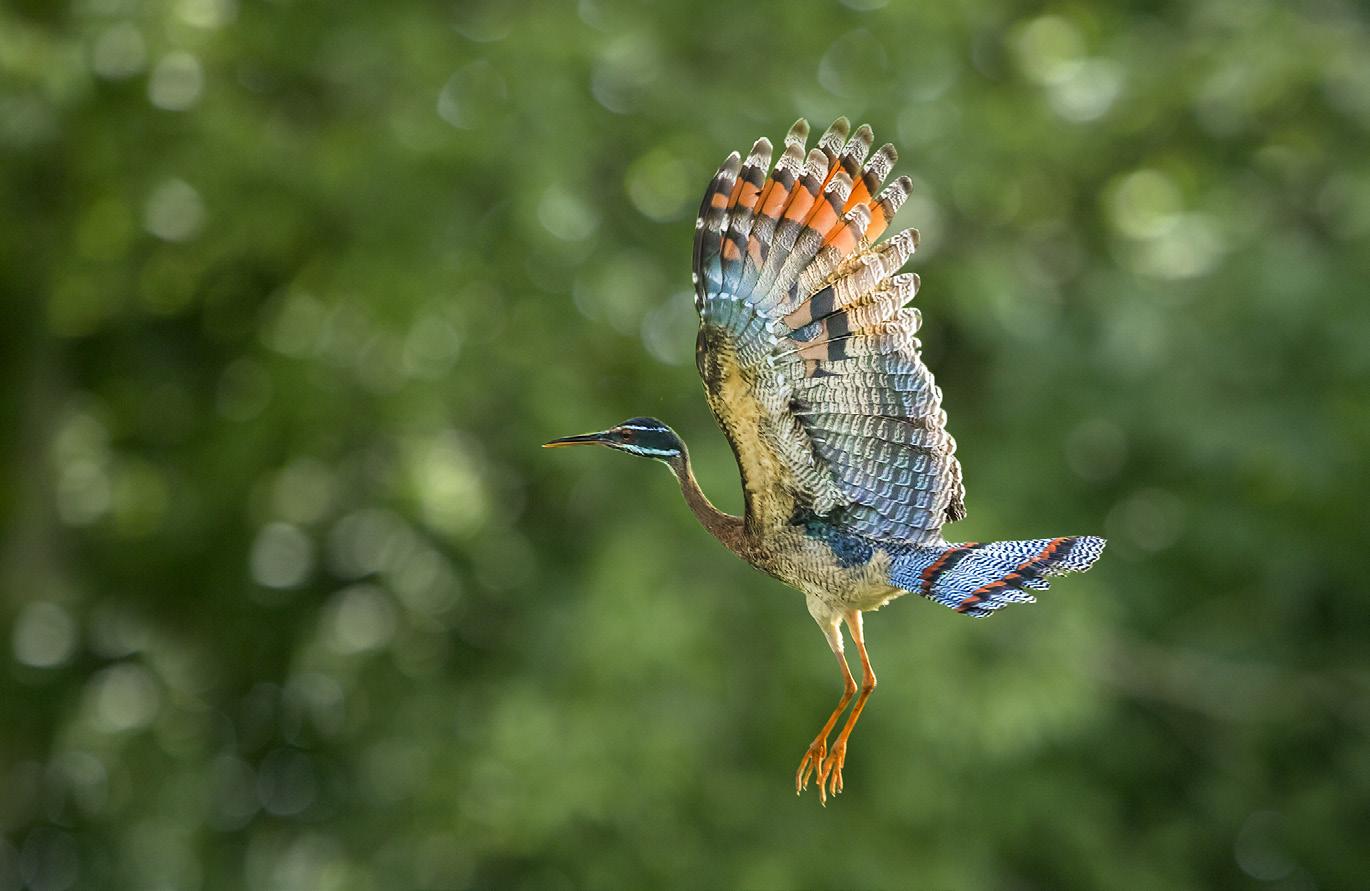
Sunbittern in flight
Photography Quiz
1. For maximum sharpness, focus stacking should always be done from a tripod.
a. True
b. False
c. It depends on whether or not there is wind
d. It depends on the f/stop of the lens
2. The sharpest lens apertures are:
a. F/5.6 and f/8
b. F/2 and 2.8
c. F/11 and f/16
d. F/22 and f/32
3. Which two white balance settings are virtually identical?
a. Flash and daylight
b. Tungsten and incandescent
c. Flash and incandescent
d. Cloudy and flash
4. The complementary color of blue is:
a. Red
b. Green
c. Yellow
d. Cyan
5. With the subtractive colors of CMYK, what does the 'K' stand for?
a. Brown
b. Orange
c Purple
d. Black
6. With the right lens-to-body adapter, a normal lens can be turned around and mounted on the camera body to become a macro lens.
a. True
b. False
7. The physical diamter of an f/8 lens aperture on a 35mm format digital camera and the physical diameter of an f/8 aperture on a 4 x 5 inch field camera are the same dimension.
a. True
b. False
8. When you are shooting a portrait extremely close up and the head is turned slightly, you can only focus on one of the eyes. Which eye should you focus on?
a. The eye closest to the camera
b. The eye farthest from the camera
9. When using fast shutter speeds, turn off the image stabilization feature:
a. When panning the subject
b. When you need depth of field
c. Always
d When your shutter speed is slow
10. Pointing your camera's meter at a white piece of paper, based on how meters read light, the resulting photo of the paper (assuming even lighting) will be:
a. Light gray
b Middle gray
c. Dark gray
UPCOMING PHOTO WORKSHOPS
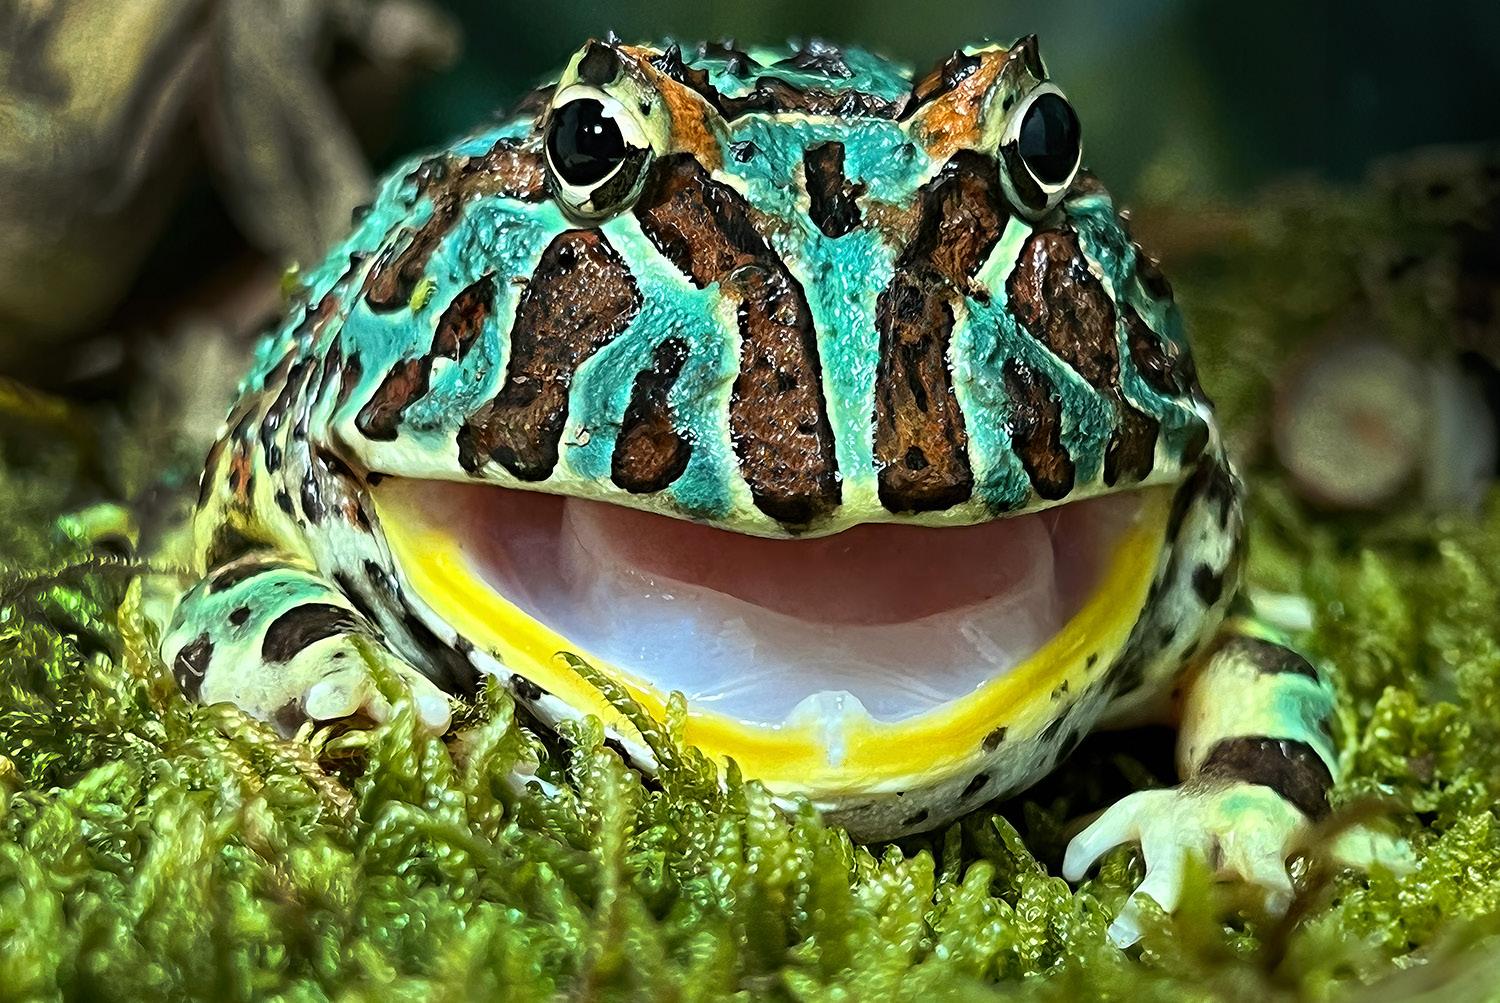
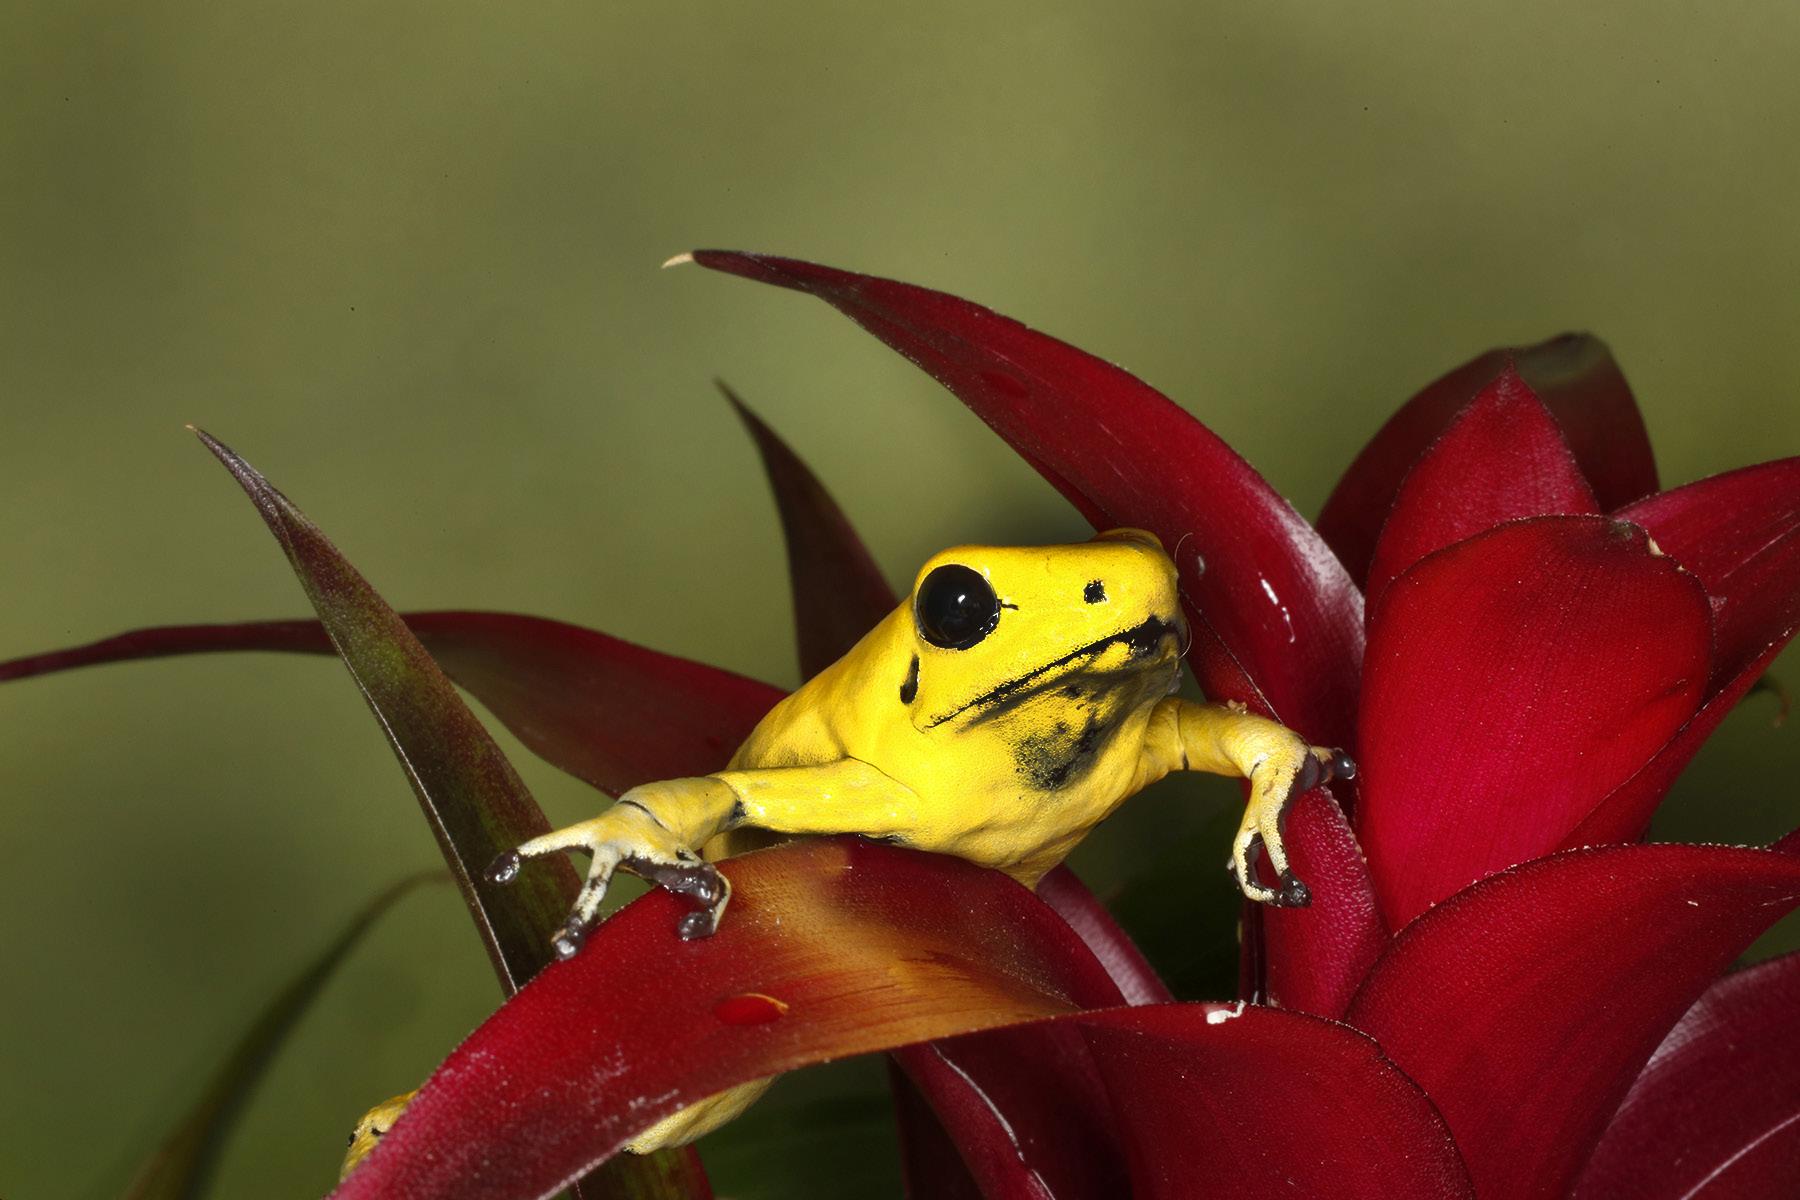
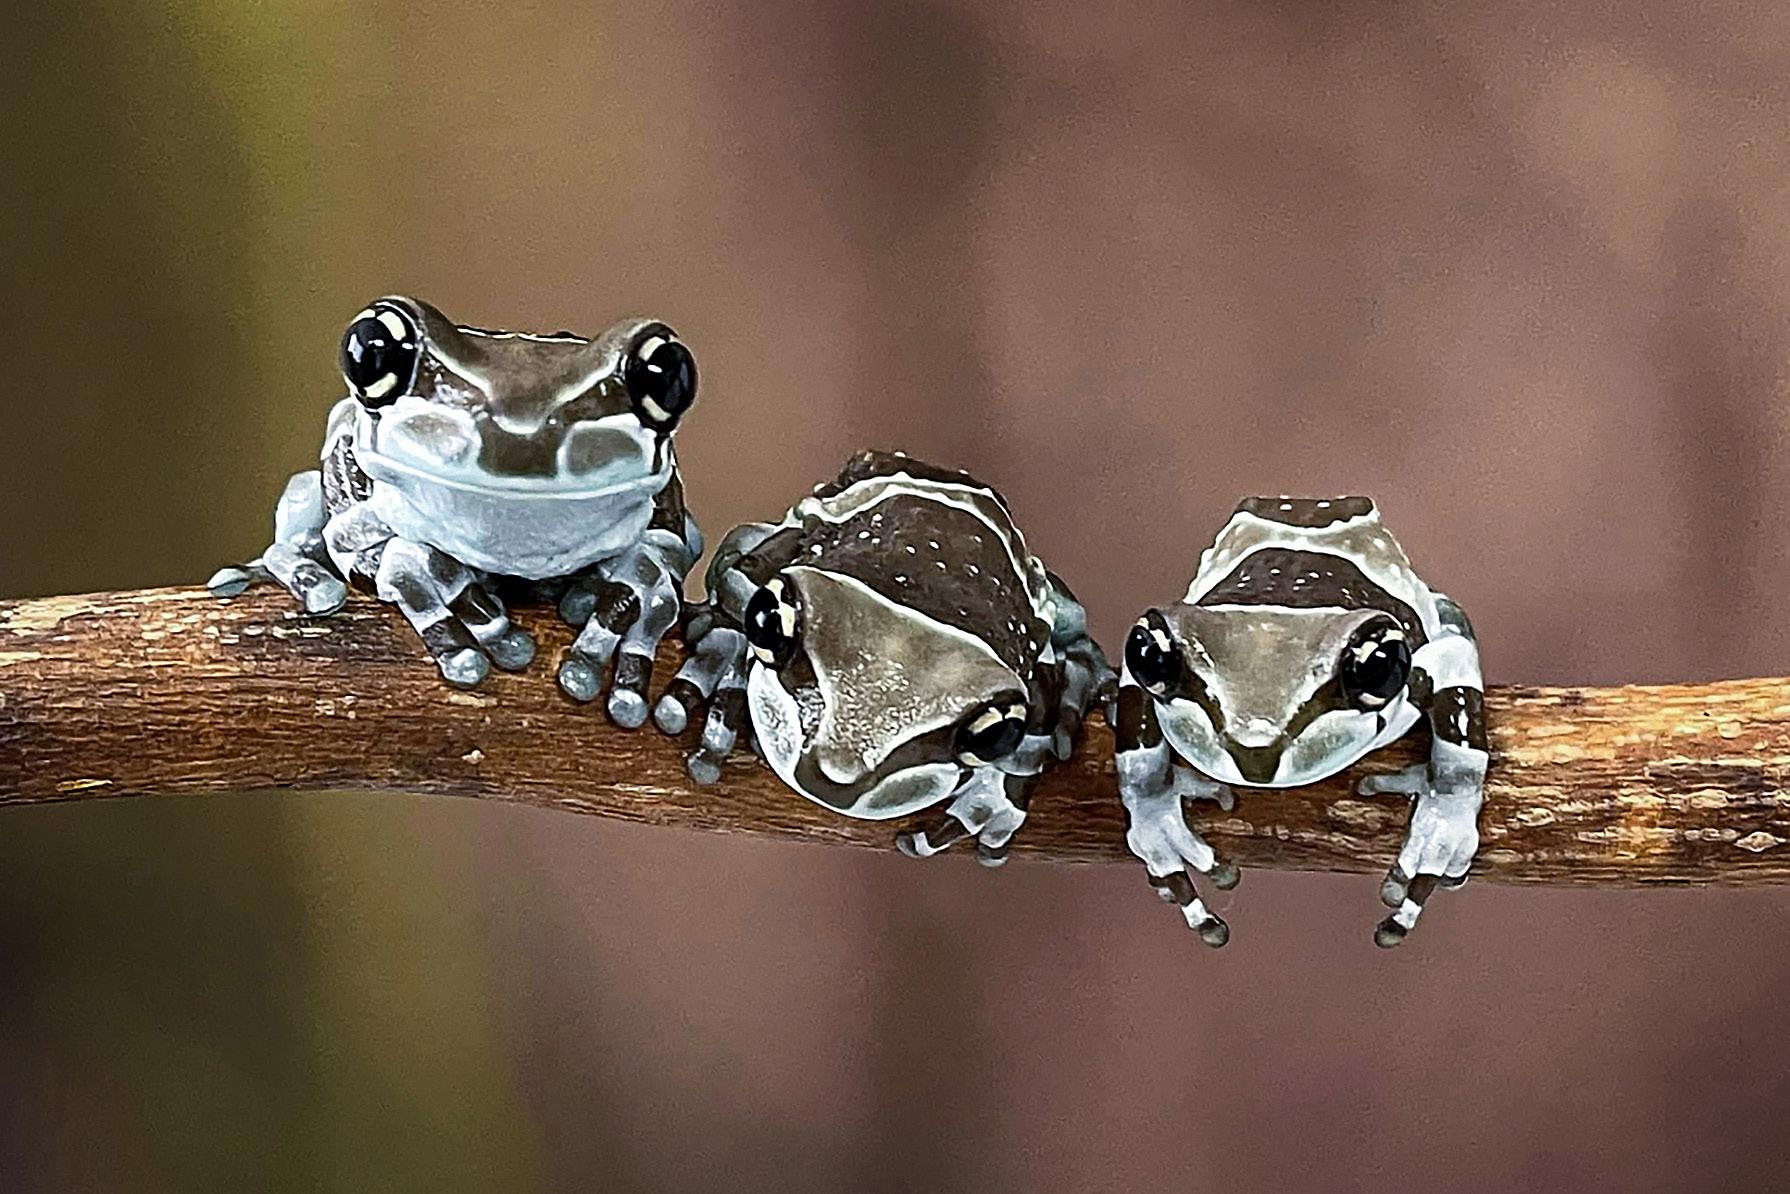
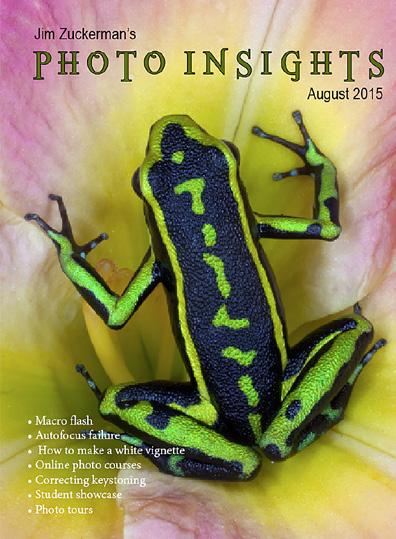
FROG & REPTILE WORKSHOP in Kansas City
This is an exciting macro workshop in which you will be able to photograph about 40 species of colorful dart frogs and exotic reptiles. Held in a hotel conference room, Jim sets up natural backgrounds for outstanding photos. The photo at left shows a Jackson chameleon with the background replaced in Photoshop.
June 13 - 14, 2026
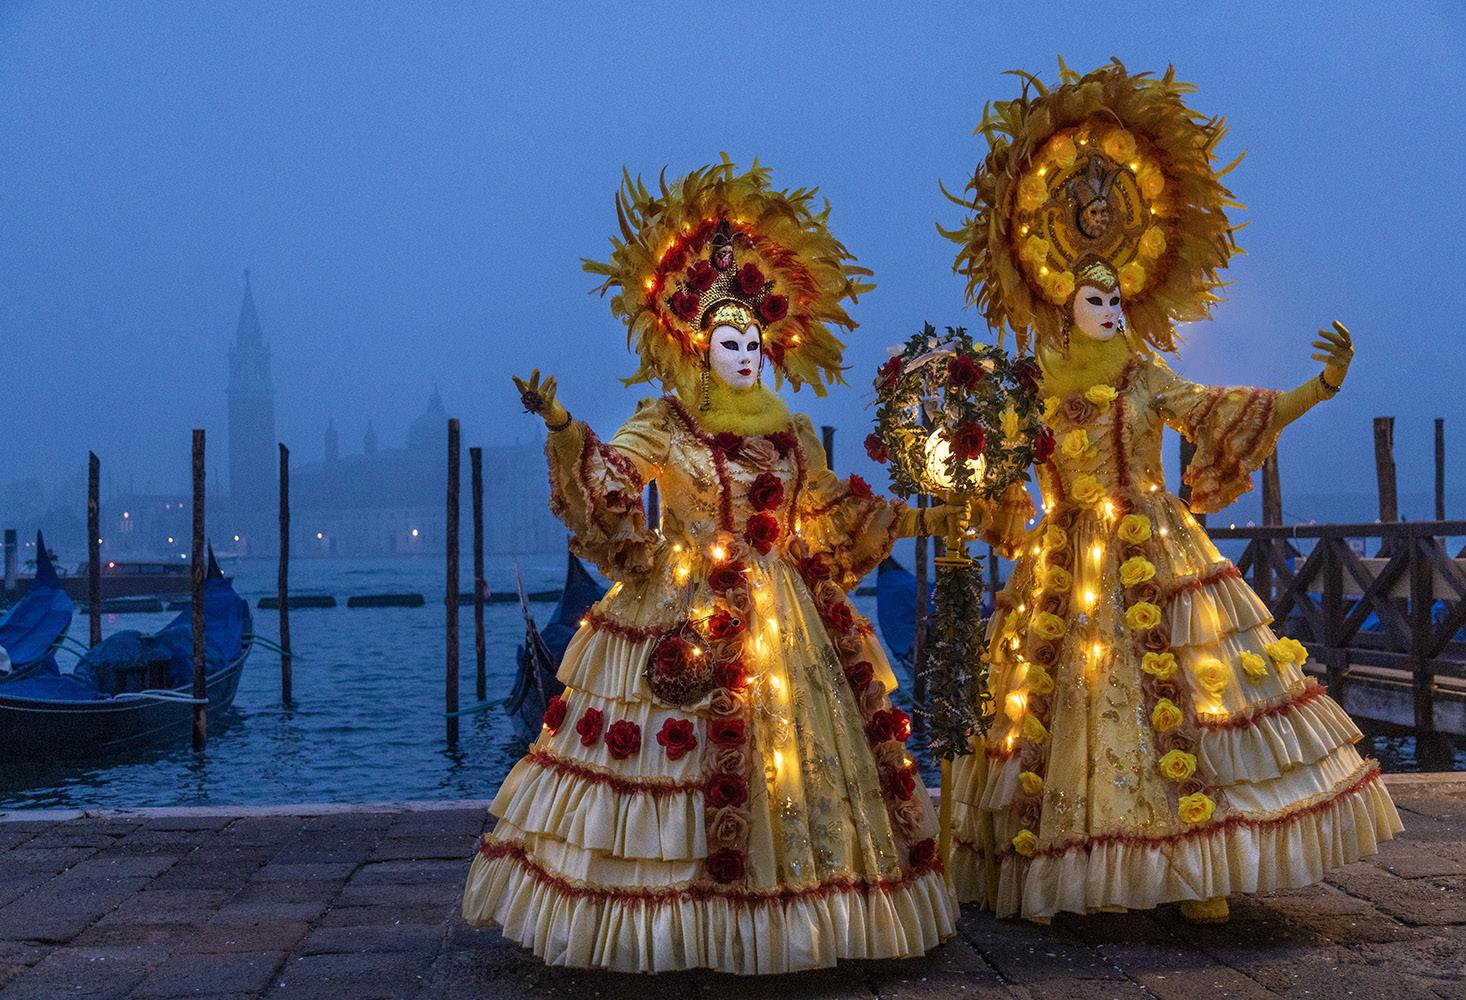
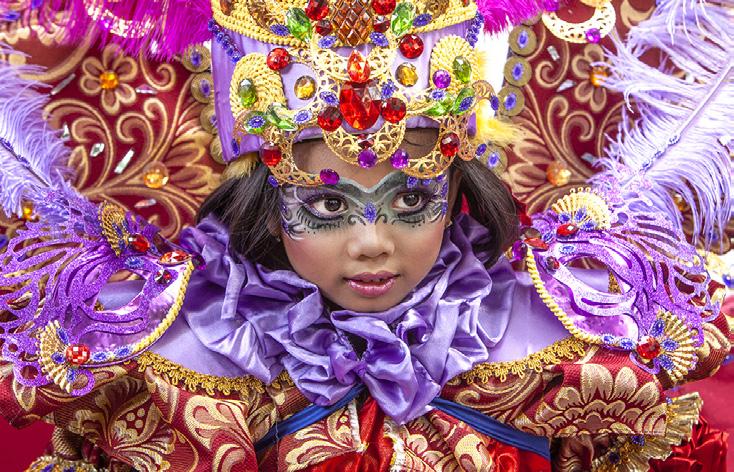
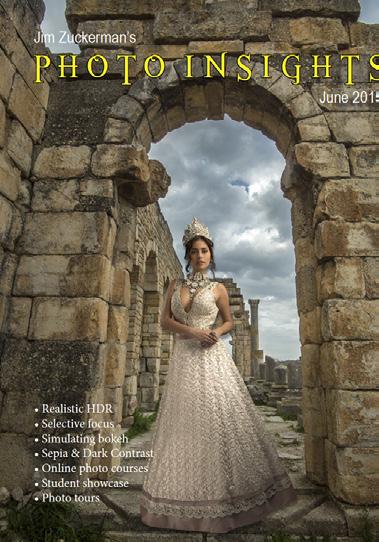
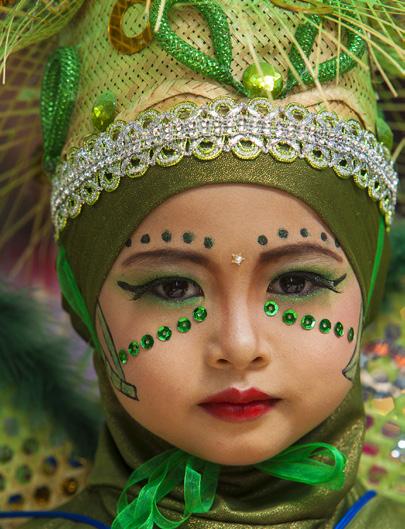
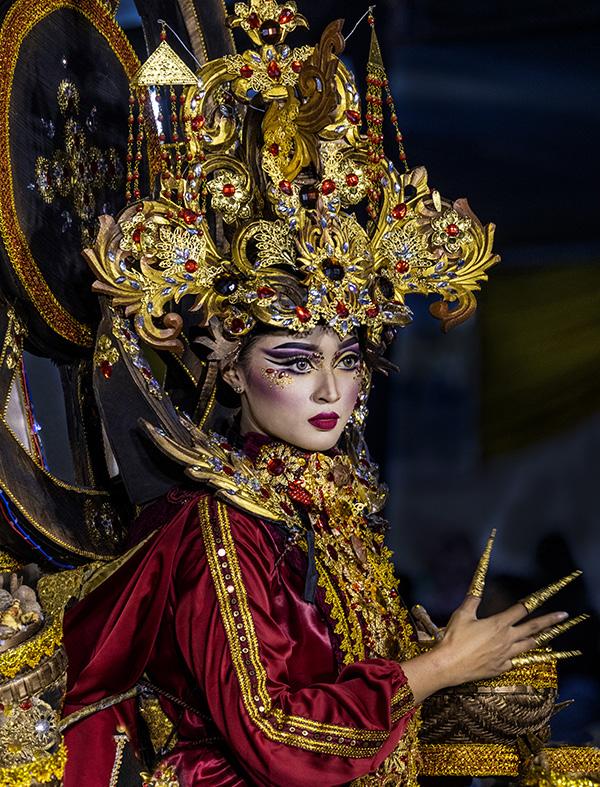
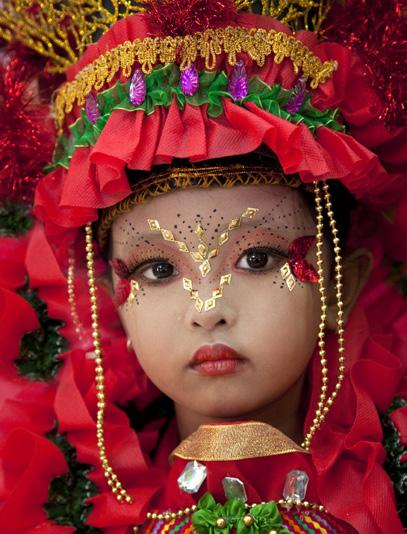
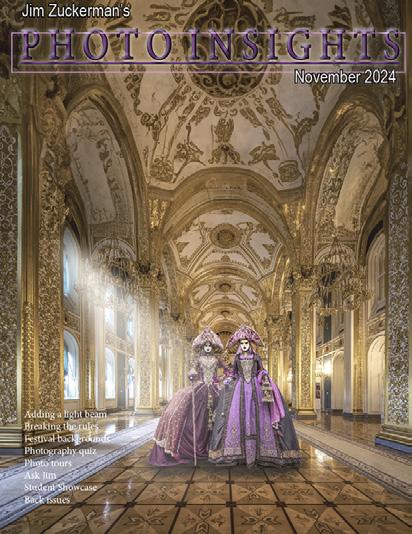
CARNIVAL in VENICE
Photograph amazing costumes in a Medieval environment. We shoot inside a 16th century palace, in an iconic gondola, in a stunning bedroom with traditional Venetian decor, and at other great locations. The photography as well as the experience is phenomenal.
February 7 - 13, 2026
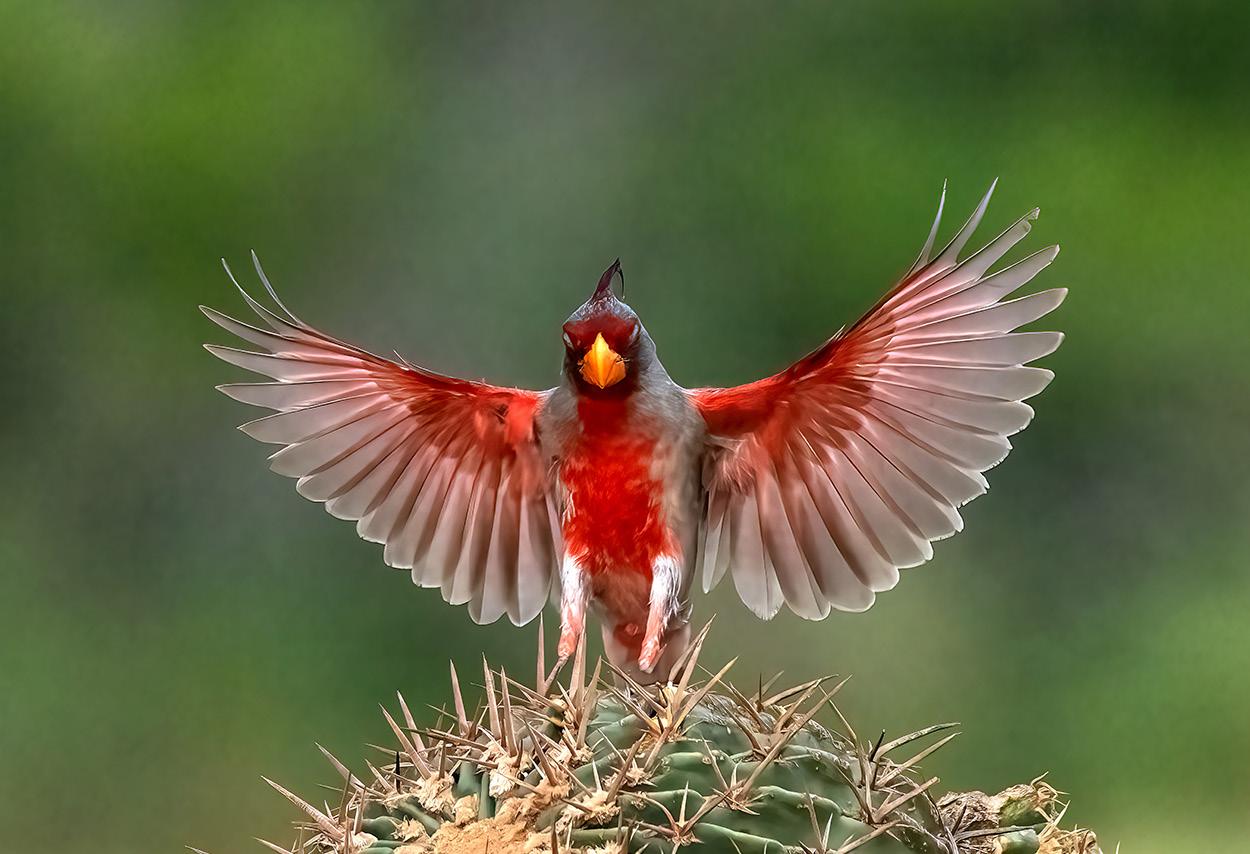
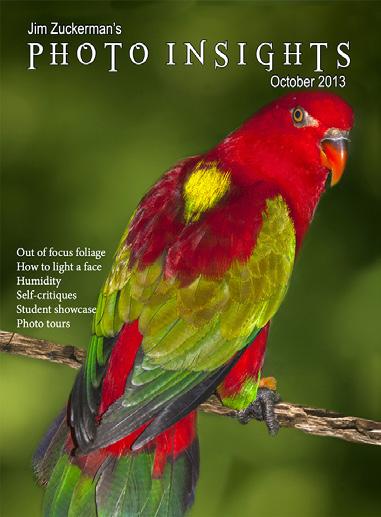
TEXAS BIRDS
Get up close and personal to many species of exotic and colorful birds. We shoot from a blind and get frame-filling shots of cardinals, green jays, crested caracaras, painting buntings, and more. Based in McAllen, Texas.
May 12 -15, 2027
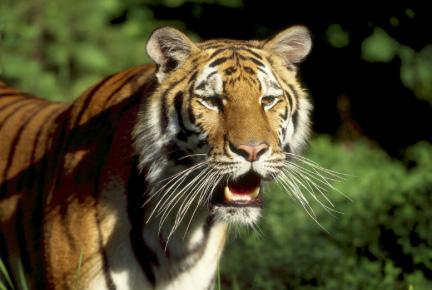
India Tiger Safari
May 20 - 30, 2026
What's Wrong with this Picture?
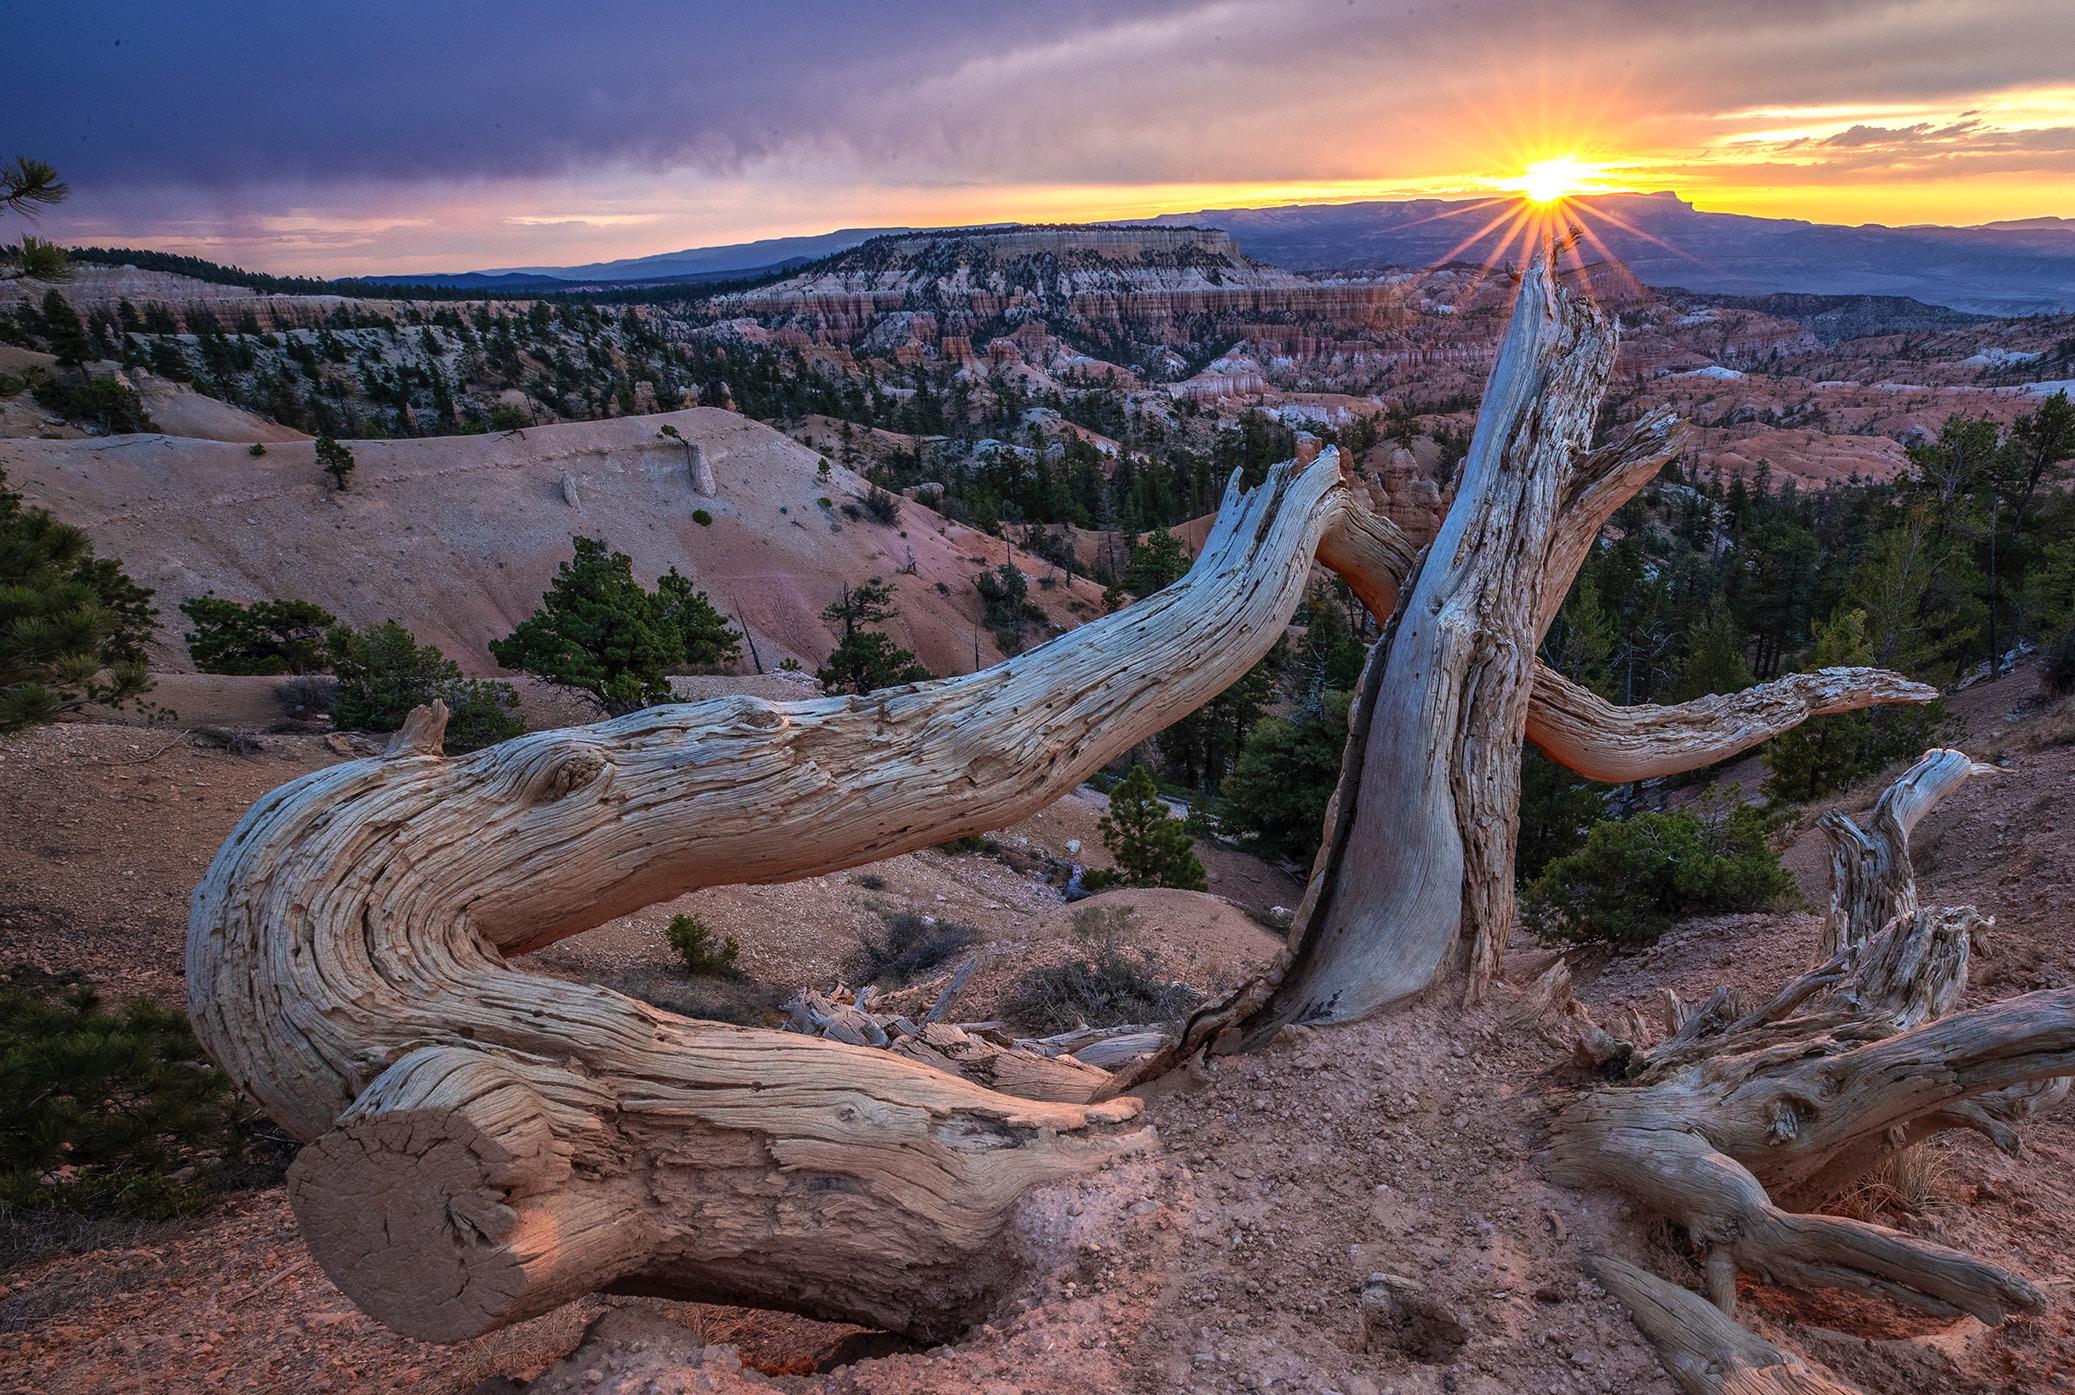
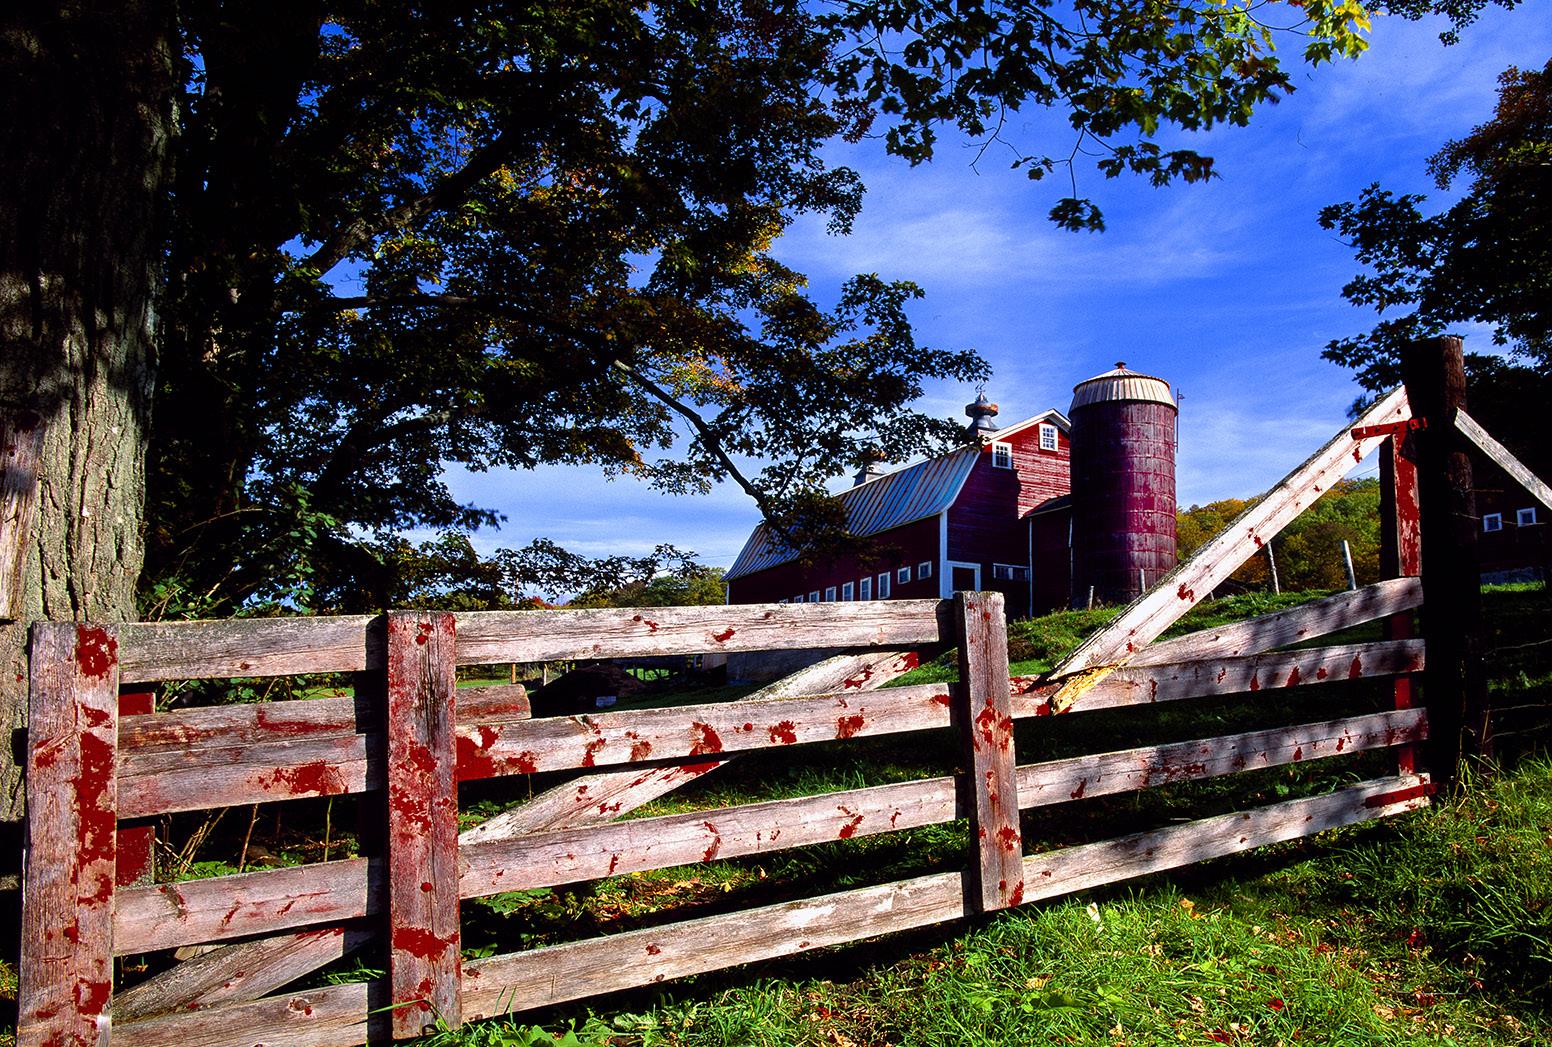
When the hand of man is seen in a picture of nature, it screams at me. In my mind it degrades the quality of the image. There are exceptions, of course, like a weathered split-rail fence or a dilapidated barn, but in most of my nature images I try to avoid mixing manmade elements with nature.
In this shot taken at the rim of Bryce Canyon National Park in Utah, I like everything about the image except for the manmade cut in the lower left corner. Even though this was done many years ago as you can see by the weathering, I find the presence of this blemish visually disturbing. Even though the deadwood offers leading lines that takes our attention into the depths of the picture, and the rising sun also draws our attention into the distance, my eye keeps returning to the hand of man.
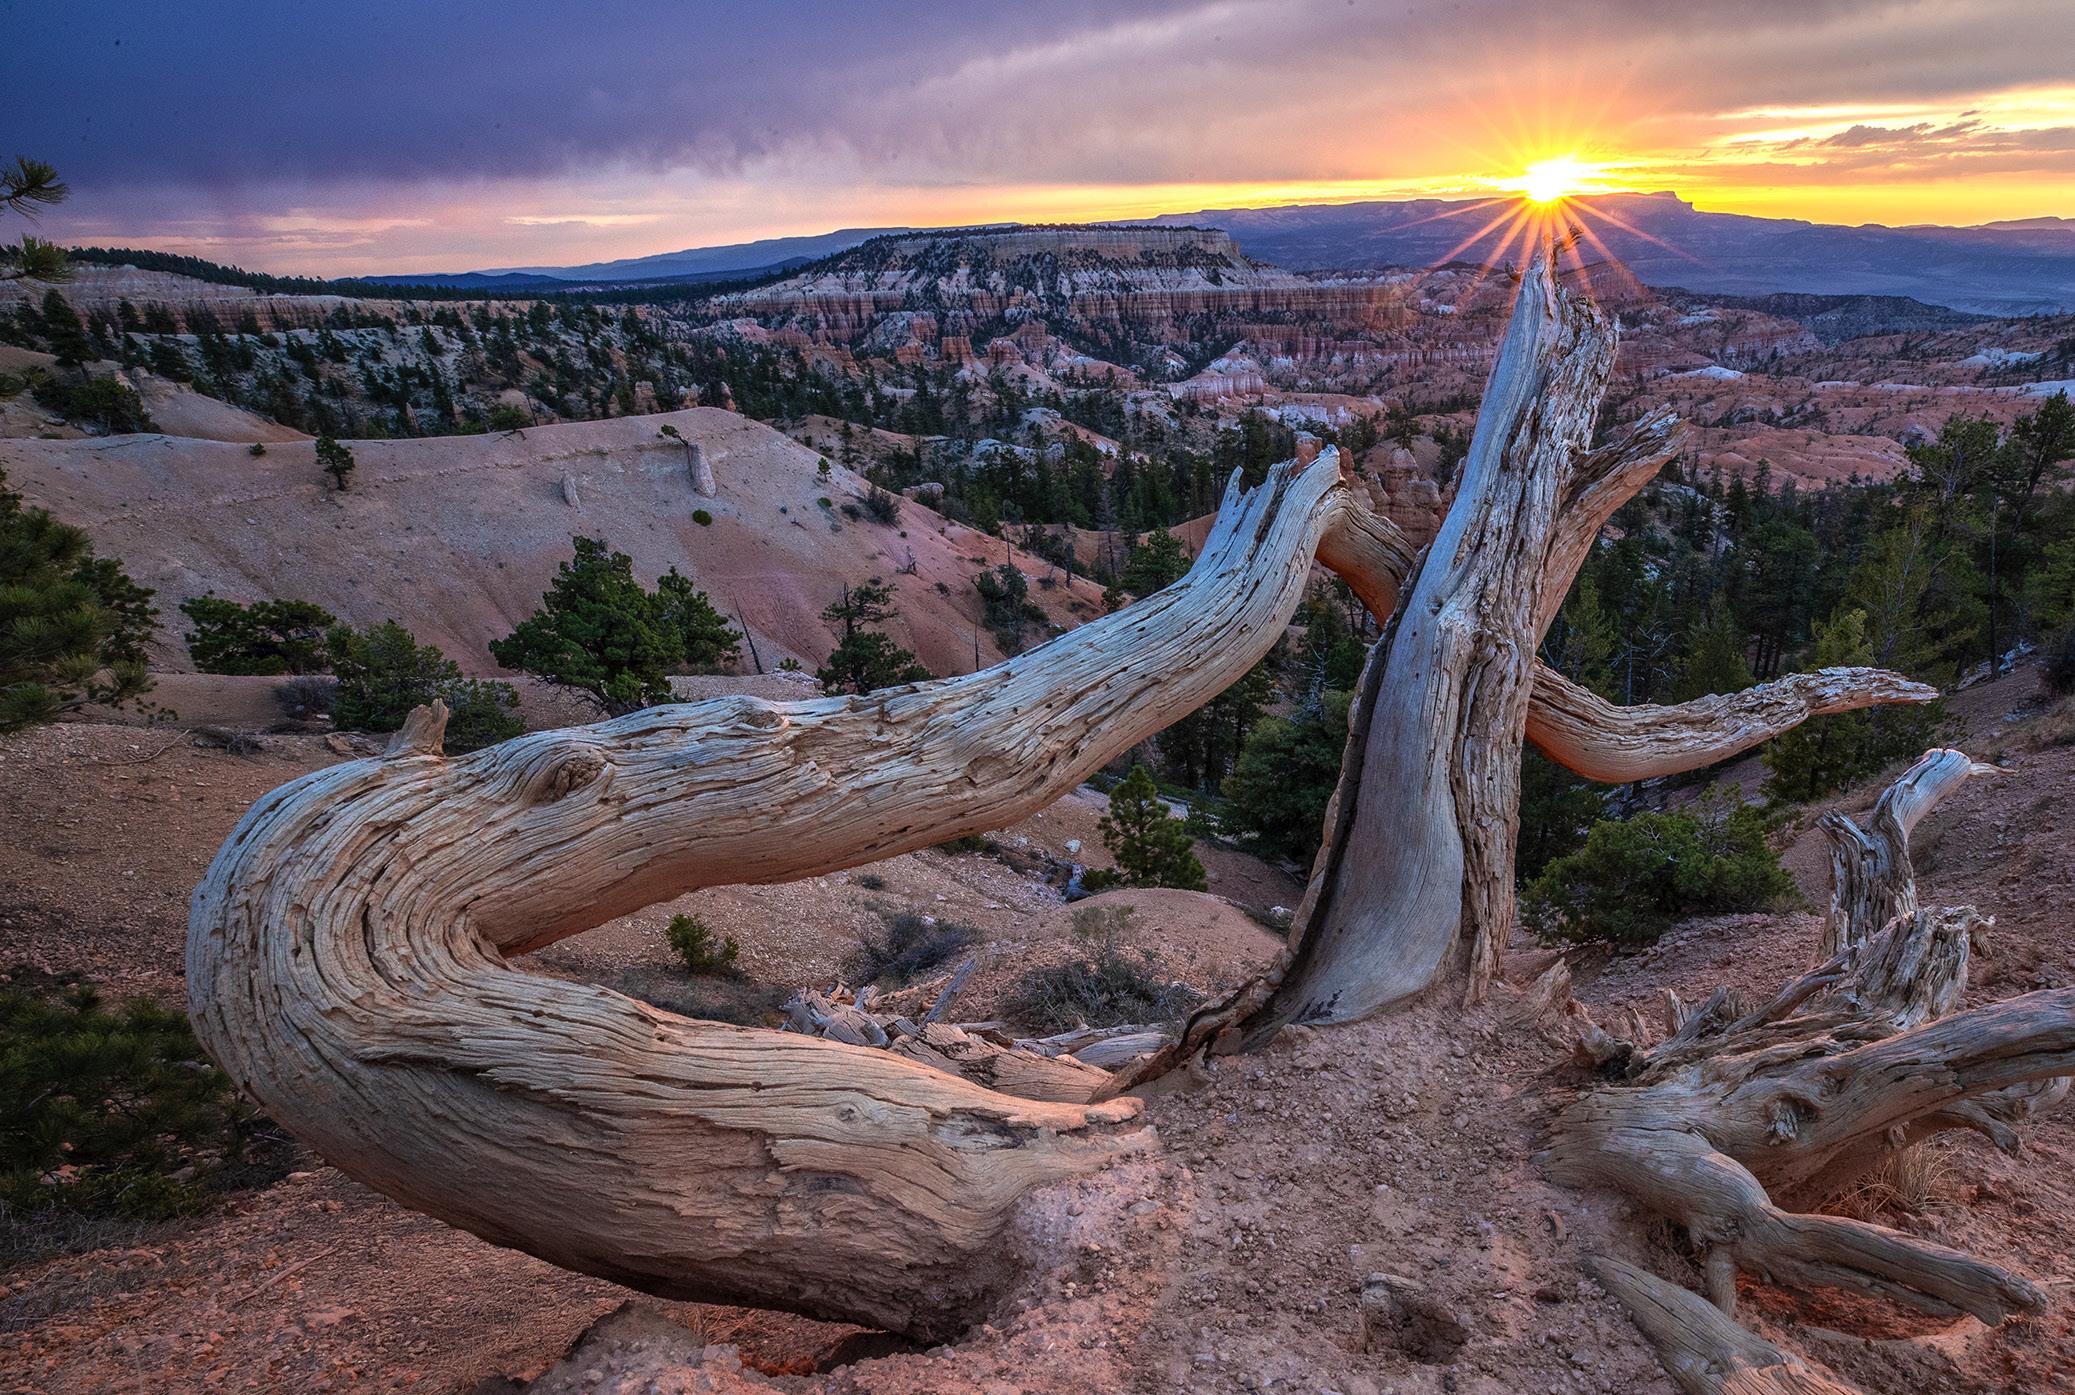
In this version, the scar of where the limb had been sawed off has been completely removed. In fact, you'd never know it had been there. Now the image is completely natural.
To do this, I used Edit > generative fill in Photoshop. First I selected the lasso tool and made a rough selection around the cut. It's important to include in the selection some of the surrounding area so Photoshop knows what image details to use in replacing the unwanted portion. Then, click 'generate' in the dialog box and the brilliant alogrithms in the software do the rest.
In the properties pallete that automatically opens during this process, you are given three variations to choose from. You may think all of them work, and it's also possible that none of them are quite good enough. In that case, in the properties dialog box, below right, click the icon consisting of four small squares and you will get three more variations.
On Safari: Kenya
March 22 - 31, 2026
SHORT AND SWEET
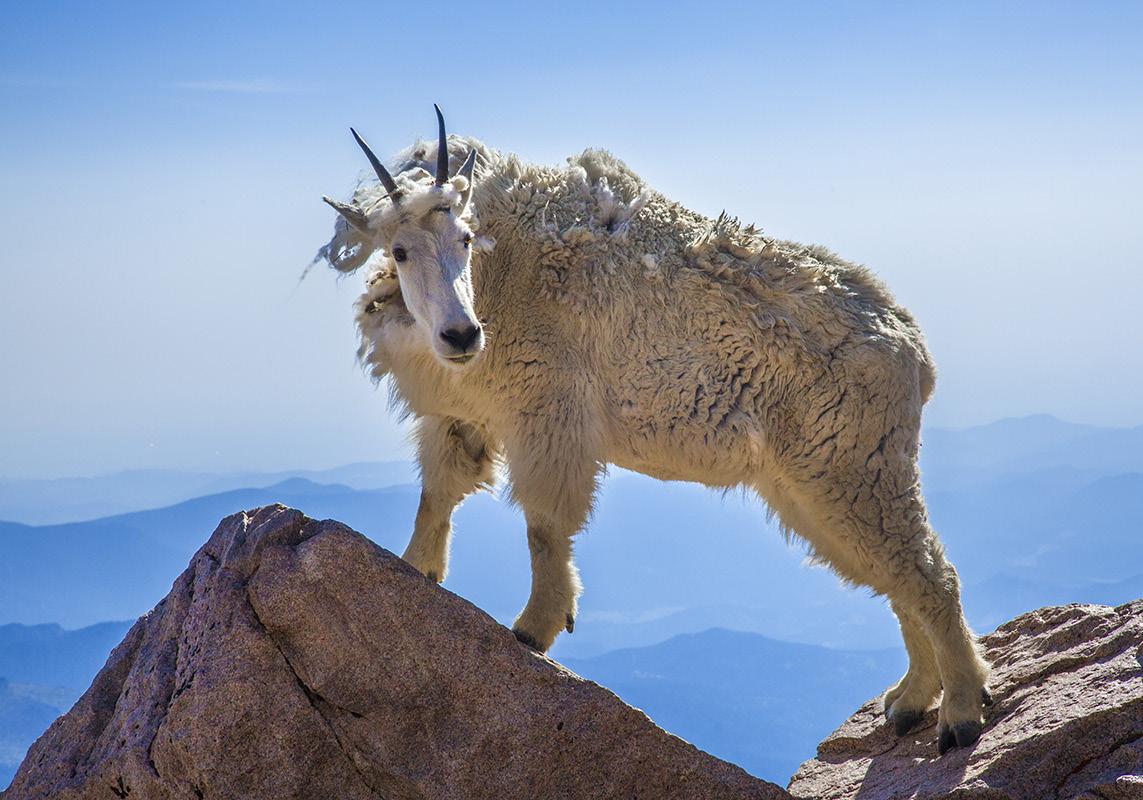
1. When shooting an opaque subject at midday with the sun illumimating from behind, you have to do work in post-processing to lighten the shadows and darken the highlights -- in other words, you have to mitigate the contrast to make the exposure look correct. I photographed this mountain goat on Mt. Evans, Colorado.
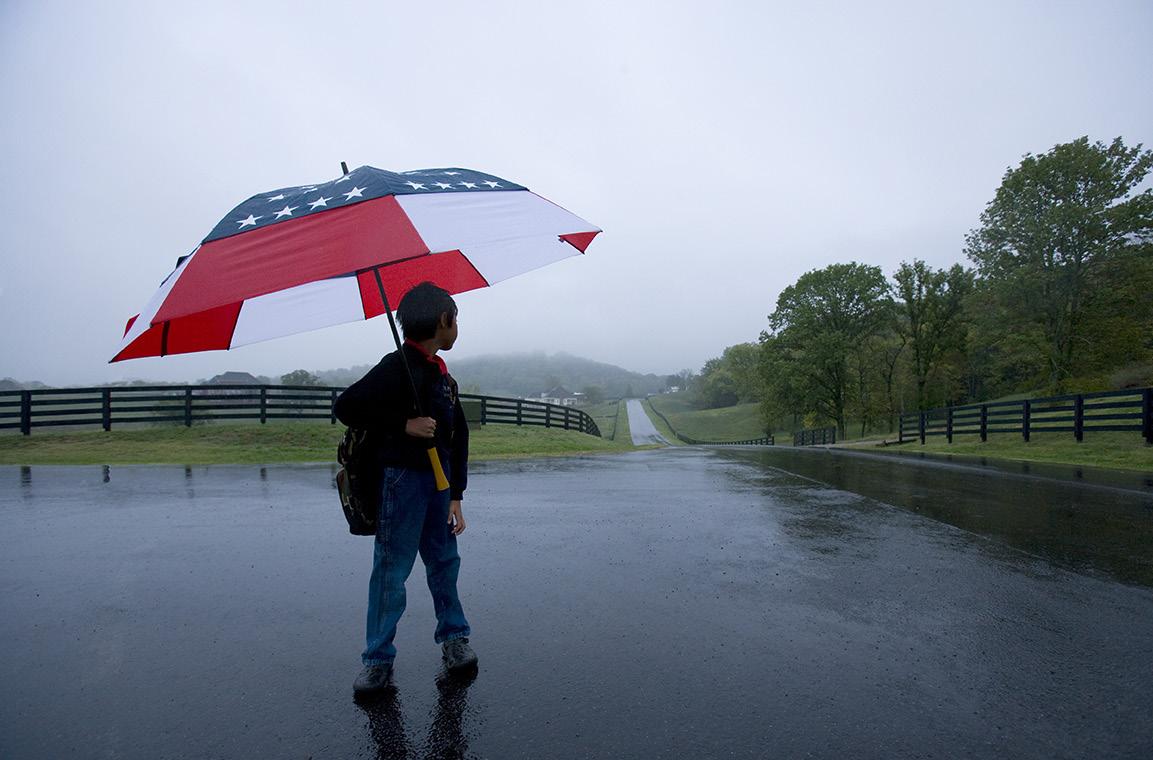
3. When using a wide angle lens, find an element in the scene that, when placed close to the shooting position, creates a dominant foreground that is pleasingly graphic. I shot this of my son when he was waiting for the school bus many years ago. I used a 24mm lens and stood about 6 feet from him.
2. When photographing cities and architecture, concentrate on compositions in which strong and bold graphic lines form the basis of the images. Here I used the amazing curves in the Walt Disney Center in Los Angeles as a dominant, graphic foreground and it makes a strong visual statement.
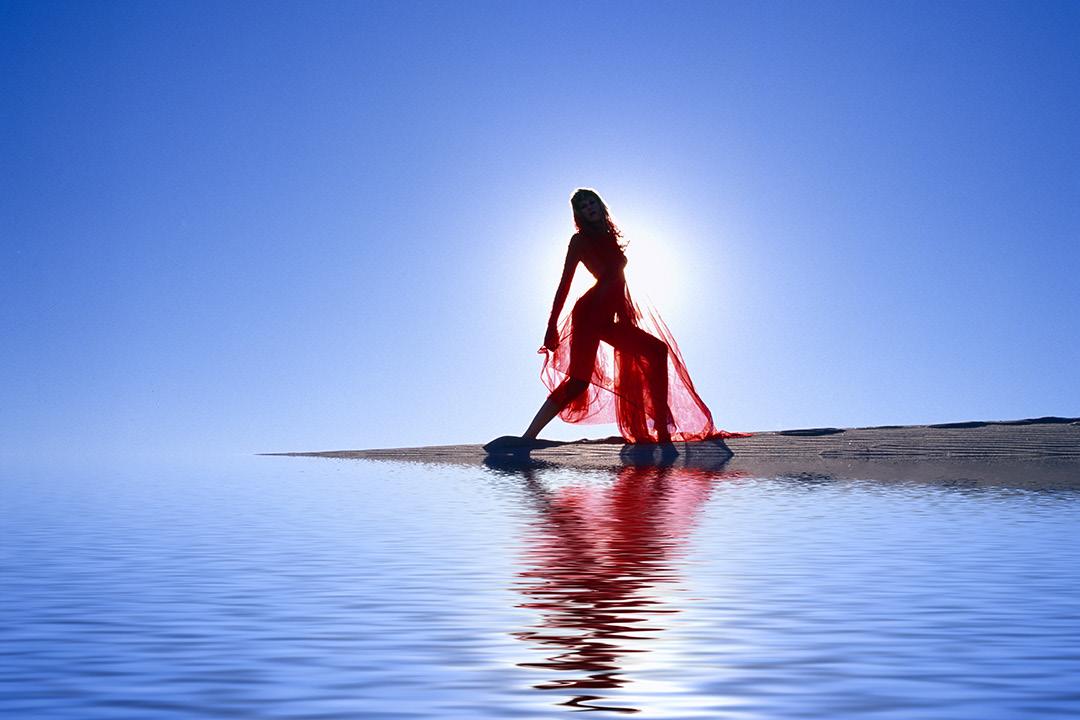
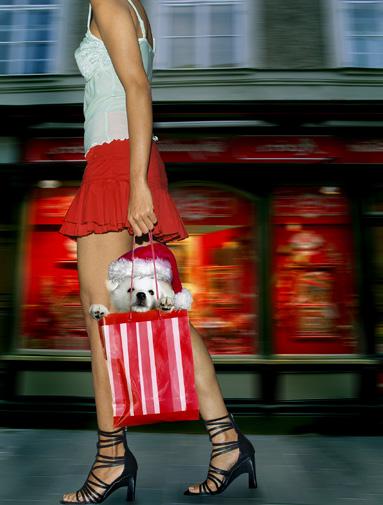
4. The Photoshop plugin, Flood, made by flamingpear. com, is one of the most creative tools I know. It makes realistic reflections anywhere. I photographed this model in Death Valley, California, which is obviously desert. There was no water at all. The software created the body of water and the reflection. §
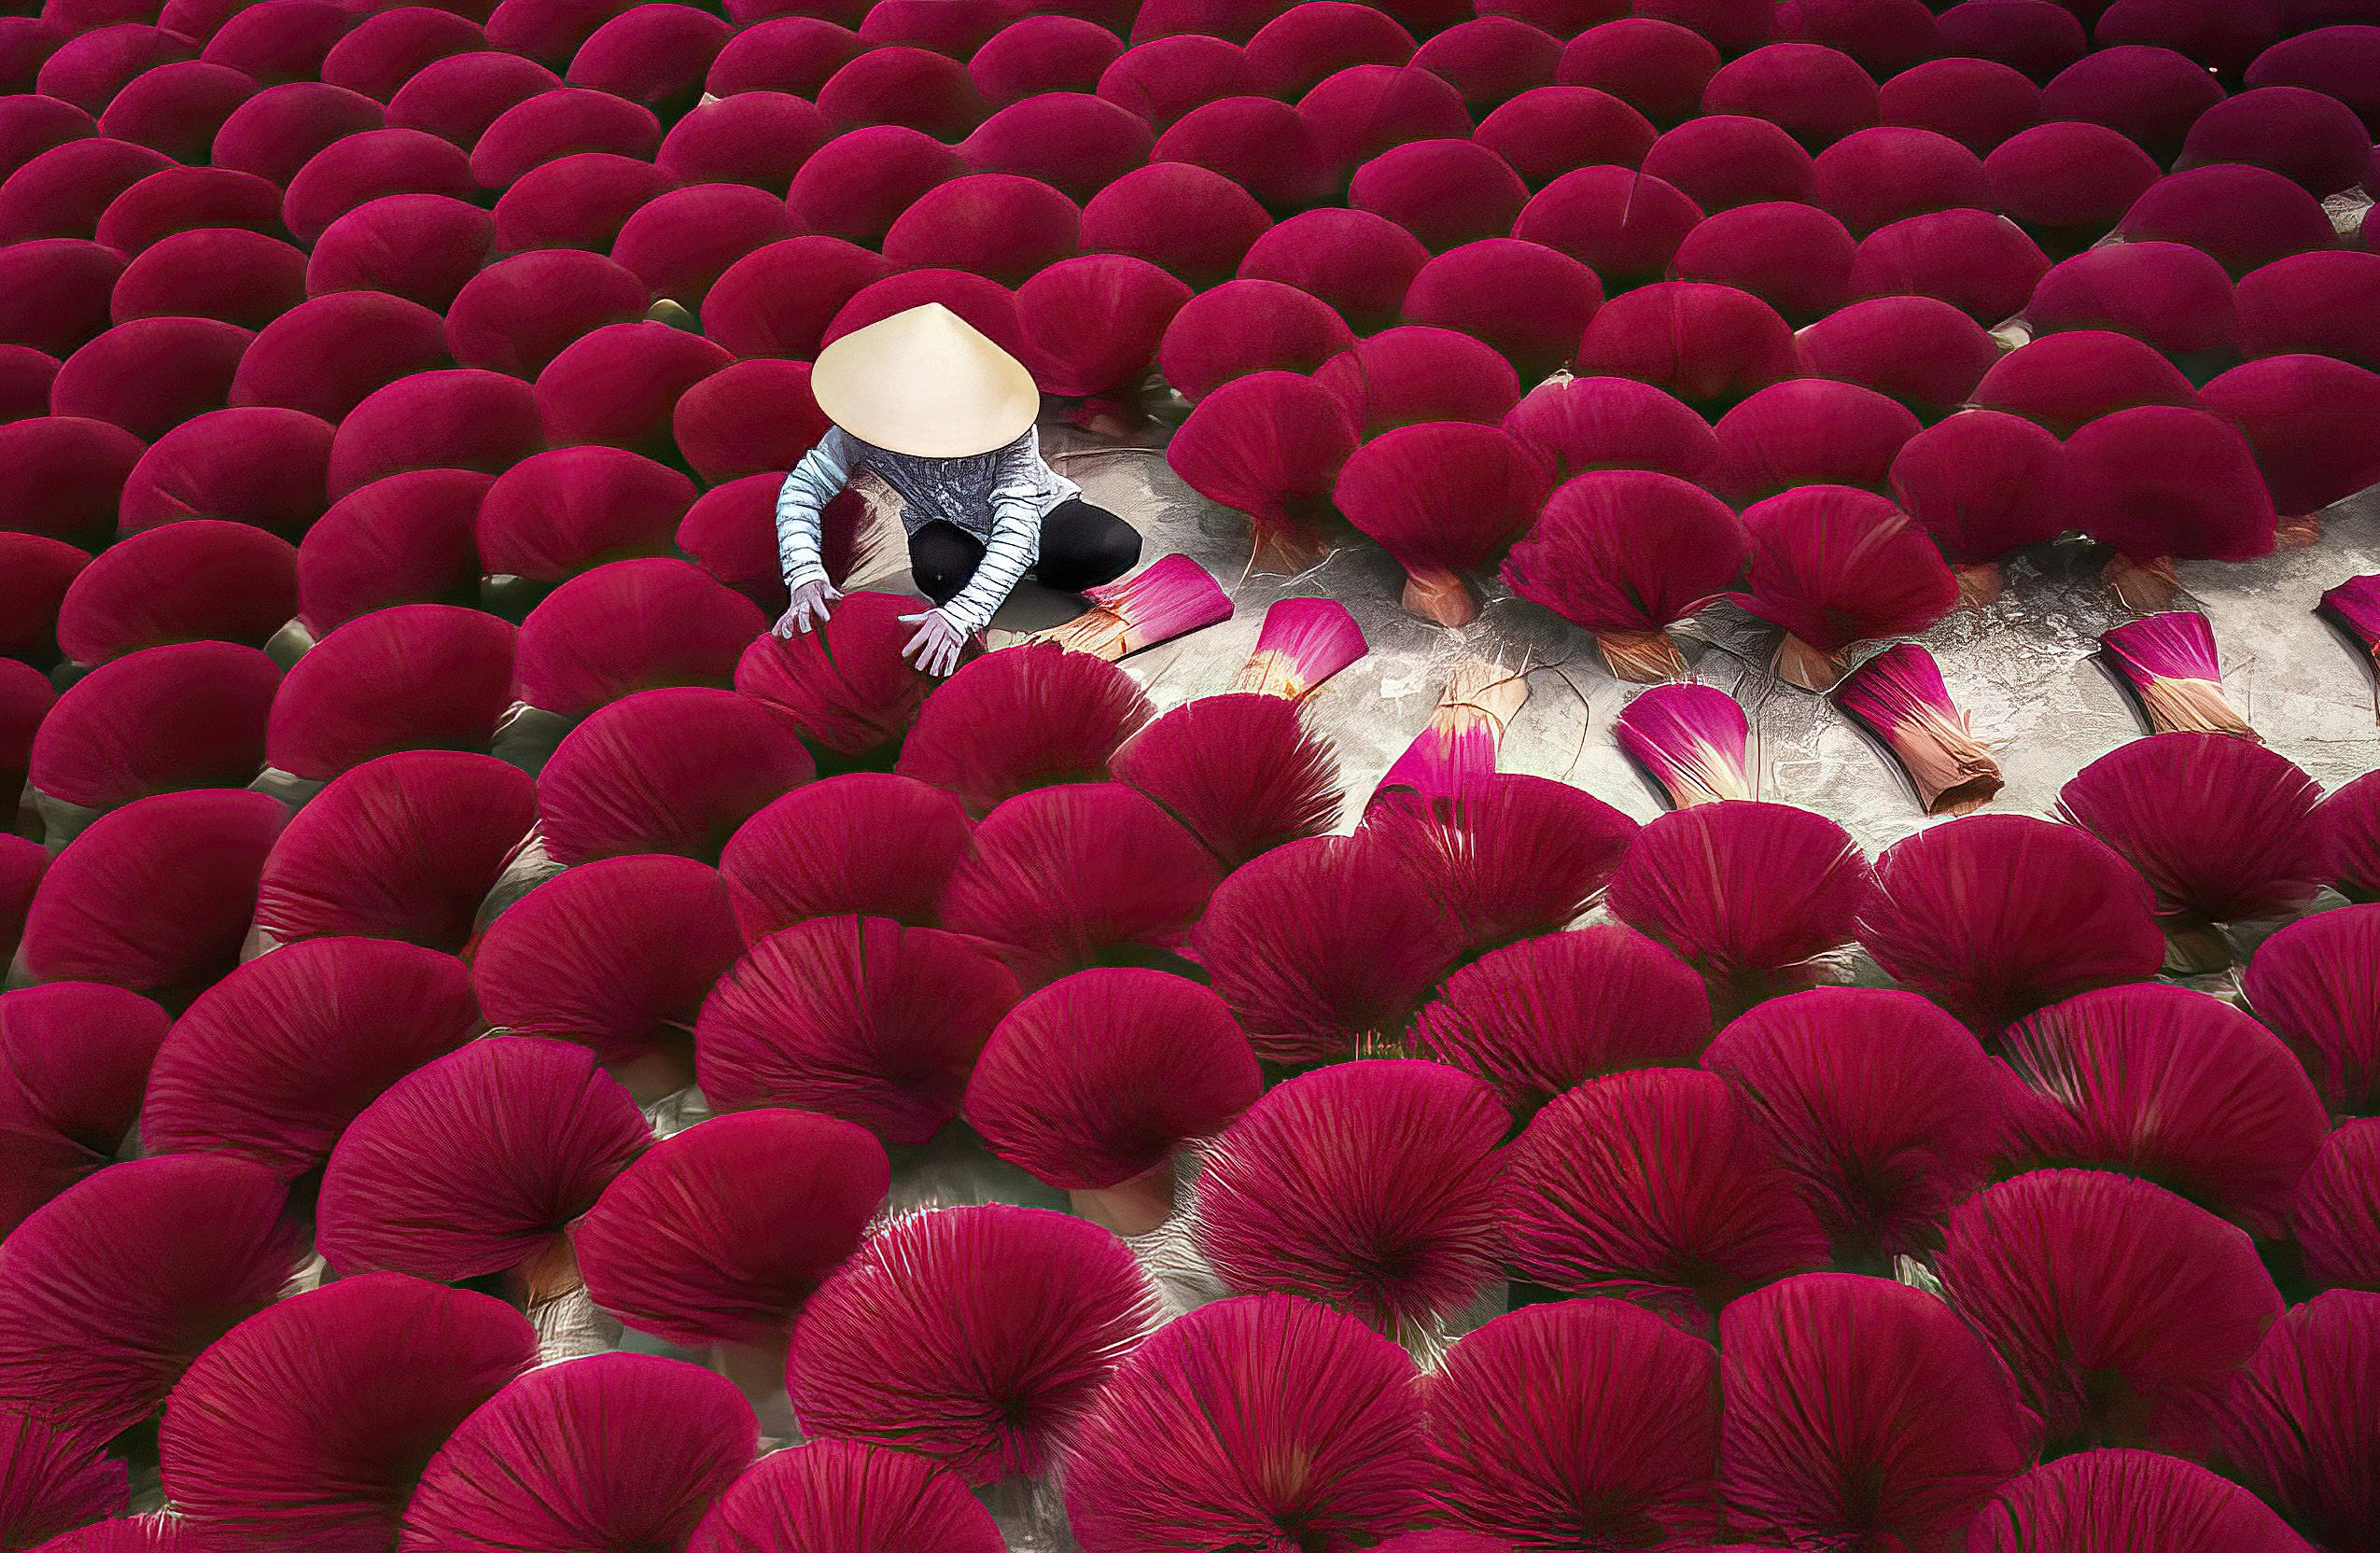
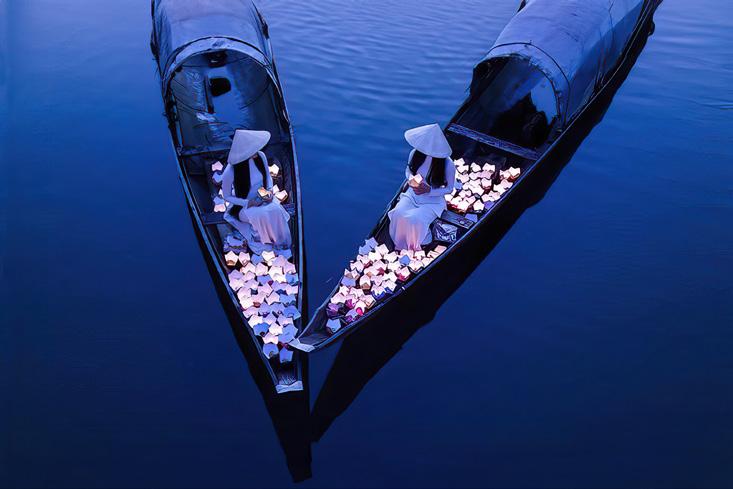
Vietnam Photo Tour
October 13 - 23, 2025
ASK JIM
Every month, Jim answers a question from his online students, from people who participate in his tours and workshops, or from subscribers to this magazine. If you have a question you’d like Jim to answer, please drop him a note at photos@jimzuckerman.com.
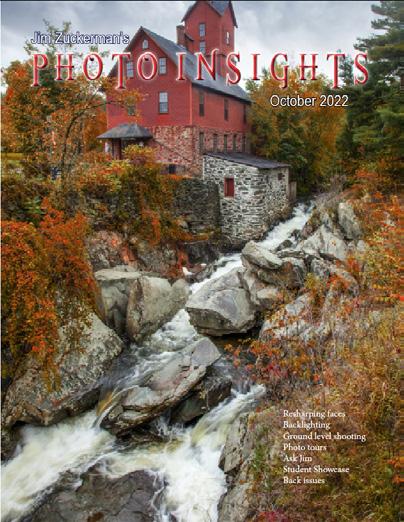
Q: Jim . . . I took this shot in Vermont many years ago with film. Due to the time of day and the light, the scene was very contrasty and the shadows became black. Is there a way in Lightroom or Photoshop to make this image better?
Jim McGuckin, Hartford,
Connecticut
A: You can open this image in Adobe Camera Raw or Lightroom and use the 'shadows slider' to open the shadows to some degree. But if you go too far, the image will fall apart. Raw files from digital cameras have tremedous dynamic range which, essentially, means you can bring out shadow detail. But with scans of transparencies or negatives, you just don't have that kind of latitude. §
Each month, Jim features one student who took beautiful and inspiring images on one or more of his photography tours or workshops. It’s really fascinating how photographers see and compose such different images even though we may go to the same places. Everyone takes great photographs on Jim’s trips.
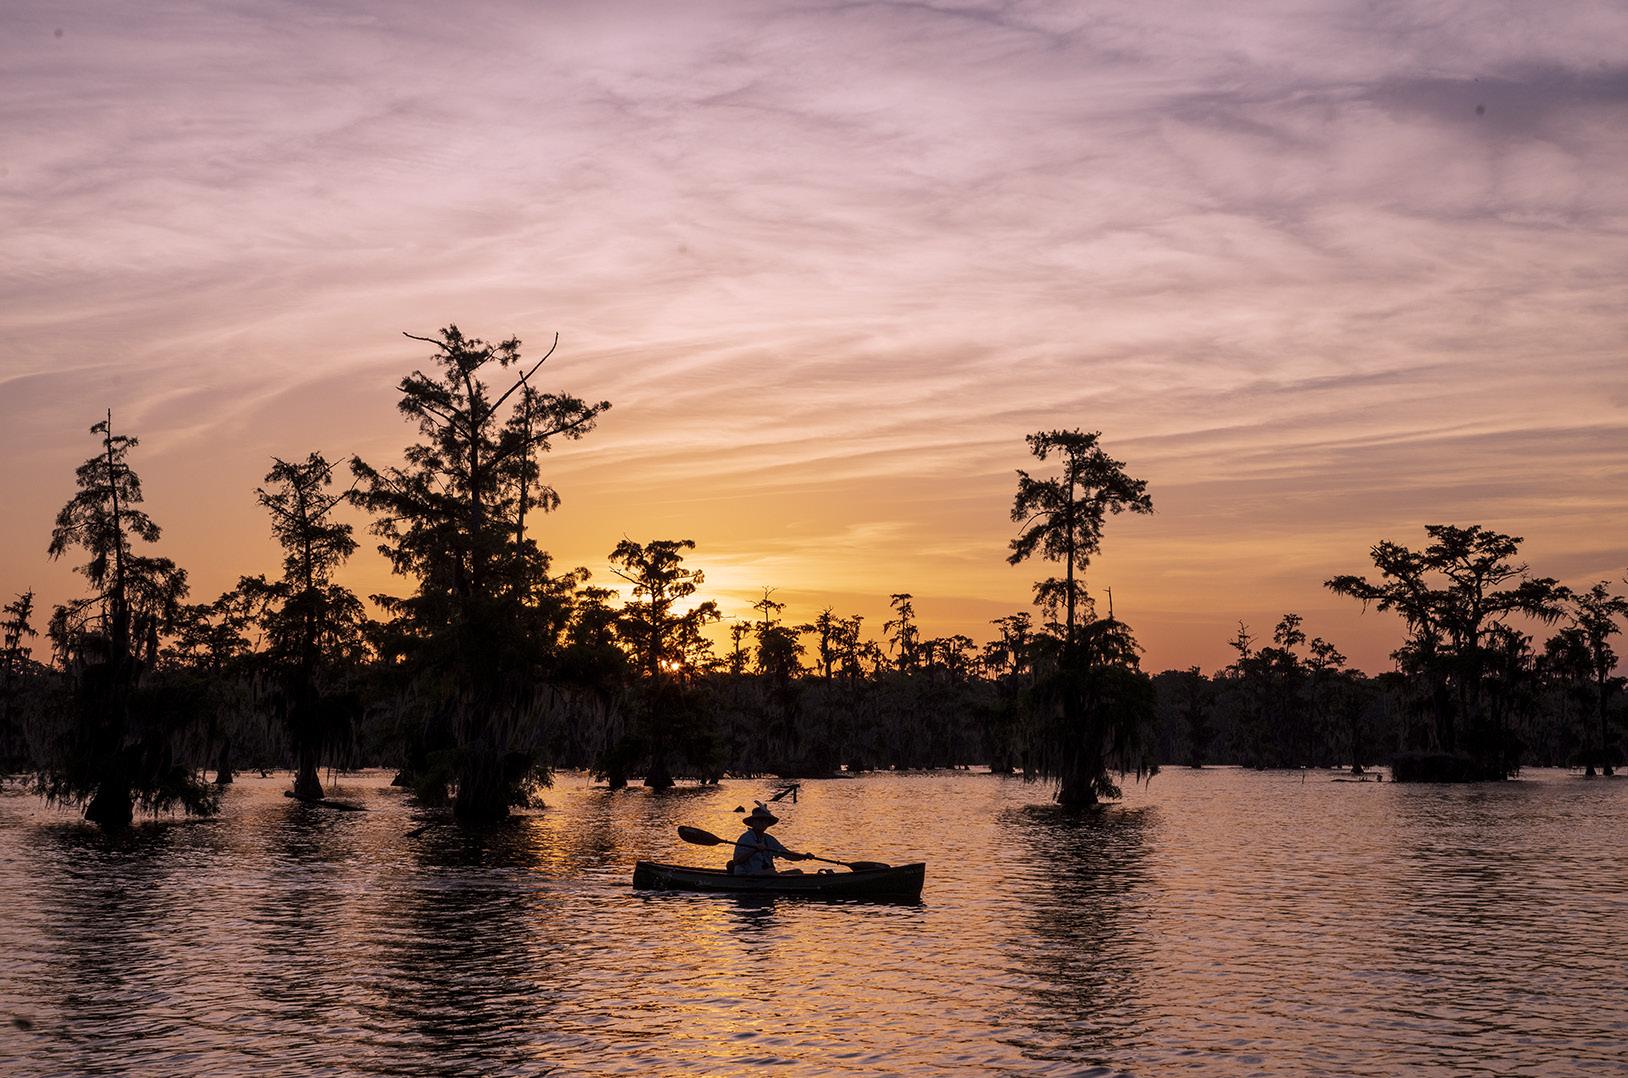
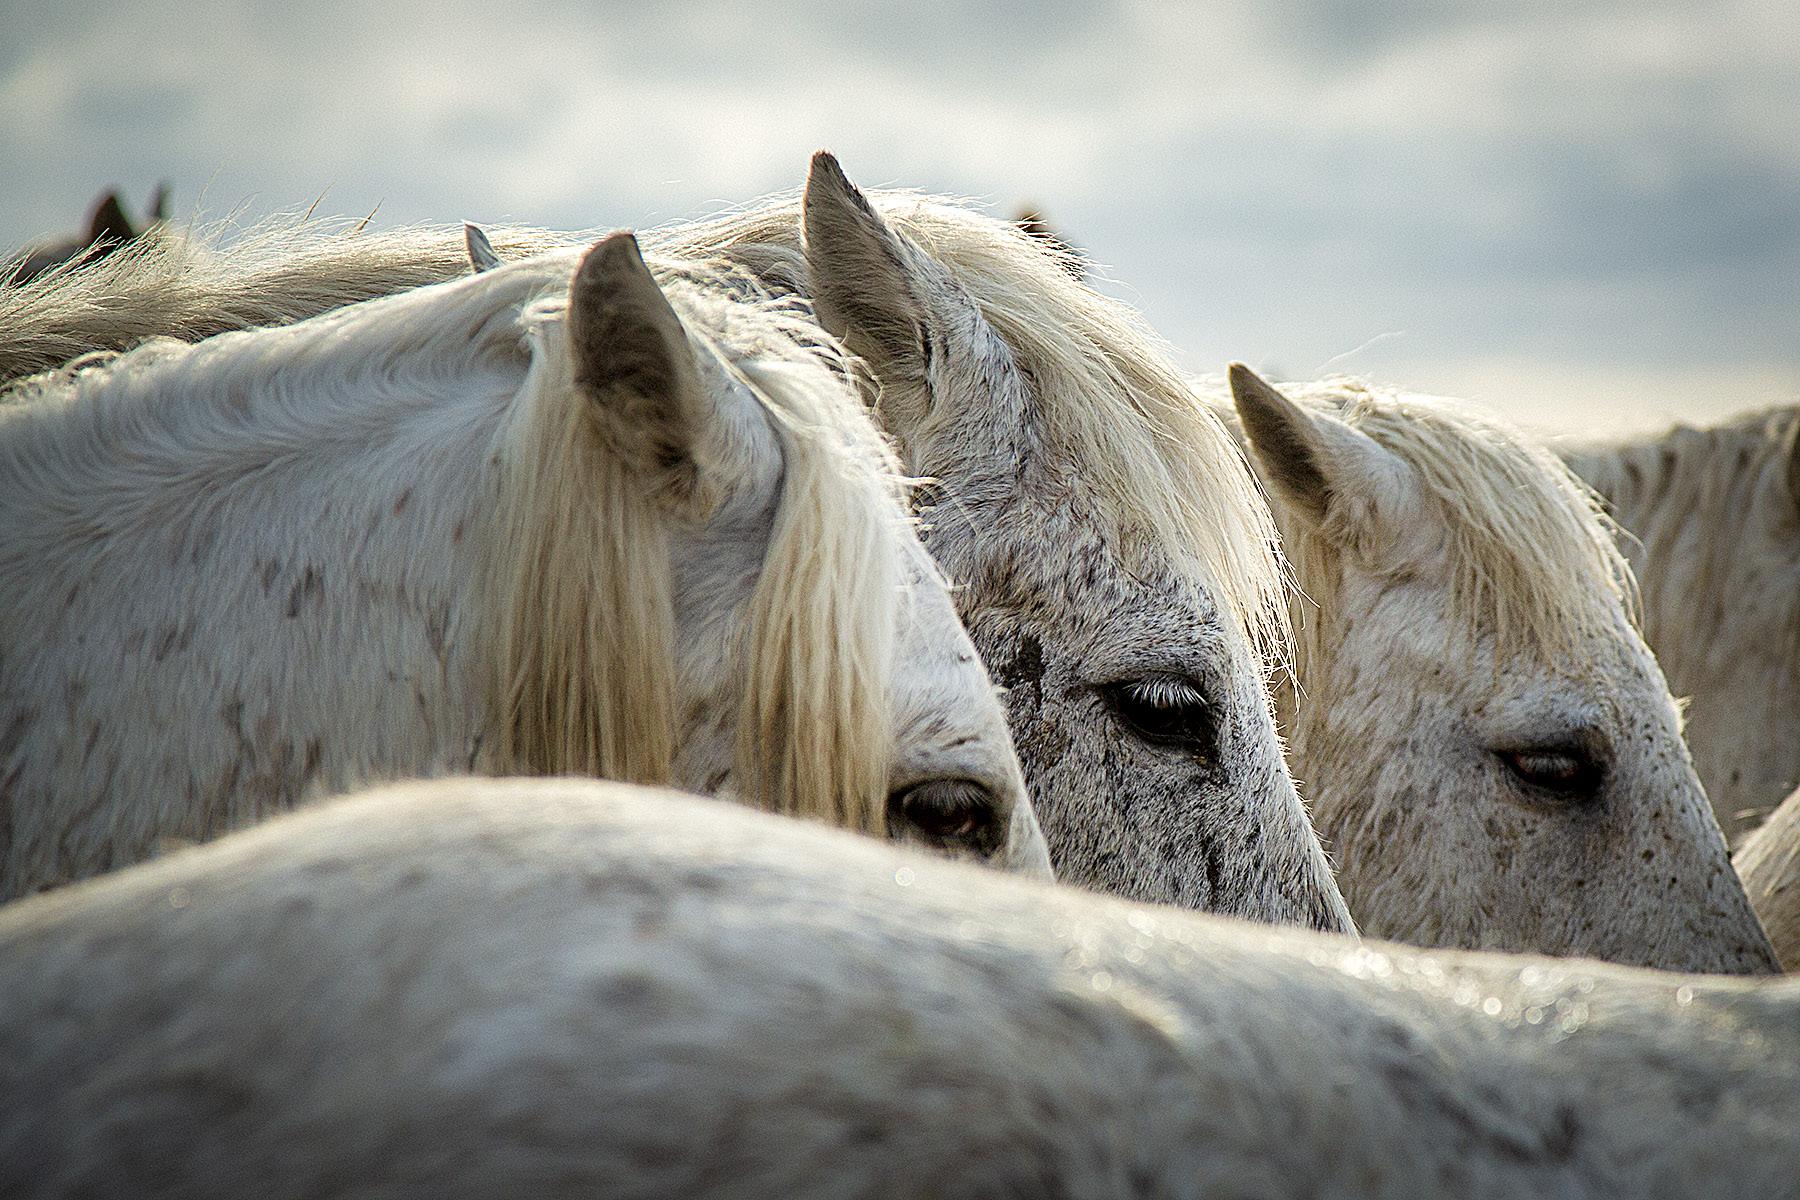
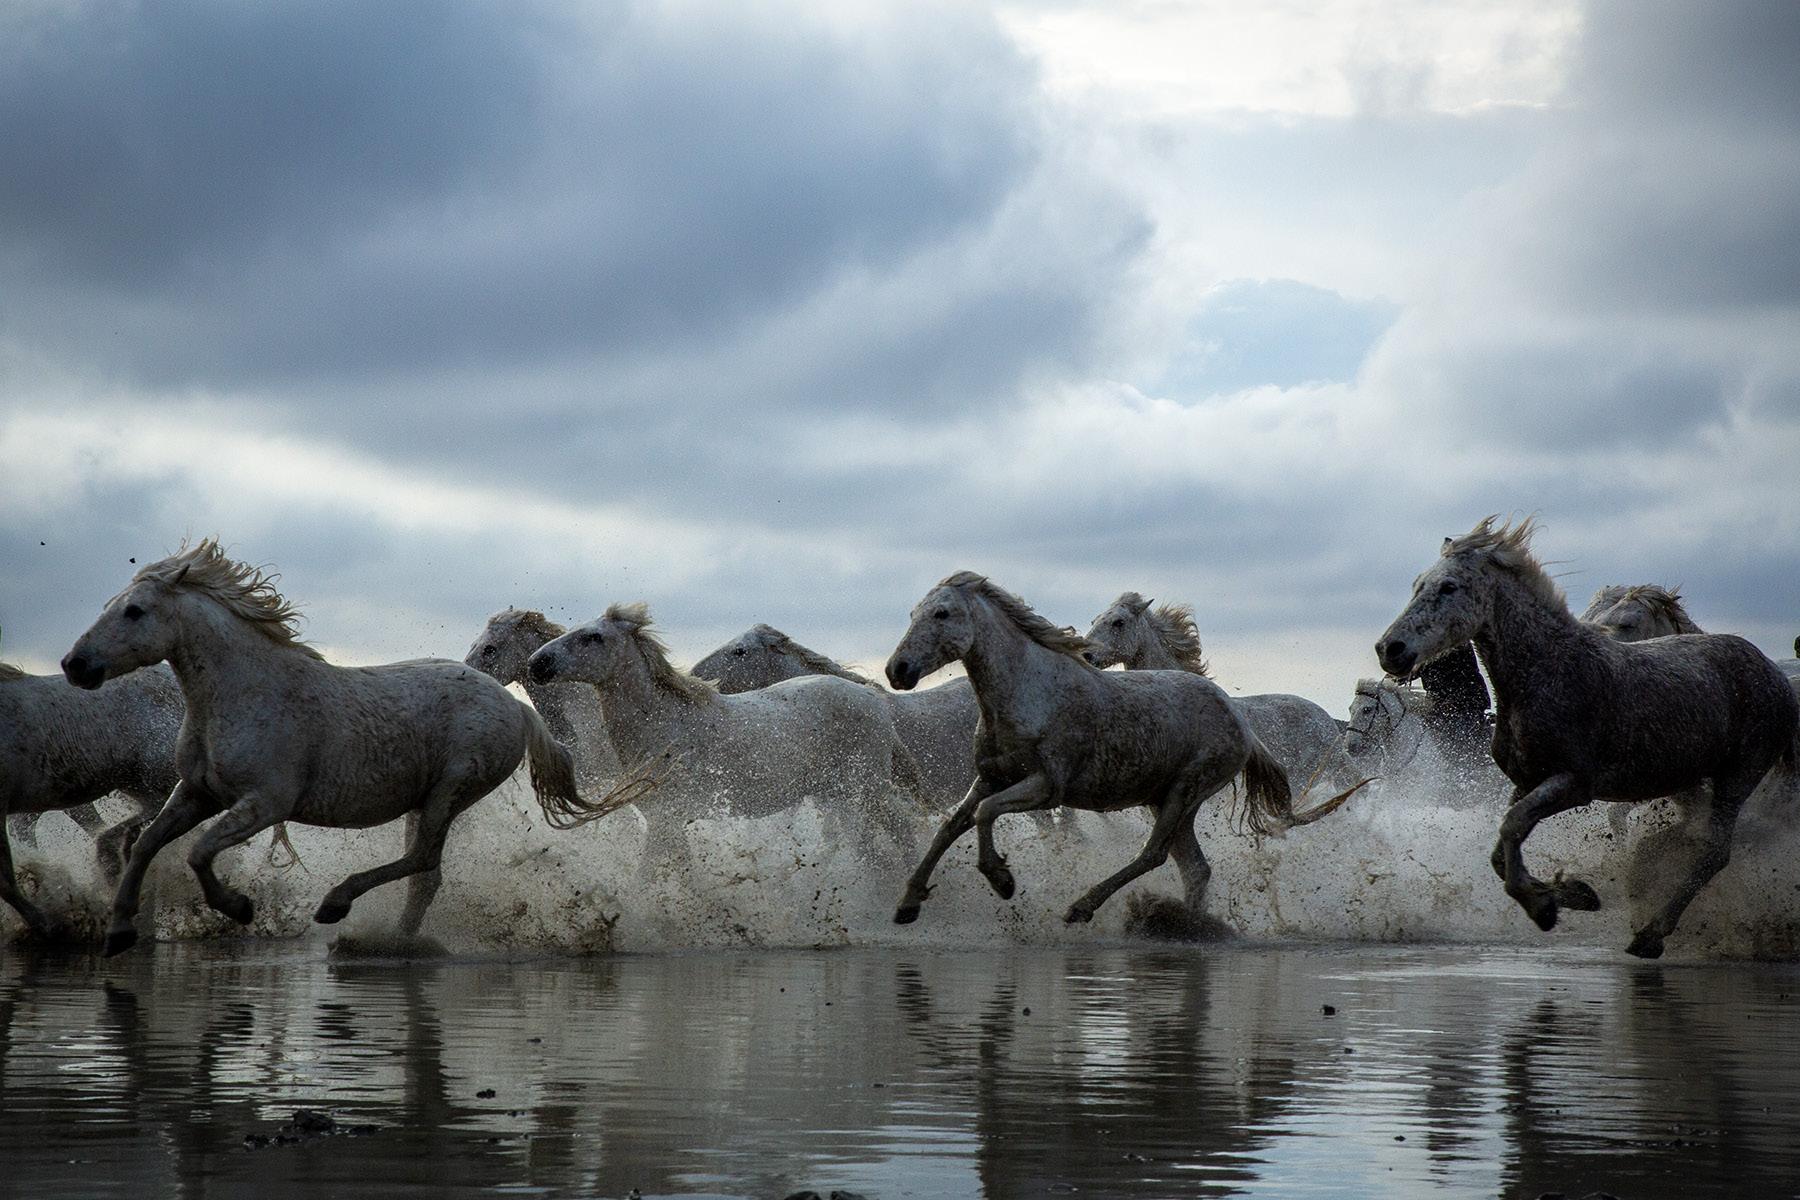
Jackie Stoken, West Des Moine, Iowa Paris/London photo tour, Frog and Reptile workshop, White Horses of the Camargue, Louisiana Swamp tour, Iceland drone tour.
1. a 2. a 3. a & b 4. c 5. d 6. a 7. b 8. a 9. c 10. b Your score 90% - 100%: You could have been a pro 80% - 89%: Your glasses probably need a new prescription 70% - 79%: Just don’t quit your day job < 70%: You should really be using an iPhone