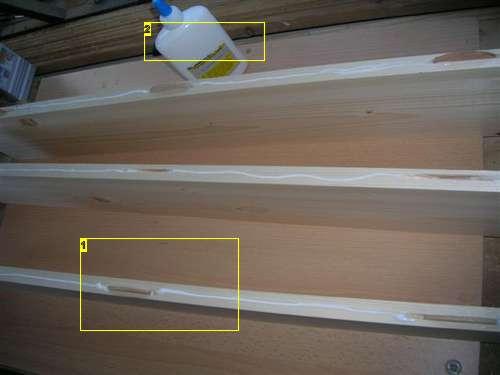
Image Notes 1. Biscuits ready with glue. Use glue roller to get good glue coverage. 2. PVA glue
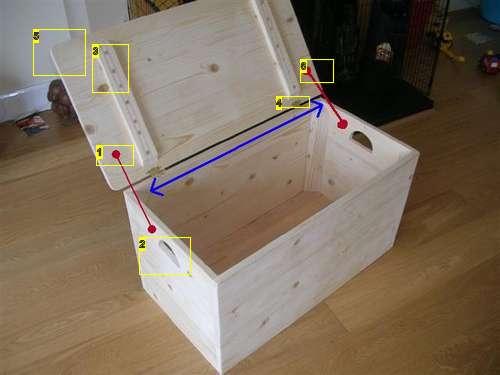
Image Notes 1. Clamp pulling joints together. Use 2 on each side, I have only one in this image. 2. Clamps on flat surface pressing glued joints down. 3. This is the length part of the box
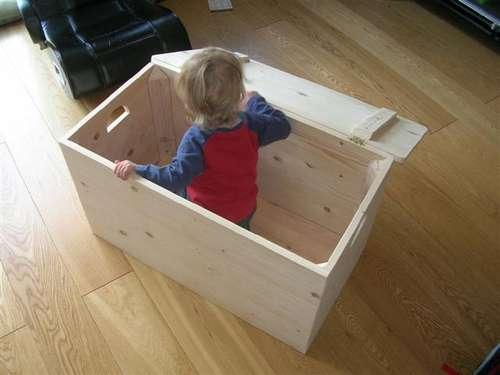
Image Notes 1. This is the width part of the box.
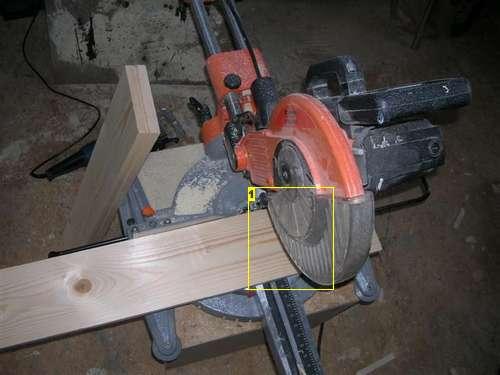
Step 3: Cut support angles Here I used 2*2 timber cut in the center with my mitre saw to create the support angles for the inner box. Screw 2 screws in an angle to support the timber. keep the screws away from the path of the blade. The support timber is for your own safety, keep your hands AWAY from the blade. The corner of the 2*2 should by aligned with saw blade. When cutting make a few passes on the 2*2 don't force the blade in one go. Cut angle end (for decorative purpose). Sand the 4 angles.