


Login (one time password OTP and Username and Password)
If your concern is about security, OTP is best practice.
1. Click Login in top right of the Ideal website
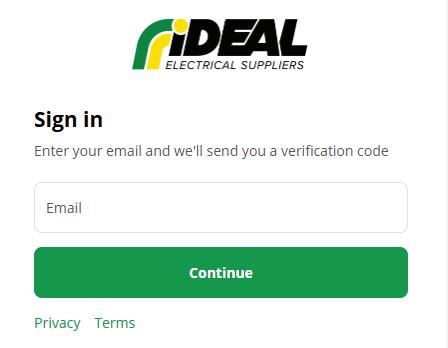
2. Enter your email address that is associated with the account
3. Enter the one time email code or choose login with password
4. If you’re setting up a password for the first time, you will need to enter your email to confirm your email address is attached to the account number.
5. You can login with a code at anytime, handy if you forget your password and don’t have time to reset it.

Steps on how to log-in
1. Click on Login located in the top right corner of the website
2. Enter your email address that is associated with your Ideal Account.
3. Enter how you would like to login. Either with a 6 digit code or a traditional password. Note: when you setup a password originally you will be sent a one off 6 digit code to validate your email address.
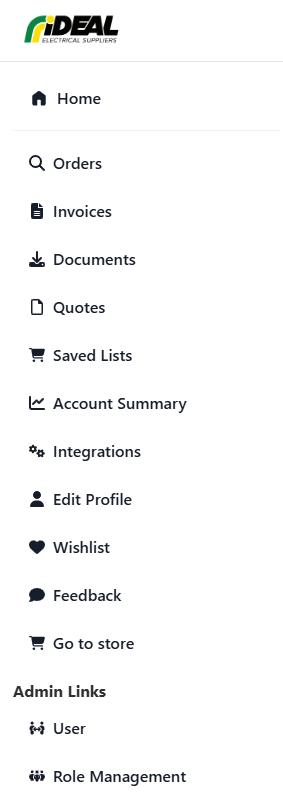
4. You’ll be logged into your portal by default
5. Click Go to store, to access all products and digital tools!
2
Steps - Once you are inside the portal add a user by following the below steps.
1. Cick on users in the bottom left corner
2. Click on “Add new”
3. Fill in all of the fields with the correct role
4. Select “Send Welcome Email”
5. Click Submit
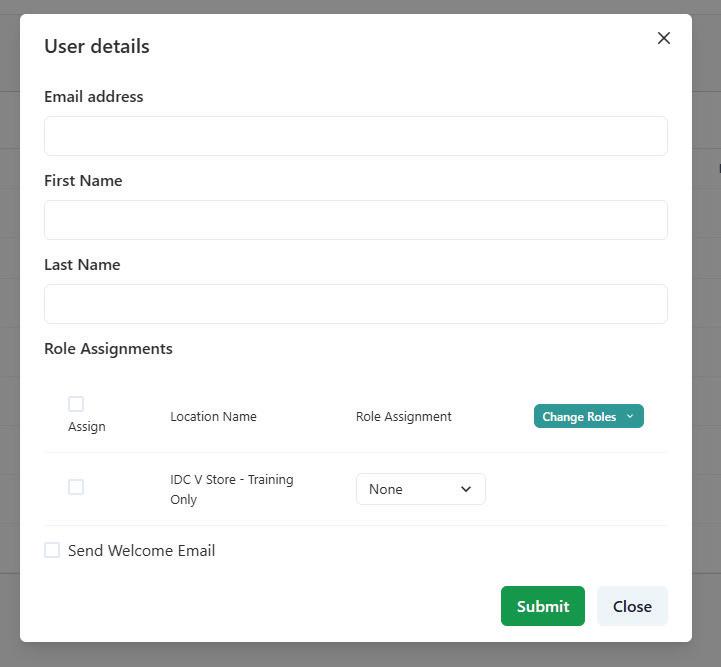
Note: Sending a Welcome Email enables the new user to login directly into your account
Note: To see how to integrate a direct connection see page 18
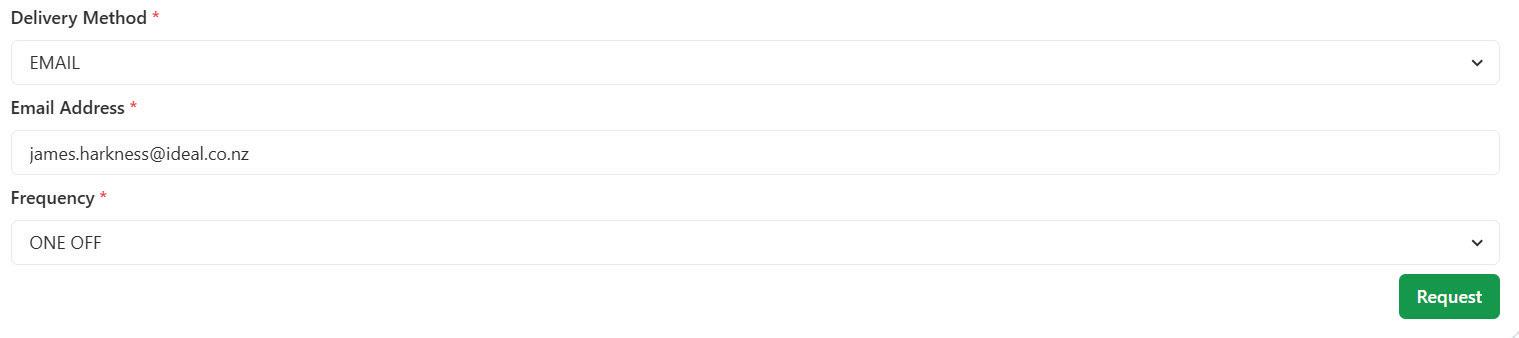
Steps - After logging in
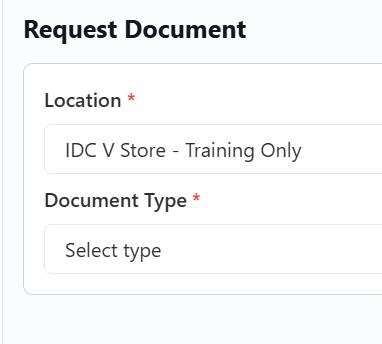
1. Select Documents in the portal.
2. Select the Location and Document Type, either invoice or price file.
3. Select the format you want the invoice or price file to be in
4. Select the date range by typing in the date or by clicking on the calendar icon highlighted in blue in the below image
5. Add more emails
6. Click “Request”
Note: To see how to integrate a direct connection see page 18

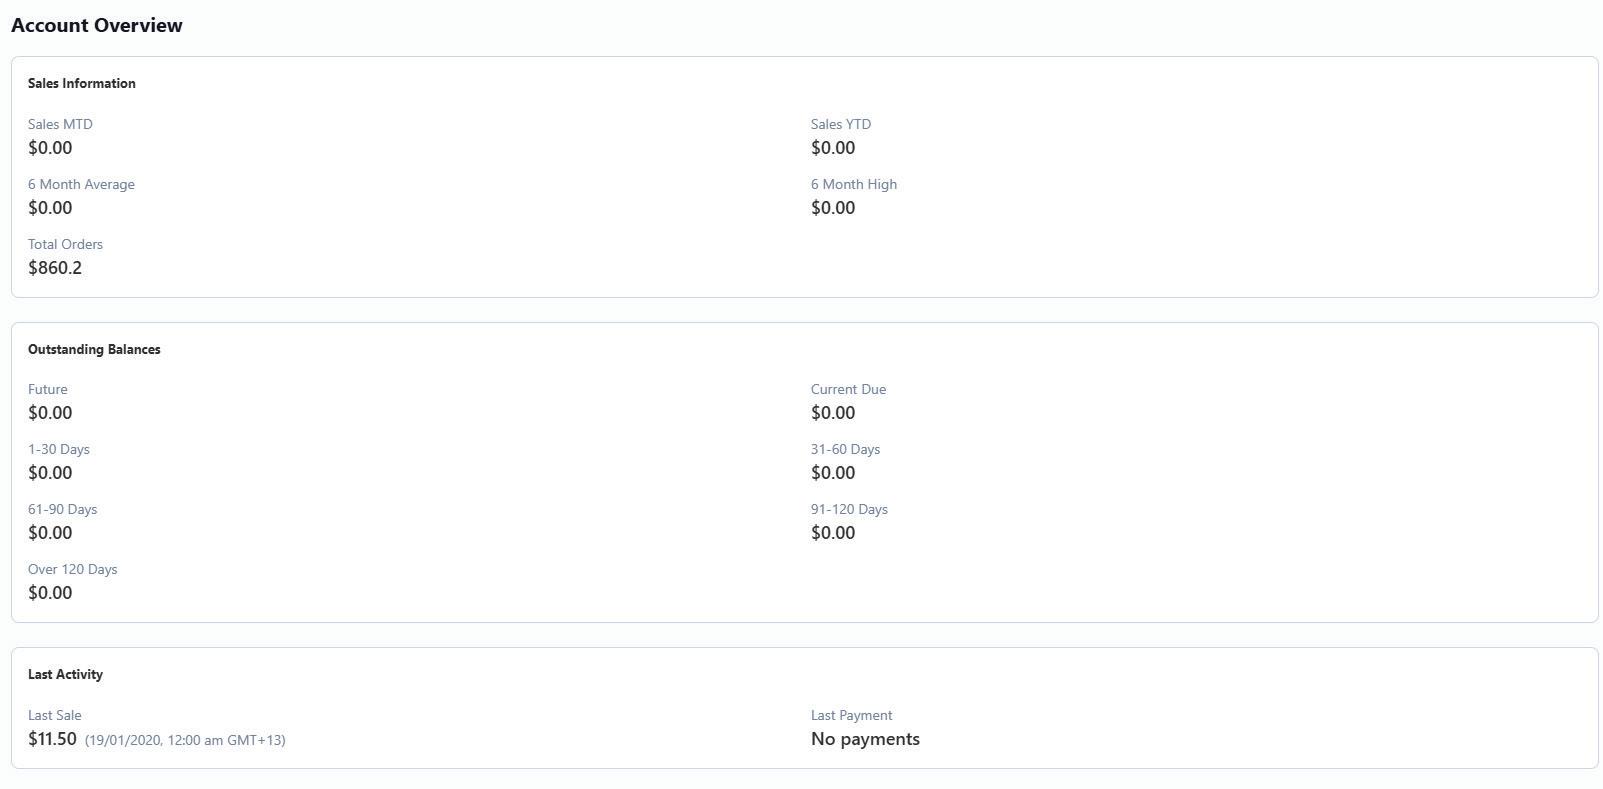
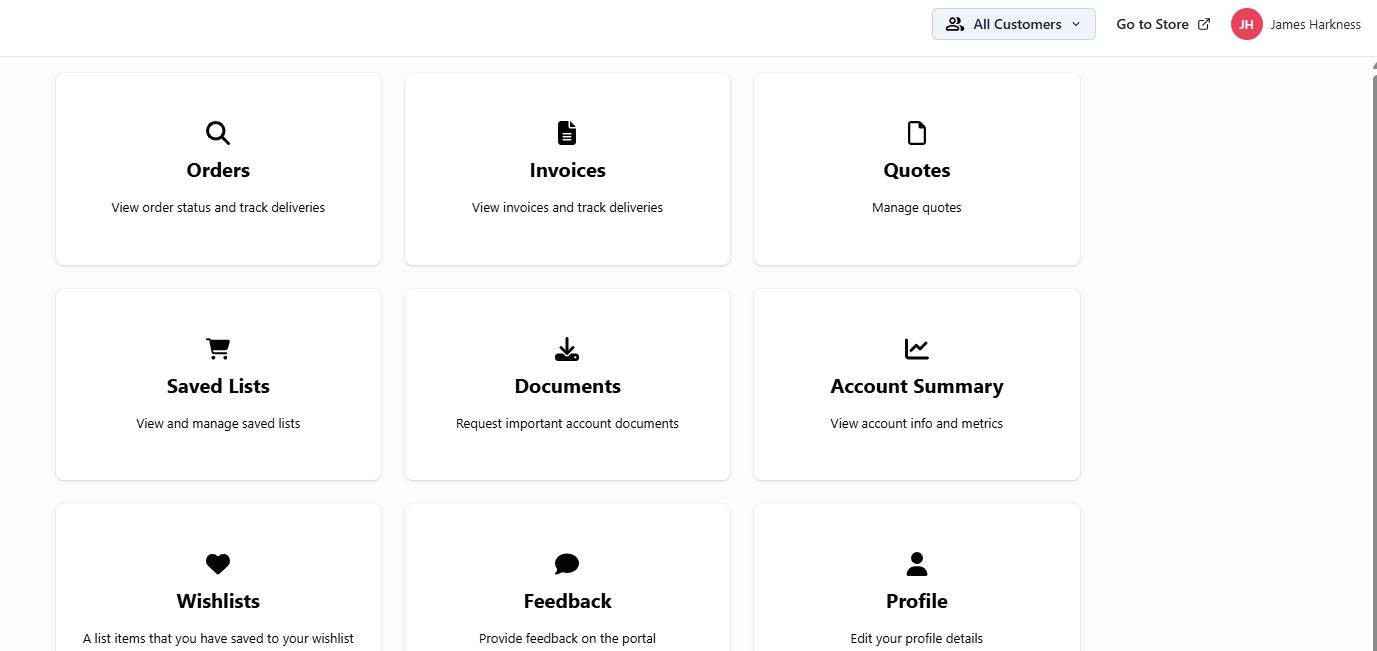
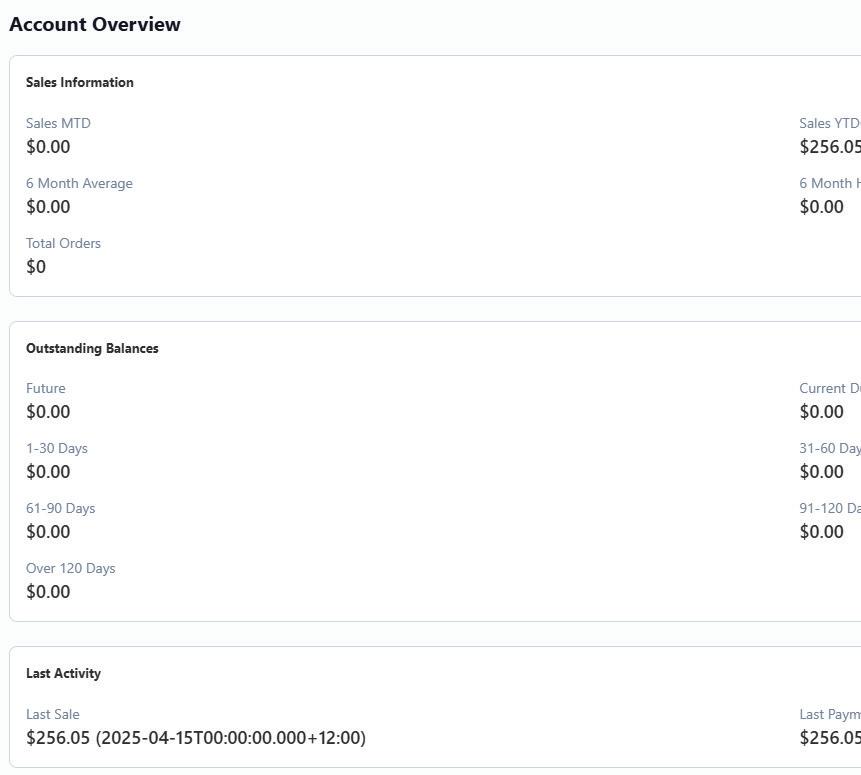
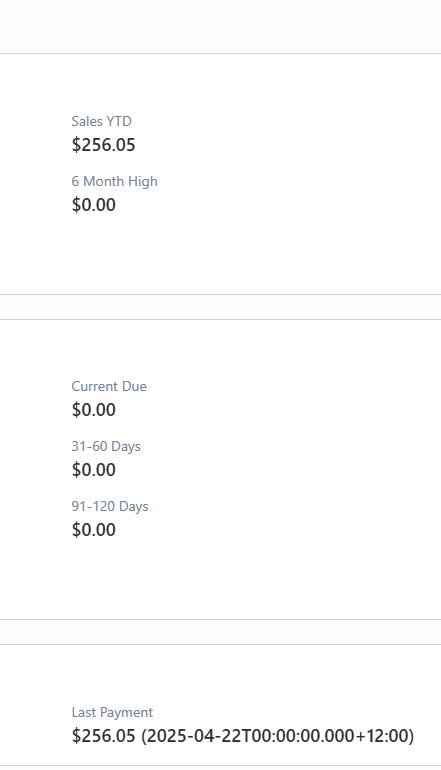
Steps after logging in 1. Select Account Summary
2. You can then see your sales MTD & YTD any outstanding balances and your last sale & payment.
Steps - after logging in - from cart
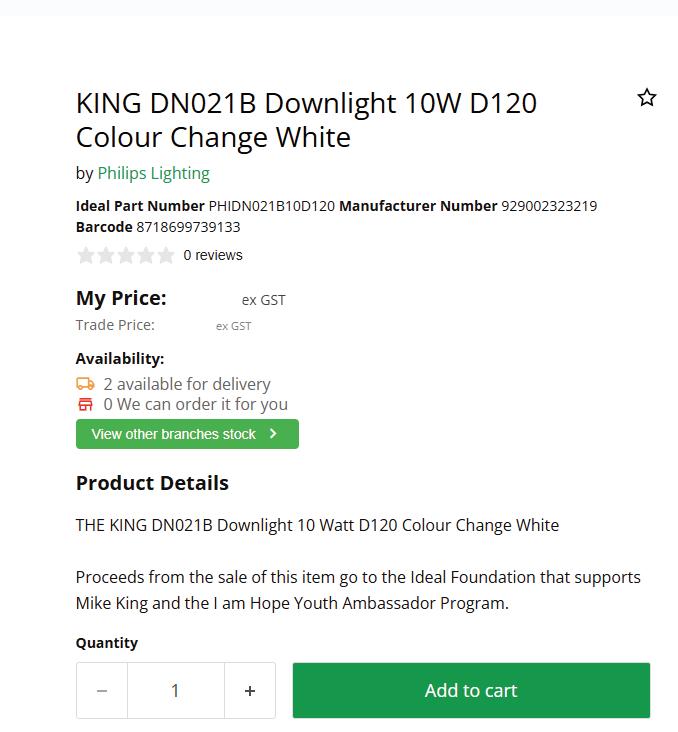
1. Search for the product/s you want to add to the new saved list
2. Click Add to cart on the product
3. Go to the cart
4. Click Save List
5. Click Save as new
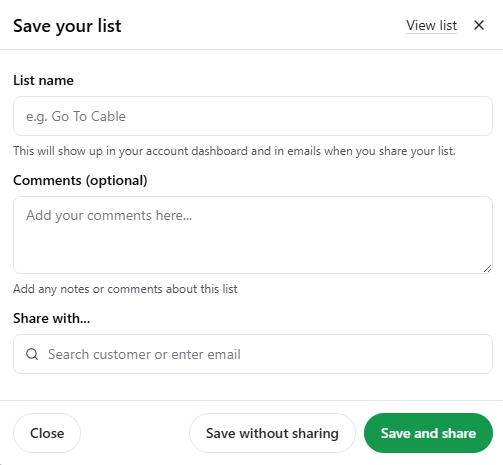
6. Name the Saved List
7. Share with other people within the business (optional)
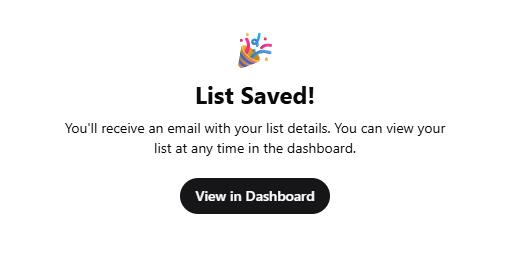
8. Click Save and share or Save without sharing and you’re done!
Steps after logging in - Create from Order
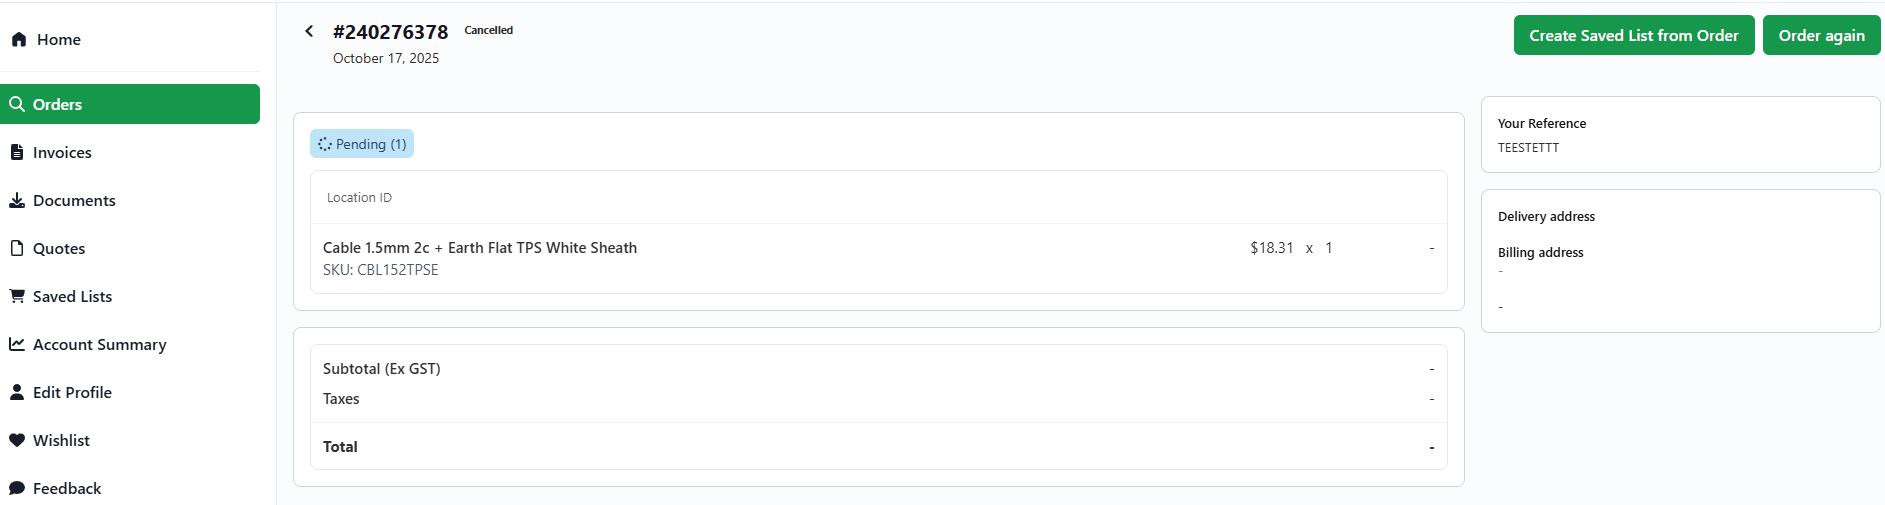
1. Go to your Orders screen
2. Click on the order you would like to create a saved list from
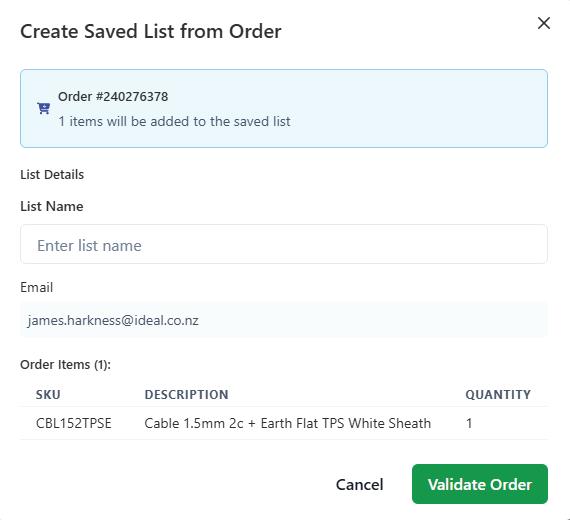
3. Click Create Saved List from Order button
4. Name the Saved List
5. Click Validate Order
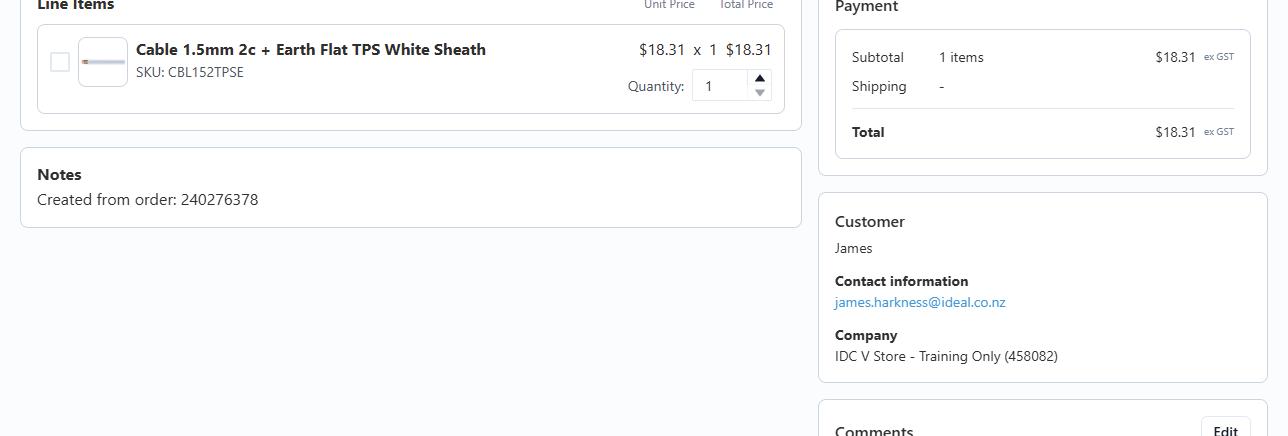
6. Click Create Saved List, it will take you directly to the saved list. You’re done!
7. From there you can share, distribute, add to cart and download a PDF.
Steps after logging in - Quick Add
1. Navigate to the Saved Lists screen
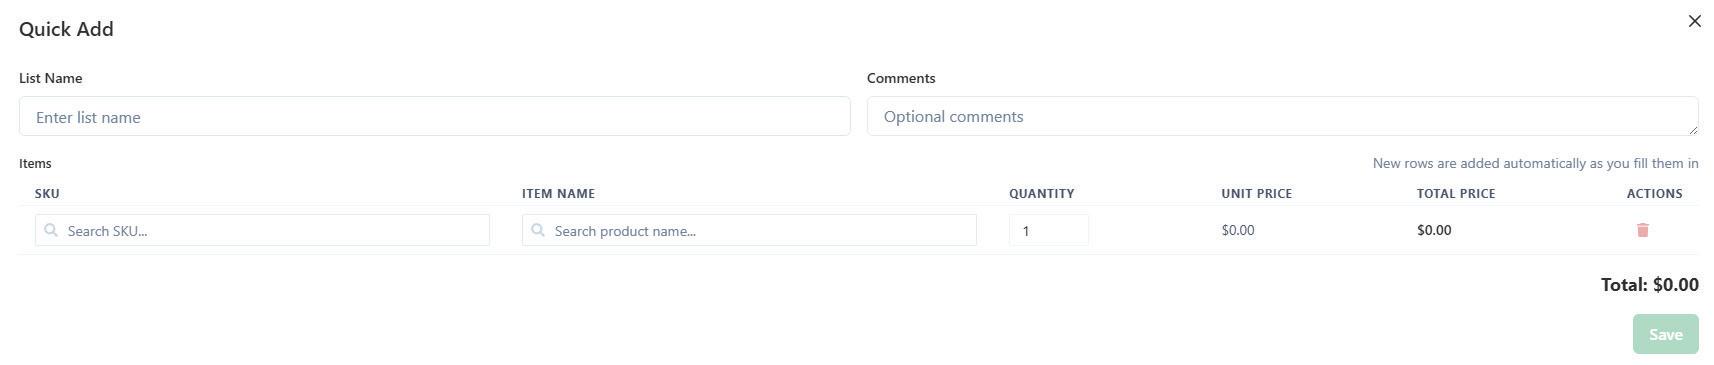
2. Click on Quick Add in the top right corner
3. Enter the Saved list name
4. Add any comments about this Saved List
5. Search for the Ideal Part Number, Manufacture code or product name in the SKU field
6. Adjust the quantity you need to save on the saved list, this will update the total price.
7. Click Save and you’re done!

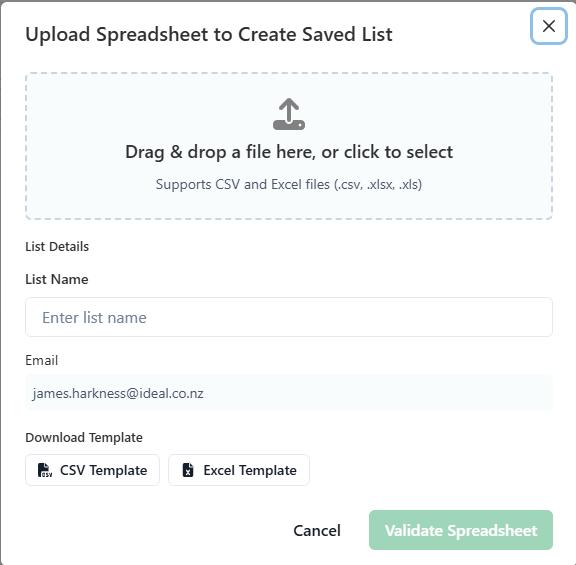
Steps after logging in - Upload CSV or Excel file
1. Click on Saved Lists
2. Click the Upload button
3. Type in a name for your list (e.g. “Weekly Orders” or “Top Sellers”)
4. Download the CSV or Excel template provided on the page.
5. Open the file and fill in the SKU (product code) and quantity in the correct columns.
6. Save your file, then go back to the website and click Validate Spreadsheet
7. Once validated, click Create Saved List — and you’re done!
Steps - Share a Saved List within your account portal
1. Inside of the Saved List, click Share

2. Enter the emails (one at a time) on which user you want to send the saved list to. Customer has to be within the account you’re impersonating
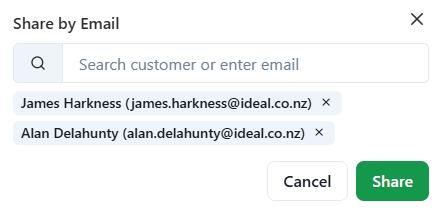
3. Click Share - and you’re done!
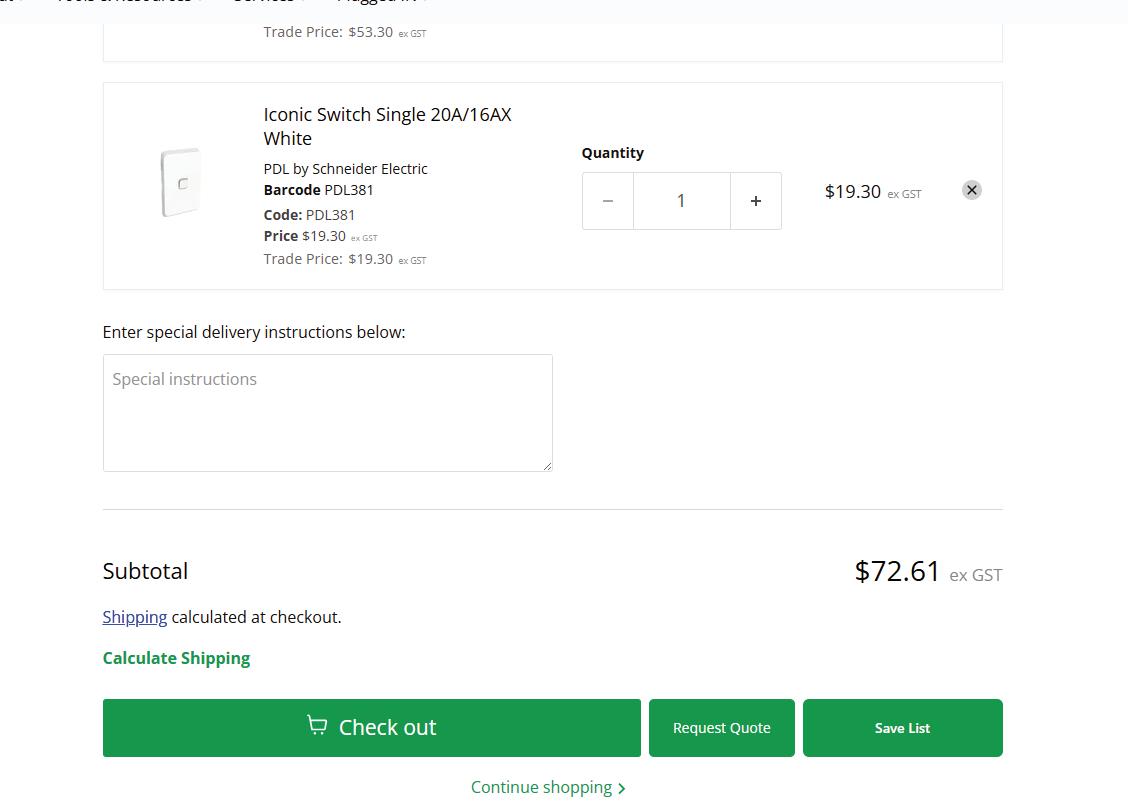
Steps after logging in - Create a quote from cart
1. From your portal click on Go To Store. This will take you to the product catalog.
2. Add the desired product/s to your cart. Browse the store and add the product(s) you want included in the quote.
3. Click on the Cart icon in the top right corner of the website.
4. Scroll the bottom of that page and click on Request Quote.
5. Enter your reference and comments
Provide any relevant reference information and include comments or special instructions if needed.
6. Click on Request a Quote. All done!
7. Your quote request has been submitted, an Ideal staff member will review pricing and push the quote back to your web account where you can validate the quantity etc and check out online!
How to request a quote from a Saved List
1. Click on Saved Lists
2. Click Request Quote button at the top of the page

3. Enter a reference name/number (optional) To help distinguish the quote
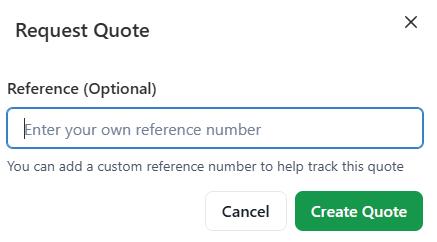
4. Click Create quote
Create a quote will trigger a quote request to be sent to your local Branch. Your quote will say Pending until the branch staff has opened the quote and actioned the pricing and released back to the website which will then show the status of Approved
5. Once you see the Approved status, you can click on add toAll done! Your quote request has been successfully submitted.

Steps after logging in
1. Click on the Integrations tab located on the left hand side menu
2. Click on the Fergus tile
3. Login to the Fergus website in another tab on the same browser
4. Once logged in, return to the Ideal webpage and click “Connect”
5. You’ll be redirected to Fergus, and the integration will change to “Connected” (it may take up to 10 seconds)
6. You are now connected to Fergus. If this page does not update to “Connected”, please refresh the page.
To Disconnect ONLY
1. Click the Disconnect button located in the top right on the Fergus integration page

Steps after logging in
1. Click on the Integrations tab located on the left hand side menu
2. Click on the Simpro tile
3. Click Generate Credentials (at the top right of this page)
4. Copy the Username and Password credentials
5. Login to Simpro and navigate to Utilities > Import > Supplier Invoices for Invoices or Catalogue for Price file
6. Paste the copied credentials into the Simpro User ID and Password fields and enter your Ideal Account Number
7. Click the Validate button, and you’re connected
To Disconnect ONLY
1. Click the Disconnect button located in the top right on the Fergus integration page
Steps after logging in
1. Click Go to store
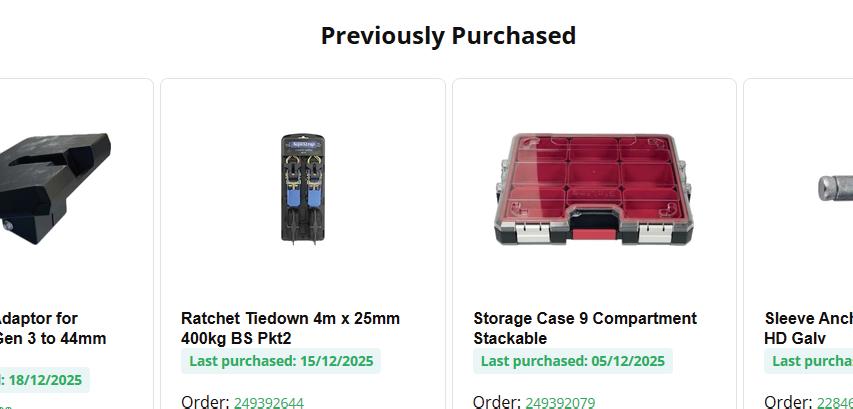
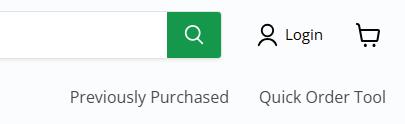
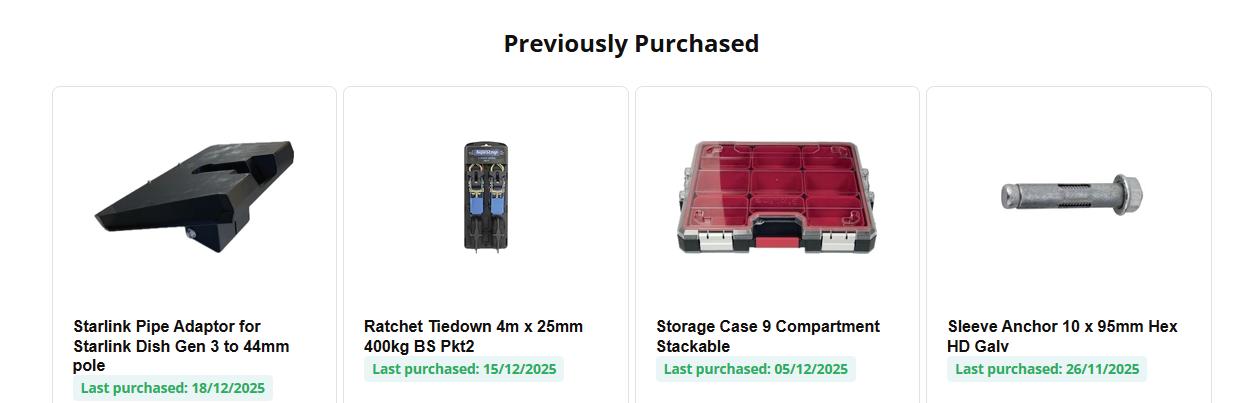
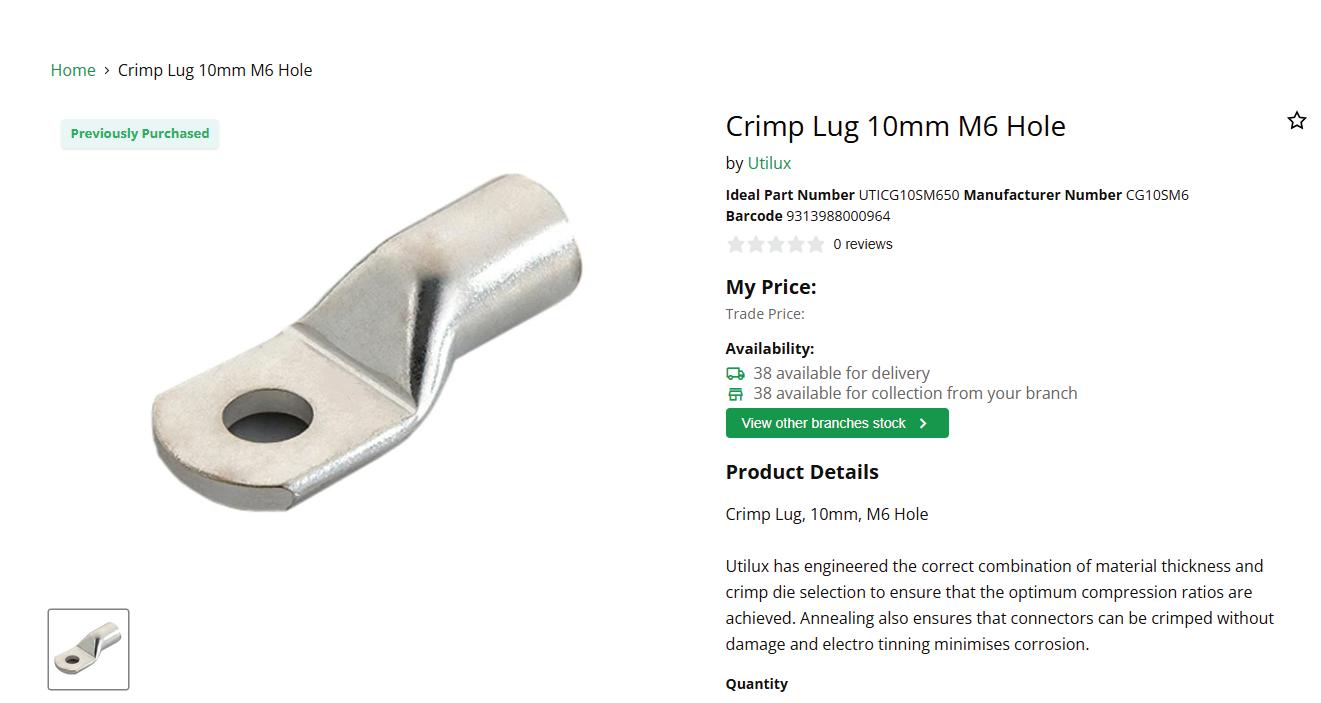
2. Click on the Previously Purchased located on the right hand side of the header
3. To take you to the exact order the item was purchased on click the order number
4. To go to the exact invoice the product was assigned to, click the invoice number
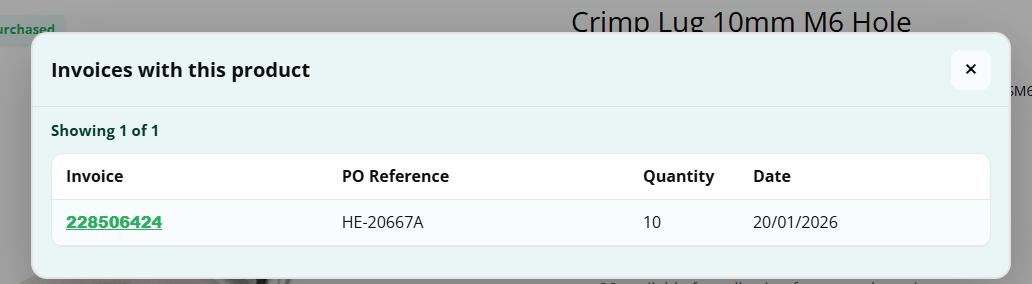
5. To see every invoice that product is associated with, click History. There, you will see Invoice number (linked), PO reference, Quantity and Date
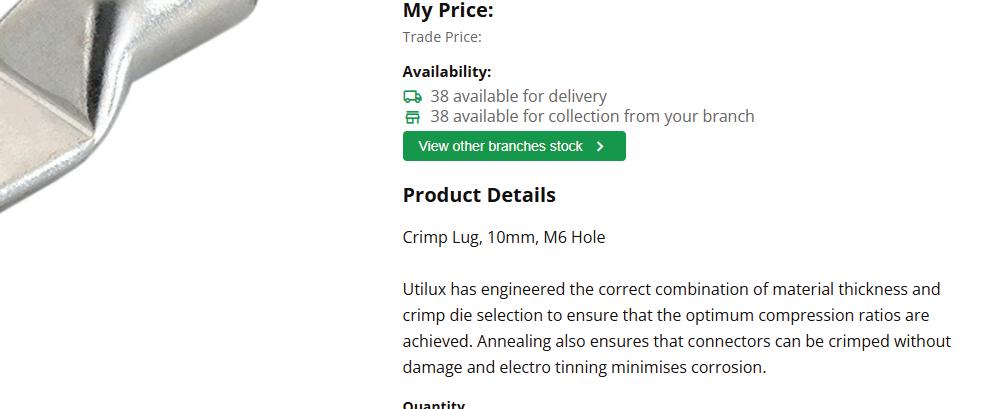
6. You can also see the last purchased quantity located by the Add to Cart button
Steps after logging in
1. Click Go to store
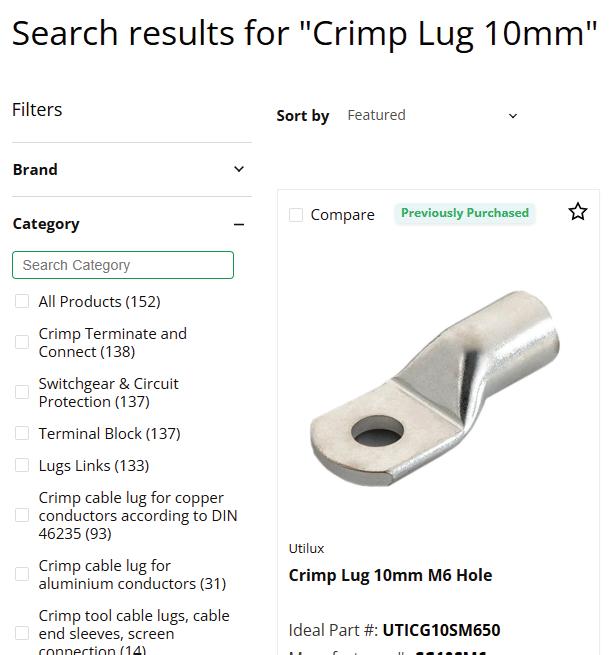
2. Search for your products, if you have previously purchased that item you will see a green badge above the product
3. To find the invoice history of that product, click the green badge.


Steps after logging in
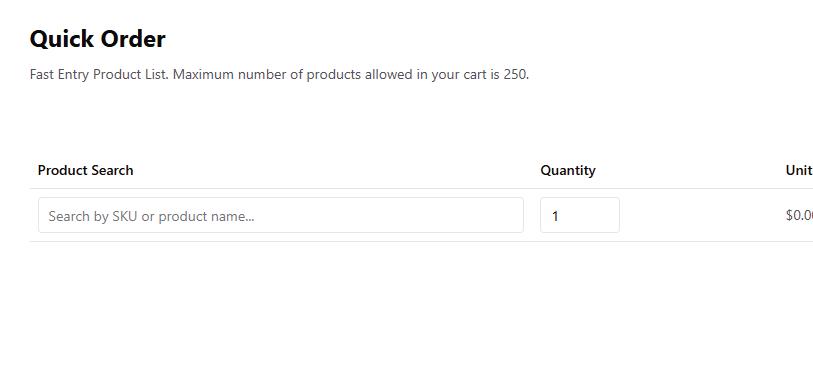
1. Click Go to store
2. Click on the Quick Order Tool located on the right hand side of the header
3. Search by SKU, Product Name, Ideal part number or Manufacturer Number
4. Select the correct product in the drop down
5. Adjust the quantity you need, from there you can Add to Saved List, Request a Quote or Add All to Cart
1. Click on Upload Spreadsheet
2. Download the CSV or Excel template
3. Edit the file with the SKUs and Quantity. Once finished, save the file
4. Click the grey area or drag the file into the box. It will automatically add the products and quanity as well as add your special pricing
Steps after logging in
1. Click Go to store
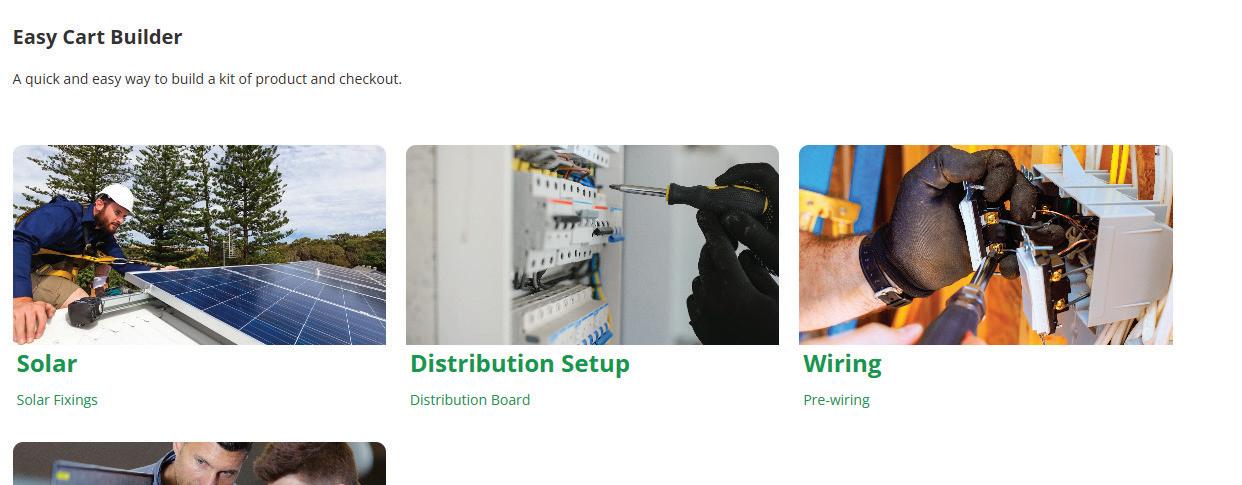
2. Hover over Digital Tools and select Easy Cart Builder
3. Once on the page, select the kit that you want/need to build
4. Simply add the quantity you need of the product listed
5. When you are happy with the amount of product you have selected, click Add to Cart
6. You can also Add to Quote, or Add to Saved List
Keep an eye on this page, as we continue to add new kits and complete setups for you to shop!