Container Gardening: How to Grow Your Own
Food with Limited Space
The Importance of Local Pollinators
This Issue’s Recipe: Minestrone with Spring Greens
All About Drying Your Own Herbs


The Importance of Local Pollinators
This Issue’s Recipe: Minestrone with Spring Greens
All About Drying Your Own Herbs

You can have a green thumb, too!

There is increasing evidence that exposure to plants and green space, and particularly to gardening, is beneficial to mental and physical health.
Source: Thompson R. Gardening for health: a regular dose of gardening. Clin Med (Lond). 2018
How to Dry and Store Fresh Garden Herbs
What They Are and How to Support Them
Composting
Learn How to Make Compost from Kitchen Scraps and Yard Waste!
Minestrone with Spring Greens


“So, what’s all this “Flourish” hoopla about?”
FLOURISH is a small gardening magazine started by Sam Tyler. Sam grew up in Simmons, Oklahoma, on a small farm with his parents and siblings. While he did move away for a while, Sam moved back to Oklahoma and started a farm and family of his own.
While he lived away from home, he lived in various cities for work, and came to the realization that not everyone has access to fresh foods, or gardening of any kind! So, with the help of his friends Harriet and Josh, Sam started FLOURISH.


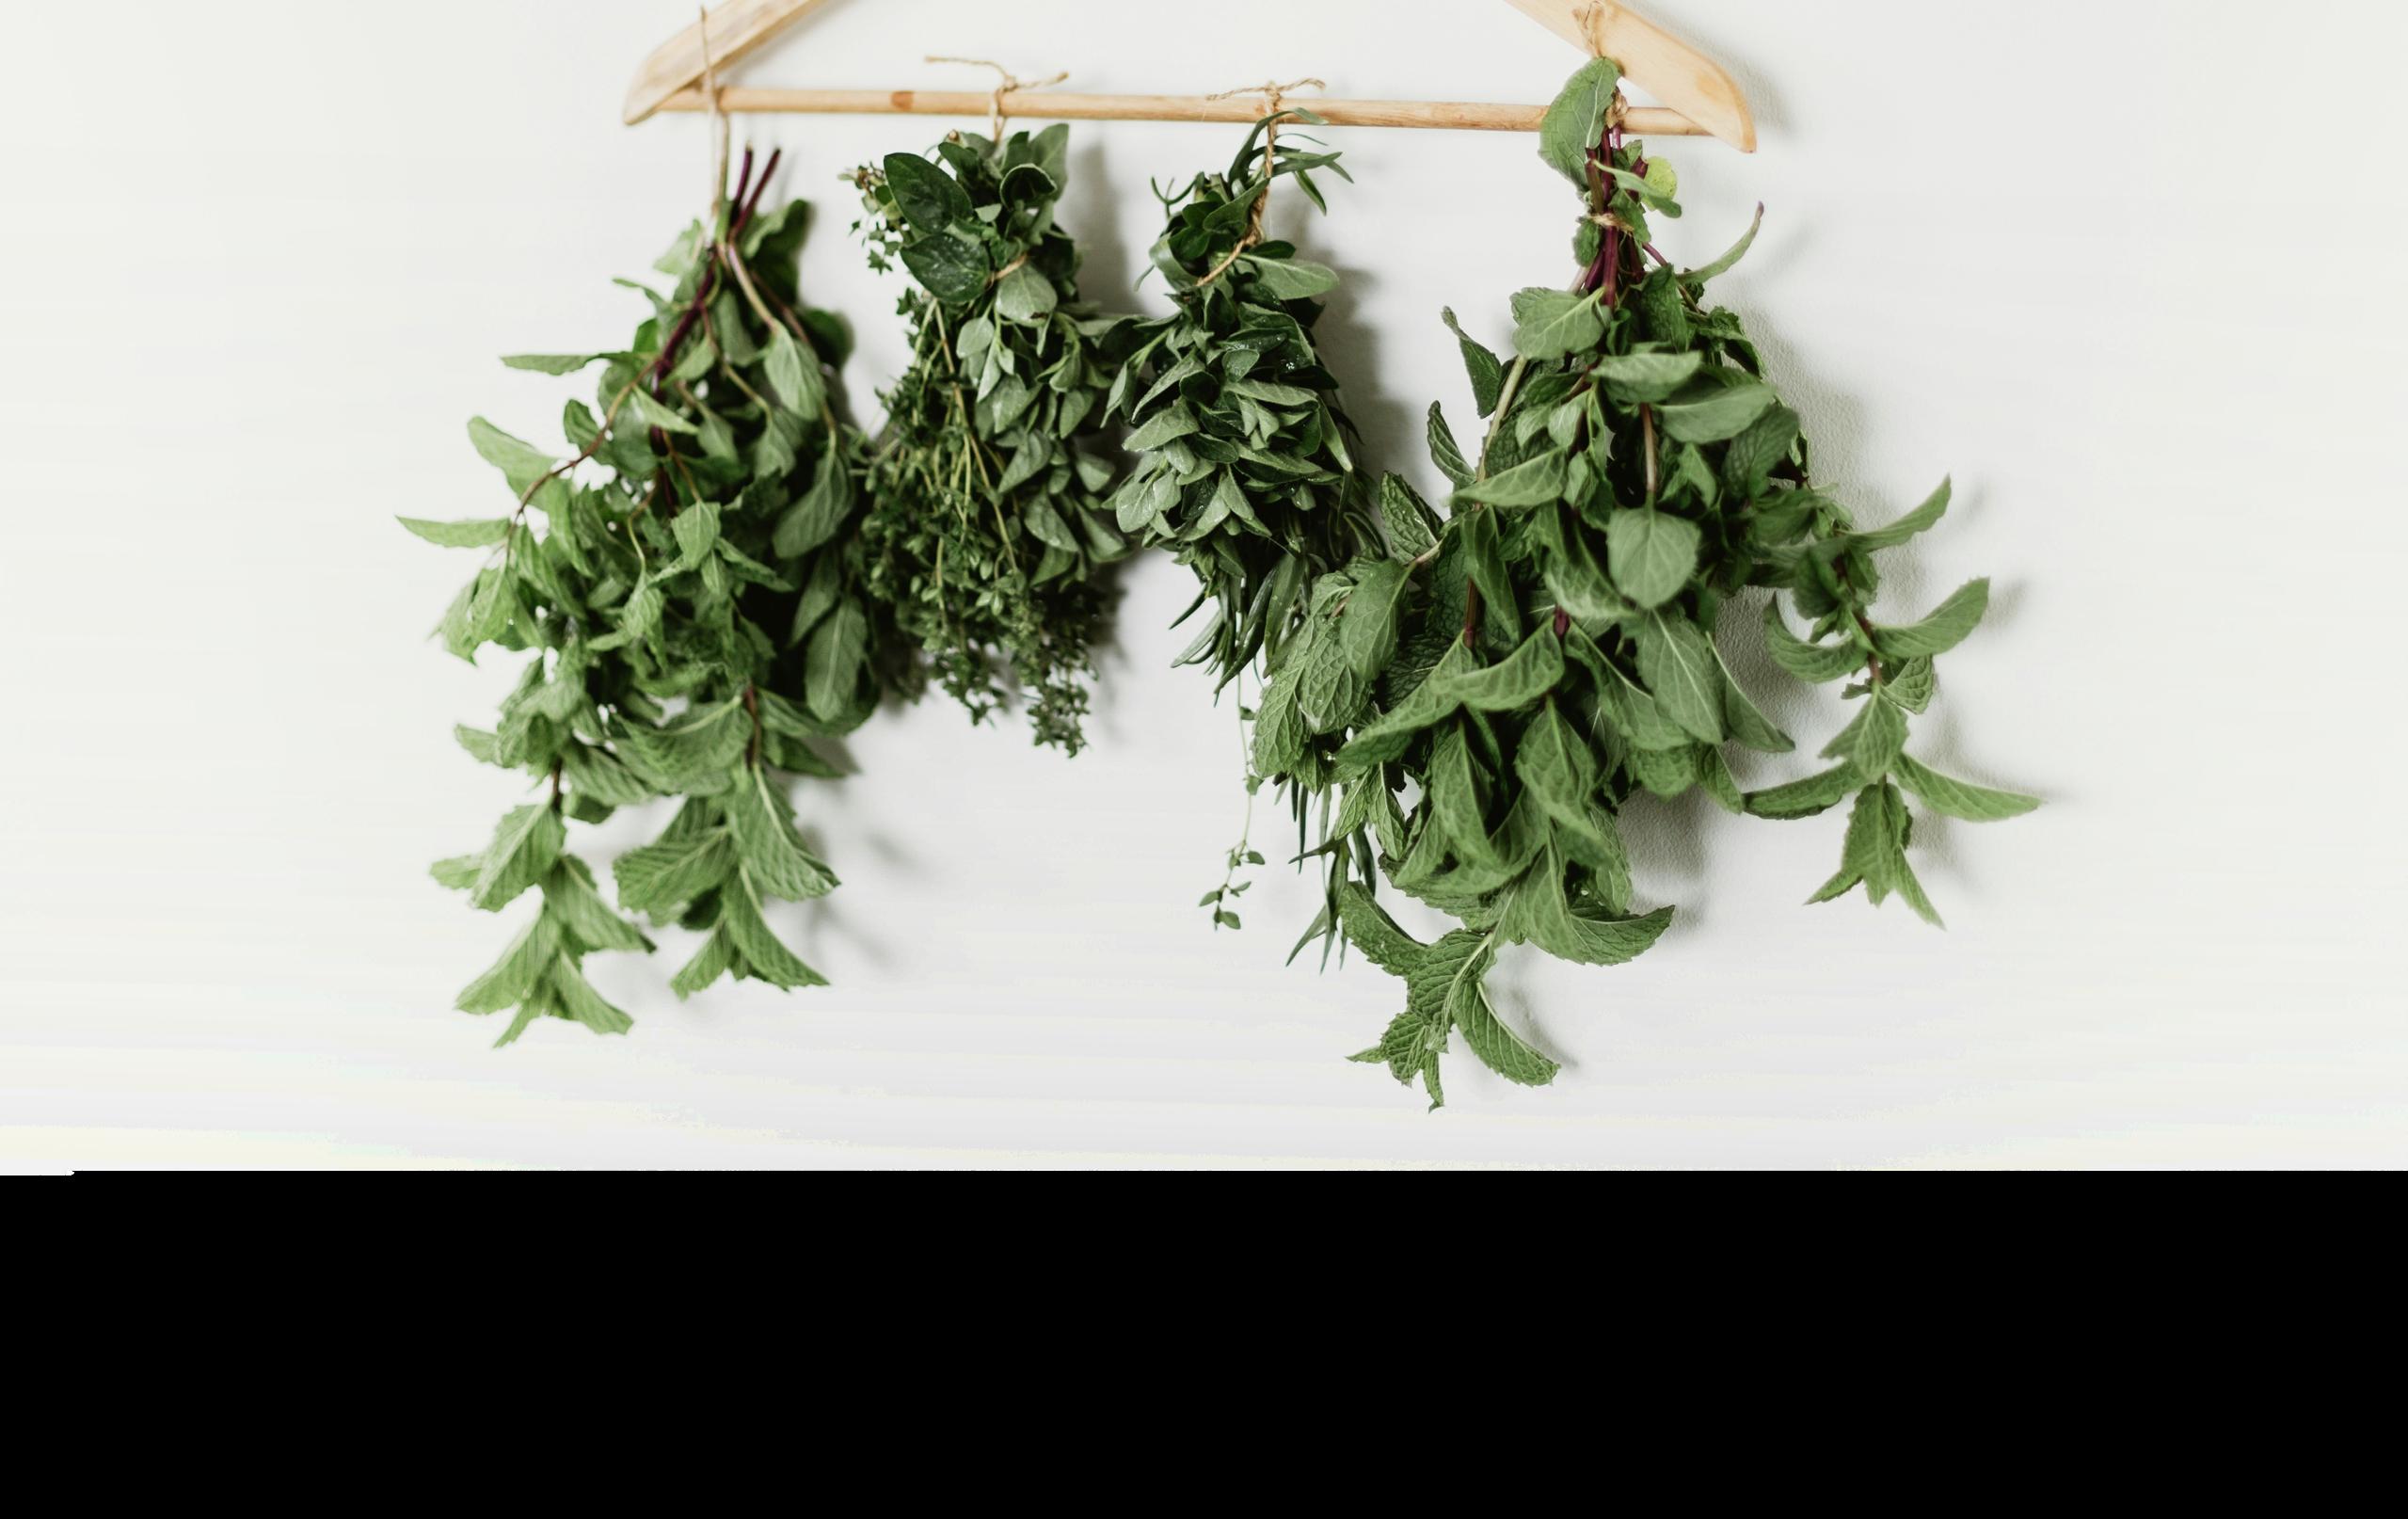
You can use your garden herbs well into winter
The herbs from your garden are best when used fresh, but there are always more than you can use in one season. Dried herbs from your garden offer the next best thing to fresh. Air drying is not only the easiest and least expensive way to dry fresh herbs, but this slow drying process can also help retain the essential oils of the herbs, which helps to maintain their flavor.
Air drying works best with herbs that do not have a high moisture content, like bay, dill, angelica, marjoram, oregano, rosemary, summer savory, and thyme. To retain the best flavor of these herbs, you’ll either need to allow them to dry naturally or use a food dehydrator. A microwave or an oven set on low may seem like a convenient shortcut, but they actually cook the herbs to a degree, diminishing the oil content and flavor. Use these appliances only as a last resort.
If you want to preserve herbs with succulent leaves or a high moisture content, such as basil, chives, mint, and tarragon, you can try drying them with a dehydrator, but for the best flavor retention, consider freezing them. It’s easy to do and even quicker than drying.
When you’re ready to make a final trimming of your herbs for the season:
• Harvest herbs before they flower for the fullest flavor. If you’ve been harvesting branches all season, your plants probably never get a chance to flower. However, by late summer, even the herbs that have not yet flowered will start to decline as the weather cools. This is a good time to begin harvesting and drying your herbs.
• Cut branches in mid-morning. Let the morning dew dry from the leaves but pick before the plants are wilting in the afternoon sun.
• Do not cut the entire plant, unless you plan on replacing it. You should never cut back by more than 2/3 or remove more than about 1/3 of a plant’s branches at one time.
Once dried and stored in airtight containers, herbs will retain good flavor for up to one year.
Equipment/Tools
• Pruners or garden scissors
• Airtight containers
• String or rubber bands
• Permanent marker
Materials
• Paper bag
• Container labels
• Paper towels
1 2 5 6 3 4
Gather the clippings that you wish to dry.
Shake the branches
Shake the branches gently to remove any dust or insects. You wont be thoroughly washing the stems, so get rid of any that you can right now.
If you’ve picked your herbs while the plants are dry, you should be able to simply shake off any excess soil. Rinse with cool water only if necessary and pat dry with paper towels. Hang or lay the herb branches out where they will get plenty of air circulation so they can dry out quickly. Wet herbs will mold and rot.

Remove the lower leaves along the bottom inch or so of the stem. You can use these leaves fresh or dry them separately. Remove any dry or diseased leaves from the cut herbs during this time. Yellowed leaves and leaves spotted by disease are not worth drying. Their flavor has already been diminished by the stress of the season.
Though this step isn’t completely necessary, some find that paper bags aid in drying out the herbs more quickly and thoroughly. Punch or cut holes in a paper bag, and place the bundled herbs inside, upside down. Secure the bag by gathering the end around the bundle and tying it closed. Make sure the herbs are not crowded inside the bag. Label the bag with the name of the herb you are drying.

The oldest way to dry herbs is to take a bunch, hang it upside down in a warm, airy room and let nature do the work. This will take about one week.

Discard any dried herbs that show the slightest sign of mold. It will only spread.
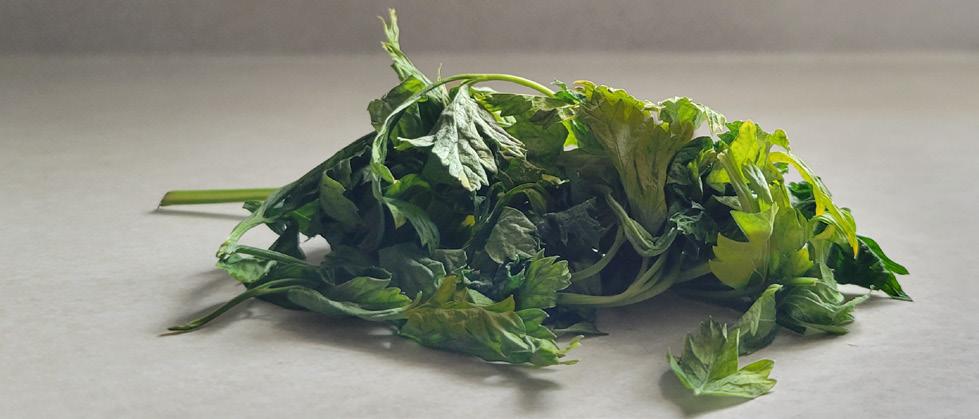
Store your dried herbs in airtight containers. Small canning jars work nicely. Zippered plastic bags will work, as well. Your herbs will retain more flavor if you store the leaves whole and crush them when you are ready to use them.
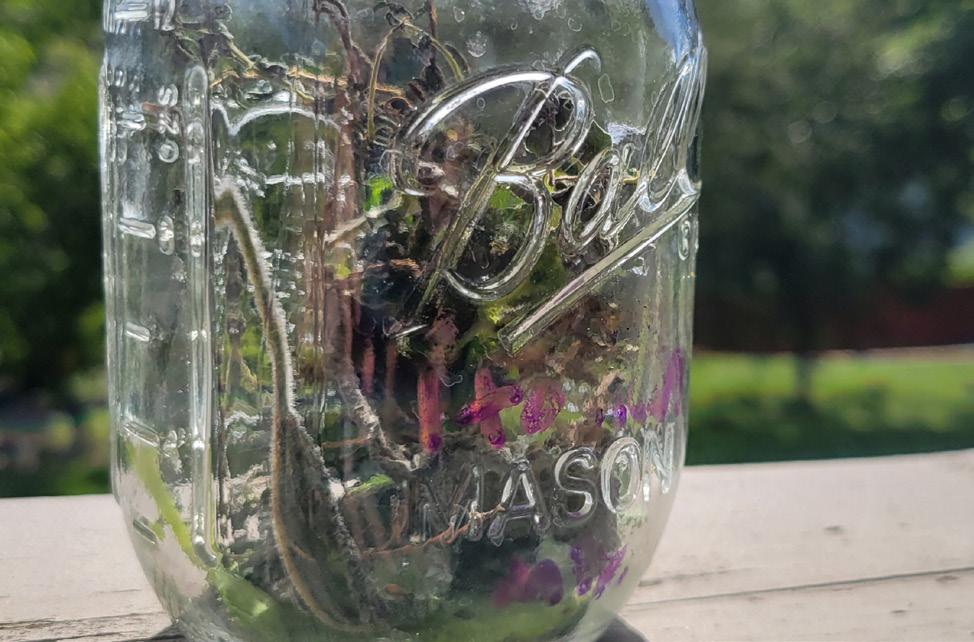
Place containers in a cool, dry place away from direct sunlight. You can choose amber-colored canning jars that are designed to block sunlight.
You can begin using your herbs once the drying and storage process is complete:
• When you want to use your herbs in cooking, simply pull out a stem and crumble the leaves into the pot. You should be able to loosen the leaves by running your hand down the stem.
• Use about 1 teaspoon of crumbled dried leaves in place of 1 tablespoon of fresh herbs.
• Dried herbs are best used within a year. As your herbs lose their color, they are also losing their flavor.

A pollinator is an insect or bird (or occasionally a mammal) that pollinates plants by transferring pollen from one plant to another. The movement of pollen grains from one plant to another is a way of sharing plant material that benefits reproduction and allows plants to produce food like apples, oranges, squash, walnuts, and berries. Some creatures, like honeybees, pollinate intentionally and as part of their own system of food creation, survival, and social structure. Others, like hummingbirds, do so inadvertently, simply by visiting multiple flowers to feed on nectar.
Pollinators are an integral part of any ecosystem. Pollinators encourage plant growth and assist with maintaining diversity in the landscape. The vast majority of plants require some amount of pollination. Agriculture is especially dependent upon bees to pollinate the blossoms of trees and plants that produce fruits, vegetables, and nuts, and agriculture is a crucial component in both the food supply and the economy.


There are a number of common pollinators in the United States, and they are found in a wide variety of habitats, including rural and urban areas.
Considered endangered now due to dwindling numbers, these once plentiful butterflies are considered one of the most important pollinators. They enjoy milkweed, Aesculapius (butterfly weed), and buddleia (butterfly bush), and planting these in your garden can provide important food sources for them.

Many varieties of butterflies are effective and beautiful pollinators. Some are attracted to very specific plants. Most butterfly species are declining in number mainly due to loss of habitat, so planting butterfly-friendly plants may be crucial to their survival.
Beautiful to watch, these elusive yet playful birds enjoy visiting a number of flowers including Agastache (hummingbird mint), and nepeta (flowering catmint).
Bats are shy nocturnal creatures that eat many annoying insects (like mosquitoes) and generally benefit the local ecosystem a great deal. You can put a bat house in your garden to attract them. Though they behave a bit like birds, bats are actually mammals. They are important pollinators for certain food crops, including durian, dragonfruit, and African
There are many types of helpful pollinating bees, including honeybees, carpenter bees, sweat bees, bumblebees, and others.

Similar to butterflies, many moths are nocturnal and will pollinate plants after dark. Moth larvae are also important sources of food for many birds, bats, frogs, toads, and lizards, forming a crucial part of a healthy ecosystem.
Yes, these biting machines and vectors for spreading disease are actually good for something: pollinating!
Perhaps not everyone’s favorite insect, flies are nevertheless useful as pollinators for a wide variety of plants. Flies also breed quickly, so the density of their numbers makes them common pollinators in many areas.
In some areas, like islands with unique ecosystems, lizards become very important pollinators, as important as birds and insects.

Though some beetles, such as Japanese beetles or red lily beetles, can be pests in the garden, many of them are good pollinators. Beetles are known to be some of the earliest pollinators on earth, due to there being such a large number of beetle species in the prehistoric era. They also tend to chew leaves as part of their pollinating process.
Though their stinging ways can make them a nuisance, wasps still manage to be very effective pollinators.
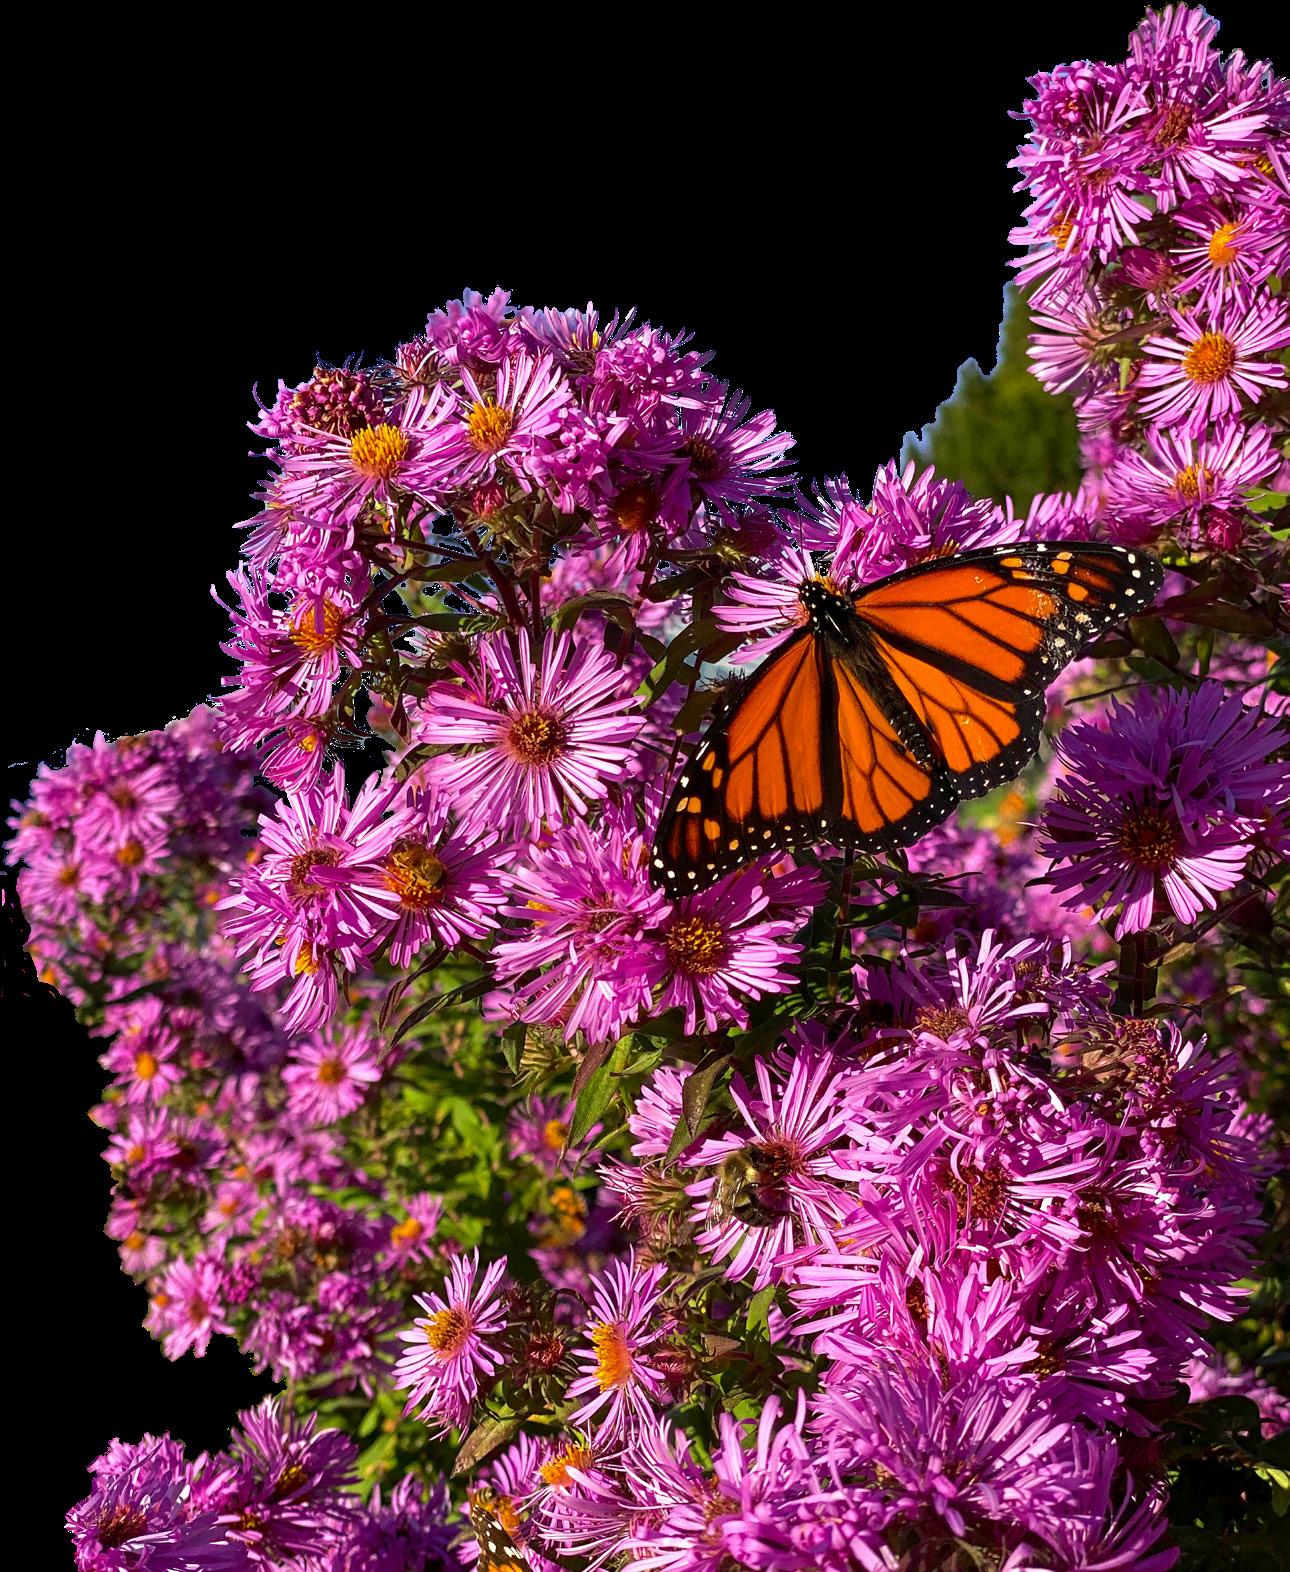
There are a number of ways you can support pollinators in your area.
Create habitats for pollinators. Letting a few weeds grow in your lawn, and letting some parts of your property go a bit wild, can help attract a greater diversity of pollinators.
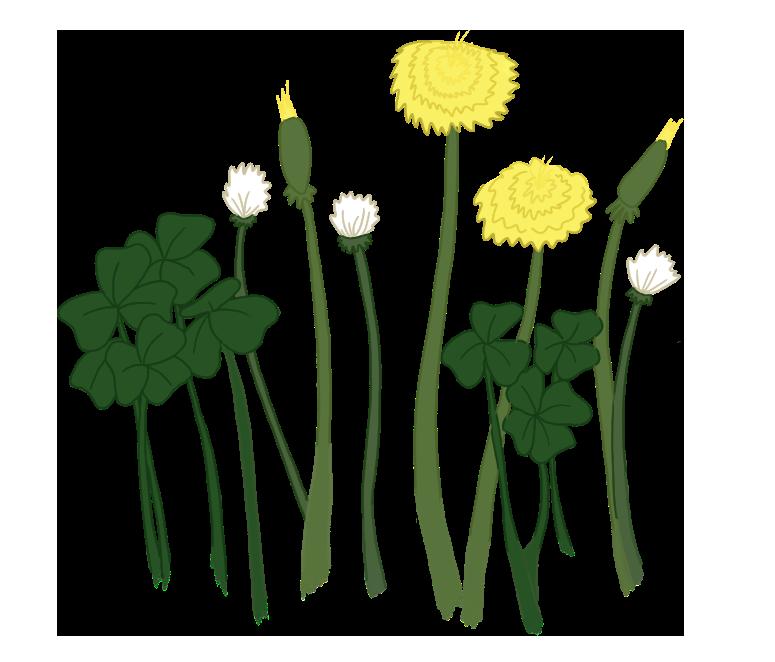
Avoid using toxic herbicides or pesticides. These products can disrupt insect behavior and have been linked to colony collapse disorder. There are many organic methods for addressing unwanted weeds and pests.
Avoid bright outdoor lights at night. Bright outdoor lighting can cause confusion for migratory birds, many of whom play their part as pollinators. Try using solarpowered lights or motion sensors to cut down on too much unnecessarily bright illumination.

2 5

3
Plant pollinator-friendly plants. Plants that attract bees, butterflies, moths, hummingbirds, and other birds will bring these pollinators to your yard and create a hospitable environment for them to flourish and find food. Read more about native plants on the next page.

Support local farmers and beekeepers. Supporting the work of organic farmers and beekeepers by buying their products can help ensure efforts to cultivate healthy habitats for pollinators.
Tip: Plant milkweed in your yard or garden to help in rejuvenating the monarch butterfly population and aid in pollination!
A list of the best wildflowers to grow based on region, complete with names, life cycles, and blooming seasons!
Native plants grow naturally in a given area and are therefore best adapted to that region’s typical weather patterns. This means they’ll survive with minimal maintenance and will not require excessive watering or care—a boon for both the gardener and the environment!
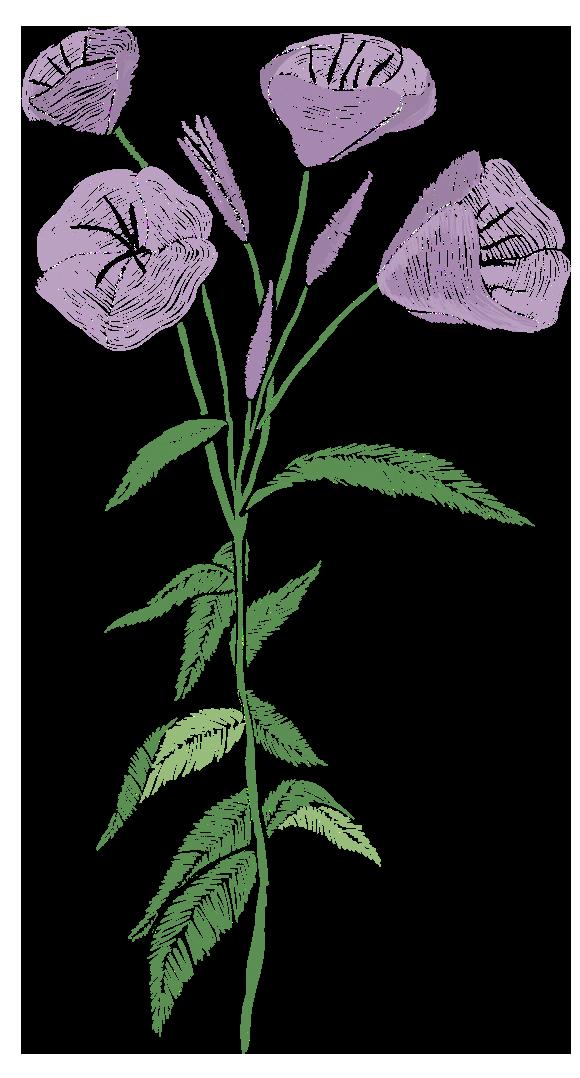
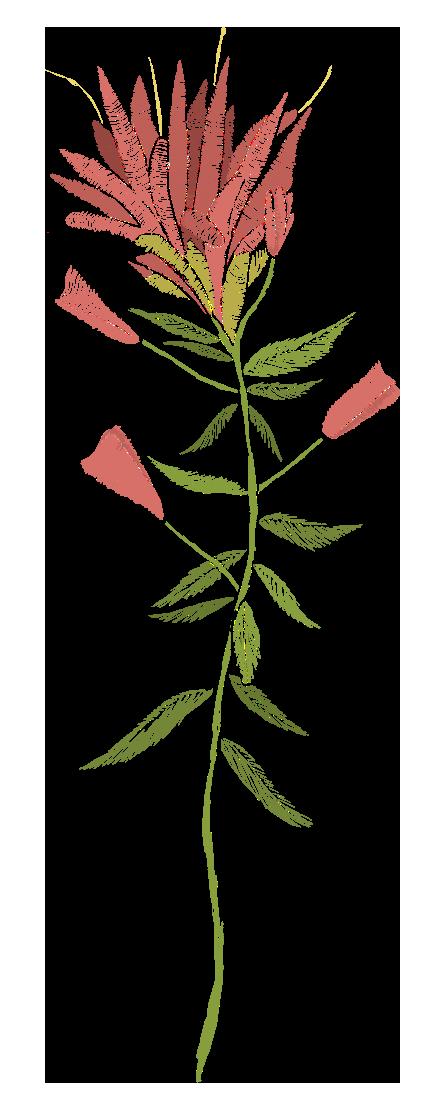
Native plants in a specific region can include mosses, ferns, trees, shrubs, wildflowers, and more. Wildflowers, in particular, help pollinators—essential critters such as bees, butterflies, and bats—that make possible nearly one-third of food produced worldwide. If you'd like to offer pollinators a helping hand you can do so by planting wildflowers in your yard, or in pots on your patio or balcony. Even a single square foot can provide food for bumble bees, butterflies, and hummingbirds.
Whenever possible, it is a good idea to plant wildflowers that are native to your part of the country and to choose a mix of plants that bloom throughout the season. These seeds (and full plants) can be found online, as well as in your local garden supply and home improvement stores.

Compost is a nutrient-rich, soil-like material comprised of decomposing organic matter—most often made up of your own fallen leaves, grass clipping, plant debris, vegetable scraps, and yard waste. The key idea behind composting is that the materials and waste that you might normally throw away can actually be recycled to help plants grow, delivering better harvests and flower blooms.
Also, compost fixes soil problems. If the key to a successful garden is good soil (and it is), compost is the gardener’s secret weapon. It has been lovingly called the gardener’s great equalizer because of its ability to amend soil. Is your soil too sandy? Compost will hold sand particles together so they can absorb water like a sponge. Troubled by hard clay soil? Compost attaches to particles of clay, creating spaces for water and nutrients to flow to plant roots. Even in perfectly loamy soil, compost brings something to the table: a ton of nutrients.
In community gardens, you may see a series of several bins filled with organic matter in different states of decomposition, but don’t let a professional system like that intimidate you! It’s a common misconception that you need to have a large outdoor space in order to practice composting. You can make your own compost in a space as small as a patio or balcony.
At its most basic, a composting system doesn’t need to consist of anything more than a pile in the corner of your yard. As long as the pile ends up being about 4 feet high, 4 feet wide, and 4 feet deep, it should be successful at decomposing everything you throw at it.
Most compost piles, however, have a dedicated structure that keeps it all contained—something like a cube made of wood pallets or even a purpose-built plastic compost bin. Here’s how to make your own compost bin! Fancy bins with multiple layers and sifters are nice, but not necessary.
It’s also possible to compost right in your garden bed. Learn more about composting “in situ.”

A productive compost pile needs four things:
• Brown matter (“browns”): This is carbon-rich material such as straw, wood chippings, shredded brown cardboard, or fallen leaves.
• Green matter (“greens”): These are nitrogen-rich materials like grass clippings, weeds, manure, or kitchen scraps. Greens should have carbonto-nitrogen ratio of about 30:1.
• Water: The pile should be kept consistently moist, especially important if you add lots of dry leaves or hay. Usually rainfall is enough to keep it damp, but in a dry summer you might have to spray it with water.
• Air: Oxygen is necessary for aerobic micro-organisms to survive. They are the ones doing all the work of turning your garden waste into black gold.
Compost decomposes much faster if you chop the ingredients up, so shredding woody materials and tearing up cardboard speeds up the process because there is then more surface area exposed to the microbes that decompose the organic matter.
Air is vital to the composting process, so it’s important to mix the ingredients in together, and never squash them down. Many people turn their compost piles several times over the summer. Turning your compost helps speed up the process of decomposition, but is not necessary as long as the pile isn’t completely compacted. It will all rot eventually!
• Animal manure from herbivores
• Brown paper products (cardboard rolls, cereal boxes, brown paper bags)
• Paper towels and tissues
• Loose coffee/tea grounds
• Cotton
• Wool
• Vacuum cleaner lint and dryer lint from natural fabrics
• Crushed eggshells
• Grass clippings, yard trimmings*
• Hair and fur
• Hay and straw
• Houseplants
• Leaves
• Nutshells
• Shredded newspaper
• Wood chips, sawdust, toothpicks, burnt matches
• Fruit and vegetable peels
• Old vegetables
• Stale bread
• Seaweed
• Non-glossy junk mail or catalogs (shredded)
• Pinecones
• Paper egg cartons
• Tea Leaves
• Rice/pasta
• Wine corks

*If you’re collecting grass clippings from the neighbors, make sure they don’t use weed killers on their lawns. Those chemicals take forever to break down and will negatively impact any plants you use your finished compost on.
If composting through a facility, please be sure to check their website for more information on what to compost, as different composting facilities have different rules as to what can and cannot be composted.
Also, be sure to cover your compost, or make sure that pests cannot get in.
• Meat products
• Seafood products
• Dairy products
• Baked goods
• Treated wood/sawdust
• Acidic foods (citrus fruit, tomatoes, and pickled foods)
• Oil or grease
• Human or pet waste
• Weeds that have gone to seed
• Garlic
• Onion
• Plastic
• Metal
• Coated cardboard
• Cellophane
• Toxic plants
• Diseased plants
• Pesticide-treated plants
• Coal ash/coal products
• Feminine hygiene products
• Diapers
• Synthetic fabrics
• Leather goods
• Glass
• Black walnut products
• Chemicals

The most effective way to produce rich garden compost is to create a hot, or active, compost pile. It’s called “hot” because it can reach an internal temperature of up to 160°F and “active” because it destroys—essentially by cooking—weed seeds and disease-causing organisms. A temperature of about 140°F is what you should aim for in a hot, active compost pile. (The size of the pile, the ingredients, and their arrangements in layers are key to reaching that desired outcome.)

A hot compost pile should be at least 3 feet in diameter, though slightly larger is ideal. The pile will shrink as the ingredients decompose. Consider keeping the contents in place with chicken netting; wooden sides would be even better to keep the pile contained.
Cutting up or shredding materials helps speed up the process.
• Pile the ingredients like a layer cake, with carbonrich materials (browns) on the bottom. Placing twigs and woody stems here will help air circulate into the pile.
• Next, cover the layer with soil.
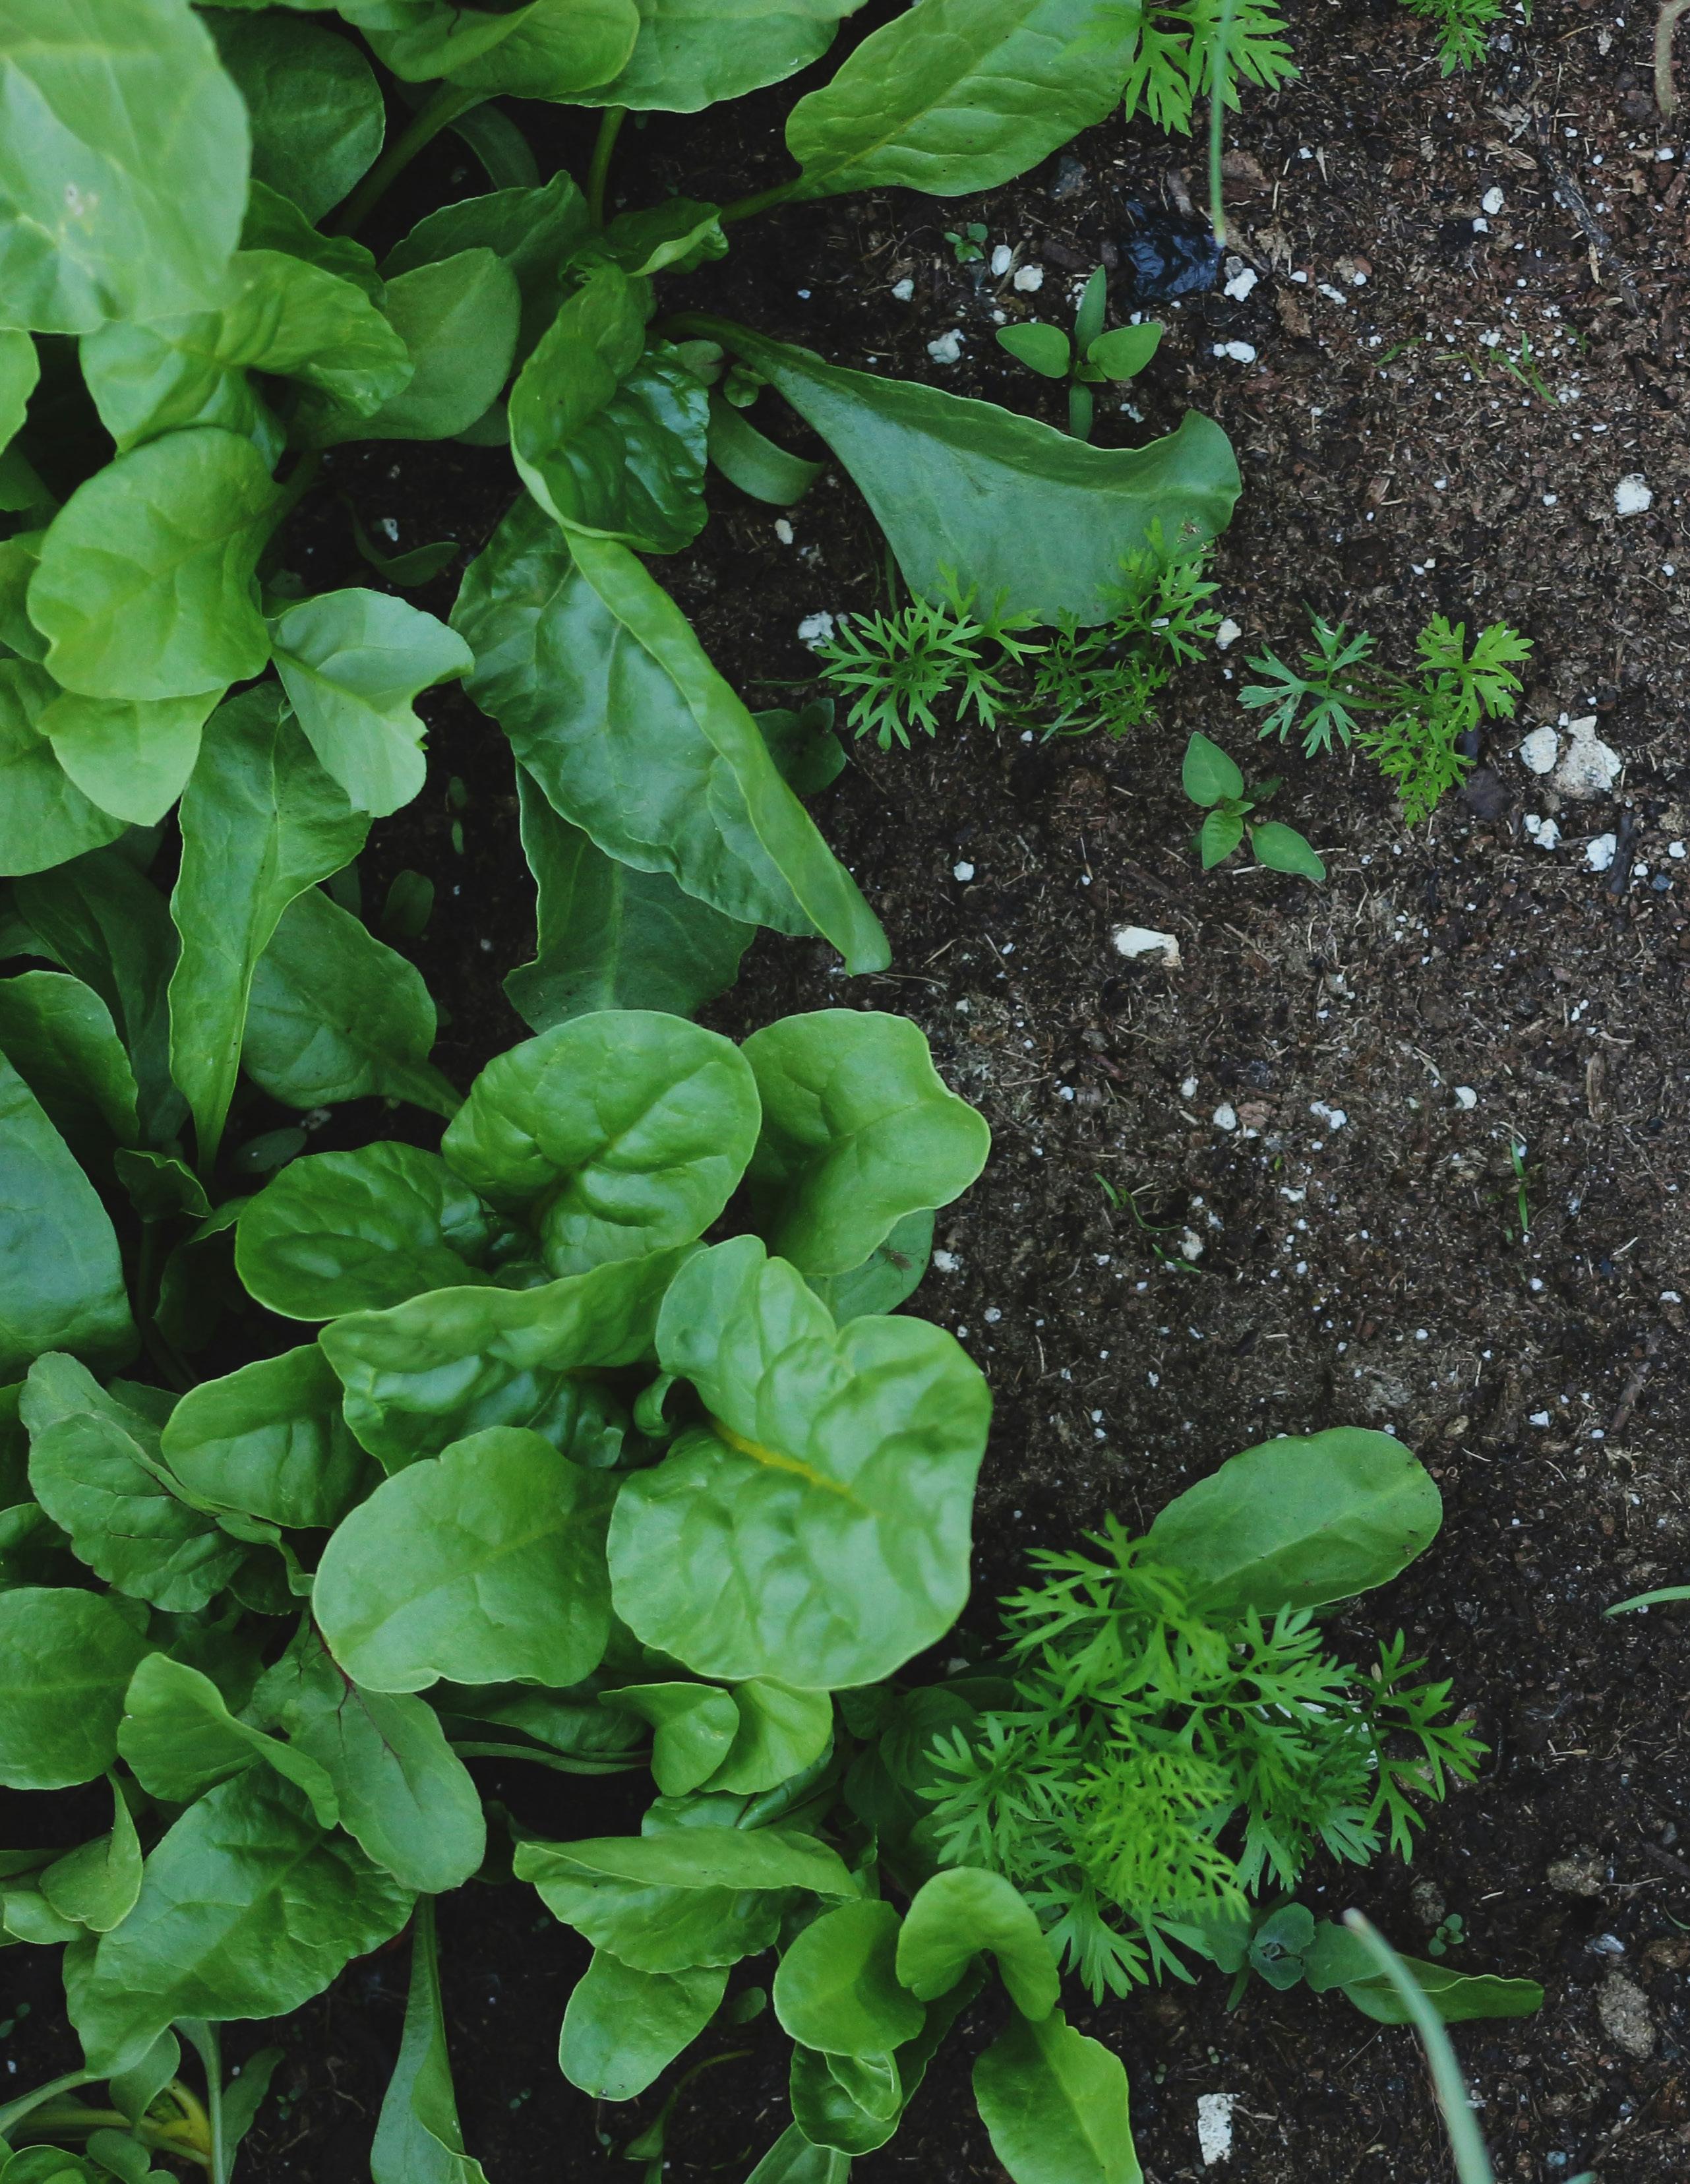
When making a hot compost pile, you want to have 2 to 3 times more brown materials than greens, at least initially, although some more greens can be added as the compost cooks.
Alternate layers of brown and green matter when building your hot compost pile and add a few shovels full of garden soil to contribute those essential soil microbes. The more green matter, the hotter the pile will get and the faster it will decompose. Heat also helps to kill off disease spores and weed seeds.

• Add nitrogen-rich materials (greens), followed by soil. Repeat the alternating layers of greens and browns until the pile reaches 2–3 feet high.
• Soak the pile at its start and water periodically; its consistency should be that of a damp (not wet) sponge.
• Add air to the interior of the pile by punching holes in its sides or by pushing 1- to 2-foot lengths of hollow pipe into it.
Within a week or so, your compost pile should start cooking. Check the temperature of the pile with a compost thermometer or an old kitchen thermometer. A temperature of 110°F to 140°F is desirable. If you have no heat or insufficient heat, add nitrogen in the form of soft green ingredients or organic fertilizer.
Once a week, or as soon as the center starts to cool down, turn the pile. Move materials from the center of the pile to the outside. (For usable compost in 1 to 3 months, turn it every other week; for finished compost within a month, turn it every couple of days.)

Cold, or passive, composting requires less effort than hot composting. You essentially let a pile of organic matter build and decompose, using the same types of ingredients as you would in a hot compost pile. The difference is that you don’t spend time turning the pile or carefully managing the ratio of greens to browns.
Cold composting requires less effort from the gardener, but the decomposition takes substantially longer—a year or more!
To cold compost, simply create a pile of organic materials that you add to as you find or accumulate them. If possible, alternate layers of browns and greens, mixing in a few shovelfuls of garden soil, too. Since they’ll take longer to break down, bury kitchen scraps in the pile’s center to deter curious insect and animal pests.
You can cold compost on the ground or in a bin. If you have the space and don't want to spend any money, you can just make a pile on the ground. If you have more limited space or want to keep your compost contained, a bin with open sides is another option. You can also make a simple container of sorts out of a circle of woven wire fencing or chicken wire attached to itself at the circumference you'd like for your compost.
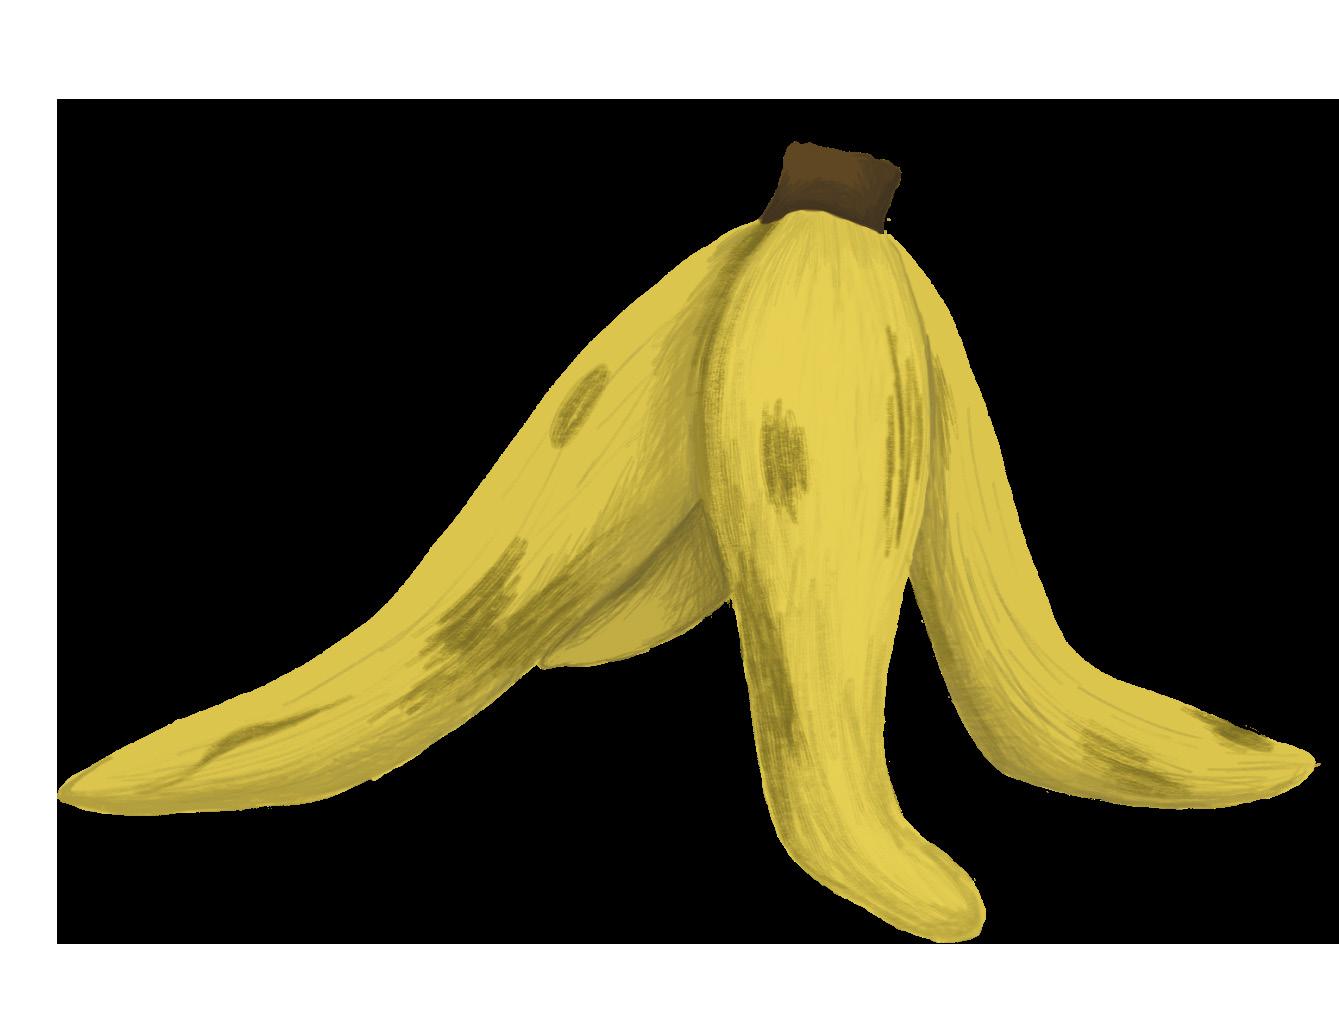

Yet another composting method is something called “vermicomposting,” which employs worms to do the hard work of breaking down your organic waste and scraps. Vermicomposting is probably the most space-saving composting method, since it can be done in something as small as a 10-gallon plastic tub.
Getting a vermicomposting system started is the hardest part, since you’ll need to buy materials and get yourself a sufficient number of worms to begin with (and not all worms are suitable!), but after that, all it takes to maintain a vermicomposting system is feeding it regularly with kitchen scraps.
If you don’t have a lot of space and mainly want to compost kitchen scraps, vermicomposting could be the composting method for you.
Most worm farms raise two main types of earthworm: Red Wigglers (Eisenia foetida) and Redworms (Lumbricus rubellis). These worms are commonly used to produce vermicompost, as well as for fish bait. Both are referred to by a variety of common names, including red worms, red wigglers, tiger worms, brandling worms, and manure worms.

Total: 40 min
• 3 tablespoons extra-virgin olive oil
• 4 ounces pancetta, diced
• 1 large onion, chopped
• 2 celery stalks, chopped
Active: 40 min
Yield: 4 servings Level: Easy
• Kosher salt and freshly ground pepper
• 3 cloves garlic, minced
• 4 cups low-sodium chicken broth, plus more if needed
• 1 small piece Parmesan rind, plus grated Parmesan for topping
• 2 cups frozen lima beans, thawed
• 1/2 small head escarole, chopped
• 1 cup ditalini
• 1 bunch asparagus, tough ends trimmed, cut into thin rounds

This hearty spring soup is loaded with familiar elements of a traditional minestrone: pancetta, diced vegetables, tiny pasta and a rich chicken broth flavored with Parmesan. For this version, we’ve replaced cannellini beans with lima beans and added asparagus and escarole for a bright, green touch.
1 Heat the olive oil in a Dutch oven or other large heavy pot over medium-high heat. Add the pancetta and cook, stirring occasionally, until lightly browned and tender, 4 to 6 minutes. Add the onion and celery and season with salt and pepper; cook, stirring occasionally, until tender, about 4 minutes. Add the garlic and cook until just softened, about 1 minute.
2 Add the chicken broth, 2 cups water, the Parmesan rind, 3/4 teaspoon salt and a few grinds of pepper. Bring to a boil, then reduce the heat to a simmer. Add the lima beans and escarole and cook until the beans are tender and the escarole is wilted, about 3 minutes. Add the ditalini, return to a gentle simmer and cook until the pasta is tender, stirring and scraping the bottom of the pot occasionally to prevent sticking, 8 to 10 minutes.
3 Add the asparagus and cook until just tender, 1 to 2 minutes. The soup should be thick, but if it is too thick, add more water or chicken broth 1/2 cup at a time. Season with salt and pepper and discard the Parmesan rind. Divide among bowls; drizzle with olive oil and top with pepper and grated Parmesan.
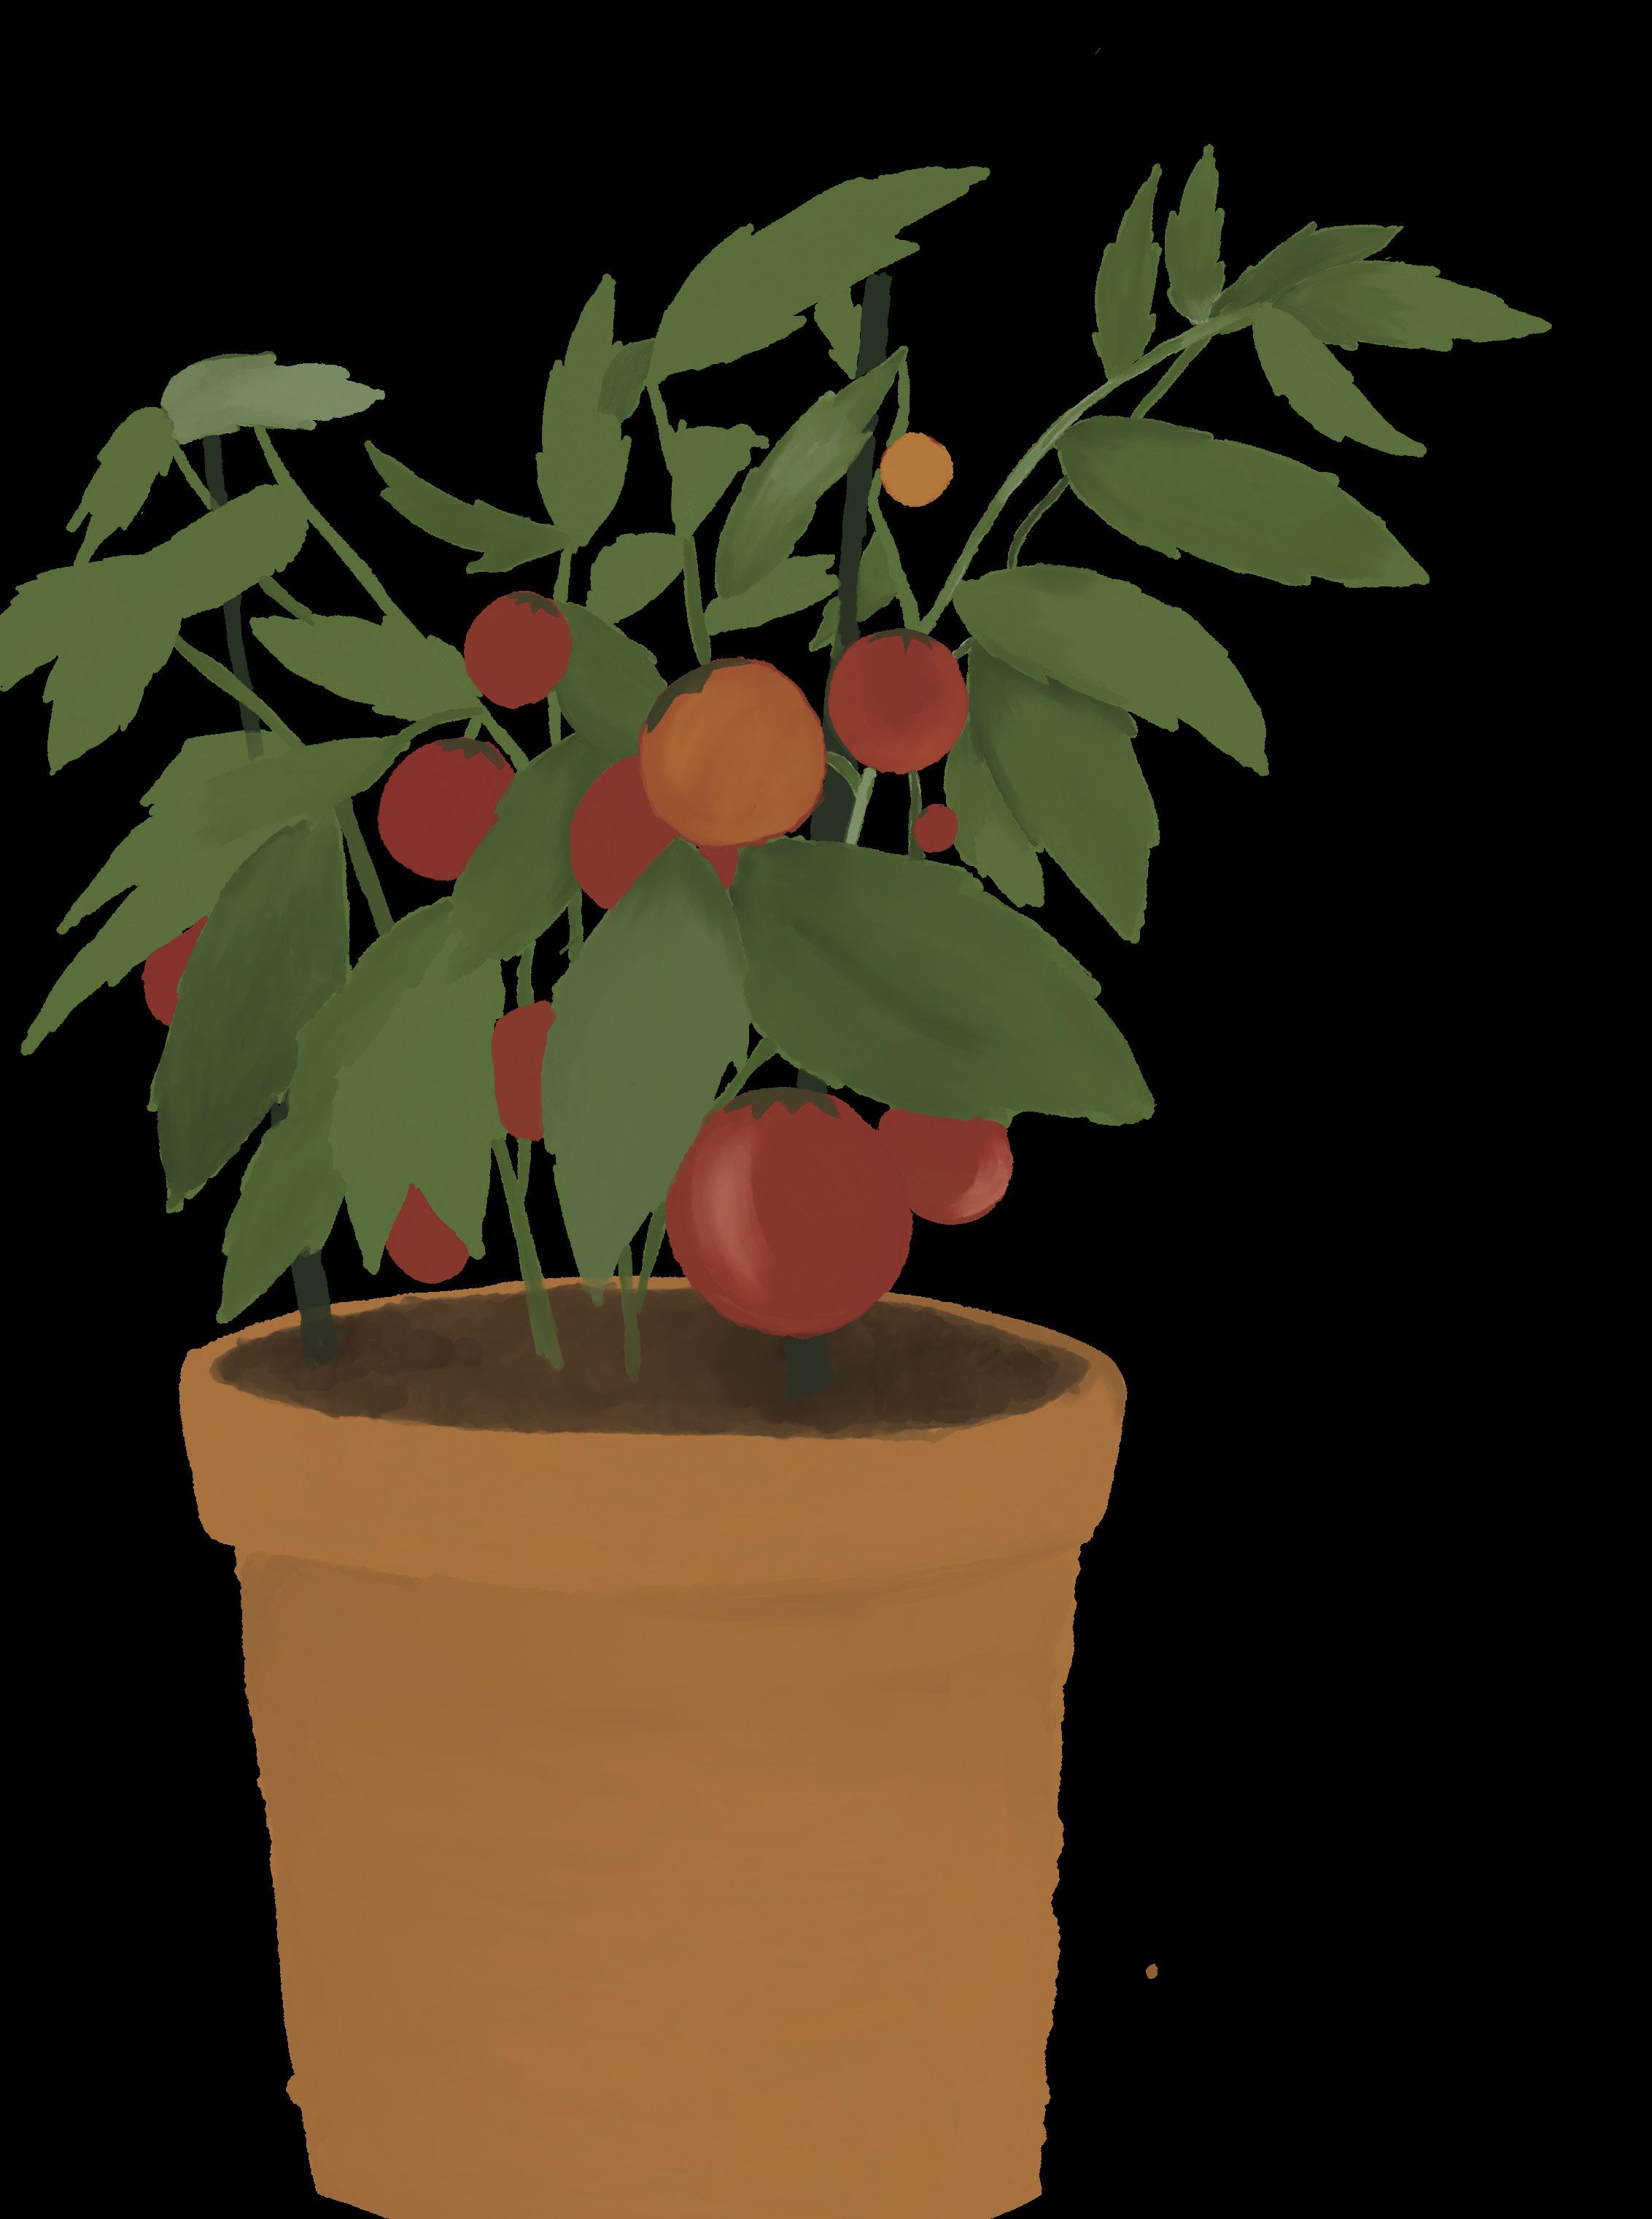
If growing your own vegetables and herbs sounds appealing but you don’t have a lot of space, containers are a viable alternative to the traditional kitchen plot. All you need is a balcony, patio, deck, or other small space that gets at least 6 hours of direct sun. The reasons to grow your own food in containers are many:
• Home-grown produce tastes better than store-bought and is often more nutritious.
• Containerized vegetables are more accessible, usually grown right on your doorstep.
• Some vegetables do better in containers, while some won’t perform well at all.
• By choosing the right vegetable varieties and following some basic tips, you can be well on your way to growing and harvesting your own farm-fresh food at home.
• Make sure your site receives adequate light by observing how the sun moves throughout the day.
• In hotter climates, plants may need afternoon shade so they don’t overheat.
• Measure the space to make sure there’s enough room for the containers that you’ll need.
• To maximize the use of your space, include plants that grow vertically such as peas, pole beans and cucumbers.
• Make sure there’s a convenient source of water close by.
Draw up a quick sketch to calculate how many containers you’ll need, and in what sizes. Make a list of supplies, including containers, soil, garden tools, seeds, plants, watering supplies, fertilizer, and plant supports such as trellises and cages.

Make a wish list of what you’d like to grow, focusing on what you are most likely to eat. Limit to what you have time and space for and include easier varieties such as lettuce and radish to maximize your success.
(Tip: When looking at catalogs, online sources, and plant labels, look for descriptive words such as dwarf, compact, patio, bush, and space saver, which indicates smaller varieties more suited to containers.)
Quick growers such as lettuce, bush beans, and peas are easy to grow from seed. Plants that take longer to mature such as tomatoes, peppers, and eggplant are best grown from nursery

Almost anything can act as a container providing it’s big enough, has good drainage, and is made from food-safe material. Here are some tips for choosing containers:
• Leafy greens, radishes, and other shallow-rooted vegetables need less space than plants with deeper roots such as tomatoes and peppers.
• Large pots are better, as they won’t dry out. as quickly and have plenty of room for root development.
• Choose containers that are at least 12 inches tall and deep, such as 5-gallon size or larger plastic pots, wooden planter boxes, or half whiskey barrels.
• Also avoid metal and dark colored containers (such as black plastic nursery pots), which can become too hot, causing roots to become overheated.
Can vegetables be grown in self-watering containers? Yes, vegetables also perform well in self-watering containers. All you need to do is remember to keep the water reservoir full.


Most vegetables require at least 6 to 8 hours of full sun per day, while some varieties such as lettuce are more shade tolerant.
Research temperature requirements for each vegetable before planting.
• Cool weather plants such as greens and peas can be planted earlier in the season. Soil temperature should be at least 40 to 50 °F. Others such as carrots and potatoes can be planted in mid spring.
• Warm weather varieties such as peppers and tomatoes should wait to be planted until late spring when soil temperature is at least 70 °F.
Vegetables need consistent moisture. Containers dry out more quickly than plants in the ground, so need to be watered more often. As a general rule, water 2 to 3 times a week during summer and daily during hot spells. Sun exposure, humidity, and container size factor into how fast the soil dries out. If soil feels dry an inch or two below the surface, then it’s time to water. Using a drip irrigation system can help maintain consistent watering.
Use a high-quality, organic potting mix, filling the container to an inch or two below the rim. Soil will settle over the growing season. Don’t use garden topsoil, as it can become compacted, resulting in poor drainage and root rot.
Most vegetables are heavy feeders. Fertilizers leach out quickly from containers due to frequent watering, so proper fertilizing is crucial to productivity. At the time of planting, add a slow-release organic granular fertilizer and mulch with compost or manure. Supplement with water soluble fish emulsion, seaweed fertilizer or compost tea every two weeks.
Quick growers such as lettuce, bush beans, and peas are easy to grow from seed. Plants that take longer to mature such as tomatoes, peppers, and eggplant are best grown from nursery starts.
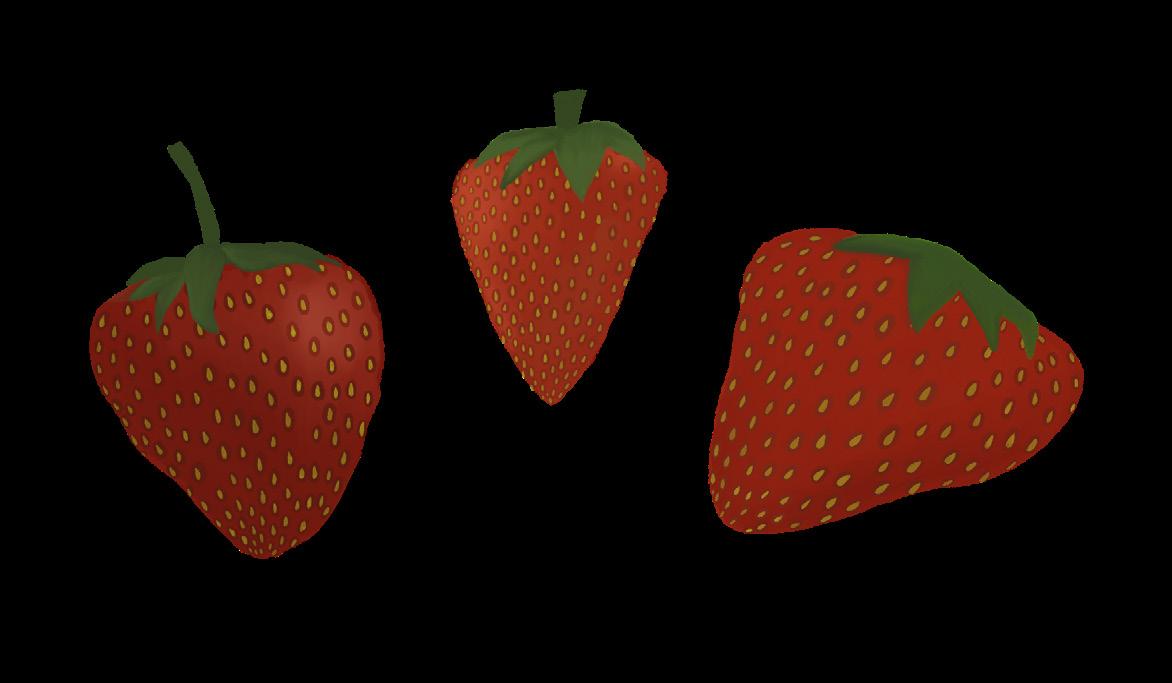
• Herbs
• Lettuce
• Spinach
• Swiss chard
• Strawberries
• Tomatoes
• Hot peppers
• Bell peppers
• Citrus fruits
• Bush beans
• Snap peas
• Eggplant
• Garlic
• Cucumbers
