Designing a Robot to Navigate a Maze | Student Version
Designing a Robot to Navigate a Maze
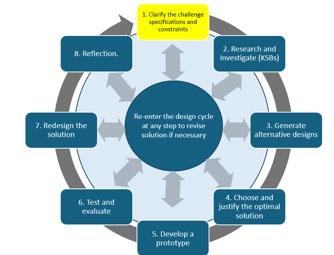
Challenge
Robots are used in many different applications. One of the many applications is inside a hospital to either deliver medications or supplies to a nurse’s station or to sanitize the facility on a nightly routine. In both cases the robot must navigate the halls and floors of the building avoiding all obstacles in their way and in the case of the medication delivery arrive at the intended location.
Specifications (what does the design have to do)
You and your team have been asked to design a robot that will independently navigate through a maze. You will use up to two rotation servos and a distance sensor. You will have access to the “floor plan” (the maze which is constructed of cardboard or scrap 2x4 to create the walls of the maze) prior to programming your robot. Your robot will start at a designated starting point and navigate to the exit.
Constraints (things that limit your solution)
The maze will consist of “passageways” that are no wider than a foot.
Materials
Cardboard
Tape
Hummingbird Bit Controller
Battery Pack with 4 AA batteries
Hummingbird rotation sensors (up to 2) and servo hardware
Hummingbird distance sensors (up to 2)
Two Wheels
Ping Pong Ball (something to act as a “3rd leg” and allows for easy turning, i.e. swivel wheel)
Markers/Art Supplies to decorate the robot
Glue gun
Scissors etc.
Materials for the Maze:
scrap 2x4s to form walls of the maze
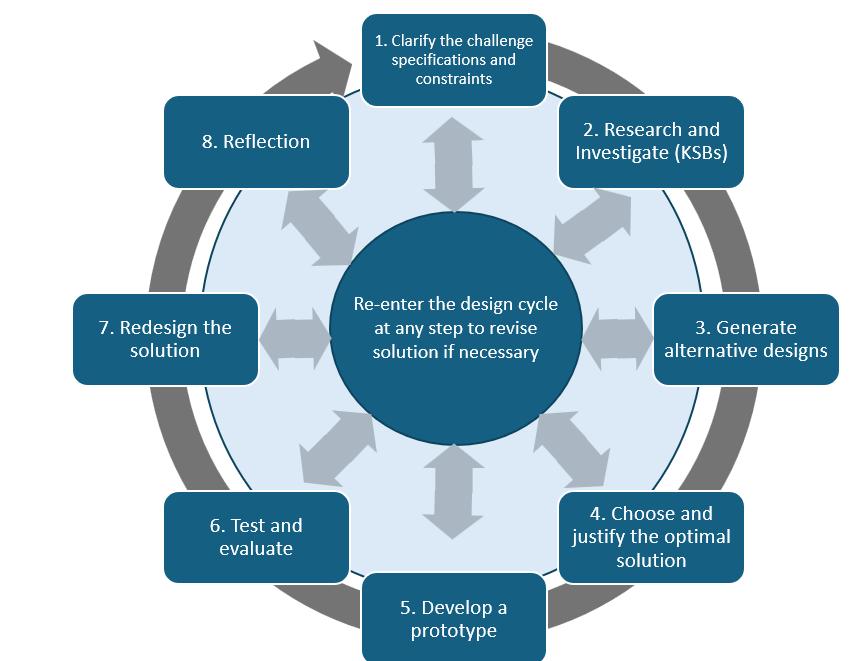
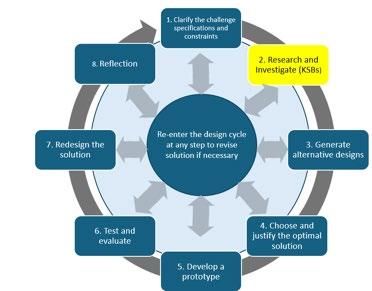
Knowledge and Skill Builders (KSBs)
KSB 1 Building a Mobile Robot
Here is an example of a simple robot from BirdBrain Technologies:
My First Rover
Here is a link to a tutorial on how to build a simple Box Rover:
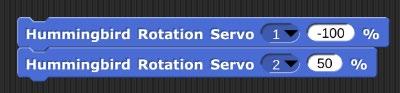
Follow the directions for programming the rotation servo. Try adding a second rotation servo. Take a picture of your code and paste it here.
KSB 3 How Distance Sensors Operate
A distance sensor is a component that collects data based on your distance from the sensor. The range of the Hummingbird distance sensor is 1 to 260 cm.
Here is a link to a tutorial on how to use and program the distance sensor in the Hummingbird kit.
Follow the directions for programming the distance sensor and have the Hummingbird play a sound when an object is detected at a specified distance away (i.e. <10 cm). Take a picture of your code and paste it here.
KSB 4 Getting the Robot to Move Forward and Backward
If you have not yet built your robot, do so now. You will need a swivel wheel or half a ping pong ball to serve as the third “leg,” which will enable the robot to easily turn. Once you have a robot built, you are ready to code the Hummingbird so that the robot moves forward and backward.
You will need two rotation servo blocks set at a percentage greater than 0.
Experiment with these two blocks. Fill in the table below, then answer the questions that follow. Pay close attention to the direction in which the wheel is moving (i.e. does the right wheel rotate such that the top of the wheel moves forward?)
Rotation Servo #1 Speed
Rotation Servo #2 Speed Observations
Which wheel does the Rotation Servo #1 control? ______________(Right or Left)
Which wheel does the Rotation Servo #2 control? ______________(Right or Left)
What does the negative sign in front of the speed do to the rotation of the servo?
What happens when both speeds are positive?
What happens when both speeds are negative?
What happens when one speed is positive and the other is negative?
What happens when the speeds have different absolute values? (i.e. 40 and 60 or -35 and 70)?
Complete the table below for each scenario based on your findings above:
Move forward
Move backward
Turn Left
Turn Right
What are some variables that affect how your robot moves forward in a straight line?
KSB
5 Getting
the Robot to Turn 90 Degrees Left or Right
Now you are ready to code the Hummingbird so that the robot turns left or right.
There are several ways to make this happen:
1) One wheel turning
a) Set one servo to turn for an amount of time such that it turns 90 degrees. One example of code is:
Note: The above code worked with a particular set of rotation servos assembled in a particular way. The above code may need to be adjusted depending on your rotation servos and how your robot is built and assembled.
2) Both wheels turning
a) How can you change the code from part A to include the second rotation servo?
b) Why would two wheels be better/worse than one wheel turning?
c) Which method do you prefer? One wheel turning or two? Why?
You will need to experiment with your particular robot to get the correct speed and duration for your robot to make a 90 degree turn.
What are some variables that affect how your robot turns?
Can you control any of those variables? If so, what controls did you introduce?
KSB 6 Driving and Avoiding Obstacles
Here is a link to a tutorial on how to program your robot to drive forward and avoid obstacles:
Now create code that moves your robot forward until there is an obstacle detected in front.
KSB 7 Thinking Like a Computer
Computers are controlled by code, in this case the computer program you create will independently navigate a robot through a maze without hitting any obstacles. This is similar to you walking through a crowded room or changing classrooms between class periods. You must avoid the people standing in front of you and turn corners to get to your next classroom. When you see a person in front of you, what do you do? Your brain tells your body to stop, you scan the area for a way around the person and then your brain instructs your legs to turn left or right to move a step or two turn again and then move forward around the person. You must program your robot to do the same when detecting an obstacle.
Think about what you want to happen step by step. This is how the computer reads the directions you give it through the code that you write. Go back to the challenge statement and review what is supposed to happen.
Pseudocode is a description of the steps in an algorithm using a mix of programming language and informal self explanatory notations of actions and conditions. Using pseudocode, indicate the sequence of events below.
Building the Robot
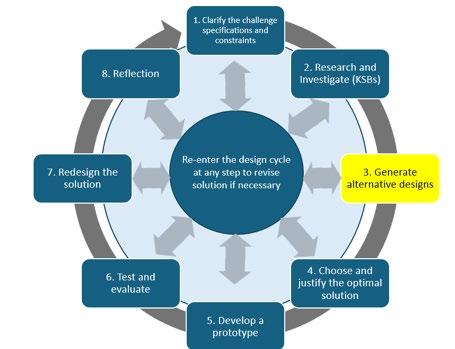
Alternative Designs
You need to build a robot that can independently navigate a maze. You will be using cardboard to make the robot. Create several designs, taking the time to sketch out your ideas, and include a brief explanation of each design. This type of brainstorming and planning is beneficial in the long run, enhancing your overall efficiency.
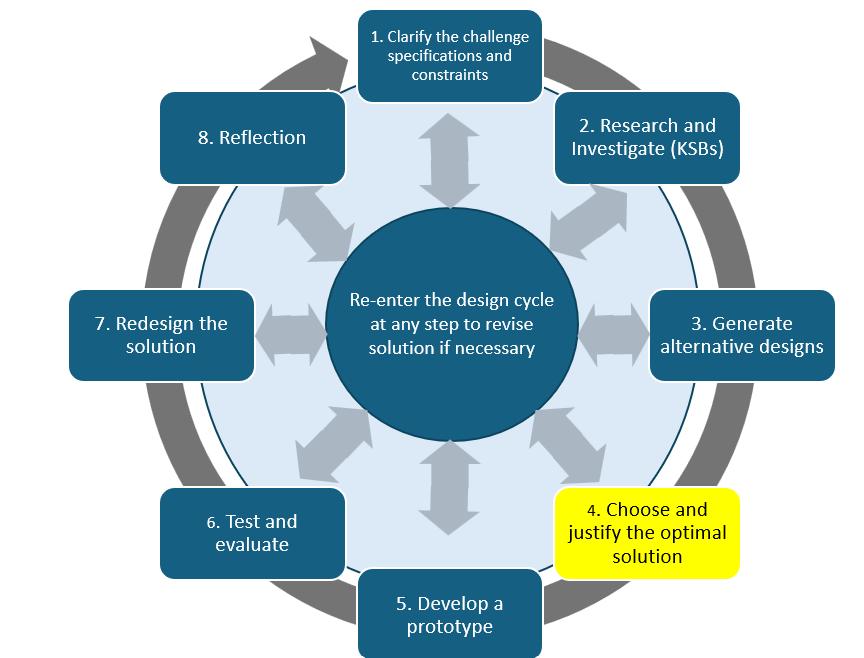
Choose The Best Design
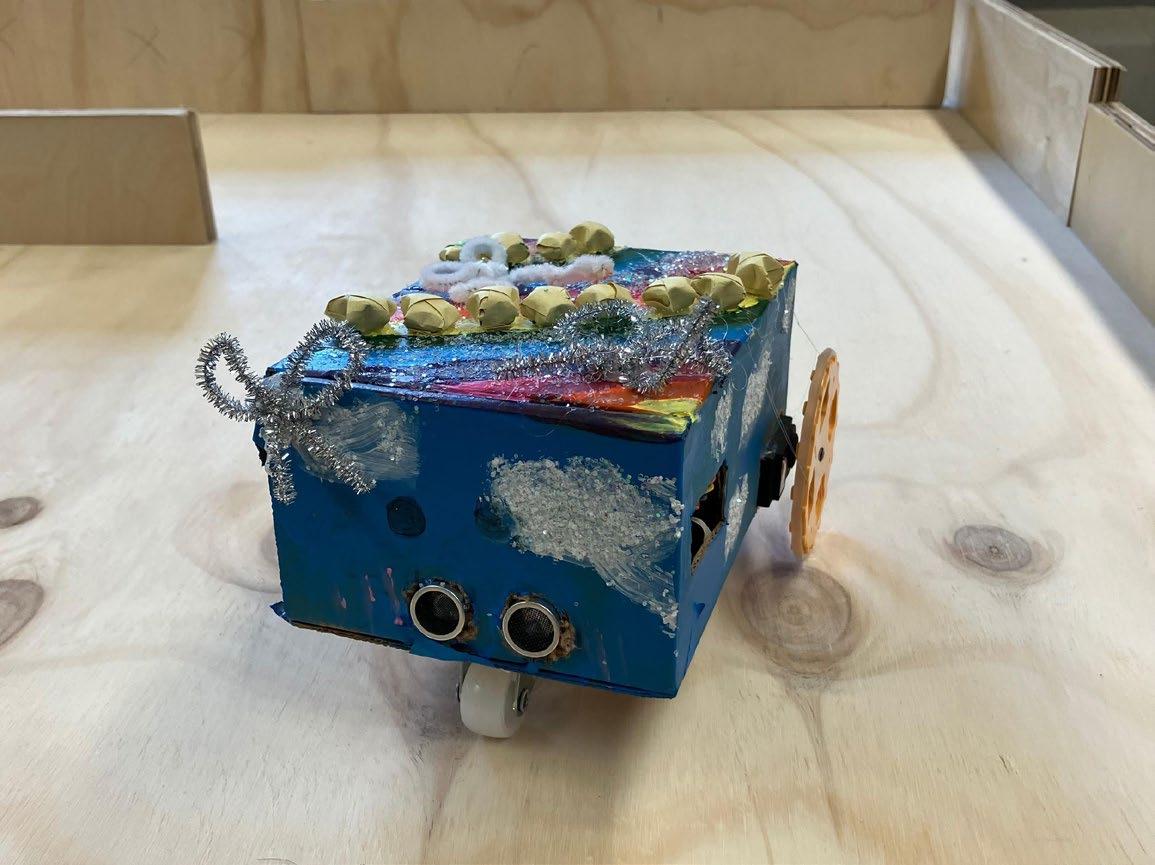
Choose the design that will satisfy all the specifications within the constraints and give you the best outcome. This is the optimum design. Explain why you think this design is a better choice than the alternatives. Take a picture of your final solution and paste it here.
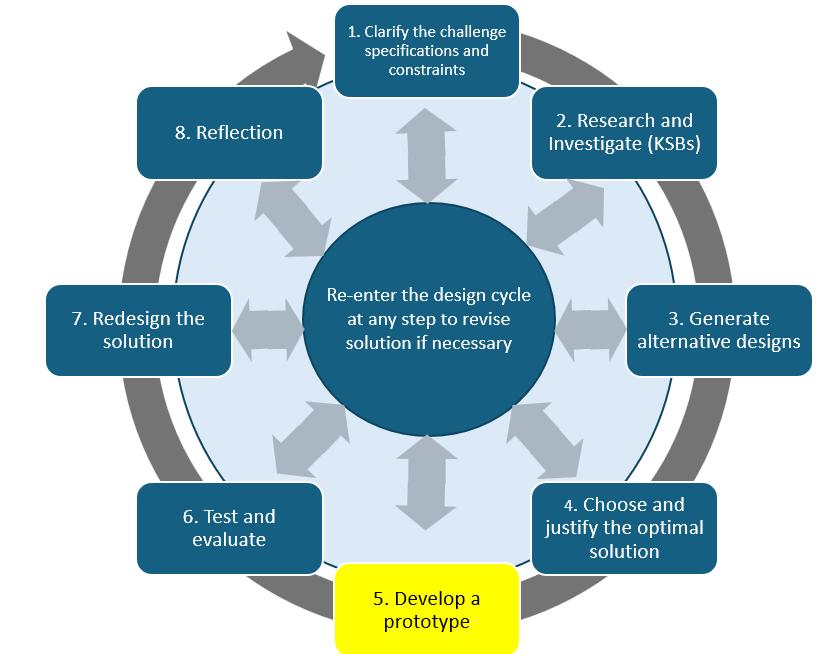
Designing and Programming Your Robot
Now you need to put everything together and create code that will successfully navigate your robot through a maze, avoiding all obstacles. Programmers and Engineers often build a prototype that is not the final solution. As you write and test your code, you will need to make changes. This is what we call the iteration process
Now, take a picture of your final code solution that works and paste that here.
Think back over the coding process. Why did you change the code?
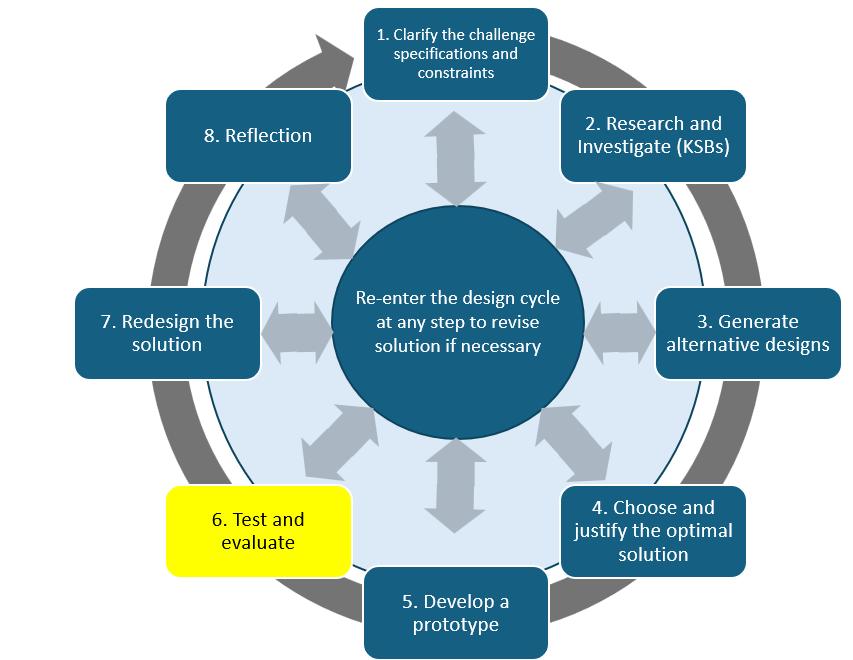
Test and Evaluate
Did your solution work and meet the design specifications? Briefly explain why it did or did not.
You can include a picture of your code and your robot here.
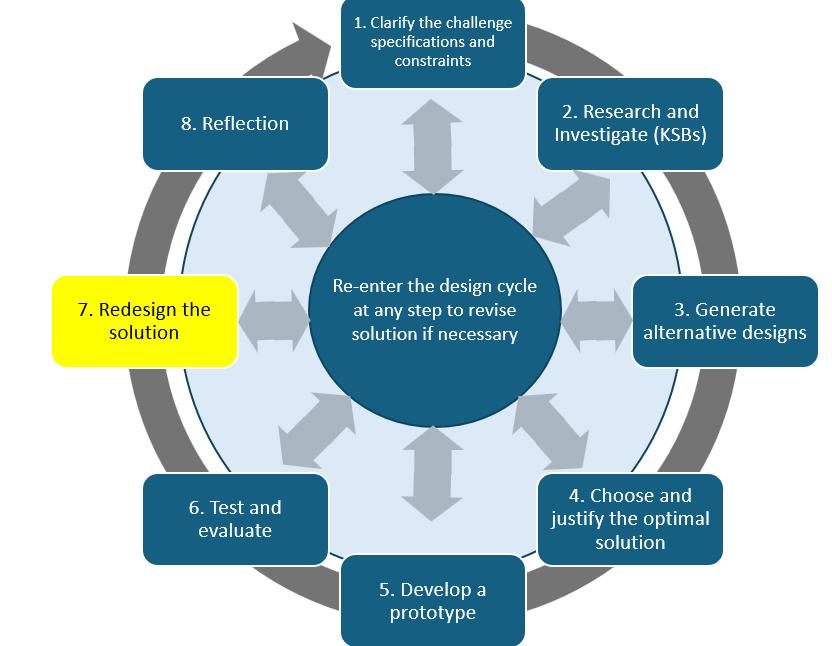
Redesign your solution
Engineers do not go with the first design; they often go back and redesign their first solution to make it better, more efficient, make it perform well, or address a specification that was added after the start of the design process.
What are your ideas as to how you would improve your design?
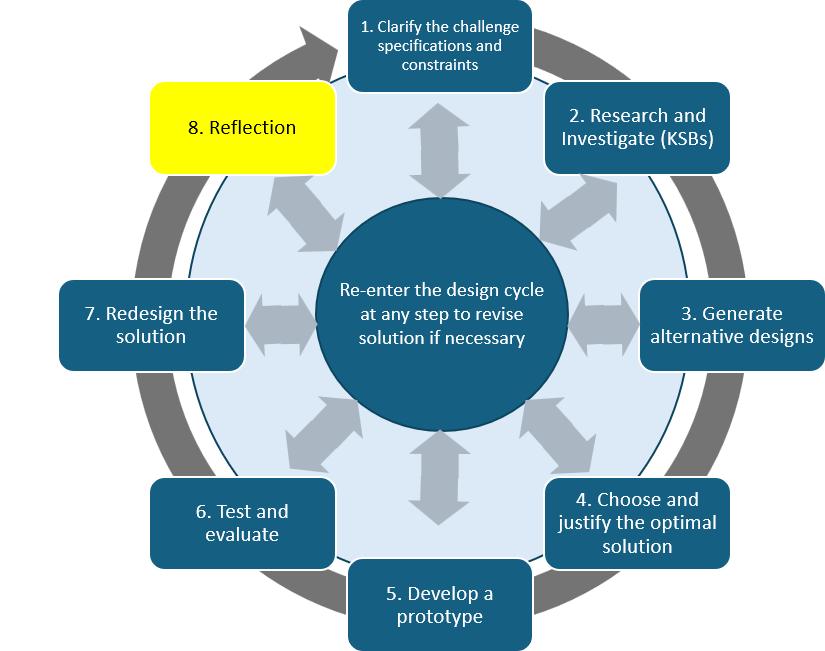
Reflection
What were two things you learned about coding from this activity? Things you know now that you did not know when you started.