3 minute read
HYDRAULIC/BRAKE SYSTEM
LUBRICATION/FILTERS/FLUIDS
HYDRAULIC/BRAKE SYSTEM
Service Specifications Hydraulic/Brake System Fluid Chart
Hydraulic Reservoir Refill Capacity w/filter change...........................................94.6 liters (25 U.S. Gallons) Total System + Tank Capacity.........................................................................180 liters (47.5 U.S. Gallons) Type of Fluid........................................................................................................See Fluids and Lubricants Hydraulic Reservoir Fluid Level Check Interval...................................................................Every 50 Hours Filter Replacement Interval.....................................................................Every 2000 Hours of Operation or when the Hydraulic Filter Warning Lamp Illuminates Hydraulic Fluid Change Interval...................................................................................Every 2000 Hours or once each year, whichever occurs first.
WARNING: Pressurized hydraulic system. Before you replace the hydraulic filter or service the hydraulic system, wear face protection and slowly loosen the hydraulic reservoir fill cap to relieve the air pressure. If you do not follow these instructions, you can be injured.
Hydraulic/Brake System - Temperature Ranges
LUBRICATION/FILTERS/FLUIDS
Hydraulic System Oil Filter
CHECK EACH 500 HOURS
WARNING: Fluid under pressure. Turn cap slowly to relieve pressure before removing it.
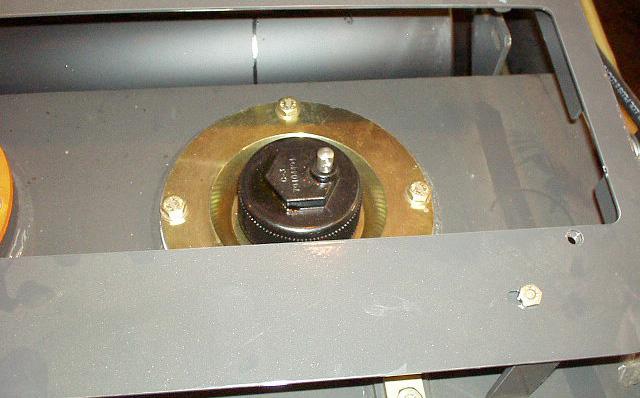
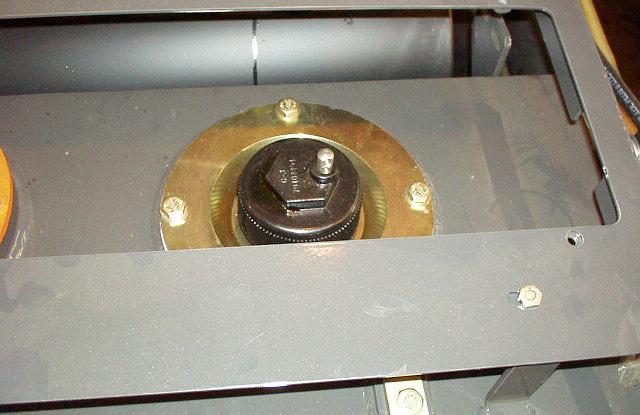
Loosen filler cap (1) to relieve pressure. Remove cover (2) from top of the tank. Remove spring (3), cap (4) and o-ring (5), from top of element (6). Remove element from tank and discard. Make certain o-ring (8) is in good condition, then install a new filter over the discharge tube. Position o-ring (5), cap (4) and spring (3) on top of the element. Make certain o-ring (5) is in good condition and properly positioned as shown. Install cover (2) on tank and secure with capscrews (7). Torque capscrews to 47.5 - 54.2 Nm (35 - 40 lb.ft).
Cleaning the Suction Line Filter
Loose the filler neck cap (1) to relieve the pressure. Remove the filler neck capscrews (9), the tube and the filter. Remove the filler neck cover, the tube (10) and filter (14) from the hydraulic. Remove and replace the rubber ring (11) from filter, if necessary. IMPORTANT:Do not use gasoline, solvent or another flammable fluids to wash the components. Use recommended commercial, non toxic solvent. Wear safety glasses with side shields when using compressed air for cleaning to reduce the danger of personal injury from flying particles. Limit the air pressure to 30 PSI (2 bar). Wash the strainer with a commercial solvent. Use compressed air to clean the element. Blow it from inside to outside. Install a new o-ring in the groove and then install the tube assembly (pre cleaner) (10). Install the capscrews (9) and torque them with 47.5 - 54.2 Nm (35 - 40 lb.ft). Make sure that valve assembly and strainer are properly positioned in the tube assembly. Fill the tank to the proper level indicated on the sight gauge (13). Install a new o-ring (12) on the filler cap and install it.
LUBRICATION/FILTERS/FLUIDS
Hydraulic/Brake Oil Change
Change the hydraulic/brake oil every 2000 hours of operation or one time each year, or when ambient operating temperatures require, whichever occurs first. When changing the hydraulic oil also replace the hydraulic oil filter. Have a container available that is capable of holding 180 liters (47.5 Gal). 1. Make sure the hydraulic oil is at operating temperature. 2. Park the machine on a level surface. Lower implements to the ground and apply the parking brake. 3. Stop the engine. Put a DO NOT OPERATE tag on the steering wheel.
WARNING: Fluid under pressure. Lower implements to ground, shut off engine and move control levers several times. Loosen filler cap to relieve pressure, before loose fittings.
4. Remove the drain plugs, and drain oil in a container. 5. Remove the filler cap to vent the tank as it drains. The filler element should be changed and the strainer cleaned at this time. 6. Install drain plug and fill tank with new oil. 7. Install filler cap. 8. Start the engine and operate controls so that all lines are filled. 9. Stop the engine. Check oil level. Add oil as necessary to bring to proper level.
1 2

1. HYDRAULIC OIL LEVEL GAUGE 2. HYDRAULIC OIL LEVEL FILLER


