2 minute read
OPERATORS SEAT


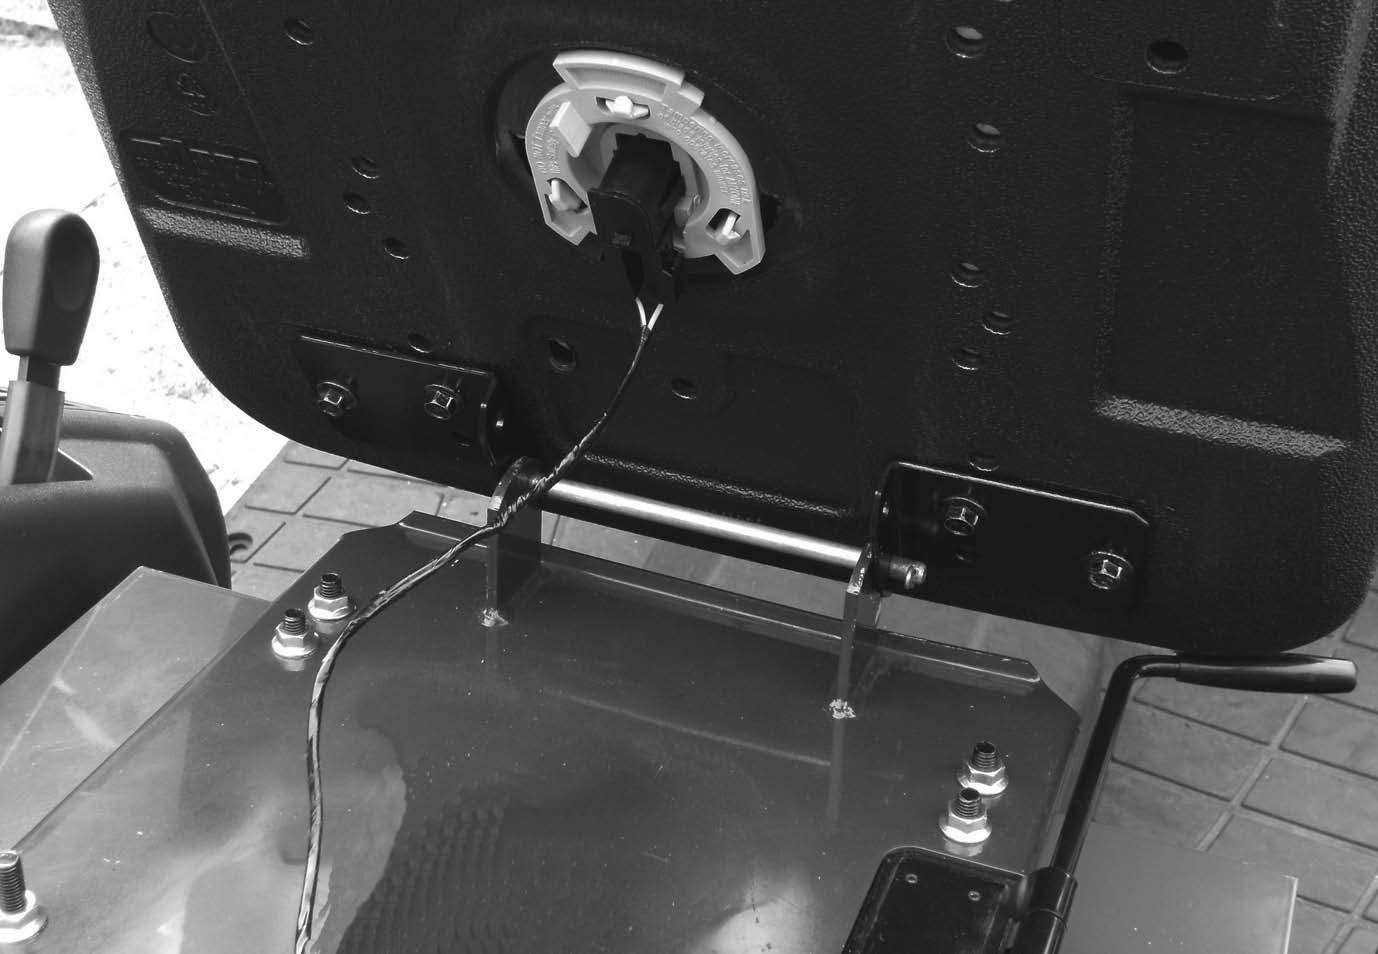
Install the operator's seat with the pin and secure it with the cotter pin. Connect the connectors.
IMPORTANT: Check the switch as the following procedure after having installed the standard seat.
Checking the switch
(1) Sit on the operator's seat
(2) Apply the parking brake.
(3) Shift the all operating control lever to "N" or "OFF".
(4) Depress the clutch pedal.
(5) Start the engine.
(6) Shift the Mid PTO lever to "ON". (If Mid PTO equipped)
(7) Leave the operator's seat.
(8) Make sure the engine must shut off. In case the Mid PTO is disengaged, the engine will remain running if you stand up.
NOTE: If you leave the seat when the Mid PTO is engaged, safety system will automatically shut down the engine.
While engine is running, if you leave a seat, engine will shut off after one (1) second.
The seat can be adjusted in 5 fore/aft position by the lever located under the RH side of the seat.
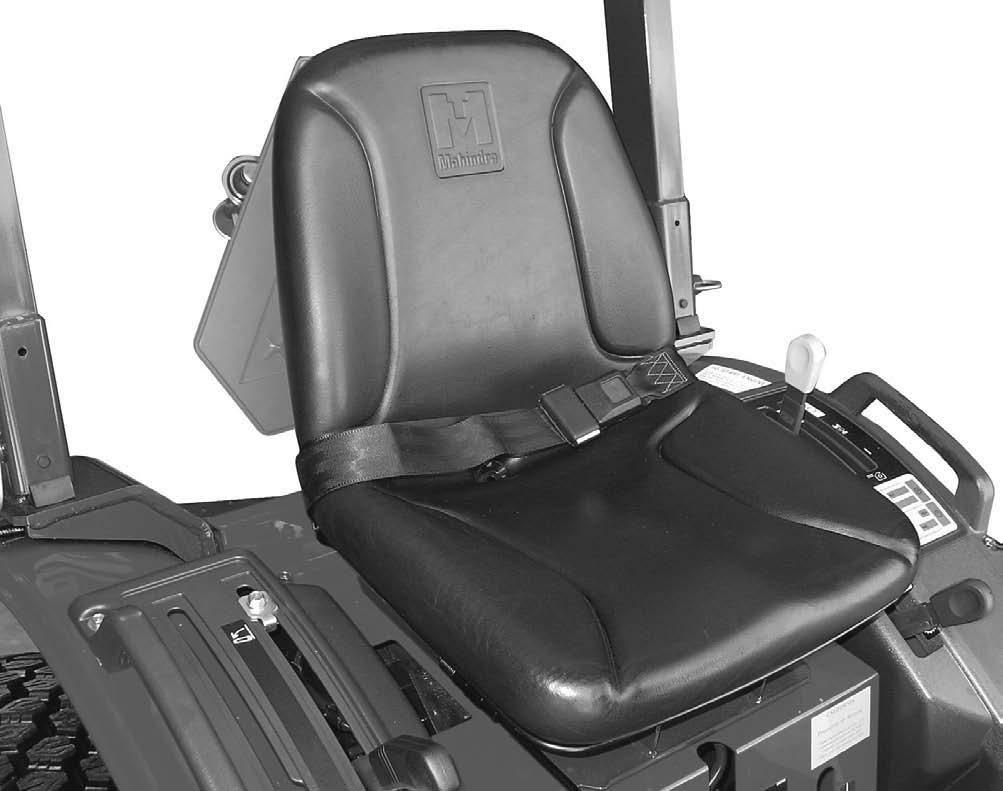
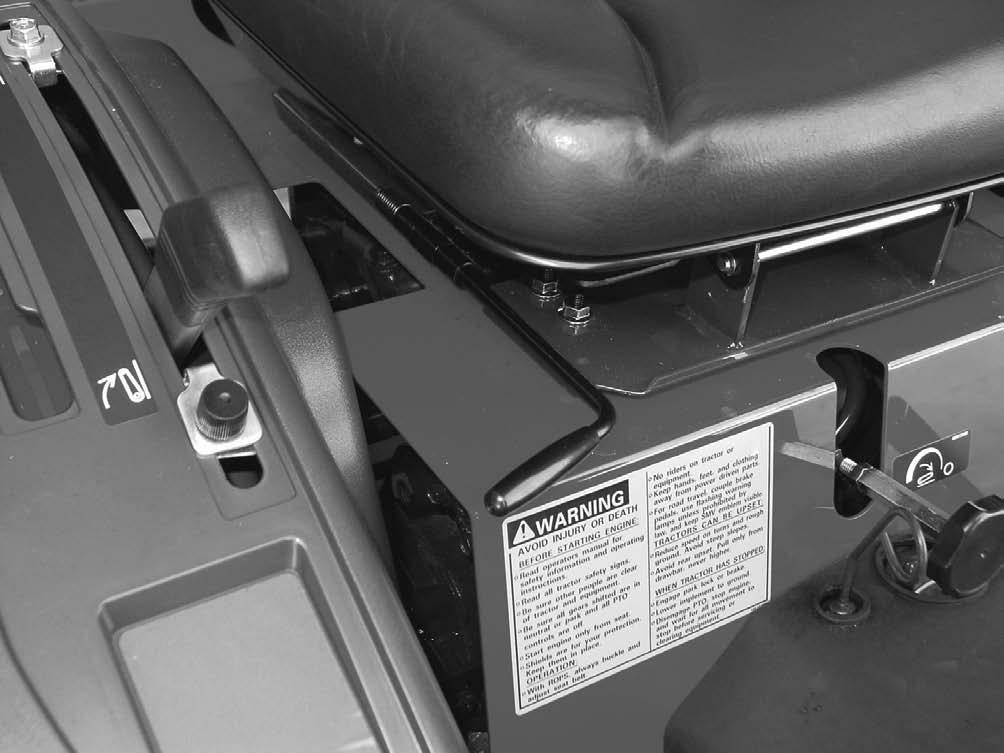
The seat is adjustable fore and aft by moving a lever.
1. Move the lever upward.
2. Move the seat rearward or forward to the required position then release the lever.
3. Push the seat rearward to make sure that the lock is engaged.
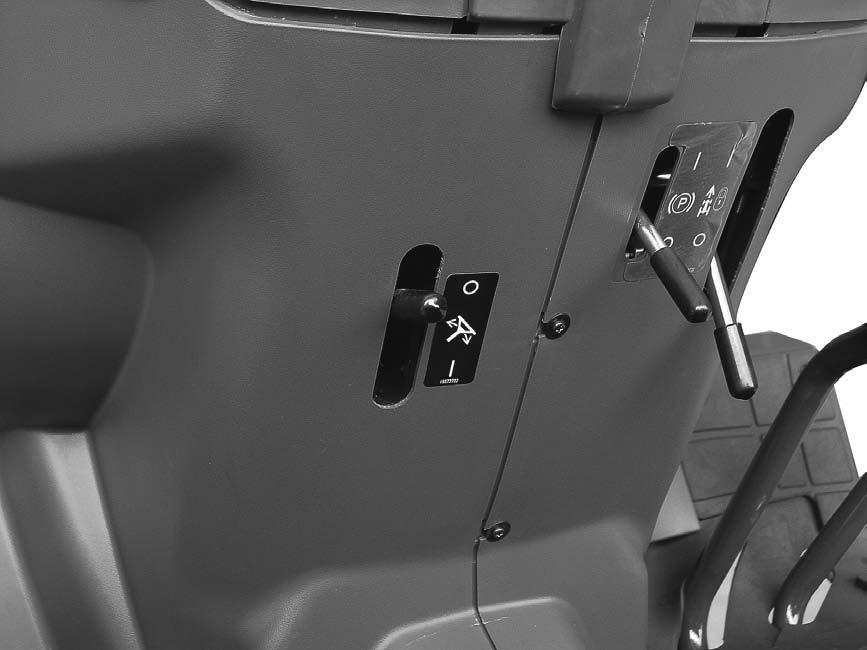
Steering Column Tilt
T he steering wheel angle can be adjusted in three positions by the lever located under the steering column. To adjust the position of the steering wheel, use following procedure.
1. M ove the lever fully downward to disengage the latch from the column.
Steering Column Tilt Lever
2. Move the steering wheel rearward or forward to the required position, then return the lever upward to lock the steering column.
3. Make sure that the lock is engaged.
Before Starting The Engine
Before starting your tractor for the first time and before each operating period after that, make these checks:
1. Make sure all persons who operate or do maintenance on the tractor understand that clean fuel is important.
2. Check all lubrication fittings for grease as given in the Lubrication Chart.
3. Check the oil level in the engine crankcase. Check the oil level in the transmission.
4. Check the tractor fuel tank is filled with clean fuel that has the specifications given in this manual.
NOTE: Clean around the fuel tank cap before you remove cap.
5. Check the fuel system, cooling system and engine oil pan for leaks.
6. Check the fan belt is adjusted correctly.
7. Remove any water or sediment from the fuel filter cup.
8. Check the air pressure of the tires.
9. Make sure the PTO safety guard is installed.
10. Check the coolant level in the radiator and reservoir bottle. Add water and ethylene glycol coolant as needed.
RUN – IN PROCEDURE
If run-in instructions for a new engine are not followed, you can cause damage to position rings and cylinder walls.
Load
Never operate an engine immediately under full load. Allow the engine to warm up before operating it at full load. Run-in the engine carefully as shown in the table.
No Load
Do not run the engine at idle speed. When not operating the engine with a load, you can keep the correct engine operating temperature if you run the engine at approximately 1500 RPM.
Rear Wheel Bolts
After the first 10 hours of operation, check the rear wheel bolts. Tighten all wheel bolts to the torque give in the Wheel Mounting Torques in this manual.(P73)
FRONT WHEEL BOLTS
After the first 10 hours of operation, check the front wheel bolts. Tighten the bolts to the torques shown in the Wheel Mounting Torques in this manual.(P73)
FRONT FRAME BOLTS
After the first 10 hours of operation, check the front frame bolts. Tighten the bolts to the torque shown below.
Front frame mounting torques
Size M12x30,35, 12Bolts … 107.8 N-m (80Lbft)
LOWER LINK BRACKET BOLTS (P63)
After the first 10 hours of operation, check the Lower Link Bracket bolts. Tighten the bolts to the torque shown below.
Size M12, 4Bolts …............. 83 to 93 N-m (62 to 69 Lbft)
Size M14, 4Bolts …............. 120 to 130 N-m (89 to 96 Lbft)


