2 minute read
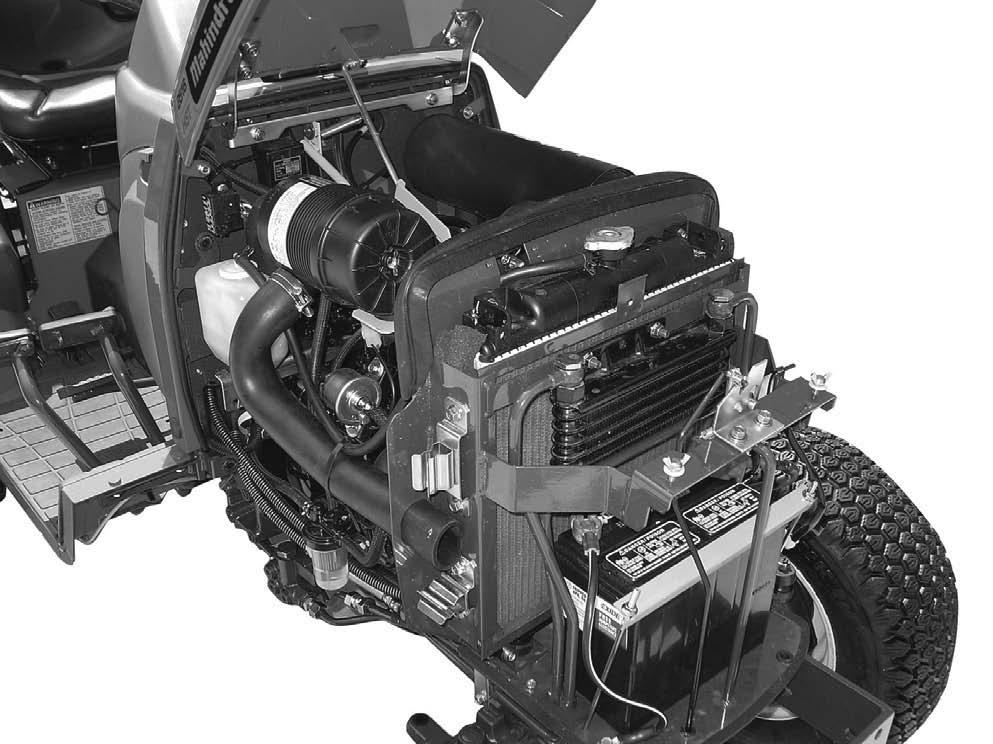
AIR INDUCTION SYSTEM


The air induction system components require service at different intervals according to local operating conditions.
Service Specifications
Dump Valve…………………………………………………………… Clean daily or every 10 hours
Filter Element
Clean Element………………………………………………………………………. When necessary
Replace Element ………………………...........After 10 cleanings or When necessary or yearly
System Inspection………………….......………... Every 200 hours or yearly whichever occurs first
Your tractor is equipped with a dry-type air cleaner with a replaceable element.

AIR
IMPORTANT: Service the air induction system at the given service intervals. Correct maintenance will make longer life of the engine. Keep all connections on the outlet hose tight.
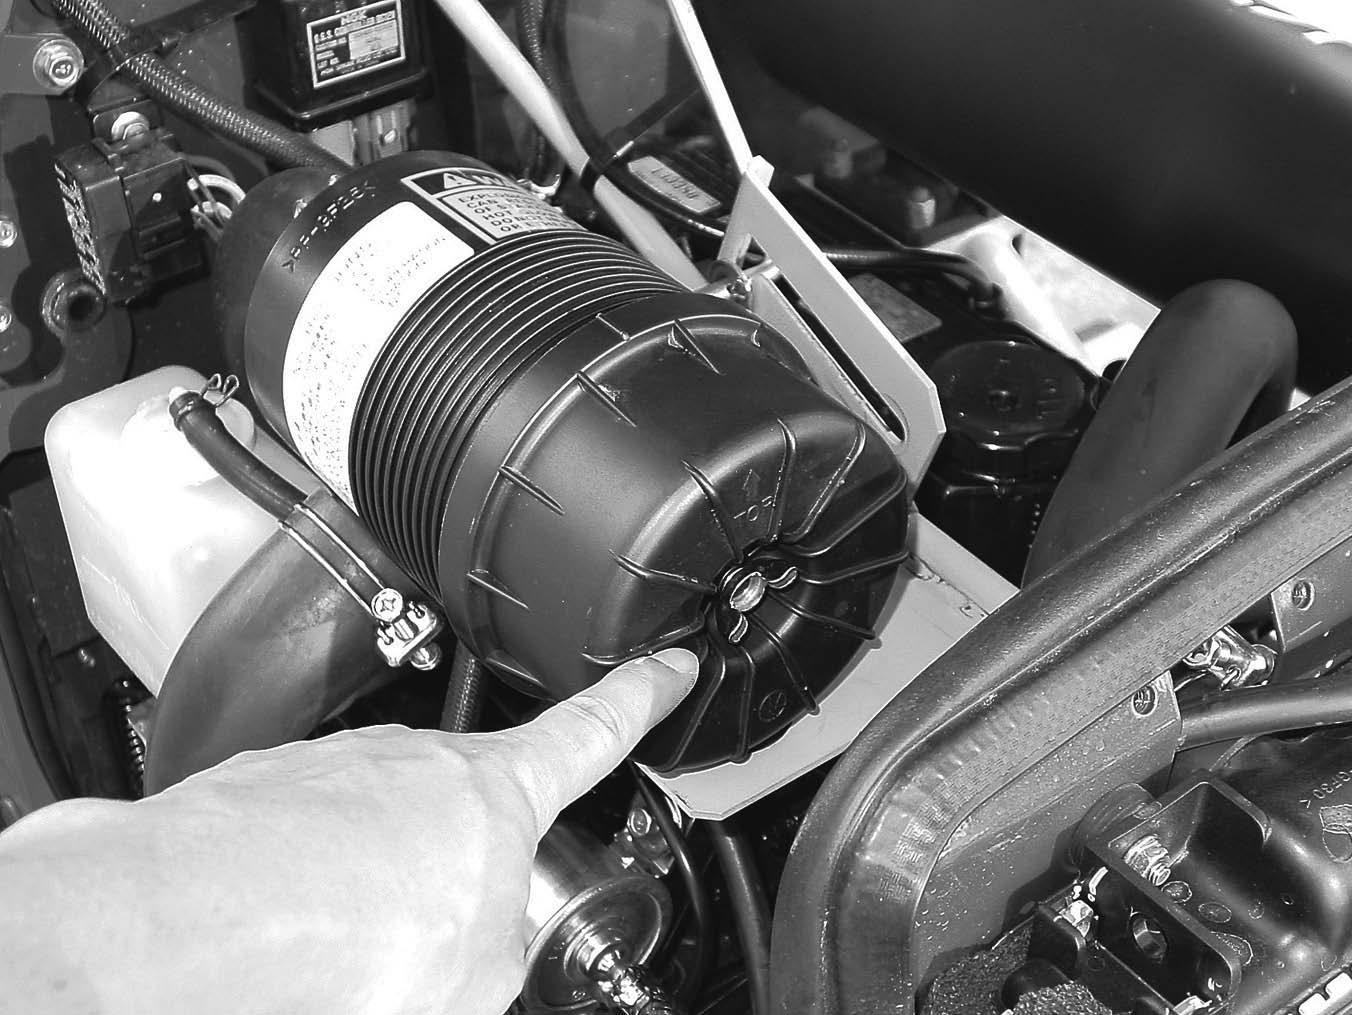
Dump Valve
The dust in the filter case should be dumped daily by using the dump valve when operating in extremely dusty conditions.
Air Filter Element Removal
Avoid over servicing the air filter element. The filter element should be removed for cleaning only when restriction causes a power loss.
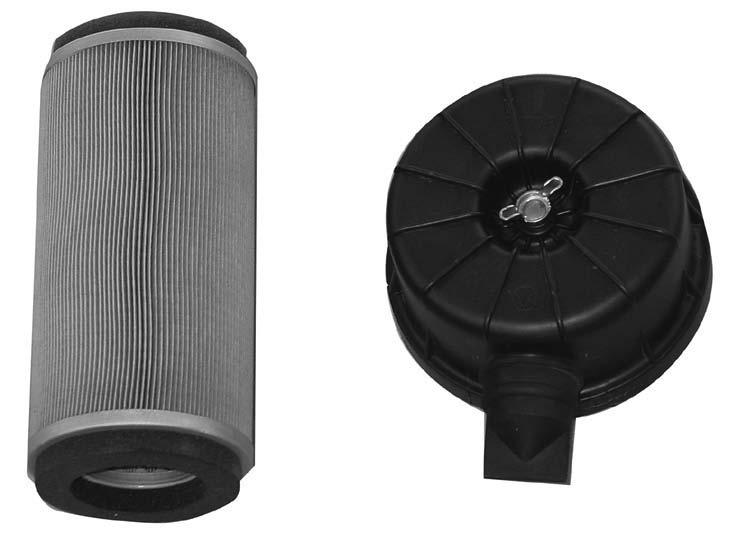
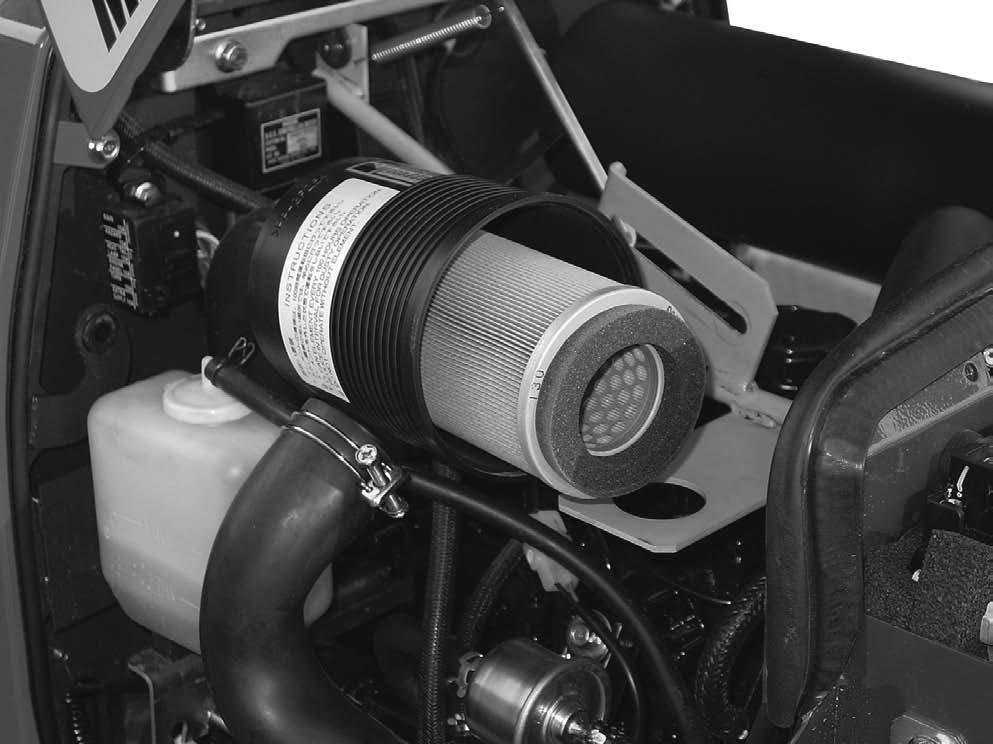
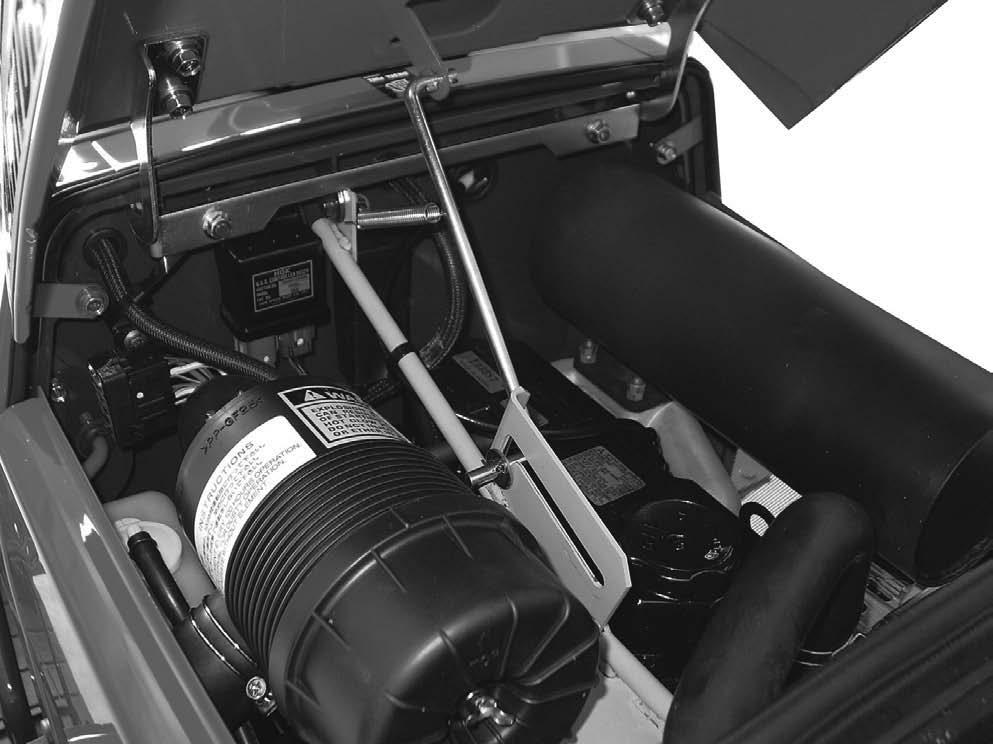
When servicing the air filter element, loosen the wing bolt and remove element by pulling it straight out very carefully. Clean interior of canister.
Stop the engine.
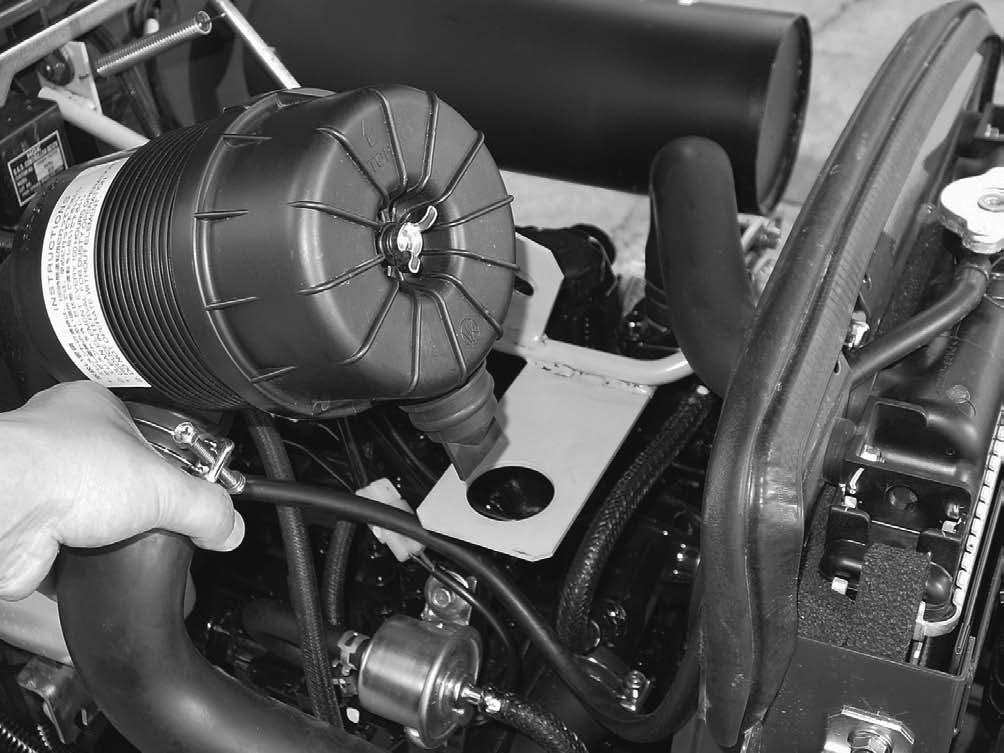
WING BOLT
After replacing the new or cleaned element, install and tighten the wing bolt.
NOTE: Never attempt to remove the element from the air cleaner while the engine is running.
When installing the element, inspect the element gasket. If the gasket or element surface is damaged, replace the element immediately.
Element Cleaning
Use clean, dry compressed air up and down the pleats on the clean side (inside) of the element.
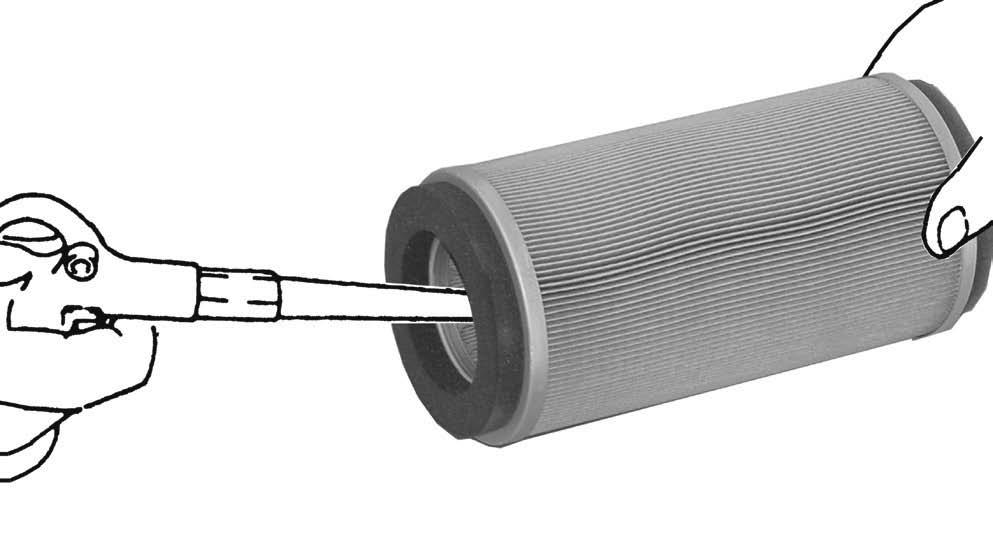
Continue this until the element is clean.
NOTE:
1. The paper element must be handled with care. Do not hit the element against a hard surface.
2. Air pressure at the nozzle must not exceed 689 kPa (100 psi).
3. It may be necessary to replace the element sooner if the time interval between servicing becomes short indicating the element dose not respond to cleaning (soot contaminated).
System Inspection
Check the dump valve and the all hoses for cracks and wear. Replace if needed. All the connections on the hoses must be tight. All the gaskets must be in good condition and the bolts must be drawn up tight.
NOTE: Inspect the hoses and connections after the first 50 hours of operation and replace when necessary.
TRANSMISSION & HYDRAULIC LUBRICATION
Service Specifications
Oil Level Check Interval…………………………………………………………………………… Daily Oil Change Interval…………………………………………………………………… Every 200 hours.
Oil Capacity Gear Drive…………………………………….……… 22.5 Liters (24 Quarts).
Hydrostatic Drive ……….…………………………… 21.5 Liters (23 Quarts).
Oil Type Gear Drive ……………………………HYDRAULIC TRANSMISSION FLUID
Hydrostatic Drive …………………….HYDRAULIC TRANSMISSION FLUID
Hydraulic System Check…………………………………………… Yearly inspect for leaks, cracks and abrasion. Tighten fittings or replace as needed.
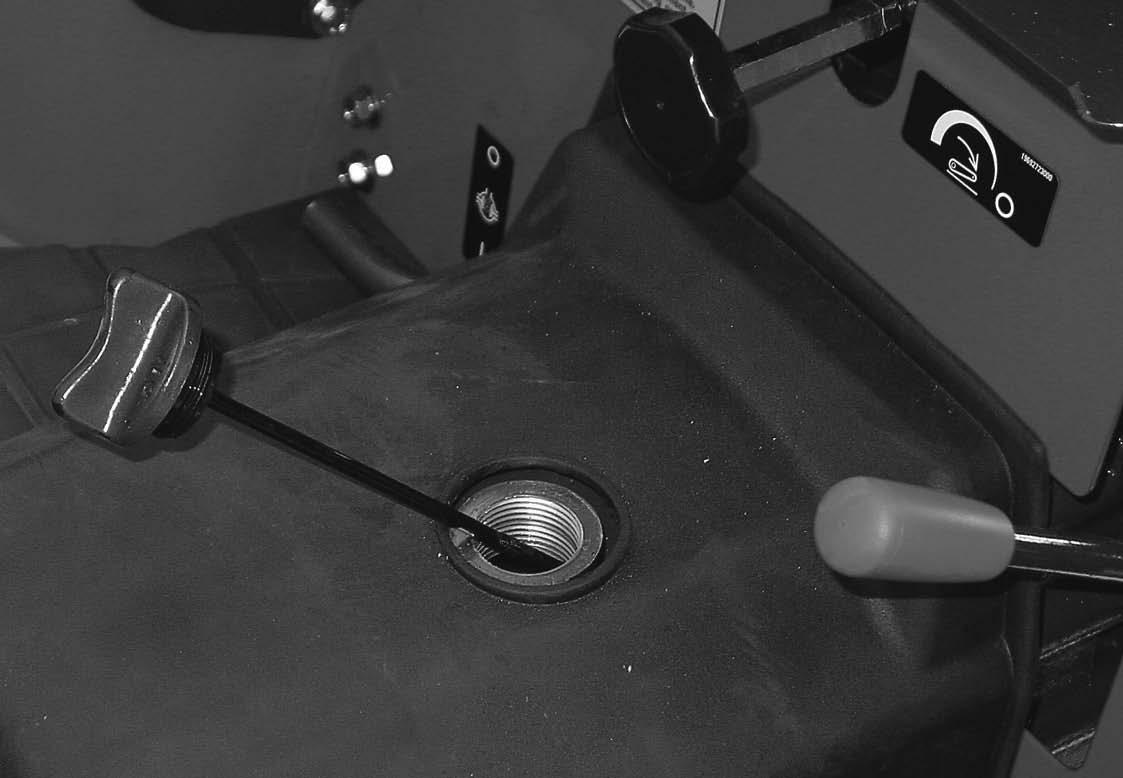
Transmission Oil Level (Gear Drive)
To check the transmission fluid level, put the tractor on level ground. Unscrew the filler cap with dipstick and wipe it clean. Check fluid by dipstick level, Do not screw in cap when checking. If the fluid level is below the lower line of the dipstick, add the recommended fluid to raise the fluid level between the F (Full) and L (Low) marked position.
Transmission Oil Level (Hydrostatic Drive)
Before checking the oil level of the hydrostatic drive tractor, run the engine for three to five minutes at 1500 RPM with the speed ratio control lever, range shift lever and PTO control lever in Neutral or OFF position. Afterwards, stop engine. Then check the oil level in the transmission.
To check the transmission oil level, put the tractor on level ground.
Check the oil level on the transmission dipstick. If the oil level is below the lower line of the dipstick, add the recommended oil to the transmission to raise the oil level to the F (FULL) marked position.


