2 minute read
AIR FILTER


Inspection
Be sure to carry out regular checks on the air filter, intake manifold, seals and hoses. At the same time, check the intake manifold screws and hose clamps for tightness. The hoses should be replaced before they are worn.
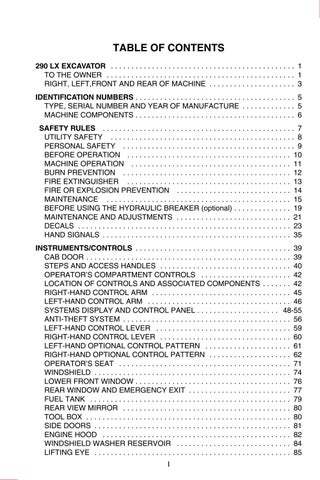
Air filter restriction indicator
CD00E114 Located next to the air filter, this indicator shows the state of the air filter elements. When the central zone of the indicator becomes red then the elements must be serviced, irrespective of the next scheduled service interval. Once the elements have been serviced, press the button on top of the indicator to start a new indication cycle.
Service specifications
Inspect and clean the primary element.........................................Every 250 hours or when central zone of the indicator turns red Replace the primary element......................................................Every 1000 hours or after cleaning six times Replace the secondary element.................................................Every 1000 hours or after cleaning the primary element three times
IMPORTANT: The primary element can be cleaned. The secondary element can not be cleaned and must be replaced.
IMPORTANT: Observe the air filter service intervals shown above. Clean filters mean longer engine life.
Removing the elements
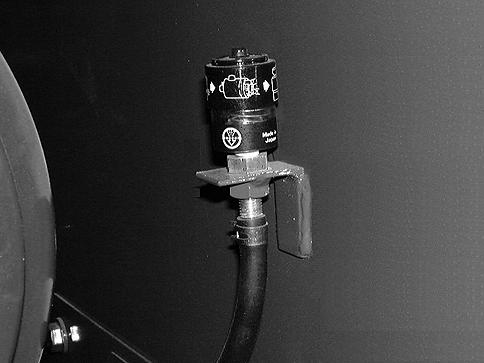
STEP 1
BD01G038 Release the fasteners and remove the cover.
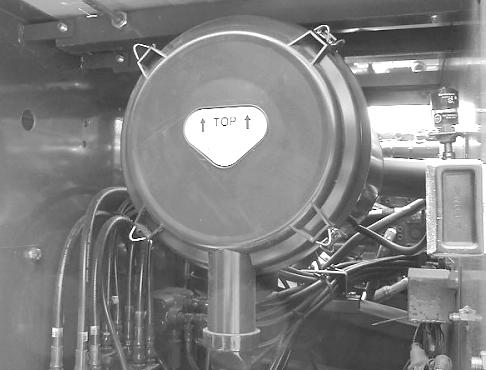
STEP 2
Remove the primary element.

CD00116
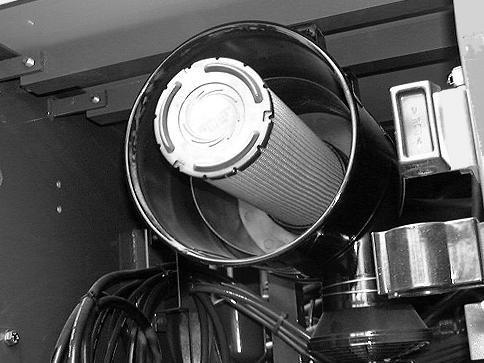
STEP 3
CD00E117 Remove the secondary element if it needs replacing. IMPORTANT: The secondary element must be replaced, not cleaned.
Cleaning the primary element
IMPORTANT: Make sure your face is protected before using compressed air.
PE08311
If the primary element is dry : Blow compressed air from the inside towards the outside at very low pressure. The compressed air nozzle should be held at least 1 inch (25 mm) from the inside wall of the element. Cleaning is completed once no more dust comes out of the primary element.
IMPORTANT: Compressed air pressure should not exceed 100 psi (7 kg/cm) NOTE: Do not use compressed air if there is oil or soot on the primary element.
Inspecting the primary element
PDE0088
If the primary element is oily : Clean it in water with a suitable detergent (consult your authorized LBX Link-Belt distributor). Instructions for using the detergent are printed on the packaging. IMPORTANT: Allow the primary element to dry completely before installing. It is advisable to keep a spare, clean primary element ready for installation while the other primary element is drying.
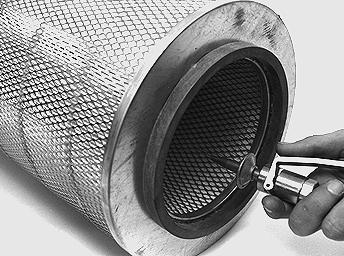
PDE0378 Check the primary element for damage by placing an inspection lamp inside the element. IMPORTANT: Replace the primary element if light can be seen through a hole, however small.
Installing the elements
STEP 1
Install the secondary element.
CD00E117
STEP 2 STEP 5
CD00E116
Install the primary element.
STEP 3
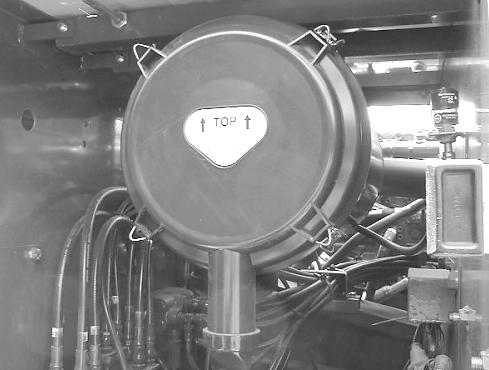
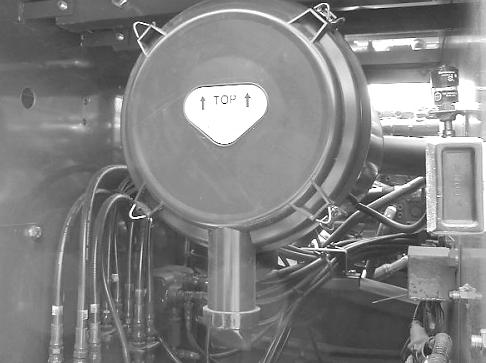
BD01G038 Install the cover (with the word “Top” at the top) and close the fasteners.
STEP 4
BD01G038 Check that the dust ejector under the filter is working correctly.
CD00E114 Press the red button on the indicator. IMPORTANT: If exhaust smoke is abnormal after cleaning, the air filter primary element must be replaced.