1 minute read
OPERATING THE RAKE


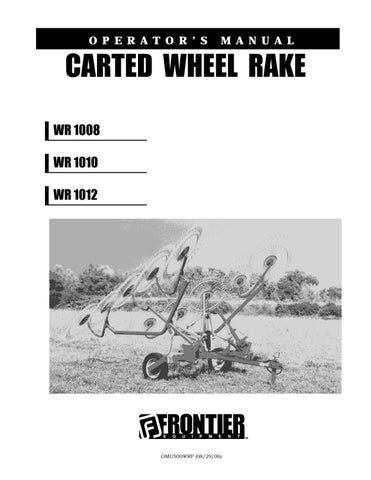
12. To make course adjustment:
Remove cap screw and lock nut from float spring bracket.
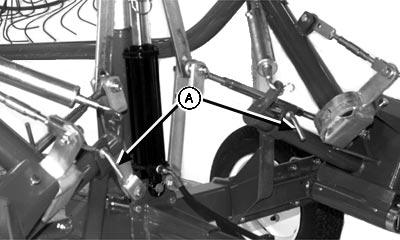
To decrease ground pressure, install cap screw in top hole of rake arm bracket (A) and the inside hole of float spring (B) (shortest length).
Decrease Ground Pressure (Shortest Length)
To increase ground pressure, install cap screw in middle hole of rake arm bracket (A) and the outside hole of float spring (B) (longest length).
Increase Ground Pressure (Longest Length)
Operating The Rake
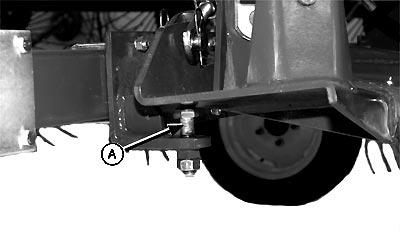
13. Make fine adjustment after making course adjustment:
Remove spring-locking pin and float spring hook from pivot head bracket.
Rotate spring hook (A) “in” for less ground pressure.
Rotate spring hook (B) “out” for more ground pressure.
14. Make the same adjustment on the opposite side.
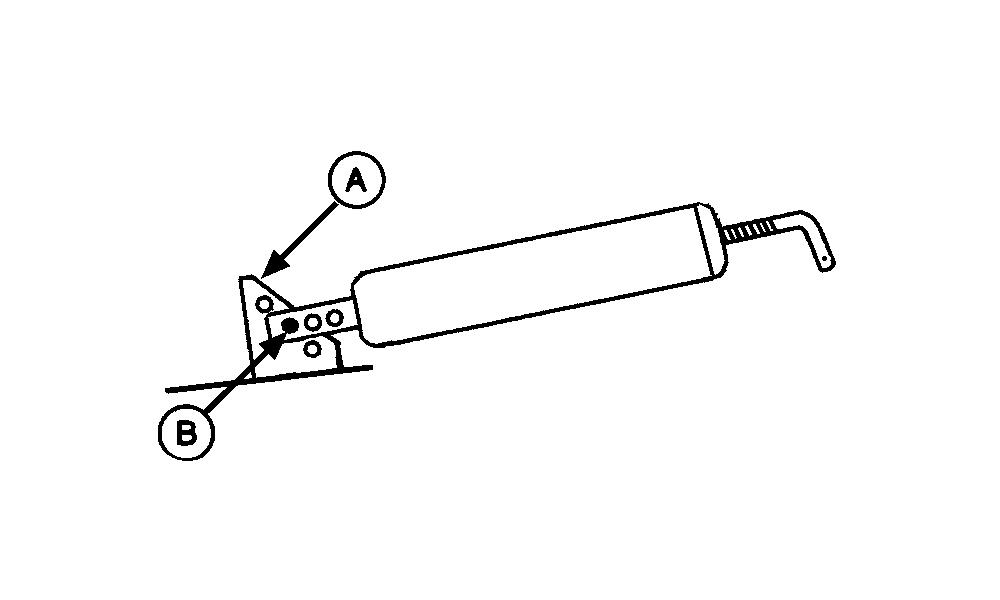
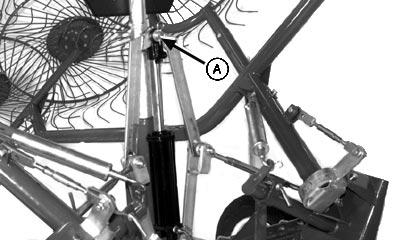
15. Adjust downstop bolt (A) so all rake wheels contact the ground.
Raking A Single Windrow Or Swath
NOTE: If installed, remove center kicker wheel before doing the following procedure.
1. Raise raking wheels to maximum height.
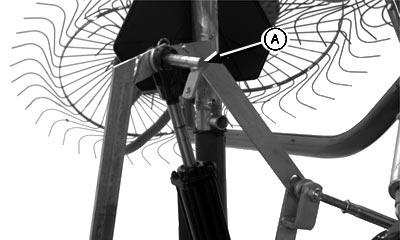
2. Install left-hand and right-hand transport lock pins (A). Fasten with spring-locking pins.
3. Lower pivot assemblies against transport pins (A) to relieve hydraulic cylinder pressure.
Operating The Rake
4. Remove spring-locking pin, washer, and cylinder pin (A) to remove cylinder from support.
5. Install cylinder pin (A) through cylinder clevis and upper lift links. Fasten with washer and spring-locking pin.
6. Raise raking wheels to maximum height.
7. If right-hand raking is desired, remove transport pin (A) from right-hand support (B). Install pin (A) through hole in turnbuckle (C) for storage.
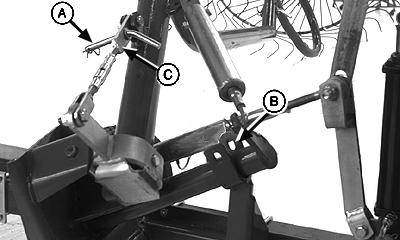
If left-hand raking is desired, follow same procedure.
8. Lower raking wheel assembly.