3 minute read
AIR FILTER SYSTEM


Service Specifications
As required...................................................................... Clean air filter intake cap Every 10 hours of operation or daily......................Check dust valve and dust cup Every 1000 hours........................................................Replace air cleaner element 1.The shelf life of a new air filter element is five years. Do not install a new element that is more than five years old. The date of manufacture is on the end of the cap of the filter element. 2.Replace both filter elements after one year in the machine. 3.Do not remove the filter elements from the machine to check for restriction. Always follow the recommended service instructions in this section. 4.Each time you service the air filter system, make sure all hose connections are tight. Replace all damaged parts. 2.Remove the rubber baffle from the dust cup and clean both the baffle and dust cup with a cloth. BP96C029
Dust Cup
Check the dust cup and make sure there are no obstructions inside.
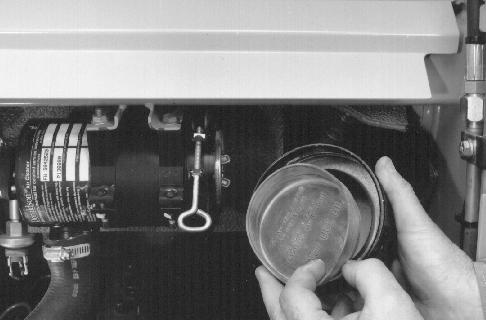
1.Loosen the clamp and remove the dust cup.
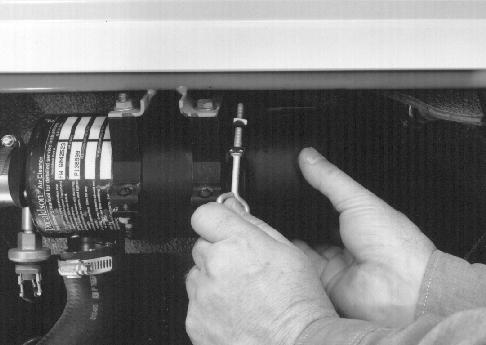
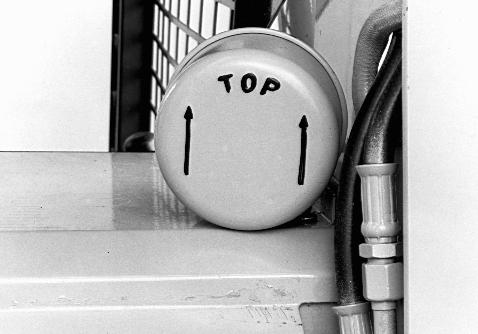
BP96C028 3.Install the rubber baffle in the dust cup and install the dust cup as shown. Make sure the arrows point up.
B876458W
Warning Lamp for Air Filter Restriction
You must service the air filter elements if the air filter lamp illuminates when thengine is running. It is recommended that you service the elements at the end of the day or at the end of your shift. Stop the engine and lower the loader attachment to the ground before you service the elements.
1
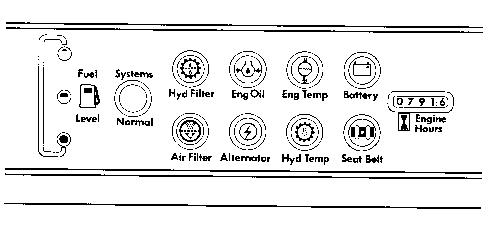
1.AIR FILTER WARNING LAMP
B890714J
Air Cleaner Element
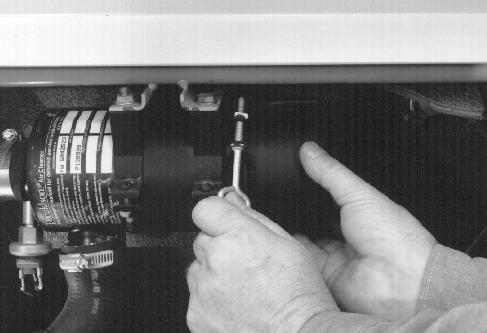
Replace the air cleaner element after three washings or after the element has been in the machine for one year. 1.Loosen the wing nut on the end cover of the air cleaner. Remove the end cover.
BP96C028
2.Remove the wing nut and carefully remove the filter element.

BP96C030
3.Use a clean damp cloth and clean the inside of the filter body. 4.Install a clean or new element.
Make sure the element has full gasket contact before you tighten the wing nut. 5.Install the dust cup. Rotate the dust cup so the two arrows point up. 6.Tighten the wing nut.
Cleaning the Element
Check the dirty element for damage and check the rubber seal on the end. Push the rubber seal with your finger. If the rubber seal feels hard and does not move back to original shape, discard the element.
1.Remove the loose dirt with compressed air at 30 psi (207 kPa, 2.1bar) maximum. Hold the nozzle at least one inch (25 mm) from the element.
IMPORTANT: Use an air hose with a safety on/off control nozzle.
CA5000J
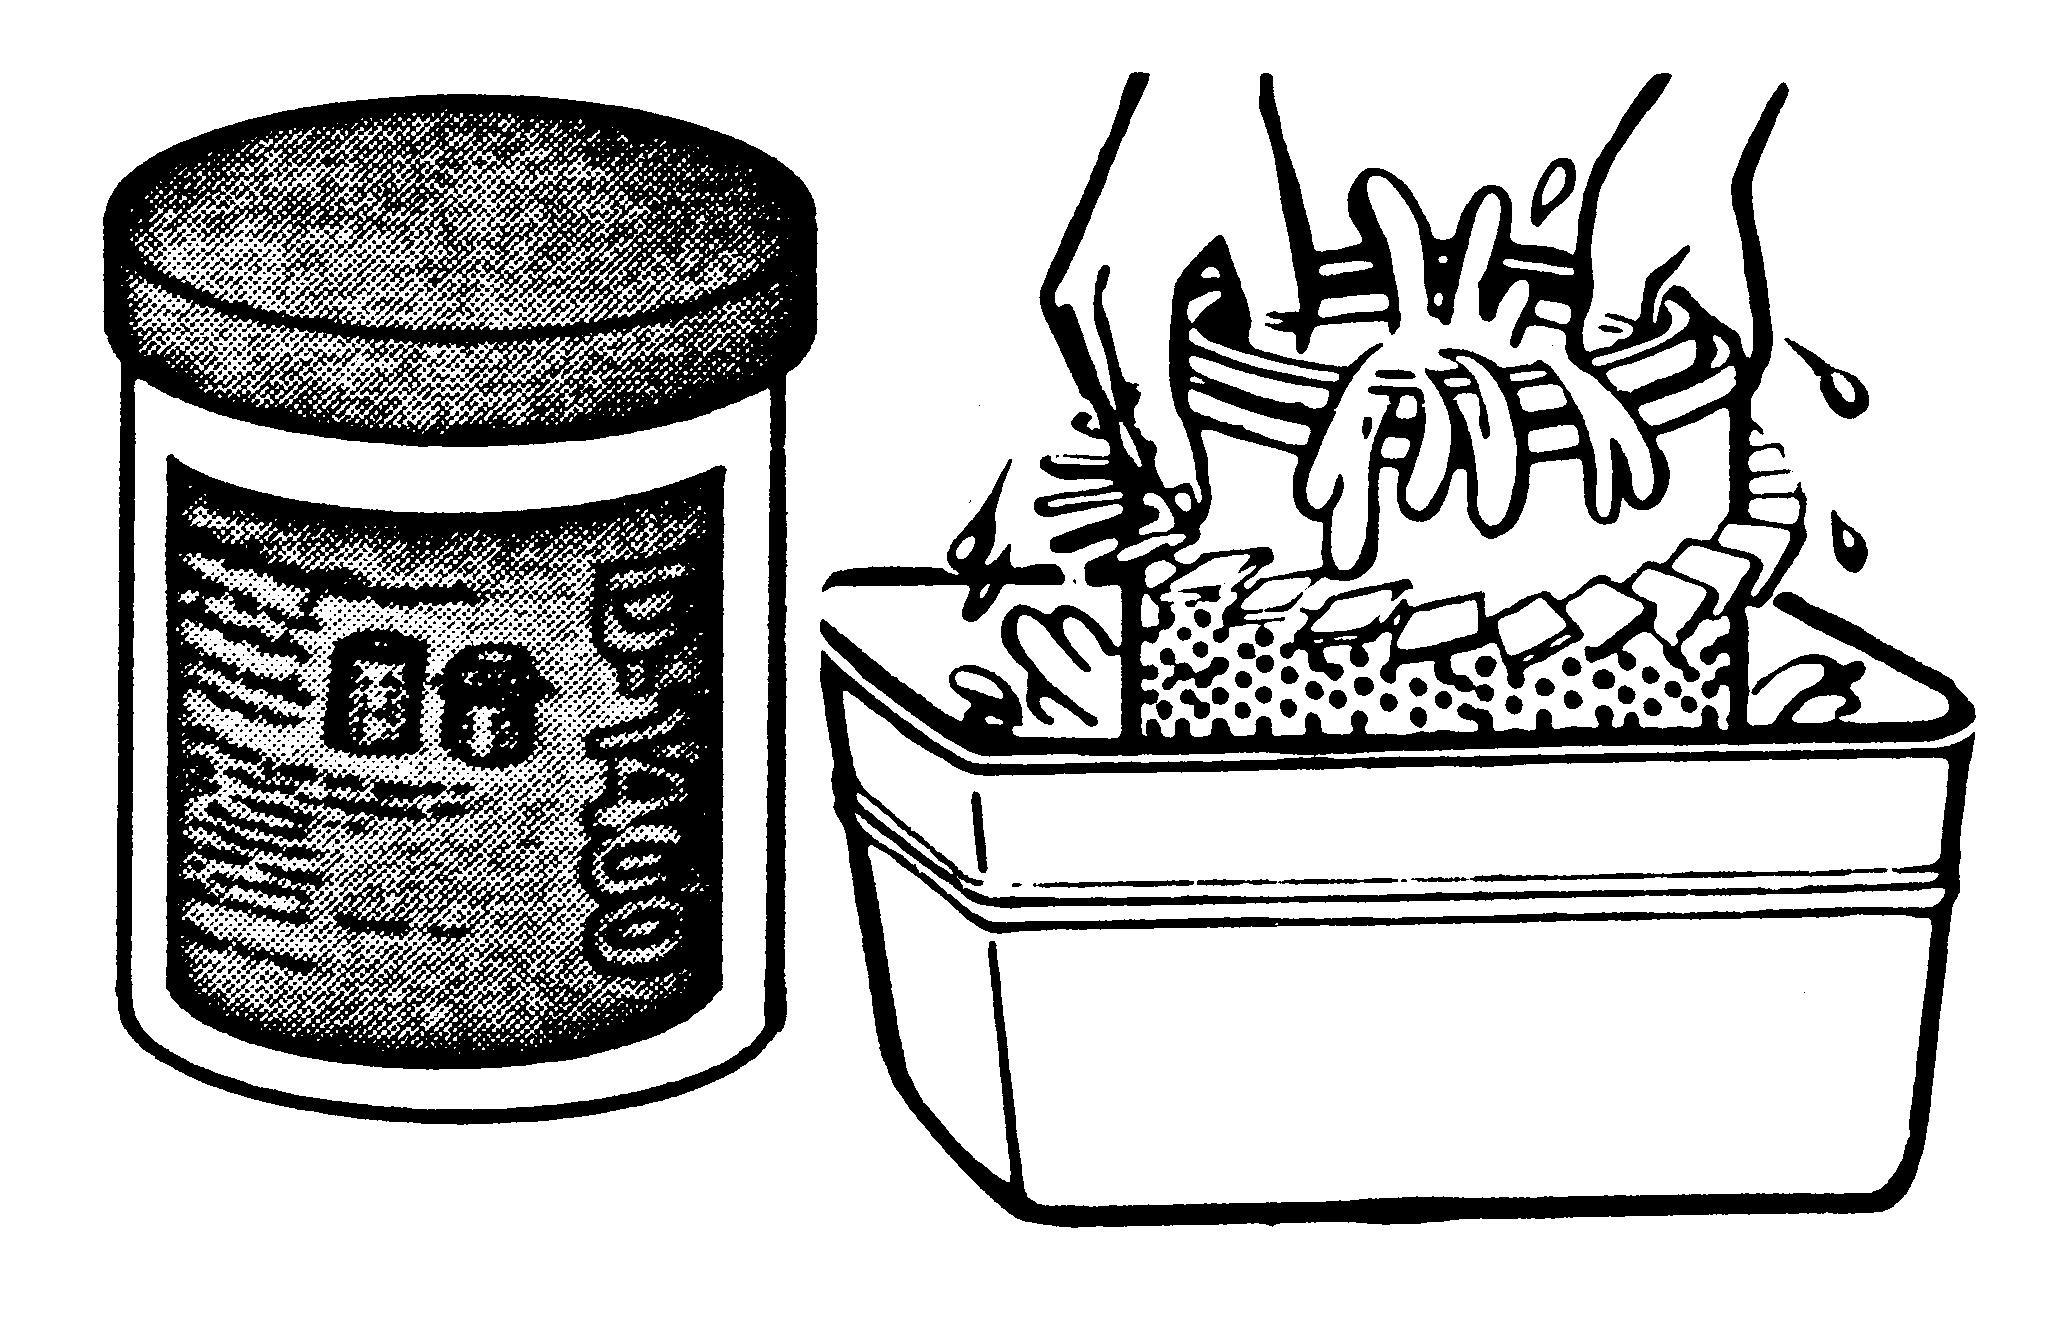
2.Mix two tablespoons of D1400 detergent (Case part number
A40910) with 1.6 U.K. gallons (7.5 litres) of water, one cup for 13.2
U.K. gallons (60 litres) of water. 3.Soak the element in the soap solution for 15 to 20 minutes and then move the element up and down rapidly to loosen as much dirt as possible. 4.Use a water hose without a nozzle with pressure less than 40 psi (275 kPa, 2.8 bar) to remove all soap from the element.
CA5002J
5.Allow the element to air dry. If you use a drier, do not exceed 160°F (71°C) and make sure the air is circulating in the drier. 6.Use a light and inspect the element for holes or splits in the pleats.
Check for damage to the metal parts and rubber gasket. Replace the element if damaged.
CA5003J
NOTE: If the element is not to be used for some time, cover the element with paper for storage.