4 minute read
DRIVE CHAINS


Checking the Drive Chain Tension

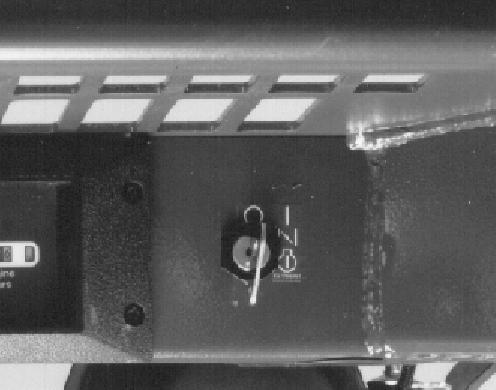
Check the tension of the four drive chains after the first 20 hours of operation on a new machine or new chains. Then, check the tension after every 250 hours of operation. 1.Lower the loader bucket to the ground. Turn the key switch to
OFF.
2.Pull out the engine stop control (1) and stop the engine (1825 only).
1
H04120
3.On the 1825B, use the key switch (2) to stop the engine.
2
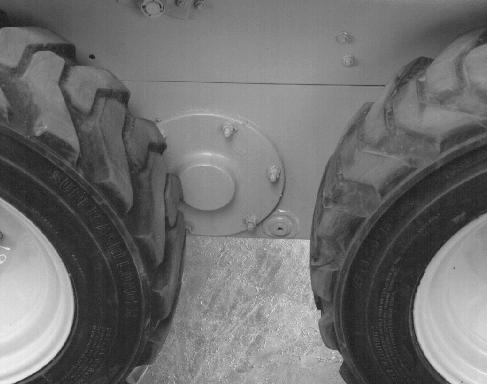
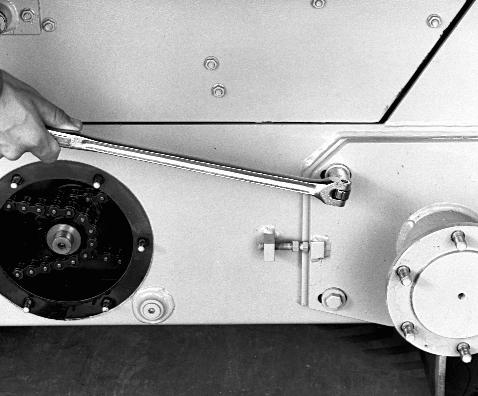
4.Clean the area around the two inspection covers (3) and remove.
3
BP96C037
5.Sit in the operators seat and pull the seat bar down.
6.Start the engine. 7.Push both steering control levers forward to move the machine a short distance forward.
IMPORTANT: Before you check the tension at the top, you must tighten the bottom strand of each chain. You can use the starter motor to do this. To prevent the engine from starting disconnect the connector from the fuel shutoff solenoid.
8.Stop the engine and raise the seat bars. Disconnet the connector from the fuel shutoff solenoid. Continued on next page
BP96C052
9.Check the top strand of each front chain (at the middle between each sprocket). Push down and pull up using approximately 5 pounds (2.3 kg) force. The total deflection must be 3/8 to 1/2 inch (10 to 13 mm). NOTE: See Adjusting the Drive Chains on page page103 of this manual if the chain tension is not correct.
10.Connect the electrical connector to the fuel shutoff solenoid.
11.Go back to the operators seat and pull the seat bar down. 12.Push in the engine stop control, if equipped, and start the engine. Pull both steering control levers rearward to move the machine a short distance rearward. IMPORTANT: Before you check the tension at the top, you must tighten the bottom strand of each chain. You can use the starter motor to do this. To prevent the engine from starting disconnect the connector from the fuel shutoff solenoid.
13.Stop the engine and raise the seat bars. Disconnet the connector from the fuel shutoff solenoid.
14.Check the top strand of each rear chain (at the middle between each sprocket). Push down and pull up using approximately 5 pounds (2.3 kg) force. The total deflection must be 3/8 to 1/2 inch (10 to 13 mm). NOTE: See Adjusting the Drive Chains on page page103 of this manual if the chain tension is not correct.
15.Install the inspection covers. 16.Connect the connector to the fuel shutoff solenoid.
Adjusting the Drive Chains
1.Lower the bucket to the ground and stop the engine. 2.Use a jack or hoist and lift the machine. Install blocks or axle stands under the machine as shown. Remove the wheels. 3.Clean the area around the inspection covers (1) and each axle housing (2).
2 1
2
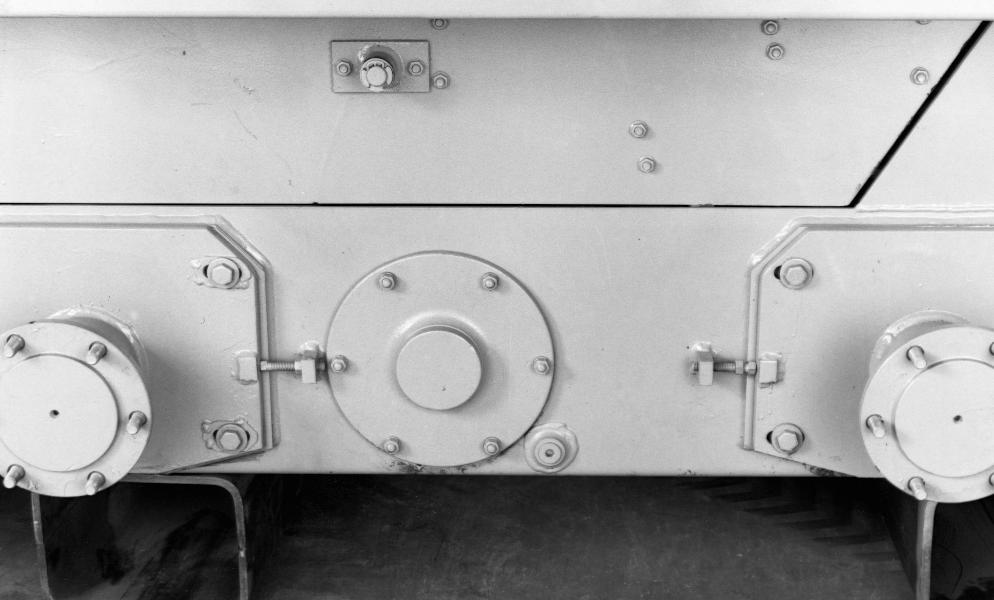
B877263W
4.Remove the inspection covers.
B877235M
B877264W
5.Loosen the axle mounting nuts so the axle is free to move forward or rearward.
Continued on next page
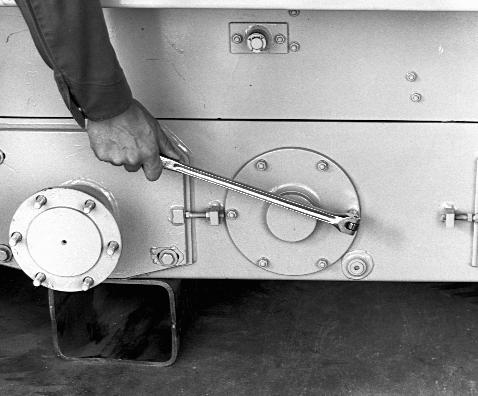
6.Use the chain adjusting bolt to move the axle housing away from the drive sprocket until the chain is too tight to let the axle housing move any farther. 7.Tighten the five axle mounting nuts for each axle housing to a torque of 5 pound-feet (7 Nm).
1
B877265W
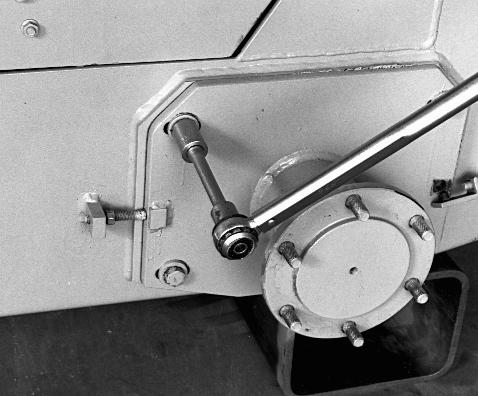
8.Loosen the chain adjusting bolts (1) until there is approximately 1/4 inch (6 mm) clearance between the end of the adjusting bolt and the axle housing.
1/4 INCH (6MM)
B877267W
9.Sit in the operators seat, push the seat bar down. Start and run the engine at idle speed. 10.Slowly push the steering controls forward to turn the axles for a period of 45 seconds. Slowly pull the steering controls rearward to turn the axles in reverse for a period of 45 seconds. Stop the engine. 11.Stop the engine. Check the chain tension of each chain. See steps 9 and 14 of Drive Chains on page page101 of this manual. 12.Tighten the axle adjusting bolt just tight enough to hold the axle housing in place. Tighten the lock nut.

13.Tighten the five axle housing mounting nuts on each axle to a torque of 115 to 125 pound - feet (155 to 170 Nm).
B877265W
14.Adjust the other three drive chains using the same procedure as in steps 5 through 13. 15.Install the inspection covers. 16.Install the four wheels and tighten the wheel nuts to a torque of 60 to 70 pound - feet (85 to 95 Nm). 17.Remove the blocks or stands from under the machine.