3 minute read
Remove HDD/BIOS Password Utilities


This menu allows the user to decide the order of boot devices to load the operating system. Bootable devices includes the USB diskette drives, the onboard hard disk drive and the DVD drive in the module bay. Select Boot Devices to select specific devices to support boot.
Boot priority order: ItemSpecificHelp
1. IDE0 : Hitachi HTS545016B9A300 2. IDE1 : TSSTcorp CDDVDW TS-L633C 3. USB FDD : 4. Network Boot : Atheros Boot Agent 5. USB HDD : 6. USB CDROM : Use < > or < > to select a device, then press <F5> to move it down the list, or <F6> to move it up the list. Press <Esc> to escape the menu
The Exit screen allows you to save or discard any changes you made and quit the BIOS Utility.
The table below describes the parameters in this screen.
Exit Saving Changes Exit Discarding Changes Load Setup Defaults Discard Changes Save Changes ItemSpecificHelp
Exit System Setup and save your changes to CMOS.
Parameter
Description
Exit Saving Changes Exit System Setup and save your changes to CMOS. Exit Discarding Changes Exit utility without saving setup data to CMOS. Load Setup Default Load default values for all SETUP item. Discard Changes Load previous values from CMOS for all SETUP items. Save Changes Save Setup Data to CMOS.
The BIOS flash memory update is required for the following conditions: • New versions of system programs • New features or options • Restore a BIOS when it becomes corrupted. Use the Flash utility to update the system BIOS flash ROM. NOTE: If you do not have a crisis recovery diskette at hand, then you should create a Crisis Recovery Diskette before you use the Flash utility. NOTE: Do not install memory-related drivers (XMS, EMS, DPMI) when you use the Flash. NOTE: Please use the AC adaptor power supply when you run the Flash utility. If the battery pack does not contain enough power to finish BIOS flash, you may not boot the system because the BIOS is not completely loaded. Fellow the steps below to run the Flash. 1. Prepare a bootable diskette. 2. Copy the flash utilities to the bootable diskette. 3. Then boot the system from the bootable diskette. The flash utility has auto-execution function.
Perform the following steps to use the DOS Flash Utility: 1. Press F2 during boot to enter the Setup Menu. 2. Select Boot Menu to modify the boot priority order, for example, if using USB HDD to Update BIOS, move
USB HDD to position 1.
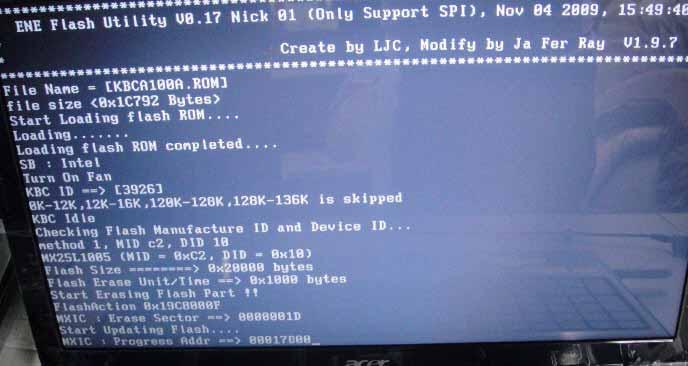
3. Execute the BIOS.BAT batch file to update BIOS. The flash process begins as shown. InsydeH20 Setup Utility Rev. 3.5 Information Main Boot Security Exit
Boot priority order: ItemSpecificHelp
1. IDE0 : TOSHIBA MK3265GSX 2. IDE1 : TSSTcorp CDDVDW TS-L633C 3. USB FDD : 4. Network Boot : LEGACY PCI DEVICE 5. USB HDD : 6. USB CDROM : Use < > or < > to select a device, then press <F5> to move it down the list, or <F6> to move it up the list. Press <Esc> to escape the menu
4. In flash BIOS, the message Please do not remove AC Power Source displays. NOTE: If the AC power is not connected, the following message displays.
Plug in the AC power to continue. 5. Flash is complete when the message Flash programming complete displays.
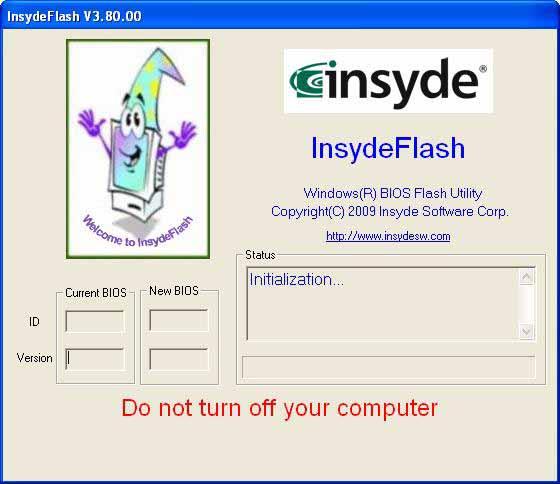
Perform the following steps to use the WinFlash Utility: 1. Double-click the WinFlash executable. 2. Click OK to begin the update. A progress screen displays.