Design 1
Fall 2022
Genesis Familia
Table of Contents Project 01: Significant Artists Project 02: Cubes and Cylinders Project 1: Site Specific Intervention Project 2: Topological Transformations Project 3: Creating Pattern, Color, and Texture Project 4: Visual Hierarchy Project 5: Bend.Cut.Fold Project 6: Making Space
Project 01: Significant Artists
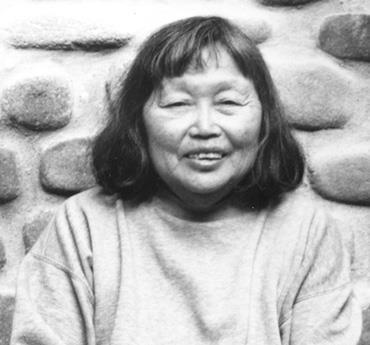
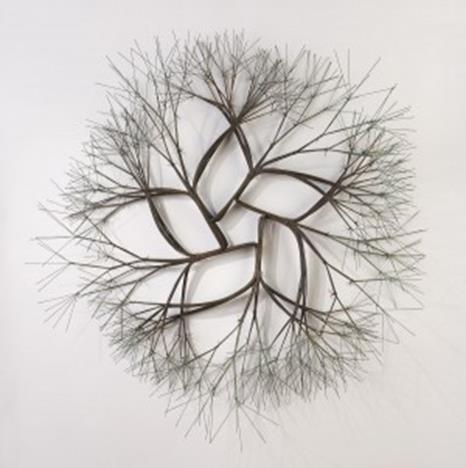
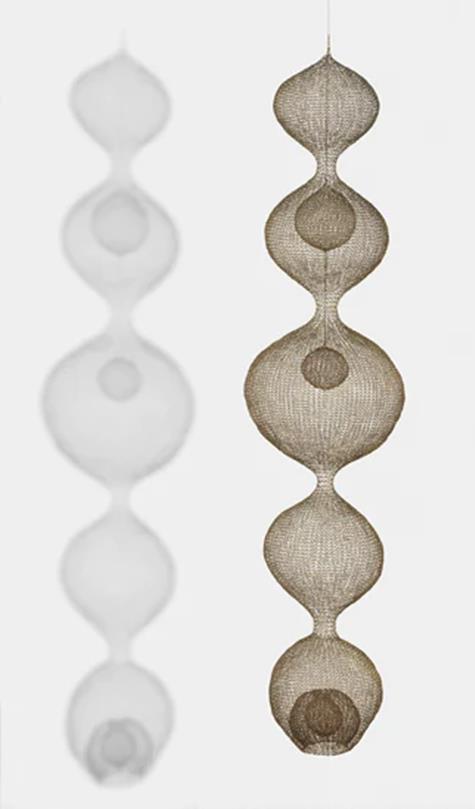
In this project, each group is given an artist whom they are to learn about and conduct research on. Every week or so, a different group would have made a presentation on that artist, and in those weeks the genre of art would change, whether that be furniture, land art, sculptures, etc. The type of art my group did was fibers, and our significant artist was Ruth Asawa. Most of her greatest art pieces consisted of lopped wire sculptures and tied-wire sculptures.
1
Project 02: Cubes and Cylinders
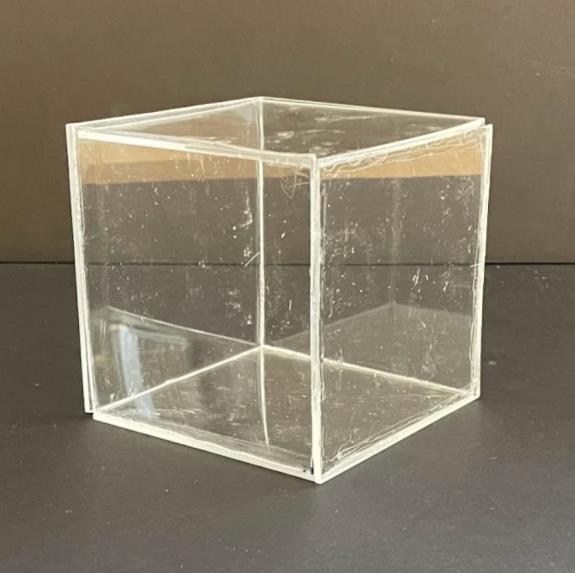
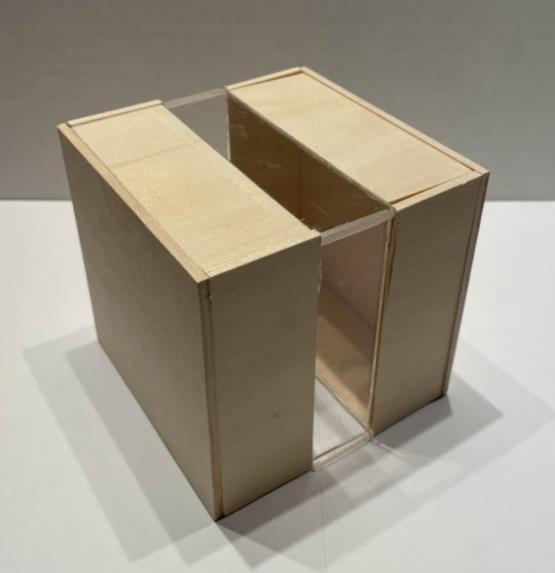
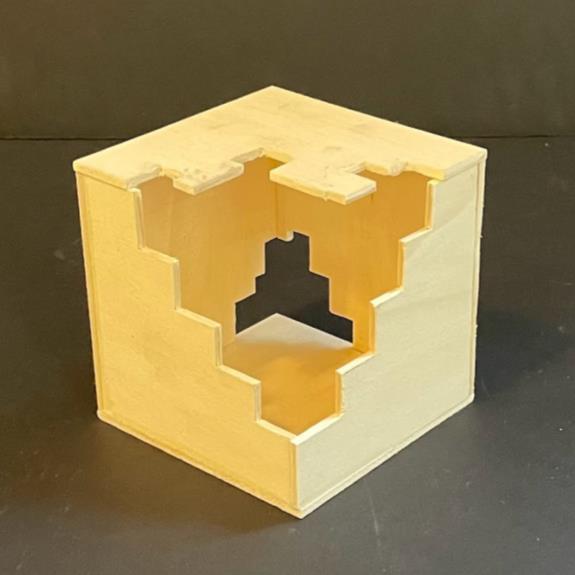
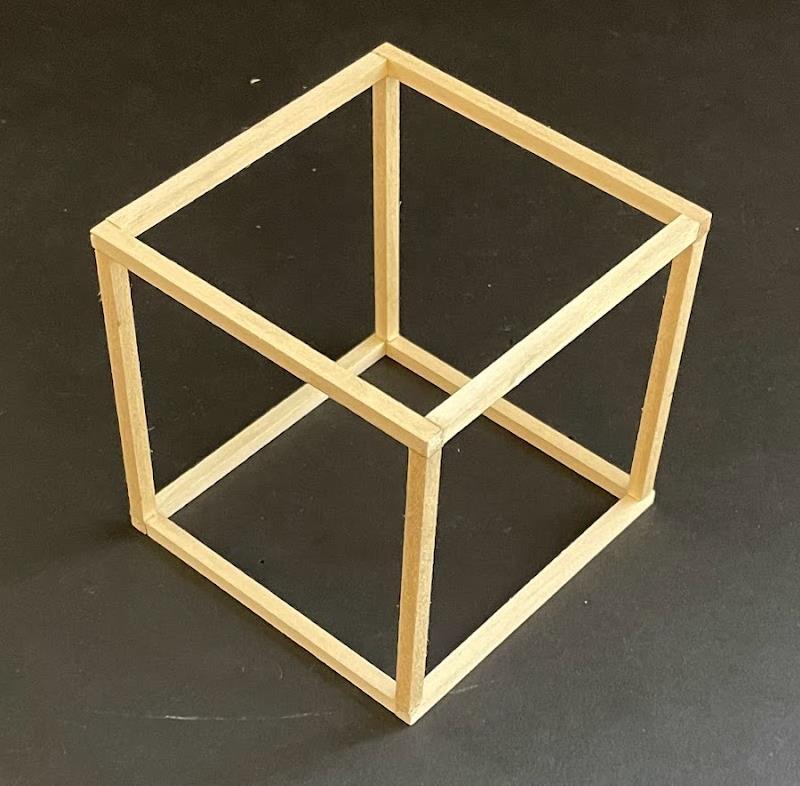
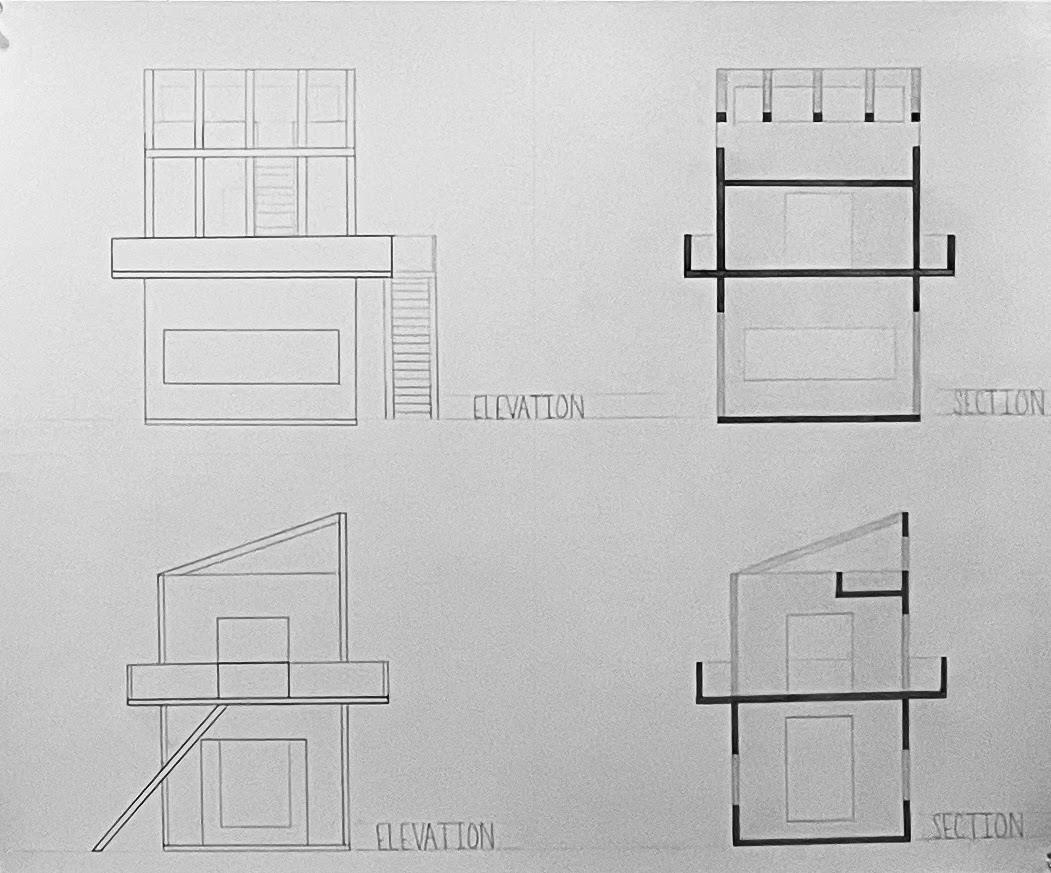
Cubes and Cylinders was a semester-long project that we completed every other week of the semester. Every cube and/or cylinder would become more challenging as the materials that were required would change. Along with the cubes and cylinders, we also had to draw drafts that included sections, elevations, and plans.

2
Project 1: Site Specific Intervention
For our site, my group (Brianna Brown, Zoie Hatton, and I) wanted an interactive design. We set up our site between a lamp post and a tree and went for a spider web look using yarn from fashion design students. With our design, we wanted to express where home is. We saw that home can be anywhere, it all just depends on whom you surround yourself with. In order to make it interactive, we asked pedestrians to place on the web, how far away they are from their home.
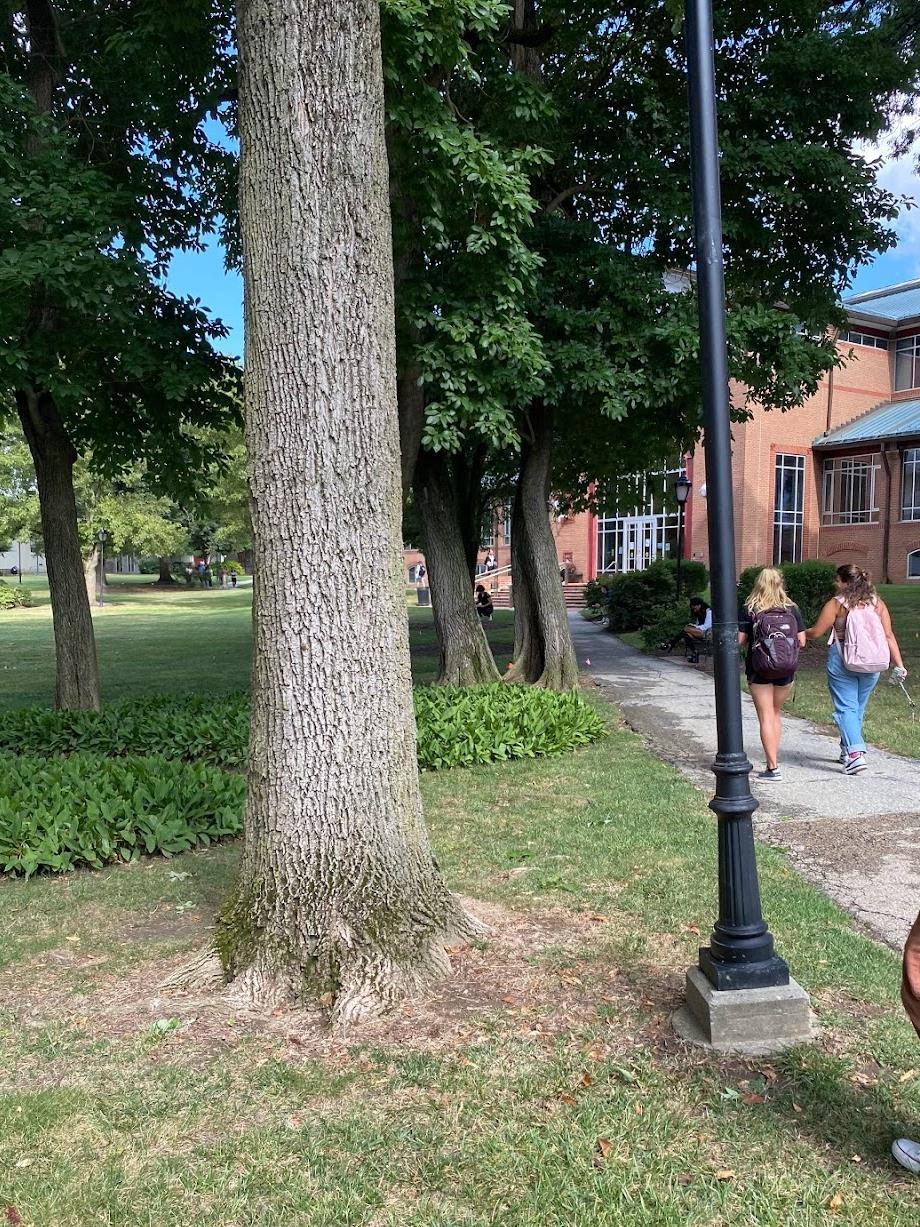

3
Site Study Model
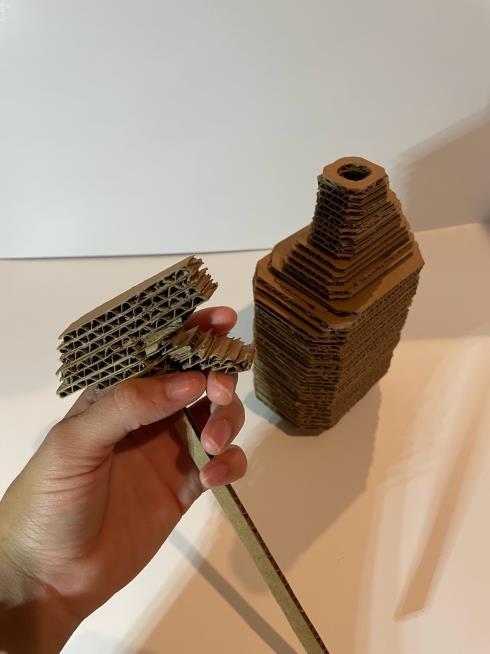
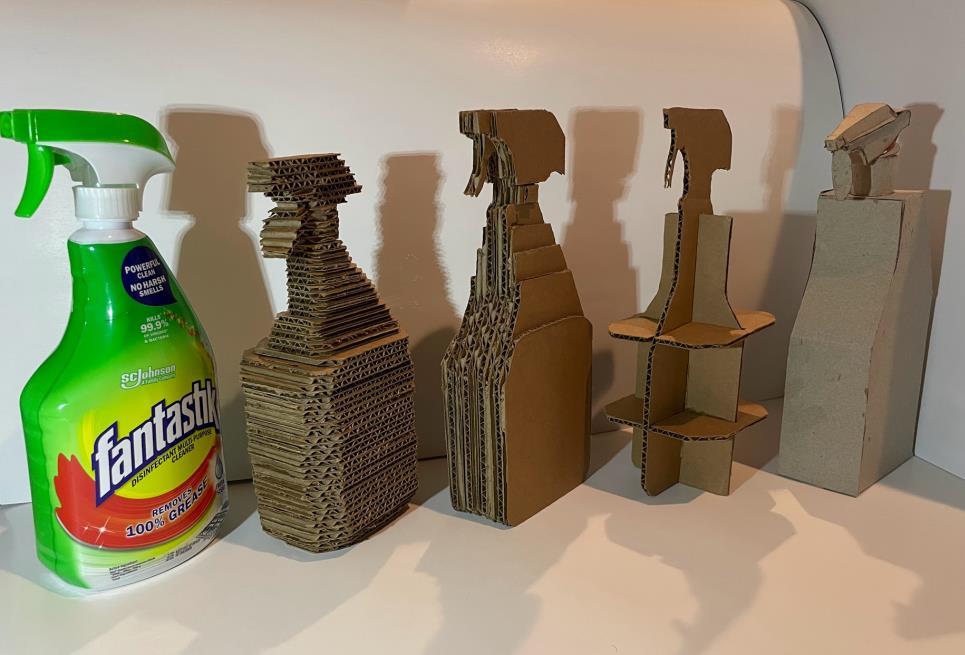
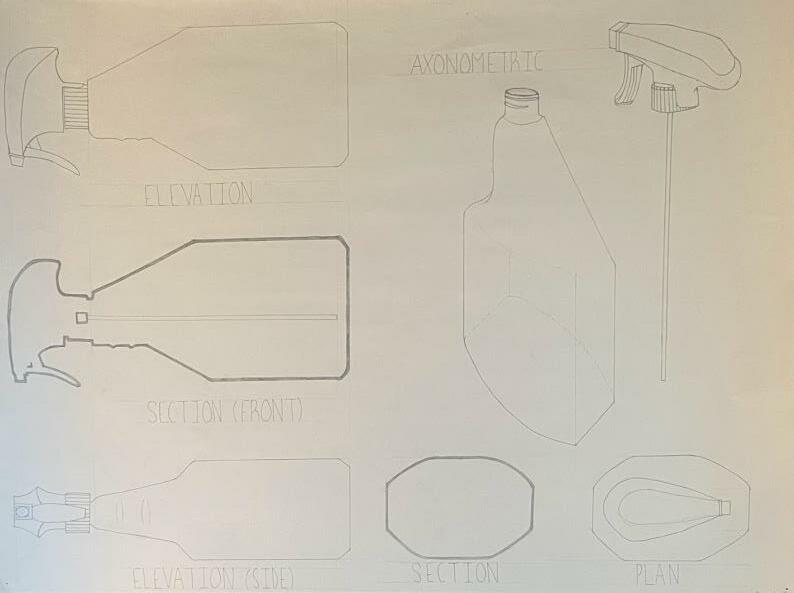
Project 2: Topological Transformations
For our topological transformation, we were to choose an object of our liking and make three different models out of cardboard (stacking, vertical, and an egg carton shape) and one model using a material of our choice.
For my object, I chose a cleaning spray bottle. For my last model, I chose to use chipboard and chose to go for a sharper look instead of continuing the classic rounded look of the spray bottle.
4
Draft Models
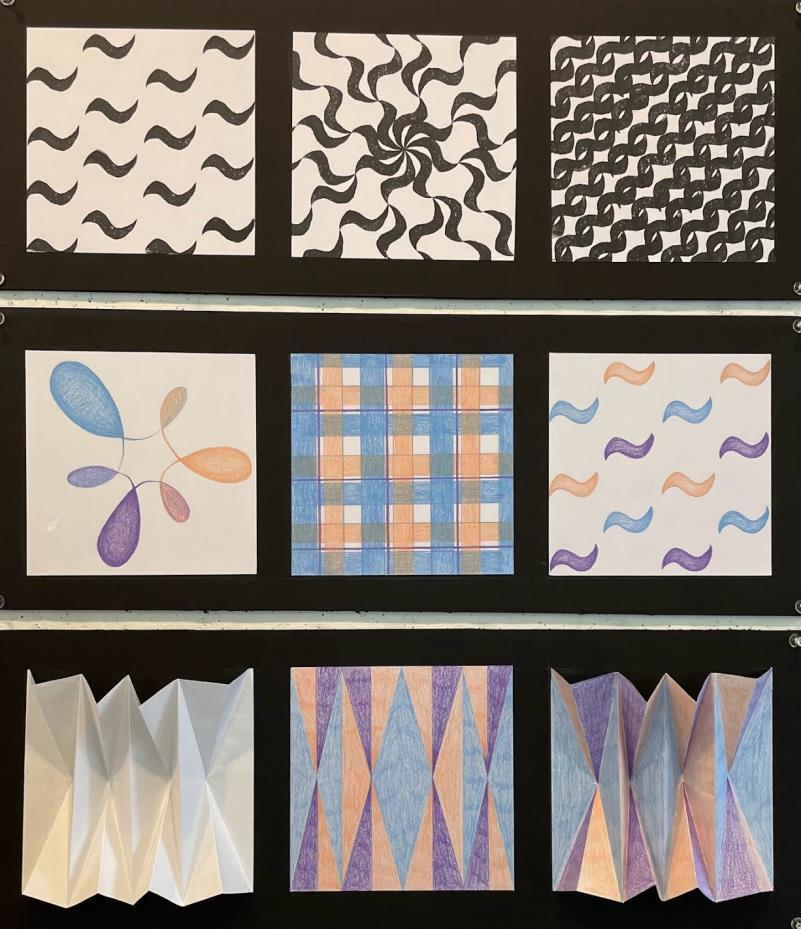
Project 3: Creating Pattern, Color, and Texture
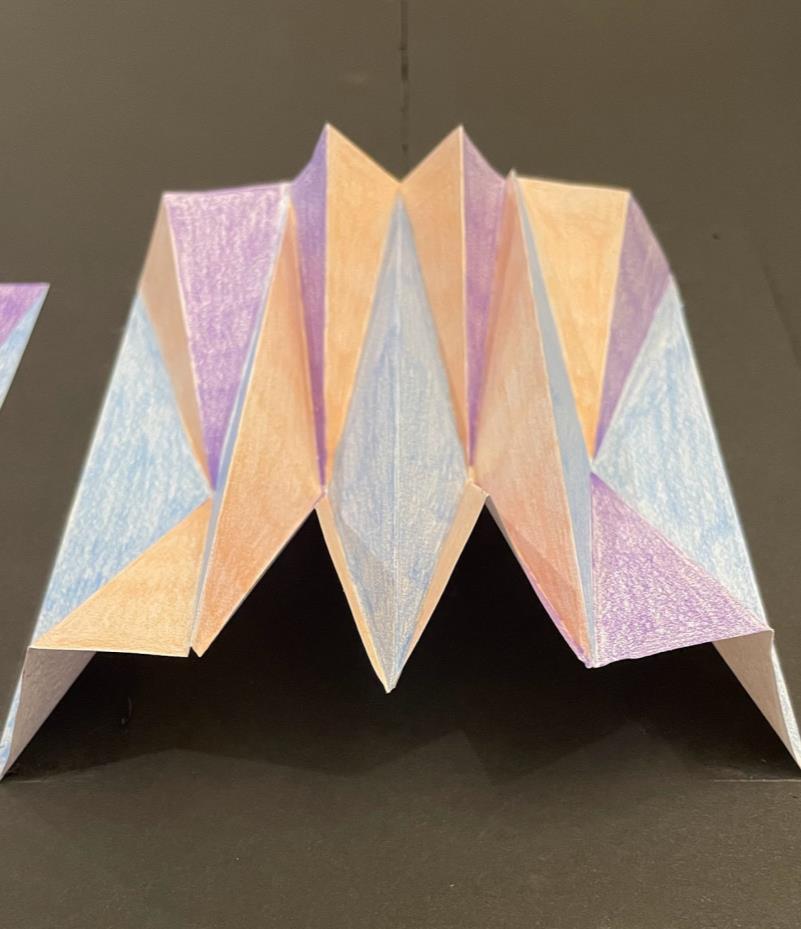
For this project, we were to experiment with colors, patterns, and textures. In the first row, we were to use stamps made of art gum and create three different stamp patterns from that one stamp. In the second row, we chose three main colors and created a color wheel and two patterns using those colors. Finally, in the last row, we explored folds and textures using paper and origami methods.
5
Project 4: Visual Hierarchy
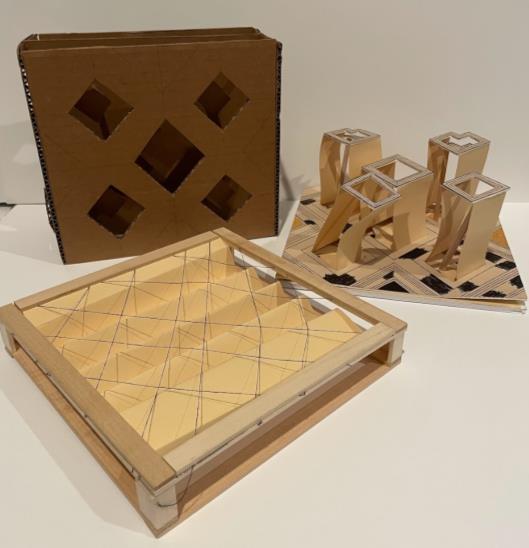
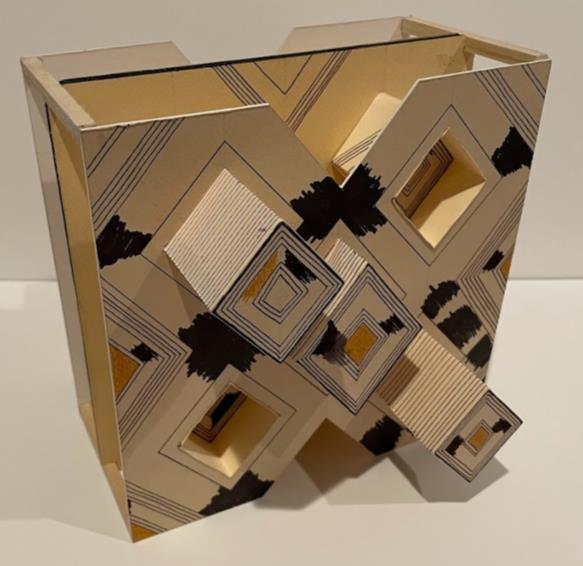
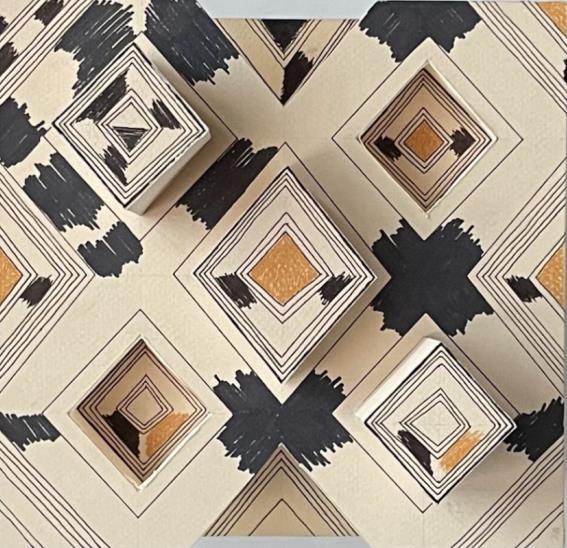
In this project, each person was to choose a fabric and create their version of what they believed a 3D version of it would look like. The fabric I chose, was the Kuba cloth made by the Kuba people. The first model made was a simplified 2D model. My next models were study models on how I wanted to interpret my final 3D model, in which I chose to have the diamond shapes pop in and out to add a bit of dimension, rather than create a flat model.

6
Final 3D Model
Study Models (2D + 3D)
Kuba Cloth
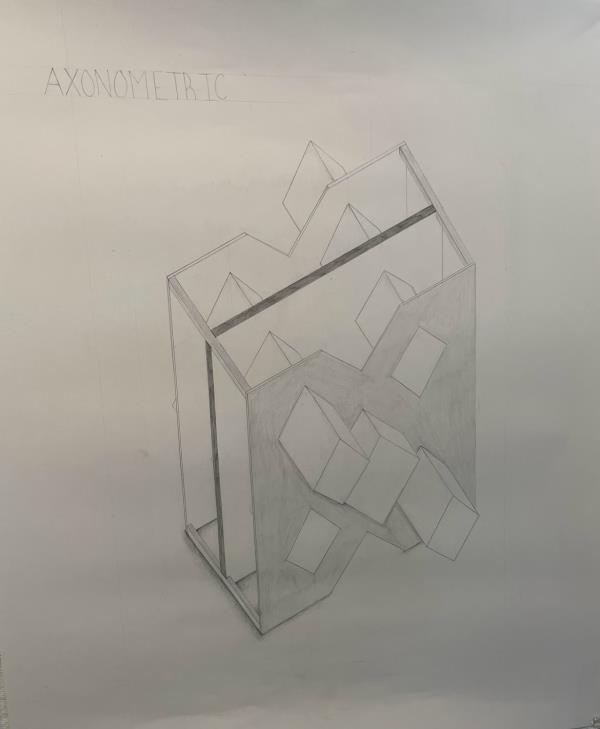
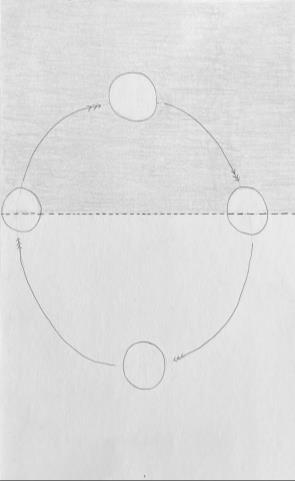
From there, we took our final 3D and put it on paper by drawing our drafts and an axonometric. We also created diagrams based on what we saw was important in our model. I felt that datum, regulating lines, imbalance, symmetry, repetition, and rhythm were important in my model (all shown in bold).

Axonometric Diagrams
7
Project 5: Bend. Cut. Fold
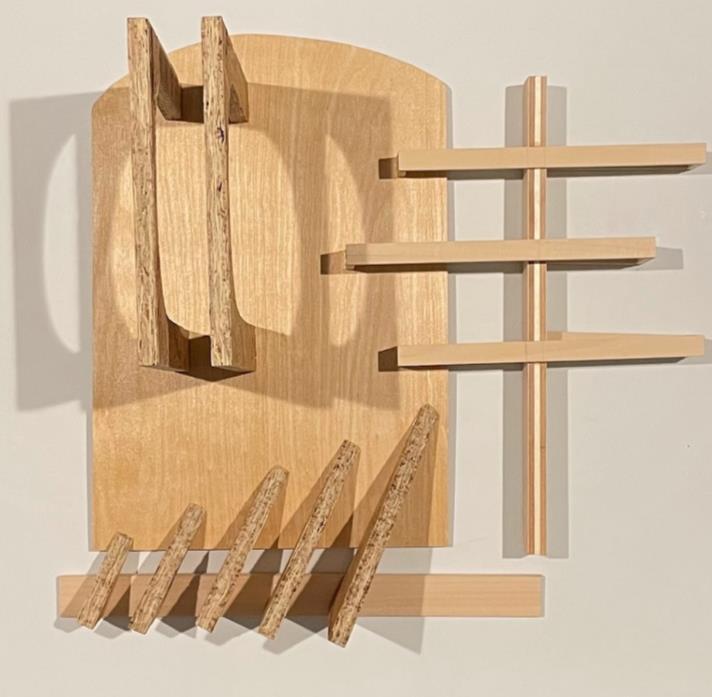
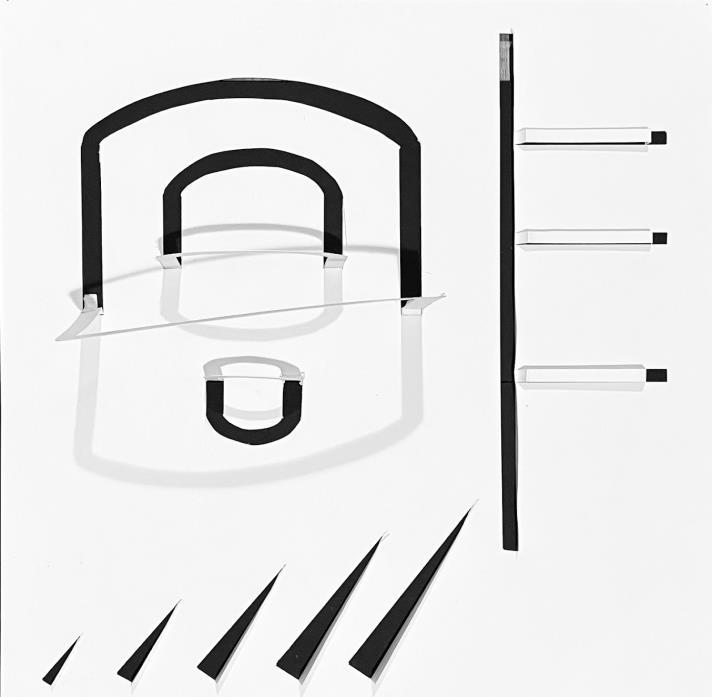
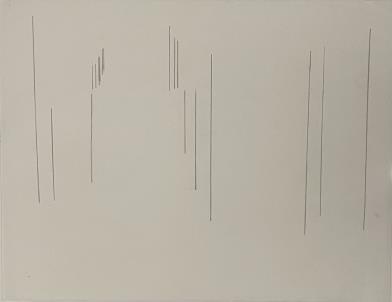
To complete this project, each student was required to choose a painting from the Philadelphia Museum of Art. We were then told to create a bas relief from paper to show what we saw in the painting. I chose the painting called Scenes From the Book of Esther. Before creating my bas relief, I made diagrams to make ideas for what I wanted to create in my model. We then took our bas relief and create a complete final model made of wood.
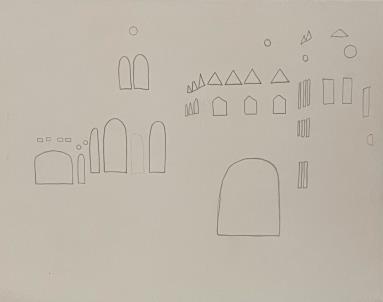

8
Project 6: Making Space
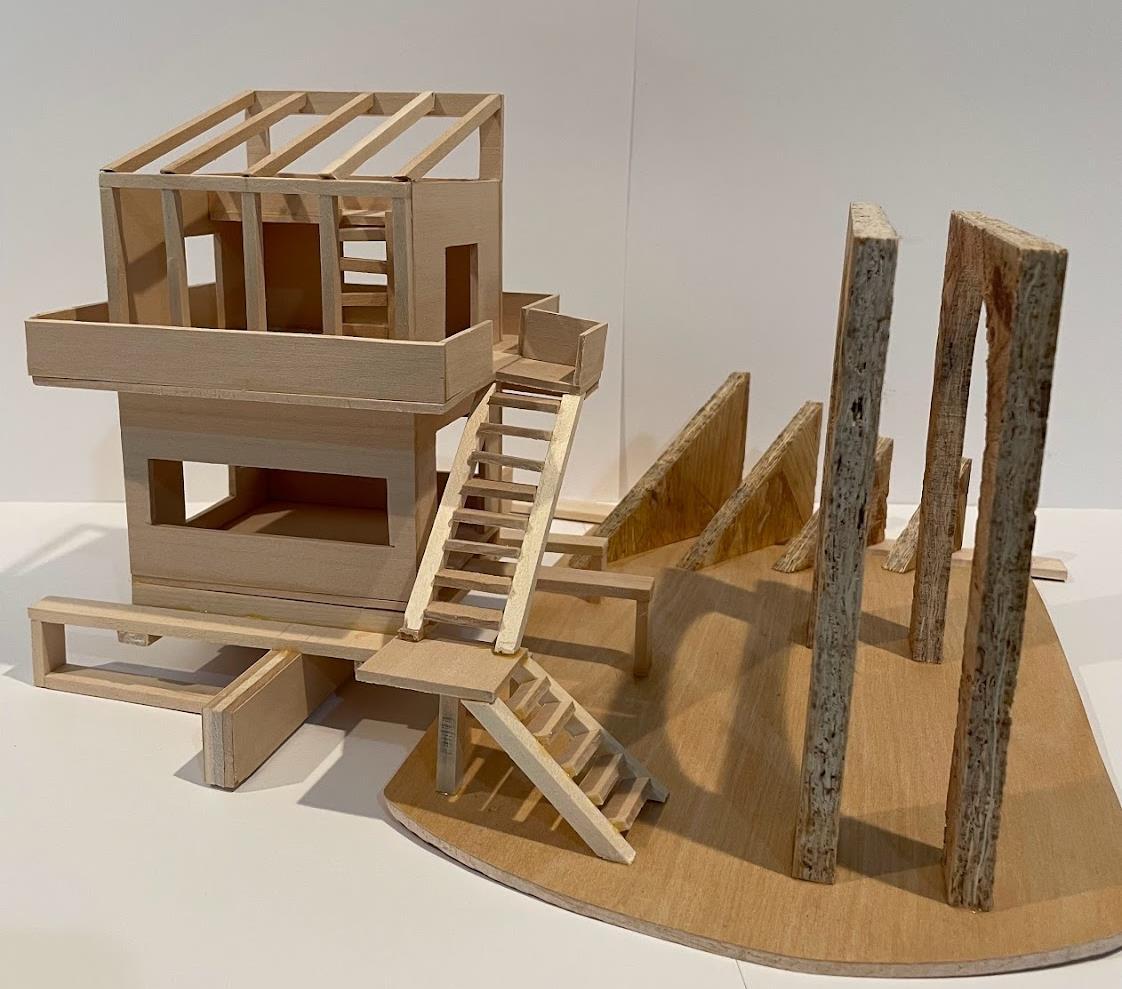
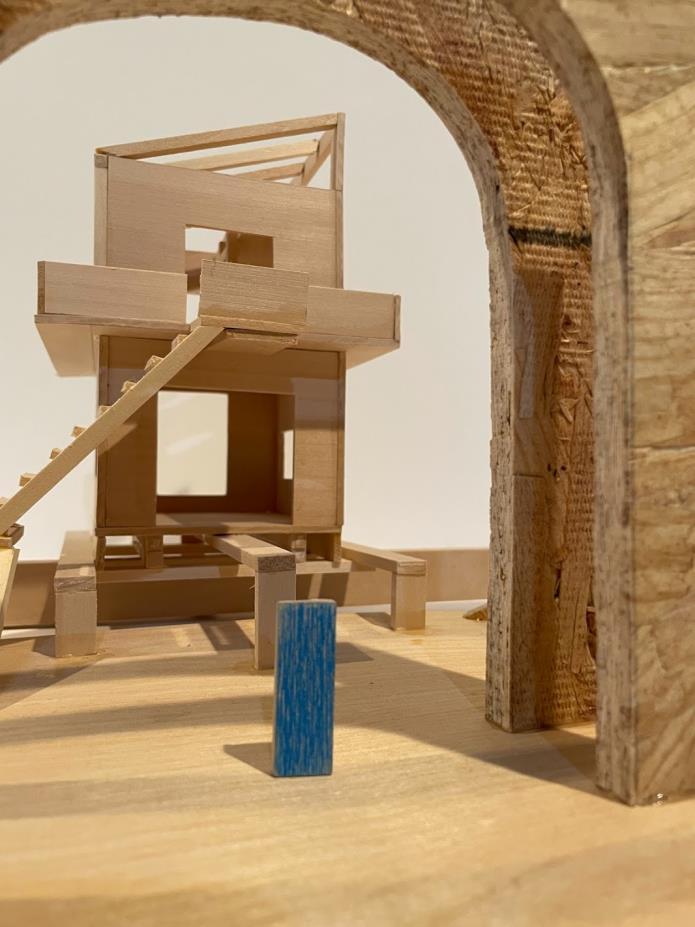
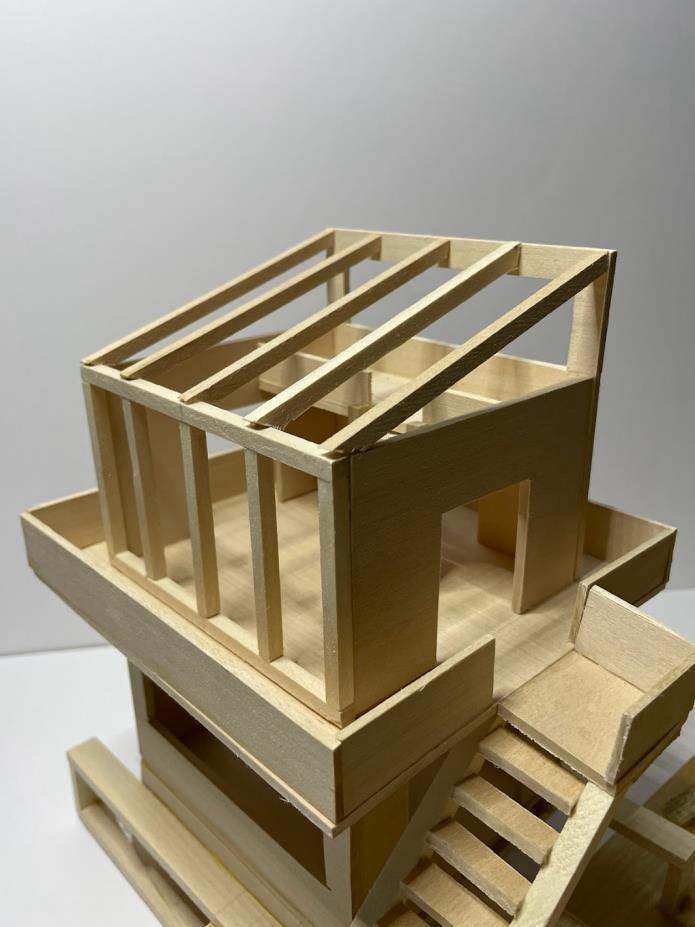
Taking what we created in our wooden bas relief in Project 5, we then chose an invisible city from Italo Calvino’s InvisibleCitiesand created an embassy of space on our site (model). The city I chose was Thekla, a city that is always under construction.

9
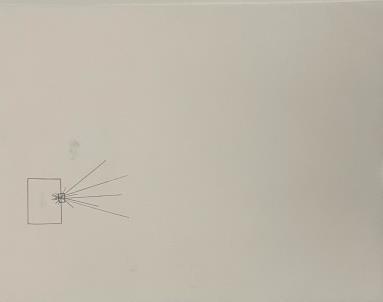
Diagrams demonstrating Thekla
Final model (embassy of space) on site
Embassy of space with scale figure
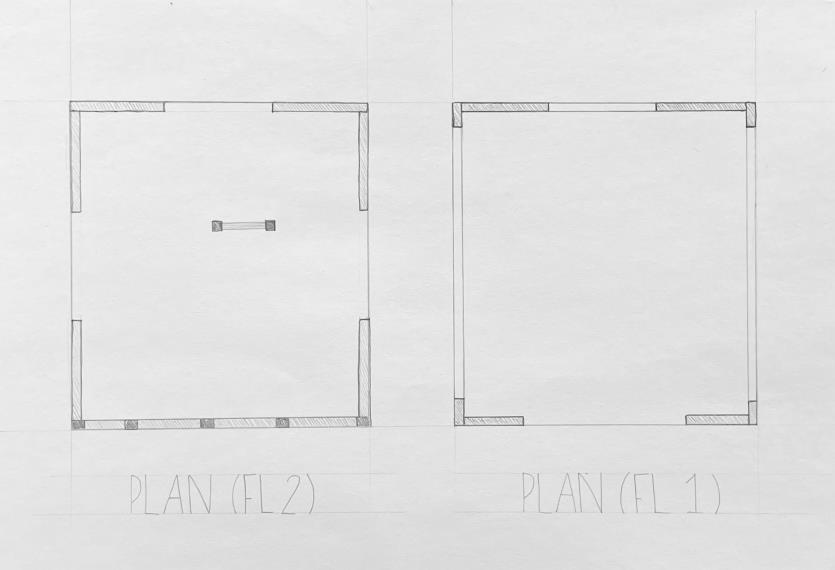
Elevations, sections, and plans of space
10