Epilog FusionPro 48 Instructions
Connect computer to Epilog Job Manager
1. Open/search for Epilog Job Manager
2. Click on Add Laser System
3 Click Add Manufally
4. Select Fusion Pro, under that, select Fusion Pro 48
5 Select 120W, under “fiber” select “Not Installed”
6 Enter 10 9 4 87 and click next
7. Give the laser any name you like (this is useful for more than one laser system), then click finish)
8 Go to the Windows search box, and look for Epilog Dashboard and open it
9. On your toolbar (bottom of screen), right click the Epilog Dashboard icon and select Pin to Taskbar
10.Refer to the Epilog manual for any troubleshooting
Adobe Illustrator account creation
1. In the Windows search box, look for Adobe Illustrator 2022 and open it
2 When the Sign In window appears, click Create Account
3 In the bottom of the window, type in your greeneccc com email address a. If you do not use greeneccc.com email, this will not work!
4 Make a password per the password requirements
5 In the next window, fill in your name and demographic info as required
Using Adobe Illustrator to make your artboard
1 Click on File and New (or the blue New File) The following window will pop up
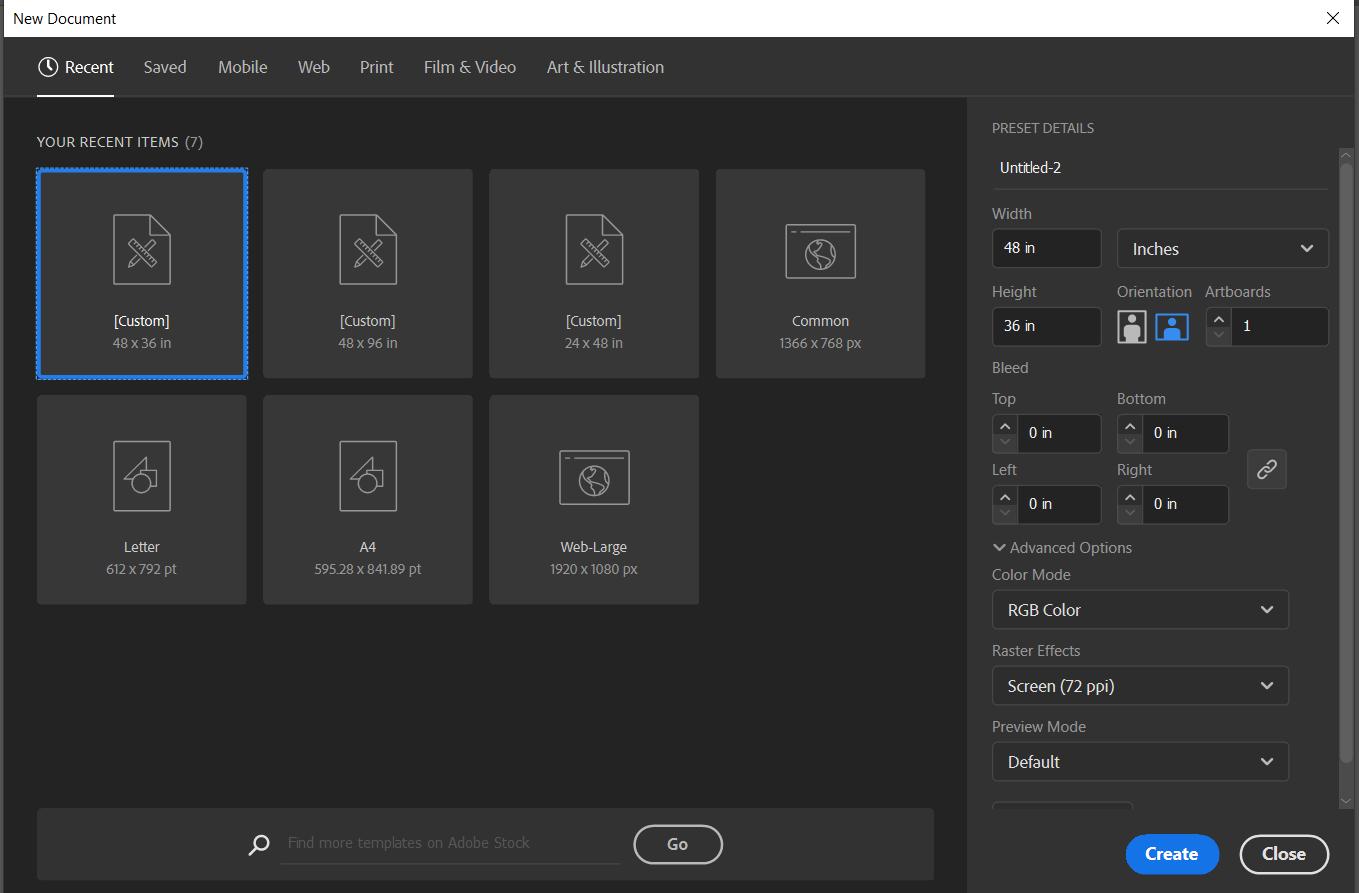
2 Under Preset Details, name your artboard something that matches whatever you are working on
3 Next to Width, set the measurement dropdown to inches
4 Set Width to 48 inches, and Heigh to 36 inches This is the workspace of the Epilog
5. Click the blue Create button and your artboard will appear and be ready to use
6 Press CTRL+R to view the edge rulers You are now ready to create things
Using Adobe Illustrator to make basic shapes
1 For this example, we will make a square shape to cut/vector on the laser
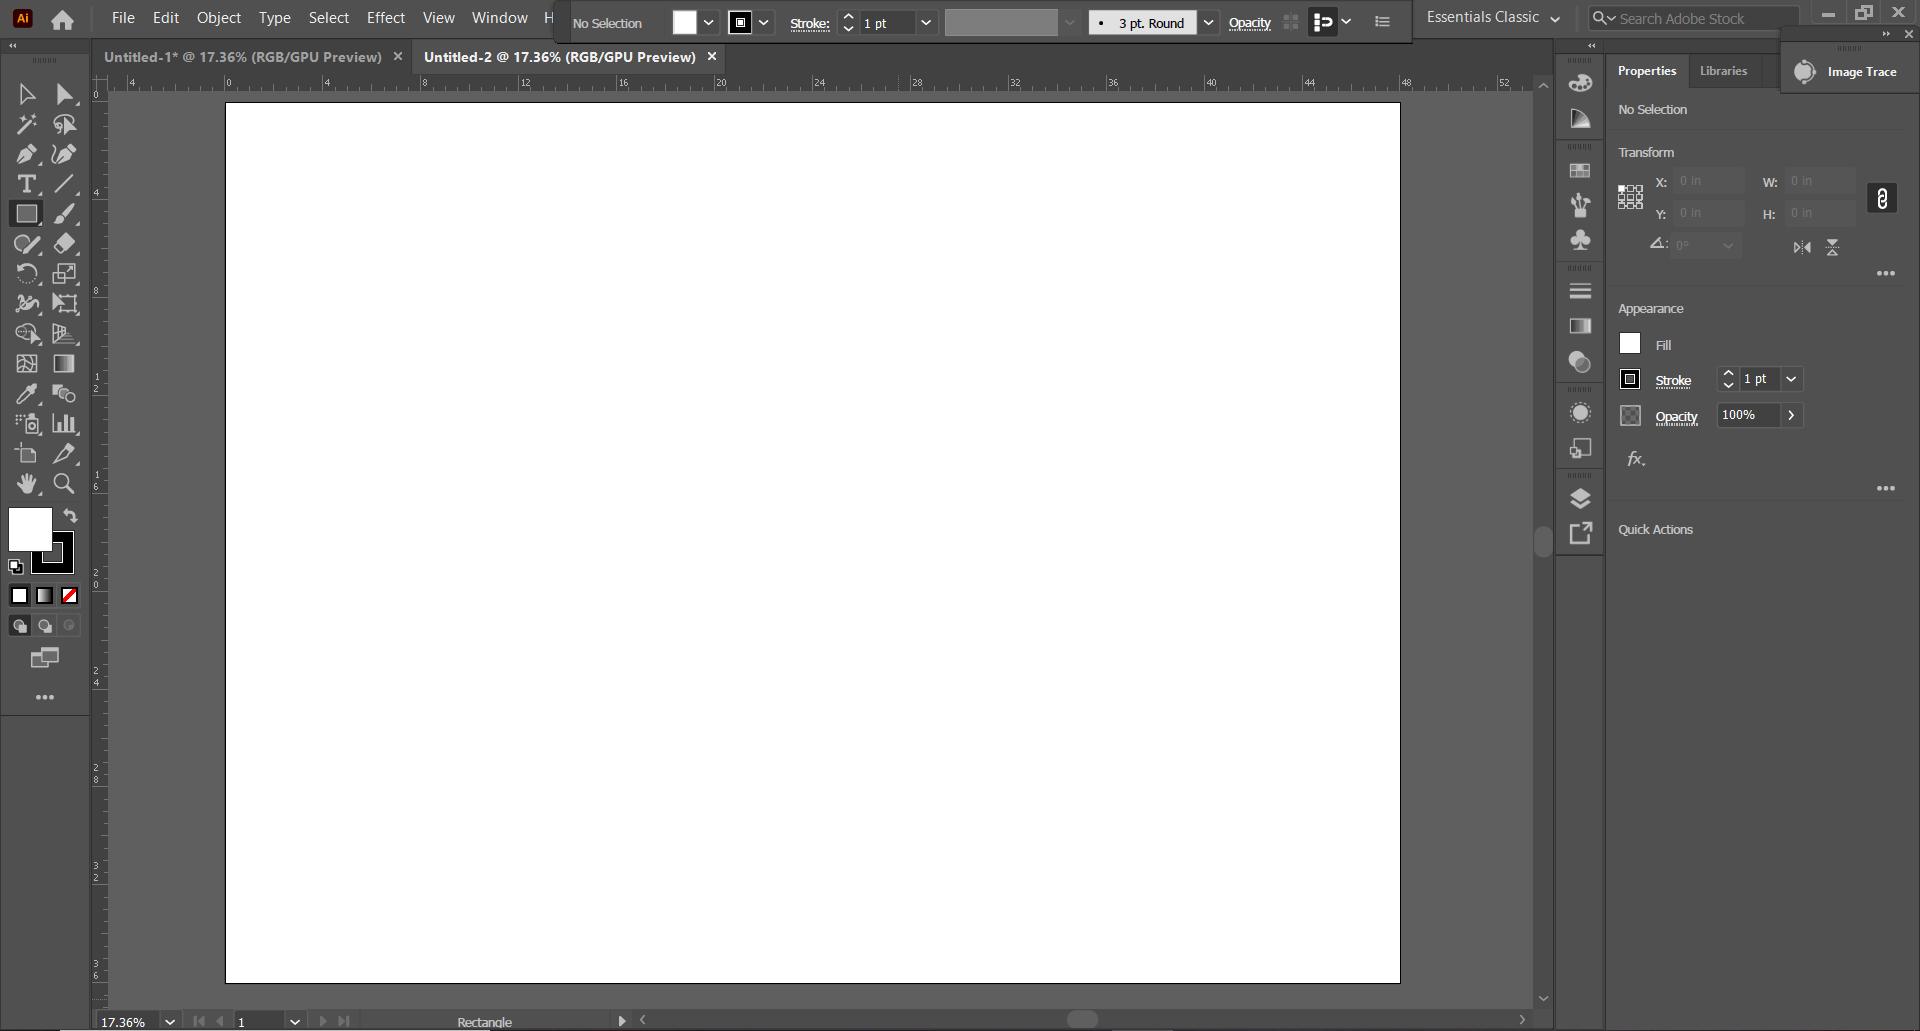
2 On the left toolbar, click the rectangle icon 3. This step is critical: Do not make a shape yet. Either hit the forward slash (/) button or click the Fill button (right side, under Appearance) If you want to make a cut/vector and do not do this, it will not register in the Epilog Dashboard If you make a shape first, you can’t remove the fill after. You will have to create a new artboard.
4 Click on the word Stroke and click the far left Align Stroke icon, which is middle
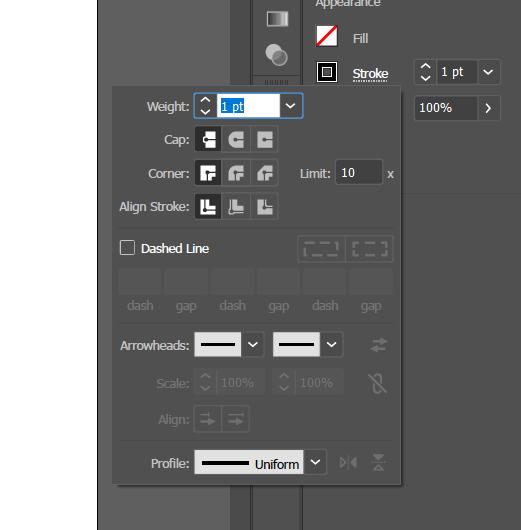
5 Ensure Opacity is at 100%
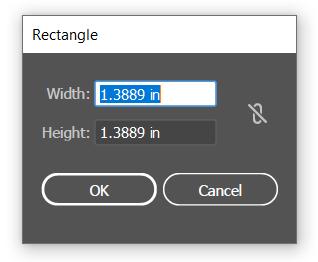
6 You are now ready to create your shape You can either single click anywhere in the artboard to have a dimensions box pop up, or you can click+drag to create your shape. If you click to create dimensions, there is a chainlink with a slash button on the right This allows you to lock in (constrain) height and width proportions For example, if you make a 2” x 4” rectangle and click the icon to remove the slash (it will turn into connected chainlinks), any change to one dimension will proportionally affect the other If you increased the 2” to 4”, the 4” would increase to 8” to stay in the proportion If you leave
the chainlink icon with the slash, changing the 2” to 4” would not affect the other
7 Ensure that Epilog Dashboard is open (very important - you may get a warning popup if you don’t have the Dashboard open)
8. Go to File and select Print to bring up this dialog box
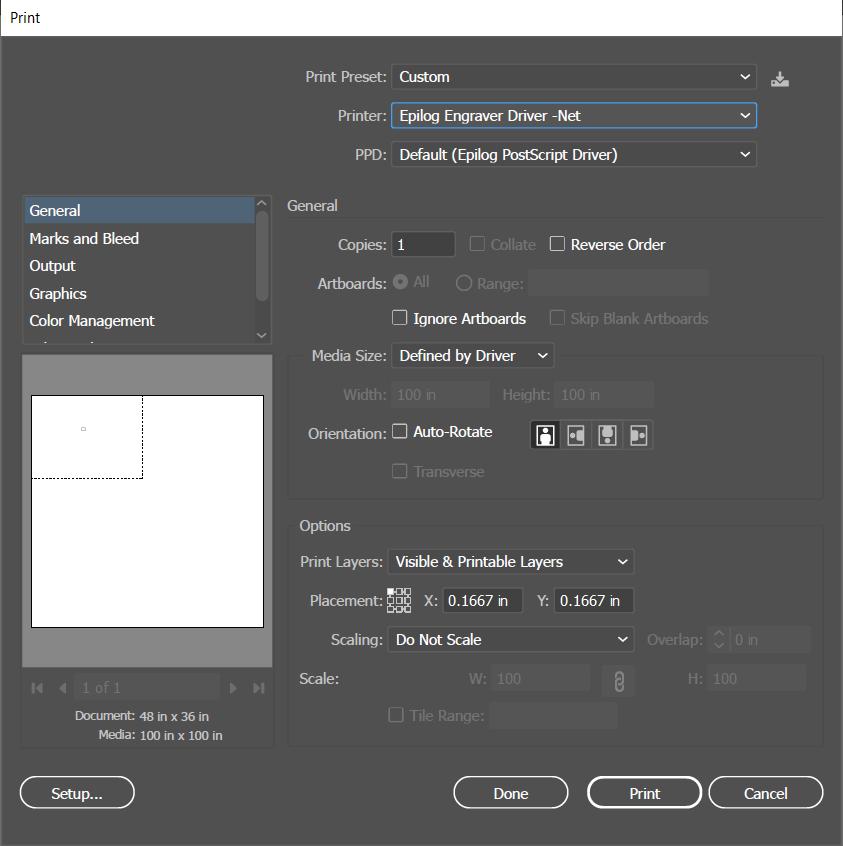
9. Under Printer choose the Epilog Engraver
10 Halfway down the window, uncheck Auto-Rotate
11. Under Options, click the top left box on the Placement grid
12 Click Print AFTER ensuring step #11 is done
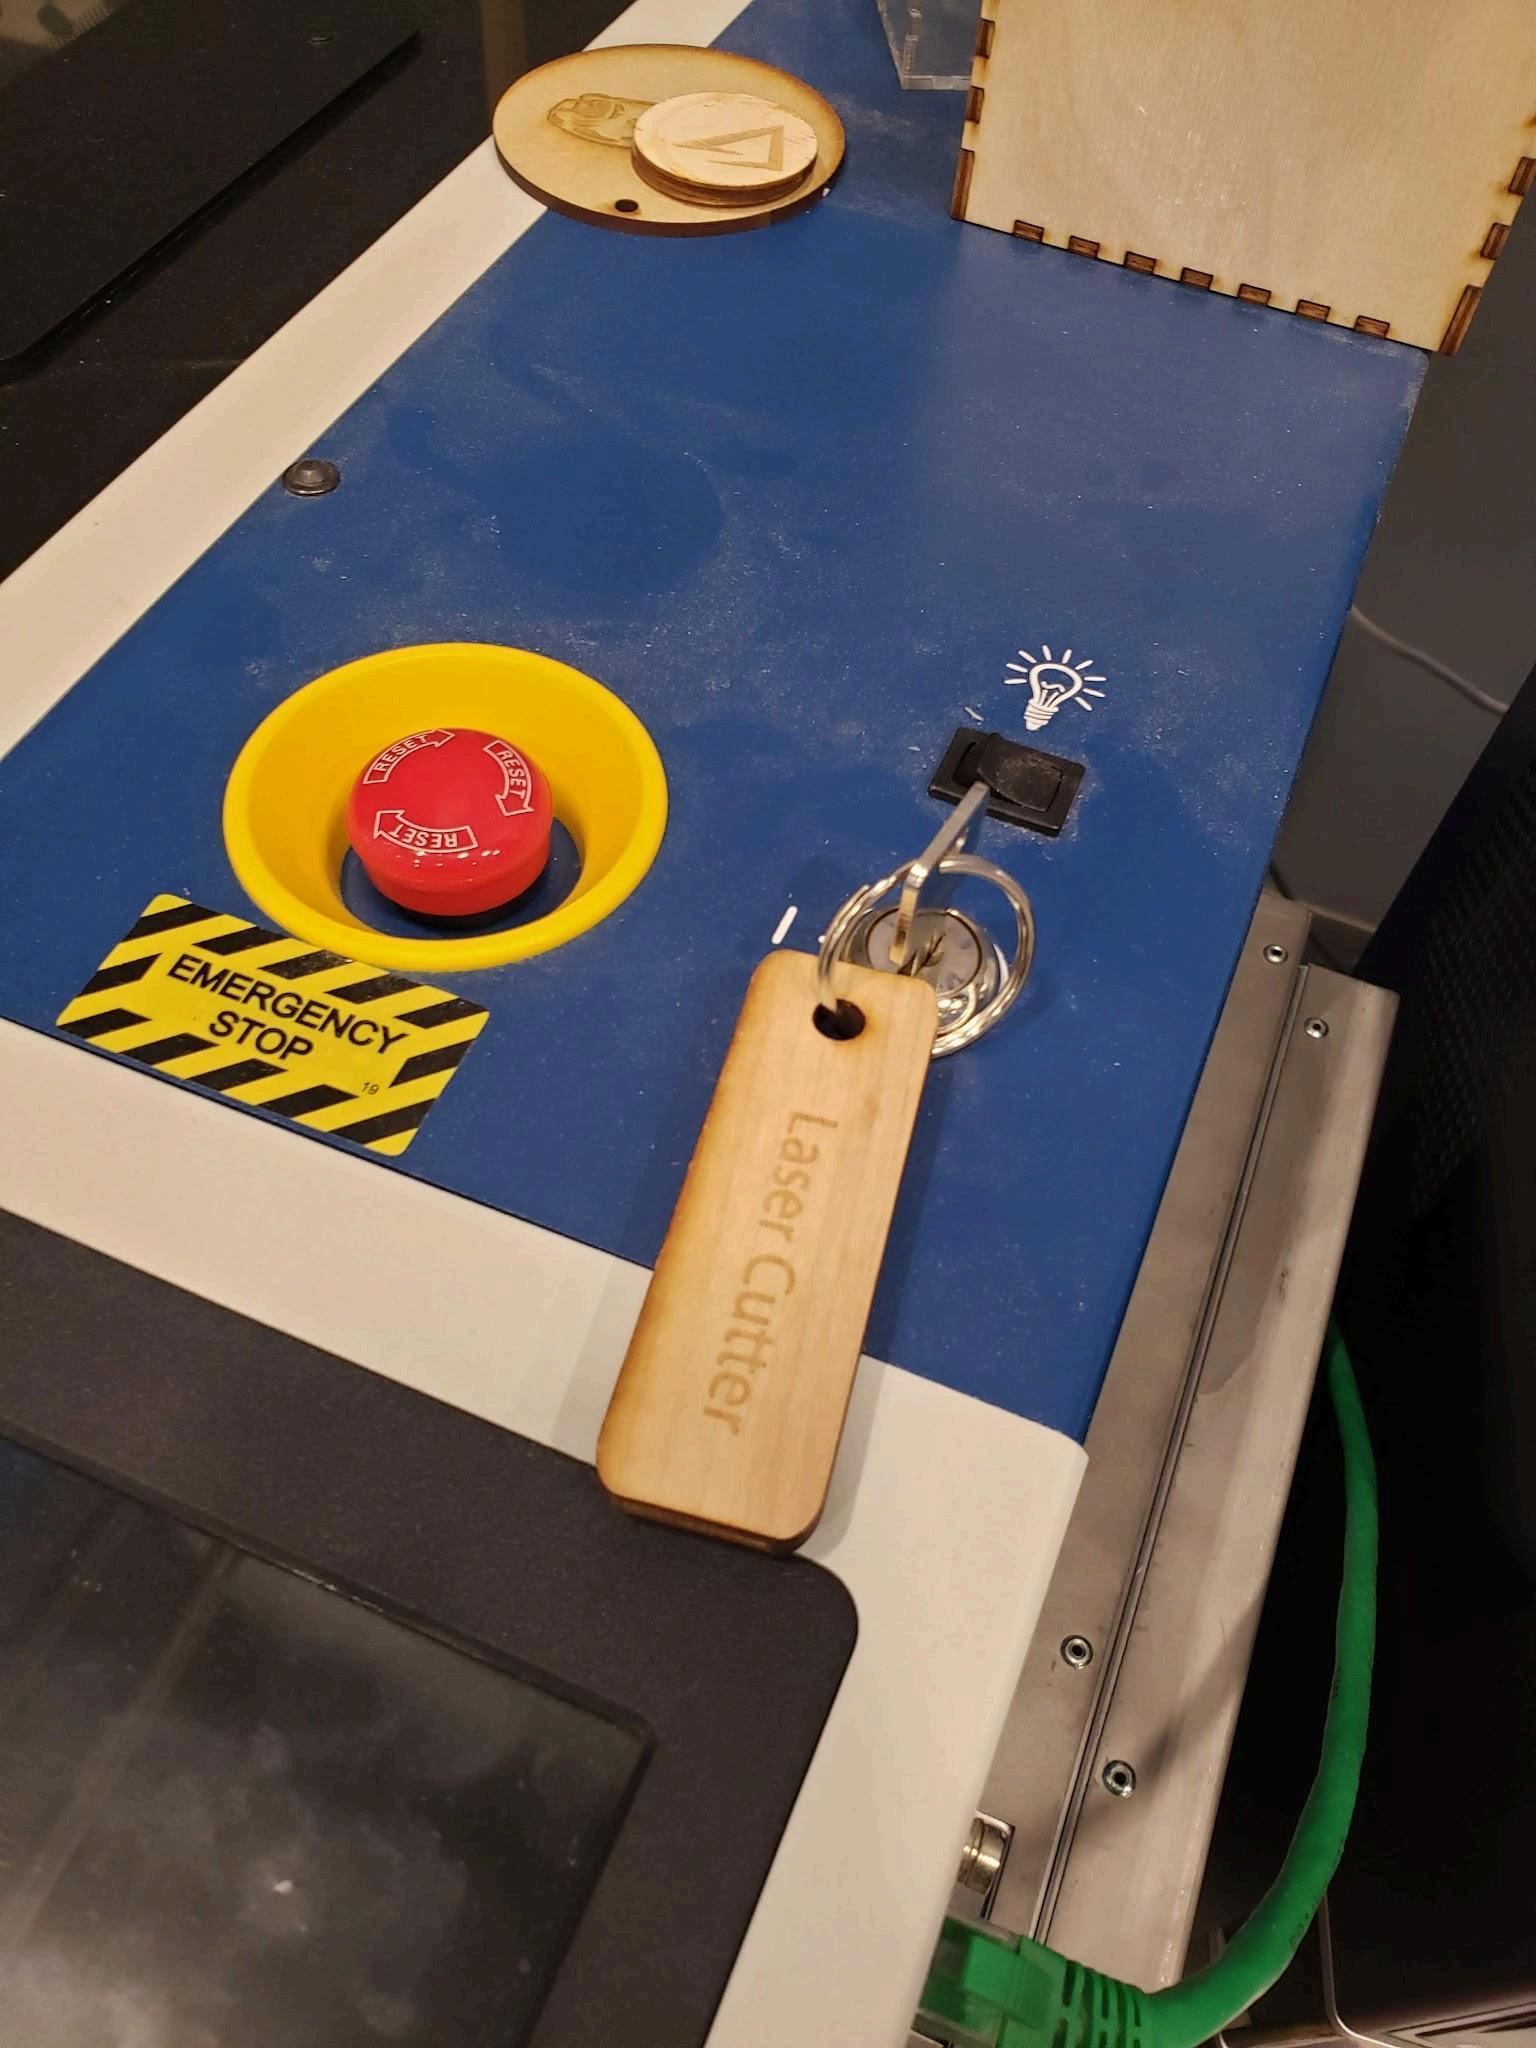
13.Turn the Epilog laser on by turning the key
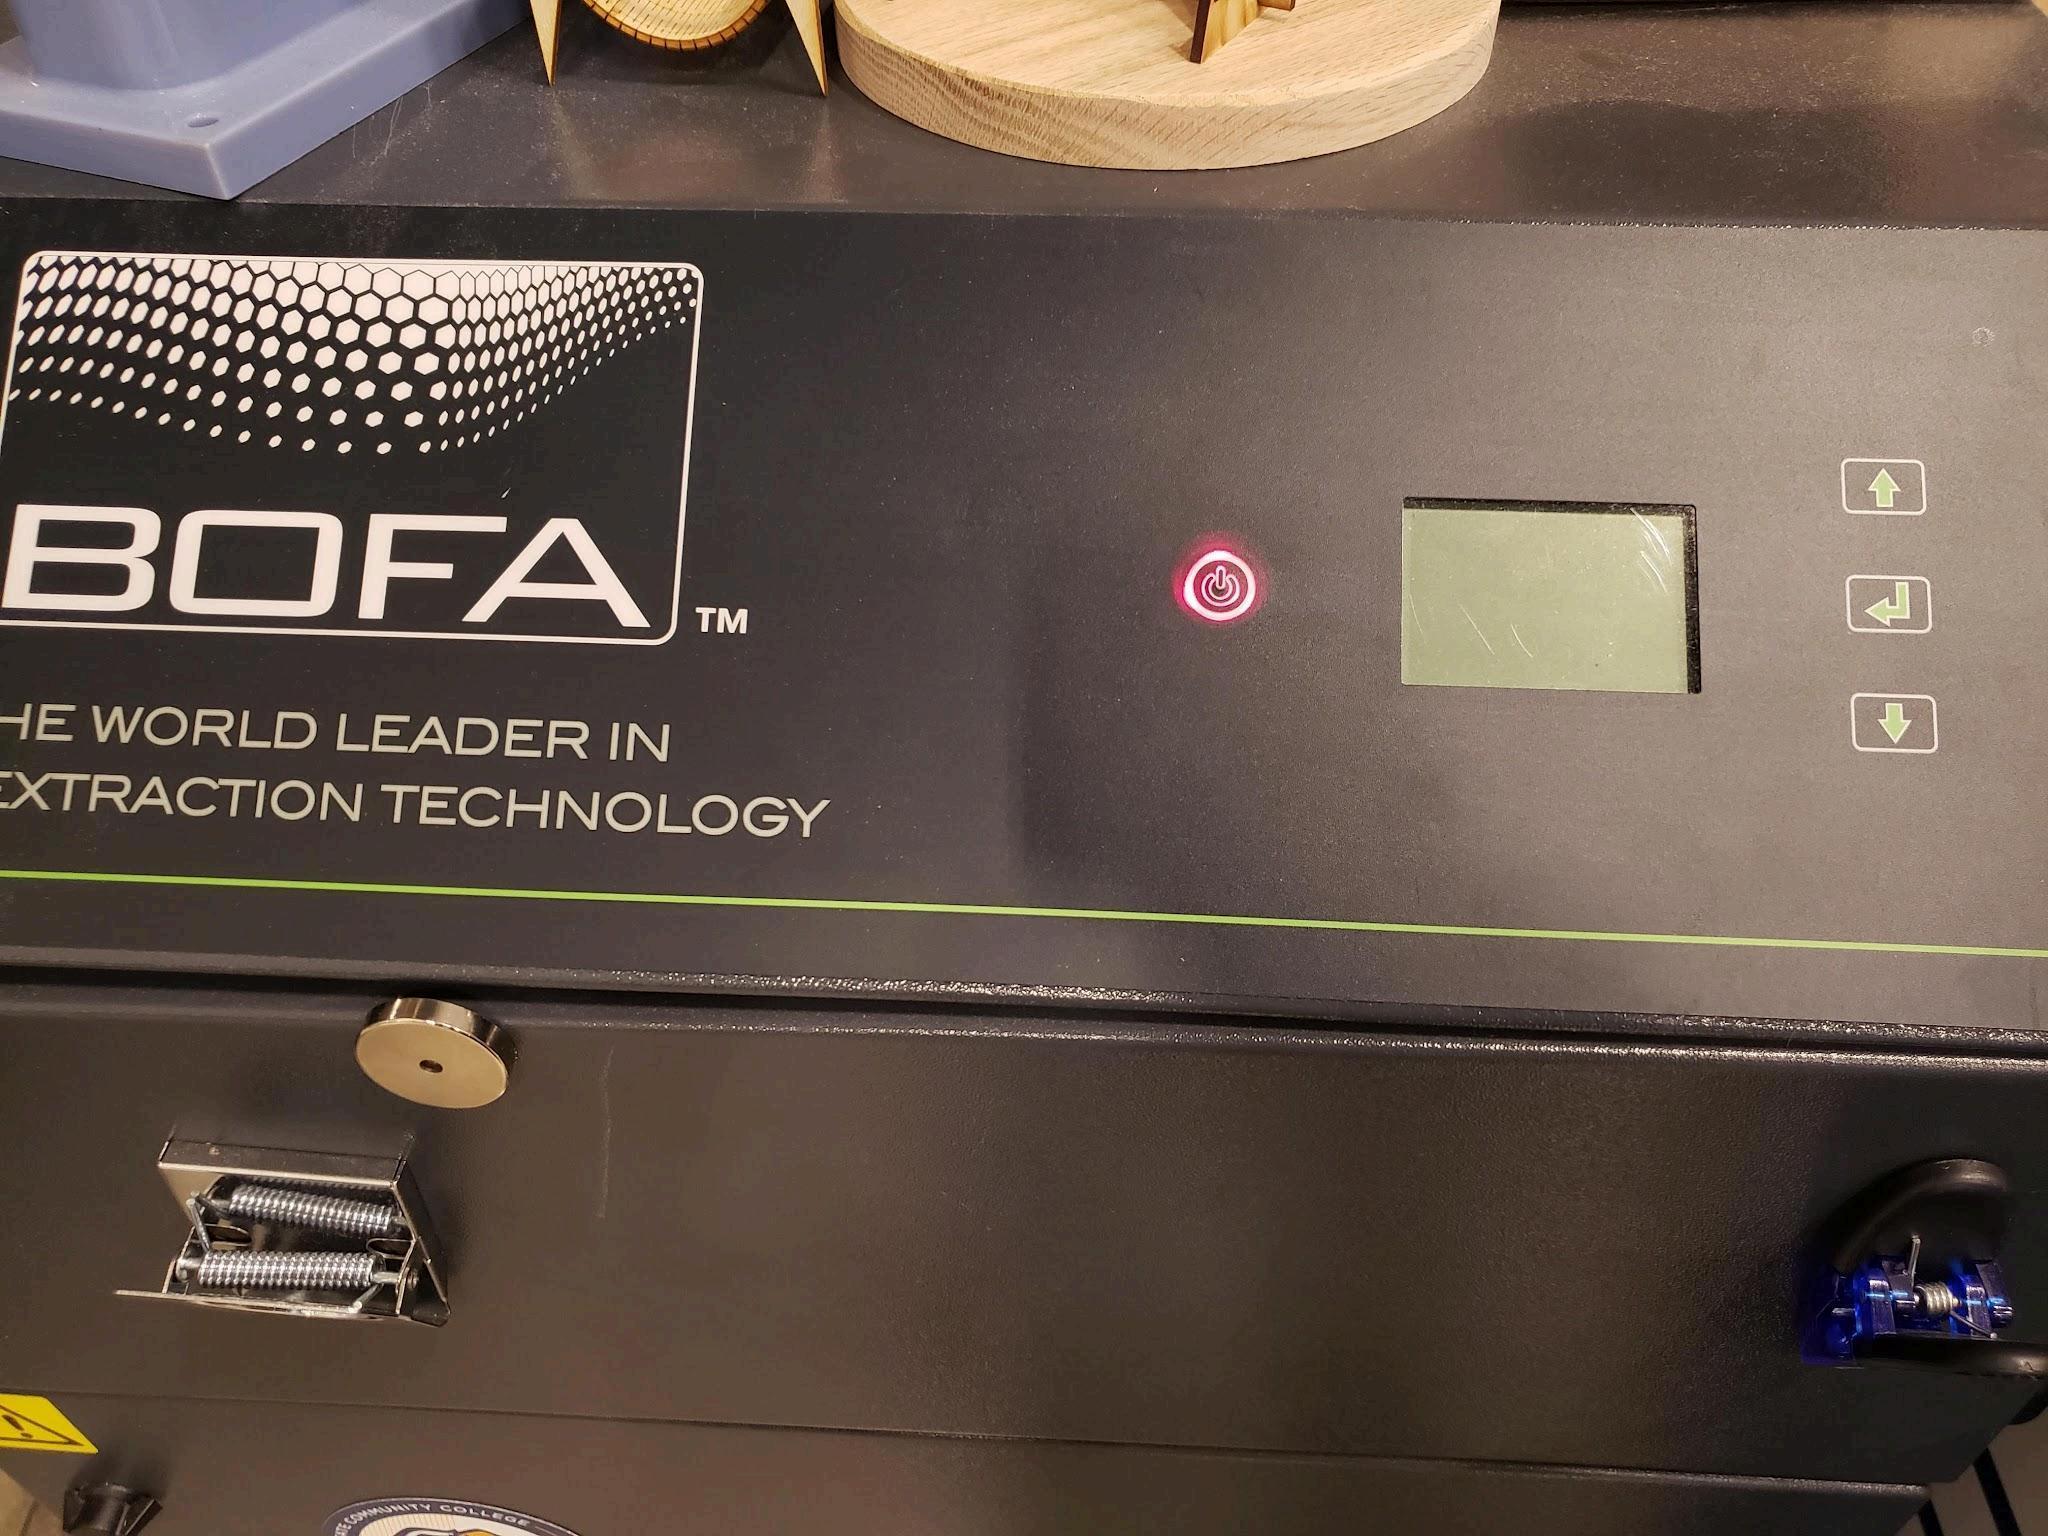
14 Turn the BOFA fume extractor on (big black box left of the laser)
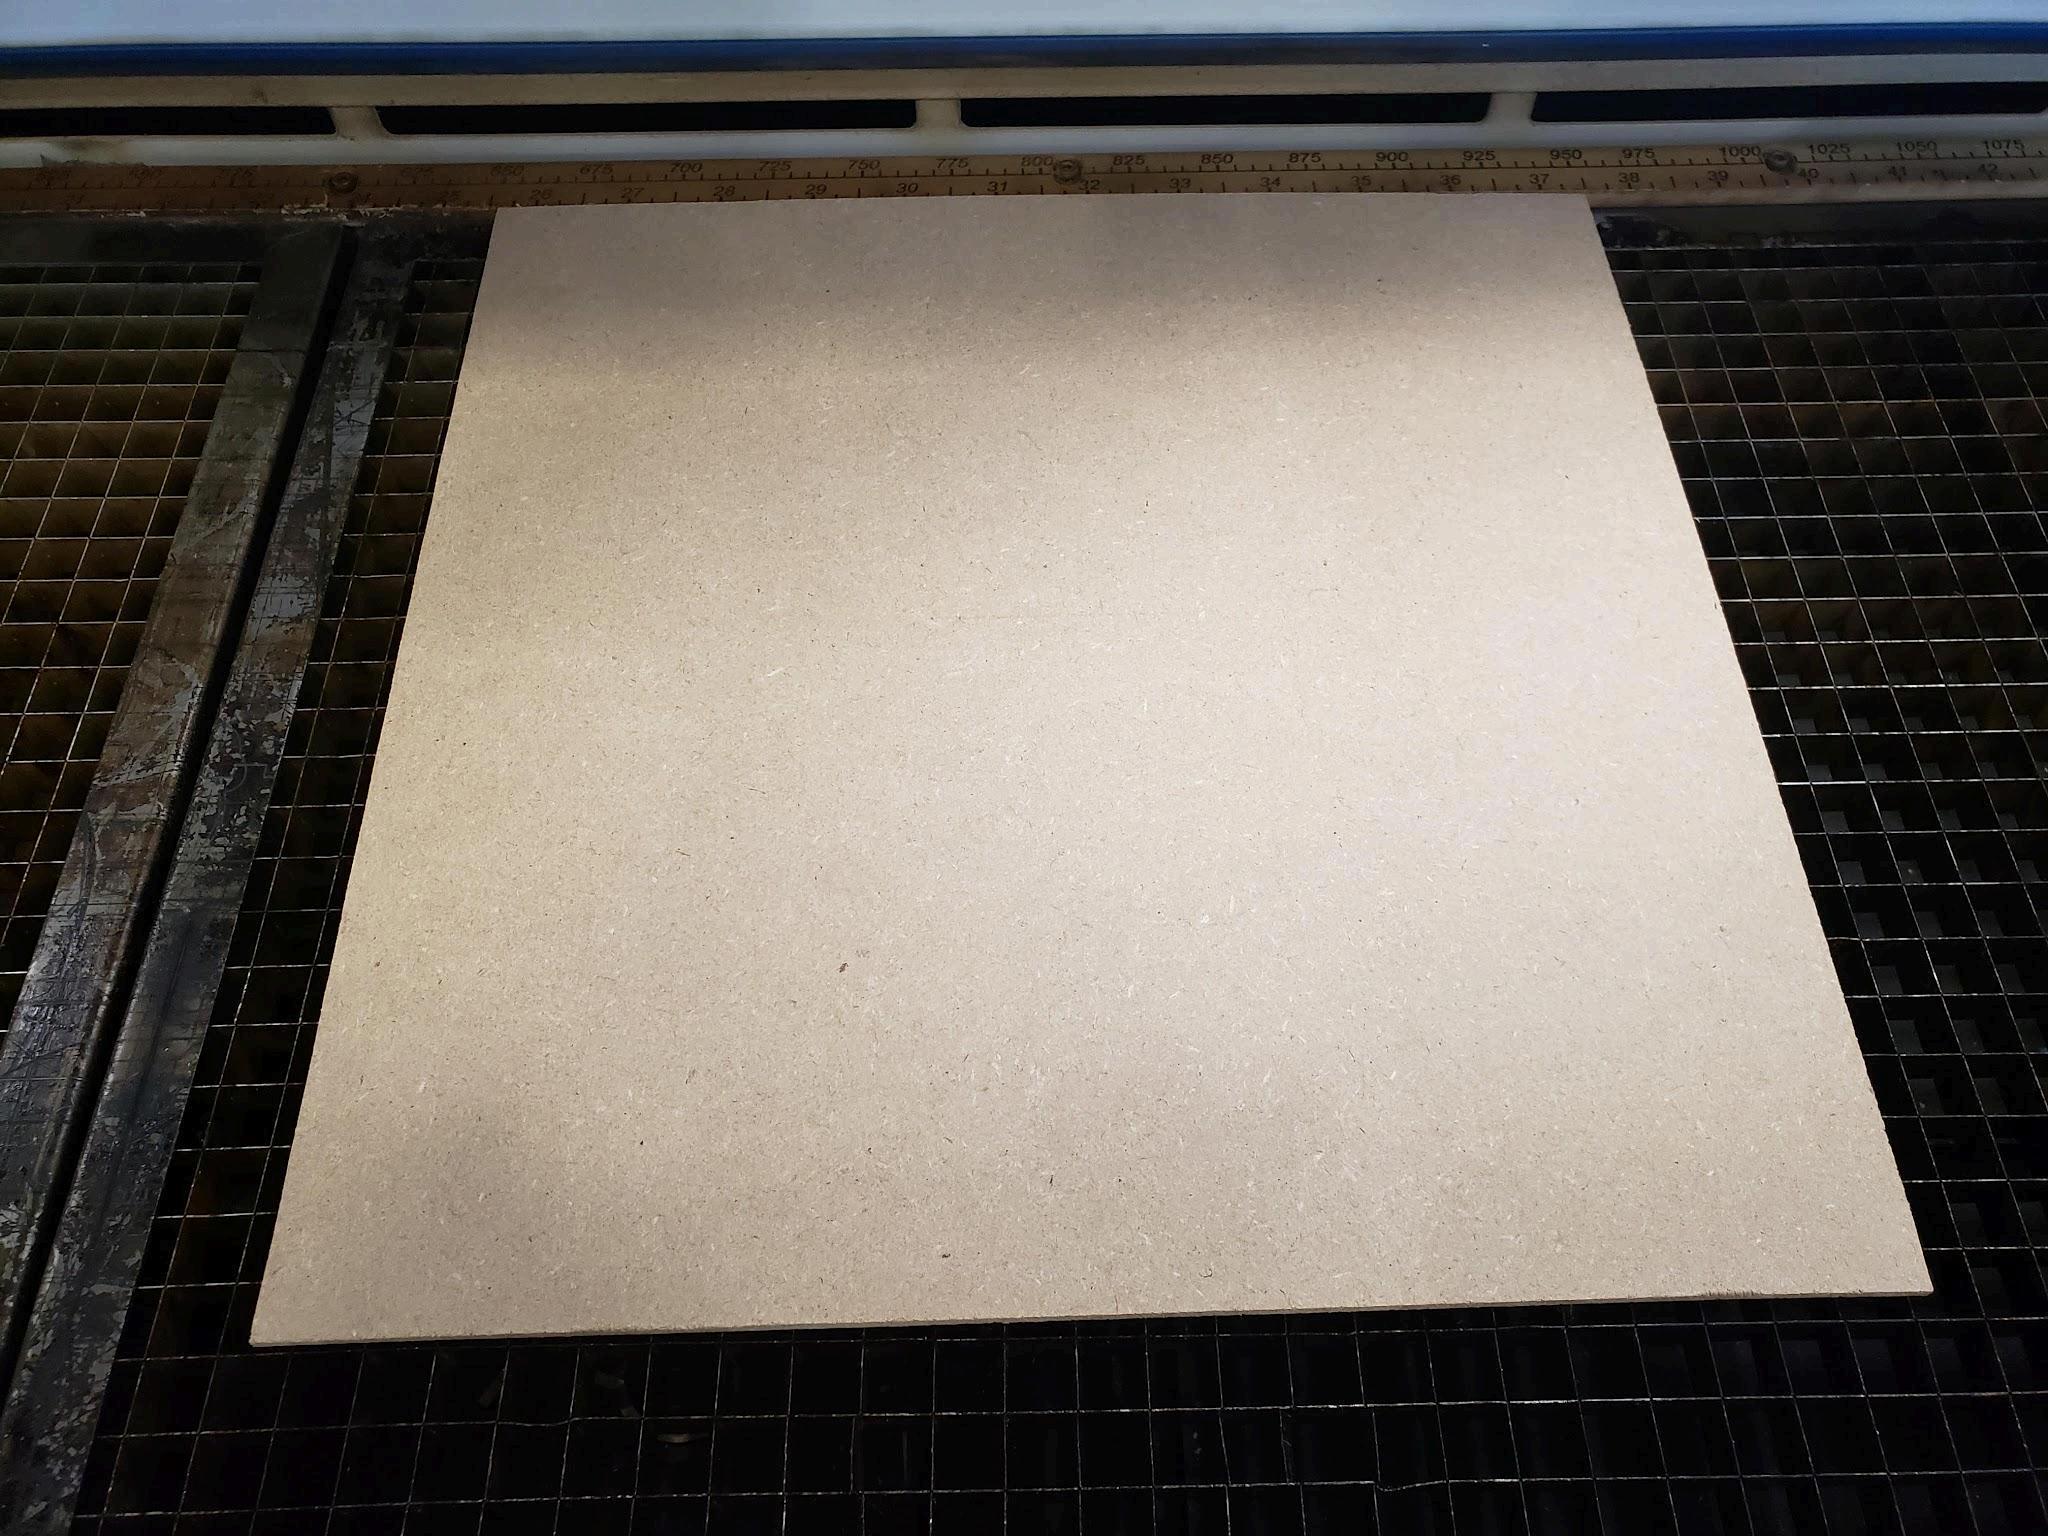
15.Load your material onto the vector grid. If applicable to shape, try to ground material to an edge ruler, or use a piece of scrap to square it up
16.Jog the gantry over the material using the “Jog Axis” softkey (looks like a video game joystick) and analog stick Softkeys are on the digital display
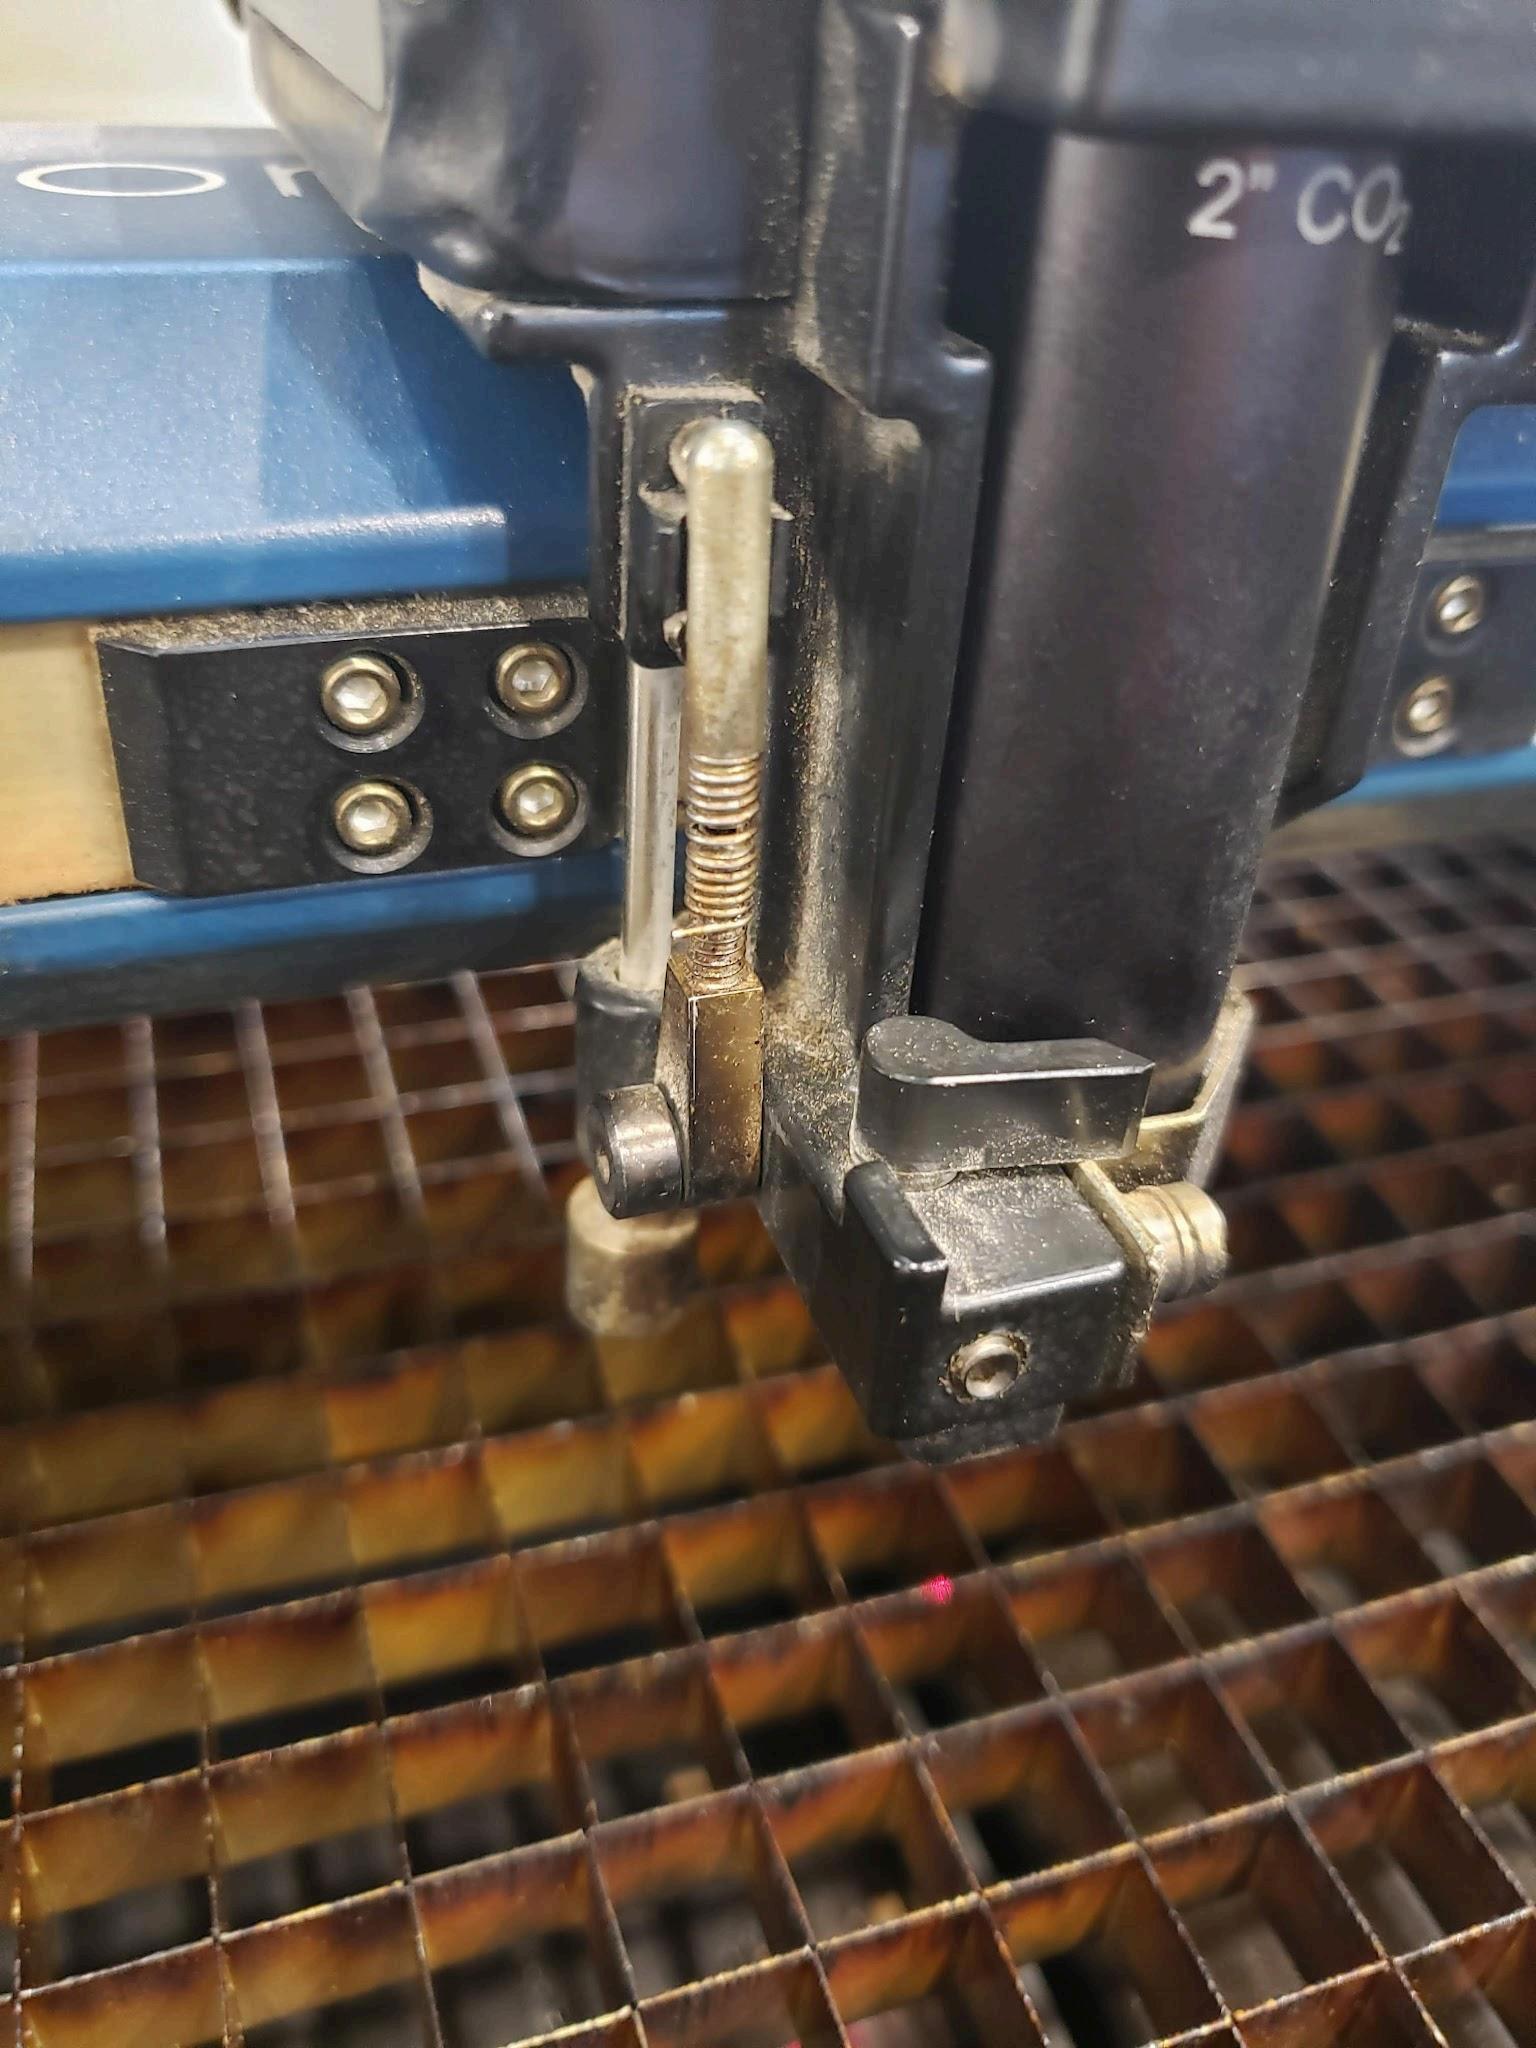
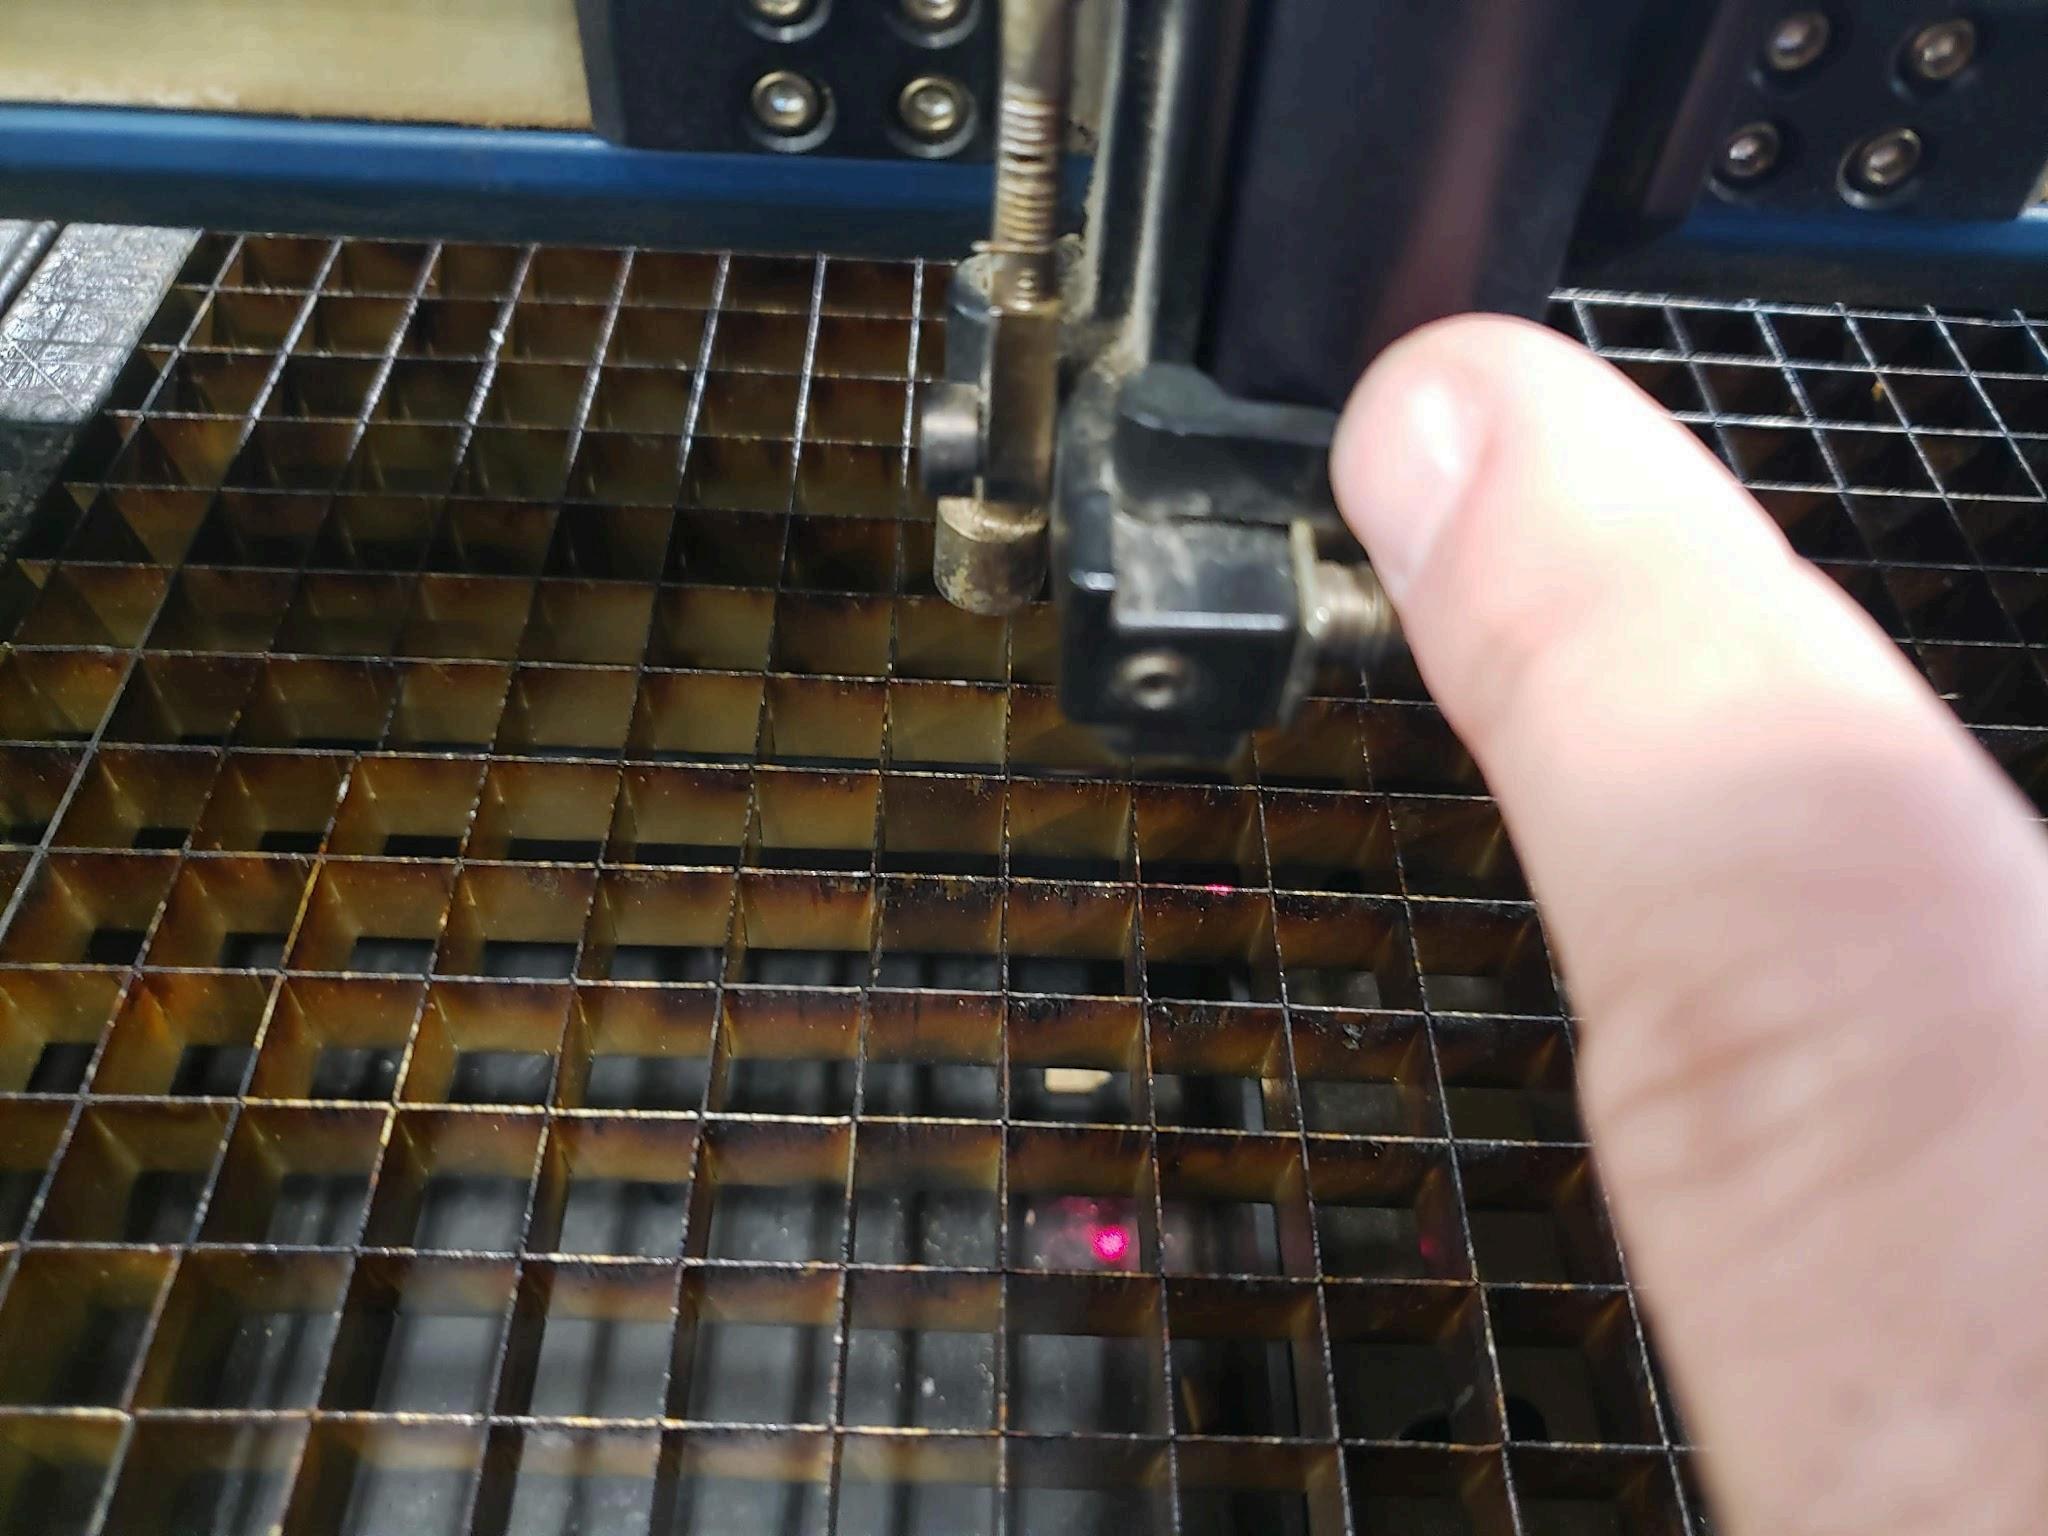
17 Focus the laser over the material
a. Flip the spring stick downward (it’s magnetic)
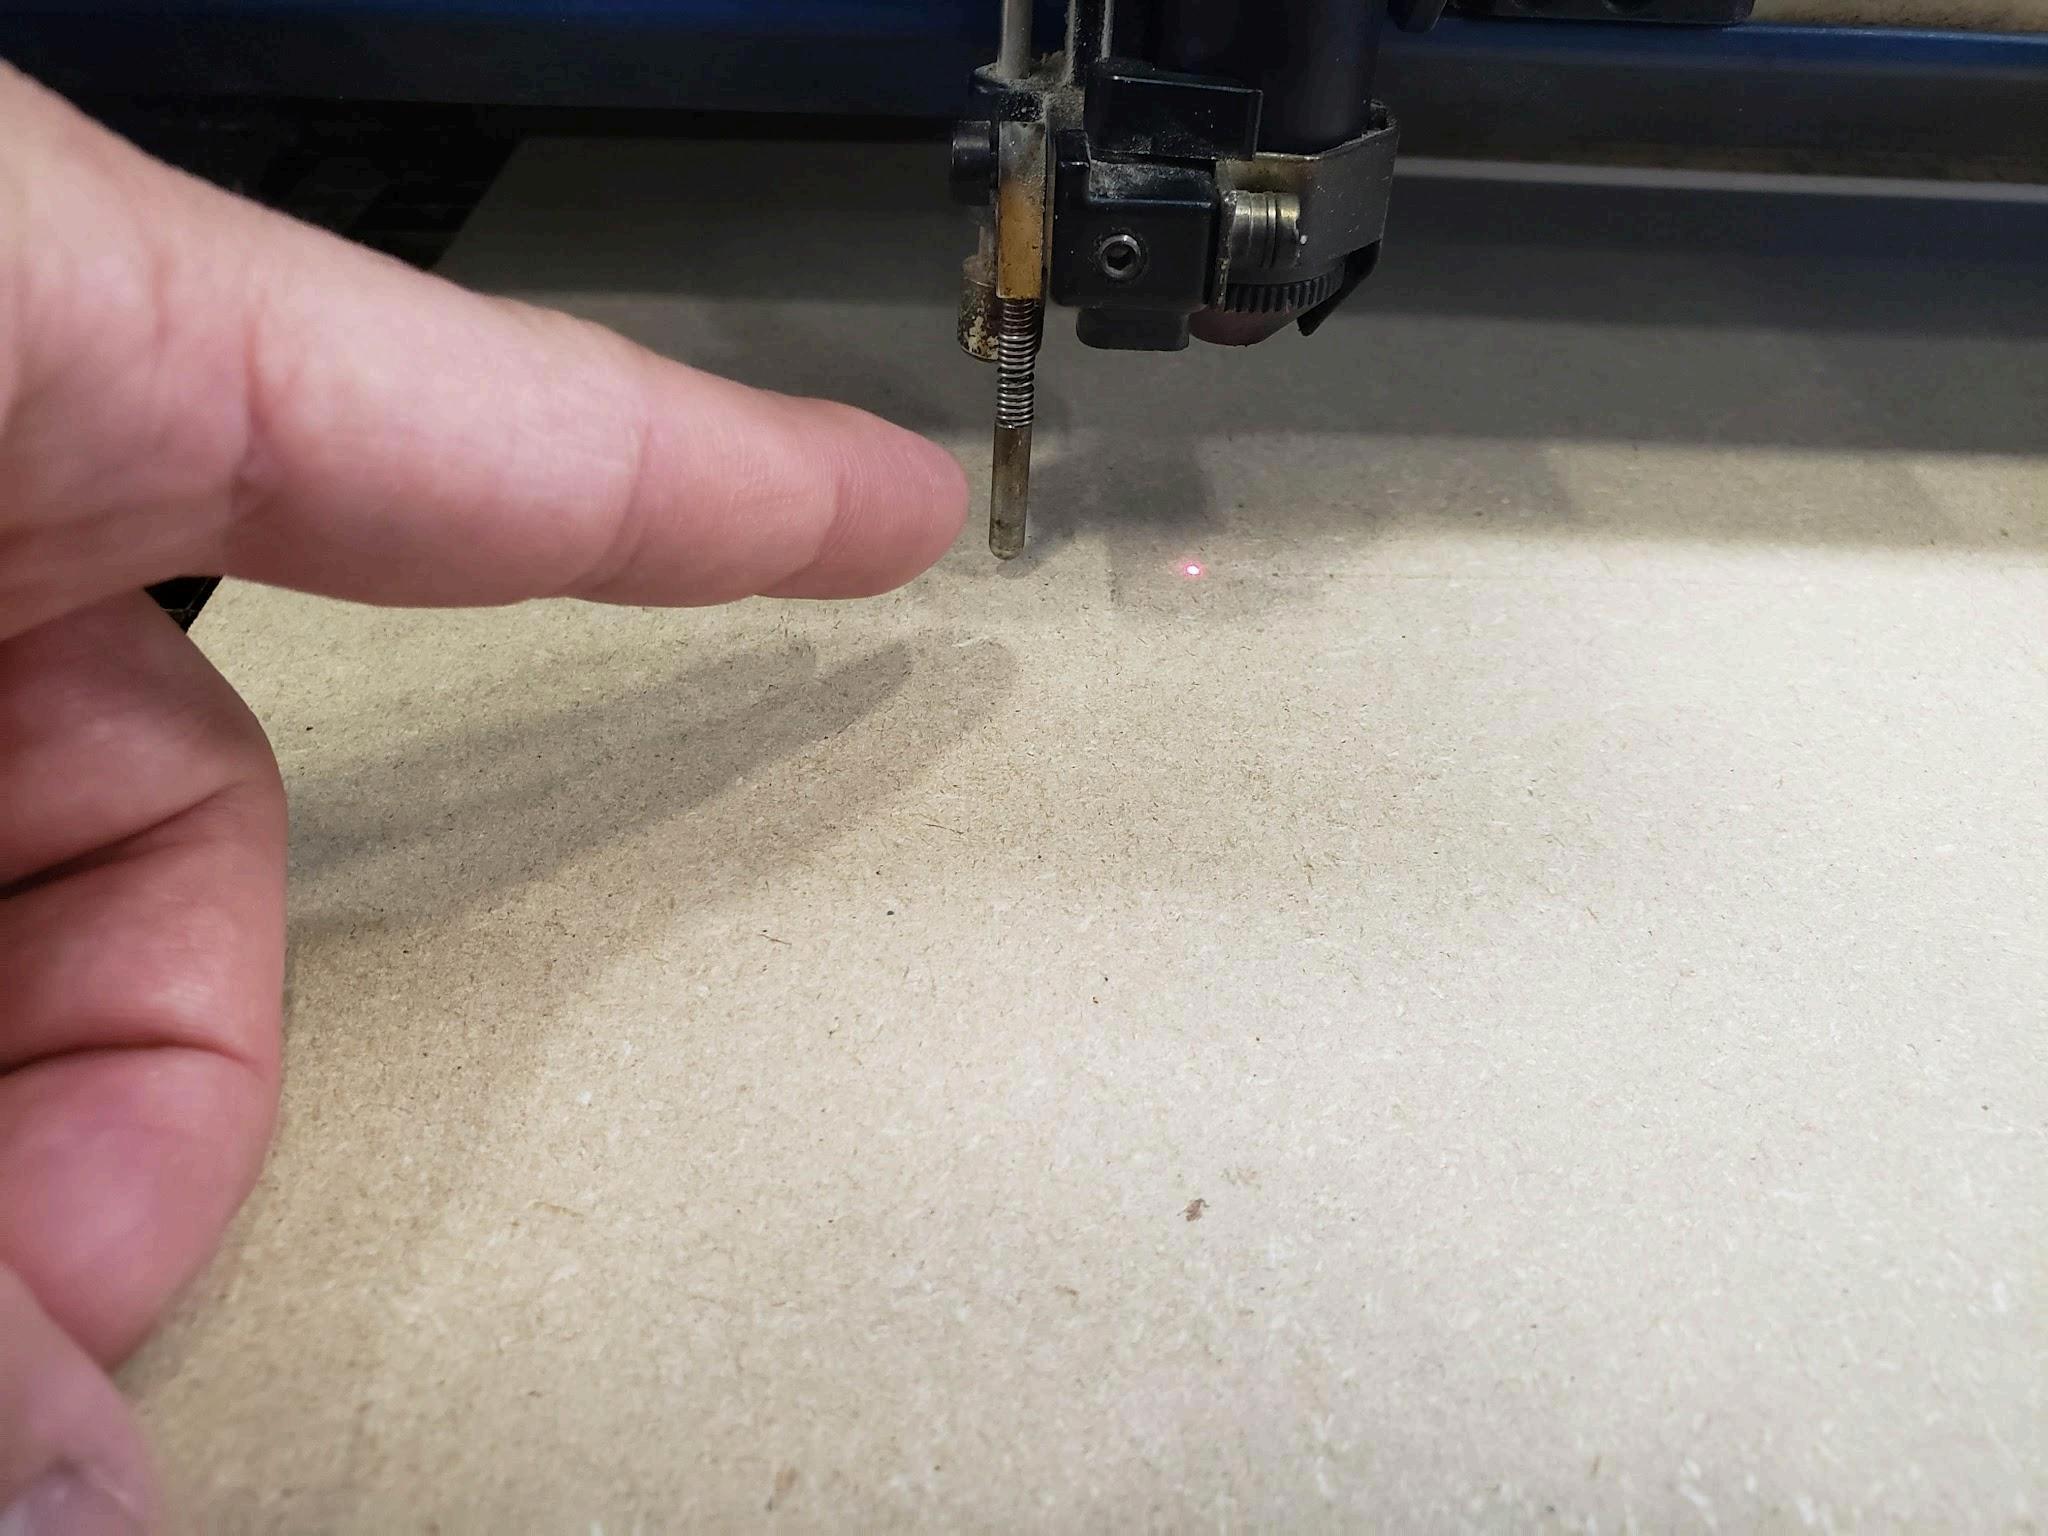
b. Use the “Focus Menu” softkey (looks like a horizontal line with an arrow above and below it) and then use the video game joystick to raise/lower the bed so that
the spring stick just touches the surface of the material It is now focused Flip the spring stick back to the up position
18 If you are cutting wood materials, ensure the air-assist is on by pointing the black valve lever toward you.
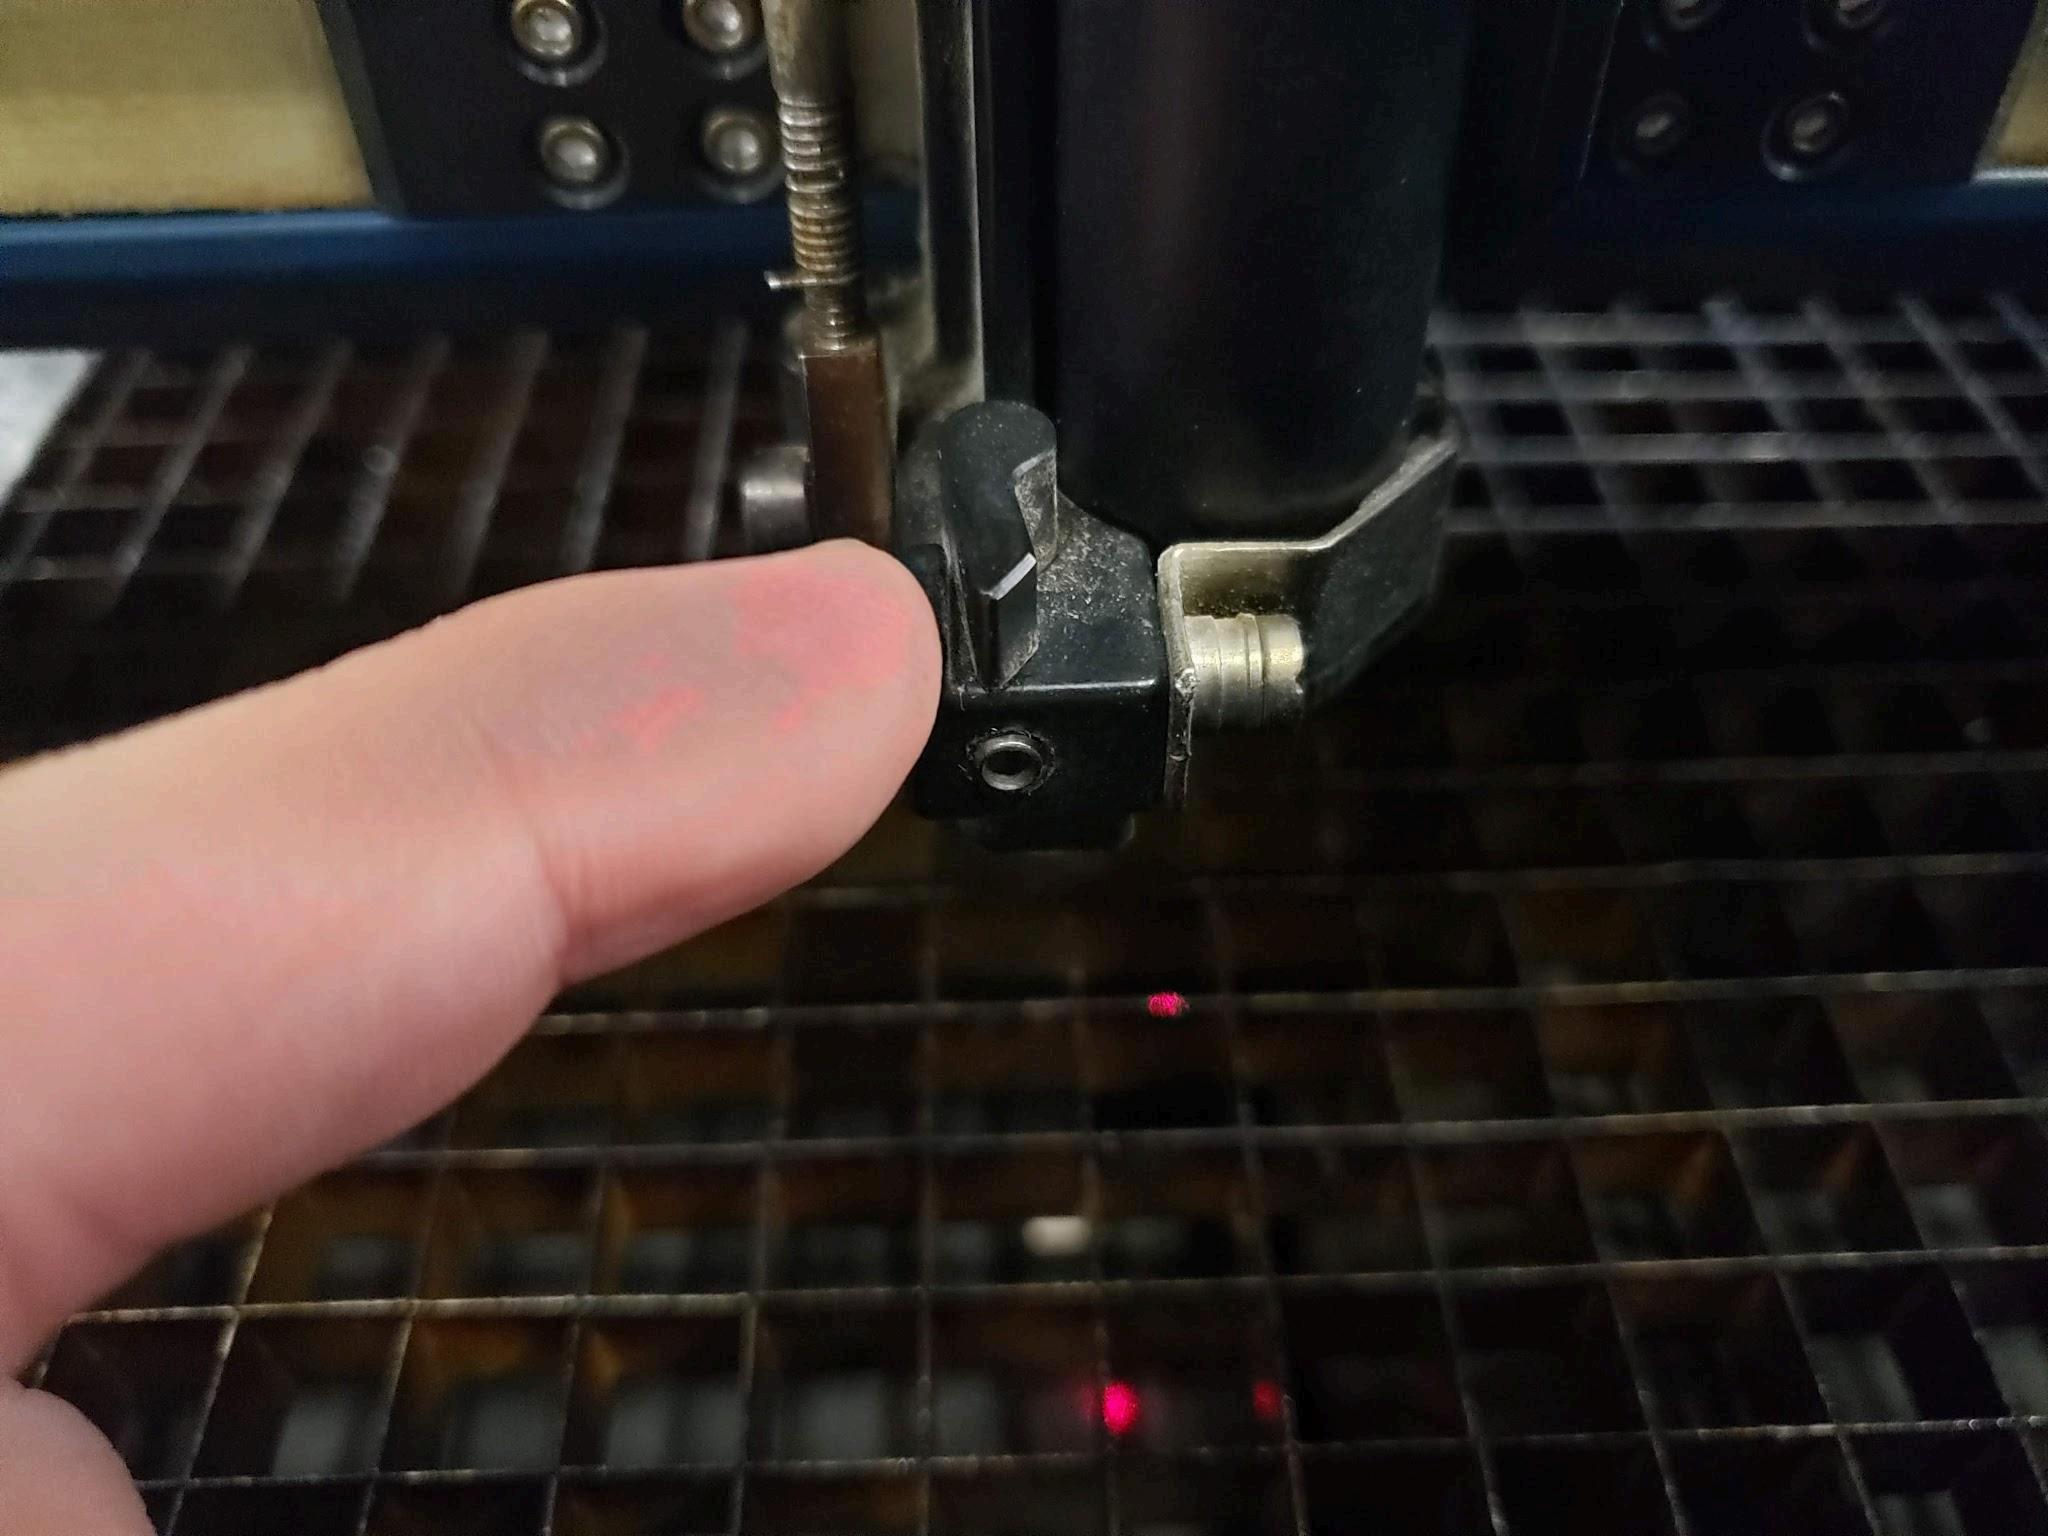
19.If you are cutting acrylic or doing engraving on anything, you do not need air-assist, turn it off by pushing the black valve lever to be parallel with the wall
20 Once you have loaded your material, focused the laser, and set the air-assist, you are ready to cut/engrave
21 Referring to step #7, ensure Epilog Dashboard is still open
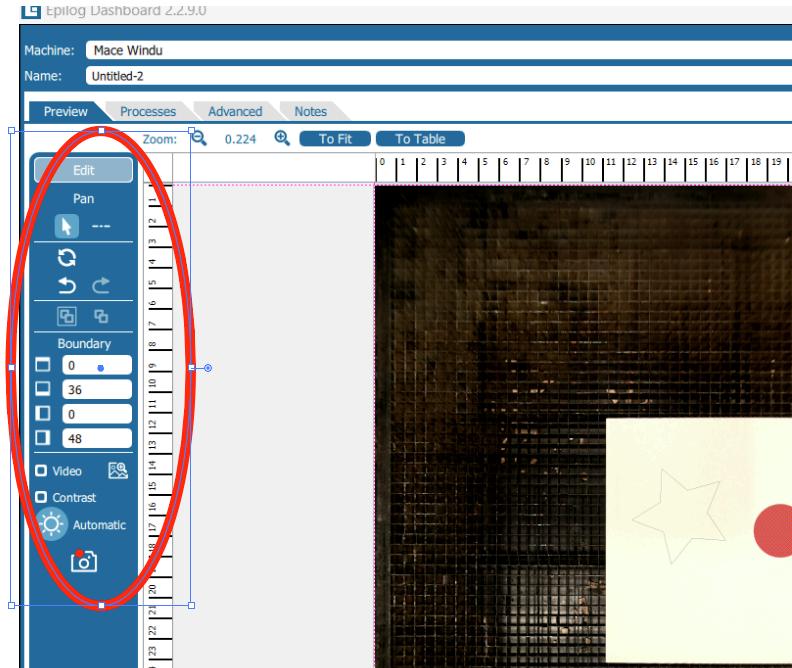
22 You will first need to take over the Iris camera system, if it’s not already on To do so, click the camera icon
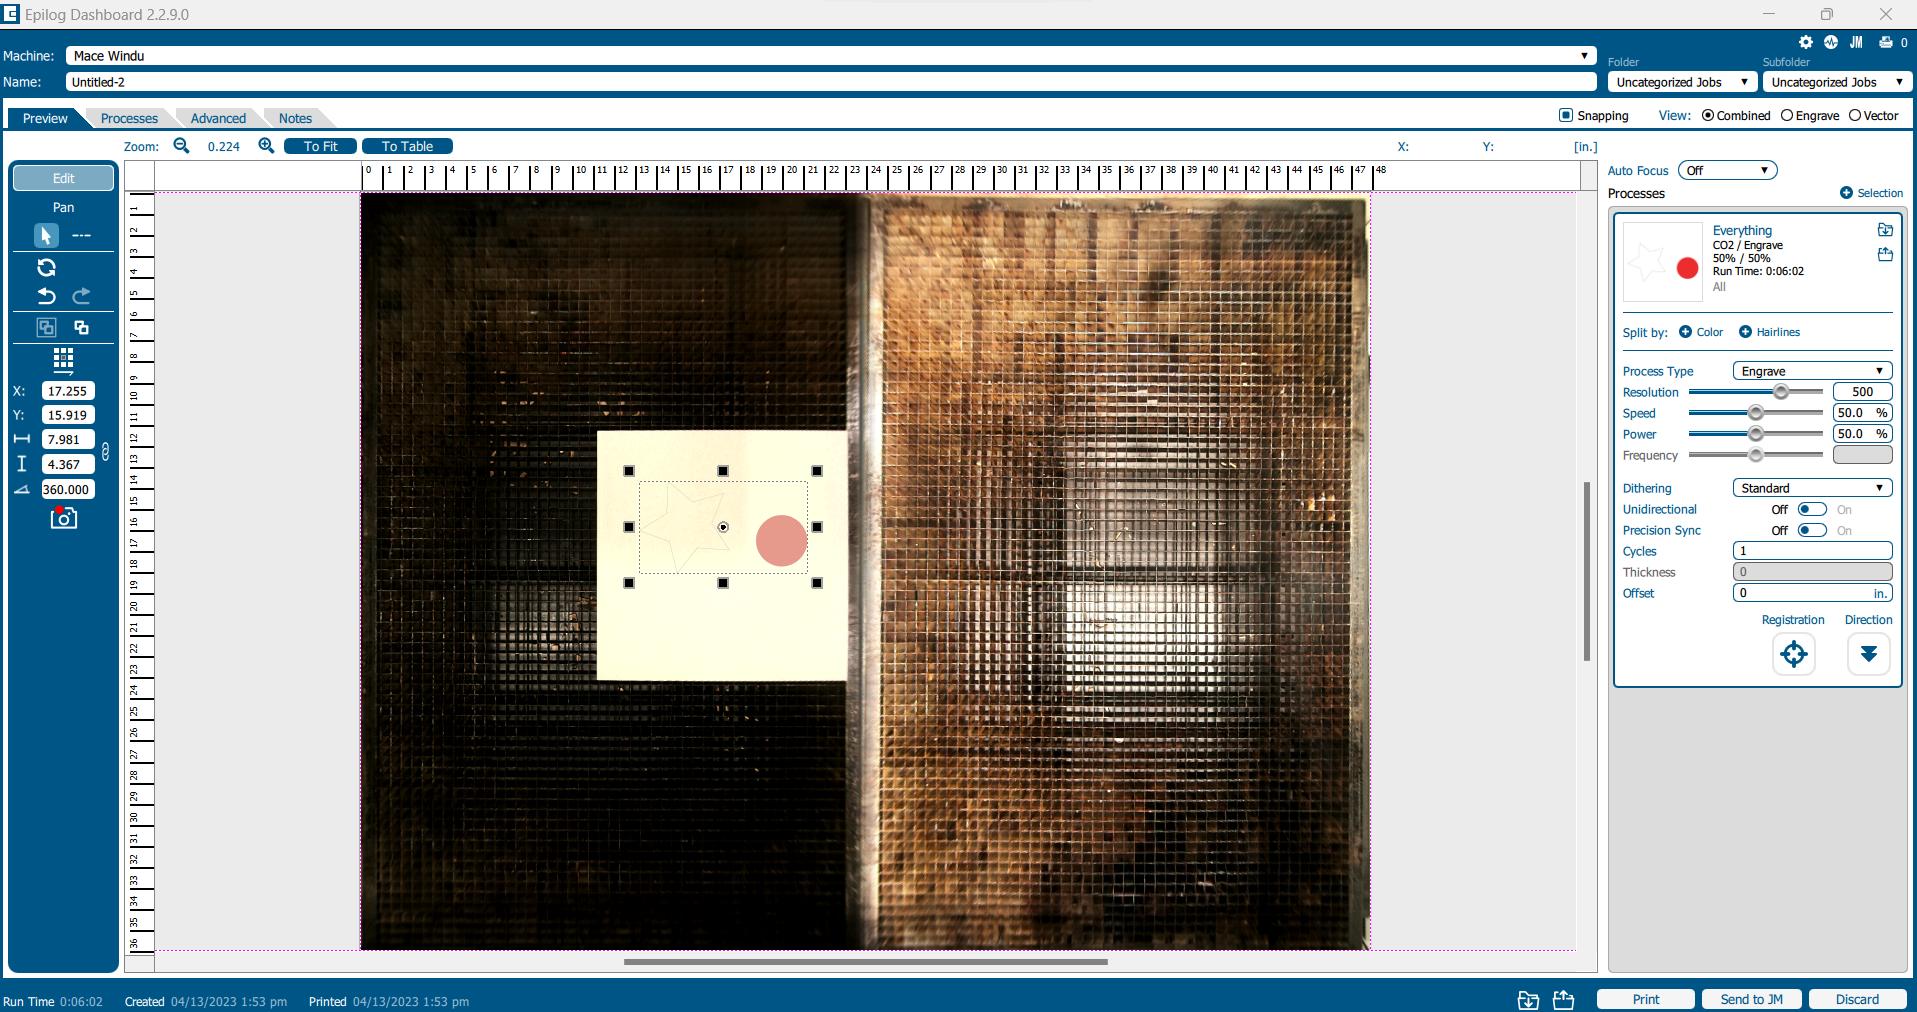
23.Once you have taken over the camera, you will be able to see the bed and anything on it from the Epilog Dashboard Use the clickwheel to increase the size of the camera field
24 The menu on the left will change depending on if you click on or outside the graphic If you click on the graphic, you will see positioning coordinates (XY, with reference grid), dimensions, angle rotation, group/ungroup (button with two squares), undo/redo (curved arrows)
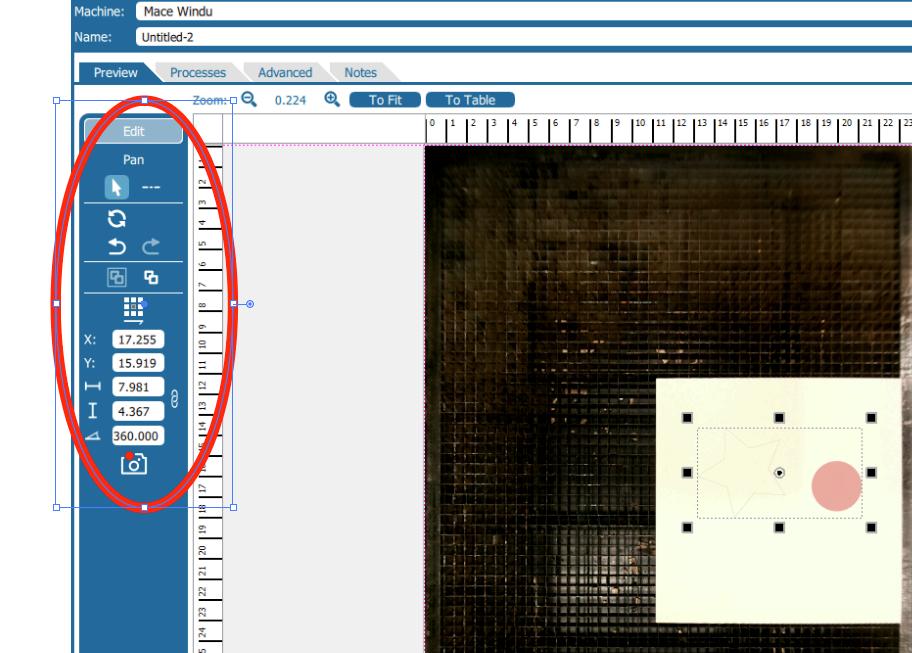
25 With the graphic clicked, you can drag it around and place it on your workpiece
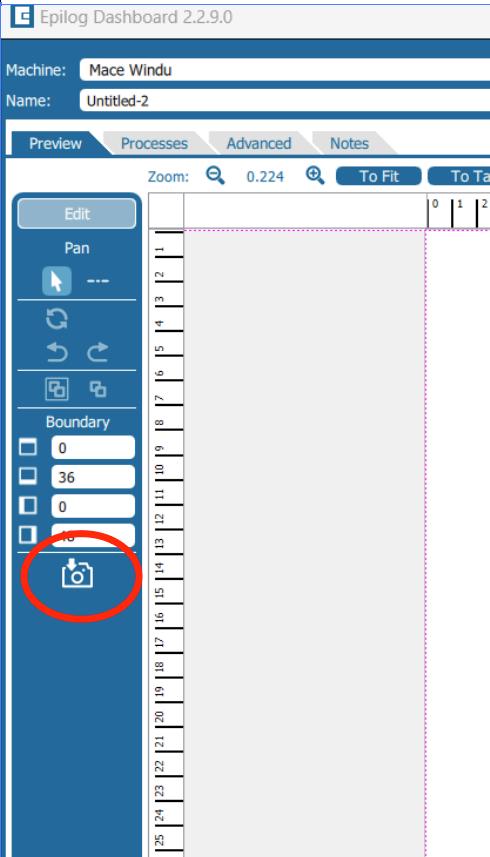
26 Clicking outside the graphic will bring up a different menu on the left This menu allows modification of boundary (you will likely never have to do this), the ability to turn the camera on and off (helpful if lots of clutter), contrast control, brightness (sun icon), and the ability to take a screenshot of the print bed (landscape and magnifying glass icon, useful to paste in Adobe Illustrator)
27 Once everything is finished with the left menus, we can adjust settings for the laser using the menu on the right. By default, it will display everything under one job (unless you made hairlines [ 001 stroke lines])
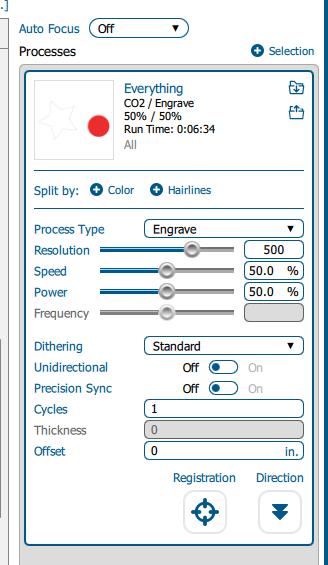
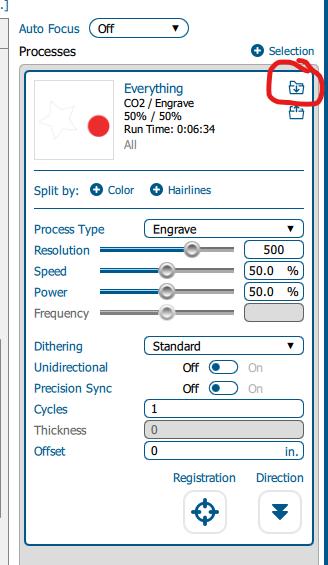
28 First, you need to pick a material preset by clicking the upper right folder
29 Once you have a preset selected, you are ready to cut/engrave You can modify the preset using the slider bars as well if you think you need more/less power/speed.
30 Under Machine, click the Name field and put something in there to identify the work as yours. When there are many jobs on the laser this will help you find yours.
31 Press Print at the bottom of the dashboard
32 Go to the laser LCD screen and find your job and touch it to select
33.Use the Trace softkey (looks like an unfinished box with a mark at one end) to verify that the job is going where you expect it to
34 Once happy with everything, press the black play/pause hardkey a. You may watch your work, but jobs with higher frequencies may cause your eyes to hurt
35 Ensure smoke is cleared before opening the lid to retrieve your piece It should not be hot.
Troubleshooting/maintenance
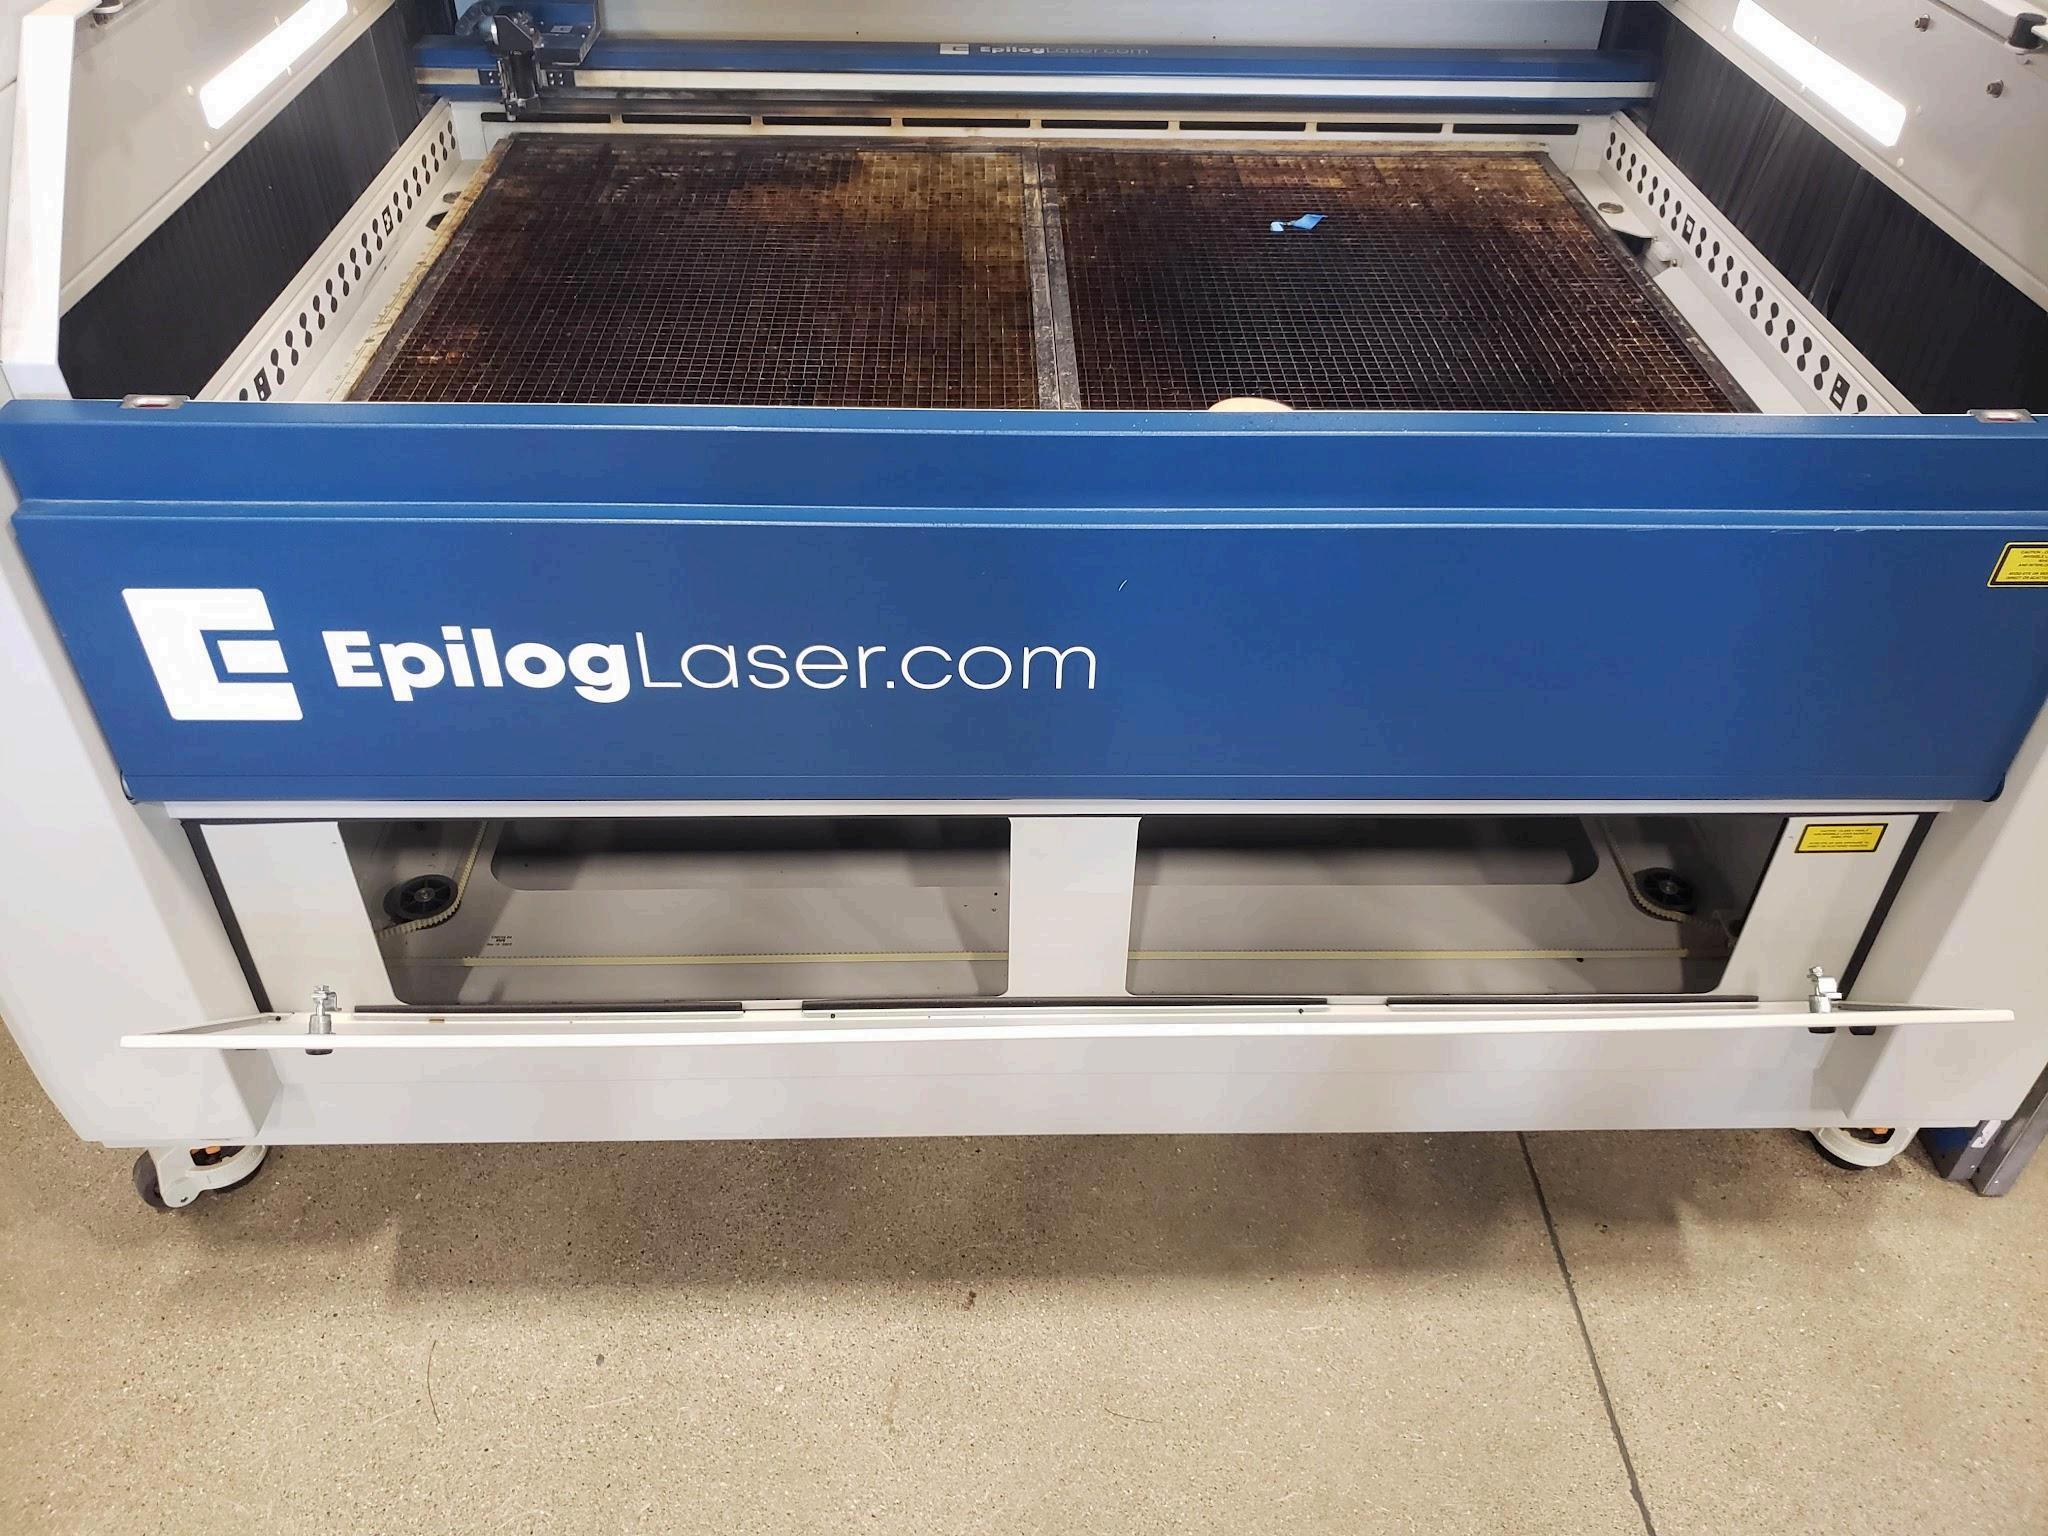
To clean the debris trays, open the lid and pull the front panel down. There are three black trays with two latches each Open the latches and pull the trays out to remove debris
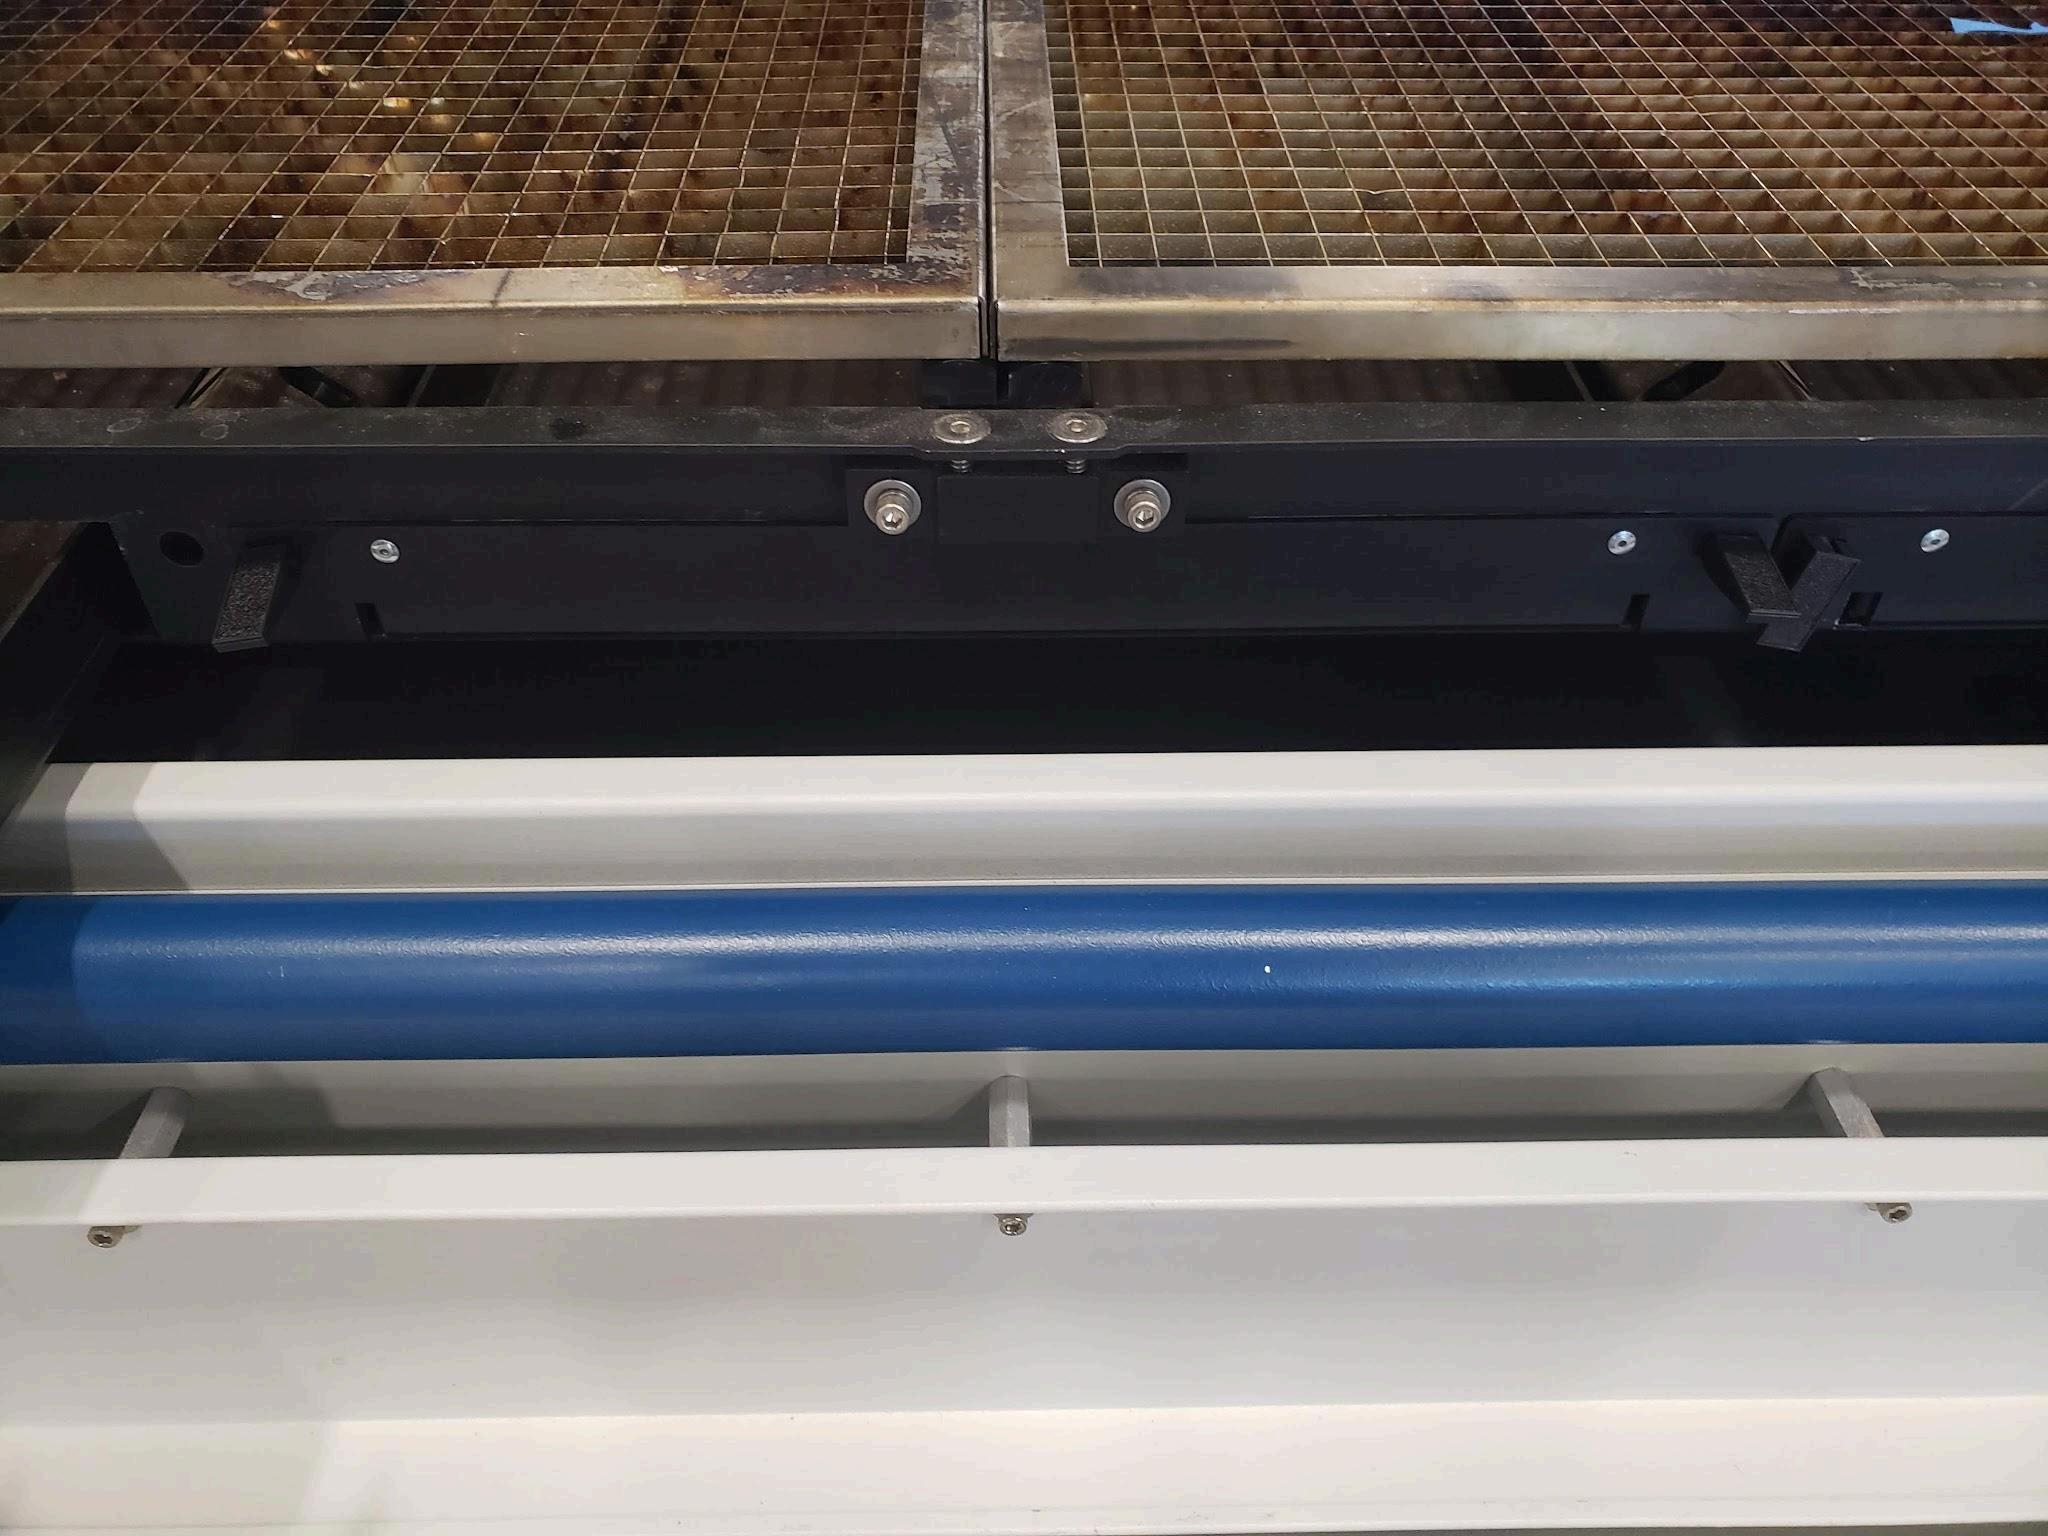
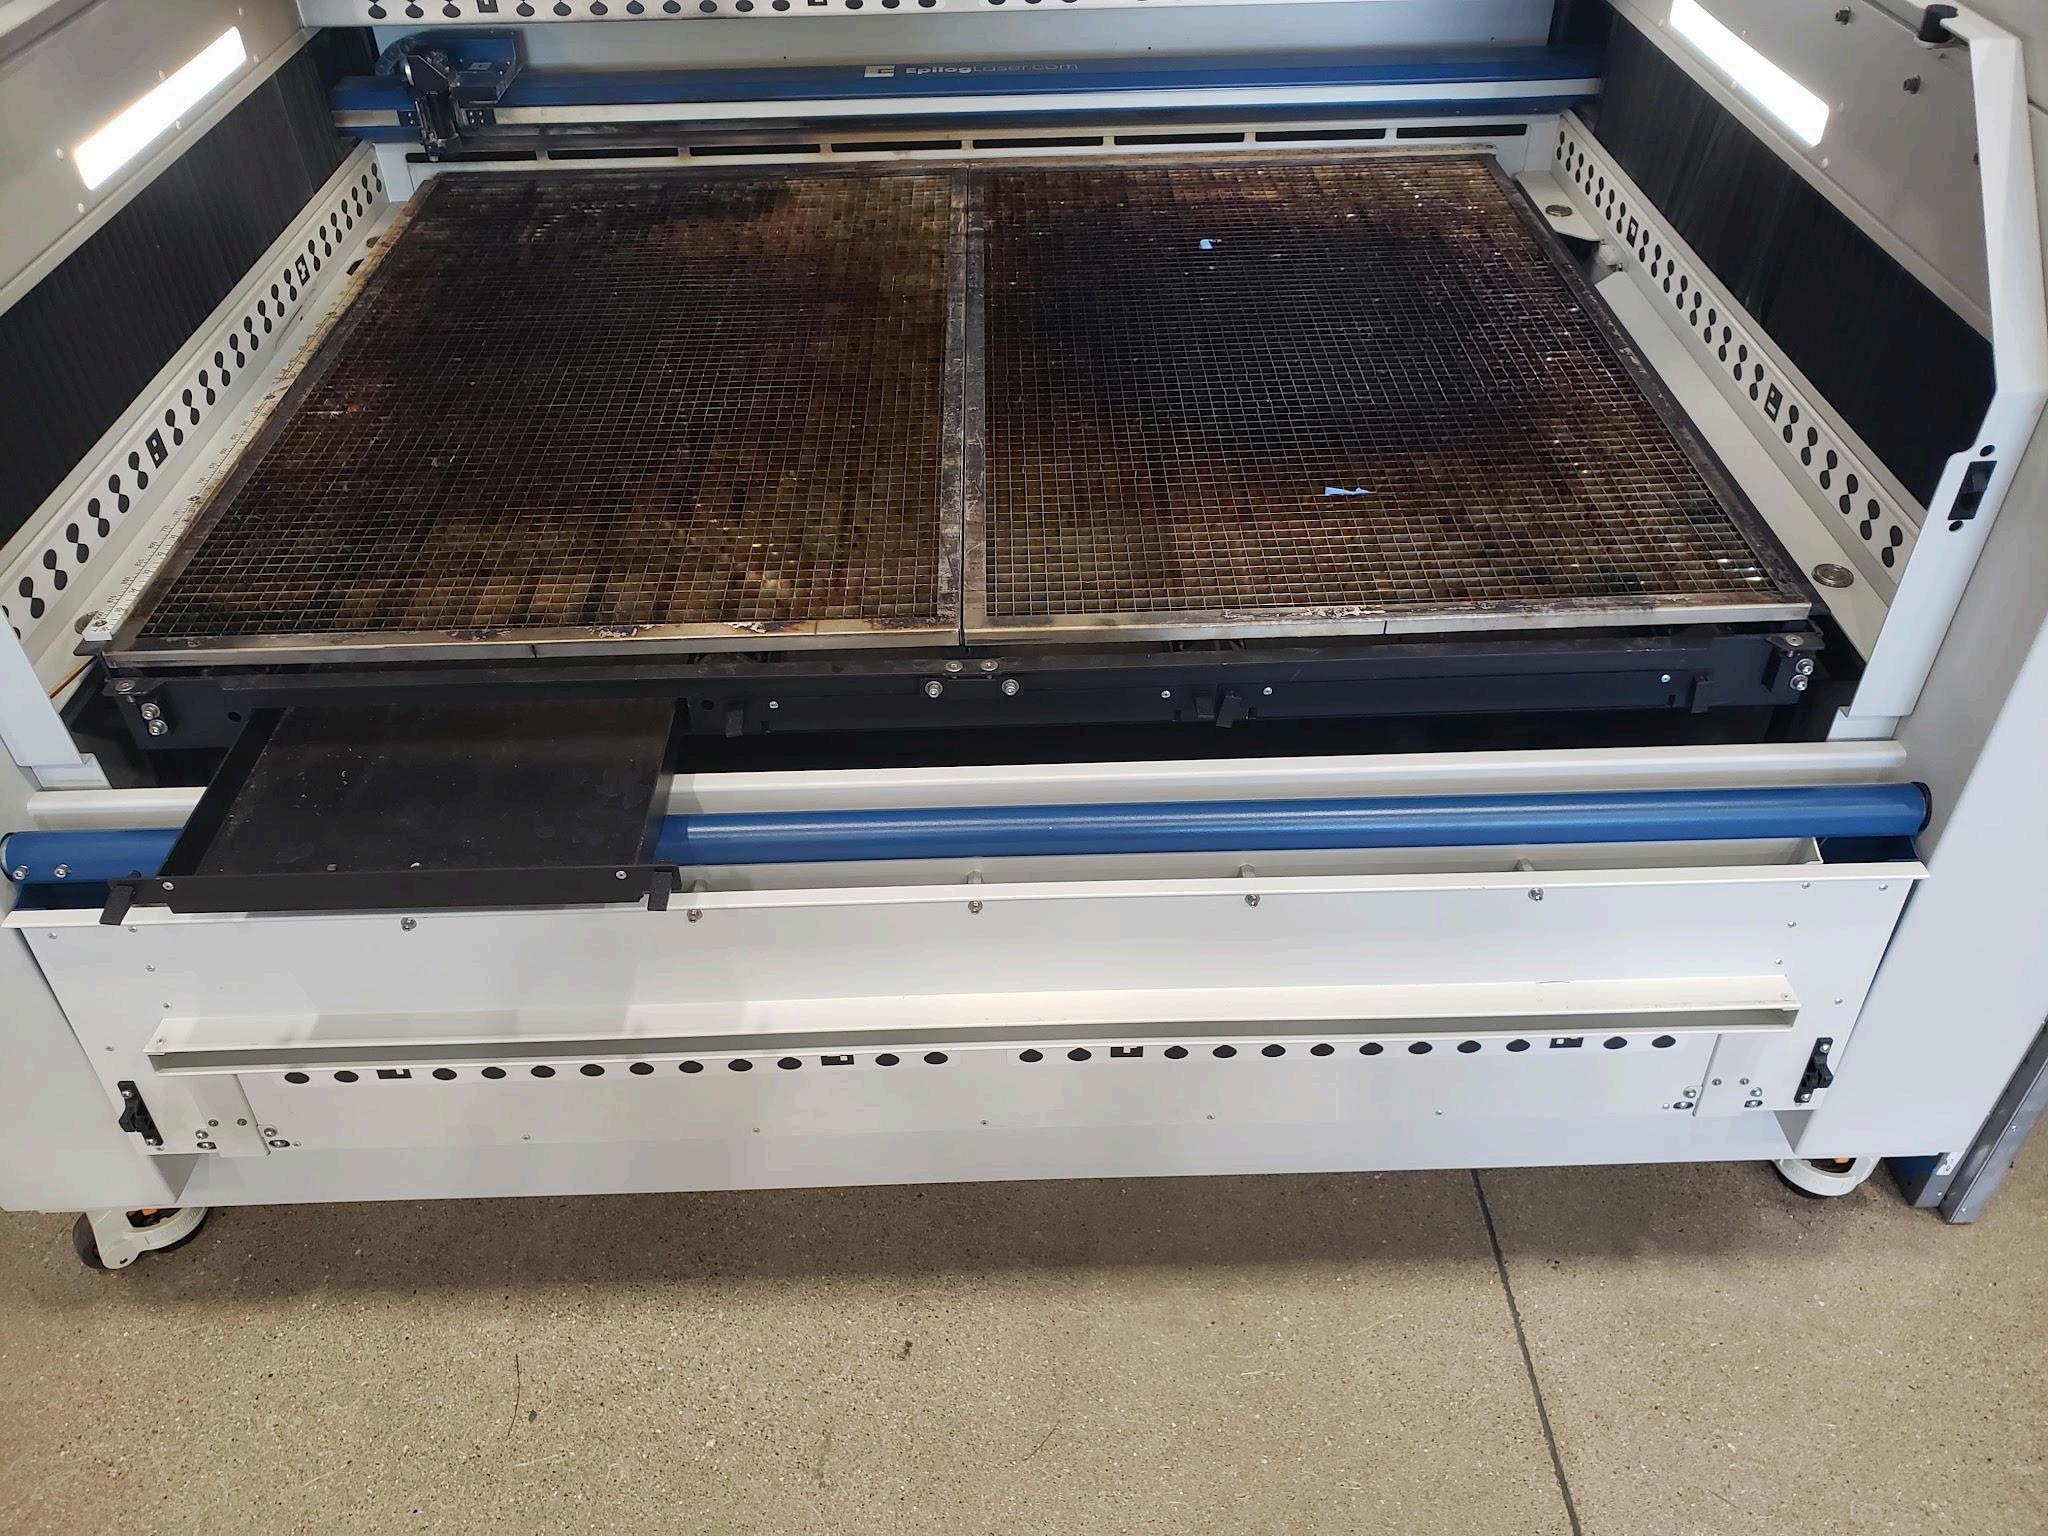
If something falls underneath the debris trays, get a 4mm allen wrench and turn the two black captive bolts The panel will open as much as shown in the picture