Architecture Portfolio Yanwen Pang
page: 3~4 page: 5~6 page: 7~9 page: 10~14
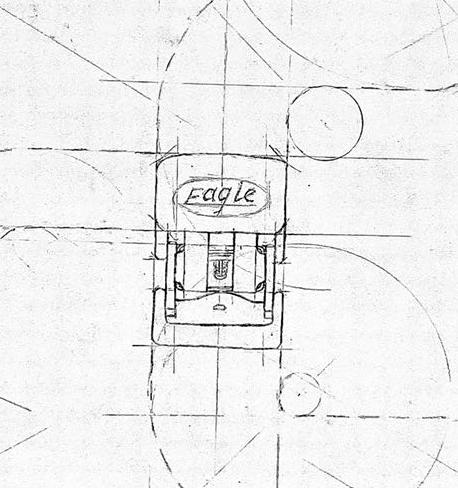
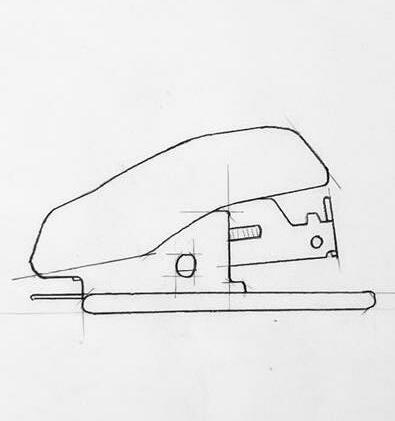
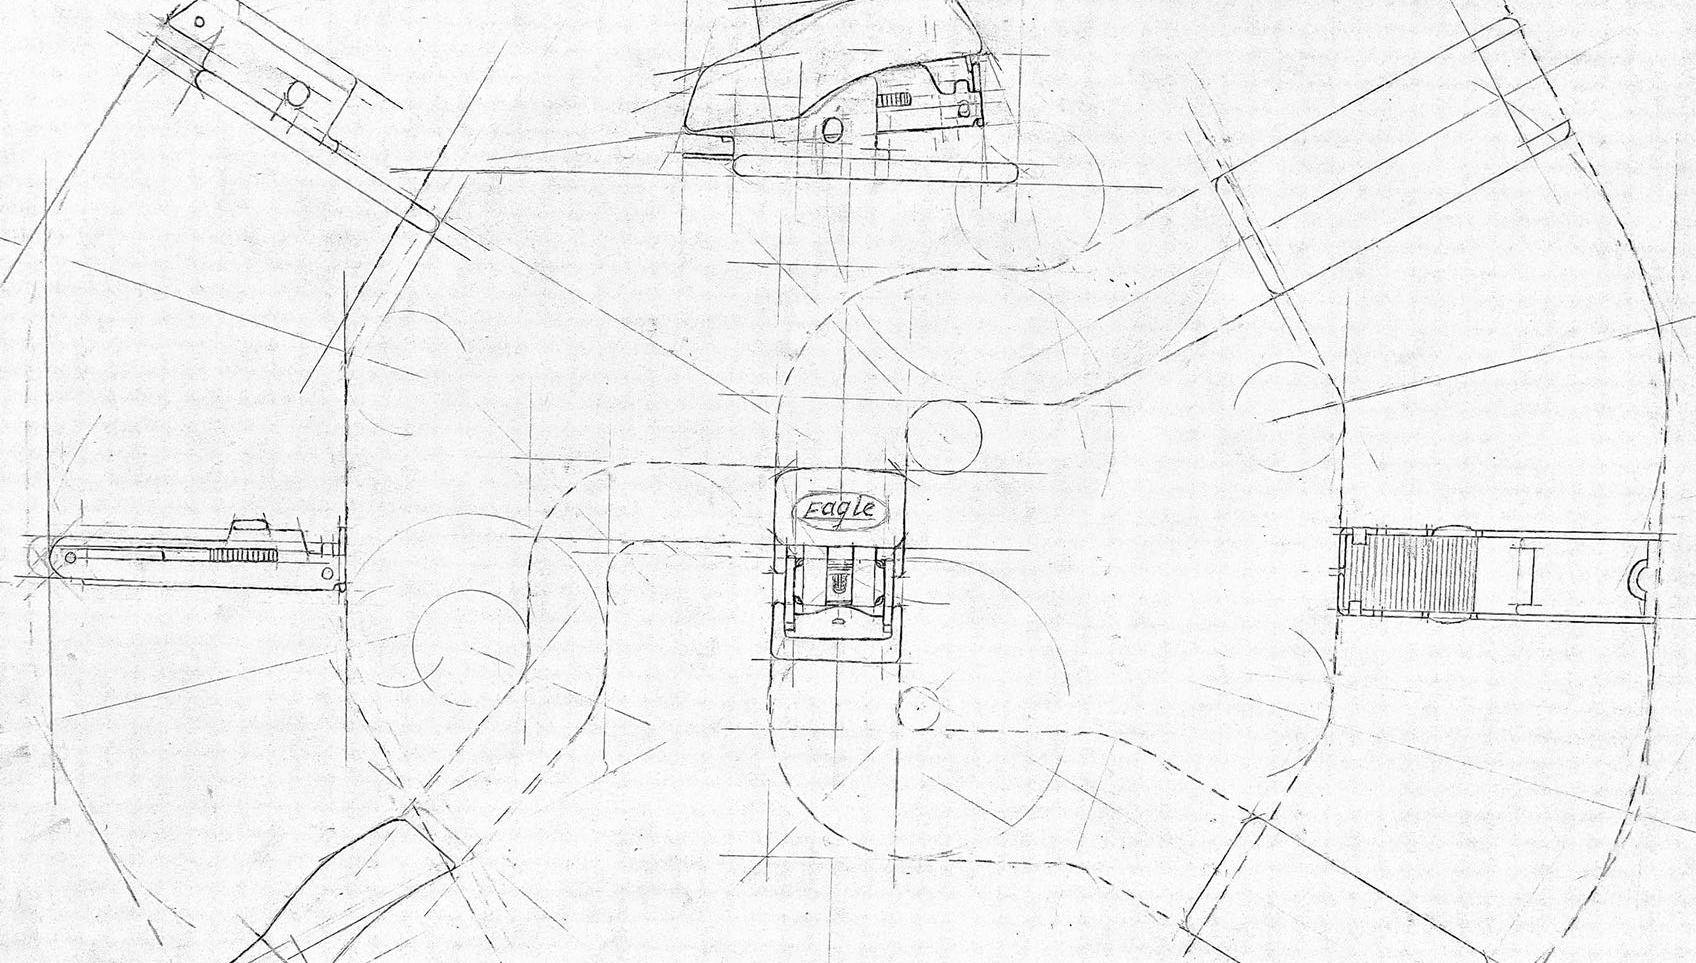
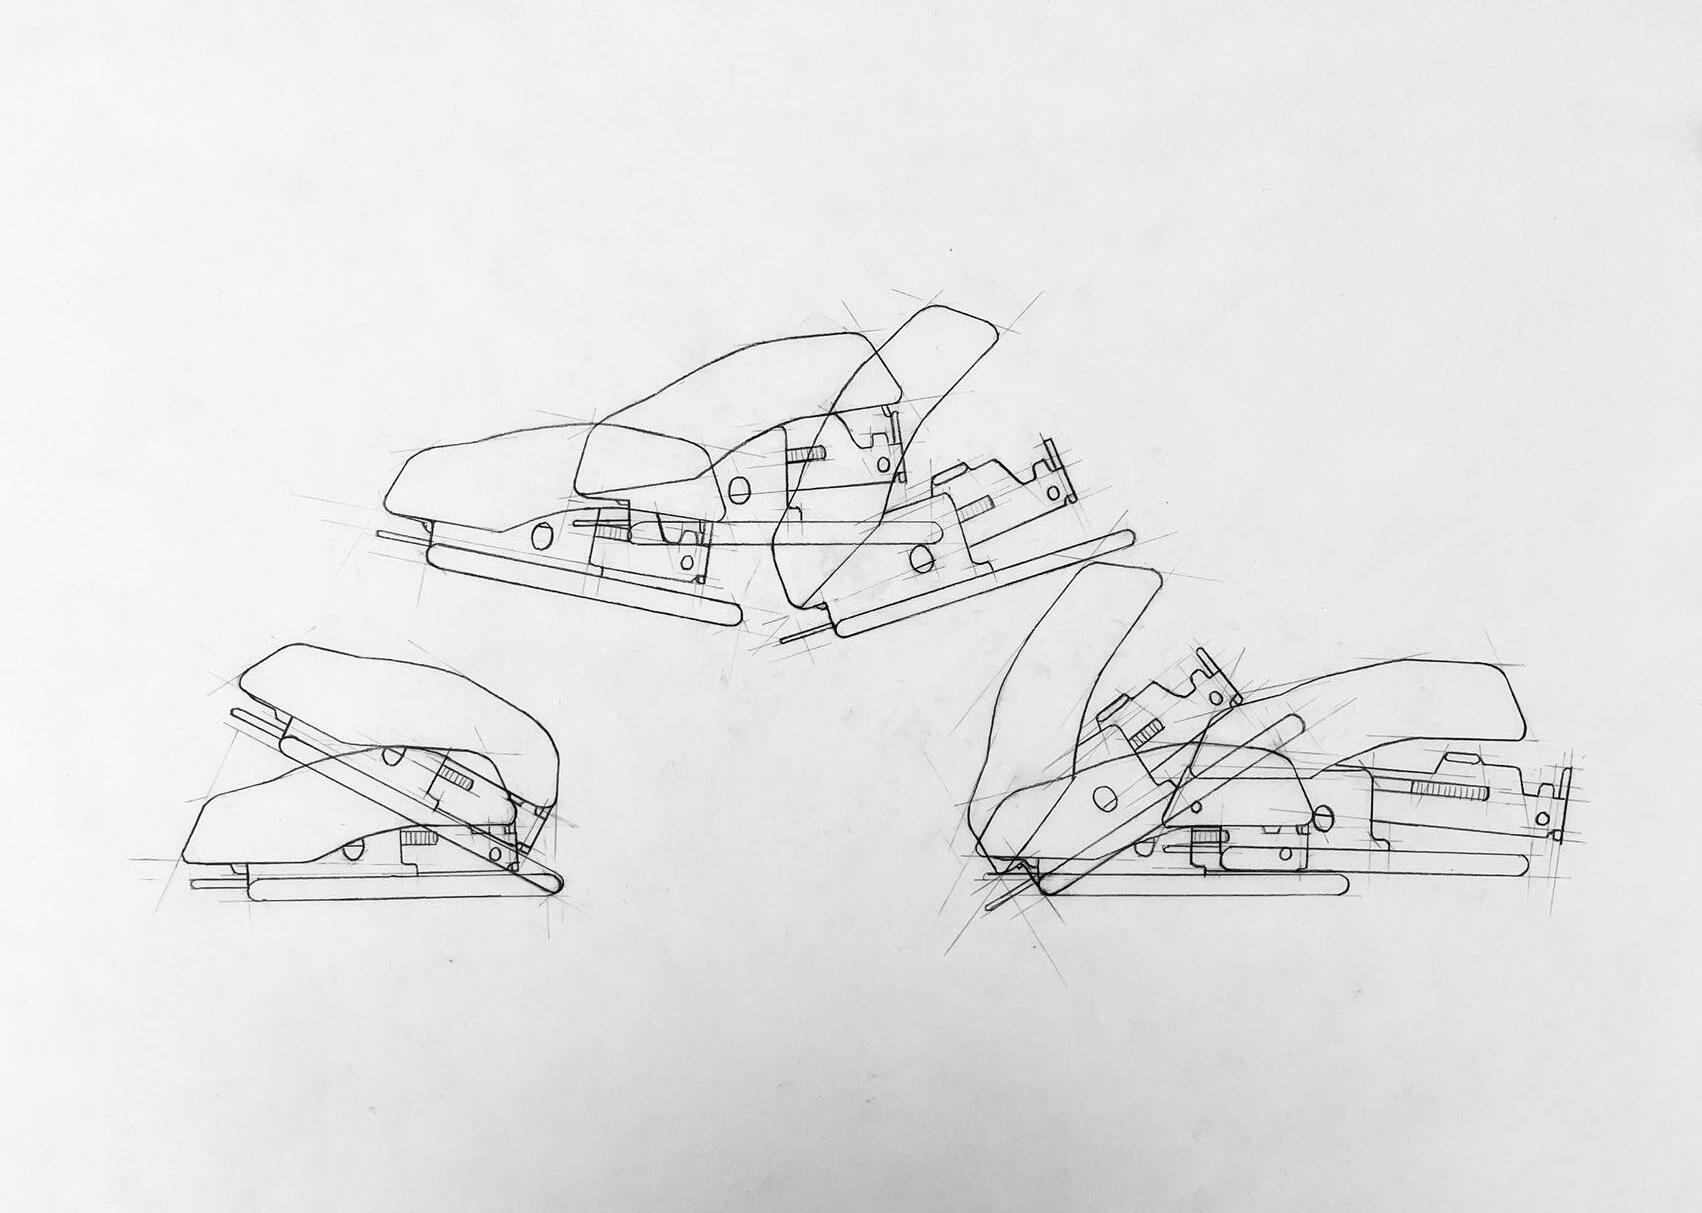
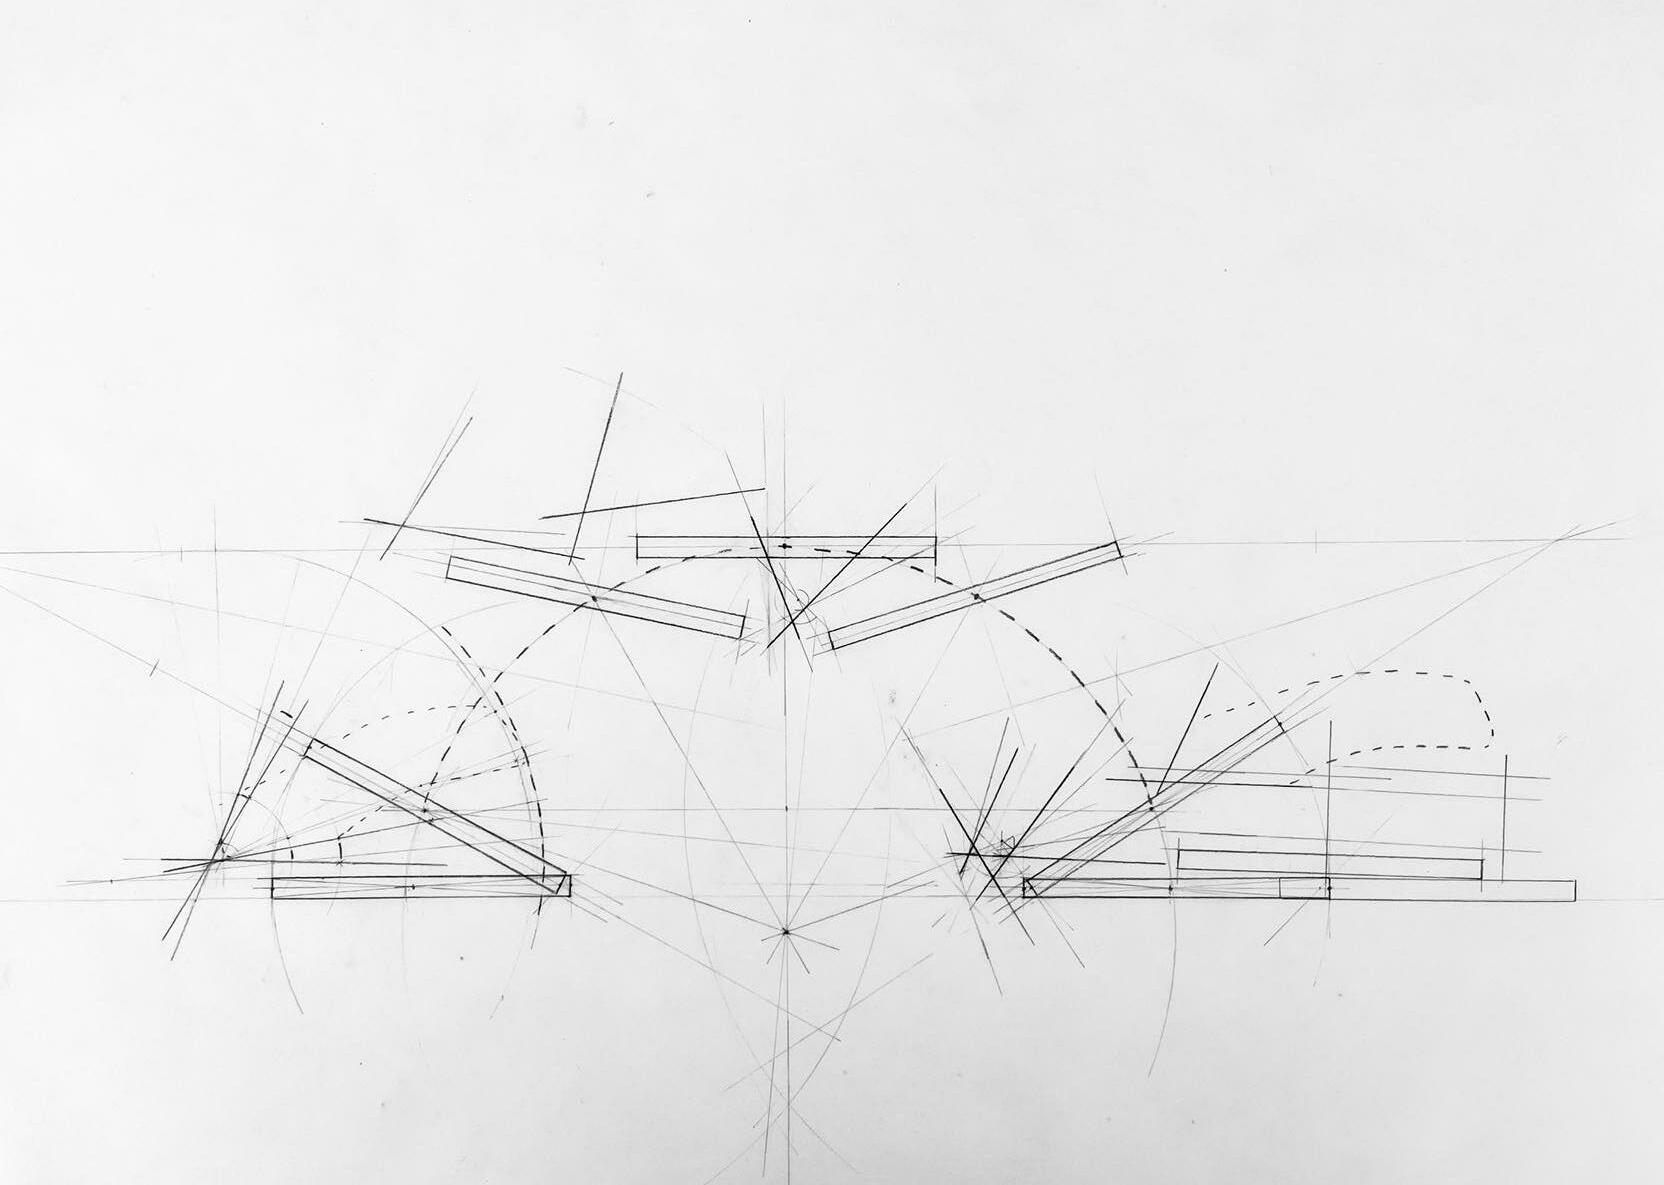
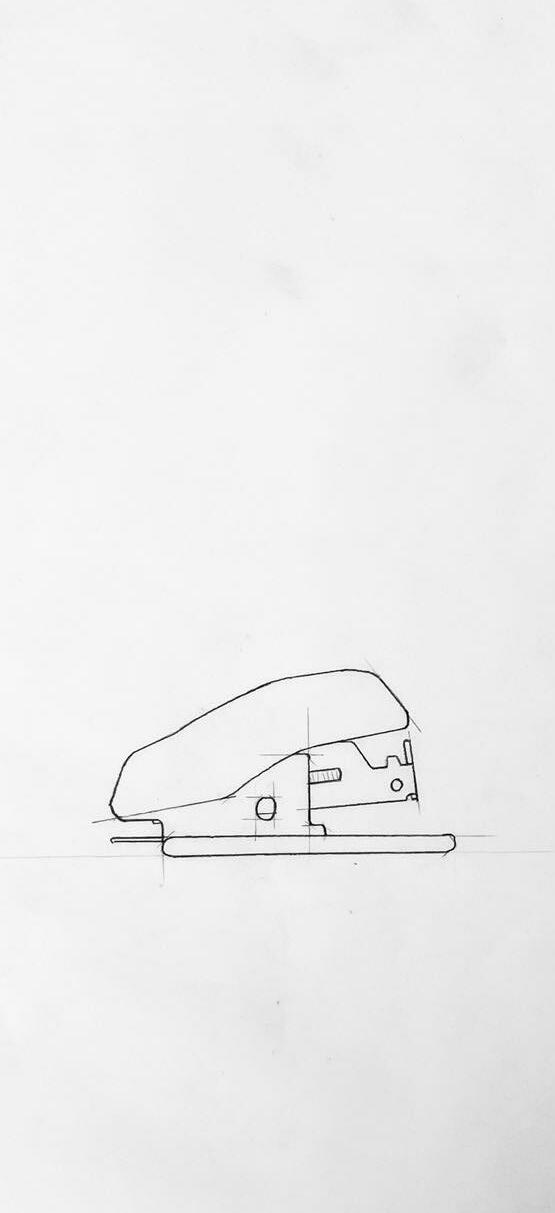
The dissection drawing showed the plan, elevation, and section of the stapler. I destructed the stapler into three parts and sketched their plan and elevation. By centering the complete stapler on the page, its relation ship with the components became visually descriptive.
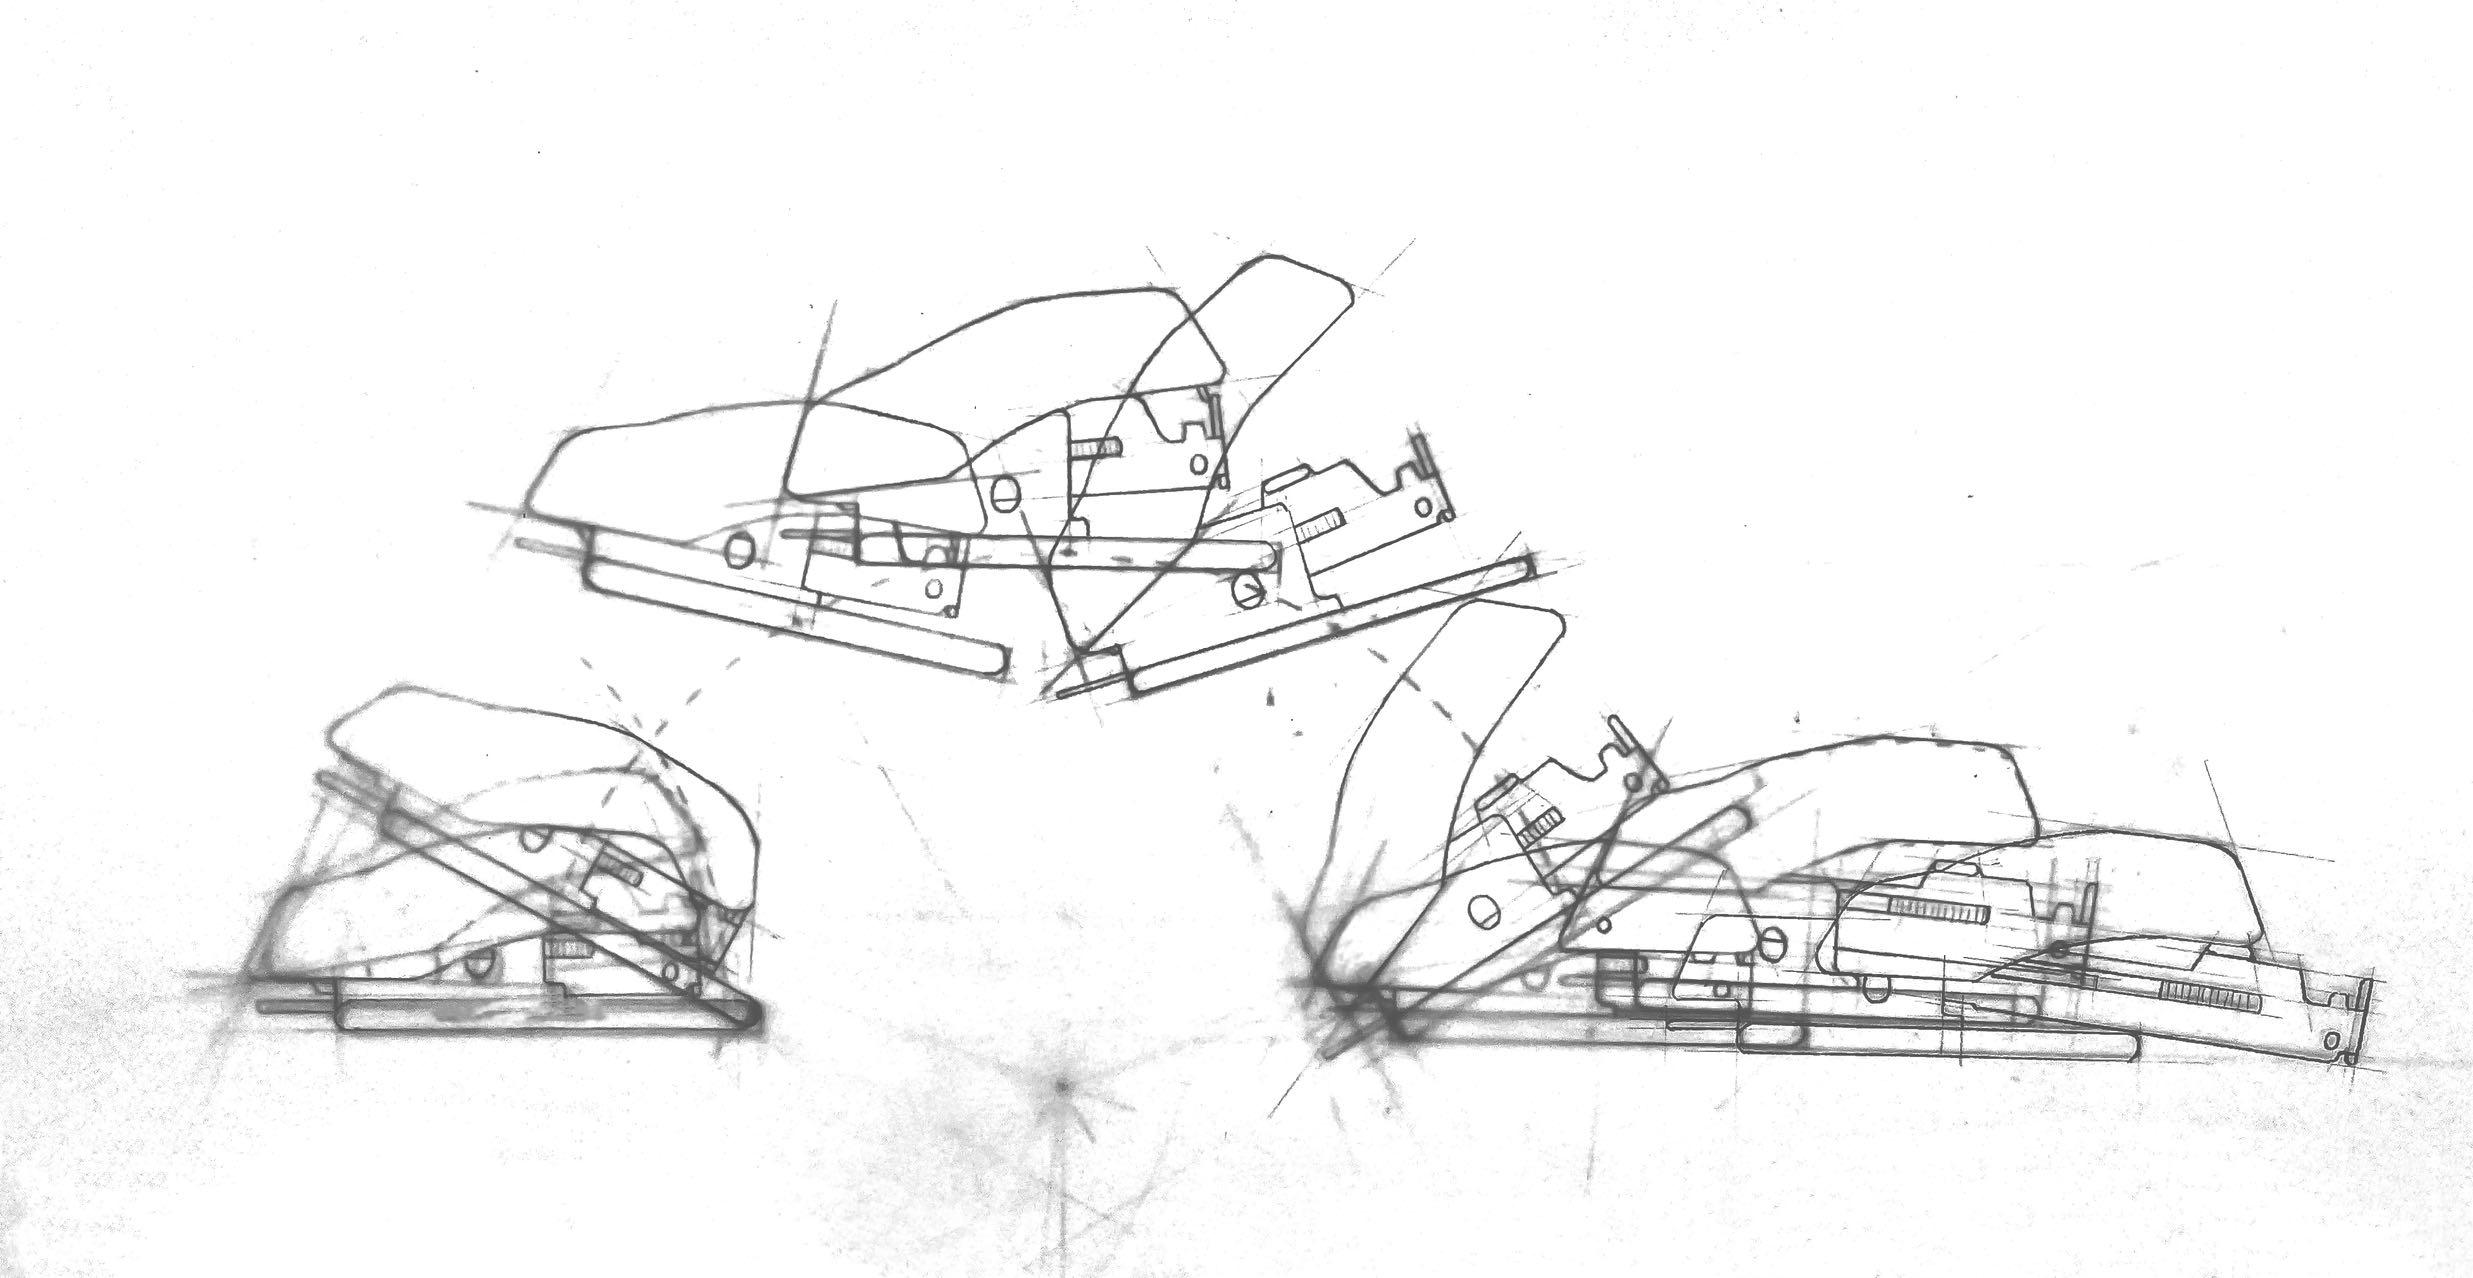
The animation of the stapler is inspired by the mechan ical movement of using a stapler in daily life. I imagined the stapler could bounce up like a spring if people pressed it too hard. The stapler moves along a parabola and breaks apart when it lands.
To create a natural movement during the animation, I emphasized the angle of each part to bring life to the stapler. It is pressed at the beginning and slowly released in the air. In the end, the angle closed suddenly, and the stapler broke apart, which is a humourous way to show the power of the movement.

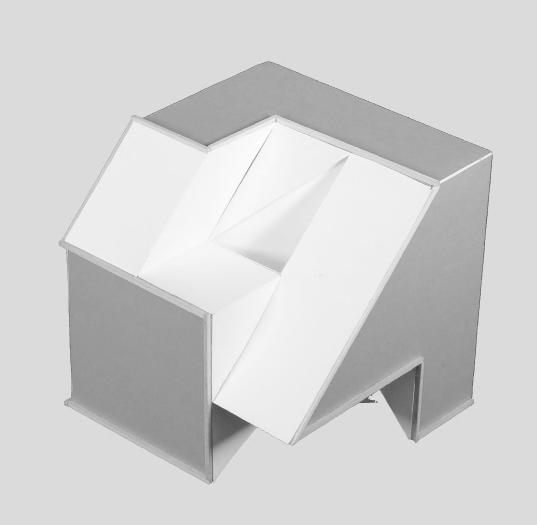
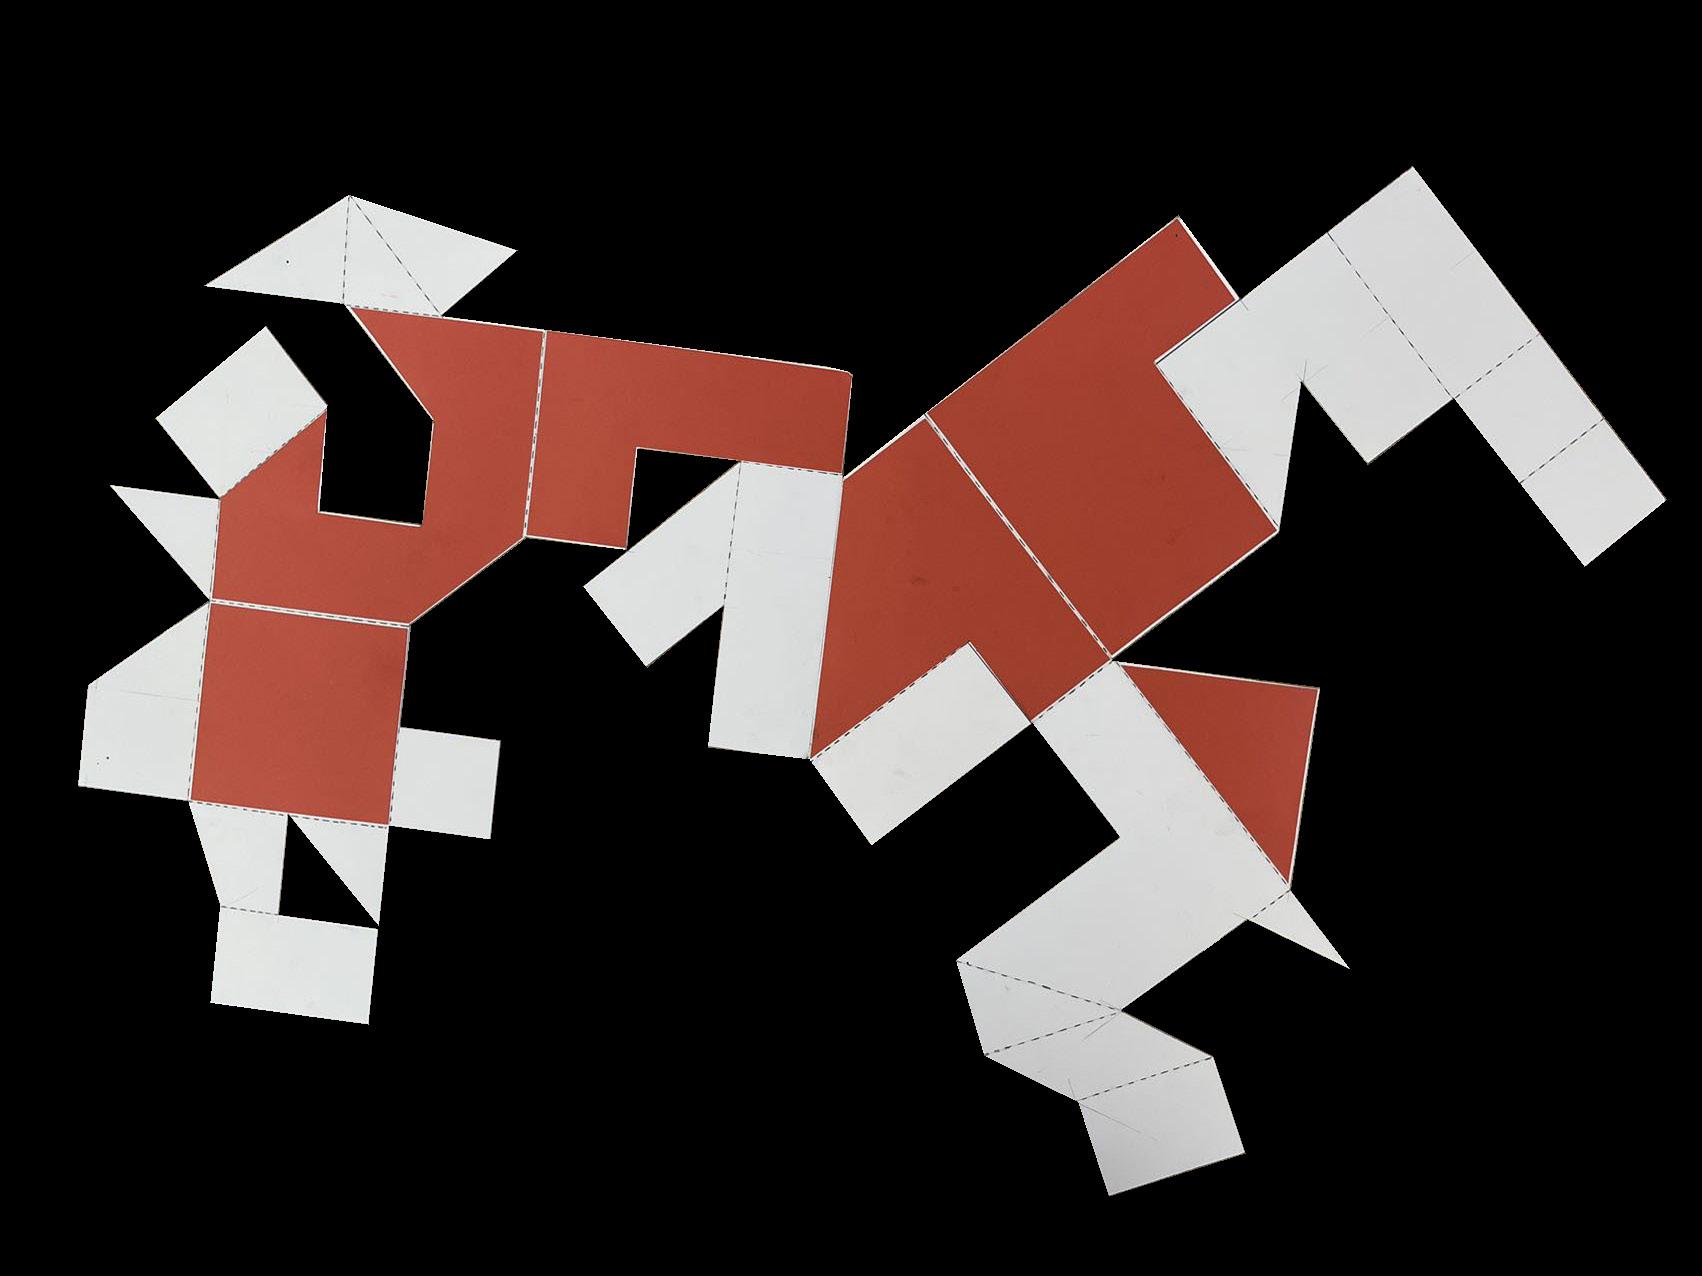
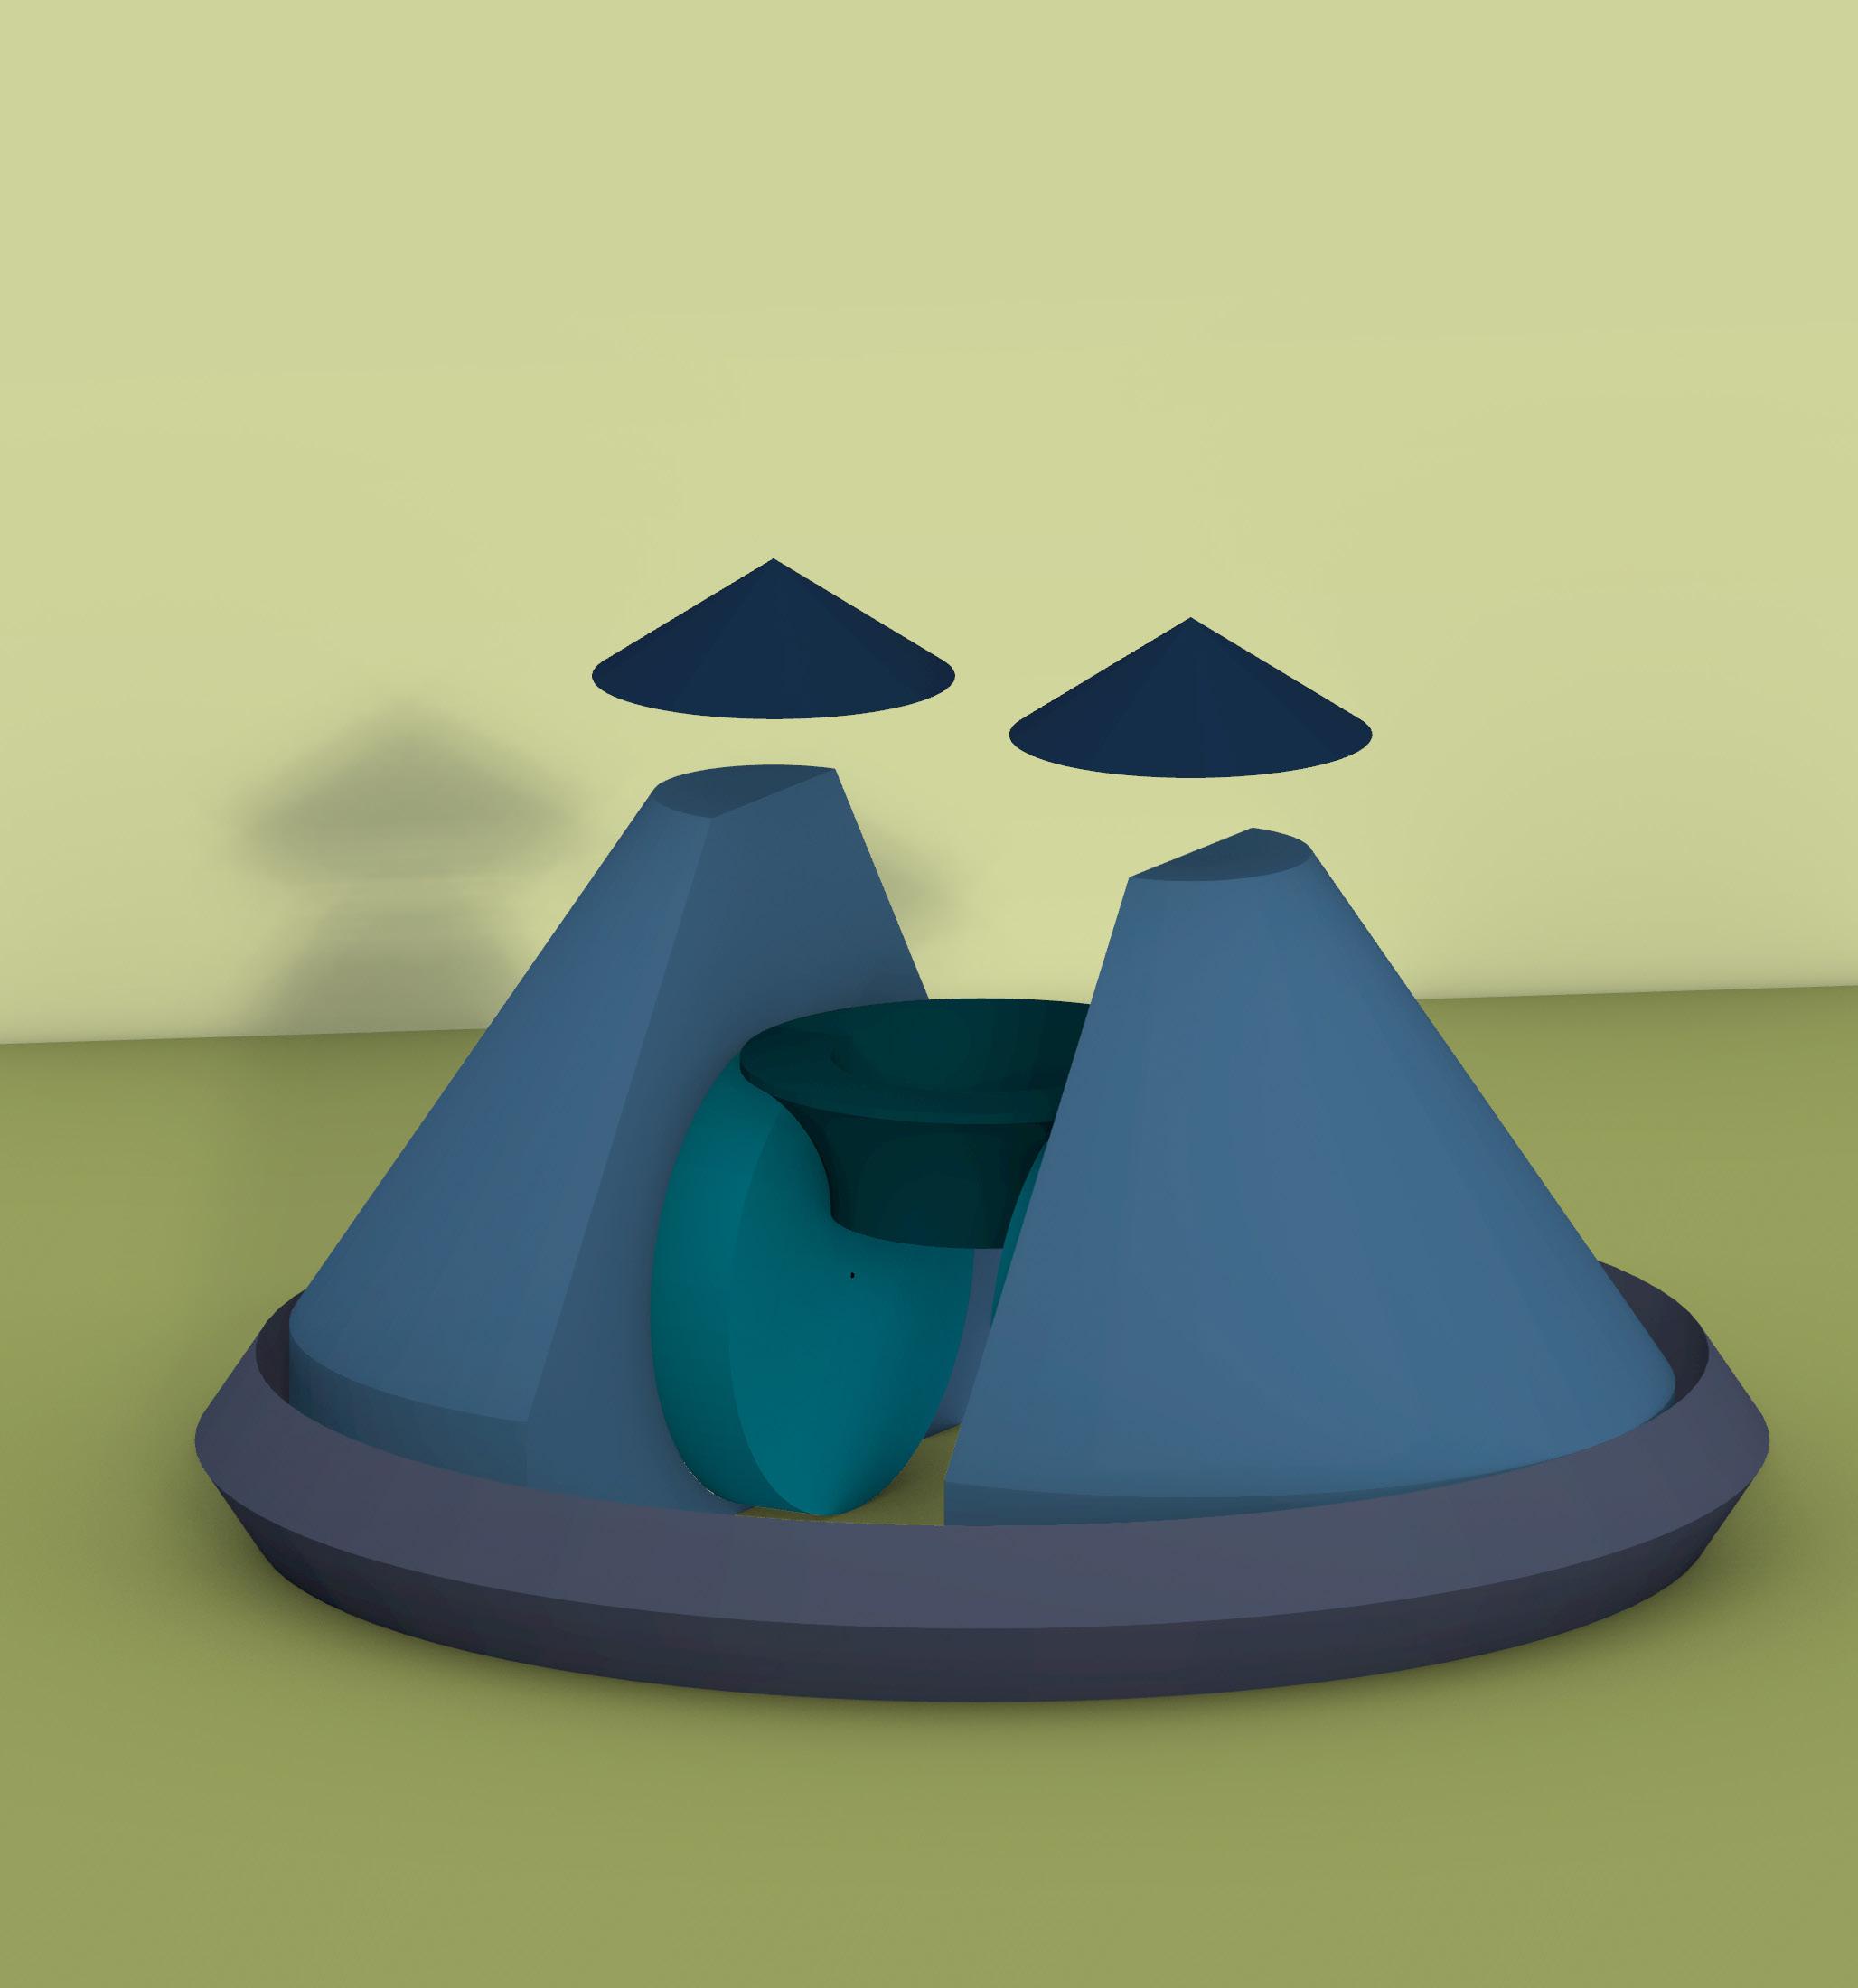
This cube is folded from an unrolled surface following specific rules, re sulting in the orange cover of the cube. Then, I gave the cube a volume to create two interconnected voids. At last, I unrolled the cube again together with the internal surface. This exercise challenged my imagination be tween 2D and 3D through a transformation of rolling a cube.
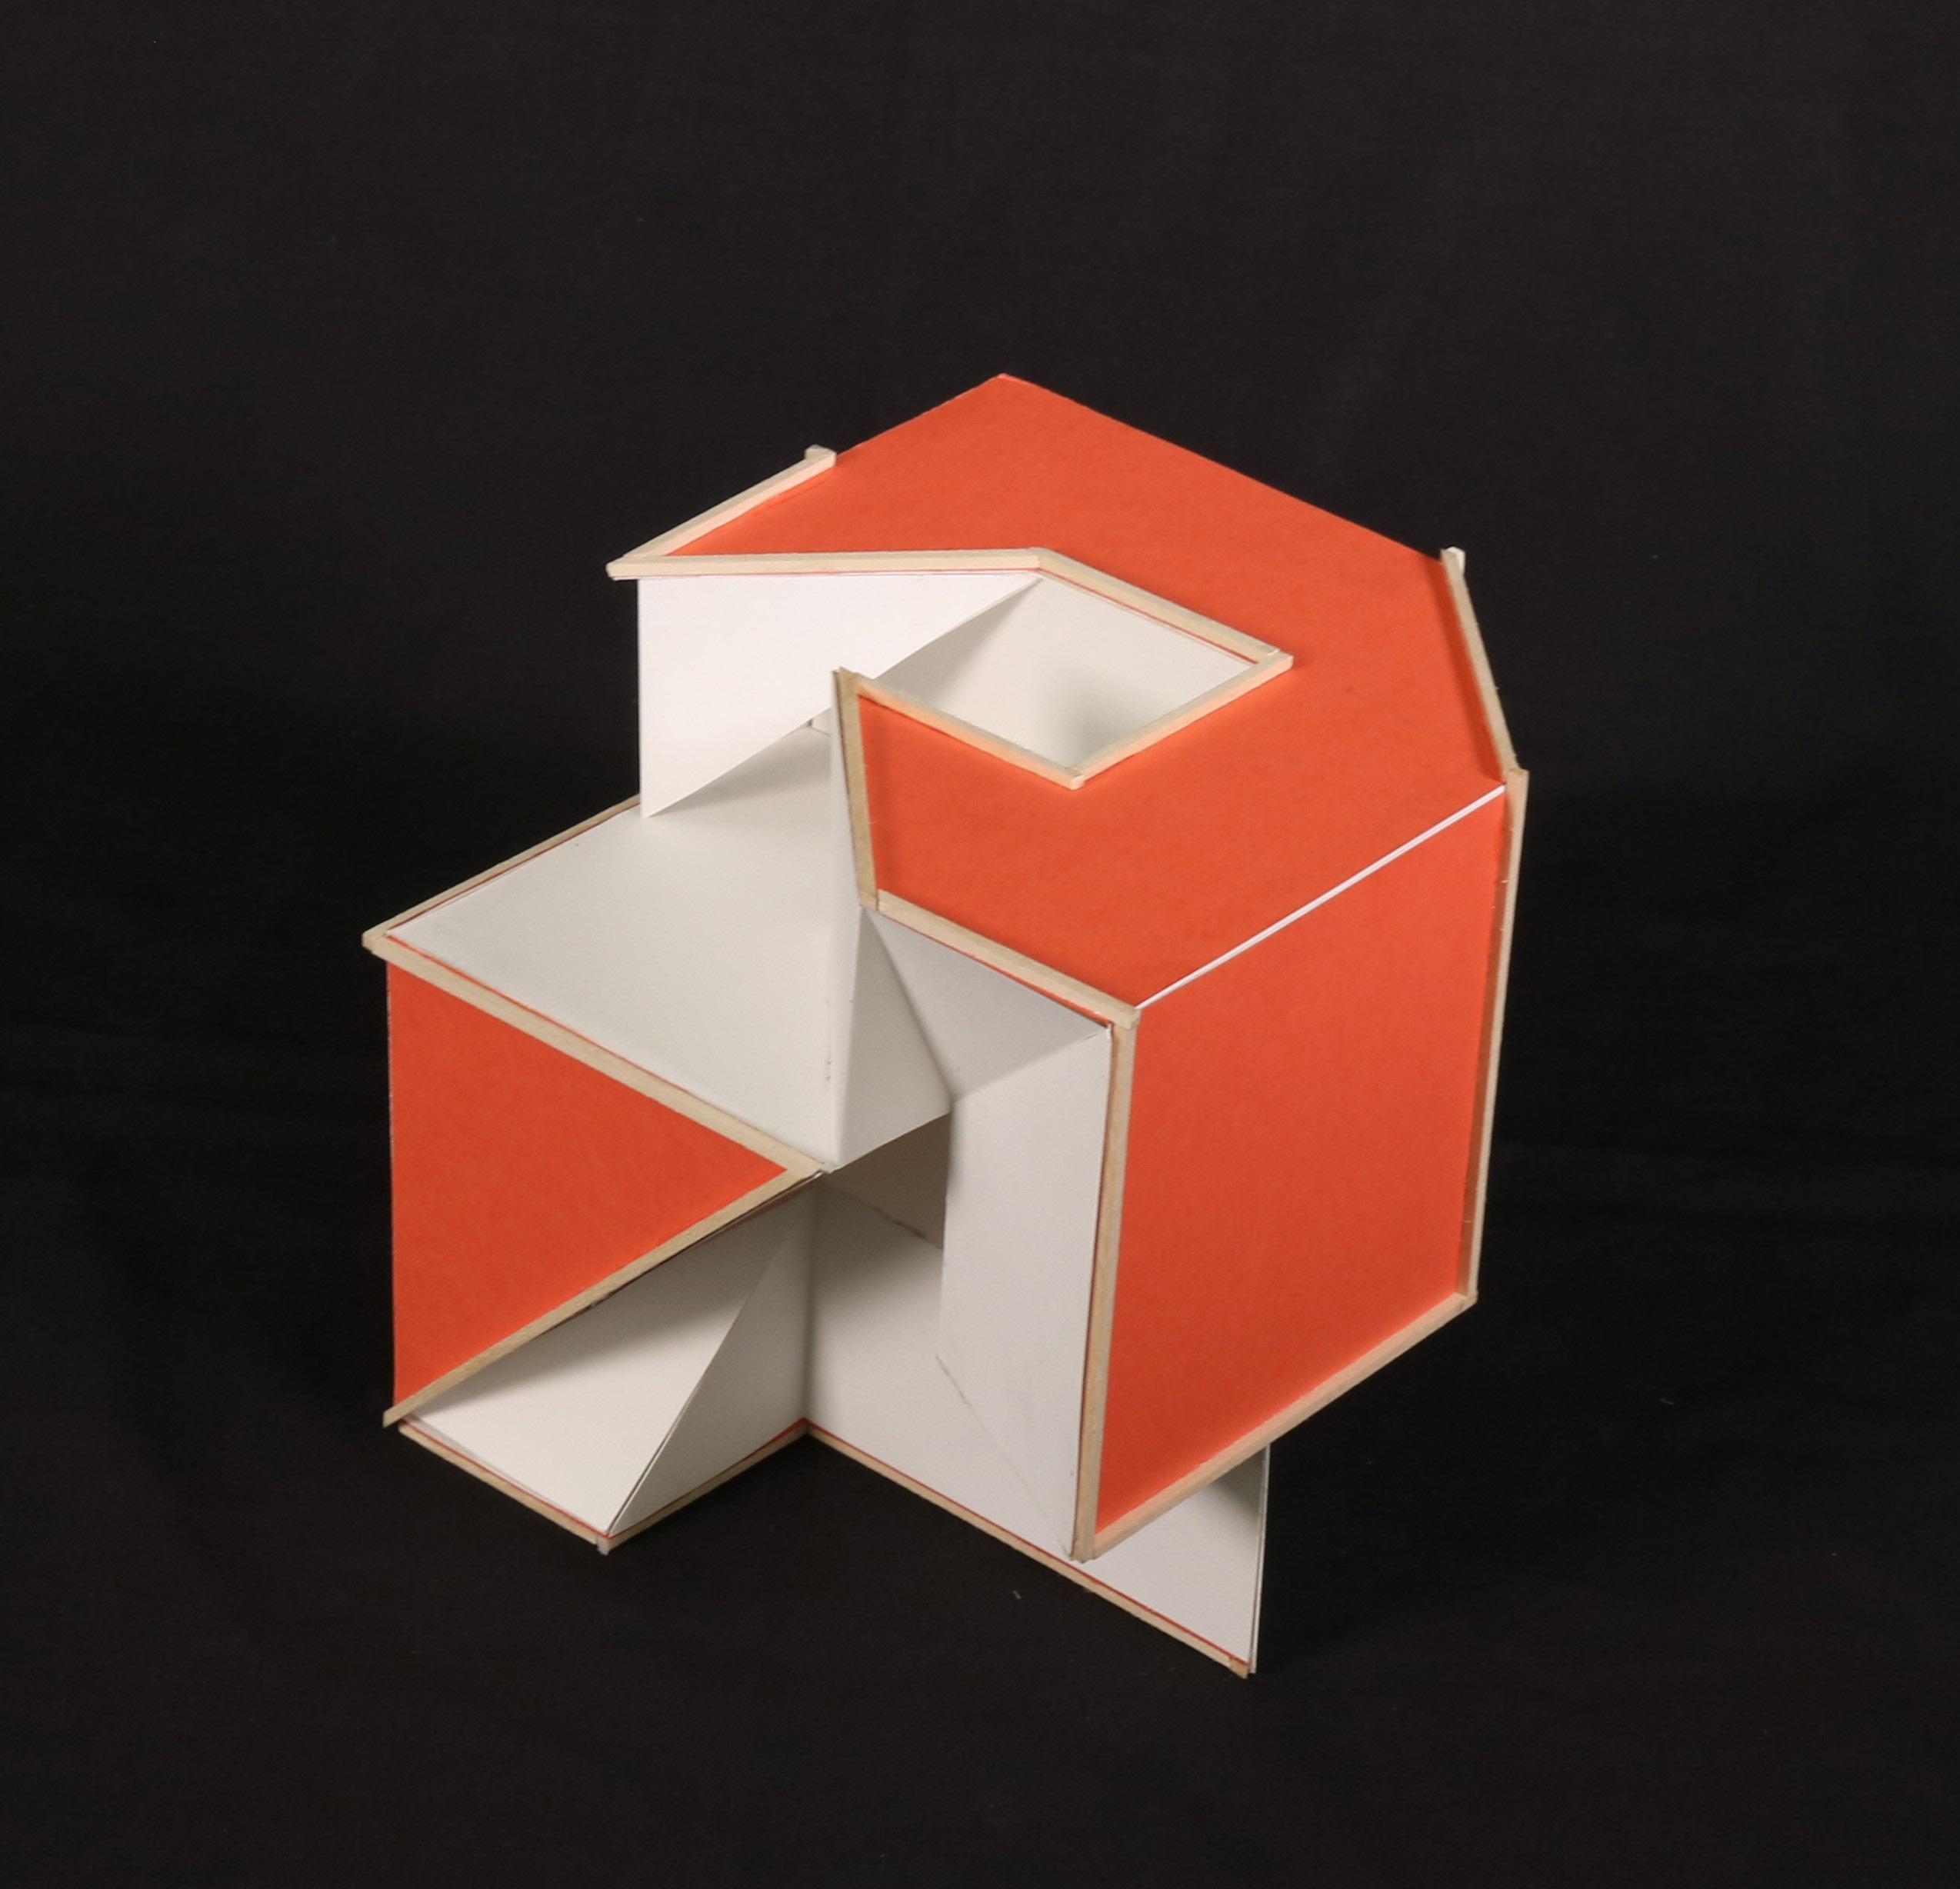
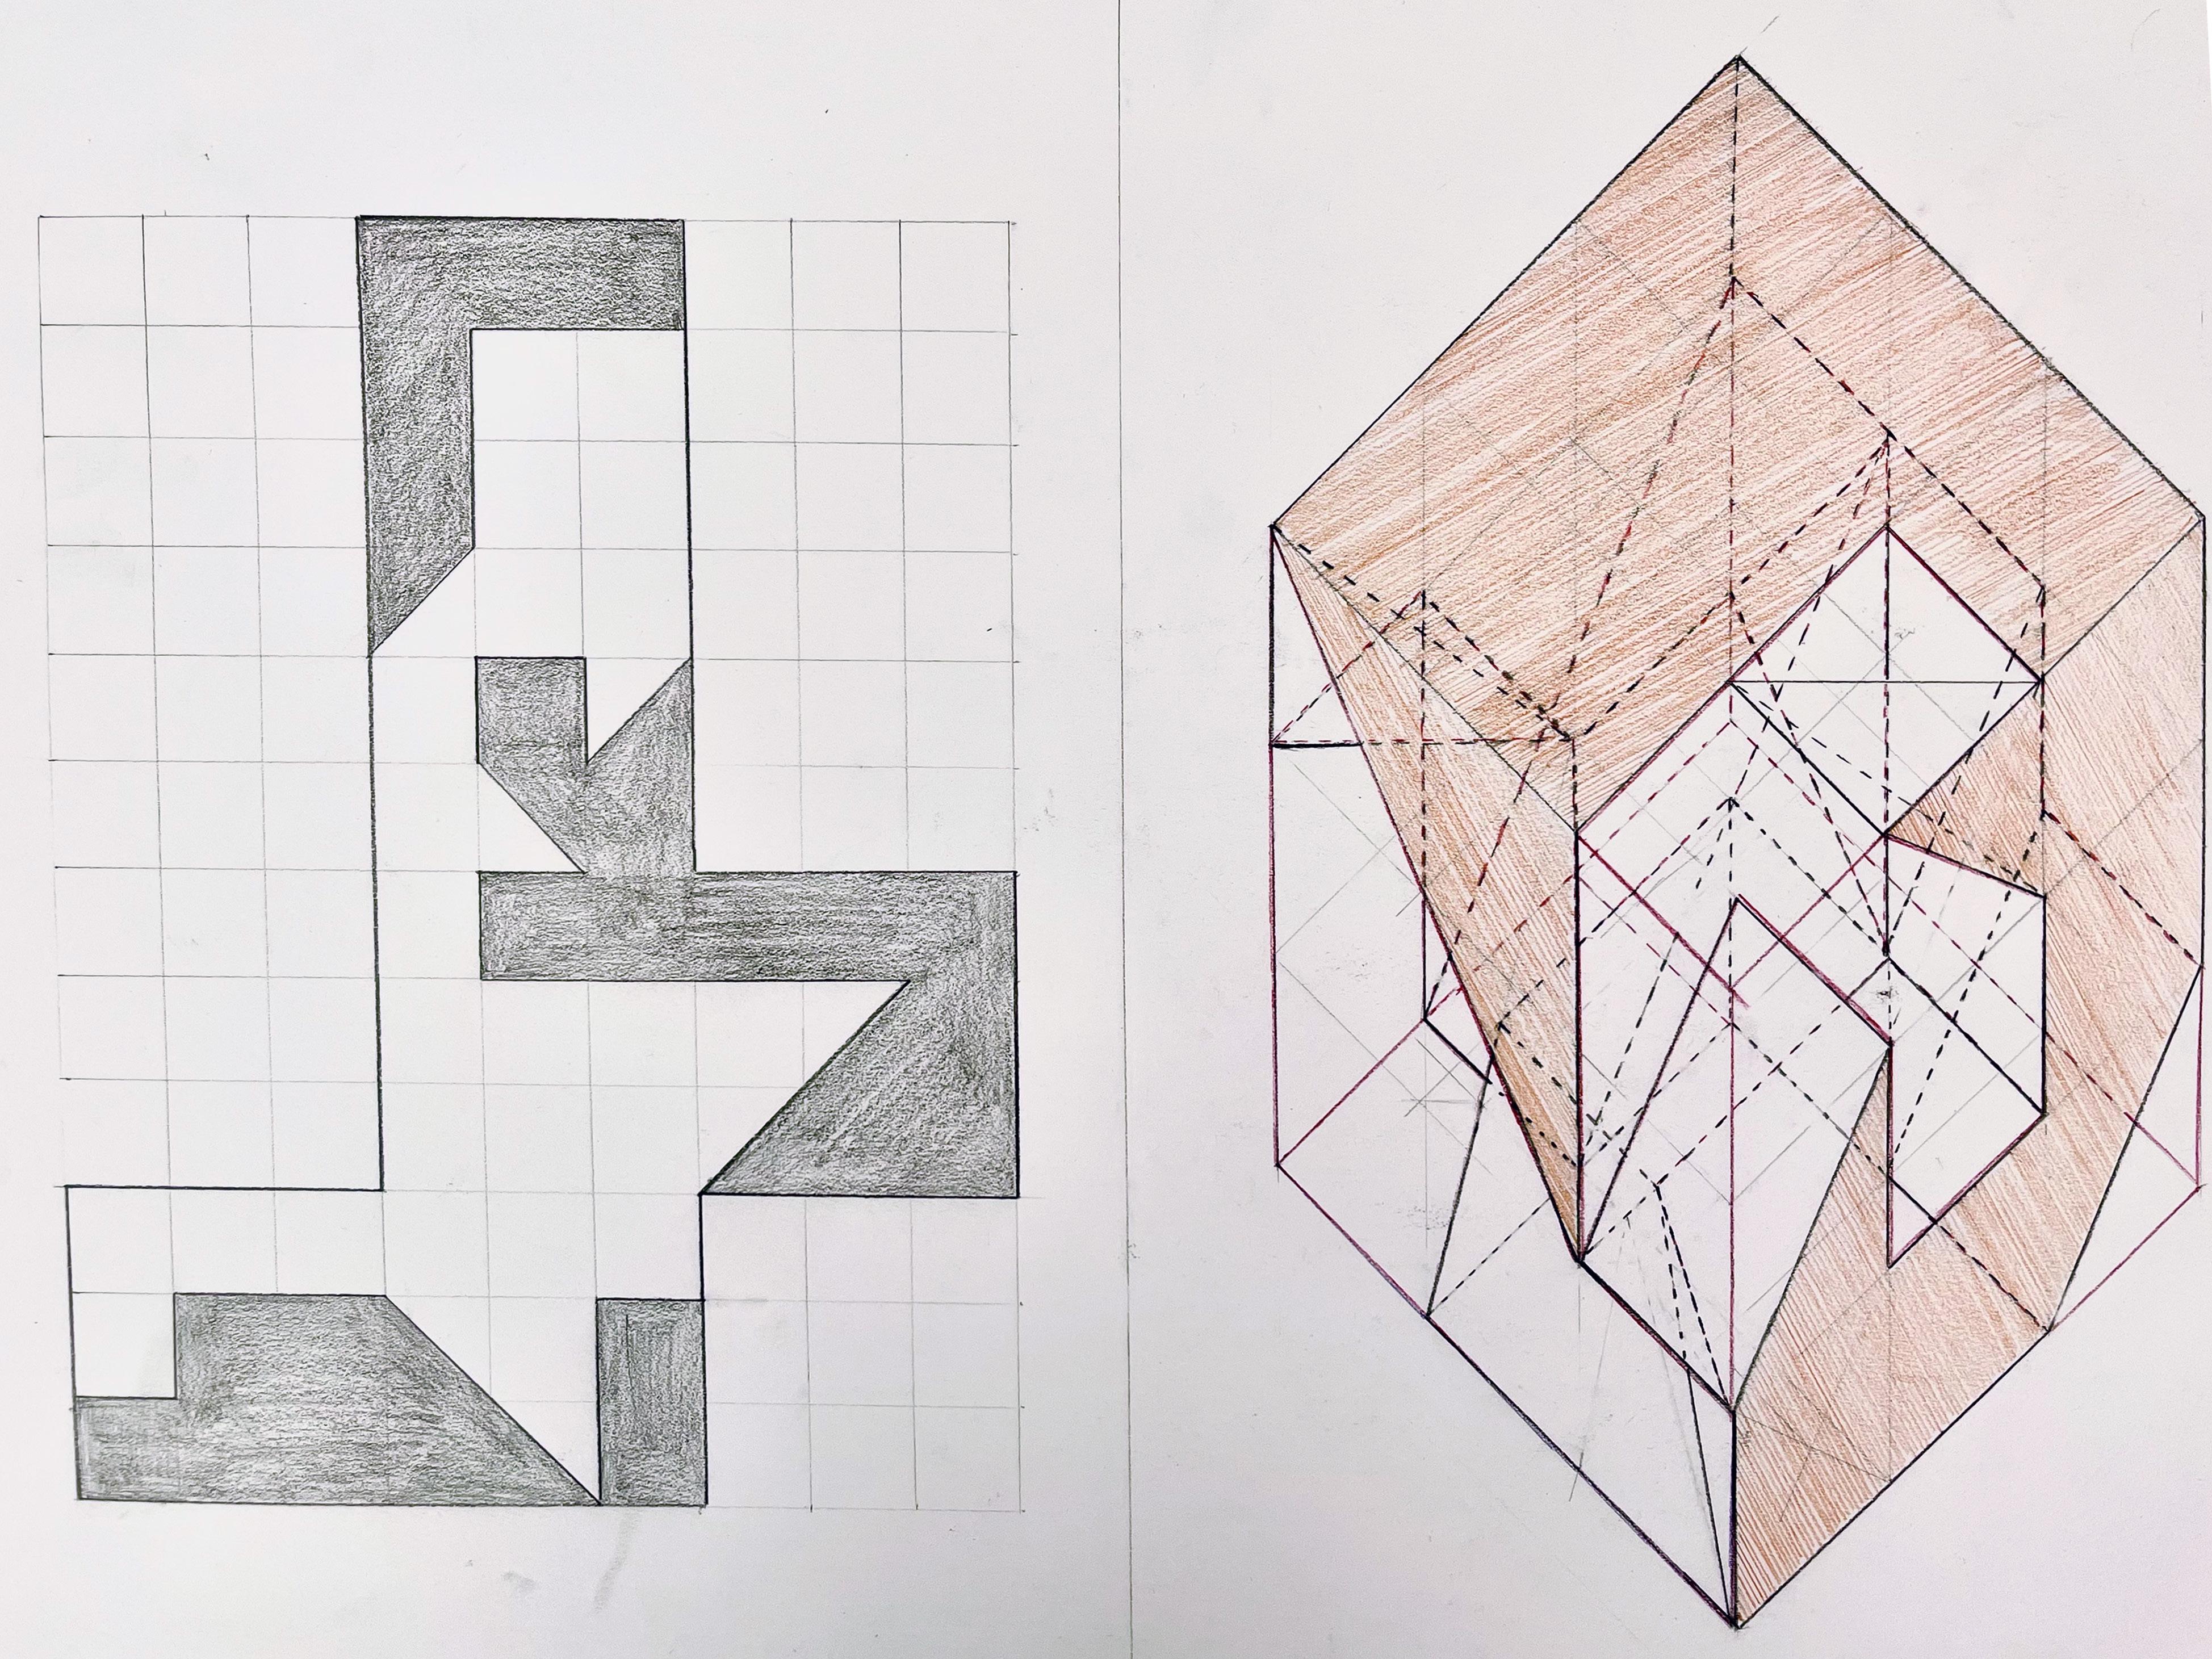
The unrolled plan of the cube is cut by a se ries of lines, which comprises five groups of three straight lines and one diagonal. The line had to reach at least two corners and three edges of the boundary without cross ing the sides. This rule leaves the white area in the middle, which forms the orange sheld of the cube.
In this axonometric drawing, the two voids are marked by red lines. The void is spared by giving volume to the orange surface. There is one in the front and one at the back. In this 3*3*3 cube, the 1*1*1 area in the centre connects the two voids.
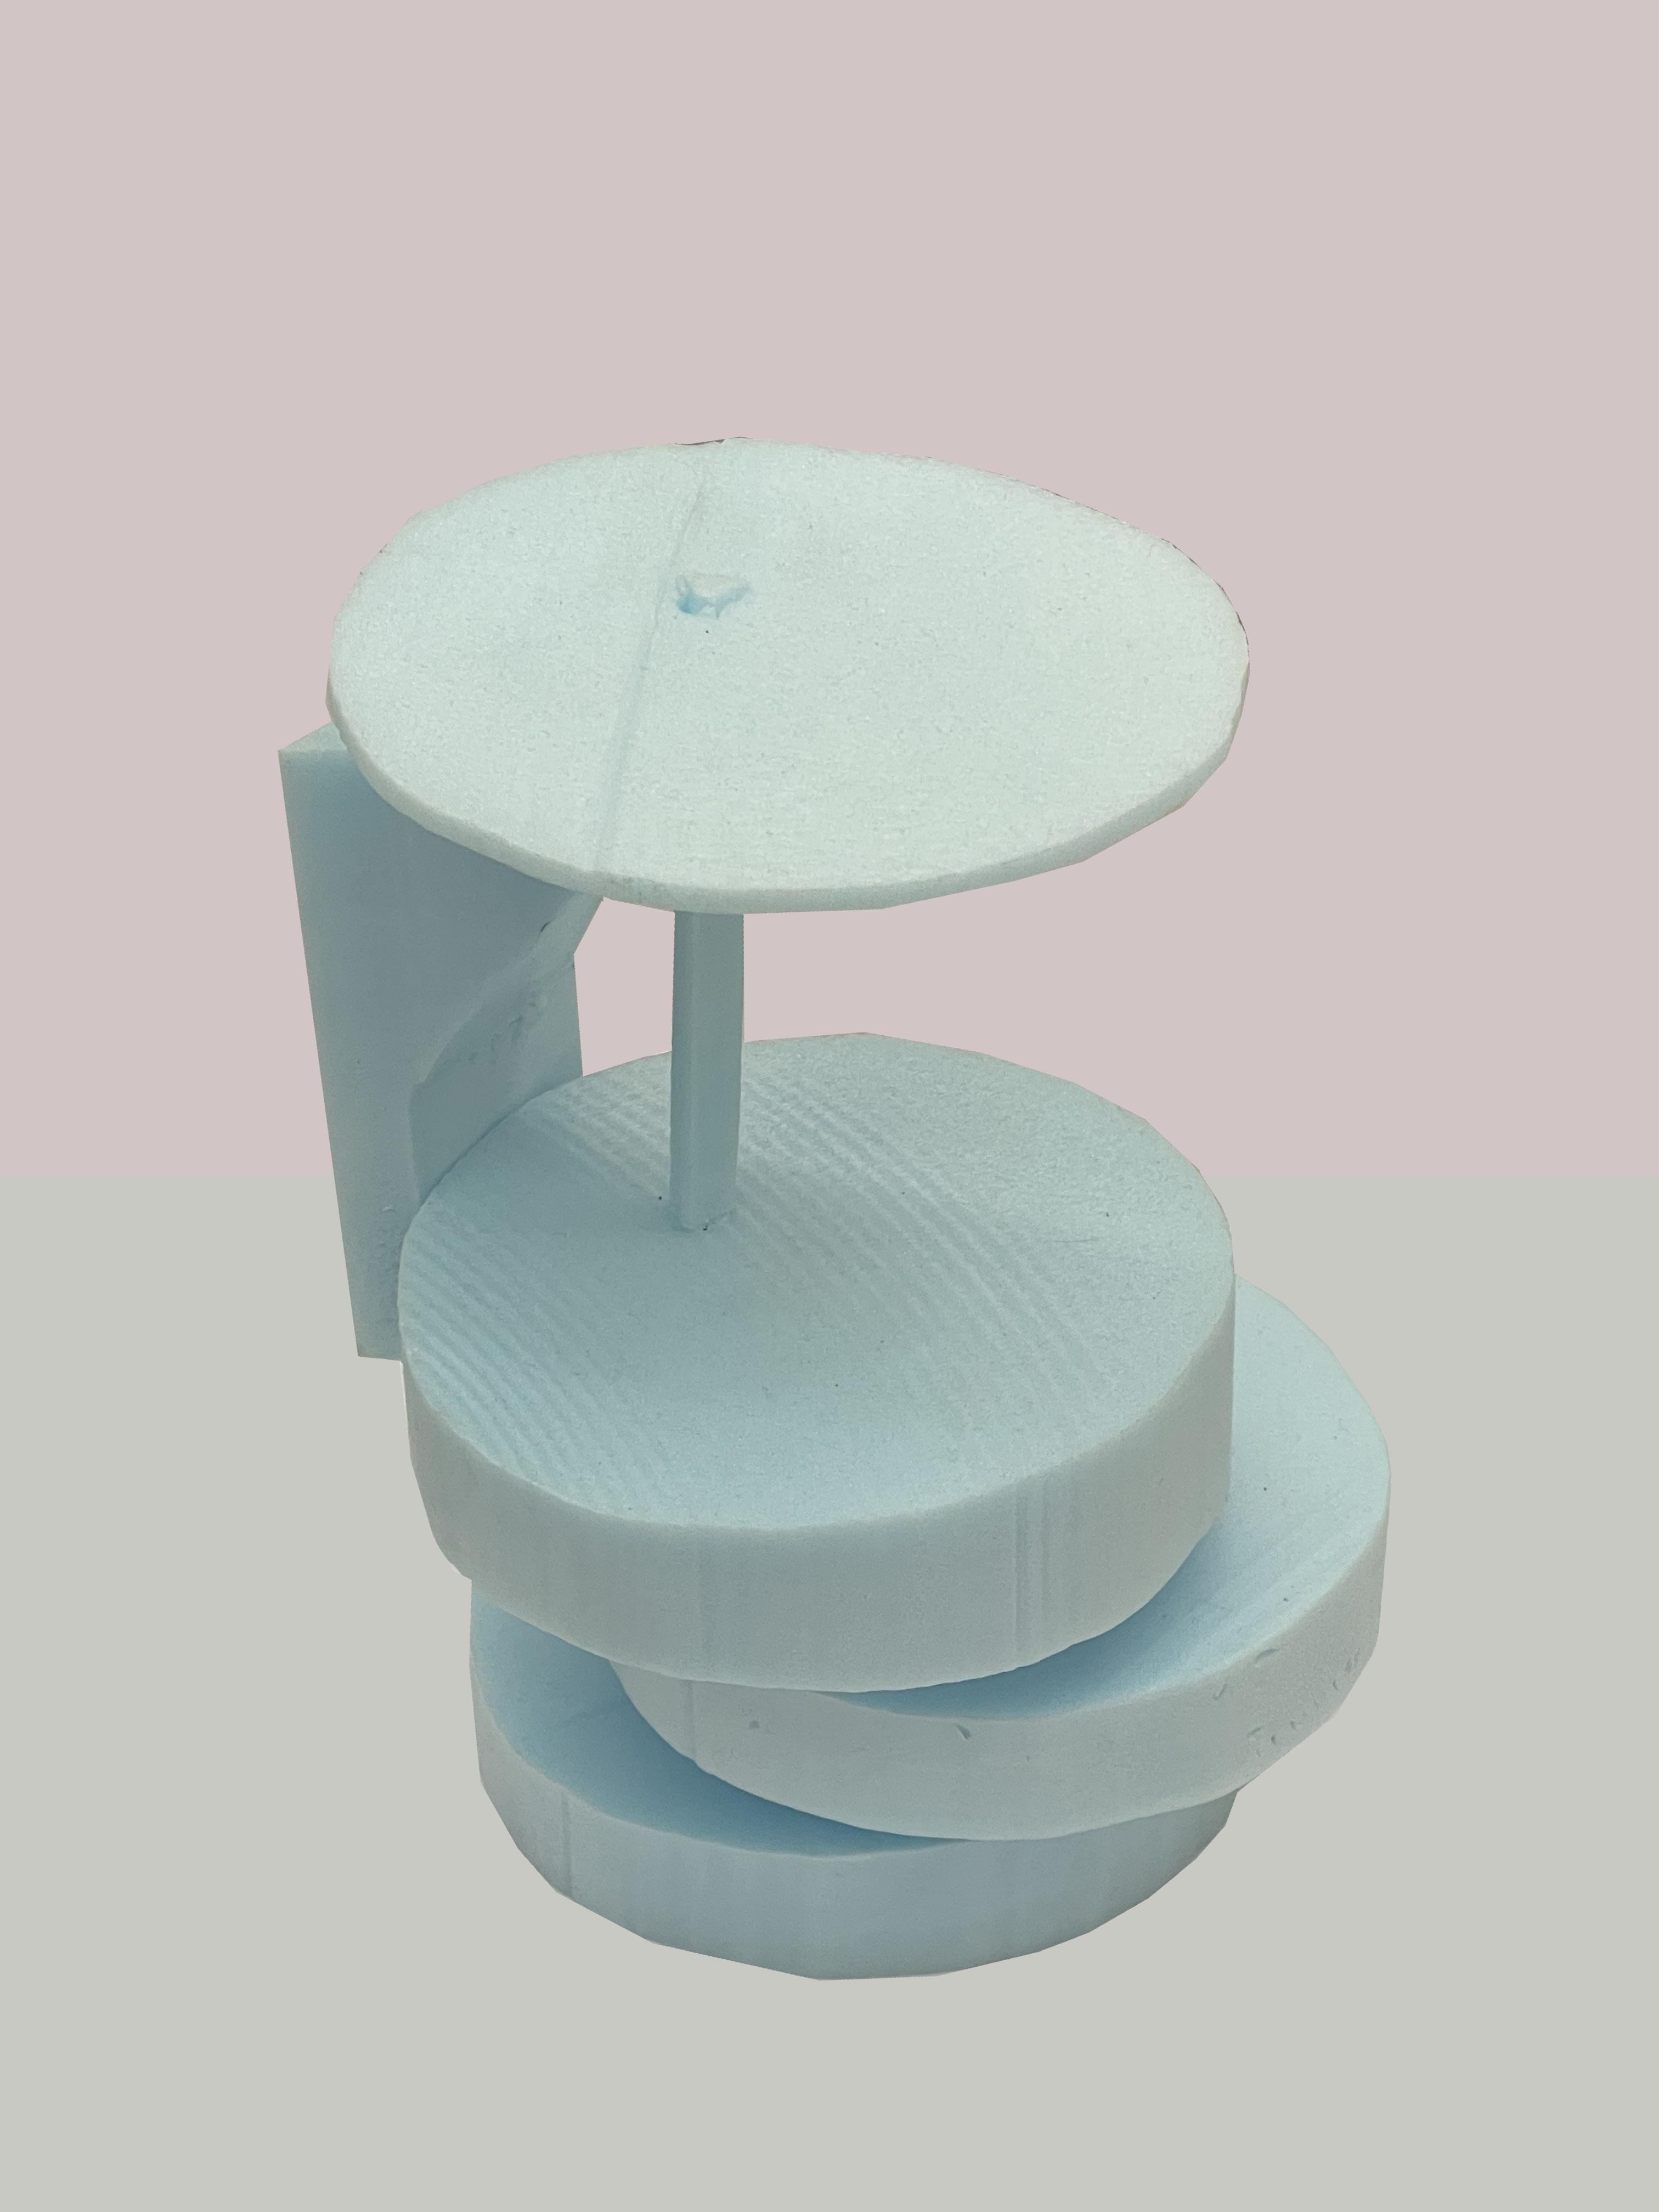
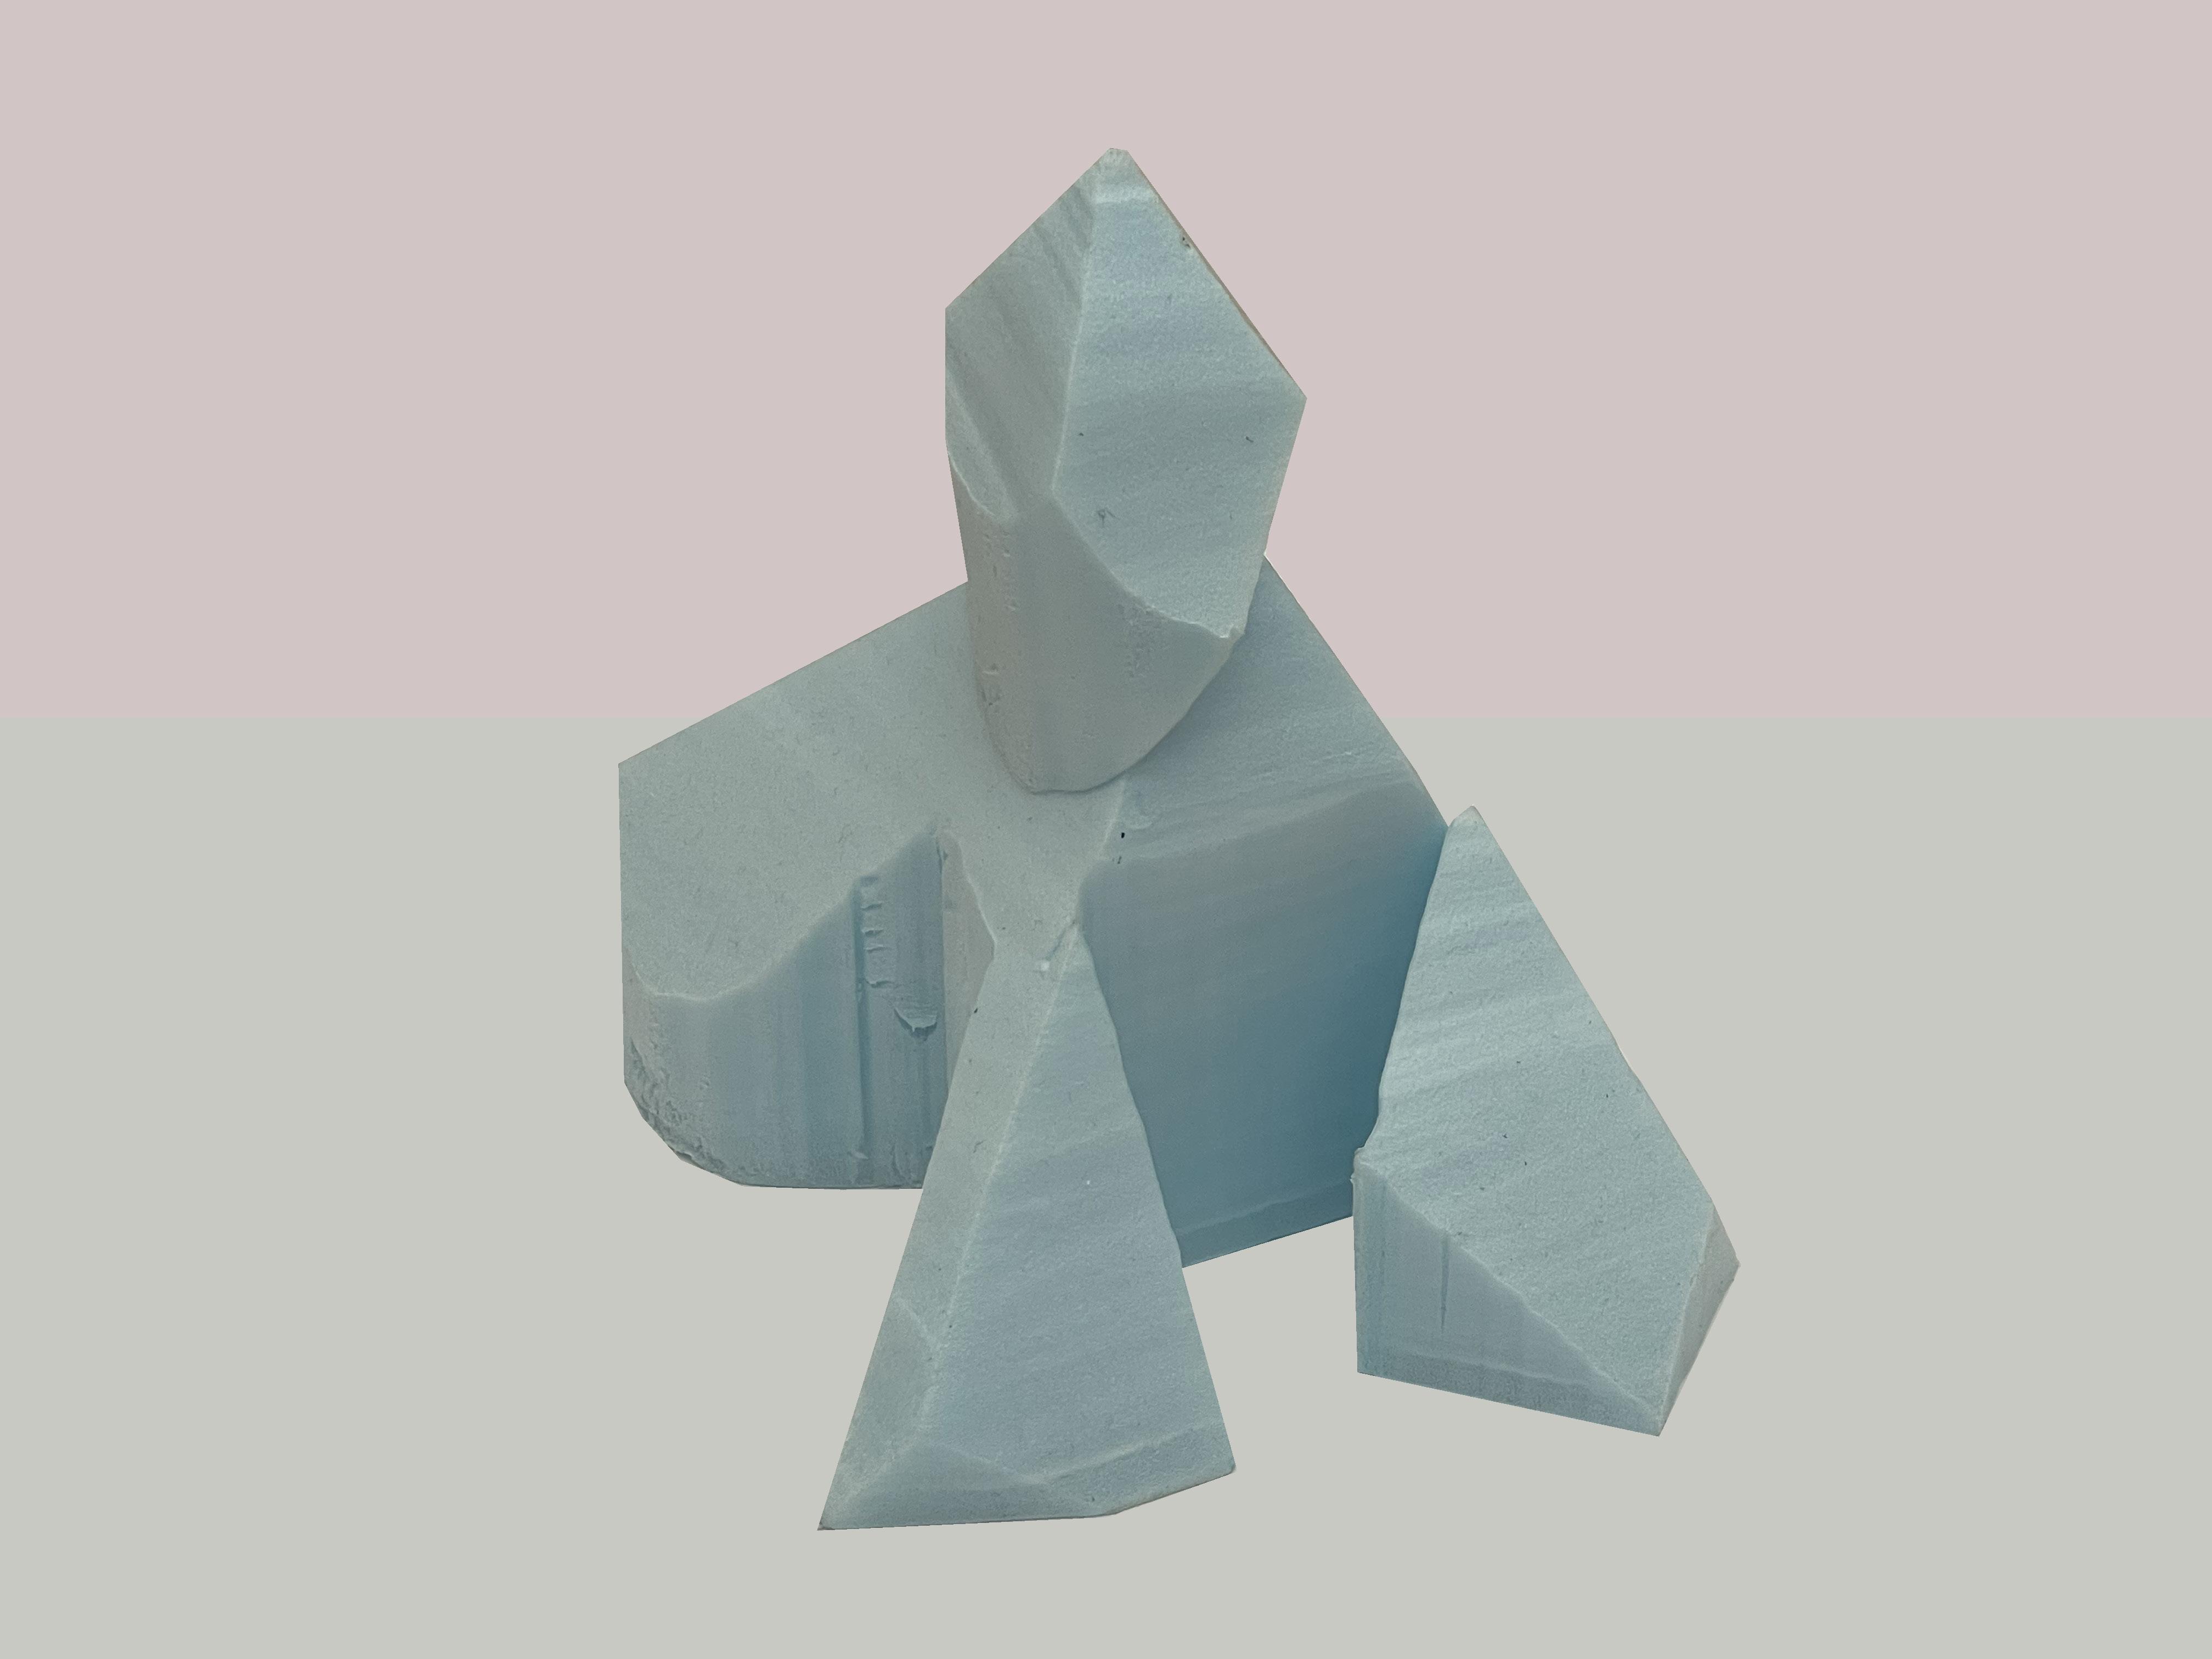
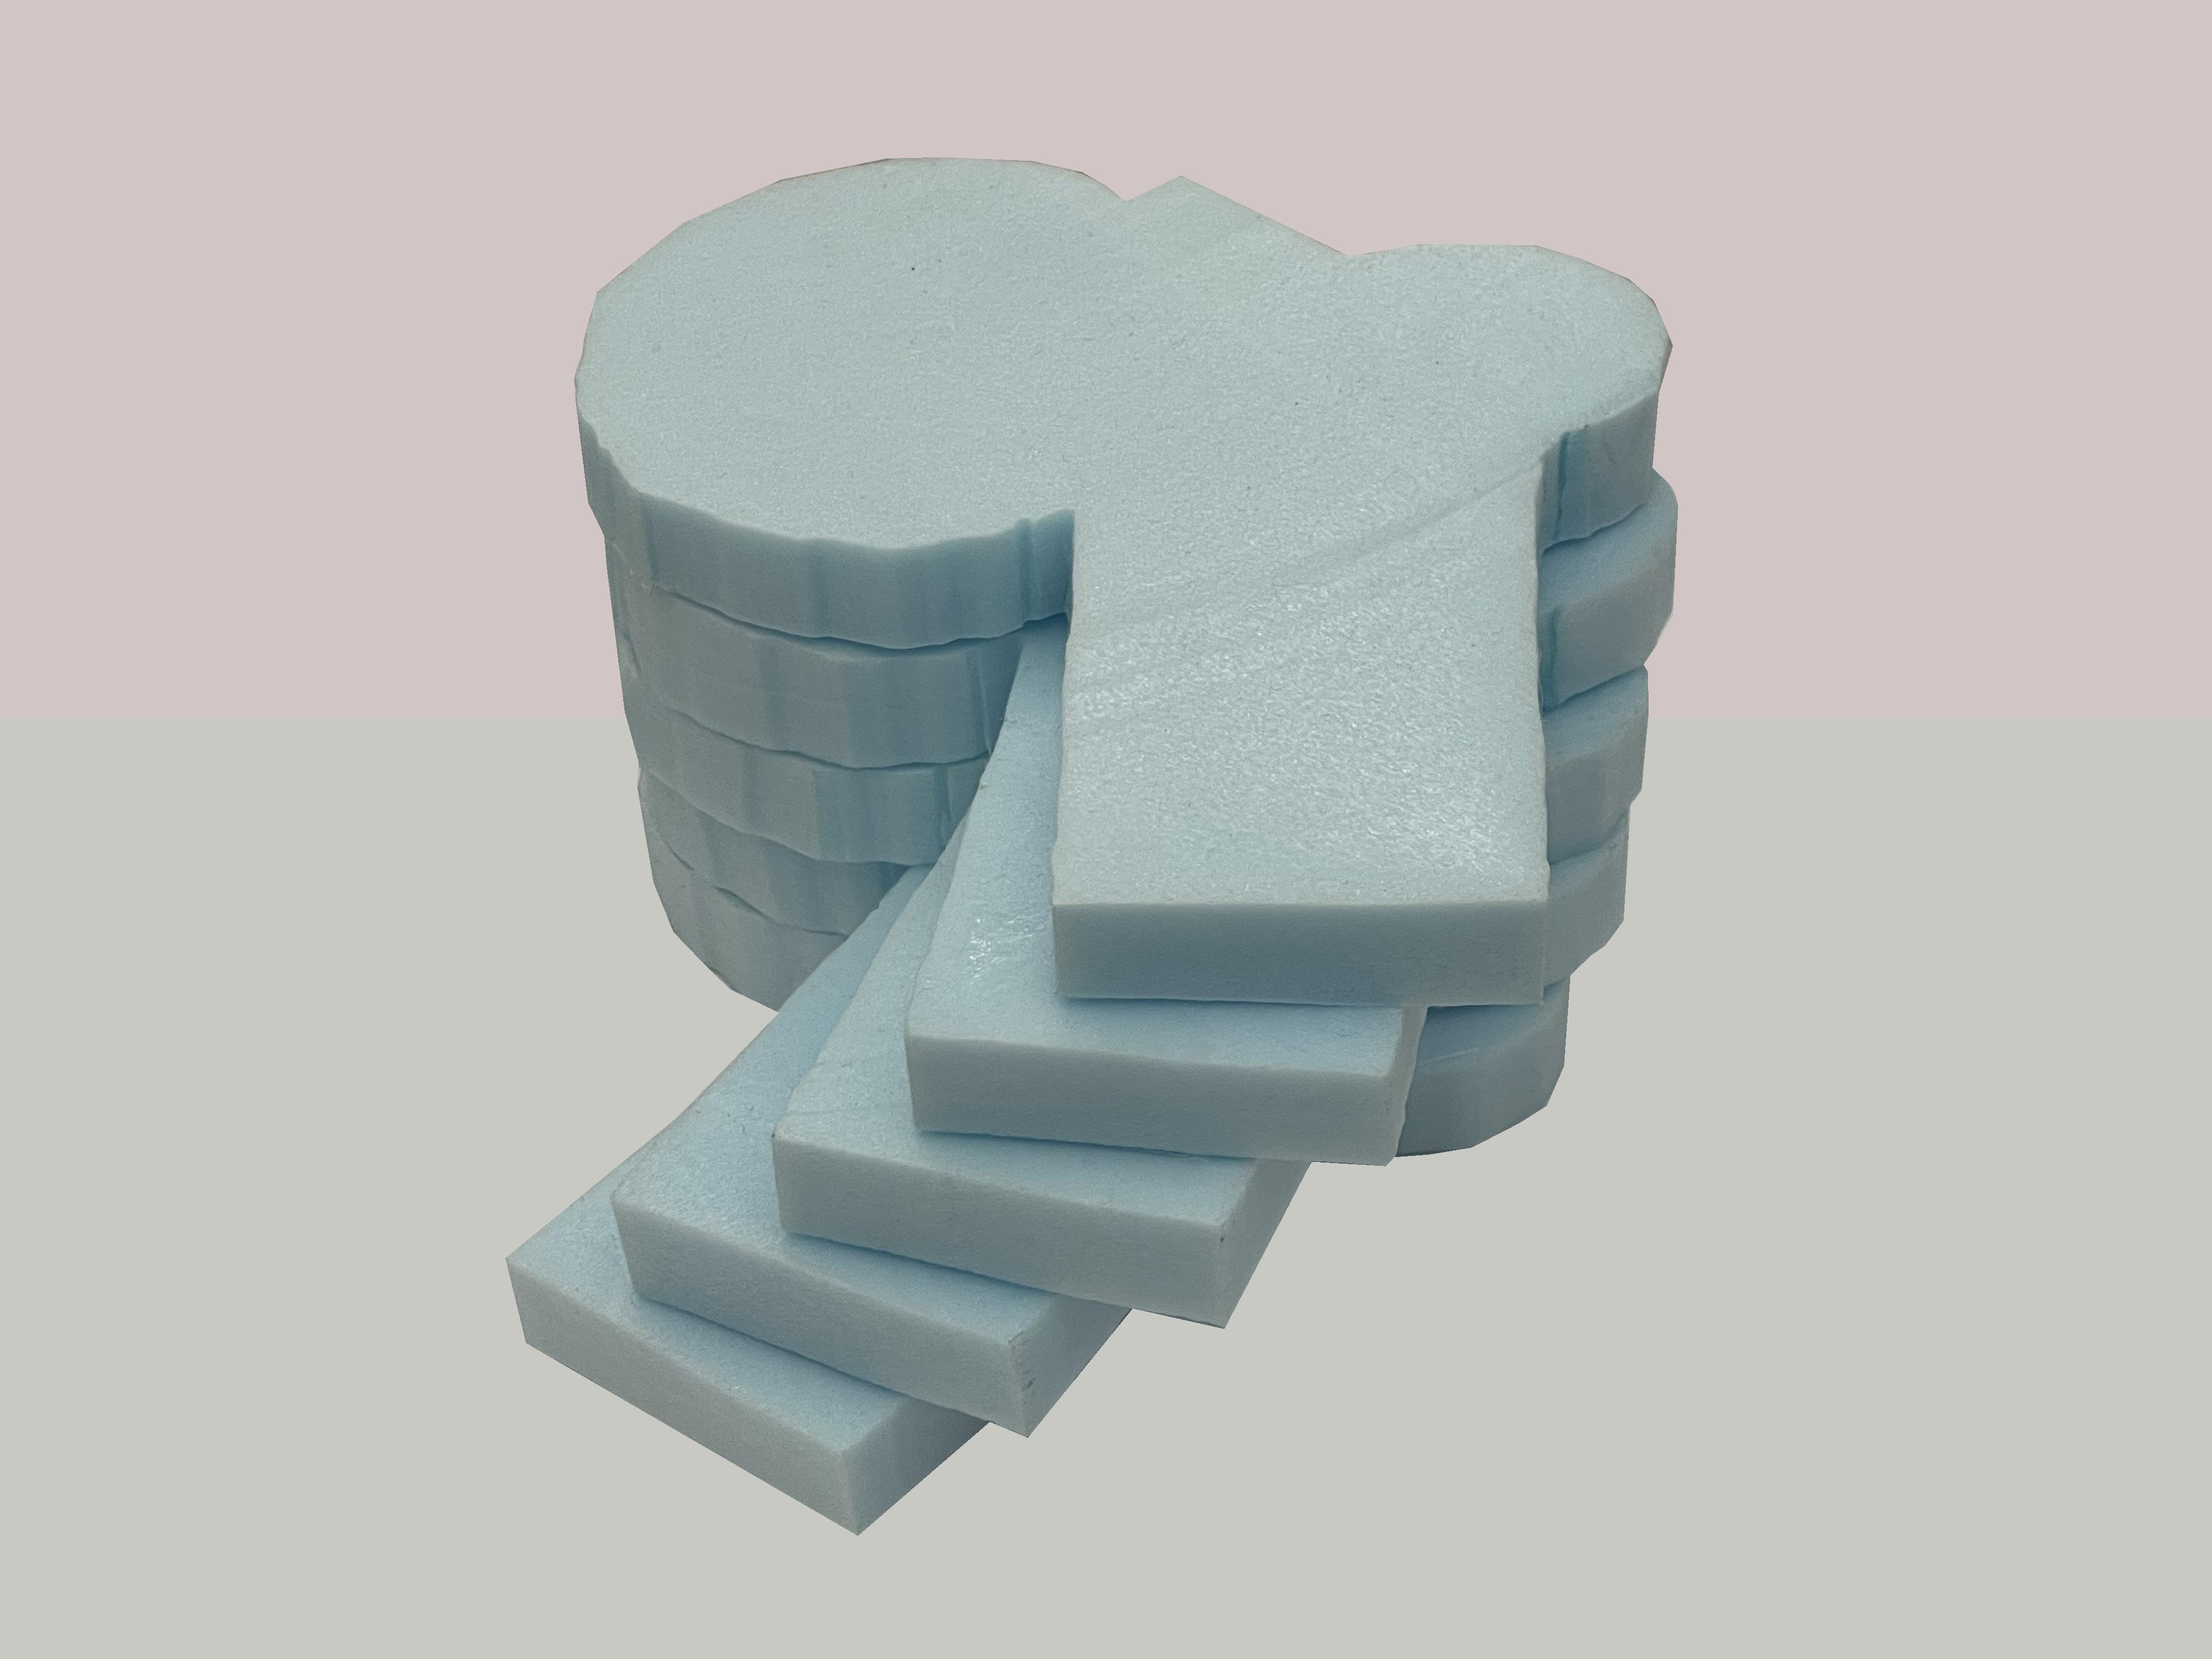
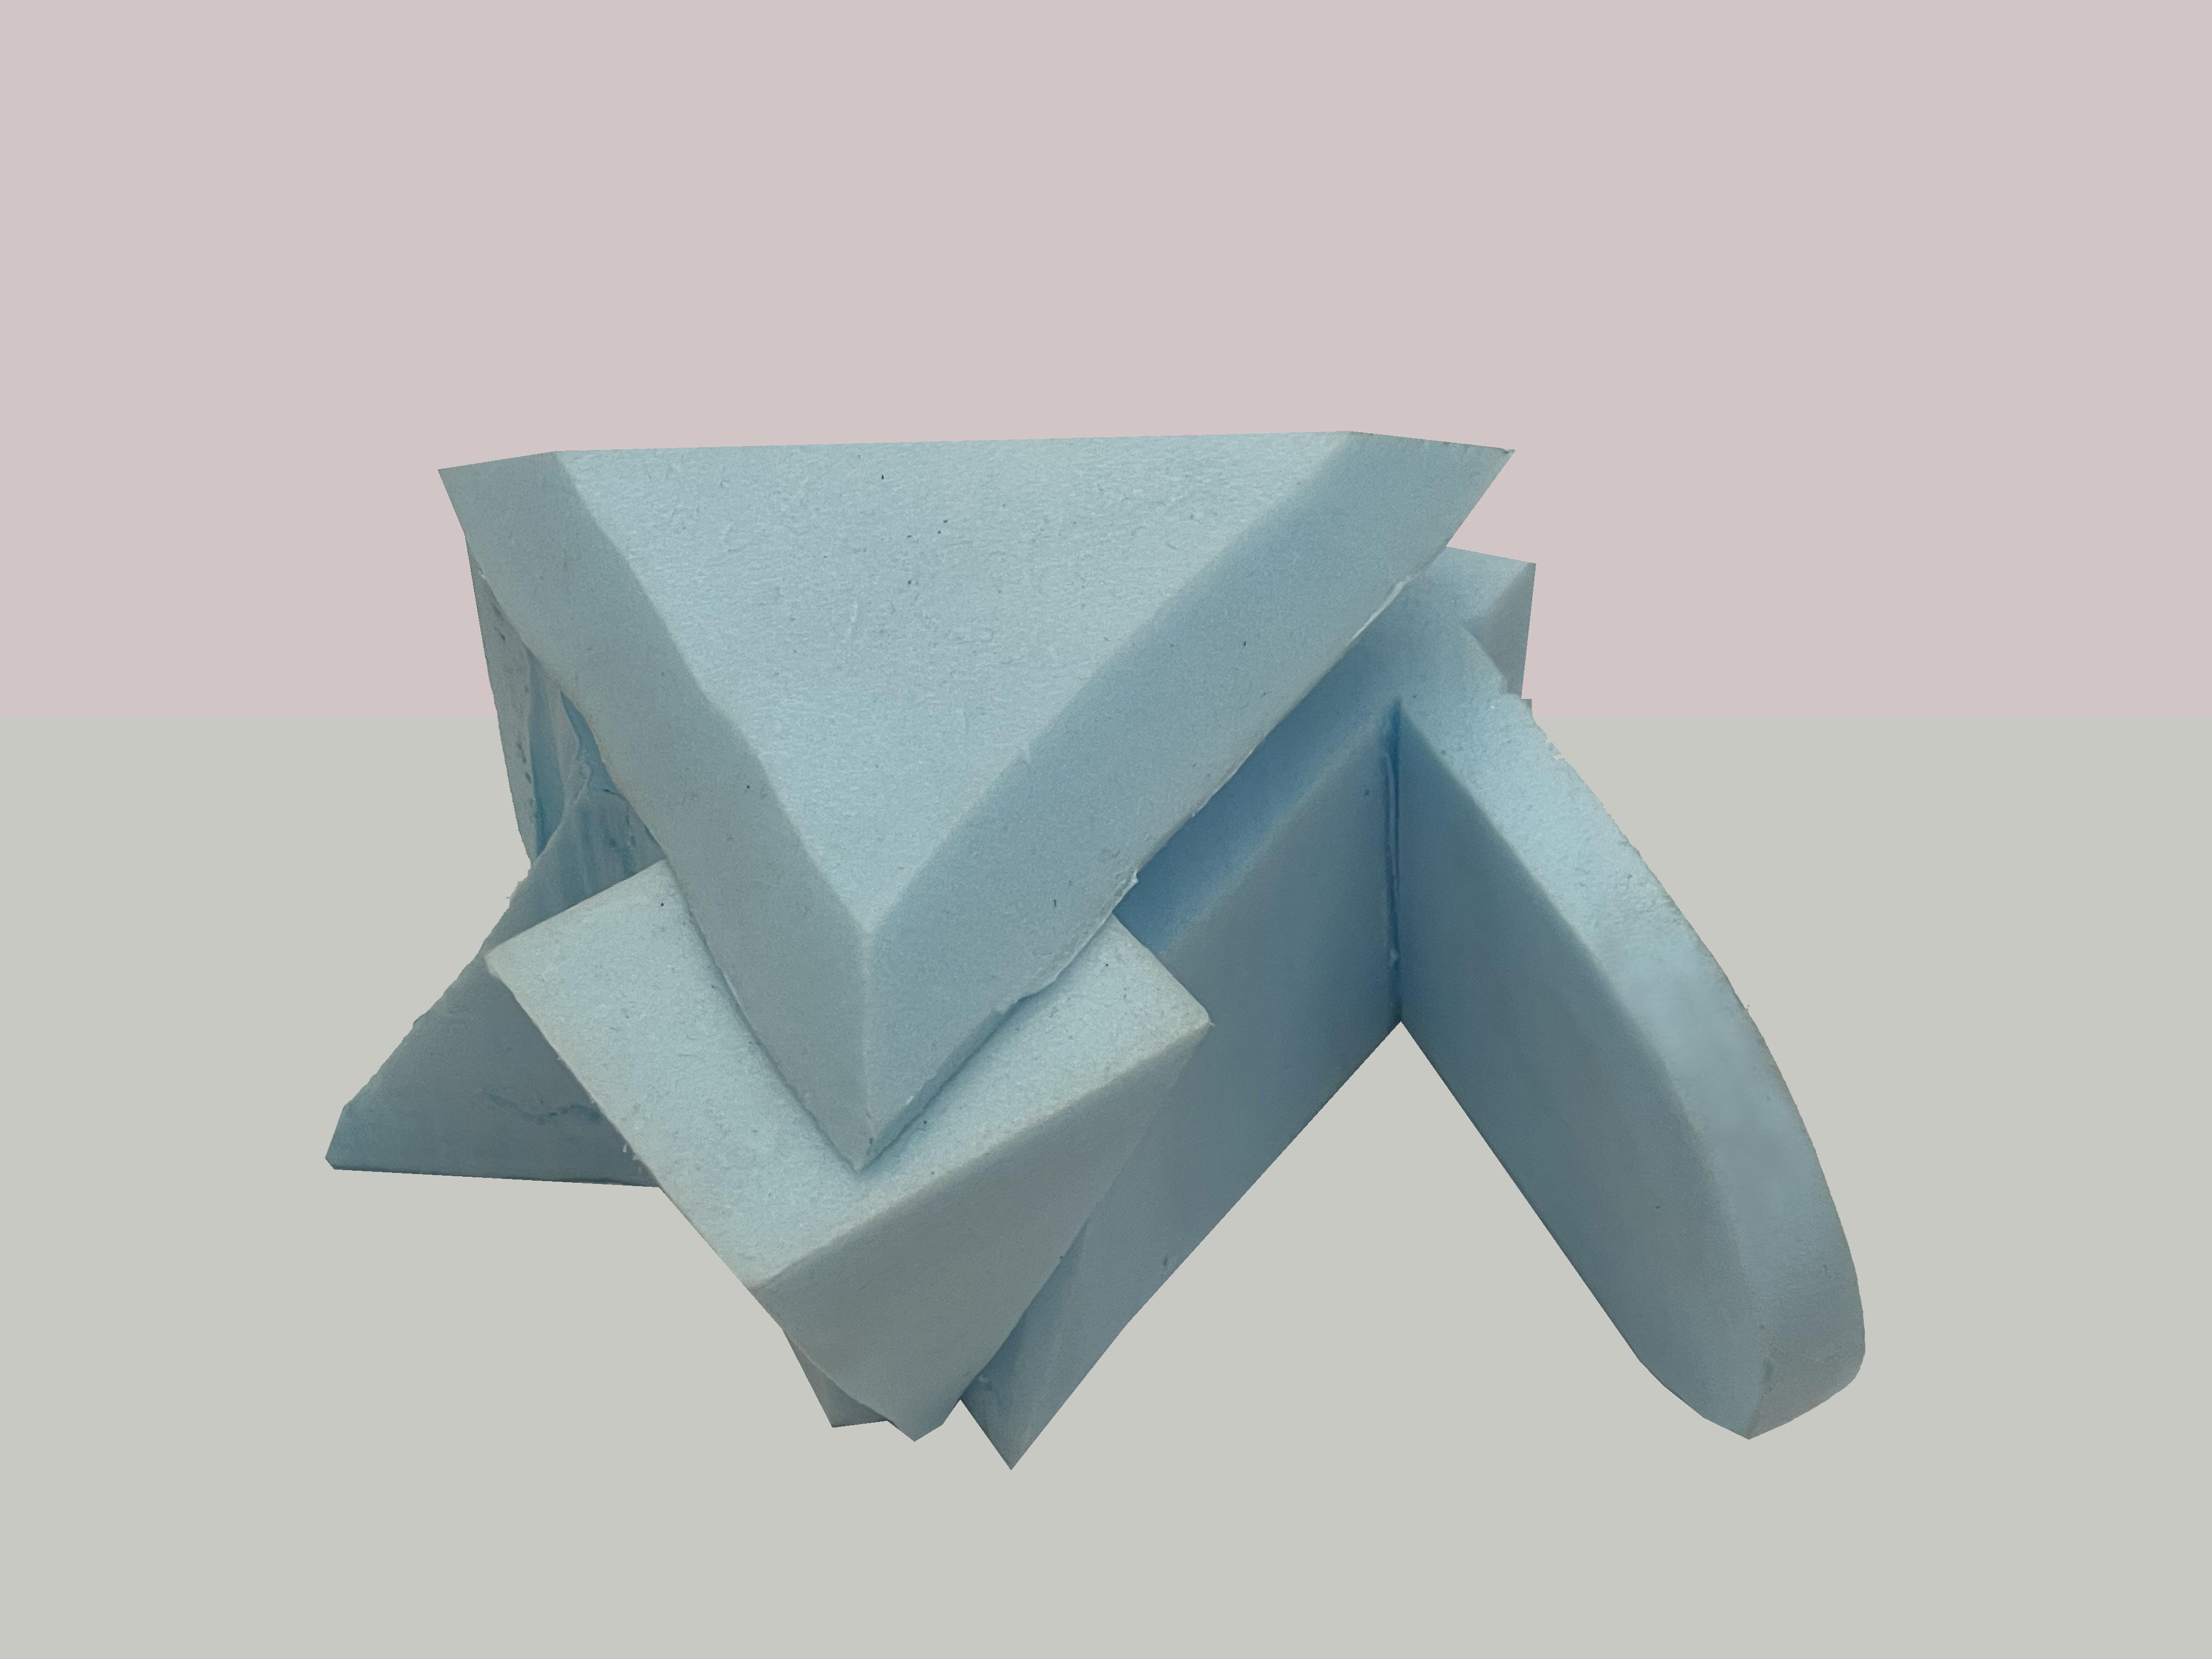
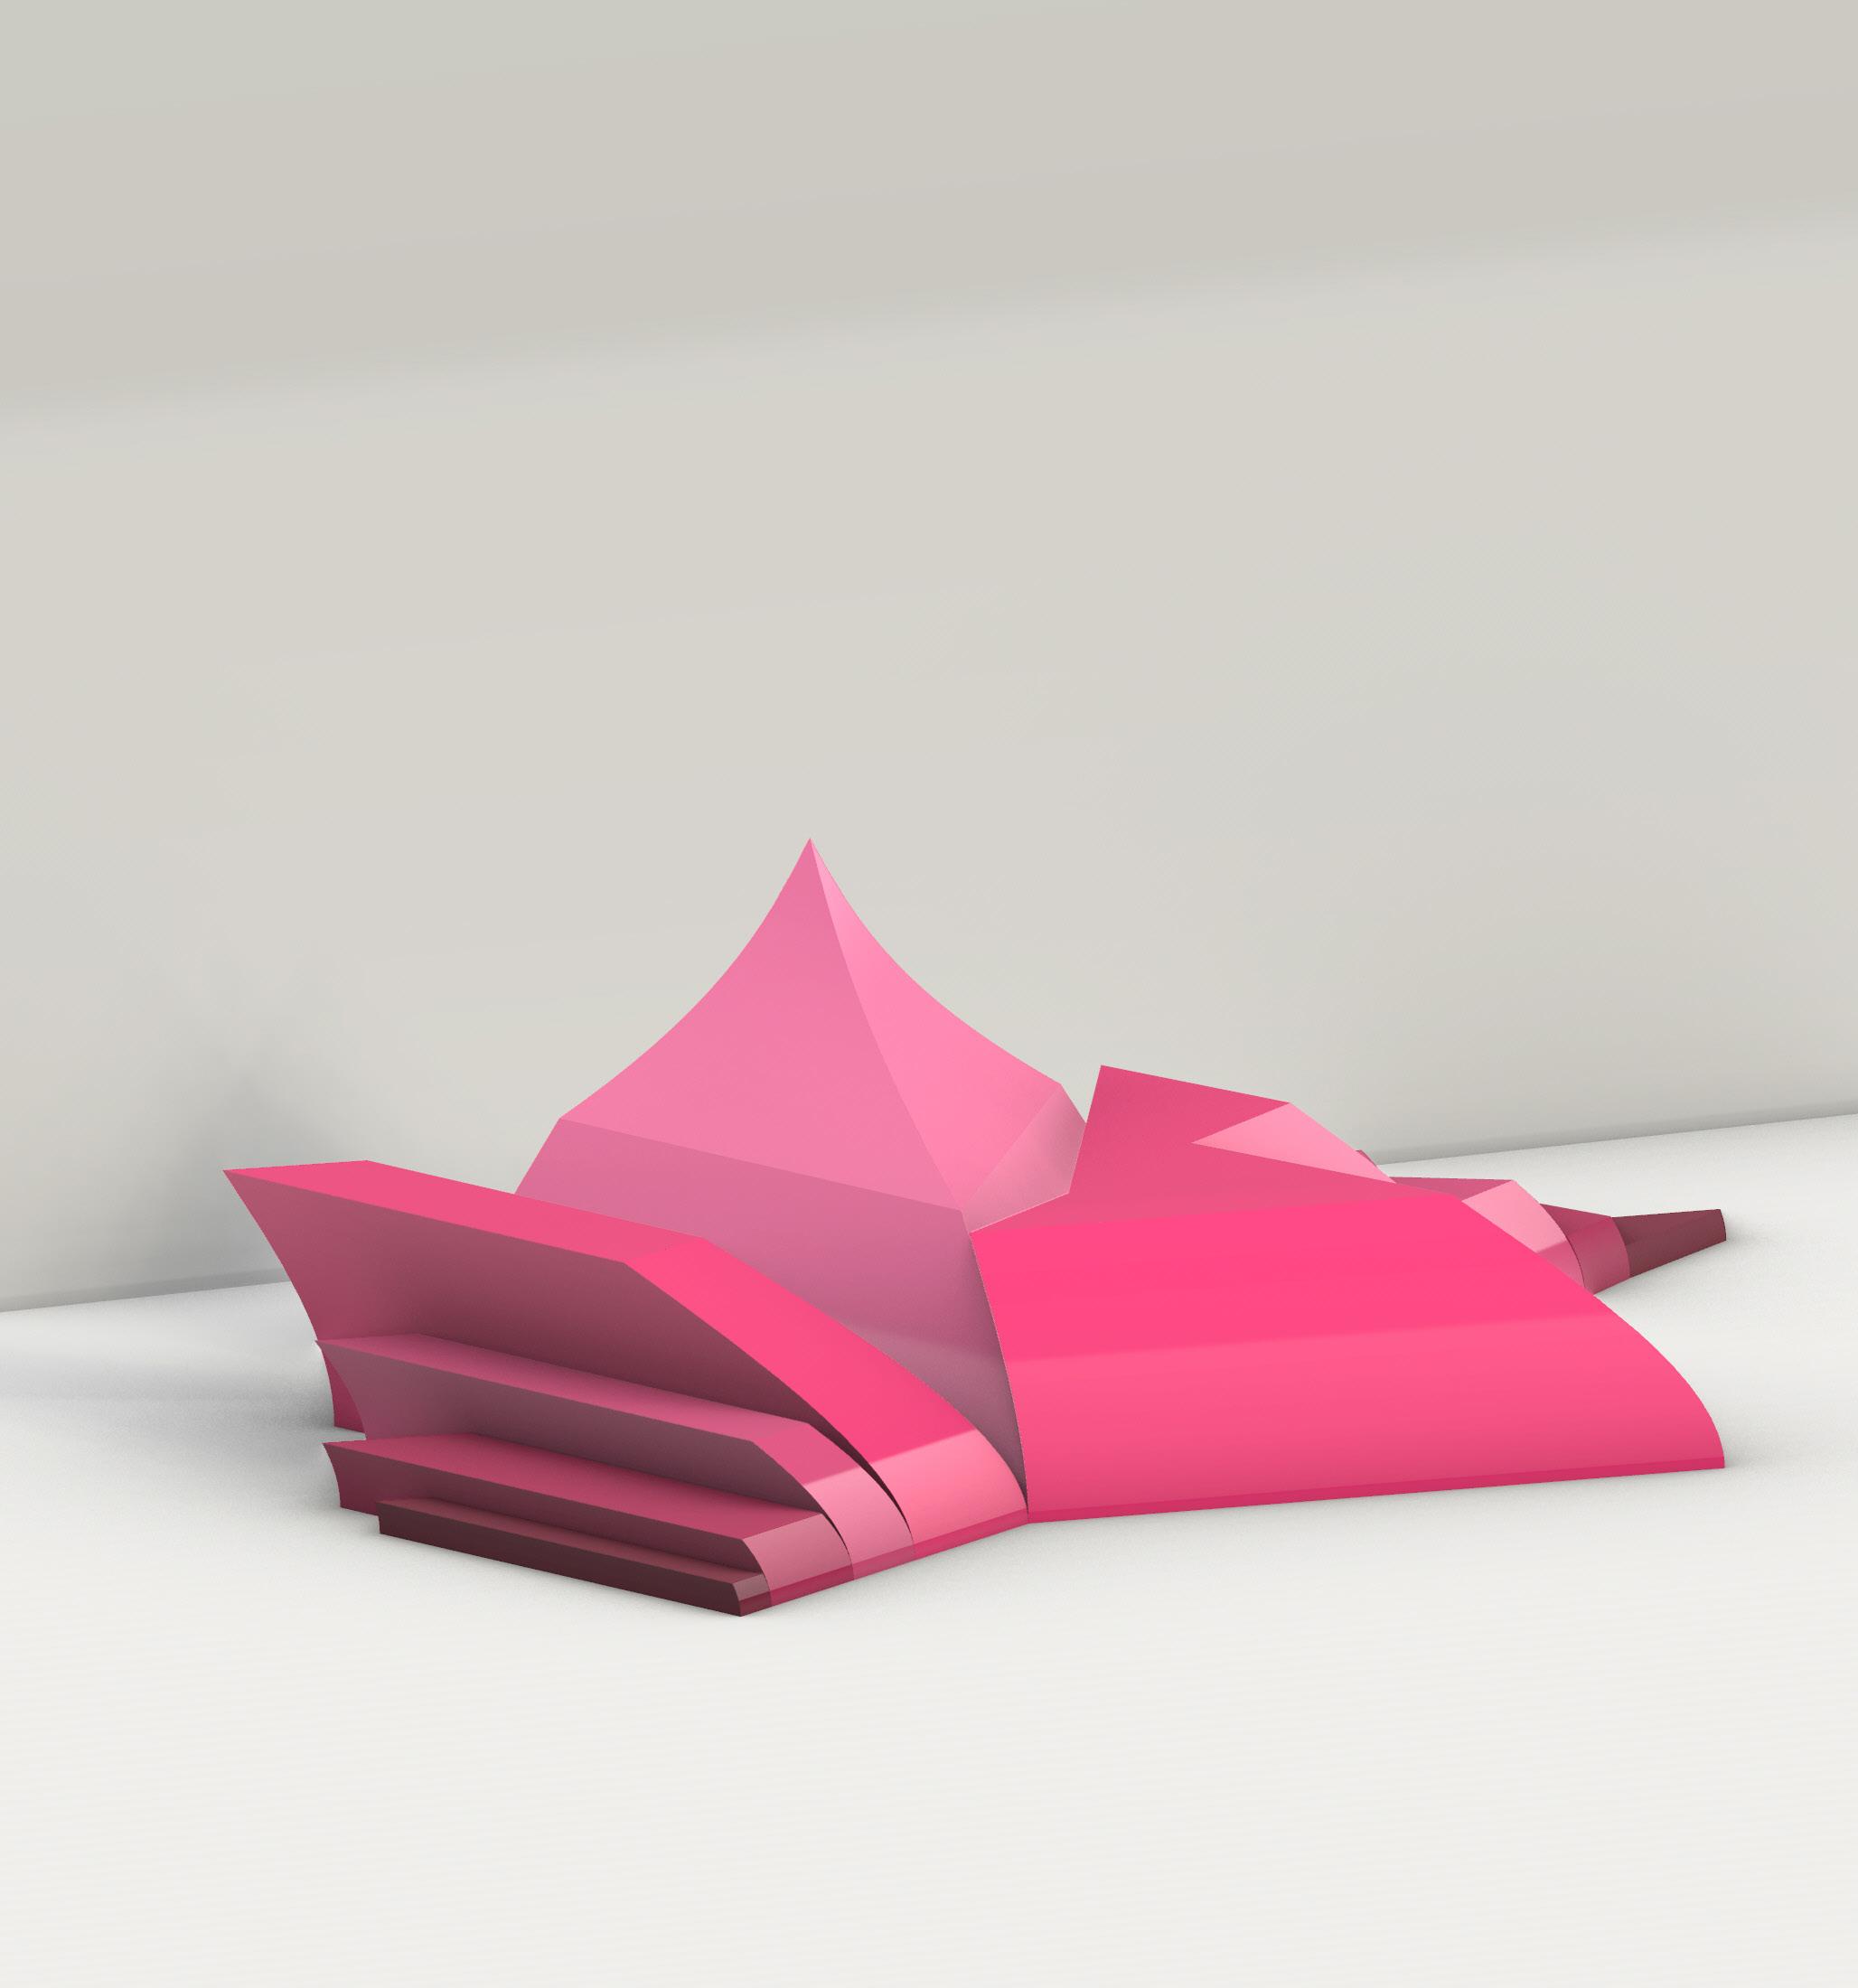
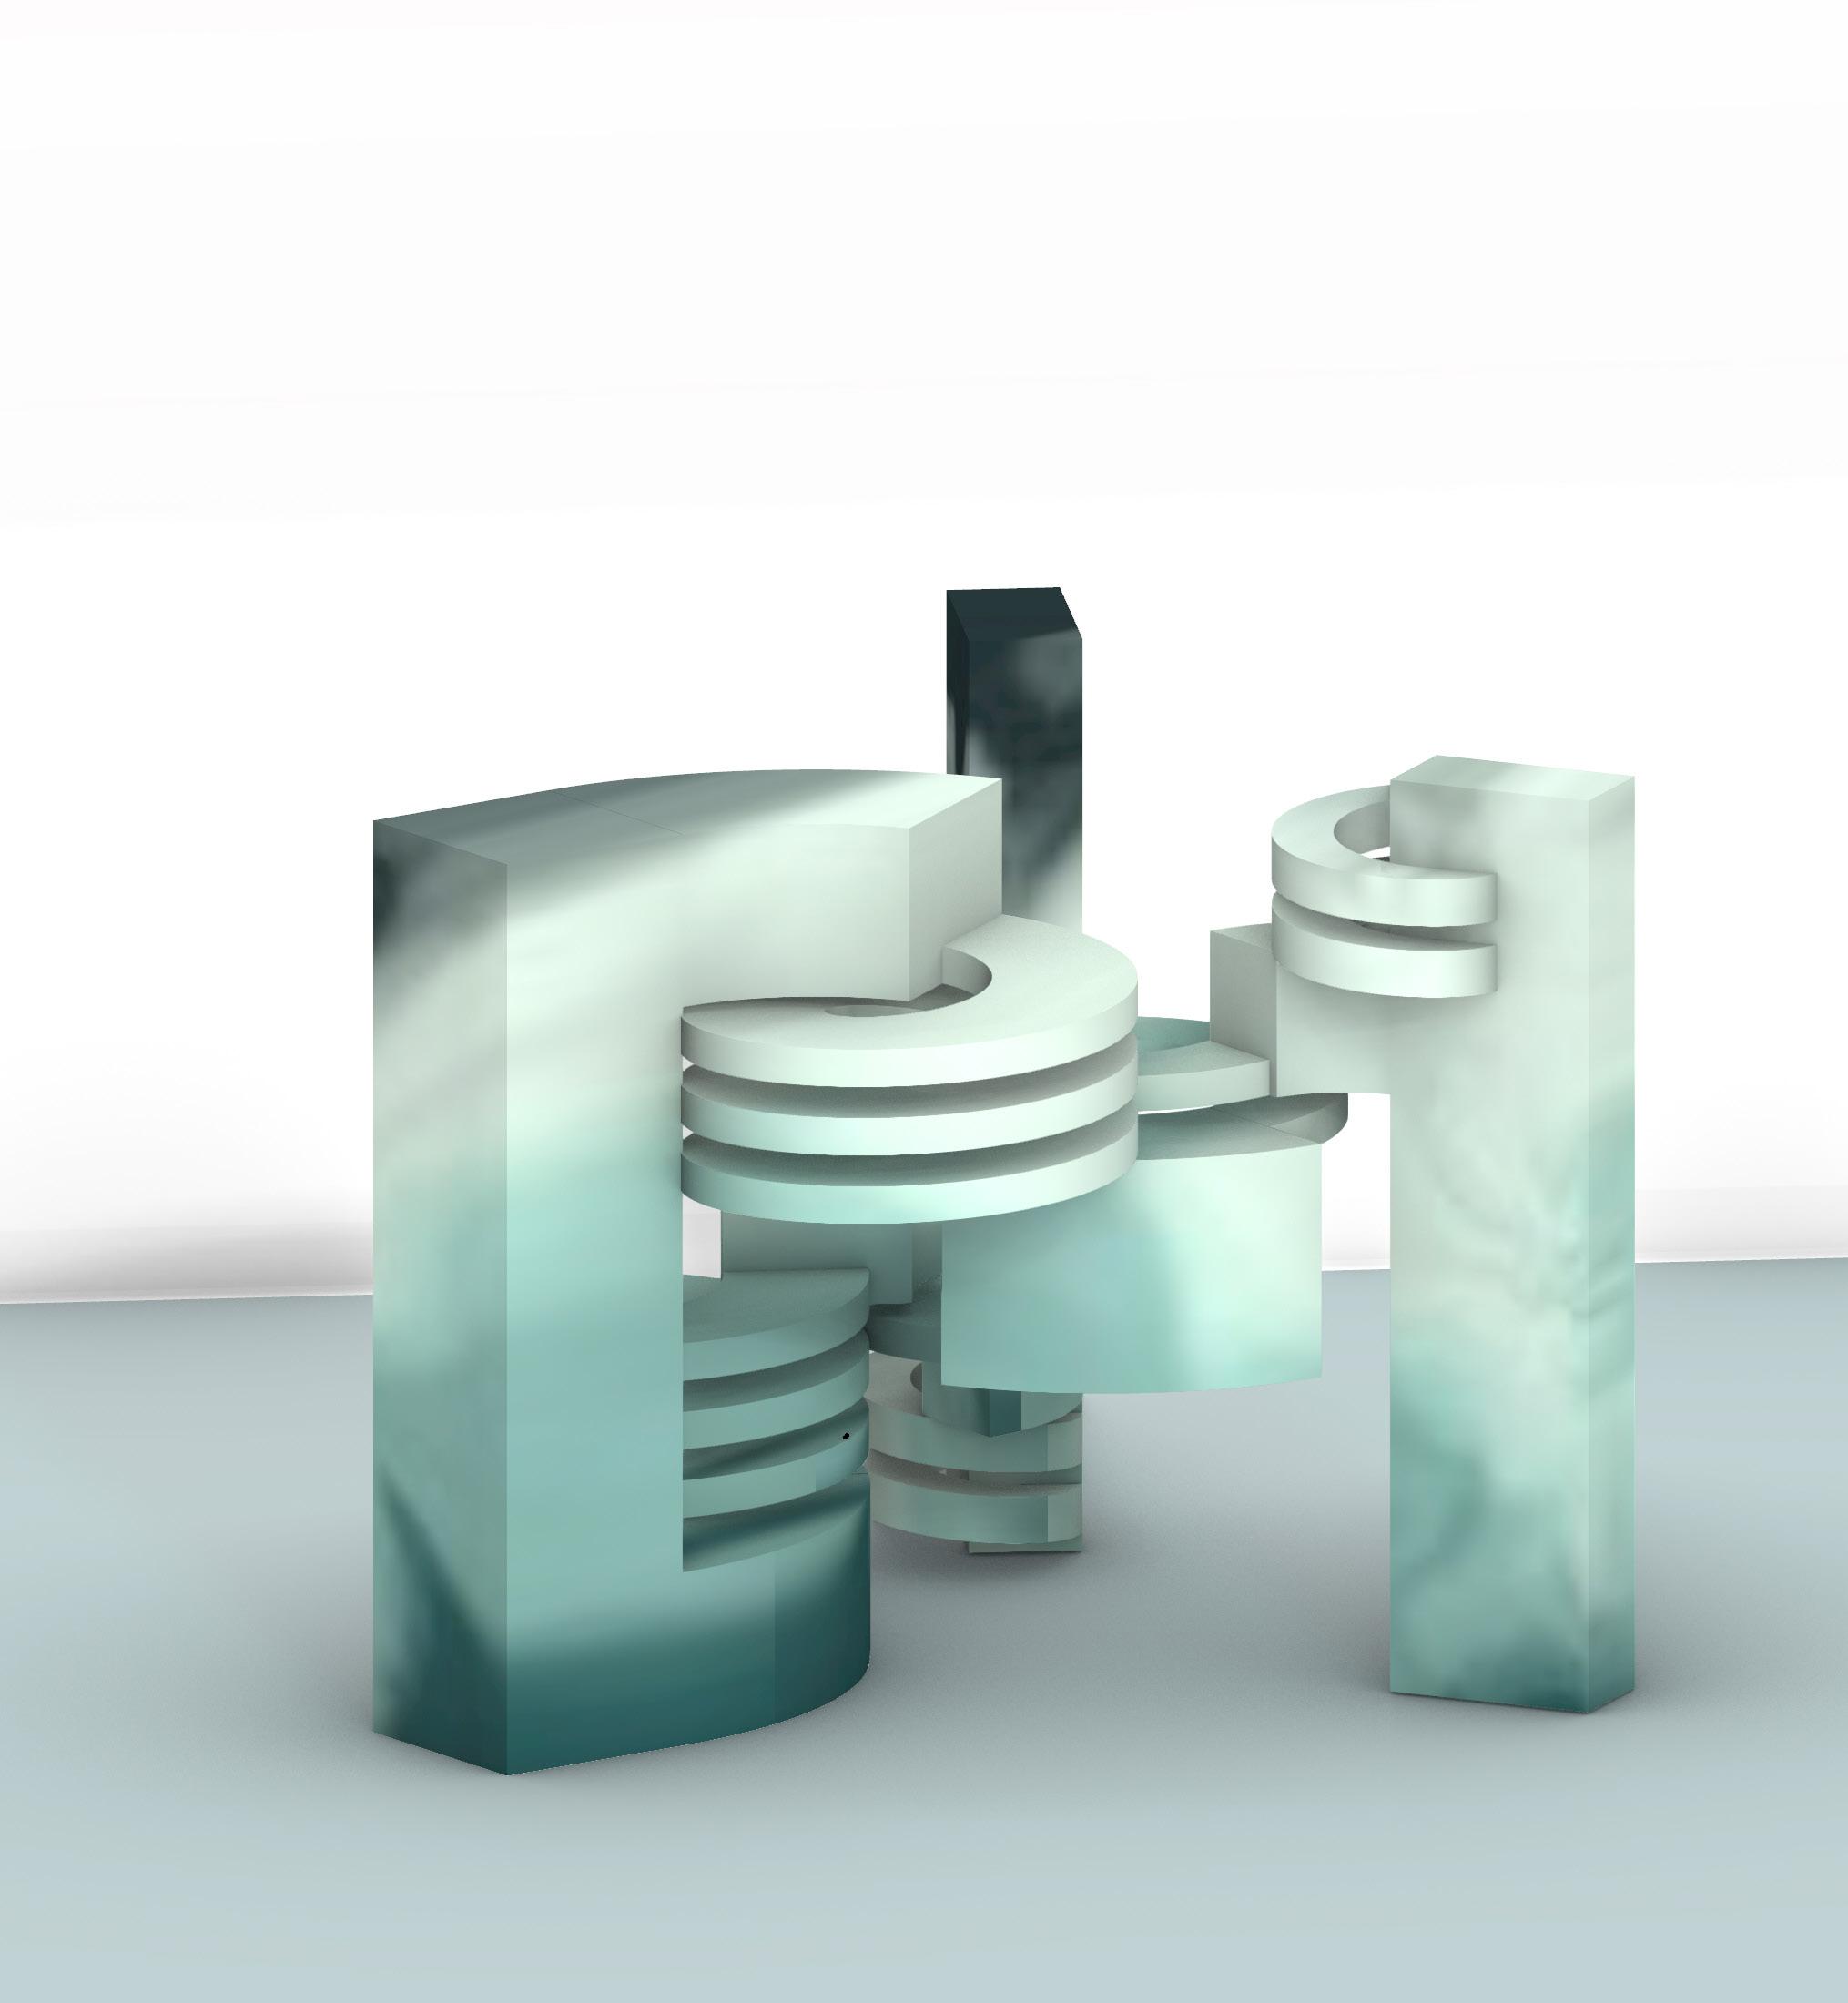
This exercise is a practice of transformation between 2D and 3D. I started with four random combinations of geometric shapes on paper and turned the composed figure into foam models, as the pictures show. Then, I draw the elevations and change them with others. I re peated the stereoscopic transformation with the new images to create four digital models.
The viewing angles are carefully selected to show the geometric transformation through the elevation draw ings. I also simplified the drawings to describe the models with simpler geometric shapes and improve the flaws of physical models. Besides, shadow played a significant role in making the shapes more stereoscopic and clarifying the spatial relationship.
For the colour of the drawing, I used natural series to create harmonic pictures. Contrastive and lighter co lours are used as backgrounds to pop out the subjects without drawing attention. Besides, colours showed the gradational changes or geometric types to clarify the transformation in the drawings.
I give the same height for the ground to achieve bal ance among the first three elevations. However, the tower is too high to be placed in the same position, so I applied a different technique to the fourth drawing. Instead, I used a diagonal to cut the background to em phasize the geometric shift in the opposite direction.
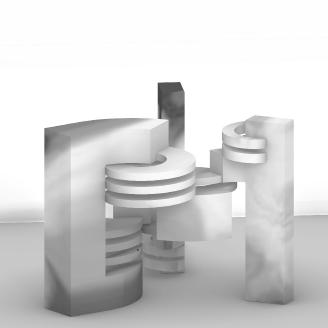
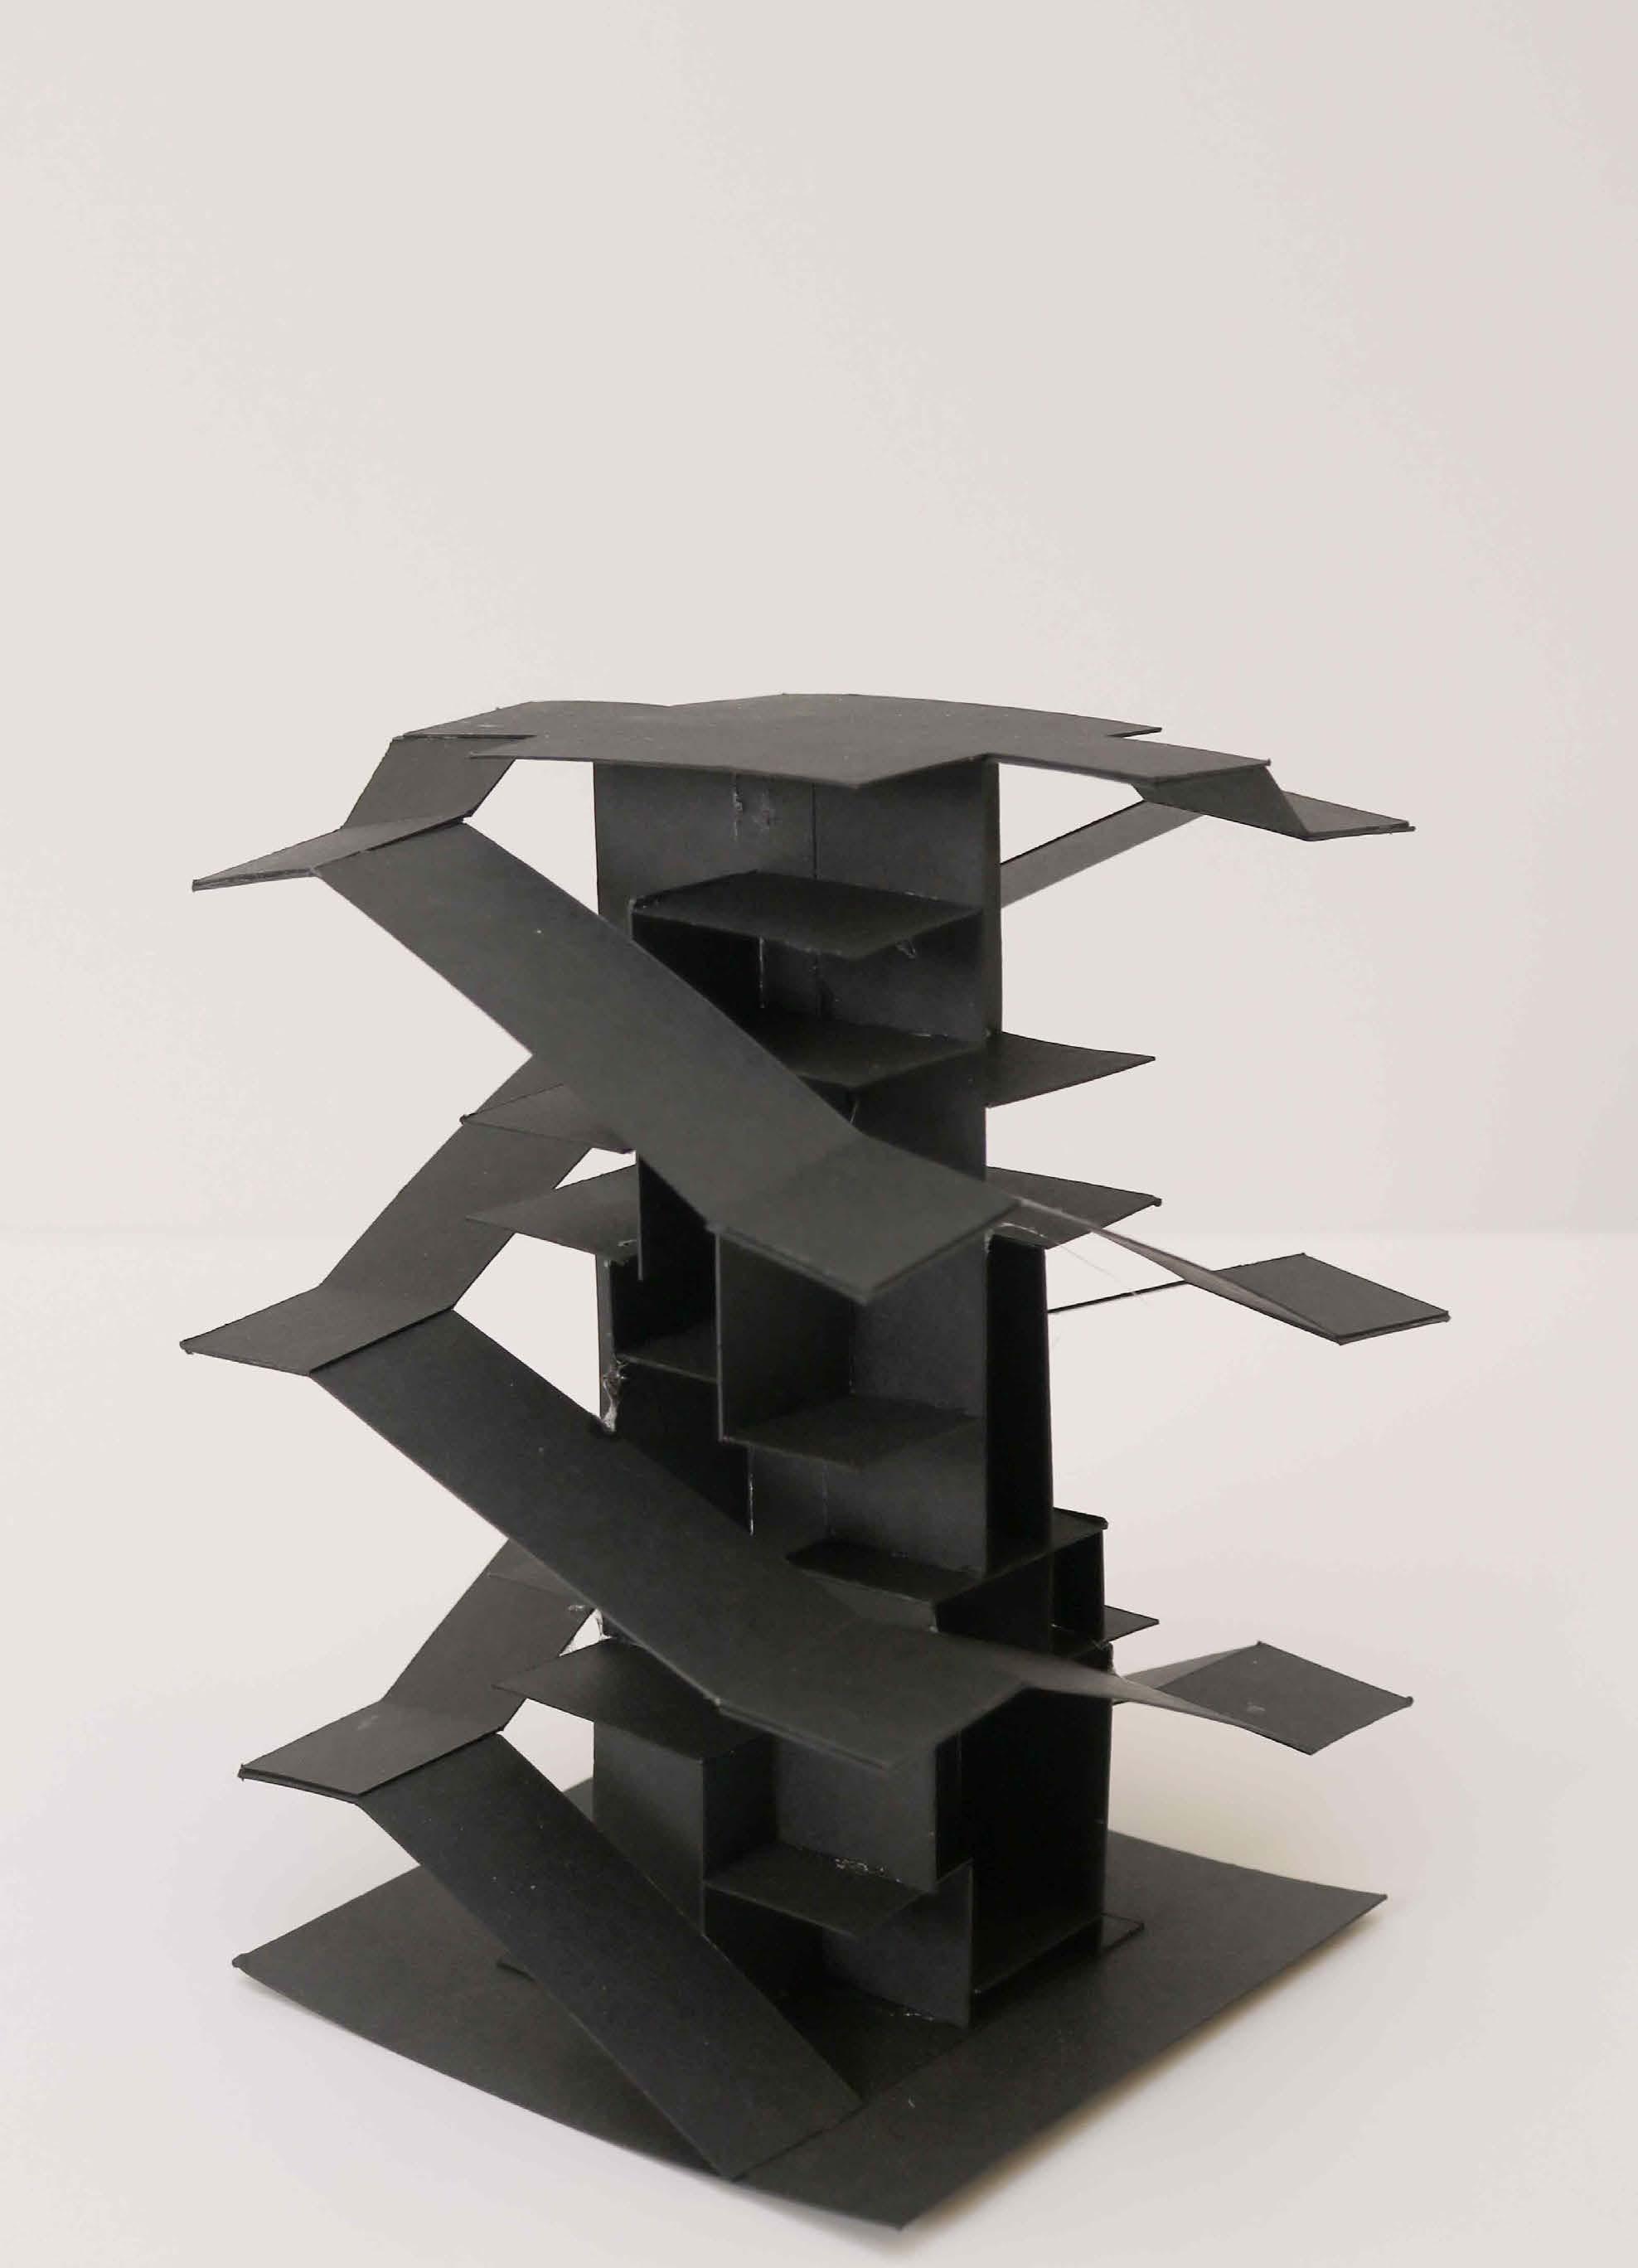
Revolution is the fundamental transformation in this digital model. Since the geometric shapes are ranged mainly in a horizontal direction, I set one side as the axis and revolved all the elements. Smaller figures re volved by themselves and decorated the final model.
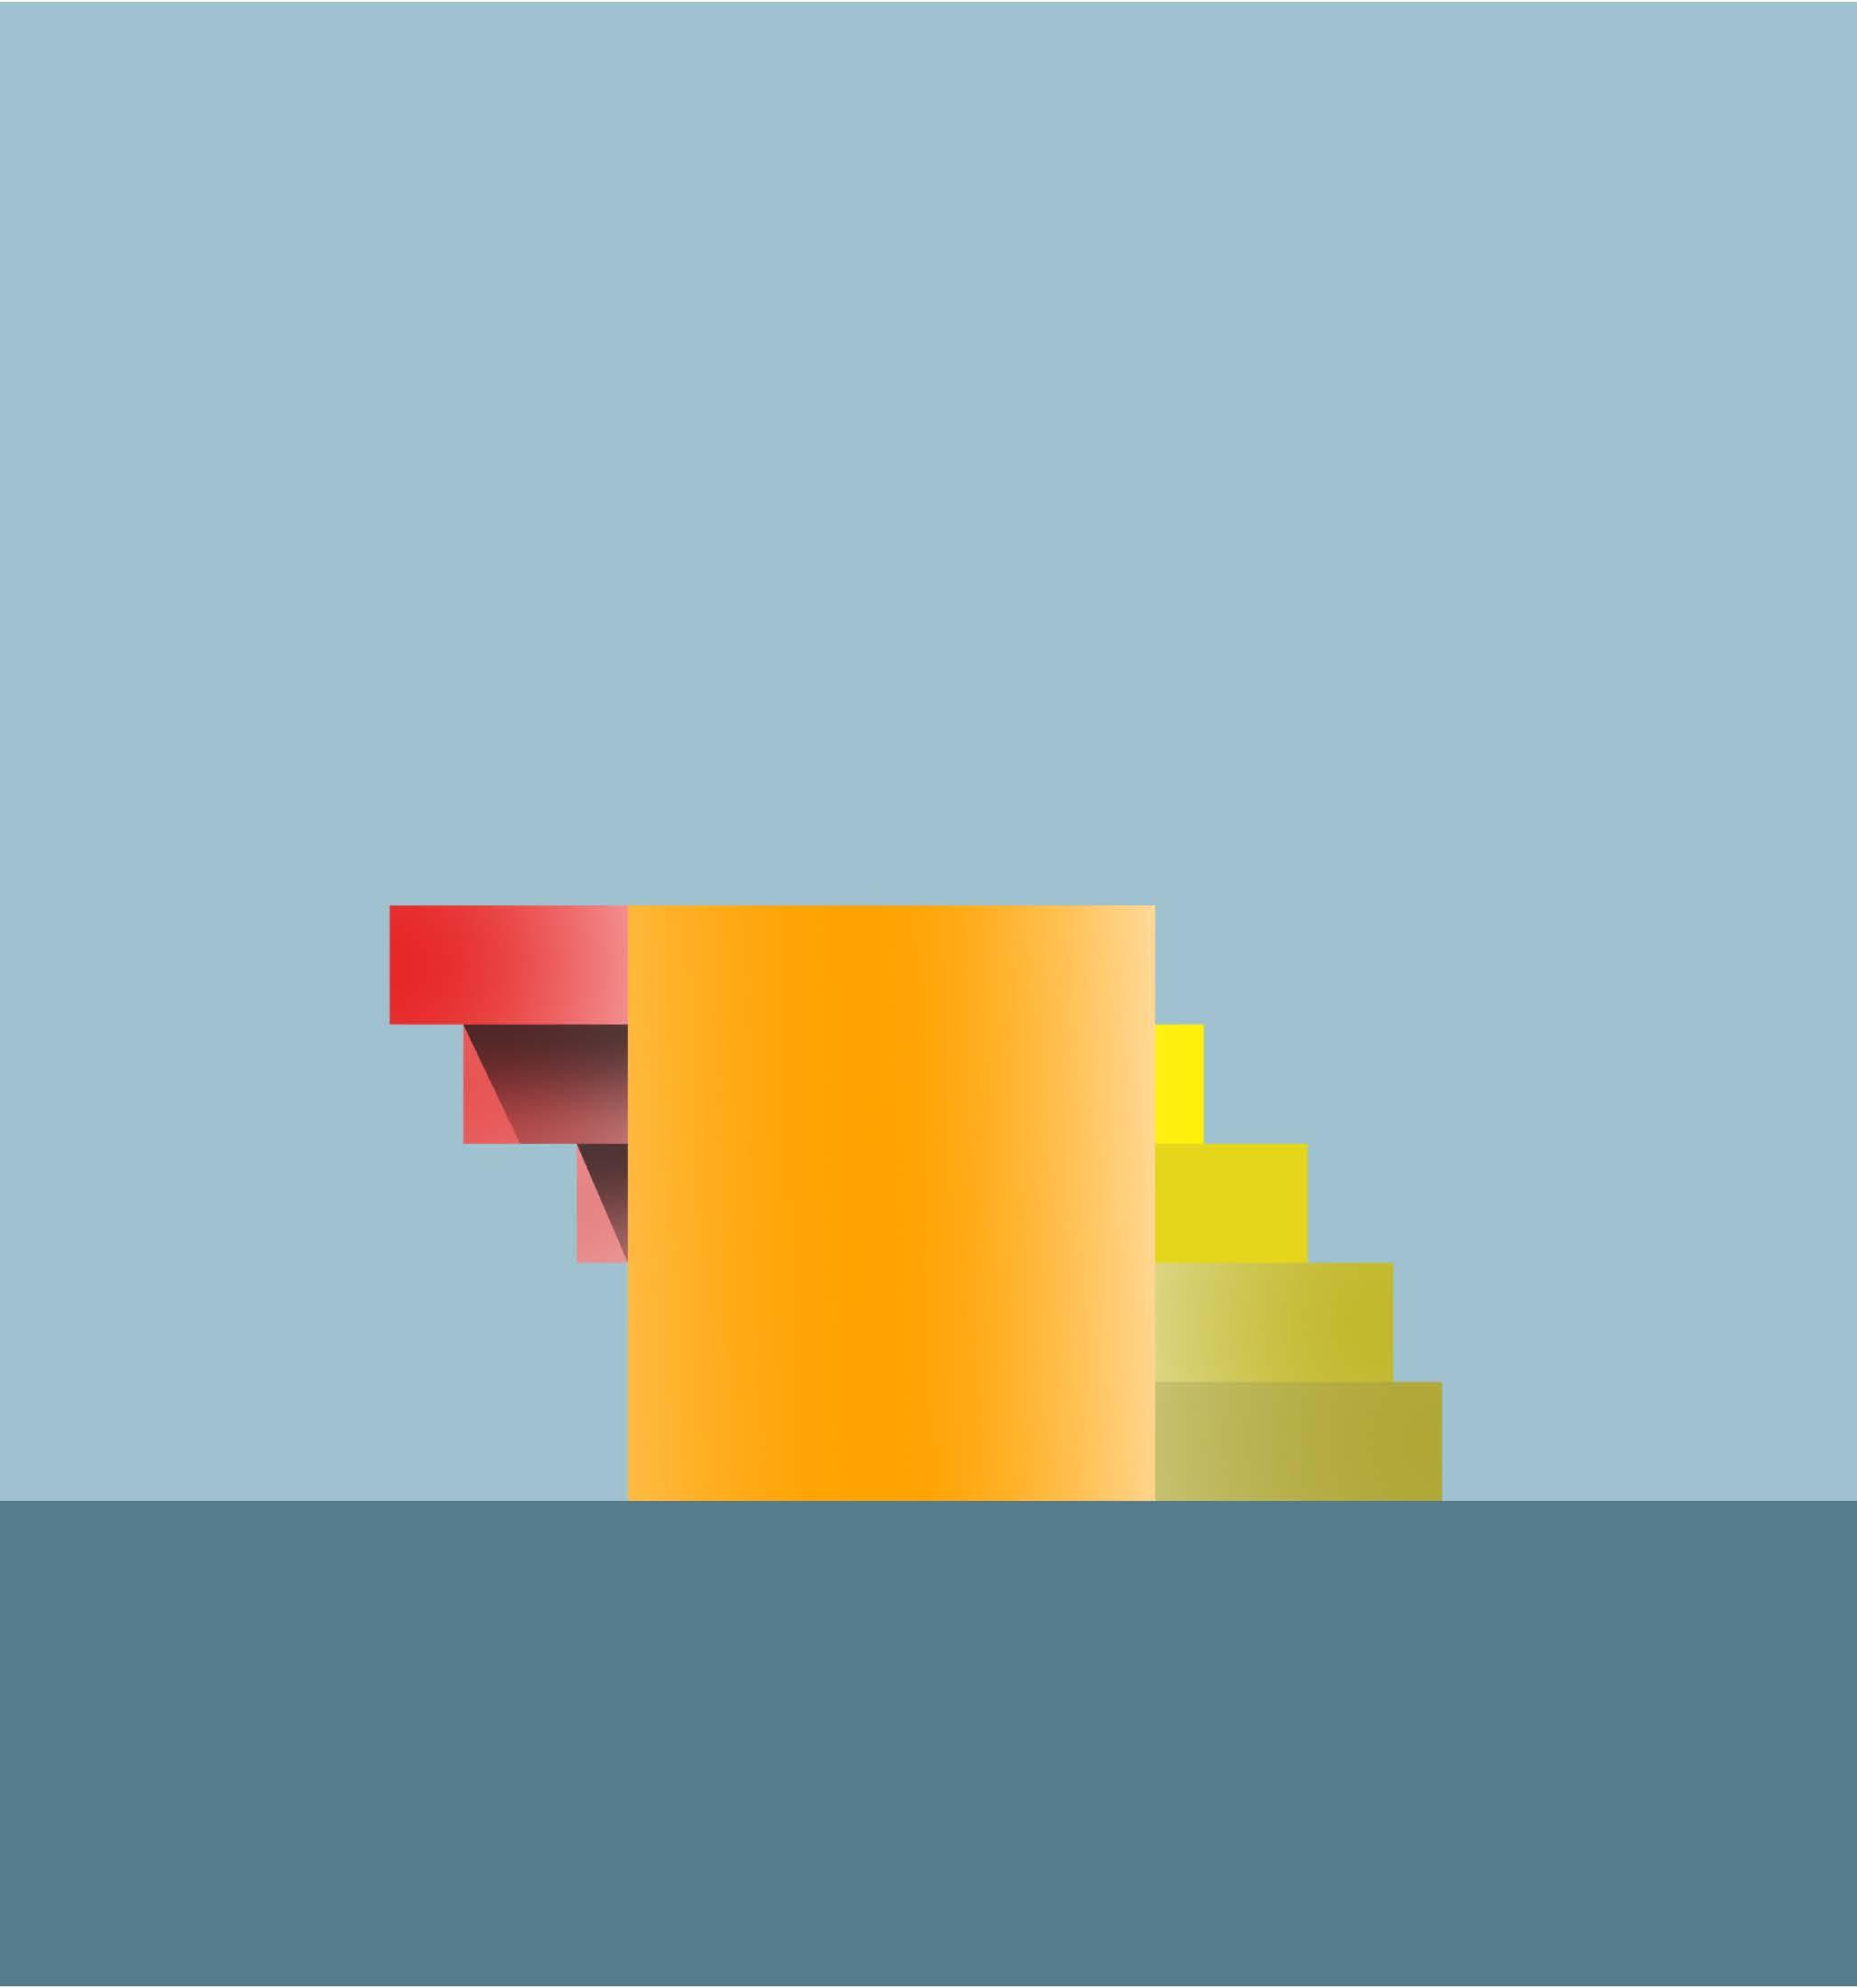
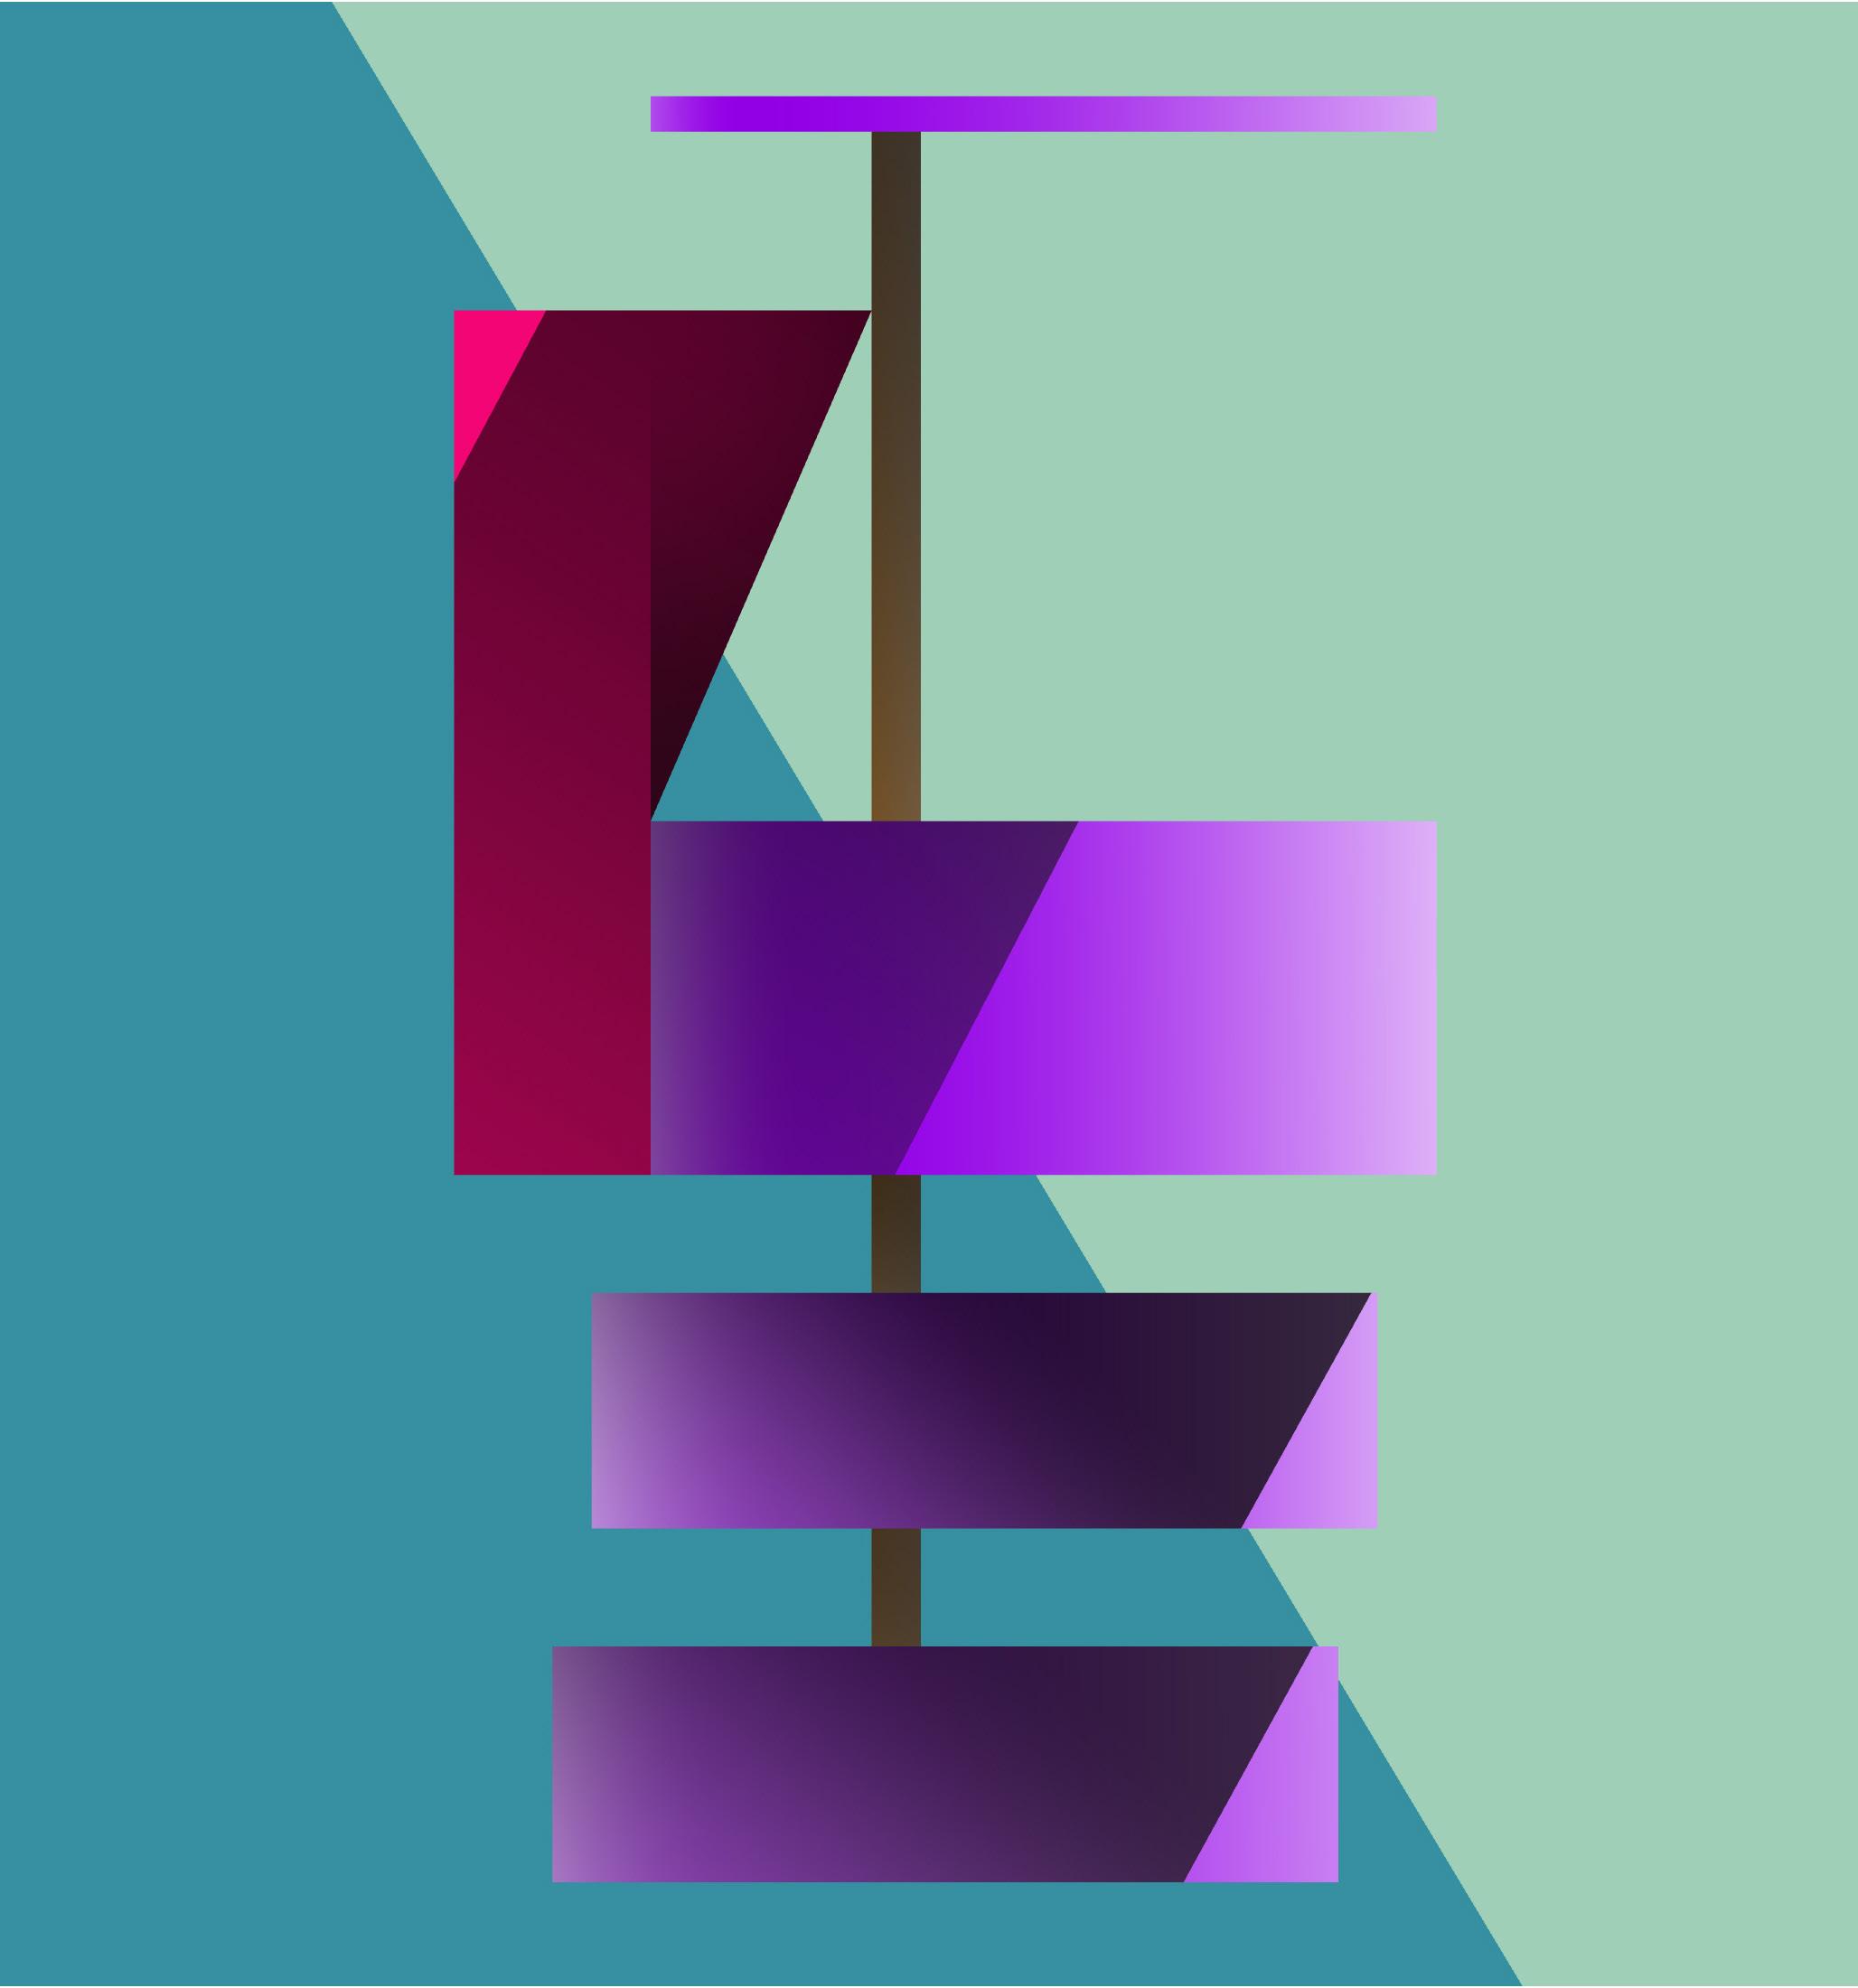
The original figure contained a series of rectangles ar ranged rigidly in the vertical direction. Therefore, I utilized the separation to make helixes and gave the curves a volume according to the initial area of the rectangles. More prominent figures are revolved by 60 degrees and rearranged with the helixes.
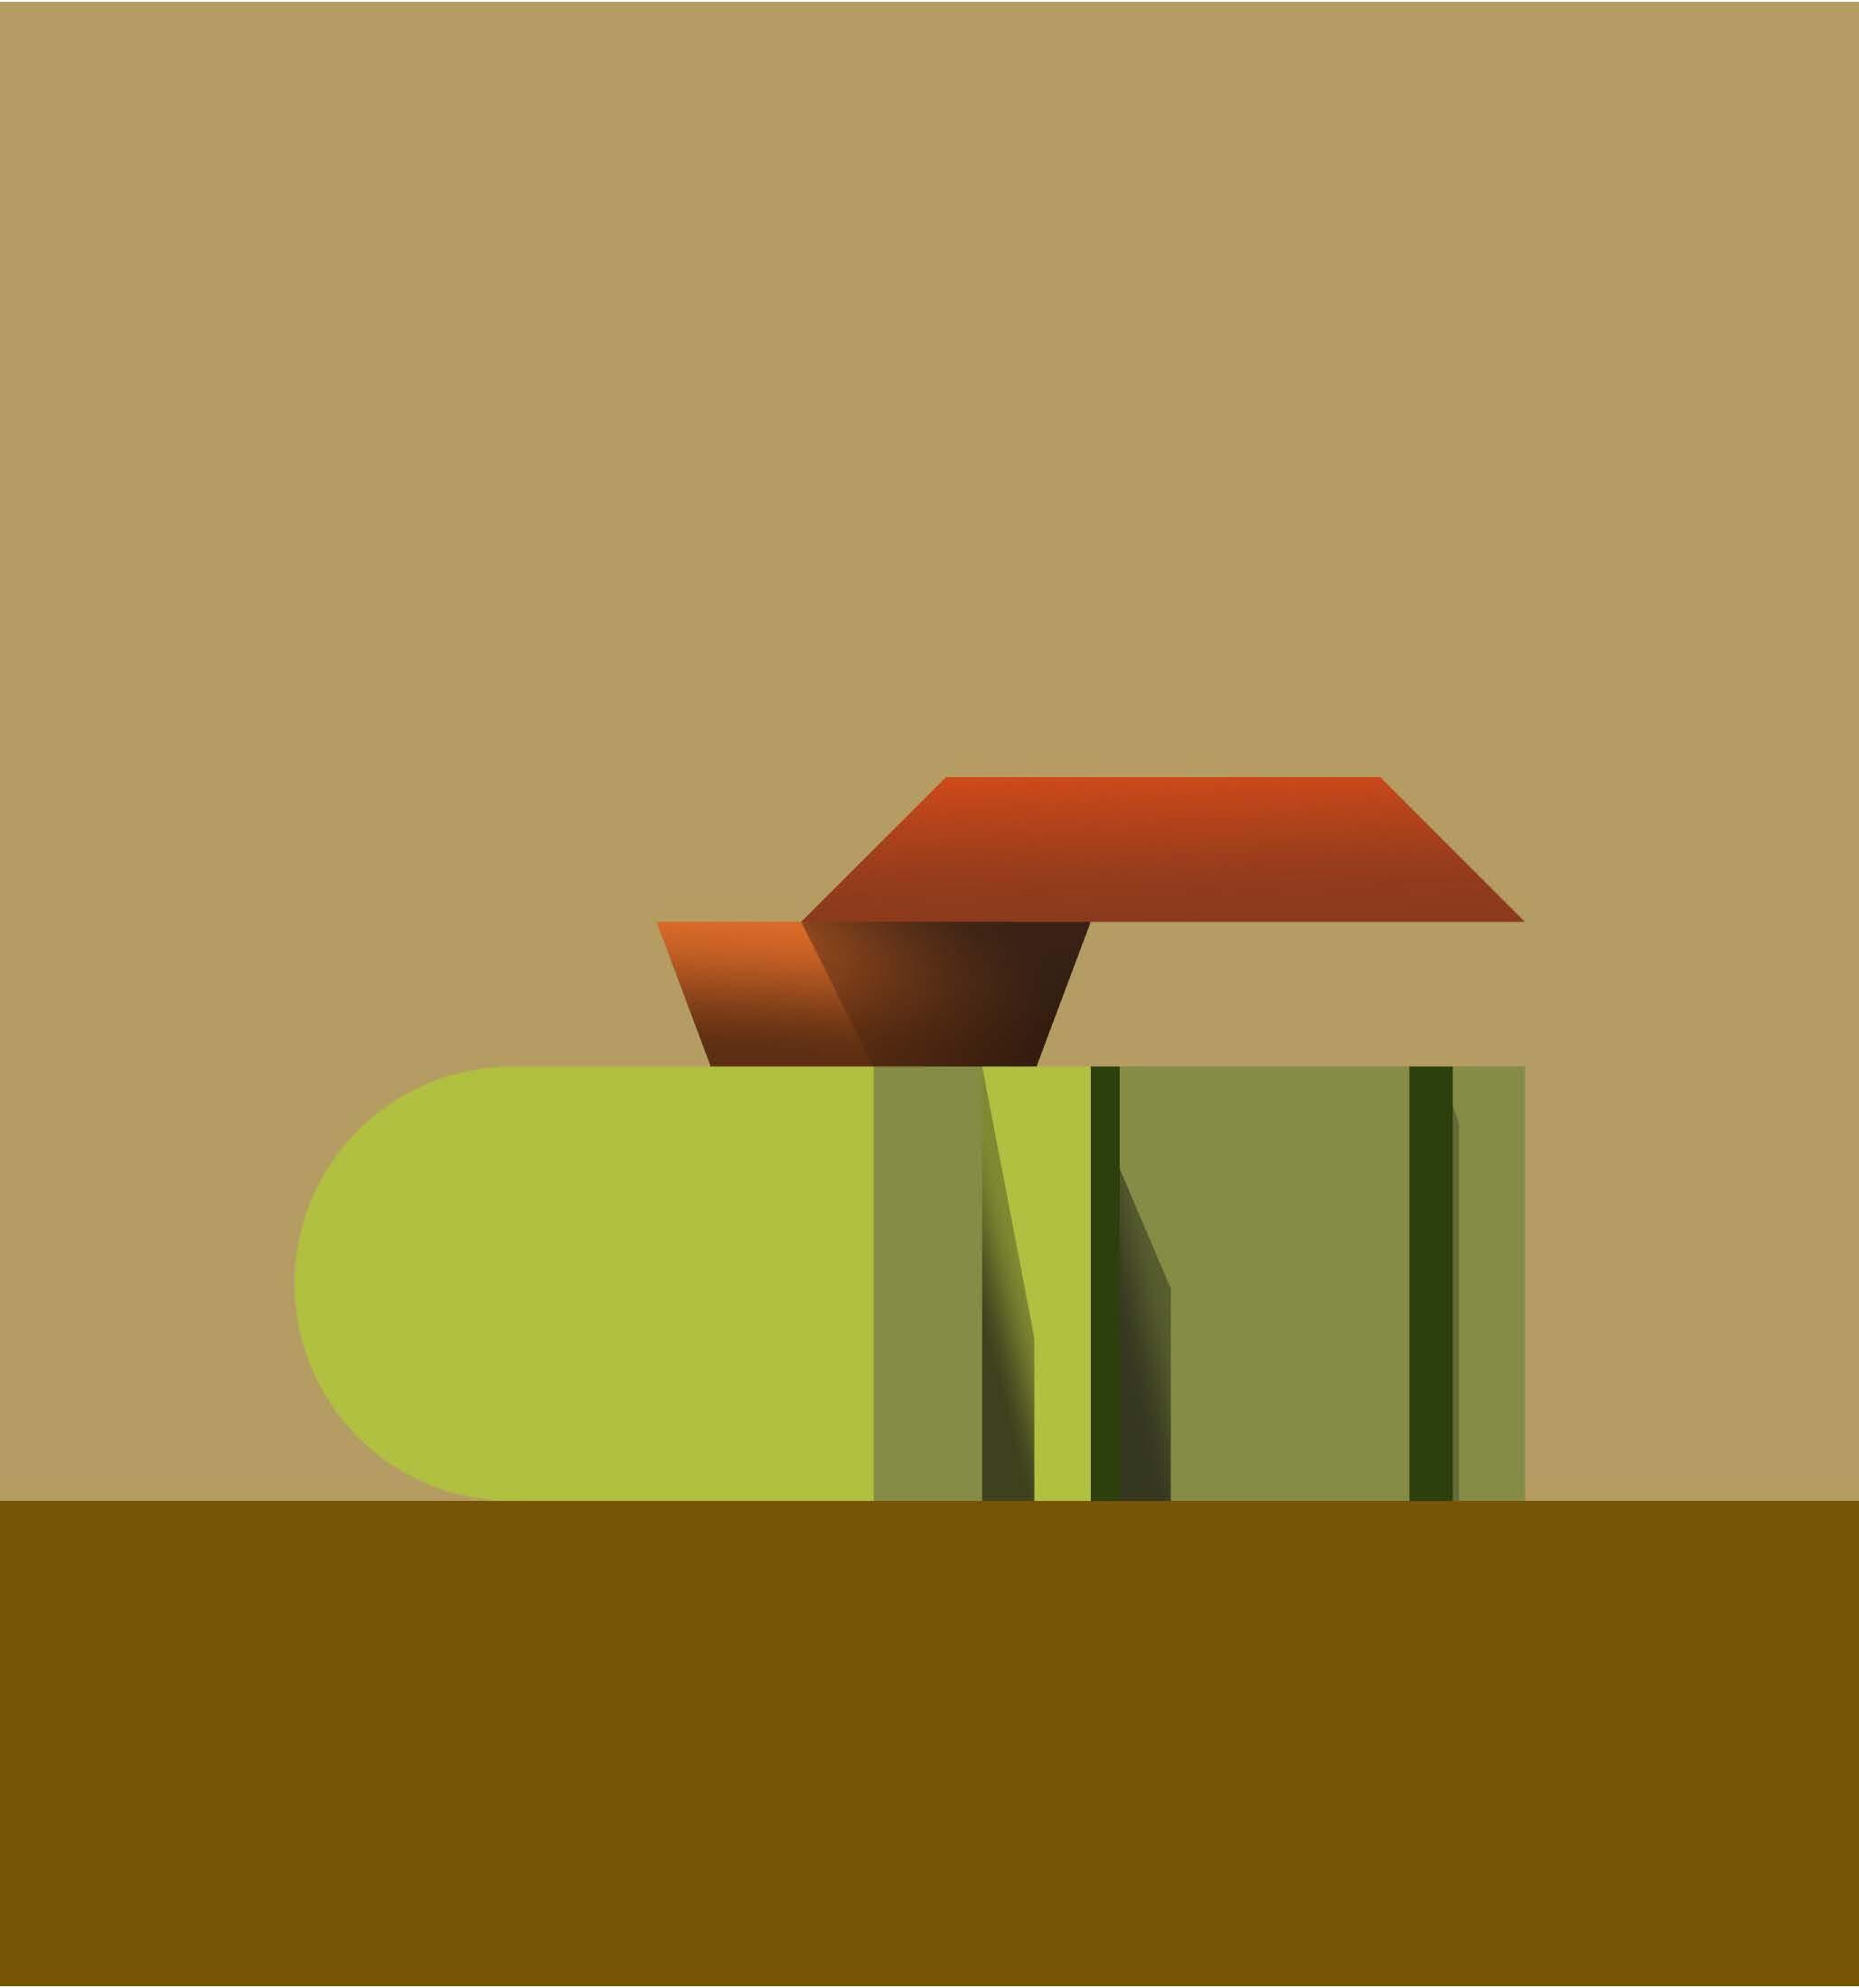
This figure contains a fuzzy line in the middle, produc ing a subject and many components. The subject is revolved and mirrored to create a void. Rectangles are extruded and placed in the void. Others are revolved by themselves and placed in the air.
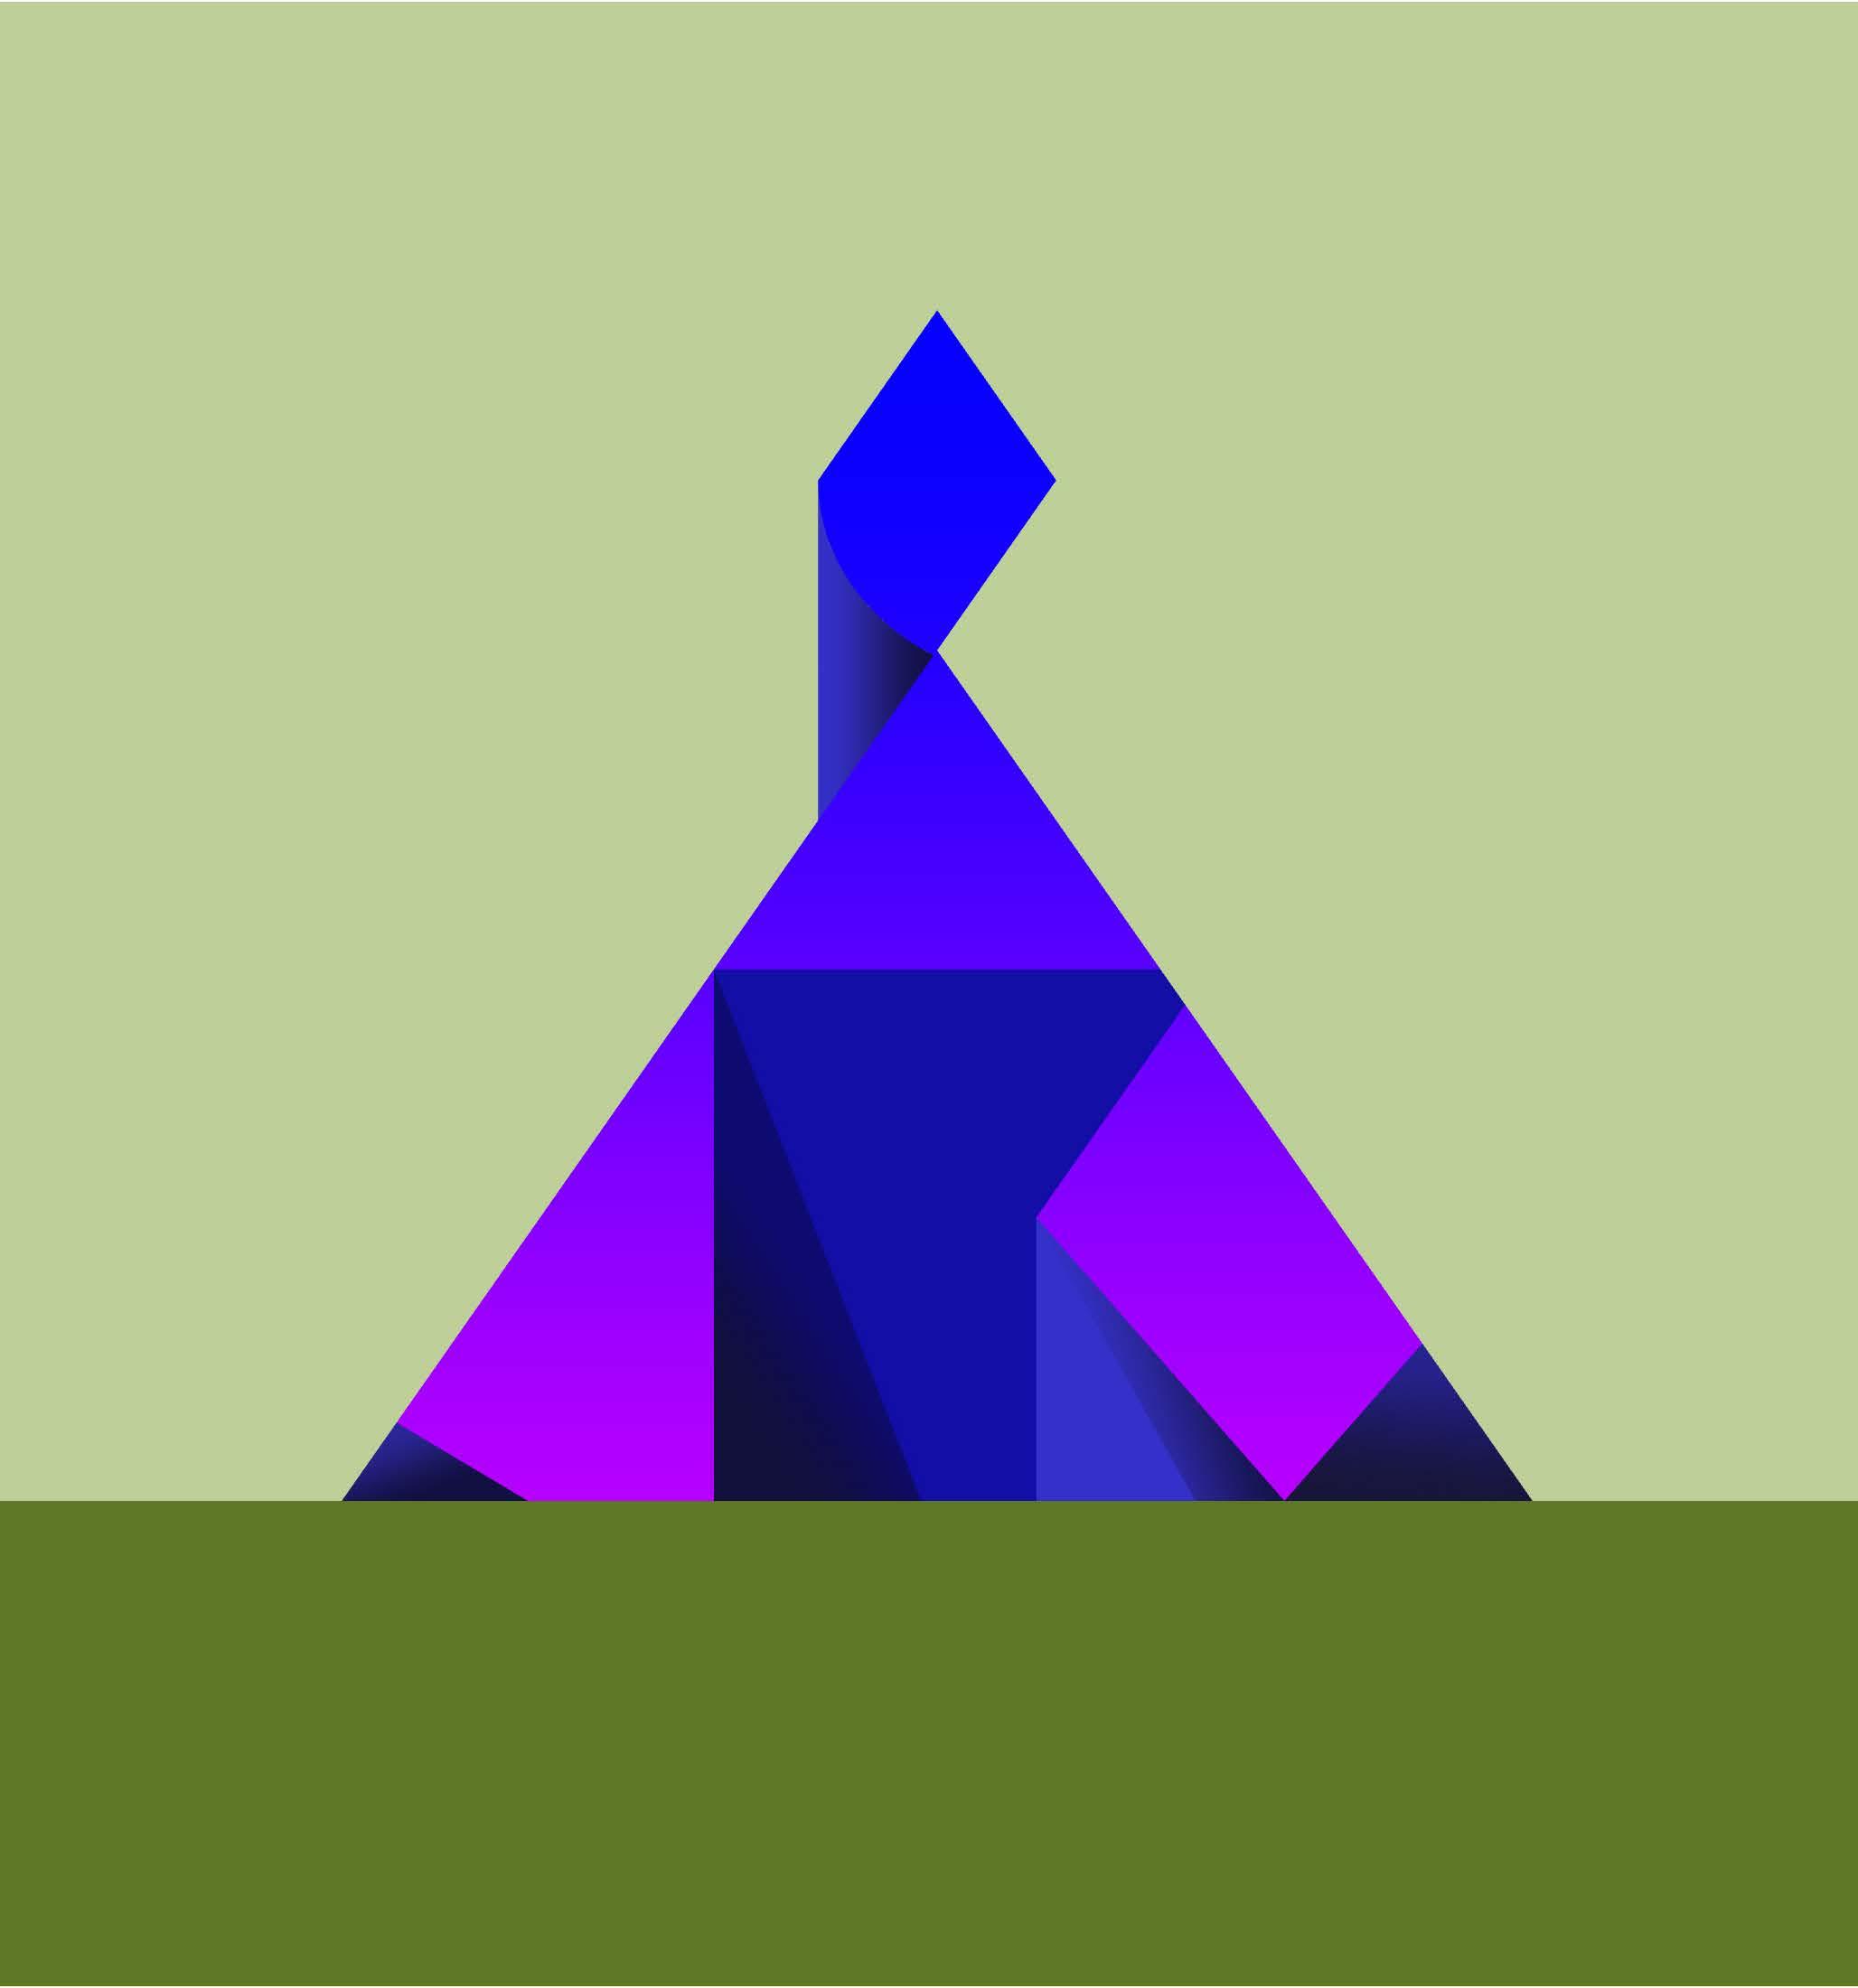
The model began with a cut triangle. I rearranged the components and extruded them following a gradation. I taped the extrusions to the peak of the whole model and mirrored every component except the center. The eventual digital model is formed by aligning the pieces on the opposite side.

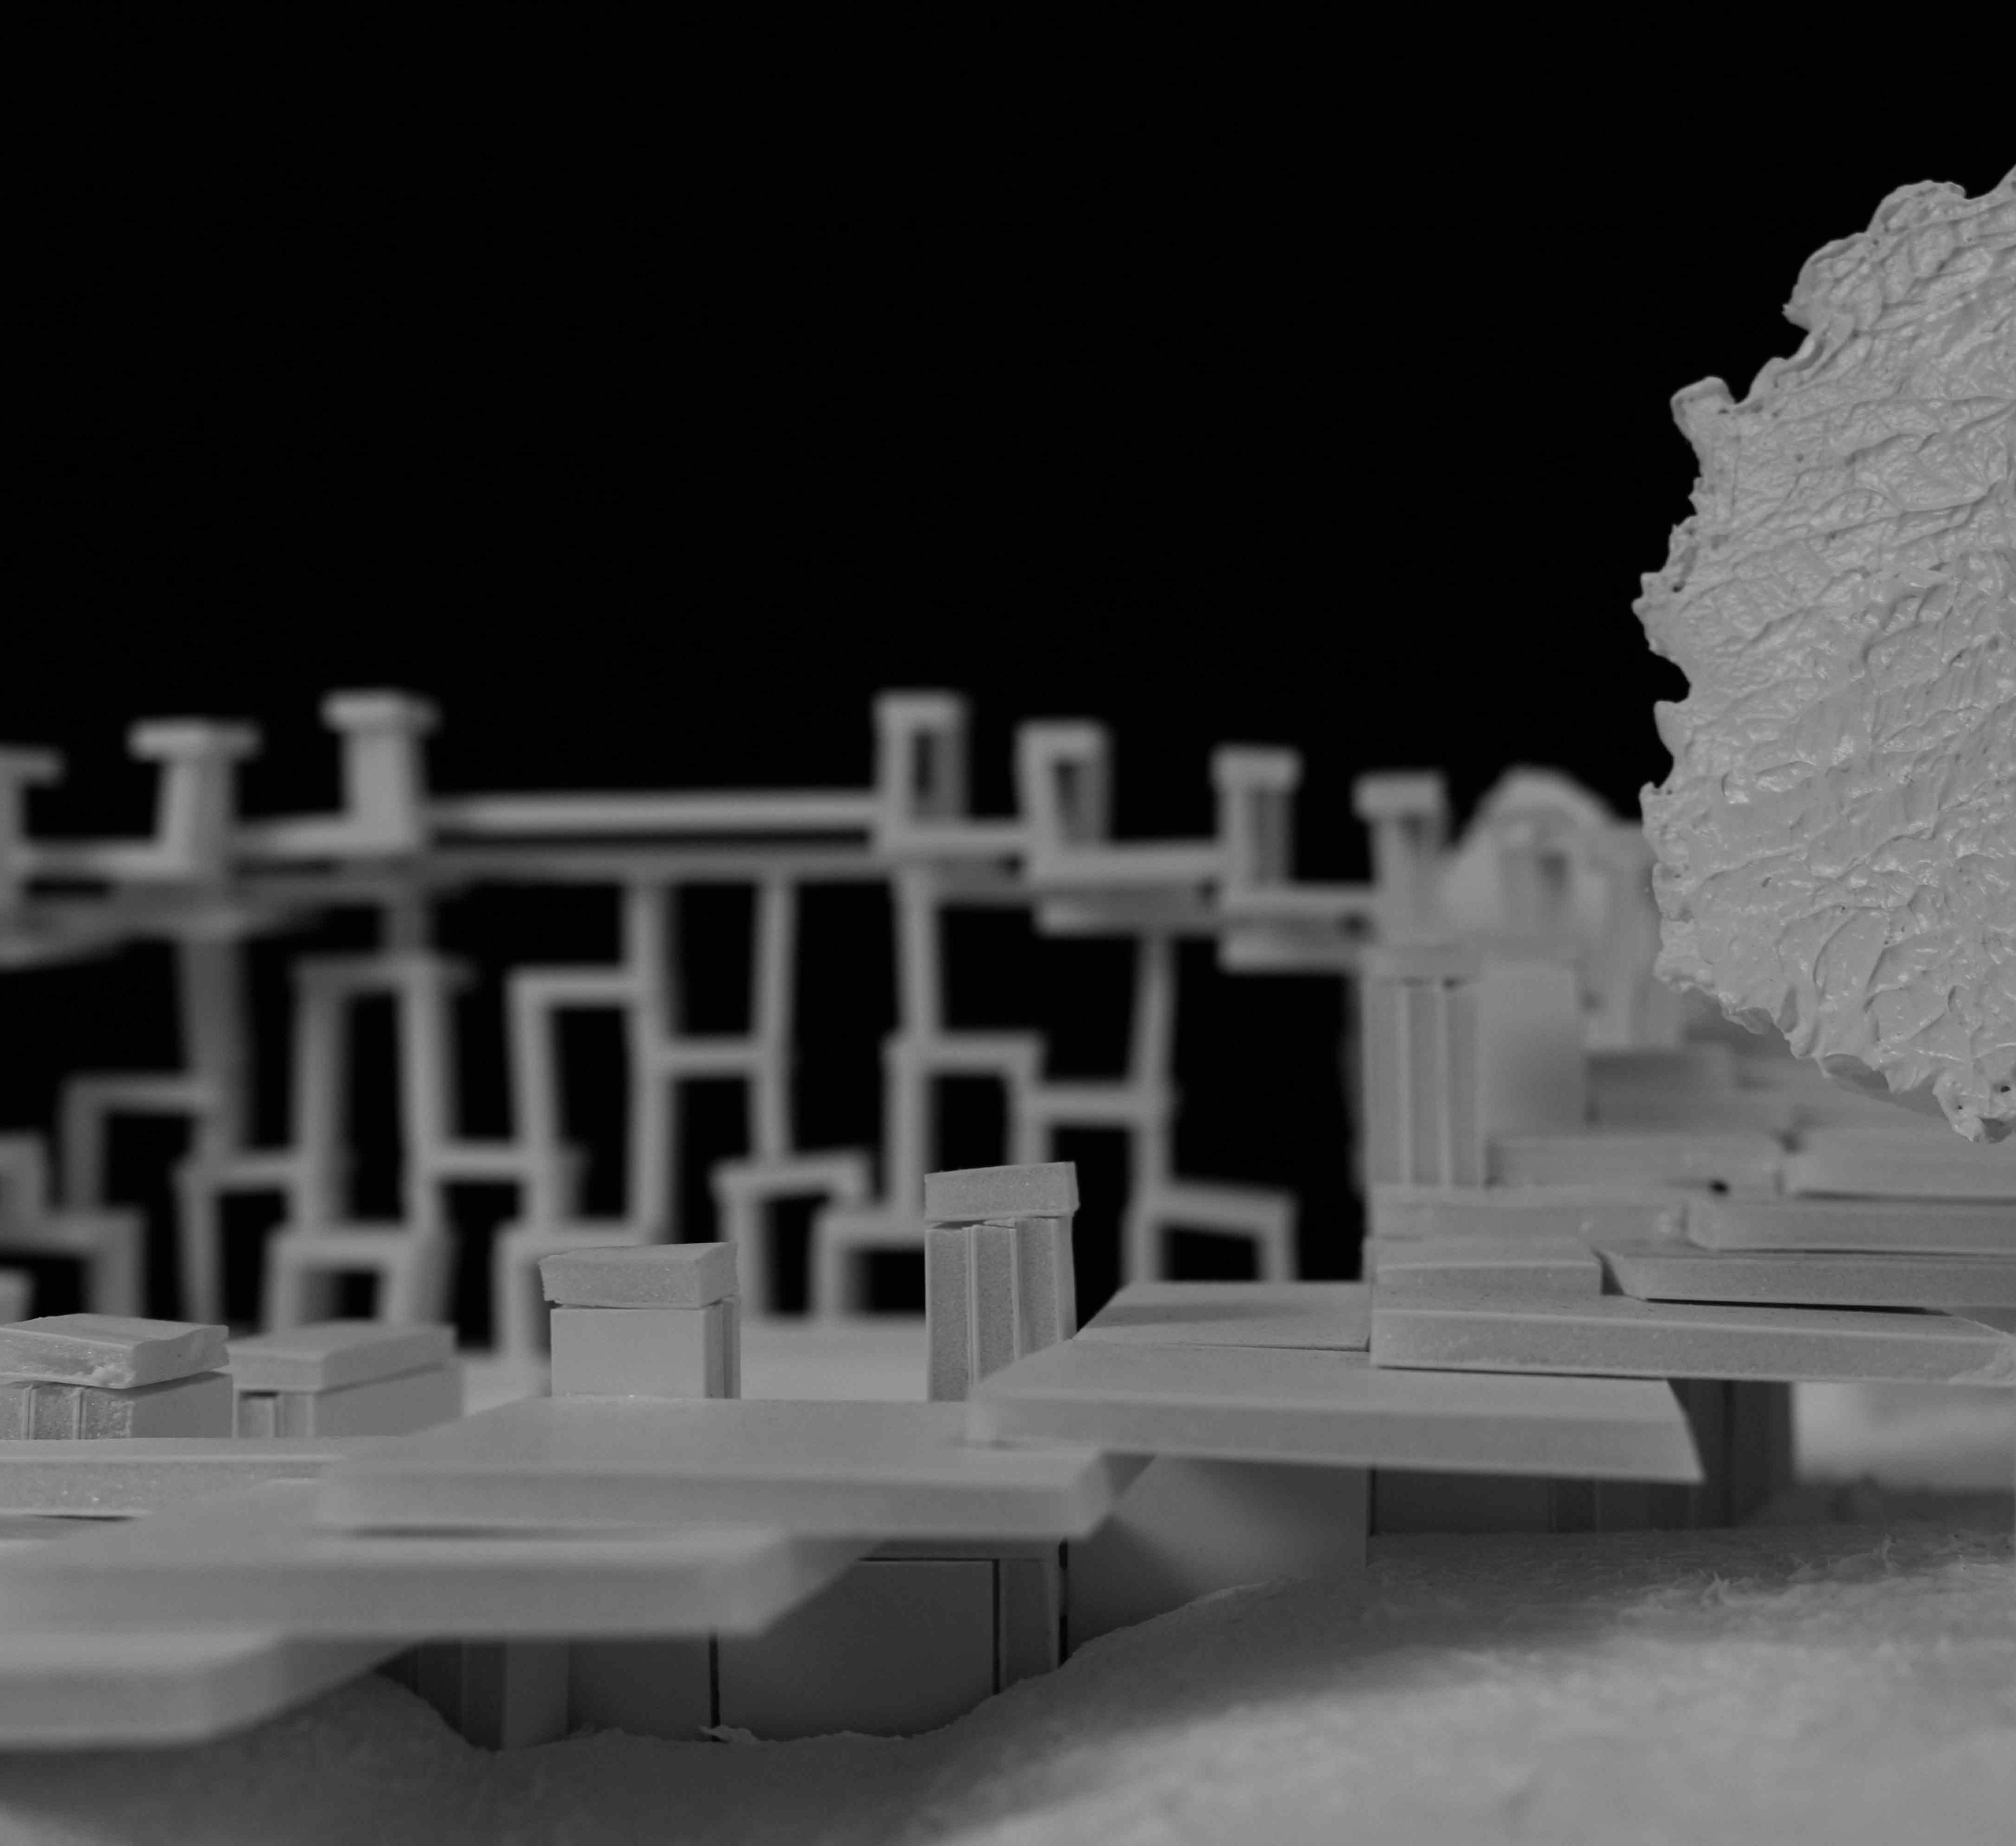
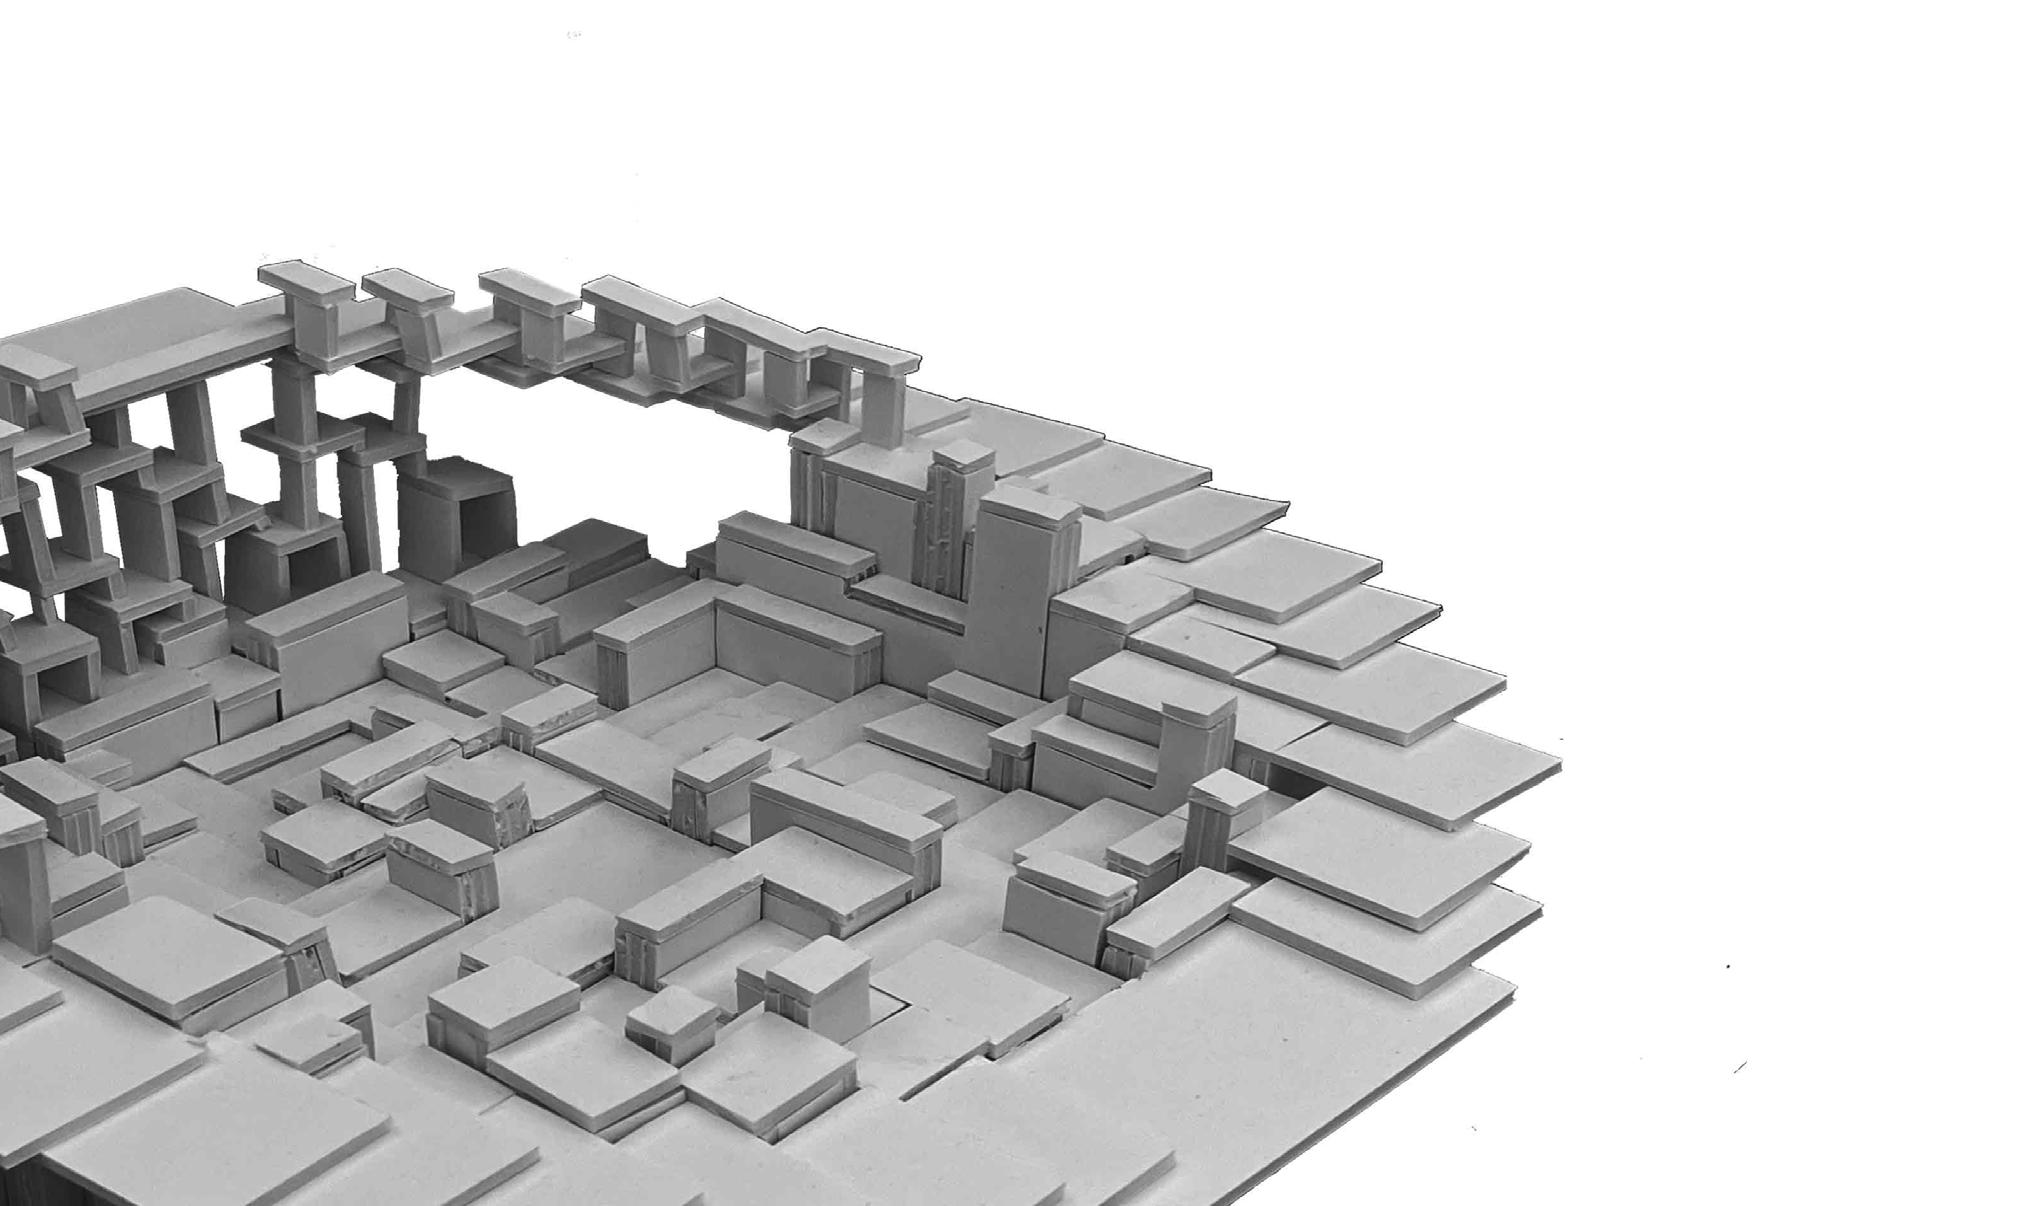
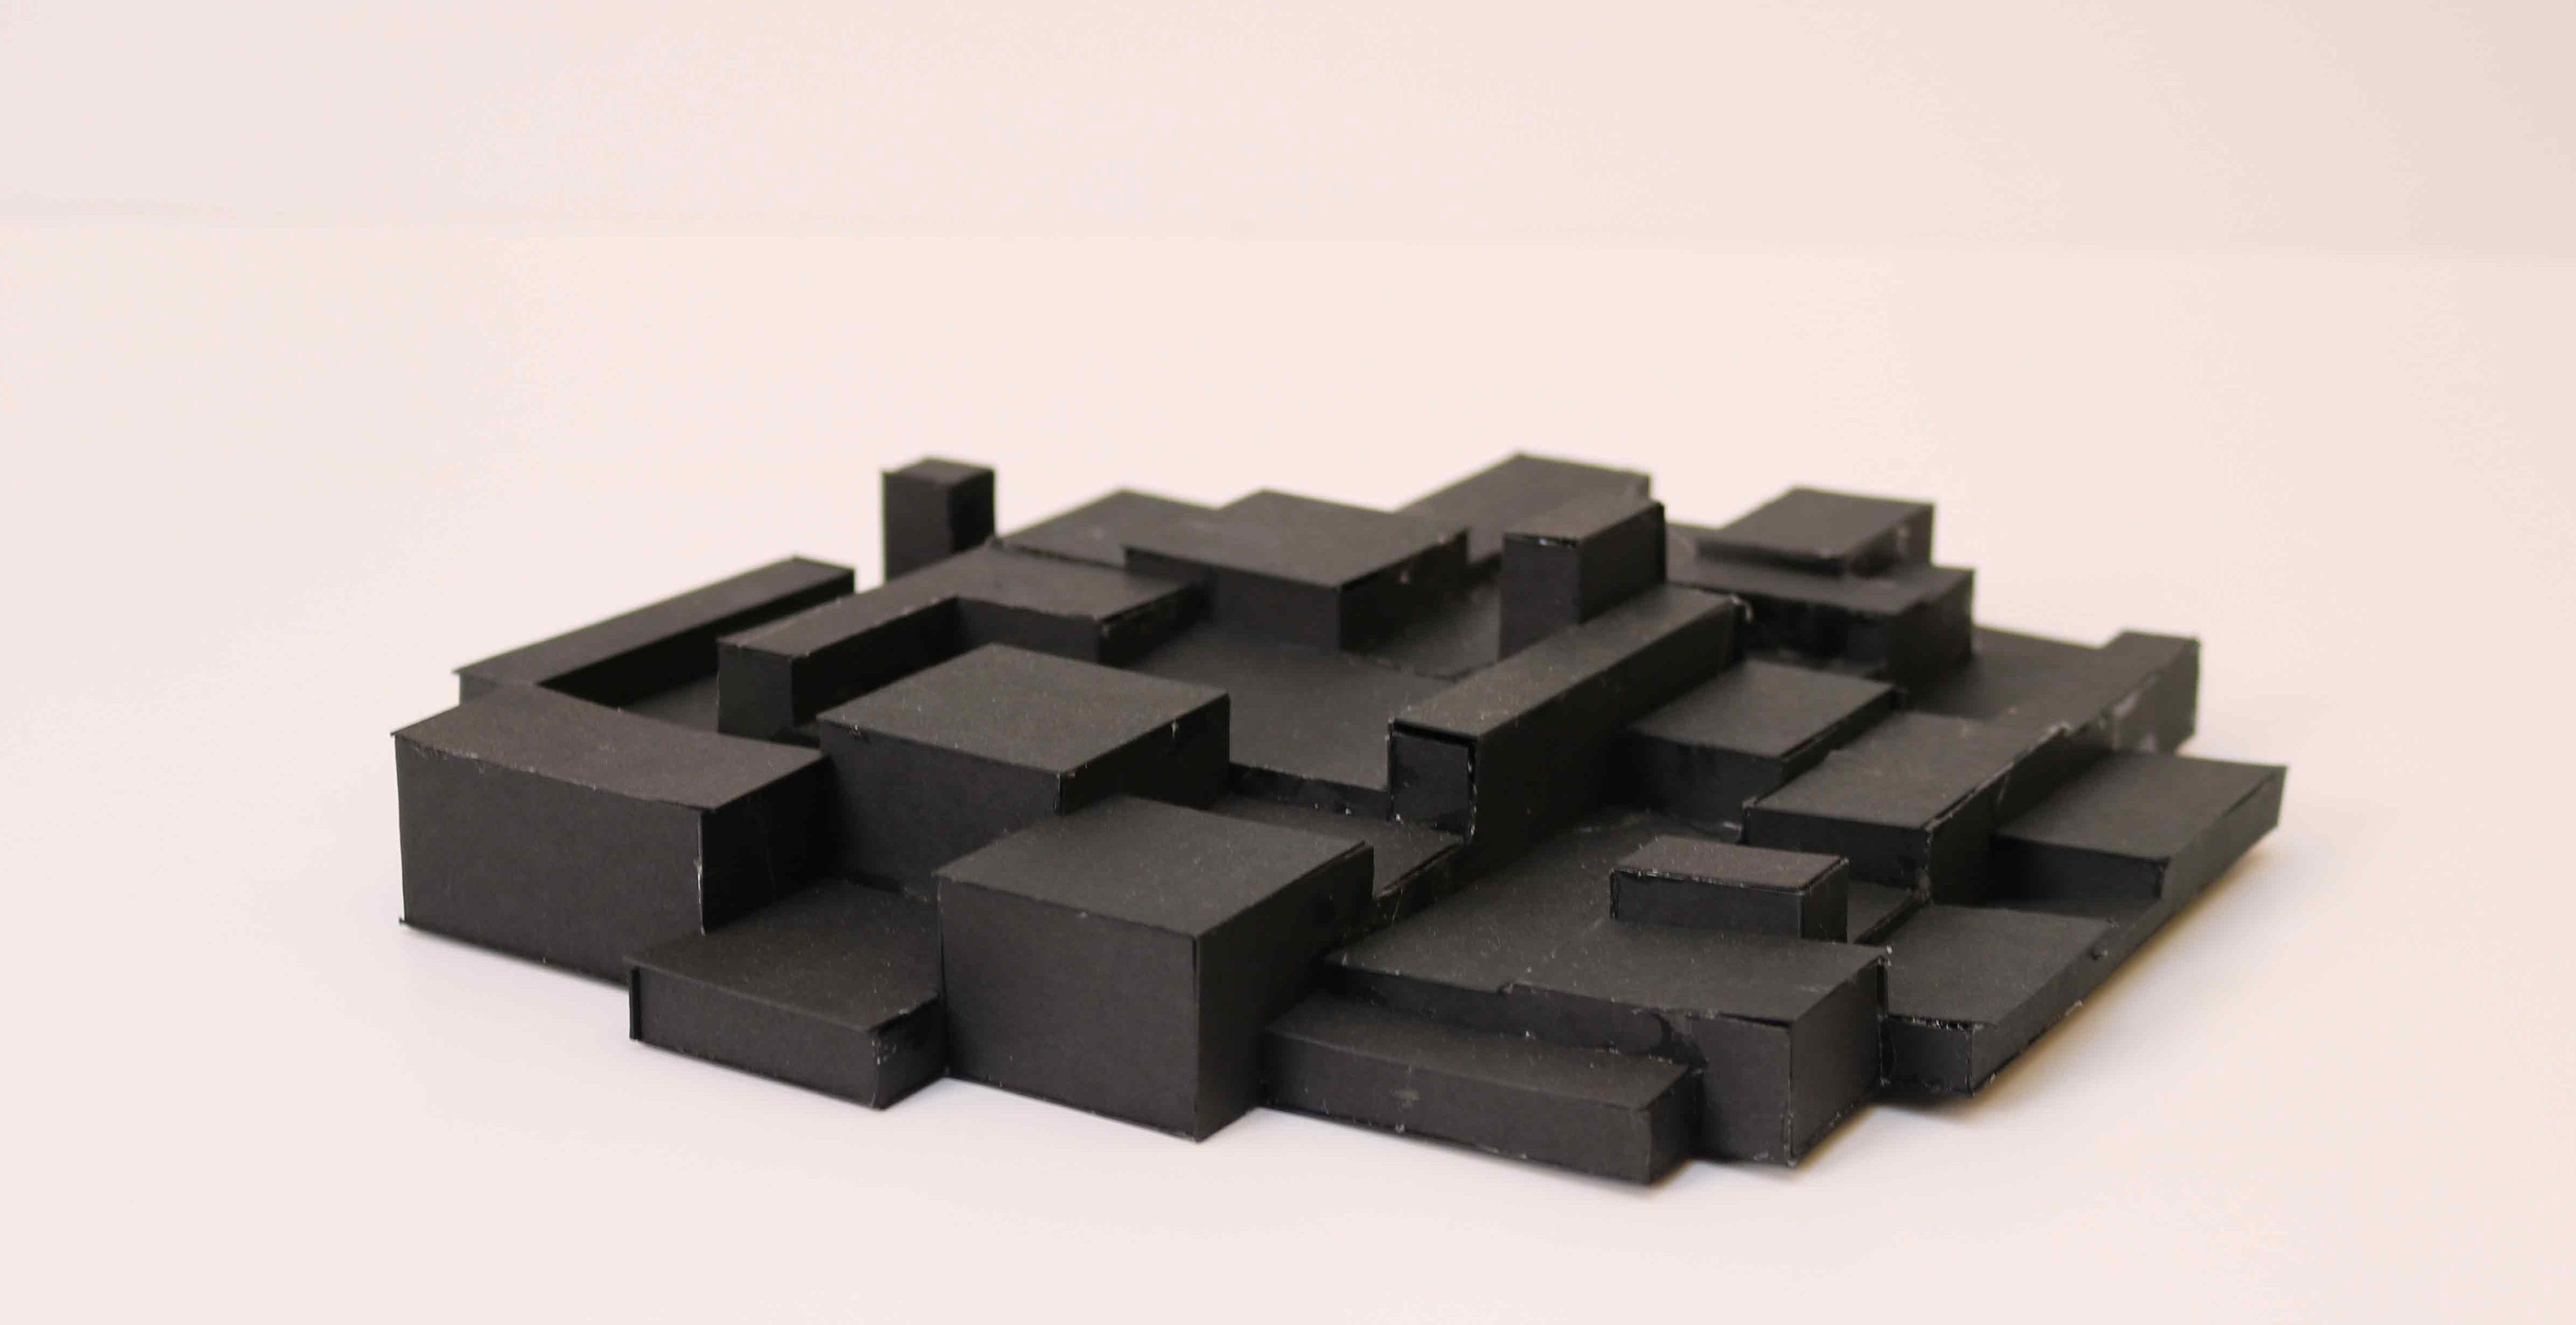
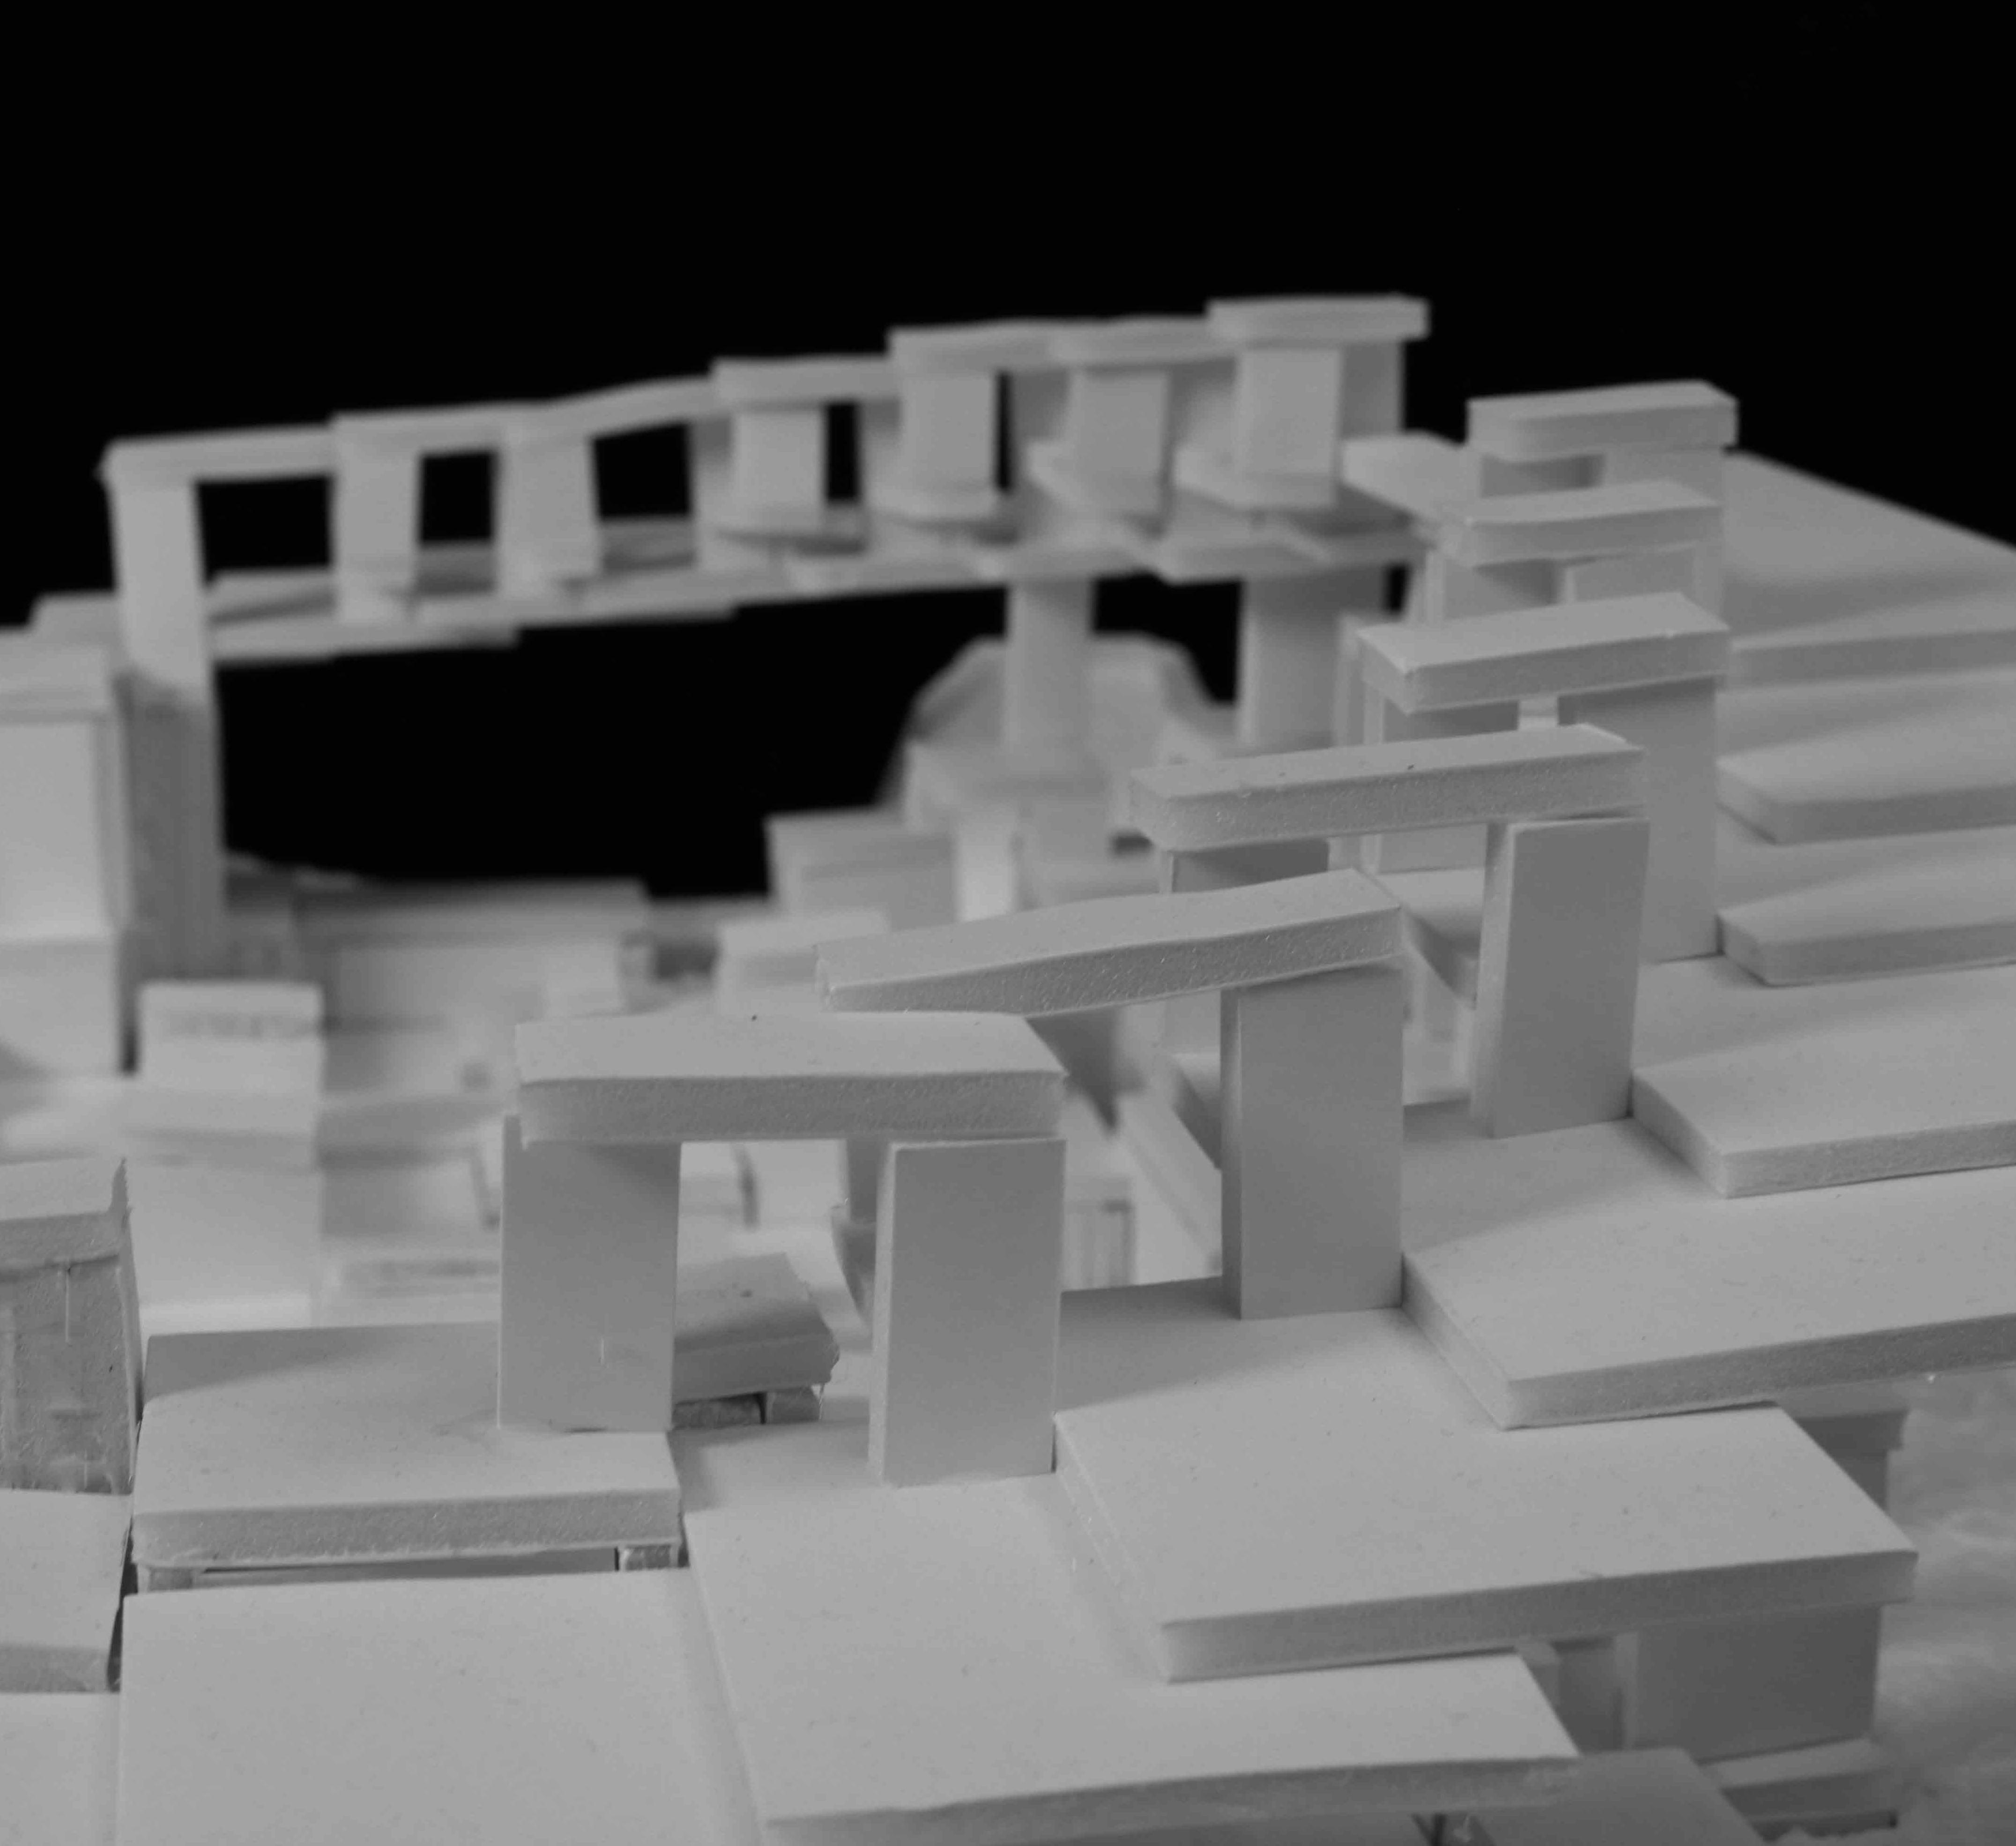
This pavilion is designed for 100 ceramics from the Everson Museum. The focus of the pavilion is the interactivity between the visitors and the ceramics. Visitors are free to get an overview of the place, sit in a series of ceramics, or get close to a particular one. The form gives visitors of different interests and ages enormous flexibility in experiencing the space.
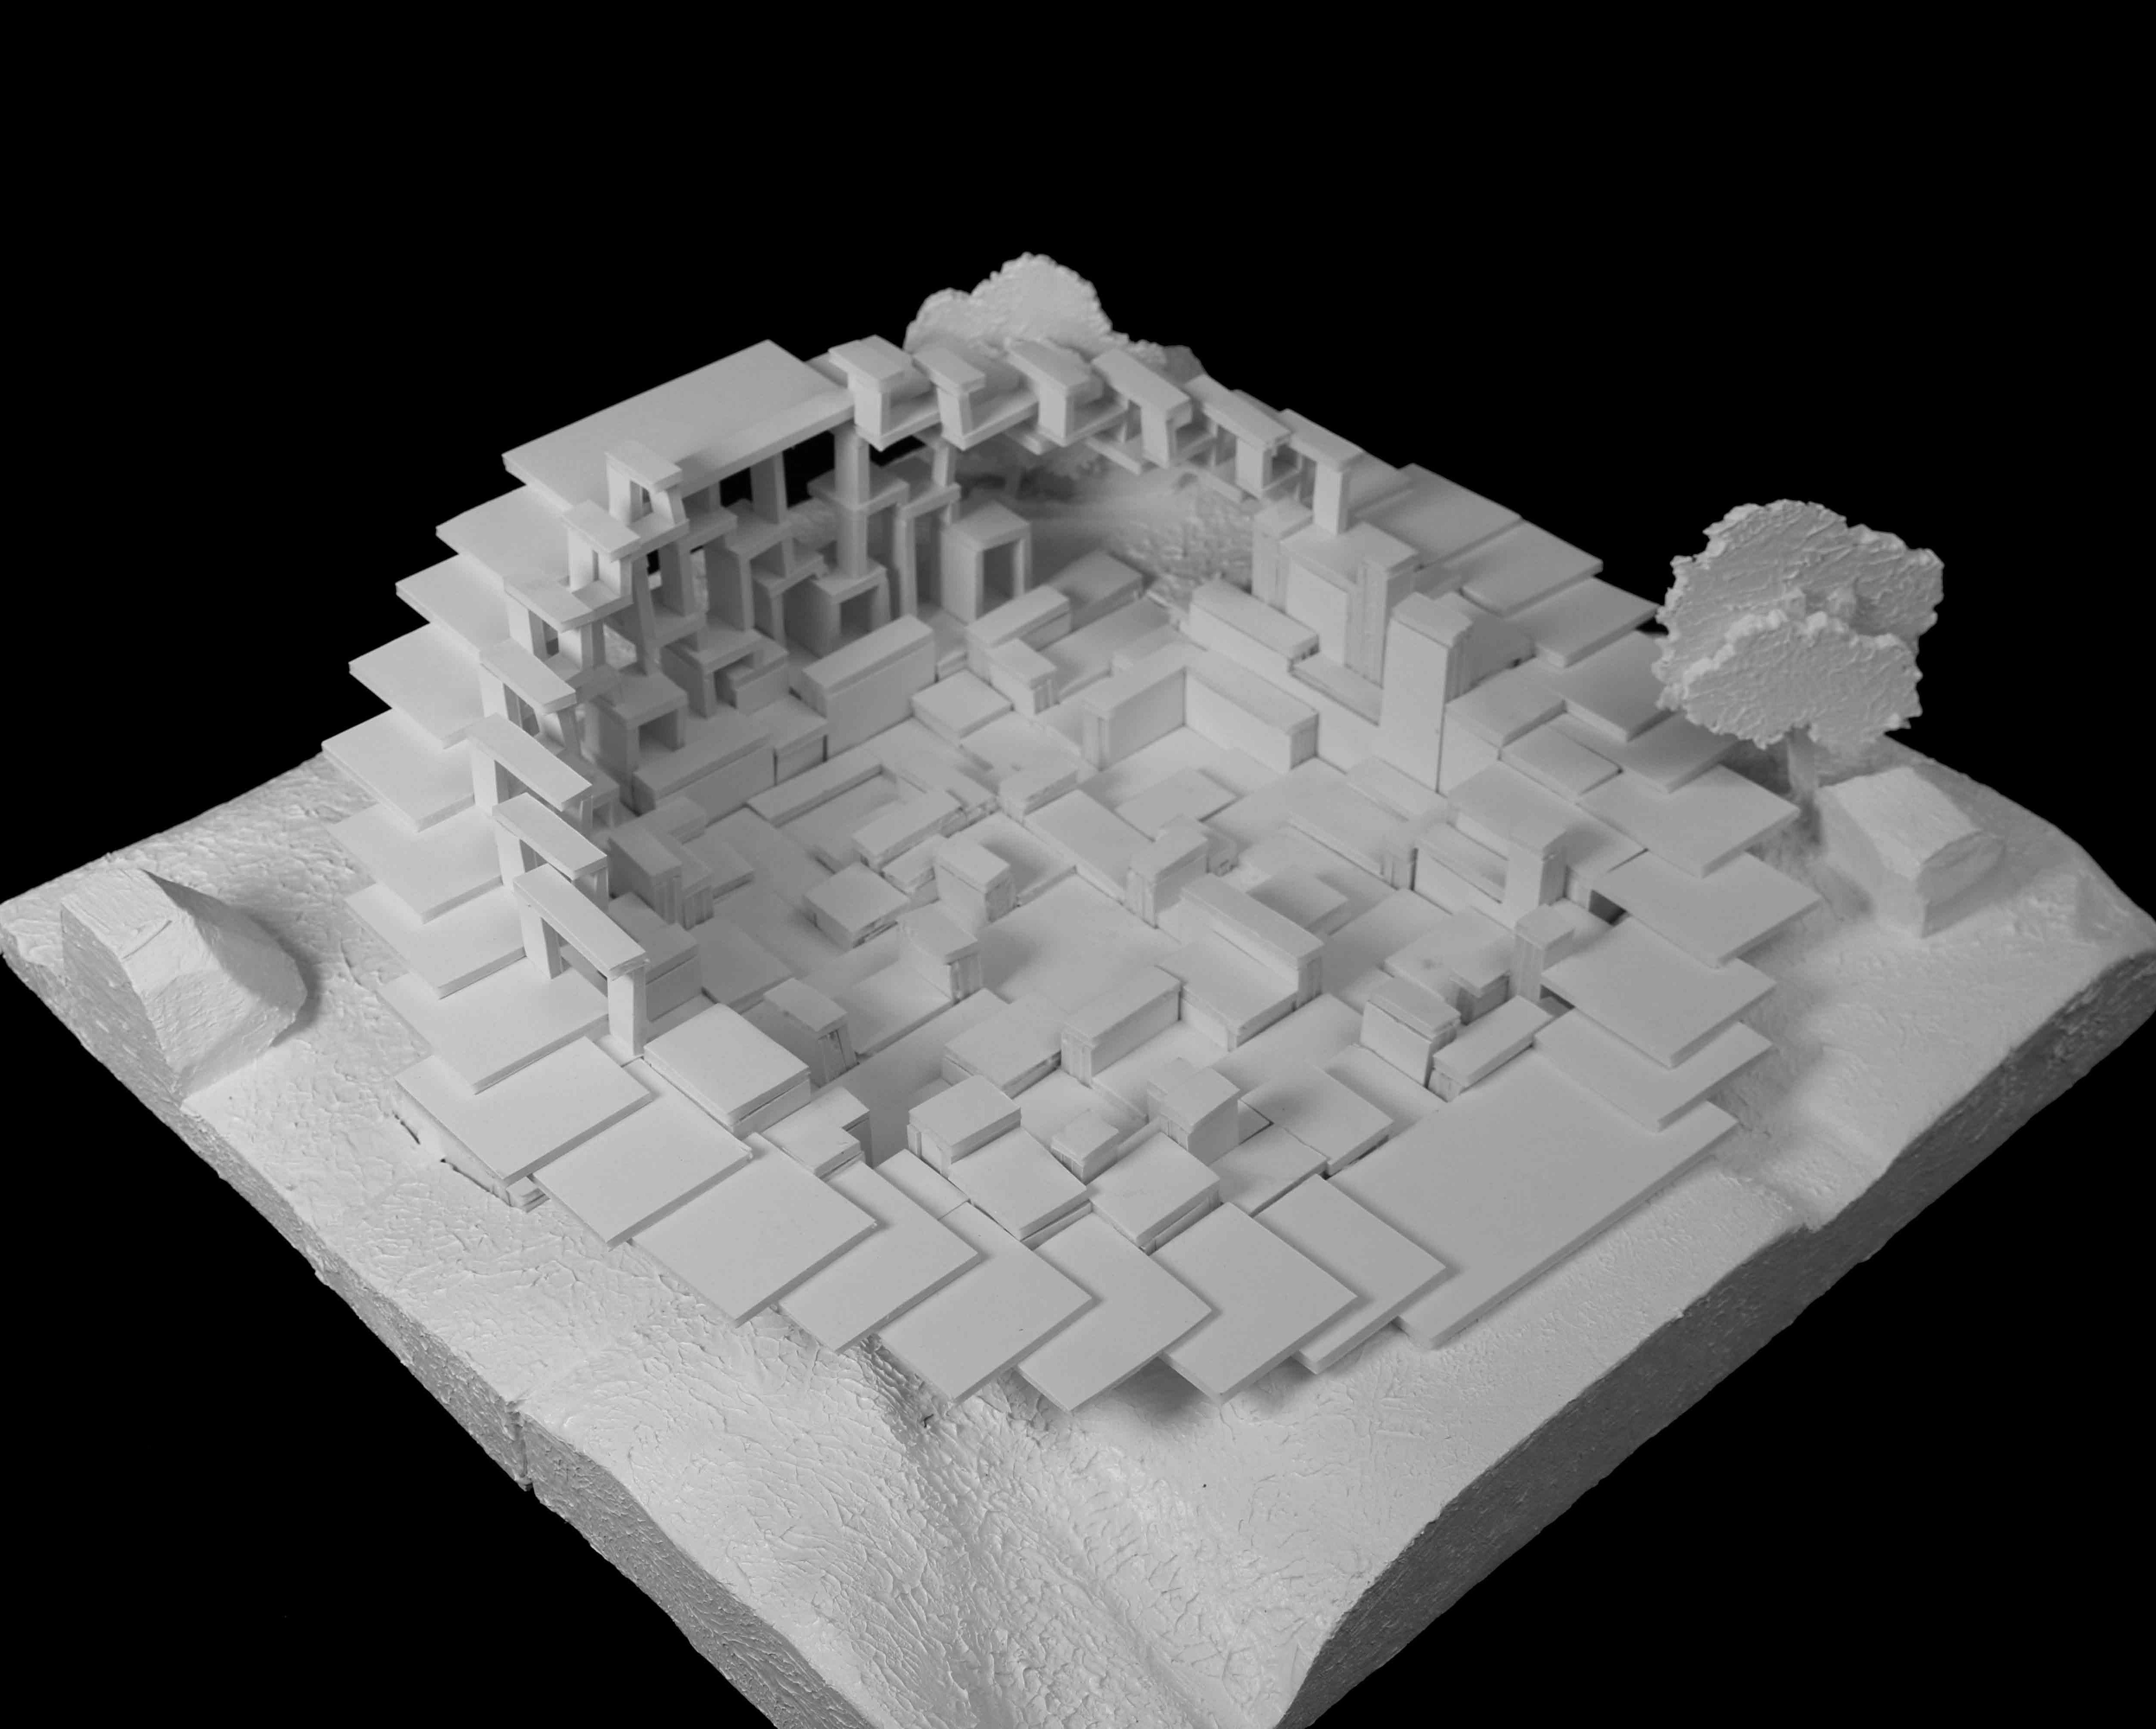
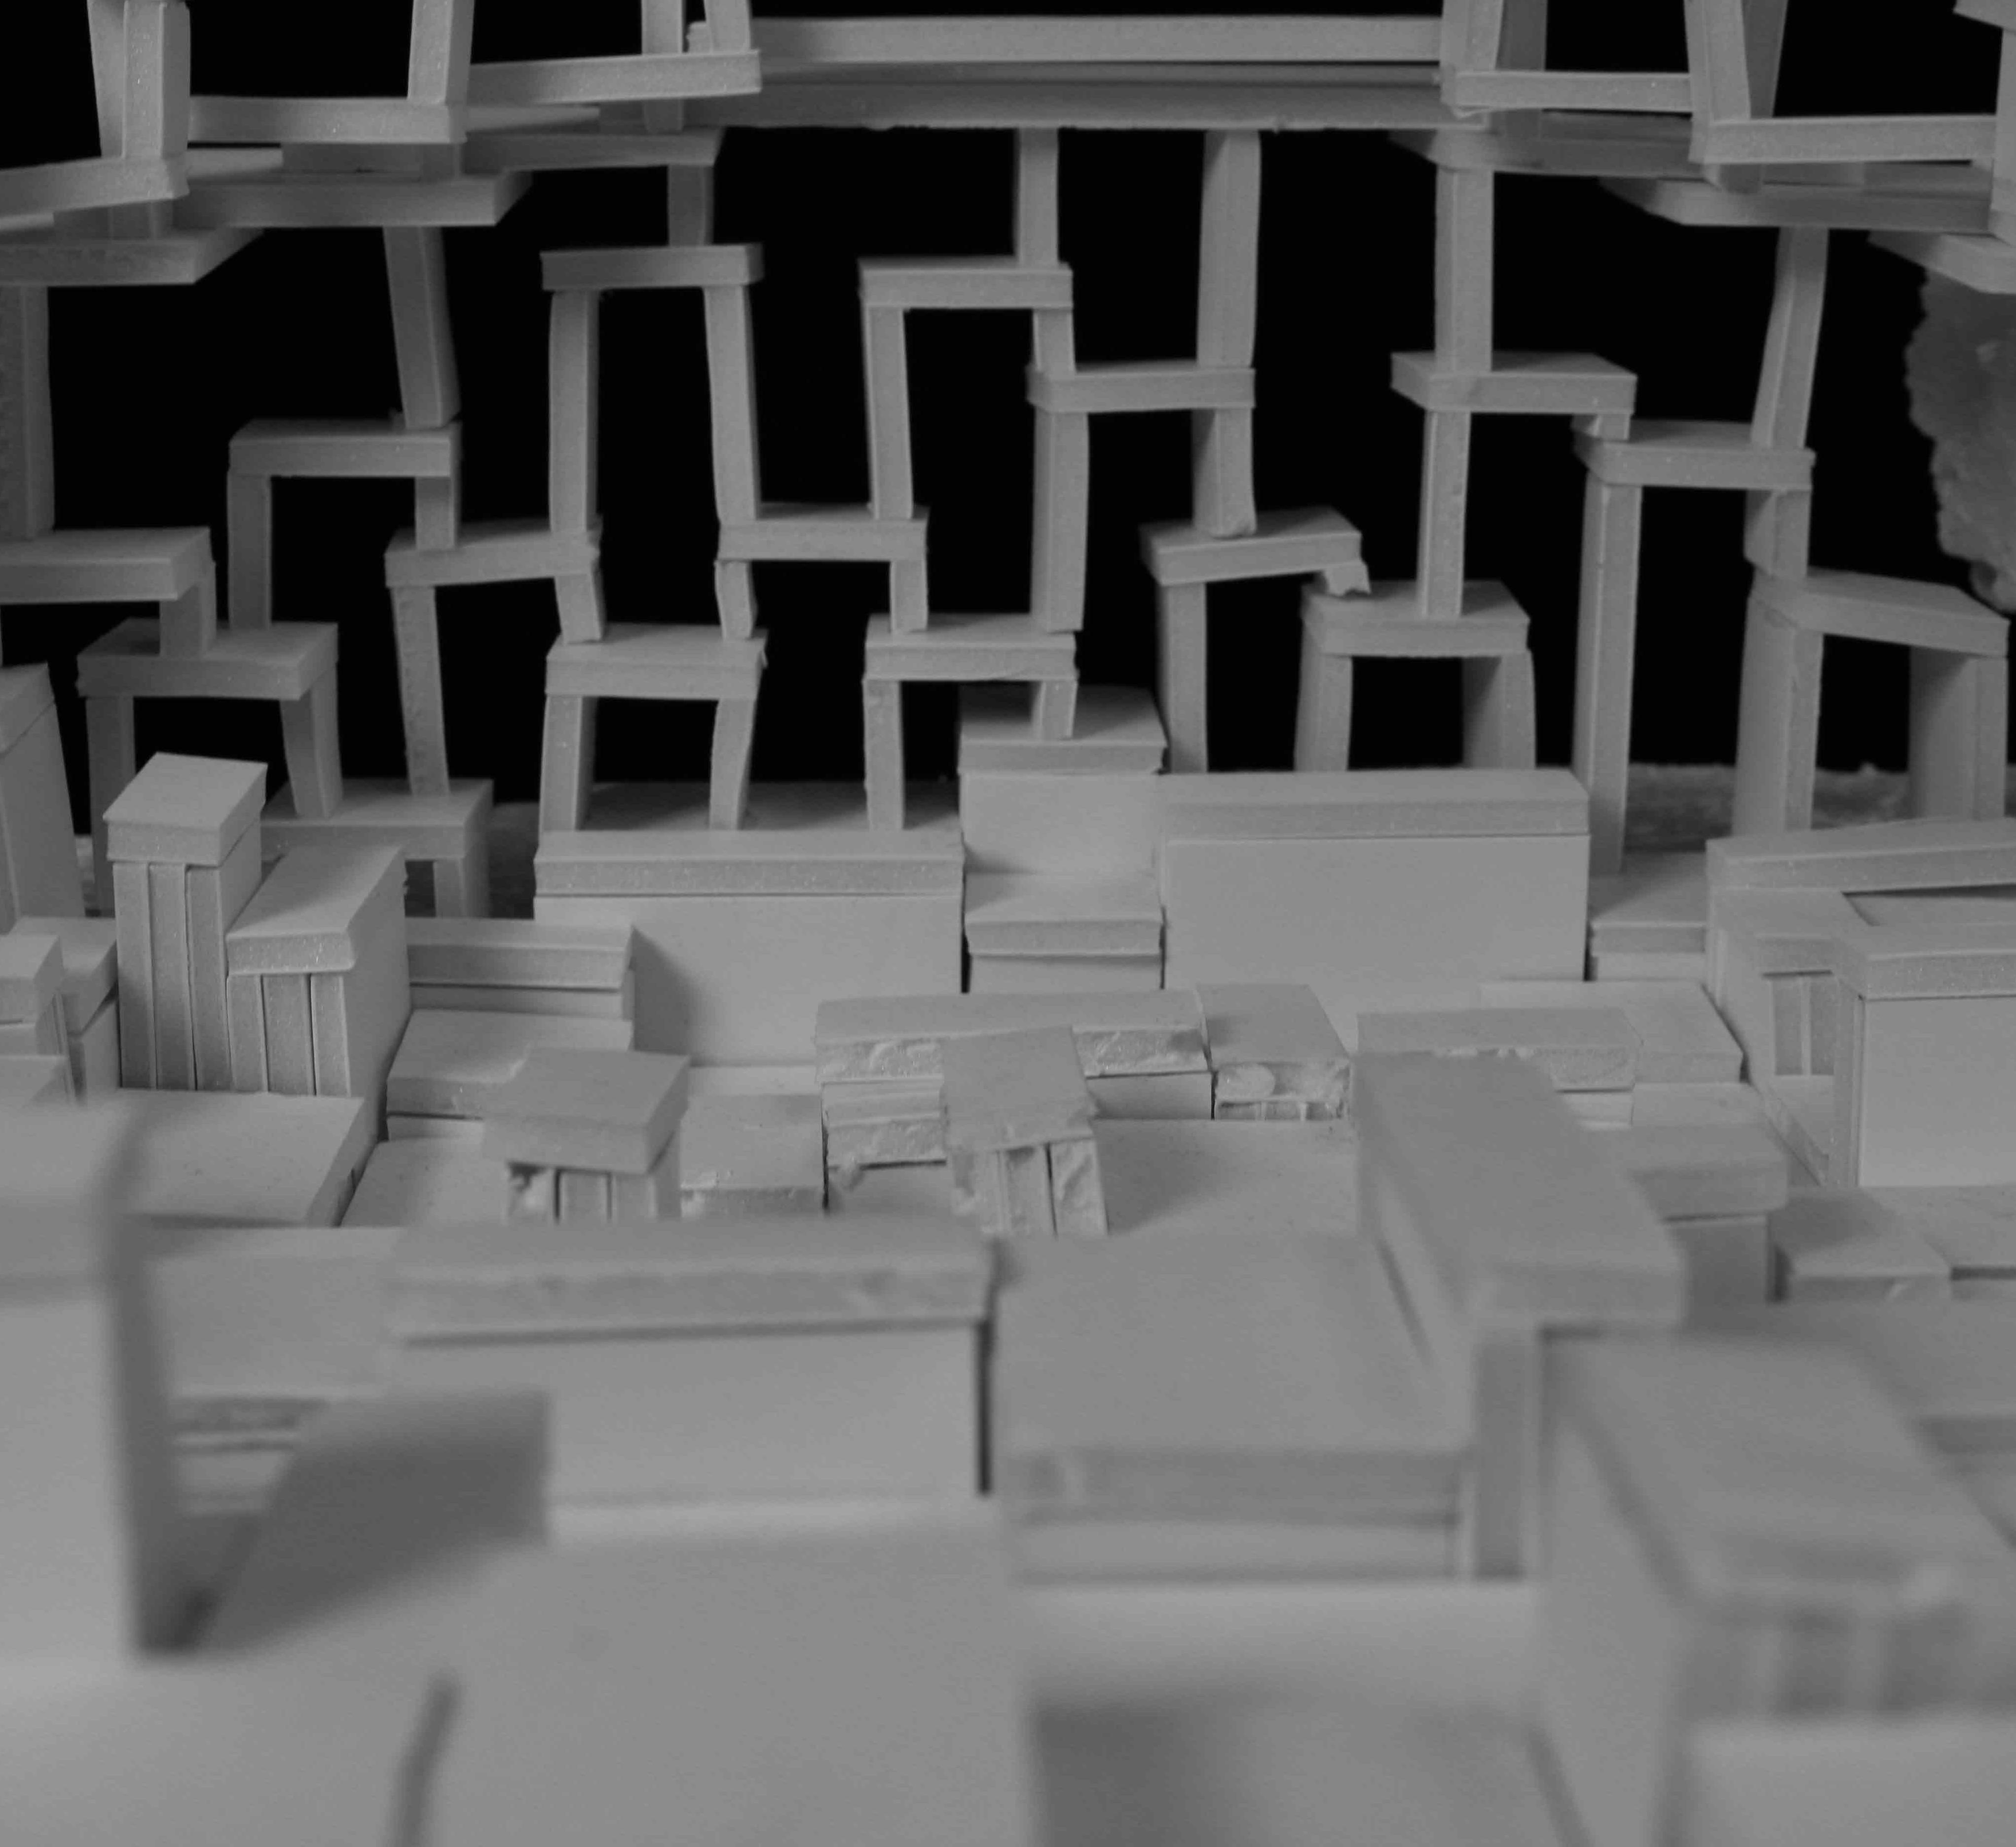
Black paper models shown in the pictures are study models. They help me to develop the expe rience of visitors. I believe that advantages should be taken from the number of ceramics, the hierarchy of space, and different viewing angles. I merged the semi-basement and the tower in the change of elevation. I took the geometric extrusion as a fundamental element and developed it with the concept of interaction. W
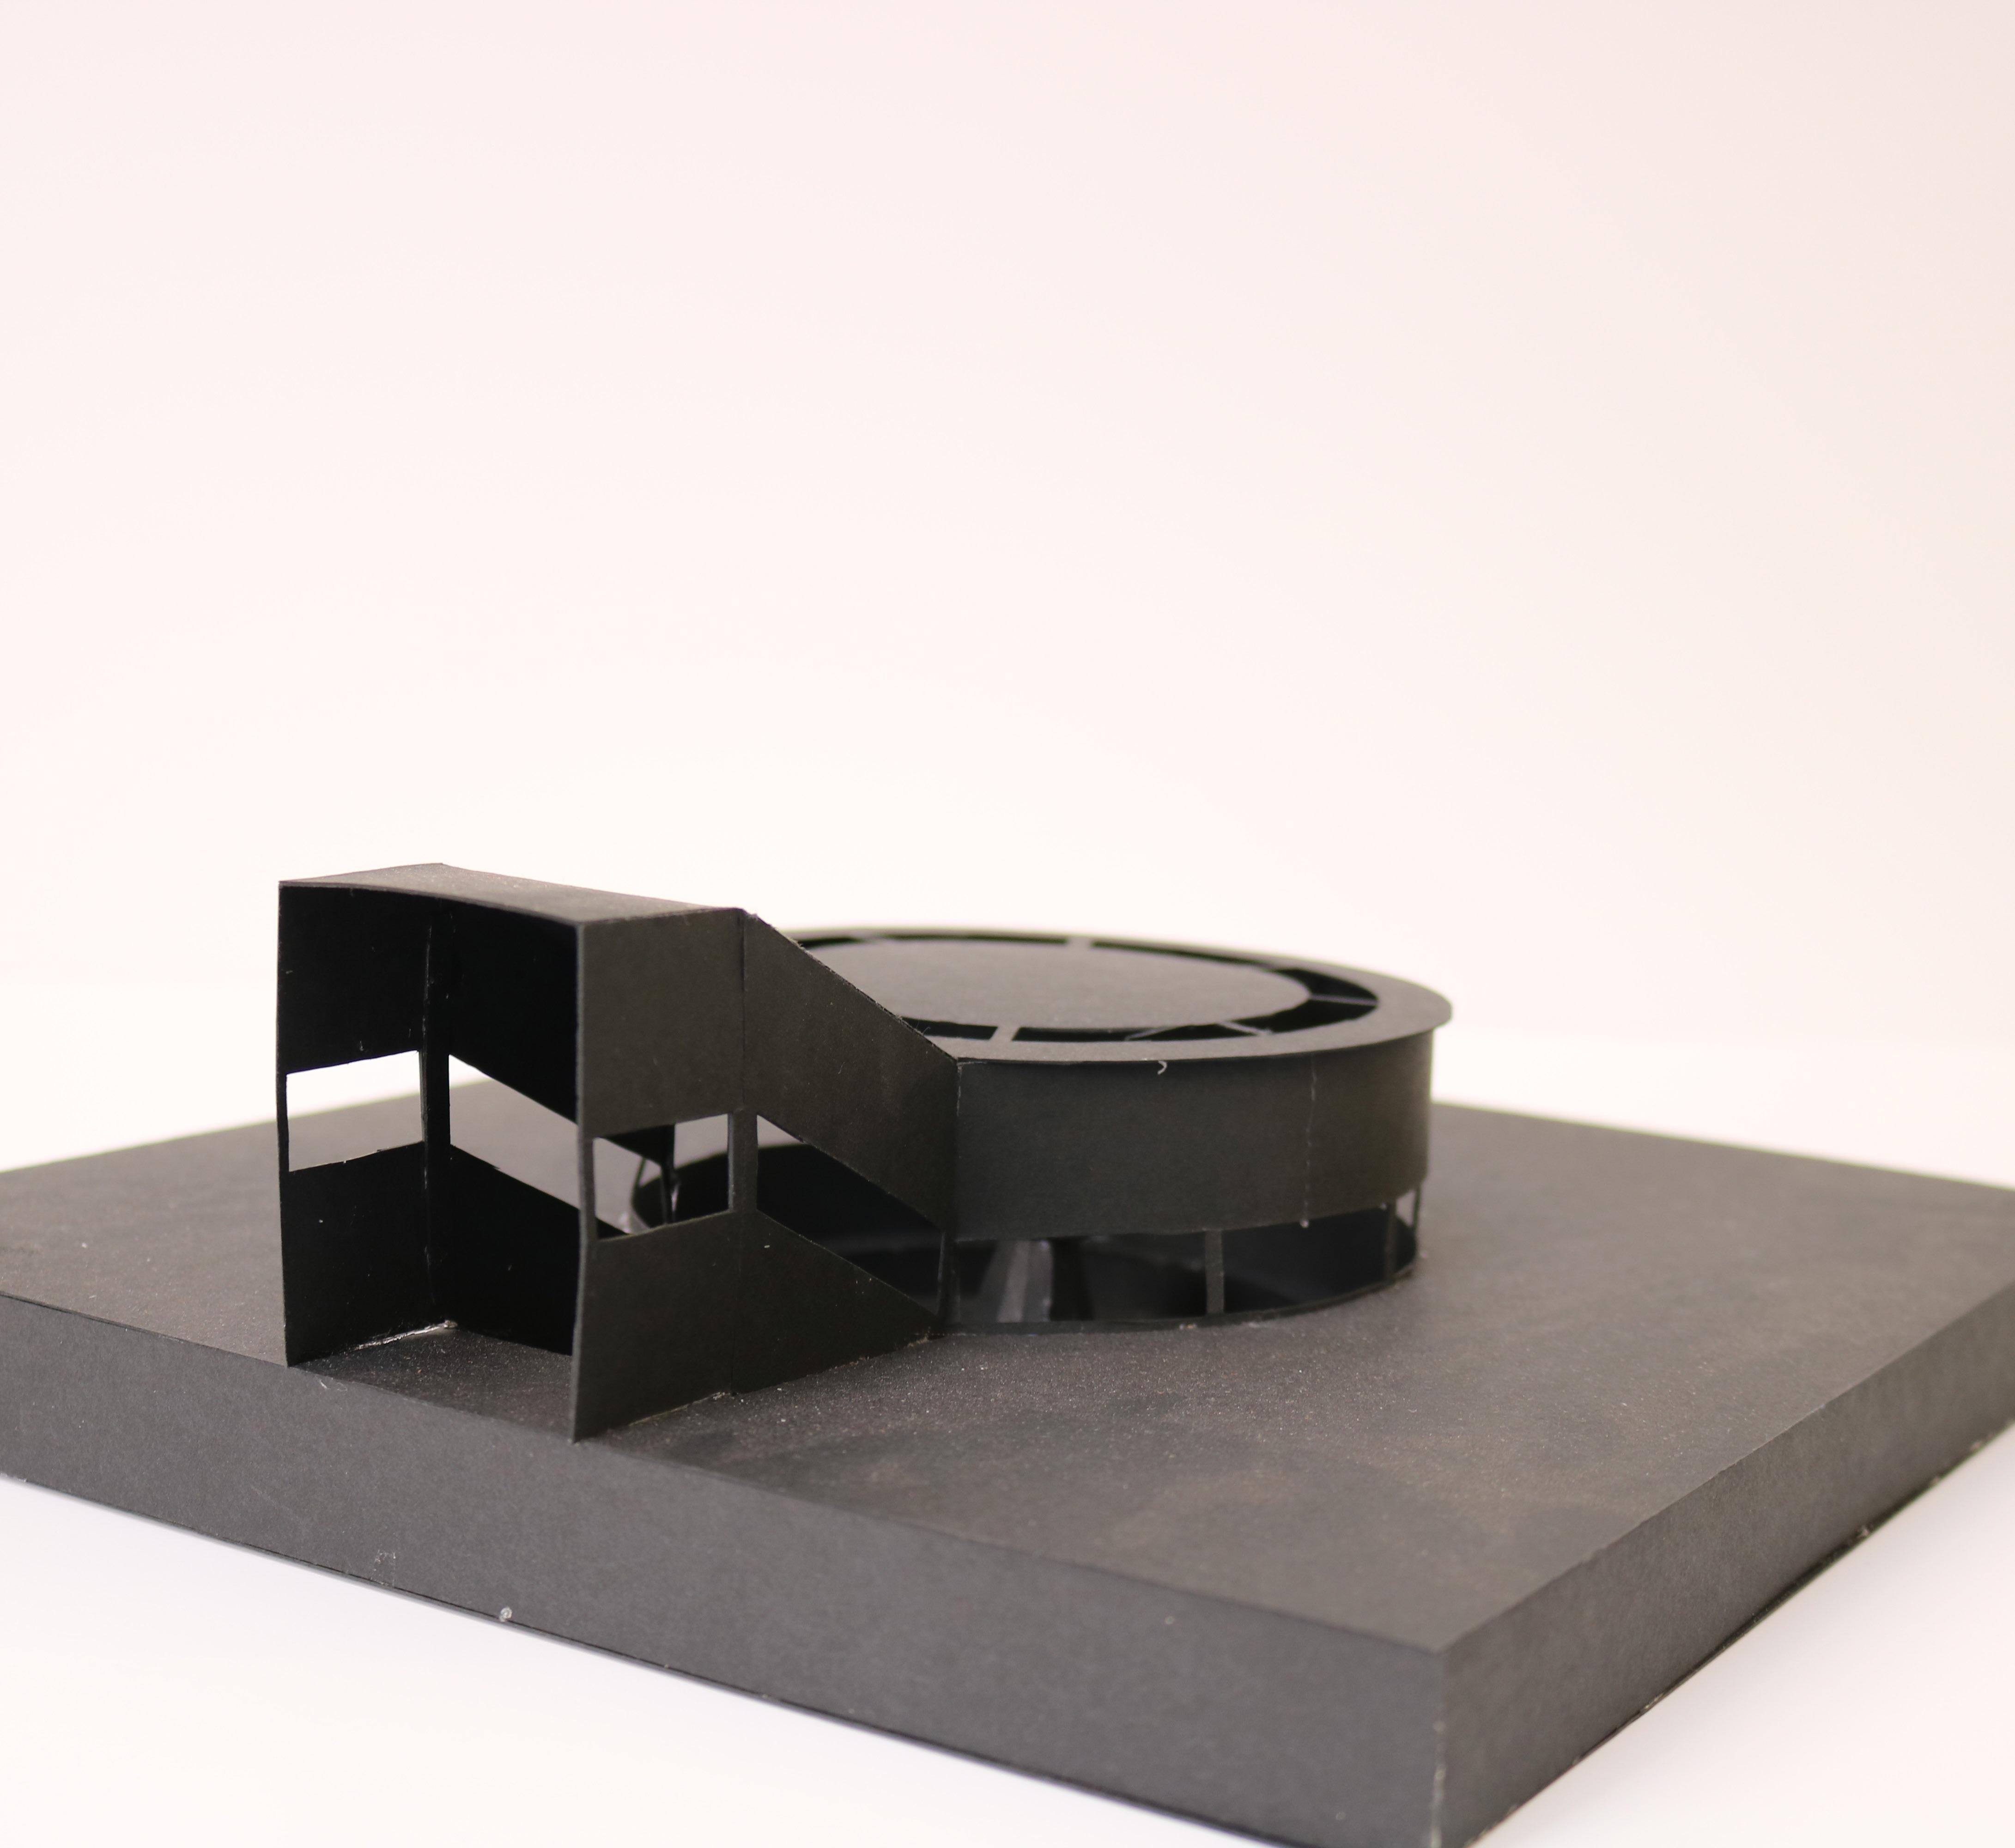
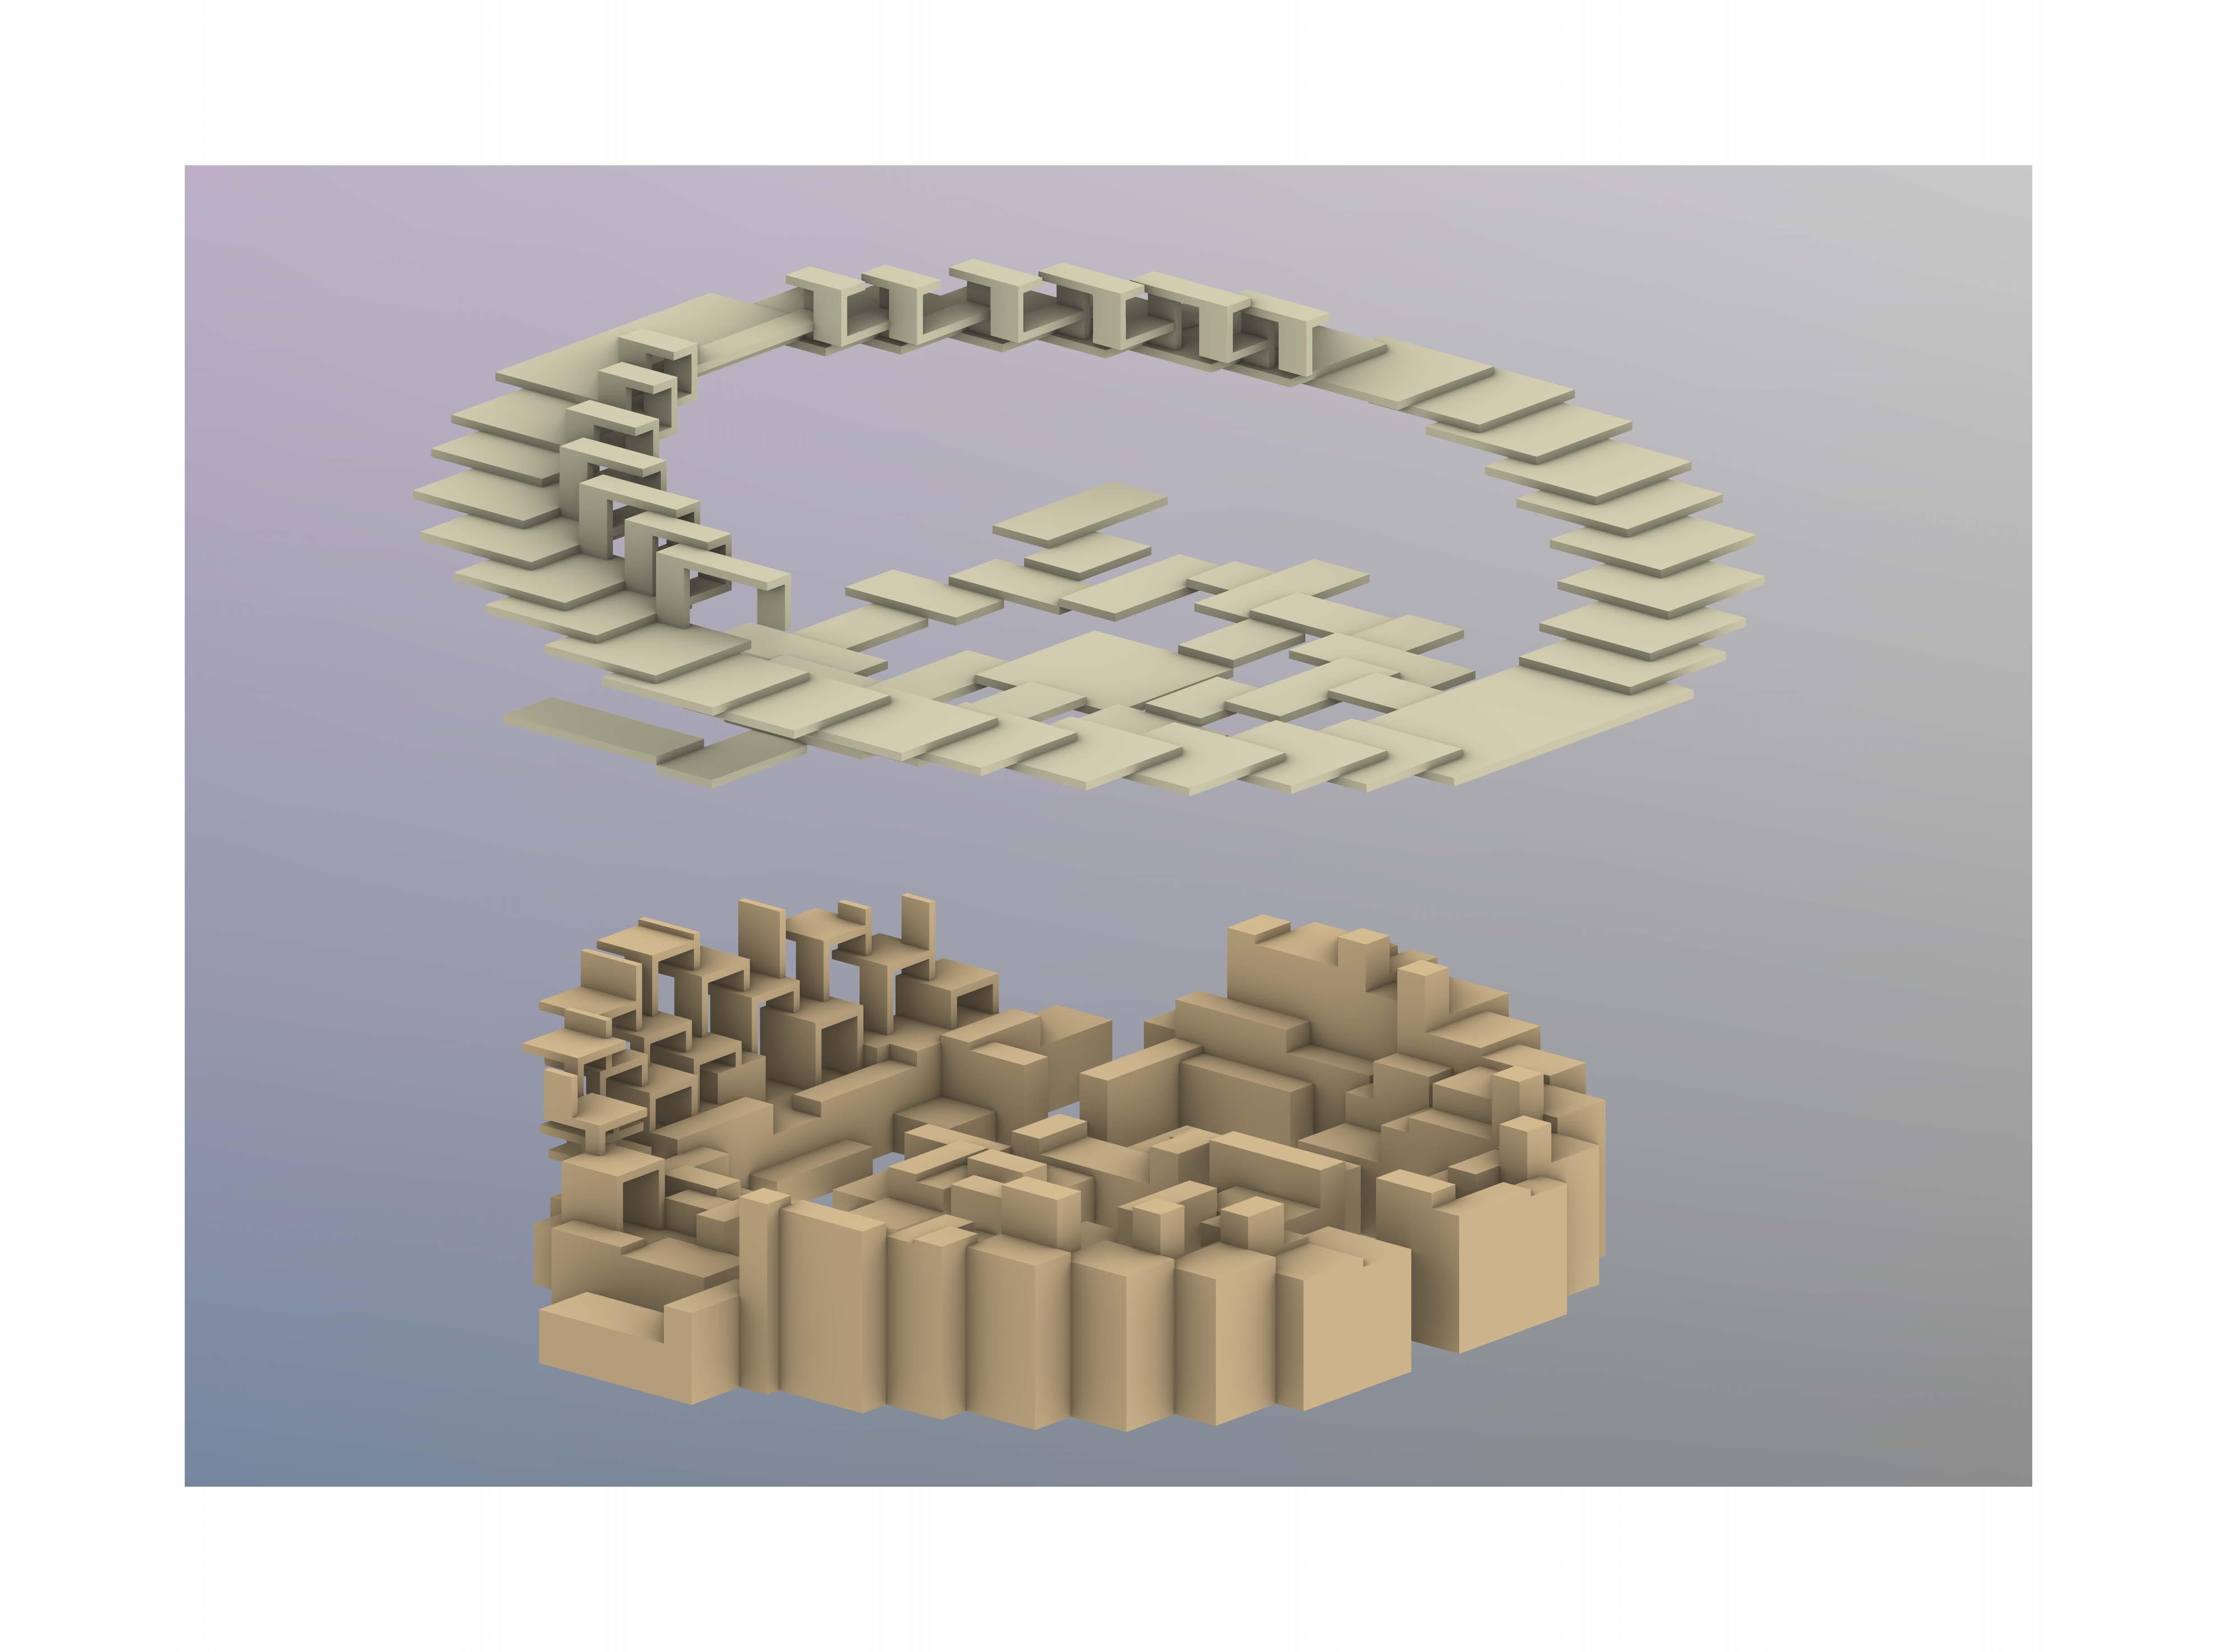
The section drawing is taken from the axis in the middle. The main entrance is on the right, while the highest stage is on the left. As the diagram shows, the pavilion is made up of two parts. The lower part is made up of rectangular extrusions with changes in height corresponding to the land scape. The upper part is made up of circularly-arranged platforms. Visitors are able to get an over view of the whole pavilion on the stage.

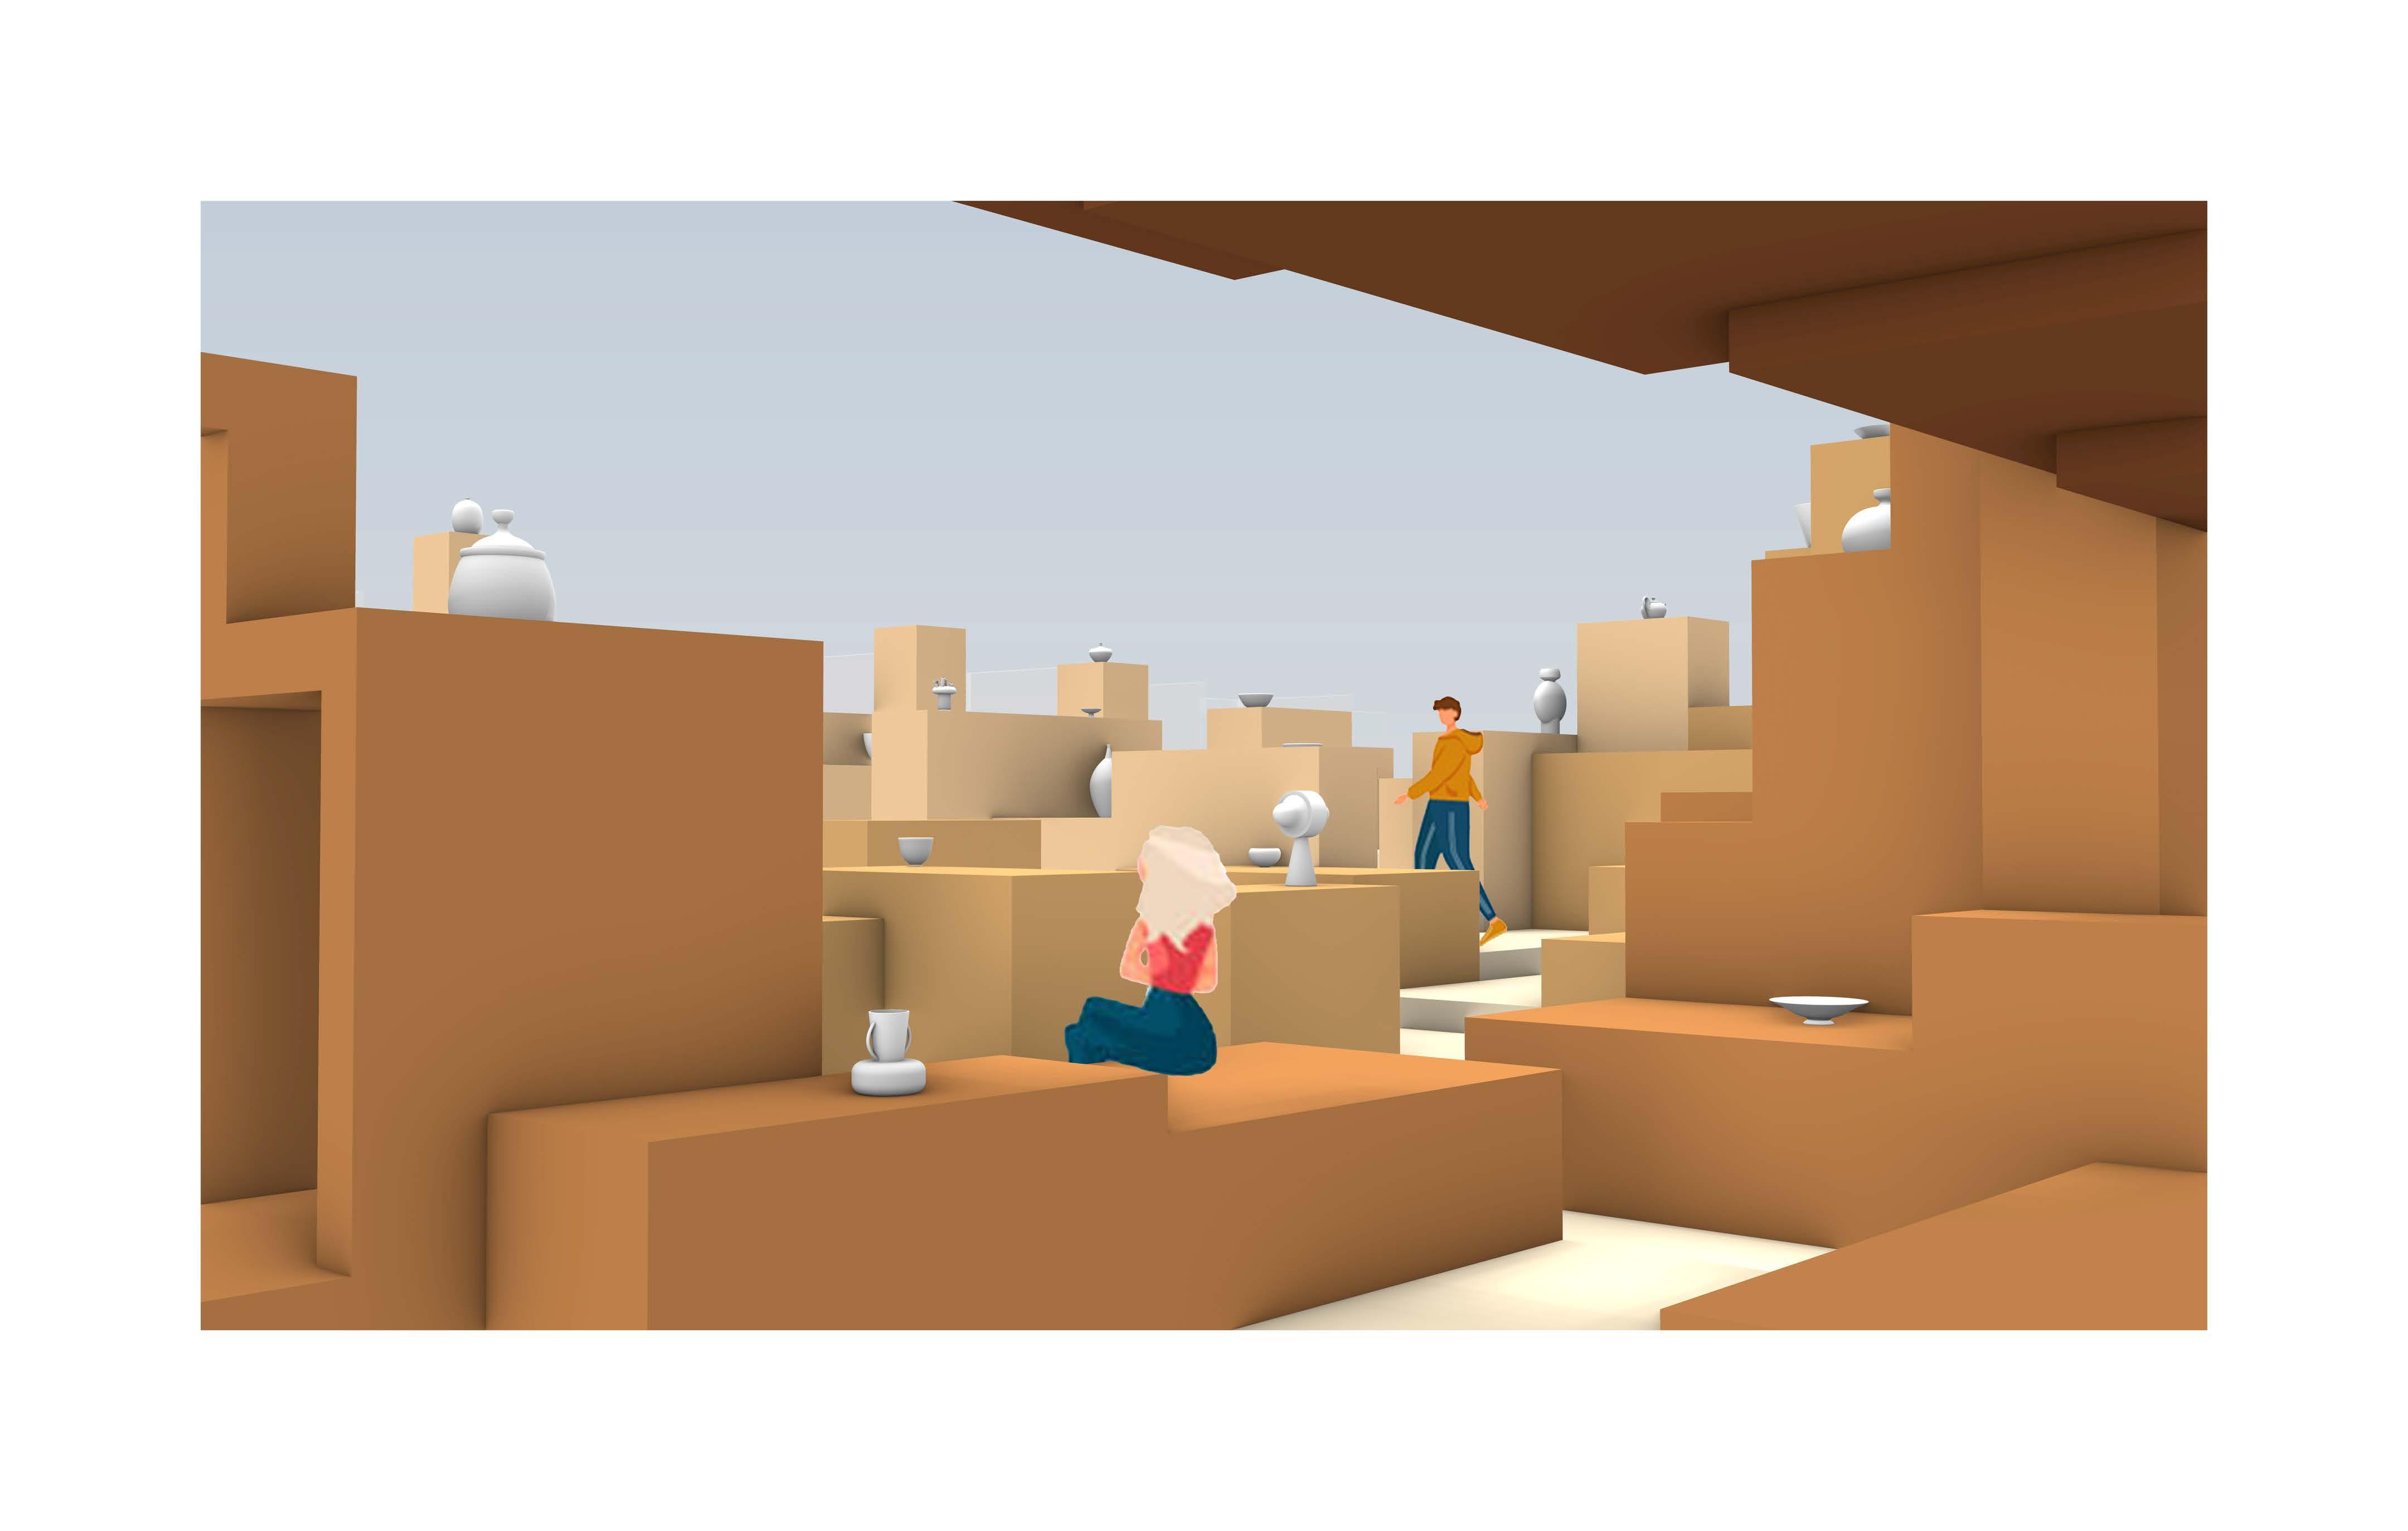
The three consequence drawings show the view from the main entrance, the upper plat forms, and the lower entrance. The three drawings showed diverse views that can be experienced in the pavilion. The change in hierarchy created distinctive angles during the exploration of space. Besides, each stage and platform is carefully designed to maintain the engagement with the visitors.
Since the visual illustration of the structure is complex enough, I reduced the graphic pattern in the consequence drawing. As the pictures show, I use simple gradation of colors to show the route and the depth in space without any texture. To match the scene, I used cartoon-like visitors and backgrounds.


The center of the pavilion is filled with rectangu lar extrusions. The similarity in geometric patterns can make visitors visually get lost. When visitors experience the space, the heights play significant roles in telling the function of each block around. This focus draws attention to the experience instead of the visual illustration.
The platform is the second language in the pavilion. This element formed the shelf facing the main entrance and the upper pathway. I wanted to relieve the heaviness created by the extrusion and distinguish the two components of the pa vilion. I want a more open scene for the shelf to build connections among visitors, the pavilion, and the surroundings.
To unify the elements, I designed the seats and tables on the upper pathway based on platforms by arranging them in different dimensions with suitable heights. These components maintained the concept of interaction in the form of plates.