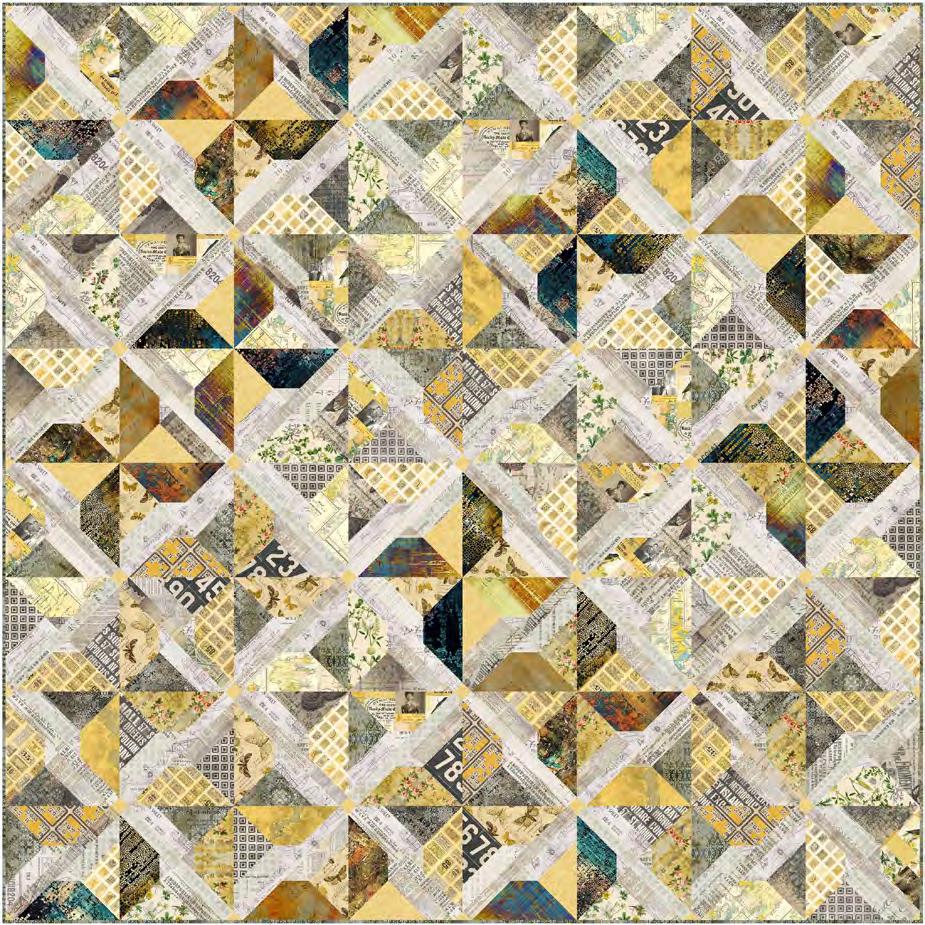

On the Wind Quilt
Featuring Yellow Palette by Tim Holtz
Inspired by watching dandelions on a stormy spring day. The Yellow Palette fabrics of Tim Holtz whirl around as if in the wind.
Collection: Yellow Palette by Tim Holtz
Technique: Sew and Flip, Piecing with bias edges
Skill Level: Advanced Beginner
Finished Sizes:
Finished Size: 731⁄2" square (1.86m square)
Finished Block Size: 12" square (30.48cm square)
All possible care has been taken to ensure the accuracy of this pattern. We are not responsible for printing errors or the manner in which individual work varies. Please read the instructions carefully before starting this project. If kitting, it is recommended a sample is made to confirm accuracy.
Project designed by Kerri Thomson | Tech edited by Alison M. Schmidt
Fabric Requirements DESIGN
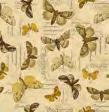
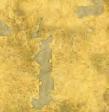
(A) Yellow Collage Yellow PWTH240.YELLOW 1⁄2 yard (0.46m)
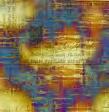
(B) Yellow Stamps Yellow PWTH241.YELLOW 1⁄2 yard (0.46m)
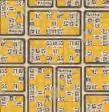
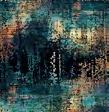
(C) Yellow Tickets Yellow PWTH242.YELLOW 1⁄2 yard (0.46m)
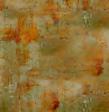
(D) Yellow Map Yellow
(E) Yellow Specimen Yellow
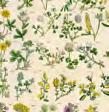
(F) Yellow Botanical Yellow
PWTH243.YELLOW 1⁄2 yard (0.46m)
PWTH244.YELLOW 1⁄2 yard (0.46m)
PWTH245.YELLOW 3⁄8 yard (0.34m)
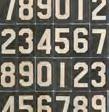
(G) Yellow Numbers Yellow PWTH246.YELLOW 1⁄4 yard (0.23m)
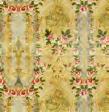
(H) Yellow Wallpaper Yellow PWTH247.YELLOW 1⁄2 yard (0.46m)
(I) Yellow Tiny Print Yellow
(J) Yellow Vintage Yellow
(K) Gilded Mosaic Gold
(L) Portland Street Patina
(M) Fractured Mosaic Indigo
(N) Writing Specimen Sienna
(O) Dropcloth Multi
(P) Urban Grunge Patina
(Q) Melange Neutral
(R) Stained Damask Neutral
(S) Muted Medallions Indigo
(T) Du Theater Neutral
PWTH248.YELLOW 3⁄8 yard (0.34m)
PWTH249.YELLOW 1⁄4 yard (0.23m)
PWTH140.GOLD 1⁄4 yard (0.23m)
PWTH131.PATINA 1⁄4 yard (0.23m)
PWTH130.INDIGO 1⁄4 yard (0.23m)
PWTH135.SIENNA 1⁄4 yard (0.23m)
PWTH137.MULTI 1⁄4 yard (0.23m)
PWTH134.PATINA 1⁄4 yard (0.23m)
PWTH001.NEUTR 1⁄2 yard (0.46m)
PWTH133.NEUTRAL* 7⁄8 yard (0.80m)
PWTH141.INDIGO 1⁄4 yard (0.23m)
PWTH139.NEUTRAL 1⁄4 yard (0.23m)
On the Wind Quilt




Fabric Requirements (continued...) DESIGN
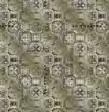
(U) Faded Tile Neutral
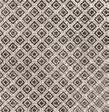
(V) Diamonds Charcoal
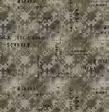
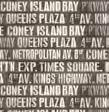
(W) Subway Signs Charcoal
(X) Numbers Black
(Y) Model Airplanes Parchment
(Z) Horticulture Aqua
(AA) Dictionary Neutral
PWTH129.NEUTRAL 1⁄4 yard (0.23m)
PWTH030.CHARCOAL 1⁄4 yard (0.23m)
PWTH173.CHARCOAL 1⁄4 yard (0.23m)
PWTH063.BLACK 1⁄4 yard (0.23m)
PWTH174.PARCHMENT 11⁄8 yards (1.03m)
PWTH094.AQUAX 2⁄3 yard (0.61m)
PWTH008.NEUTR 5⁄8 yard (0.57m) (AB) Typography Parchment
On the Wind Quilt
PWTH175.PARCHMENT 1⁄2 yard (0.46m) (AC) Multiplication Table Parchment
*includes binding
Backing (Purchased Separately)
44" (1.12m) wide Yellow Numbers Yellow
PWTH106.PARCHMENT 3⁄8 yard (0.34m)

QBTH007.MULTI 21⁄2 yards (2.29m)
PWTH246.YELLOW 43⁄4 yards (4.34m) OR 108" (2.74m) wide Expedition Multi
Additional Recommendations
• 100% cotton thread in colors to match
• 82" square (2.08m square) batting
On the Wind Quilt
Cutting
WOF = Width of Fabric
Note: To aid in the scrappy vintage feeling of this quilt, more pieces than required are cut for greater choices in block construction.
Fabric A, cut:
(2)67⁄8" x WOF; subcut
(6)67⁄8" squares
Fabric B, cut:
(2)67⁄8" x WOF; subcut
(6)67⁄8" squares
(2)53⁄8" squares
Fabric C, cut:
(1)67⁄8" x WOF; subcut
(5)67⁄8" squares
(1)53⁄8" x WOF; subcut
(4)53⁄8" squares
Fabric D, cut:
(2)67⁄8" x WOF; subcut
(7)67⁄8" squares
(2)53⁄8" squares
Fabric E, cut:
(1)67⁄8" x WOF; subcut
(3)67⁄8" squares
(1)53⁄8" x WOF; subcut
(6)53⁄8" squares
Fabric F, cut:
(1)67⁄8" x WOF; subcut
(5)67⁄8" squares
(1)53⁄8" square
Fabric G, cut:
(1)67⁄8" x WOF; subcut
(4)67⁄8" squares
Fabric H, cut:
(1)67⁄8" x WOF; subcut
(5)67⁄8" squares
(1)53⁄8" x WOF; subcut
(2)53⁄8" squares
Fabric I, cut:
(1)53⁄8" x WOF; subcut
(6)53⁄8" squares
(1)25⁄8" x WOF; subcut
(3)2 5⁄ 8" squares, cut on both diagonals for (12) Sashing Setting
Triangles
(2)1 1⁄ 2" squares, cut on one diagonal for (4) Sashing Corner
Triangles
(1)11⁄2" x WOF; subcut
(25)11⁄2" squares for cornerstones
Fabrics J, N and O, cut from each:
(1)67⁄8" x WOF; subcut
(3)67⁄8" squares
Fabrics K, L and M, cut from each:
(1)67⁄8" x WOF; subcut
(5)67⁄8" squares
Fabric P, cut:
(1)67⁄8" x WOF; subcut
(2)67⁄8" squares
Fabric Q, cut:
(2)53⁄8" x WOF; subcut
(8)53⁄8" squares
(1)2" x 7" rectangle
(3)2" squares
(3)11⁄2" x WOF; subcut
(9)11⁄2" x 121⁄2" rectangles
Fabric R, cut:
(1)53⁄8" x WOF; subcut
(6)53⁄8" squares
(9)21⁄2" x WOF for binding
Fabrics S and T, cut from each:
(1)53⁄8" x WOF; subcut
(6)53⁄8" squares
Fabrics U and V, cut from each:
(1)53⁄8" x WOF; subcut (5)53⁄8" squares
Fabric W, cut:
(1)53⁄8" x WOF; subcut (4)53⁄8" squares
Fabric X, cut:
(1)53⁄8" x WOF; subcut
(3)53⁄8" squares
Fabric Y, cut:
(13)2" x WOF; subcut
(48)2" x 7" rectangles
(70)2" squares
(5)11⁄2" x WOF; subcut (15)11⁄2" x 121⁄2" rectangles
Fabric Z, cut: (6)2" x WOF; subcut
(23)2" x 7" rectangles (22)2" squares
(6)11⁄2" x WOF; subcut (18)11⁄2" x 121⁄2" rectangles
Fabric AA, cut: (7)2" x WOF; subcut (29)2" x 7" rectangles (12)2" squares
(4)11⁄2" x WOF; subcut (12)11⁄2" x 121⁄2" rectangles
Fabric AB, cut:
(1)53⁄8" x WOF; subcut (2)53⁄8" squares
(1)11⁄2" x 121⁄2" rectangle (3)2" x WOF; subcut (10)2" x 7" rectangles (12)2" squares
(1)11⁄2" x WOF; subcut (3)11⁄2" x 121⁄2" rectangles
Fabric AC, cut:
(4)2" x WOF; subcut (17)2" x 7" rectangles
(15)2" squares
(3)11⁄2" x WOF; subcut (9)11⁄2" x 121⁄2" rectangles
Instructions
Notes:
• All seam allowances are 1⁄4" and pieces are sewn right sides together. Press the in the directions of the arrows in the diagrams.
• You will have extra of some pieces, so select fabric combinations that are pleasing to you for a unique quilt or use the Quilt Layout diagram as a guide for fabric placement.
• The larger pieces are assigned into light, medium and dark values. A fabric print may fall into multiple values depending on where the piece is cut. If it is hard to identify the value of a piece, take a black and white photo of the piece, along with pieces of known value, and use the gray scale in your photo to classify the value of the piece.
1. Select (1) 67⁄8" square and (2) 2" squares. On the wrong side of each 2" square draw a line on one diagonal.
2. Place (1) 2" square, right sides together, on the upper left corner of the 67⁄8" square, with the line running across the corner. Sew along the drawn line. (Fig. 1) Trim a 1⁄4" seam allowance above the line and press the seam open. Repeat this process to sew the second 2" square to the lower right corner of the 67⁄8" square.
Fig. 1Fig. 1
2" square, wrong side down
6 7/8" square
On the Wind Quilt
3. Cut the 67⁄8" square along the diagonal without the added 2" squares, (Fig. 2), to make (2) Unit 1 Triangles. The Unit 1 Triangles have a long bias edge, handle with care to avoid stretching the edge.
Fig. 2
Unit 1 Triangle Make 134
4. Repeat Steps 1 through 3 with the remaining 67⁄8" and 2" squares to make (134) Unit 1 Triangles.
5. Sort the Unit 1 Triangles into light, medium and dark value groups. Repeat to sort the 53⁄8" squares into value groups.
On the Wind Quilt
On the Wind Blocks
The contrast between the Unit 1 and Unit 2 Triangles of this block is what provides the movement across the quilt. When assembling the block, select 53⁄8" squares that have a different value than the Unit 1 Triangles. The greater the distance in value the more movement the block will contain.
6. Select (4) same-value Unit 1 Triangles, (2) same-value 5 3⁄8" squares and (4) 2" x 7" rectangles.
7. Cut each 53⁄8" square on one diagonal. Place the cut triangles so the right-angled corner is on the bottom left-hand side. Sew a 2" x 7" rectangle to the left-hand edge of each triangle, matching the bottom edges. (Fig. 3) Using a ruler, trim the top edge of each rectangle to match the angle of the triangle to make (4) Unit 2 Triangles. The long edge of the Unit 4 Triangles is on the bias, so handle with care to avoid stretching the edge.
Fig. 3 Fig. 3
8. Sew together a Unit 1 and Unit 2 Triangle along the long edge. (Fig. 4) Trim the corners and square to 61⁄2" if needed. Repeat to make (4) Quadrants (61⁄2" square).
Fig. 4 Fig. 4
Quadrant Make 4 per block (96 total)
9. Lay out the Quadrants in a four patch, placing the Unit 2 Triangles with the same fabric diagonally opposite each other. (Fig. 5) Sew the Quadrants together in rows, then sew the rows together to complete (1)On the Wind Block (121⁄2" square).
Fig. 5 Fig. 5
On the Wind Block Make 24
10. Repeat Steps 6 through 9 to make (24) On the Wind Blocks.
On the Wind Quilt
Setting Triangle Units
11. Select (2) same-value Unit 1 Triangles, (2) same-value 5 3⁄8" squares and (2) 2" x 7" rectangles.
12. Cut each 53⁄8" square on one diagonal. Set aside (1) triangle from each square for another setting triangle unit. Repeat the process in Step 7 to sew the (2) 2" x 7" rectangles to the left-hand edge of each of the remaining 53⁄8" triangles. (Fig. 6)
6
13. Lay out the Unit 1 and Unit 2 Triangles to create a larger triangle (Fig. 7). Sew together the center units first, trimming the corners and squaring to 61⁄2" if required. Sew the remaining Unit 1 Triangle to the left and then the remaining Unit 2 Triangle to the right-hand edge of the square to complete (1) Setting Triangle Unit. Do not worry if you have leftover triangles.
7
16
14. Repeat Steps 11 through 13, using previously cut 53⁄8" triangles, when possible, to make (16) Setting Triangles.
Quilt Top
Note: Follow the Quilt Layout diagram on page 9. while assembling the quilt. Lay the quilt out on a design wall or floor before sewing, adjusting the blocks, sashing strips, and setting triangles to create movement across the quilt.
15. Sew (1) 11⁄2" x 121⁄2" sashing rectangle between (2) Setting Triangle Units to create an R1 block row. Press away from the sashing rectangle. Repeat to make (2) R1.
16. Repeat the process in the previous step, adding blocks between the sashing rectangles as shown, and using the quantities listed below to make 2 each of the R2, R3 and R4 block rows.
11/2" x 121/2" rectangles On the Wind Blocks
17. Sew (2) 11⁄2" x 121⁄2" sashing rectangles between (1) 11⁄2" Fabric I cornerstone square and (2) Fabric I Sashing Setting Triangles to create an S1 sashing row. Repeat to make (2) S1.
18. Repeat the process in the previous step, using the pieces and quantities listed below to make 2 each of the S2 and S3 and 1 of the S4 sashing rows.
Fig.
Fig.
Fig. 7
