


The Spinner Rig - pages 4 & 5
The German Flippa Rig - pages 18 & 19
U K HEADQUARTERS:
Fox International Group Limited
1 Myrtle Road
Brentwood Essex CM14 5EG
EUROPEAN HEADQUARTERS:
Fox International Group Limited
Customer services
Dennenlaan 3A 2340 Beerse België
Free Fishing Guide not for re-sale.
Fox International reserve the right to modify or alter prices or specifications in any respect without prior notice.
Technical data and specification correct at time of going to press.
All weights and dimensions are approximate.
E. & O.E. Copyright reserved.
The Shot on the Hook Rig - pages 6 & 7
Surface Fish Guide - pages 24 & 25
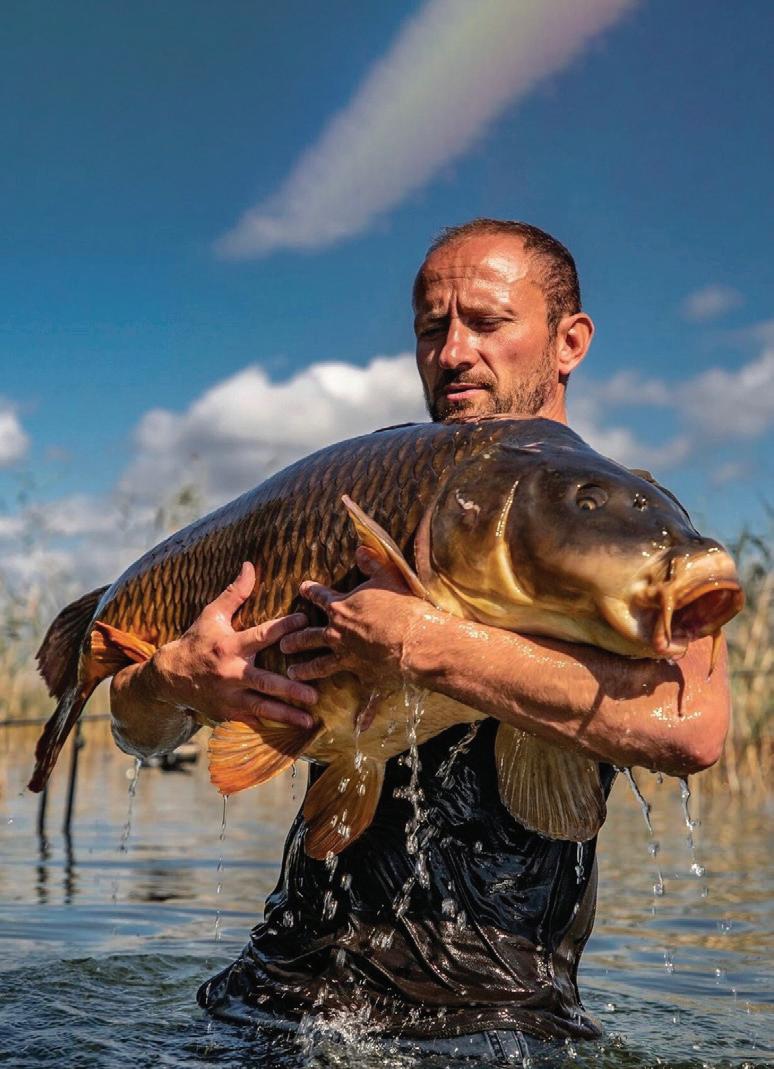
Live Photography: Dylan Willett
Studio Photography: Jon Sissons
Words: Lewis Porter & Harry Charrington
Special thanks to:
Bruno Simond, Danijela Vidaković, Daniele Pellacani, Bastian Reetz, Tamás Biacsi, Sergiu Delcea, Cezary Karolczak, Jose Manuel Nunez
Ortega, David Kolařík Roelof Schut, Mark Pitchers, Lee Morris, Chris De Clercq, Steffen Hambsch, Shaun McSpadden, Scott Day.

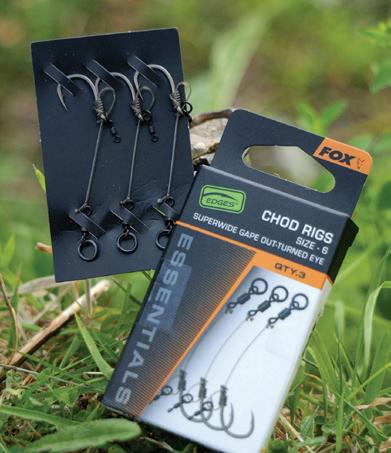
The Chod Rig - pages 10, 11, 12 & 13
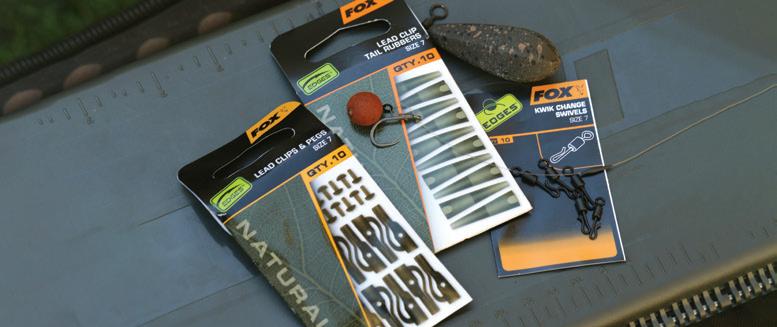
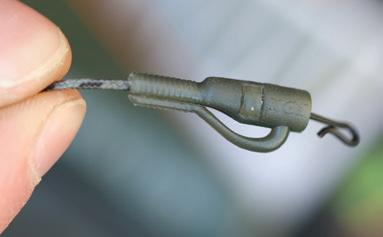
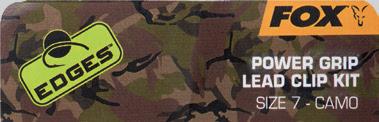
The Lead Clip - page 26


@fox_international

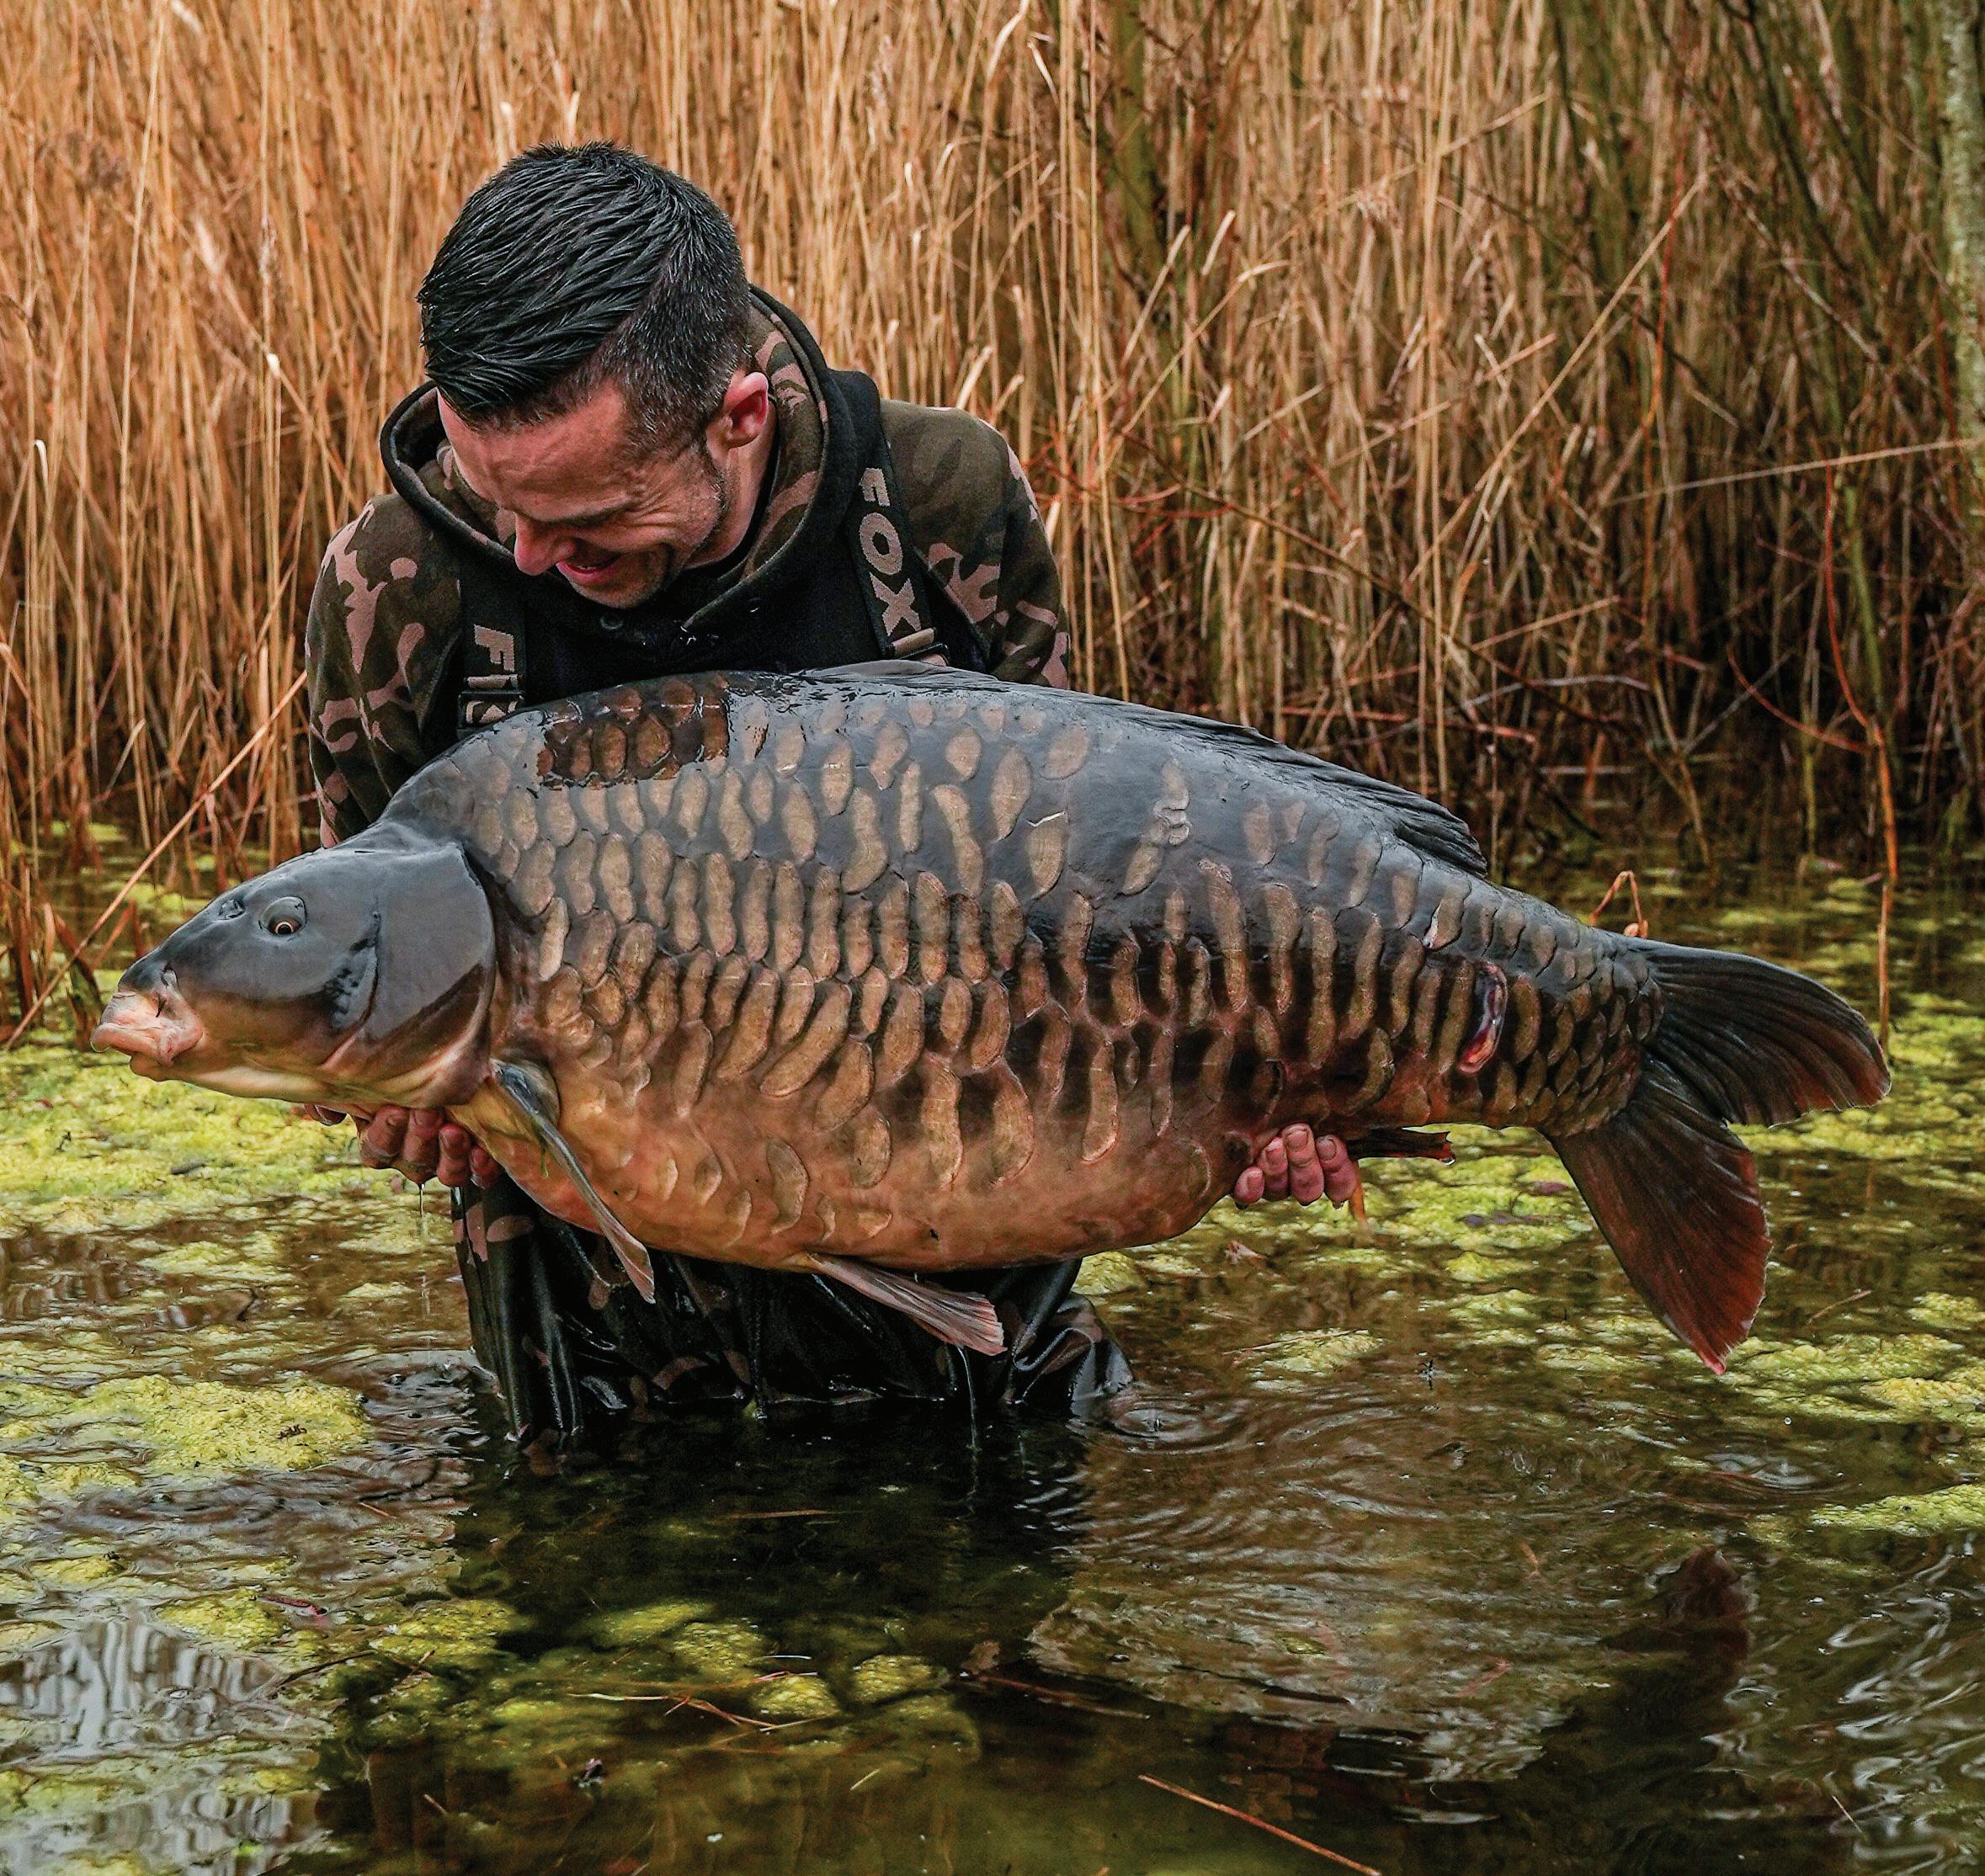
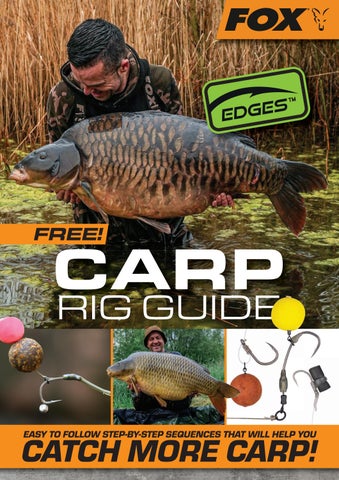
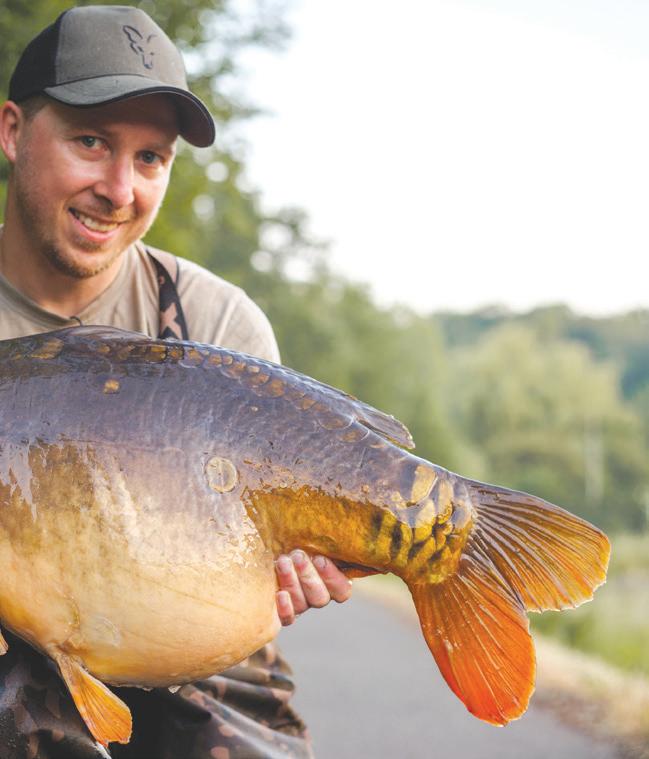
The Edges Carp Rig Guide is back! It has been over five years since we last printed one of these guides, so we felt the time was right to bring you a new and improved version.
With so much of the carp fishing content these days being online, we wanted to once again make something physical that you can pick up in your local tackle shop and take fishing with you. Over the coming pages we are looking at all things rig-related. We will he helping you learn how to tie some of the very best presentations available to carp anglers in 2025, and we are sure if you carefully follow these step-by-step instructions then you will see your catch-rates increase drastically! Whether you want to learn about pop-up or bottom bait rigs, Zigs or surface fishing, we have it all covered within this handy guide….


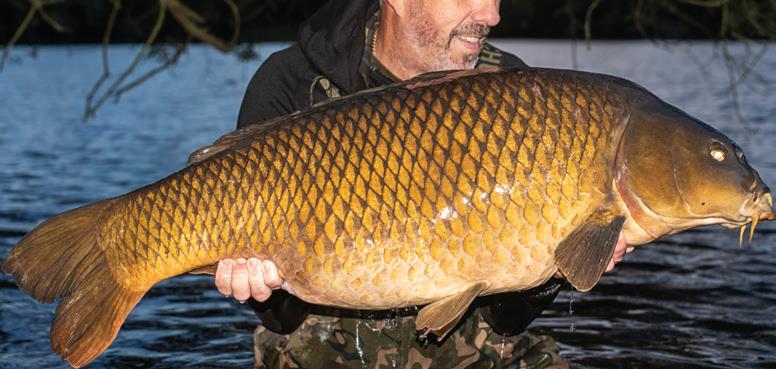
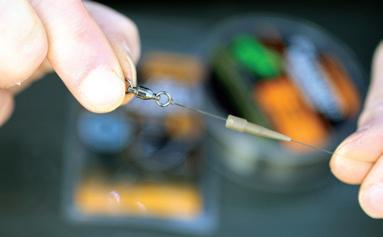
For the past 4 to 5 years the Spinner Rig has, without doubt, become the most used presentation by anglers across Europe. Not only is the Spinner Rig incredibly efficient at hooking carp, but it also presents well over most lake/riverbeds and benefits from features like an ability to change the hook without tying a new rig, which is a big plus point for those anglers that require speed and ease.

The Spinner sees a ring-style swivel attached to the eye of the hook, giving the hook far more movement and flexibility, and aiding its anti-eject properties. Whilst it was originally designed as a pop-up rig, many anglers are now also favouring the Spinner for wafter and even bottom bait presentations, such is its versatility.


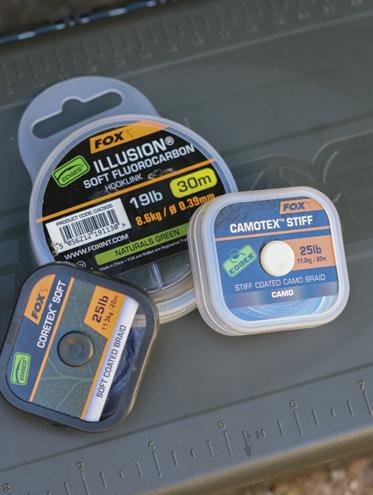
Attached to the swivel is your hooklink or boom section as many refer to it as. This section can be tied from all manner of hooklink materials from ultra-stiff monofilament to super-supple braid. It is down to the angler

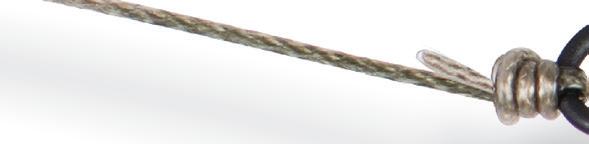

to select the material that best suits the lakebed they are fishing over and that is best suited to the lead arrangement they are using too. For the purpose of this guide we will use a soft coated braid as that is a good all-round material.

For the boom section we are using a soft coated braid for demonstration purposes.


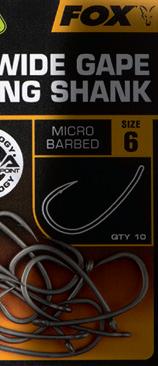


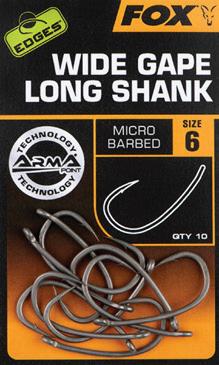


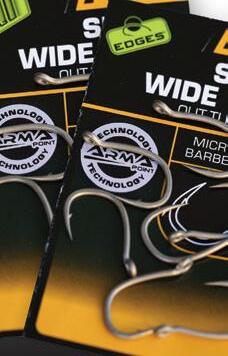
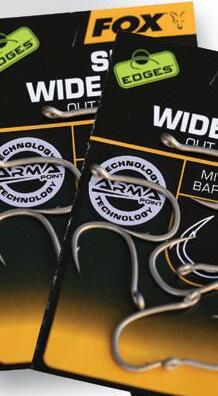
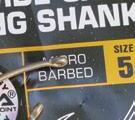
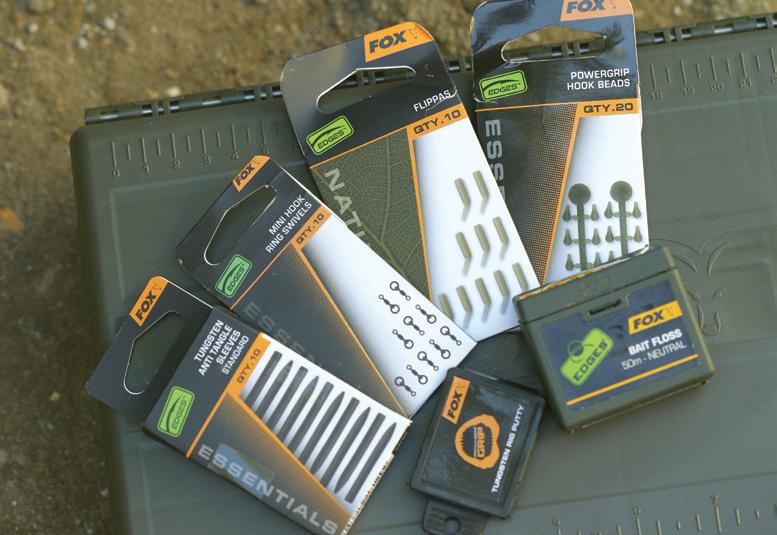
The Wide Gape Long Shank hook pattern was designed specifically for this rig.
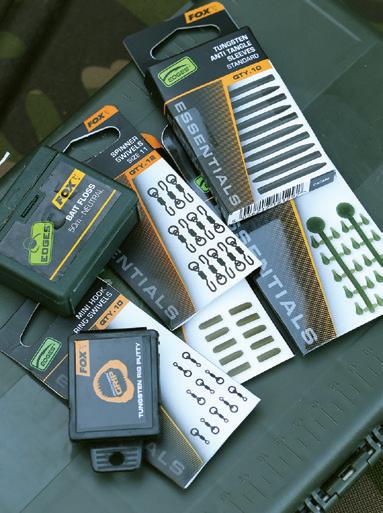


01. THE HOOK The Wide Gape Long Shank hook pattern was designed specifically for this rig.
02. THE HOOKLINK/BOOM We are using a semistiff coated braid for demonstration purposes.
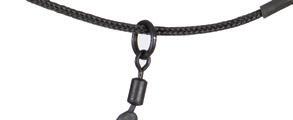
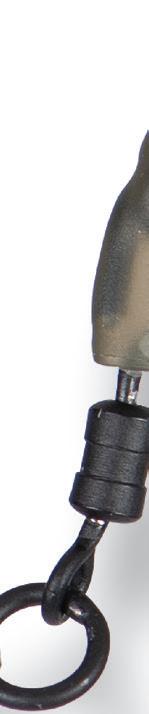
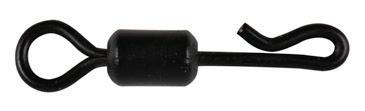
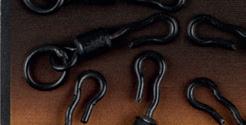
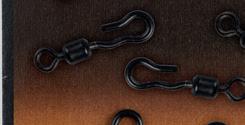
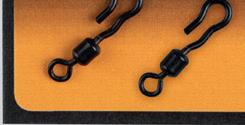
03. SPINNER SWIVEL For attaching the hook to the hooklink/boom.
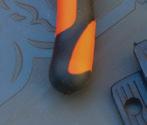
04. SPINNER SLEEVES Secures the hook in place on the Spinner Swivel.

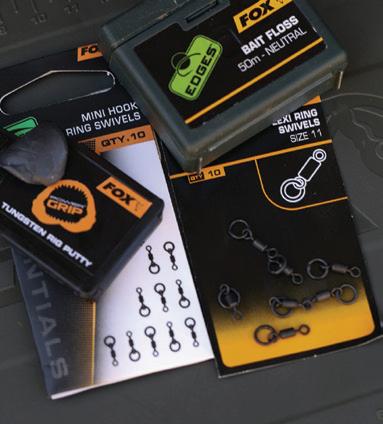
05. MINI HOOK RING SWIVEL For attaching the hookbait.
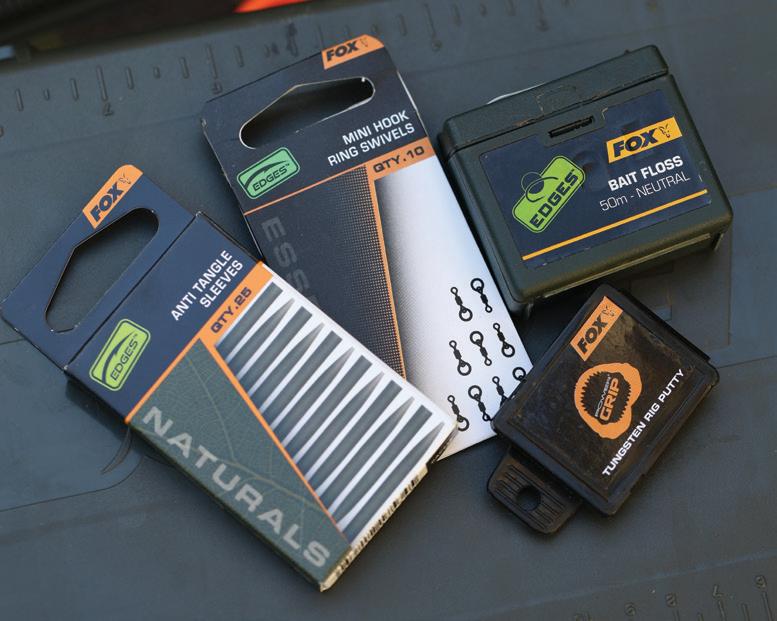
06. BAIT FLOSS Used to secure the hookbait in place.
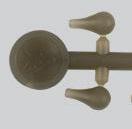
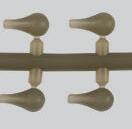
07. POWERGRIP HOOK BEADS Prevent the Mini Hook Ring Swivel from leaving the hook shank.
08. POWER GRIP TUNGSTEN PUTTY To pin the hooklink/boom to the lakebed.
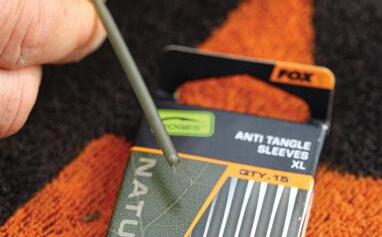
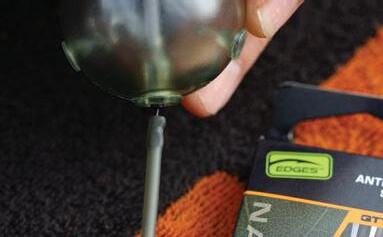
09. ANTI TANGLE SLEEVE Helps to prevent tangles.


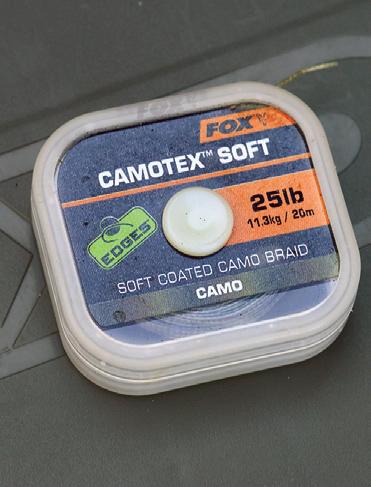
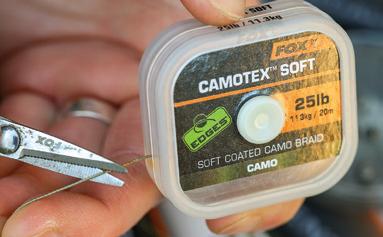
Cut an 10ins (25cm) length of Camotex Soft hooklink material.


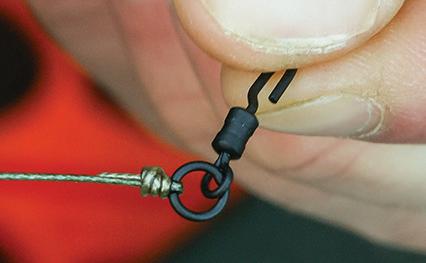
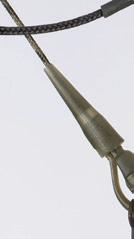
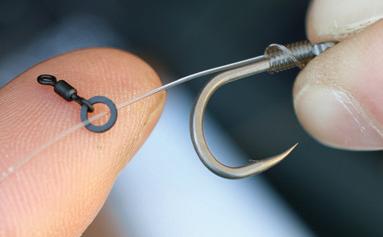
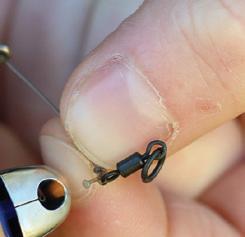
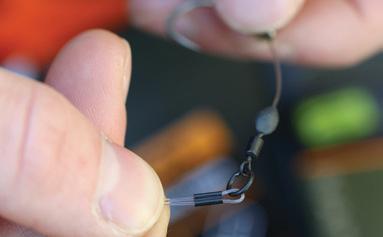
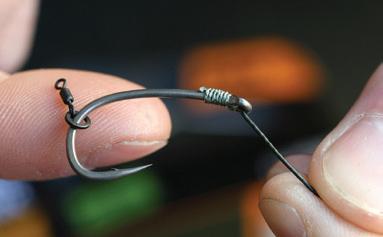
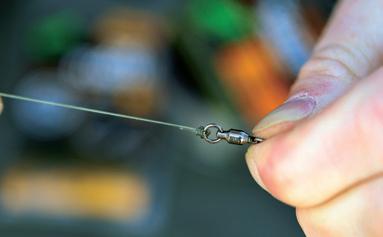
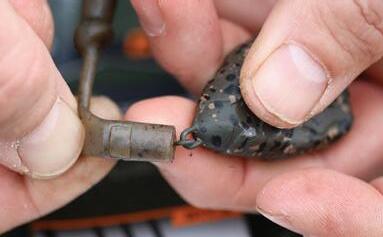
Position the Spinner Sleeve over the eye of the hook and crook on the Spinner Swivel, like so.

Tie one end of the hooklink to the ring of the Spinner Swivel.
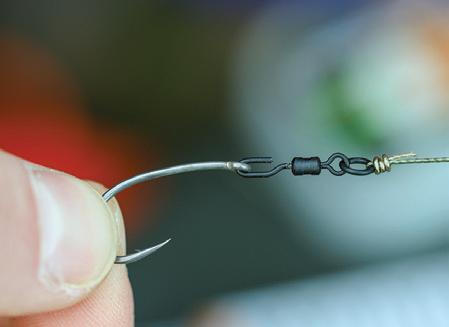

Take a Long Shank Wide Gape hook and place the eye over the crook on the Spinner Swivel.
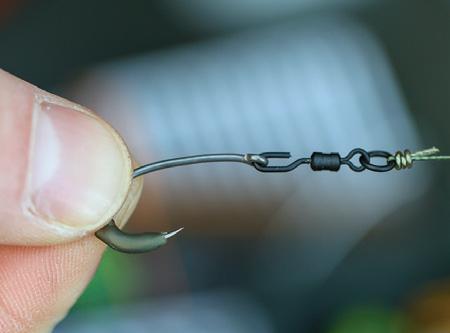


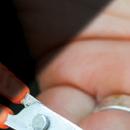
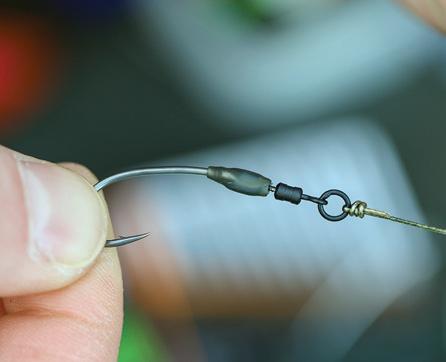
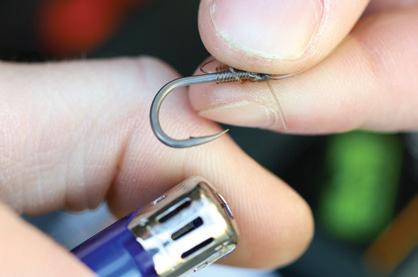
Thread Spinner Sleeve (thick end first) onto the hook being careful not to pierce the sleeve.

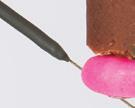
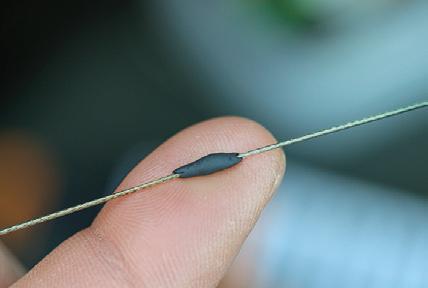
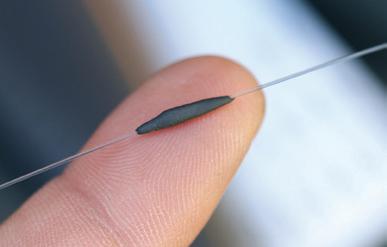
Add a small blob of Power Grip Tungsten Putty to the middle of the hooklength.
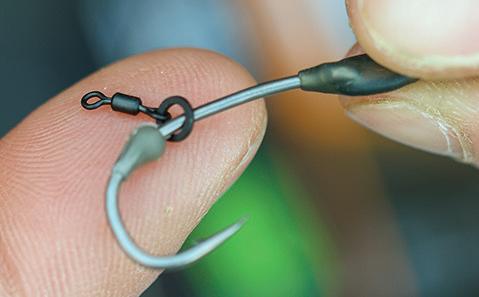

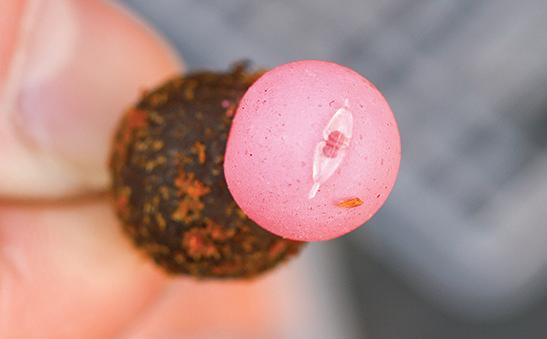
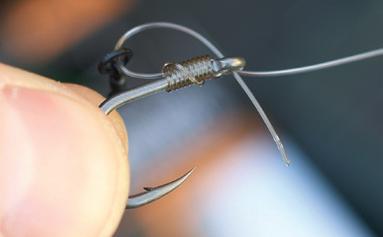
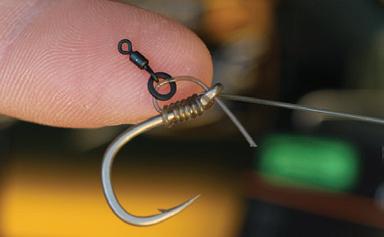
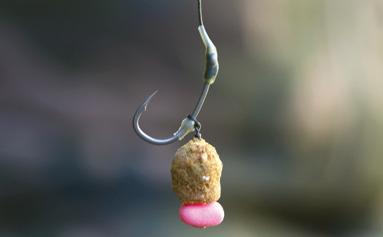
Slide a Mini Hook Ring Swivel onto the hook followed by a hook bead and position as shown.
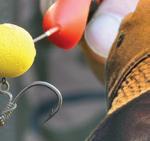
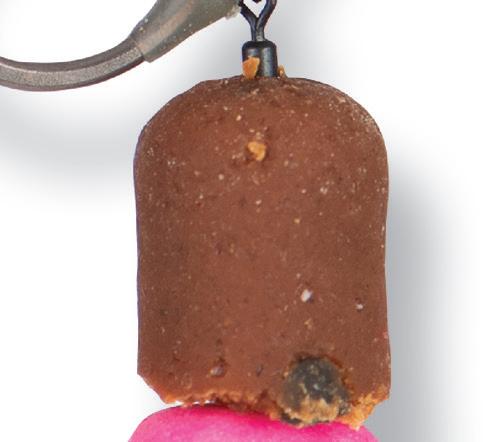
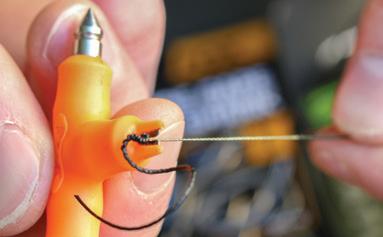
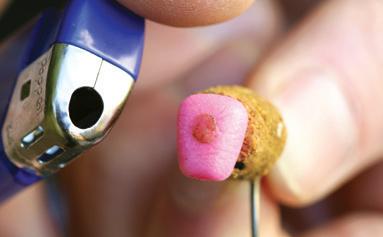
Attach a pop-up hookbait to the Mini Hook Ring Swivel using bait floss and the ‘blob’ method.
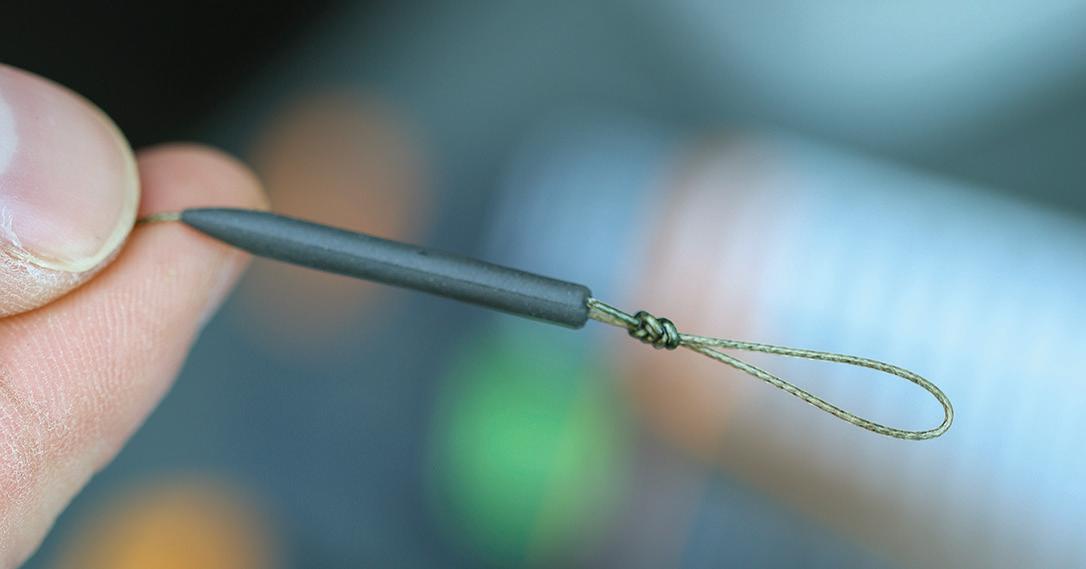
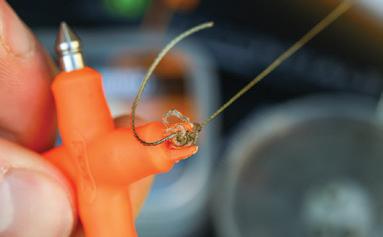
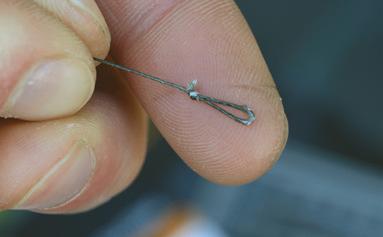
Thread an Anti Tangle Sleeve onto the hooklink and tie a loop in the end of the hooklink.

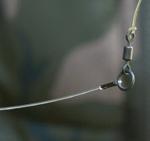
The Spinner Rig can be fished on any lead arrangement, for hard bottoms try a lead clip, and for softer bottoms we’d recommend a Helicopter Rig.
There’s a reason this is Europe’s number one carp rig!


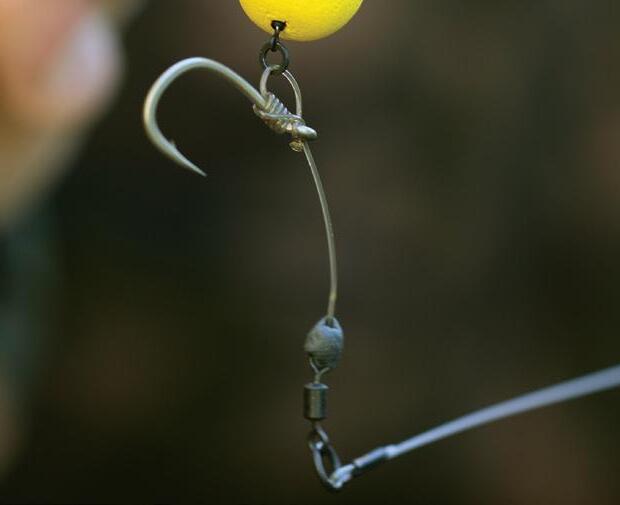
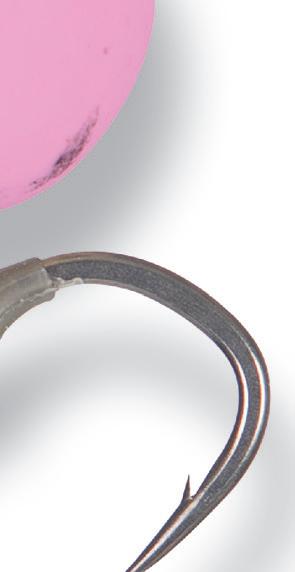
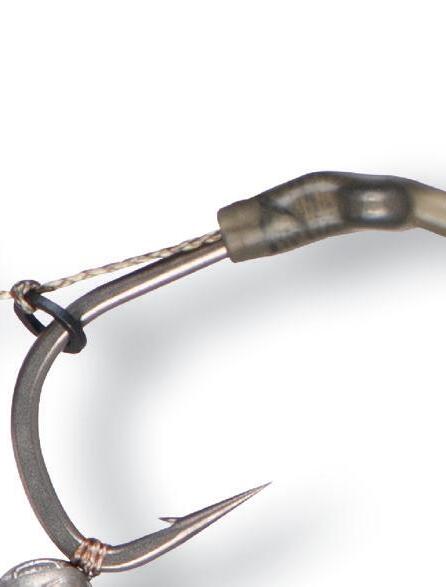
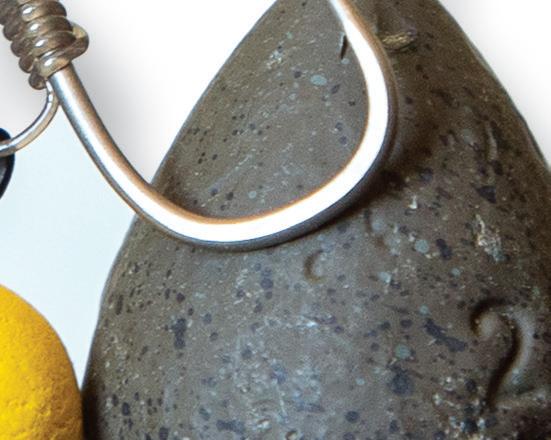
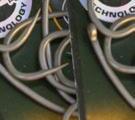
01. THE HOOK Pick a hook that has a nice wide, gape and that is super-sharp.


02. THE HOOK LINK This rig works best with a coated braid hooklink – pick one that has the right level of stiffness for the lakebed you will present over.
03. N0.1 SPLIT SHOT To help the hook point turn and take hold.
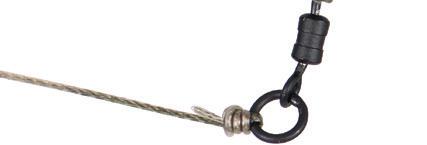
04. SHORT LENGTH OF BRAID To fix the split shot to Large Rig Ring – this will move up and down the hook shank.
05. LARGE RIG RING this will move up and down the hook shank.
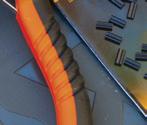
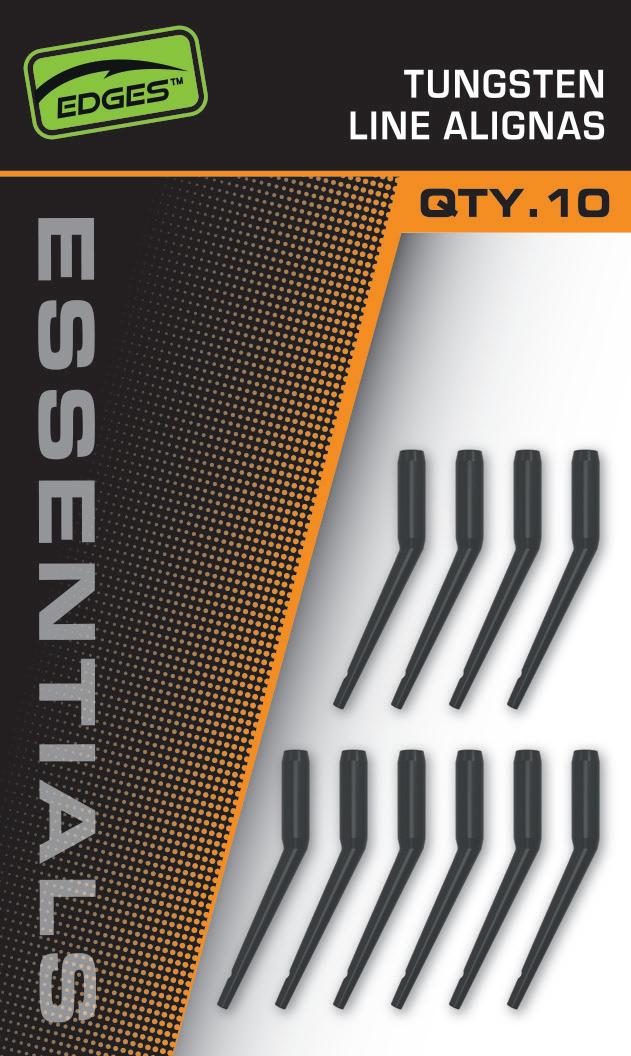
06. LINE ALIGNA Will extend the shank of the hook at an aggressive angle.
07. POWER GRIP TUNGSTEN PUTTY To help pin the hooklink to the lakebed.
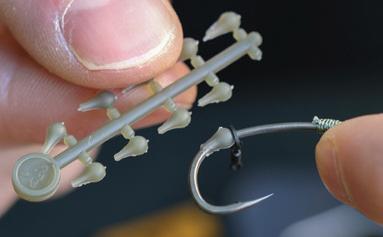
08. EXTENDER STOPS Keep your hookbait in place on the Hair.
09. ANTI TANGLE SLEEVES Help to prevent your hooklink tangling on the cast.

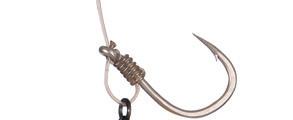
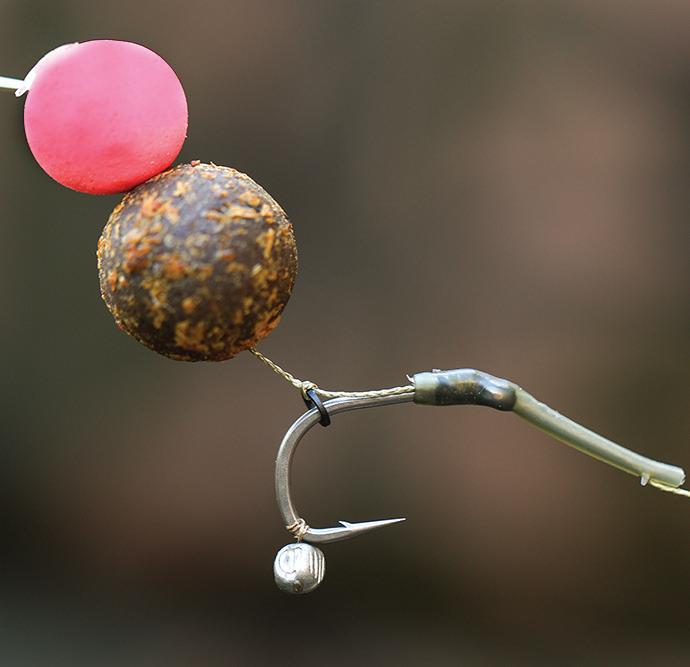
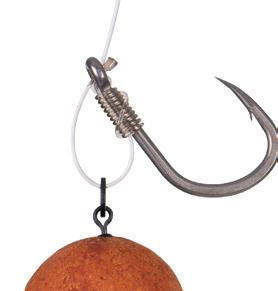
The Shot On The Hook Rig has been around for 20 years, and previously featured in one of our Edges Rig Guides nearly 10 years ago. In the past 12 months, this rig has become much more popular thanks to some high-level publicity from various tackle brands.

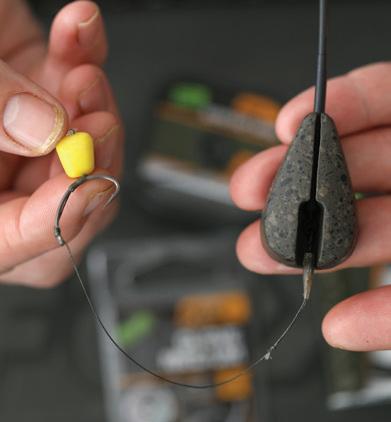
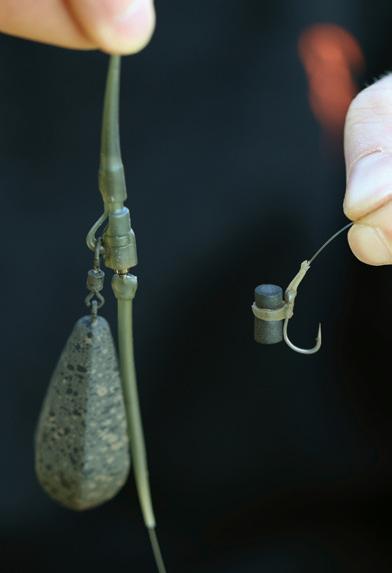
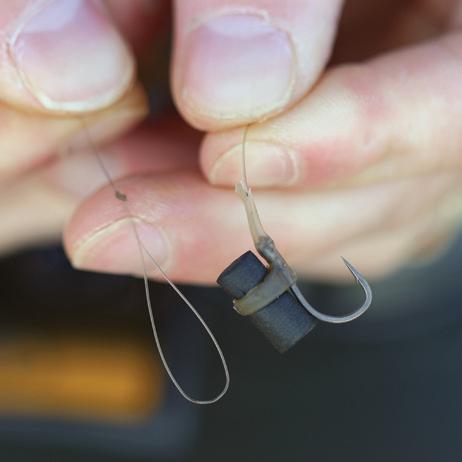
In its more basic form, the Shot On The Hook Rig is a classic Blowback Rig presentation with the addition of some weight close to the point of the hook. The theory is that this weight makes the point much heavier and helps it to turn and grab hold of the carps bottom lip more effectively compared to an unweighted hook point. You can of course apply a shot onto the hook for other presentations too, however for the purpose of this rig guide, we will use the Blow Back Rig as an example.

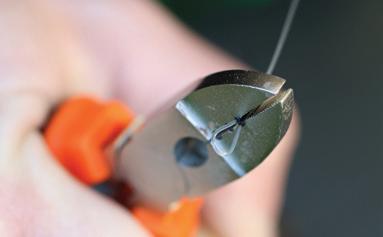
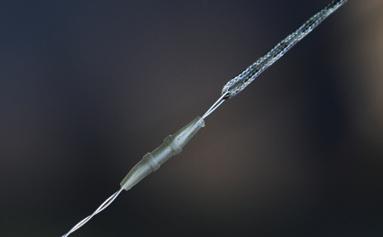
This Shot On The Hook is a versatile rig, as you can present both buoyant and sinking hookbaits, and it can be used with a variety of baits including boilies, particles, naturals, pellets and plastic baits. The mechanics of the rig involves folding a small length of supple braid around the hook just under the barb and then placing a split shot onto the two tags of braid trapping it onto the shank. You then blob the tags with a lighter to secure the shot in position. The size of shot will be dictated by the buoyancy of the hookbait you choose to use and the size of the hook you are using.


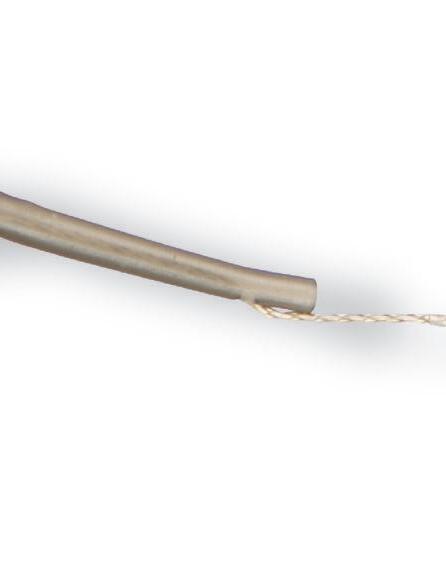
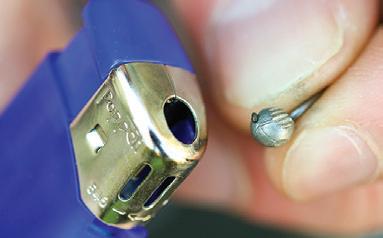
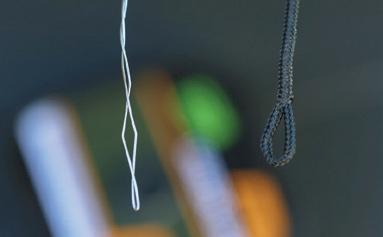
Start by cutting yourself a 12ins (30cm) length of the Camotex material.


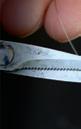
Carefully strip away 4ins (10cm) of outer coating to expose the supple braid.


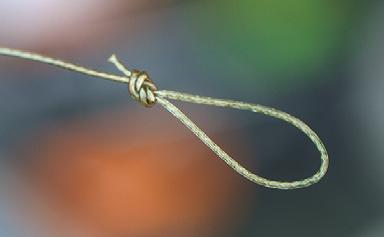
Now tie a simple, small overhand loop in the end of the exposed braid.

Tie a 3.7mm Large Rig Ring 5mm above the hookbait with a double overhand knot.

The next step is to thread your hook point through the rig ring, as illustrated.

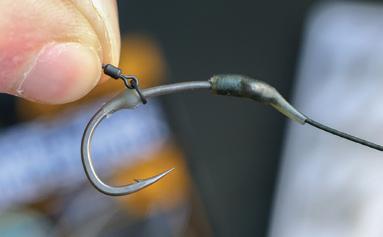
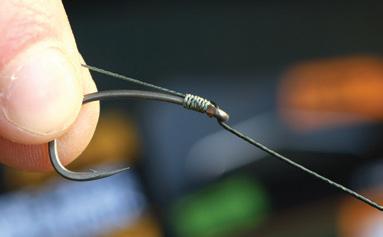
Position the ring at the top of the bend of the hook and secure the hook with a knotless knot.

Thread a Naturals Anti Tangle Sleeve onto the hooklink (thin end first).

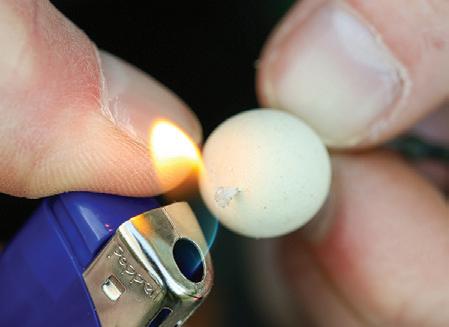
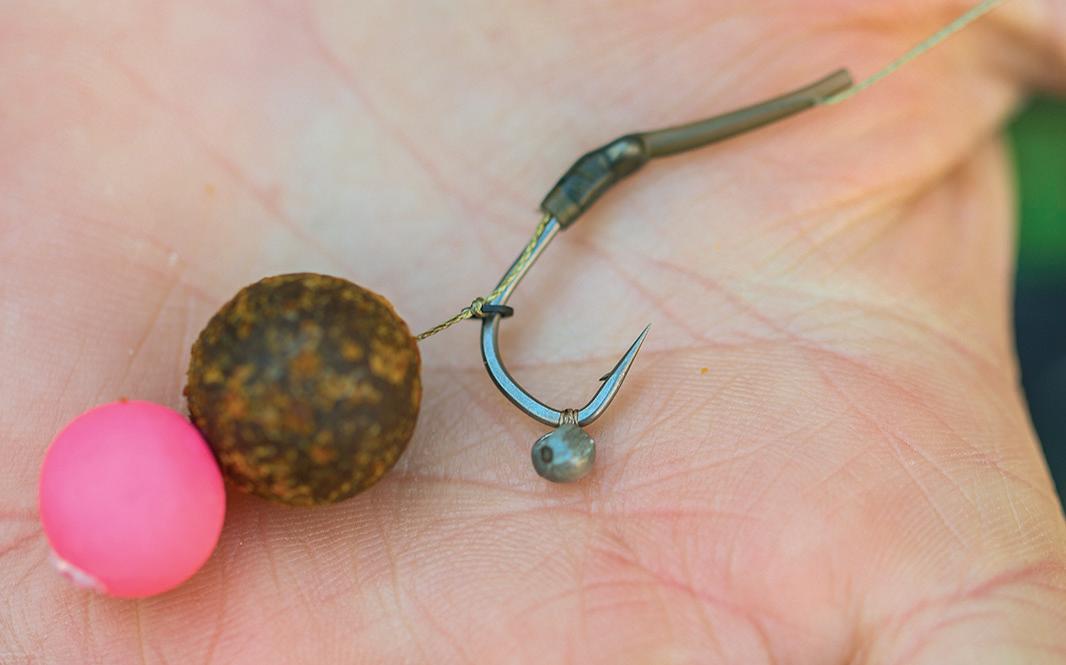
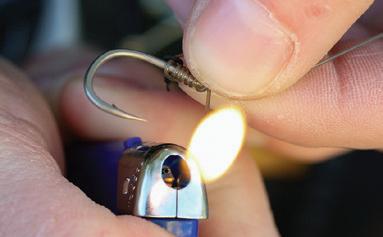
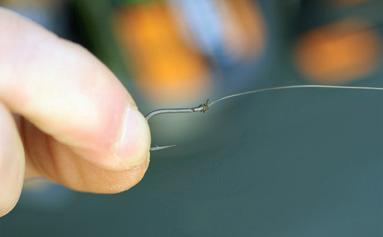
Carefully blob the two tag ends with a lighter to further secure and neaten.
Tie a figure-of-eight loop knot into the end of the hooklink and trim any excess tag.

Add a small ‘blob’ of tungsten putty halfway along the hooklink.
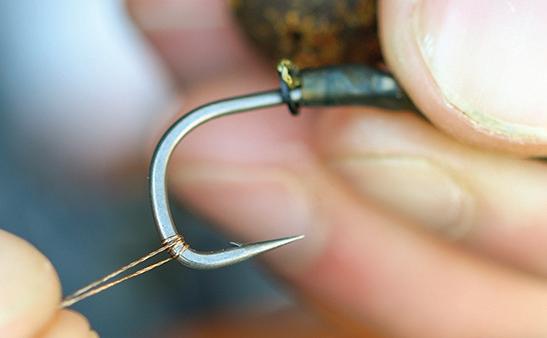

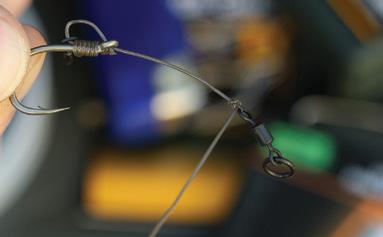
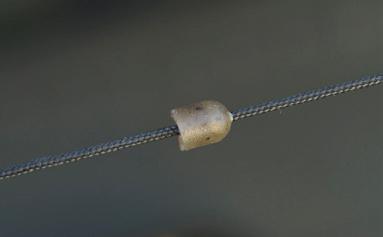
Cut 2ins (5cm) of braid and wrap it around the hook below the barb, like so.

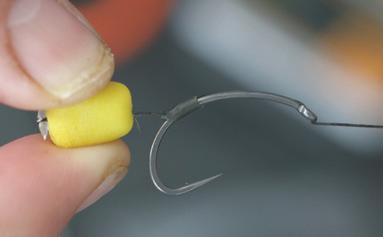
Thread your chosen hookbait onto the loop, securing in place with an Extender Stop.

Slide one of the Naturals Line Aligna’s down the hooklink and over the eye of the hook.

Compress a No.1 split shot onto the two tags of braid to secure the shot in place.


The Illusion D Rig is a very popular presentation amongst many of the Fox team of anglers. Designed primarily for critically balanced wafter hookbaits, this rig is also still very effective when used with heavier bottom baits too.
Amongst the reasons as to why this presentation is so popular would be:
1. Due to the D Rig mounting of the hookbait and the semi-stiff nature of the hooklink this rig will always re-set itself should a carp do the unthinkable and manage to eject the rig without getting hooked.
2. The semi-stiff nature of the rig gives it great antitangle properties so whether you are casting it out or dropping from a boat (rowing or bait), you can have total confidence that it is not going to tangle.
3. The aggressive nature of the hooklink exiting the eye of the hook gives it very strong anti-eject properties.


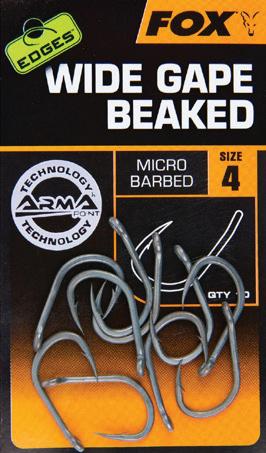
01. THE HOOK A hook with a wide gape and a beaked point is perfect for this rig.
02. THE HOOK LINK As the name suggests you will need to use some Illusion fluorocarbon.
03. MINI HOOK RING SWIVEL For attaching the hook to the hooklink/boom.
04. ANTI TANGLE SLEEVE Helps to prevent tangles.
05. BAIT FLOSS Used to secure the hookbait in place.
06. POWER GRIP TUNGSTEN PUTTY To pin the hooklink/boom to the lakebed.


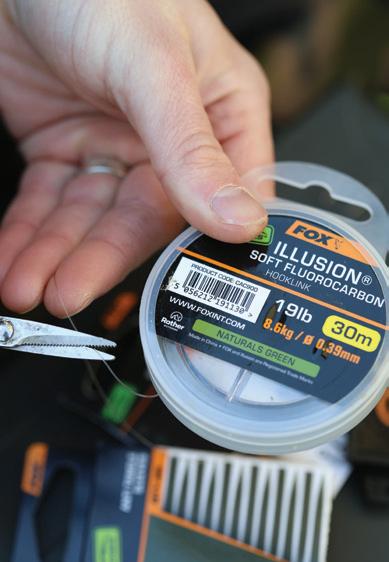


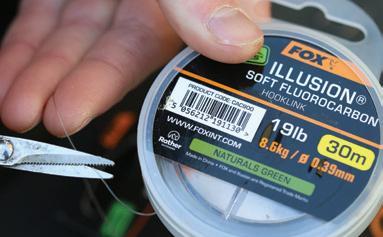

Cut yourself a 12ins (30cm) length of Illusion Soft Fluorocarbon.
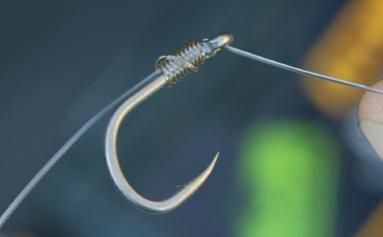

Attach your hook with a Knotless Knot leaving a 1.5ins (3.8cm) tag.

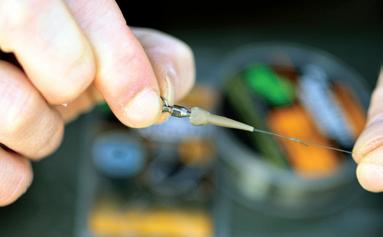
Set the ‘D’ to your required size and trim the excess tag leaving 2-3mm.

Take a lighter and carefully blob the tag to hold the ‘D’ in place.

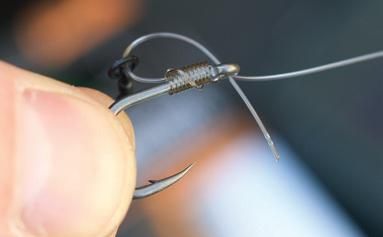
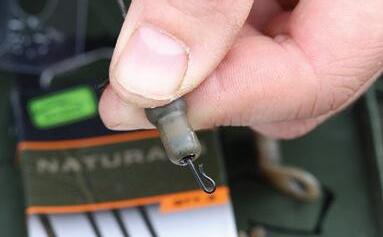
Slide the ring of a Mini Hook Ring Swivel onto the tag, as shown.


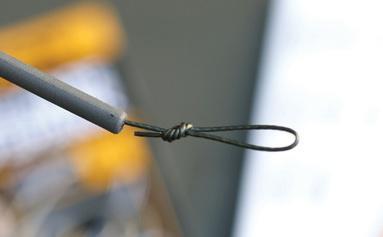
Thread on an Anti Tangle Sleeve and then tie a Figure-of-Eight loop in the end of the hooklink.

Push the tag back through the back of the eye of the hook to create a ‘D’.

Add some tungsten rig putty along the hooklink to help pin it to the lakebed.


Attach a wafter to the Mini Hook Ring Swivel using the ‘blob’ method to complete.

This rig works best when presented over a clean, hard lakebed.


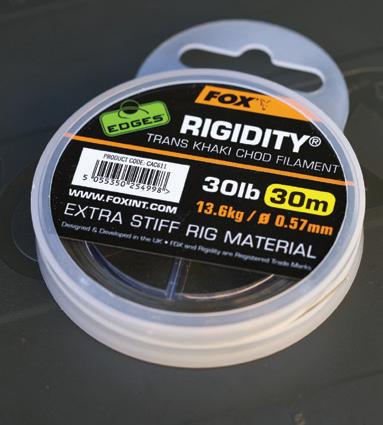
The infamous Chod Rig is best described as the ultimate ‘cast anywhere’ rig. This rig is essentially a Helicopter Rig, which features a highly buoyant pop-up hookbait, which is presented on a short, slightly curved, stiff hooklink. A moveable bead is simply placed on the line/leader above the hooklink and can be adjusted depending on the height of the weed/ debris (aka Chod) you are casting into.

Due its design, the lead will enter the water first, with the hooklink trailing behind. The lead will then descend through the water and into any weed or debris, whilst your buoyant, pop-up hookbait will pull the hooklink up the line/leader as it descends through the water, causing the hooklink to then gently rest on top of any Chod. The key with this presentation is to make sure that the gap between the top bead and your lead is greater than the depth of the Chod you are fishing in, otherwise the presentation will not work. We have found in underwater testing that setting the top bead to 1.5 times the depth of the Chod to the ideal distance for ensuring perfect presentation on each cast.


01. THE HOOK Due to using such a stiff hooklink material, you’ll need a hook with an out-turned eye so that the gape of the hook doesn’t close too much.
02. THE HOOKLINK A super-stiff mono hooklink is required to create an effective Chod Rig with, that can be curved slightly.


03. MINI HOOK RING SWIVEL for mounting the hookbait onto.
04. SIZE 11 FLEXI RING SWIVEL for tying the hooklink to.
05. BAIT FLOSS used to mount/secure the hookbait onto the swivel.
06. POWER GRIP TUNGSTEN PUTTY to counterbalance the hookbait.


Cut 4ins (10cm) of Rigidity, attach your hook with a knotless knot leaving a short tag.

Trim the tag of the Blood Knot and then carefully blob this tag to help secure the knot.


Thread a Mini Hook Ring Swivel onto the tag and push the tag back through the eye of hook.

Work the hooklink between your thumb and forefinger creating a gentle curve into the hooklink.
You have now created the perfect Chod Rig hook section that can be added to your main line or leader.

Pre-tied Chod Rig hook sections can save time.

Trim any excess tag end leaving 2mm and then blob this with a lighter to secure the ‘D’ in position.

Attach a size 11 Flexi Ring Swivel to the end of the hooklink with a 2-Turn Blood Knot.
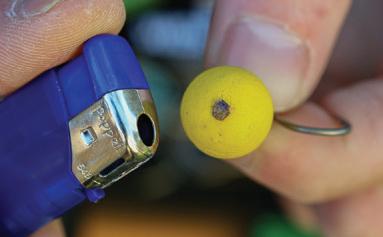

Attach your chosen pop-up hookbait to the Mini Hook Ring Swivel using the ‘blob’ method.

Add some tungsten putty over the eye of the swivel to counter balance the pop-up should it be needed.
The Chod Rig will catch you fish where nothing else can.


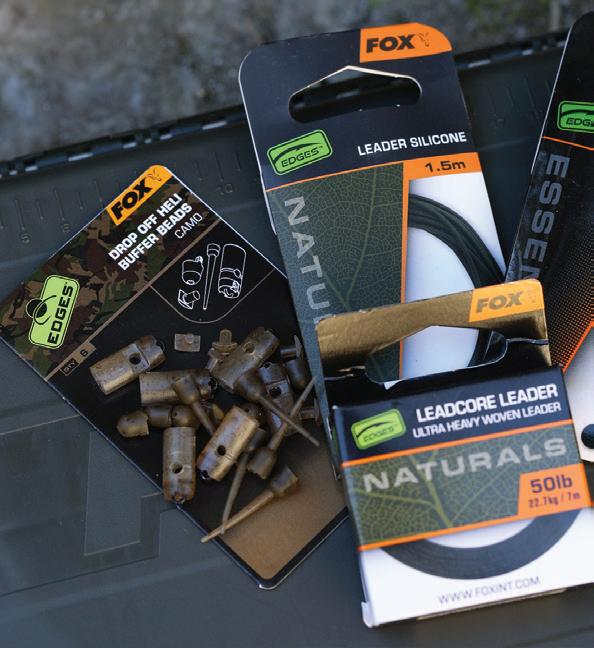


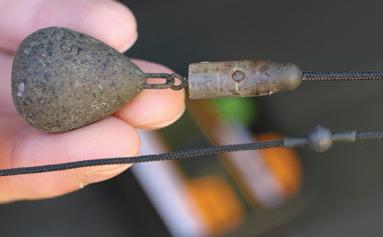
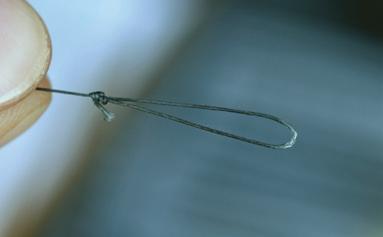
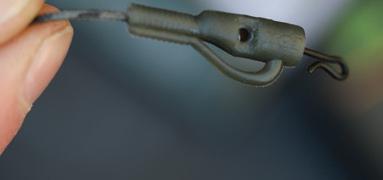
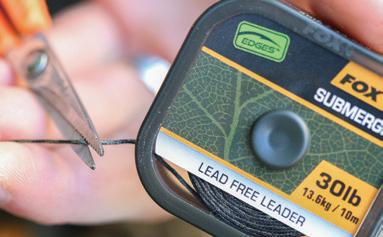
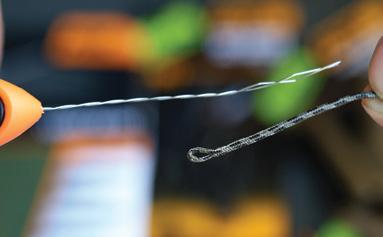
Cut a 3-4ft (90-120cm) length of your chosen leader material and splice a loop in one end.

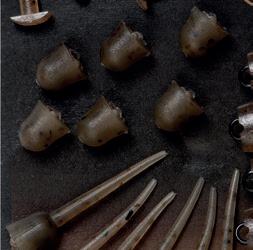
The next step is to thread the buffer section of your Heli Buffer Bead Kit onto the leader.

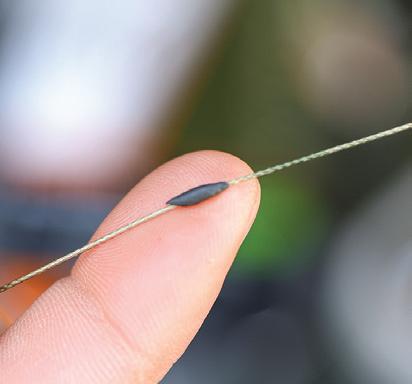
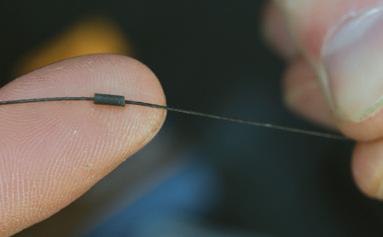
Cut a 1cm length of Leader Silicone and thread it onto the leader using a gatelatch needle.


You now need to splice the end of the leader onto the fixed wire loop of the main bead.


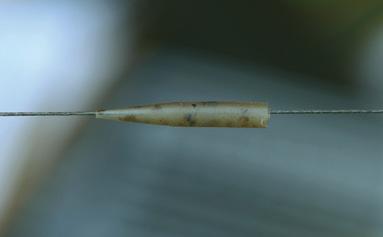
Thread a 5mm Tungsten Bead onto the leader and place onto the silicone, like so.

Slide the Buffer Bead down the leader and into position over the wire loop of the main bead.
You can fish a Chod Rig directly on your main line – this is known as a Naked Chod Rig.


You will then need to take your Chod Rig hook section and slide it down onto the leader.

Set the Tungsten Bead to your chosen distance up the leader and attach your chosen lead to complete.


Chod Rigs are without doubt one of the most effective we have at our disposal.


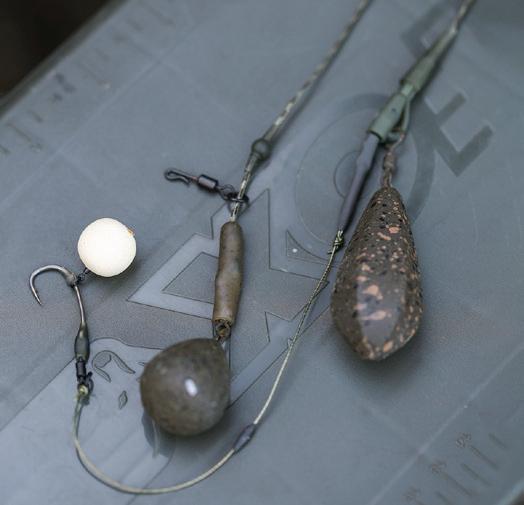
It would be fair to class the Hinged Stiff Rig as the number one, all-time classic ‘big fish’ rig. Designed for the sole use of pop-up hookbaits, this rig is without doubt one of the most effective that you can tie.
The Hinged Stiff Rig has developed a lot over the years and there are many variations in use today. In its most basic form, the Hinged Stiff Rig is basically the Chod Rig hook section attached to a boom section. This boom section can be tied from a multitude of hooklink materials, from the supplest of braids to the stiffest of monofilaments. However, in this chapter we will concentrate on its original format, which saw the rig designed to be used with a stiff boom section (hence its name) and presented on a Helicopter Rig lead arrangement.


Set up much like a Chod Rig, you can adjust the top bead on the Helicopter Rig, so that the lead buries into any weed/debris on the lakebed and then the stiff boom section gently settles down over the lakebed, with the pop-up section sitting proud of any weed/debris. When it comes to free bait application, we strongly recommend utilising a boilie-approach, whereby the boilies are spread over an area with your hookbait positioned amongst them. This gets the carp moving between each mouthful and makes them much easier to hook once they suck in the pop-up hookbait.


01. THE BOOM A stiff monofilament, that can be crimped is perfect for the boom.
02. THE HOOK SECTION You will need to tie a Chod Rig hook section as per page 11.
03. CRIMP PLIERS AND CRIMPS for creating two perfect loops in both ends of the boom.
04. BAIT FLOSS used to mount/secure the hookbait.
05. POWER GRIP TUNGSTEN PUTTY to counterbalance the hookbait.
06. ANTI TANGLE SLEEVE helps to secure the boom onto the leader.


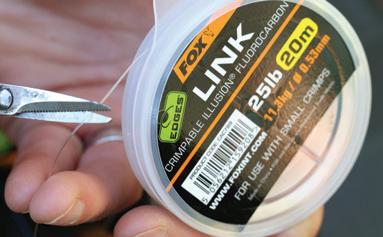

Cut an 8ins (20cm) length of Link Crimpable Monofilament.
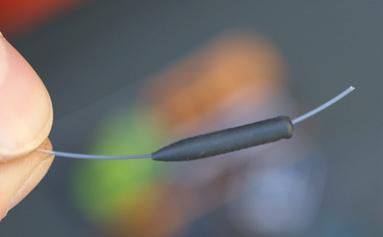

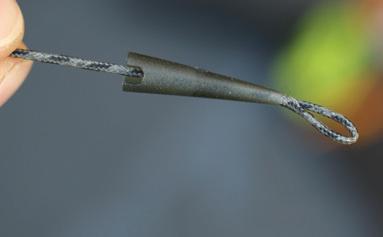
Thread a Micro Tungsten Anti Tangle Sleeve onto the Link boom section.
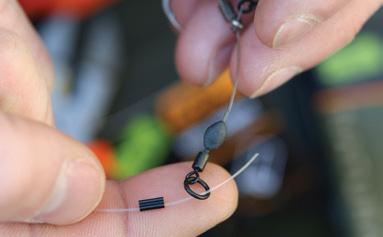

Thread a 0.6mm crimp and the swivel on the chod rig onto one end of the Link.

Now create a small loop at the other end of the Link boom section with a crimp.


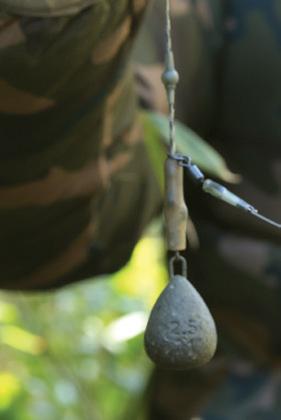
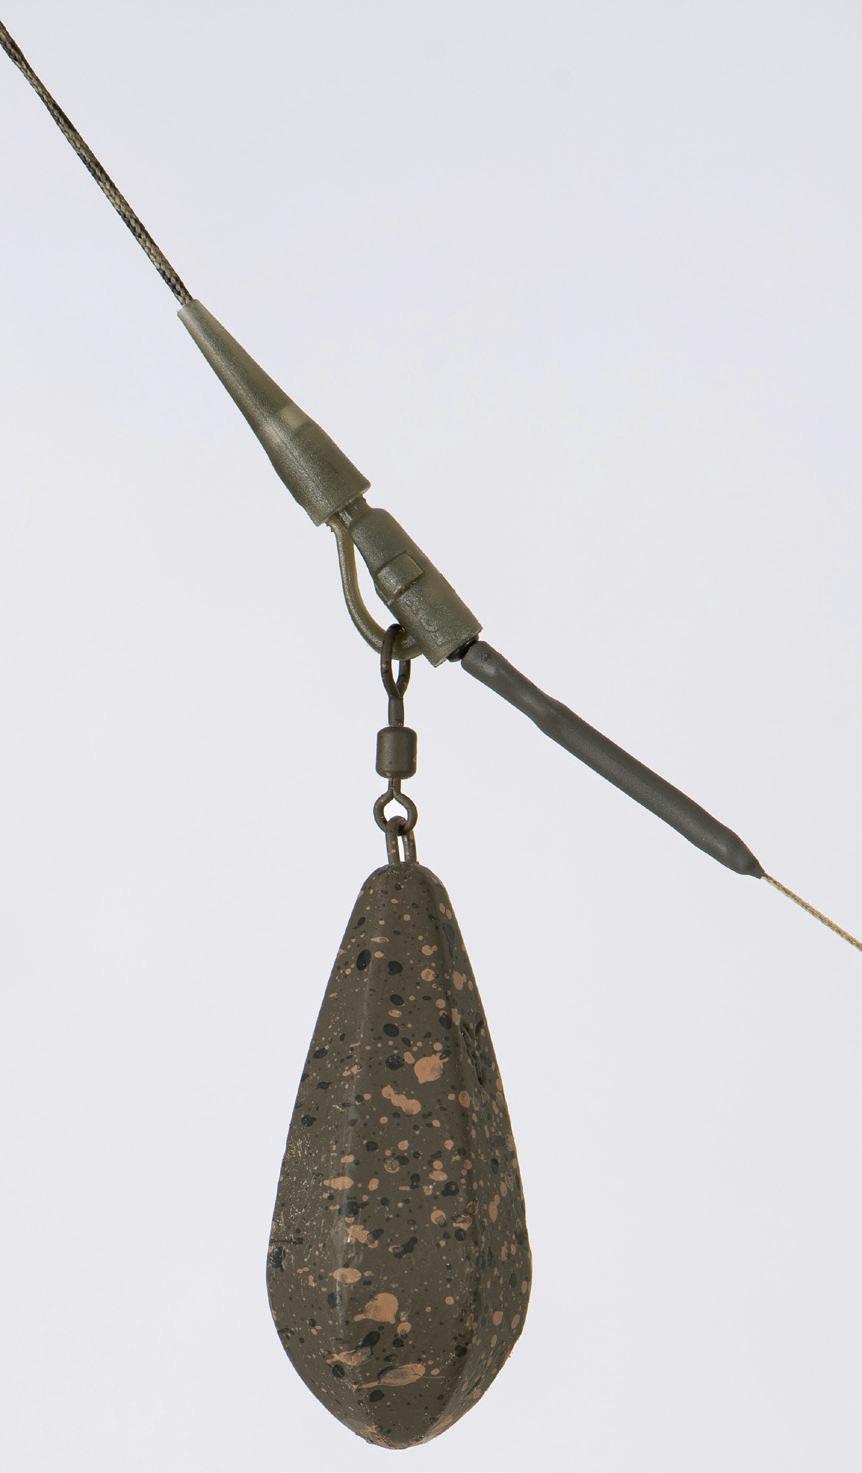
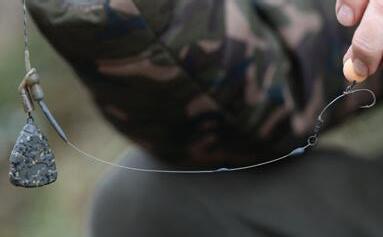
This Hinged Stiff Rig is best presented on a Helicopter Rig lead arrangement.


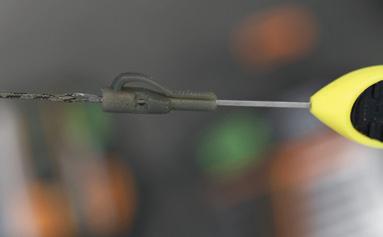
Bring the Link back on itself through the crimp creating a loop that the swivel sits inside.
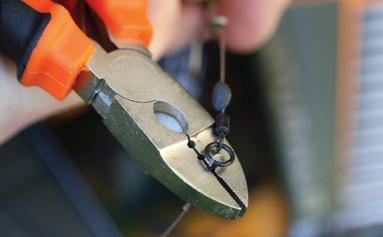

Use the Crimping Pliers to compress the crimp and secure the loop in place.


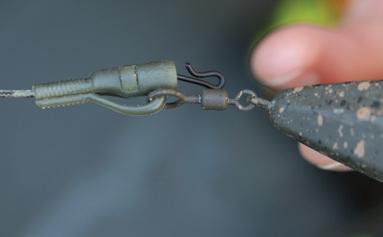
You have now successfully tied one of the best big fish pop-up rigs ever designed!
If you are a targeting a big carp this year then do not overlook this rig.


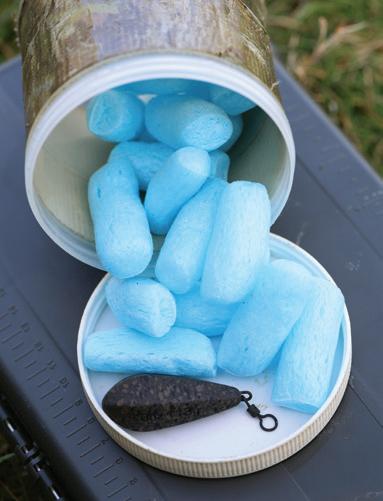
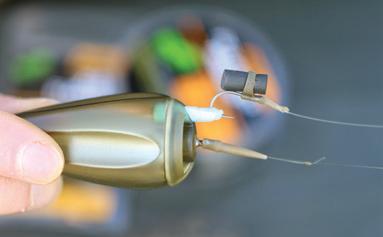
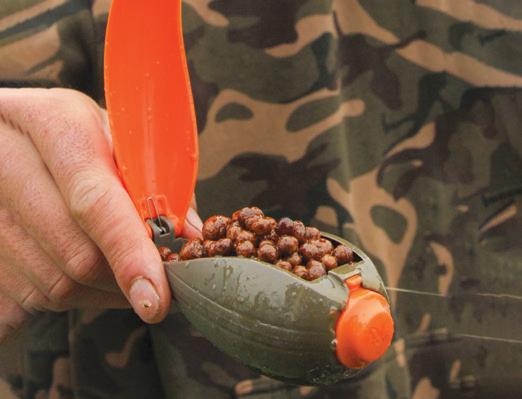
Solid PVA bag fishing can be one of the most effective methods that carp anglers have in their armoury. Often referred to as a ‘cast anywhere’ rig, the solid PVA bag enables you to cast onto most lake/riverbeds and feel confident that your rig is perfectly presented directly amongst some free feed.


01. THE HOOK Pick a pattern that has an aggressive, curved shank.
02. THE HOOKLINK This rig works best when tied from a supple, uncoated braid.
03. IMPACT IN-LINE WEIGHT for ultimate hooking resistance.
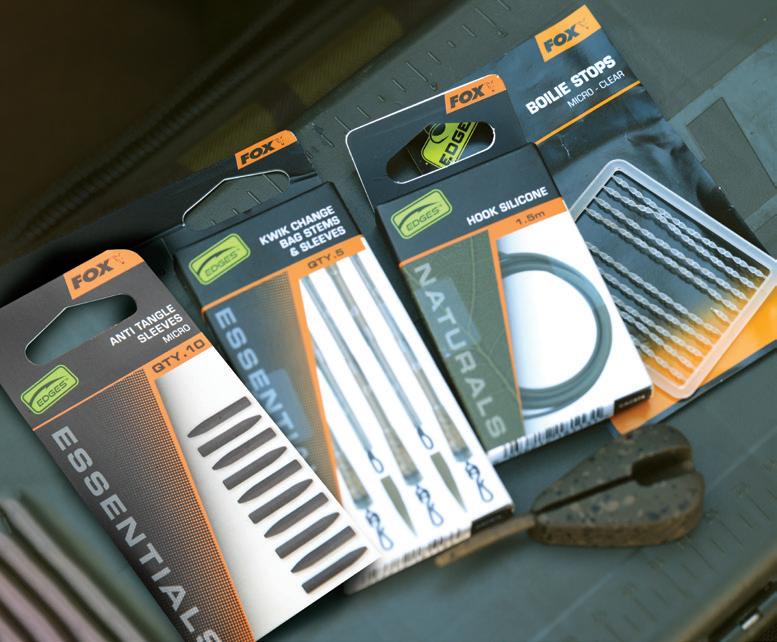
04. KWIK CHANGE BAG STEM & SLEEVES for presentation of the inline lead.
05. MICRO ANTI TANGLE SLEEVE to secure hooklink on quick a change clip.
06. HOOK SILICONE to trap the Hair in place on the hook shank.
07. BOILIE STOPS to keep the hookbait in place.


The rig itself is usually tied from a very short length of supple, uncoated braid. Most anglers prefer to keep things simple and not have too much clutter going inside the PVA bag so here a simple knotless knot with just a small piece of tubing on the shank to trap the Hair in place is all that is needed. This short rig is then presented on an inline lead setup, with the lead, hookbait and full hooklink positioned inside a solid PVA bag along with a selection of freebait – usually very small pellets, although in the colder months some maggots or casters can also be added. When it comes to hookbait choice most anglers prefer to use a critically balanced wafter, as this will sit nicely at the top of your fee offerings like a cherry on top of a cake, in the perfect place to be sucked in by a passing carp.


Cut 8ins (20cm) of Super Soft Braid material and tie an overhand loop in one end.

Position the silicone opposite the point of the hook and set the Hair to the length shown.

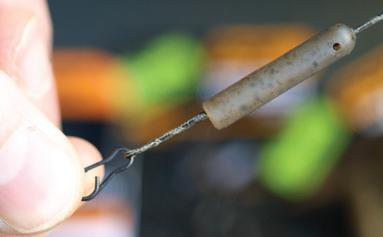
Now take an Impact InLine Weight and remove the insert that it comes supplied with.
Solid PVA Bag Success!

Thread your chosen wafter hookbait onto the loop and secure with a Boilie Cap.

Next, cut a 5mm length of Hook Silicone and thread onto the braid.


You will now need to attach your hook to the braid with a simple Knotless Knot.

Take one of the Micro Anti Tangle Sleeves and thread onto the braid.


Slide the Impact In-Line Weight onto one of the Kwik Change Bag Stems.


Attach the loop from your Solid PVA Bag Rig onto the Kwik Change Stem clip.


Take a Medium Curve hook and carefully thread the point through the silicone.

Set the hooklength to around 4ins (10cm) and tie a figure-of-eight loop in the end.

Next, slide the Micro Anti Tangle Sleeve up the hooklink and over the clip.


You have now created the perfect rig that is ready to go inside a Solid PVA Bag.
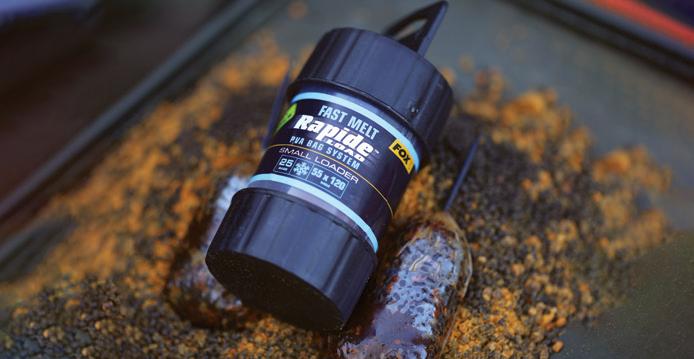
You can use the Rapide Load PVA Bag System to help you tie the perfect solid PVA Bag.


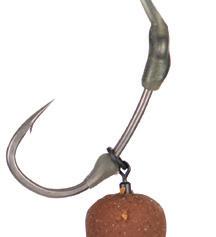
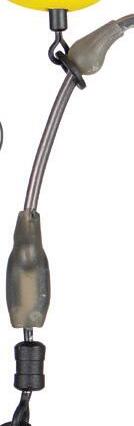
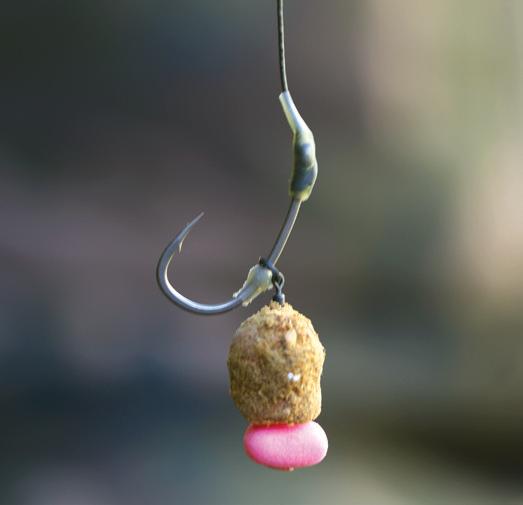
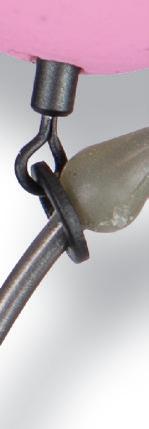
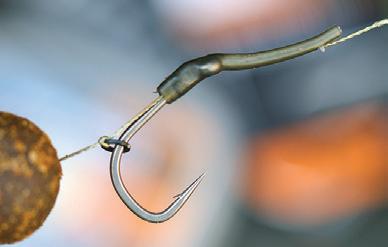
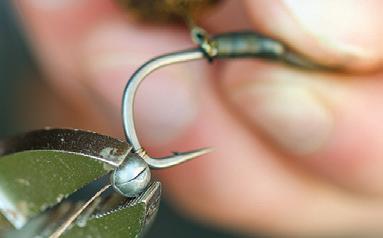
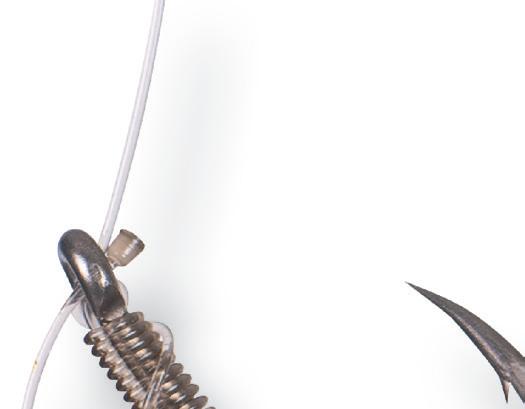
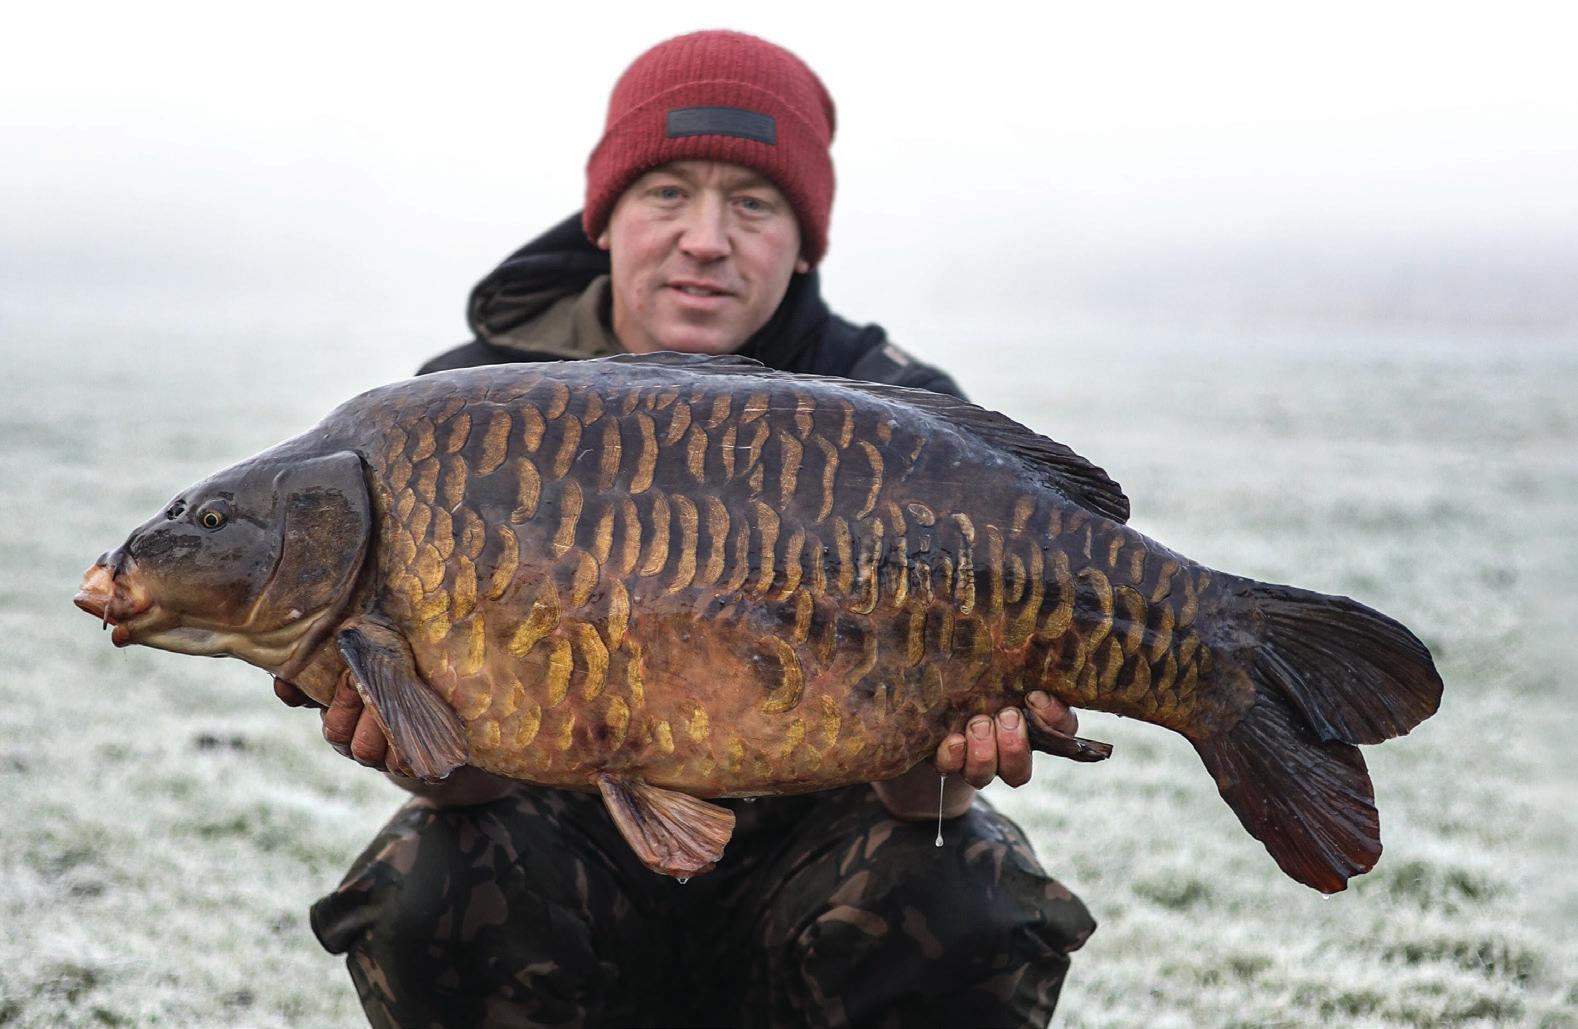
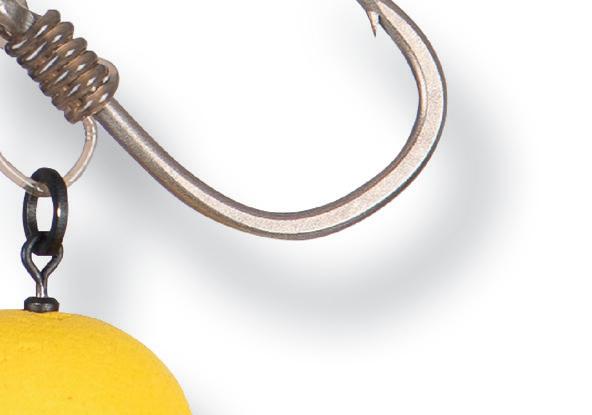
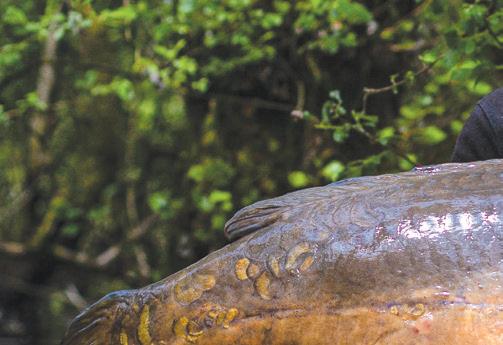
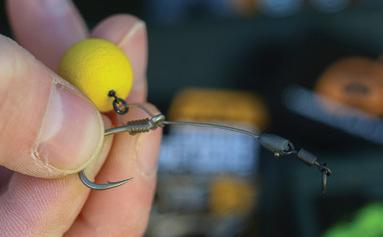
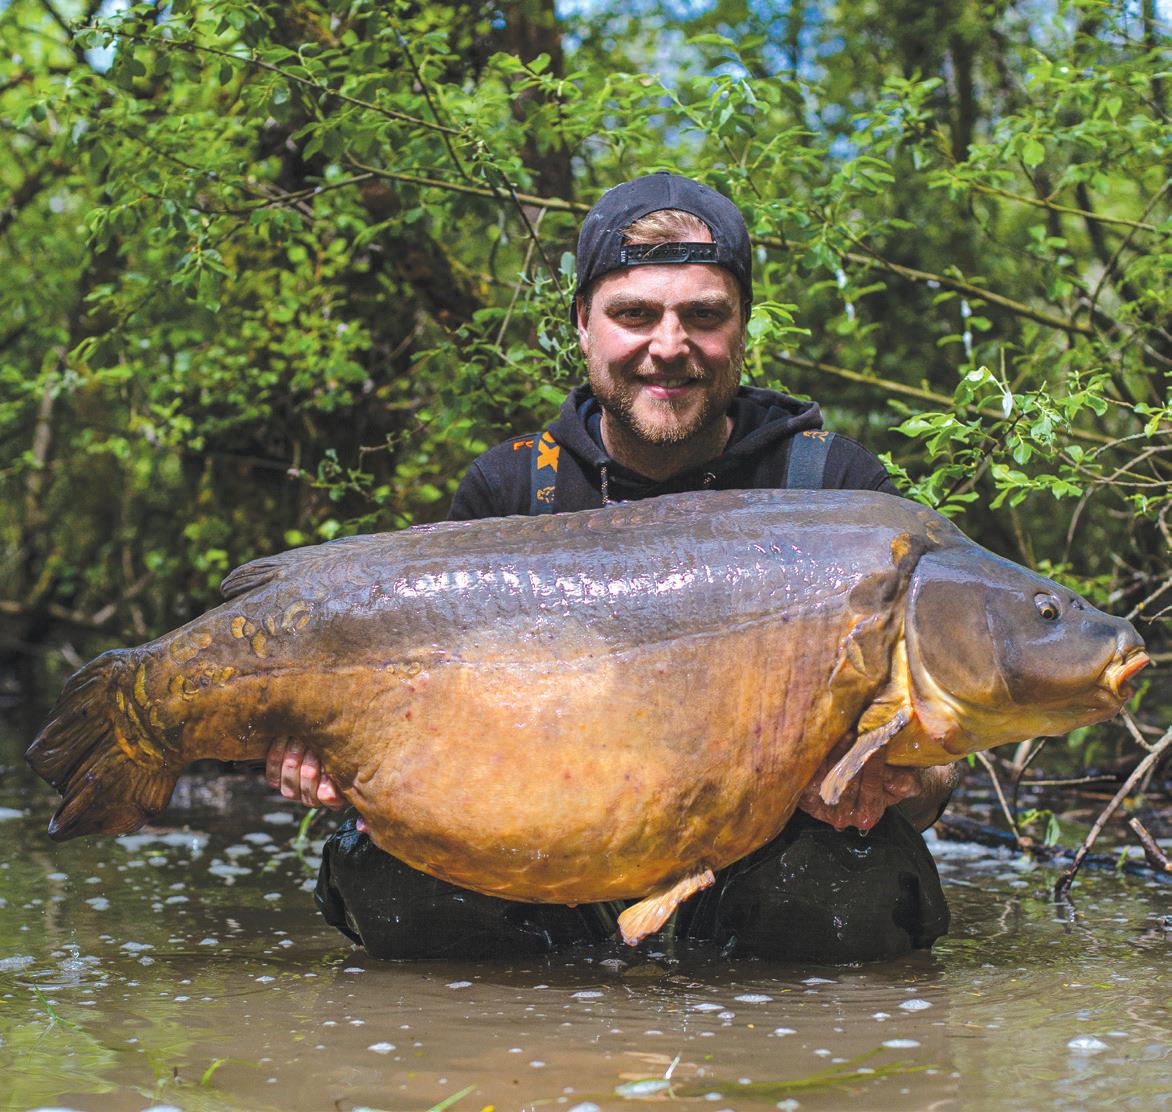
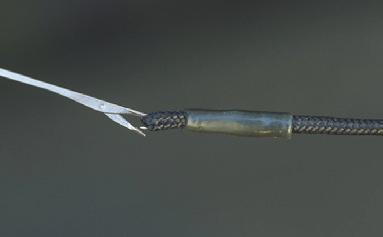
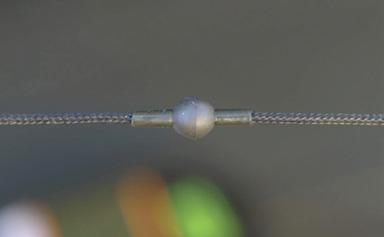
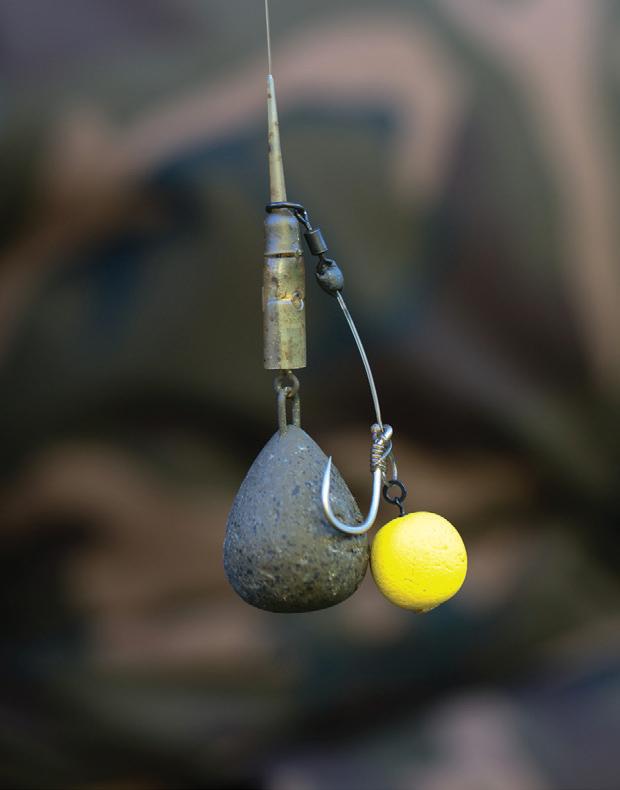
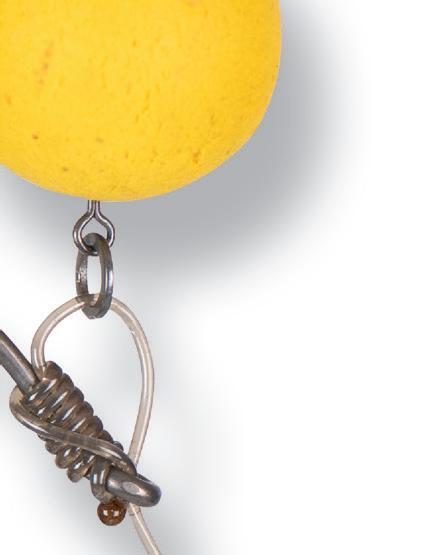
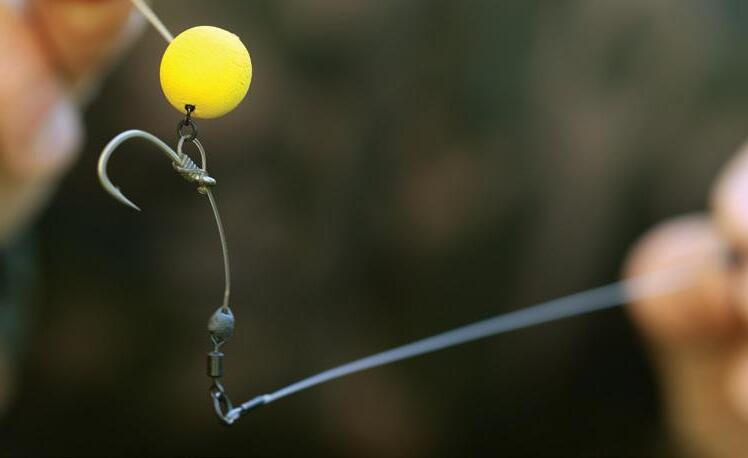
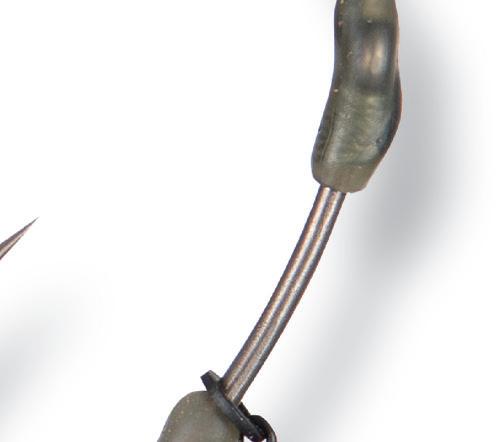
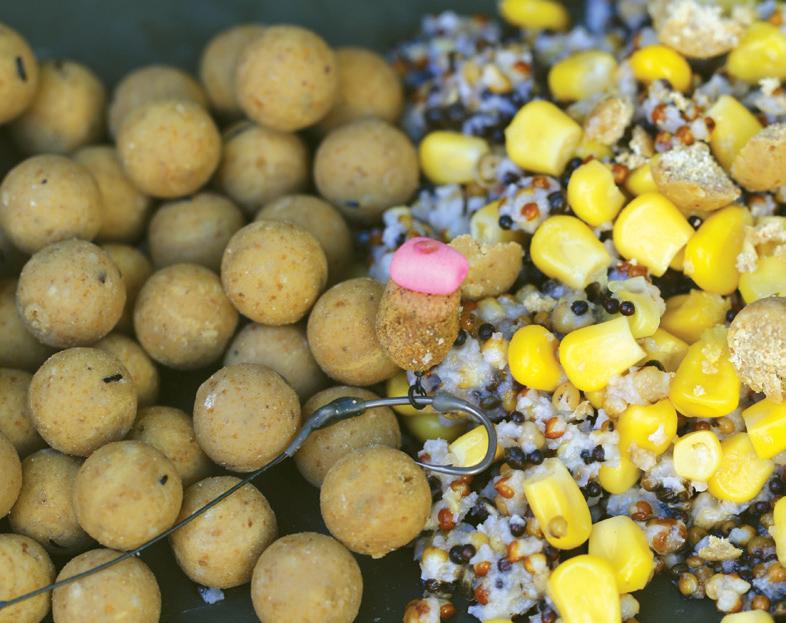
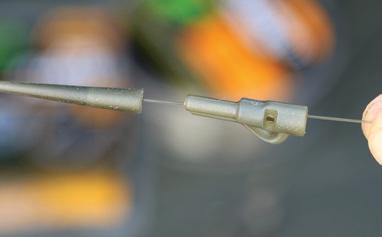
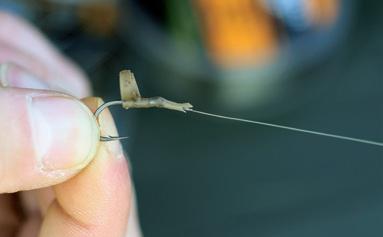
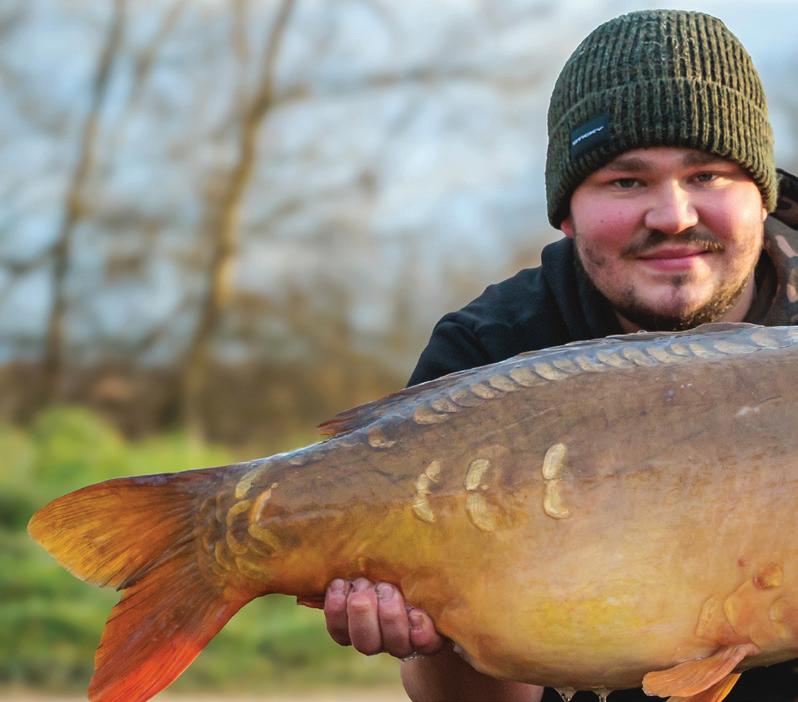
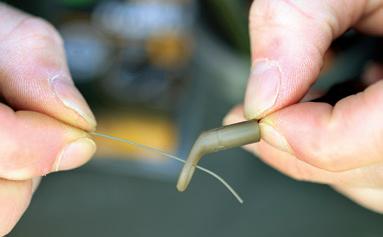
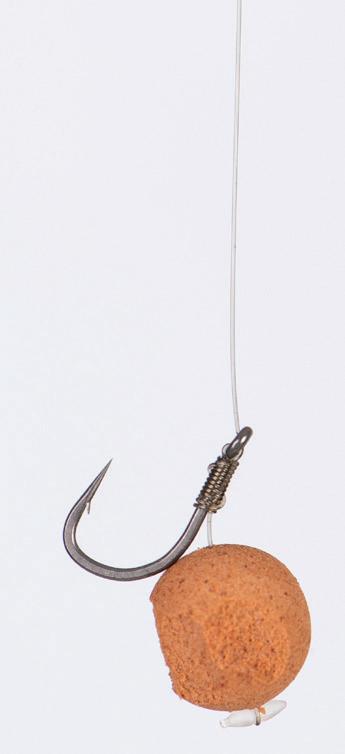
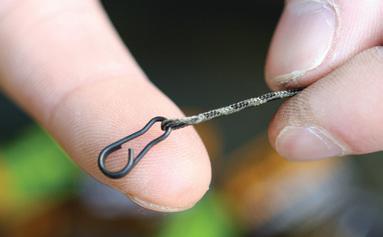
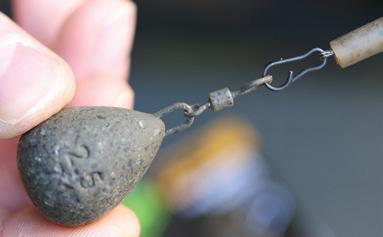
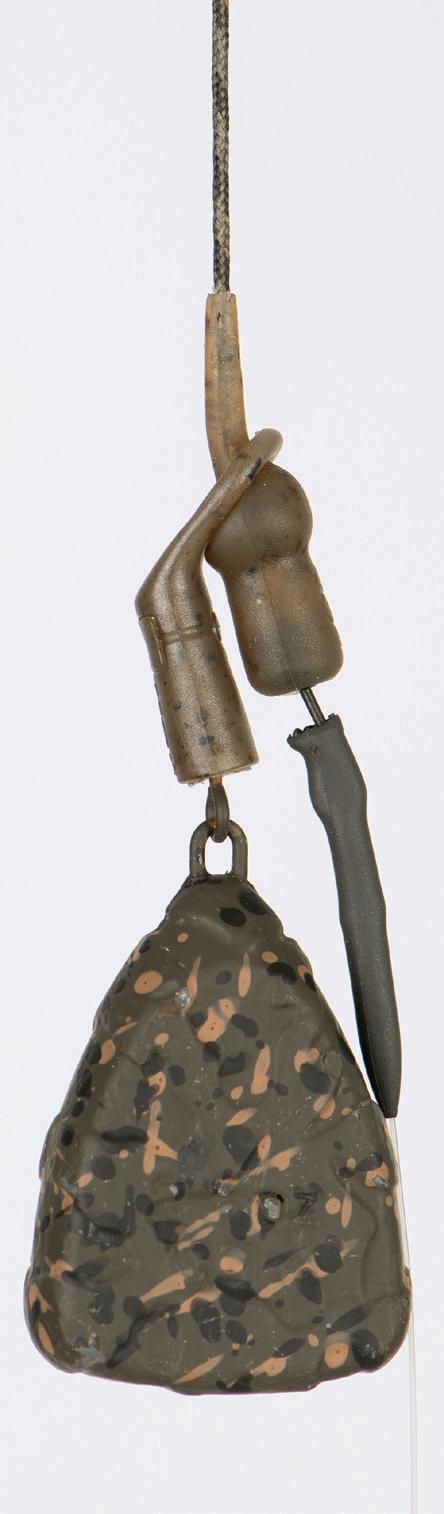
The ‘German Flippa Rig’ is slightly tweaked version of the classic German Rig. Our very own Harry Charrington has become a big fan of the German Flippa Rig, believing it takes the standard German Rig to a whole new level in hooking efficiency!
Whilst the rig can be fished with a bottom bait hard on the lakebed, we believe that to get the very best from this presentation a critically balanced ‘wafter’ hookbait should be used. Due to the nature of this rig we would not recommend fishing it over weed or debris, it is much more effective when presented on a clean lakebed such as gravel, sand, clay or firm silt.
This presentation is very versatile as it can be utilised as part of a boilie-only approach, with a wafter boilie hookbait presented amongst boilie free-offerings but is equally effective when used over a spod mix of particles, boilies and pellets with a critically balanced tiger nut or even plastic corn hookbait fished over the top.


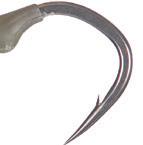
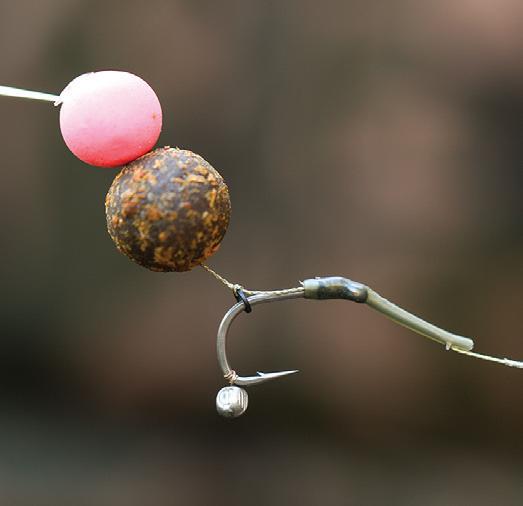
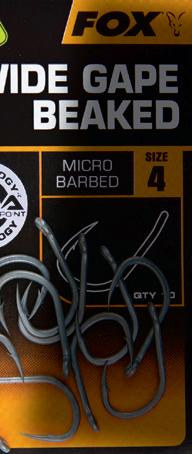
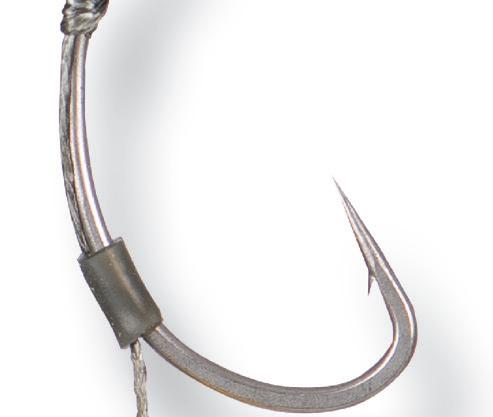
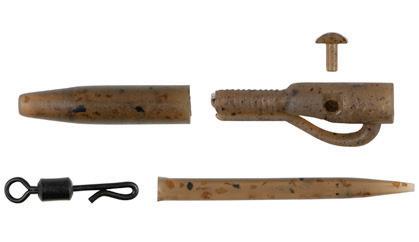
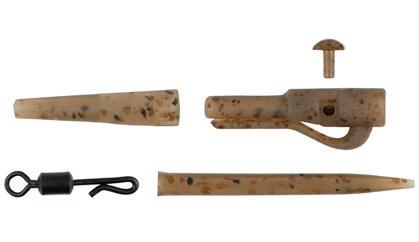
01. THE HOOK Pick a hook that has a long curved shank and a beaked point.


02. THE HOOKLINK This rig works well with both a coated braid or Fluorocarbon hooklink.


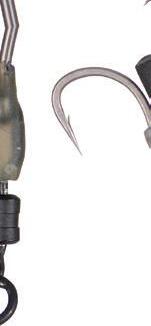
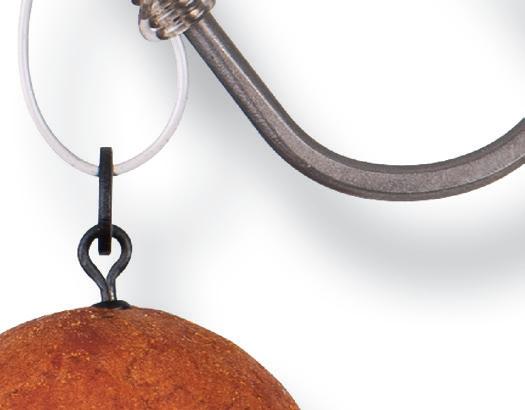
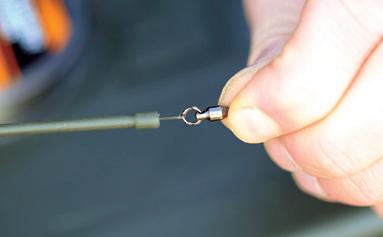
03. MINI HOOK RING SWIVEL Your hookbait will attach to this.
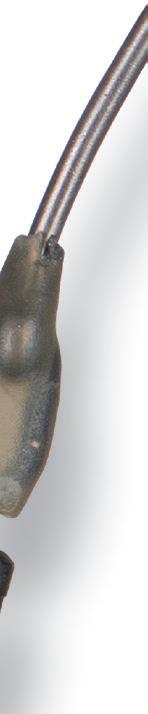
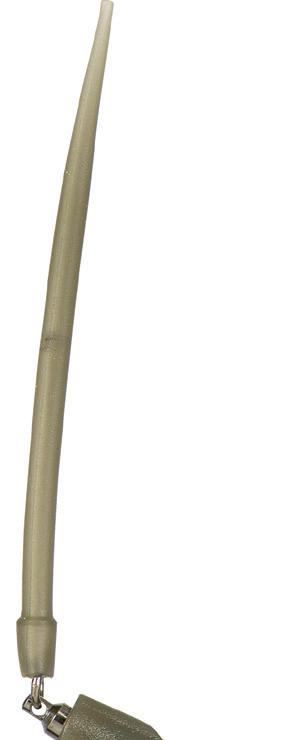
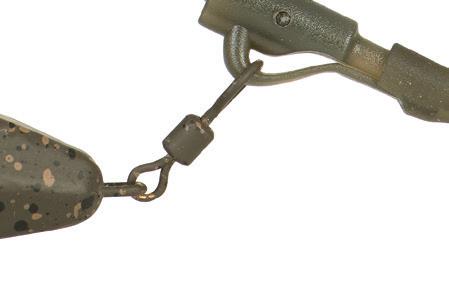
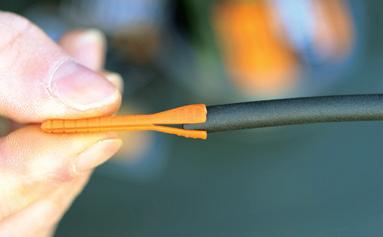
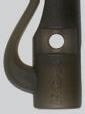
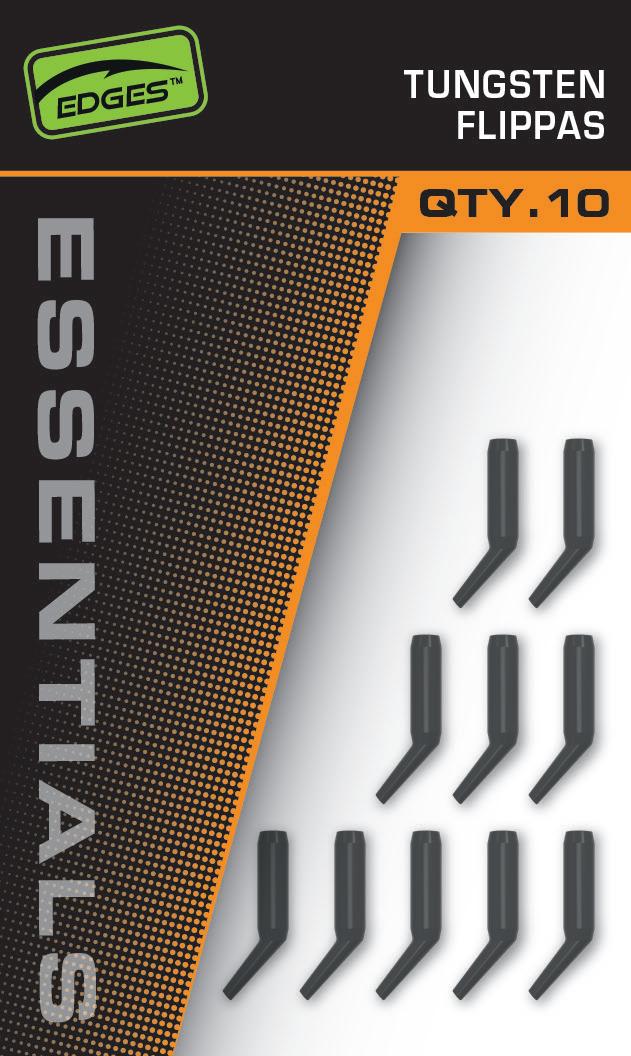
04. FLIPPA Extends the shank slightly and helps the hook to turn when in the carp’s mouth.
05. POWER GRIP TUNGSTEN PUTTY to help pin the hooklink to the lakebed.
06. BAIT FLOSS used to mount/secure the hookbait onto the swivel.
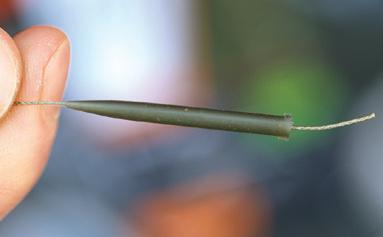
07. TUNGSTEN ANTI TANGLE SLEEVE used to mount/secure the hookbait onto the swivel.
08. POWER GRIP HOOK BEAD stops the Mini Hook Ring Swivel from exiting the hook shank.


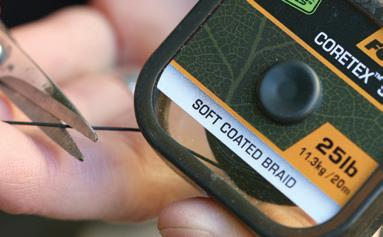

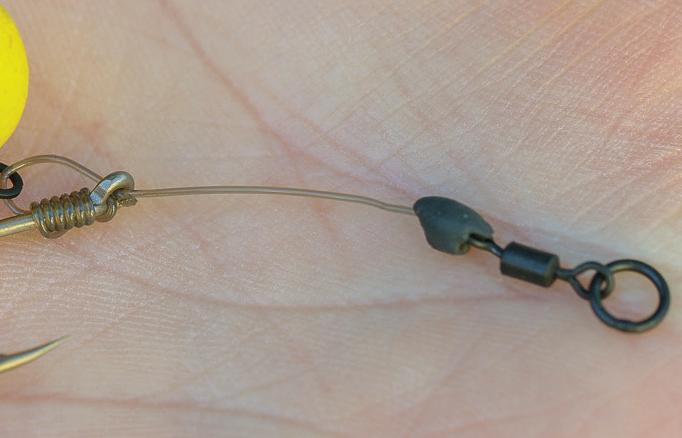
Cut a 12ins (30cm) length of Coretex Soft hooklink material.

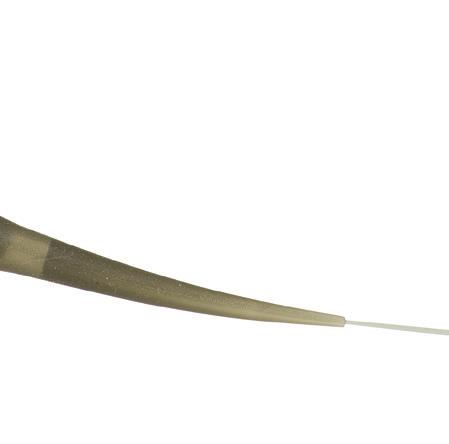
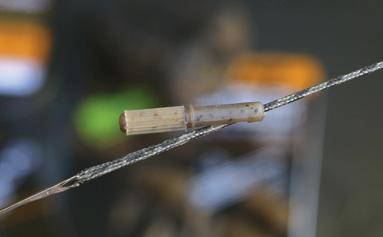
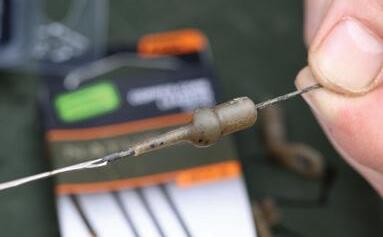
Next using a strip away 3ins (7.5cm) of outer coating from the hooklink.

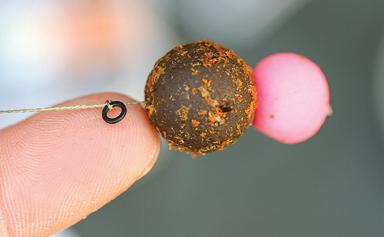
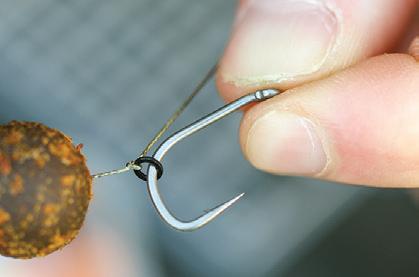
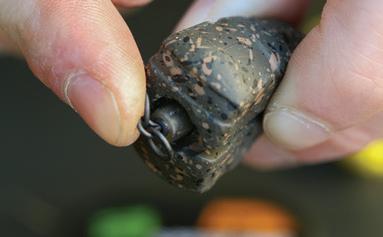
Thread a Power Grip Hook Bead onto the hook and position like so.


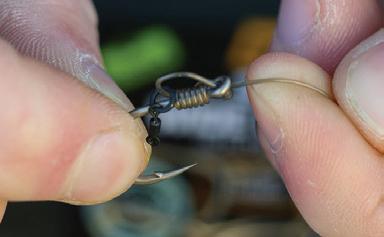
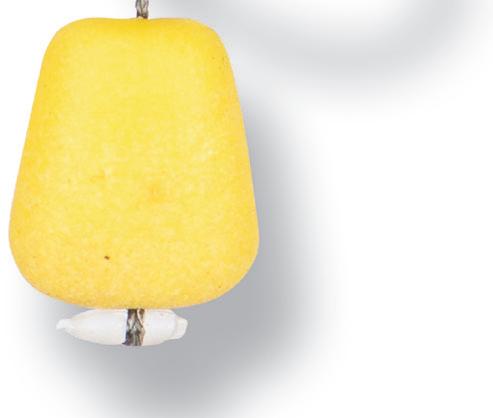
Thread 3ins (7.5cm) of Bait Floss onto the Mini Hook Ring Swivel.

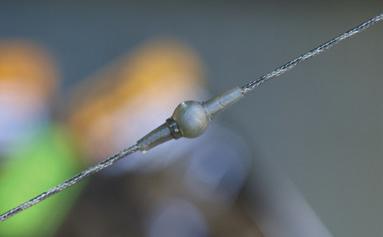
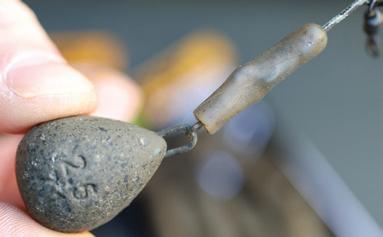
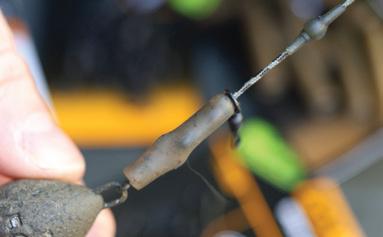
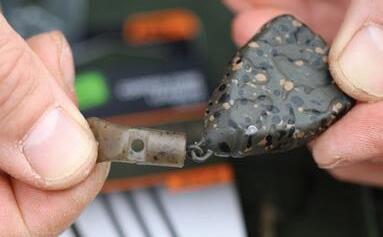
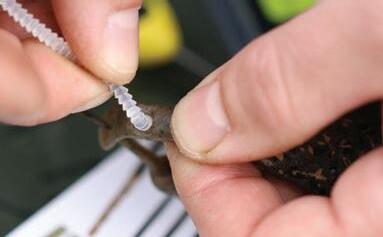
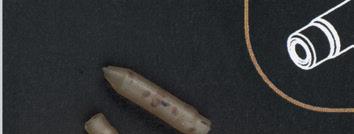
Slide a Naturals Flippa over the eye of the hook.
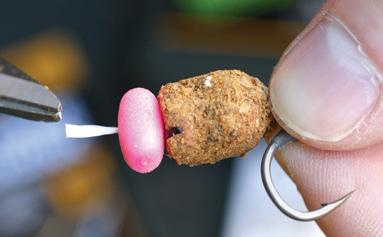

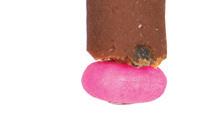
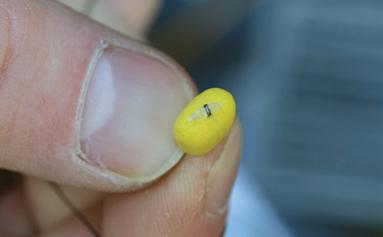
Slide your chosen hookbait onto the Bait Floss, trim the tag ends leaving 1cm on each.

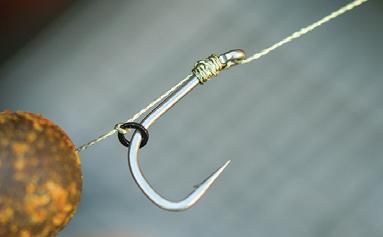
Attach a Wide Gape Long Shank hook to one end with a knotless knot.

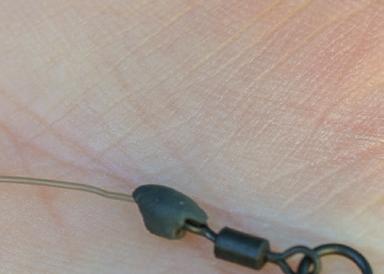
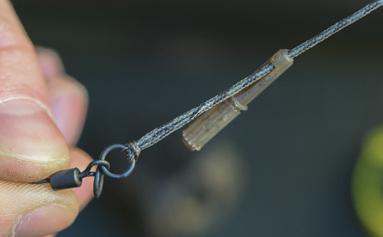
Thread on a Tungsten Anti Tangle Sleeve and tie a small Figure-of-Eight loop in the end.

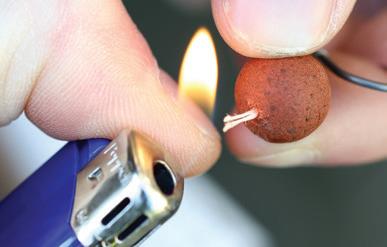
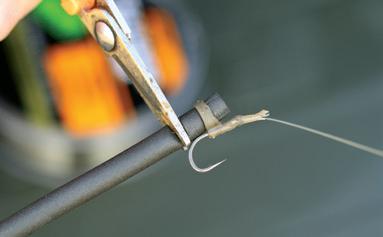
Use a lighter to carefully blob down the tag ends to secure the hookbait in place.

Trim the tag end and thread the ring of a Mini Hook Ring Swivel onto the shank of the hook.
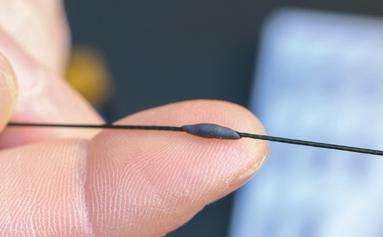

Add a small ‘blob’ of tungsten putty halfway along the hooklink.
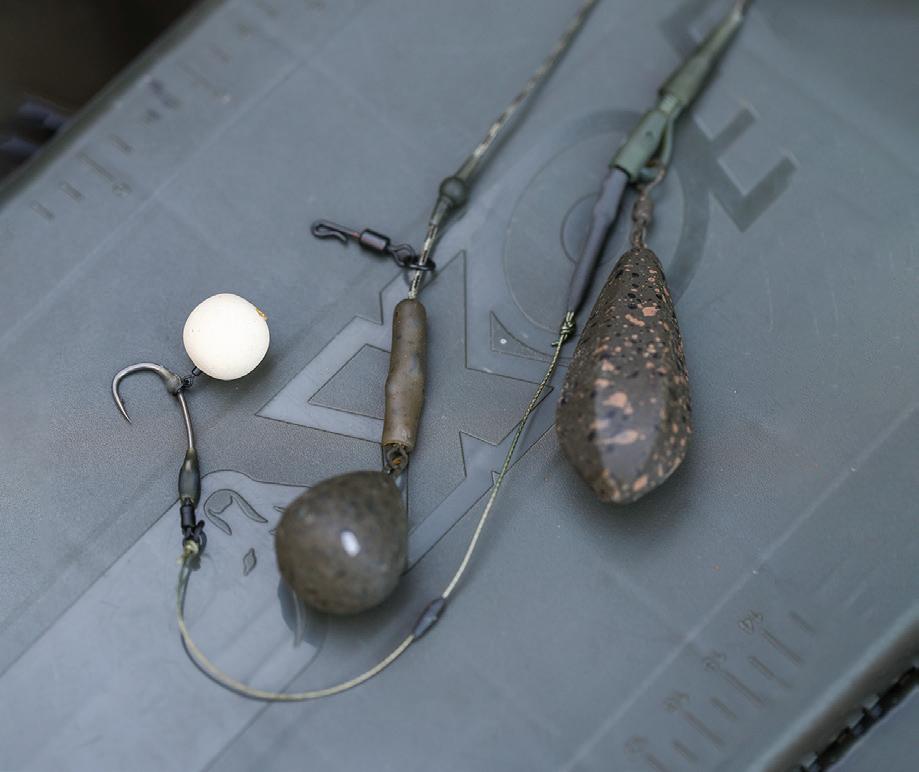
You have now created the perfect German Flippa Rig!
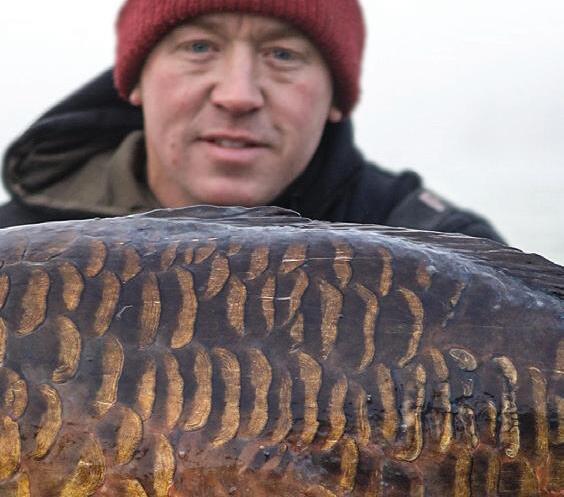
You can fish this rig over straight boilie or a nice spod mix.


Another truly devastating tactic that on certain days cannot be competed with is the Zig Rig. This presentation features a buoyant hookbait, fished on a long monofilament hooklength, that is anchored in position by the fishing weight.
The hookbait can be presented anywhere in the water column from literally 6ins (15cm) off the lake/ riverbed to touching the surface (known as an overdepth Zig). It may surprise you to learn that carp spend very little of their time on the lake/riverbed, even though carp anglers probably spend 90% of their time fishing for them there. In fact, carp often spend most of their time swimming up in the water, with the depth that they swim at impacted by factors including air pressure, water temperature, oxygen availability natural food location. It is this preference for being away from the bottom that makes the Zig Rig such an effective tactic, and if you can master three key elements on any given day, you are sure for lots of success. These three elements are: location (if there’s no carp in your swim you will not catch), depth and hookbait colour. By constantly experimenting with different depths and colours, you can find the perfect combination.


There are two types of Zig Rig available to the modern carp angler: the Fixed Zig, and the Adjustable Zig. Within this section we will detail how to tie both presentations.
A fixed Zig Rig is more commonly used, due to ease of use, however, it does have limitations, especially on deep venues. This version of the rig involves anchoring your


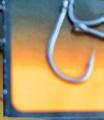
01. THE HOOK A fine wire hook with a straight point.
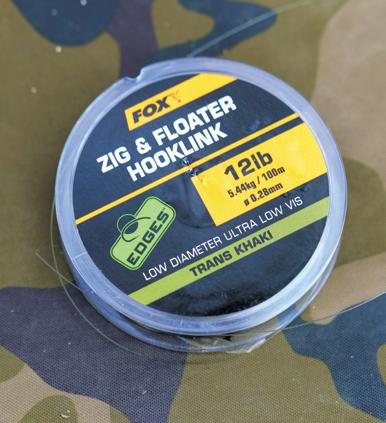
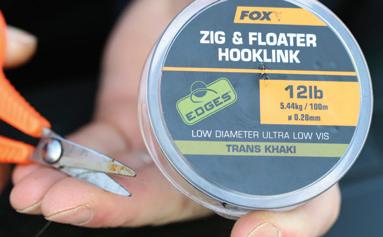
02. THE HOOKLINK A fine diameter, pre-stretched mono that is purpose-designed for the job.
03. ZIG LEAD CLIP KIT all of the essentials needed for a Fixed Zig Rig.

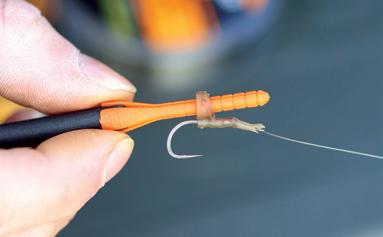
04. ZIG ALIGNA KIT helps you create the perfect hookbait.

buoyant hookbait directly above the lead (usually 4oz minimum and fished on a lead clip) via a long hooklink. The lead clip allows you to change lead size very easily and allows the lead to eject, which is very useful on a Zig Rig as it will swing around a lot during the fight. Once you need to start positioning your hookbait 12ft+ above the lakebed, the Fixed Zig Rig becomes hard work to cast and play/land carp on. In addition, if you wish to experiment with different depths to locate the carp, you will have to constantly swap between different length rigs, which is time consuming whilst multiple re-casts could spook your quarry.


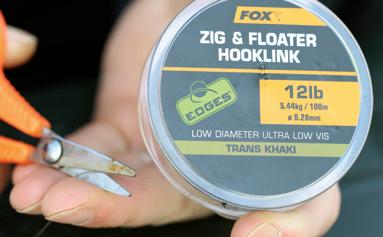

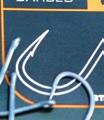
Cut your required length of Zig & Floater Hooklink material.

Push the tool through the loop on the back of the Zig Aligna, as illustrated.

Slide the tail rubber from the Zig Lead Clip Kit onto your main line followed by a lead clip.
You have now created the perfect Fixed Zig Rig presentation.

Attach a Zig & Floater Hook to one end of the hooklink with a Palomar Knot.

As the tool passes through the loop, the foam will become fixed inside it.

Slide a Zig Aligna down the hooklink and position over the eye of the hook.

Take a pair of scissors and trim the foam down to the size of hookbait you want.

Attach the end of the main line to the swivel of the hooklink with a 5-turn Grinner Knot.
Position the lead clip over the swivel, attach your lead and place the tail rubber over the clip.

Place your chosen colour of Zig Foam into the Zig Aligna Loading Tool.

Thread on the anti-tangle sleeve and tie a swivel to the end of the hooklink with a Palomar knot.


As the name suggests this version of the Zig Rig can be adjusted, meaning that the depth at which the hookbait is presented can be adjusted up or down depending on your requirement. The main benefit of this being you don’t have to swap between different hooklinks and you don’t have to continually re-cast, it really is a real advantage when fishing deep venues. Generally, with the adjustable you will only use a hooklength of 3tf (1m), which makes playing carp much easier too. One main downside to this presentation, however, is that it is not as aerodynamic as a fixed Zig and therefore is limited on the distance it can be cast.
The way the Adjustable Zig Rig works is very much like a marker float, but with a 3ft Zig hooklink with a buoyant hookbait attached above the float. This means every time you move the float up or down the hookbait will also move up or down.


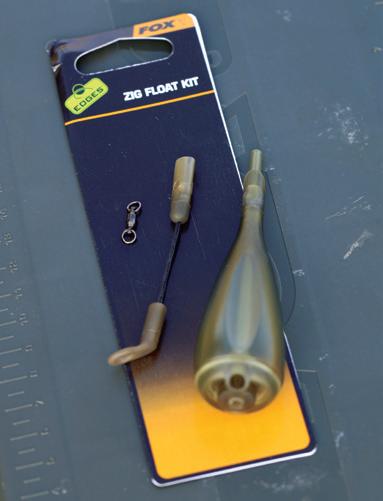


01. THE RIG You will need the same Zig Rig as used on the fixed version but cut down to 3ft.
02. THE FLOAT You can get purpose-designed inline Zig Floats for this presentation.
03. DISSOLVABLE FOAM to help stop the rig tangling.
04. 4OZ LEAD to ensure the float doesn’t drag it when you make adjustments.


Start by thread the lead boom from the Zig Kit onto your main line.
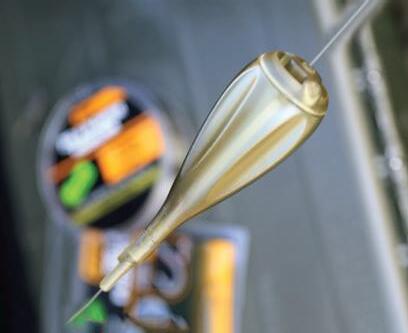
Next, thread the Zig Float from the kit onto the main line.


Attach the end of your main line to the ball bearing swivel with a Palomar Knot.

Slide the anti-tangle sleeve over the ball bearing swivel, like so.

Attach your chosen lead onto the lead boom.

Roll up the end of a dissolving nugget and push it into the recess on the side of the float.

Tie up a Zig Rig hooklink as per the Fixed Zig Rig and tie the end to the ball bearing swivel.

Nick the point of your hook into the nugget and your rig is ready to cast out.


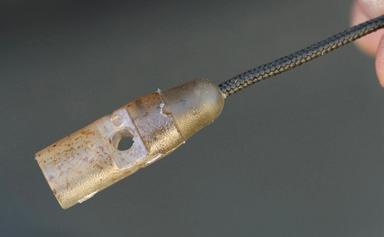
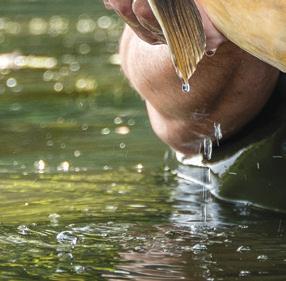
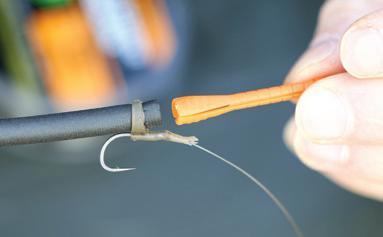
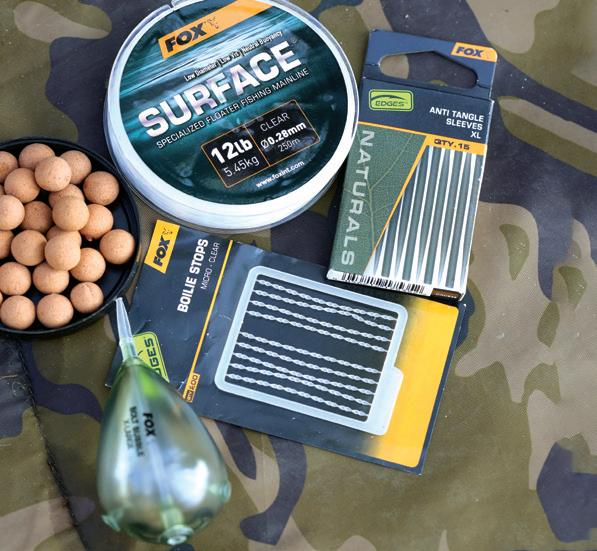
Perhaps the most exciting method of all for catching carp is fishing for them on the surface with floating baits. During periods of warm weather, the carp will be attracted to the surface layers like magnets, and if you are presenting baits on the lakebed for them, you could be wasting your time. Often during the warmer days your best chance of catching carp will be by putting your hookbait where they are and that will be on the surface!
Despite decades of publicity there are still many carp anglers that do not even attempt to catch carp on the surface, however, if you are an angler that wants to perfect your floater fishing skills then this is the perfect chapter for you. The most common way to surface fish is to use a float on your main line that we call a controller float and then below that a hooklink of 3-6ft (1-2m) tied from pre-stretched, fine monofilament with a smaller than average hook and a floating hookbait. You then feed floating free offerings, normally in the form of pellets or dog/cat biscuits. These baits can be fed with a catapult, throwing stick or even with the Spomb, when fishing a further range. By feeding little and often you can often trigger the carp into a feeding frenzy whereby they throw all caution to the wind and become quite easy to hook.


01. THE HOOK Try a finer wire hook with a straight point.


02. THE HOOKLINK A fine diameter, prestretched mono that is purpose-designed for the job.
03. XL ANTI TANGLE SLEEVE to stop the long hooklink from tangling on the cast.
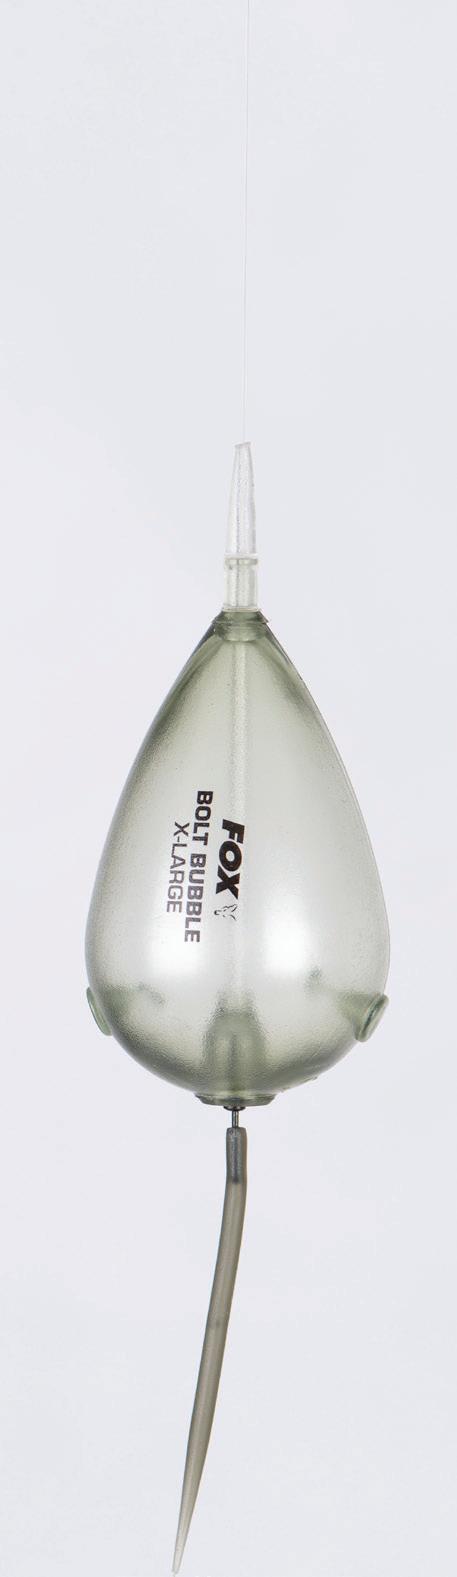
04. BOLT BUBBLE the perfect controller float for surface fishing.
05. BOILIE STOPS for securing the hookbait in position.
06. SURFACE MAIN LINE purpose-designed main line for fishing on the surface.


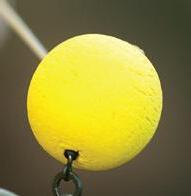
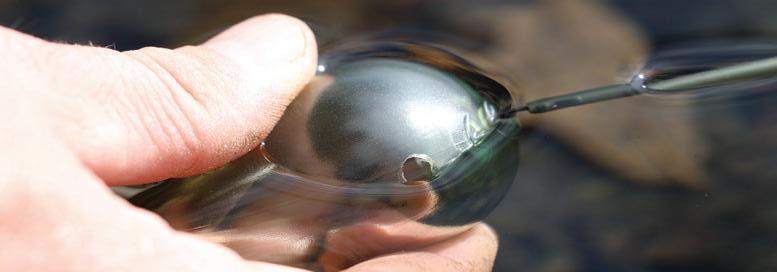
Start by threading a Bolt Bubble controller float onto some 10lb main line.
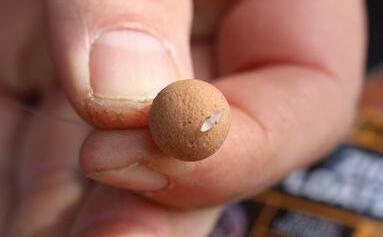

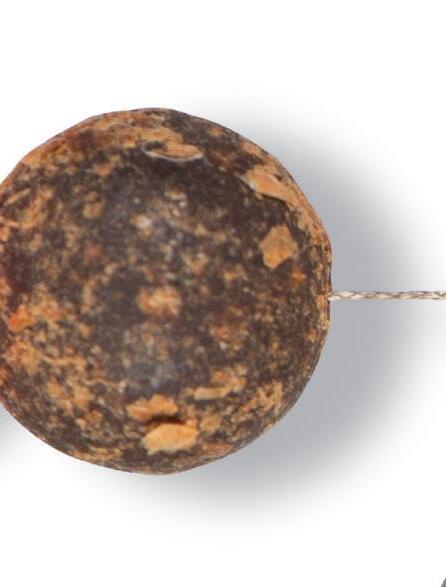
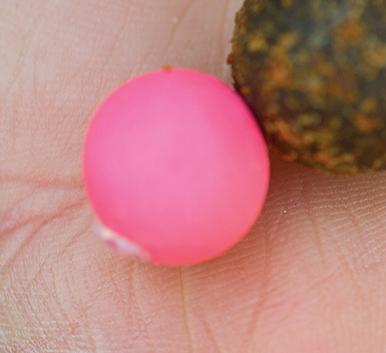
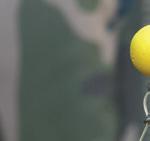
Thread a brown pop-up boilie onto the loop and secure it in place with a Boilie Stop.
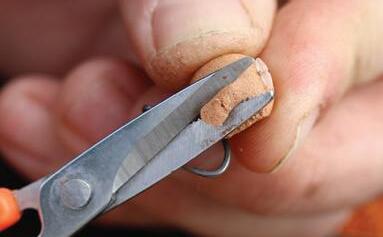

Trim the hookbait down to imitate a free offering and the surface rig is complete.


Attach your main line to a size 10 Kwik Change Swivel using a Palomar Knot.
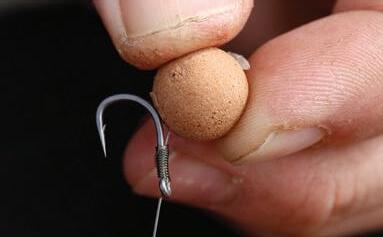

Attach a hook to the hooklink with a knotless knot, ensure the bait is touching the shank.
You can add water to the Bolt Bubble should you require additional casting weight.

Feed floating pellets and/or cat/ dog biscuits to gain the carp’s confidence.

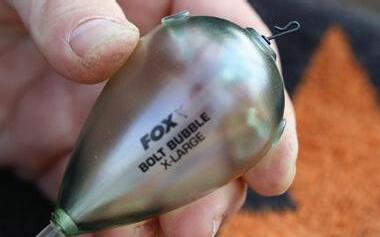
Slide the Bolt Bubble down the line and fix it into position over the swivel.

Thread the XL Anti Tangle Sleeve onto the hooklink and tie a loop in the end of the hooklink.

Cut 4.5ft (1.5m) of Zig & Floater hooklength material and tie an overhand loop in one end.

Attach the hooklink to the Kwik Change Swivel and slide the anti-tangle sleeve over it.


On certain days there will be no better tactic than surface fishing.


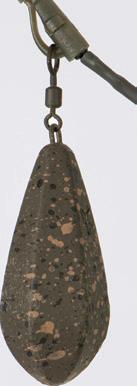
It is probably fair to assume that the Lead Clip setup is the most used of all lead arrangements across Europe.
Perhaps the main reason for such popularity is that the lead clip is very easy to set up and very easy to use. You can change the size and shape of your fishing weight in seconds. In addition, the lead clip offers you the ability to eject the fishing weight should it come into contact with weed or a snag, which will give you a much higher chance of successfully landing a hooked fish. You can fish a lead clip on any leader material and also directly on your main line, which again adds to its versatility. Lead Clips come in various guises and here at Fox we produce three main styles – the standard Lead Clip, a running Lead Clip (gives you the benefit of a lead clip combined with the benefits of a running rig) and a Zig Lead Clip (specifically for Zig Rigs).


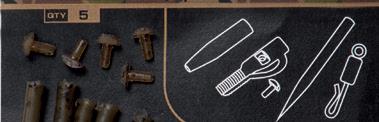
Start by cutting 3ft of Copper-Core Leader material.

Take one of the T Pegs supplied with the Lead Clip and place it inside the clip.
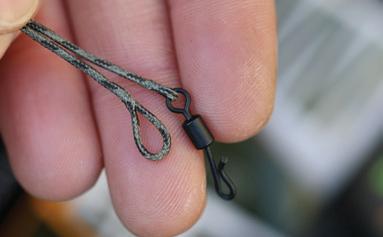

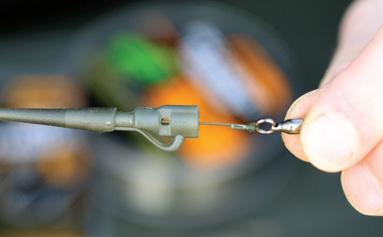
Splice a loop in one end of your leader and a Size 7 Kwik Change Swivel to the other.

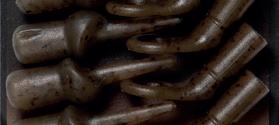
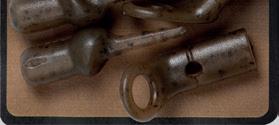
Next, thread one of the matching size 7 Lead Clip Tail Rubbers onto the leader.


Next, thread a Size 7 Lead Clip onto the leader using a gate-latch needle.

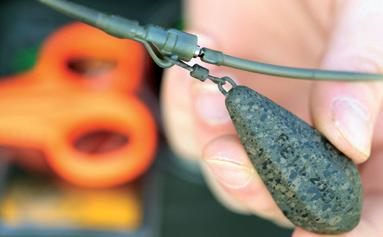
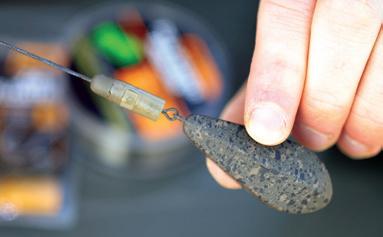
Now take your chosen lead and attach it onto the arm of the Lead Clip.

Position the Lead Clip over the swivel until you hear it click inside.

Push the Tail Rubber over the arm of the Lead Clip and attach your rig to complete.


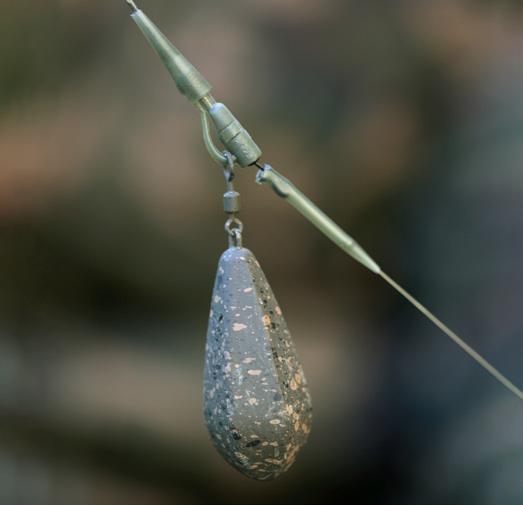
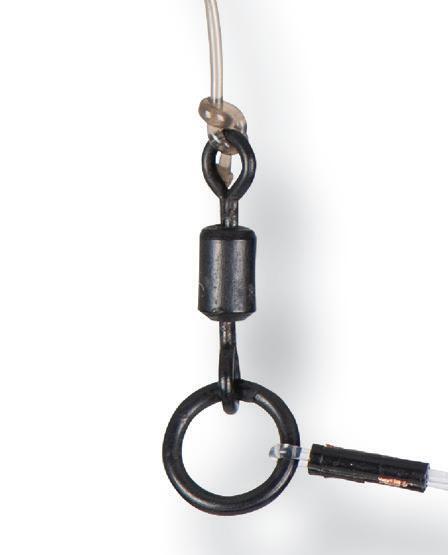
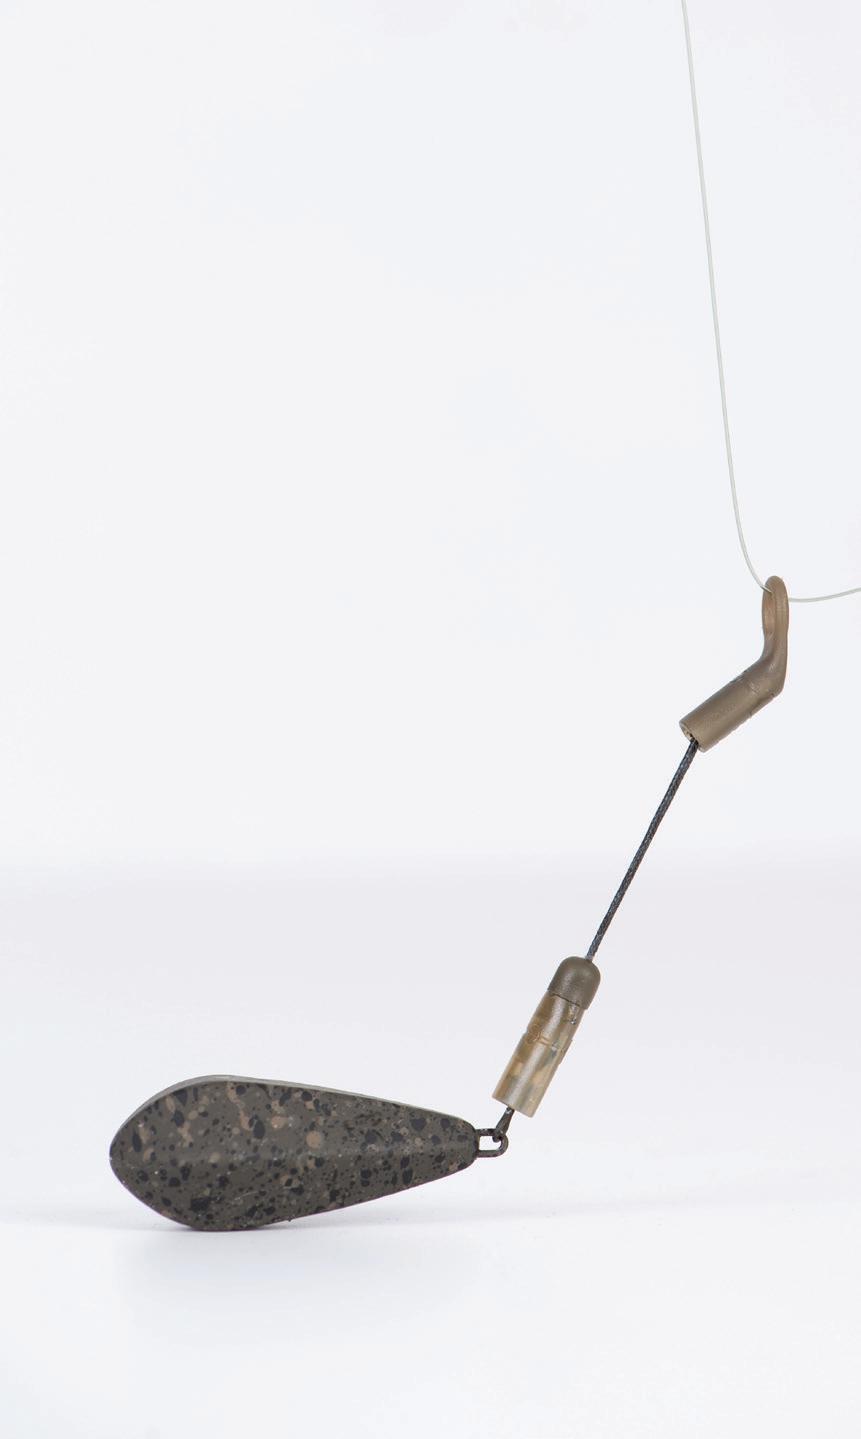
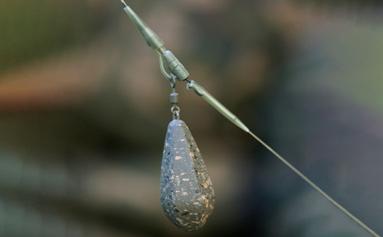
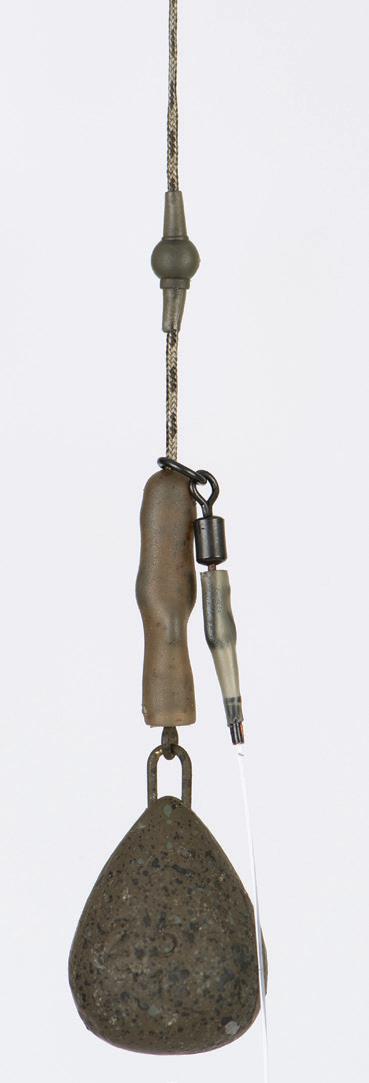
The Helicopter Rig gets its name because your hooklink is free-running on your leader/main line and can spin 360 degrees like the propeller of a helicopter.
A small bead is placed above the swivel of your hooklink to stop it from riding too far up the line/leader. The Helicopter Rig is perfect for fishing over softer lake/riverbeds such as deep silt, leaves/debris or light weed. Because your lead is in front of your hooklink, it means the lead will hit the lakebed first (plugging into the soft ground) leaving your hooklink to travel behind and sit on top of the soft bottom (this can be aided by using critically balanced hookbaits or pop-ups).
Another benefit of the Helicopter Rig is that it has great anti-tangle and aerodynamic properties meaning that out of all the various lead setups we have available to us, it is the best for long range distance casting.


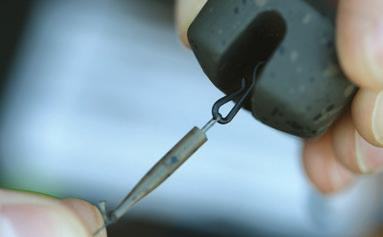
Now take your chosen lead and attach it to the Speed Link.

Slide the Buffer Sleeve onto the Speed Link and lead swivel.

Position the Leader Bead to your chosen distance above the lead (lakebed dependent).

Attach the rig of your choice to complete the setup.


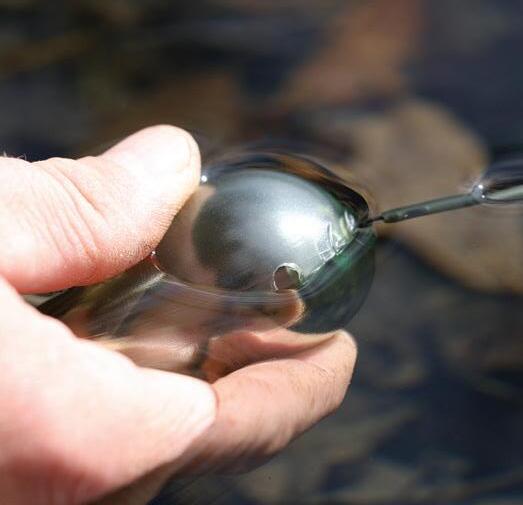
The inline lead arrangement is very effective in carp fishing because a carp will meet the full resistance of the lead weight sooner than it would do on other setups such as a Lead Clip, Helicopter Rig or Running Rig.
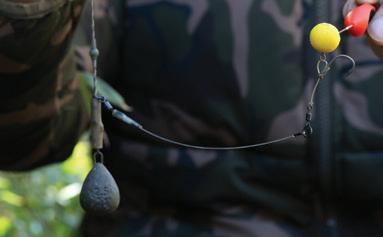
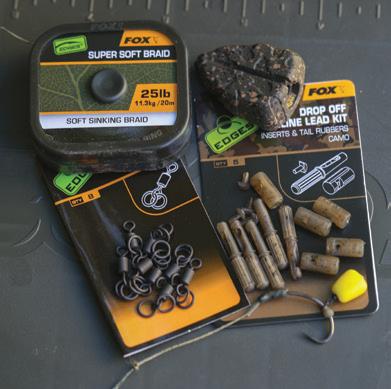
This faster impact means it can be harder for a carp to eject a rig that is presented on an inline lead compared to other presentations. Unfortunately, the inline lead presentation does have some drawbacks, such as it does not cast as far as a Helicopter or Lead Clip, it is more prone to tangling and it is only really suited to be used on hard, clean lake/riverbeds. These drawbacks can however be mitigated by using this lead arrangement inside a solid PVA bag, as outlined in an earlier chapter. Within this chapter we will focus on perhaps the most commonly used inline setup, which is the Drop Off Inline Lead. This arrangement enables the angler to get the benefits of using a fixed inline lead to set the hook, but which can also eject the lead so that you have a far better chance of landing a fish in weedy or snaggy conditions.


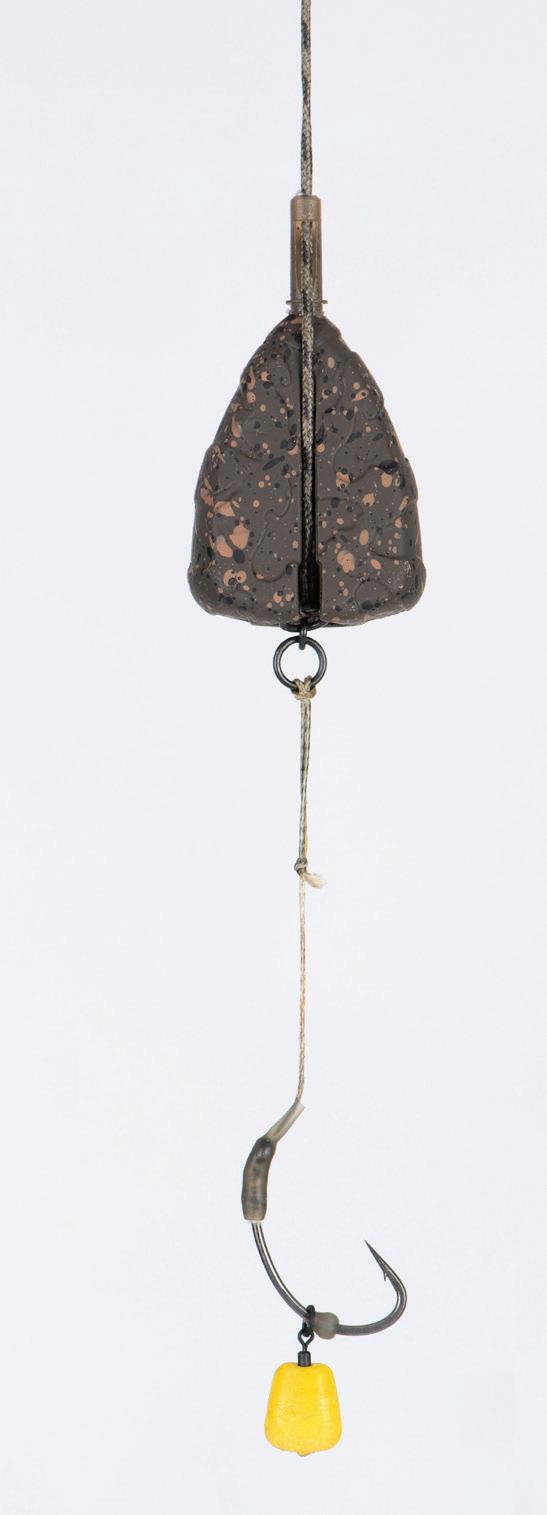

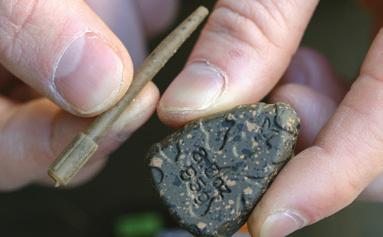

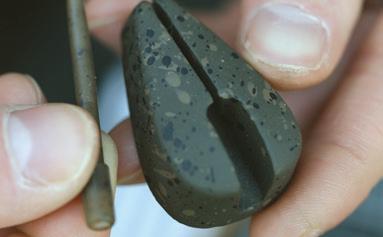
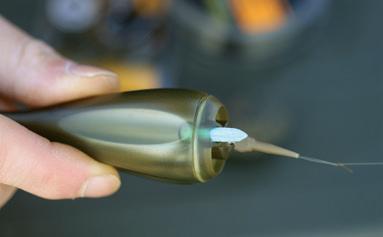
Next, take your chosen inline lead and remove the insert from its core.

Thread one of the ‘Stems’ from the Drop-Off Inline Kit onto your leader of choice.


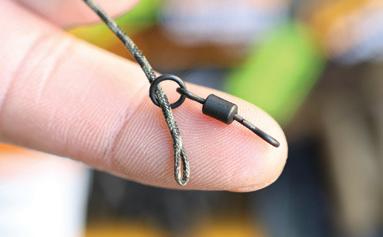
Loop your leader onto one of the rings on a Double Ring Swivel.

Take ‘Plug’ that is attached to the swivel and push into the front of the lead.

Run the leaderaround the outside of the lead and push the ‘Stem’ into the back of the lead.

Place one of the ‘Plugs’ from the kit over the swivel and secure in place with the pin.

Finally attach your chosen rig to the second ring on the swivel to complete the setup.


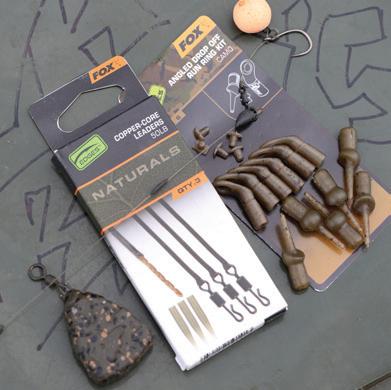
The Running Rig set up is perhaps the simplest arrangement and is essentially the original lead setup that carp anglers had at their disposal. It is called a Running Rig because the main line or leader can run directly though the lead weight, with the weight staying in position, meaning there is little resistance from the weight.
Back at the start it was very basic to construct, a weight threaded onto the line, followed by a buffer bead and then the hooklink tied on via a swivel. Nowadays the principle of the Running Rig is still the same and still basic, however, companies have designed products specifically for the task to make things more efficient. Benefits of a Running Rig include the fact that the carp cannot use the weight of the lead to help them eject the hook from their mouth, it is also very good for bite indication as the carp cannot pivot off a fixed lead weight. To get the full benefit of a Running Rig we suggest using a lead of at least 4oz, so that the weight stays in place on the lake/riverbed once a carp picks up the hooklink. A downside of the Running Rig setup would be that the weight isn’t used to help set the hook quickly, like you get with an Inline Lead or Lead Clip arrangement, due to its free-running nature. They can also be a bit more prone to tangling compared to Helicopter and Lead Clip setups.


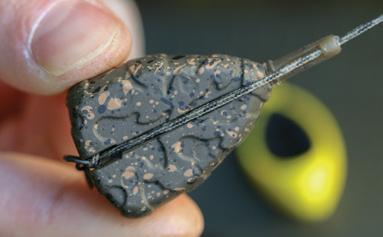
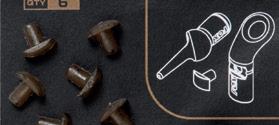
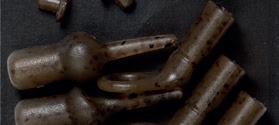
Thread a buffer bead from the Angled Drop Off Run Rig Kit onto your leader.

Push the swivel of a lead inside the ring so the swivel eye lines up with the hole in the ring.

Take one of the T-pegs supplied in the kit and secure the lead in place on the ring like so.


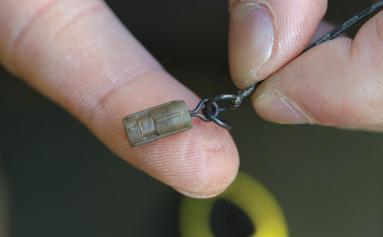
Position the buffer bead over the Kwik Change Swivel on the end of the leader, like so.

Attach your chosen rig to the Kwik Change Swivel on the leader to complete.


Next, slide the angled ring from the kit down onto your leader and over the buffer bead.

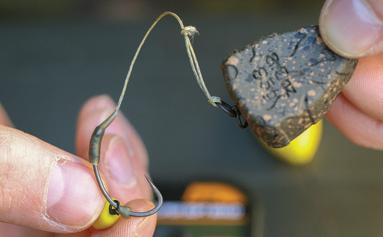
If you wish to be able to eject the lead, simply replace the T Peg with a section of PVA Strip.


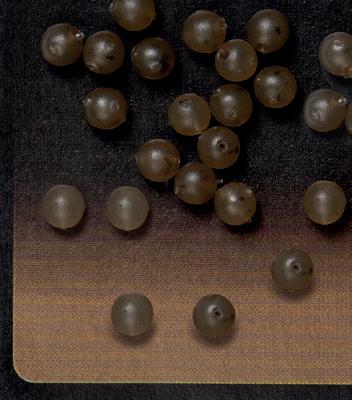


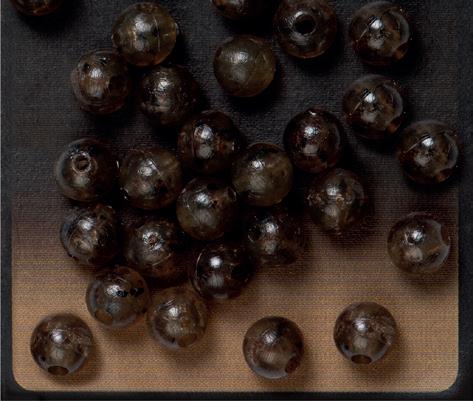


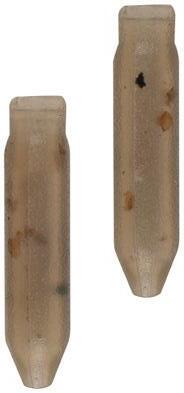
CAMO TAPERED BORE BEADS
CAC770 QTY 30


CAC774 QTY 6

CAC777 QTY 5
QTY 6


QTY 5
CAC778 QTY 10
CAC779 QTY 5
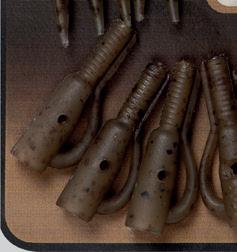

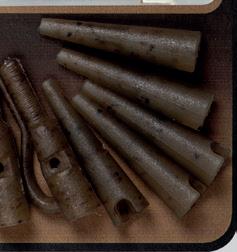
CAMO SAFETY LEAD CLIP KIT
QTY 5


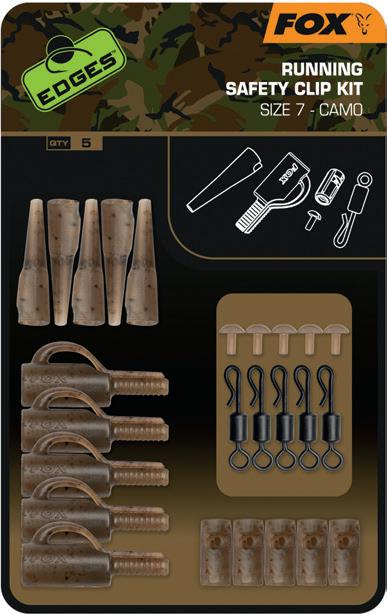


CAMO RUNNING SAFETY CLIP KIT
CAC803 QTY 5
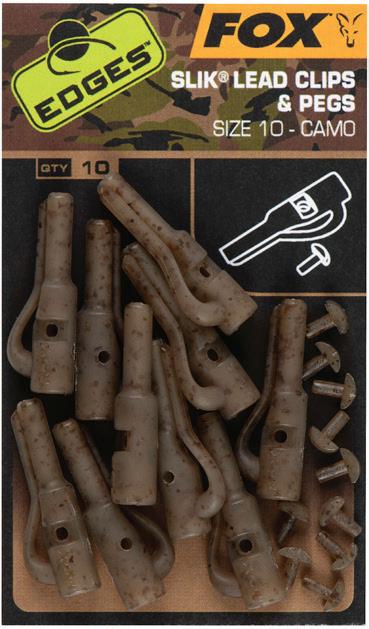


SIZE 10 SLIK LEAD CLIP & PEGS
CAC809 QTY 10
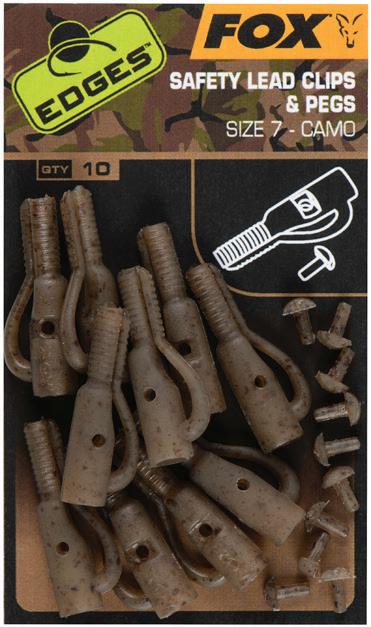
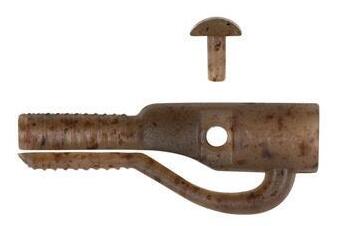
SIZE 7 SAFETY LEAD CLIP & PEGS
CAC807 QTY 10
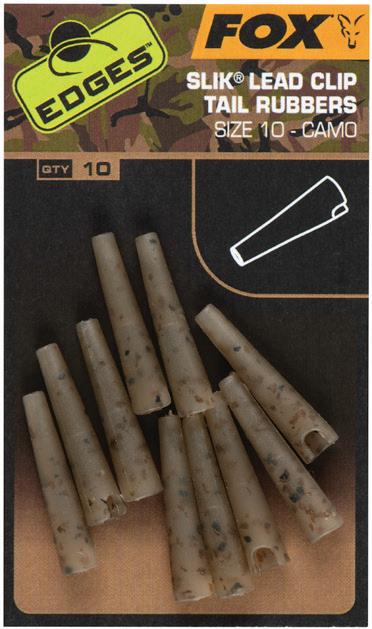
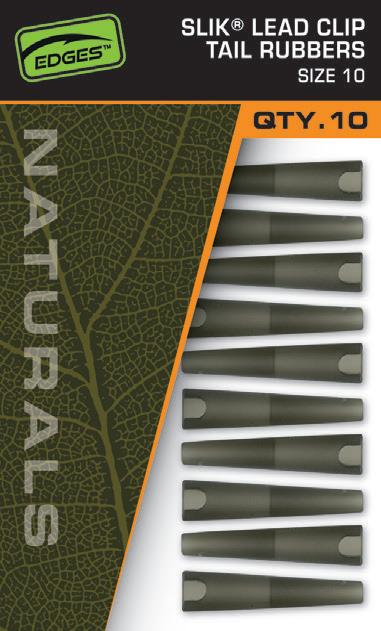
SIZE 10 SLIK LEAD CLIP TAIL RUBBERS
CAC810 QTY 10
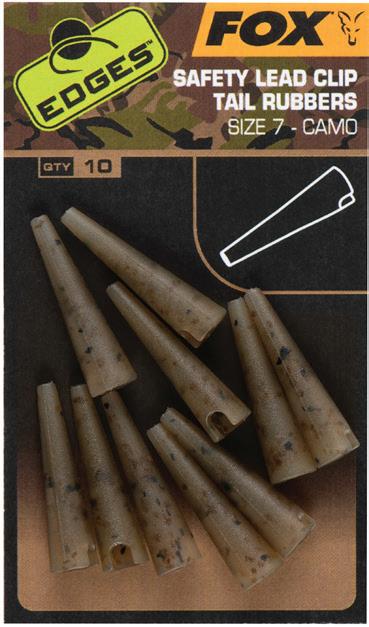
SIZE 7 SAFETY LEAD CLIP TAIL RUBBERS
CAC808 QTY 10

SIZE 7 POWER GRIP TAIL RUBBERS
CAC811 QTY 10
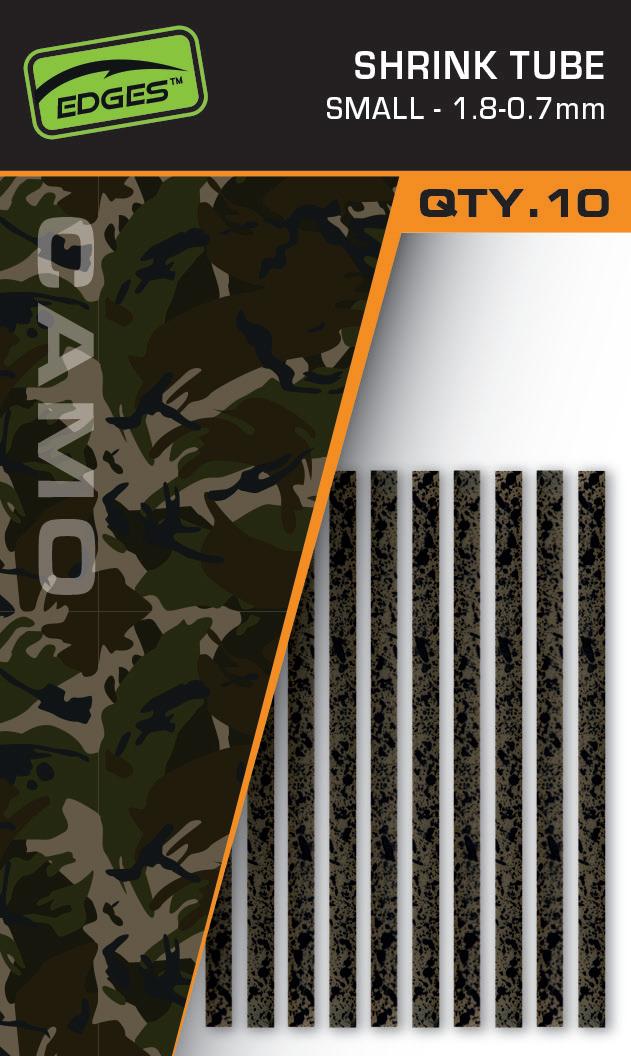

SHRINK TUBES SMALL 1.8 - 0.7MM
QTY 10
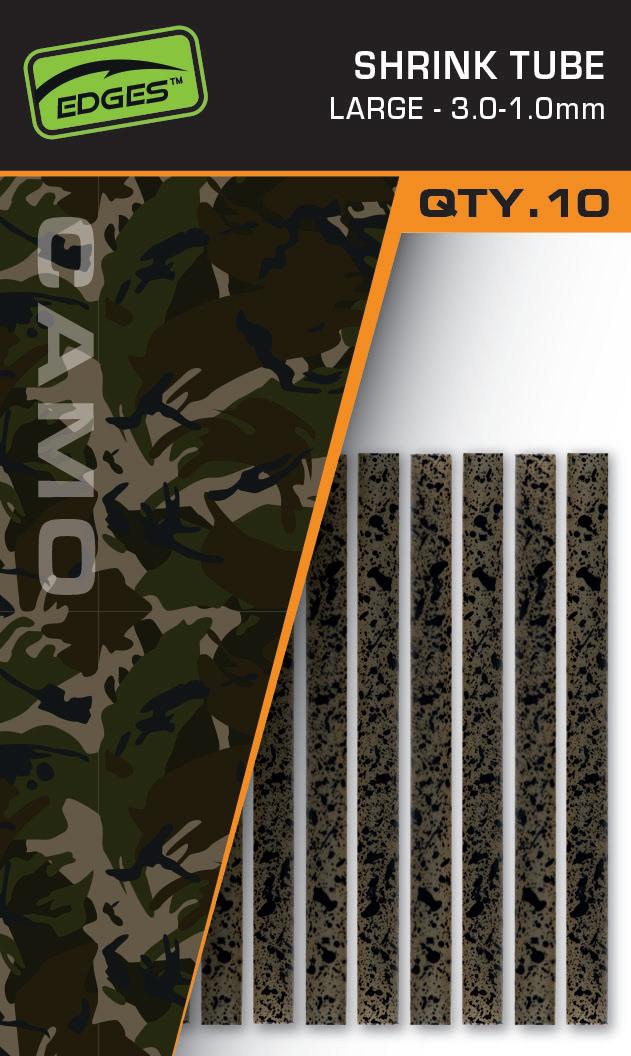
SHRINK TUBE LARGE 3.0 - 1.0MM
QTY 10
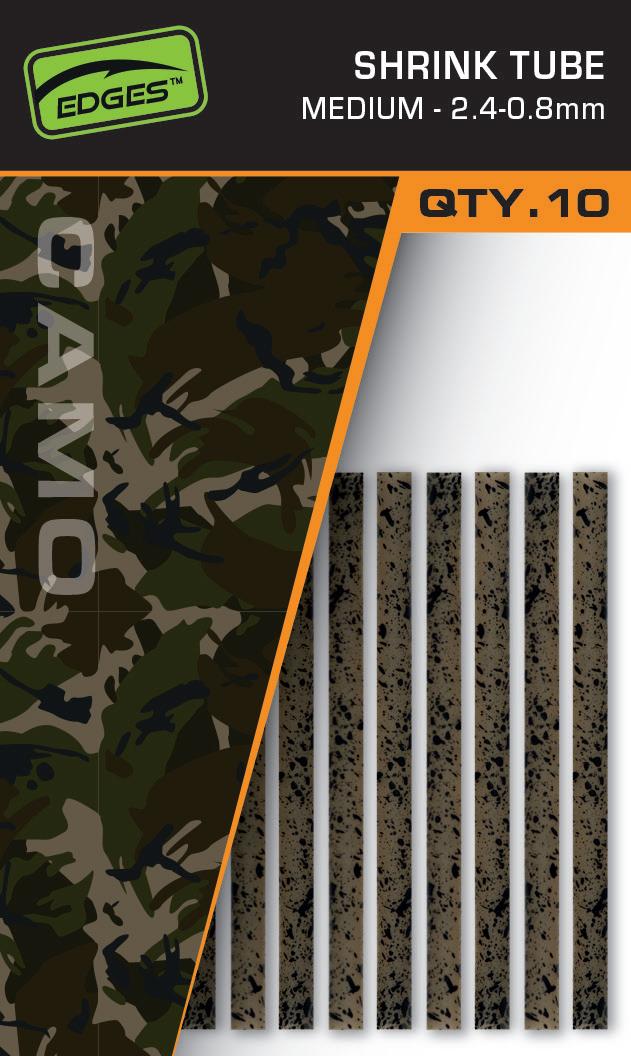
SHRINK TUBE MEDIUM 2.4 - 0.8MM
QTY 10
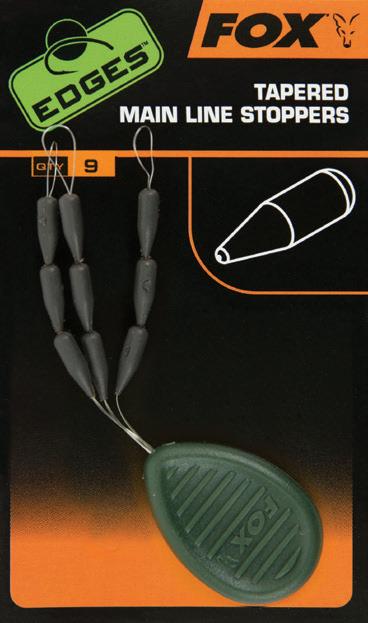
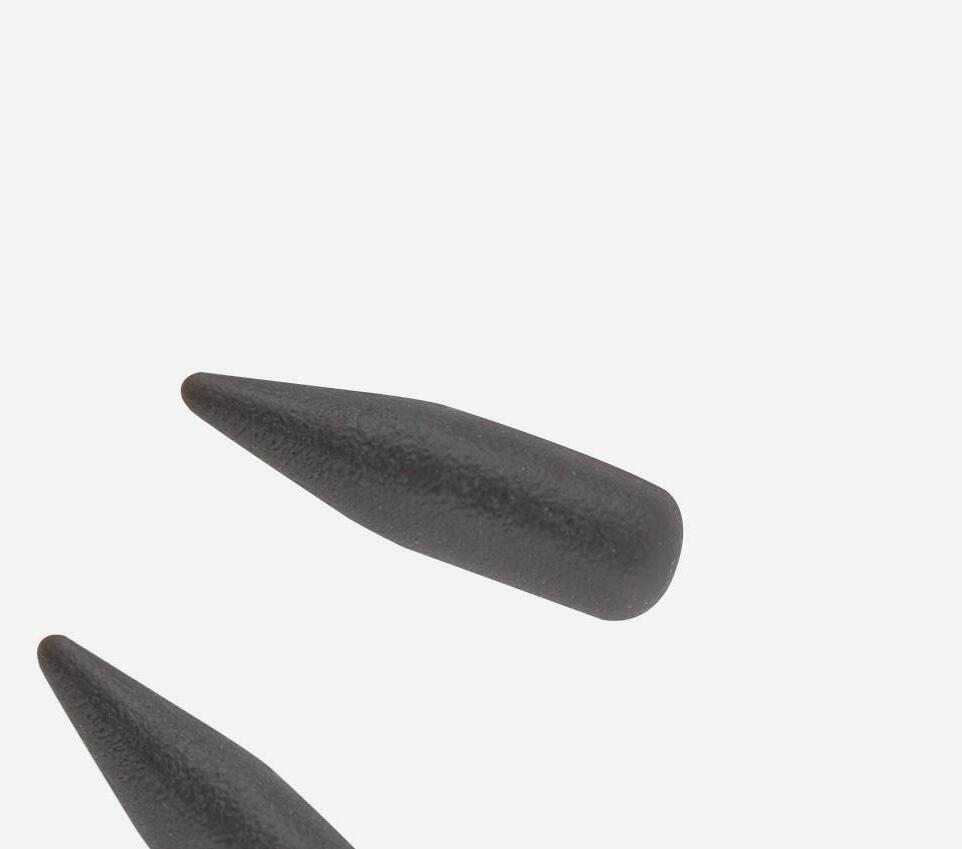
TAPERED MAIN LINE STOPPERS
CAC492 QTY 9
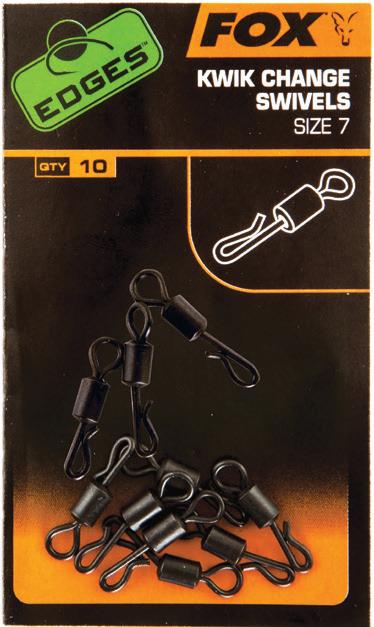
KWIK CHANGE SWIVELS SIZE 7
CAC485 QTY 10

POWER GRIP TUNGSTEN RIG PUTTY
CAC541 QTY 1
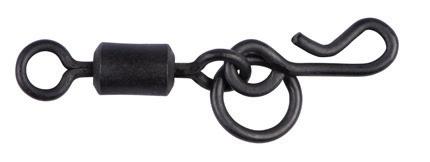
KWIK CHANGE DROP OFF INLINE SWIVELS SIZE 7
CAC494 QTY 8


BAIT BUNGS CLEAR
CAC687 QTY 10
DOUBLE RING SWIVELS SIZE 7
CAC495 QTY 8
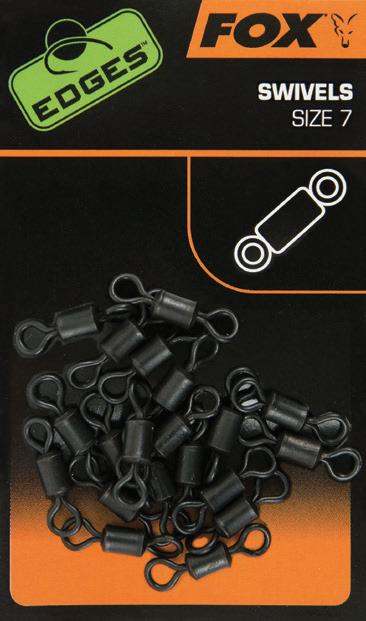
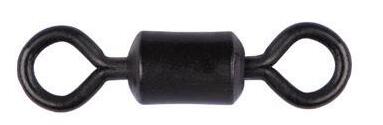
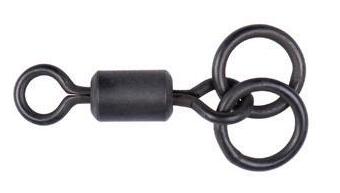
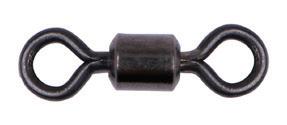
SWIVELS SIZE 7
CAC533 QTY 20


KWIK CHANGE HOOK
SWIVELS SIZE 10
CAC701 QTY 10
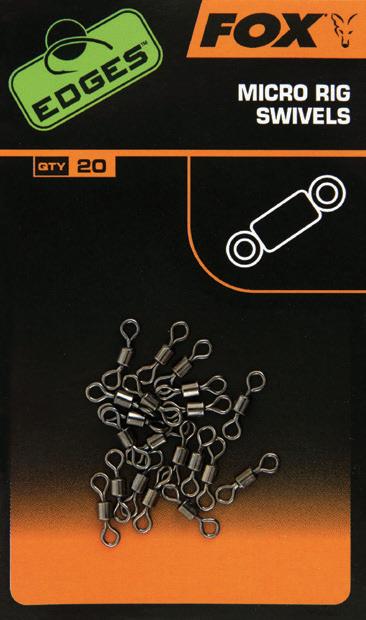
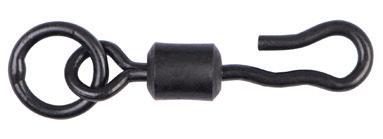
MICRO RIG SWIVELS
CAC538 QTY 20
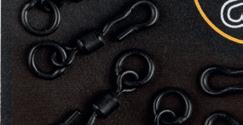

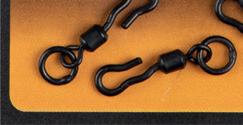
KWIK CHANGE HOOK SWIVELS SIZE 11
CAC702 QTY 10
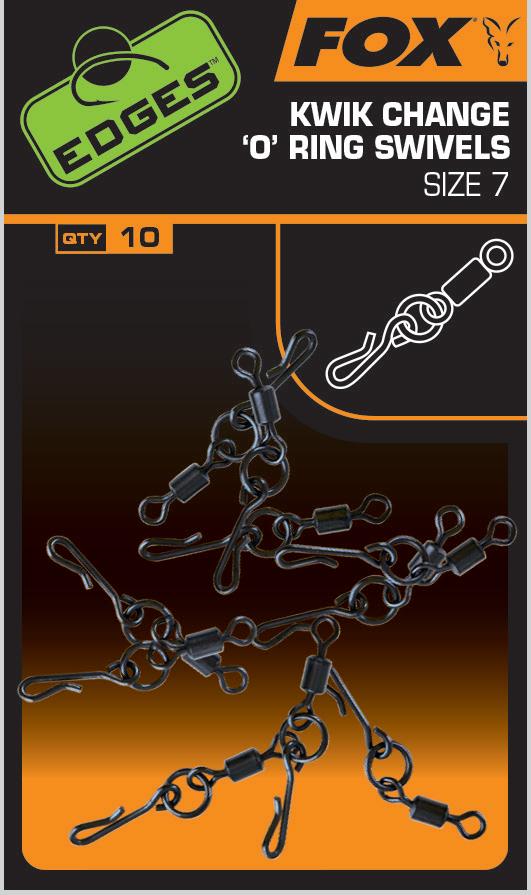
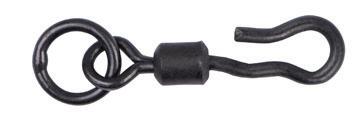
KWIK CHANGE O RING SWIVELS SIZE 7
CAC674 QTY 10


KWIK CHANGE MINI HOOK SWIVELS SIZE 11
CAC763 QTY 10
NATURALS SHRINK TUBE SMALL 1.8 - 0.7MM
CAC781 QTY 10
NATURALS SHRINK TUBE LARGE 3.0-1.0MM
CAC873 QTY 10

NATURALS SHRINK TUBE MEDIUM 2.4 - 0.8MM
CAC872 QTY 10
NATURAL SILICONE SLEEVES 3MM X 25MM
CAC876 QTY 15

NATURALS HOOK SILICONE 1.5M
QTY 1.5M
NATURALS LEADER SILICONE 1.5M
QTY 1.5M
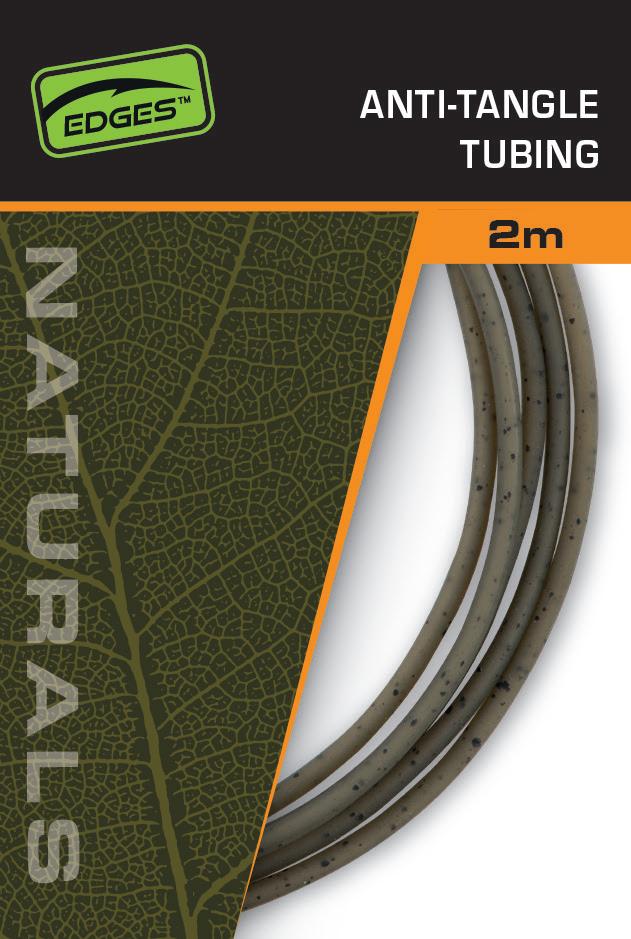
NATURALS ANTI-TANGLE TUBING 2M
QTY 2M

TUNGSTEN RIG TUBING 2M NATURALS GREEN
QTY 2M
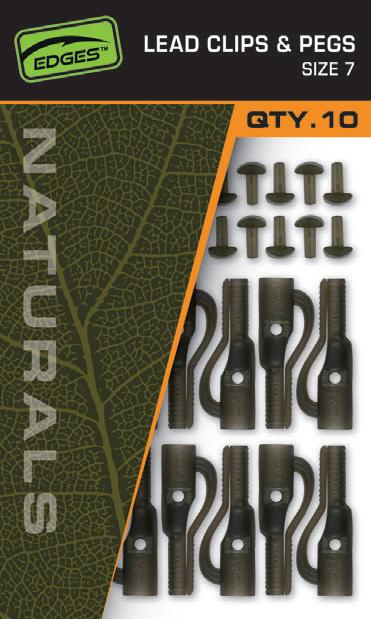

NATURALS SIZE 7
LEAD CLIPS & PEGS
CAC829 QTY 10

NATURALS SIZE 10
SLIK LEAD CLIP TAIL RUBBERS
CAC832 QTY 10
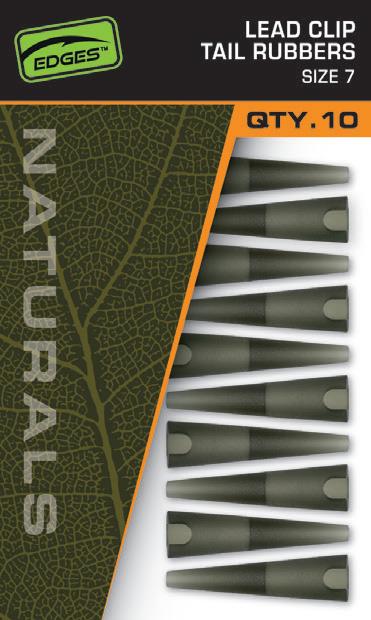
NATURALS SIZE 7 LEAD CLIP TAIL RUBBERS
CAC830 QTY 10
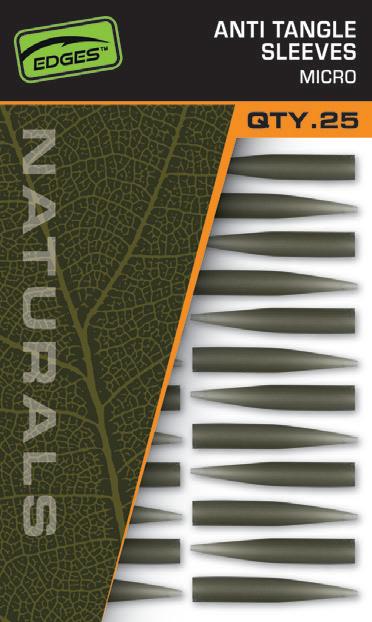

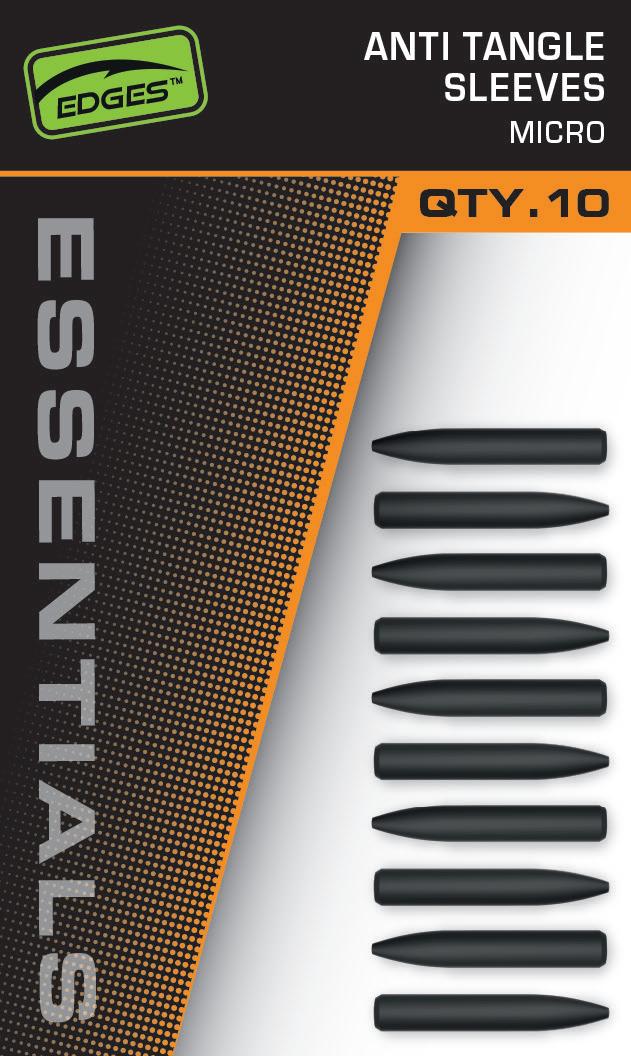
NATURALS ANTI TANGLE SLEEVE MICRO
CAC833 QTY 25


NATURALS SIZE 10 SLIK LEAD CLIP & PEGS
CAC831 QTY 10
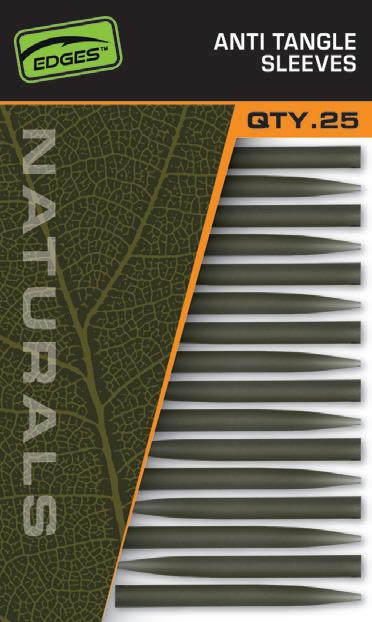
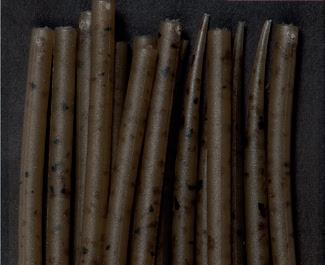
NATURALS ANTI TANGLE SLEEVES
CAC834 QTY 25
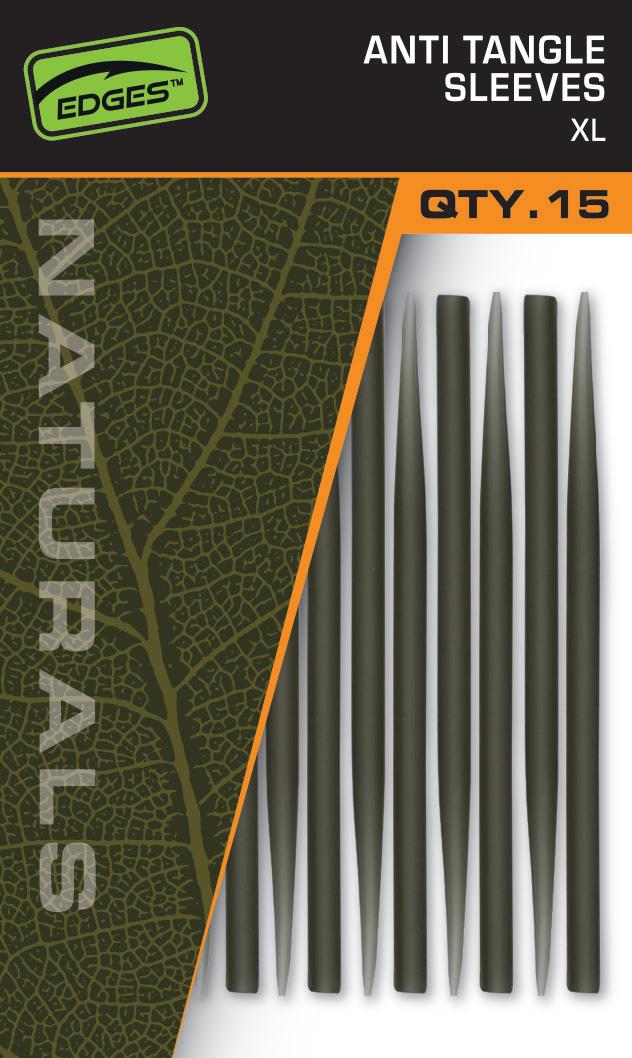

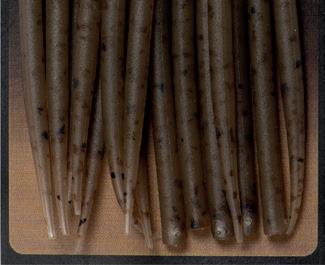
NATURALS ANTI TANGLE SLEEVE SXL
CAC835 QTY 15
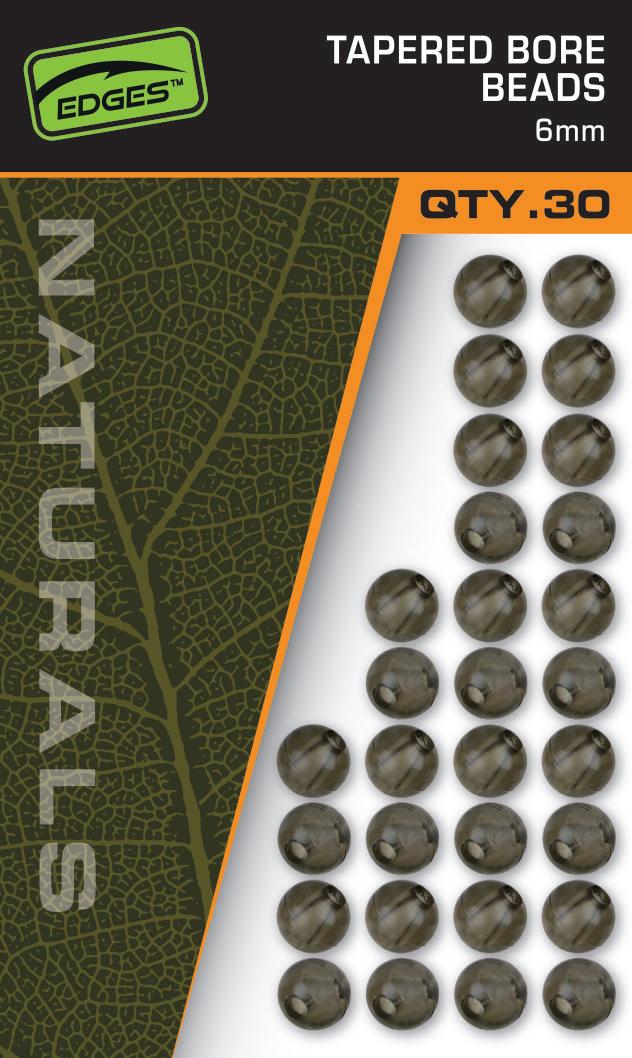
NATURALS TAPERED BORE BEADS 6MM
CAC837 QTY 30
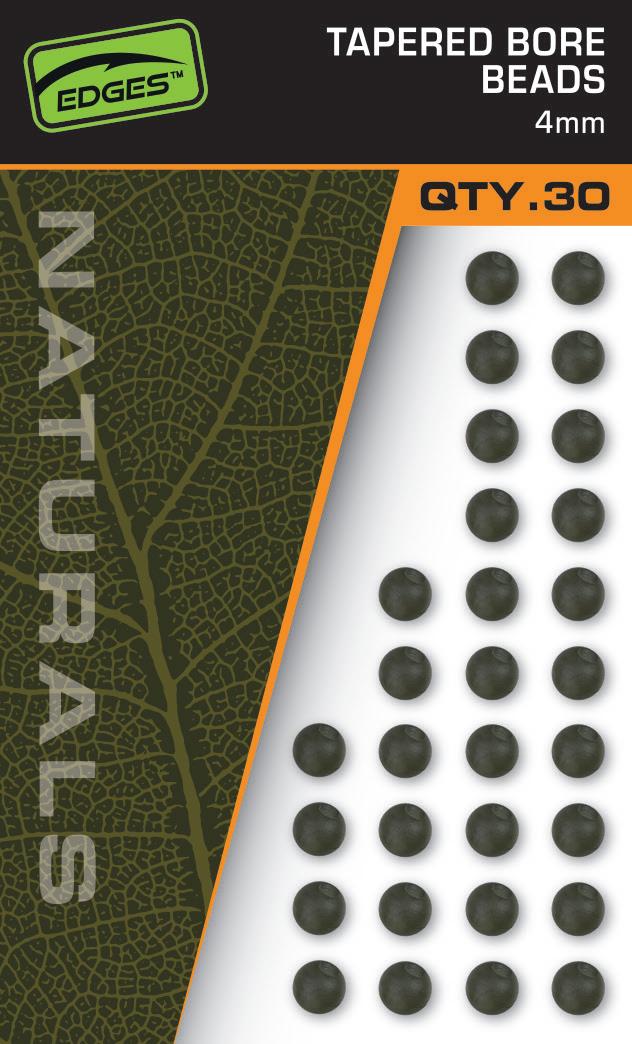
NATURALS TAPERED BORE BEADS 4MM
CAC836 QTY 30
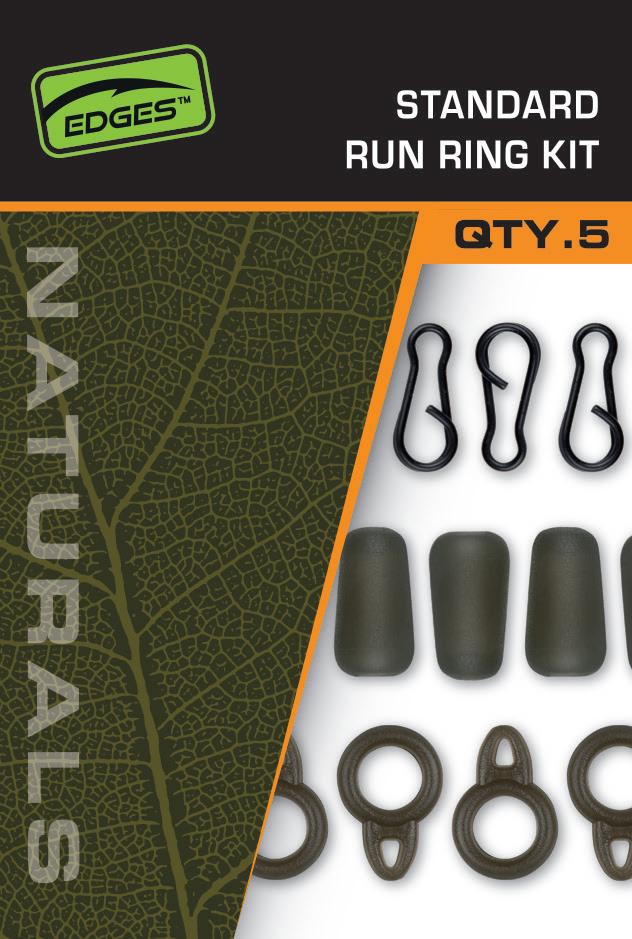
NATURALS STANDARD RUN RING KIT
CAC838 QTY 5


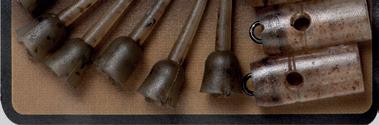
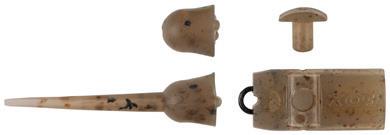
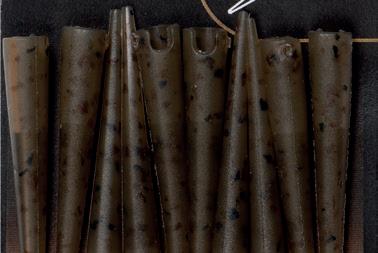
NATURALS NAKED LINE TAIL RUBBERS SIZE 10
CAC841 QTY 10
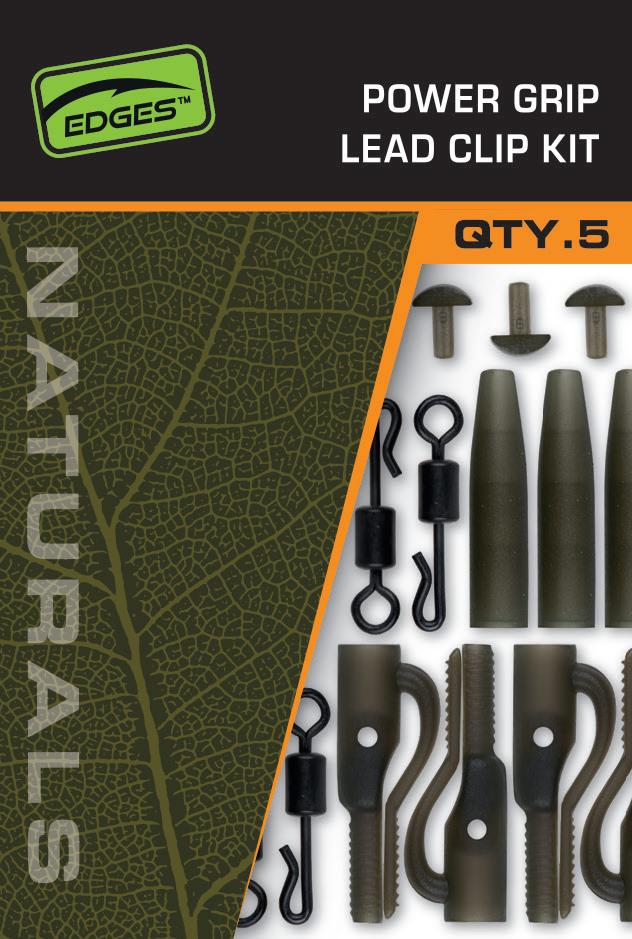


NATURALS POWER GRIP LEAD CLIP KIT
CAC843 QTY 5
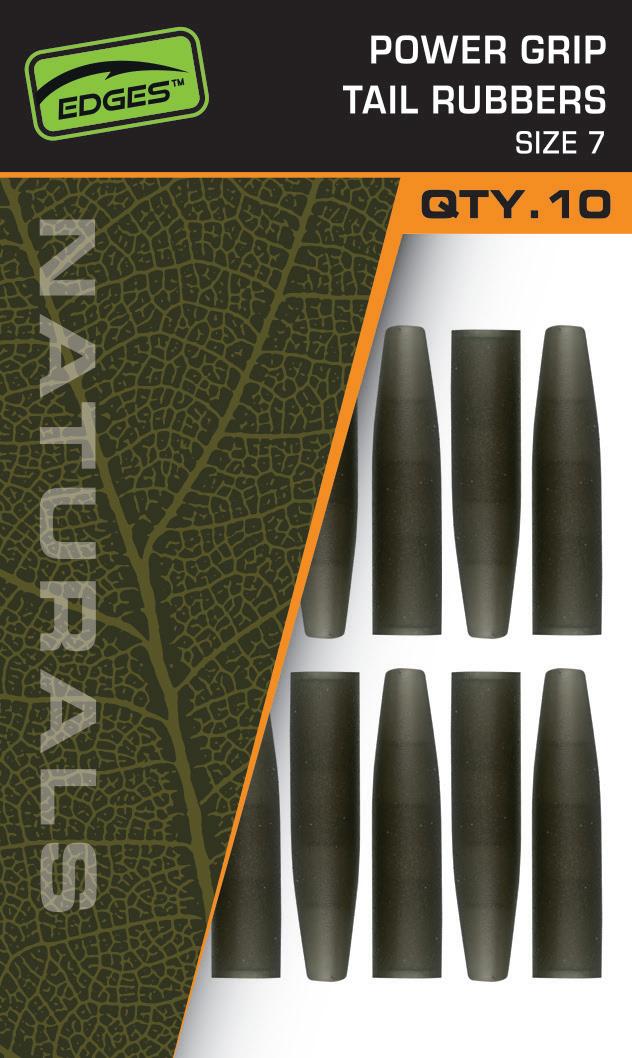
NATURALS POWER GRIP TAIL RUBBERS SIZE 7
CAC842 QTY 10
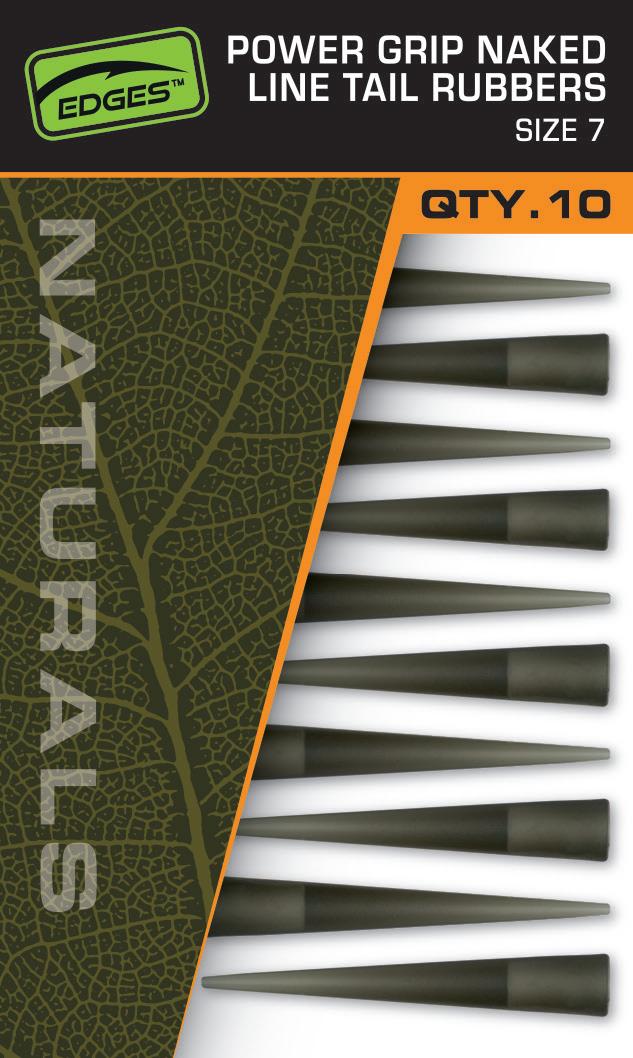
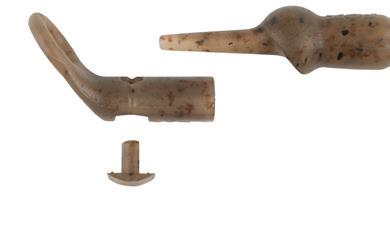
NATURALS POWER GRIP NAKED LINE TAIL RUBBERS SIZE 7
CAC844 QTY 10
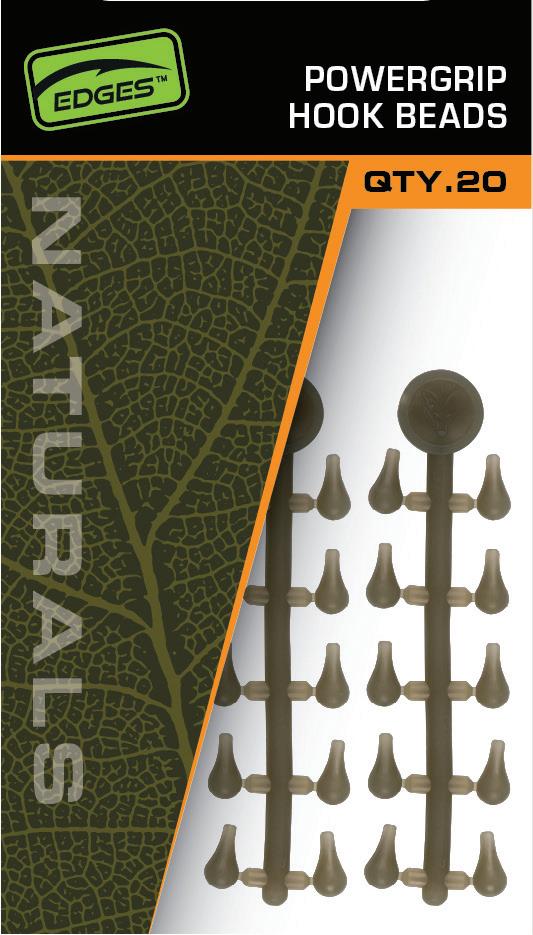
NATURALS POWERGRIP HOOK BEADS
CAC859 QTY 20

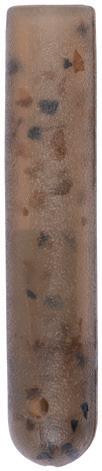
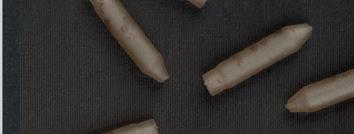
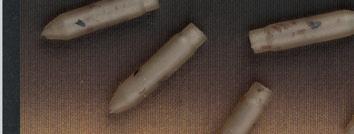
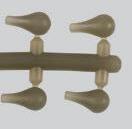
NATURALS FLIPPAS
QTY 10
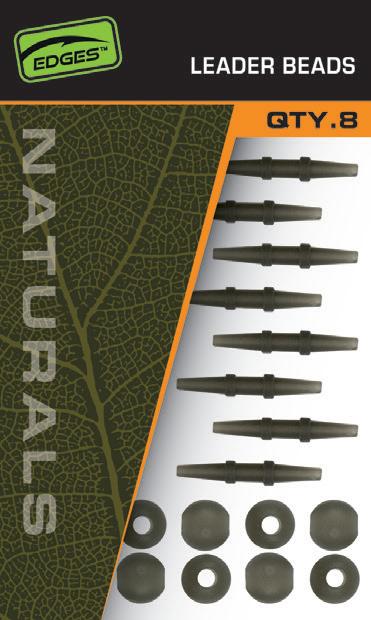

NATURALS LEADER BEADS
QTY 8
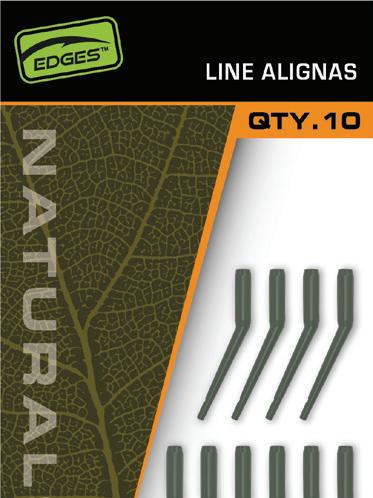
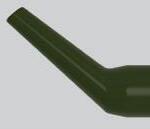
NATURALS LINE ALIGNAS
QTY 10
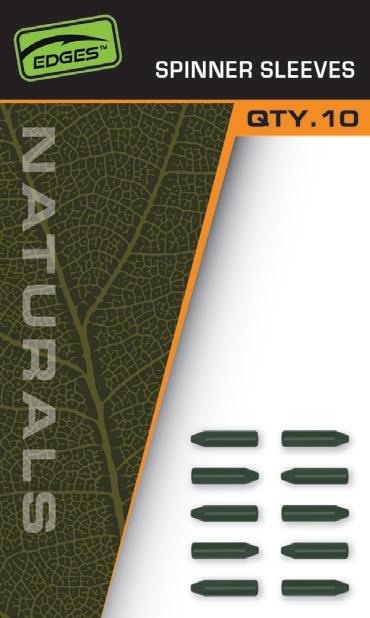

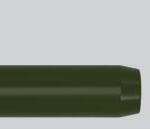
NATURALS SPINNER SLEEVES
QTY 10
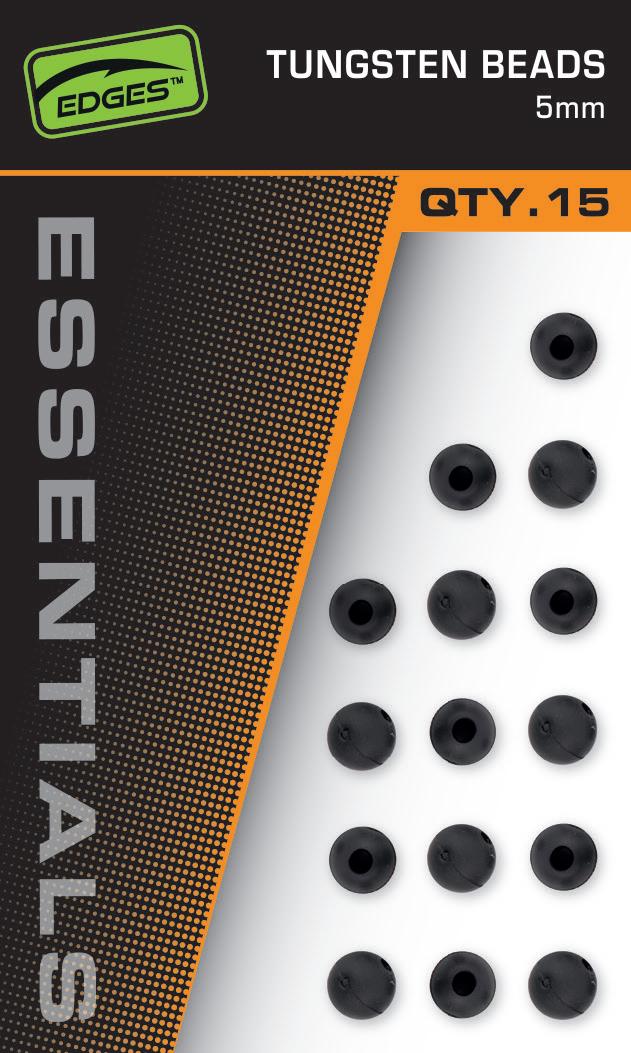
TUNGSTEN BEADS 5MM
CAC865 QTY 15
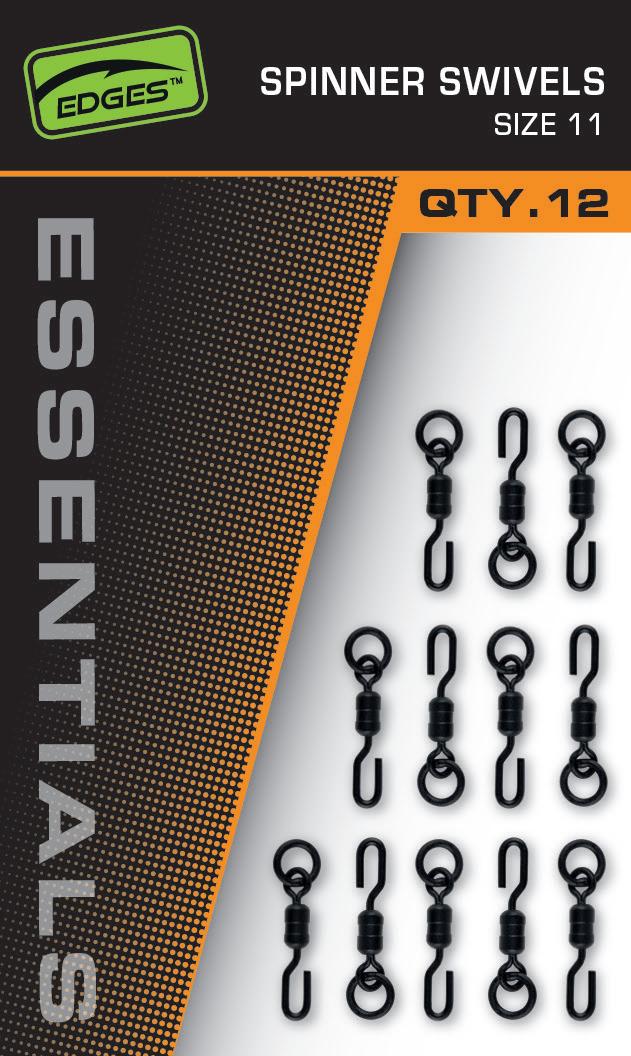
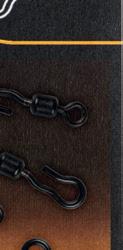
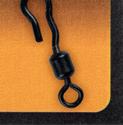
SPINNER SWIVEL SIZE 11
CAC878 QTY 12


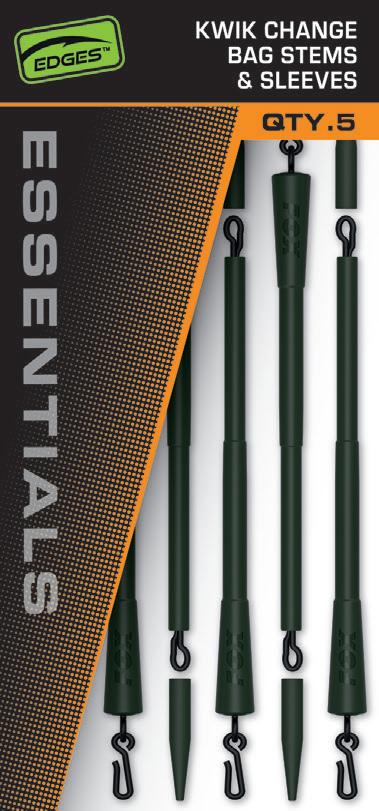
KWIK CHANGE BAG STEMS AND SLEEVES
QTY 5


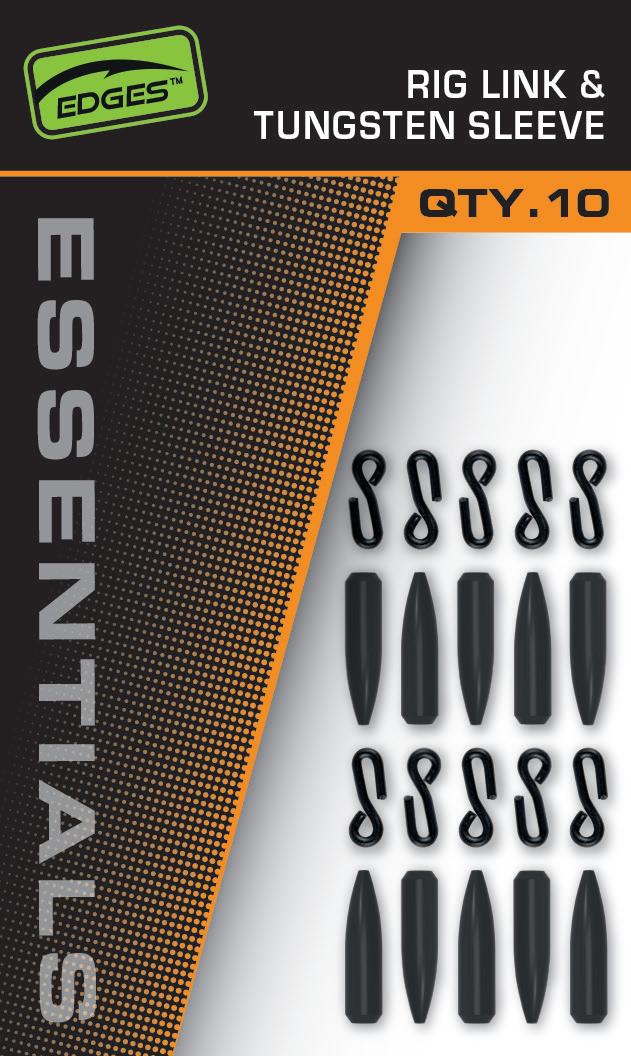
RIG LINKS AND TUNGSTEN SLEEVES
CAC880 QTY 10
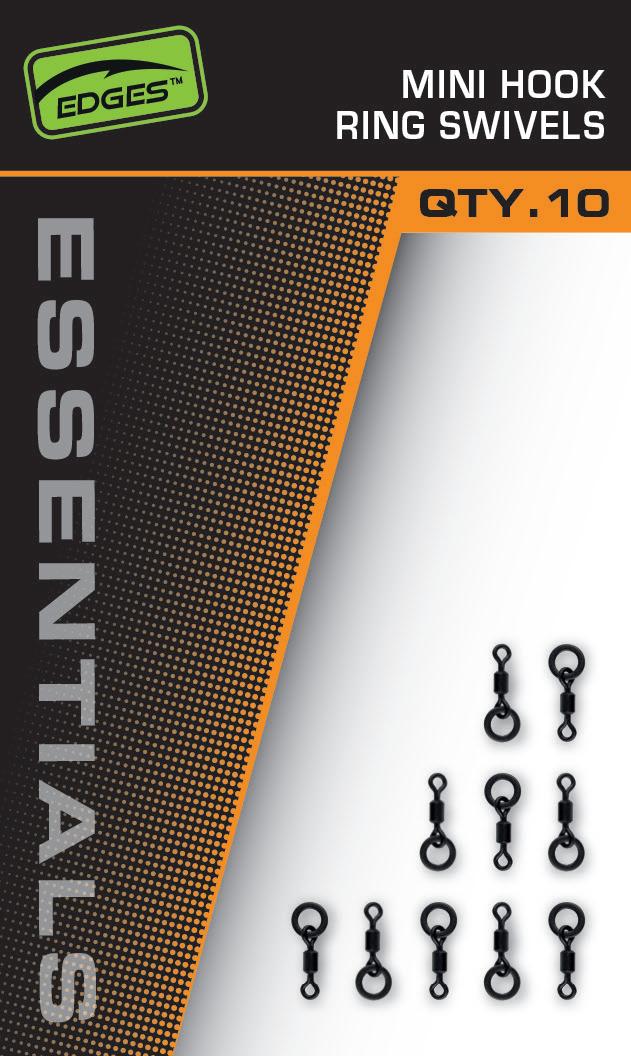
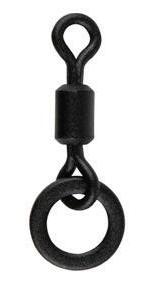

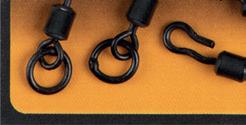
MINI HOOK RING SWIVELS
QTY 10
QTY10
QTY 10
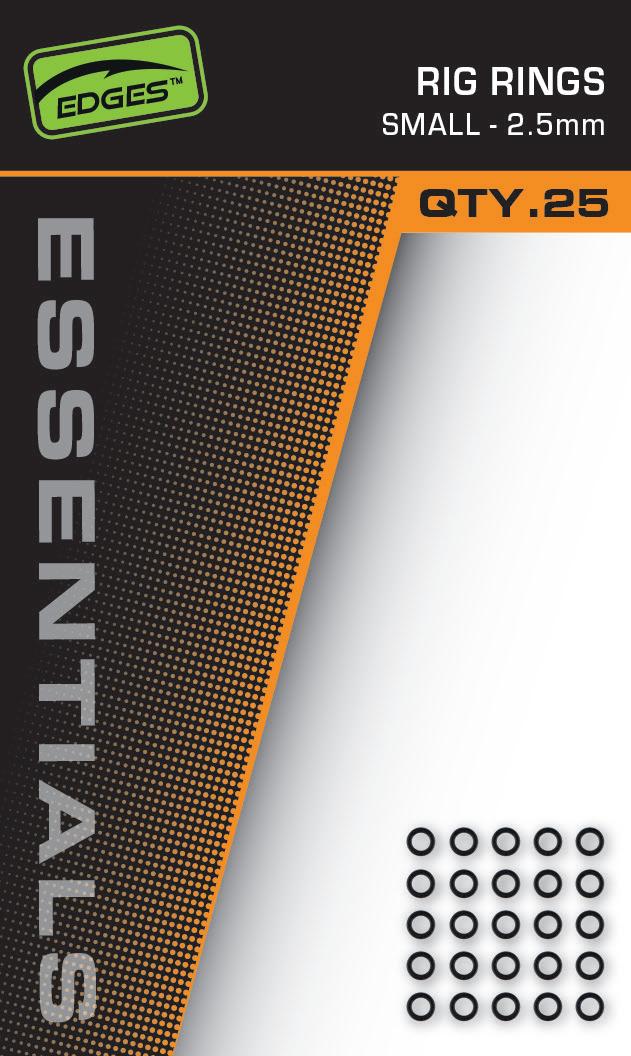
RIG RINGS 2.5MM SMALL
QTY 25
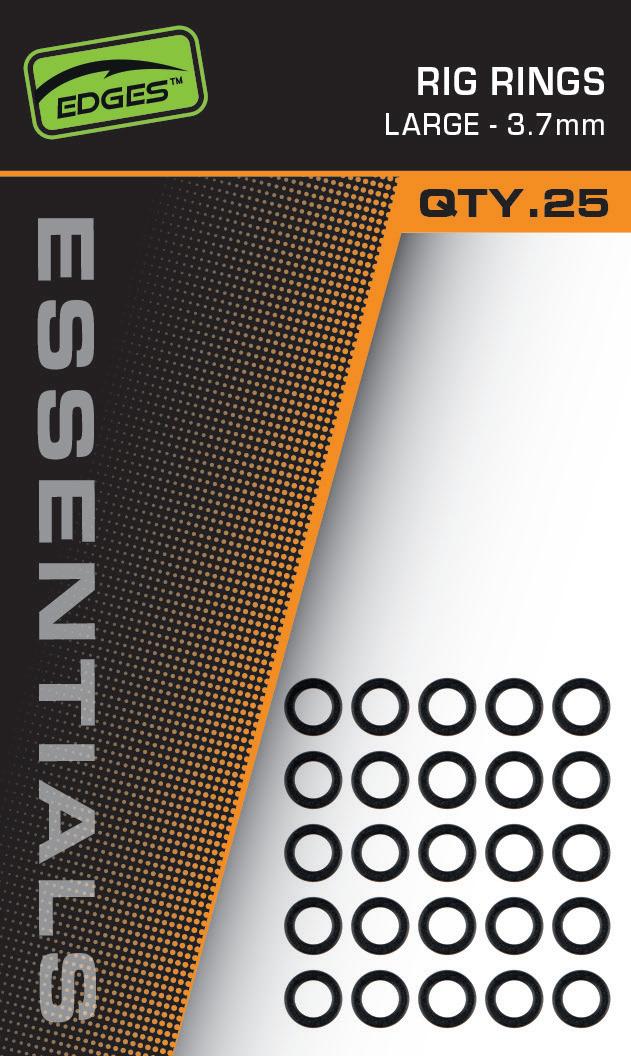
RIG RINGS 3.7MM LARGE
QTY 25
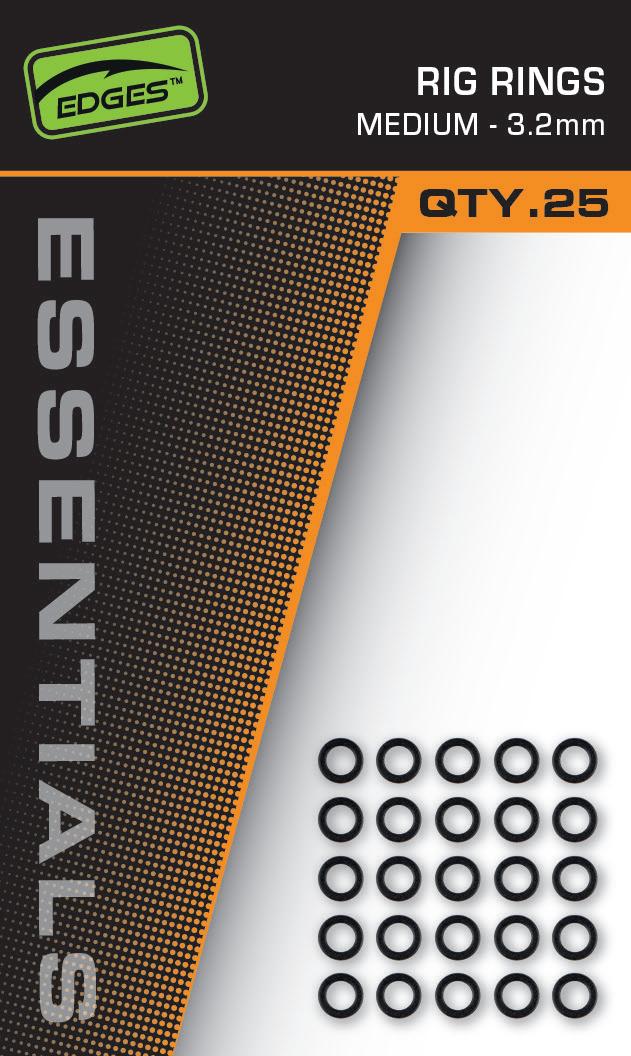

RIG RINGS 3.2MM MEDIUM
QTY 25
TUNGSTEN ANTI TANGLE SLEEVES MICRO
QTY 10
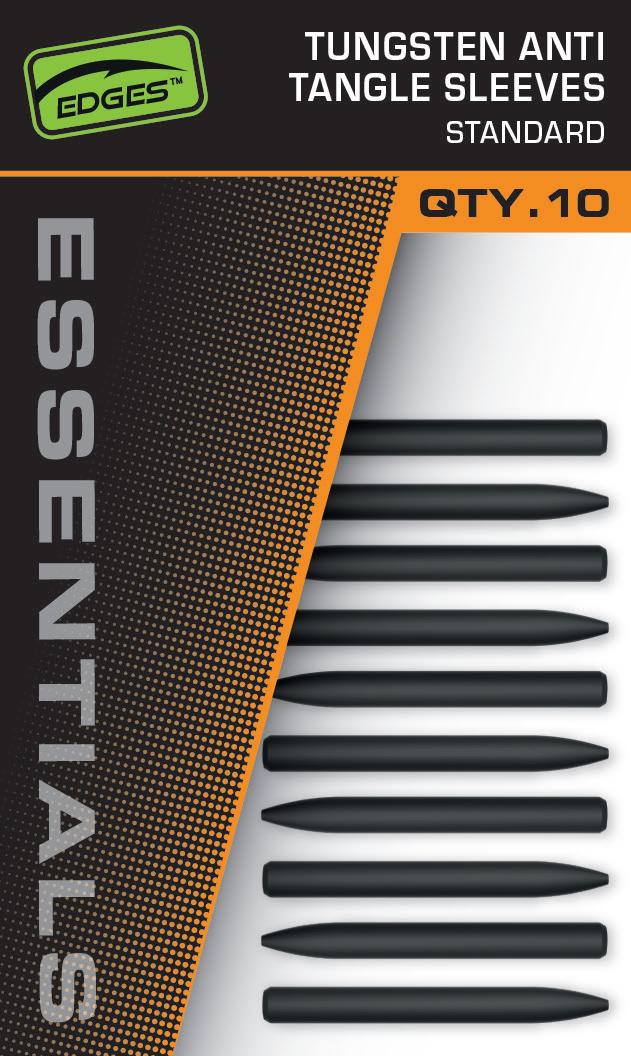
TUNGSTEN ANTI TANGLE SLEEVES STANDARD
CAC890 QTY 10
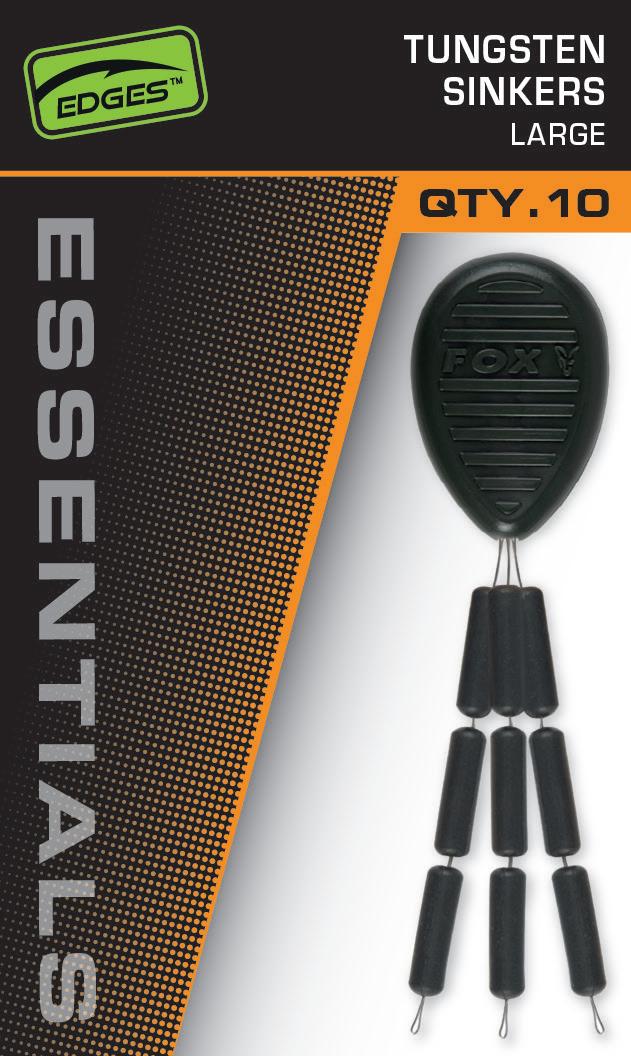
TUNGSTEN SINKERS LARGE
CAC892 QTY 10

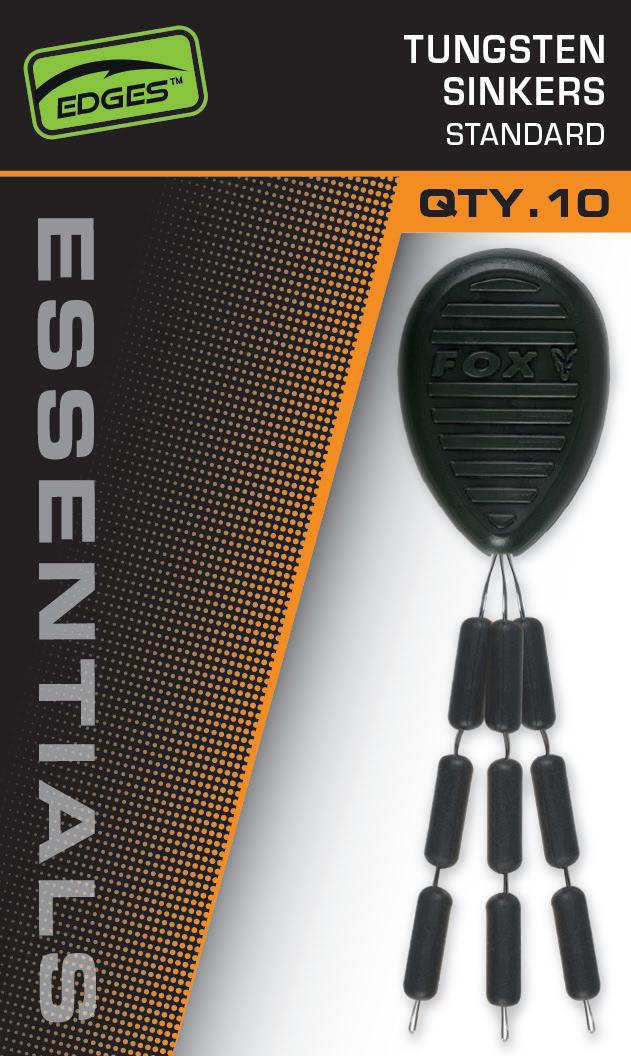
TUNGSTEN SINKERS STANDARD
CAC891 QTY 10