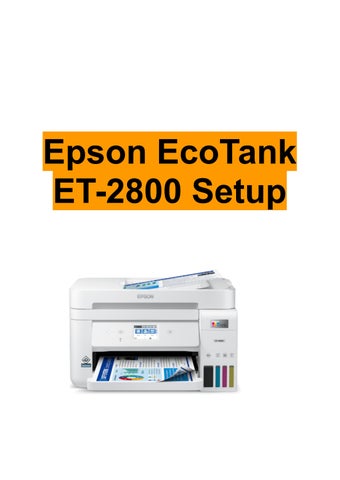
Epson EcoTank ET-2800 Setup

Are you looking for the Epson ET-2800 printer setup instructions? Setting up a printer for the first time might be a daunting process. On the other hand, we’ve got your back covered. You merely need to adhere to the proper requirements in order to complete the process. If you follow the instructions on this page, the setup process won’t take much time at all. With that said, let’s get started.
Procedure For Hardware Setup
Once the printer gets delivered to your home, you should set it up first. The following instructions can help you complete the work in minutes.
● Unpack your printer and take out every item you have received.
● Ensure all the components are delivered perfectly without any damage.
● Connect the power cord to the printer’s rear port and an electrical outlet.
● Unpack the ink bottles and fill the tanks according to the color indications.
● Lift the control panel and turn on the printer. After choosing your preferences, press the Start button to begin the ink charging process.
● Open the feeder guard and raise the paper support.
● Move the guides to the extreme ends and load a fresh stack of paper.
● Adjust the guides against the stack.
● Finally, choose the print settings on the printer’s LCD screen.
Good things come to those who wait! You have successfully completed your printer’s hardware setup. However, completing the hardware setup alone will not serve the purpose. To get the most out of the printer, you

should connect it to your computer The oncoming instructions will show you the proper steps in detail.
Connecting The Devices In Different Methods
Connecting a printer and computer can be done in several ways. You can do it via Wi-Fi, USB, and Wi-Fi Direct. In this section, we have discussed all these methods in detail. Have a quick glance and implement the steps accordingly.
You must complete two stages to connect your printer and computer via Wi-Fi. The first is connecting the printer to your router’s network, and the next is connecting the computer to which your printer is connected. Then, you can start accessing the printer wirelessly from your computer.
● If your router is WPS enabled, you can connect your printer to it in a more innovative way without entering any credentials at any point.
● To begin with, press your router’s WPS button.
● Touch the Home icon on the printer control panel.

● Using the arrow buttons, choose Wi-Fi Setup and press OK.
● On the Network screen, select Wi-Fi (Recommended).
Connect Your Printer And Computer Via Wi-Fi Connect Your Printer And Router Via WPS● On the Connect via Wi-Fi screen, choose the Wi-Fi Setup Wizard option.

● Next, select Push Button Setup (WPS) and press OK.
Connect Your Printer And Router Via Wi-Fi Setup Wizard
● If you don’t have such a router, you have a different option; you can go with the convenient way of connecting devices through Wi-Fi Setup Wizard.
● On the Epson printer control panel, touch the Home icon.
● Wi-Fi Setup> Wi-Fi Recommended> Wi-Fi Setup Wizard.
● When your printer shows you a list of nearby networks, pick your router’s SSID and enter the password in the appropriate field.
● A connection between your printer and router will be established in a short while.
Connect Your Printer And Computer Wirelessly Via Wi-Fi Direct
Suppose you don’t have a wireless router but still looking for a way to connect your devices wirelessly. In that case, you can consider using a direct Wi-Fi connection. In fact, it is a faster and more reliable way to connect your printer and computer; this will allow you to connect your devices directly without an Internet connection. Here are the detailed instructions:
● On your printer’s home screen, touch the Home icon.
● Select Wi-Fi> Wi-Fi Direct. Then, press the OK button twice.
● Head to your smartphone and turn on Wi-Fi.
● When it shows you a list of nearby networks, pick the printer’s name and enter the password in the appropriate field.
● Your printer will be connected directly to the computer in a few minutes.
● Refer to the previous section and download the driver from the Epson official website.
● Run the setup file and click Yes when the User Account Control (UAC) dialog box appears.
● On the End User License Agreement page, accept the terms and conditions.
● On the Select Your Connection Method screen, select Connect the USB connection option and click Next.

 Connect Your Printer And Computer Via USB
● When prompted, connect the printer to your computer through a USB cable.
● Continue following the onscreen instructions to complete the installation.
Long Story Short
We have compiled this complete article to help you out with the Epson EcoTank ET-2800 printer setup. But, if you face problems while setting up the printer or feel like running around in circles while connecting the printer to the computer, connect with us via the Call button on this page. Our technical engineers will reach you and assist you in the best way possible.