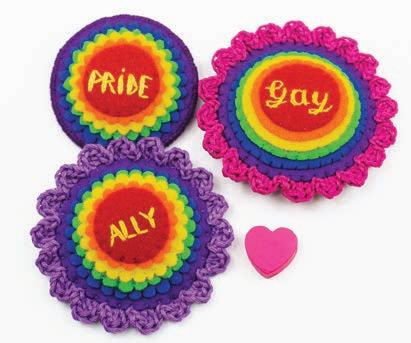
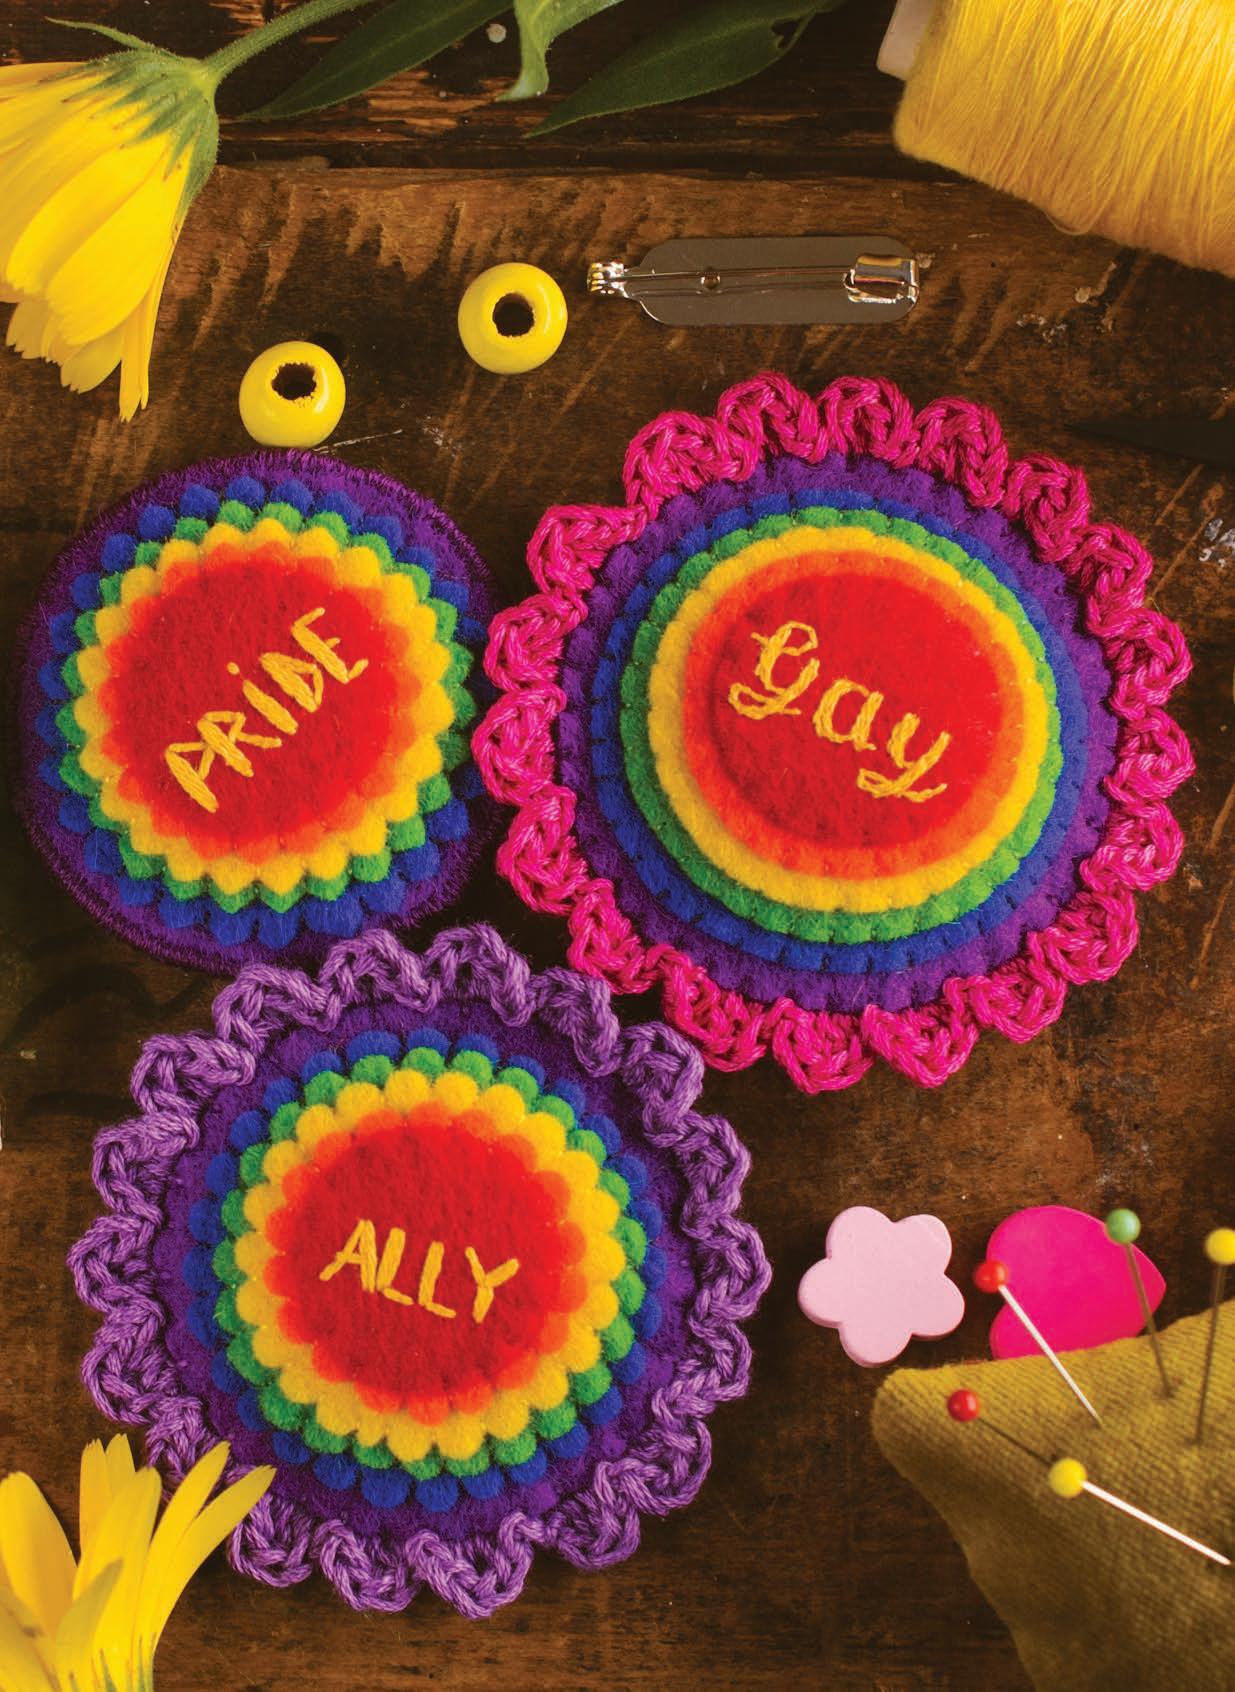
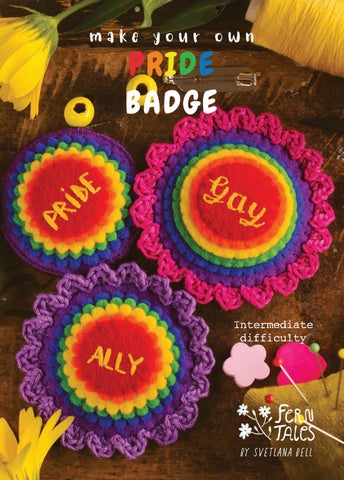
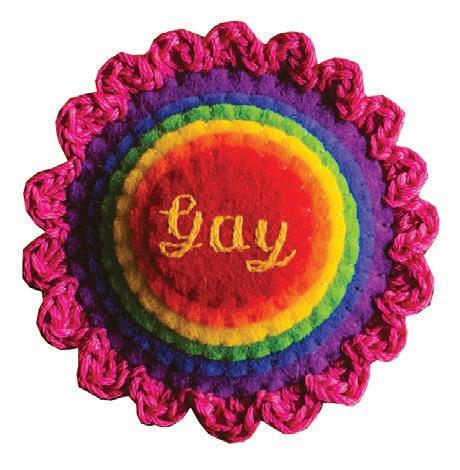
P R I D E BADGE make your own
Intermediate difficulty


BY SVETLANA BELL
Intermediate difficulty
BY SVETLANA BELL
These instructions and the pattern are protected under copyright © 2024 Svetlana Bell. All rights reserved.
Please do not re-sell or distribute copies of these materials.
Kitting of this pattern can be done with a permission. Please contact me if you wish to sell kits for this pattern.
You can sell products made with these pattern and instructions only if you’re a sole trader.
Please help spread a word and share your creations on Instagram with #ferntales_toys and tag @ferntales_toys


@ferntales_toys
ferntales.etsy.com
Creating is enjoyable. But before you commit to any project it’s great to consider if the end result will be something that you, or someone else, will enjoy as much.
Before you begin, read the instructions first, prepare your supplies and find a lovely spot for yourself. May be you’ve got a basket where you can store your supplies while you’re working? It’s all about the process and grounding through making.
Make it slowly, source your supplies responsibly, hunt for the bits you need in opshops/ thrift stores. Most importantly, have fun making it!


These colours and brands are for the reference only since they represent the most common varieties, known to me, available in craft stores.
1
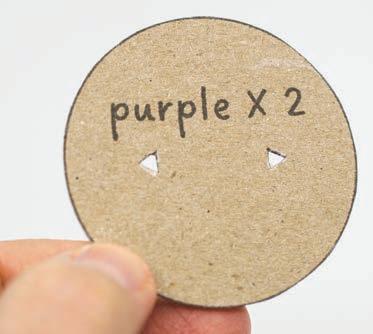
A piece of cardstock or paper to print or draw your pattern circles on to. The sizes can be found in the bottom of the Pattern page (Page 5).
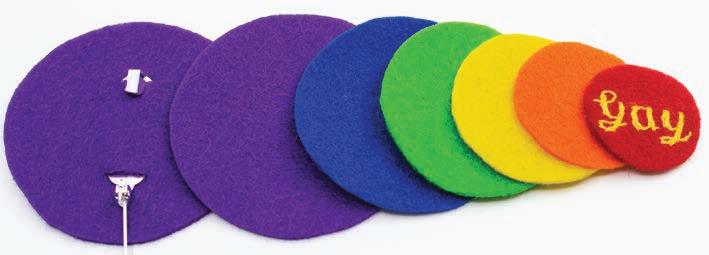
2 Felt pieces as per the Colour Chart (Page 2).
Use wool felt since it’s more durable.

3
Chalk/ erasable pencil/ erasable texter/ dry soap - anything non-permanent and erasable you have handy to transfer the pattern.
4

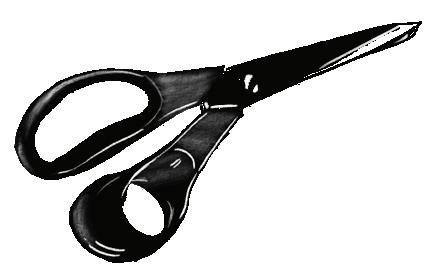
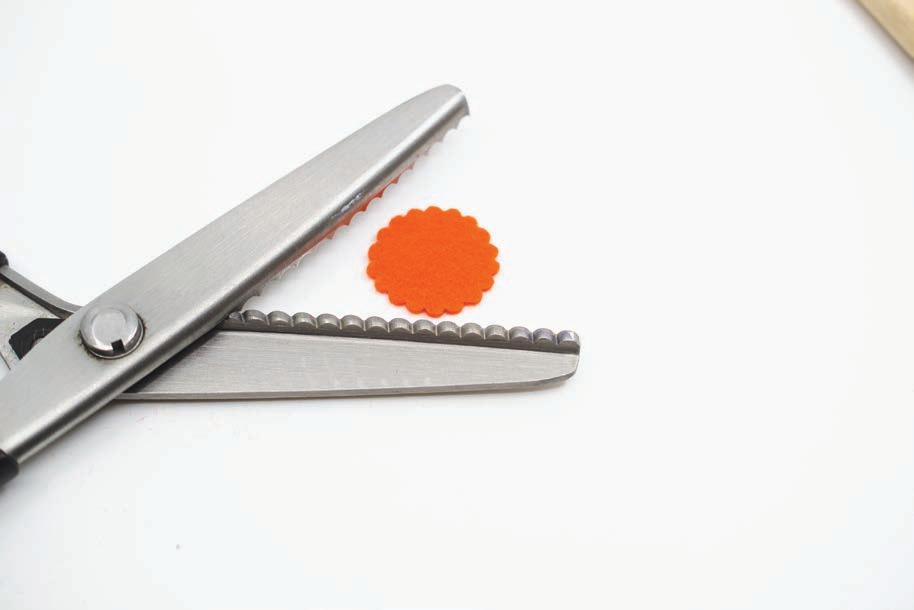
Scissors or/ and pinking shears.
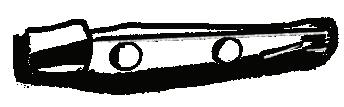
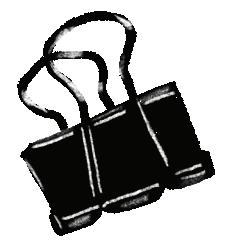
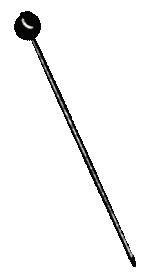
5 Pin back 2.5-3 cm.
6
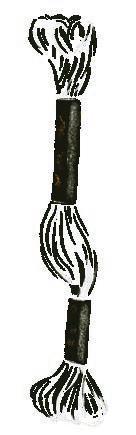
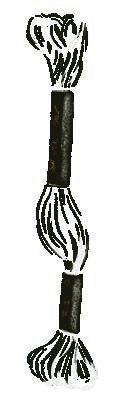
Embroidery floss, one skein of each colour (as per the Colour Chart, Page 2).
Alternatively, you can use sewing thread of each colour + embroidery floss to attach pinback and crochet the edge (if this option is chosen).


Your choice of colour for the badge’s edge

2 8 Crochet hook 1.75 mm.
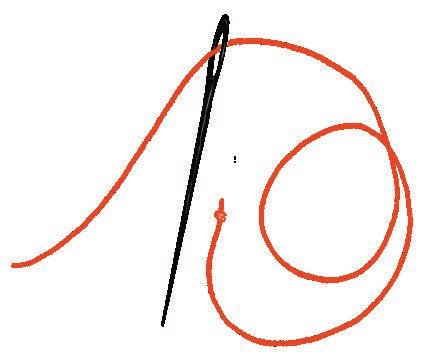
7 Pins/ binder clips & a universal sewing needle.

(optional).


Make small stitches over the edge of your applique to attach it to the main fabric.
3
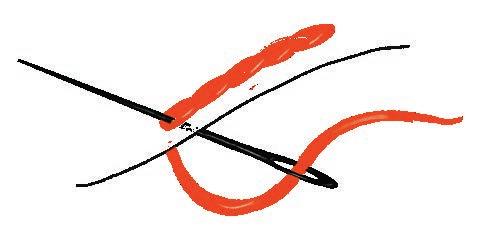
Start by making a single stitch, then split it with a needle by stitching through it from the bottom. Create a series of small stitches that
5
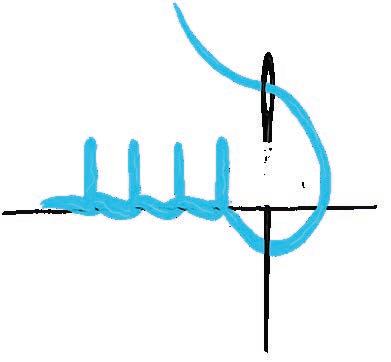
Alternate long and short stitches, with each extra row splitting the stitches of the previous one.
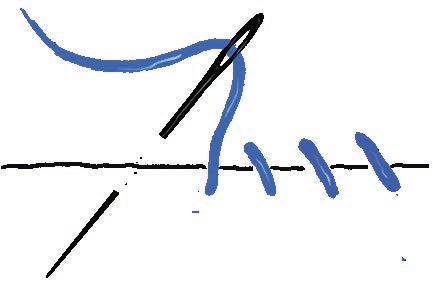
Bring the needle up through the fabric, wrap the thread around the needle, and then insert the needle back into the fabric a short distance away to create a looped stitch along the edge.
4
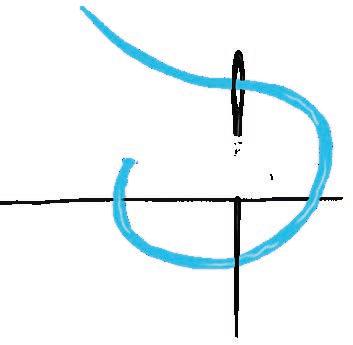
Stitch over the edge by “wrapping” your thread around the fabric layers. The needle moves from the back to the front.


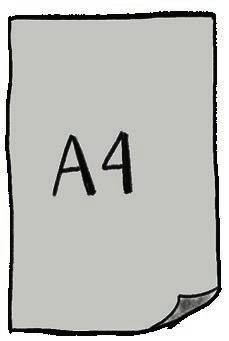
Trace or print on A4 paper.


2X2 CM test
purple X 2
blue X 1 green X 1 yellow X 1 orange X 1 red X 1 purple X 2
For the scalloped/ zigzag edge use the pattern below for the purple and red circles + the rest of the pieces for other colours from the pattern on the left (straight edge).
scalloped edge red X 1 scalloped edge
• Red X 1, size 2.5 cm in dia
• Orange X 1, size 3 cm in dia
• Yellow X 1, size 3.5 cm in dia
• Green X 1, size 4 cm in dia
• Indigo X 1, size 4.5 cm in dia
• Purple X 2, size 5.2 cm in dia
• Red X 1, size 2.4 cm in dia
• Orange X 1, size 3 cm in dia
• Yellow X 1, size 3.5 cm in dia
• Green X 1, size 4 cm in dia
• Indigo X 1, size 4.5 cm in dia
• Purple X 2, size 5 cm in dia
Print out your pattern either on cardstock or regular paper. Cut out as marked.
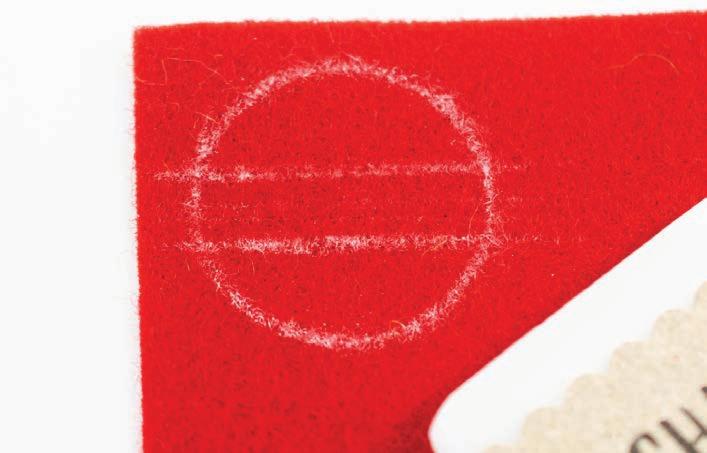
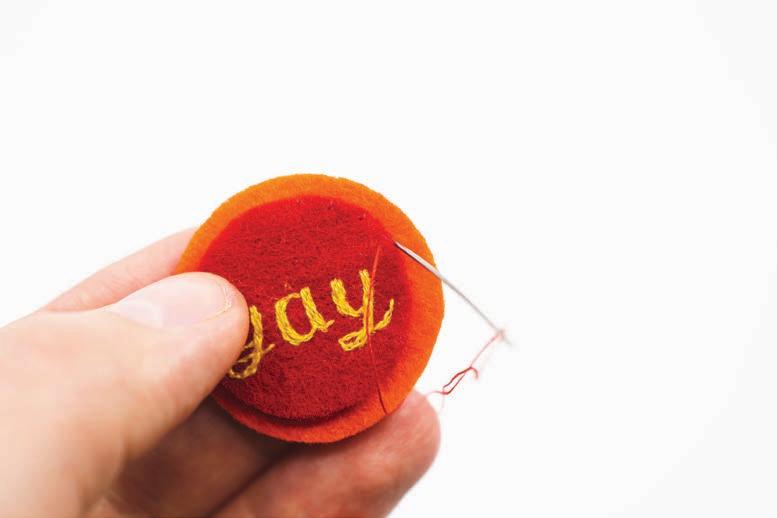
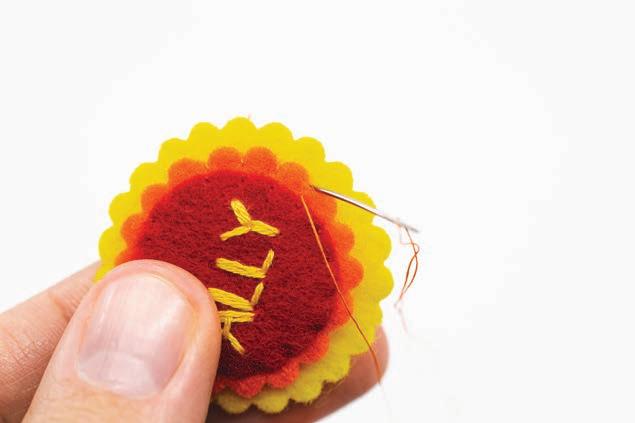
Grab a piece of red felt (the centre) and trace the circle of the appropriate size on it using the template. Do not cut it out yet.
Make two lines roughly in the centre for your embroi dered word.
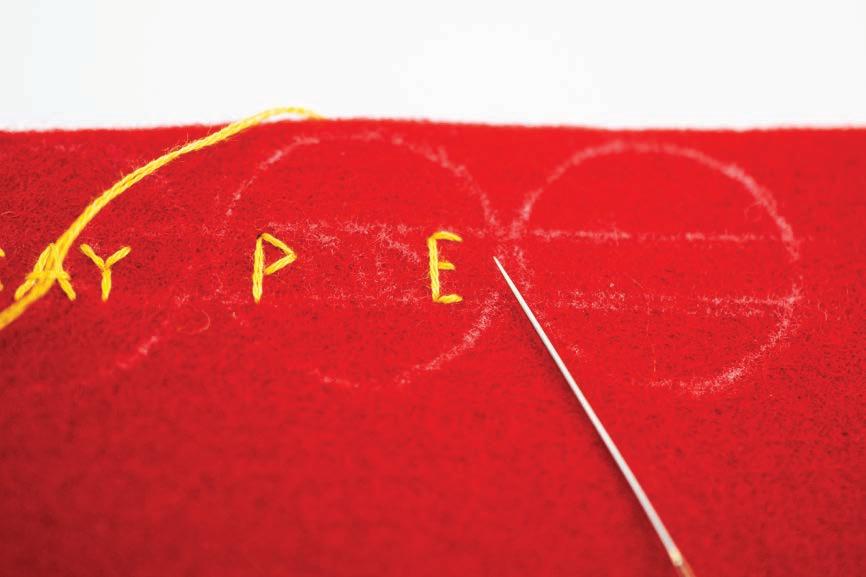
Roughly, if you can, mark position of letter.
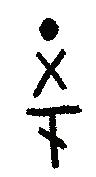
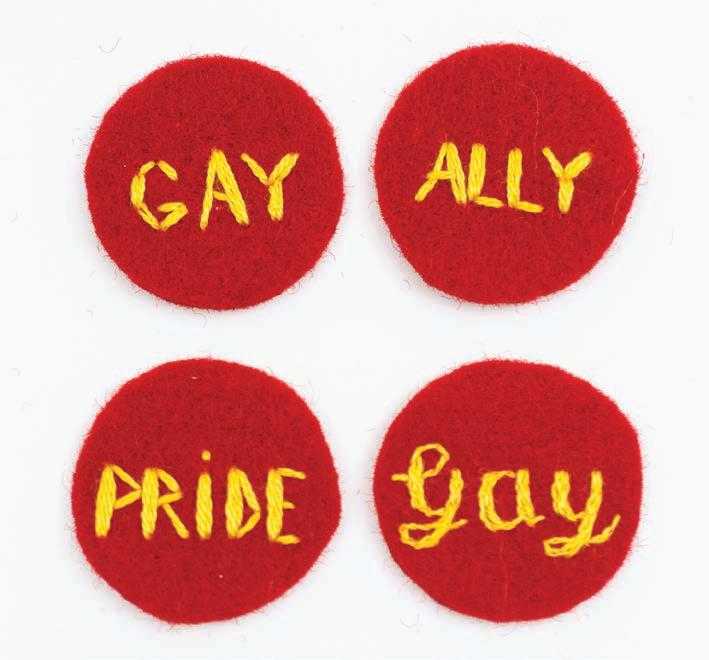
This is the simplest “stick” typeface to embroider:
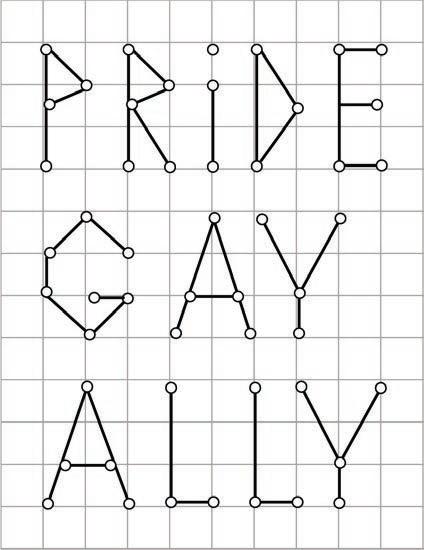
Each line = embroidery stitch, orange line = extra stitch on top (for thickness and accent).
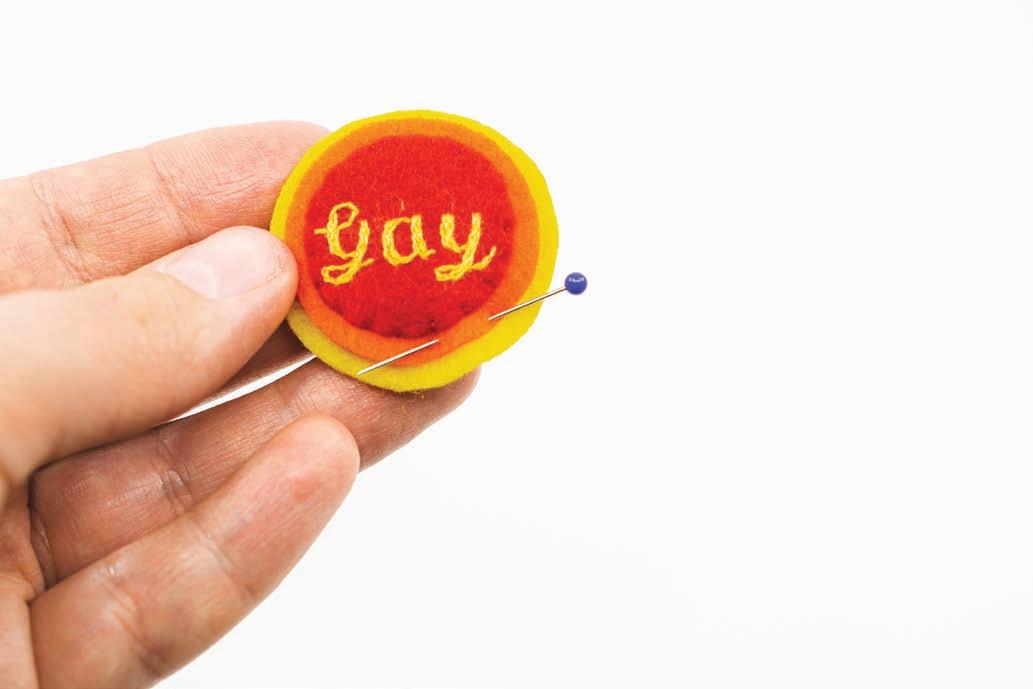
Otherwise, there are plenty of whimsy and simple typefaces you can find online, if you’re ready for a bit more of embroidery exercise.
For example, for the following words I’ve traced the free for personal use typeface called “Sweden Love”:

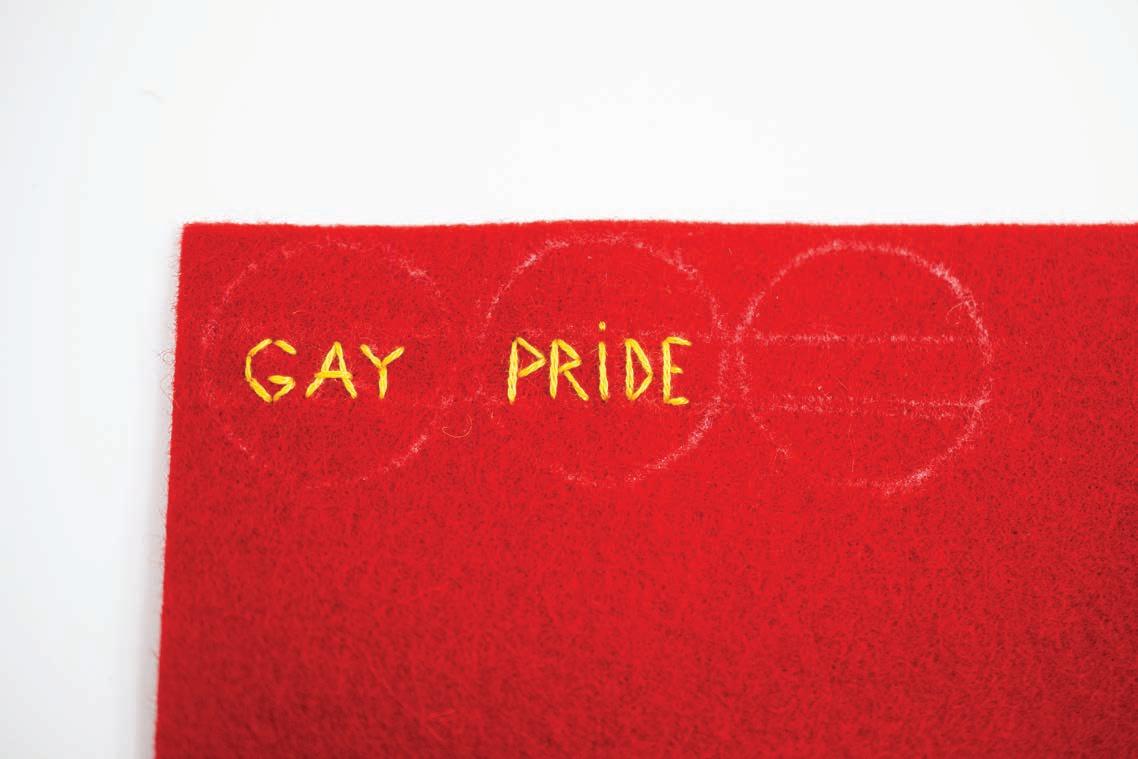
To embroider the “stick” typeface, use two strands of embroidery floss.
To embroider in more elaborate typeface, use one strand of the floss and the Split stitch (Page 4) for thin parts, and the Long & Short stitch (Page 4) to fill thicker areas.
Cut out your middle circle.
Use chalk or non-permanent pencil to transfer the rest of pattern pieces to felt.
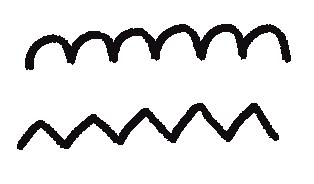
Cut out pieces either with scalloped/ zigzagged edges or straight edges.
If you’re using pinking shears, cut your shapes on the inner line:

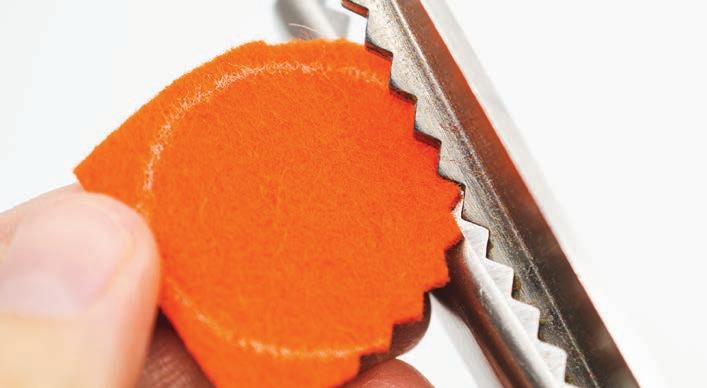
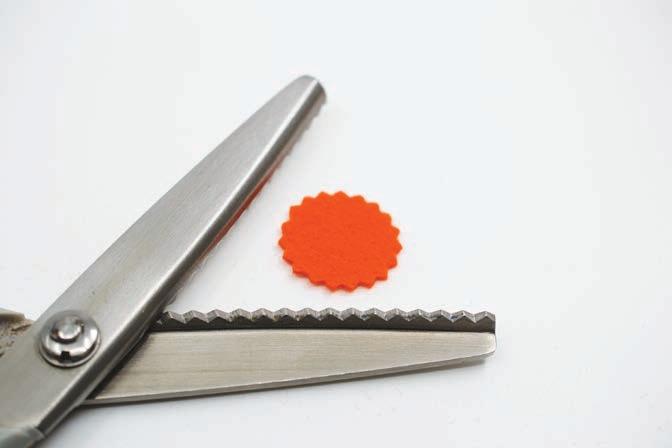
This is how the shapes will look with either zigzag or
Grab your purple pattern piece and cut out triangular shapes, as marked, using a precision knife. You can use anything that can make a hole - thick needle or a hole puncher. Transfer the cutout locations to the felt piece.
With all the pieces cut out, you’re ready for the next step.
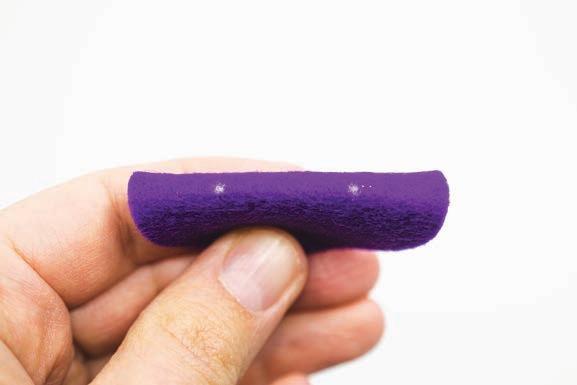
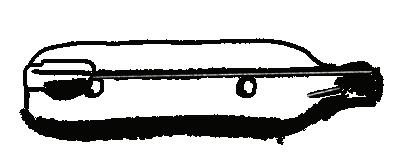
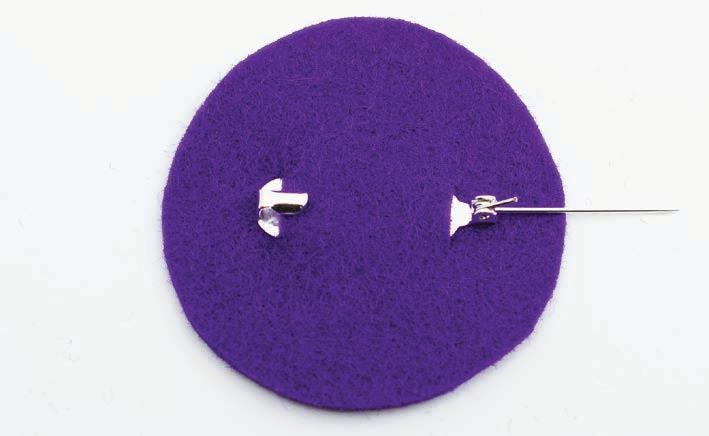
Fold the felt piece along those marks and make small snips with scissors. These are the openings for your pin back.

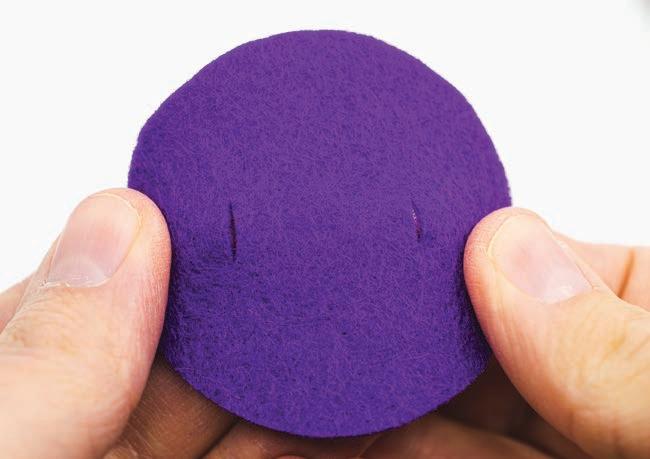
Thread the pin back through the slits.
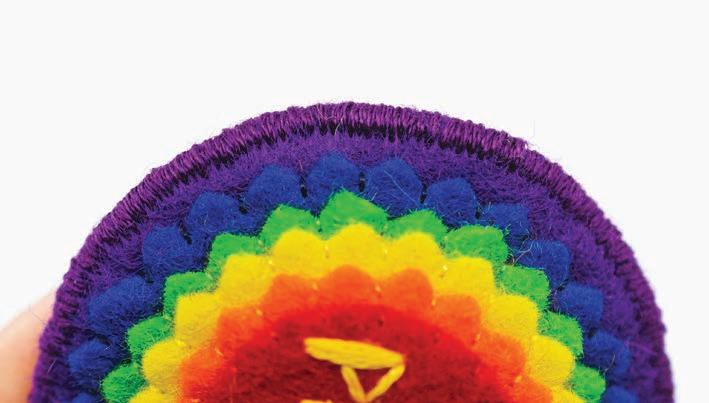
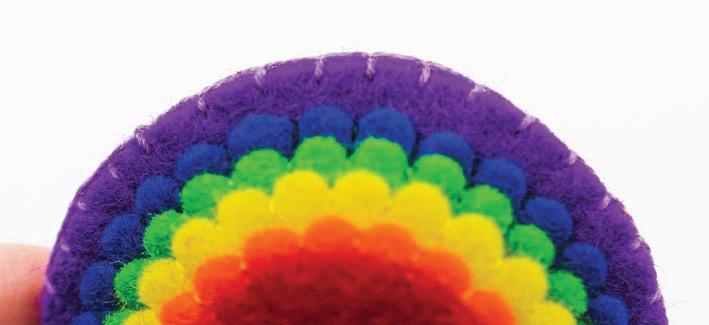
Using one strand of embroidery floss of matching colours, start stitching all the circles together - starting from the centre. Use the Whip stitch (Page 4)
If you have straight edges, make stitches around 3 mm apart. If you have scalloped/ zigzag edges, make small stitches between petals/ spikes.
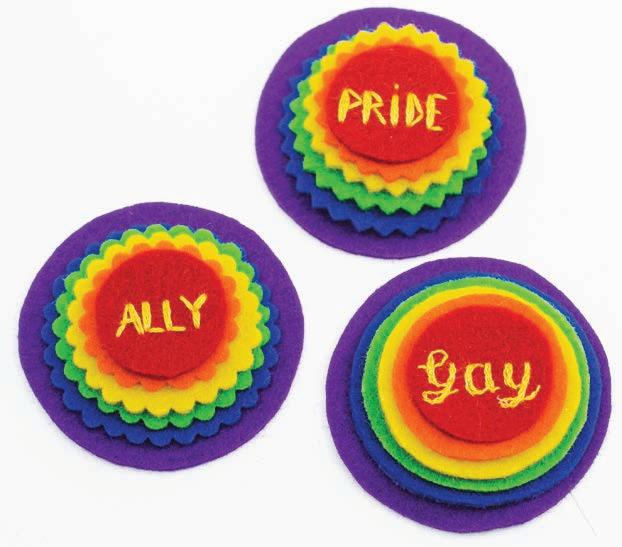
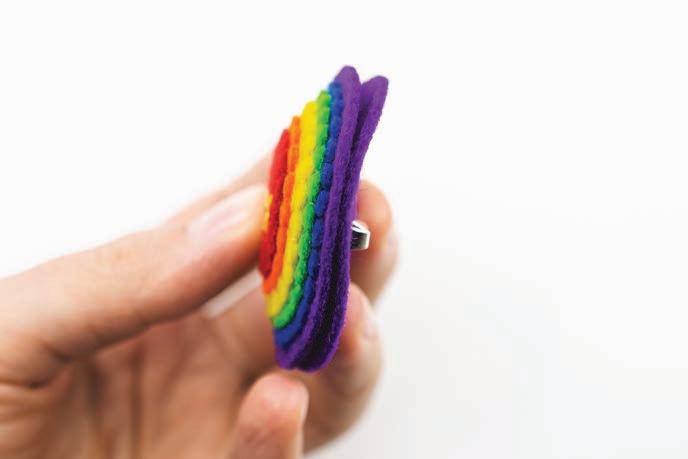
Stitch red, orange, yellow, green, blue and purple pieces together. You will have one purple piece with a pin back and the rest of them stitched together.
Using warm iron gently iron the stitched pieces through a cloth to bring down the volume a bit.
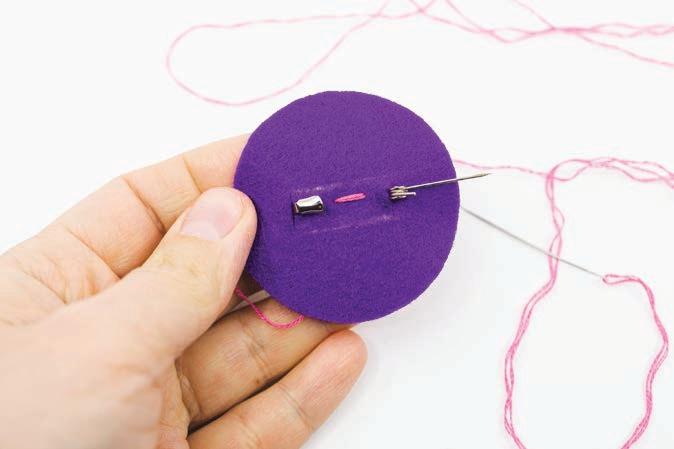
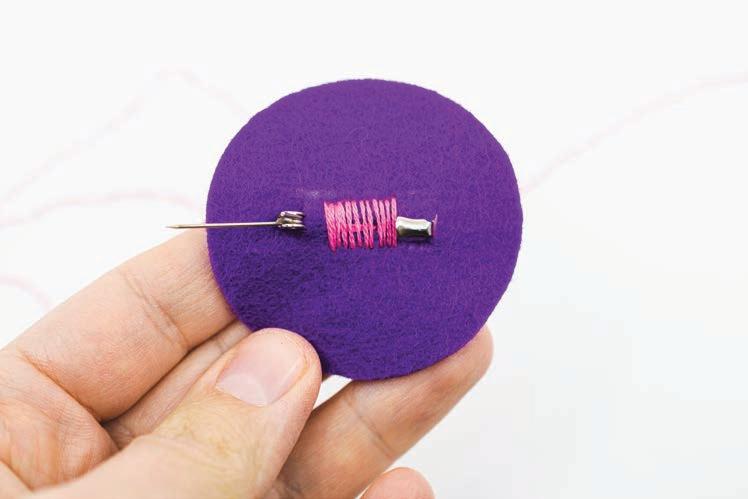
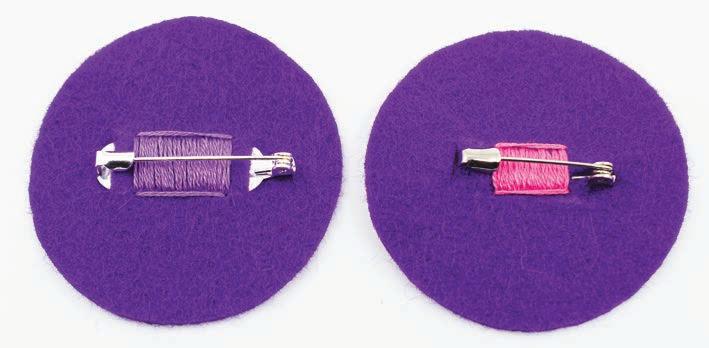
Grab your purple piece with the pin back threaded through it. Mark outer borders of the pin back with chalk, using straight lines.
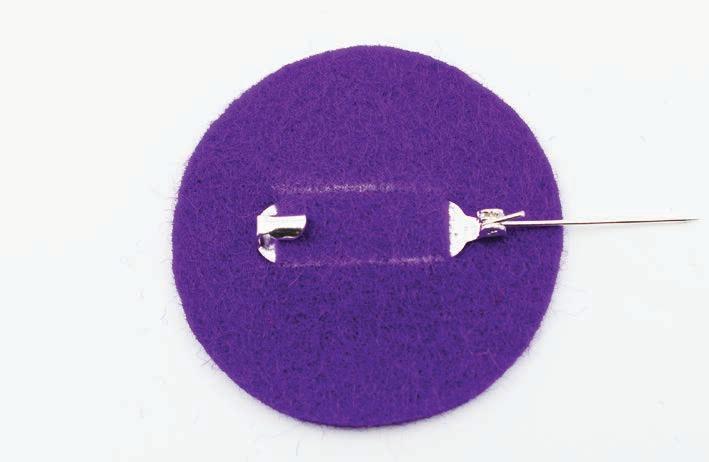
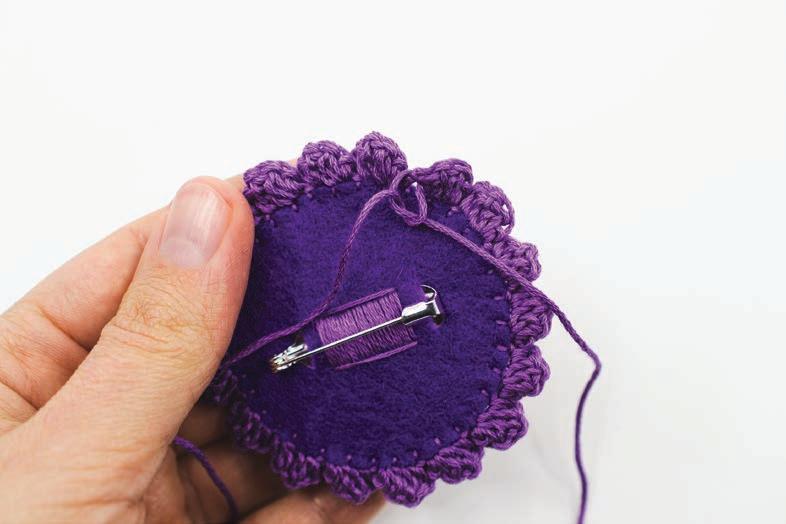
With two strands of the preferred colour embroidery floss, attach the pin back as shown below.
Use any shade of pink or
Align your back and front pieces, making sure the pin back is 1) parallel to the word on the badge 2) the lock of the pin is facing the right way (will depend on if you’re right or left-handed).
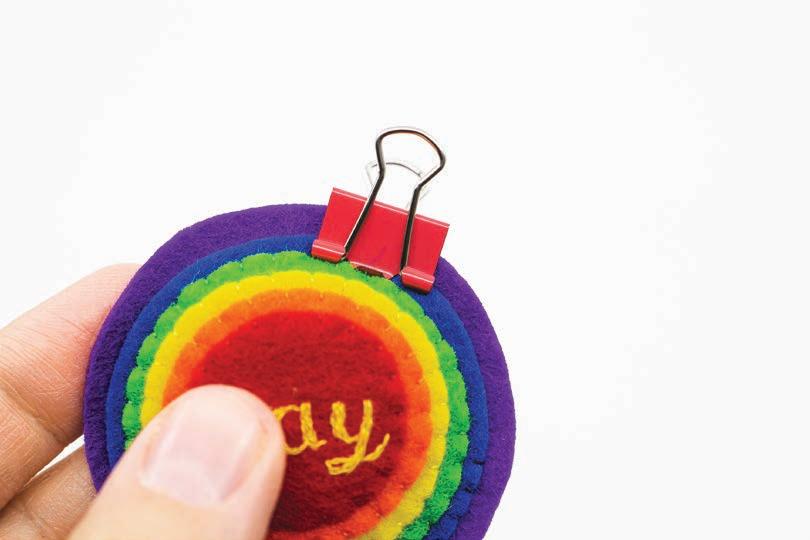
Pin/ clip two sides together for further stitching.
Start by making a few small stitches through the pin back’s holes. Then make a few long stitches across the pin back. Go around a few times to secure the pin.

At this stage you’ll need to decide what type of finish you want for your badge - overcast edge or crochet petals. Follow the relevant section below.
Using three strands of the embroidery floss sew two pieces together with the Overcast stitch (Page 4). Stitches should be about 2-3 mm wide. Leave small gaps between them.


Make two long stitches on either side of the pin back (perpendicular to the stitches across) to finish off neatly.
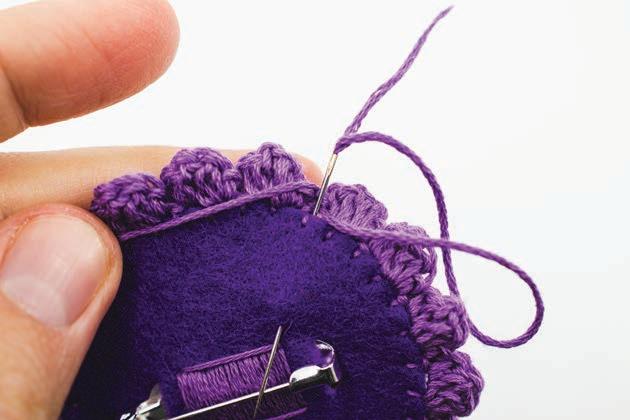
Go around once again – this time to fill in the gaps. It’s a very slow and meticulous process, so allow some time for this. It’s not going to be perfect, but that’s the beauty of a handmade item.
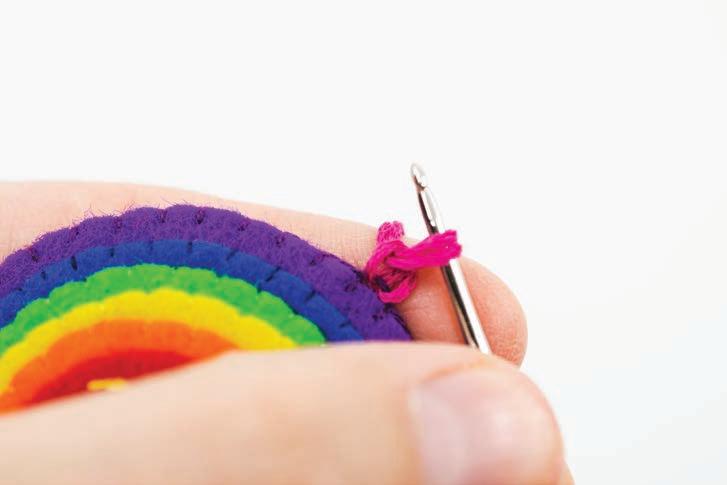
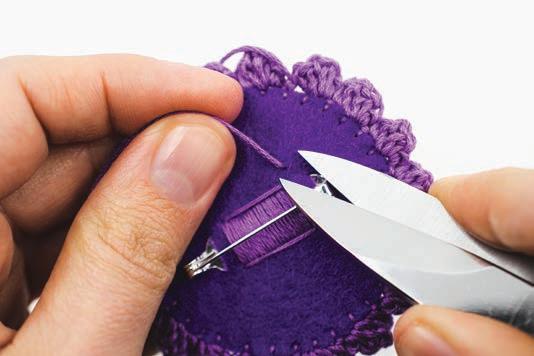
Hide neatly the end of your thread, and you’re done!
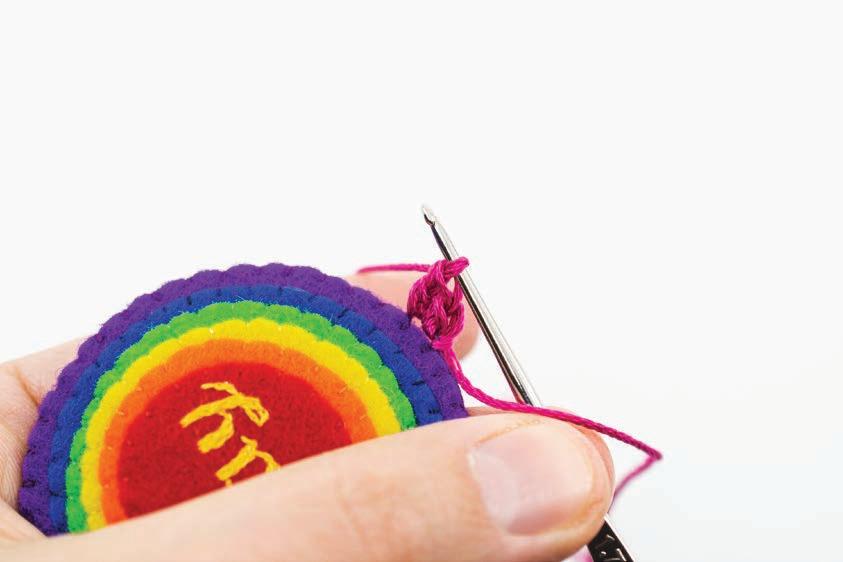
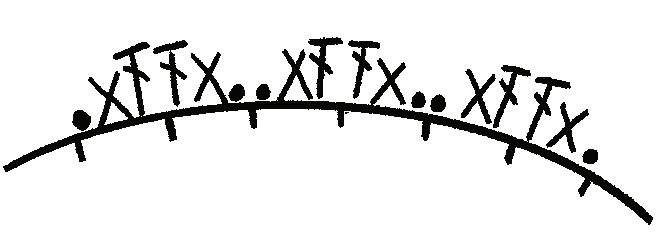
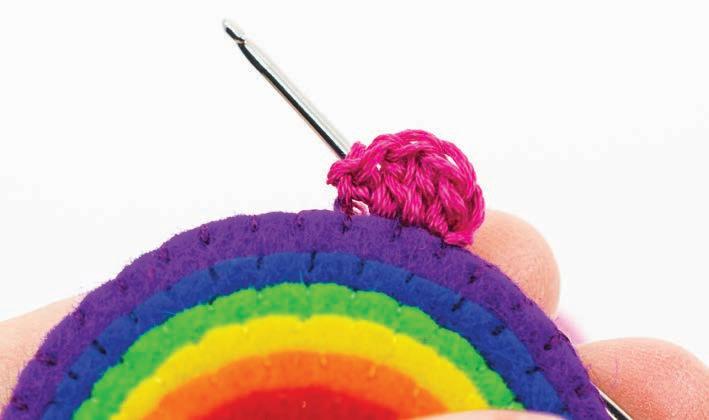
Using three strands of the embroidery floss sew two pieces together with the Blanket stitch (Page 4). Stitches should be about 4-5 mm apart. Tuck away neatly the end of the thread.
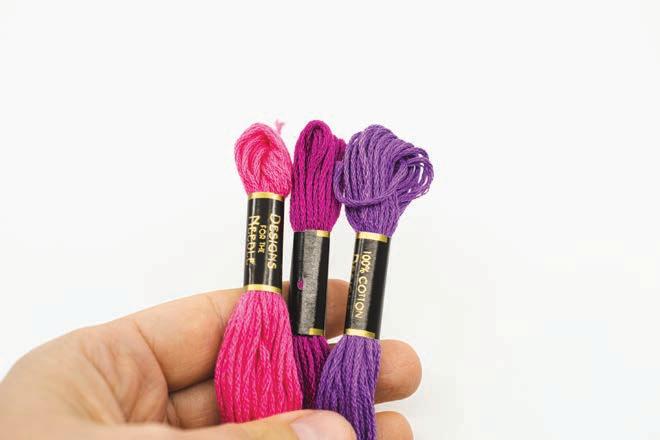
Grab your crochet hook and cotton floss (pink or purple).
One petal will fit across two blanket stitch spaces.
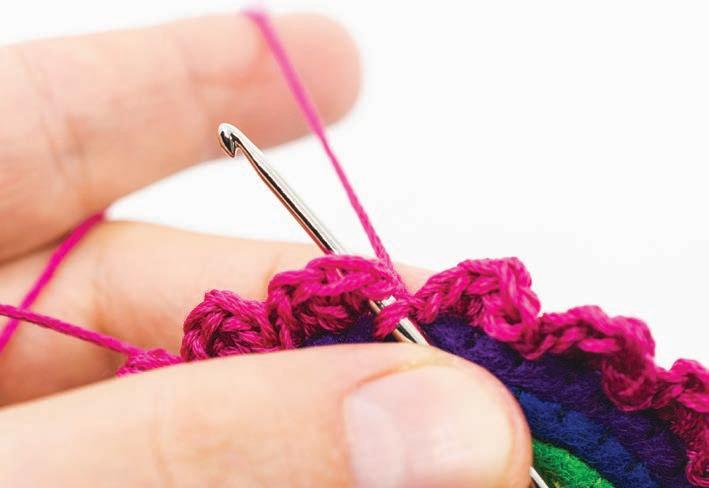
1st space: single crochet (SC), double crochet (DC) 2nd space: DC, SC, slip stitch (SL ST) then repeat in this pattern until the end: 3rd space: SL ST, SC, DC
If you have even amount of spaces (all petals fit in), finish off by SL ST in the base of the first space (petal).
Otherwise, if the number of spaces is odd, and you’ve got one left, SL ST in the last unused space and then SL ST in the first chain of the first petal.
To finish off, bring loose threads to the back and make a knot. Then thread each end through a needle and stitch