


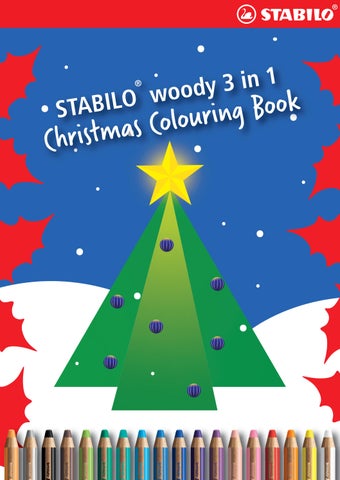


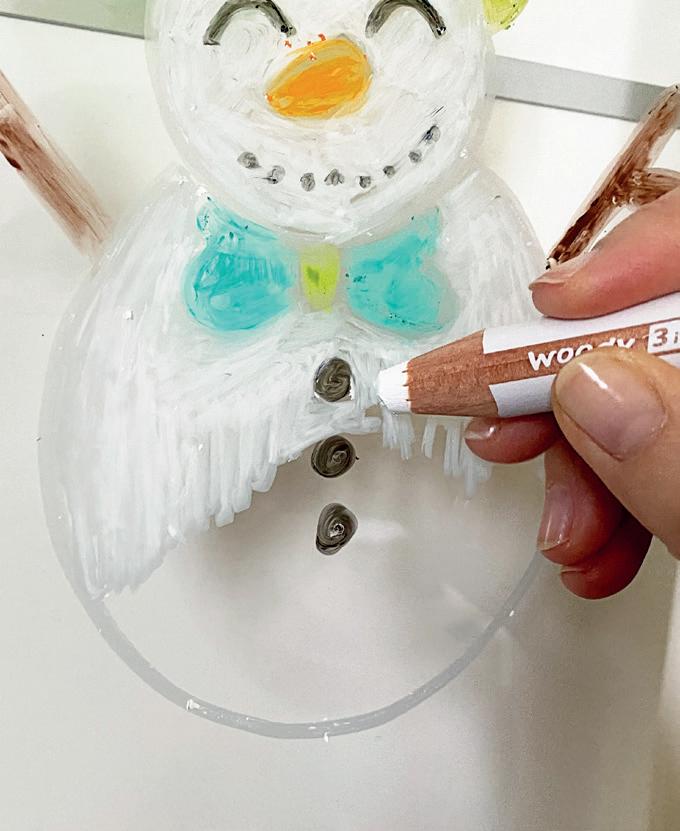
STABILO® woody 3 in 1 is not only a colouring pencil but also a watercolour, and a crayon making it the perfect all-rounder to write, draw colour and experiment with! With its high colour intensity it makes many smooth surfaces come alive even on cardboard and dark paper thanks to its extra thick break proof lead, which transfers as much colour as 8 standard colouring pencils at once. It can even be used on non porous surfaces i.e. glass and Perspex and simply wiped off with a litte water and a cloth - leaving no residue.
I’m three pencils in One
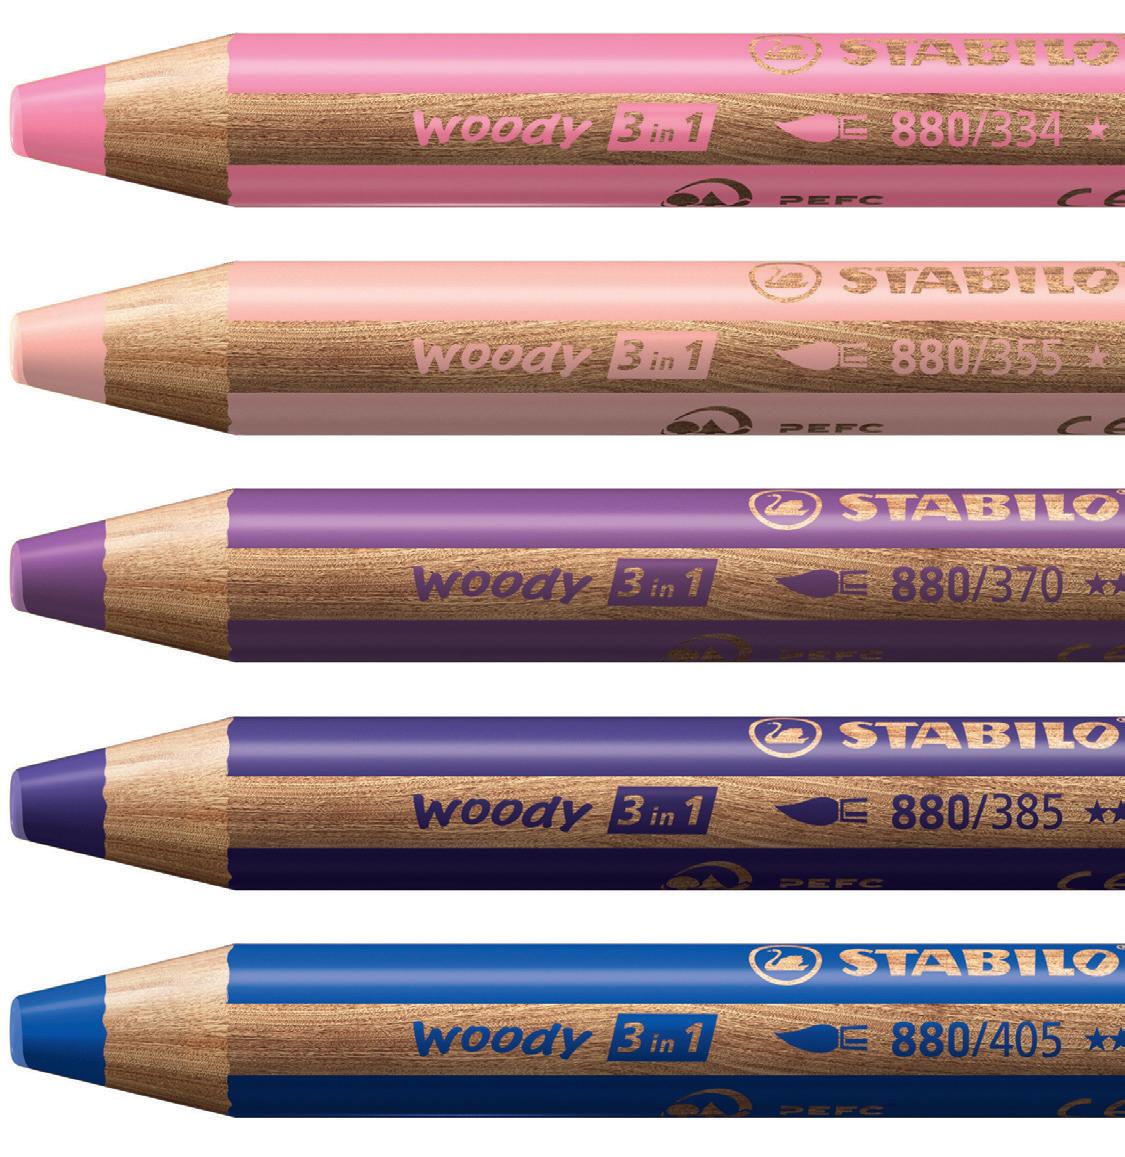
• Colour Pencil: use as a standard colouring pencil, even on the darkest of papers the colours really stand out.
• Watercolour: simply dip a brush in to some water, and paint over the colour and blend.
• Wax Crayon: The woody is incased in wood so the lead won’t break like traditional crayons - however exuberant the little artist is.
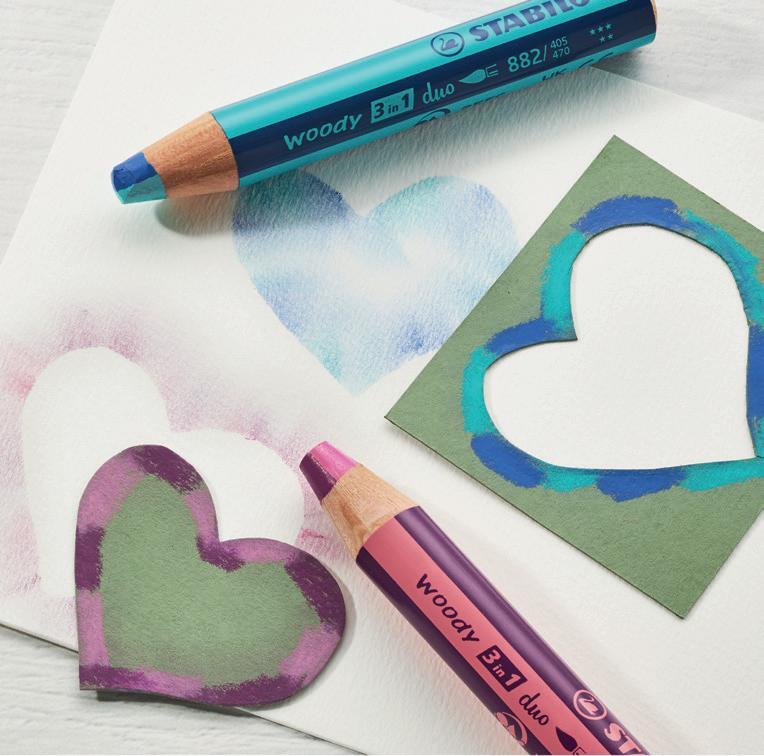
A simple technique for effective contours and exciting colour gradients: firstly, colour the edges of the stencil with your STABILO® woody 3 in 1. Then put the stencil on the paper and rub the colour from the stencil onto the paper.
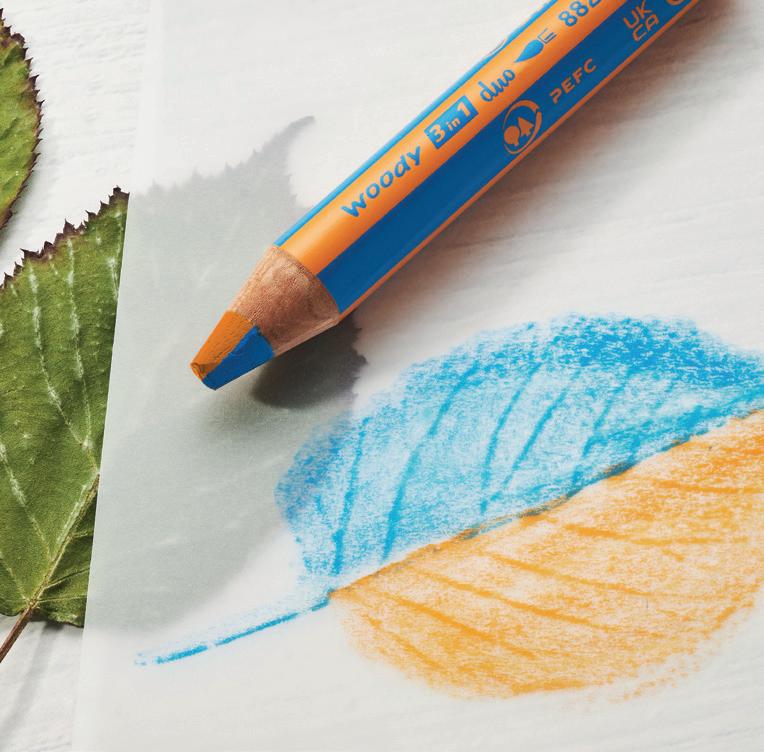
Place a coin, leaf or any flat object under the paper and draw over the paper with the STABILO® woody 3 in 1. As if by magic, the structure of the object now appears on the paper.

Child’s play: firstly, draw several layers of colours on top of each other on a sheet of paper - starting with the light colours. The last layer should always be black or a dark colour. User the scraper to scrape a picture in the dark layer. This reveals the wonderful colours beneth.


Great art made easy: firstyly, apply various colour splashes to the paper. Then paint over and mix the splashes with a damp brush - as if they were watercolours. Thicker paper is best for painting good watercolour pictures, as it doesn’t get soggy so easily.
If it’s subtle colour transitions and new colour variations you want - simply smear the colours of the picture with something soft, like cotton pads. Coarse paper is best for this technique. Professionals use fixing spray to ensure the colour adhears to the paper for as long as possible.


Mix them up however you like


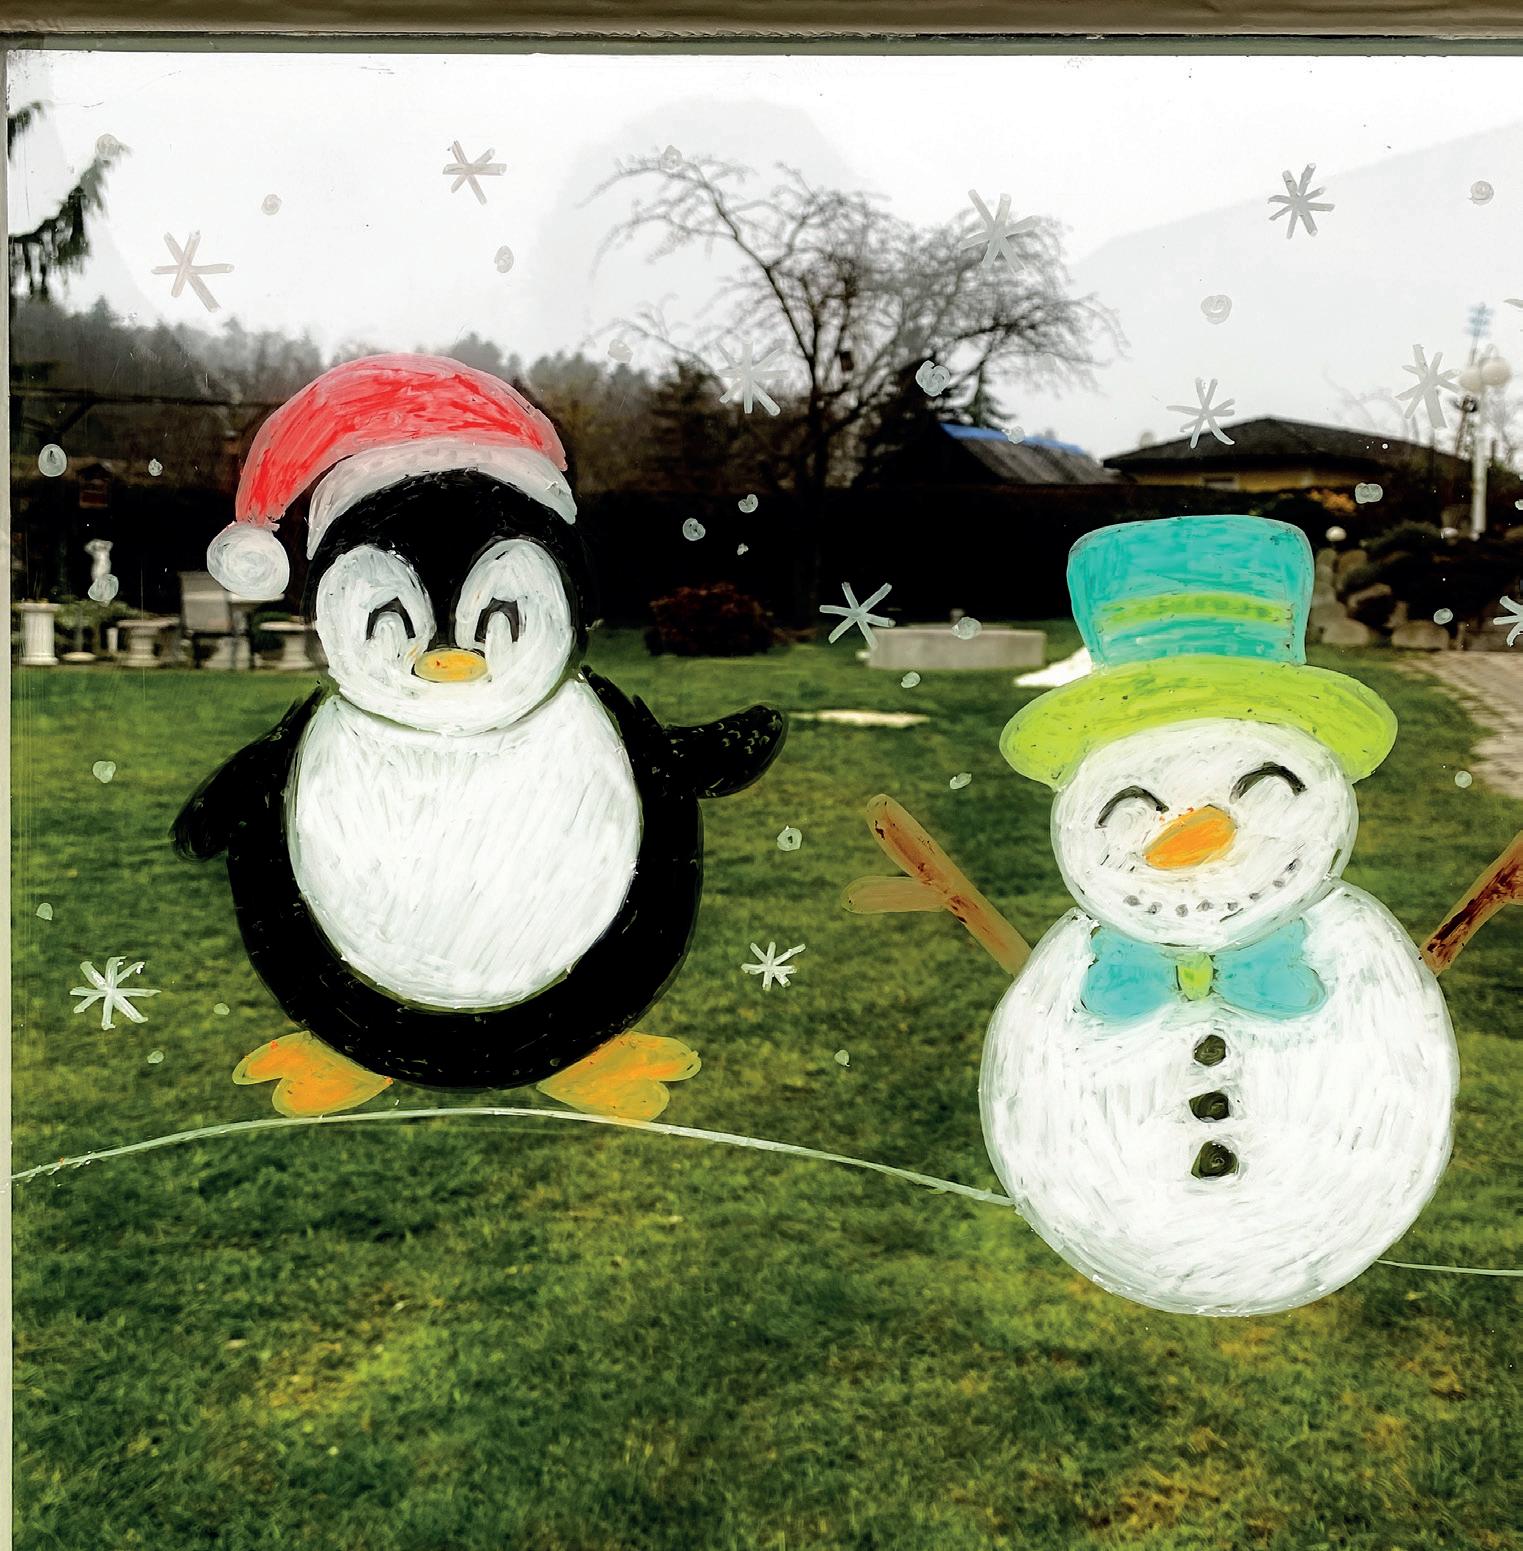
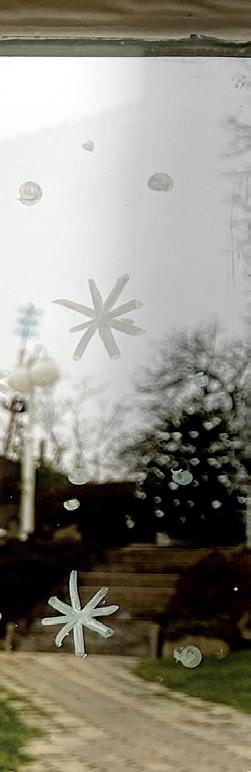
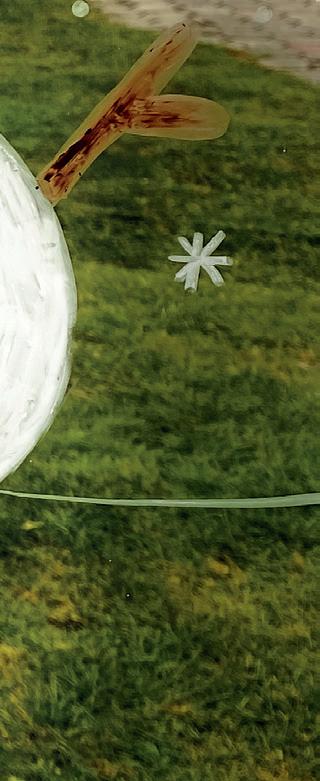
A top hat and a bow tie or a bobble hat and a scarf? Or maybe a Santa hat? What do your penguin and snowman like to wear? Draw the figures on a window pane and then dress them up in the headwear or neckwear of your choice.
Here's how it works:
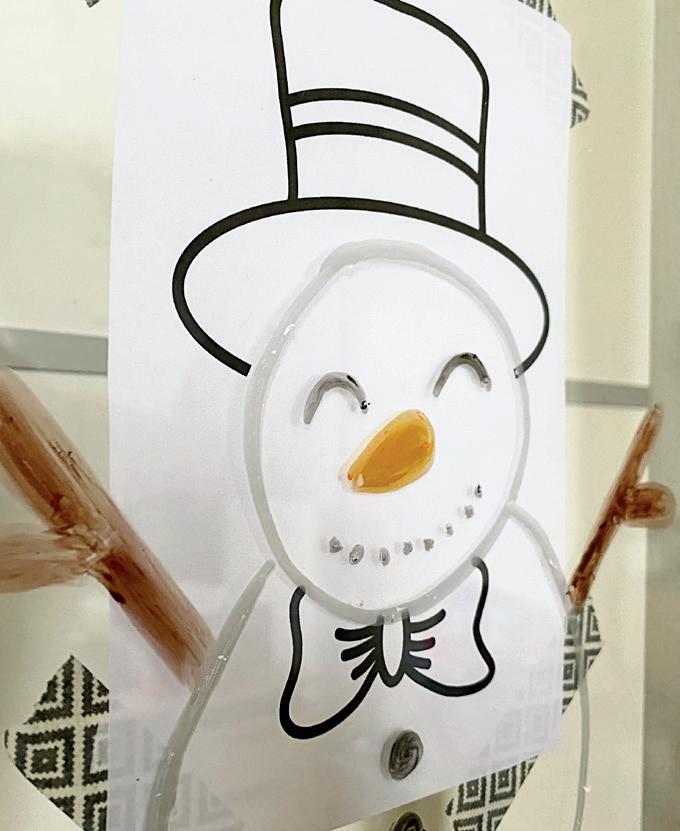
1. Cut out the templates and trim them if needed.
2. Stick the snowman and/or penguin to the window pane from the outside and fix the template in place with washi tape.
3. Trace the template on the inside with the STABILO® woody 3 in 1 in the colour of your choice. First draw only the outlines of the bodies.
4. Remove the template from the window pane and colour in.
5. Get creative! Add anything you want to the penguin and snowman. Christmas hats, scarfs or skis!
• STABILO® woody 3 in 1
• Print template
• Washi tape
To clean the window surface:
• Glass cleaner
• Kitchen roll
TIP: Simply wipe away the artwork with glass cleaner and kitchen roll if you don't like the result. It's very easy!


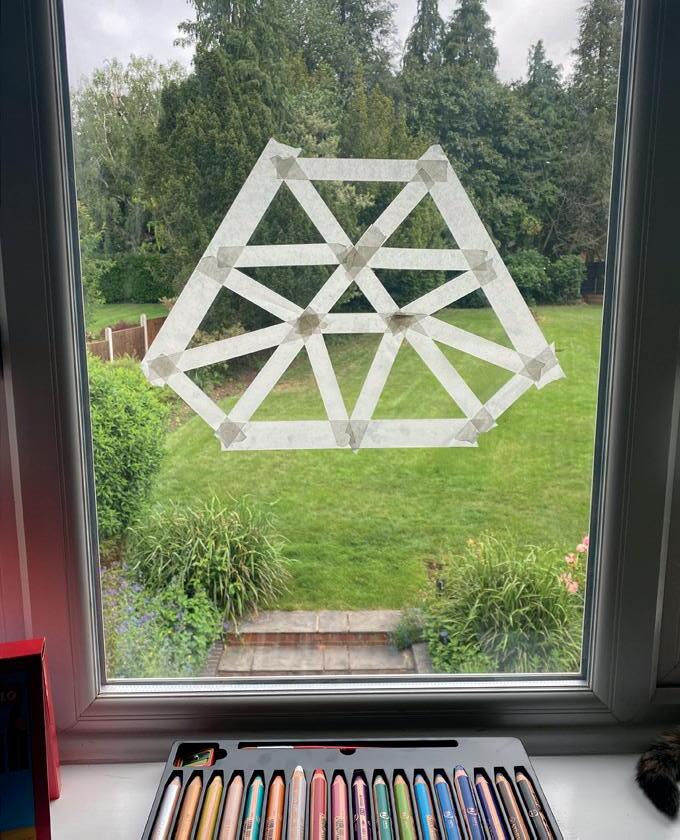


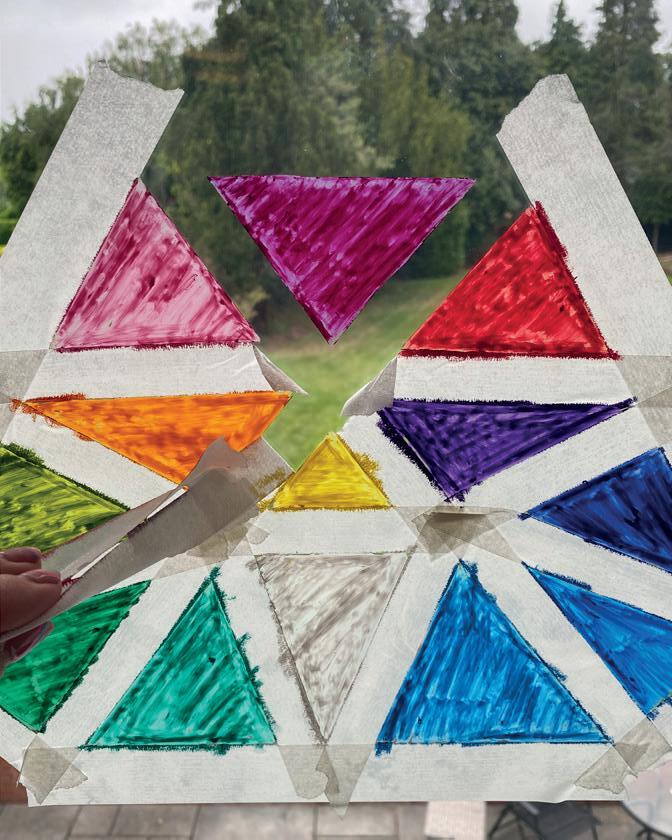


Here, little artists can really run riot and, for once, also doodle or colour directly on the window pane as they please. Masking or washi tape is a great way to mark out or artistically design the area you’ll be colouring. This way you can create beautiful geometric patterns that show the sunlight in its most beautiful (woody) colours.
Here's how it works:
1. Make a pattern on the window using masking tape / washi tape. You can even use the entire window surface and divide it into different little areas (triangles or squares). If you need some something to keep you busy, you can also try this with round shapes.
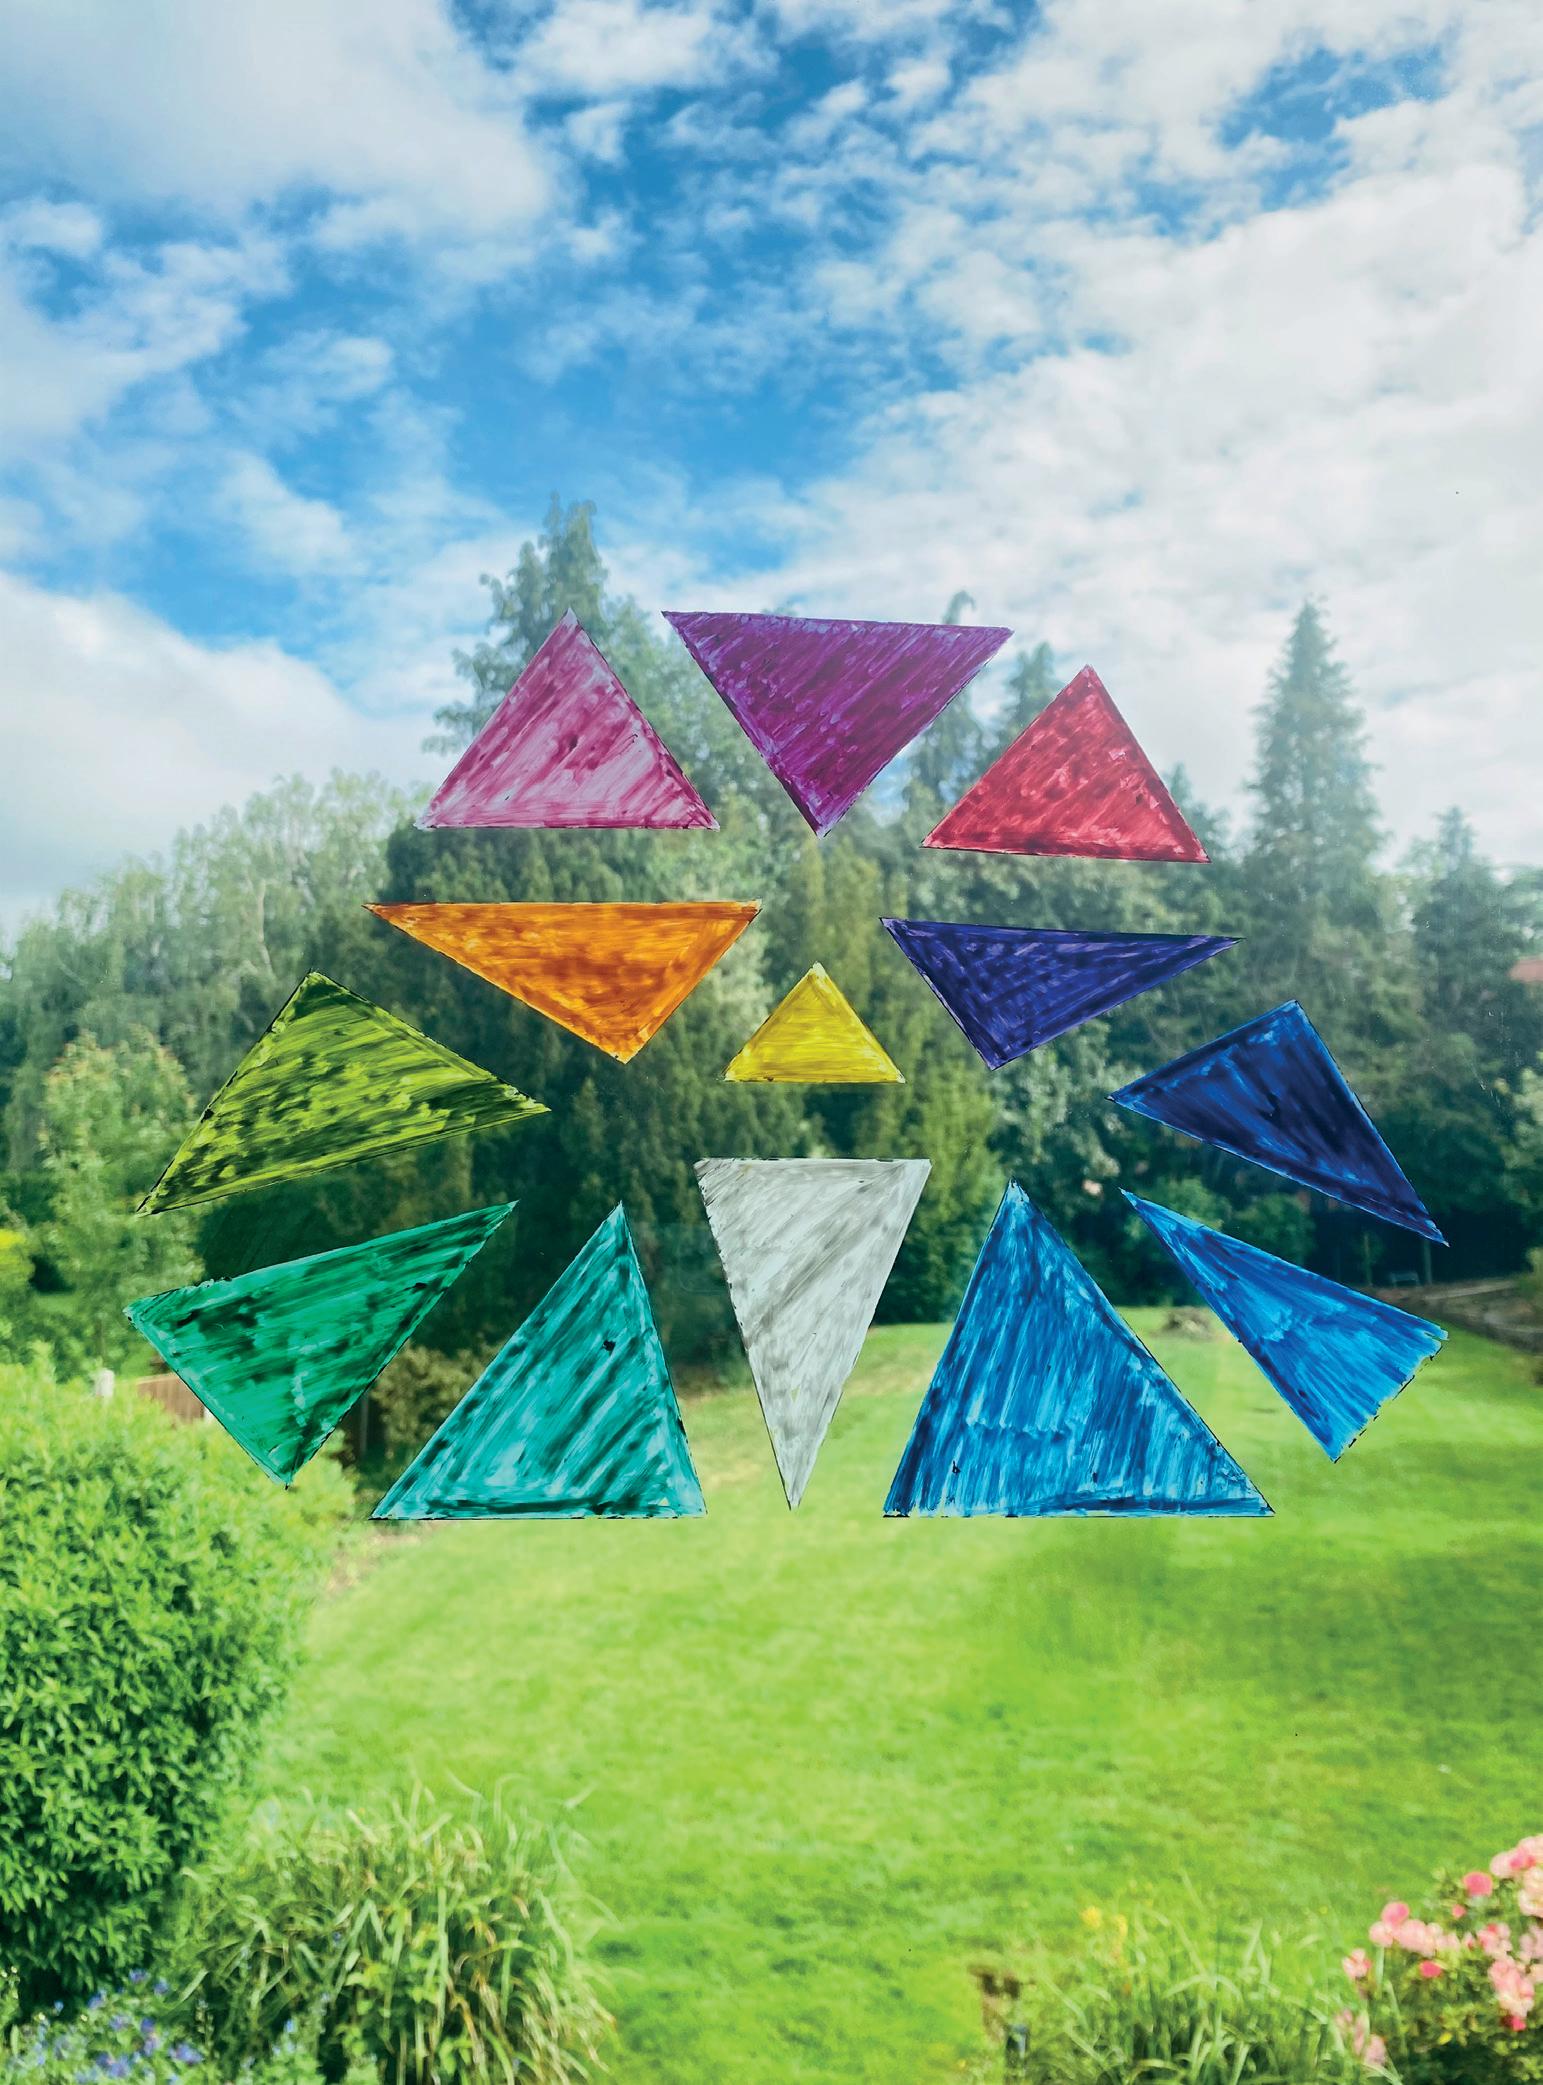
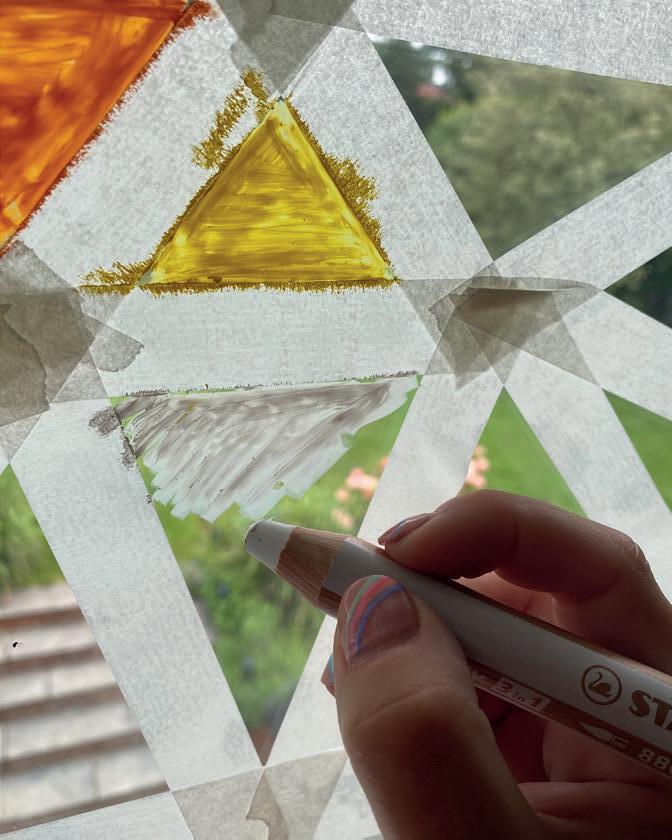
2. Colour in the areas however you like with the STABILO® woody 3 in 1.
3. Once all the areas have been coloured in, the masking tape can be carefully removed from the windowpane. What remains are the colourful areas, which light up the most beautiful colours thanks to the sun's rays – depending on the way the light falls.
4. Simply wipe away the artwork with glass cleaner and kitchen roll if you don't like the result and/or you've had enough. It's very easy – I promise!
• STABILO® woody 3 in 1
• Masking tape / washi tape (removable adhesive tape)
To clean the window surface:
• Glass cleaner
• Kitchen roll
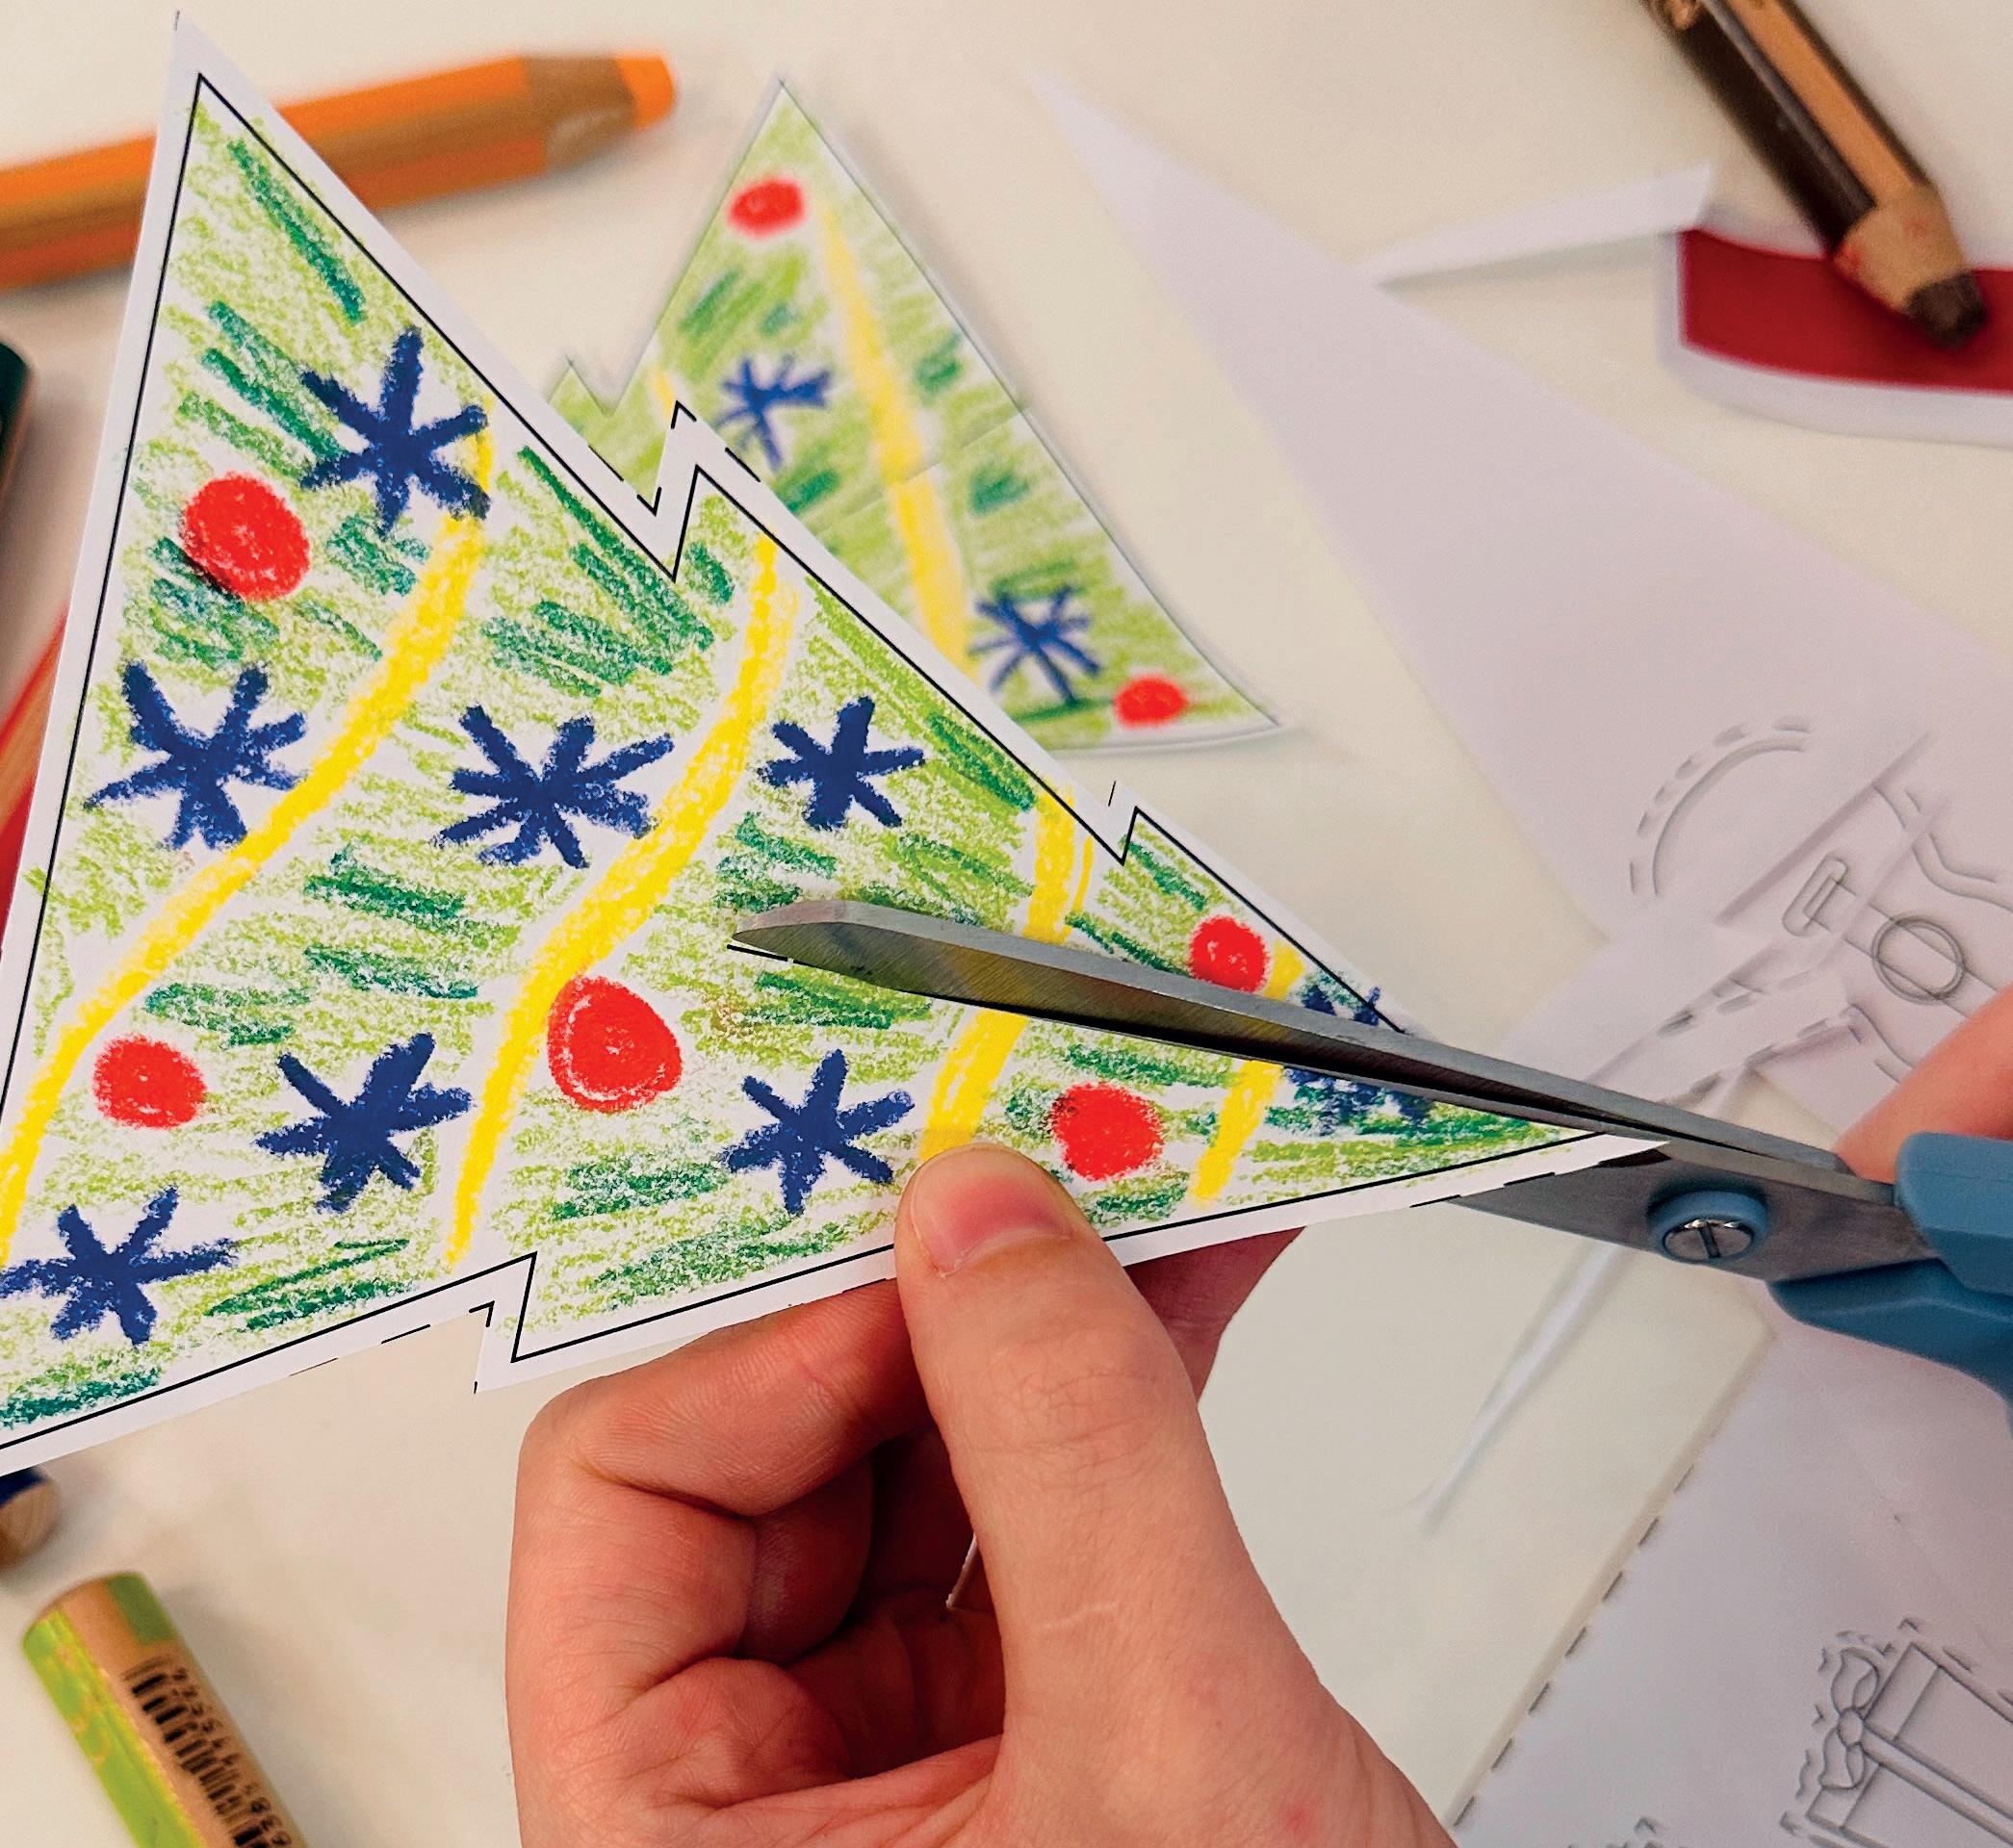
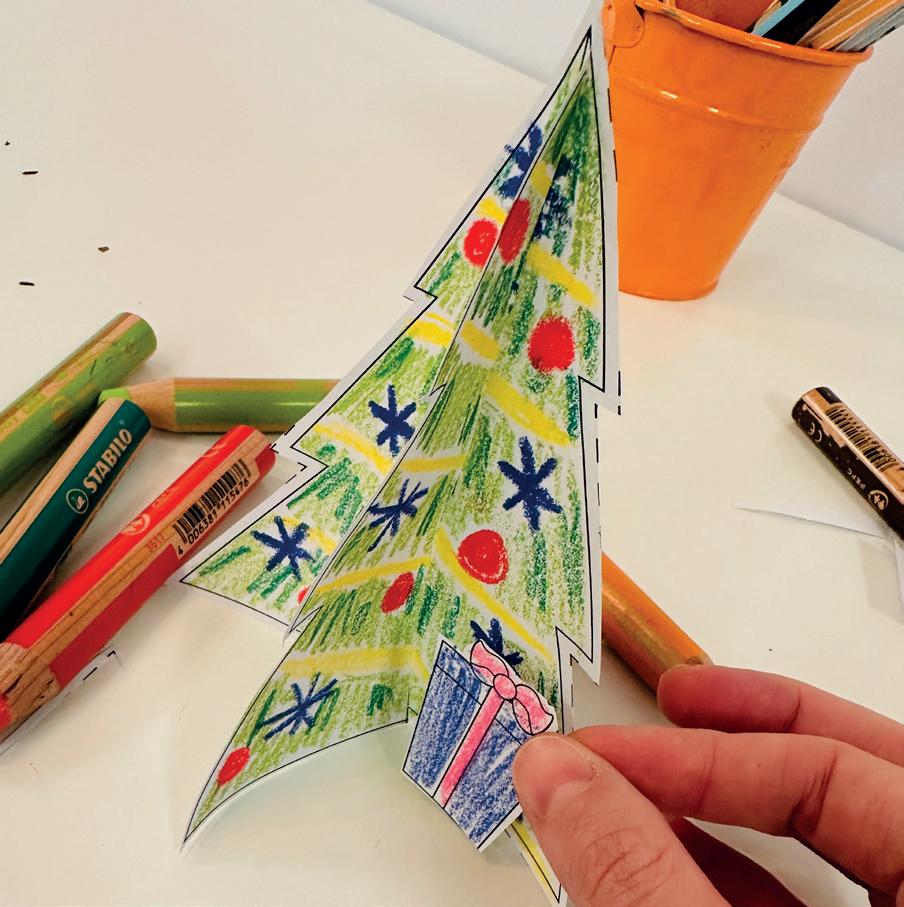
1. Use the template opposite and use STABILO® woody 3 in 1 to colour in your Christmas tree and gifts. Get creative by adding Christmas baubles, stars, tinsel, and don’t forget a sprinkle of glitter for that magical holiday shine!
2. Cut out the trees, using the dotted line as a guide. Flip them over and colour the otherside.
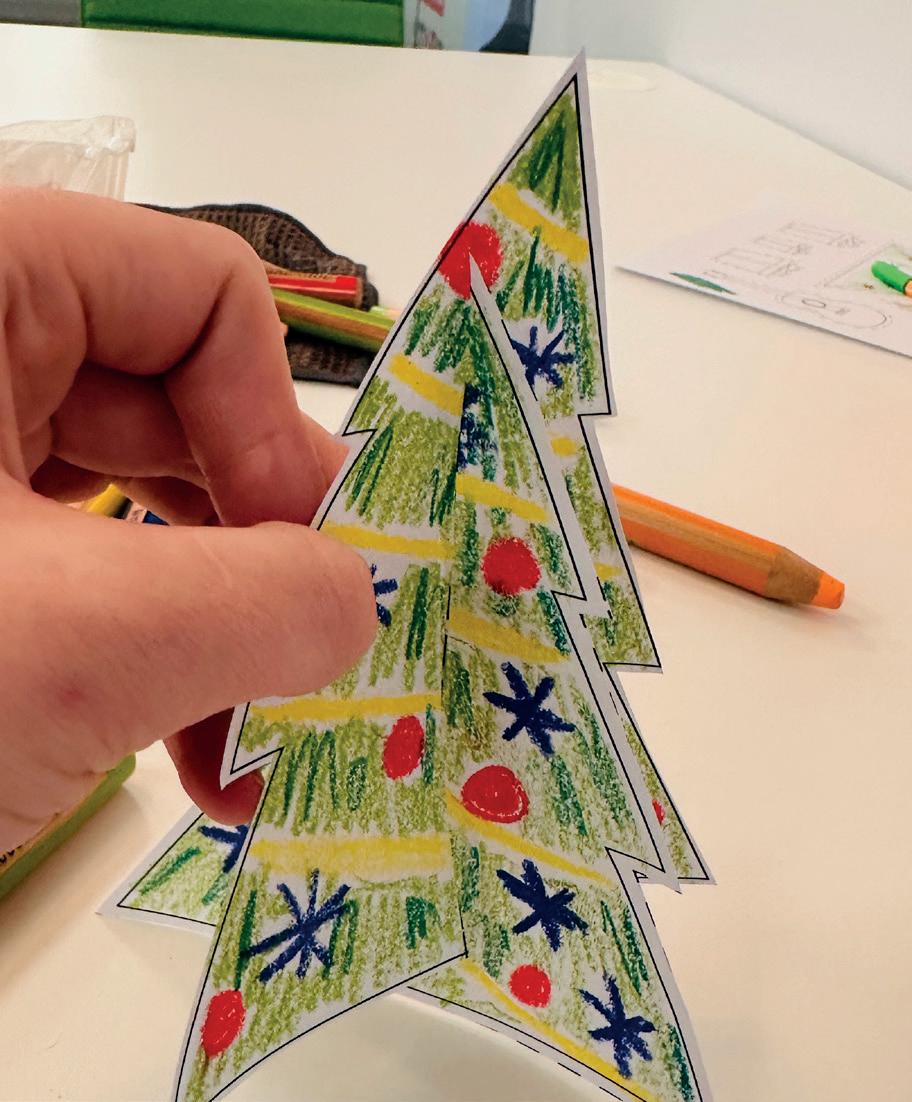
4. Slot the tree pieces into each other. To create your own 3D Christmas tree that stands all by itself.
5. Glue the gifts the the tree and Voilà!
• STABILO® woody 3 in 1
• Scissors
• Glue
• Glitter

Colour in Christmas baubles and build your own Christmas wreath. Just colour and cut along the dotted lines.
Don’t forget to colour in both sides of the baubles.
• STABILO® woody 3in1
• Scissors
• Glue
• Glitter