SET GO


As a teacher, a SMART subscription gives access to a number of additional tools to faciliate your teaching using your new SMART board technology, which you can either explore with your individual account, or your school or trust might be creating an account for you.
We know that new technology can be daunting - teaching and non-teaching, already have enough to think about - and that’s where we come in.
This guide is to help you get started with an individual account in no time and start seeing the benefits in your school before you know it.
Want more? You can keep in touch for the latest tips and tricks around school communications as well as lesson content to the next level - improving pupil engagement and outcomes.
@elementaryav Elementary Technology

To set up a SMART account as a teacher
Managing your SMART Account
Changing your display name
Changing your email preference
Changing the user type
Selecting your location
Training
Contact Us
@elementaryav ElementaryTechnology


Creating a SMART Account enables you to sign in to and use SMART software, such as SMART Notebook and Lumio. Your SMART Account connects all your SMART software applications, making it easy to access your lessons and settings across products. If you’re using a SMART display with iQ while signed in to your SMART Account, the display’s File Library syncs with your SMART Account. Files you’ve shared from SMART Notebook or saved to Lumio are available directly from the display.
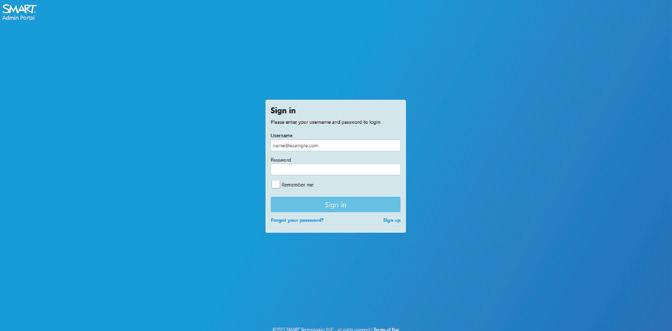
Note - To Access Lumio or SMART Notebook with your SMART Account, you or your school must have an active subscription to SMART Learning Suite. If you are part of a group subscription, ensure your email is provisioned in the SMART Admin Portal.

To register for a SMART Account, you need an existing email account - ideally an account provided by your school for Google Suite or Microsoft Office 365.
Tip - Don’t have a Google or Microsoft account? You can create one using your existing email by visiting signup.live.com (Microsoft) or accounts.google.com/sign (Google). If you need help, visit the Microsoft or Google support pages.
Watch this video to help you choose the best accounts for setting up a SMART account

Click or Scan QR Code to watch


In a web browser, go to lum.io and click Get Started for free or
From SMART Notebook software, click Account > Sign In on the Notebook menu. From either, the The SMART Account sign in page opens.


Choose from the available sign-in options based on the service your school/trust use (Figure 1). You also have the option to ‘See more sign in options’. SMART will use the account you choose, along with the associated email and password to create your SMART account. After selecting the relevant option, your account provider’s sign-in dialogue box appears.
Tip - Ask an IT person at your school if your school email address is already connected to one of the account providers shown above. If it is, that’s the account and email address you should use to set up your SMART Account.
Follow the on-screen instructions to sign in to your email account. You’ll be asked to enter or select your email address and then enter your password. After you sign in to your email account, you’re returned to SMART’s account creation page, where you’re asked to provide some basic information.
Fill out the required information, agree to the terms of use, and select whether you would like to receive communications from SMART, and the click Finish
Note - The display name you provide here will be visible to your students. Choose a name that you want your students to see and use to address you. You can change this name later if you need. Your account setup is now complete.

After you’ve set up a SMART Account, you can visit your SMART Account settings page to manage the following:
- Display name
- Email preferences
- User type
- Location
Note - Need to change or reset your SMART Account password? Since your Account is linked to your chosen email account, you’ll need to use those services to recover or change your password. At this time, you cannot change the email account linked to your SMART Account.
Your SMART Account display name appears in the User menu in the upper-right corner of the screen on all SMART platforms.
To change your display name
1. Sign in to your SMART Account settings page at myaccount.smarttech.com
2. Click your current display name and enter a new name in the dialog box that appears, and click Save (See Figure 2).
3. Close your SMART Account page and sign in to any SMART platform. Within 24 hours, your new display name appears on SMART displays and for software platforms under the User Menu which is typically located in the upper-right corner of the screen.
Adults with a SMART Account can opt in to receive communications from SMART about upcoming events, special offers, or solutions. You can opt in or our at any time from your SMART Account settings page.
To change your email preference
1) Sign in to your SMART Account settings page at myaccount.smarttech.com
2) Use the Off/On switch under Email Preference to choose whether to receive SMART communications.
If you didn’t choose the right user type while setting up your SMART account, you can change your selection on the SMART Account settings page.
To change your user type
1) Sign in to your SMART Account settings page at myaccount.smarttech.com. Under User type, your user type is listed as either ‘Adult’ or ‘Minor’
2) If you want to change your user type, click the correct selection and then change it in the dialog box that appears. If you switch from “Minor” to “Adult”, your SMART account settings page will be updated with the option to receive promotional email from SMART.
On your SMART Account settings page, you can select a location to help is determine where to store your data and identify special offers in your area
To select your location
1) Sign in to your SMART Account settings page at myaccount.smarttech.com.
2) Under the Location heading, select a country.


