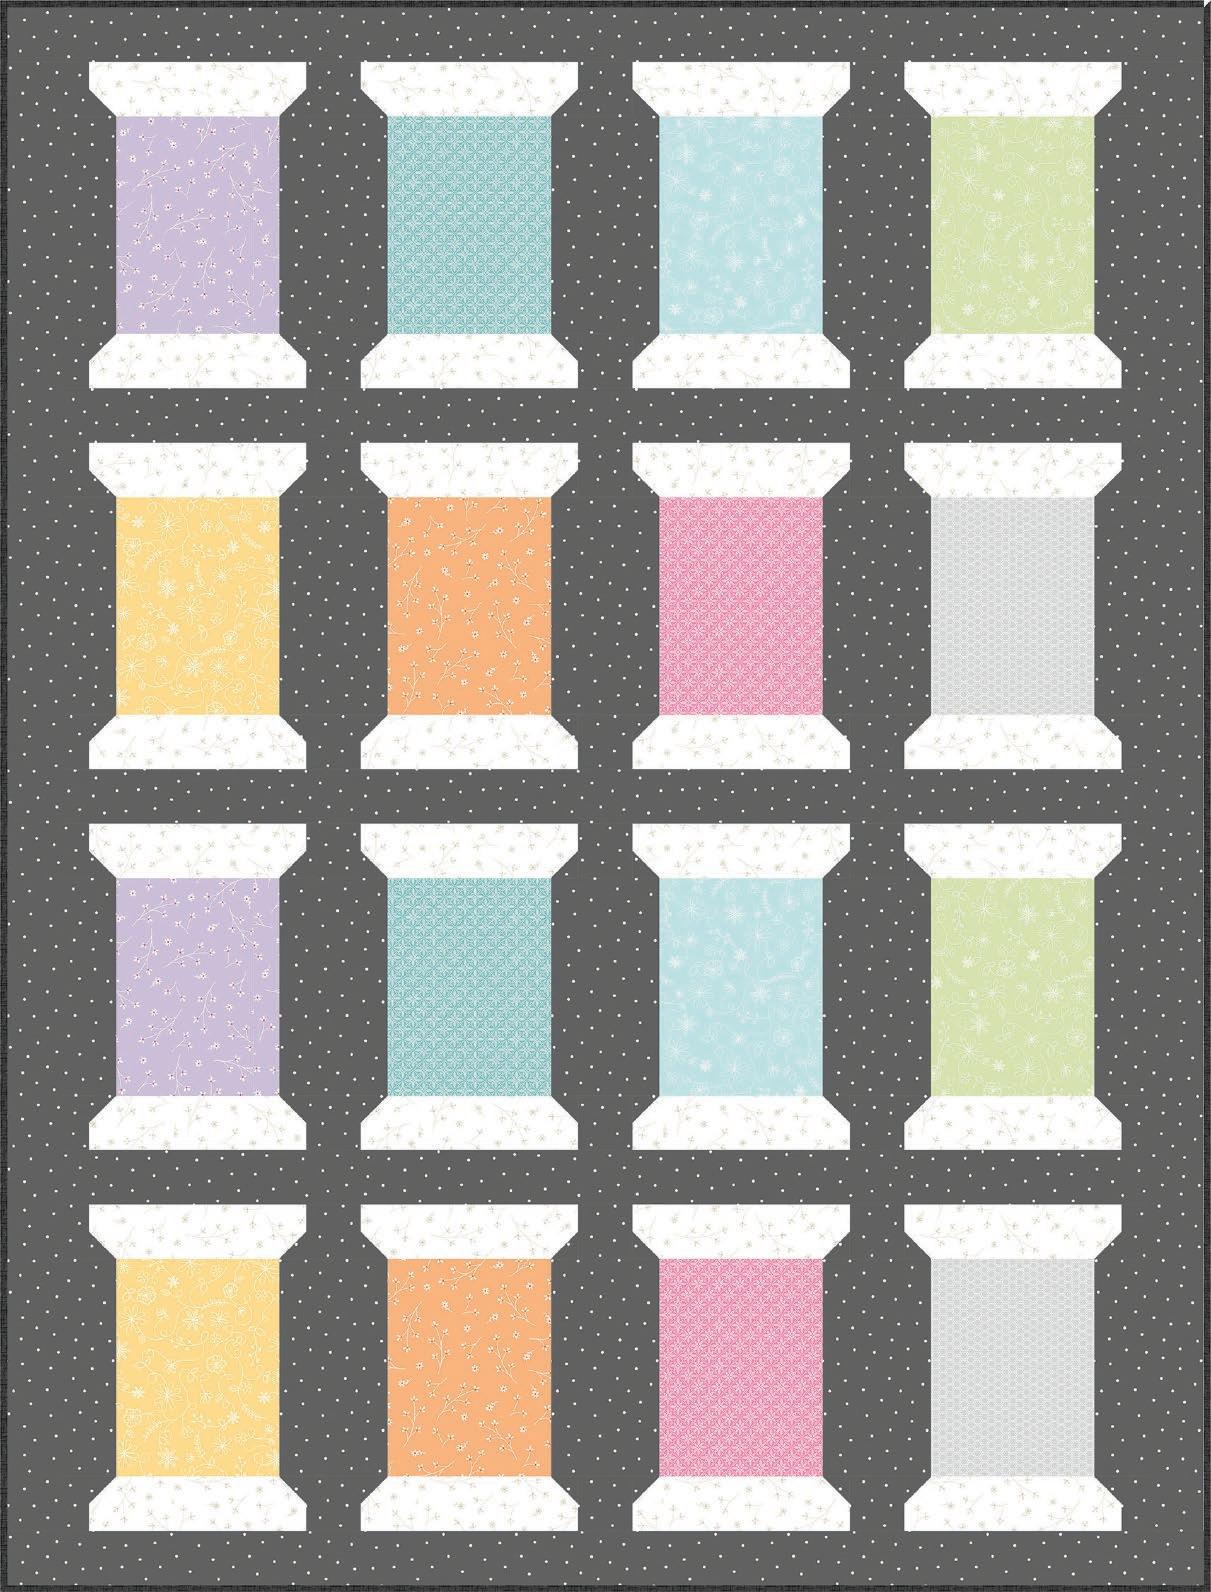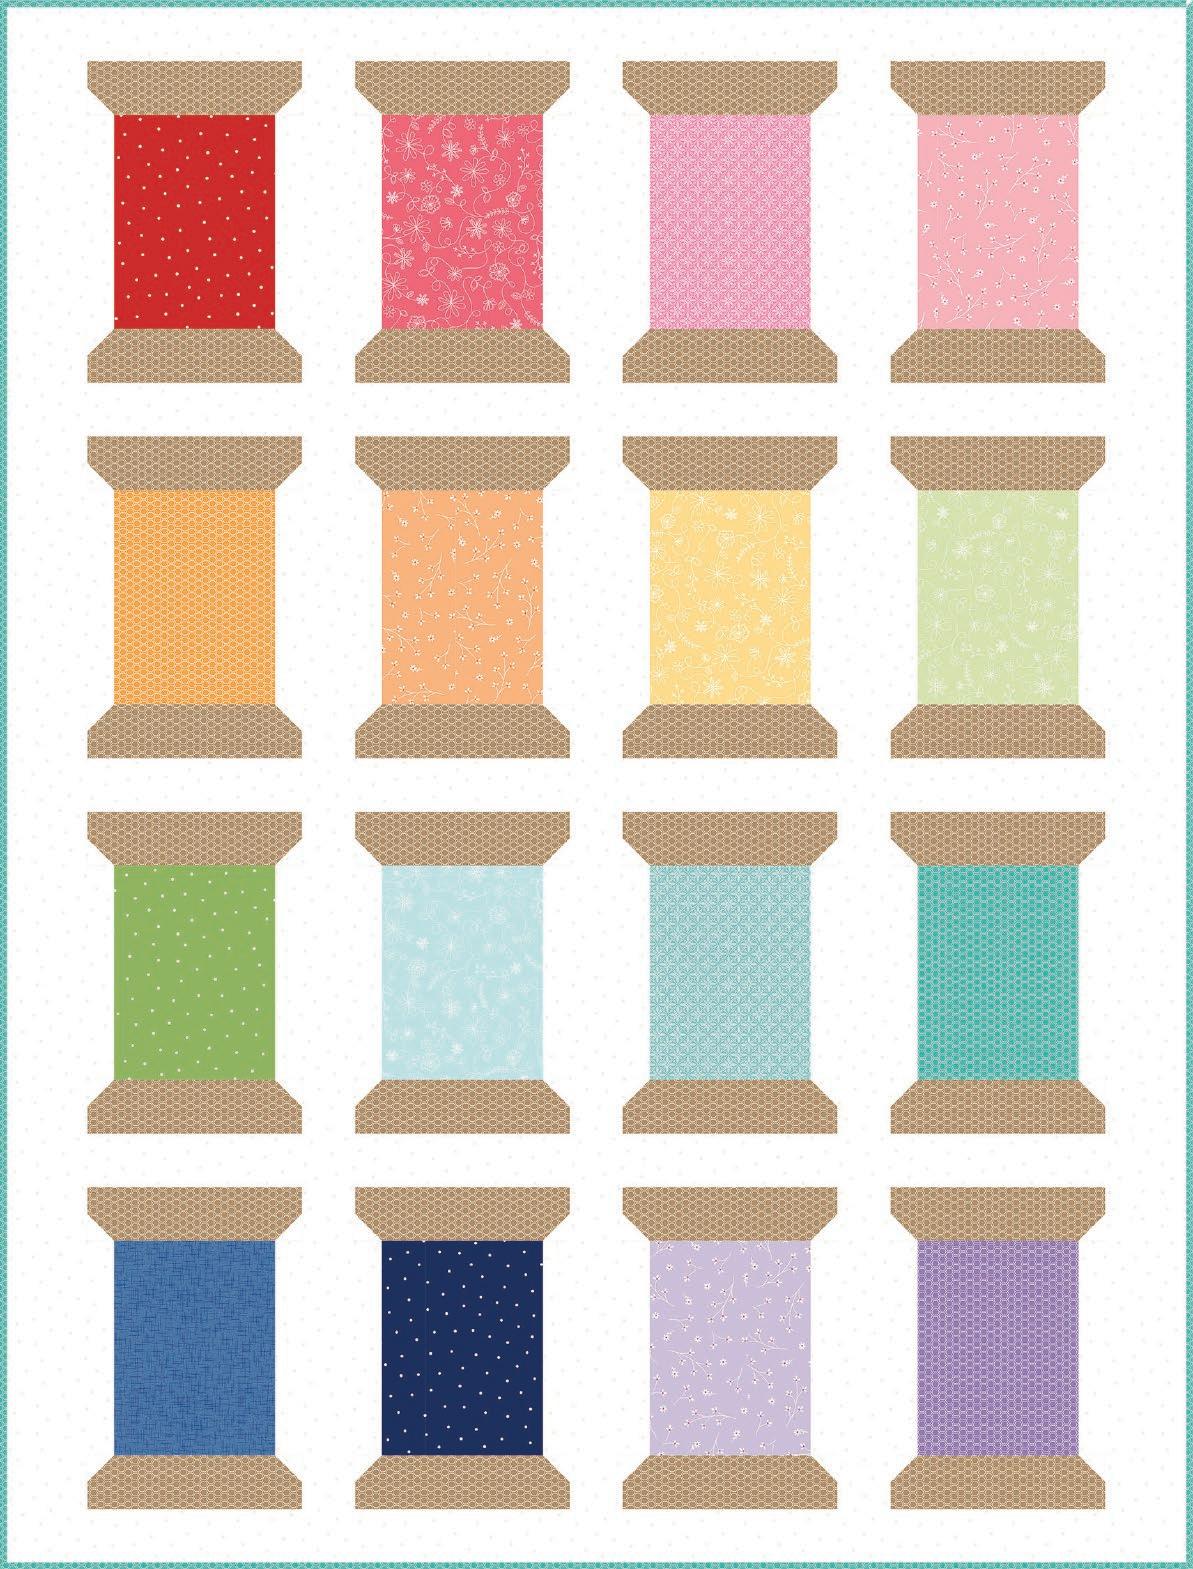
from

Fabric 1
MASF8210-R2
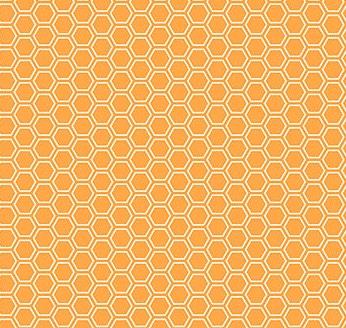
Fabric 5
MASF8256-O2

Fabric 9
MASF8210-GW
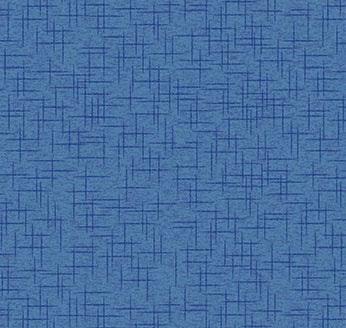
Fabric 13
MASF9399-B
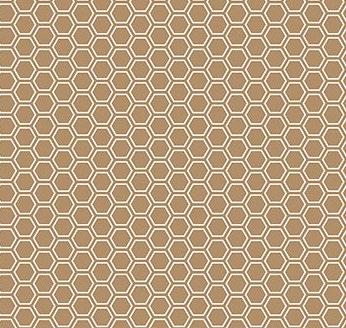
Spool Fabric 17
MASF8256-A


Fabric 2
MASF8261-P2

Fabric 6
MASF8260-O2

Fabric 10
MASF8261-Q2

Fabric 14
MASF8210-N

Background F18
MASF8210-WE
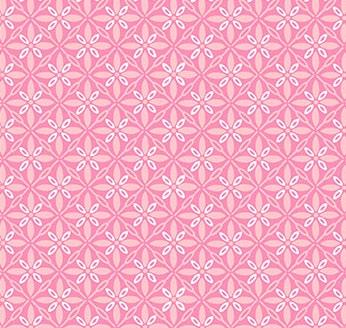
Fabric 3
MASF9396-P

Fabric 7
MASF8261-S2
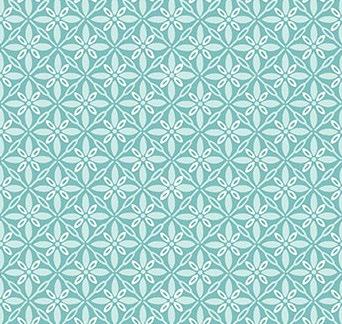
Fabric 11
MASF9396-Q

Fabric 15
MASF8260-V2

Fabric 4
MASF8260-P2

Fabric 8
MASF8261-G2

Fabric 12
MASF8256-Q
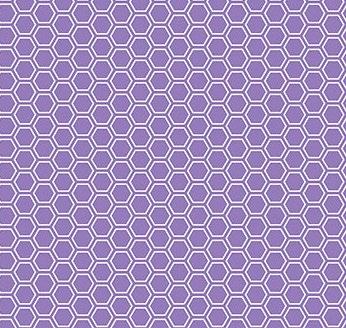
Fabric 16
MASF8256-V2
Fabric Requirements
10" Squares F1-16
SQ-MASKBBFRAWI 1 pack
Spool F17 MASF8256-A 1/2 yard
Background F18 MASF8210-WE 1-1/2 yards
Binding MASF8256-Q 1/2 yard
Backing 3 yards
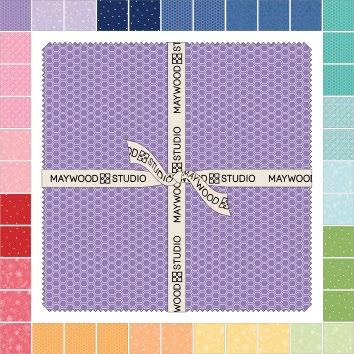
SQ-MASKBBF-RAWI
Note: There are mutiples of each fabric in a pack of 10" squares. We used one of each of the fabrics shown on p.2 to make this version of the Thread Work Quilt.
Finished size: 44 x 58
Fabrics 1-16
From each cut (1) 6-½” x 8-½” A rectangle
F17 Spool
Cut (2) 2-1/2" x WOF strips into: (32) 2-1/2" x 8-1/2" B rectangles
F18 Background
Cut (3) 1-1/2" x WOF strips into: (64) 1-1/2" x 1-1/2" C squares
Cut (3) 2-1/2" x WOF strips into: (64) 1-1/2" x 2-1/2" D rectangles
Cut (2) 8-1/2" x WOF strips into: (32) 2-1/2" x 8-1/2" E rectangles
Sashing/Borders
Cut (8) 2-1/2" x WOF strips. Cut into: (3) 2-1/2" x 40-1/2" sashing strips
Sew the remaining (5) 2-1/2" x WOF strips together end to end. Cut into: (2) 2-1/2" x 54-1/2" side borders (2) 2-1/2" x 44-1/2" top and bottom borders
Binding Cut (6) 2-½” x WOF strips
WOF - Width of Fabric
LOF - Length of Fabric
RST - Right Sides Together
HST - Half Square Triangle
Maywood Studio makes every effort to make sure our patterns are accurate. Check for updates at maywoodstudio.com/projects
Thread Work Quilt Instructions
Please read all instructions before you begin. Seam allowance is 1/4". Fabric is abbreviated as 'F' - for example, F1 refers to Fabric 1. Press all seams open.
Spool Top and Bottom Units
1. Mark a diagonal line from corner to corner on the wrong side of the F18-C Background squares.
2. Place an F18-C square, RST over an F17-B rectangle. Sew on the marked line.
3. Cut ¼” away from the sewn line. Press.
4. Repeat Steps 2-3 on the opposite corner. Press.
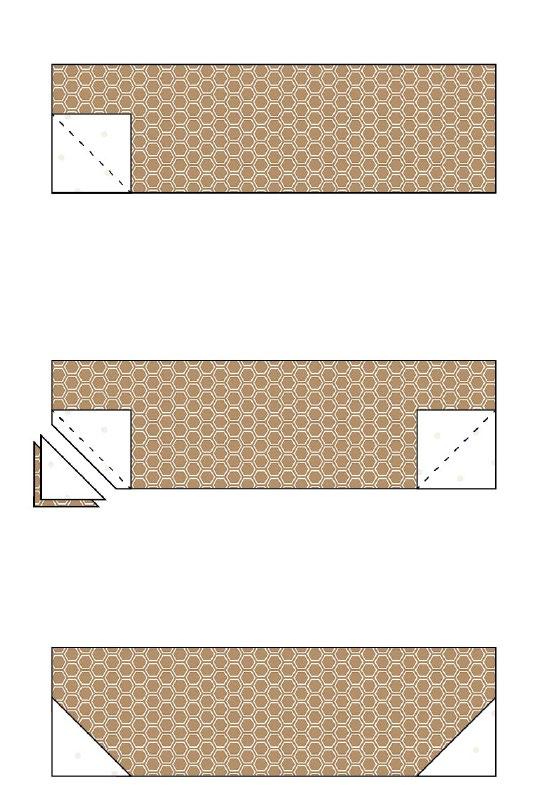
5. Sew an F18-D rectangle to the left and right sides of a step 4 unit. Press.
6. Repeat to make 32 Spool Top and Bottom Units Step 4 Unit Make 32 2-1/2" x 8-1/2"
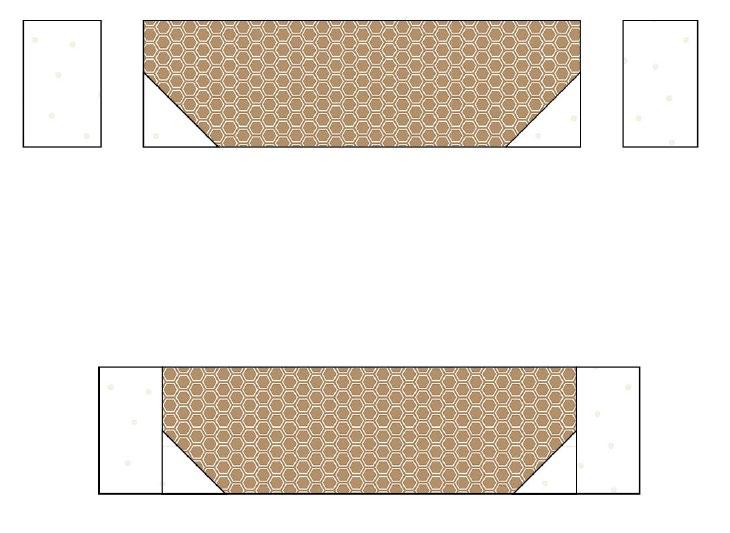
Spool Top and Bottom Unit Make 32 2-1/2" x 10-1/2"
Spool Blocks
1. Make the center section. Sew an F18-E rectangle to the left and right sides of an F1-A rectangle. Press.
2. Sew a spool top and bottom unit to the step 1 center section. Make sure to turn the units so the narrow section matches up with the F1-A rectangle. Press.
3. Repeat steps 1-2 using fabrics 2-16 to make a total of 16 spool blocks.

Step 1
Make the center section
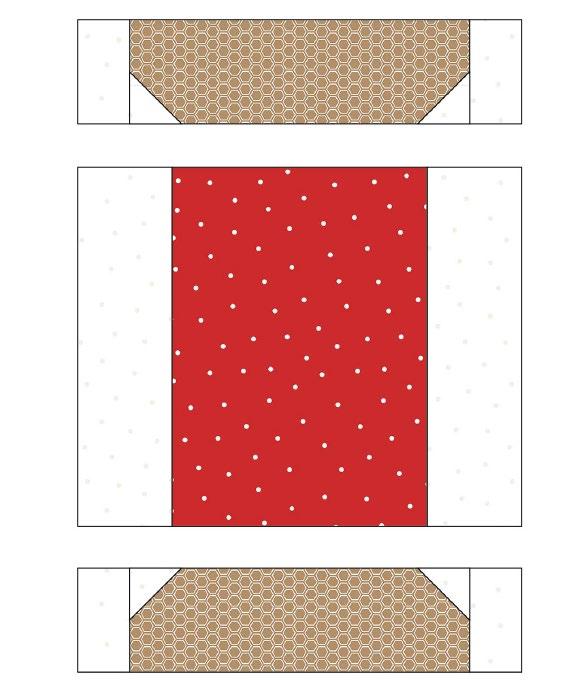
Step 2
Add the spool units

Make one of each using F1-F16 fabrics 10-1/2" x 12-1/2"
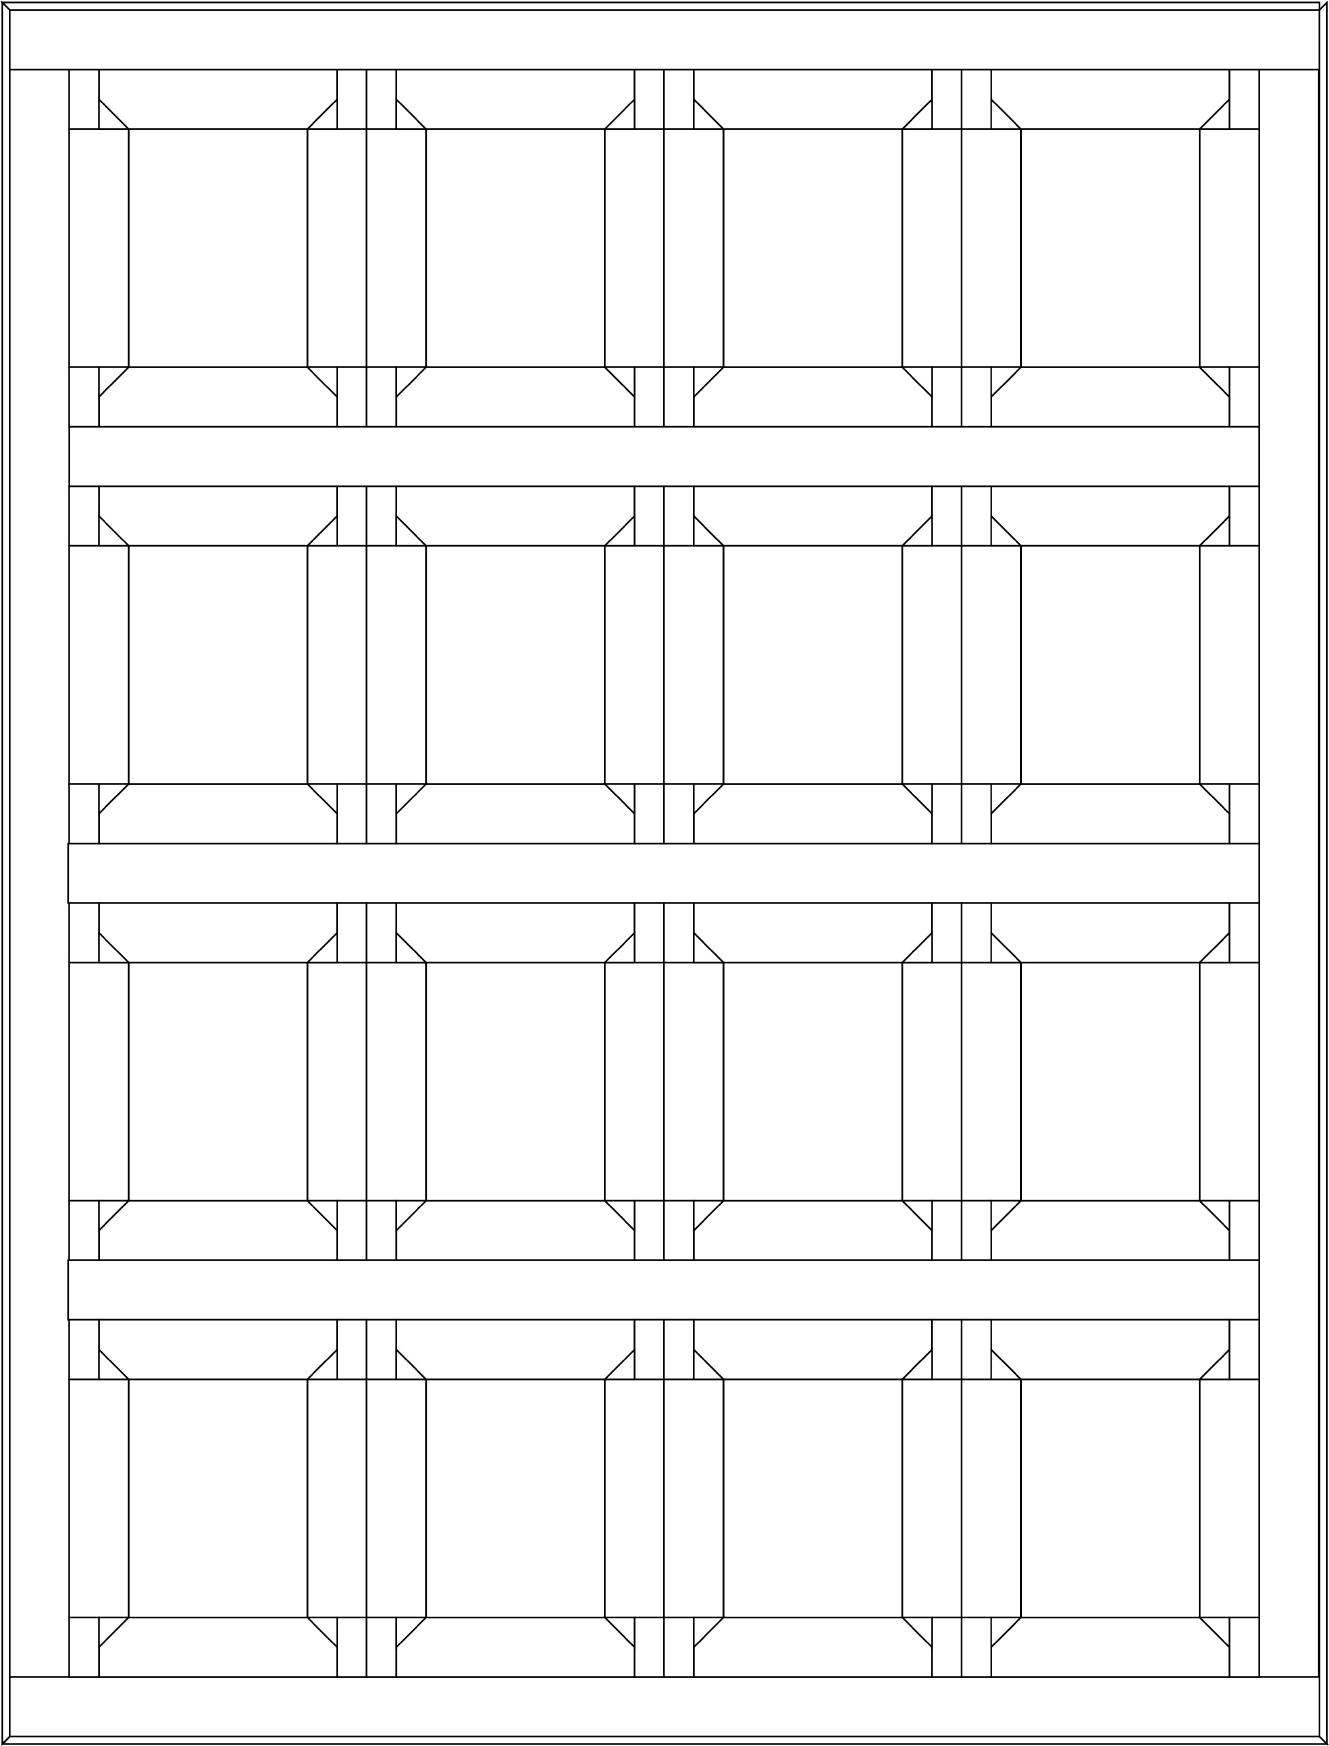
1 Arrange the blocks into 4 rows as illustrated below. Sew the blocks into rows. Press.
2. Sew a sashing strip between each row. Press.
3. Sew the side borders to the quilt top. Press.
4. Sew the top and bottom borders to the quilt top. Press.


