B R ACT S QUIL T PROJ EC T Beginner friendly! Featuring N I C E N I C E | Emily Taylor
o r g a n i c c o t t o n . h appy yo u. h appy ea rth . © cloud9 fabrics 2023 | all rights reserved | cloud9fabrics.com | for personal use only
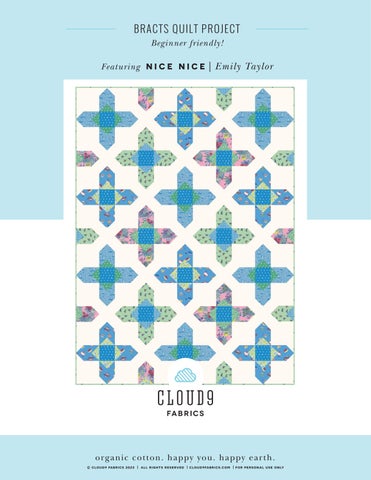
B R ACT S QUIL T PROJ EC T Beginner friendly! Featuring N I C E N I C E | Emily Taylor
o r g a n i c c o t t o n . h appy yo u. h appy ea rth . © cloud9 fabrics 2023 | all rights reserved | cloud9fabrics.com | for personal use only