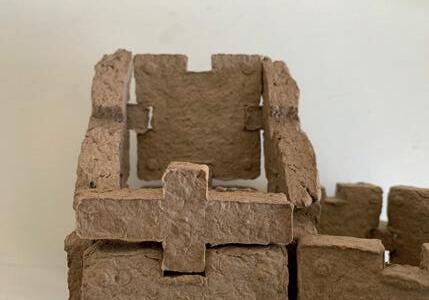
pulp moulding
Ecoform Instruction Booklet Paper
kit
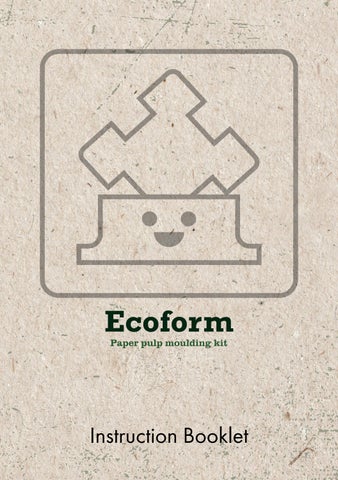
Ecoform is a sustainable paper pulp craft kit. This basic kit gives you the moulds and materials to get started making and moulding your own paper pulp shapes.By using the 3D printed moulds, you can create a variety of different shapes.
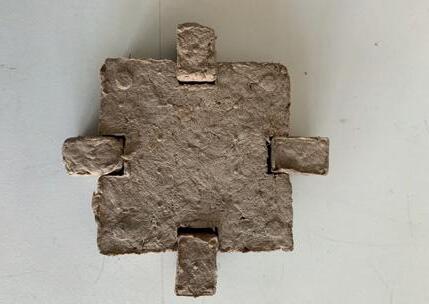
Your basic kit includes moulds to make a square, right-angled triangle, pentagon, cross and rectangular connector.
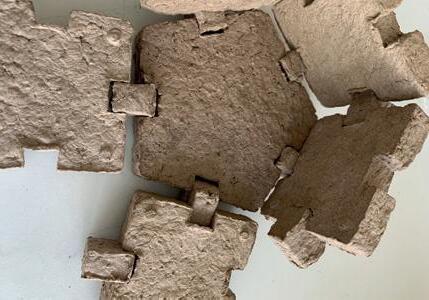
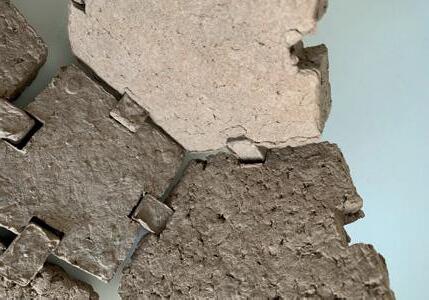
These shapes can be connected together to form different objects, allowing you to make what you want.
Ecoform gives people the power to recycle their own paper and cardboard waste, creatively. 1
Ecoform Mould body
Ecoform Mould lid

1. Square Mould set & 2x Sandwich Inserts
2. Right Angled Triangle Mould set & 2x Sandwich inserts
3.Pentagon Mould set & 2x Sandwich inserts
4. Cross Connector Mould set & 2x Sandwich Inserts
5. Connector Mould set & Ejector Lid
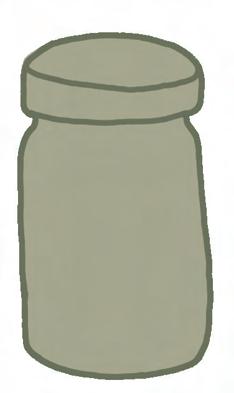
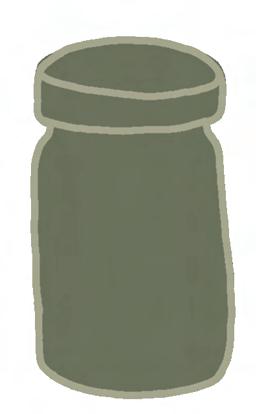
6. Additive Jars
7. Instruction Booklet
8. Fabric Square
9. Kit storage bags

You will need:
• Blender or drill mixer
• Bowl or recycled container
• Scissors or paper shredder
• Water
• Cardboard/paper waste

Paper pulp is a unique, yet humble material crafted from a mix of recycled paper and cardboard, water and your choice of binder (glue), akin to the likes of papier maché. The end result can be drilled, painted and decorated to preference. When dry, paper pulp is strong and rigid, perfect for making functional and decorative objects.
It is important to understand that paper pulp also has its drawbacks. Untreated, it is a porous material, that will reduce back to a pulp-mush state when in contact with enough moisture or water. In the context of more sophisticated projects, its pulp-like state can also be difficult to work with. Therefore it is often better to start out small. When thinking about using paper pulp for your project, keep these points in mind.
The most exciting quality of paper pulp is its sustainable properties. Because it can be turned back into pulp, it can be used again and again. And made with the right materials, it can fully biodegrade, making it a good choice for plant pots. Using recycled materials also poses no cost to the earth or you!
You can make paper pulp with three simple ingredients.
• Paper products (eg, cardboard or paper)
• Water (ideally hot or warm)
• Adhesive (P VA glue works best, though sustainable, homemade alternatives such as rice glue or flour glue are suitable (see pages 9-10 for recipes)
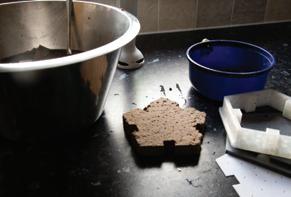
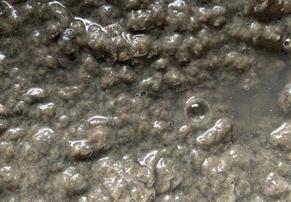
Create your pulp mixture
Set up your 3-part mould, using the sandwich inserts between the moulded material
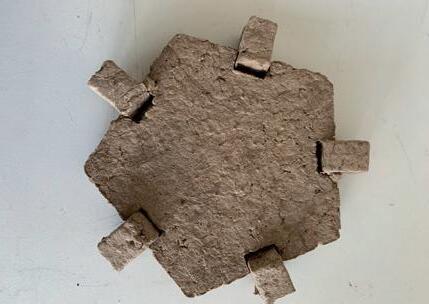
Fill your mould and compress the material, then remove the shape from the mould.

Use the shapes and connector pieces to join parts together and create what you want
You will need:

Mould set of your choice (Square recommended)
Your choice of binder and (optional) additives Fabric Square

1. Cut up your cardboard box into stamp or fingersized pieces, making sure to remove any glue, or sticker/tape residue.
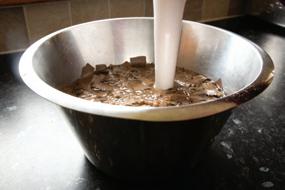
3. Leave to soak for 5-10 minutes, then blend the water and cardboard mixture until it is consistent. Gradually add more water if the mix becomes too thick to blend.
• Blender or drill mixer
• Bowl/ container
• Scissors
• Water Ecoform box
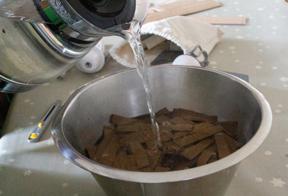
2. Place the shredded cardboard into a bowl and add enough water to cover the pieces. Don’t worry if you add too much, this can be strained out later.
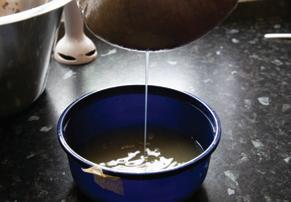
4. Prepare your fabric square over a bowl/ container and add some of the mixture to the fabric. Squeeze out most of the water until you are left with solid pulp. Repeat with the rest of the mixture.
Tip: You can use either cold or hot water. Using hot or boiling water will expedite the break-down process. Be careful when handling hot water.
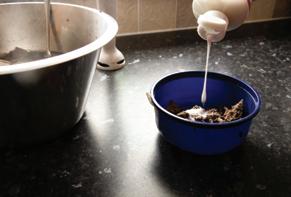
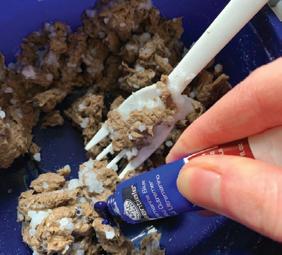
5. Add a tablespoon of binder to each large handful of remaining solids and mix together until combined. If you wish to dye your paper pulp, add some watercolour paint and mix in.

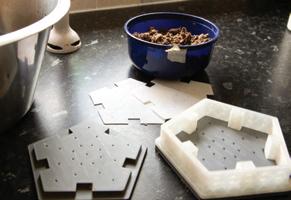
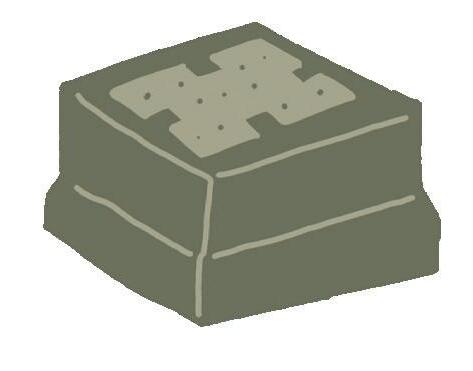
6. Prepare your square mould as shown. Place one of the sandwich inserts on the base of the mould. Fill your mould up to the top.
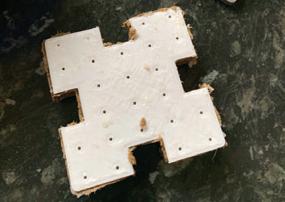
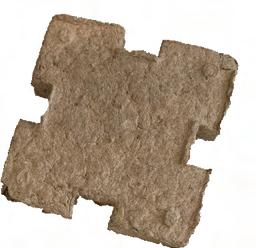
9. Once the mixture is compressed, remove the lid and check the moulded object. Add more pulp to fill in the gaps if necessary.
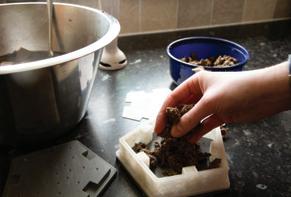
7. Press the mould mixture down and add more mixture if necessary. Once done, add the other sandwich insert, then the mould lid.
10. Once fully compressed, carefully push out the moulded object using the sandwich inserts, and leave to dry. If you have leftover mix, you can repeat the process to make more shapes.
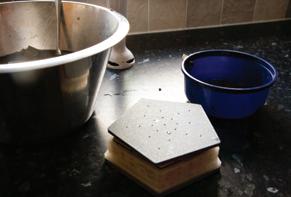
8. Press down on the mould lid to compress the mixture. A clamp or some heavy books can help add pressure to the mould.
Congratulations! You have moulded your first paper pulp object. Read on to find out how you can use these pieces in projects.

You will need:
• Blender
• Pot or heatproof container
• Water
• Stove or suitable heat source
• Cooked rice
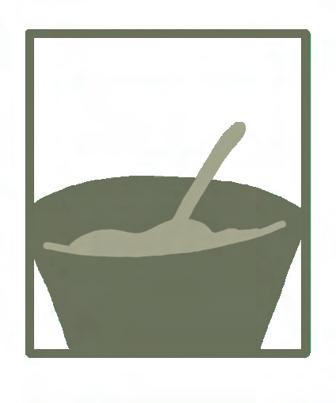
1. In a pot, add a small amount of water to some cooked rice. Blend thoroughly with a blender.
2. Once the rice is blended to a smooth consistency, heat the blended rice on a medium temperature until it thickens to a slight paste
3. Leave to cool, then spoon the mixture into a suitable container and refrigerate, or use immediately.
Tip: For a stronger join, try using some sustainable glue to bond your shape pieces together.
You will need:
• Bowl or container
• Water
• Flour
• Salt (for preservation)

1. In a bowl or container, add in a pinch of salt, two tablespoons of flour and 1/2 tablespoons of water.
2. Mix the ingredients together thoroughly until combined. Add more flour or water if needed until it reaches a smooth glue-like consistency.
3. Either use immediately or store in a refrigerator for up to three days.
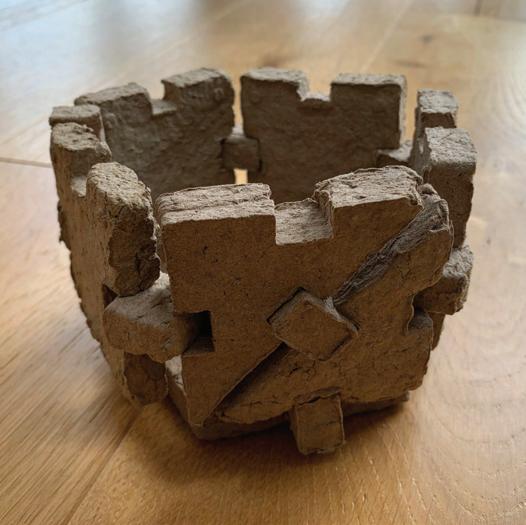
Use the connector pieces, pentagon and square shapes to assemble a decorative planter
You will need:
Your choice of binder and (optional) additives
• Blender or drill mixer
• Bowl/ container • Scissors
• Water
1. Make your paper pulp pieces according to the recipe on pages 7 & 8.
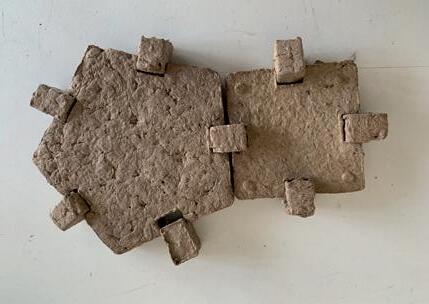
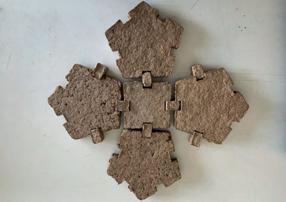
2. Using your pentagon shape piece as a base, add connectors to all of the notches as shown.
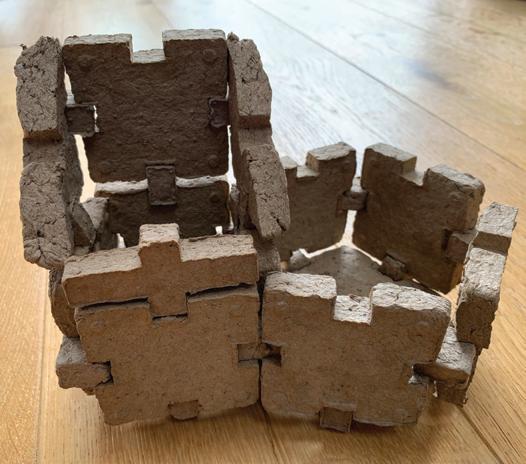
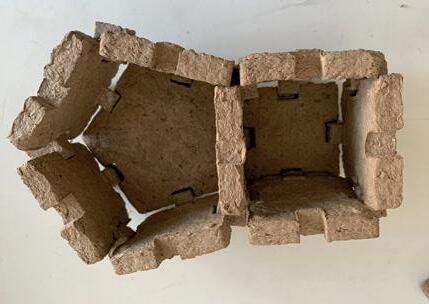
4. Bring up each square piece to form the walls. Join together each side using connector pieces Well done, you’ve made your own plant pot!
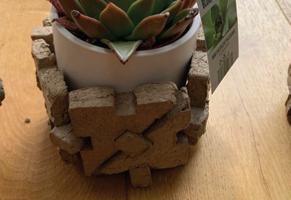
Well done, you’ve made your own plant pot!
• Drill holes on the corners of your plant pot, and tie or weave some string to transform it into a hanging planter.
• Extend your planter to the required height or length by using additional shapes
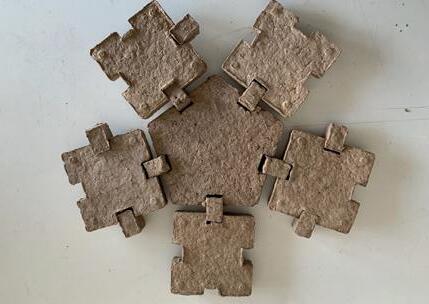
3. To each connector piece, add a square shape. You should end up with a flower-shaped piece.
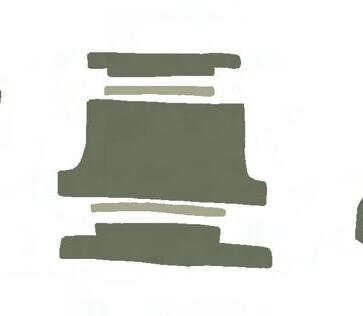
Use all of the shapes and connector pieces to create your own modular desk tidy
You will need:
Difficulty:
• Blender or drill mixer • Bowl/ container
Scissors
Water
Your choice of binder and (optional) additives
1. Make your paper pulp pieces according to the recipe on pages 7 & 8.
2. Join together a square and pentagonal piece as shown. Add connector pieces to all sides.
3. Build up your base by attaching square pieces to each side connector. Your organiser should now have walls as shown.
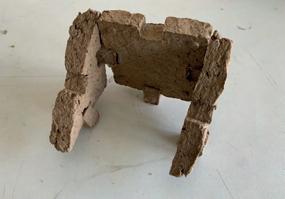
4. To create the extension for the square compartment, join together a triangle piece to the left and right hand side of a square shape. On the base, add connectors as shown.
5. Connect your extension onto the square compartment, with the taller end sitting at the back. To finish off, add a cross connector horizontally to the front compartment.
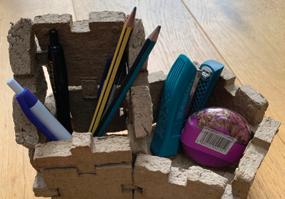
Well done, you’ve made a desk organiser!
• Take advantage of all the shape moulds included in your kit to transform your designs and make new ones.
• How can you customise your organiser to your needs? Perhaps you could make a filing shelf or a dish for small contents.
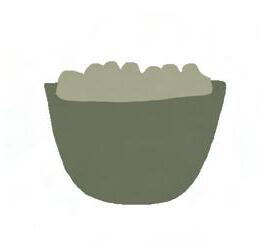
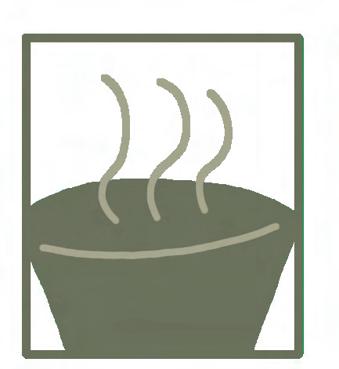
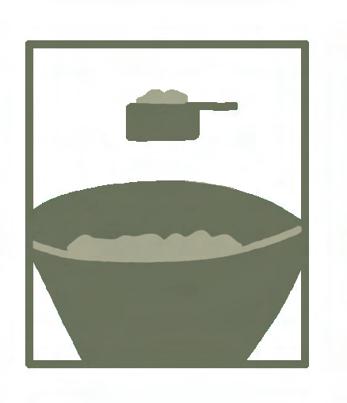
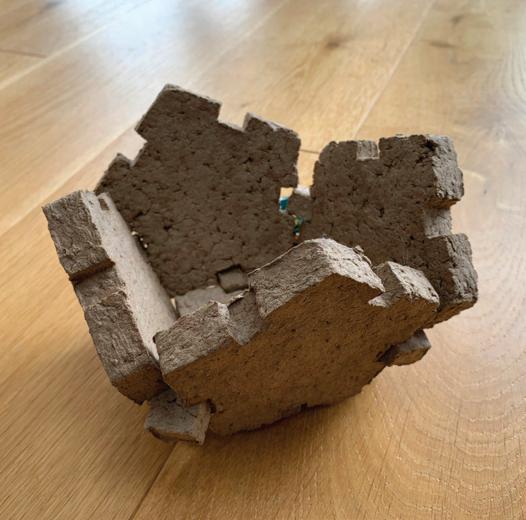
Use the pentagon and square shapes and connector pieces to make your own decorative bowl
You will need:

Square
mould set
Fabric Square
• Blender or drill mixer
• Bowl/ container
• Scissors
• Water Pentagon mould set
Your choice of binder and (optional) additives
Connector mould set
1. Make your paper pulp pieces according to the recipe on pages 7 & 8.
2. Starting with a square piece for the base, add connector pieces to each side.
4. Bring up each side to form the walls. Join the sides together using connector pieces.
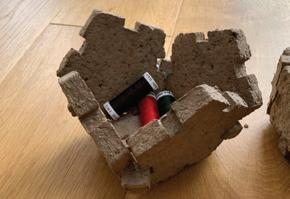
Well done, you’ve made a bowl!

• How can you use these steps to create more intricate dome or sphere-like structures?
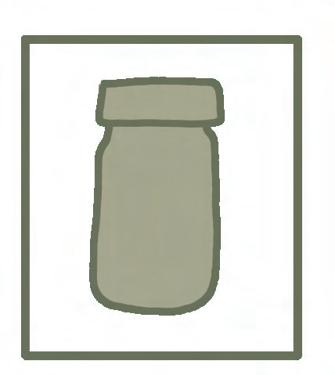
• How could you use the basic bowl structure to create other objects? Eg a lampshade or even a jar
3. Connect a pentagon piece to each side of the square as shown.
Your kit includes some materials to try out colouring and gilding your paper pulp shapes. Here are some simple steps to get you started.
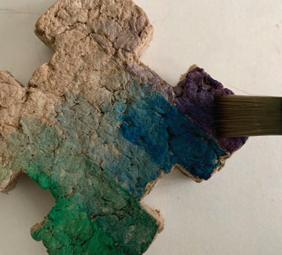
Using the watercolour paint tablets included in your kit, or a suitable alternative, paint directly onto your shapes for a burst of colour. Mix the paint with water to control the vibrancy. Paint your favourite patterns or illustrations.
Crush some of the included watercolour tablets or dilute a suitable soluble alternative. Add to your pulp mixture and stir thoroughly. The more paint you add, the more vibrant the colours will be.

Paint some of the included glue onto your paper pulp shapes, and wait until the surface is tacky. Carefully lay your gold leaf over the area, and dust off the excess. Play around with how it can be applied for different effects.
Creative suggestions to inspire your next project. For more inspiration, check out the gallery on the Ecoform website.
Try combining different shapes to create sculptural pieces.
How can you make paper pulp waterproof? Try soaking or coating your paper pulp shapes in homemade bioresins
Try adding different fibres to paper pulp to change its aesthetic and strength
How can paper pulp be used in conjunction with other crafts?
Use screws and standard fixings over the connectors for a stronger fit
Try exploring other ways to dye your paper pulp. Homemade natural dyes or fabric dyes could yield interesting results.