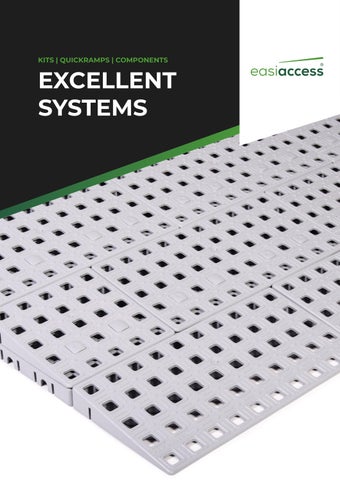
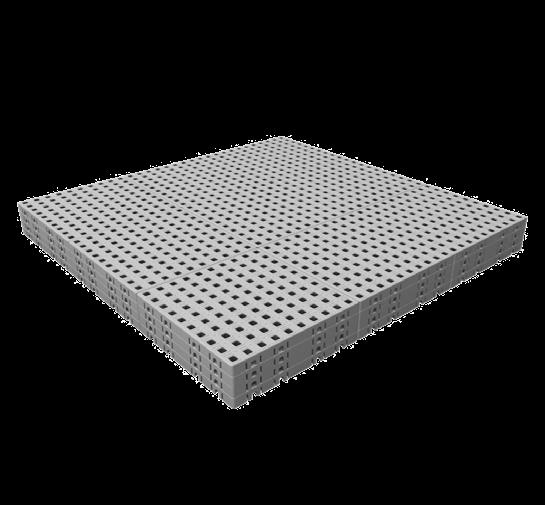
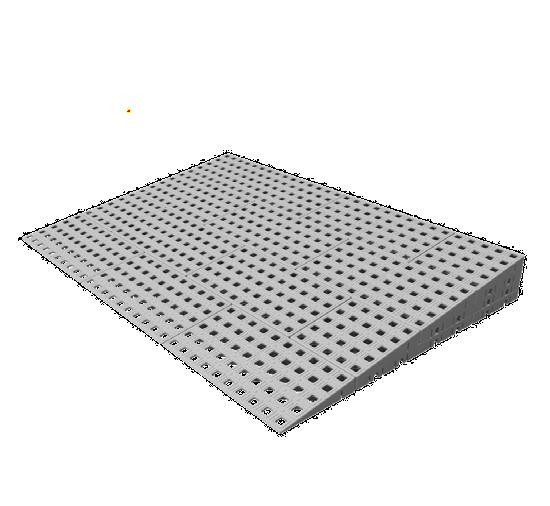
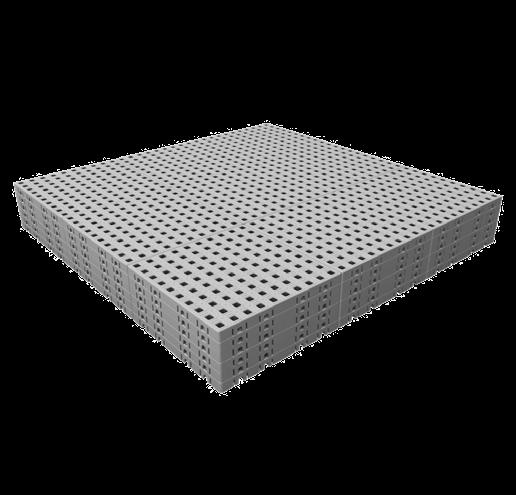
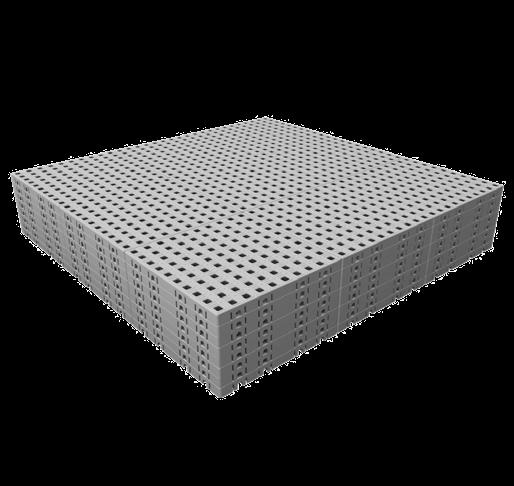
EXCELLENT SYSTEMS

Discover the Excellent Systems range of products that include Kits. QuickRamps and Components.
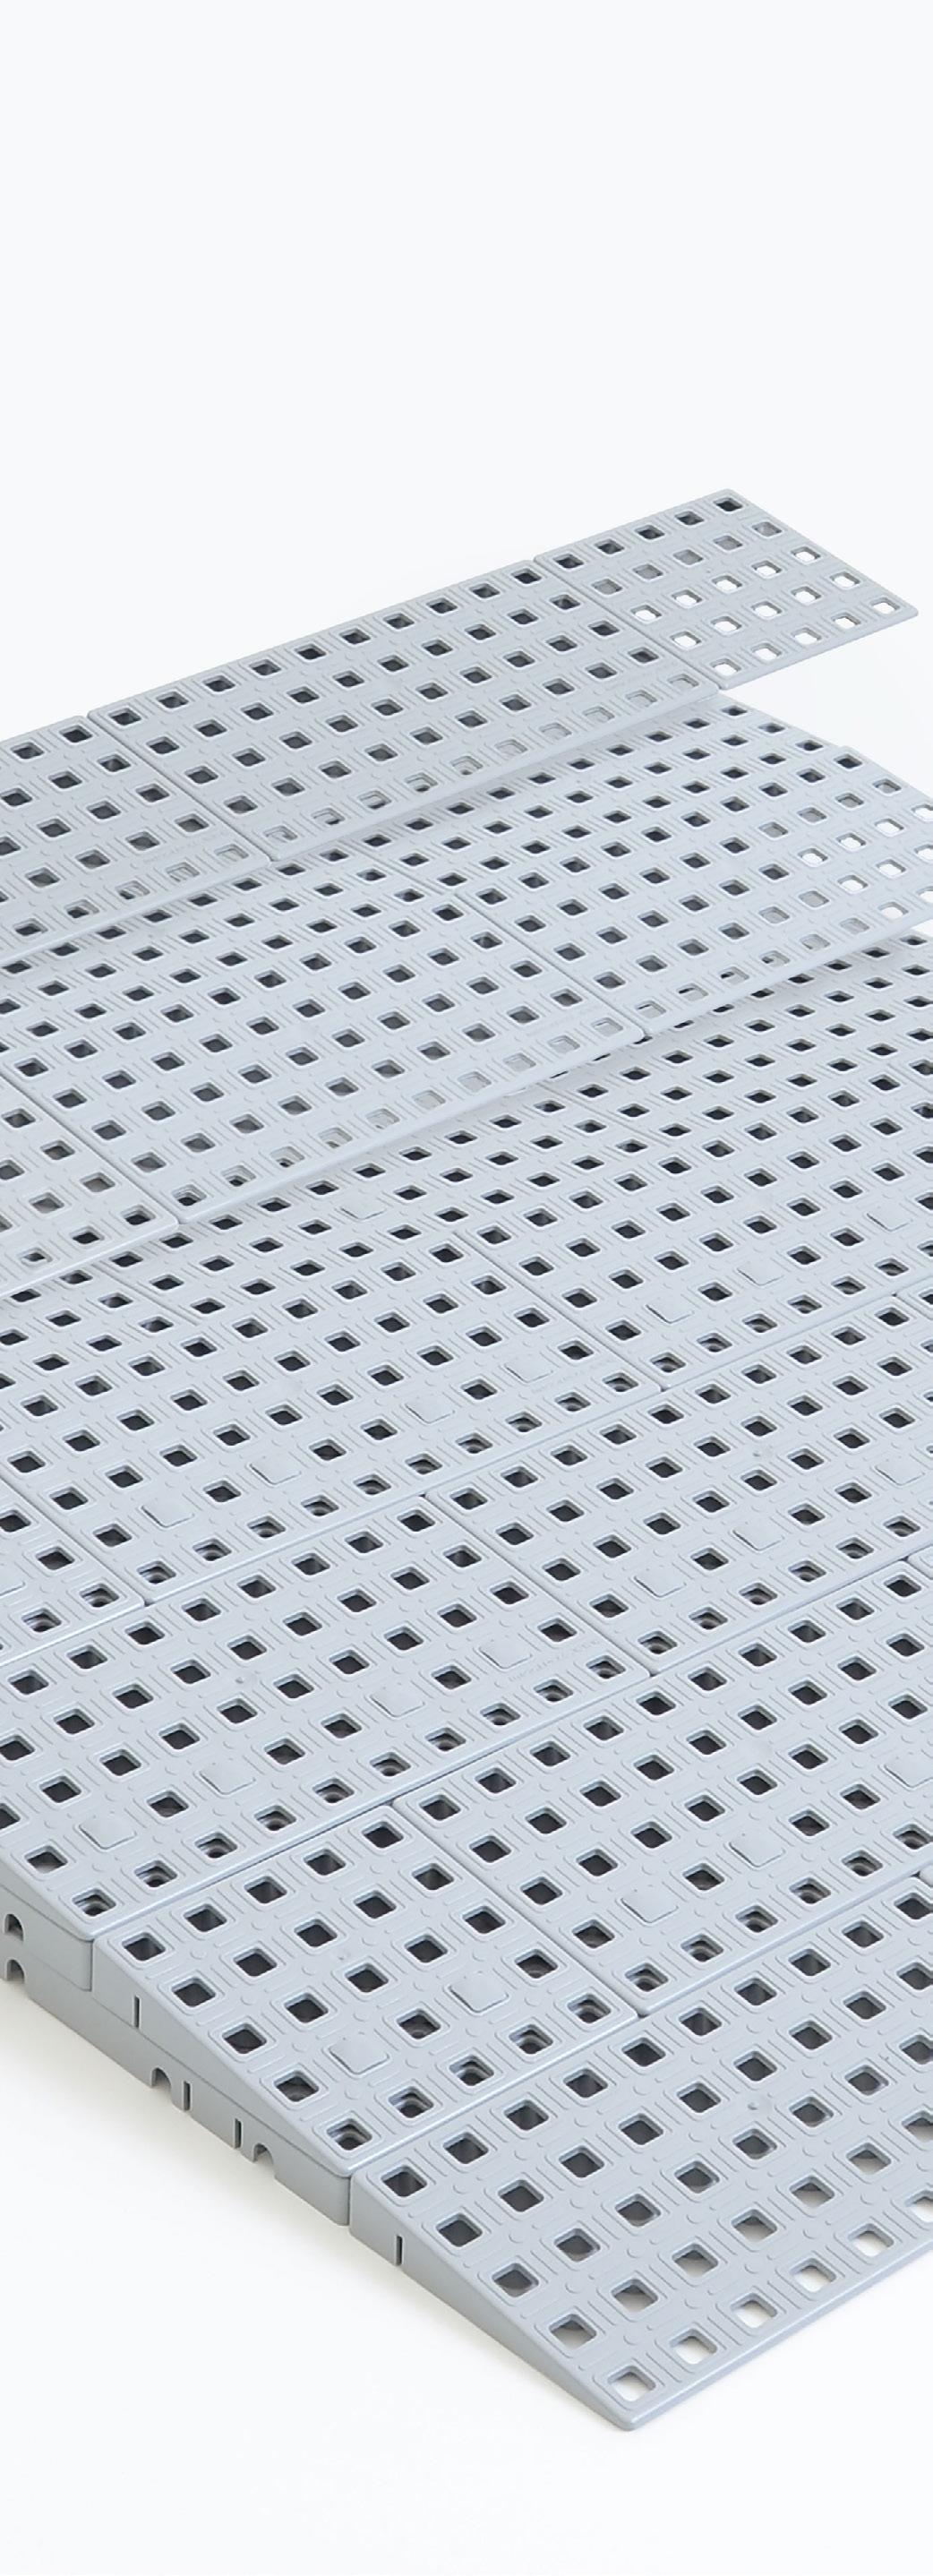
Excellent Systems began in 1992 producing flooring, including slip-resistant flooring. In 1996, they expanded to the rehabilitation industry, producing a range of innovative products that are unique in the accessibility market.


Introduction to Excellent Systems
Excellent Systems create a range of products including Ramp Kits and QuickRamps. The company prioritise great products, sustainable materials and responsible production. Easiaccess are proud to be their recognised distributor in the UK.
Environment

Excellent Systems strive to create products that have minimal negative effects on the environment, adopting a ‘cradle to cradle’ philosophy.
Accessibility


The company is dedicated to providing accessible solutions. They offer unique and innovative products for improved access, ensuring they cater to the needs of all individuals.
Innovation
Innovation is at the forefront of Excellent Systems values. Each product they create is carefully designed and tested for the intended user.
Environmental Considerations
The creation of Excellent Systems is a waste-free, cradle to cradle process, as any defective products and off cuts etc, can be sent for regeneration. All products are manufactured from the environmentally friendly material Polyethylene (PE), the same material that is used on the inside of milk cartons.
Production
Raw material
Grinding and regenerating
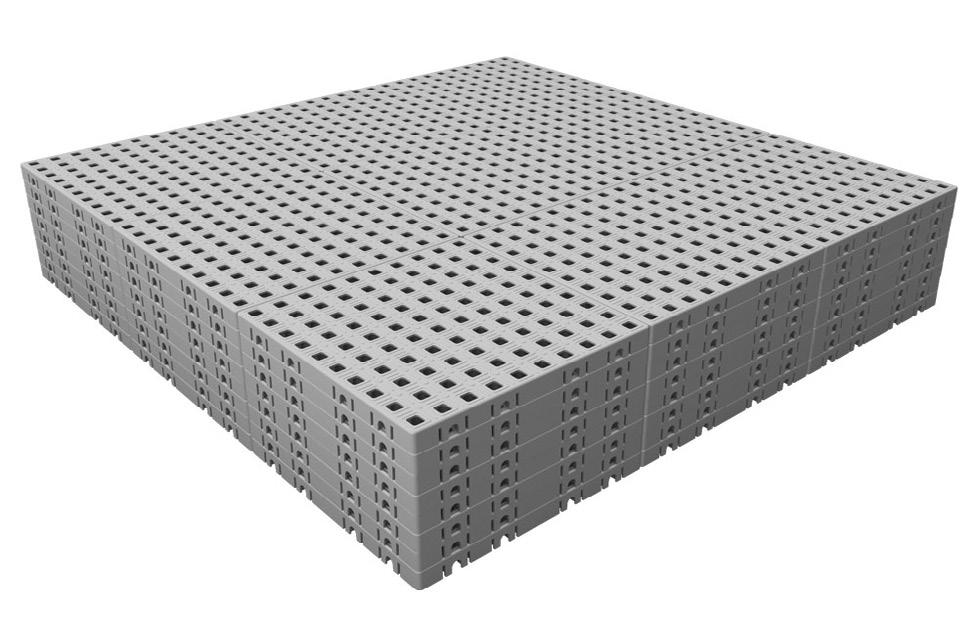
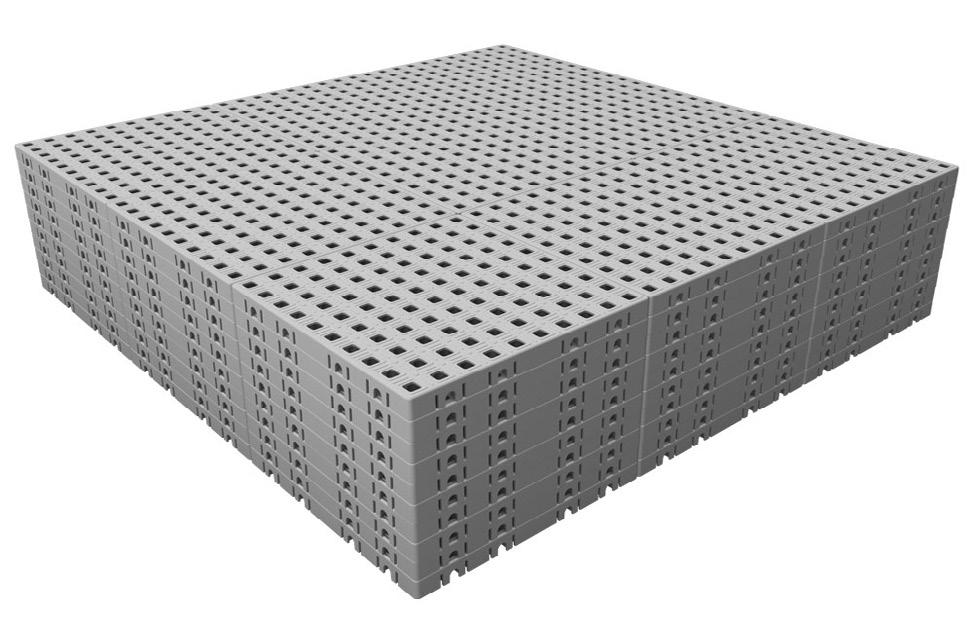
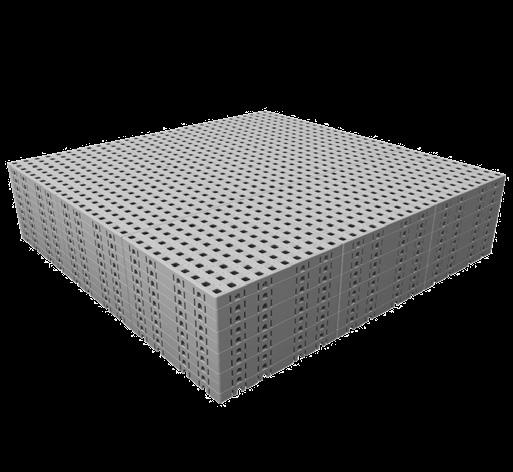
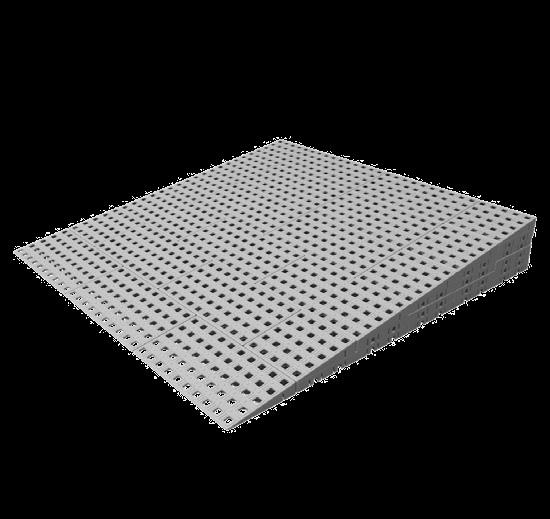
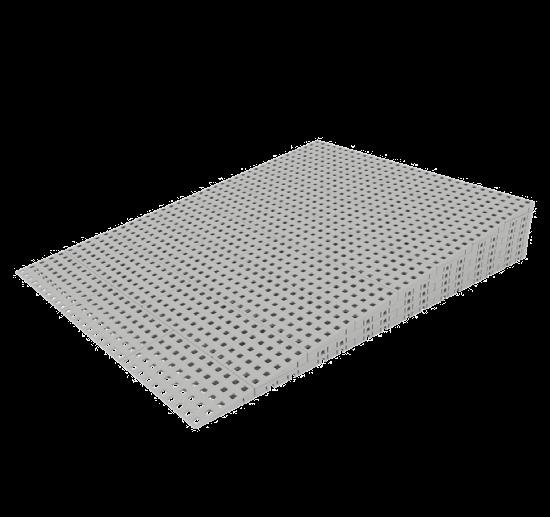
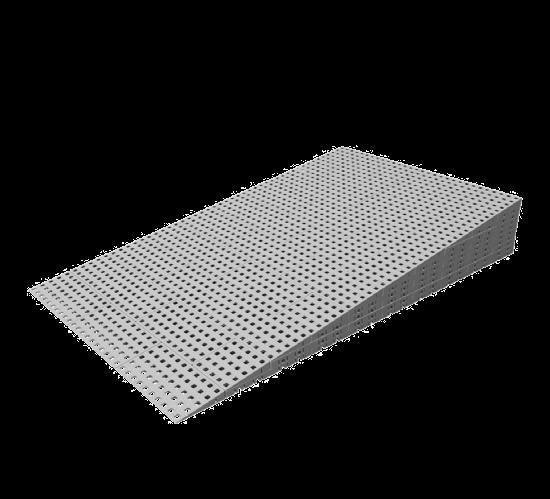
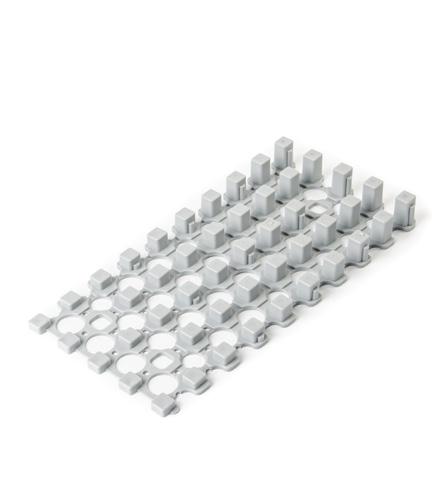
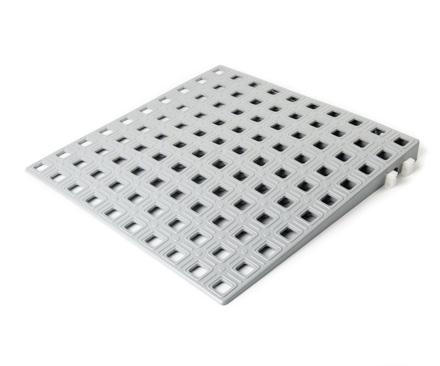
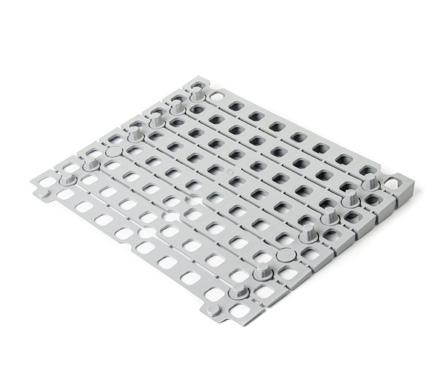
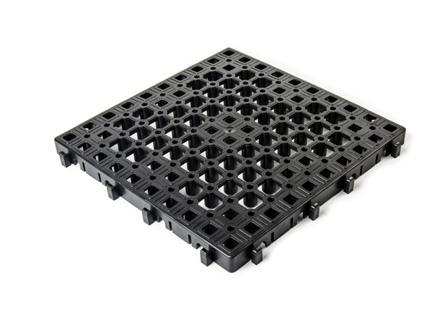
Products
Installation
Cradle to Cradle
Cleaning
Re-use
Cleaning
Excess material from installation and dismantling
To support a sustainable environment, all customers can send back their used ramps or tiles, whether broken or not, to the supplier. The recycle service is free of charge, apart from the return delivery fee. The parts will be recycled and re-entered into production creating new products, so you can do your bit for the environment.

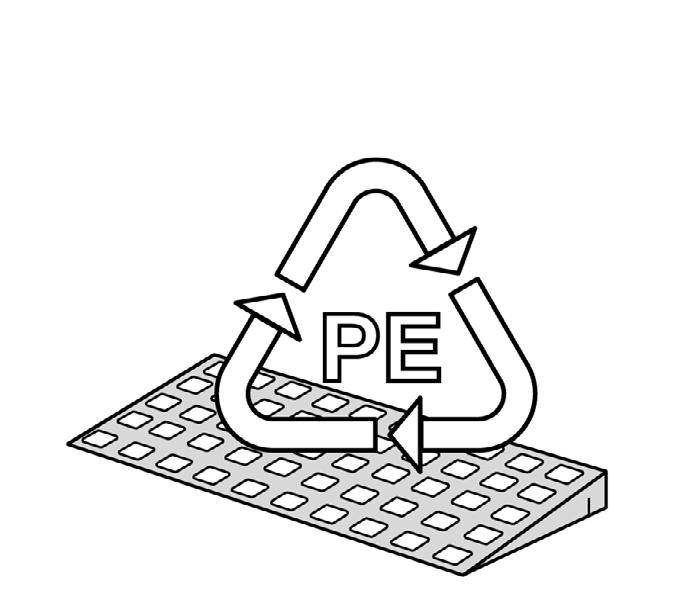
All products are manufactured from the environmentally friendly material Polyethylene (PE).
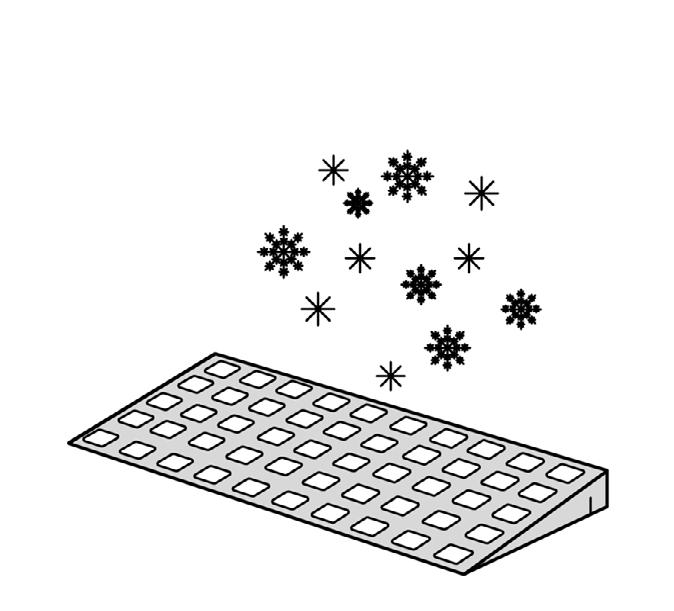
The products can handle temperatures down to -50°C and up to 100°C.
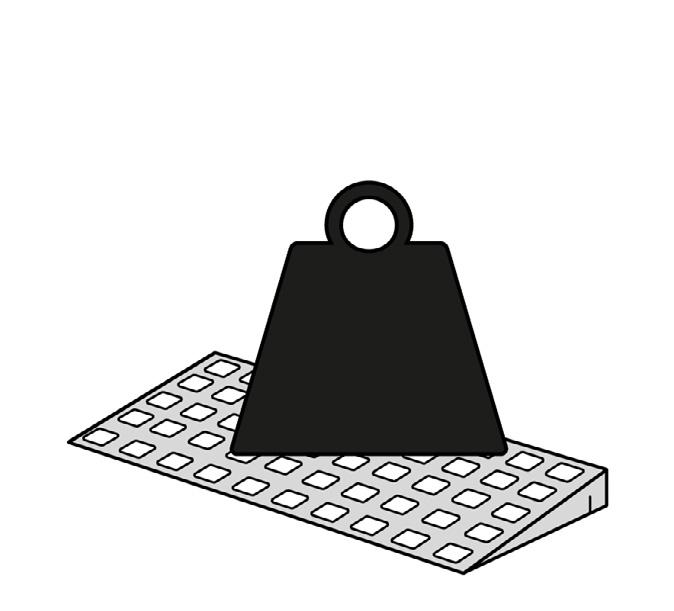
Excellent Systems products can bear a weight of up to 2000kg.
Resistant Slip Resistant
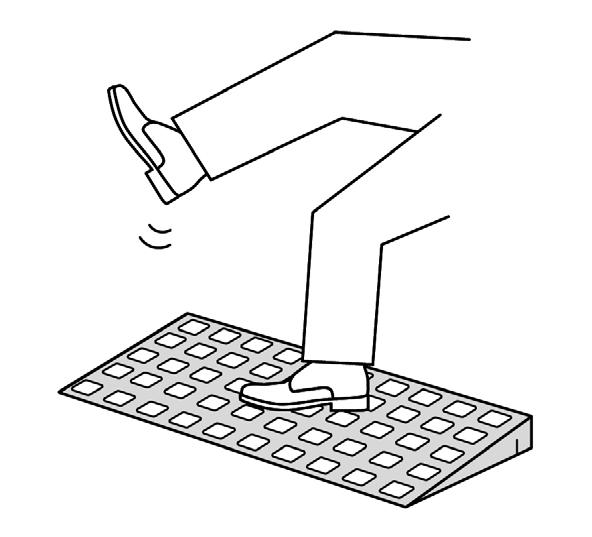
The surfaces are self-draining and with SureGrip inserted, have increased slip resistance.
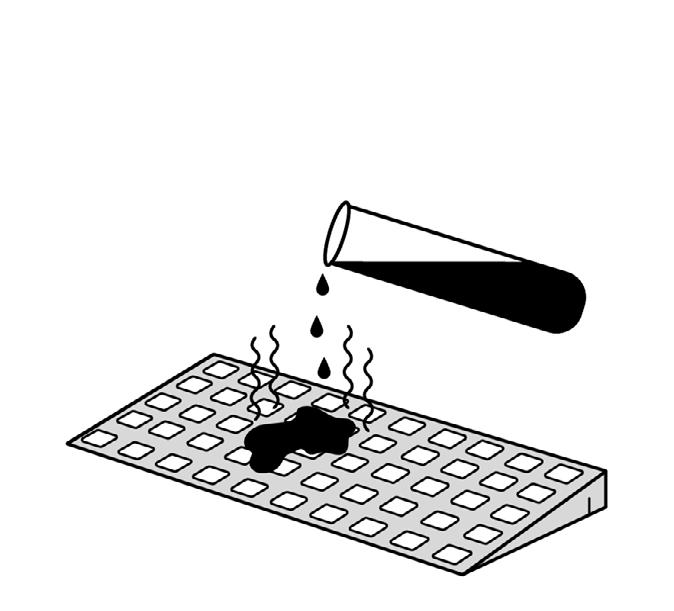
All products are resistant to acid and household detergents.

Tests have shown that the products are harmless under combustion with no toxic substances released.
Explore the Surfaces
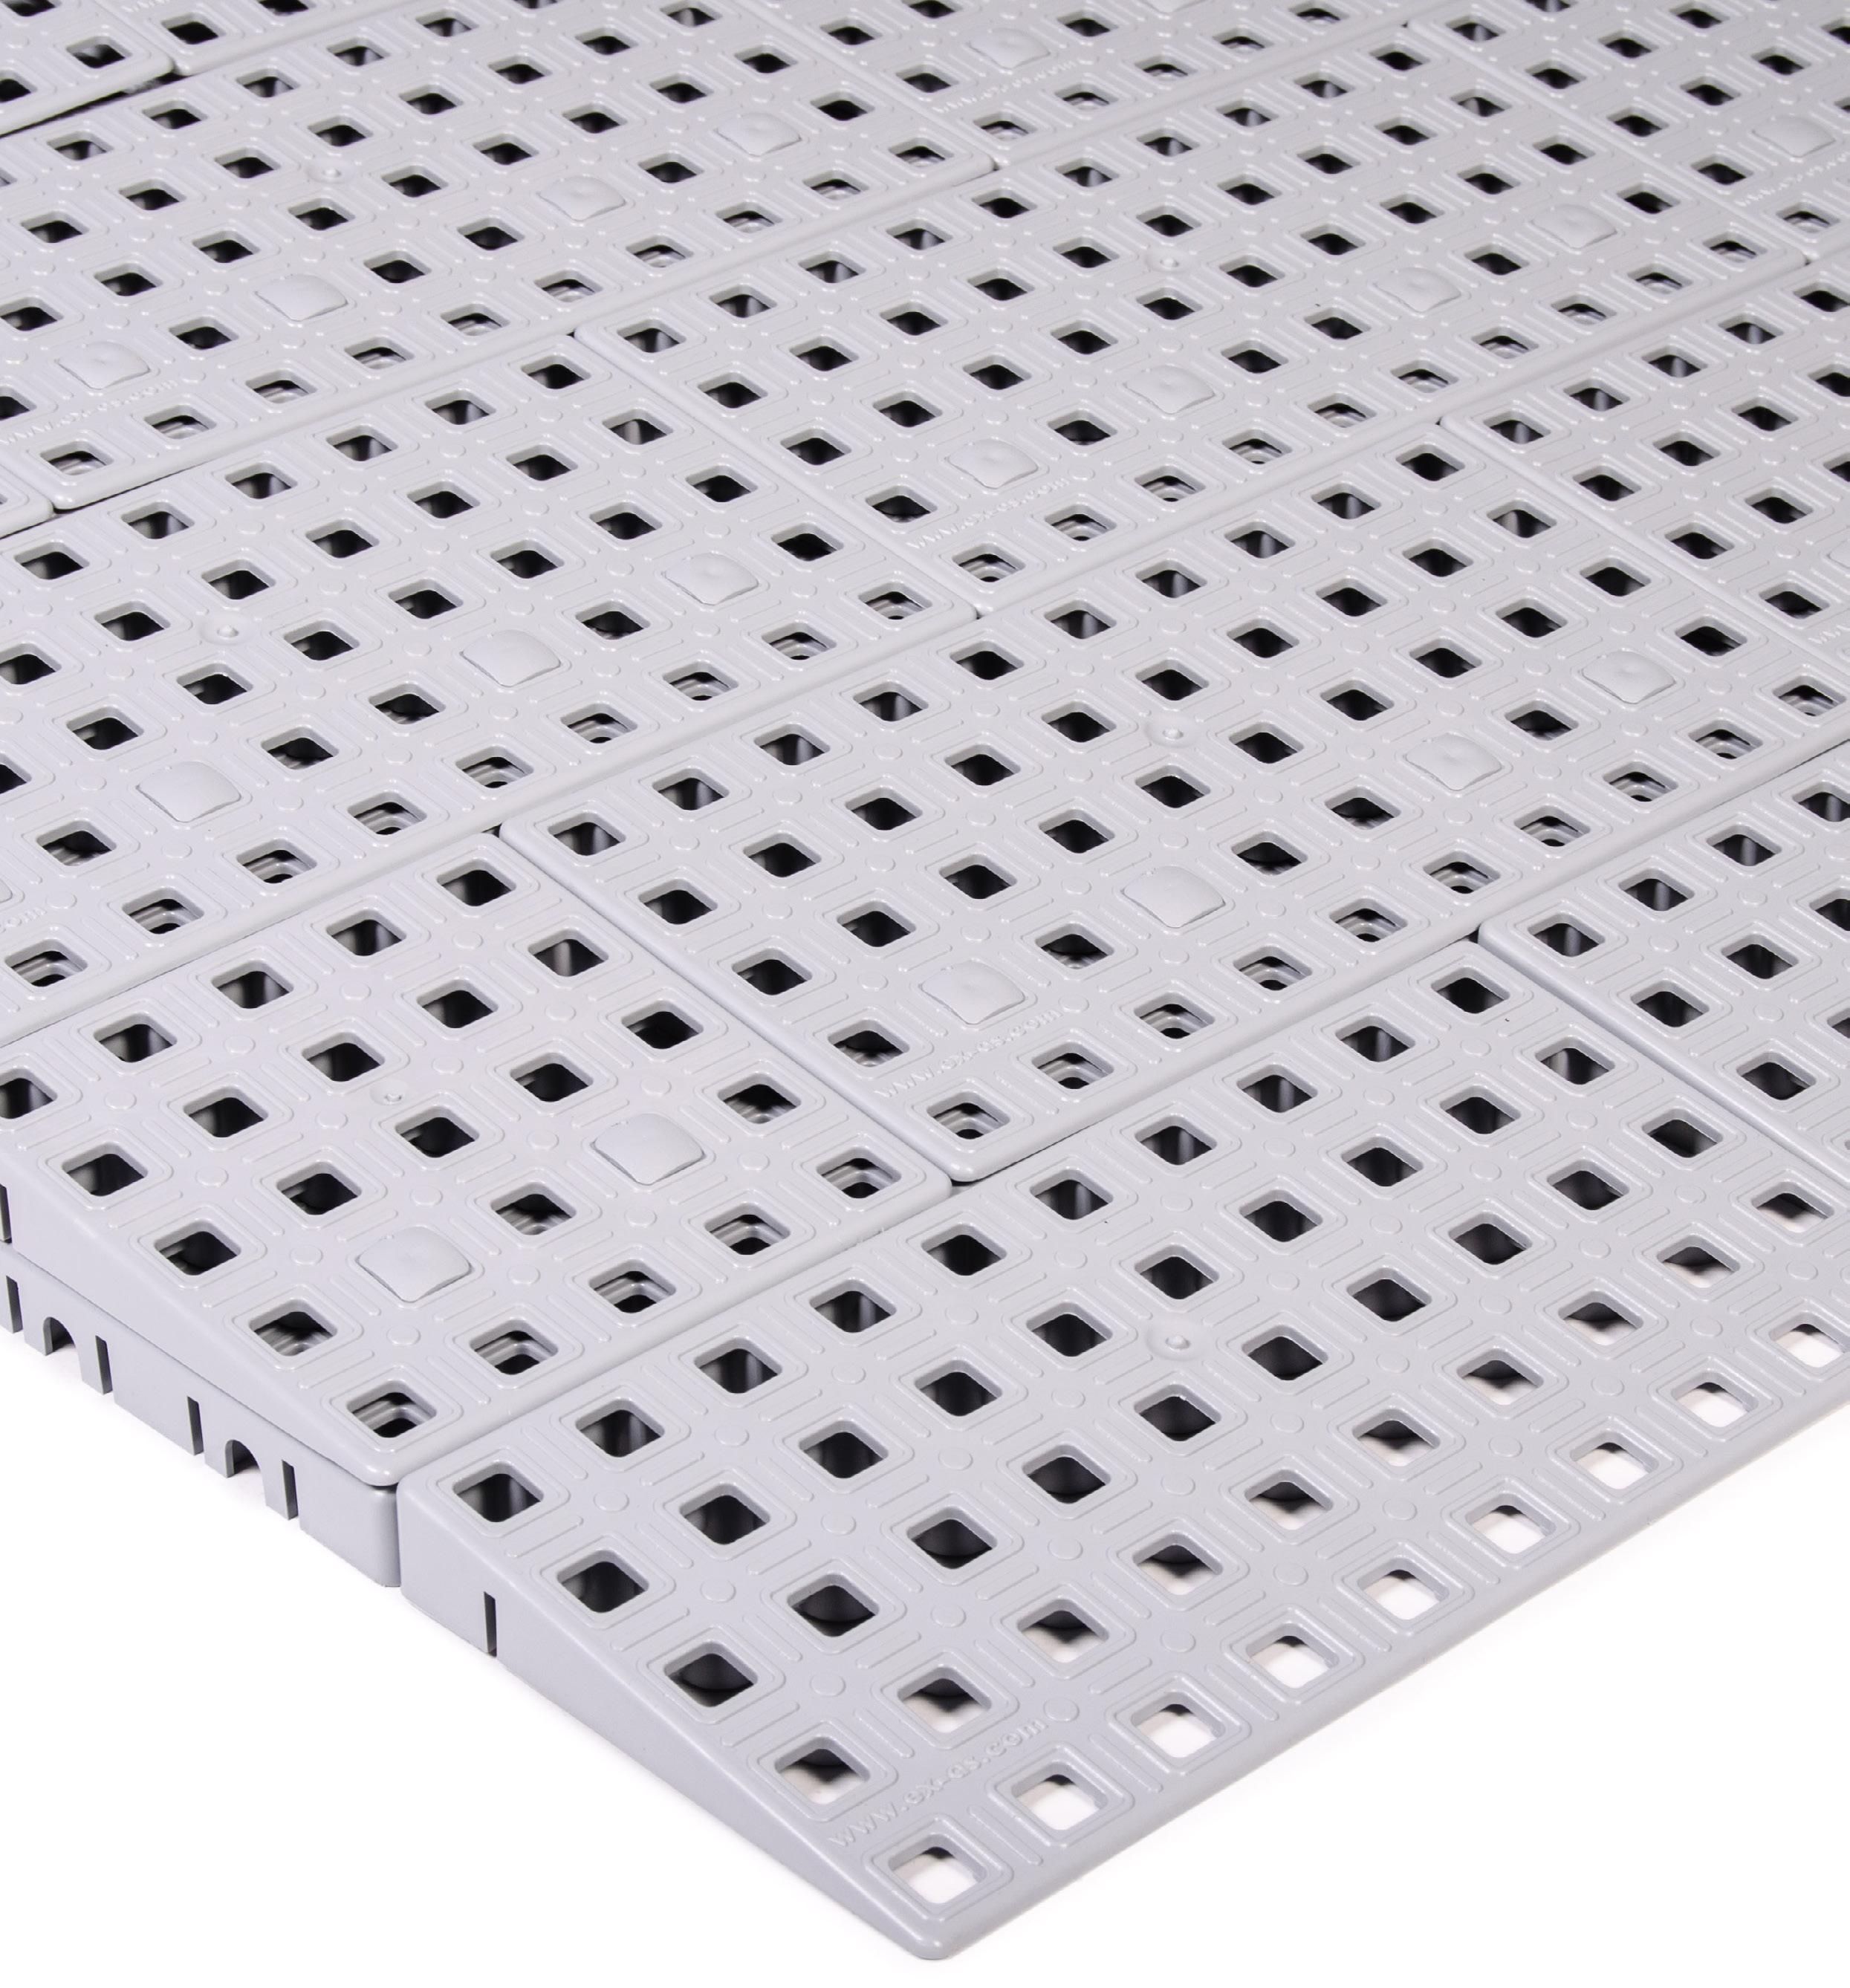
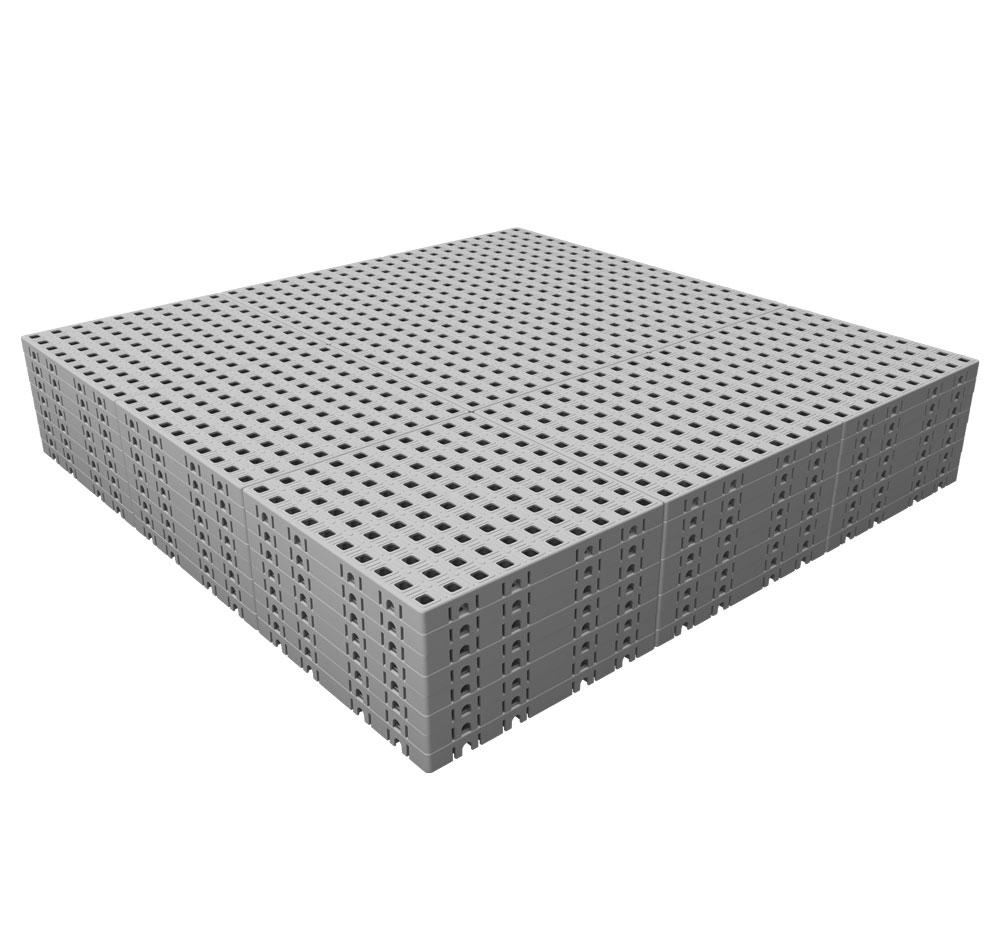
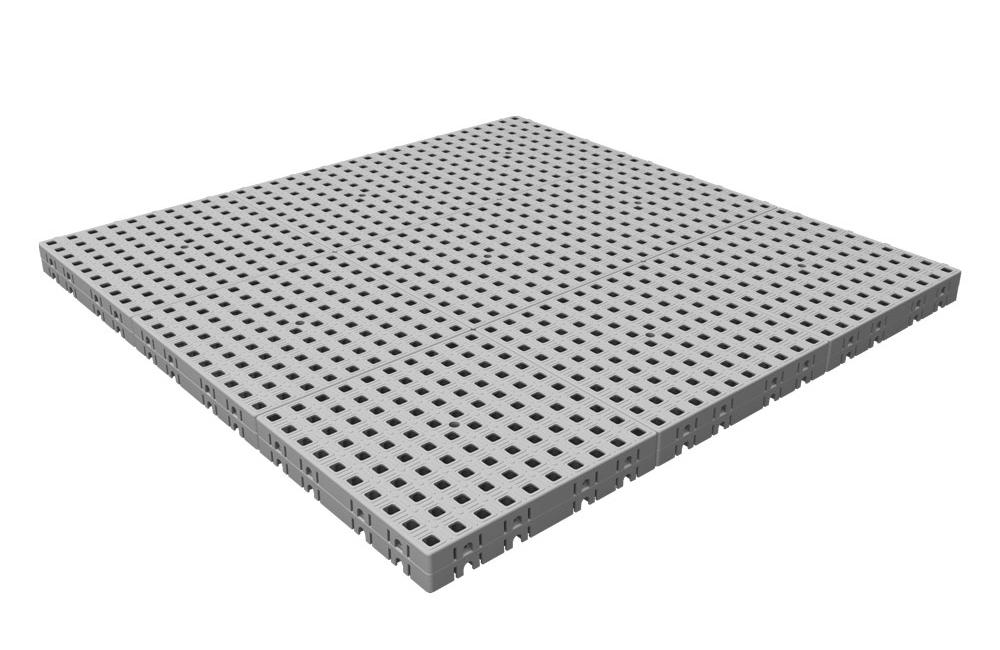
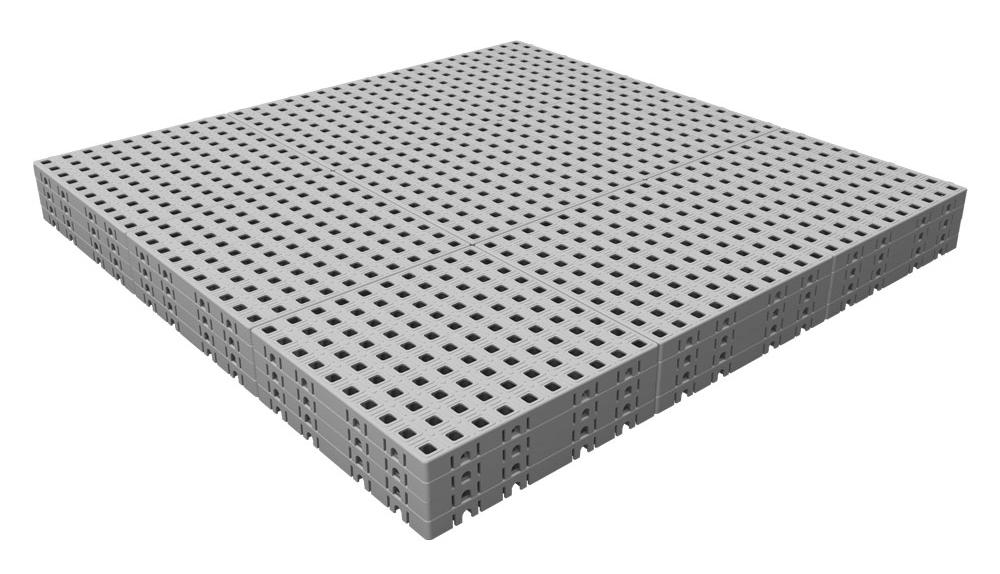
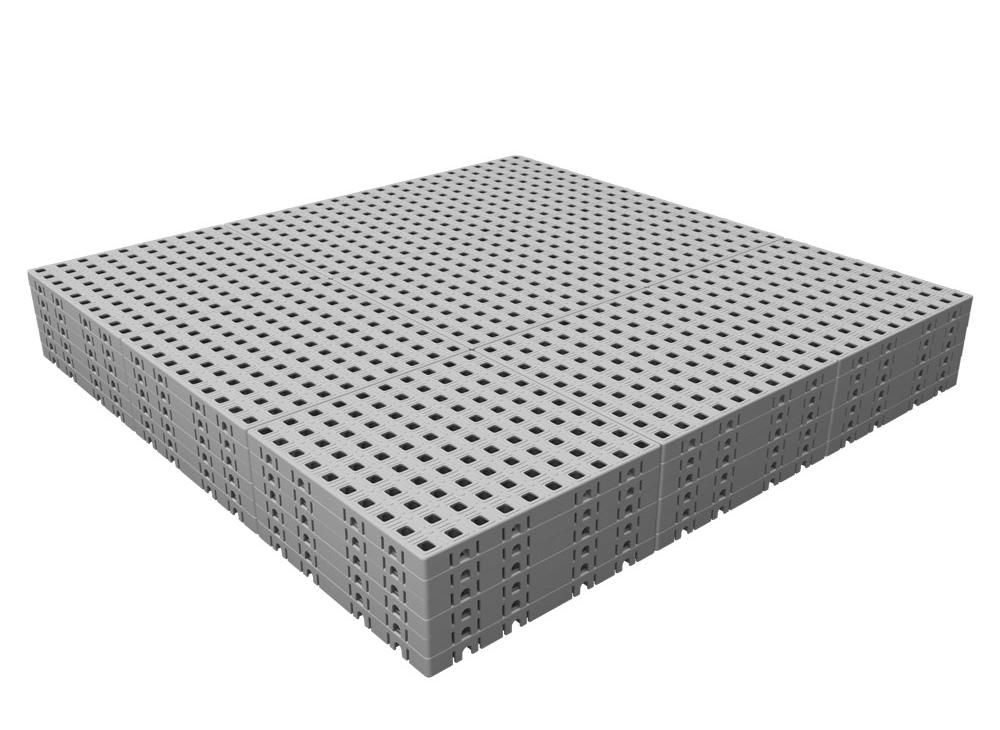
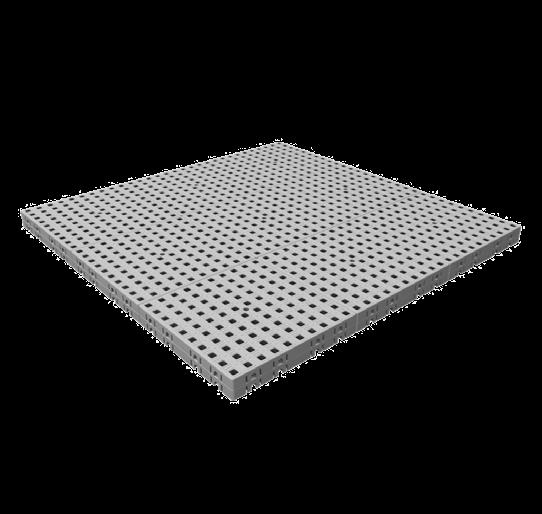
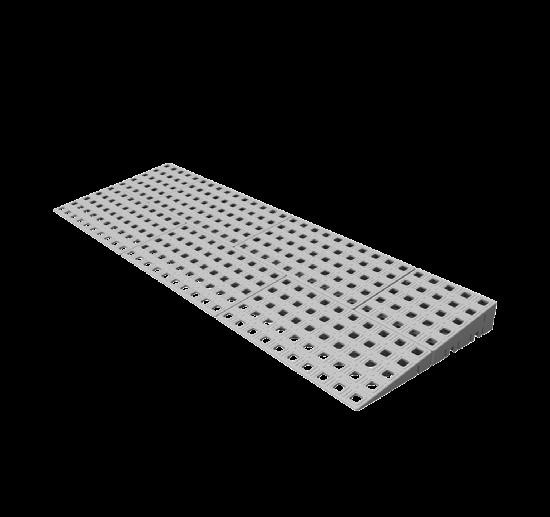
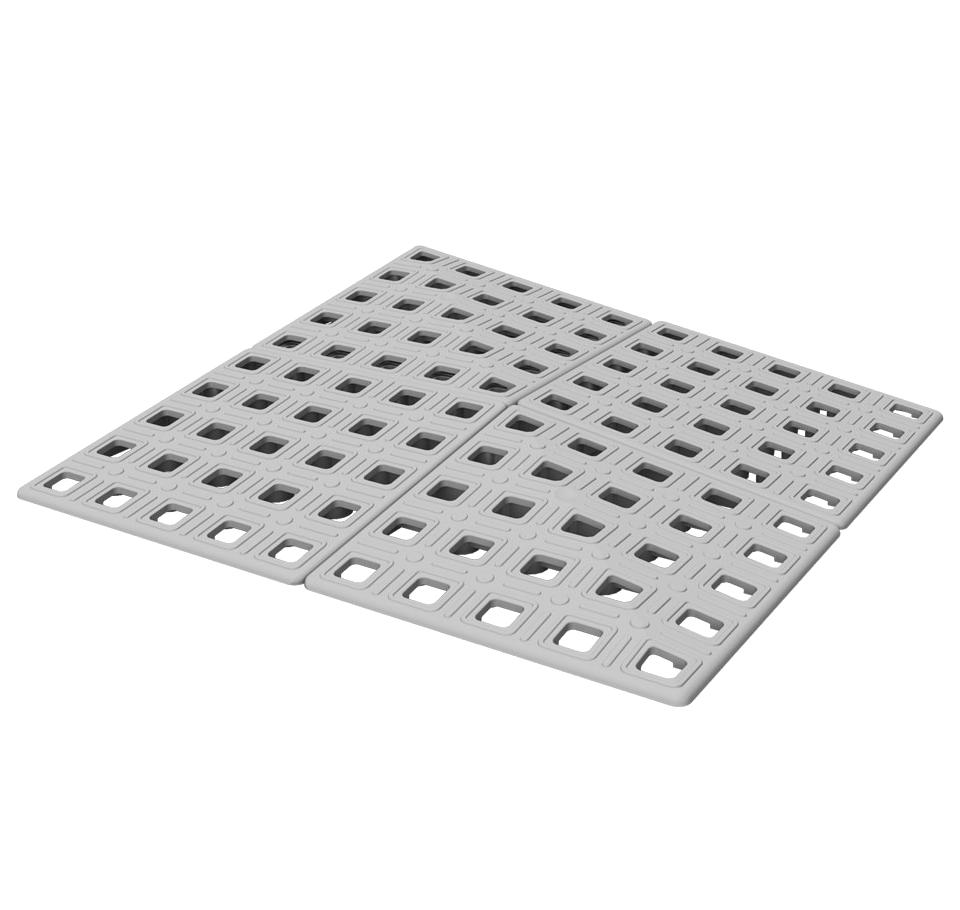
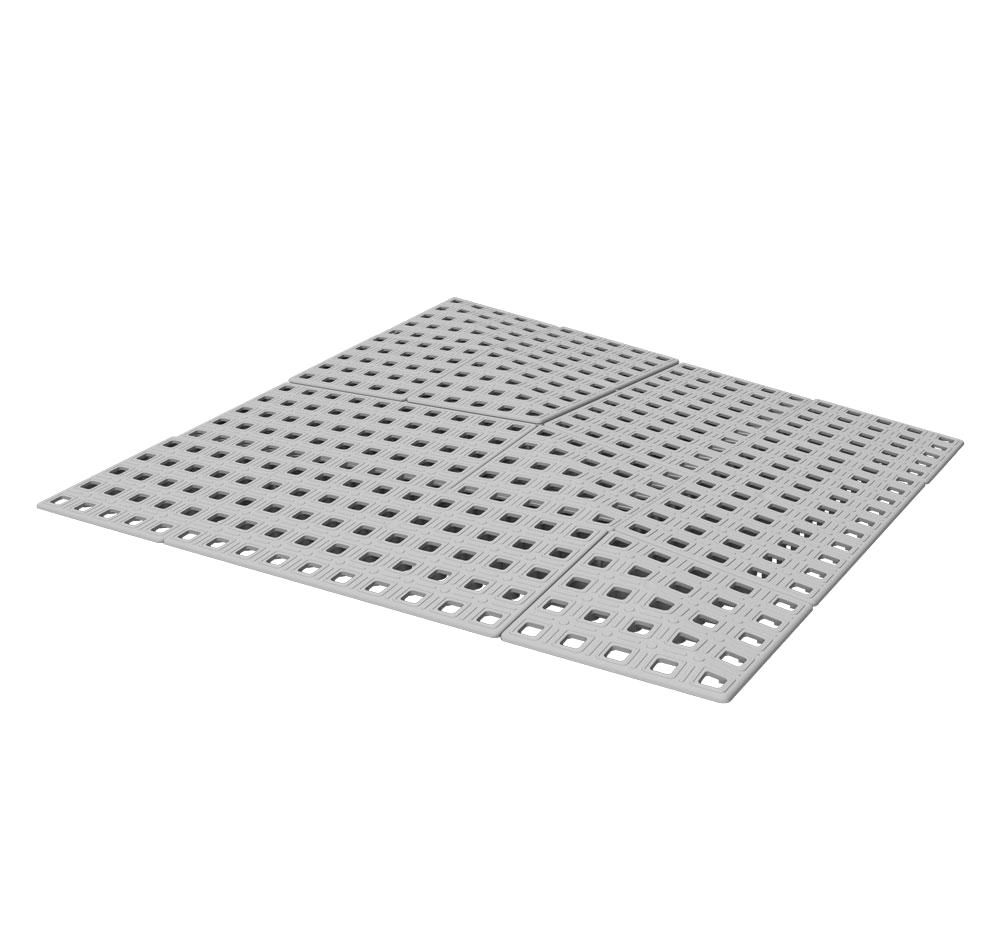
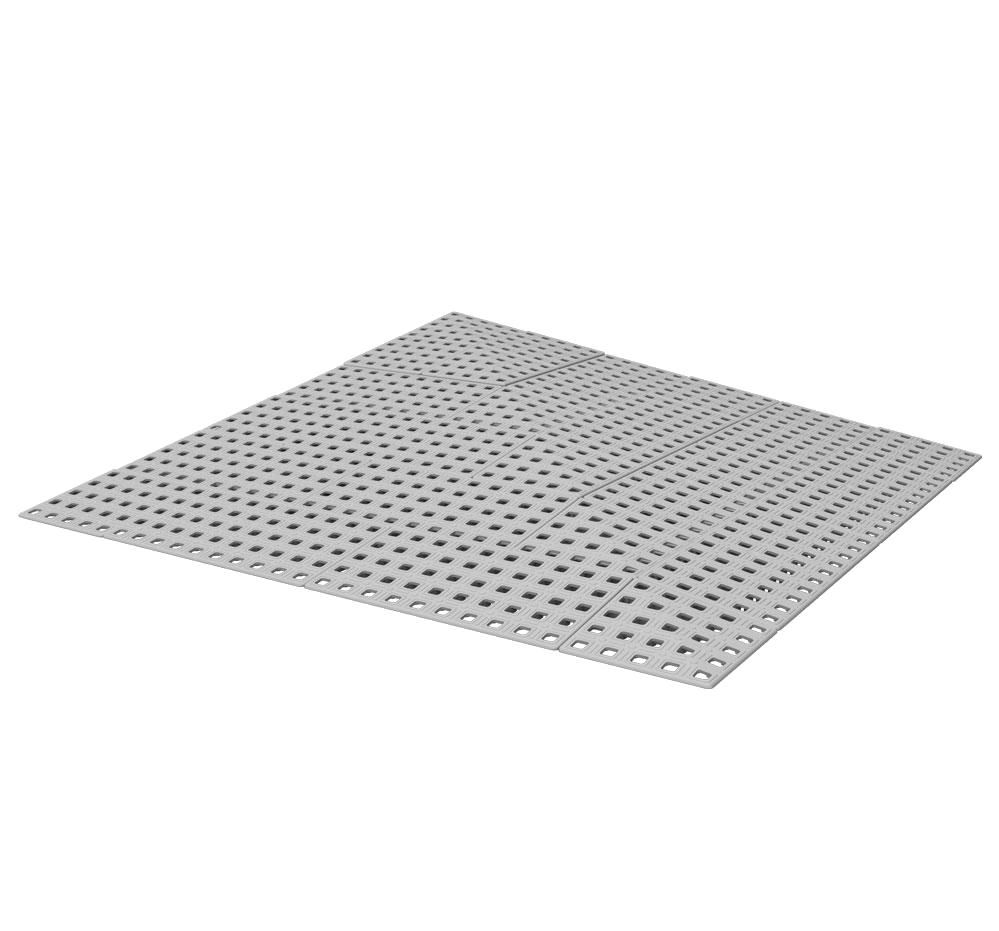
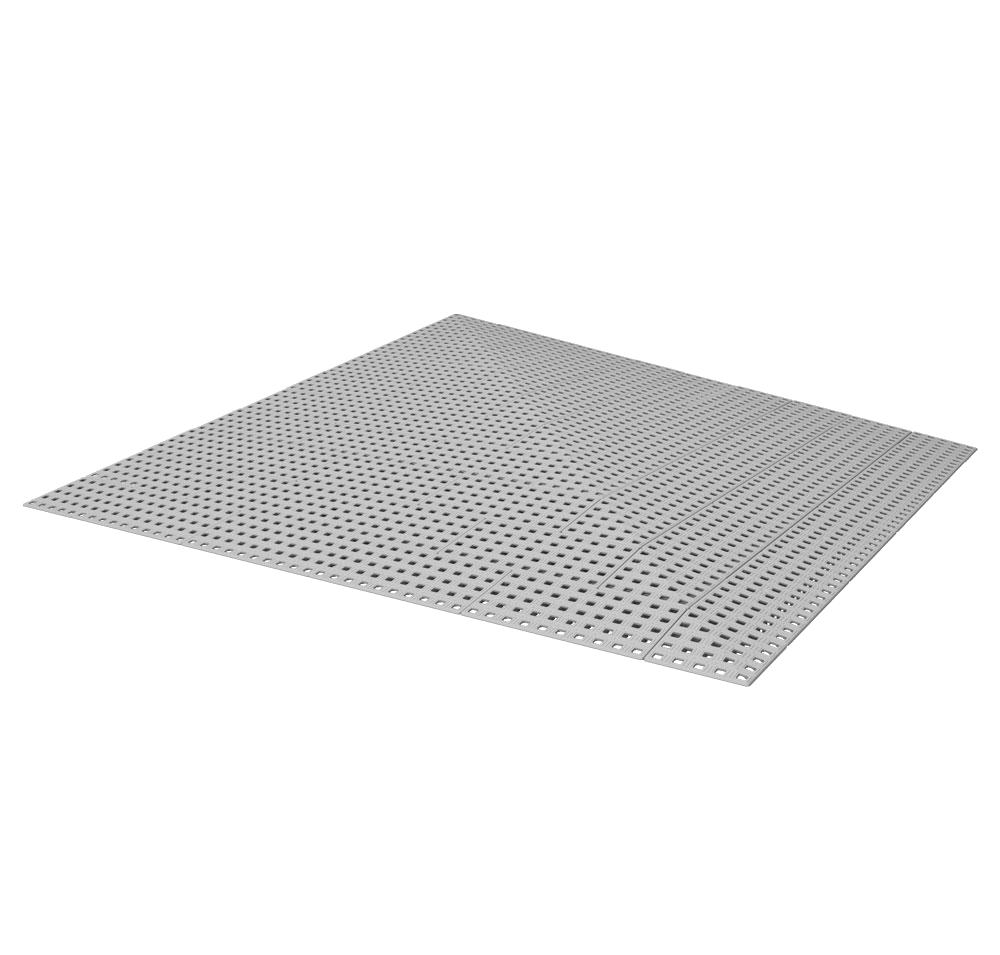
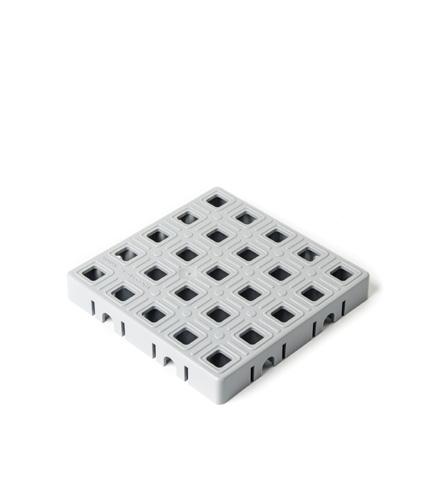
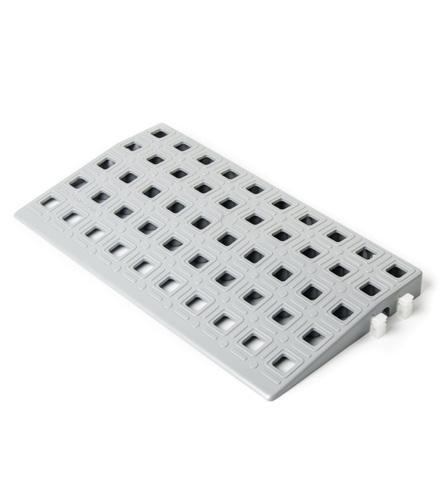
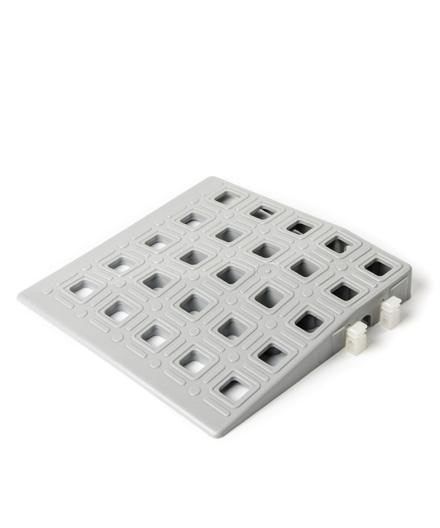
Surfaces
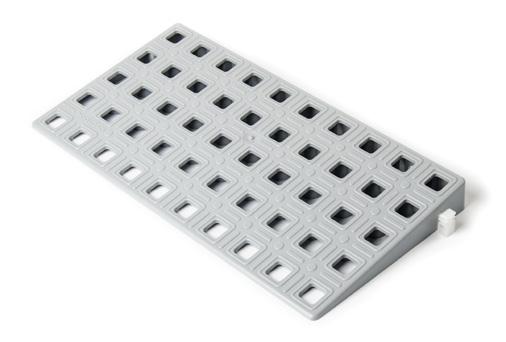
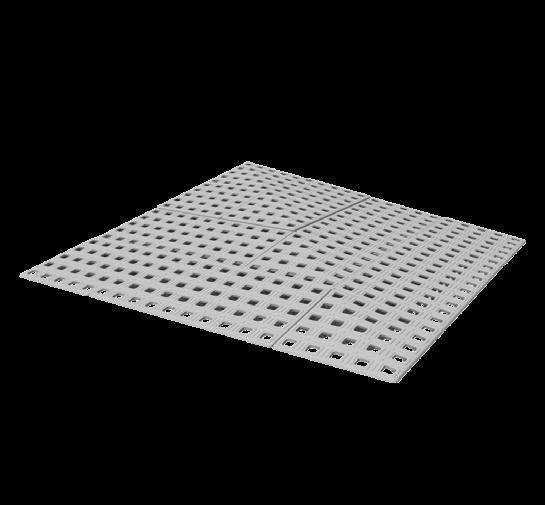
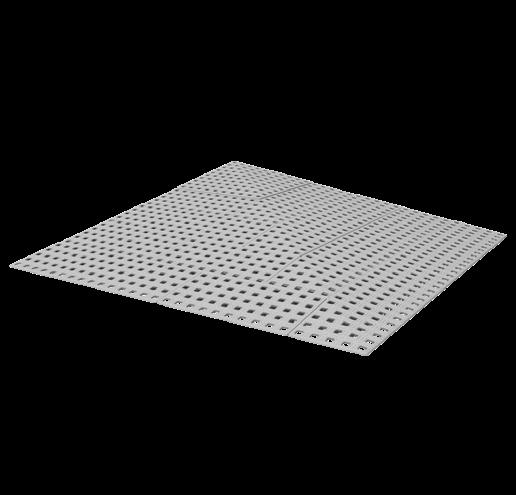
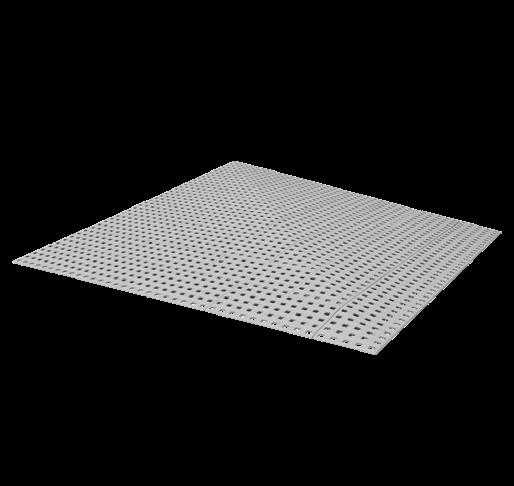
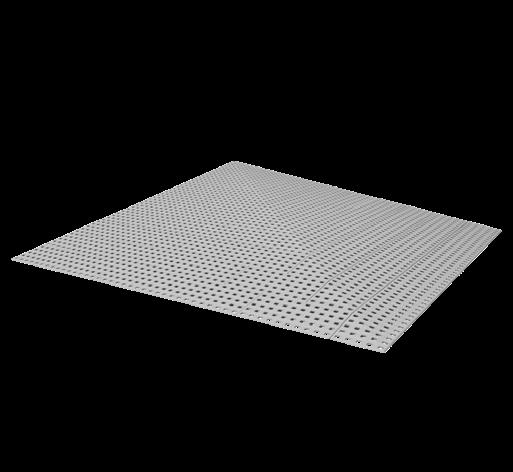
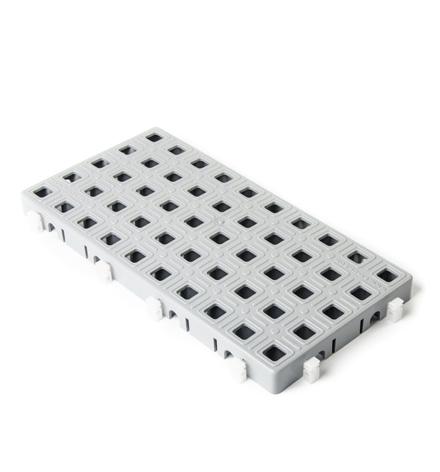
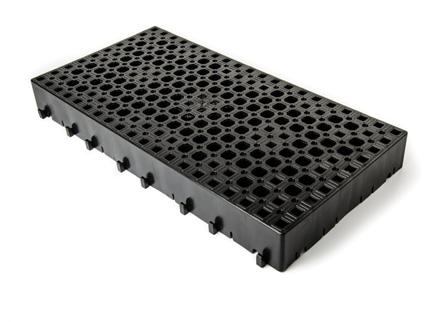
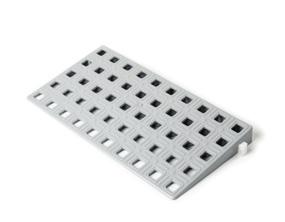
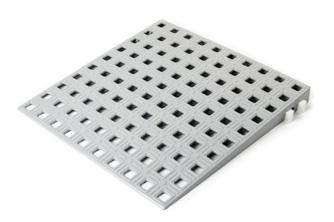
Holes
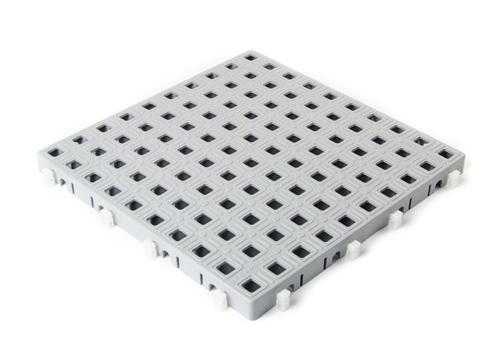
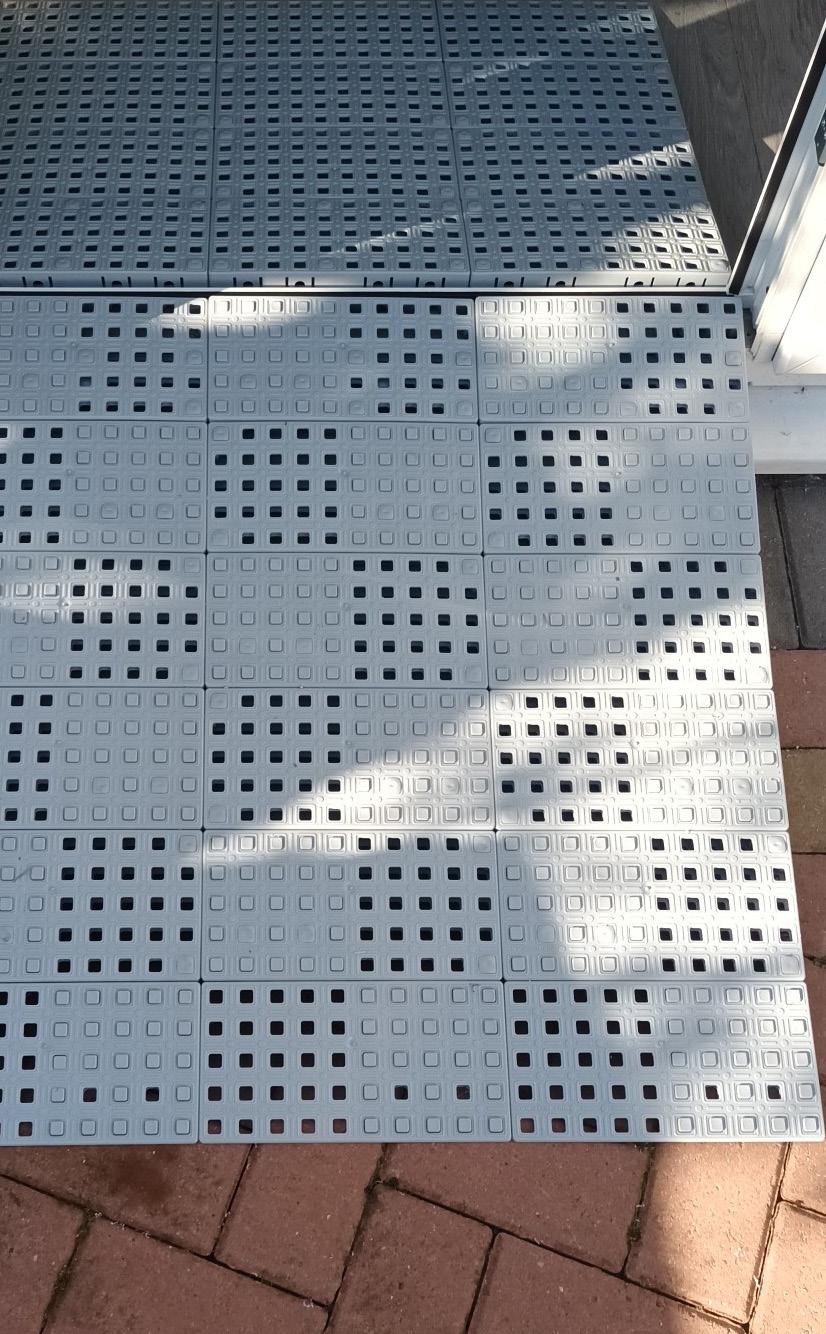
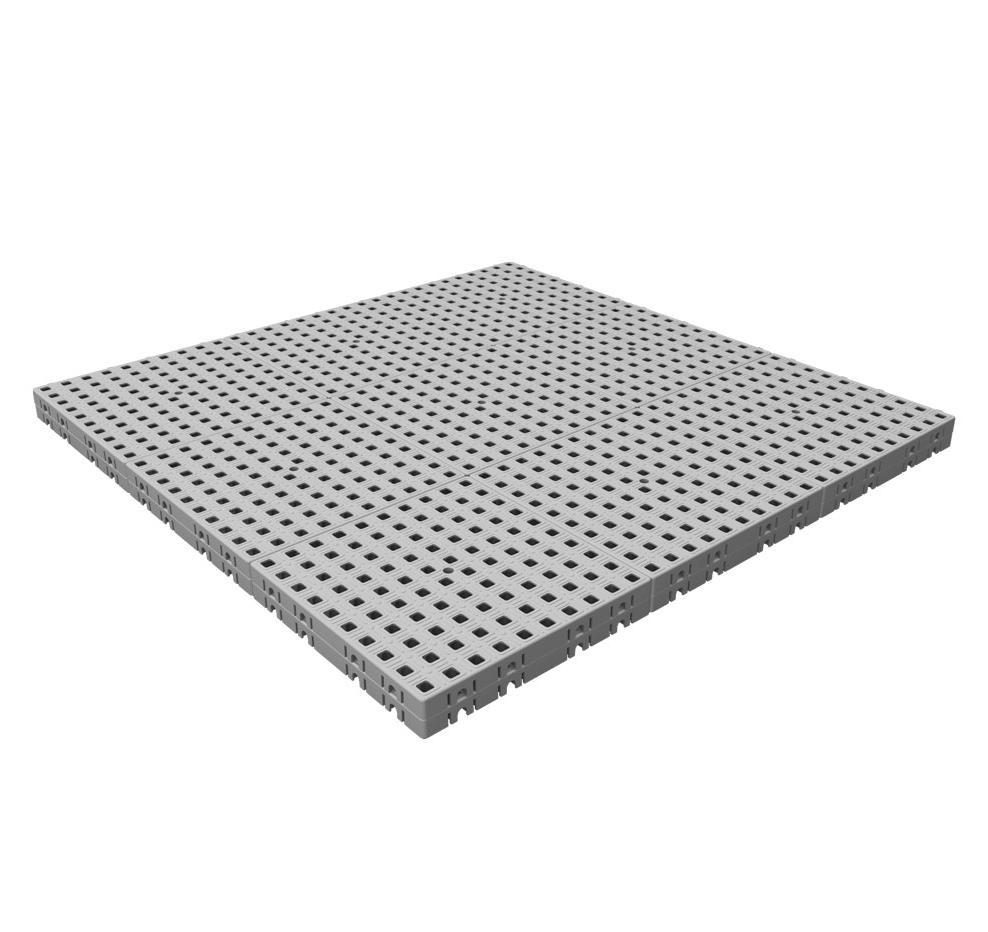
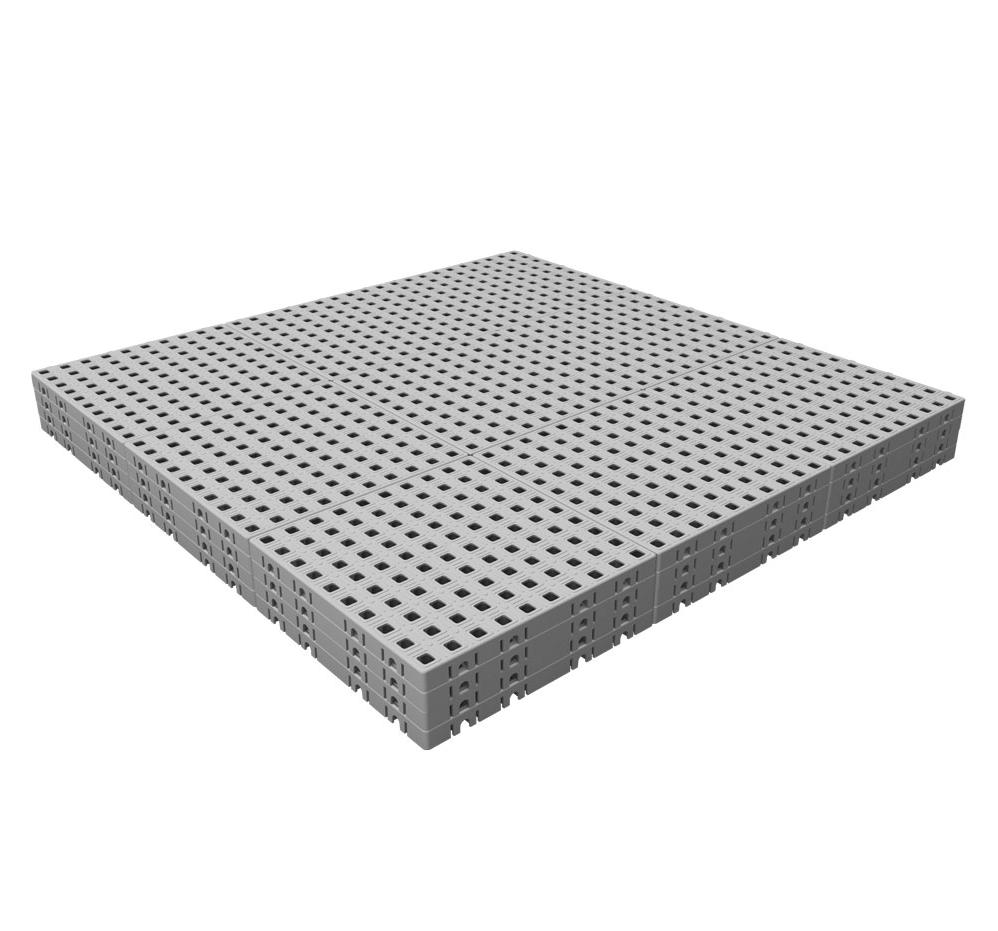
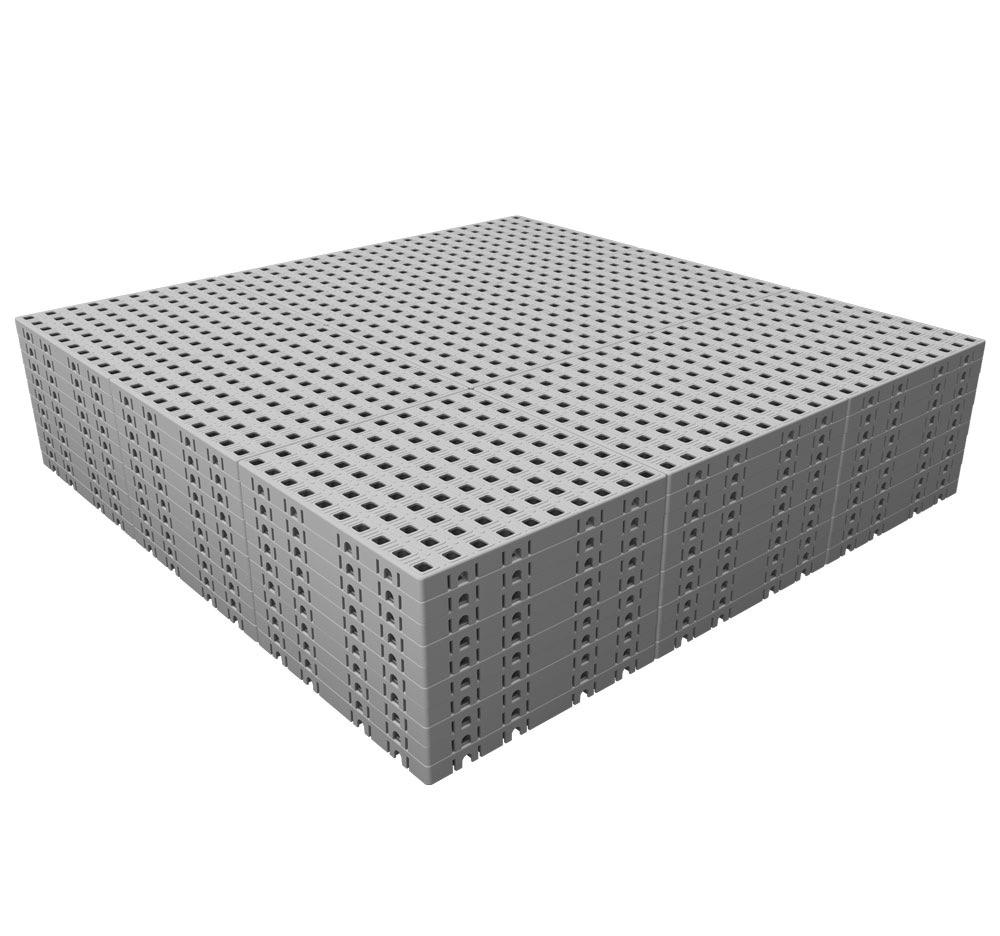
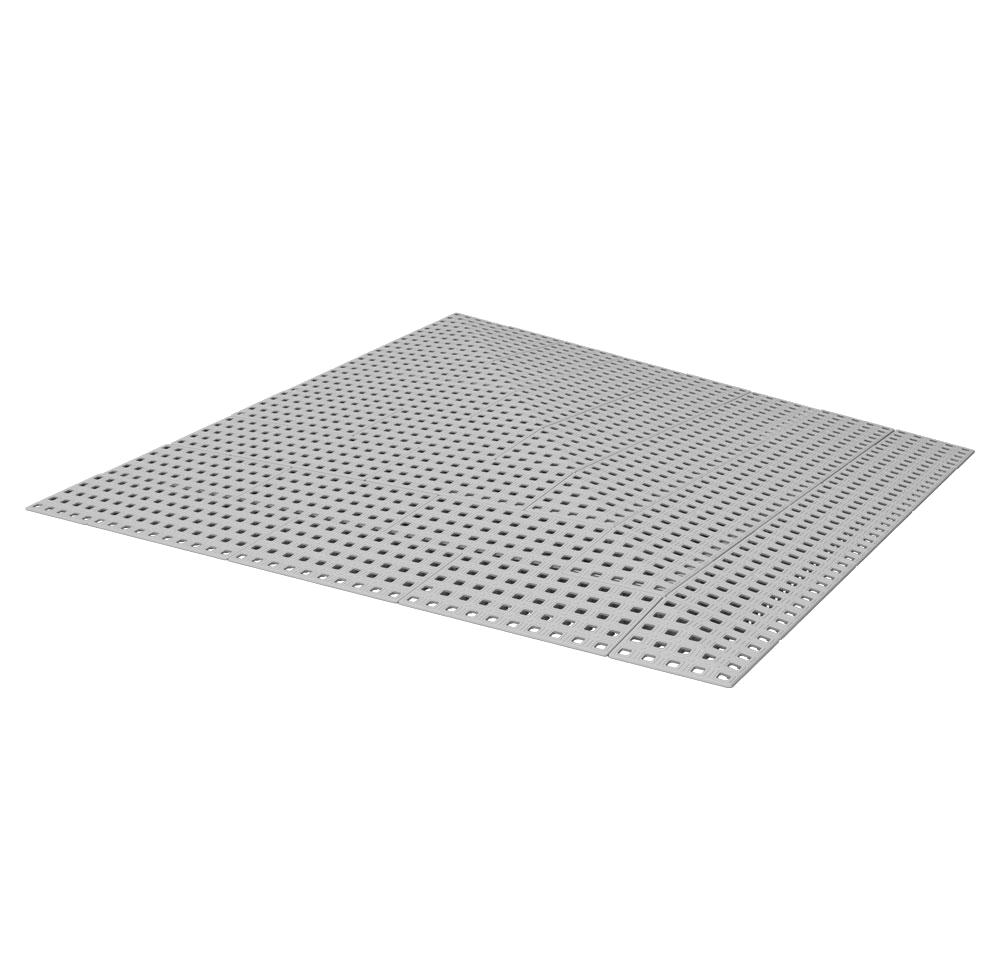
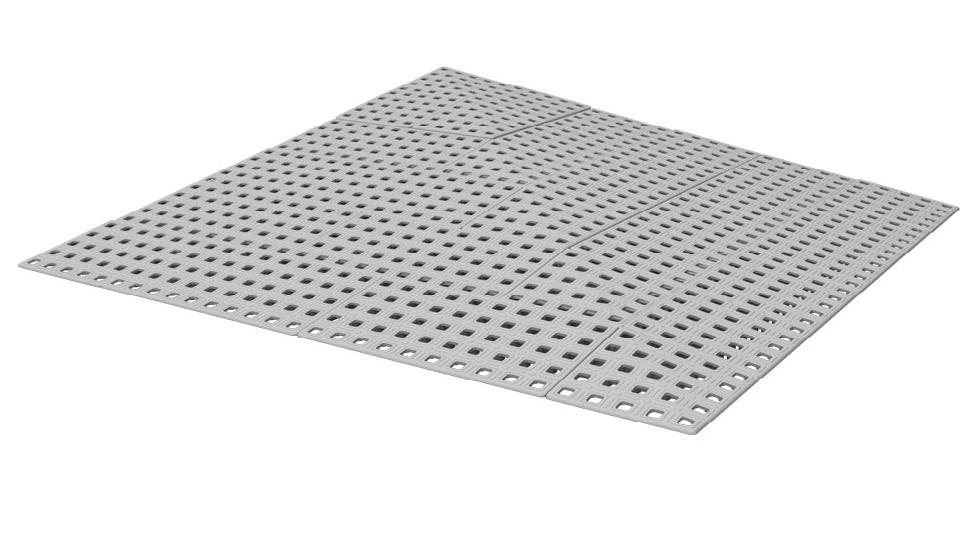
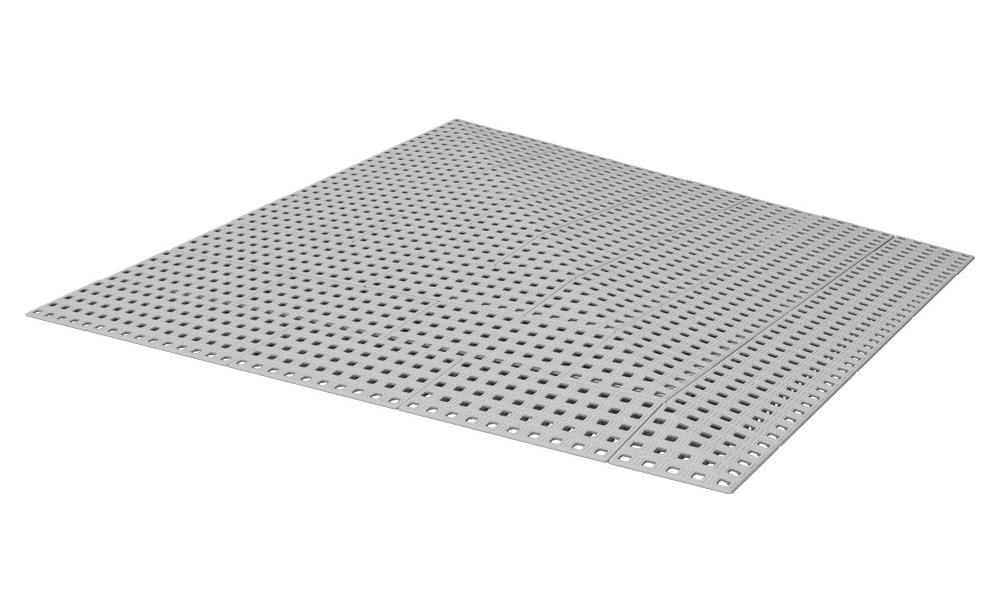
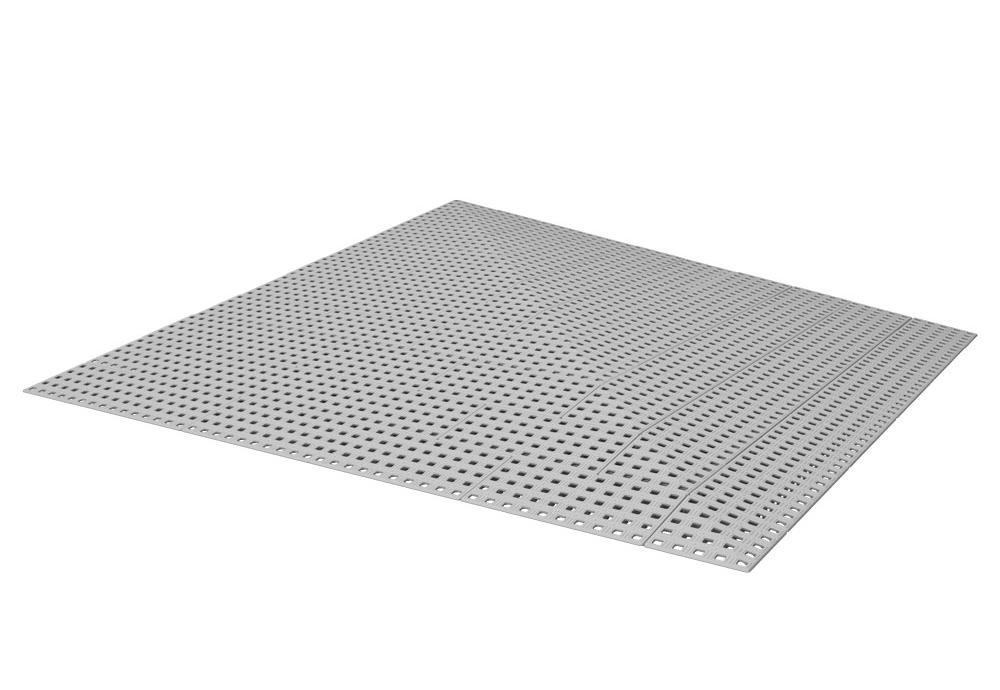
The standard surface with holes is slip resistant and self-draining. Dirt will be collected inside the ramp, whereby it can be removed and easily cleaned.
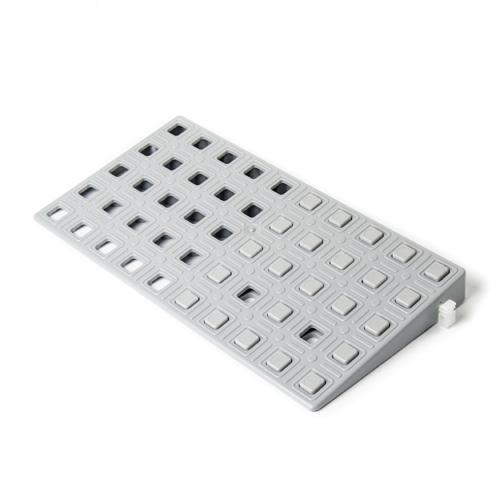
SureGrip
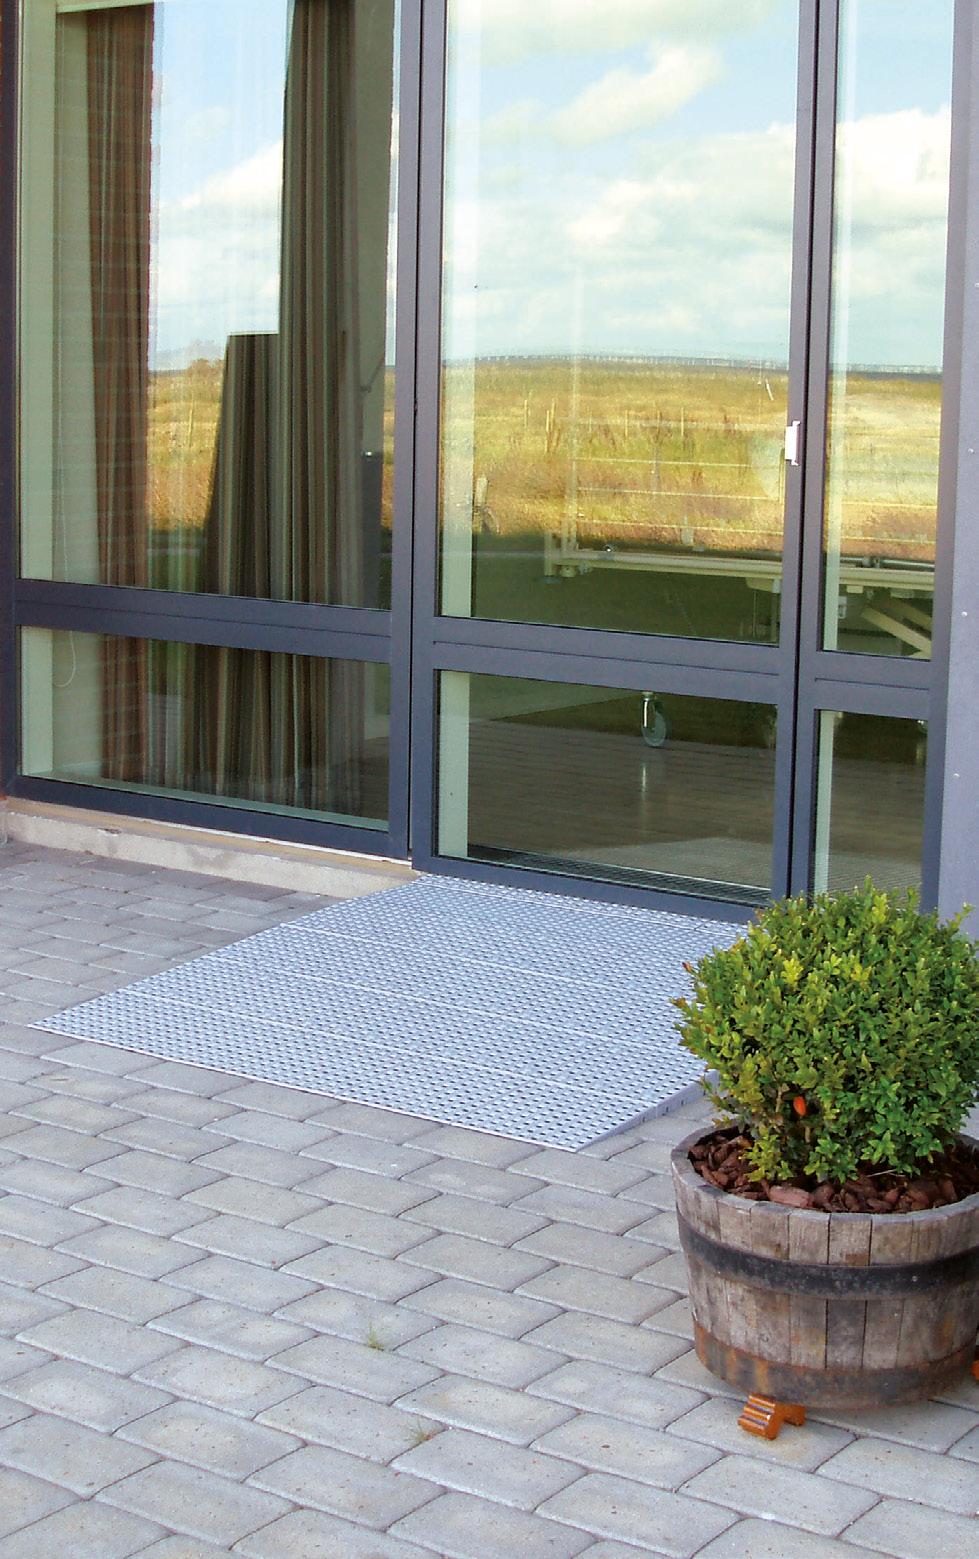
The surface with SureGrip tiles inserted at 50% coverage is recommended mainly for outdoor use and increases the slip resistance. At 100% coverage SureGrip is well suited to all footwear, especially pointed heels.
When specified in Yellow, SureGrip can also be used as a visual indication.
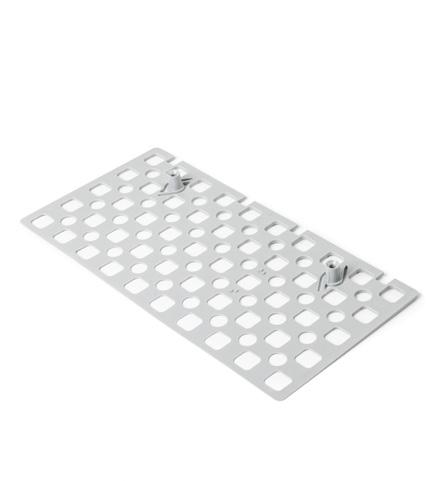
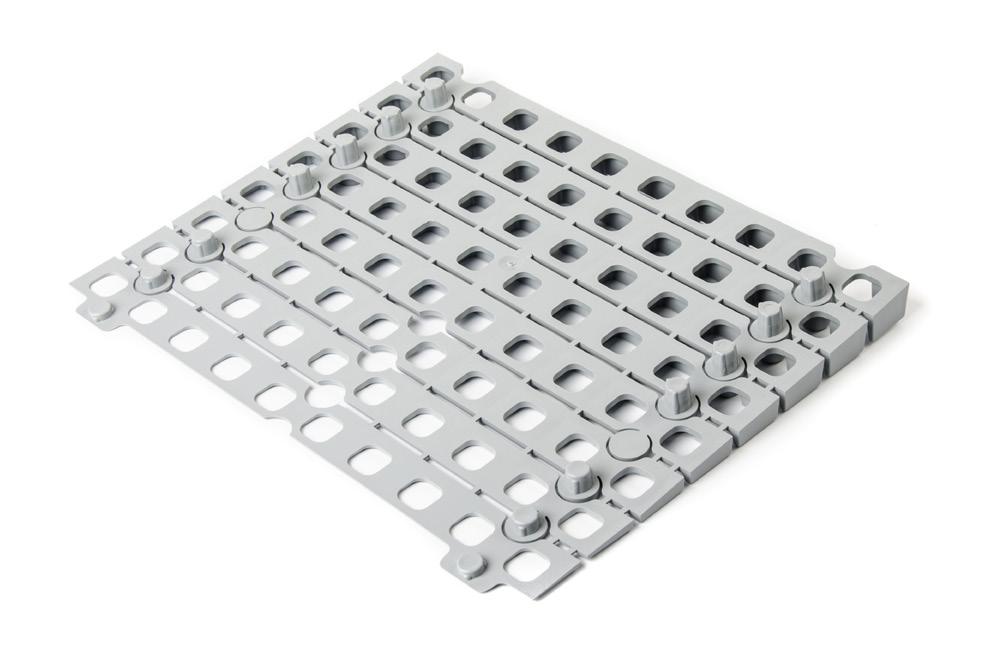
Infill tile
Manufactured from regenerated materials, with fixed C-locks on 2 sides and reduced surface area, these help to reduce the cost of building a solution when placed underneath the top surface.
N.B. There is extra room for C-Locks on all sides.
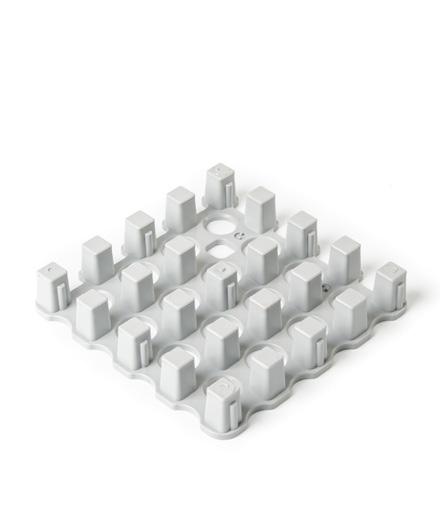
Six-Pack infill tile
Equivalent to 6 full tiles, stacked side by side, 3 layers high. Designed to minimise materials and be quicker to install, therefore reducing the cost when building larger ramps and platforms. Placed on the lower layers.
N.B. Produced from partly new and regenerated materials, meaning the colour can vary.
Hard tile
Most tiles are available in a ‘Hard’ version which is produced from a higher density material. These are well suited to carpeted surfaces to minimise movement and reduce unwanted ‘flex’. Please speak to a member of our technical team in these instances who can better advise on the most suitable product.
Please note: may be subject to a minimum order quantity and leadtime.
Infill
Excellent Systems Ramp Tiles - SureGrip
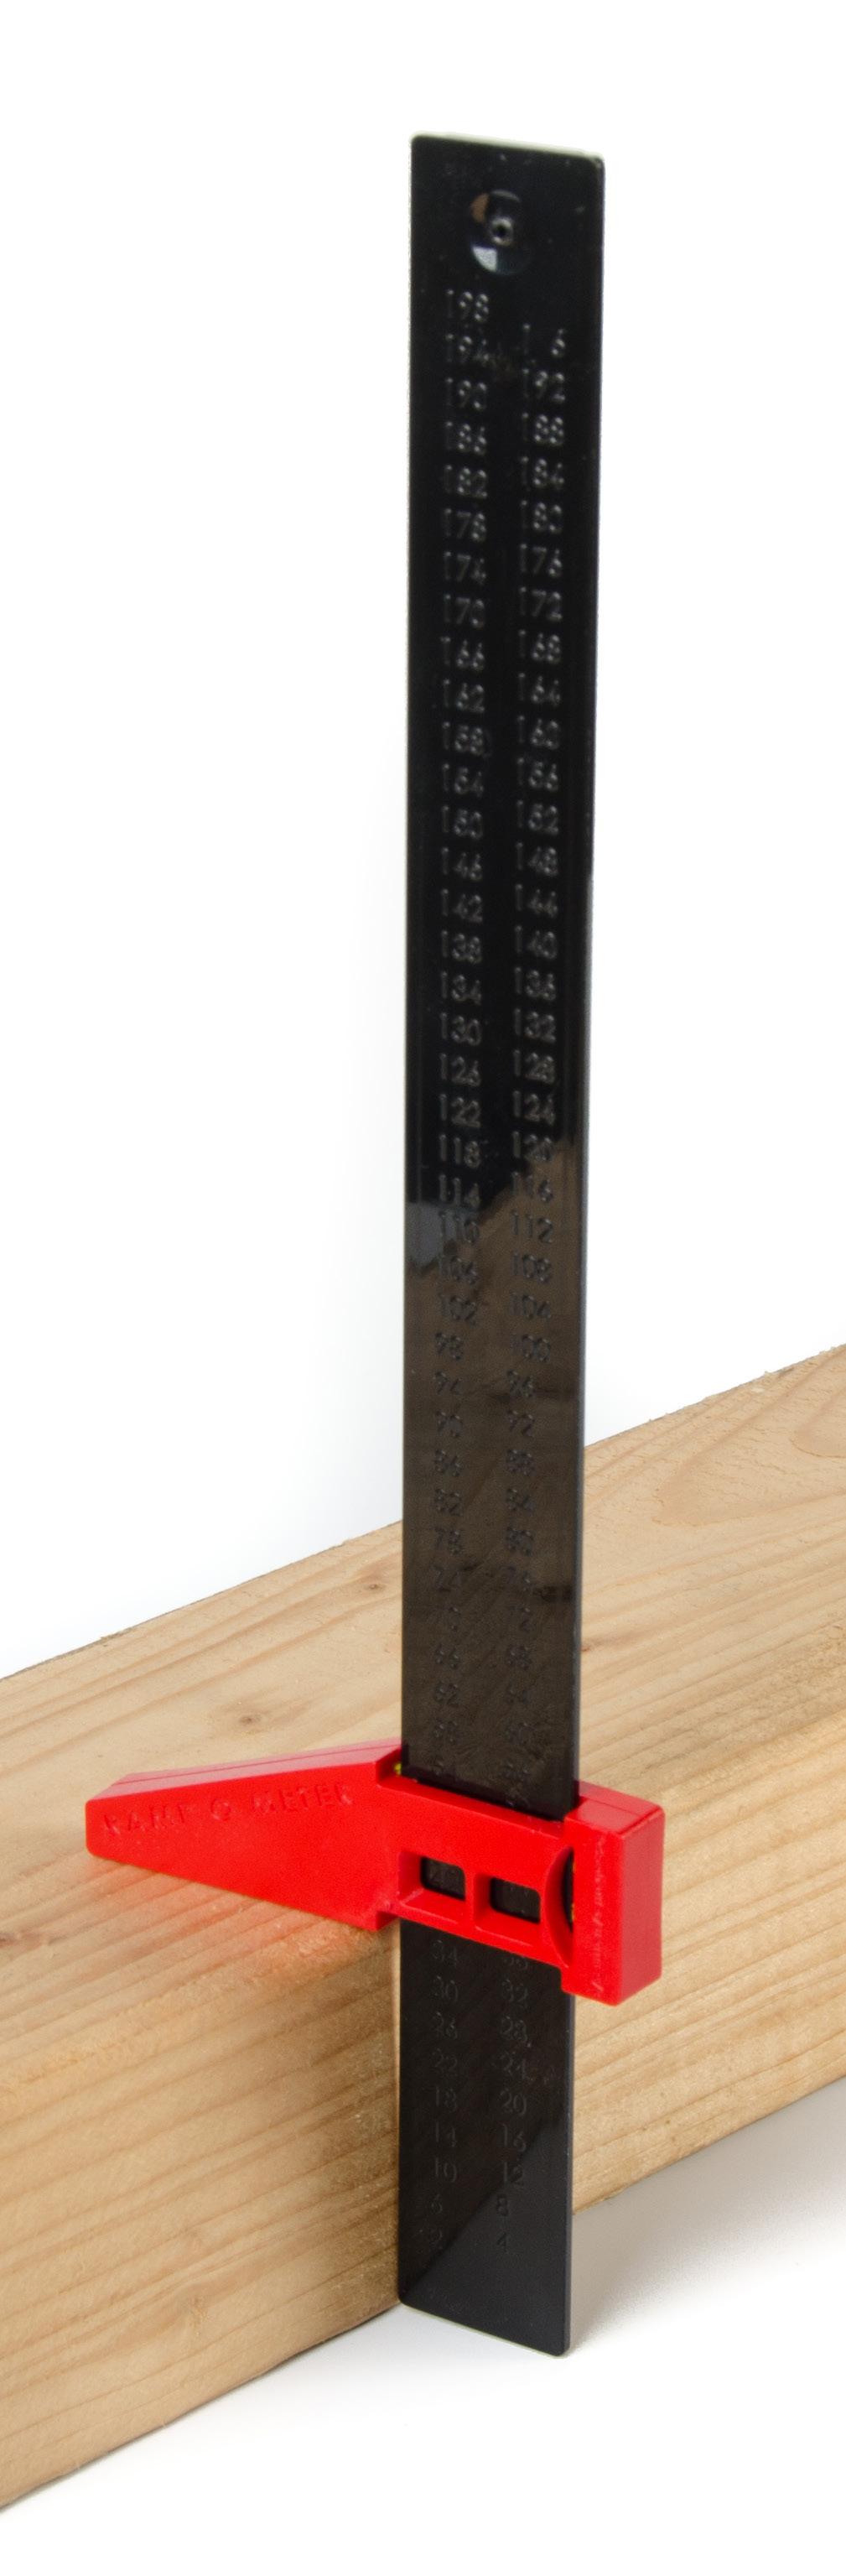
Calculating the Threshold
Measuring a Threshold
Place the Rampo-metre as above, with the ruler perpendicular to the
If
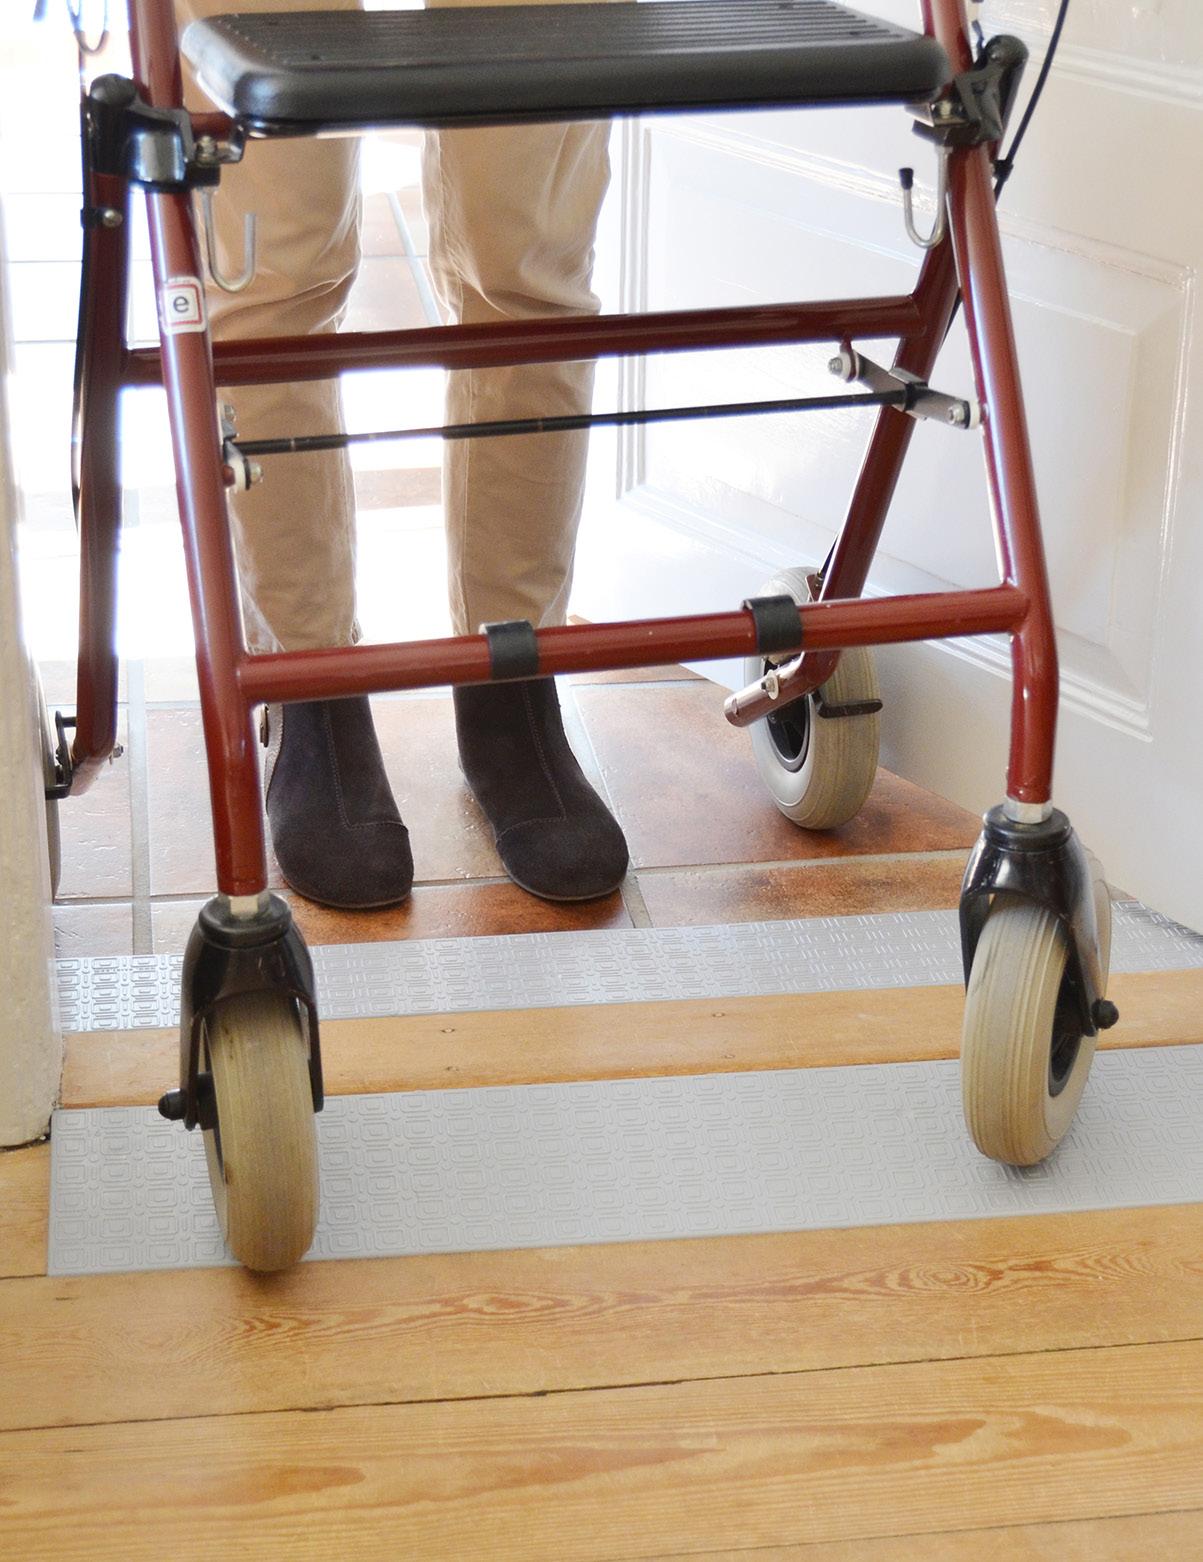
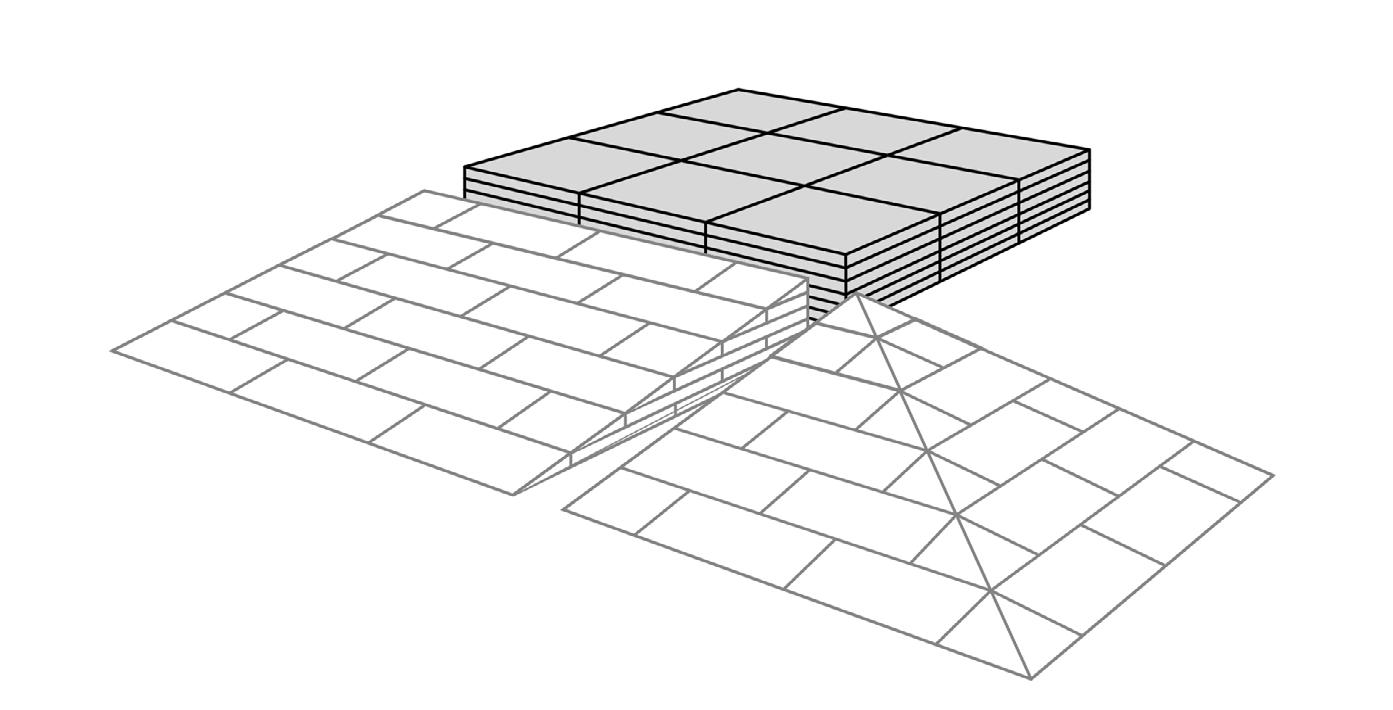
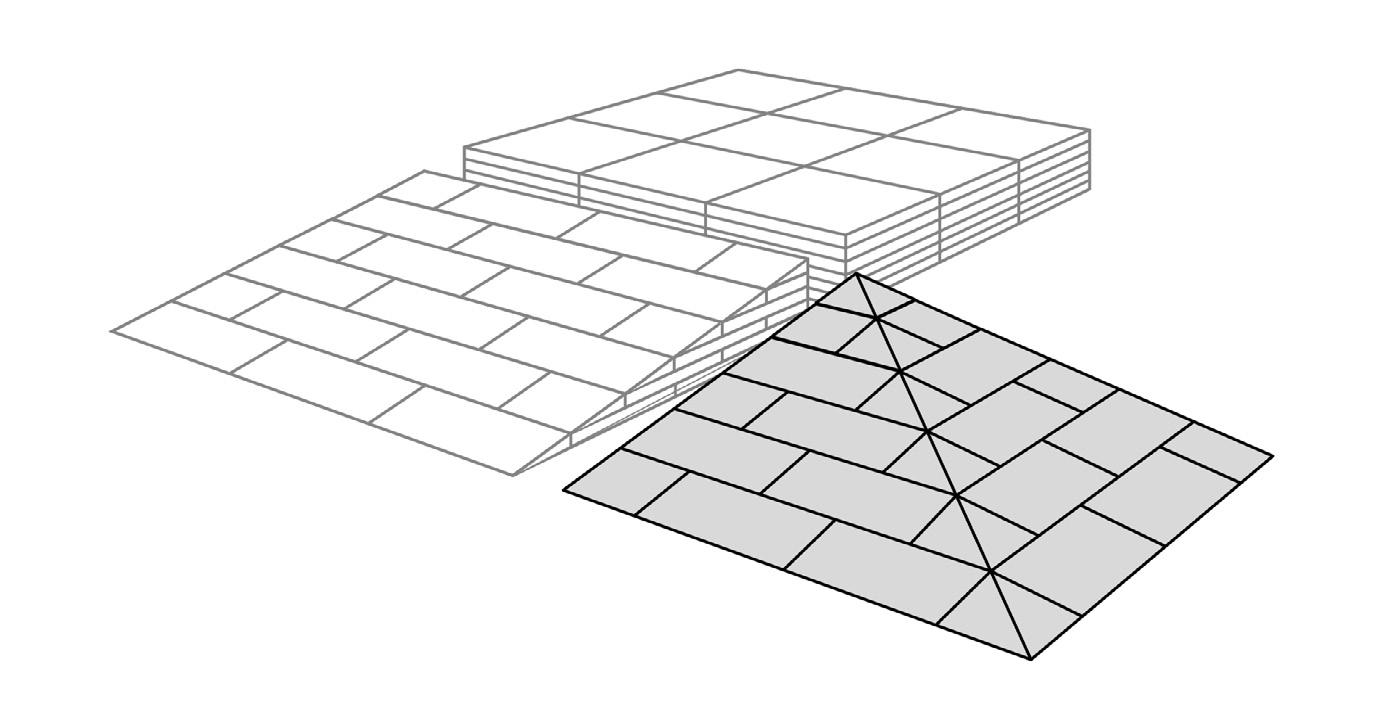
Why choose a Ramp Kit?
When it comes to tackling a small threshold with simplicity and ease, then look no further than a Ramp Kit. Each kit includes a pre-assembled layer, fixings and fitting instructions and can be installed in a matter of minutes.
The flexibility of Excellent Systems enables it to be used in situations and locations where other portable equipment may not be suitable. The ramp is made for both indoor and outdoor use, making it perfect for garages and clearance over kerbs and driveways. Being fully modular, it is also possible to re-use and re-configure all components within a kit.
If you are unsure which kit you require, take a look at the specifications provided in this booklet or call us for advice. We also offer a full range of individual components so you can receive a completely bespoke solution.


Check it out on YouTube
Discover a wide variety of instructive ‘How-to’ guides on YouTube that showcase our invaluable resources: Excellent Systems Ramp Kits and QuickRamps. These videos are designed to provide you with comprehensive assistance and step-by-step instructions on utilising our products effectively.
Types of Kit
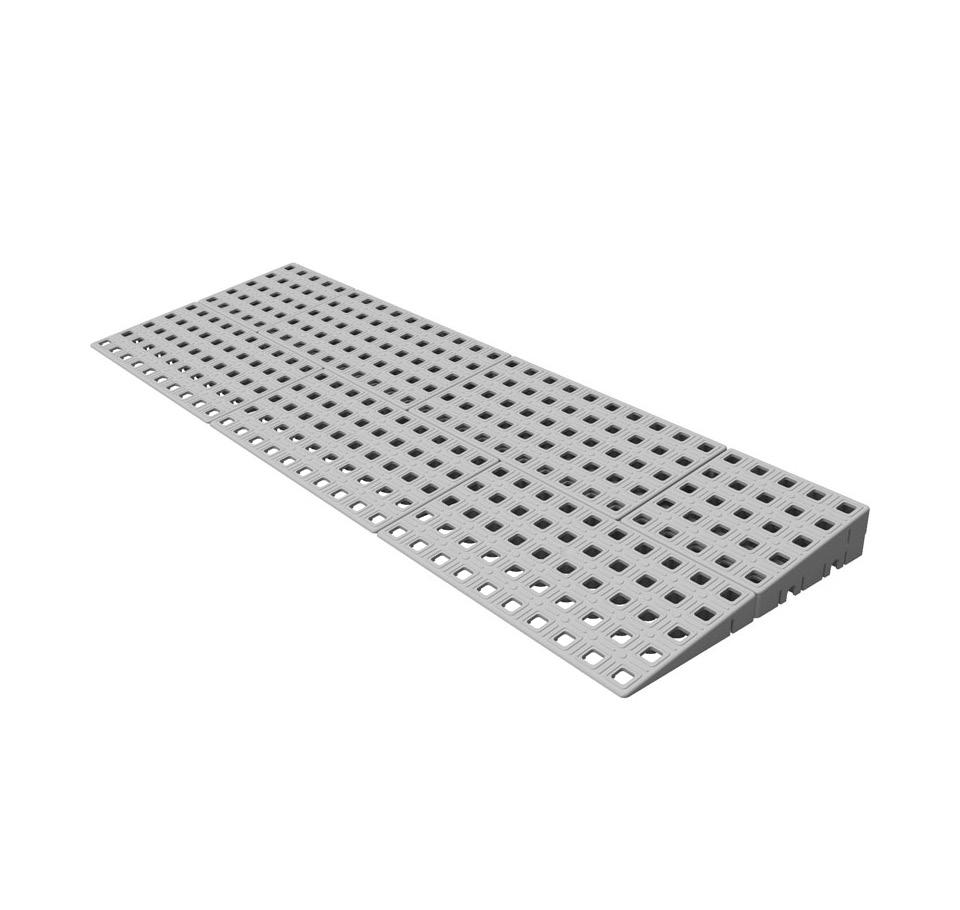
Ramp Kit
Ramp Kits are great for overcoming thresholds. Pre-assembled layers ensure little construction is needed to complete the ramp.
Platform Kit
Platform Kits can be comined with Ramp Kits to providing a landing area at the top of the ramp, or on it’s own as a step.
Corner Kit
Corner Kits can be placed on either side of a Ramp Kit to create a two or three-way entry.
What is in a Kit?
All Excellent System kits come pre-packaged with the layers, fittings and instructions included. Below is an example of what you will expect to find in a Ramp Kit - quantities and components will vary depending on the kit chosen:
Instruction manual, safety instructions & ramp kit brochure
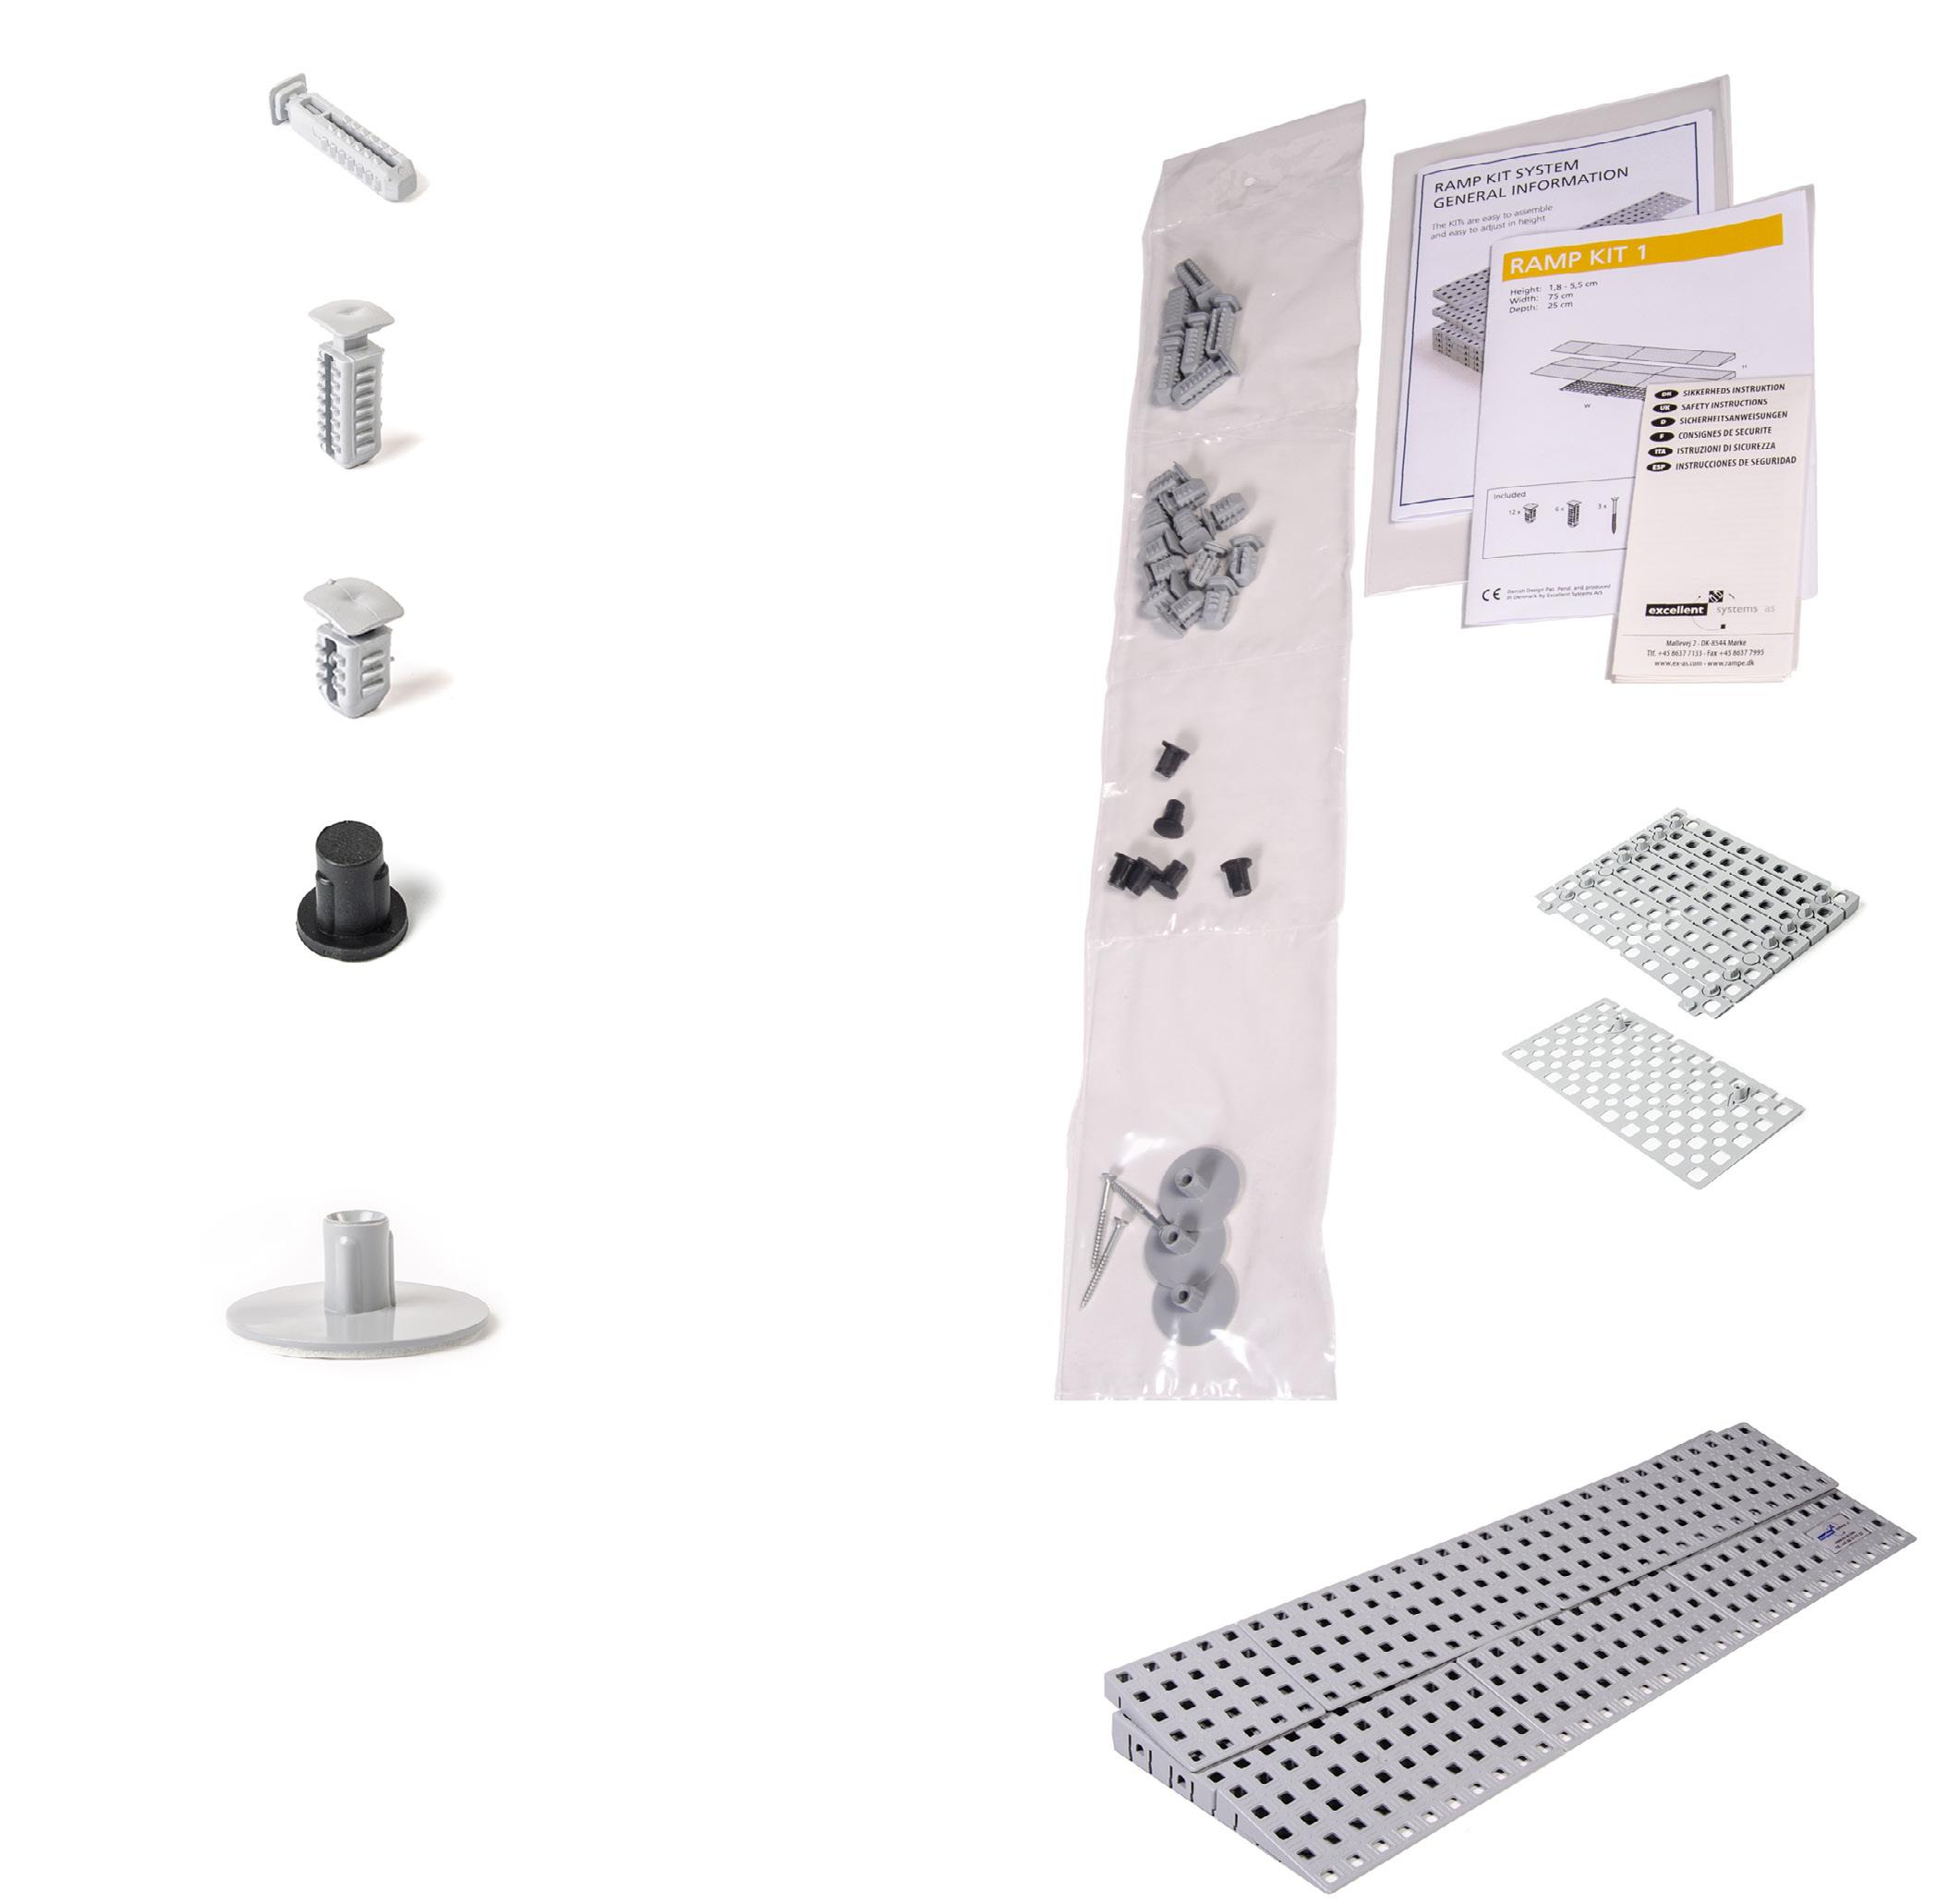
Easy to build
Stoppers R-Locks
Ramp adjuster
Adjustment key
Mounting pads & screws
Pre-assembled base & top layers
Excellent Systems ramp kits can be constructed with ease by all, regardless of experience. Using the components provided and a rubber mallet, follow the instructions to build the ramp effortlessly, tapping the locks into place.
18 - 55mm Height
Ramp Kit 3
72 - 127mm Height
750mm Width: KIT 001 1000mm Width: KIT 101
Ramp Kit 5
144 - 199mm Height
750mm Width: KIT 003
1000mm Width: KIT 103

750mm Width: KIT 005
1000mm Width: KIT 105 Ramp Kit 1
36 - 91mm Height
Ramp Kit 4
Kit 2 108 - 163mm Height
750mm Width: KIT 002
1000mm Width: KIT 102
750mm Width: KIT 004
1000mm Width: KIT 104

Ramp Kit 1
Dimensions:
Height: 18 - 55mm
Width: 750 or 1000mm
Depth: 250mm
Wide

001
750mm wide With holes for indoor use.
KIT 001 S
750mm wide With SureGrip for outdoor use.
KIT 101
1000mm wide With holes for indoor use. KIT 101 S
1000mm wide With SureGrip for outdoor use.
Ramp Kit 2
Dimensions:
Height: 36 - 91mm
Width: 750 or 1000mm
Depth: 500mm
Wide 750mm Wide
002
750mm wide With holes for indoor use.
002 S
750mm wide With SureGrip for outdoor use.
KIT 102
1000mm wide With holes for indoor use.
102 S
1000mm wide With SureGrip for outdoor use.
KIT
KIT
KIT
KIT
Ramp Kit 3
Dimensions:
Height: 72 - 127mm
Width: 750 or 1000mm
Depth: 750mm
750mm Wide
750mm wide With holes for indoor use.
003 S
750mm wide With SureGrip for outdoor use.
1000mm Wide
KIT 103
1000mm wide With holes for indoor use.
103 S
1000mm wide With SureGrip for outdoor use.
Ramp Kit 4
Dimensions:
Height: 108 - 163mm
Width: 750 or 1000mm
Depth: 1000mm
750mm Wide
750mm wide With holes for indoor use.
004 S
750mm wide With SureGrip for outdoor use.
1000mm Wide
104
1000mm wide With holes for indoor use.
KIT 104 S
1000mm wide With SureGrip for outdoor use.
KIT 003
KIT
KIT 004
KIT
KIT
Ramp Kit 5
Dimensions:
Height: 144 - 199mm
Width: 750 or 1000mm
Depth: 1250mm
Platform Kit 1
36 - 52mm Height
Platform Kit 2
72 - 88mm Height
Platform Kit 3
108 - 124mm Height

Platform Kit 4
144 - 160mm Height
Platform Kit 5
180 - 196mm Height
Platform Kit 1
Dimensions:
Height: 36 - 52mm
Width: 750 or 1000mm
Depth: 750mm
750mm wide With holes for indoor use. KIT 001 SP
Platform Kit 2
Dimensions:
Height: 72 - 88mm
Width: 750 or 1000mm
Depth: 750mm
KIT
Platform Kit 3
Dimensions:
Height: 108 - 124mm
Width: 750 or 1000mm
Depth: 750mm
Platform Kit 4
Dimensions:
Height: 144 - 160mm
Width: 750 or 1000mm
Depth: 750mm
750mm
750mm
KIT
KIT 004 P
KIT
KIT
KIT
Platform Kit 5
Dimensions:
Height: 180 - 196mm
Width: 750 or 1000mm
Depth: 750mm
Corner Kit 1
18 - 55mm Height
Corner Kit 3
72 - 127mm Height
Corner Kit 5
144 - 199mm Height
Corner Kit 2
36 - 91mm Height
Corner Kit 4
108 - 163mm Height
KIT 004 C
KIT 002 C
Corner Kit 1
Dimensions:
Height: 18 - 55mm
Width: 250mm
Depth: 250mm

750mm wide With holes for indoor use.
SC
750mm wide With SureGrip for outdoor use.
Corner Kit 2
Dimensions:
Height: 36 - 91mm
Width: 500mm
Depth: 500mm

750mm wide With holes for indoor use.
750mm wide With SureGrip for outdoor use.
KIT 001 C
KIT 001
KIT 002 C
KIT 002 SC
Corner Kit 3
Dimensions:
Height: 72 - 127mm
Width: 750mm
Depth: 750mm
Corner Kit 4
Dimensions:
Height: 108 - 163mm
Width: 1000mm
Depth: 1000mm
750mm
KIT
KIT
KIT
Corner Kit 5
Dimensions:
Height: 144 - 199mm
Width: 1250mm
Depth: 1250mm
750mm wide With holes for indoor use.

750mm wide With SureGrip for outdoor use.
Why choose QuickRamps?
QuickRamps are delivered ready to use and can be lifted and re-fitted with ease. This is useful if your needs change, or if you move house, for example. The QuickRamps are all made with a width of 1000mm and are easy to adjust yourself.
The heights vary from 4 to 60mm. Find the right height for your doorstep by measuring it with a tape measure, or even easier with our Ramp-o-metre.
On the backside of the QuickRamps there is space for 4-5 QuickPads or QuickTape. The tape is double sided, for a semi-permanent attachment on a smooth floor. Mounting pads are adhesive on the underside, so they can be mounted directly to the floor. When cleaning, the ramp is easily lifted and the QuickPads remain in place.
Check it out on YouTube
Discover a wide variety of instructive ‘How-to’ guides on YouTube that showcase our invaluable resources: Excellent Systems Ramp Kits and QuickRamps. These videos are designed to provide you with comprehensive assistance and step-by-step instructions on utilising our products effectively.
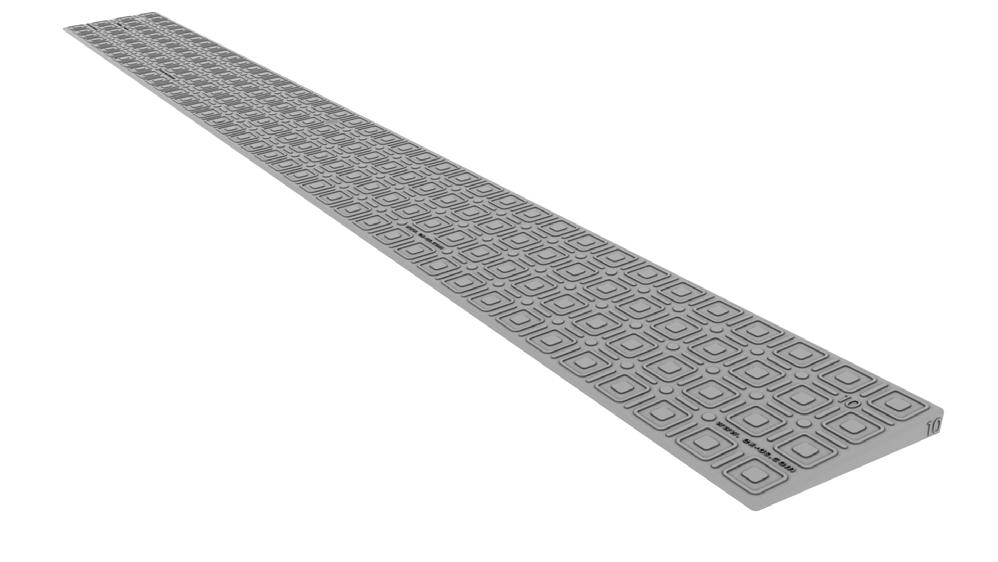
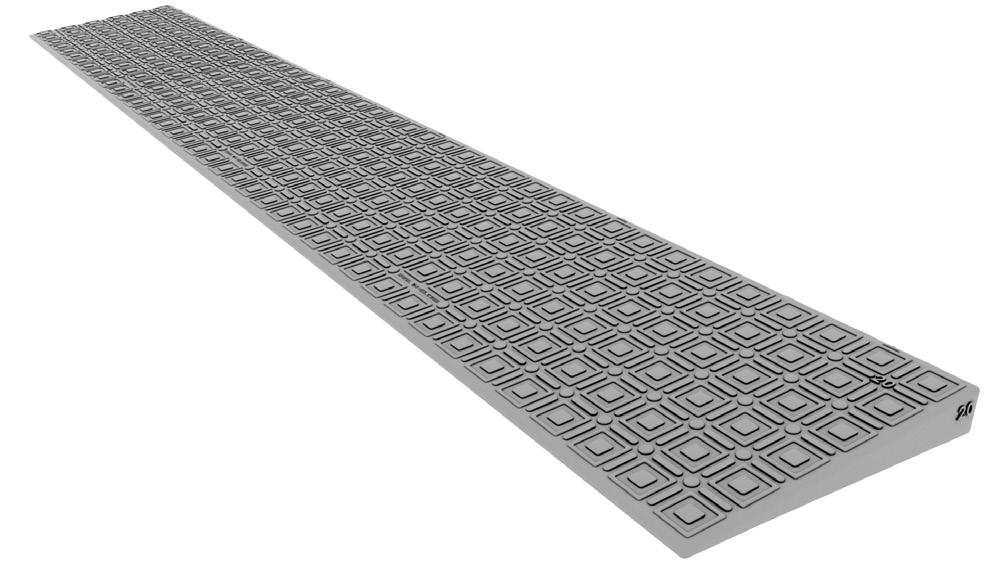
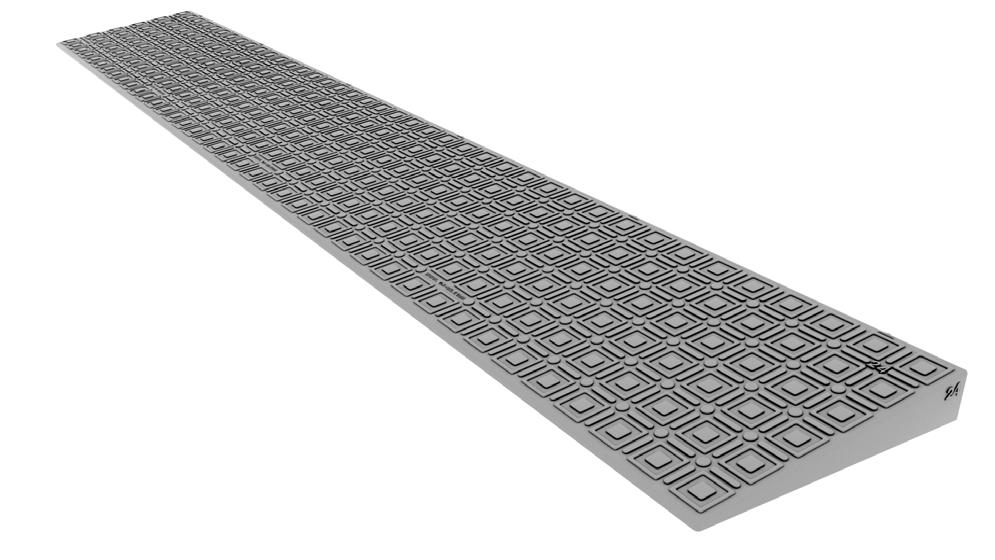
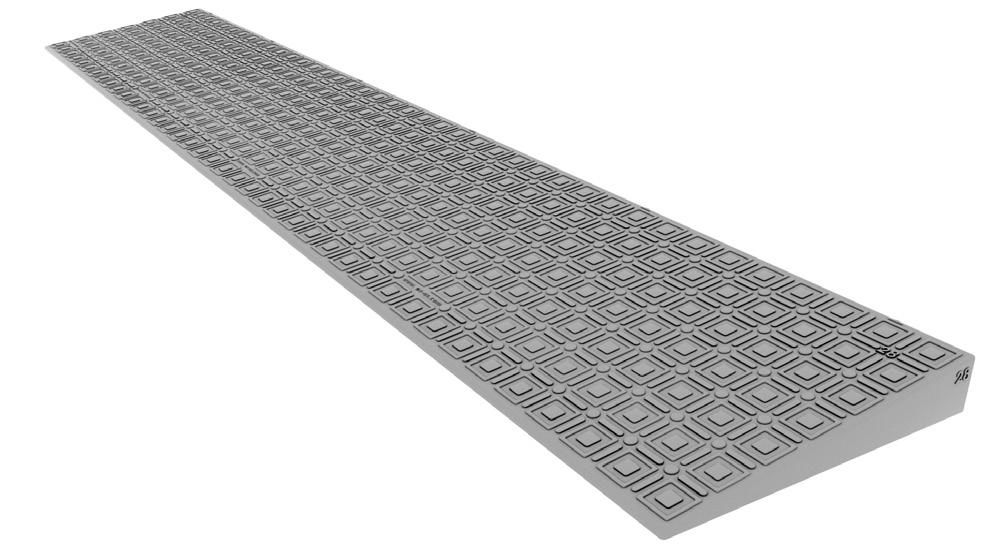
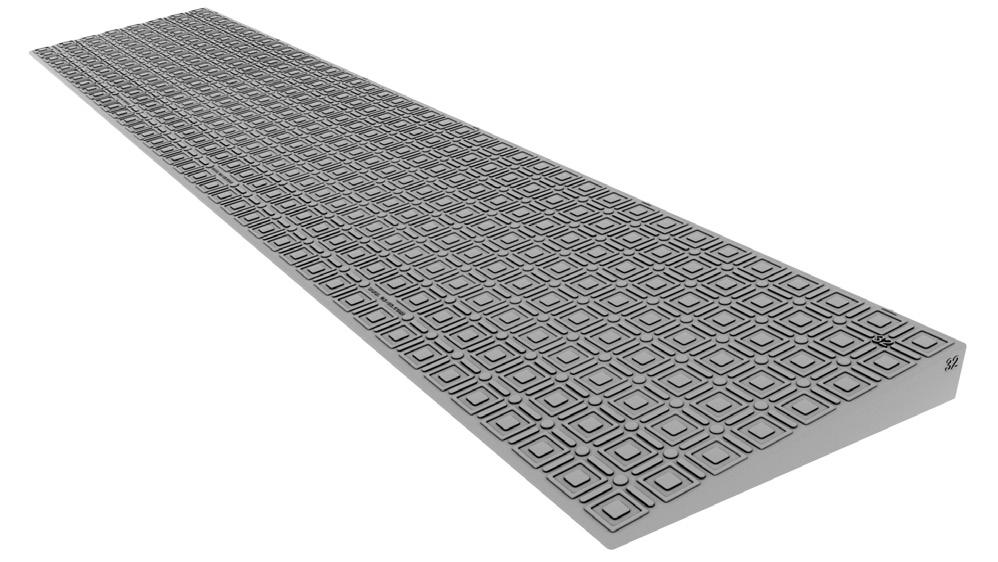
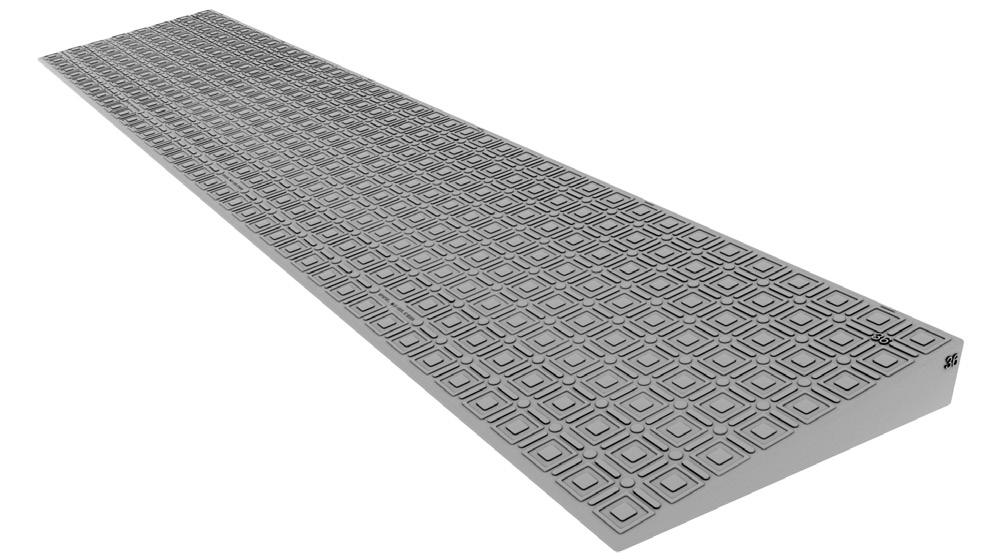
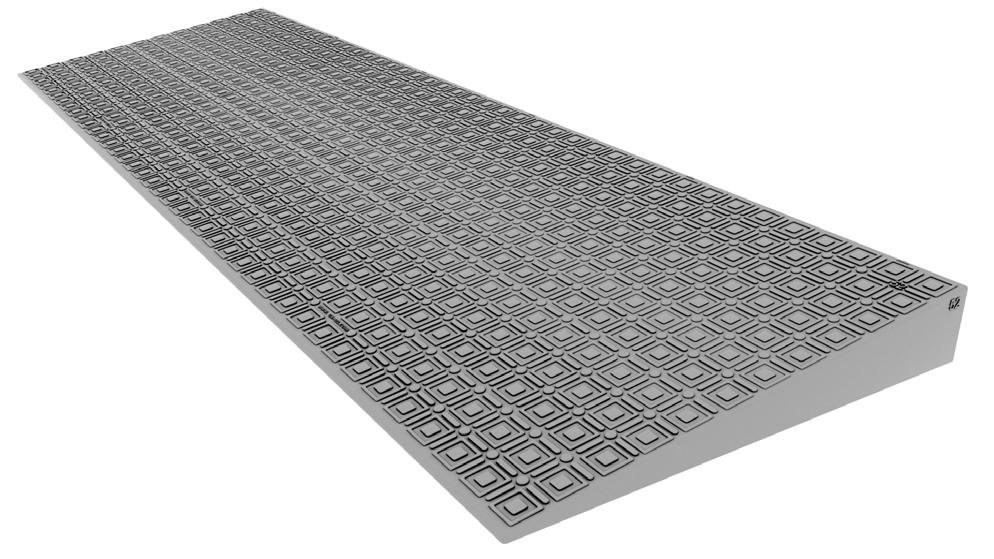
QuickRamps 4mm - 16mm
QuickRamp 4mm
Dimensions:
Height: 4mm
Width: 1000mm
Depth: 50mm
Code: QR-004A

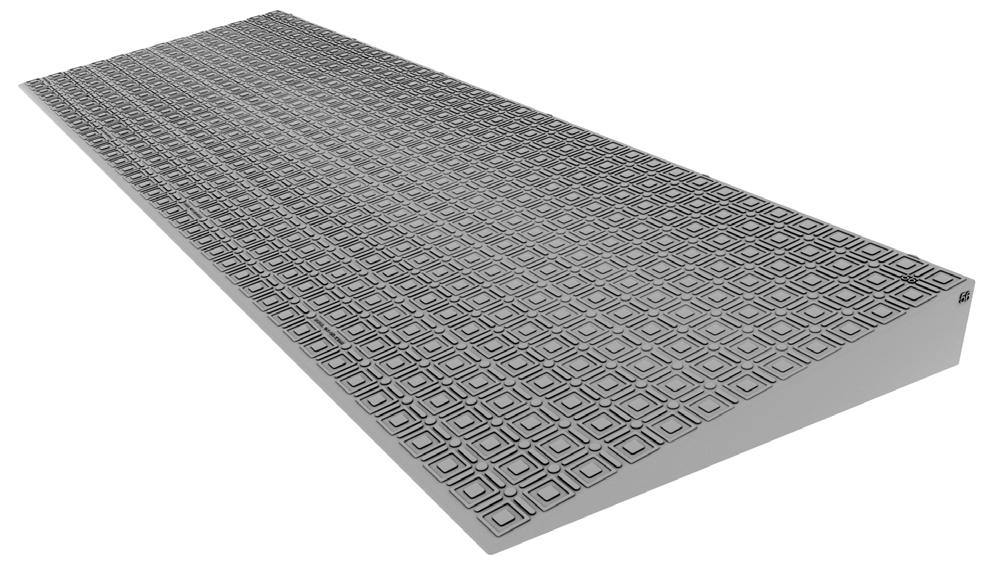
QuickRamp 6mm
Dimensions:
Height: 6mm
Width: 1000mm
Depth: 50mm
Code: QR-006A
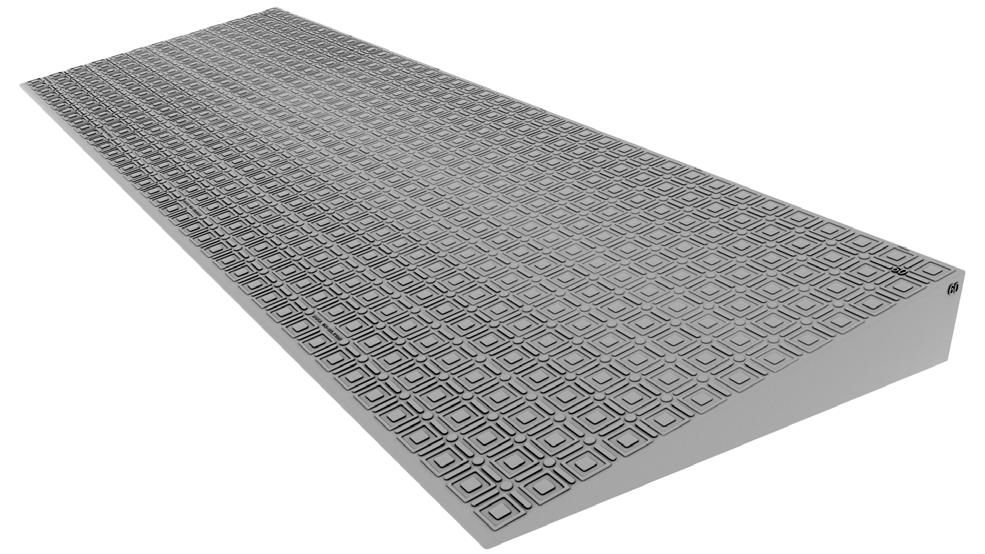
QuickRamp 8mm
Dimensions:
Height: 8mm
Width: 1000mm
Depth: 75mm
Code: QR-008A

QuickRamp 10mm
Dimensions:
Height: 10mm
Width: 1000mm
Depth: 100mm
Code: QR-010A
QuickRamp 12mm
Dimensions:
Height: 12mm
Width: 1000mm
Depth: 125mm
Code: QR-012A
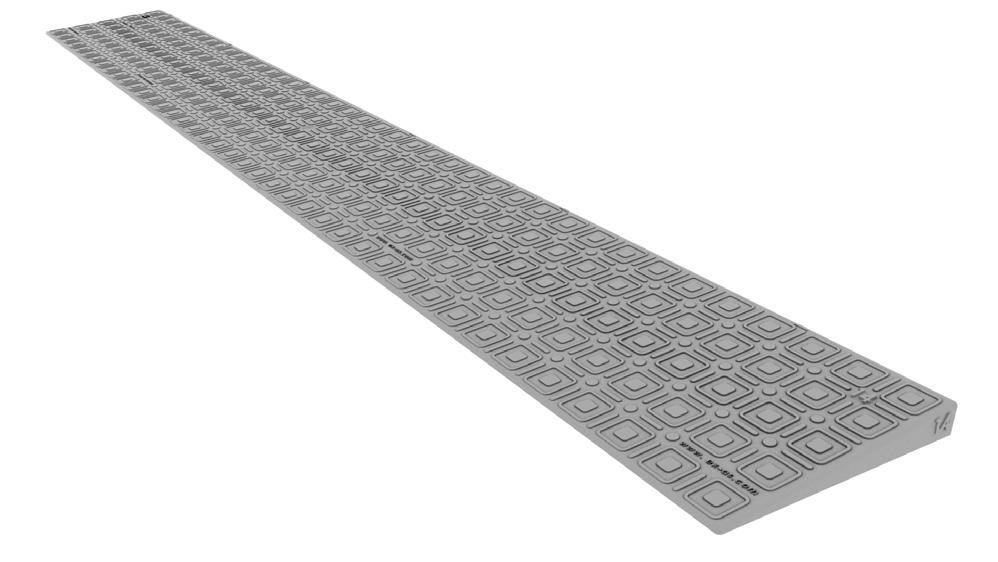
QuickRamp 14mm
Dimensions:
Height: 14mm
Width: 1000mm
Depth: 125mm
Code: QR-014A
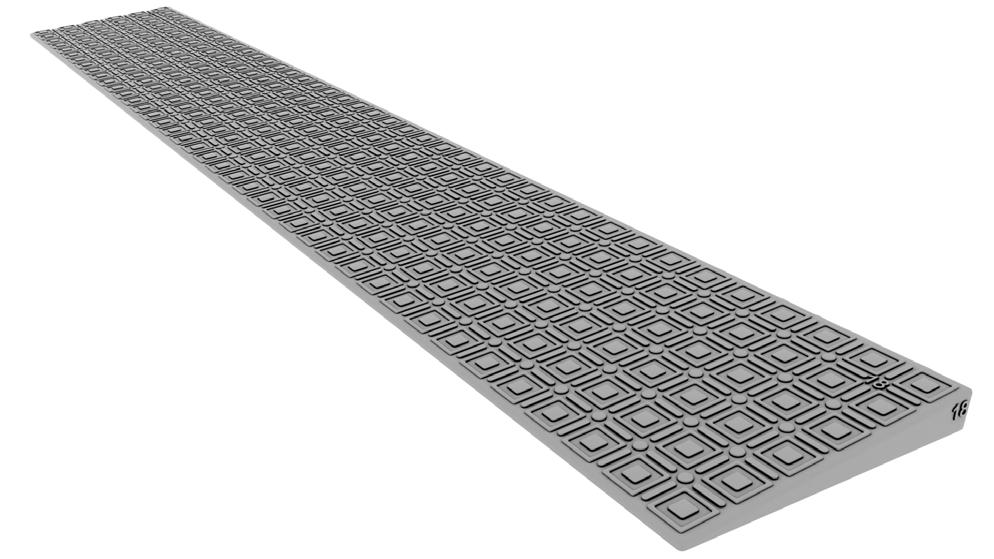
QuickRamp 16mm
Dimensions:
Height: 16mm
Width: 1000mm
Depth: 150mm
Code: QR-016A
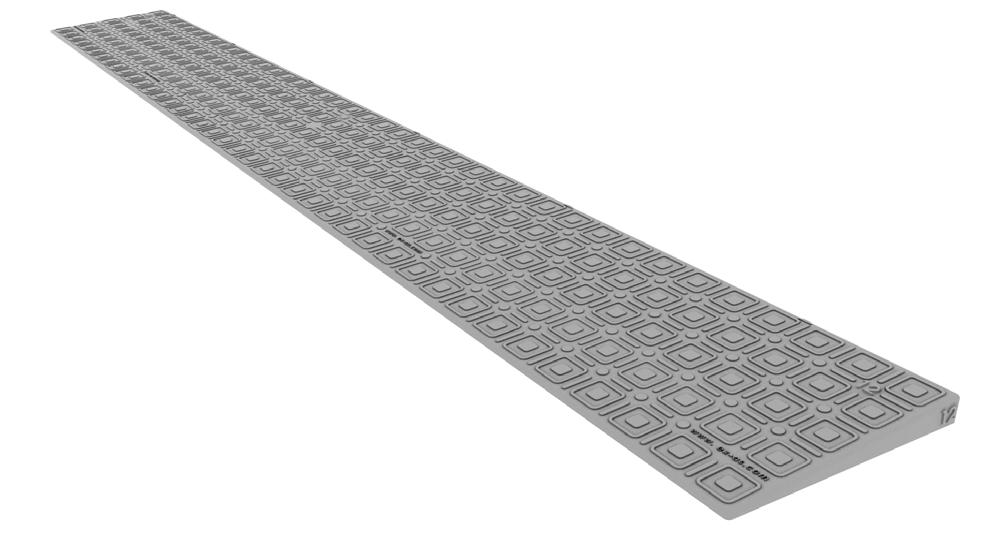
QuickRamps 18mm - 40mm
QuickRamp 18mm
Dimensions:
Height: 18mm
Width: 1000mm
Depth: 150mm
Code: QR-018A
QuickRamp 20mm
Dimensions:
Height: 20mm
Width: 1000mm
Depth: 150mm
Code: QR-020A
QuickRamp 24mm
Dimensions:
Height: 24mm
Width: 1000mm
Depth: 150mm
Code: QR-024A
QuickRamp 28mm
Dimensions:
Height: 28mm
Width: 1000mm
Depth: 175mm
Code: QR-028A
QuickRamp 32mm
Dimensions:
Height: 32 mm
Width: 1000mm
Depth: 200mm
Code: QR-032A
QuickRamp 36mm
Dimensions:
Height: 36mm
Width: 1000mm
Depth: 200mm
Code: QR-036A
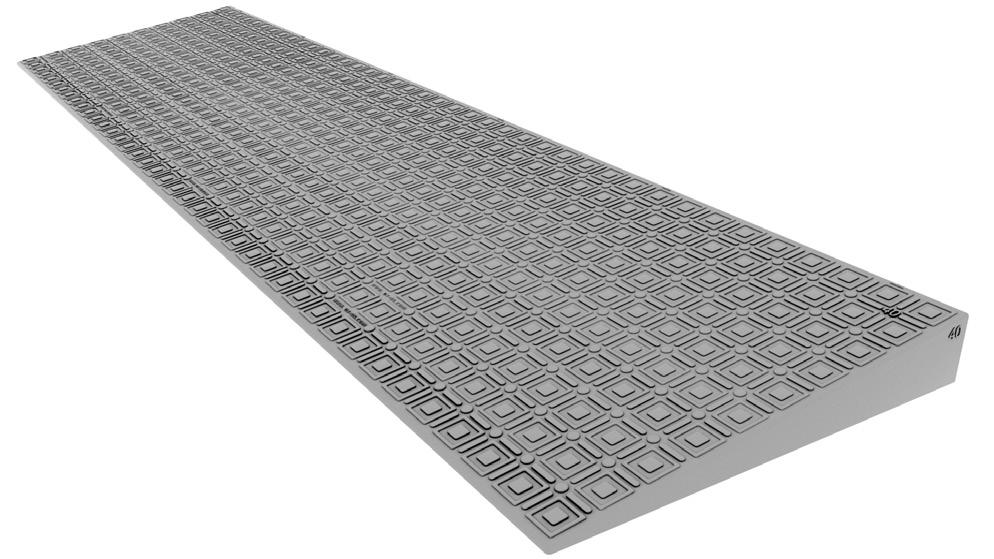
QuickRamp 40mm
Dimensions:
Height: 40mm
Width: 1000mm
Depth: 250mm
Code: QR-040A
QuickRamps 44mm - 60mm
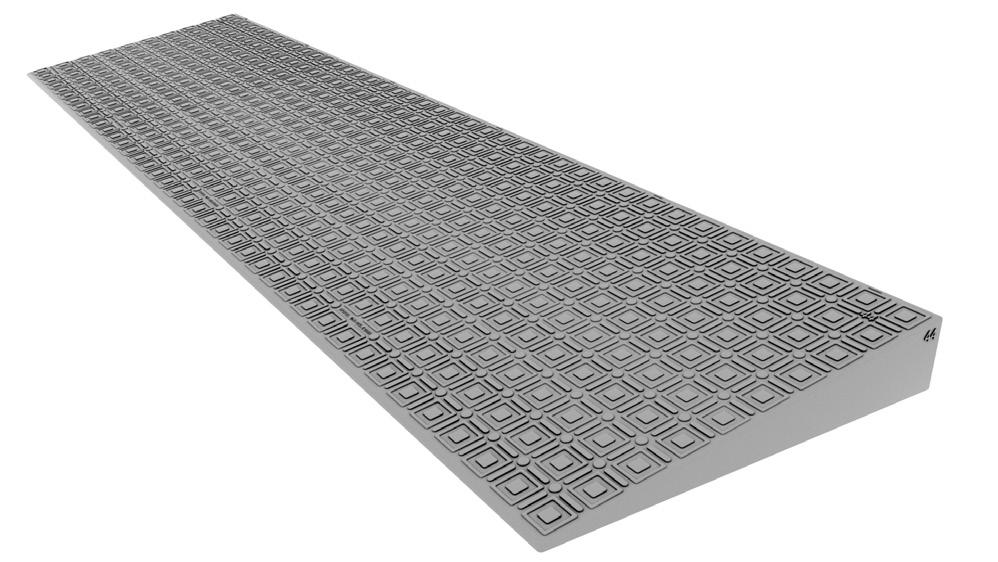
QuickRamp 44mm
Dimensions:
Height: 44mm
Width: 1000mm
Depth: 250mm
Code: QR-044A
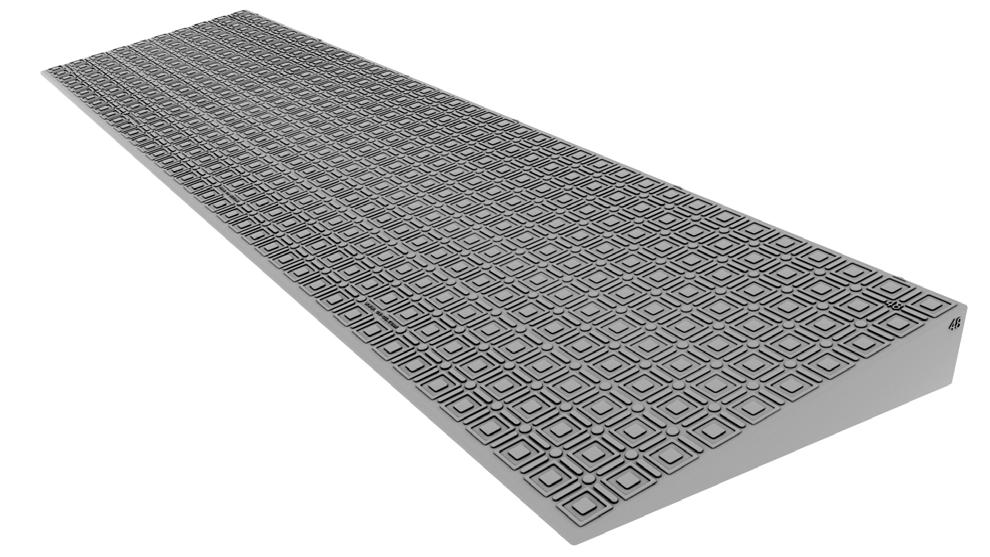
QuickRamp 48mm
Dimensions:
Height: 48 mm
Width: 1000mm
Depth: 250mm
Code: QR-048A
QuickRamp 52mm
Dimensions:
Height: 52mm
Width: 1000mm
Depth: 300mm
Code: QR-052A
QuickRamp 56mm
Dimensions:
Height: 56mm
Width: 1000mm
Depth: 325mm
Code: QR-056A
QuickRamp 60mm
Dimensions:
Height: 60mm
Width: 1000mm
Depth: 325mm
Code: QR-060A
QuickRamps Fixtures
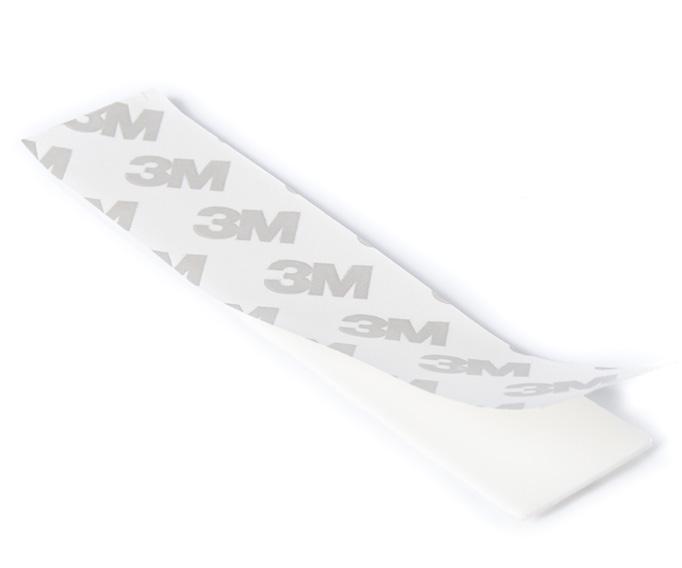
QuickTape
Used to provide a semi-permanent fix to a hard/smooth surface.
Code: QR-TAPE
QuickPad
Used to secure a QuickRamp which can be easily removed and replaced for cleaning.
Code: QR-PAD
TILES
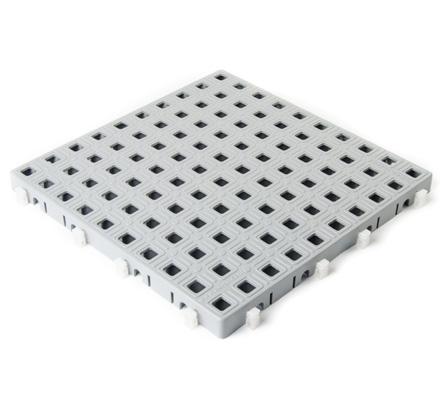
Height: 18mm
Width: 250mm
Depth: 250mm
Use:
Flooring and construction of ramps.
12503 -
Full Tile - 2 Grey - 7 Black
Height: 20mm
Width: 116mm
Depth: 116mm
Use:
In conjunction with Full, Half or Quarter tile to provide extra slip resistance.
12830 -
SureGrip Tile - 2 Grey - 3 Yellow
Height: 18mm
Width: 250mm
Depth: 125mm
Use:
Flooring and construction of ramps. 12510Half Tile - 2 Grey - 7 Black

Height: 18mm Width: 250mm
Depth: 137mm
Use: Construction of ramps. 12505-
Ramp I Tile - 2 Grey - 7 Black
Height: 18mm
Width: 137mm
Depth: 137mm
Use: Construction of ramps in brick pattern.
*Ramp
12511 -
Ramp I Half Tile* - 2 Grey - 7 Black
Height: 18mm
Width: 125mm
Depth: 125mm
Use:
Construction of stronger ramps in brick pattern.
12509Quarter Tile - 2 Grey - 7 Black
Height: 20mm
Width: 116mm
Depth: 91mm
Use:
In conjunction with the Ramp I tile to provide extra slip resistance.
12840 -
SureGrip Ramp I - 2 Grey - 3 Yellow
1 Tile Pre-cut into two halves.

Height: 18mm
Width: 137mm
Depth: 137mm
Use:
Construction of corner entry ramps.
12507Corner Ramp I Tile - 2 Grey - 7 Black
Height: 21mm
Width: 125mm
Depth: 125mm
Use:
Construction of corner rampsendings for flooring etc.
12537Corner Ramp I+ - 2 Grey - 7 Black
Height: 21mm
Width: 250mm
Depth: 125mm
Use:
Construction of smooth ramps, suitable for electric wheelchairs.
12535Ramp I+ - 2 Grey - 7 Black
Height: 23mm
Width: 113mm
Depth: 116mm
Use:
In conjunction with Ramp I + tiles to provide extra slip resistance.
12850 -
SureGrip Ramp I+ - 2 Grey - 3 Yellow
Height: 21mm
Width: 250mm
Depth: 250mm
Use:
Construction of ramps with low inclinations and level surfaces.
12545 -
Ramp II - 2 - 7 Black
Height: 23mm
Width: 116mm
Depth: 238mm
Use:
In conjunction with Ramp II tiles to provide extra slip resistance.
12860 -
SureGrip Ramp II - 2 Grey - 3 Yellow
Height: 21mm
Width: 125mm
Depth: 125mm
Use:
Construction of stronger ramps in brick pattern.
12536Half Ramp I + - 2 Grey - 7 Black
Height: 21mm
Width: 250mm
Depth: 250mm
Use:
Construction of corner ramps
12547Corner Ramp II - 2 Grey - 7 Black
TILES

Height: 54mm
Width: 500mm
Depth: 250mm
Use:
Minimise materials and quicker to install while reducing cost.
15000 -
SixPack - 2 Grey
Height: 2 - 16mm
Width: 250mm
Depth: 200mm
Use:
Increase height of a ramp in increments from 2 to 16mm.
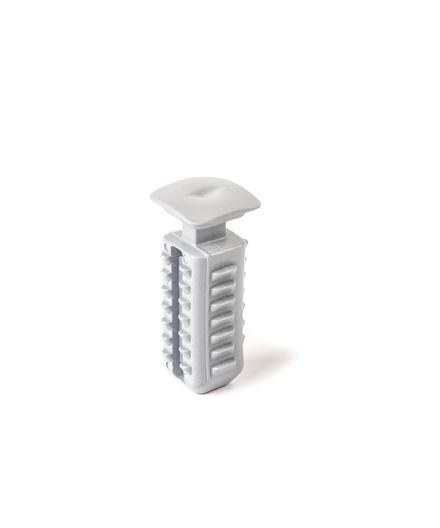
Ramp Adjuster Grey
Height: 0.5 - 3mm
Width: 250mm
Depth: 125mm
Use:
Fine tune the height by 3mm.
Adjustment Key Grey
Height: 18mm
Width: 250mm
Depth: 250mm
Use:
Bottom or inside of ramp/raised flooring to reduce cost.
12998Infill tile - 9 Slate
Height: 54mm
Width: 500mm
Depth: 250mm
Use:
Minimise materials and quicker to install, while reducing cost.
15100 -
SixPack Infill - 9 Slate
Height: 35mm
Width: 14mm
Depth: 14mm
Use:
Connects 2 layers on top of each other.
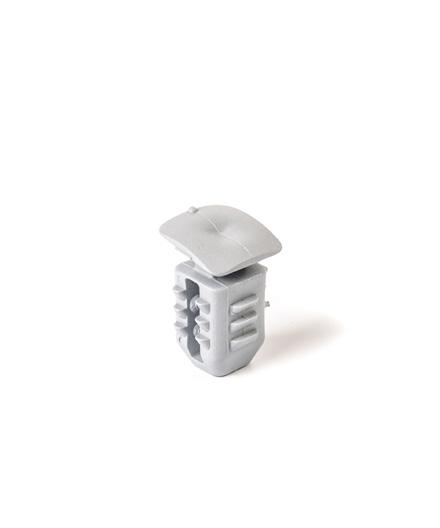
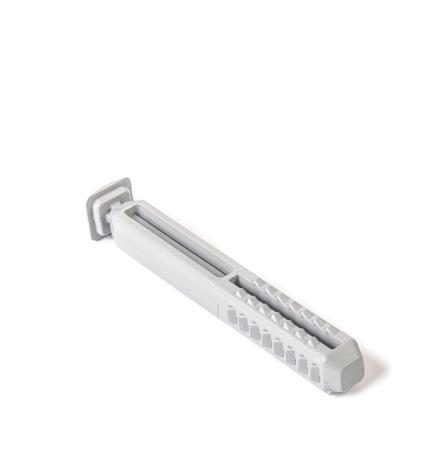
12732T-Lock - 2 Grey - 7 Black

Height: 9mm
Width: 80mm
Depth: 11mm
Use:
Secure flooring and ramps outdoors. 2 nail/screw per Guide.
12695
Expansion Guide Grey
Height: 24mm
Width: 14mm
Depth: 14mm
Use:
Connects ramps on top of tiles. Used on inclined surfaces.
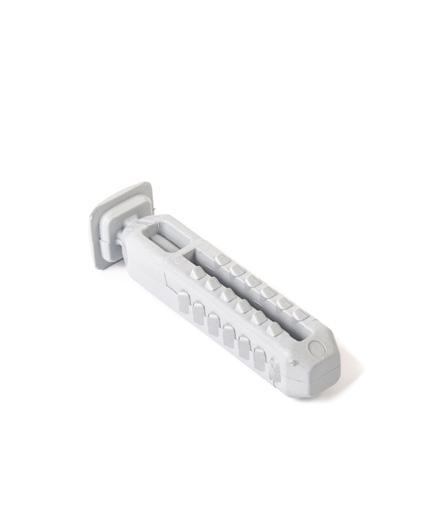
12742R-Lock - 2 Grey - 7 Black
Height: 14mm
Dia: 9mm
Dia: 14mm
Use:
Prevent movement of tiles on smooth surfaces.
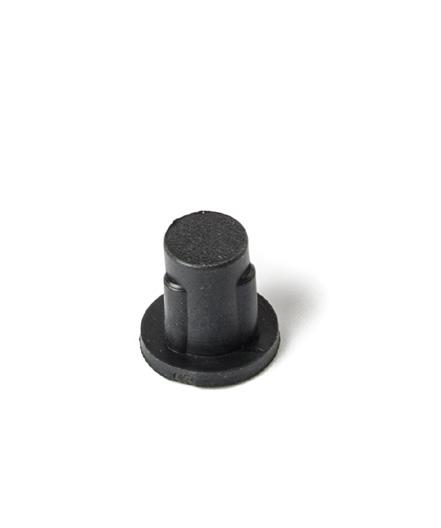
12500 Stoppers Black
Height: 51mm
Width: 14mm
Depth: 14mm
Use:
Connects 3 layers. 15250
S-Lock Grey
Pad: 35 x 1mm Plug: 9 dia x 15mm
Use:
To fix flooring and ramps indoors on wood, marble or tile. Easy to peel tape.
12690
Mounting Pad Grey
Height: 88mm
Width: 14mm
Depth: 14mm
Use:
Connects 5 layers (SixPack and Tiles).
15200
L-Lock Grey
FIXINGS
Understanding Gradients
Excellent Systems is an award winning range of products, which fit together and combine to form ramps, platforms, floors etc. The system is easily assembled with a range of locks and can be disassembled and rebuilt into different shapes and sizes, without specialist tools.
Standard Gradients
1:7 Gradient | Typically used as a portable solution.
Use Ramp I and Ramp I+ tiles to achieve this gradient.
Generally used for short ramps where using a powered chair or when the user is assisted.
1:14 Gradient | Typically used where ramps will be left down.
Use Ramp II tiles to achieve this gradient. For added strength, use Ramp I+ at the foot of the ramp.
Generally used for users that are self propelled or use a walking frame.
Being fully modular it is possible to configure a ramp to suit the needs of an individual user, by incorporating rest (level) areas and more. Contact us for more adivce!
Assembly Ramp Adjuster
With the Ramp adjuster it’s possible to make fine height adjustments in 2mm increments without the need for tools.
You can simply adjust to the height you need by hand before placing it under a tile.
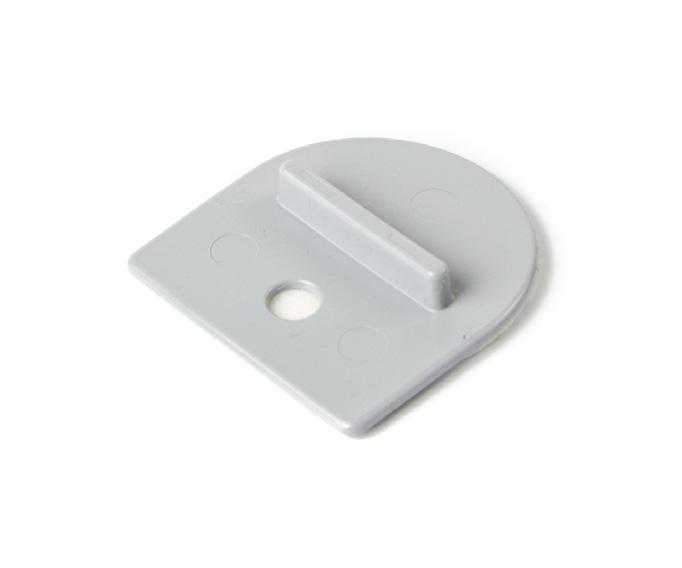
Assembly C-Lock
C-Lock connects: tiles in layers horizontally.
C-Lock is easy to mount and dismount by hand.
A rubber mallet makes connecting all tiles and ramps even easier.
Assembly R-Lock & T-Lock
R-Lock connects: ramps on top of tiles. Used on the inclined surfaces.
Ramp I - Use R-Lock on first row of the ramp as shown above.

Place R-Lock with the dot pointing upwards following the angle of the ramp.
Ramp II + - Use R-Lock on second row of the ramp as shown above.
Ramp II - Use R-Lock on second row of the ramp as shown above.
The lock is knocked into the ramp with a rubber mallet.
T-Lock connects: two layers of tiles on top of each other.
Example of Half tile mounted in a ramp at the left corner.
T-Locks to be placed in the top row of all ramp tiles.
Tile mounted with outside edges used.
Tile with SureGrip mounted providing specific holes.
Make sure that all locks are placed offset in each layer.
The lock is knocked into the ramp with a rubber mallet.
Assembly S-Lock & L-Lock
S-Lock connects: three layers of tiles on top of each other.
Tile mounted with outside edges used.
Tile with SureGrip mounted providing specific holes to use.
The lock is knocked into the ramp with a rubber mallet.
L-Lock connects: five layers of tiles on top of each other.
Make sure that all locks are placed offset in each layer.
Tile mounted in a rampoutside edges used.
Tile with SureGrip mounted providing specfic holes to use.
The lock is knocked into the ramp with a rubber mallet.
Make sure that all locks are placed offset in each layer.
5 Layers
4 Layers + SixPack
3 Layers
2 Layers + SixPack
Assembly SureGrip
SureGrip is used outdoors to increase slip resistance. Yellow is often used to help increase visibility, otherwise the standard colour is grey.
SureGrip in Full, Half and Quarter Tiles
SureGrip in a Ramp I and Ramp I + Tile
Ramp I + Illustrated below:
Turn the tile over.
Place the SureGrip with the arrows on the back pointing towards the middle of the tile.
Assembly SureGrip
SureGrip in a Ramp II Tile
SureGrip in a Corner Ramp I and Ramp I + Tile
Use two SureGrip tiles for one corner and cut them as shown below before inserting into the underneath of the Corner Tile.
Seen from behind
SureGrip in a Corner Ramp II
Use two SureGrip Ramp II tiles for one corner and cut them as shown below before inserting into the underneath of the Ramp II tile.
Seen from behind
Seen from behind
Assembly Expansion Guide
All materials expand when temperature increases and contract when it drops. As an example, look at expansion joints on bridges.
Polyethylene also expands, and the Expansion Guide is used to allow for this, when installing outdoors.
It is important to use Expansion Guides so that the ramp/ flooring will expand in the intended direction. Here a couple of examples on how to place the Expansion Guides:
Fixpoint in front of doorstep
Fixpoint close to corner
Placement of Expansion Guides:
Lift the bottom layer and place the Expansion Guide underneath the tiles.
Use, if possible, the two outer holes in the Expansion Guide. Fix one screw at a time.
1 2
Hammer the supplied screw into the hole with a screwdriver and a rubber mallet.
Drill a hole in the ground/floor through the tile and Expansion guide.
Repeat for the other screw.
Doorstep
Assembly Expansion Guide
The Ramp can be lifted from the Expansion Guide, so cleaning the ground is possible.
Ramp Expansion Example:
Expansion in width
Fixpoint in front of doorstep Expansion lengthwise
Place the Expansion Guide at the fixpoint in front of the doorstep/edge and underneath the ramp to the middle. This way you will keep the ramp in place so it will neither move away from the doorstep or to the sides.
Length Expansion: When installed at 15˚C, the ramp has a length of 2006mm. At 40˚C in the sun, it will expand to 2016mm. In wintertime, it contracts to 2000mm.
Width Movement: When installed at 15˚C, the ramp has a width of 1059mm. At 40˚C in the sun, it will expand to 1512mm. In wintertime, it contracts to 1500mm.
Expansion Rates
Assembly QuickRamps
Wipe surface clean to remove dirt before starting. Place QuickRamp into desired position.
Use handsaw, utility knife or jigsaw to cut length if needed.
For 4 - 8mm ramps, use QuickTape. Peel the film and apply the tape to the bottom of the ramp. Turn back over and put into desired position.
For 10 - 60mm ramps, use QuickPad
Align the ramp to the desired position. Small arrows on the ramp will indicate the placement needed for the QuickPads
4-8 mm
10-60 mm
Assembly QuickRamps
Indoor installation
x4x4
Outdoor installation
x4
x4
For indoor installation, simply peel the adhesive strip and place into position.
For outdoor installation, place the QuickPad into position and secure with a screw.
Once the QuickPads have been secured, slide and lift the ramp into position to secure the QuickRamp. Your ramp will now be ready to use.
If you need to remove the ramp, then unscrew (if outdoor installation was followed). Otherwise using a flat head screwdriver, lift the QuickPad up and it will peel away; some pressure may need to be applied. Sometimes a residue may remain, however, simply rub the area with your finger or a damp cloth to remove.
Dismantling