


• Fast & Powerful
2.0GHz/ Octa-Core CPU
• Big & Clear
13.6” 2K HD Display for crystal clear diagnostics
• Smart & Connected
Includes CODEASSIST + X-431 FIX repair database
• Future-Proof
Compatible with next-generation diagnostic protocols, including CAN FD & DoIP
Scan QR Code For More Product Information.


COLLABORATIVE PARTNERSHIP ADDRESSES TECHNICIAN SHORTAGE WHY ADAS CALIBRATION AFTER COLLISION REPAIRS IS ESSENTIAL
INDASA USA NAMED EXCLUSIVE CHANNEL PARTNER OF FUSOR
Endeavor Business Media, LLC
30 Burton Hills Blvd, Ste. 185, Nashville, TN 37215 Phone: 800-547-7377
EDITORIAL STAFF
CHRIS JONES GROUP EDITORIAL DIRECTOR christopherj@endeavorb2b.com
JAY SICHT
EDITOR-IN-CHIEF jsicht@endeavorb2b.com
PETER SPOTTS ASSOCIATE EDITOR pspotts@endeavorb2b.com
JENNIFER DAKAS ART DIRECTOR
CONTRIBUTORS
PAUL BOSTEL
RYAN MARRINAN MICHAEL NELSON
ENDEAVOR BUSINESS MEDIA
CEO CHRIS FERRELL
SALES STAFF
ANDREW JOHNSON PUBLISHER ajohnson@endeavorb2b.com
MATTIE GORMAN-GREUEL SALES DIRECTOR mgorman@endeavorb2b.com
CORTNI JONES DIRECTOR OF BUSINESS DEVELOPMENT cjones@endeavorb2b.com
Account Executives: DIANE BRADEN dbraden@endeavorb2b.com
MARIANNE DYAL mdyal@endeavorb2b.com
CHAD HJELLMING chjellming@endeavorb2b.com
LISA MEND lmend@endeavorb2b.com
KYLE SHAW kshaw@endeavorb2b.com


COO — PATRICK RAINS CRO PAUL ANDREWS CDO JACQUIE NIEMIEC
SEAN THORNTON sthornton@endeavorb2b.com
CALO TRACY KANE CMO AMANDA LANDSAW


EVP TRANSPORTATION GROUP CHRIS MESSER VP OF CONTENT STRATEGY, TRANSPORTATION GROUP JOSH FISHER
JAMES HWANG Inside Sales & Brand Manager, ASE Study Guides jhwang@endeavorb2b.com
REPRINT SERVICES reprints@endeavorb2b.com.
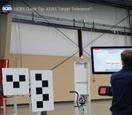


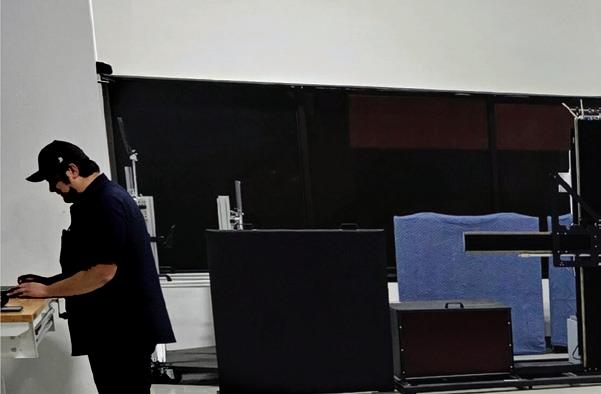
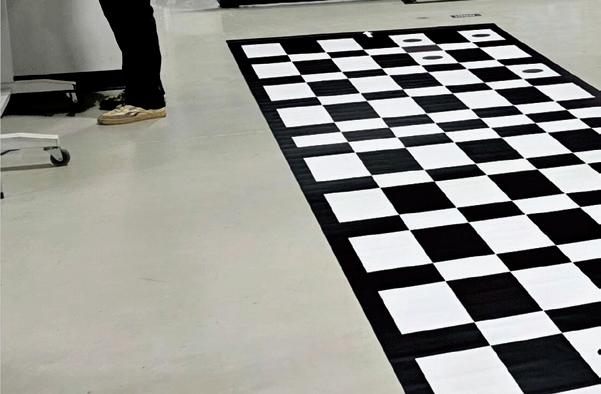
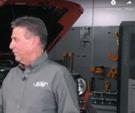
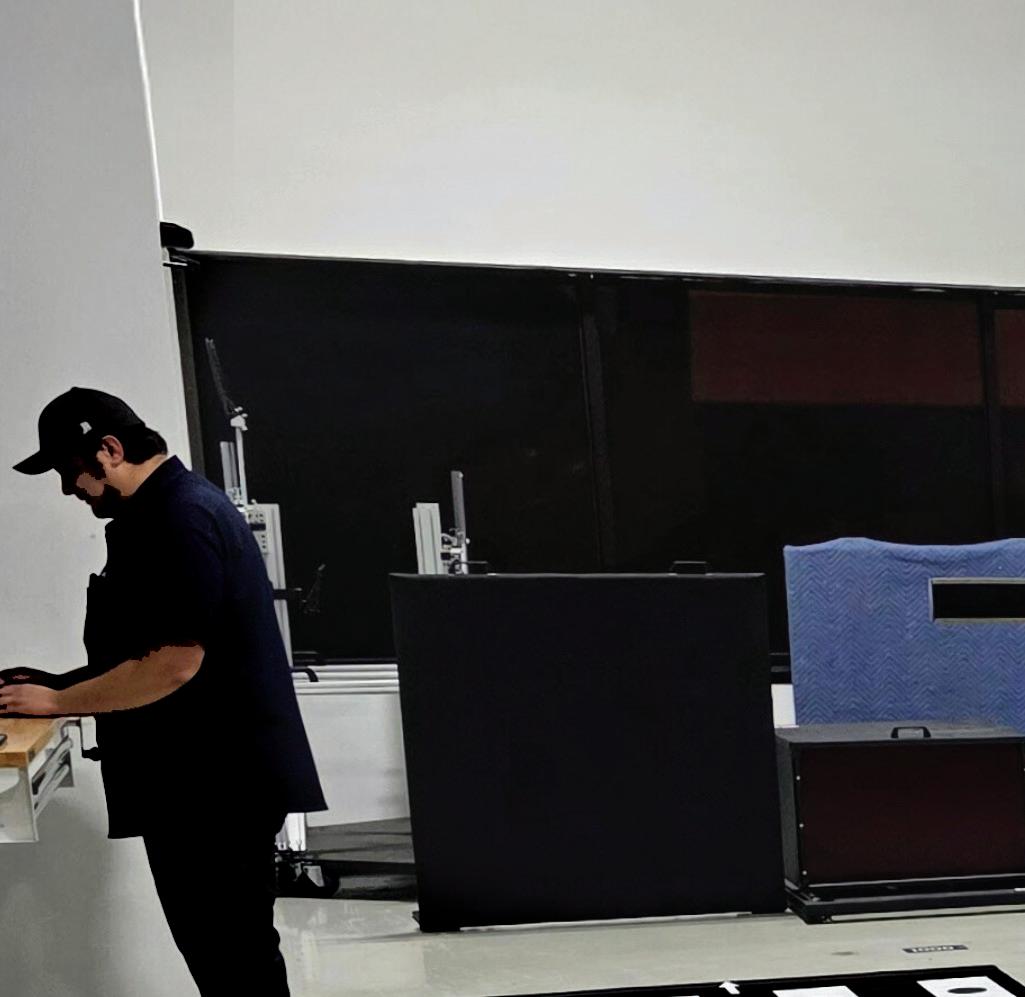
As vehicle technology advances, precise calibrations have never been more critical. In this conversation, Josh McFarlin of AirPro Diagnostics and Michael Giarrizzo Jr. of DCR Systems discuss why adherence to procedures and exact target placement during calibrations is essential — and how even small variances can impact forward-facing cameras and other ADAS sensors.
Hear examples breaking down how tolerance works, what it really means for technicians, and why relying on “wiggle room” can lead to repeat failures. This video will help you to learn about influencing factors like brackets, glass installation, and sensor alignment, and emphasizing how accurate measurements and following service information are the keys to successful calibrations.
This video was filmed at the I-CAR Training Center in Appleton, Wisconsin.


BUSINESS STAFF
MICHAEL WILLINS BUSINESS DEVELOPMENT DIRECTOR, MOTOR AGE TRAINING
LESLIE BROWN MARKETING DIRECTOR
MARIAH STRAUB PRODUCTION MANAGER
JENNIFER GEORGE AD SERVICES MANAGER
TRACY SKALLMAN AUDIENCE DEVELOPMENT MANAGER
JILLENE WILLIAMS SALES COORDINATOR
CUSTOMER SERVICE
Subscription Customer Service 877-382-9187; 847-559-7598
ABRN@omeda.com PO Box 3257 Northbrook IL 60065-3257
ABRN is published 4 times yearly (March, June, October, December) by Endeavor Business Media, LLC. 30 Burton Hills Blvd, Ste. 185, Nashville, TN 37215. Customer service can be reached toll-free at 877-382-9187 or at ABRN@omeda.com for magazine subscription assistance or questions.
Printed in the USA. Copyright 2025 Endeavor Business Media, LLC. All rights reserved. No part of this publication may be reproduced or transmitted in any form or by any means, electronic or mechanical, including photocopies, recordings, or any information storage or retrieval system without permission from the publisher. Endeavor Business Media, LLC does not assume and hereby disclaims any liability to any person or company for any loss or damage caused by errors or omissions in the material herein, regardless of whether such errors result from negligence, accident, or any other cause whatsoever. The views and opinions in the articles herein are not to be taken as official expressions of the publishers, unless so stated. The publishers do not warrant either expressly or by implication, the factual accuracy of the articles herein, nor do they so warrant any views or opinions by the authors of said articles.
Endeavor Business Media provides certain customer contact data (such as customers’ names, addresses, phone numbers, and e-mail addresses) to third parties who wish to promote relevant products, services, and other opportunities that may be of interest to you. If you do not want Endeavor Business Media to make your contact information available to third parties for marketing purposes, simply call toll-free 877-382-9187 or email ABRN@omeda.com and a customer service representative will assist you in removing your name from Endeavor Business Media’s lists. ABRN does not verify any claims or other information appearing in any of the advertisements contained in the publication, and cannot take responsibility for any losses or other damages incurred by readers in reliance of such content. ABRN welcomes unsolicited articles manuscripts, photographs, illustrations and other materials but cannot be held responsible for their safekeeping or return.


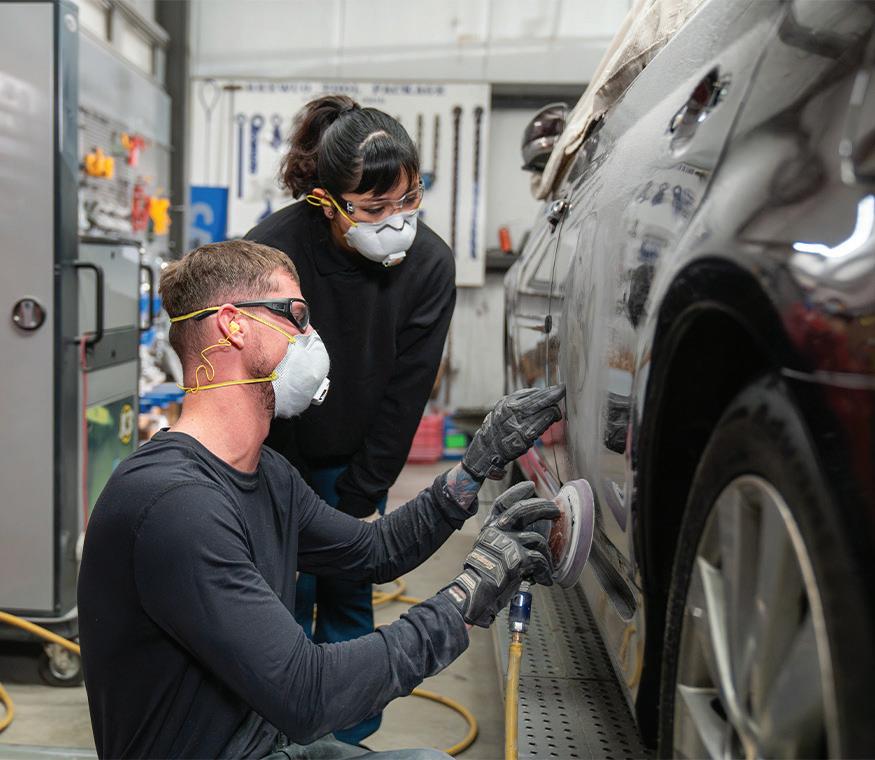
e National Institute for Automotive Service Excellence, I-CAR, the Collision Repair Education Foundation, and WrenchWay have formed a collaborative partnership to address the critical need for technicians.
The new partnership is focused on attracting and retaining talent by providing the resources and support needed for automotive and collision repair technicians to grow and succeed. The plan centers on three initiatives designed to support current and future talent.
“Working closely with our colleagues at I-CAR, CREF and WrenchWay, we began a powerful collaboration to address one of the industry’s most pressing challenges: attracting and preparing the next generation of automotive service professionals,” said Dave Johnson, ASE president and CEO. “We are committed to a shared goal of building the widest pathway to attract new talent and advance the collision repair field together.”
CREF Executive Director Brandon Eckenrode said the partnership perfectly aligns with their mission to support collision repair educational programs, students, and schools.
“By combining our resources and industry connections, we can help ensure schools have the tools, equipment and support needed to attract students and prepare them for fulfilling, lifelong careers,” he said.
First, the plan will address common misconceptions about the industry and showcase the array of rewarding, high-opportunity career paths available. The intiative will engage students, parents, and educators with informative web, social, and print media advertising. ASE, CREF, I-CAR, and WrenchWay will collaboratively syndicate all media content targeting future technicians through paid and owned channels.
A second area of focus will be to provide accessible and affordable entry-level education solutions that drive skill development, support the mentor/mentee relationship, and lead to numerous industry recognized credentials. The partnership will also strengthen Career technical education schools through scholarships, donations and certifications.
“At WrenchWay, we’re focused on building stronger connections between schools, students and employers,”
said Jay Goninen, president and co-founder of WrenchWay. “Collaborating with ASE, I-CAR and CREF allows us to expand those connections and help more students see the incredible opportunities available in today’s modern, technology-driven shops.”
Finally, the organizations will work to keep talent in the industry by equipping new technicians with the tools and mentorship they need to succeed, while supporting employers in creating a learning culture rooted in skill development, safety and career advancement, a framework central to each of the organization’s training philosophy.
“This partnership expands the work I-CAR has championed through initiatives like the Collision Careers web and social platforms and I-CAR Academy, ensuring that employers, students and schools have clear, structured and affordable entry points into high-demand collision repair careers,” said Dara Goroff, I-CAR’s vice president of planning and industry talent programming.
Key initiatives are already underway, including a centralized job board website at collisioncareers.com. Collision Careers connects talent with employment opportunities and I-CAR Academy, a curriculum designed for shops or schools to support their ability to educate entry-level technicians with the knowledge and skills required to perform modern-day collision repair. It also aligns with ASE credentials and Department of Labor Registered Apprenticeship requirements.
WrenchWay School Assist and Technician Pay Tool and the CREF Donation Exchange platform can provide schools with access to information, equipment, and resources through direct connections to local and industry organizations.
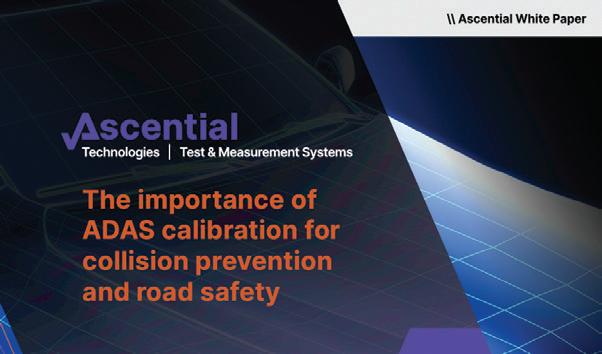
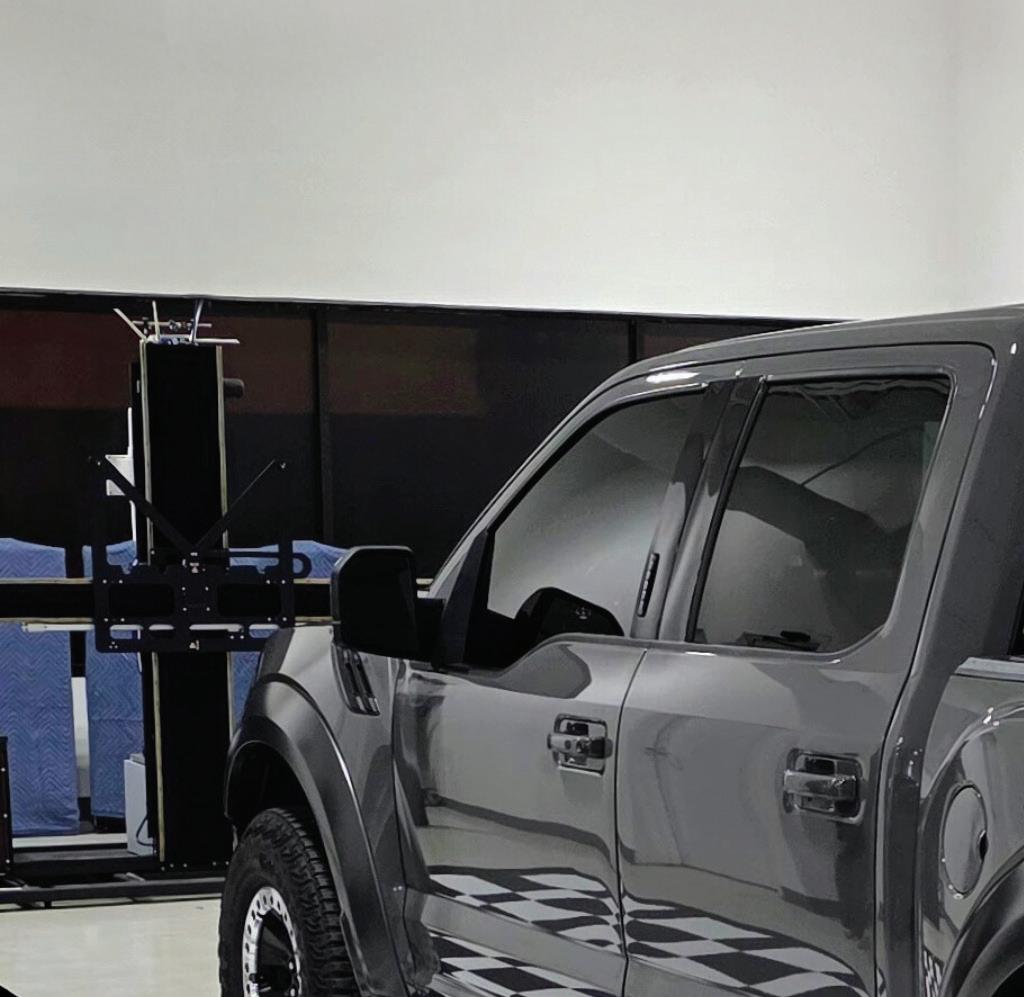
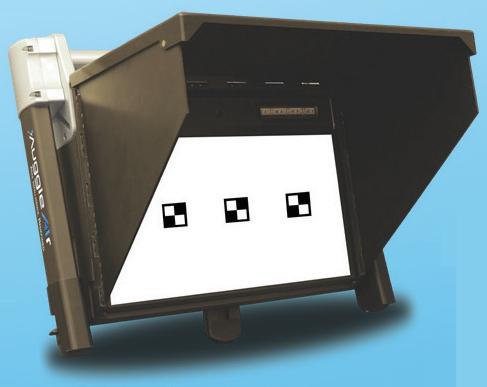
Ascential Technologies’ latest whitepaper “The importance of ADAS calibration for collision prevention and road safety” examines and evaluates the e ects of various calibration methods on the performance of a selected vehicle.
ADAS calibrations play a critical role in protecting human lives, enhancing vehicle safety, and minimizing legal and regulatory risks for service providers and vehicle owners. The widespread adoption of these systems increases the importance of precise calibration. Recalibration after collisions or repairs is essential, not optional.
“This whitepaper provides real-world guidance and eye-opening data that emphasize why precise calibration is essential to vehicle safety,” said Brunno Moretti, president, ADAS Solutions by Burke Porter, an Ascential Technologies
offering. “Backed by industry statistics, numerous studies and expert opinions, our Ascential Technologies whitepaper aims to make one thing clear: ADAS calibration must be treated as a nonnegotiable step of the repair process, with the level of meticulousness and attention it rightfully demands across the entire industry.”
The whitepaper covers topics including:
• ADAS effectiveness in preventing collisions
• Failure rates and consequences of improper calibration
• Post-collision ADAS calibration
• ADAS calibration as a routine maintenance requirement
• Performance evaluations of ADAS calibration quality
The report couples new findings with other valid stats from industry sources,
including the National Safety Council. It found that current ADAS technologies have the potential to prevent around 62% of traffic deaths and nearly 60% of crash injuries annually if properly implemented and used – equating to approximately 20,000 lives saved per year in the U.S.
The study was co-sponsored by Dealer Tire under the Sentric ADAS brand, which was formed through a partnership between Dealer Tire and Burke Porter to deliver precision ADAS calibration labs and services to the automotive market.
Indasa USA and Fusor made an exclusive distribution agreement, which expands Indasa’s global support to include the U.S., Canada, Mexico, and the Caribbean as the exclusive channel partner of Fusor repair adhesives in the automotive aftermarket.

This strengthens Indasa’s product offerings by adding OEM-approved adhesives, seam sealers, and plastic repair systems that complement its full line of abrasives, masking solutions, and dust extraction systems.
company’s state-of-the-art training facility. Live demonstrations, courses, and repair process training will help shops integrate Fusor into their workflow, backed by technical expertise and real-world support.
“Fusor is a name collision professionals trust, and we’re proud to bring their industry-leading adhesive technology under the INDASA USA umbrella,” said William Nagel, EVP at Indasa USA. “Together with our abrasives, dust-free sanding systems, and surface prep tools, we now offer shops a streamlined, fully integrated solution from start to finish.”
As part of the partnership, Fusor products will be featured in hands-on training programs at the Indasa Academy, the
“We are truly excited about this expanded partnership with Indasa USA as it represents a significant opportunity for the automotive collision industry,” said Patrick Maloney, Global Sales & Business Development manager at Parker Lord. “It brings valuable benefits such as industry-wide price realignment, access to high-quality brands, stronger, more personalized relationships, and a body shop demonstration-focused approach that enhances engagement and support.”
The exclusive channel partner agreement took effect September 1. Indasa USA is working closely with distributors and warehouses nationwide to ensure smooth onboarding and availability of Fusor products.


BY PAUL BOSTEL
The vehicles rolling o the assembly line today are absolute marvels of engineering…and headaches of complexity.
With each model year, the number and variety of advanced driver assistance systems (ADAS) grows, and so too does the challenge of servicing them correctly.
Servicing these systems can’t come down to guesswork, luck, or shortcuts. Shops that want to put safe cars back on the road should have a repeatable process that ensures each
calibration is done at the right time, in the right way, every time .
No, it’s not glamorous work. There are no TV cameras or flashy reveal moments when you nail a calibration. But this process is central to returning a vehicle to its operational baseline. The customer may never understand every step you took. But their safety — and the shop’s liability — depend on it.
This article will cover a method to create a consistent, disciplined process that will lead to an outcome of proper
identification and documentation of ADAS requirements and calibrations.
The path to a successful calibration starts way before a wrench turns or a panel is removed. The initial identification stage ensures you know exactly what ADAS systems are in the vehicle and what might be affected by the repairs.
At vehicle intake, an estimator, service advisor, or technician should conduct a full walkaround.
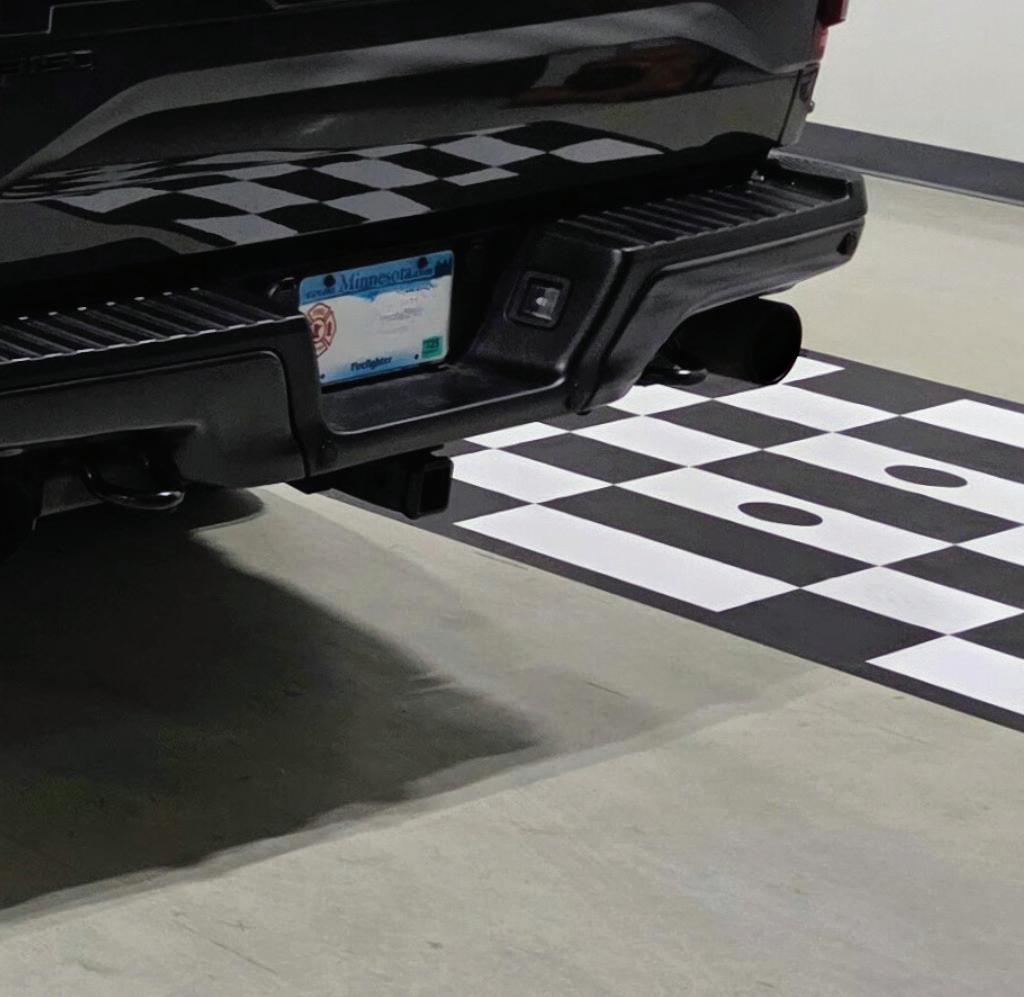
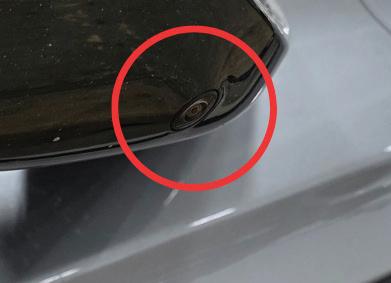
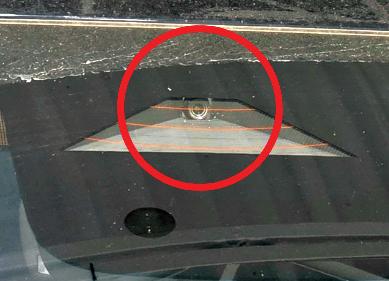
• Look for visible ADAS components such as forward-facing cameras, radar sensors, ultrasonic sensors, Lidar units, and surround-view cameras.
• Note their condition — any misalignment, cracks, or damage could influence calibration or require replacement.
• Check for mounting points that look disturbed or modified.
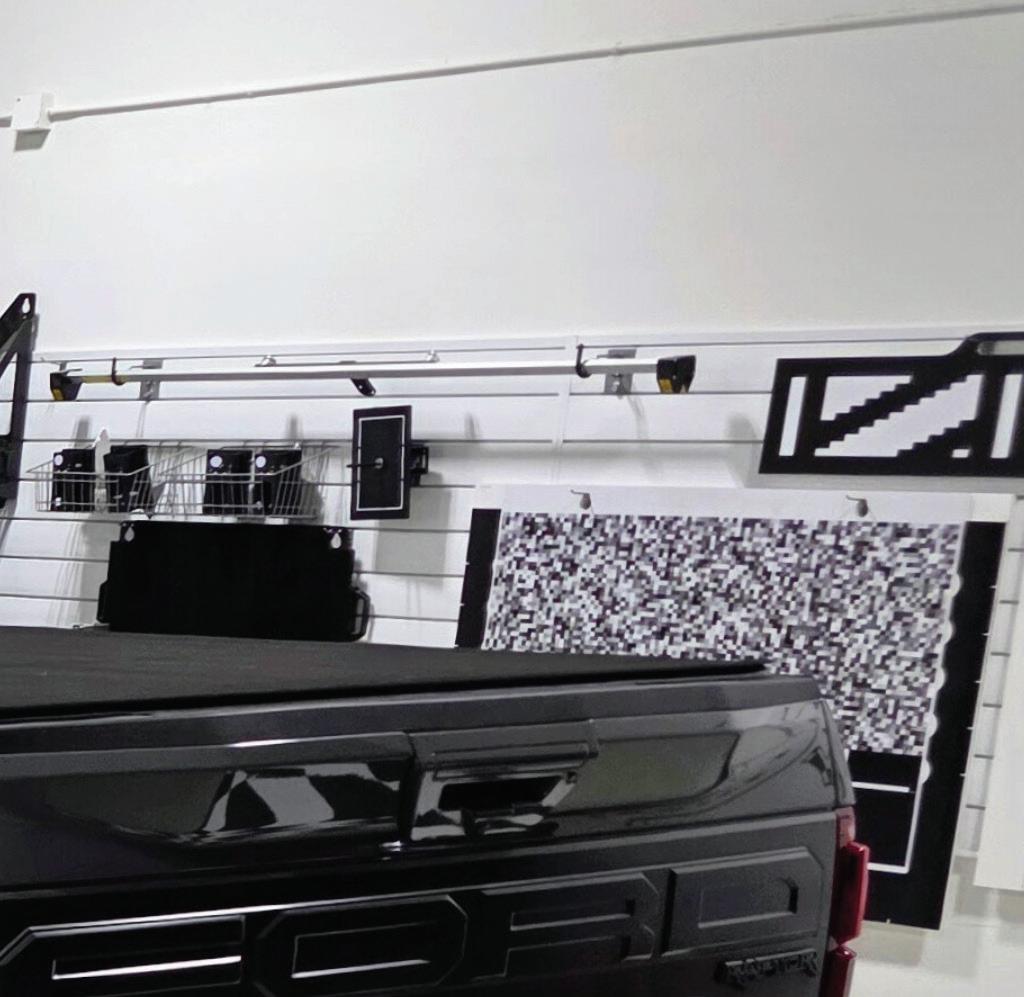
Not every ADAS system is obvious. Some are tucked away behind grilles, embedded in bumpers, or mounted high on windshields.
• When possible, pull the vehicle OEM-build data to identify every system installed from the factory (some


manufacturers are better than others in the difficulty of obtaining this information).
• This step often uncovers “hidden” systems that even experienced technicians might overlook.
A pre-repair scan is your early warning system.
• It detects modules and features that aren’t visually obvious.
• It identifies trouble codes that could interfere with calibration success.
• It establishes a digital baseline for system health before repairs begin.
Identify modifications or aftermarket equipment
Aftermarket parts, accessories, or modifications can be calibration-killers.
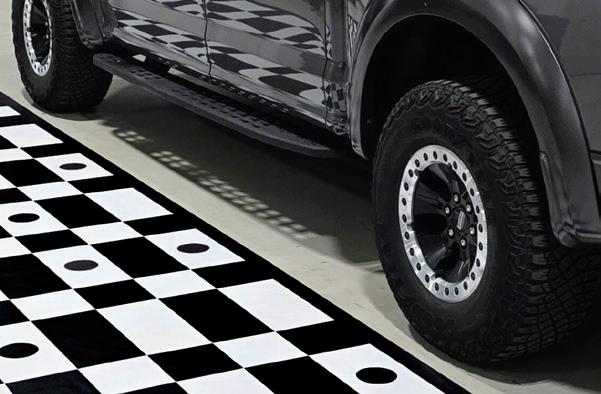
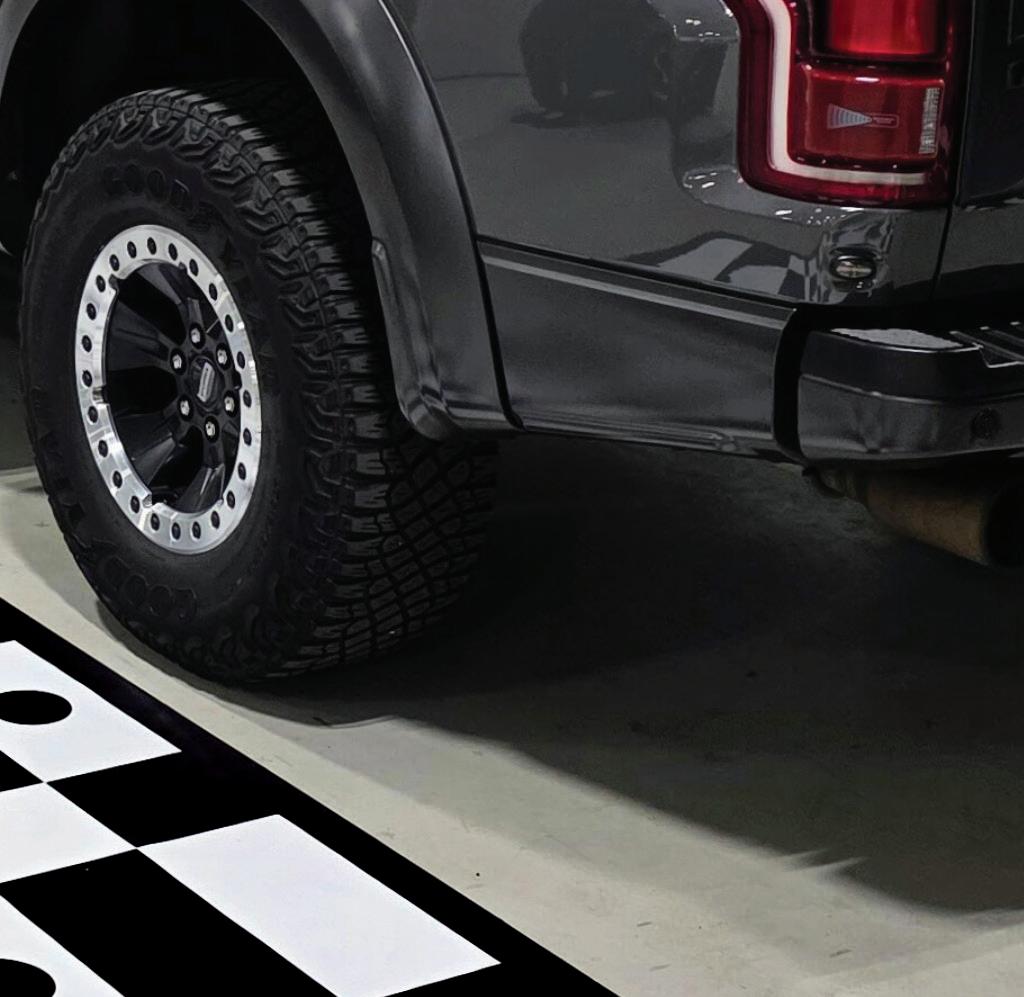
• Lift kits can change radar aim.
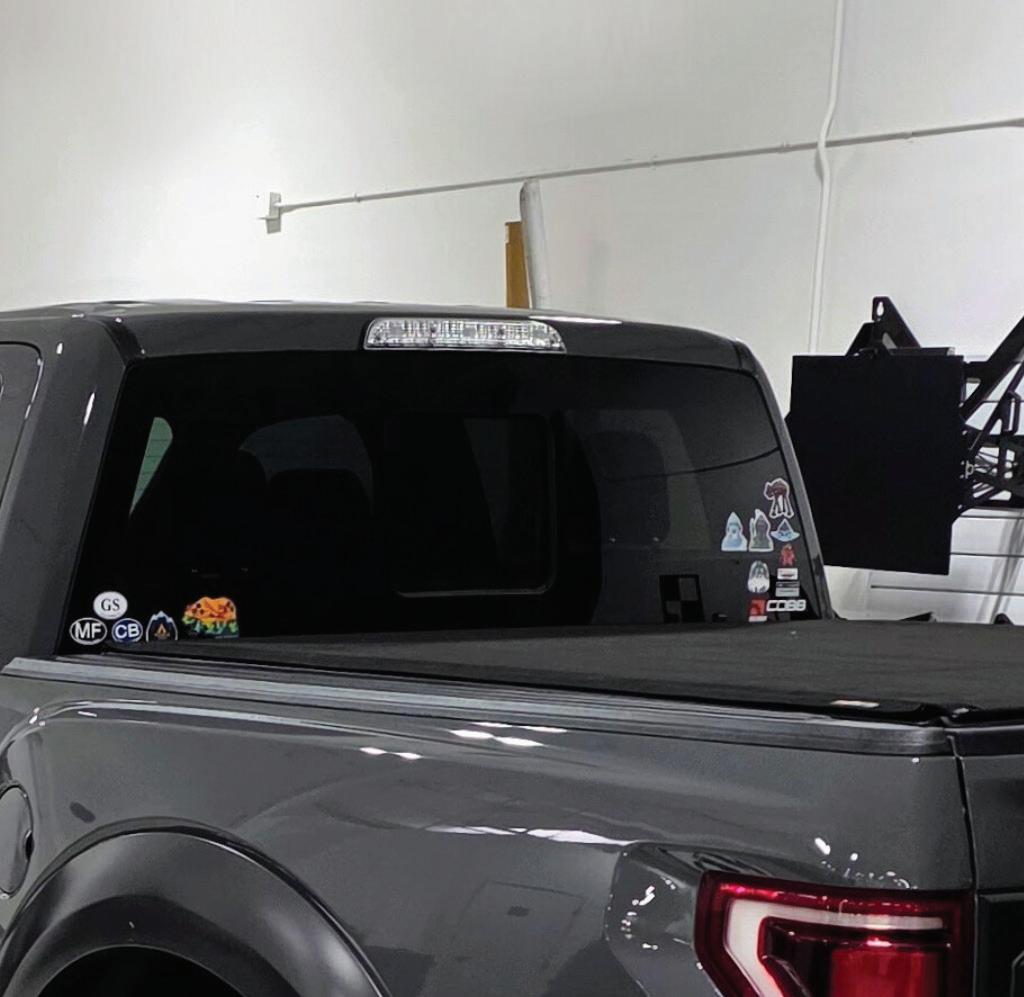
• Tinted windshields can affect camera vision.
• Non-OEM bumpers can alter sensor placement. If OEM conditions can be restored, work with the owner to do so. If not, declining the repair is the safest choice.
For collision shops, the blueprint phase is the launch point for building the repair plan and identifying ADAS calibration needs. For mechanical shops, the process is similar — the difference is often in scope.
Collision repairers focus on damaged panels and structural parts, while mechanical repairers have to be aware that performing “routine” services like alignments or suspension replacements are likely calibration triggers.
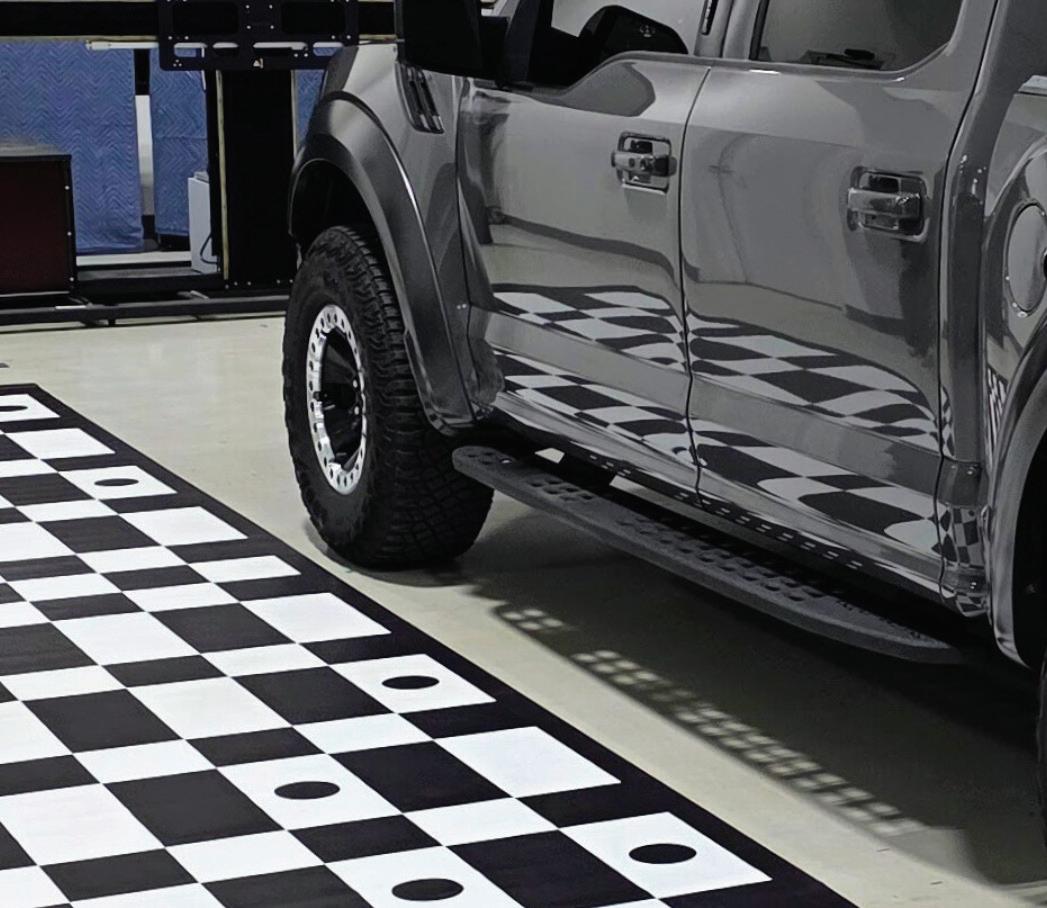
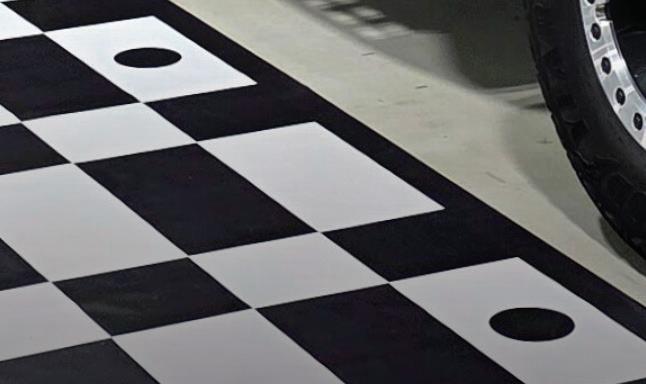
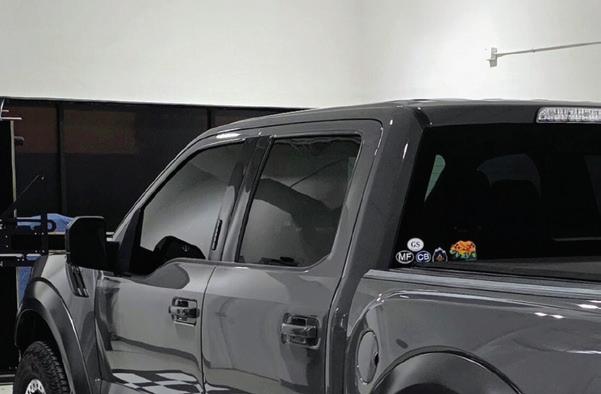
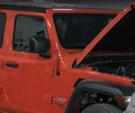
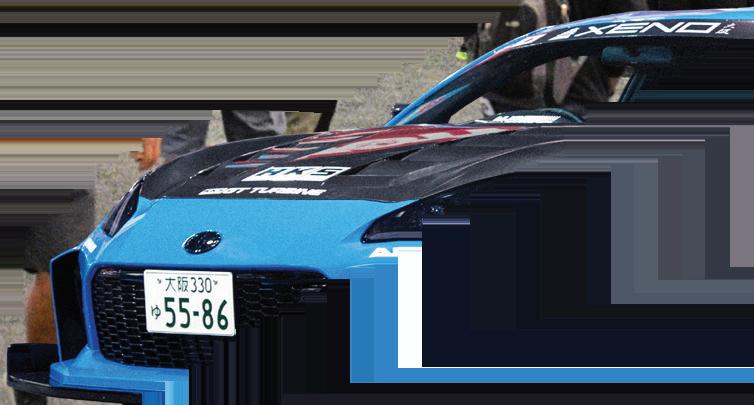
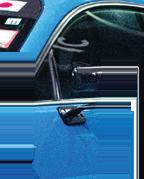
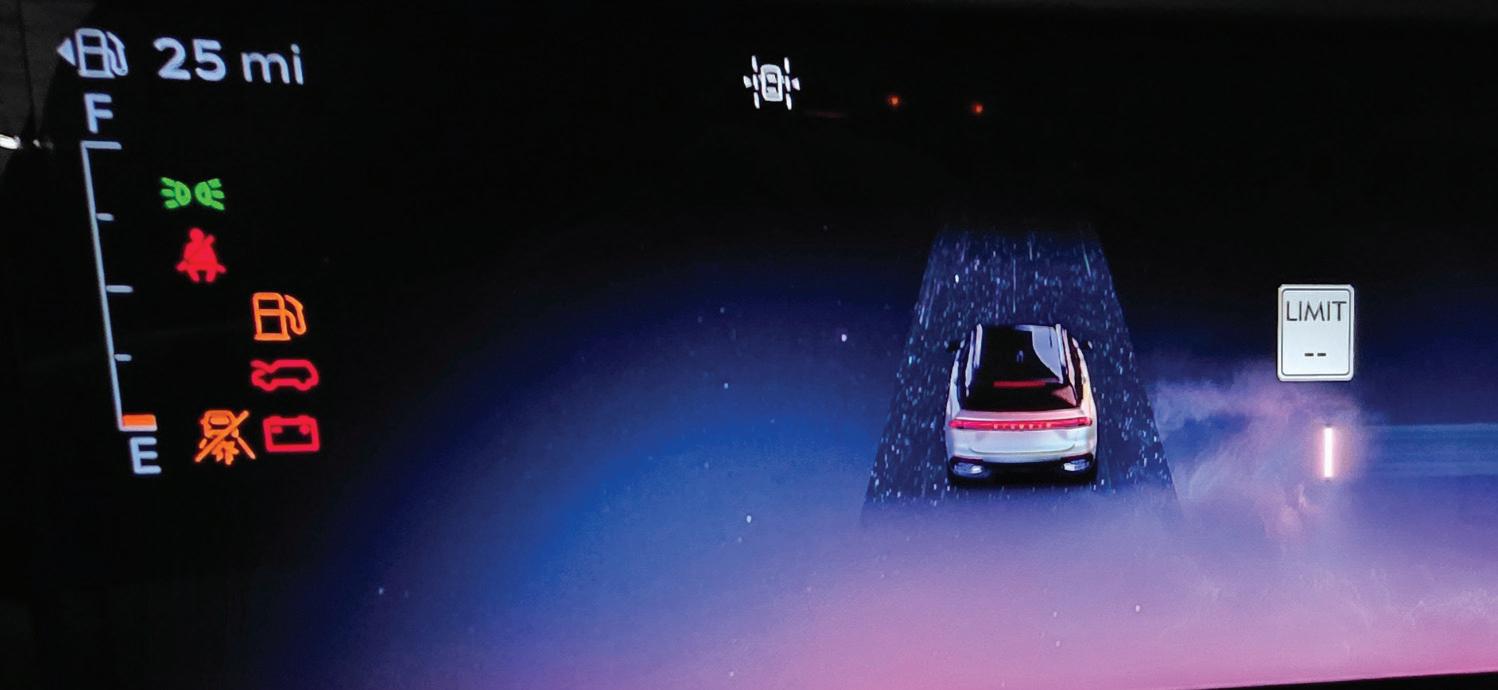
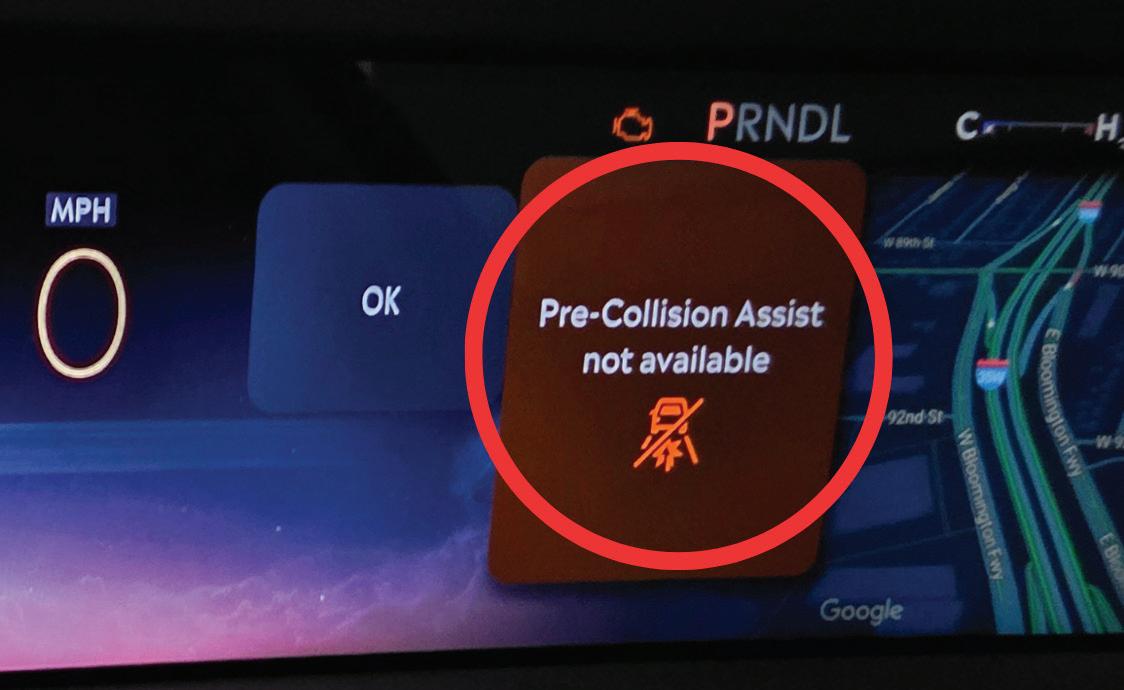
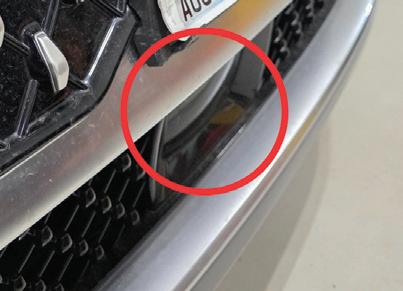
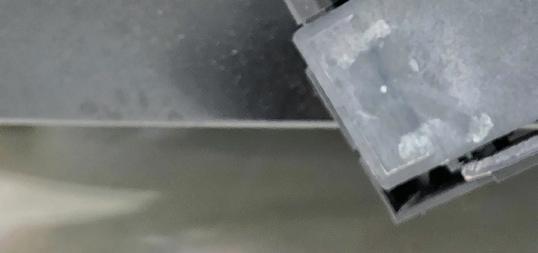
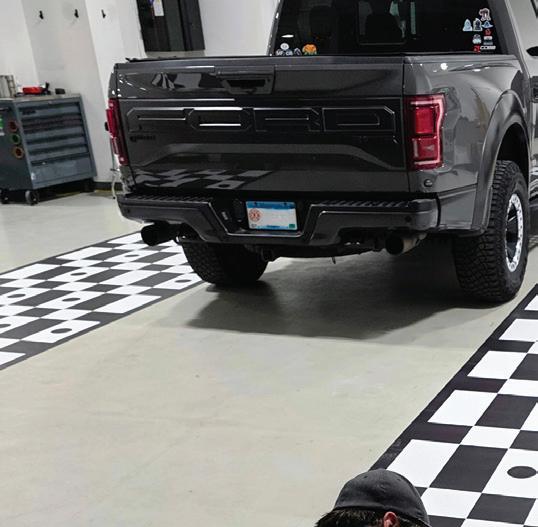
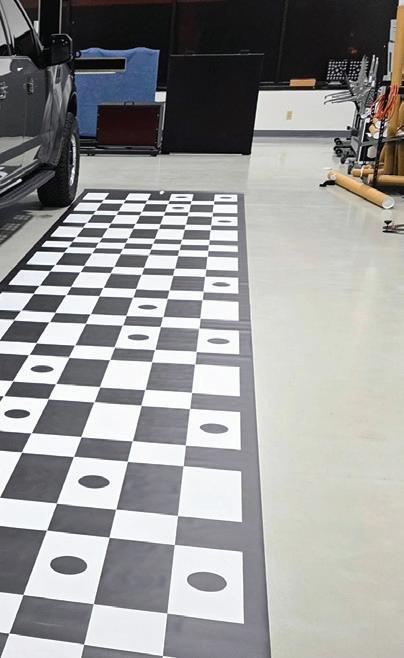
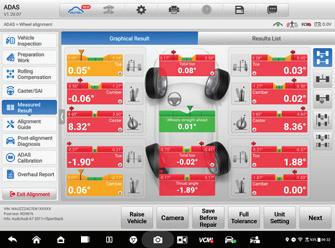
THE DASH IS ALERTING to the presence of a pre-collision problem, while the 360 cameras, forward facing camera, and front radar don’t pose a significant challenge in identification. What may not jump out is the bend at the bottom of the license plate.
• Reference OEM repair procedures to identify when calibrations are required.
• This could include replacing glass, removing bumpers, performing suspension work, or even disconnecting certain wiring harnesses.
• Record this in the repair plan so no steps are missed later.
Software solutions can speed up the process, but they’re not perfect.
• Always verify what the software flags.
• A technician’s knowledge is still essential for catching edge cases.
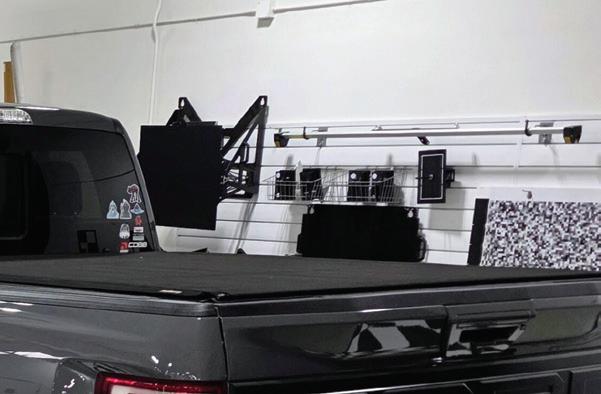
Photos aren’t just for show; they’re your proof.
• Document the exact sensors and cameras present.


• Record their condition before repair.
• If a dispute arises later, these images can save hours of argument.
Perform pre- and post-disassembly scans
• Perform the pre-disassembly scan if one has yet to be done, as this serves as your baseline.
• The post-disassembly scan records changes, flags new trouble codes, and can be compared against the pre-scan for anomalies or for future diagnostic needs.
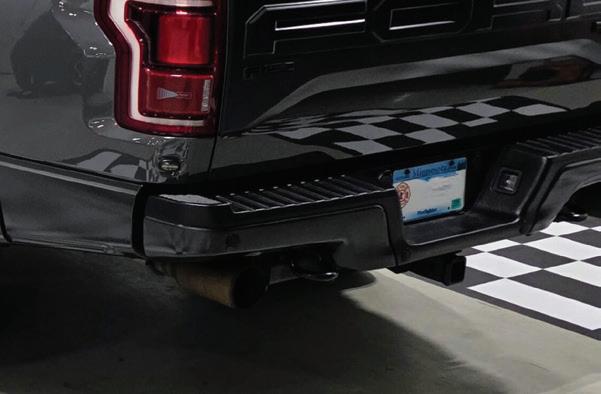
Example scenario
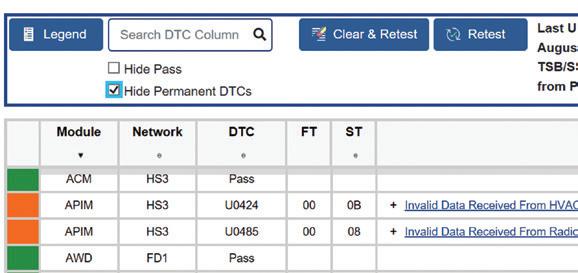

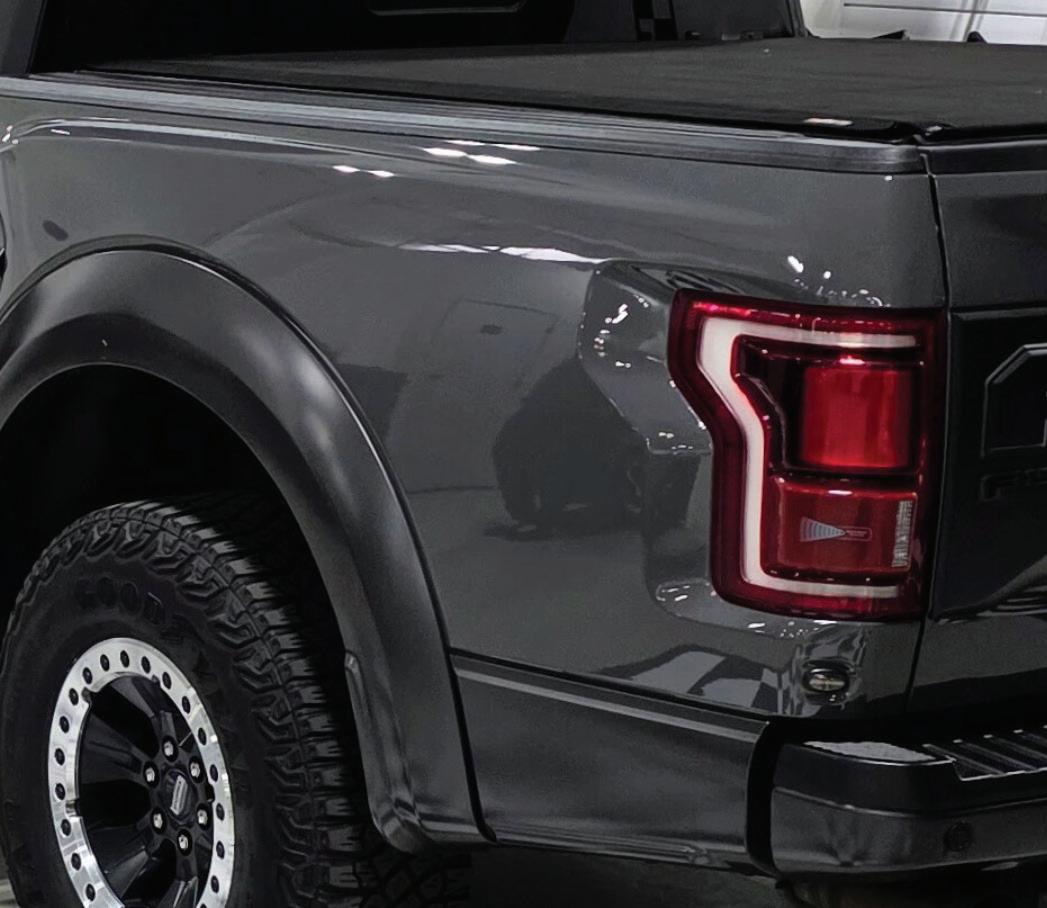
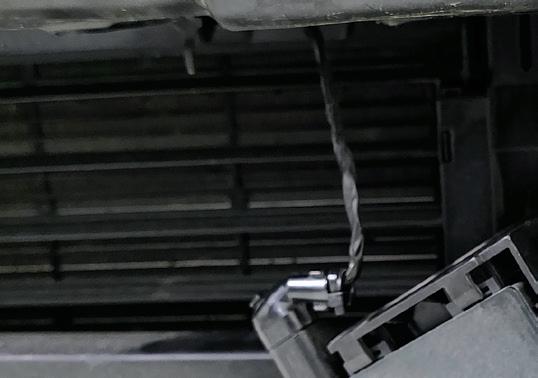
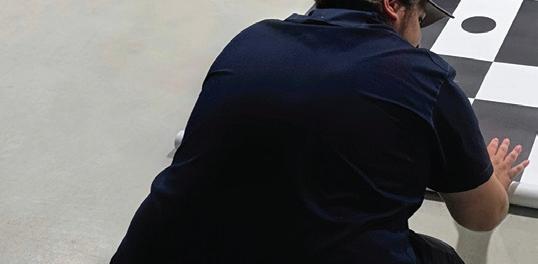
THERE IS A DTC LOGGED for horizontal alignment of the front radar. Scanning frequently throughout the repair process is vital in trending and catching when a problem or problems occur.
A technician who’s done thousands of alignments has no problems knowing what to adjust for the perfect alignment. But without checking OEM procedures, they could miss that a forward-facing radar and camera require calibration after performing adjustments.
Calibration phase: Confirming the requirements
Once repairs are complete, the vehicle enters the calibration phase. Here, early planning pays off and at a minimum reduces but should eliminate missed calibrations.
Reconfirm calibration needs
• Match current calibration requirements against what was identified at intake.
• Add any new calibrations caused by changes during the repair.
Facilitating information flow
• In-house calibration facility: Provide calibration technicians either with direct access to or a printed copy of the repair estimate so they can audit the file.
• Contracted calibration facility: Supply a detailed work record. Another option is to provide a data connection via scrubbing software to pull data from estimates automatically.
Pre-calibration prerequisites
Before calibration, you must meet every prerequisite outlined in OEM service information, e.g.:
• Remove excess weight from the vehicle.
• Adjust tire pressures to specification.
• Fill the fuel tank as required.
• Verify alignment specifications are correct. Document these steps with photos, reports, or both.
Second 360° inspection
This is your chance to catch problems before they cost you.
• Verify there are no new modifications or damage.
• Inspect repairs for proper fit, finish, and color match.
• Ensure hoses, wiring, and fasteners are secure.
Pre-calibration scan
• Verify system health and readiness.
• Document any module programming or configuration steps.
• Log ancillary tasks like battery support, as these can be reimbursable.
If an issue is identified at this point, it needs to be addressed prior to calibration. Waiting until after could require recalibration and a direct hit to profit and efficiency.
Calibration execution
Calibration comes in two main types: static (targets, fixtures, and measurements in a controlled space) and dynamic (performed while driving, often with a scan tool connected). Some systems require both.
Calibration
• Follow service information specs to the letter, a few millimeters off can cause at best an inaccurate calibration or a failed calibration all together.
• Capture pre-calibration sensor data, if available.
• Document target placement measurements using tape measures, digital tools, or target stands with integrated logging.
• Log as much data as possible during the calibration procedure.
Record both successful and failed attempts, as failed calibrations can be as important as successes when troubleshooting.


Post-calibration documentation
When the calibration is complete, the work isn’t done until it’s documented.
• Capture post-calibration sensor data
• Sometimes generated automatically; other times you’ll need to pull it manually from the data stream.
• Perform dynamic system verification (DSV)
• Test all ADAS systems, not just those you calibrated.
• Document the route, driving conditions, and any anomalies.
• Compile the record
• All diagnostic repair scans.
• Pre- and post-calibration sensor data.
• Photos and measurement documentation.
• DSV results.
• Equipment details used during calibration.
Why documentation pays off
Thorough documentation is more than an administrative step; it can be a competitive advantage that separates
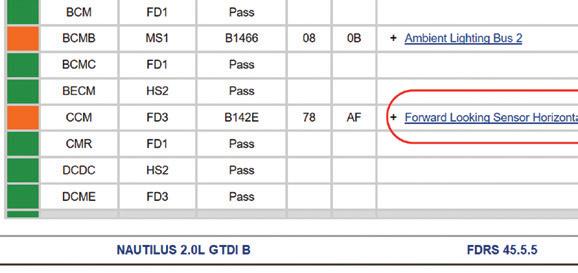
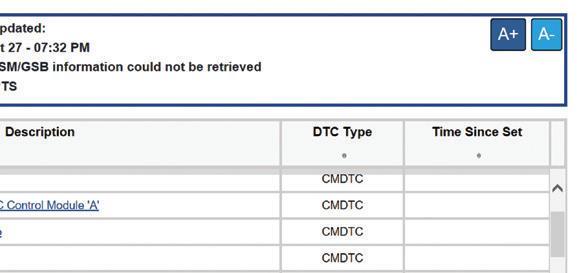
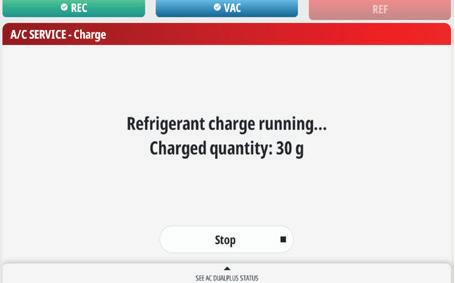
DOCUMENTATION JOURNEY is nearing the end once calibrations begin.
and it is important to have this documented, as it will assist in getting reimbursed for time spent diagnosing the underlying issue. This can be seen in this image where the front radar successfully completed the calibration but neither of the corner radars did.
professional operations from those cutting corners.
The gap between a well-documented calibration and one that exists only in a technician’s memory can determine the outcome of insurance disputes, customer relationships, and legal challenges.
This emphasizes a final point: precision matters and liability runs high. If it’s not documented, it didn’t happen.
The ADAS calibration process is not just about “checking the box” for OEM procedures. It’s about creating a traceable, auditable, defensible record of work from the first intake photo to the final signed-off file.
From the bay to the binder, every step should be methodical, consistent, and documented. That’s how you protect the shop, protect the technician, and most importantly, protect the customer.
PAUL BOSTEL is a seasoned leader with a rare blend of expertise in both advanced automotive technology and fire service operations. With over 20 years in the automotive industry, he is recognized as one of fewer than 2,300 ASE World Class-certified technicians — a distinction that underscores his mastery in diagnosing and repairing complex vehicle systems, with a specialized focus on ADAS. Paul currently manages Accelerated Vehicle Technology in Bloomington, Minnesota, a Quality Collision Group brand, where he applies his analytical precision and strategic mindset to elevate operational performance and repair standards. In parallel with his automotive career, Paul has proudly served the Apple Valley Fire Department for over nine years and holds the rank of captain, demonstrating his strong leadership, commitment to community service, and ability to manage high-pressure environments. His career is defined by innovation, efficiency, and a continuous drive to raise industry standards across every role he takes on.
SCAN THE QR CODE TO SHARE THIS ARTICLE AND READ RELATED ARTICLES ONLINE


BY RYAN MARRINAN
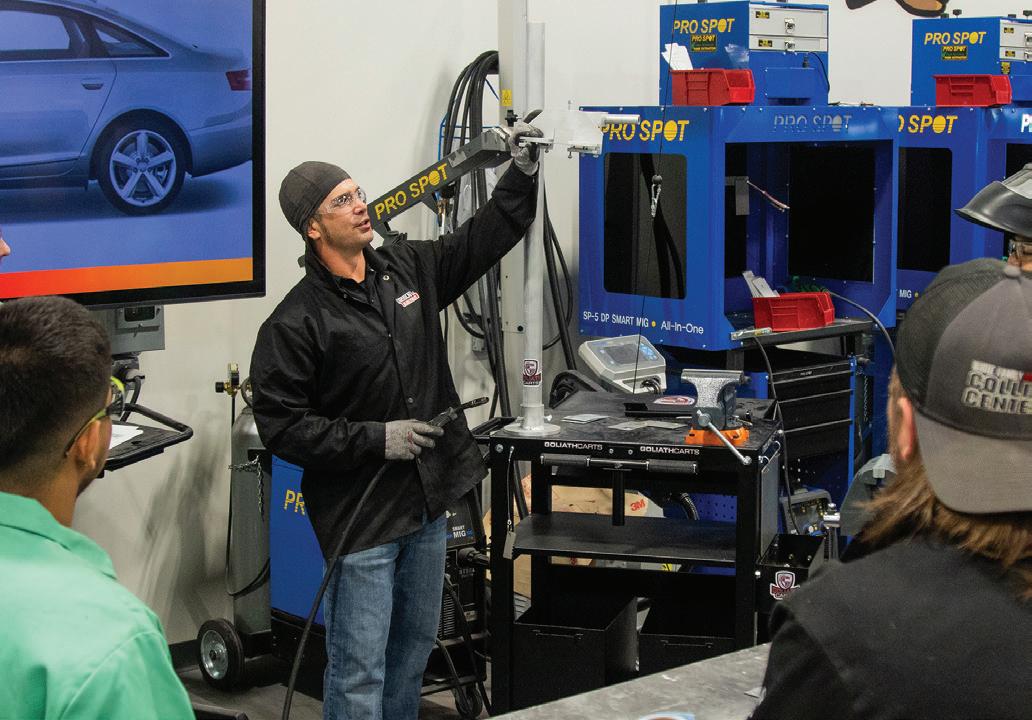
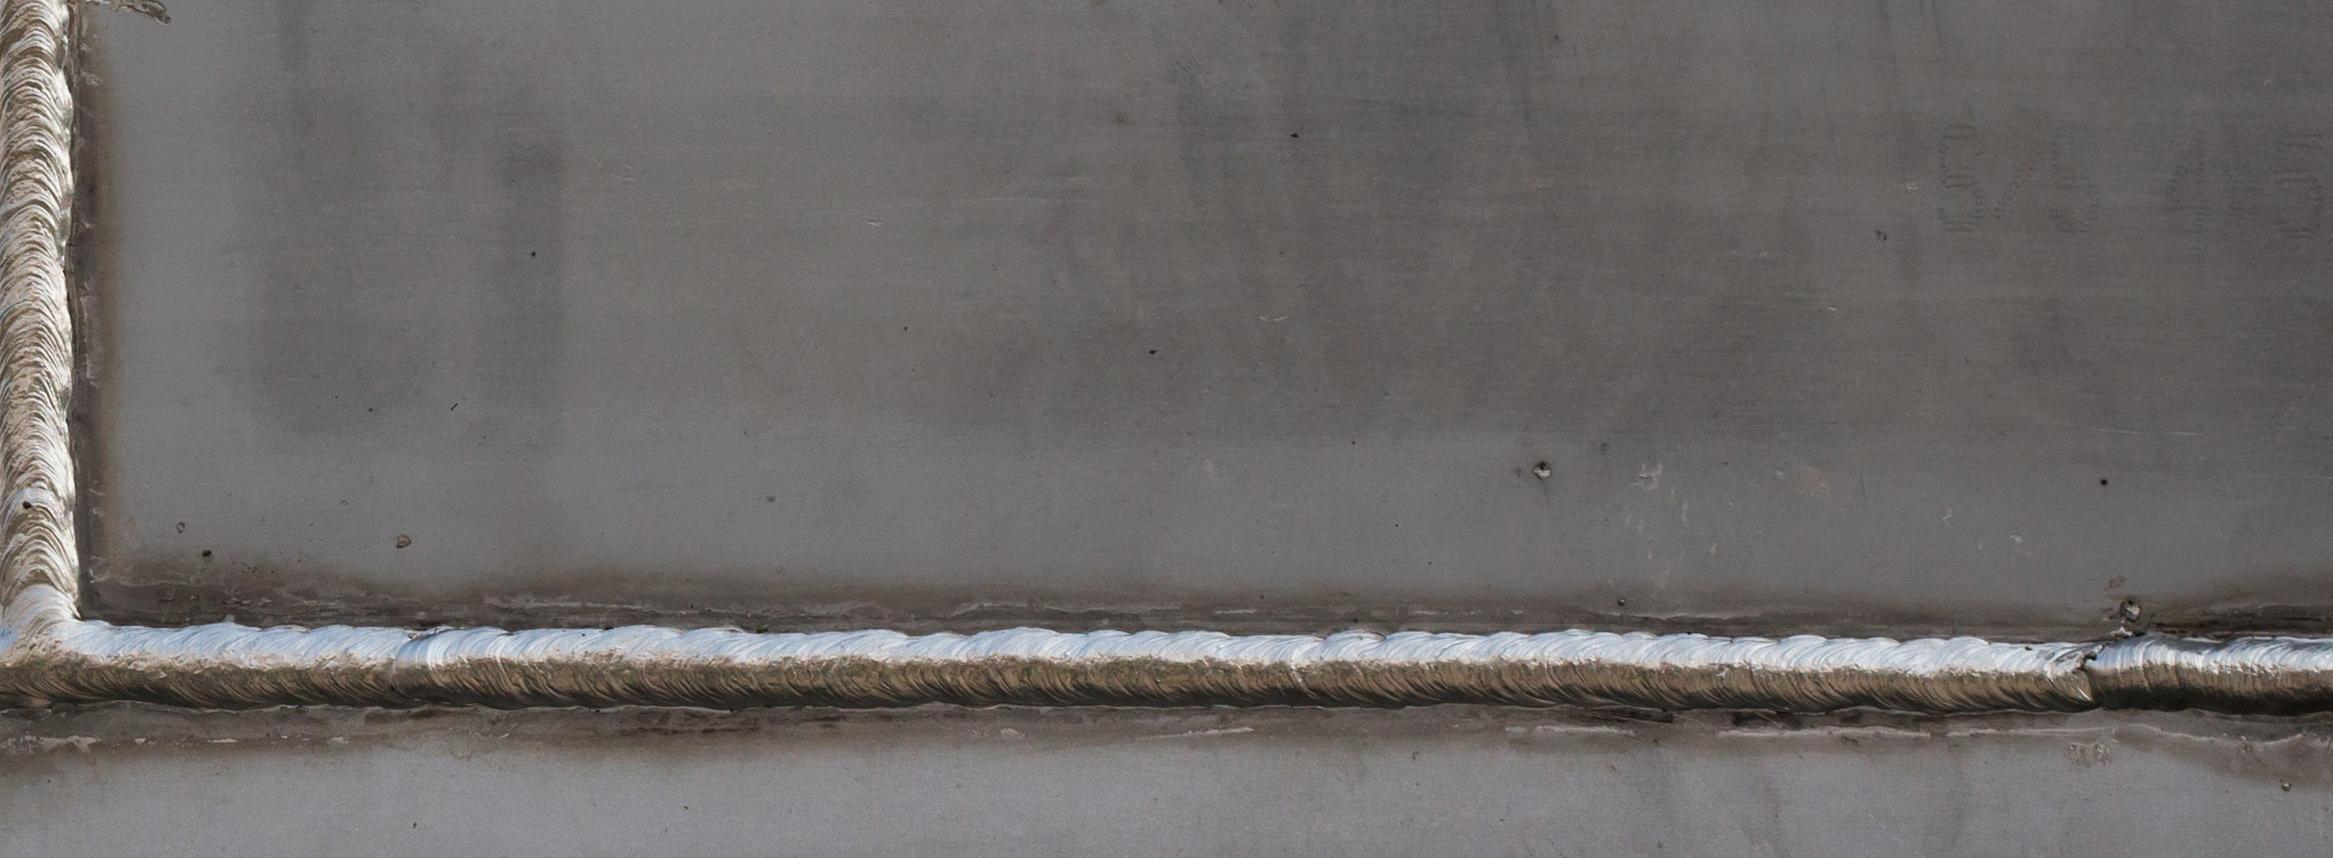
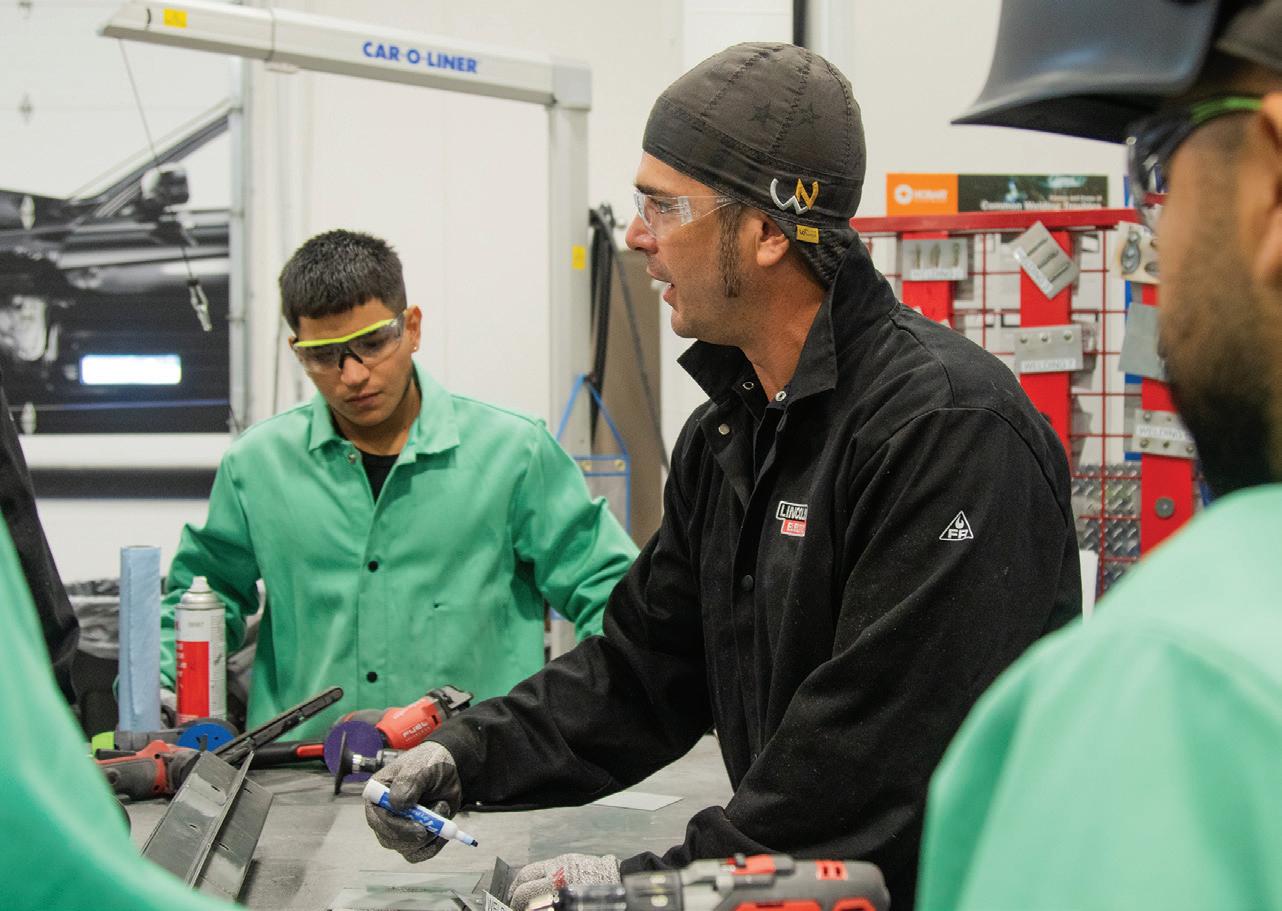
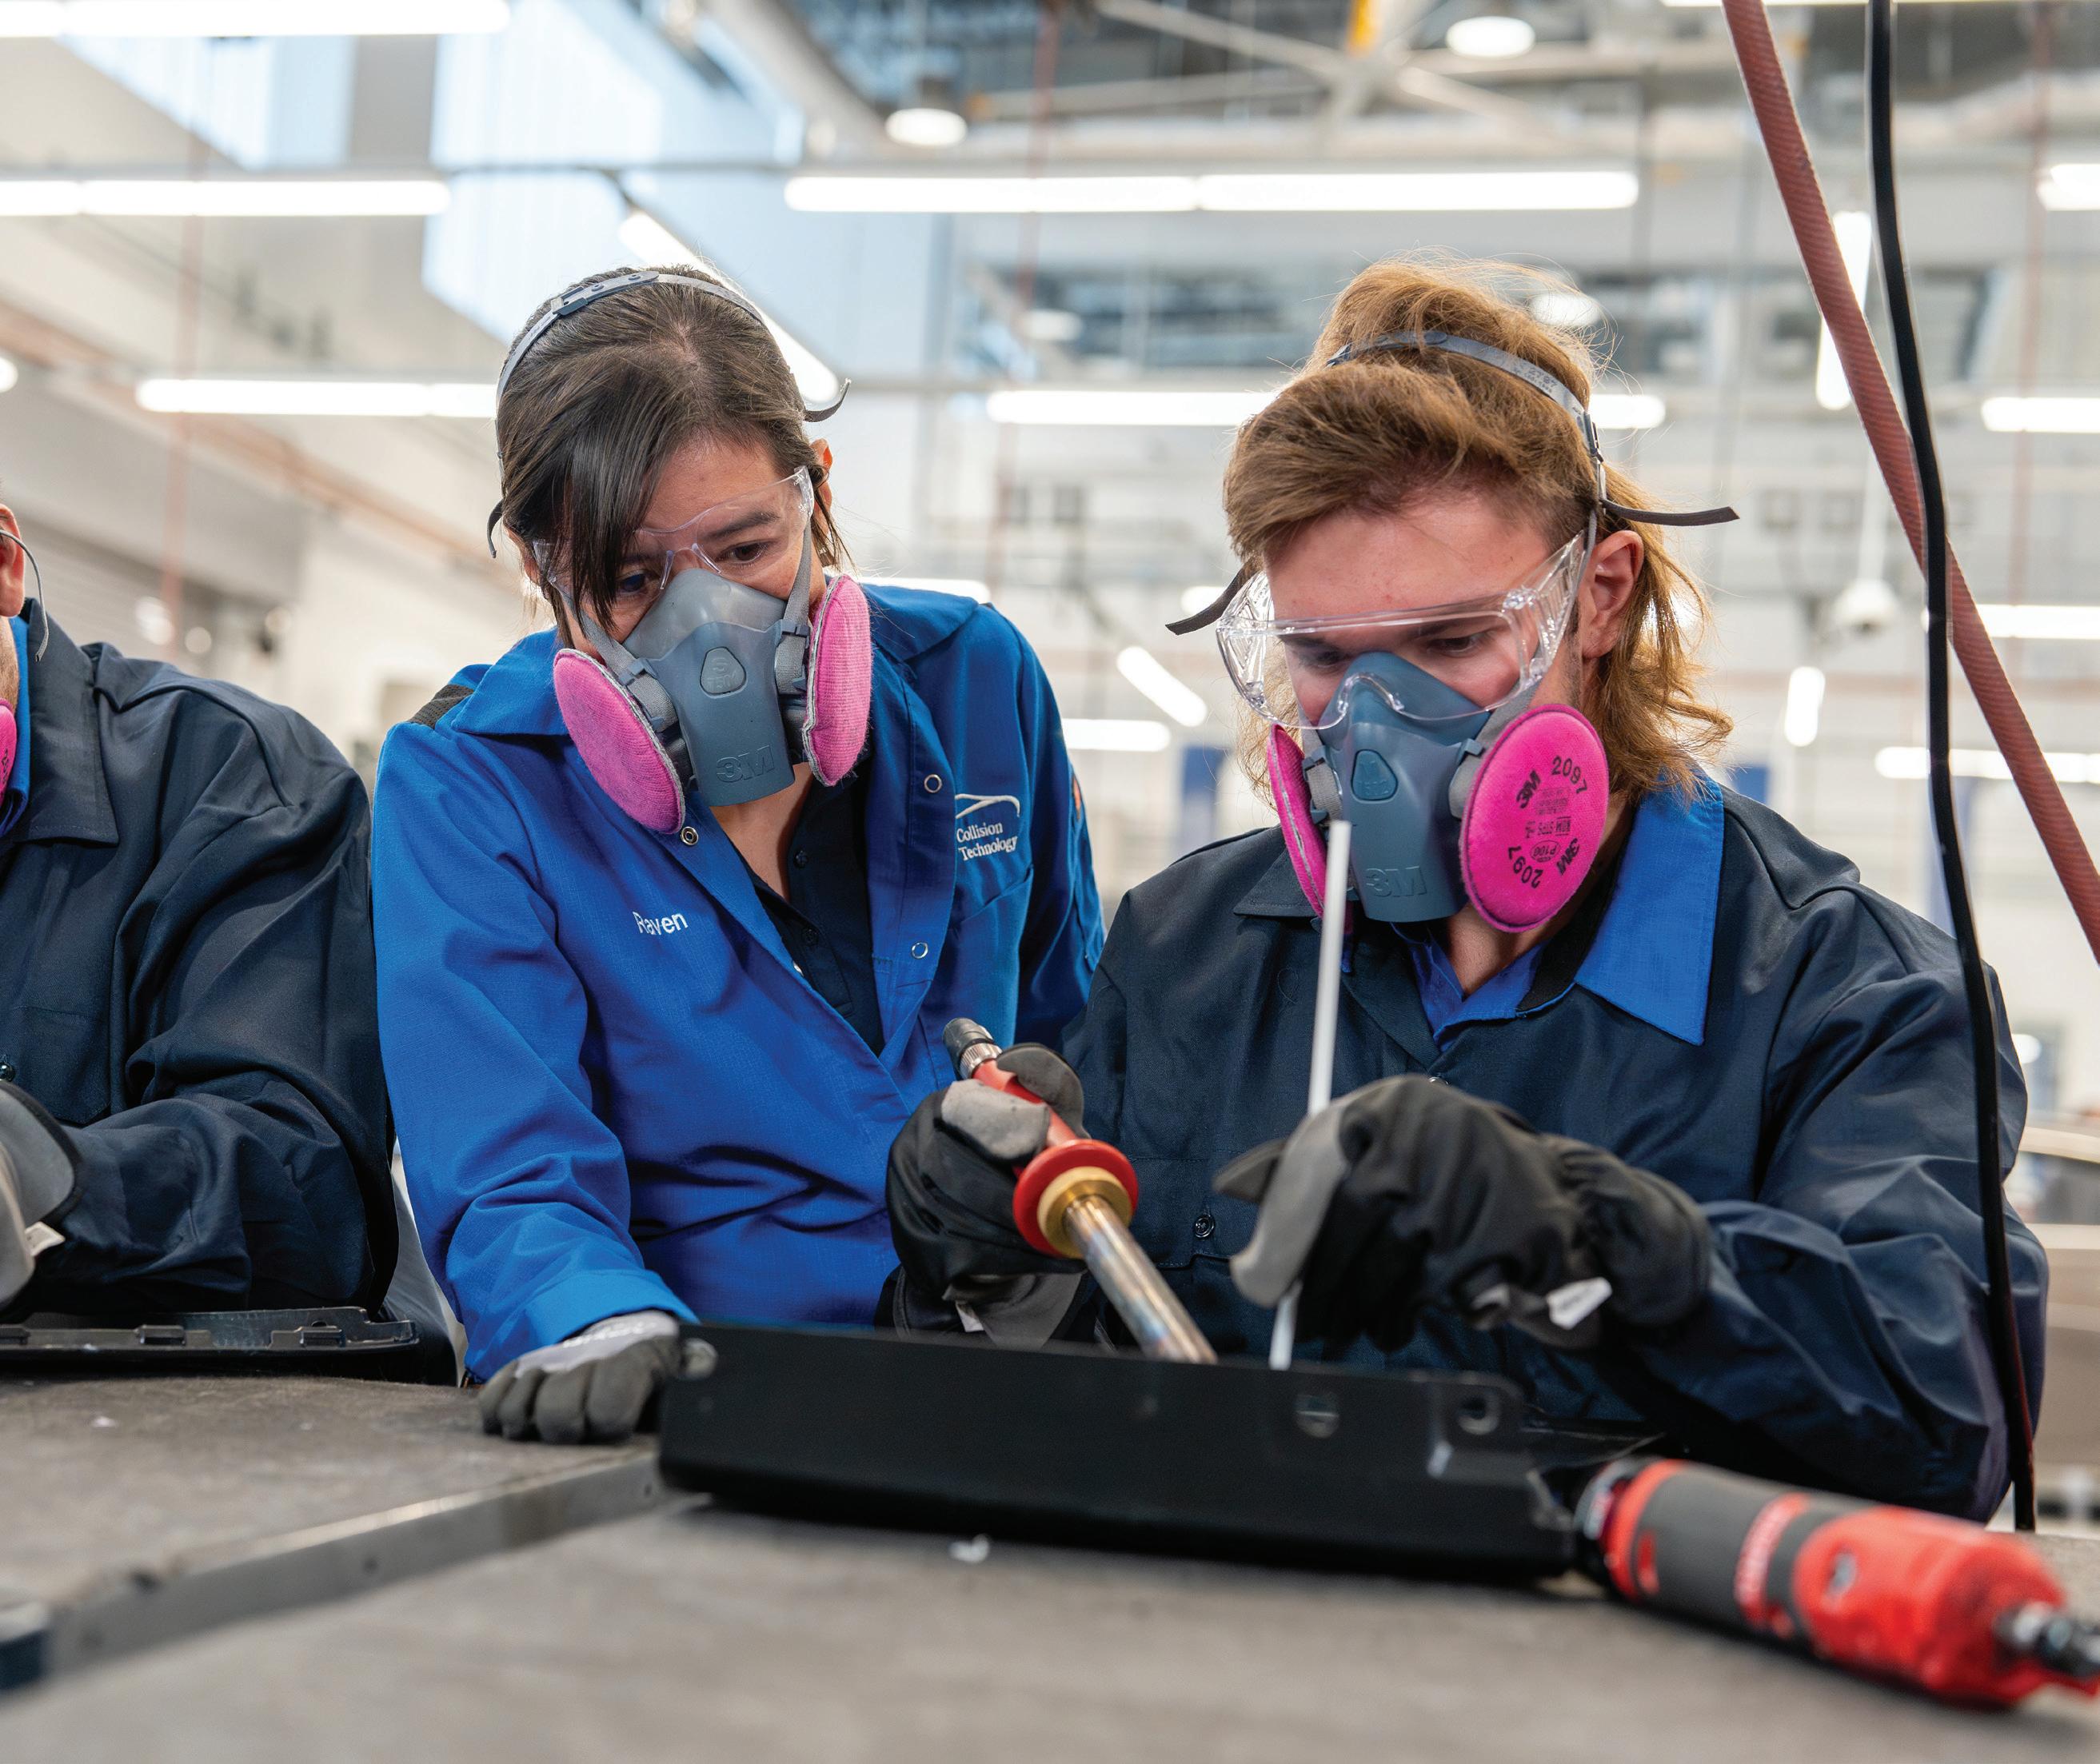
Welding is a process that has evolved significantly in our industry over the decades, with advancements in weld types, equipment, machinery, processes, and substrates. However, the need for a quality weld that performs reliably remains unchanged. Despite the passage of time, it’s surprising how many
individuals still struggle with achieving this standard. At the 3M Skills Development Center, I observe this challenge weekly. A common underlying issue is a lack of understanding of the fundamental basics, which leads to many of these di culties.
I emphasize this point in every class: if a vehicle is not deemed a total loss, your responsibility is to repair it so that it can safely return to the road, capable of withstanding similar or even more severe accidents while managing crash energy as originally designed. Customers expect this level of safety when they pick up their repaired vehicle. During recalibration, the vehicle’s systems assume that all repairs and welds meet specific standards. There is no “Oops” button to account for poor penetration, lack of fusion, or any weld imperfections that could alter the performance or timing of the vehicle’s safety systems in a future accident. So, how can you ensure that you’ve done the job correctly?
To optimize your welding operations, it’s essential to have a deep understanding of your equipment’s


functionality and maintenance requirements. This includes ensuring the equipment receives the correct power supply, understanding how different settings and adjustments affect the welding process, and developing a comprehensive standard operating procedure for storage and maintenance. Since most equipment is shared within the shop, a well-defined SOP is vital for maintaining consistency, extending the equipment’s lifespan, and ensuring peak performance.
Have you ever wished for a guide that provides precise instructions for achieving faster and, more importantly, correct welding results on vehicles? original equipment manufacturers have specific requirements for panel prep, welding equipment, wire, gas, and settings. While this information may not be included in the repair procedure, it can often be found in position statements. These statements may apply to all makes and models or just one, making it essential to review them for every repair. A simple search for “welding” or “welding conditions” during the research and planning
phase will likely lead you to the necessary information on approved equipment and setup. This includes the types of welds based on materials, material thickness, locations, shielding gas, and other joining considerations. There is no “general rule” that suffices
for all makes and models. Many OEMs also mandate destructive test welds for every type of weld being made. However, compliance with these requirements is often inconsistent. Technicians frequently skip these critical steps, sometimes citing reasons
like “It’s not on the estimate,” or “They didn’t pay for that.” This mindset can compromise the integrity of the welds and, ultimately, the safety and reliability of the repairs.
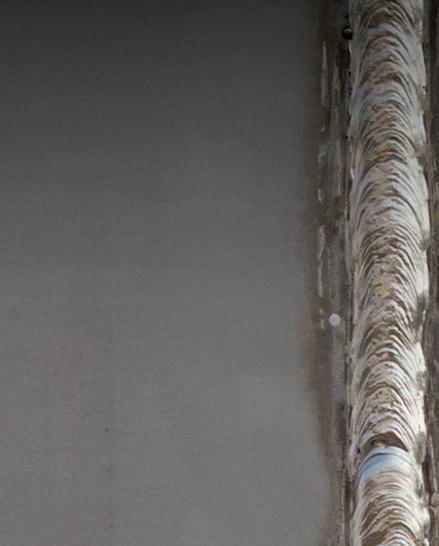
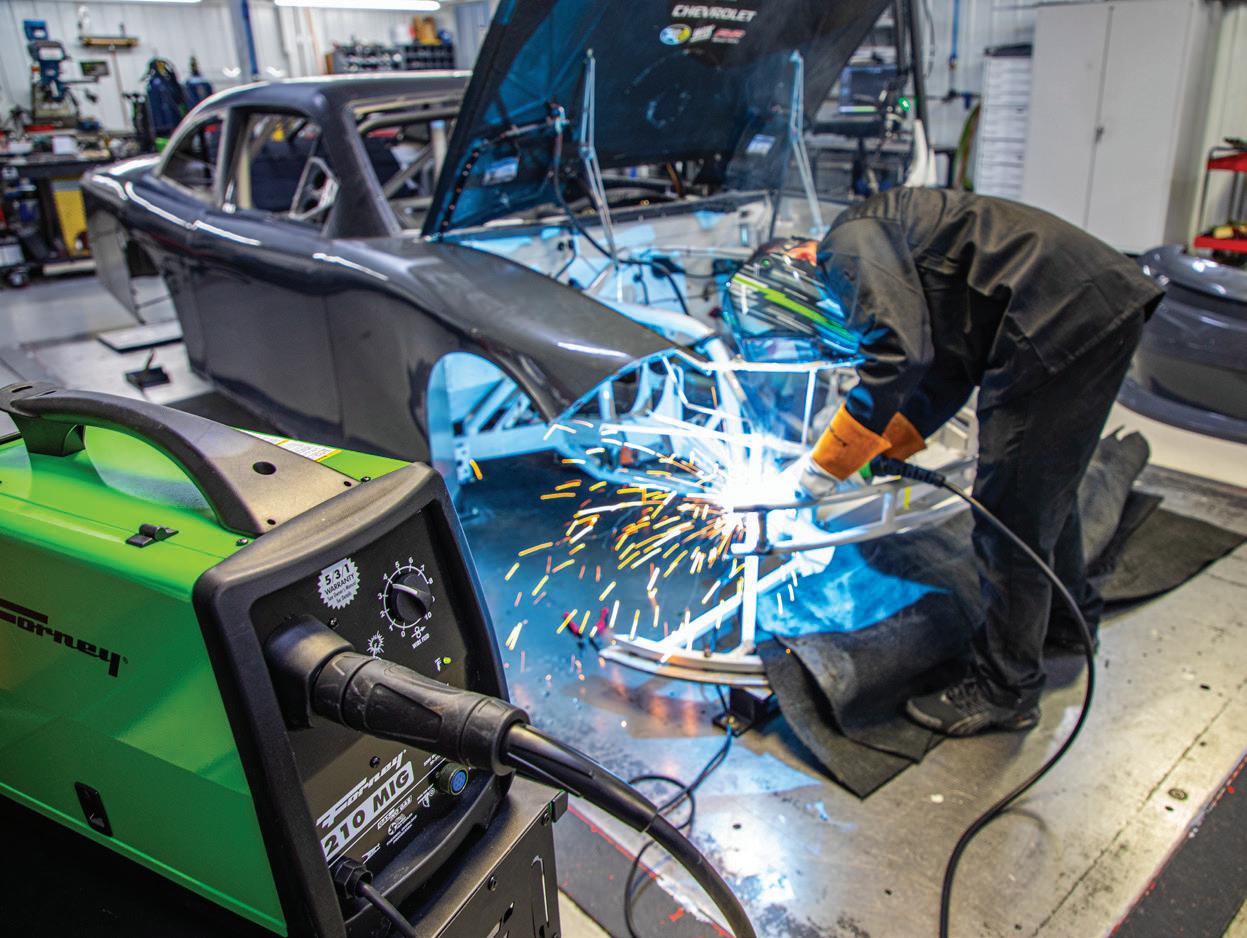
One of the most frustrating practices I observe in shops is when a technician makes a weld, sets the welder down, grinds the weld, then picks up the welder to make another weld followed by more grinding. This is the No. 1 indicator of poor welds being made. Technicians are aware of this and quickly grind the welds to conceal the issue. It’s also an inefficient way to attach a new panel, often resulting from not taking the time to properly set up the welder and perform test welds, both of which are non-included operations required by the OEM to ensure weld quality. How else will you know if you have penetration on a butt joint if there’s no access to the back to see? And even if you did, once the weld is made and it’s not right, what is your next step?
OEMs HAVE SPECIFIC REQUIREMENTS for panel prep, welding equipment, wire, gas, and settings, often found in their position statements.
When setting up and making test welds, it’s essential to follow these important guidelines:
• Use appropriate practice coupons: Always cut practice coupons from the undamaged sections of the original panel or discarded parts of the replacement panel, never from “scrap metal.” I-CAR coupons are not suitable for setting up a welder for repair, as they do not match the vehicle’s mPa, gauge, or treatment, making them unsuitable for practice welds.
With a rich history of reliability and innovation, Forney offers a wide range of welding solutions tailored specifically to the demands of automotive creation and repair. Forney ensures that automotive enthusiasts have the tools they need to tackle any project with confidence. With unmatched performance, durability and adaptability, Forney welding products make the perfect partner for automotive work.
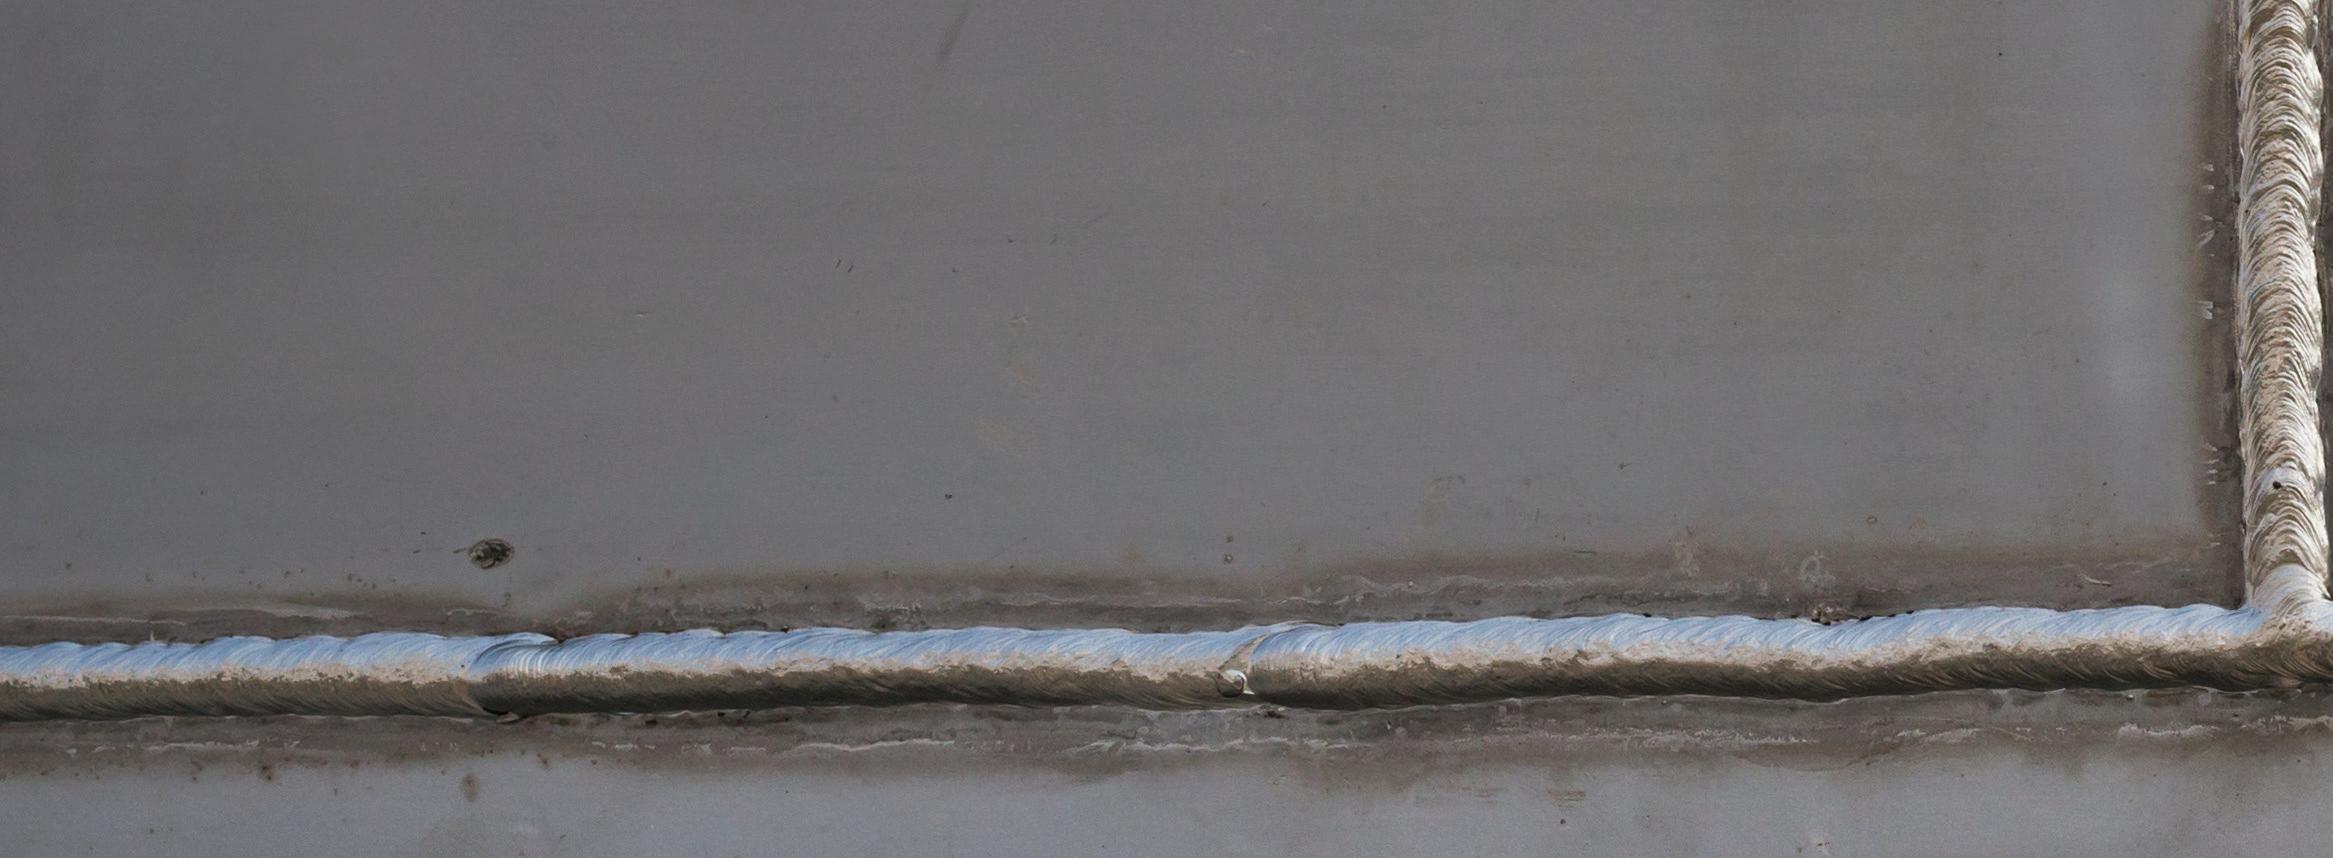
IMPROPER WELDING TECHNIQUE can create imperfections or poor penetration, and that can alter the performance or timing of the vehicle’s safety systems in a future collision.
• Consistent panel preparation: Prepare the practice panels in the same manner as the vehicle. This includes using the same tools and abrasives. For instance, do not use a DA with 80 grit on the practice panel if the vehicle was prepped with a coarse Scotch-Brite belt or another abrasive. The removal of coatings and panel thickness should be identical to ensure accurate machine setup.
• Match welding articulation: The welding position on the vehicle
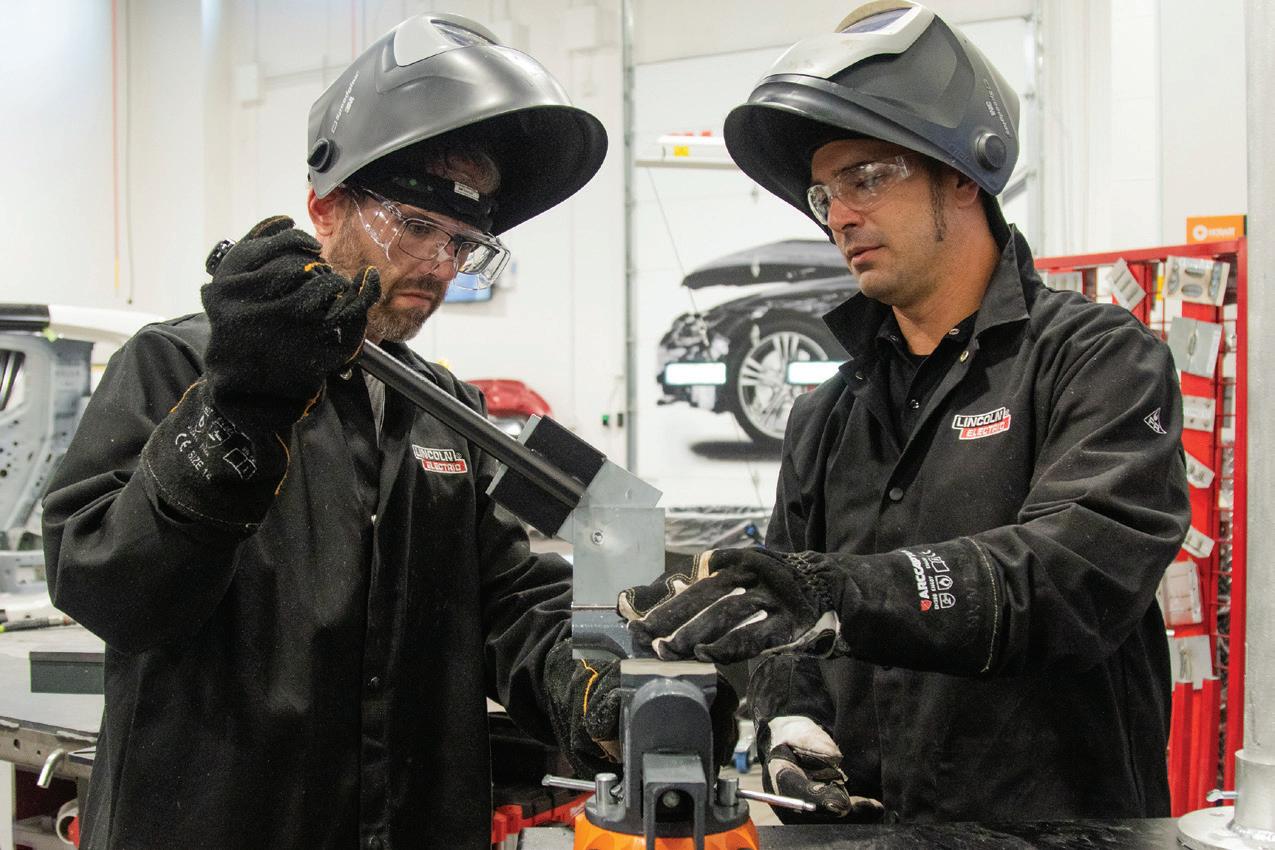
should be replicated when setting up test panels. If welding overhead on the bottom of a rocker, create test coupons for overhead welds. A dedicated welding test station in the shop is beneficial for this purpose. A good station allows you to position and hold panels as they will be on the vehicle and should include tools for testing welds, such as a vise and hand tools for peeling or twisting coupons apart, along with space for documentation and photos for the estimate. Simply
sanding some metal and running a few beads is insufficient preparation for vehicle welds.
• Proper grounding: Ensure the welder is grounded within 12 inches of the welds being made. Extending this distance increases resistance, typically requiring higher welder settings and resulting in more heat application. Keeping the ground close and on clean metal, as with your practice coupons, leads to better welds.
• Replicate joining methods: Set up practice panels using the same joining method as the vehicle. Whether it’s an open butt, butt with a backer, or a plug weld, ensure the root gap or plug weld is the same size as on the vehicle. The root gap or plug weld size determines the weld time, heat duration, and amount of wire speed needed for proper penetration and fusion. If these are not consistent, the machine will not be properly set up.
Let’s be honest: even when all guidelines are followed, accountability remains a significant challenge. As a trainer at 3M, it is my responsibility to provide education to our students on the best practices, procedures, and requirements available. However, I believe that shops should establish a process for accountability, especially for such a critical aspect of the repair, to ensure it is done correctly. Practice coupons and proper documentation are often sufficient, but if these are not captured accurately, who is responsible? Who will oversee this process in the shop to ensure that when we return the vehicle, the repairs — or welds,
in this case — are completed properly?
Whoever is tasked with this responsibility should be included in the welding training that shops provide for their technicians. This training could be offered by equipment manufacturers, the OEM, or another certified third party capable of administering both hands-on and knowledge-based testing. Comprehensive training ensures that the shop and those responsible for repairs can distinguish between correct and incorrect practices. It also equips them with the skills to make necessary corrections or document processes accurately, thereby maintaining the shop’s cycle time and ensuring high-quality repairs. Investing in thorough training not only enhances the skill set of the technicians but also reinforces a culture of accountability and excellence within the shop. Enhancing welding practices is crucial for ensuring the overall quality and safety of repairs in our industry. By recognizing the importance of proper welding techniques and strictly adhering to OEM requirements, we can significantly minimize the occurrence of substandard welds. So, what is the straightforward solution?
• Adhere to OEM guidelines: Ensure that all welding equipment, materials, and settings are in full compliance with OEM specifications to maintain consistency and quality.
• Educate technicians: Provide comprehensive training on welding techniques and emphasize the importance of following OEM guidelines to equip technicians with the necessary skills and knowledge.
• Conduct destructive tests: Regularly perform destructive test welds to assess and validate the quality and strength of the welds, ensuring they meet industry standards.
• Implement inspections: Establish a rigorous inspection process to verify the quality of welds before they advance to the next stage, ensuring that only high-quality repairs are completed. By focusing on these key areas, we can elevate the standards of welding practices, leading to safer and more reliable vehicle repairs.


RYAN MARRINAN is a senior application engineer for 3M’s Automotive Aftermarket Division, supporting global fillers, adhesives, coatings, and sealers. Prior to moving into a full-time role with 3M, Ryan served as a collision repair technician for 20 years and during that time, as an independent consultant for 3M’s Automotive Aftermarket Division for 15 years. During his time as a technician, Ryan specialized in heavy collision and structural repairs, as well as glue pulling and paintless dent repair. Ryan is an I-CAR-certified technician with vast experience and understanding of OEM repair requirements and procedures. As a 3M application engineer, Ryan has the understanding and knowledge to replicate and develop OEM coatings and seam sealers to meet the standards and needs of the collision industry.
SCAN THE QR CODE TO SHARE THIS ARTICLE AND READ RELATED ARTICLES ONLINE


The collision repair industry is facing an urgent challenge: building a strong pipeline of skilled technicians. As vehicle technology grows increasingly complex, the need for highly trained professionals will only intensify. Now is the time to invest in sustainable solutions that attract, develop, and retain top talent. The I-CAR® Registered Apprenticeship Program (RAP) delivers exactly that: a proven pathway to developing the next generation of highly skilled technicians.
The I-CAR Registered Apprenticeship Program is a Department of Labor (DOL)-approved, two-year structured training program that blends paid, on-thejob learning with industry-leading technical education. Supported by I-CAR’s comprehensive curriculum, I-CAR Academy, RAP apprentices gain real-world experience while earning a nationally recognized credential, helping to set the standard for excellence in collision repair.
• Gain a Competitive Advantage: Stand out with a DOL-recognized program that reinforces your shop’s commitment to quality and professionalism.
• Boost Retention: Apprentices in structured programs are more likely to stay, reducing costly turnover.
• Elevate Standards: Ensure your team is trained to meet the latest repair requirements, positioning your shop as a leader in safe, complete, and quality repairs.
• Leverage Incentives: Eligible shops may qualify for tax credits, state funding, and other financial incentives through RAP participation.
• Receive support: A dedicated RAP expert is trained to guide you through process
• Expand Your Recruiting Reach: Access I-CAR’s enhanced job board on CollisionCareers.com, plus postings on Apprenticeship.gov, connecting your shop to motivated, career-focused candidates.
This program isn’t just about filling jobs—it’s about building rewarding careers. RAP apprentices finish the
program prepared to deliver repairs that meet today’s safety and quality standards. For shops, it’s an opportunity to invest in a pipeline of talent and secure your competitive edge in an evolving industry.
The future of collision repair depends on skilled technicians, and I-CAR’s RAP is the bridge to get there. Don’t wait to take the lead in workforce development.
Learn more and enroll today at www.i-car.com/registeredapprenticeship. I-CAR www.i-car.com


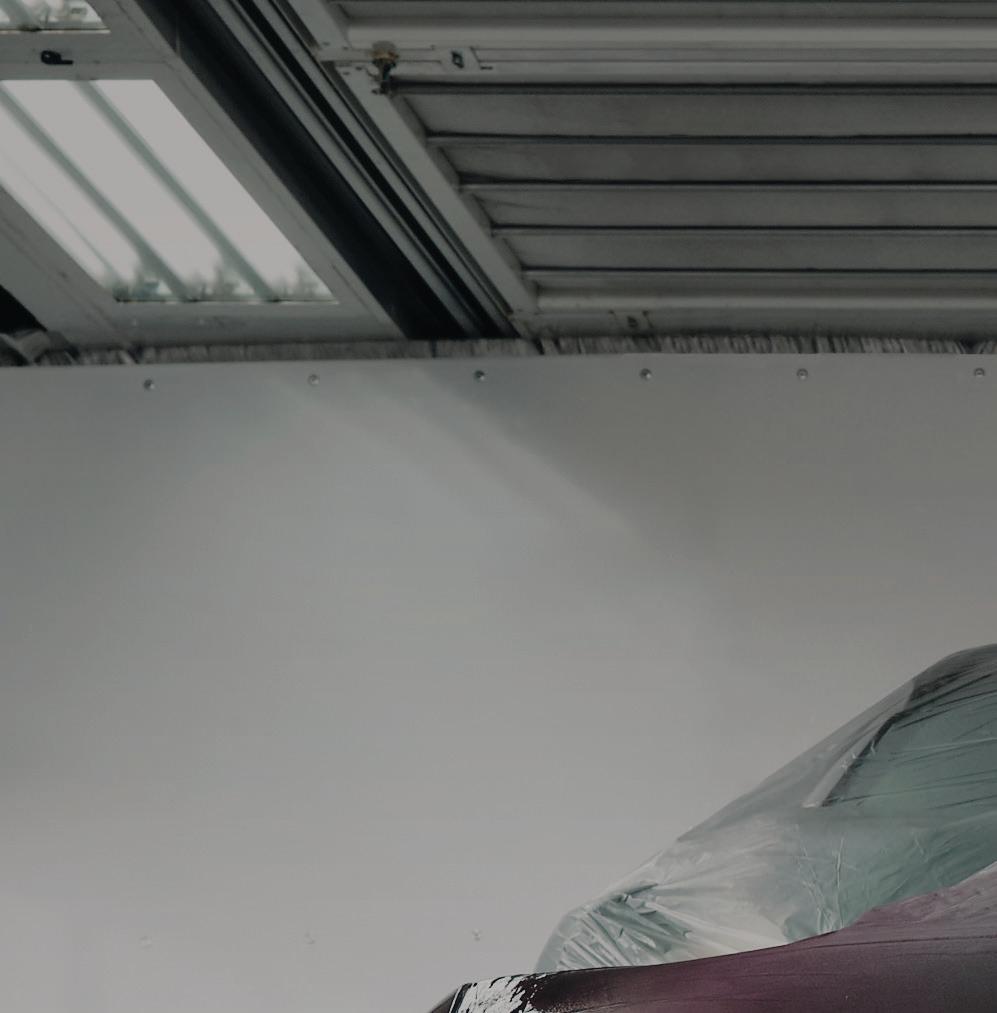
BY MICHAEL NELSON
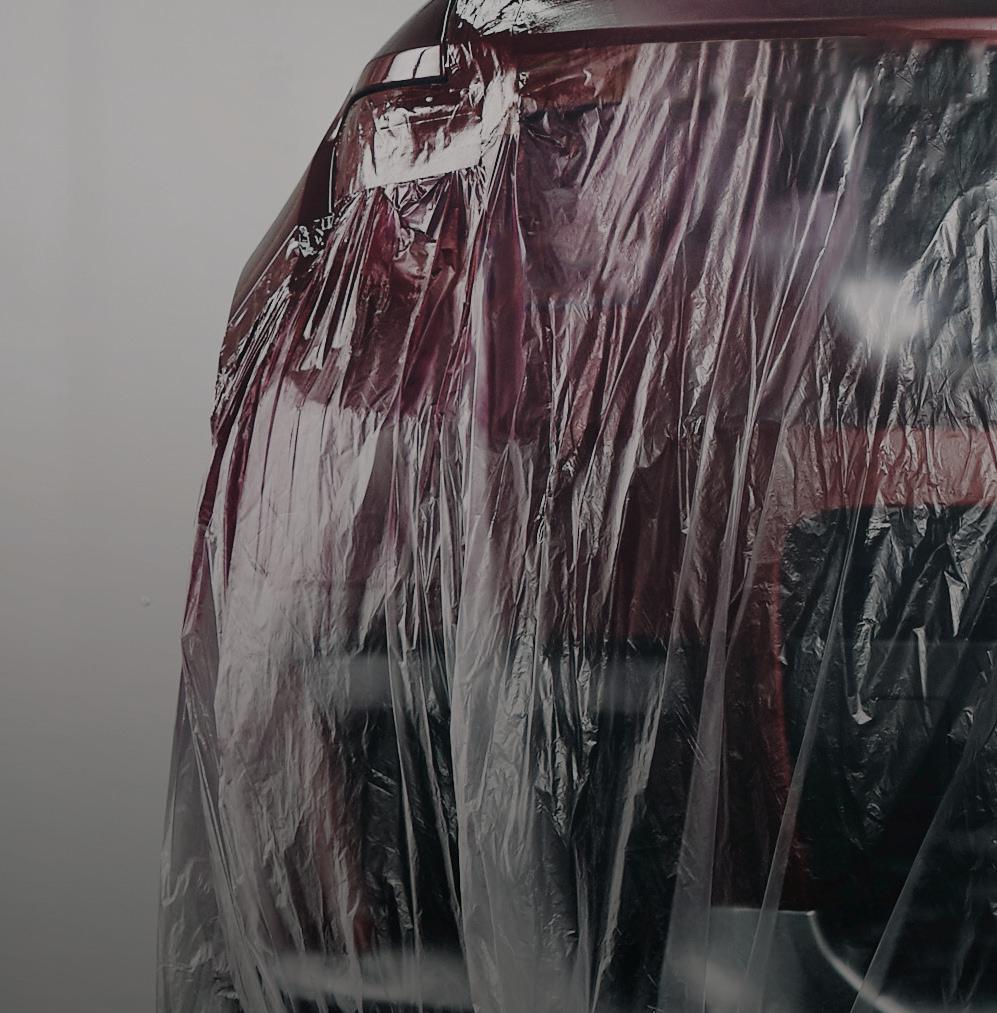
No part of the paint tech’s job is easy, but plastic parts can pose special challenges. In recent years, the process of refinishing them has become more nuanced because technicians now work with late-model cars that are equipped with advanced driverassistance systems (ADAS), but also because of the special characteristics of the surfaces themselves.
Plastic, often seen in bumpers and moldings, requires attention to questions about primer removal, prep scuffing, and the possible presence of mold release agents left over from manufacture. It often calls for the use of special adhesion promoters and sealers in addition to the paint itself and brings managing static electricity into the mix.
What’s key is understanding the proper procedures and best practices for refinishing plastic parts and knowing how to follow them. Some come from paint manufacturers, but many of the rules that ensure quality and safety also come from the automobile manufacturers themselves. In some cases, what’s at stake isn’t only the life of a vehicle, but also the lives of its occupants.
One of the first things to confirm is whether a plastic part is primed or raw. If the part is primed, check for the reversibility of the factory primer. To do this, use a solvent-based cleaner on a towel or rag and wipe the primer. The primer is reversible if it’s easily wiped away. Once the primer is confirmed as reversible, check your paint manufacturer’s technical data sheet (TDS) to determine if the proper recommendation is to remove it. If it is removed per the TDS then follow the documented process for treating a raw plastic part. If the primer passes the reversibility test, the primed plastic must be scuffed, sanded, and cleaned before you apply a flexed sealer.
If the plastic part is raw, you will want to assess the part for damage. Pay close attention to the raised plastic seams from the plastic injection process and determine if they need to be trimmed or lightly sanded. Next, check with your paint manufacturer’s TDS to see if it recommends putting
the raw bumper through a bake cycle to help sweat out the mold release agents used in the bumper manufacturing process.
The next step in the process will be determined by the paint company’s TDS. There are normally two different pathways to prep raw plastic: with water-based scuffing paste or with a non-static solvent-based solution.
Generally, the water-based scuffing paste method will call for a wash with a water-based cleaner followed by wetting the surface with fresh water. Any areas of the bumper that need to stay raw plastic must be carefully taped so the next step doesn’t dull those surfaces. Next, you’ll need to scuff with a wet, ultra-fine scuff pad and the recommended scuffing paste over every spot of the plastic that will be painted. This may take two to three applications. Once fully de-glossed, the surface will require a final rinse with clean
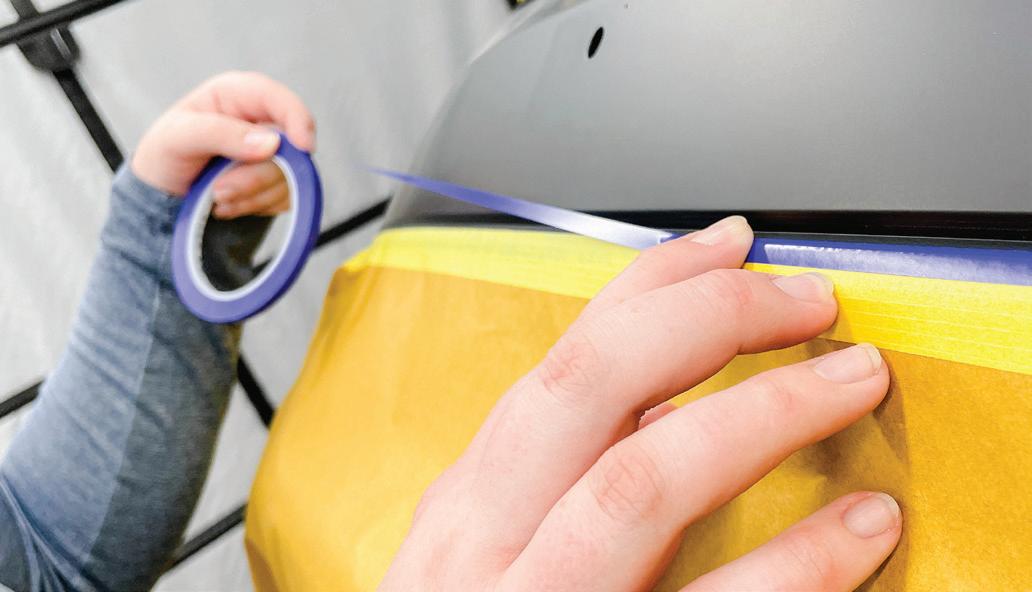
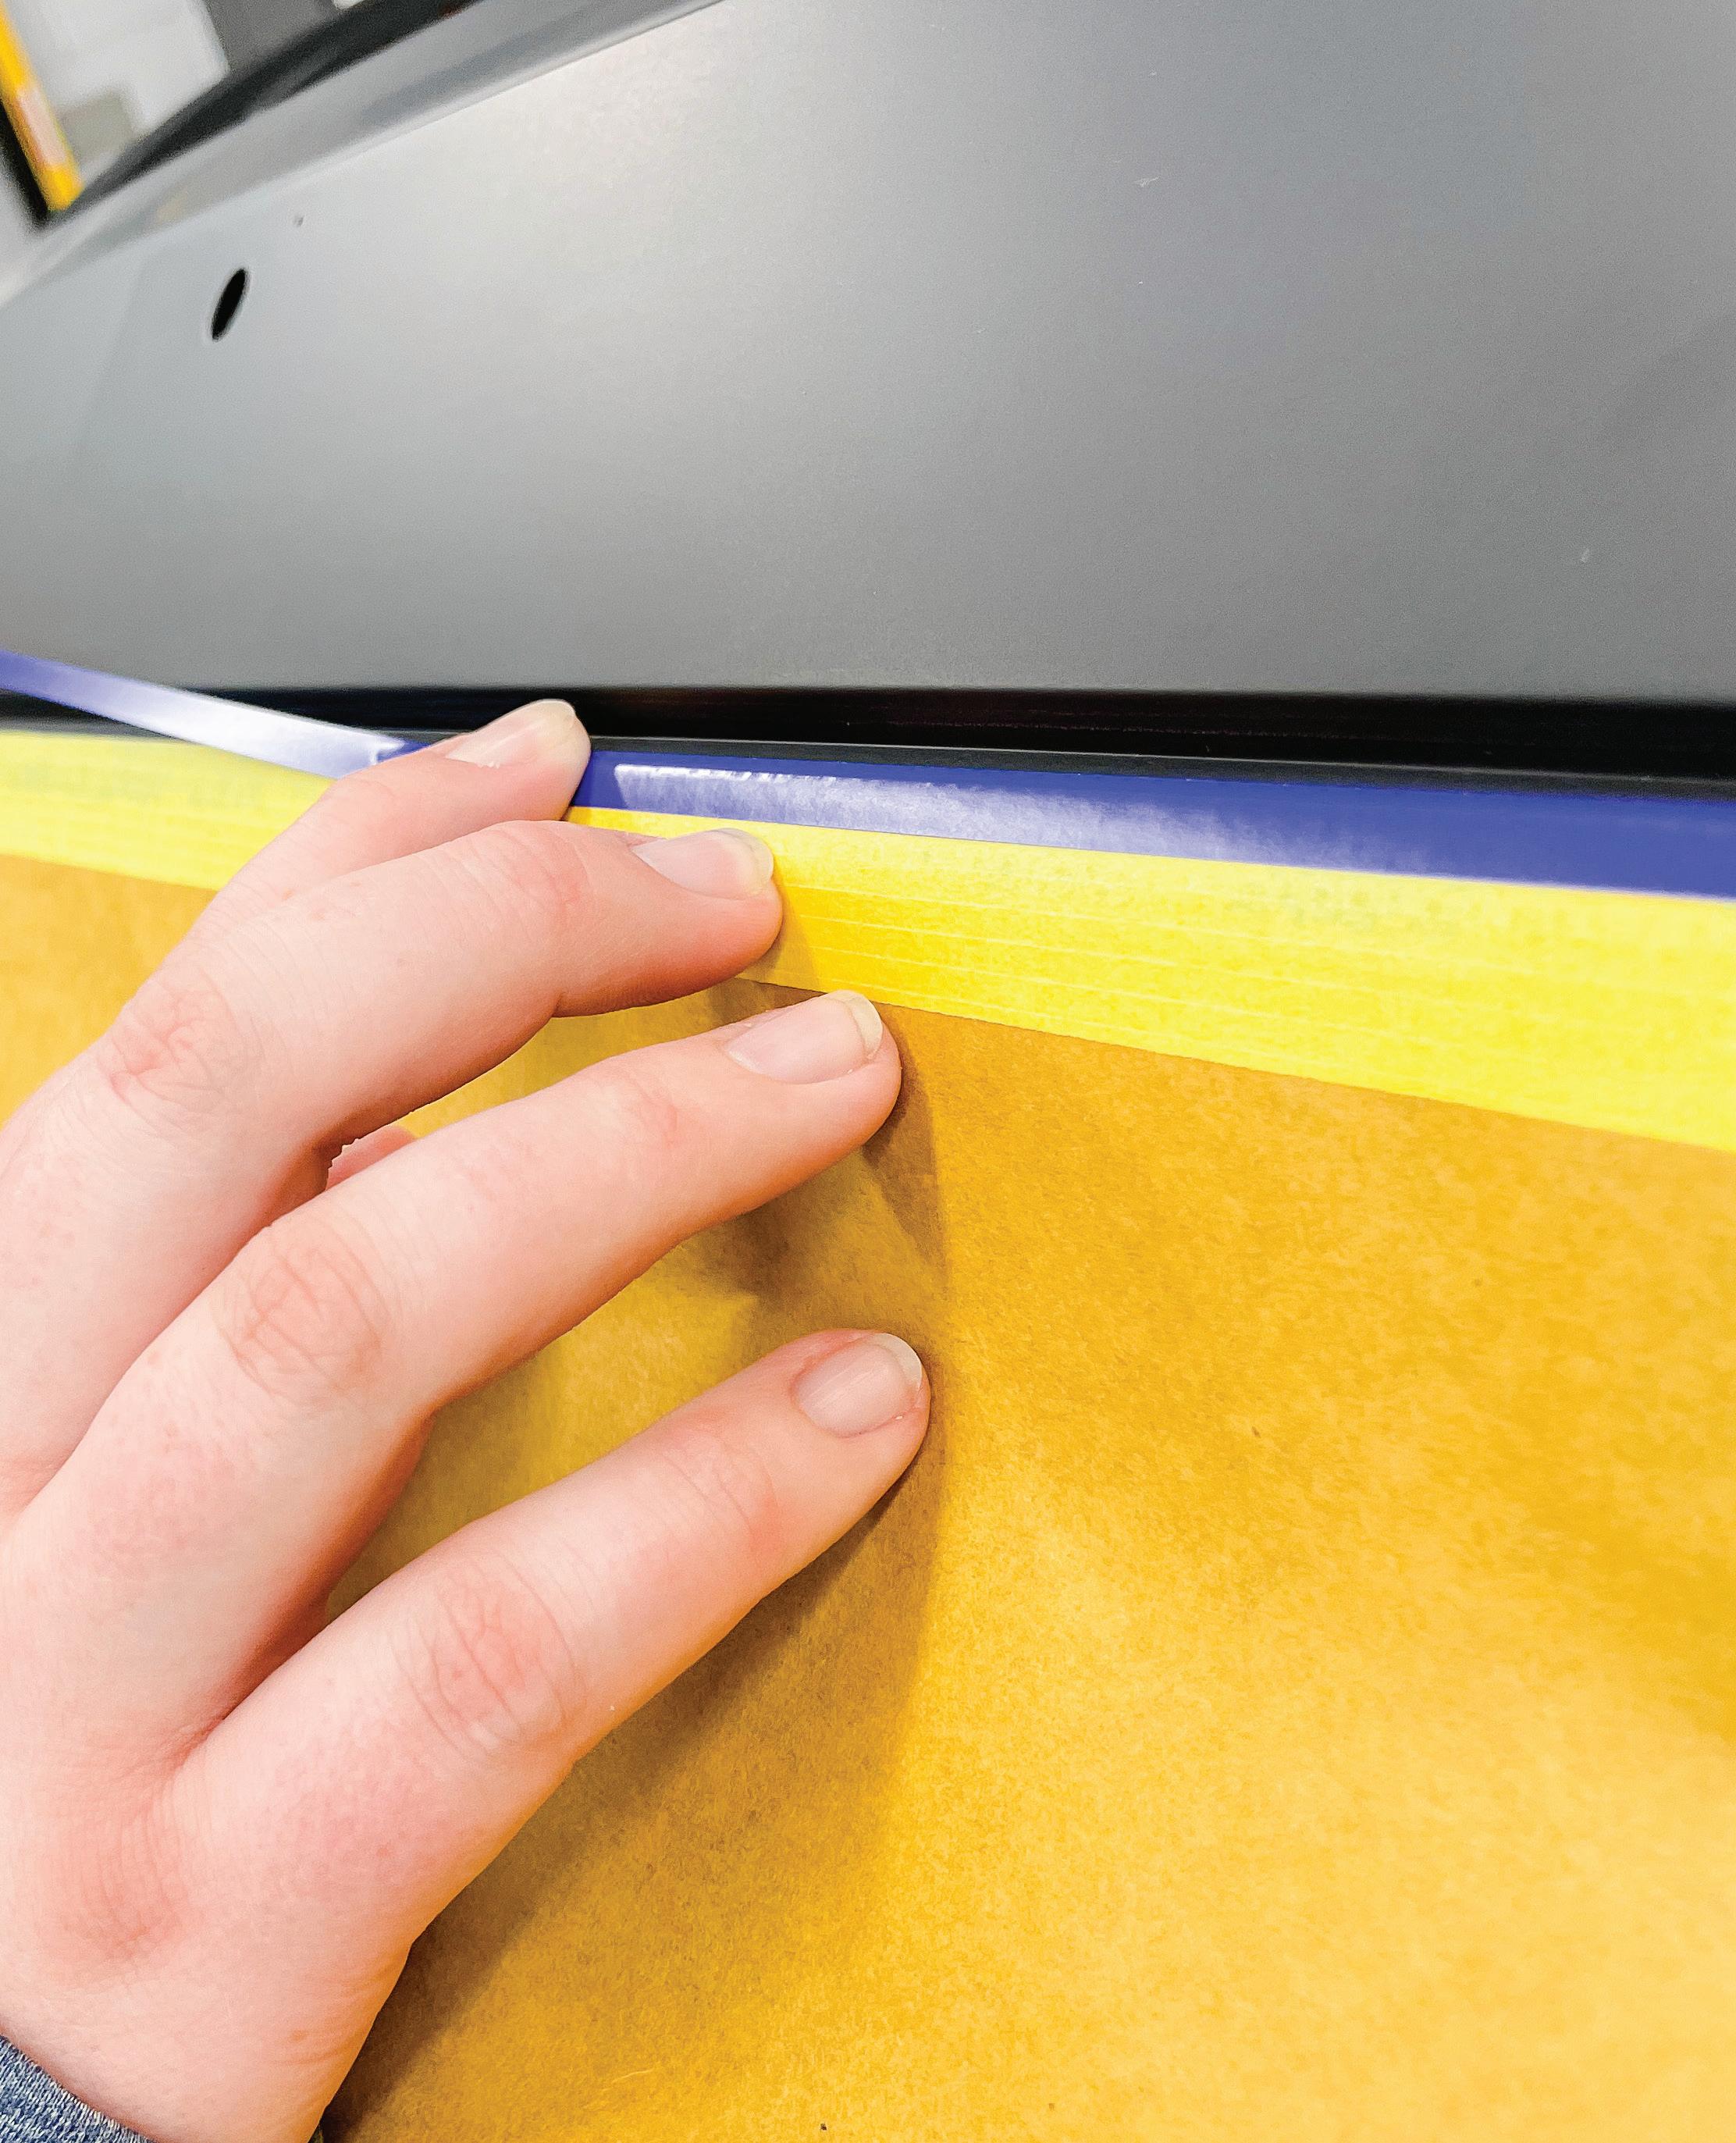
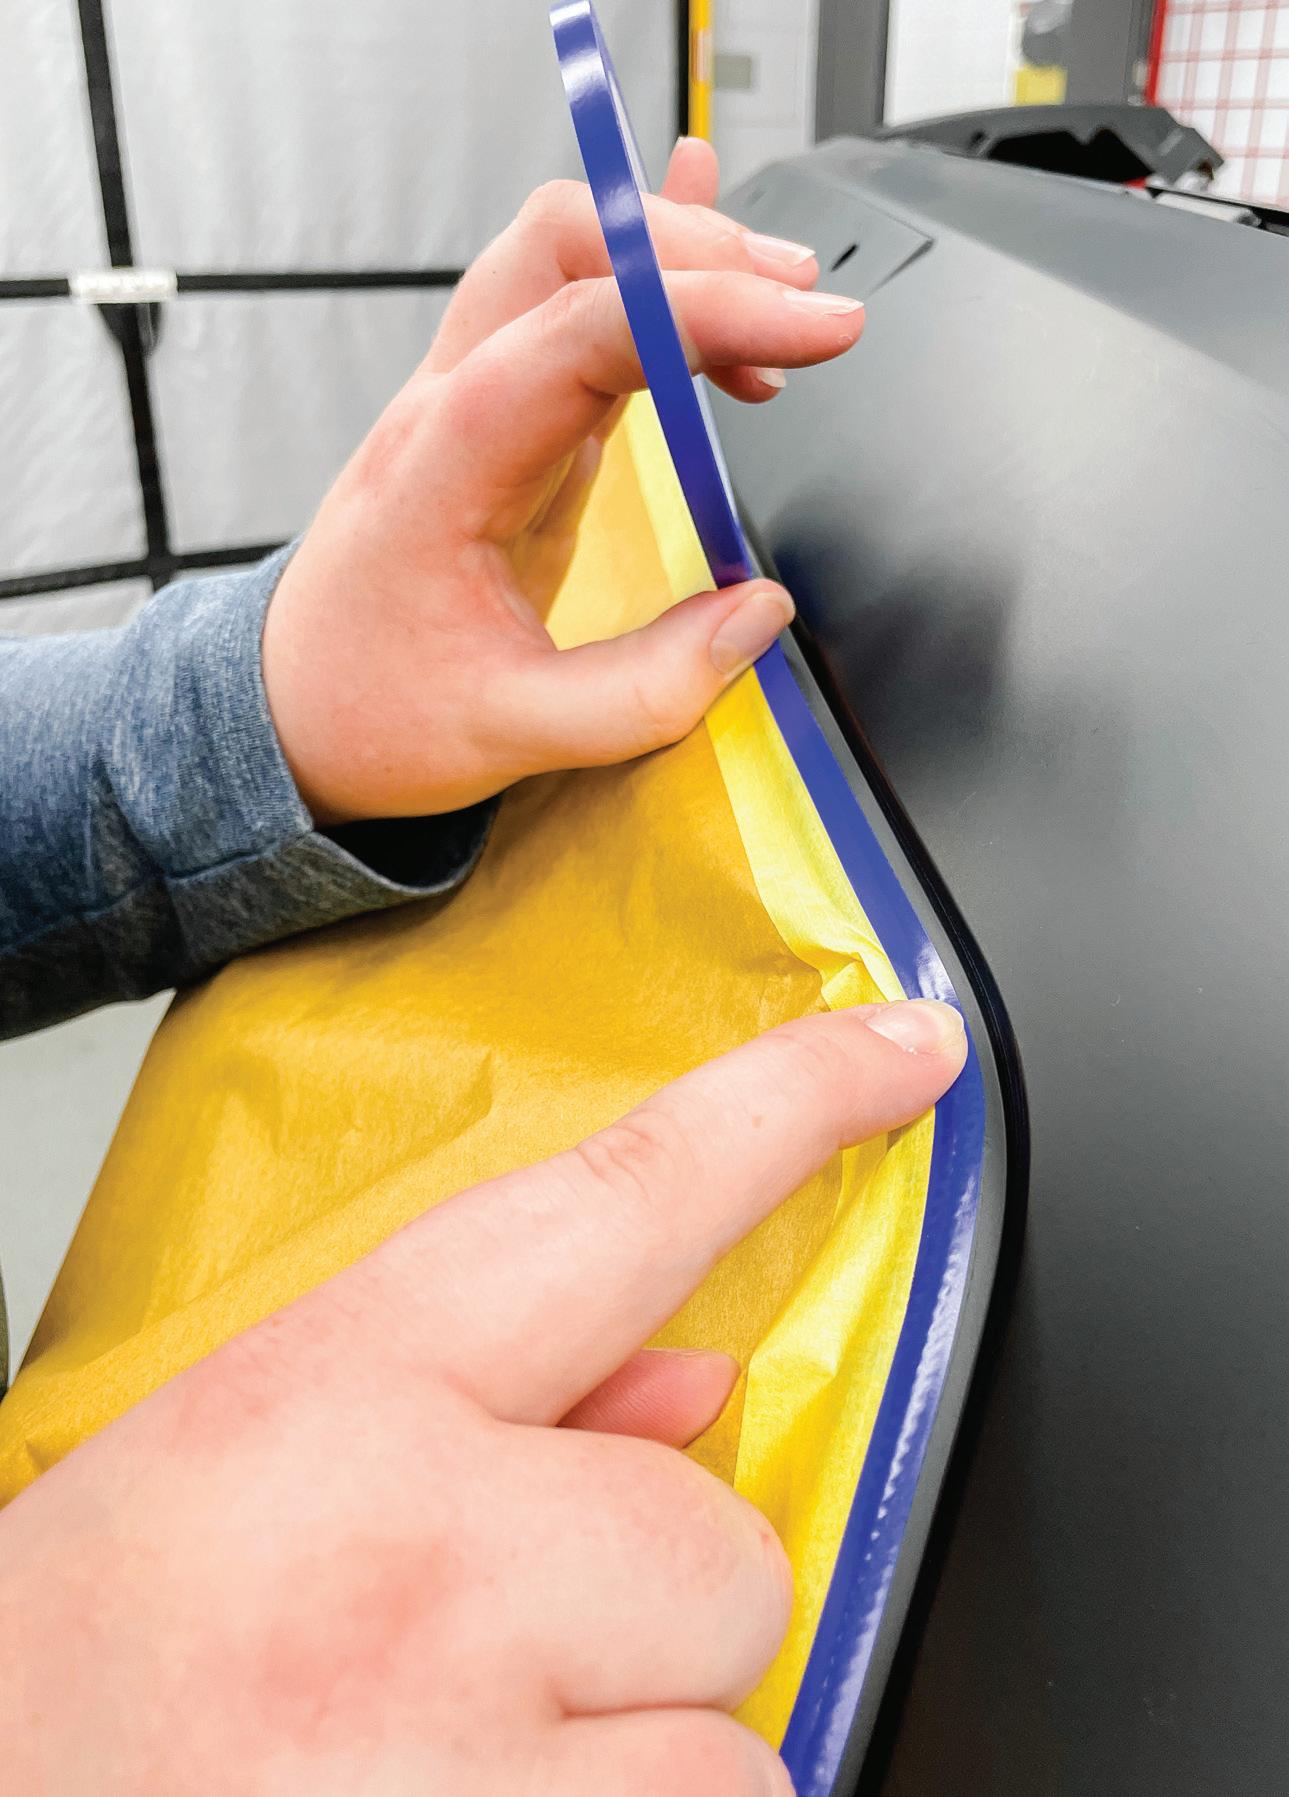
PERFORM THE FINAL PRECISION MASKING with fine-line tape. If you have to make any especially sharp turns, you can anchor the fine line with another piece of 3/4” tape to keep it from moving when painting.
water followed by a water-based wax and grease cleaner. Make sure the scuffing agent is completely removed from tough-to-reach areas to allow the paint to properly adhere. When prepping, try not to let the scuffing paste dry on the plastic, because it can be difficult to remove. Depending on which paint system you’re using, the maker may offer a presaturated scuffing pad that makes the process very convenient and also streamlines billing.
The solvent-based method starts with a slow-drying, anti-static plastic cleaner you apply to the bumper after masking and then wipe off. Next, some manufacturers
recommend that you scuff the panel by running an ultrafine scuff pad over the plastic areas that need to get painted, followed by a final wipe with the plastic cleaner.
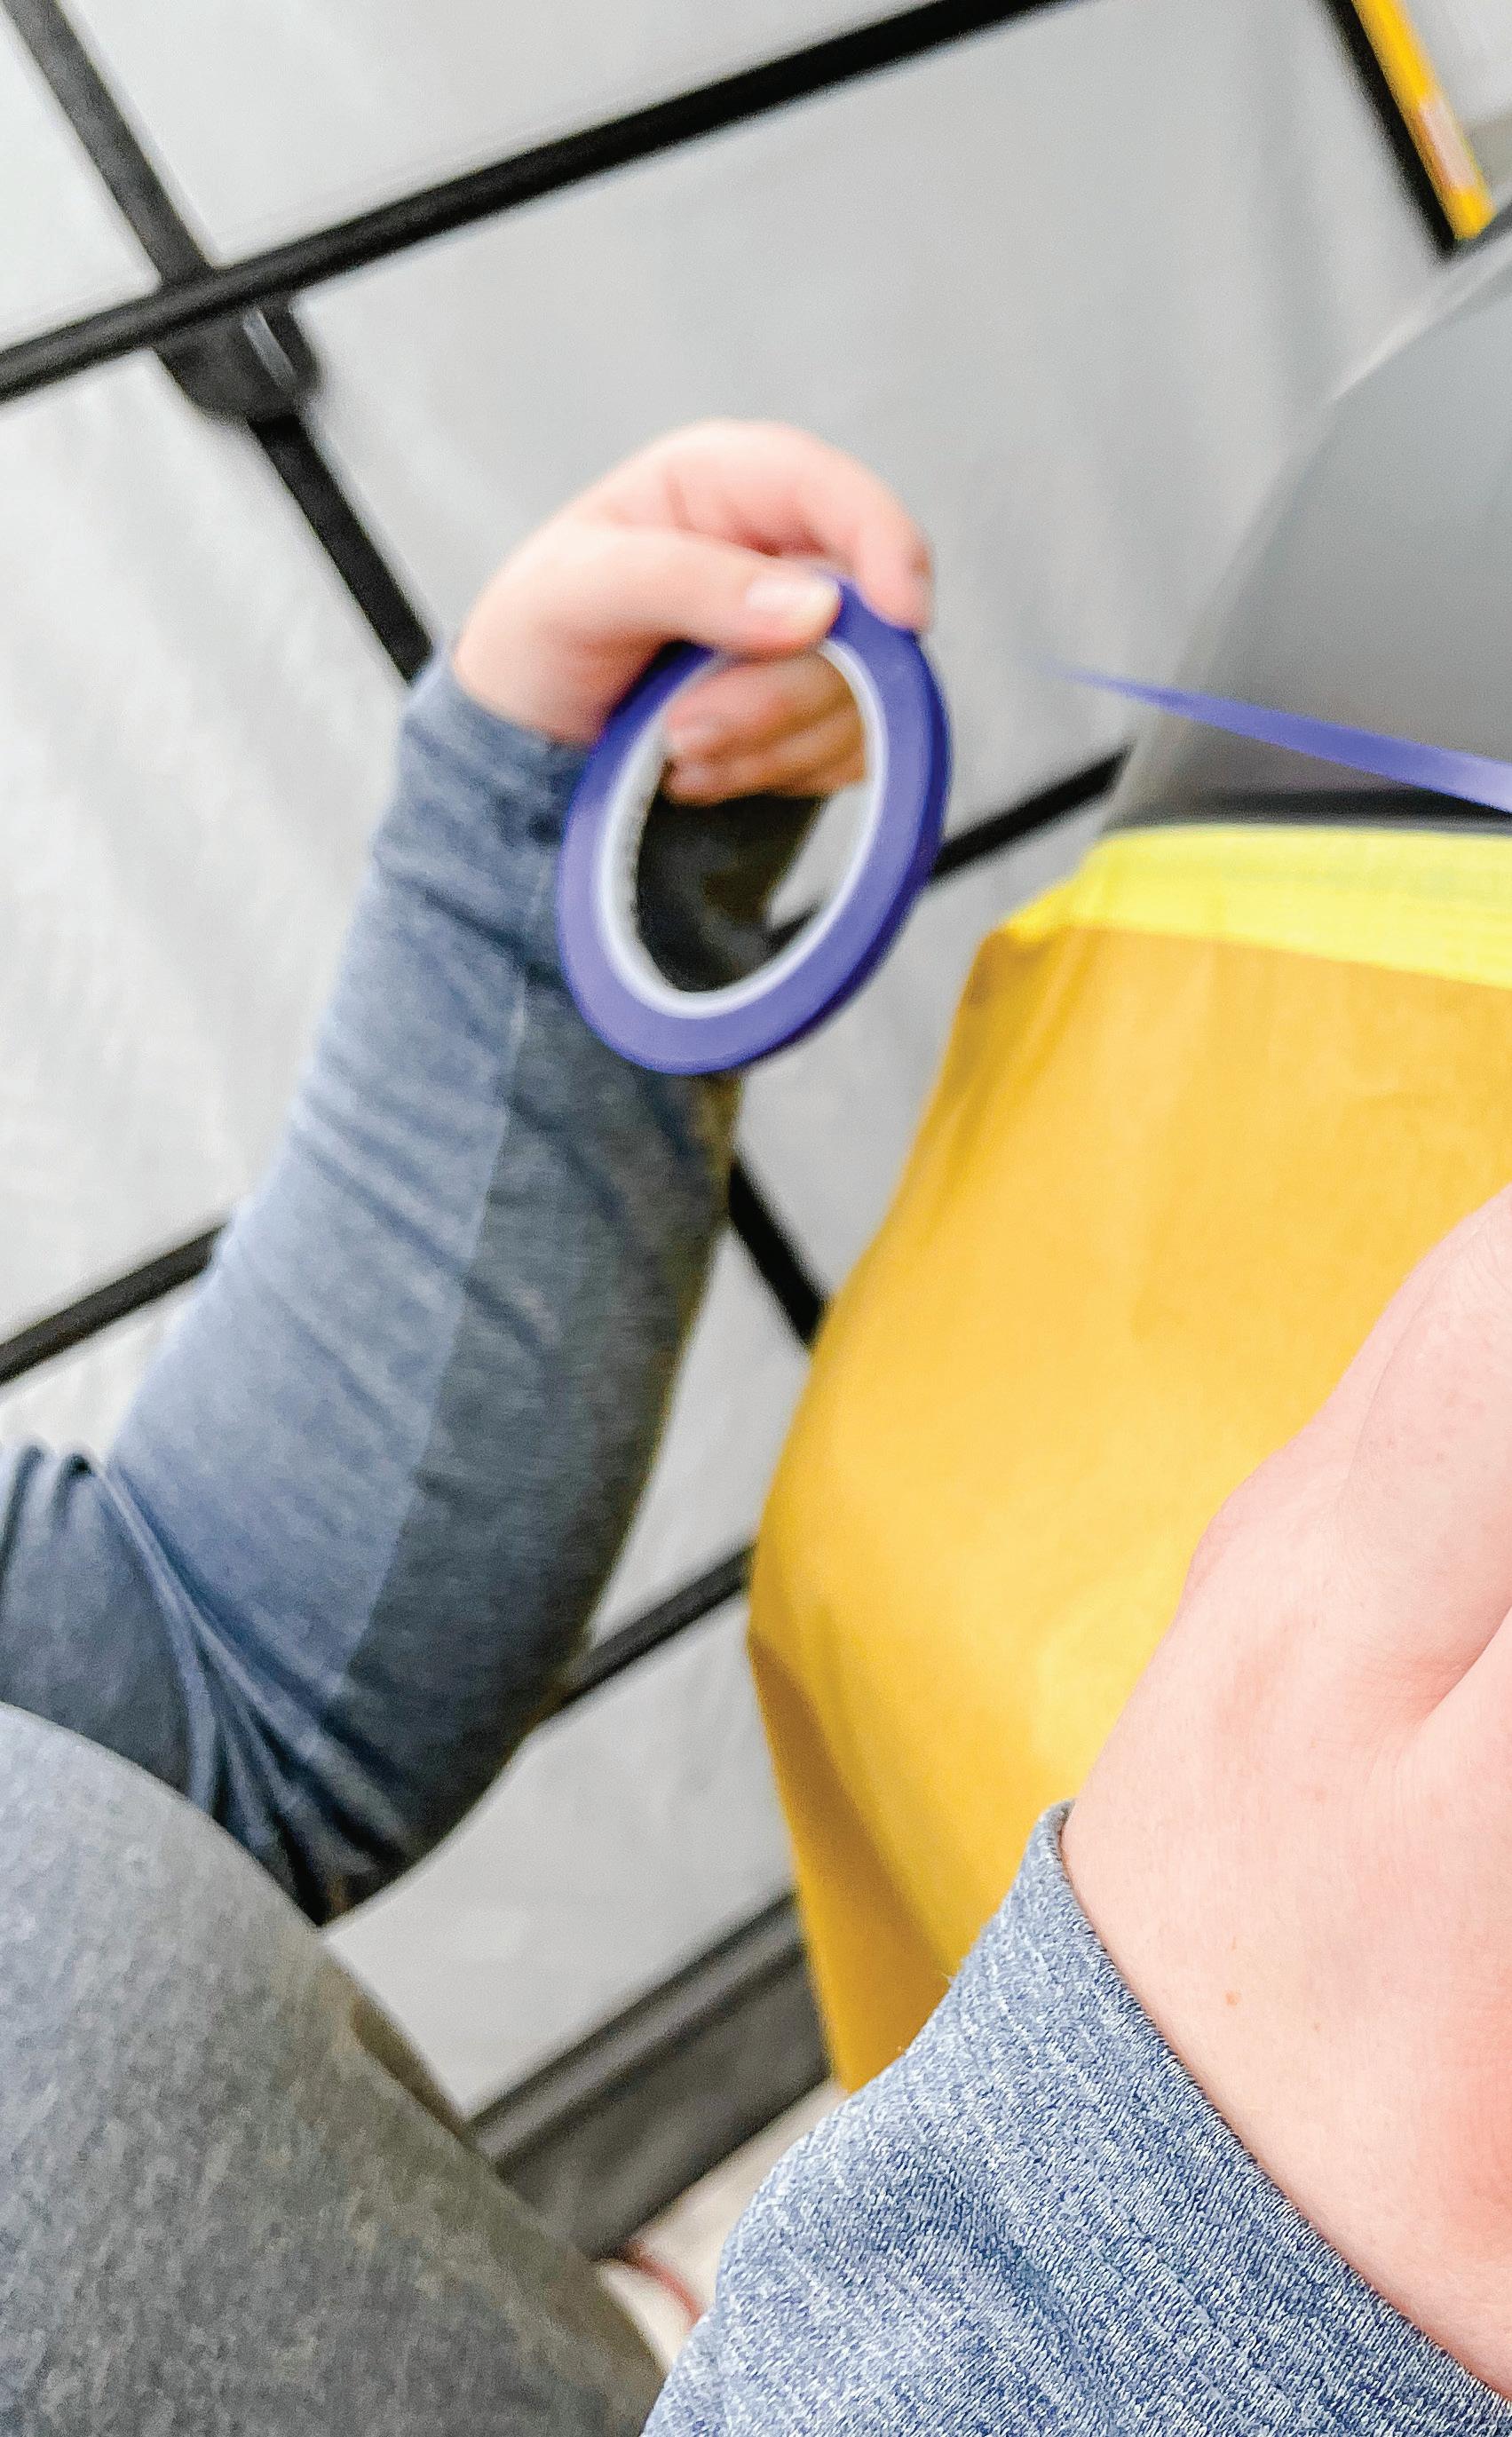
After your bumper is thoroughly dried, you’re ready to tape up any areas that are supposed to remain raw plastic. Start by outlining those areas with 3/4”-masking tape, making sure you leave room for your fine-line tape. Any large areas that are masked off with paper must be anchored down on the backside of the bumper to ensure no overspray gets underneath the masking paper. Once that is completed, do your final precision masking with fine-line tape. If you have to make any especially sharp turns, you can anchor the fine line with another piece of three-quarter-inch tape to keep it from moving when painting.
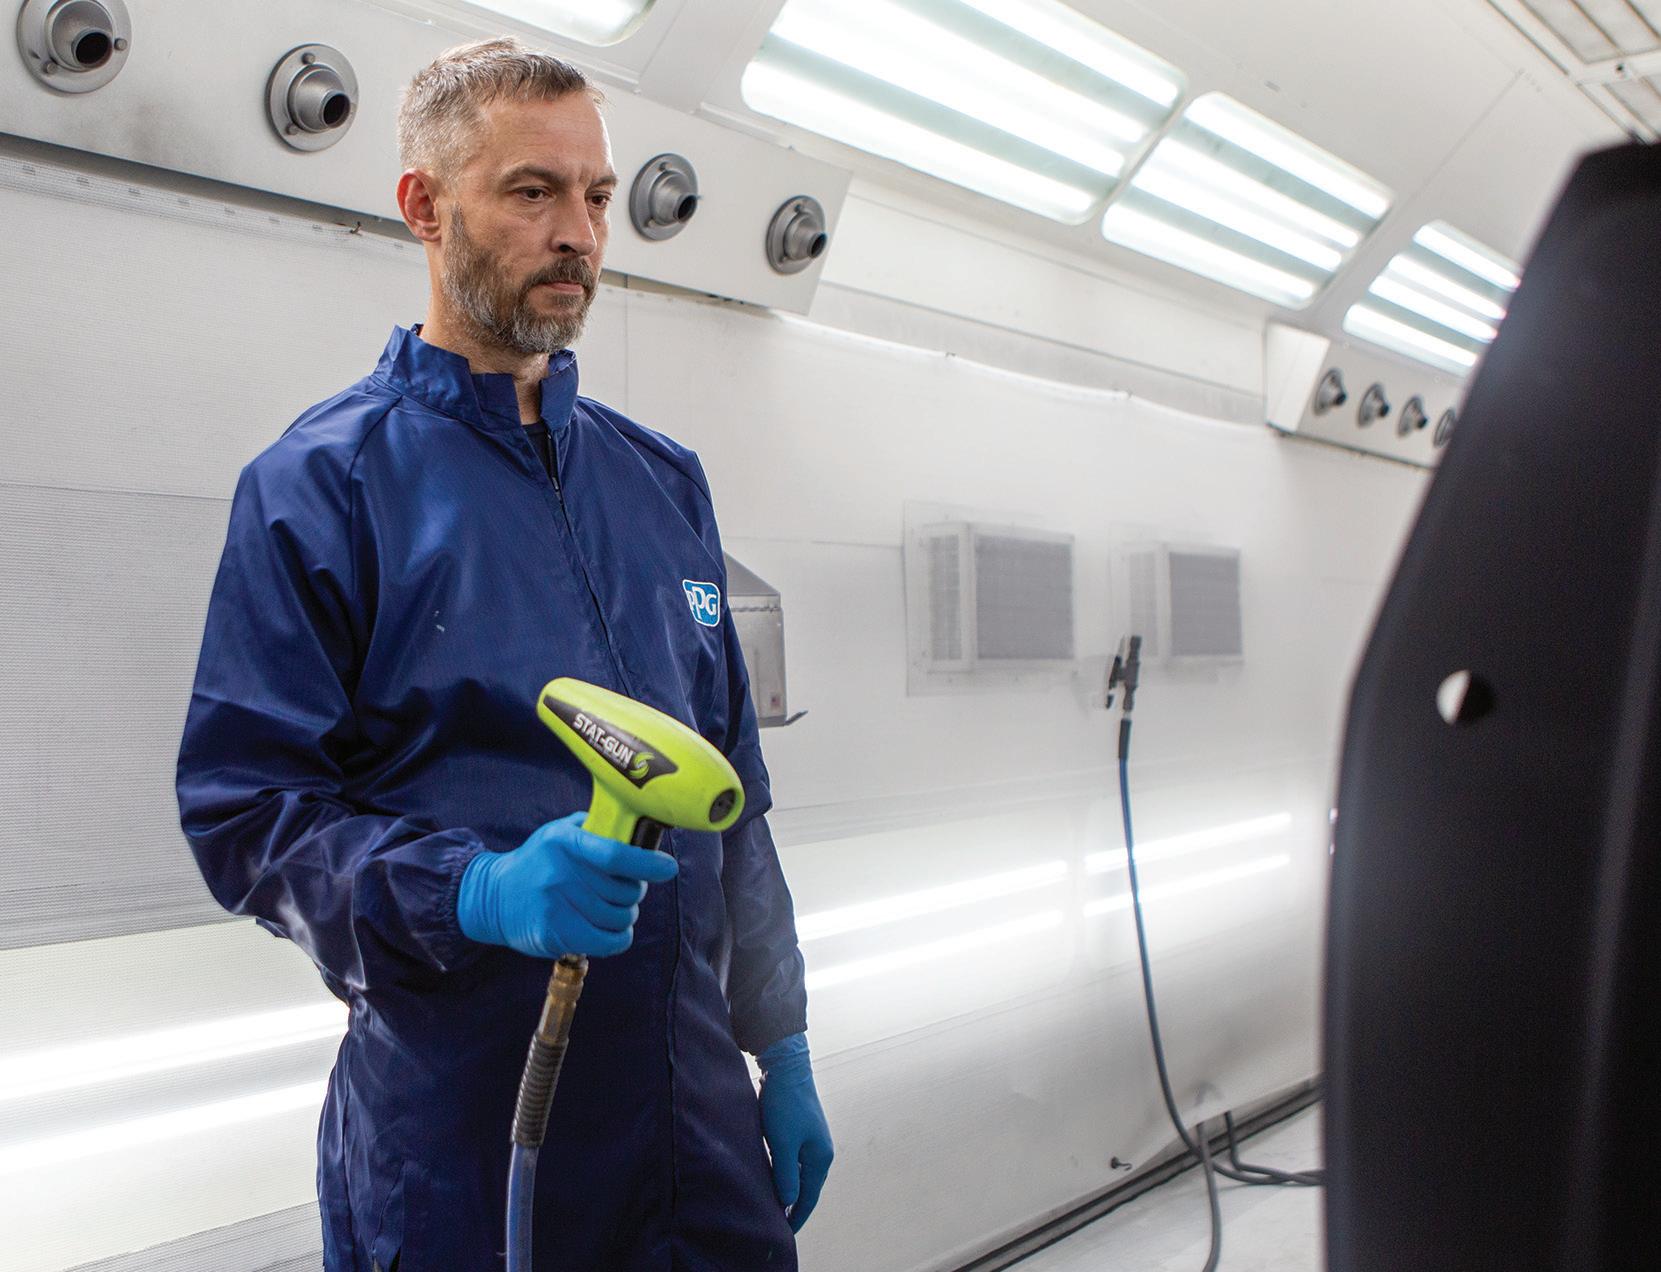
With the bumper in the booth, it’s ready for a final tack. Now is the perfect time to use an anti-static gun if you have one at your disposal. If not, there are a variety of anti-static wipes you can use to help keep the static down.
Finally, we get to the fun part: painting! For the sealer to stick to the bumper, you’ll first need to put a plastic adhesion promoter down. The adhesion promoter is usually either one thin closed coat or two thin back-to-back coats. This needs to be fully dried before you seal, and an adhesion promoter
usually requires a 15-minute flash. Once it’s flashed, you’ll need to apply a full coat of flexed sealer.
Don’t get skimpy with the sealer on a bumper. Make sure there’s a thickness of one mil when it’s dried, which provides proper adhesion and some cushion for rock chips. Next, apply the base coat, assuming you have already verified the color. Then, finish it off with a couple of coats of flexed clear. Again, don’t skimp on the clear! There should be a minimum of two mils to avoid rock chips and paint delamination. Peel off the fine line tape and hit bake.
Working on a newer car with ADAS calls for a different process. ADAS relies on radars to sense and measure collision threats, and with some ADAS systems, the radar goes through the painted part of the bumpers. If you’re working on one of those vehicles, your process affects safety as well as aesthetics—and there are quite a few things to keep in mind.
In this case, both your paint company and the manufacturer of the vehicle will have recommendations you need to follow. The thickness of the bumper itself must be taken into consideration, and so must the thickness of the paint as well as its aluminum content. The manufacturer recommendations are specific to each vehicle, and you should prioritize those first.
MINIMIZE


In general, the areas of the bumper that the radar passes through cannot be repaired with filler, because that will create an improper and non-uniform thickness on the bumper. Because mil thickness consistency, especially with metallics, is essential to ADAS function, blending base coat over the radar area of the bumper is also not allowed; that can cause inconsistent radar readings. Overall, you should keep the mil thickness of all coatings as low as possible to make sure the cumulative mil thickness is below the vehicle manufacturer’s threshold for paint material over the radar zone.
Pigment and pearl in the base coat are usually not as critical as the aluminum content, and the paint manufacturer will have specific formulas designed with lower metallic content to make sure they won’t interfere with radar transmission. Painting a bumper for a car with ADAS requires the use of one of these approved formulas. That also means they should not be tinted, because that may change how the radar is transmitted through the base coat. If the best radarapproved color isn’t an acceptable color match to spray only the bumper, you may need to blend additional panels for an invisible repair—because safety comes first.
It is important for the writer in the front office to verify whether a car has ADAS when it comes in for a bumper repair. That way, the writer can notify the paint department, and the painter can have radar-approved formulas sprayed out for the vehicle before the bumper is in the booth. Doing this lets the painter determine whether additional blending is needed due to color match. Don’t wait until the bumper is in the booth to make that call.
All in all, ADAS requires a few extra steps to ensure a safe and proper repair. First, get a copy of the repair procedure from the vehicle manufacturer. If necessary, get a whole new OEM bumper. Unnecessary coating thickness matters on the back of the bumper too, so before painting, you’ll need to mask off the back to shield it from overspray. Always use the proper undercoat shade when sealing and use the least amount possible of the radarapproved base coat color. Blend adjacent panels if necessary. Then finish the job with a flexed clear.
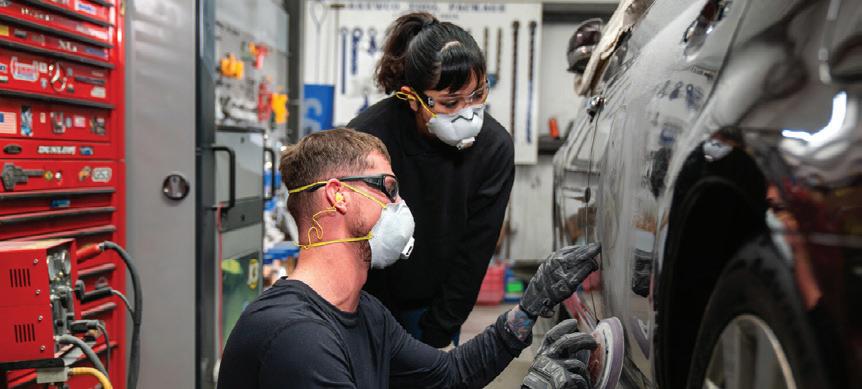
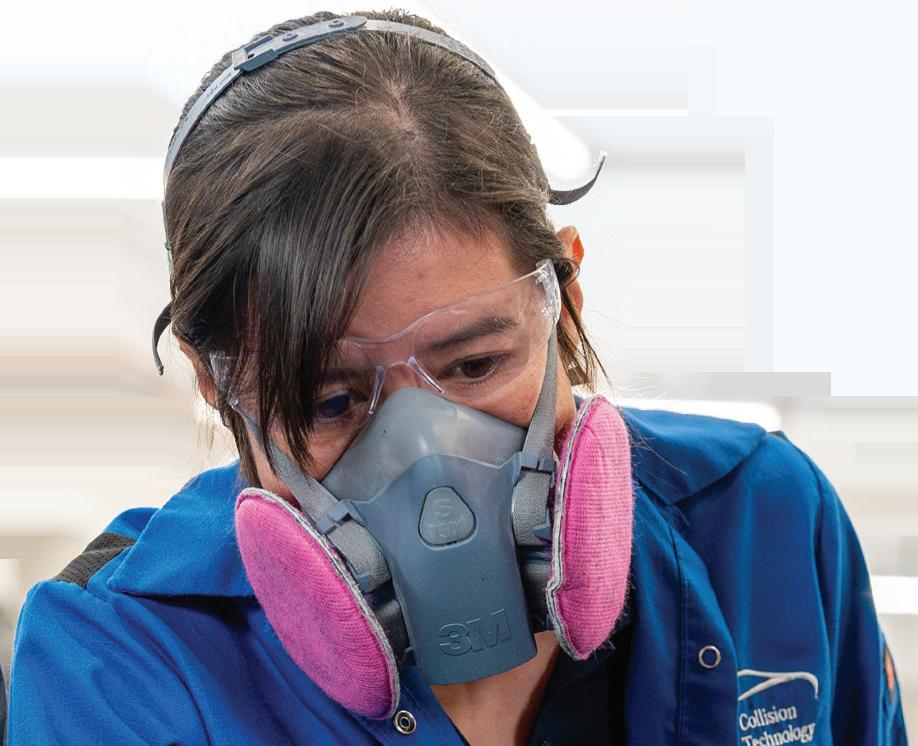
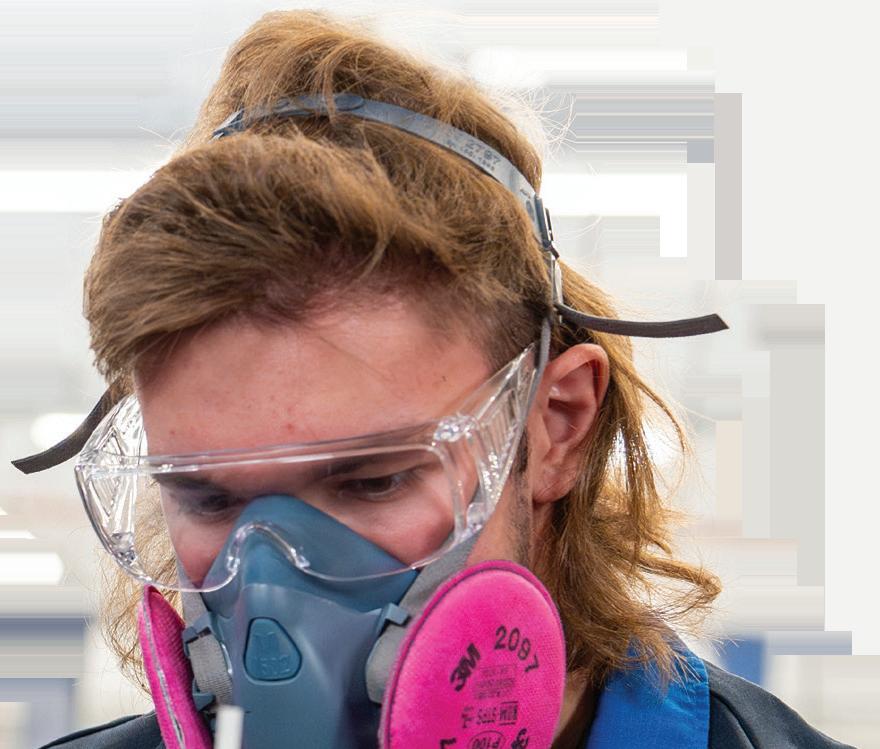
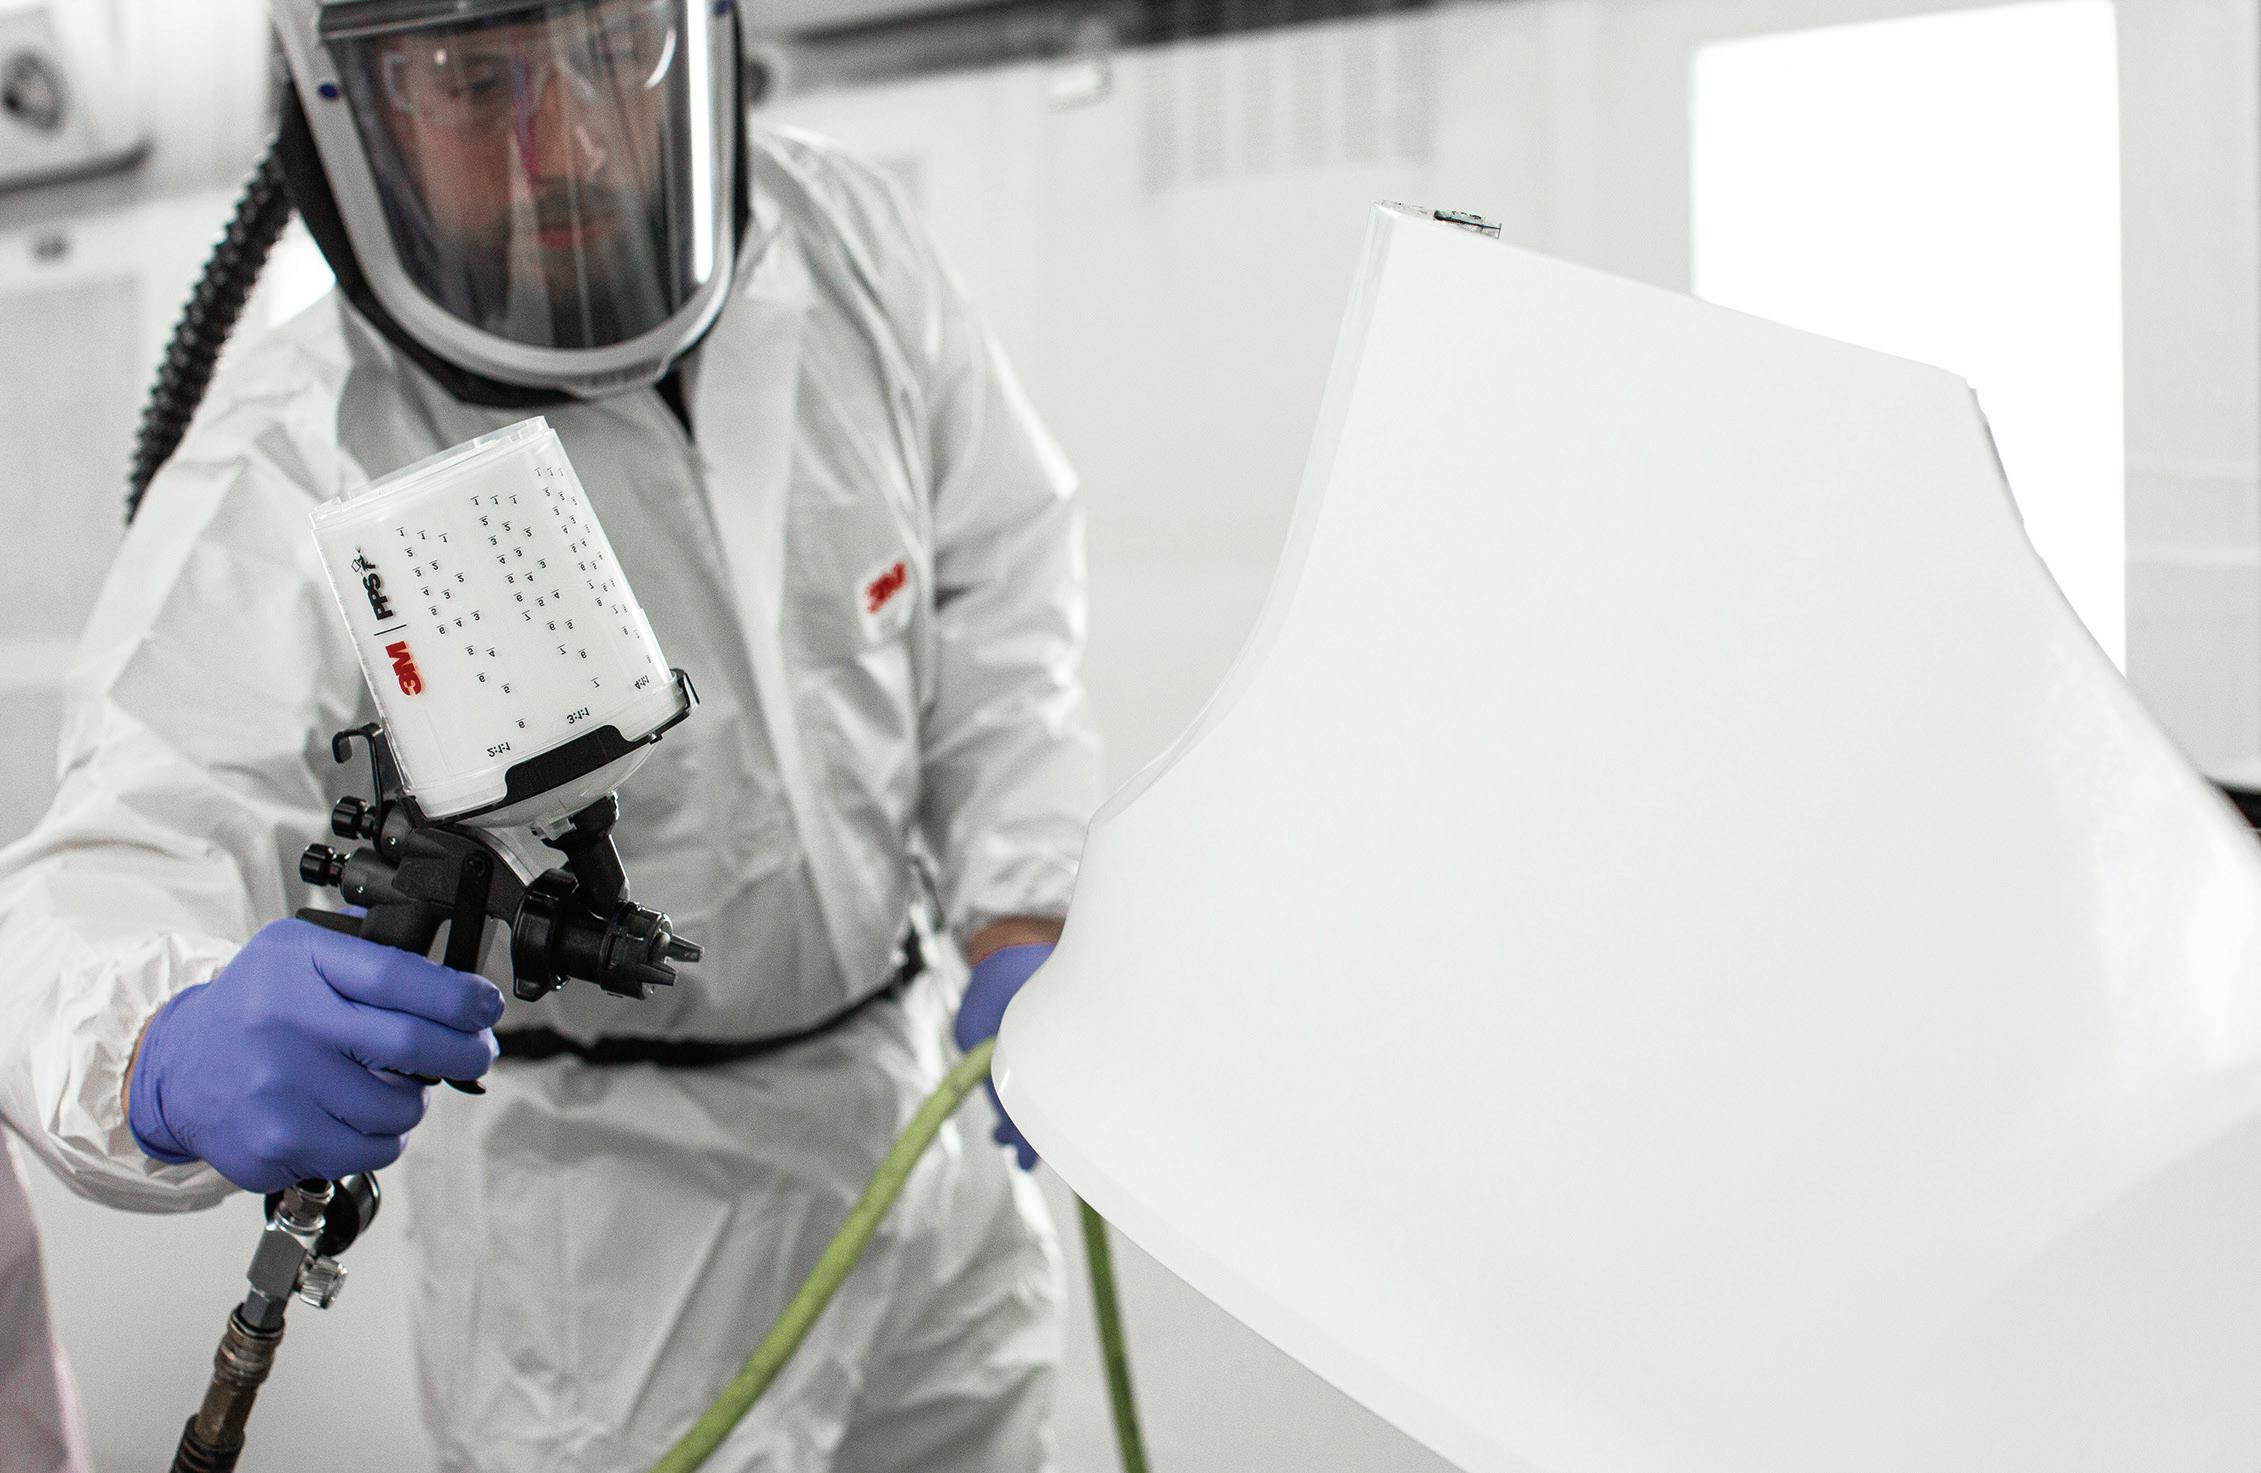
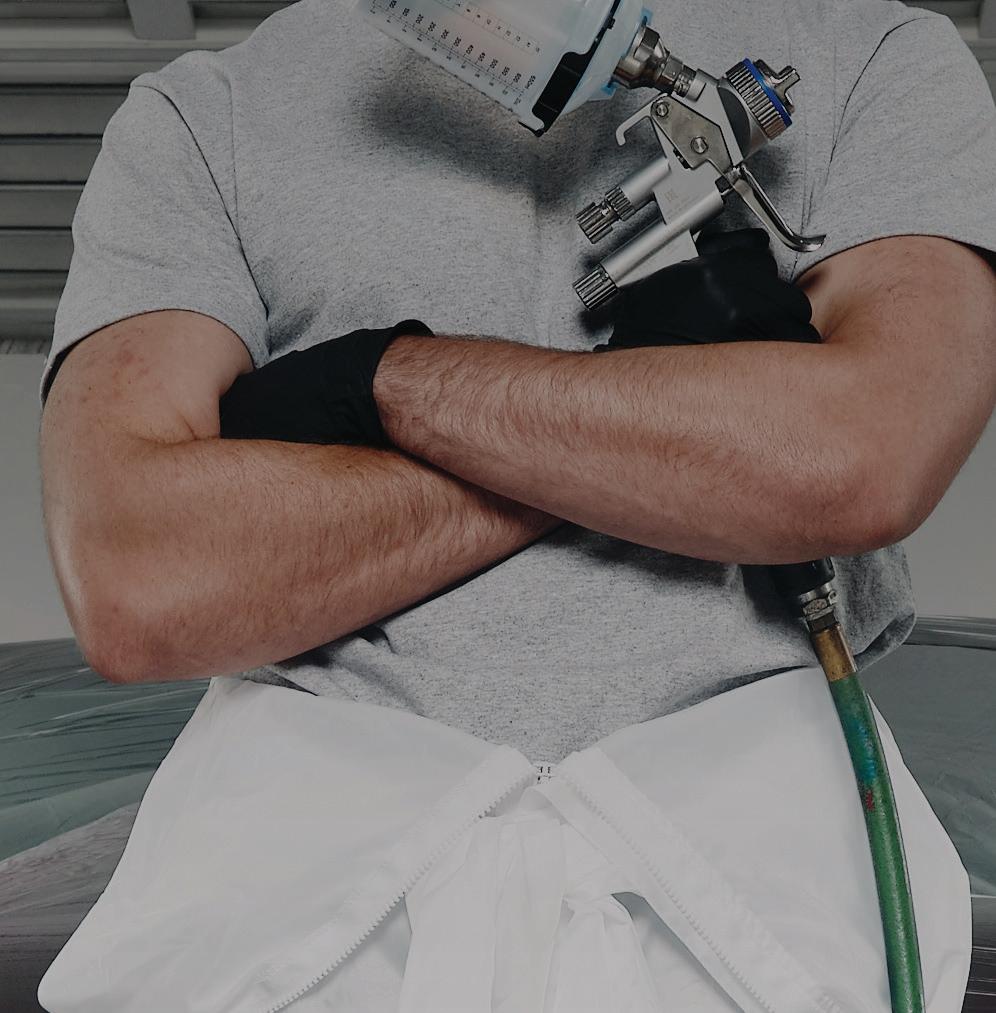
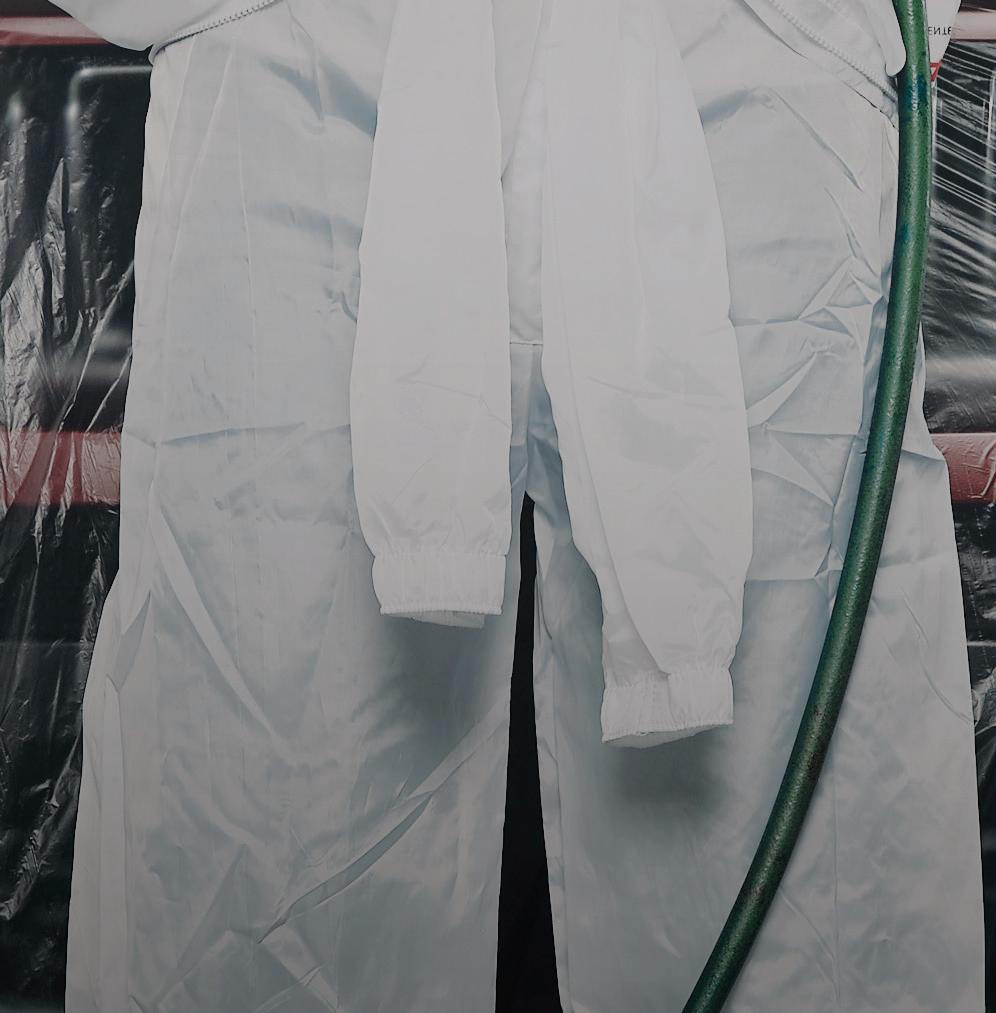
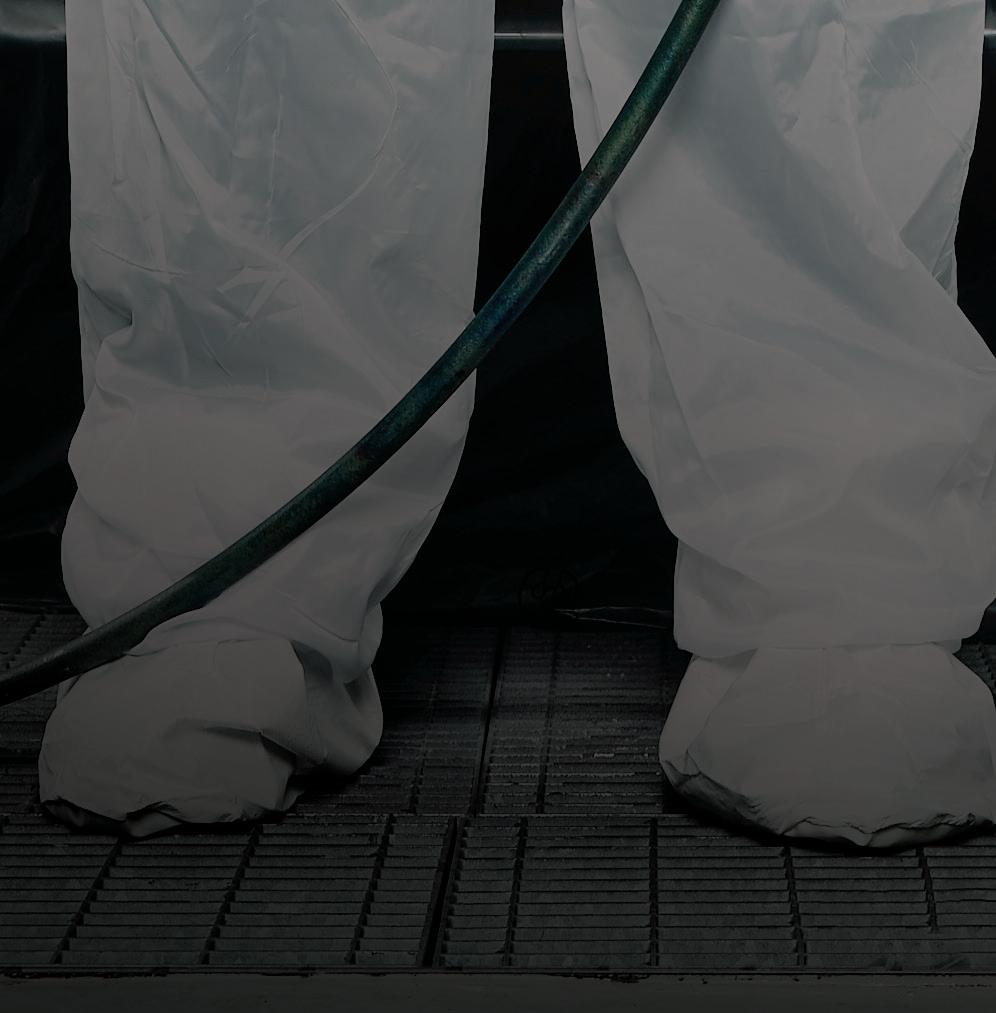
The proper function of ADAS is important for occupant safety, but let’s not forget the technician—his or her safety is a top priority, too. In the shop, technicians work with hazardous chemicals that can be easily absorbed into the body. Wearing the proper personal protective equipment is essential for worker safety. Nitrile gloves, respiratory protection (such as a respirator, fresh air system or PAPR), safety glasses, and a paint suit should be worn at all times when completing these repairs. Because the substances that go into plastic surface refinishing aren’t always the same as with metal or fiberglass parts, it’s important to understand each product’s safety specs from the manufacturer’s technical data sheet (TDS) before starting.
If you follow the guidelines set by the paint manufacturers and the OEM repair procedures, you can make your workflow more efficient, avoid inefficiencies in quoting and billing, and turn out a quality repair each time — not only one that’s attractive and durable, but also one that will keep your customers happy and safe for years to come.
NELSON is a refinish trainer at the 3M Skills Development Center. Michael has served the collision industry for 29 years. He previously held production painter and product specialist roles for Finishmaster and Axalta Coating Systems. He trains painters and preppers from across the country on all aspects of the collision repair process.
SCAN THE QR CODE TO SHARE THIS ARTICLE AND READ RELATED ARTICLES ONLINE


Why do so many shops choose Cromax® XP? Maybe it’s because they can achieve a premium finish in as few as two coats. Or that it’s easy to mix, match, and apply. It could also be having access to the most innovative digital color match tools. But we’d like to think it’s all of it.
See what sets Cromax® XP apart from the competition. axalta.us/xp


PREPARE FOR AND PASS YOUR ASE CERTIFICATION


Motor Age Training offers the most complete and extensive collection of B-Series Collision Repair training guides available anywhere!
B2 - Paint & Refinishing Certification
B3 - Non-Structural Analysis & Damage Repair
B4 - Structural Analysis & Damage Repair


THANKS TO OUR TRAINING SUPPORTERS

B5 - Mechanical & Electrical Components Certification
B6 - Damage Analysis & Estimating Certification
*training guides available in a variety of formats


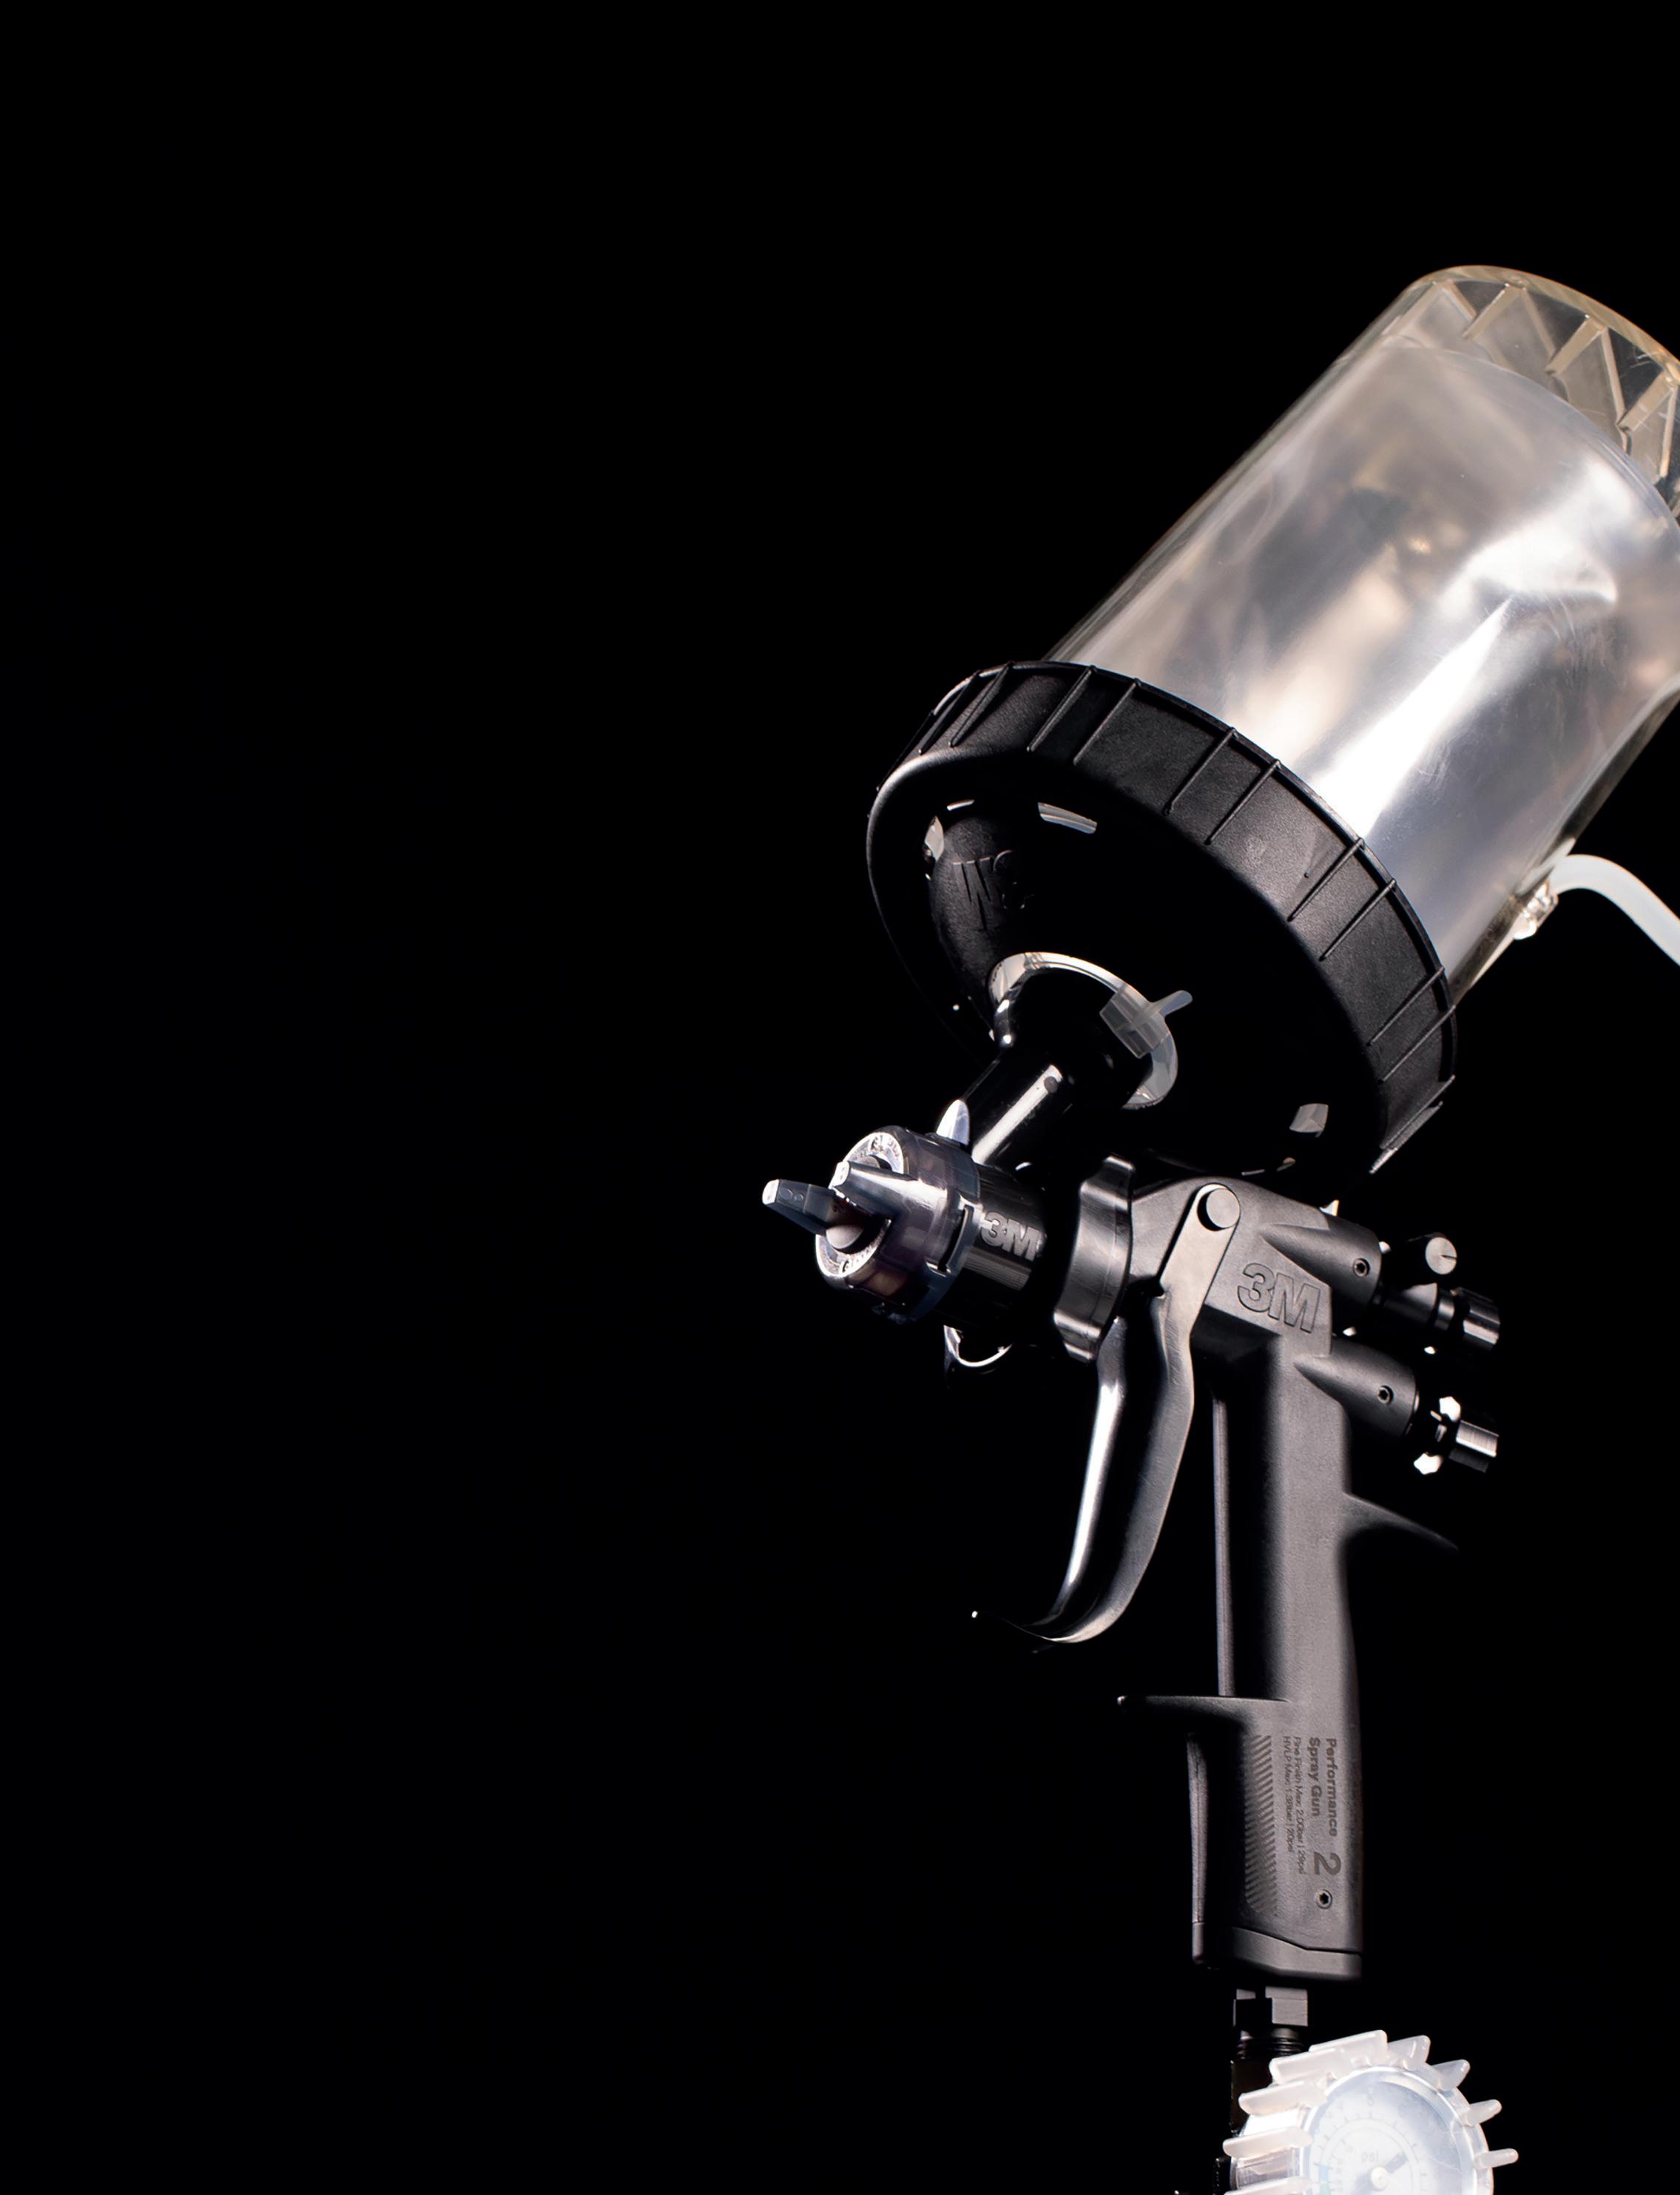
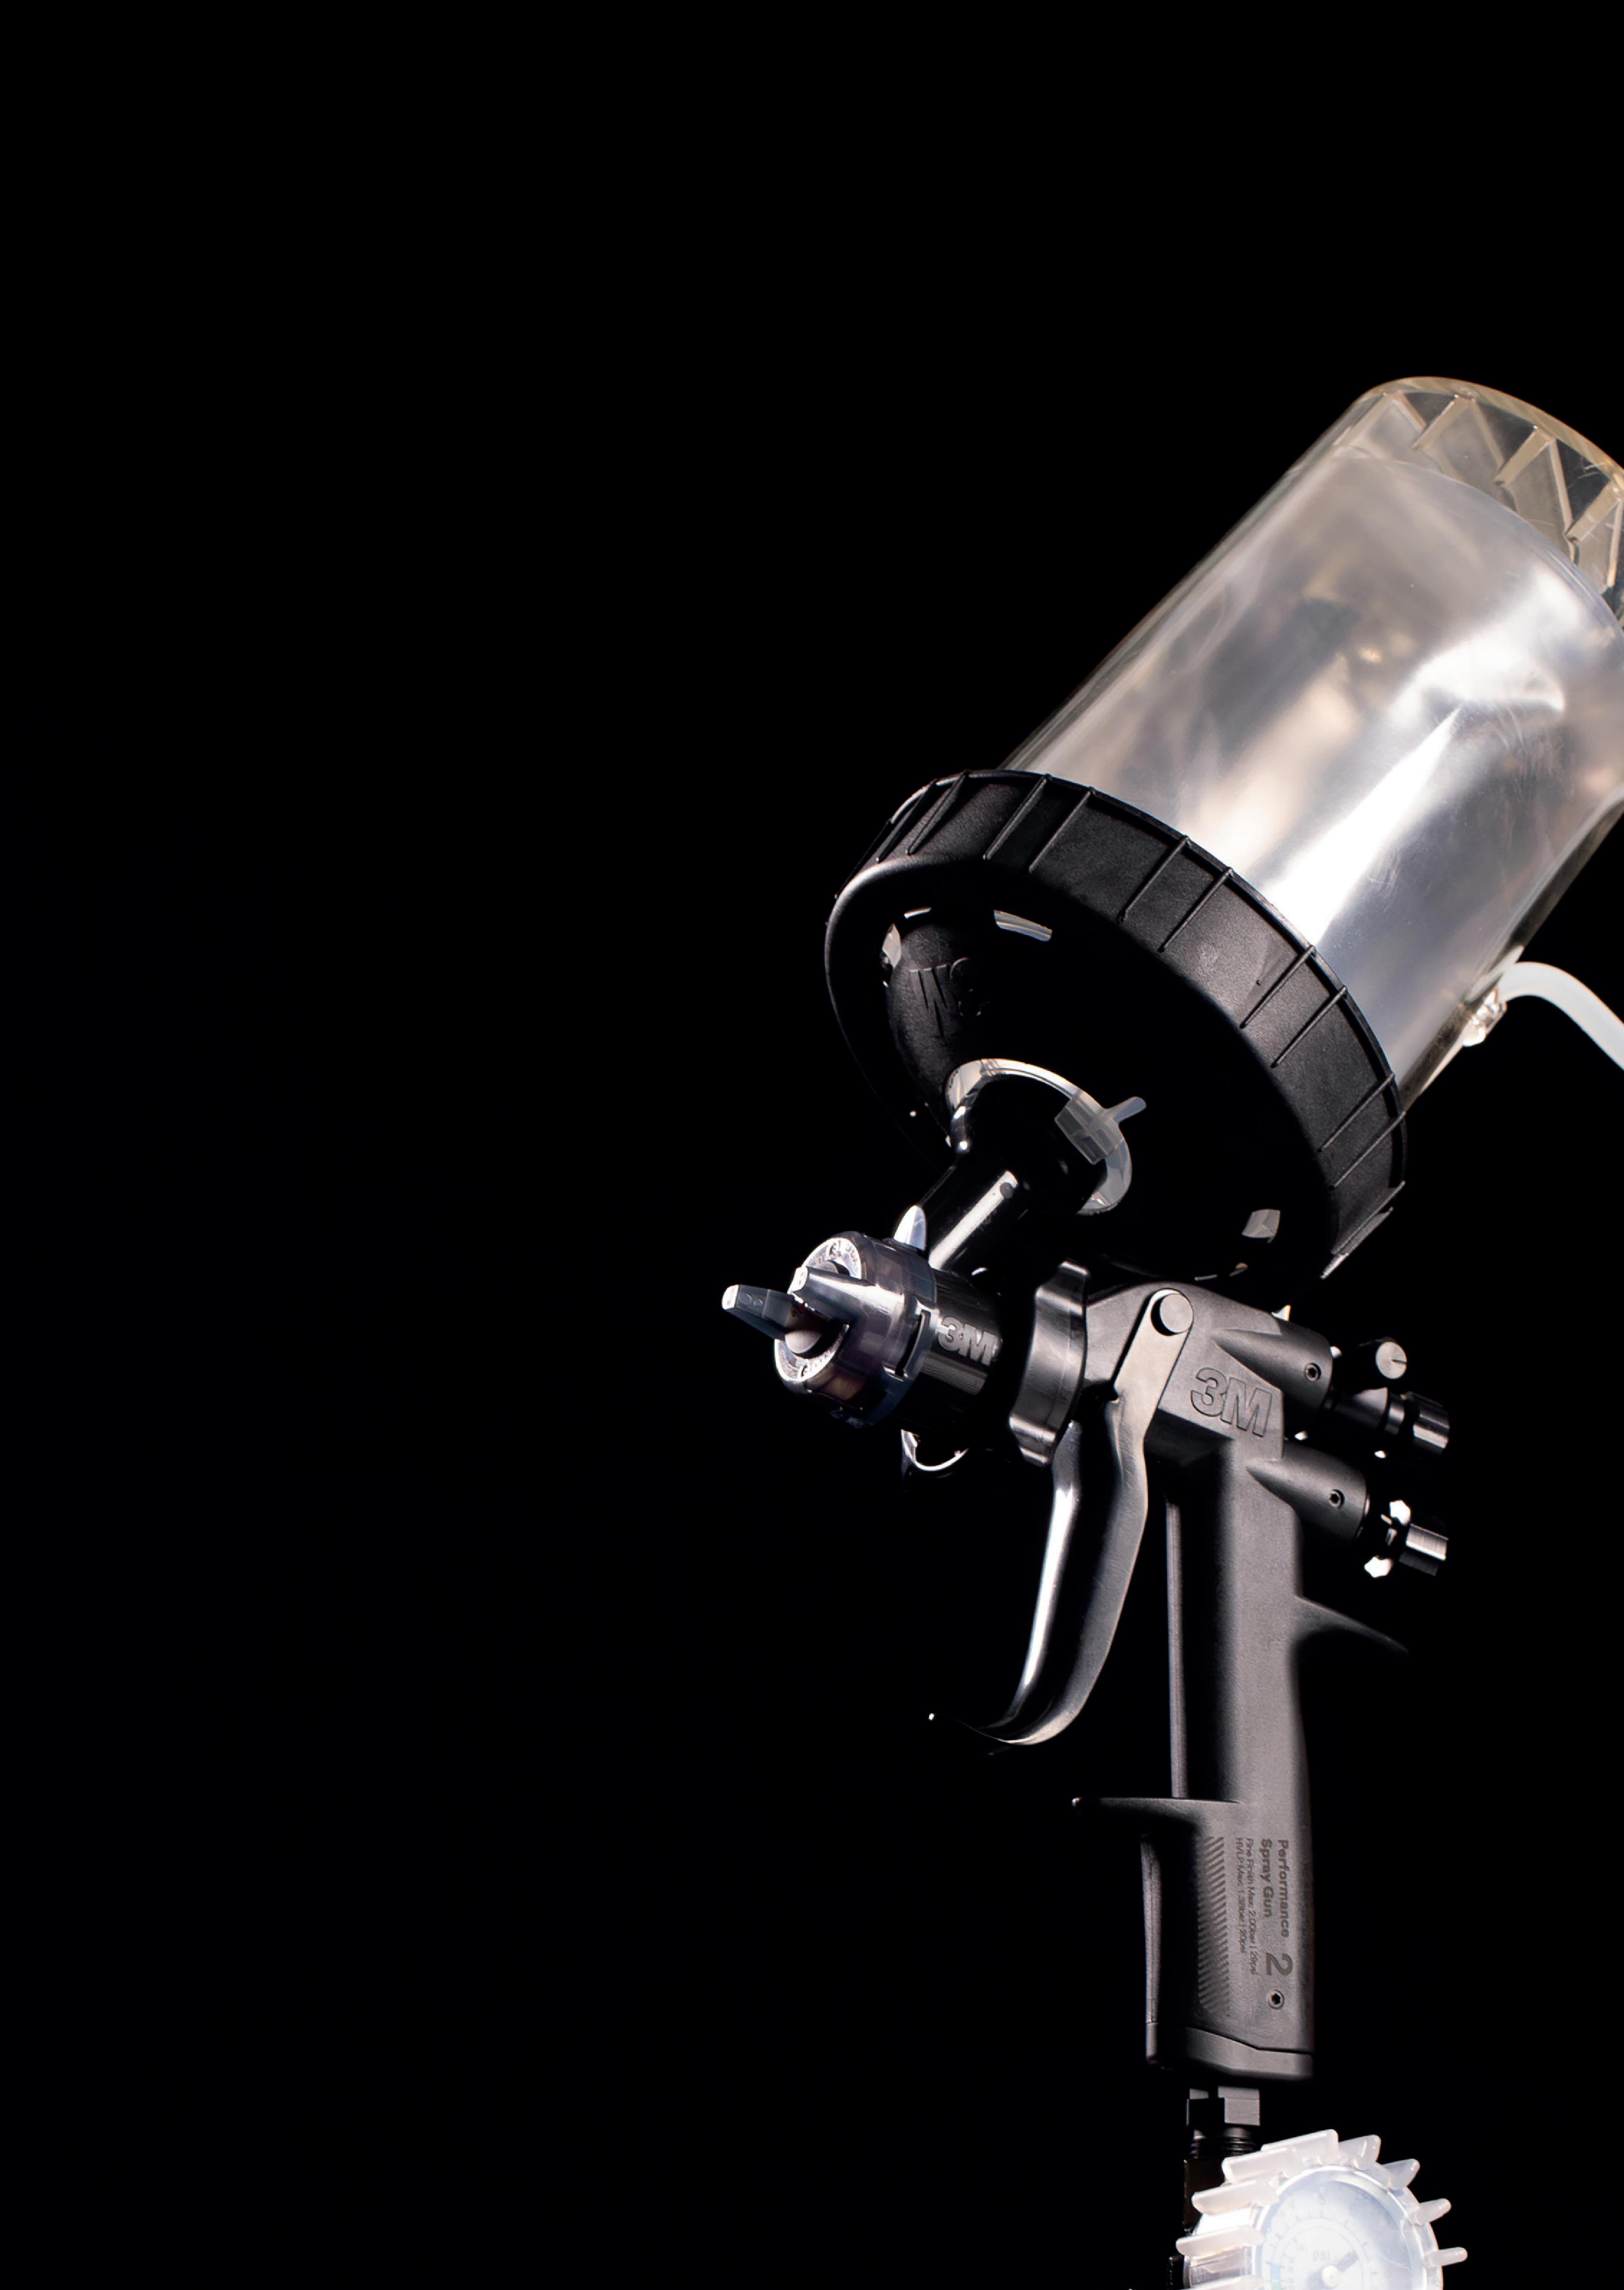
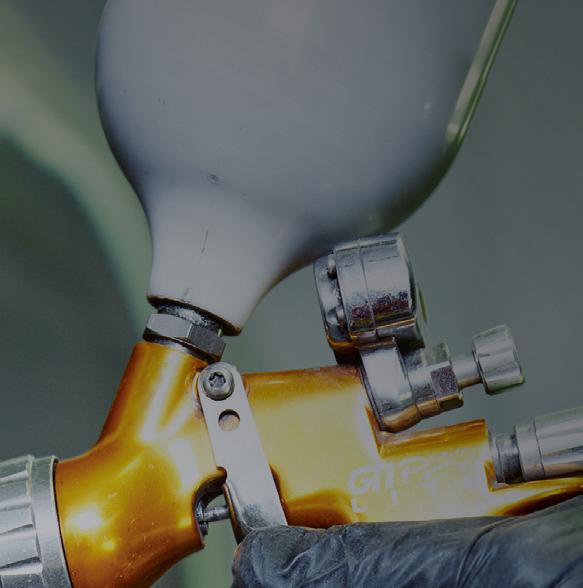
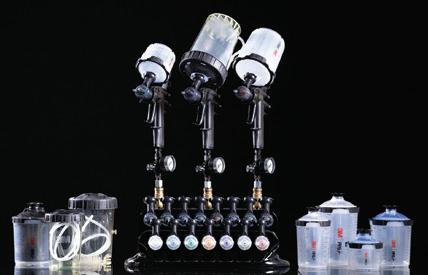
The 3M Performance Spray Gun 2 is the next generation of the 3M Performance Spray Gun and is a very versatile spray gun built for the modern painter. Capable of spraying a wide range of coatings, its impact-resistant composite body makes it one of the lightest spray guns available. Its optimized design with a sleek gun frame, laser-marked control knobs, and redesigned comfort trigger help to provide an enhanced spraying experience. With its versatile design, technicians can quickly transition between a wide range of tip sizes for their applications. The innovative design means fewer parts to maintain.
WWW.FENDERBENDER.COM/55308213 SPONSORED
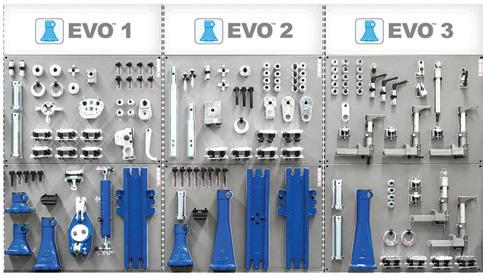
The Car-O-Liner EVO 1-2-3 Anchoring and Holding Systems can be used alone or in combination with one another to securely handle every anchoring and fixturing situation. The EVO 1 Basic Anchoring System consists of three towers, a multipurpose clamp, track plates, an adapter with bushings, a chain holder, and a torque bar for quick and easy holding and anchoring. The EVO 2 Extended Anchoring System offers advanced anchoring, holding, and isolation for structural repairs. The EVO 3 Fixturing System holds replacement parts in place while welding and bonding and is compatible with all vehicle models when combined with EVO 1 and EVO 2. The kits can also be integrated with the Car-OTronic electronic measuring system and Vision2 X3 software package to maximize their abilities.
WWW.FENDERBENDER.COM/55312220
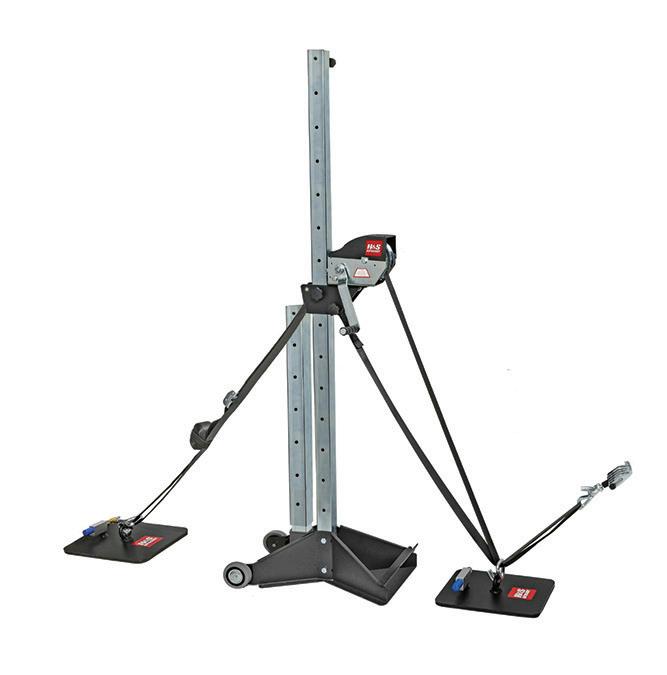
The H&S Autoshot Pull-Pro Dent Pulling Tower, No. UNI1096, offers 1,300 lbs of pulling power at 65,” thanks to its vulcanized rubber suspension mount plate design. The Pull-Pro includes fine-adjustment 2” ultra-nylon straps attached to a 10” and 6-finger steel claw puller with a compact tower base. It also includes a second plate kit for down-pulls or vehicle tiedowns and a 36” extension pole that raises the tower to 101”.
WWW.FENDERBENDER.COM/55312218
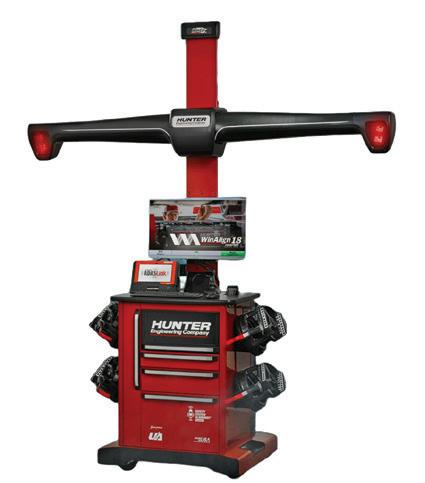
The HawkEye Elite Xpandable from Hunter Engineering features Quick Grip adapters, WinAlign software and its specs database, the ADASLink diagnostic scan tool with secure gateway ability for dynamic calibrations, pre- and post-scans, and steering system resets, plus aligner remote viewer and control capability anywhere in the bay. With the ADASLink scan tool, shops can immediately begin performing dynamic resets, as well as diagnosing trouble codes, running special tests, and coding and pairing new parts. The Ultimate ADAS static calibration system reduces target setup time by up to 70 percent through laser-guided precision. The HawkEye Elite Xpandable is made in the USA.
WWW.FENDERBENDER.COM/55310253
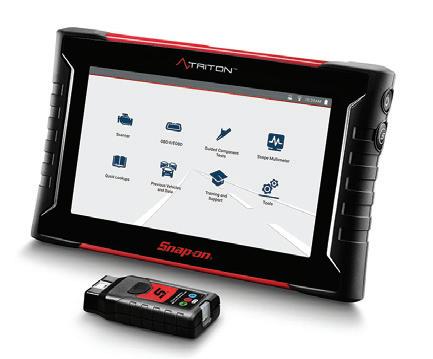
The Snap-on Triton features a sleek, streamlined design, rugged grip handles, and a lightweight body. Fast-Track troubleshooting allows users to see how other technicians have tackled the same problems in the bay. The patented Smart Data automatically selects the PIDs related to the code that the technician is working on and flags which ones are out of range. Pre-filtered functional tests and technical service bulletins (TSBs) help confirm the technician is on the right path to repair. Its 10” capacitive color touchscreen display provides improved readability from any angle and superior visibility both indoors and out. With fast bootup and one-touch code scan and clear, users can work more quickly through repairs.
WWW.FENDERBENDER.COM/55294549
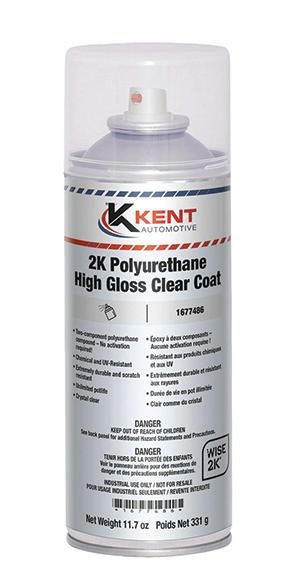
The Kent Automotive 2K Polyurethane High Gloss Clear Coat, No. 1677486, is a durable, twocomponent compound that delivers a high-gloss shine. No activation or mixing is needed, as users simply have to shake and spray to release the hardener and resin. It offers strong chemical and UV resistance, and it’s scratch-resistant for longterm protection. It also features an unlimited pot life and can be reused again and again after being opened.
WWW.FENDERBENDER.COM/55294543
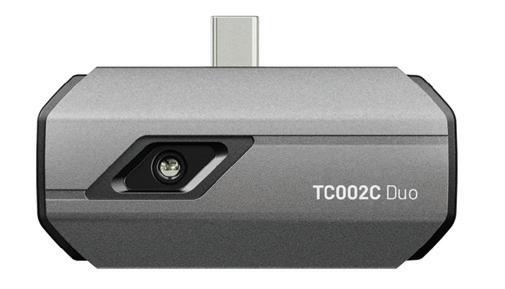
The TC002C Duo from TOPDON is universal USB-C compatible and designed to work with all USB-C smartphones and tablets. It features advanced thermal clarity, 256 x 192 IR resolution enhanced by proprietary Thermal Image Super Resolution technology for sharper 512 x 384 image resolution. Measures from -20 degrees C to 550 degrees C (-4 degrees F to 1,022 degrees F) with a + or -2 degrees C accuracy. This tool has a 25Hz refresh rate and a <40mK temperature senstitivy to deliver real-time heat tracking. An intuitive app offers users easy controls and a built-in Scenario Guidance Hub for step-by-step instructions.
WWW.FENDERBENDER.COM/55312203
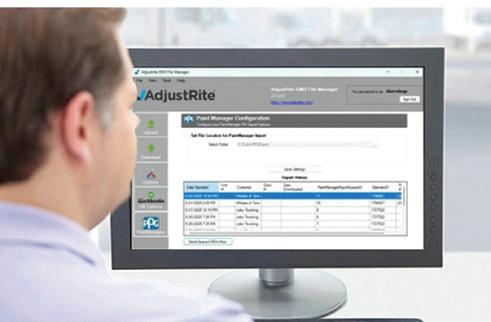
The PPG PaintManager XI with PPG AdjustRite from PPG Refinish integrates the ADJUSTRITE commercial estimating platform with the color management software. Users can seamlessly transfer data from the AdjustRite platform directly into the PaintManager software, automating material inputs, eliminating duplicate data entry, improving accuracy and consistency in material calculations, and allowing access to advanced tracking and reporting. Users can track, manage, and report on paint material usage and job costs with greater accuracy and speed.
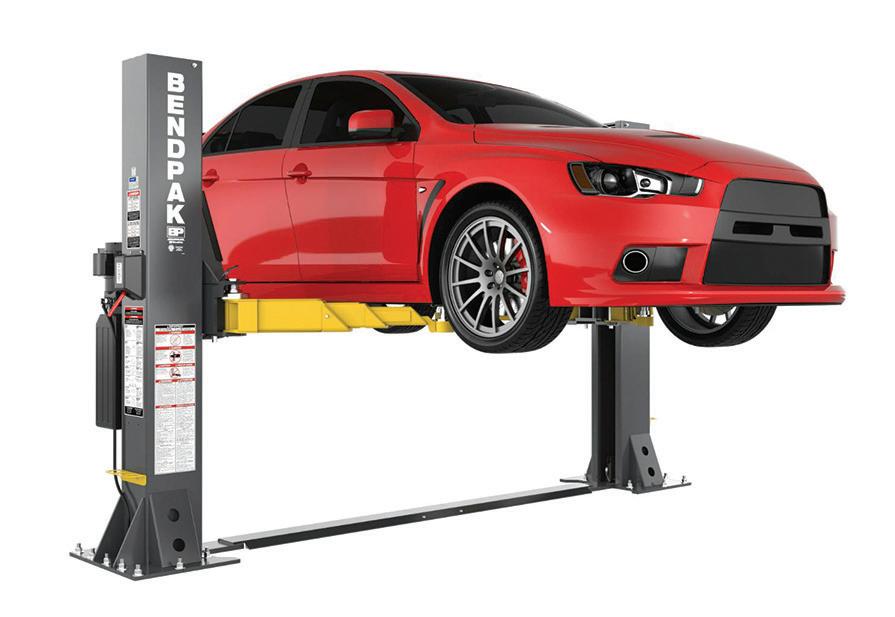
The 10,000-lb-capacity Short-Rise Two-Post Lift, No. 10AP-SRT, from BendPak offers a solution for shops that want the productivity of a two-post lift without the unnecessary height and footprint of traditional full-rise models. With a column height of 93.5” and a maximum lifting height of 46.25”, AP-SRT Series lifts are designed for safe, ergonomic work. The 10AP-SRT features BendPak’s patented triple-telescoping swing arms that extend and retract to reach more vehicle lifting points and offer lower pad heights to accommodate low-sitting vehicles. The Automatic Swing Arm Restraint System (ASARS) uses forged steel components and delivers over 2,000 lbs of load-holding force. Equipped with highperformance power unit and is ALI Gold-certified.
WWW.FENDERBENDER.COM/55313795
WWW.FENDERBENDER.COM/55312201
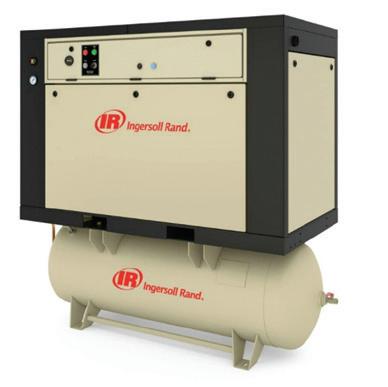
The Quiet-Enclosed Reciprocating Air Compressor from Ingersoll Rand features a two-stage cast iron pump and cast iron frame that are built to last. The stainless steel finger valve with exclusive edge processing design is built for a high performance environment. Offers up to 15,000+ hours of L10 bearing life for extended life. One-piece connecting rods for precision alignment and reduced wear and tear. This compressor features precision-engineered components for extended life in tough applications.
WWW.FENDERBENDER.COM/55312210
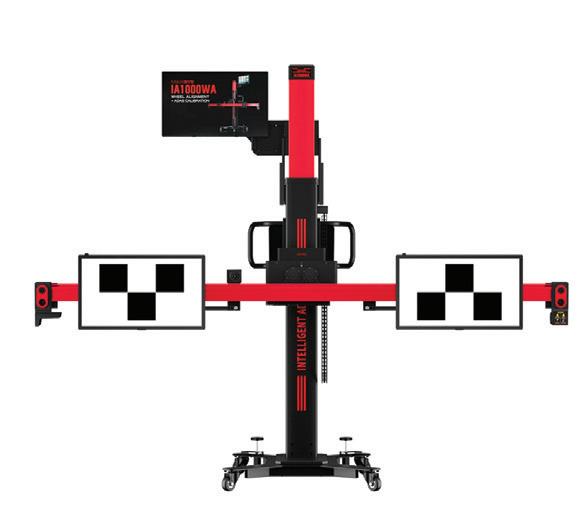
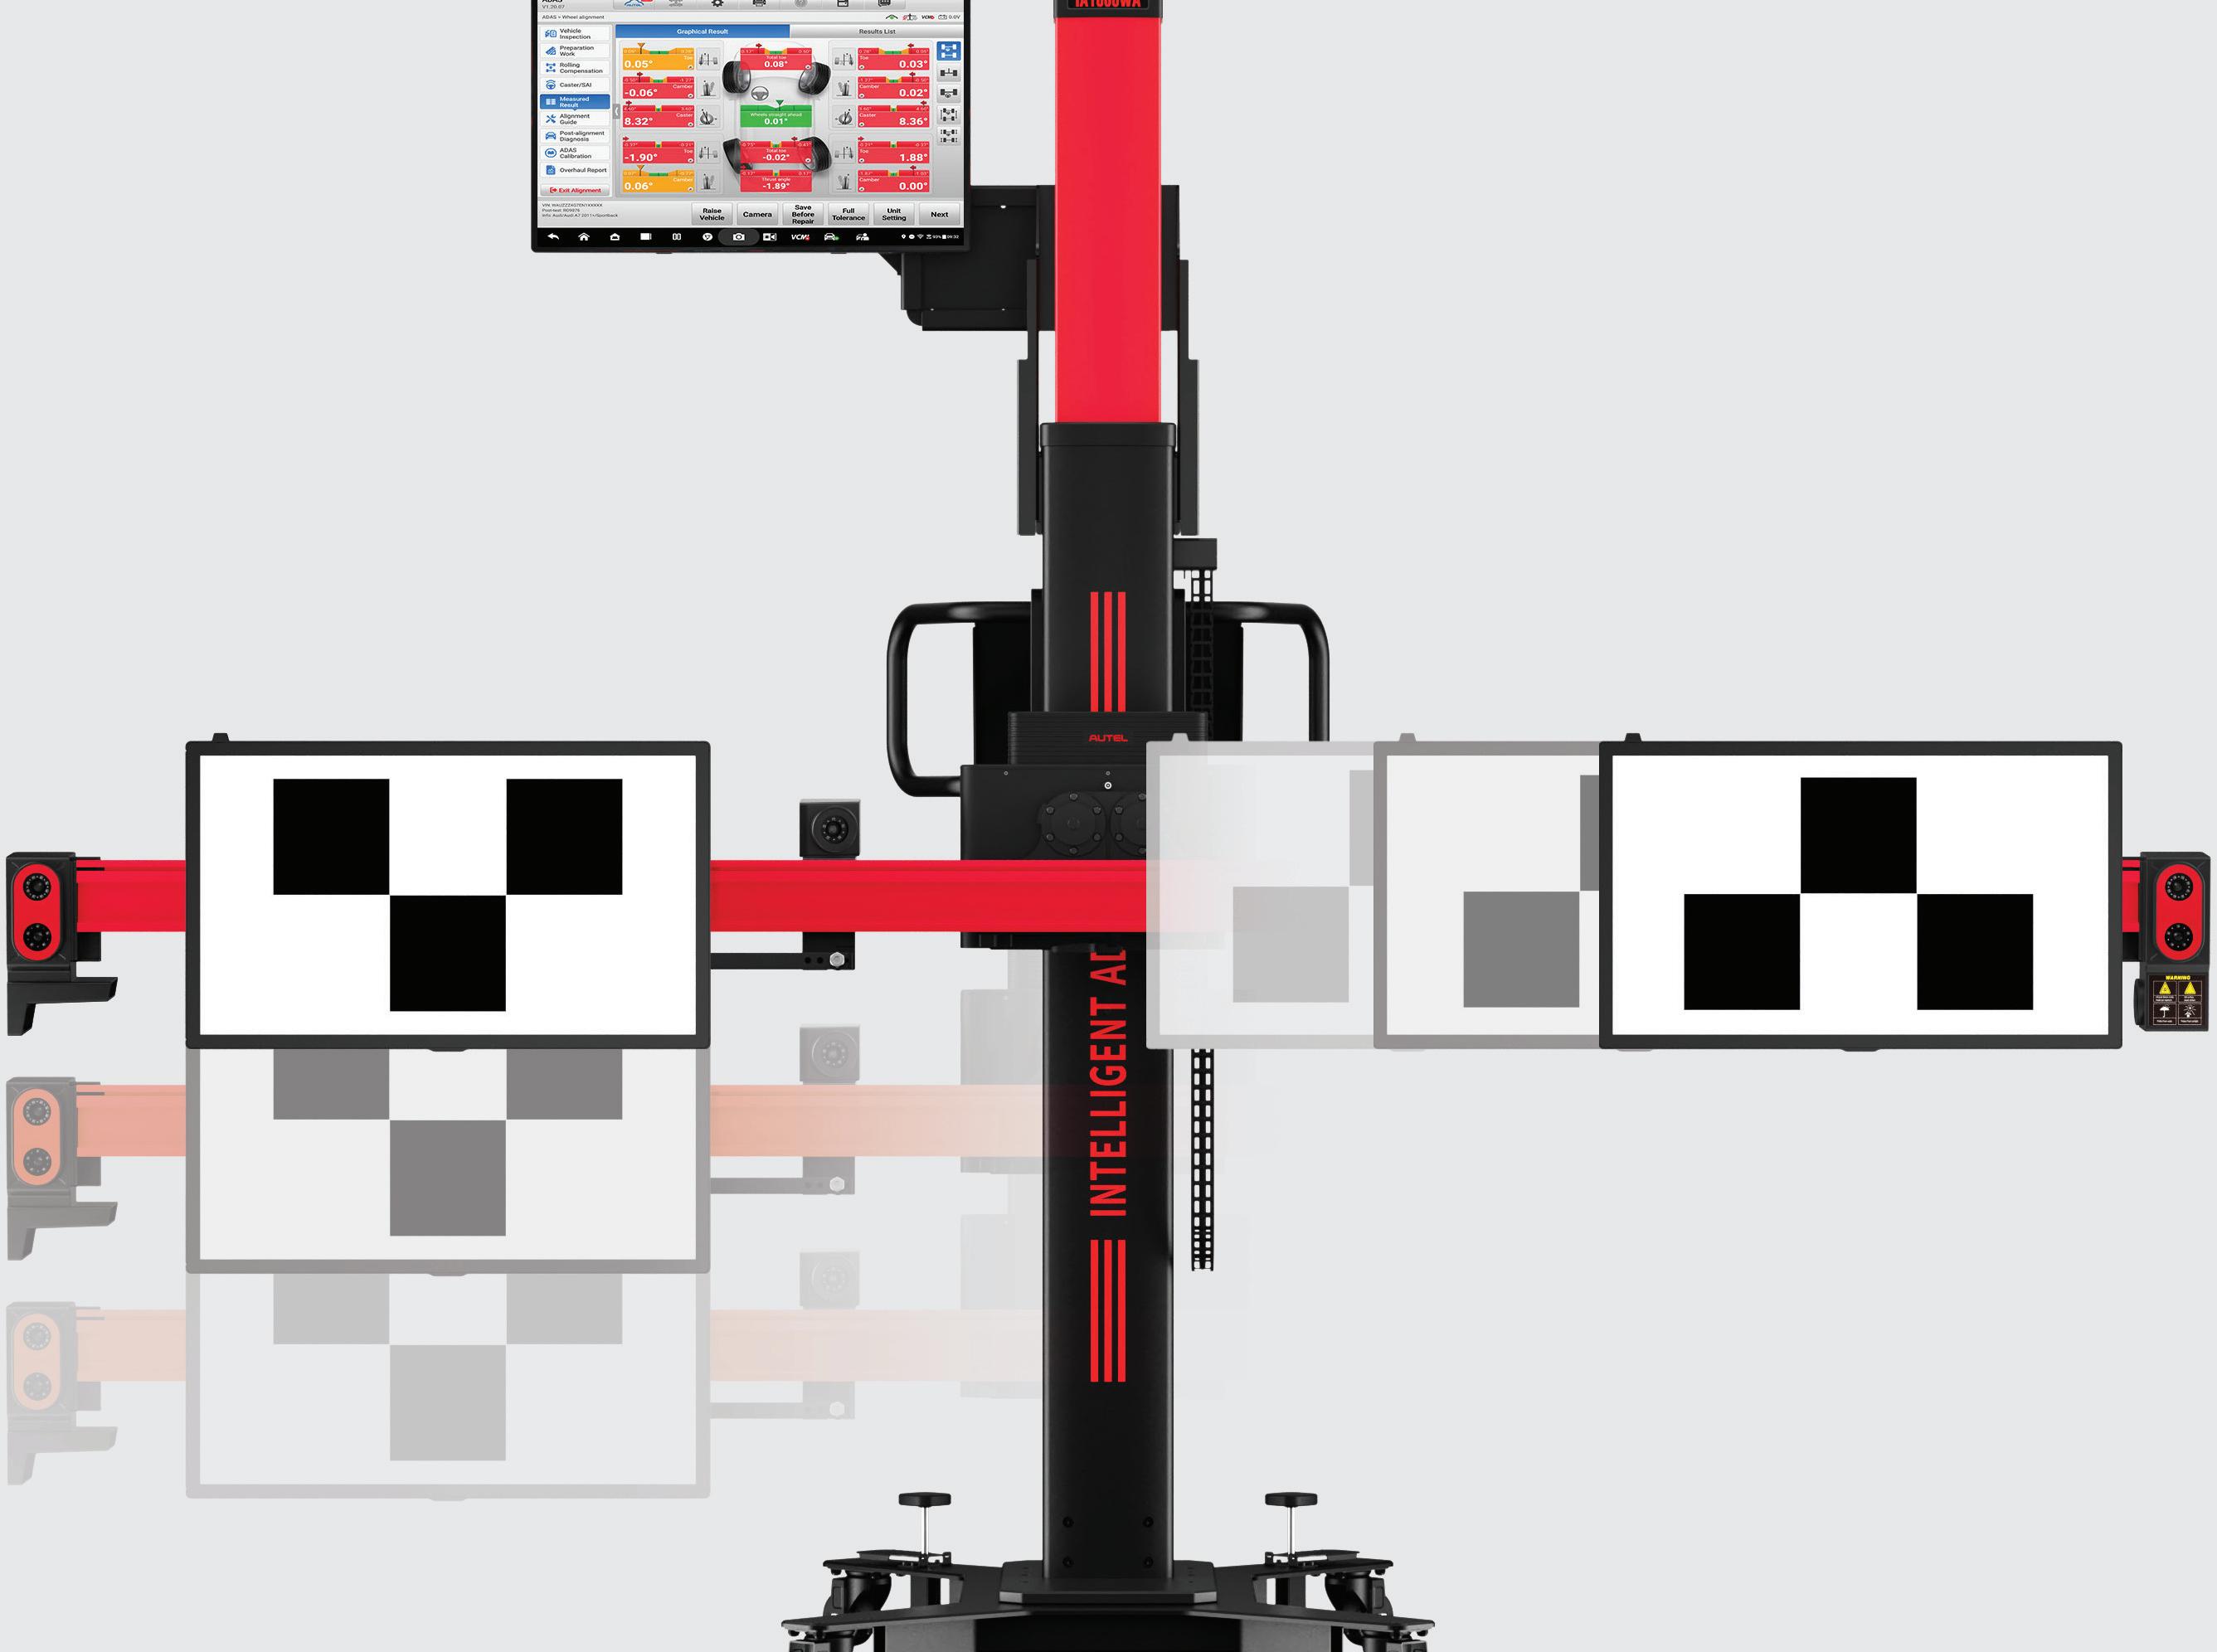
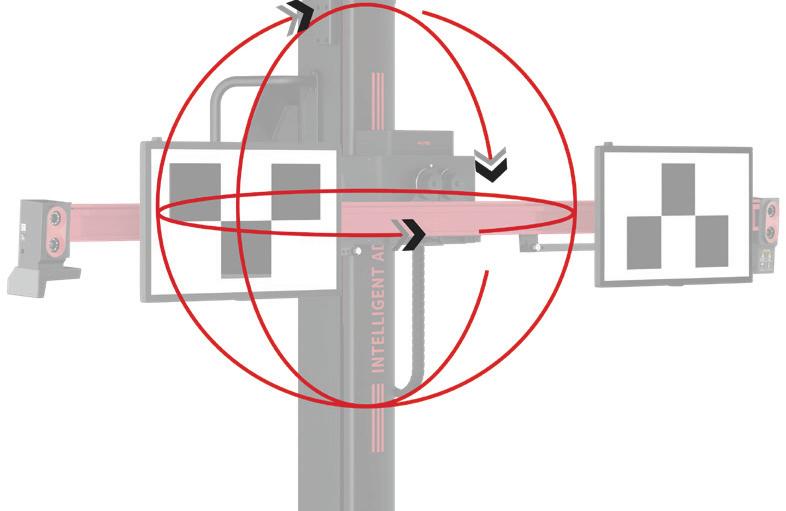
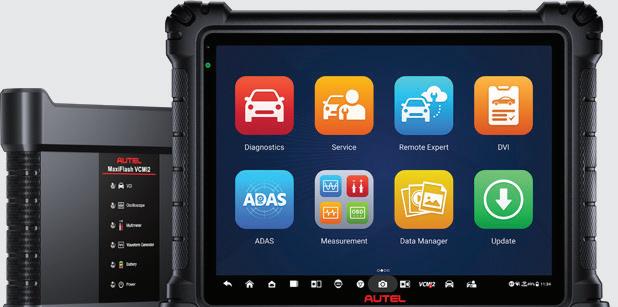
The Autel MaxiSYS IA1000 is a next-generation ADAS calibration and wheel alignment system powered by the MaxiSYS Ultra S2. Robotic target positioning and highdefinition optical cameras reduce setup time and increase accuracy. Laser-guided pattern positioning and automated floor compensation minimize errors. Advanced alignment data exceeds industry standards, and comprehensive scan reports validate and document every calibration. The IA1000 delivers tailored solutions for wheel alignment, LDW, and ADAS calibrations.
WWW.FENDERBENDER.COM/55312216
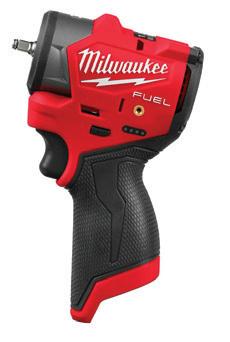
The Milwaukee Tool M12 FUEL 1/4” Subcompact Impact Wrench with Friction Ring, No. 3048-20, measures 4.4” in length, 2” in width, and weighs only 1.5 lbs as a bare tool. Desiged to fit into tight spots, this wrench minimizes the time spent on removing additional components under the hood. Delivers up to 100 ft-lbs of nut-busting torque when paired with the M12 RedLithium high output CP2.5 battery pack. Equipped with a Tri-LED work light, it illuminates without casting shadows. The tool has a variable speed trigger with 4-Mode Drive Control, which offers precision and customization of power output, including automatic shut-off that limits torque to 7 ft-lbs for hand-tight applications.
WWW.FENDERBENDER.COM/55312214
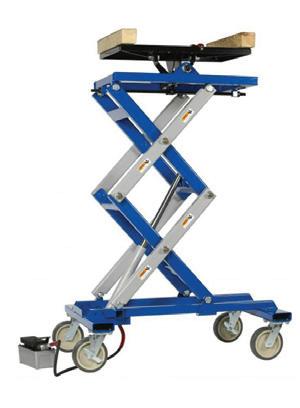
The 2,500-lb Air/Hydraulic Powertrain Lift, No. 1595A, from OTC is designed to handle heavy engine and transmission assemblies, gas tanks, drive axle assemblies, electric vehicle batteries, and more. Its scissors-type design allows access to all four sides of a component. Powered by an air over hydraulic foot pump for precise lifting and lowering control, this lift features independent adjusting screws that tilt the table 15 degrees side-to-side, or fore-and-aft, and ensure maximum stability of the table in any position. Large, 8” swivel casters accommodate heavy loads. This lift meets ASME PASE standards.
WWW.FENDERBENDER.COM/55312212
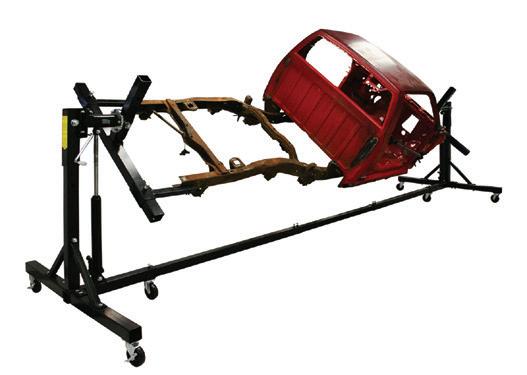
The Atlas Auto Body Rotisserie with Balance Bolt, No. ATEHT-ROTI-NEW-FPD, is ideal for body and frame restorations and allows a full 360 degrees of vehicle movement by just turning the crank. The rotisserie allows technicians to access all parts of the body for welding, sandblasting, or other work when properly mounted and positioned. It features two hydraulic rams that make it easy to mount, lift, and rotate a vehicle, and the rotisserie’s threaded rod adjusters can be used to find the frame’s center of gravity to ensure balance and stability.
WWW.FENDERBENDER.COM/55285466
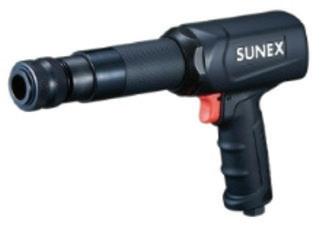
The SUNEX Tools Heavy Duty Long Barrel Air Hammer, No. SX2302, is engineered for maximum impact, user comfort, and jobsite productivity. It delivers 2,300 BPM and a 3.75” stroke. Built to handle tasks like bolt-cutting, pin-driving, and suspension component separation, this hammer comes equipped with a hardened steel piston for long-term reliability. It features a lightweight diecast aluminum body for additional control. The patented damping system reduces vibration for enhanced comfort and longer work sessions. The SX2302 includes a quick-change chuck for standard 0.401” chisels and a front exhaust that directs air and debris away from the user. Available as a kit.
WWW.FENDERBENDER.COM/55312222


Available late October
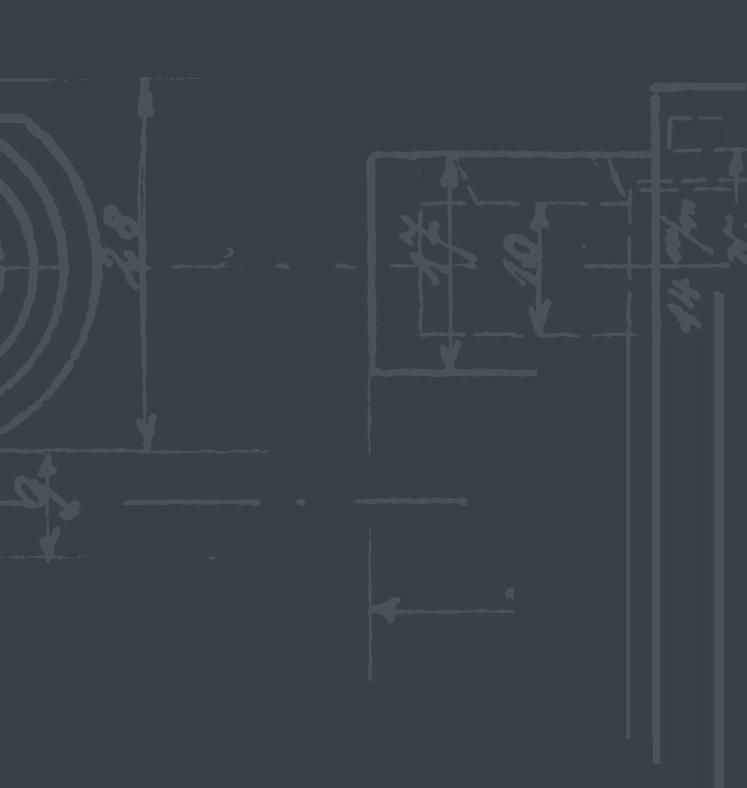
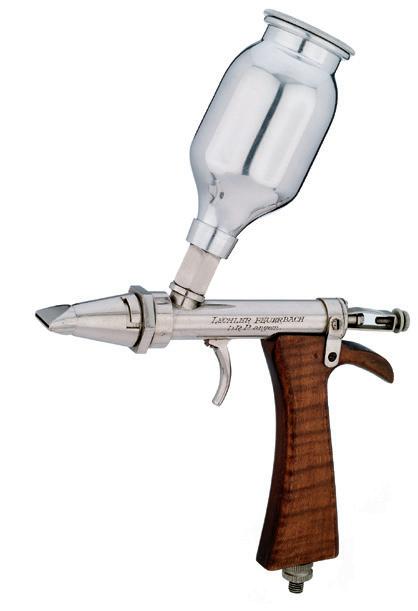


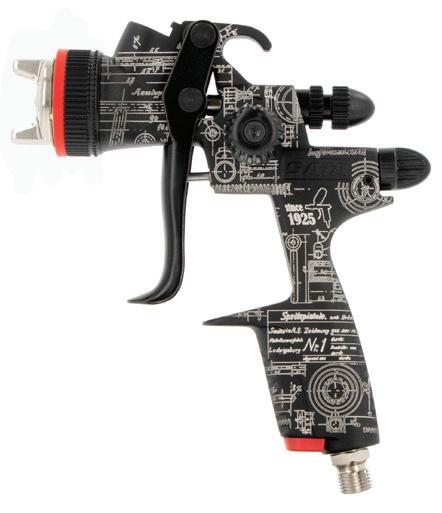
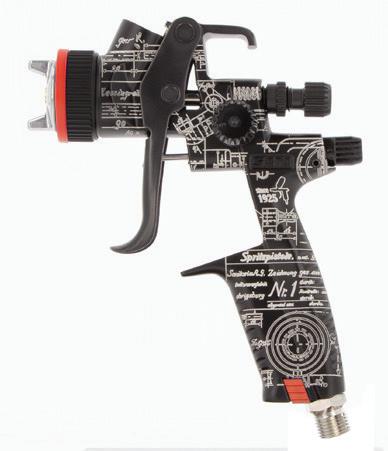
It only comes once every 100 years.

SATA celebrates 100 years of spray gun history – with a limited special edition. For the first time ever, we offer three special edition options: The jet X DIGITAL ready, SATAminijet 4400 B or SATAjet 100 B. This 100 Years Edition features the original technical drawing of our very first spray gun from 1925 – a fascinating fusion of tradition and innovation. Don't miss this once-in-a-lifetime opportunity!
Get yours now – at your local SATA dealer.


www.satausa.com