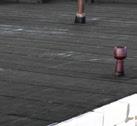
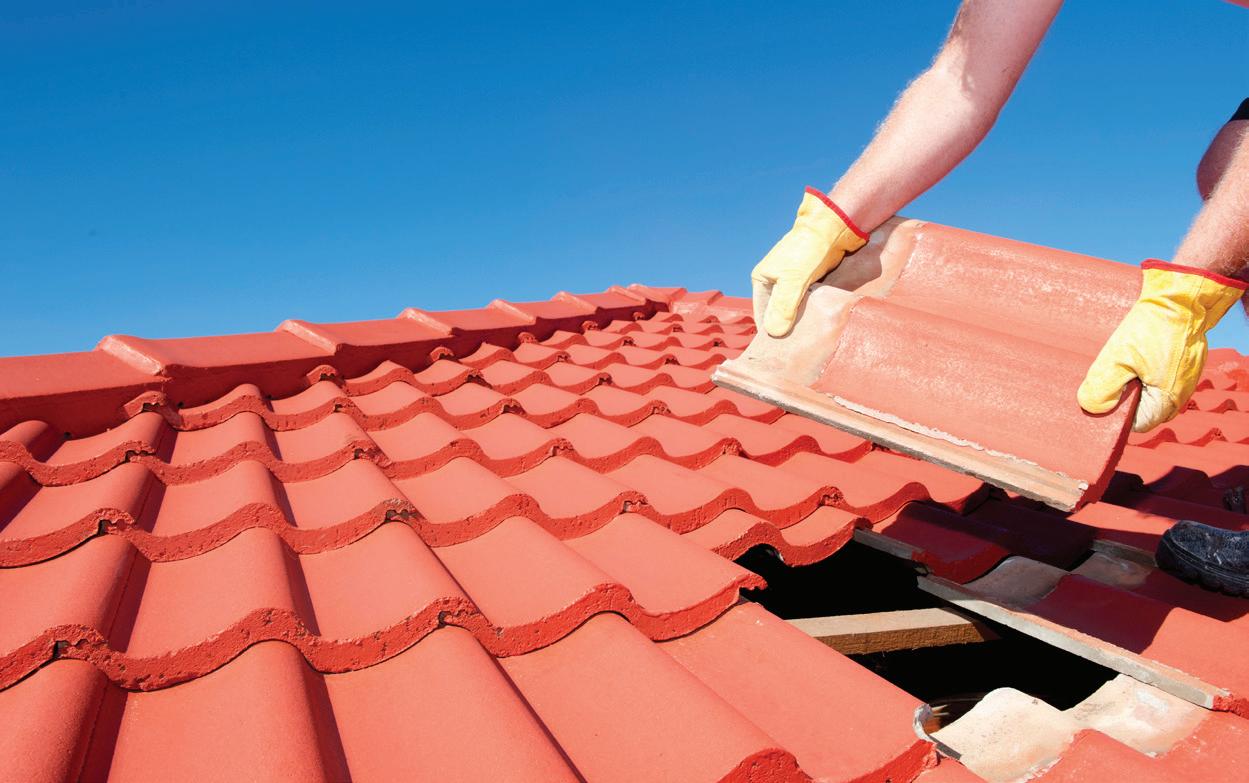
INSTALLATION OF BITUMINOUS FLAT ROOF PROTECTION OF BITUMINOUS FLAT ROOF RENOVATION OF BITUMINOUS FLAT ROOF FINISHING FLAT & PITCHED ROOFS
WATERPROOFING
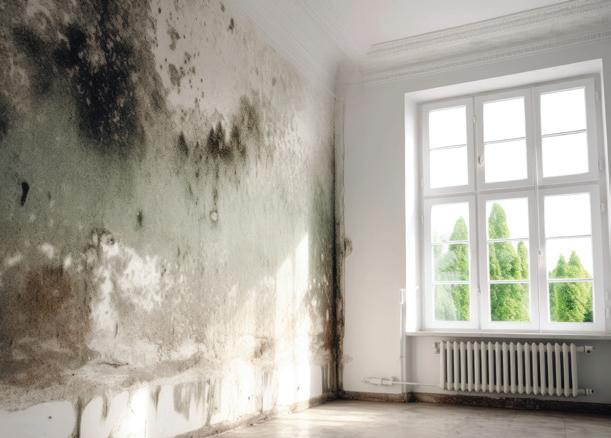
MOISTURE, A SOURCE OF CONCERN
PROTECT AGAINST RISING DAMP
PROTECT AGAINST GROUNDWATER
PROTECT AGAINST RAINWATER INFILTRATION
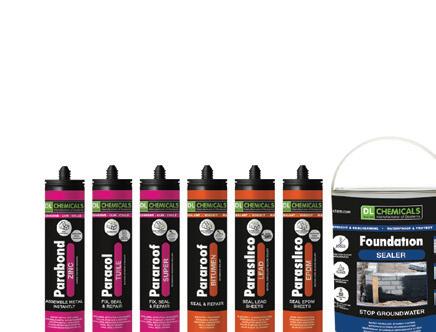
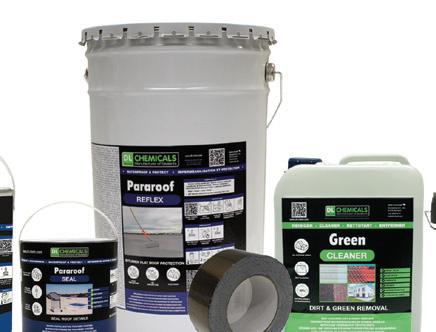
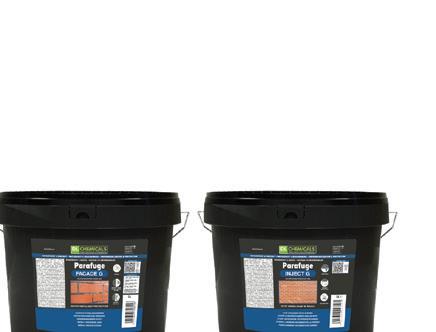
PRODUCT GUIDE
A+ LABEL
Describes emissions of volatile substances that are toxic when inhaled indoors. A+ represents very low emissions.
CE-MARKING THROUGH HARMONISED STANDARD
Ensures that the product actually complies with the requirements applied within Europe
GINGER CEBTP
Leader in France in the field of geotechnical engineering, material testing, and the health of structures and buildings.
At a time when sustainability, safety and energy efficiency are becoming as important as living comfort, it is essential to ensure or improve the structural integrity of homes.
At DL Chemicals we are ready to help you realize various roofing and waterproofing projects. We understand that your customer must be able to enjoy the comfort and safety of their home with confidence at all times. For this you can count on our extensive range of high-quality products, including adhesives, coatings, waterproof membranes, sealing tapes and finishing materials.
Choose the expertise of DL Chemicals and create healthy living spaces with increased living comfort, a more energy-efficient home and consequently lower energy bills.
INTERIOR
SELF-CLEANING
ADHESION TO MOST CONSTRUCTION SURFACES
ADHESION TO SLIGHTLY HUMID SURFACES
ADHESION TO SLIGHTLY HUMID SURFACES
IN DRY & WET CONDITIONS
INJECTABLE
VERTICAL APPLICATION
Suitable for both horizontal and vertical application
SELF-LEVELING
Ideal for large horizontal surfaces
WITHOUT FIRE HAZARD
APPLICATION AREA
ROOF AND/OR ROOF DETAILS
PITCHED ROOF FLAT ROOF
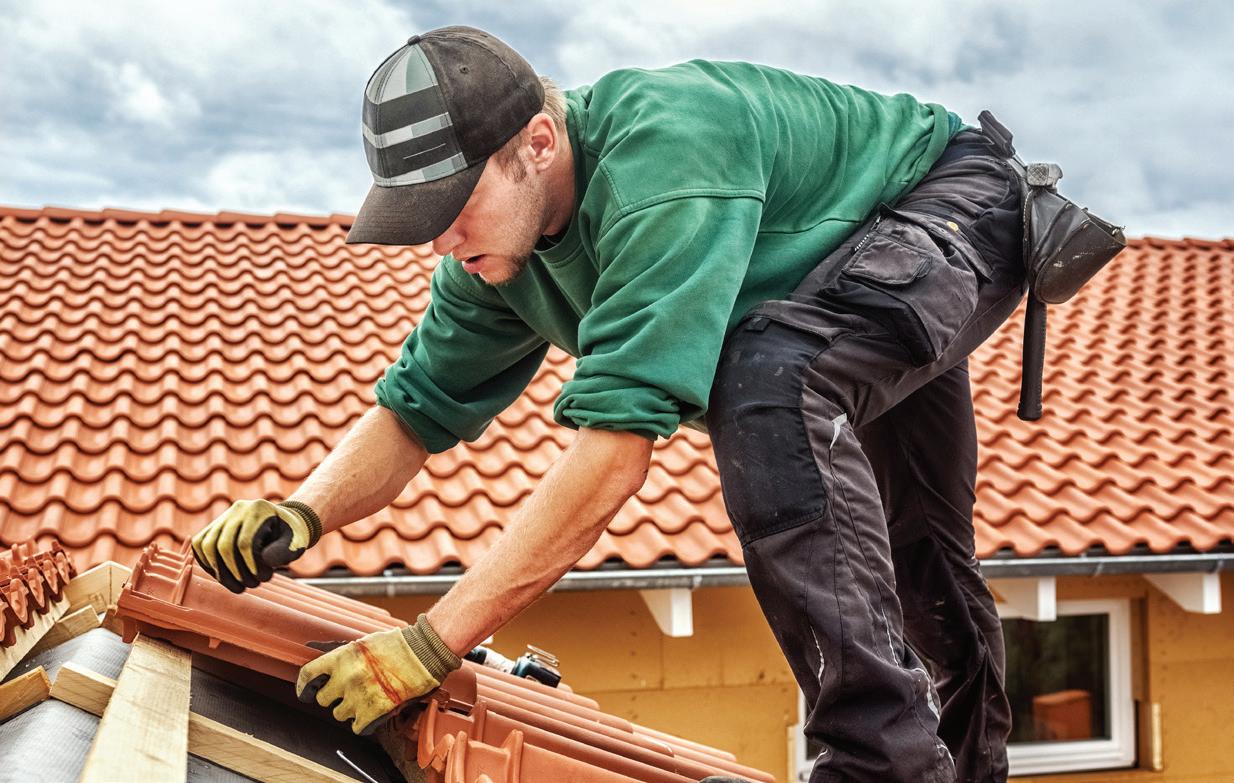
ROOF TILES
FAST-ACTING
Work further quickly
BIODEGRADABLE
FREE FORM CFK & HCFK
SOLVENT-FREE
The product does not contain solvents.
ODOURLESS
No odour nuissance
REINFORCED WITH FIBRES
Solid consistency due to the addition of plastic fibres
PERMANENTLY ELASTIC
PAINTABLE
LONGER LIFESPAN
IMPROVED ADHESION OF THE SUBSTRATE
PROTECTION AGAINST HEAVY RAIN
ROOF
PROTECTION AGAINST RISING DAMP
PROTECTION AGAINST GROUNDWATER
WATERTIGHT
RESISTANT TO POSITIVE & NEGATIVE WATER PRESSURE
PROTECTION AGAINST FROST DAMAGE & GREEN ALGAE VERY
UV RESISTANT
HEAT-REFLECTIVE
RESISTANT TO WIND LOAD
MEMBRANES
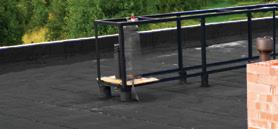
I. ROOF SEALING
1. ROOF TYPES
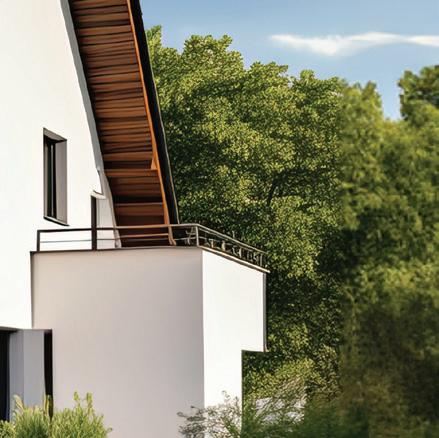
The primary function of a roof is to protect a building or the space below it from water infiltration. When choosing the right roof type, it is essential to minimize the risk of leaks and their damage. In addition to ensuring the waterproofing of a roof, several other considerations play a role, such as insulation, safety (e.g. fire safety), environmental impact, technical possibilities and limitations, aesthetic preference, specific use of the roof, compliance with regulations, budgetary considerations and the promotion of sustainable building.
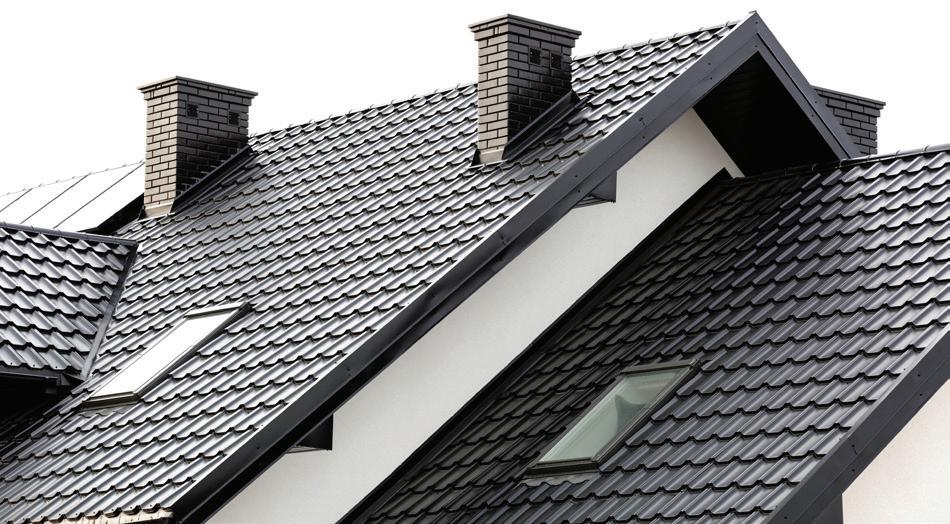
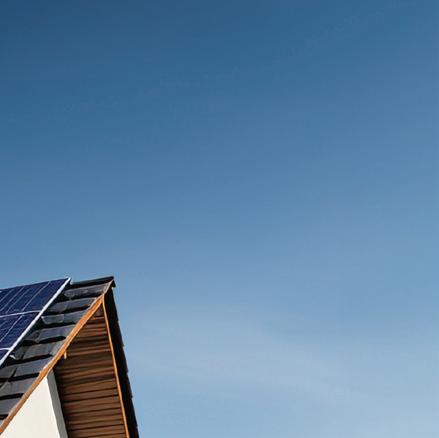
PITCHED ROOF
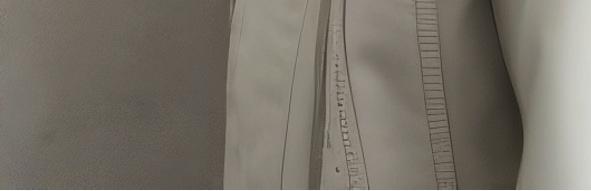
A sloping or pitched roof is waterproofed by covering the roof with a fragmentary layer of discontinuous materials (roof tiles and slates) that overlap.
Roof insulation can be placed along the outside or inside of the roof floor. Another possibility is to insulate the attic floor.
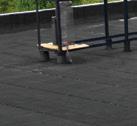
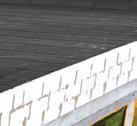
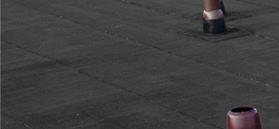
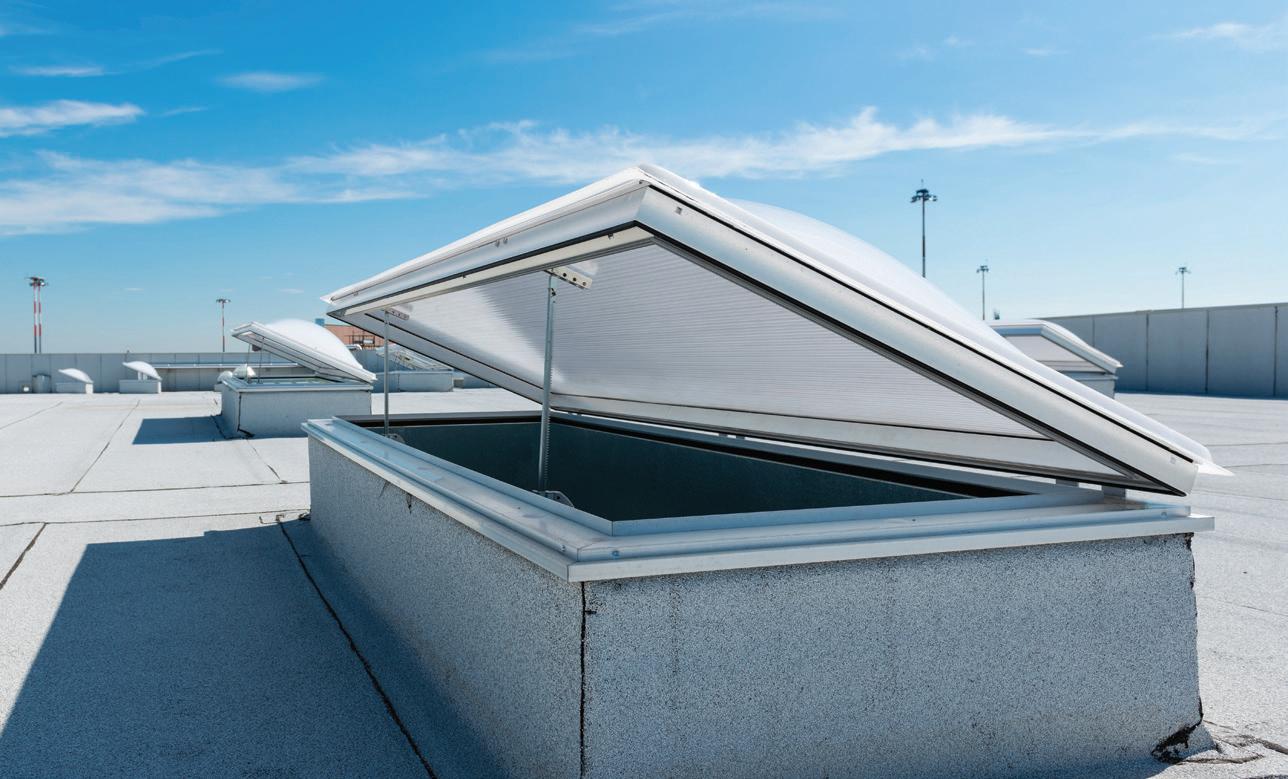
FLAT ROOF
A flat roof does not necessarily have to be exclusively horizontal, but can show - even a steep - slope. It is recommended that each flat roof is given a slope layer with a sufficient slope (±2%) to be able to drain the water to the water drainage point.
After installing a vapour barrier, roof insulation is placed on a flat roof:
• The most common and recommended installation technique is that of the warm flat roof. Here the insulation is placed on the outside of the roof floor.
• With a cold flat roof, the insulation is placed under the roof floor. This technique is no longer recommended.
• With a reversing roof, the insulation is placed loosely on top of a sealing layer and the use of a vapour barrier is not necessary, since that function is taken over by the sealing layer. A ballast layer must be applied on top of the insulation.
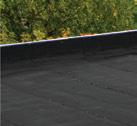
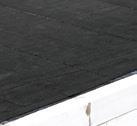
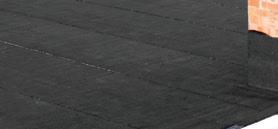
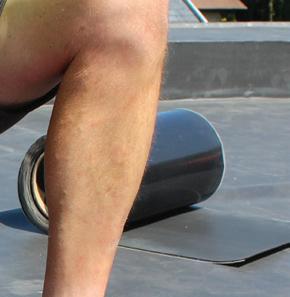
The waterproofing of a flat roof is done with a continuous waterproof membrane of bituminous, synthetic, liquid or metal nature.
• Bituminous roofing is applied in 1 or more layers of polymer bitumen (APP or SBS) and is always reinforced with glass fleece or polyester. An oxidized bitumen can possibly be used as a base layer.
• Synthetic sealing is applied in one layer and is based on elastomers (EPDM), thermoplastic elastomers (TPE) or plastomers (PVC). This with or without reinforcement and/or caching at the bottom of the sealing layer.
• In addition, there is the use of liquid seals (PU, SMP...) or metal roof seals.
Schematic cross-section of a warm flat roof
Schematic cross-section of a pitched roof
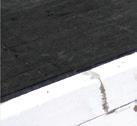
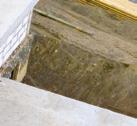
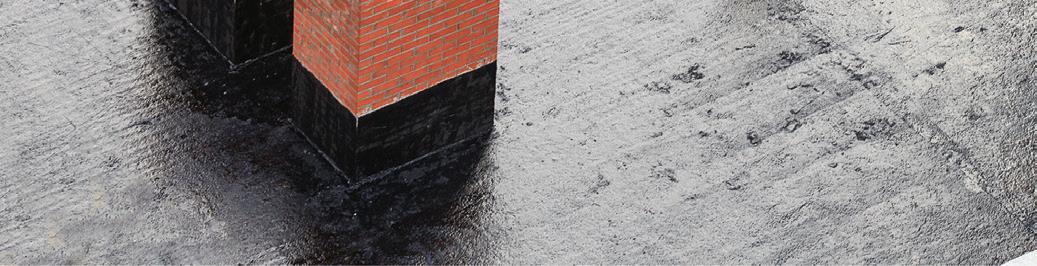
2. INSTALLATION OF BITUMINOUS FLAT ROOF
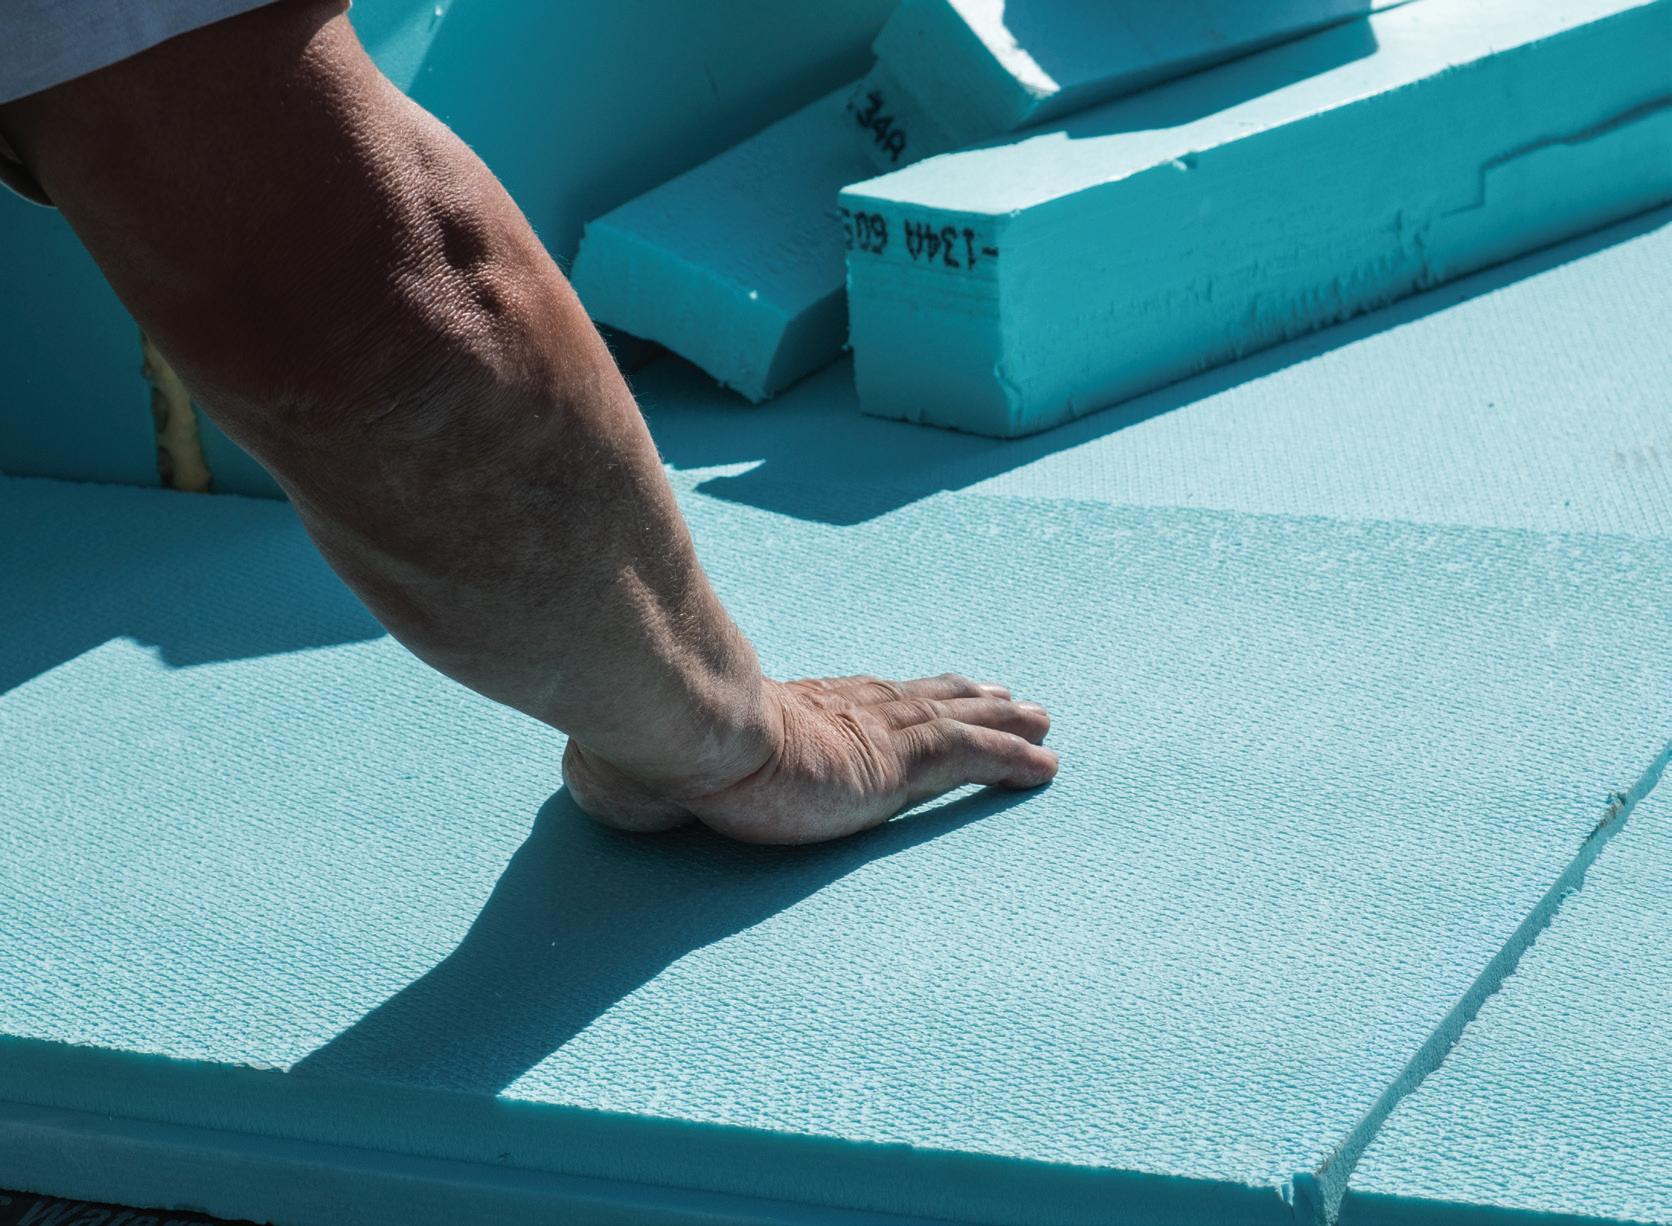
2.1 INSTALLING INSULATION ON A WARM FLAT ROOF
A warm flat roof is the most recommended and used insulation method and means that the insulation is placed on the outside of the roof floor. The advantage of this method is that the roof structure is located under the insulation layer, which significantly reduces the likelihood of cracks and fissures and therefore also leaks. The insulation layer acts as a heat buffer: the heat from the sun is absorbed during the day and released when night falls, which is advantageous for energy consumption.
To apply an insulation layer, a vapour barrier is placed on top of the slope layer. The vapour barrier prevents condensation moisture from entering the insulation material. Insulation is mainly glued with synthetic cold adhesives (1C PU, 2C PU...) but can also be glued with a bituminous cold glue. On top of the insulation, the waterproof finishing layer is applied.
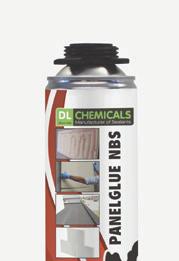
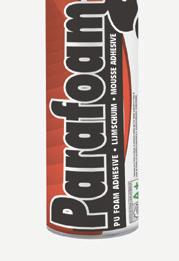
PARAFOAM PANELGLUE NBS
• 1-component PU adhesive foam for flat roof insulation in warm roof applications
• Quickly continue working (load-bearing after 2 hours)
• Versatile adhesive foam, also suitable for bonding insulation panels (ETICS and indoor applications), indoor wall panels (gyproc, OSB...), non-load-bearing interior walls
• Low expansion foam: low expansion pressure and minimal post-expansion
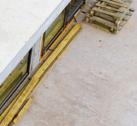
APPLY ADHESIVE FOAM TO THE INSULATION PANELS
• Apply in grooves of at least 30 mm diameter every 20 cm. In corners and edge areas of the roof, at least twice as much adhesive foam must be applied.
• Maximum unevenness between insulation and substrate is 1 cm. For uneven surfaces, grooves of at least 50 mm diameter must be applied, so that 40% of the surface is covered after pressing the panel on the surface.
Prime the substrate if necessary (see the manufacturer's instructions for roof sealing/vapour barrier).
Start gluing the insulation panels at the furthest point from the roof access point and work towards the access point to avoid walking on the bonded panels.
After applying the adhesive foam to the insulation panel, wait for 2-3 minutes, then apply the insulation panel to the flat roof within 5 minutes and press it firmly into the grooves.
Do not walk on the panels for at least 2 hours after pressing. If the insulation panels have shifted or been moved during the curing time of the adhesive foam, reapply the adhesive foam to ensure good adhesion.
Roof sealing and any underlying layers can be applied after the adhesive foam has fully cured.
The consumption of the adhesive foam or the correct number of adhesive grooves is determined by EN 1991-1-4 in which region, roof surface, building height and location on the roof play a role.
METHOD
2.2 PRIMING THE SUBSTRATE
When applying a vapour barrier or bituminous sealing layer, there are situations whereby the use of an adhesion primer on the substrate is recommended:
• Highly absorbent or unevenly absorbing surfaces
• Brittle or dusty surfaces
PARAROOF QUICK PRIMER
• Liquid bituminous quick-drying primer
• Activates the substrate for placing a bituminous sealing layer
• Only 1 layer needed
• Quickly continue working (fast-drying primer: dry after 30 minutes)
• Adheres to concrete, brick, metal and bituminous substrates
METHOD
Make the surface dry, smooth, clean and dust-free. Stir product well.
Apply in one thin layer with brush or roller. The consumption depends on the surface type. Allow to dry out completely before continuing work.
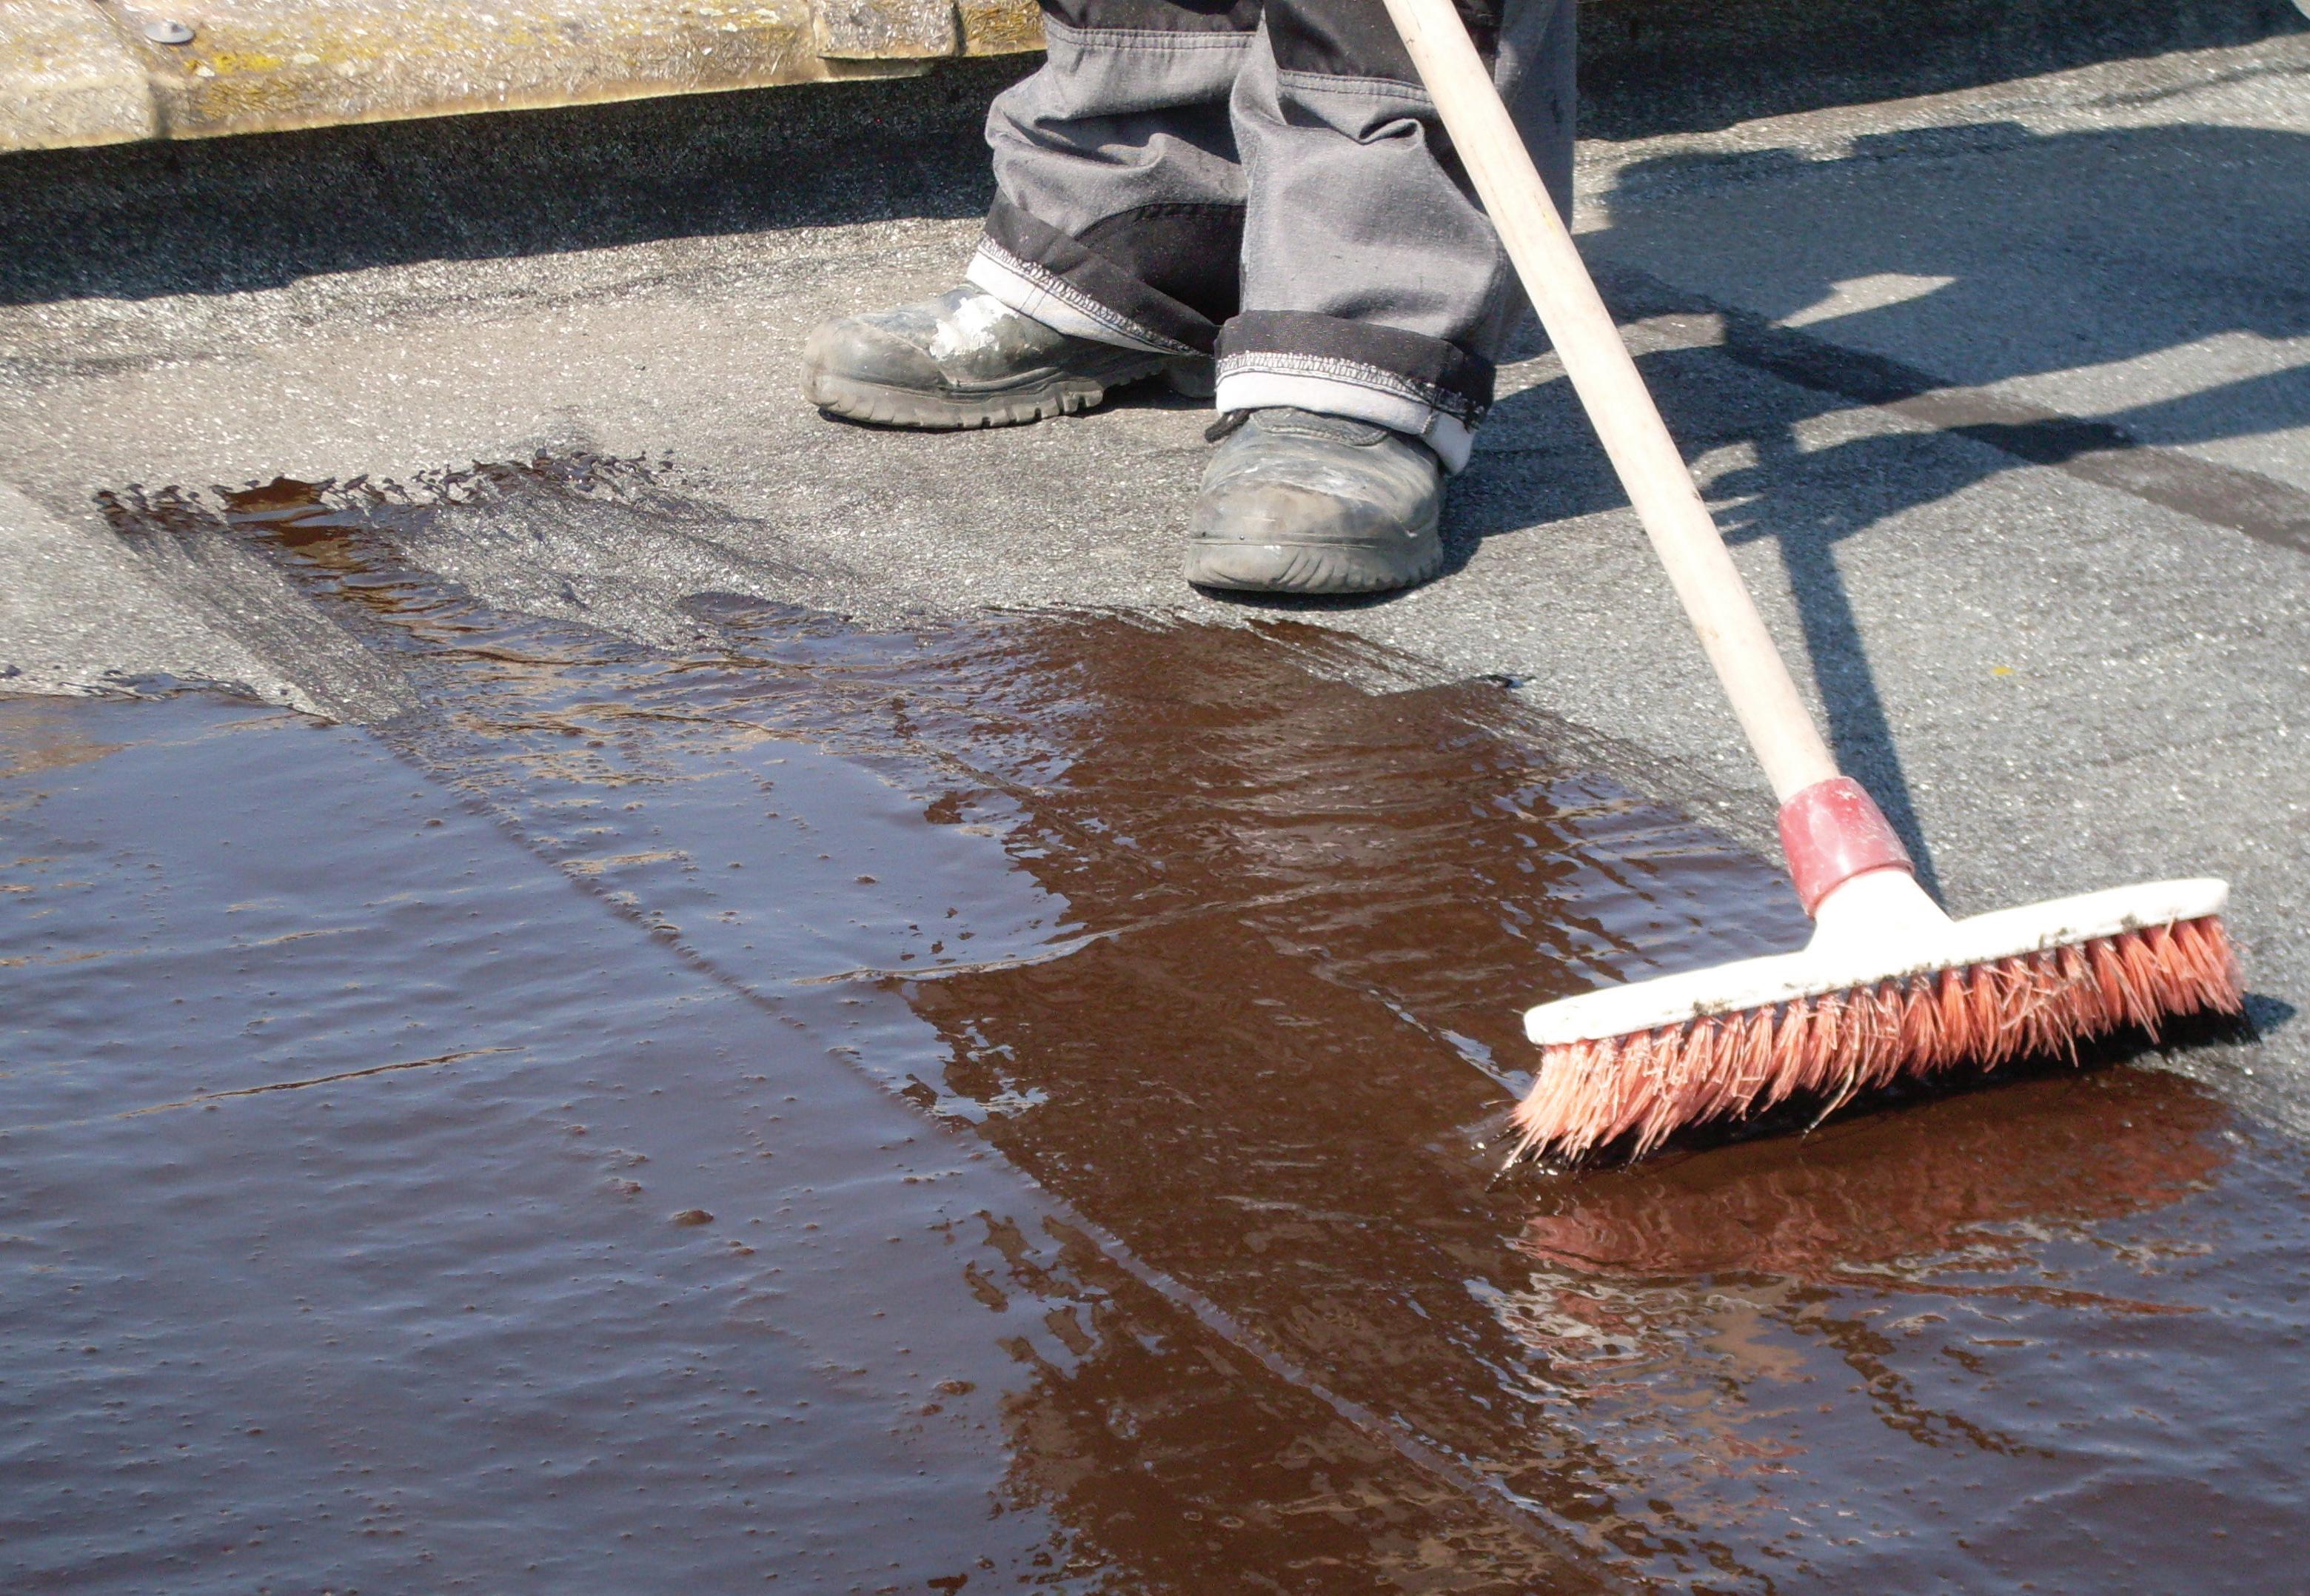
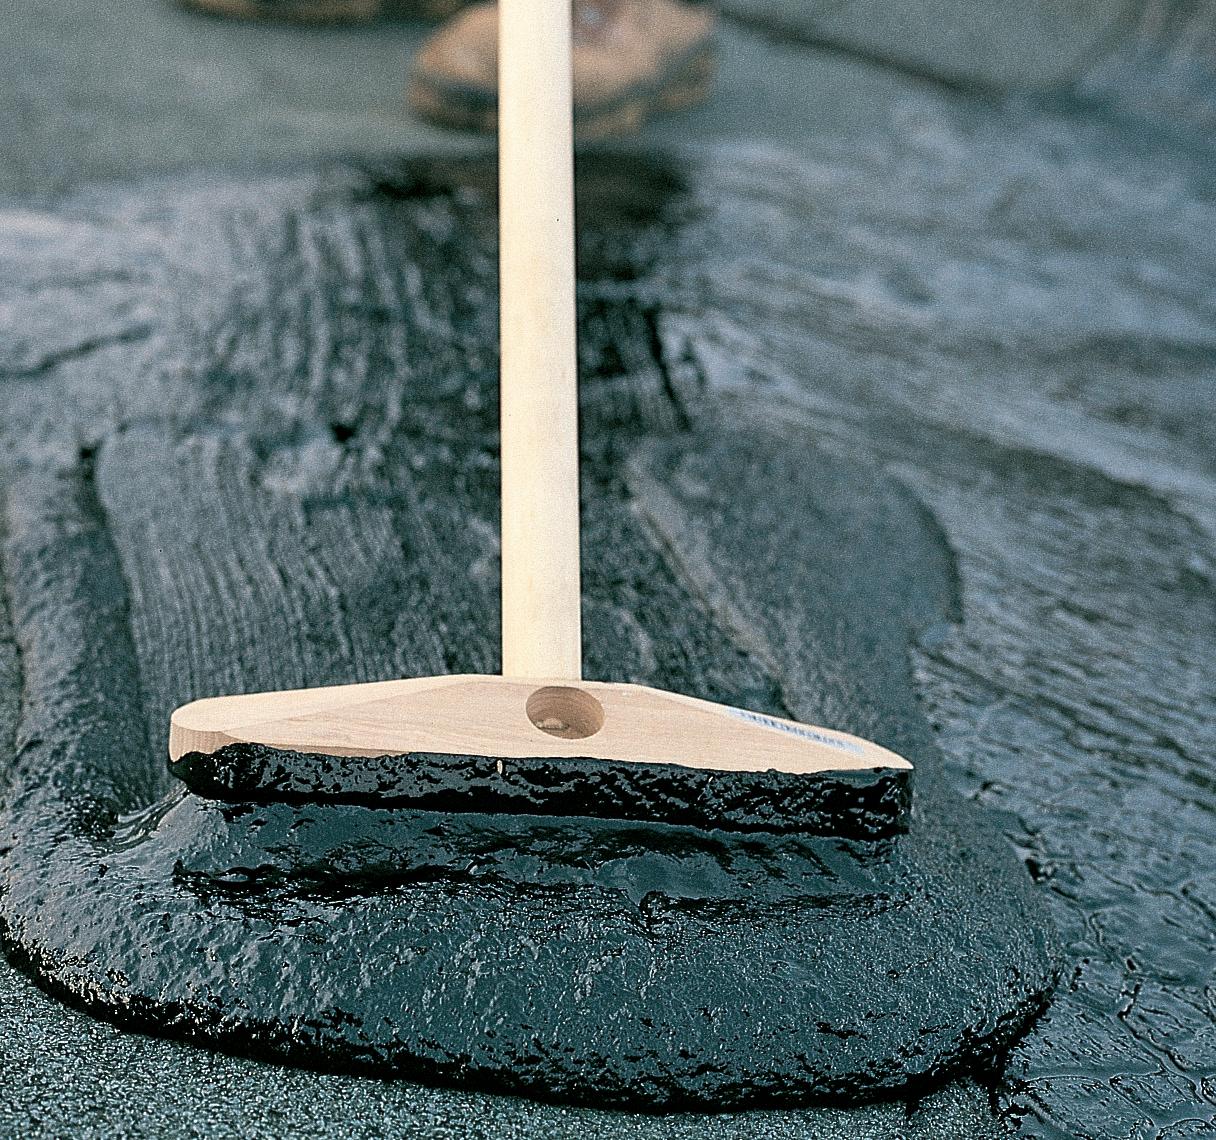
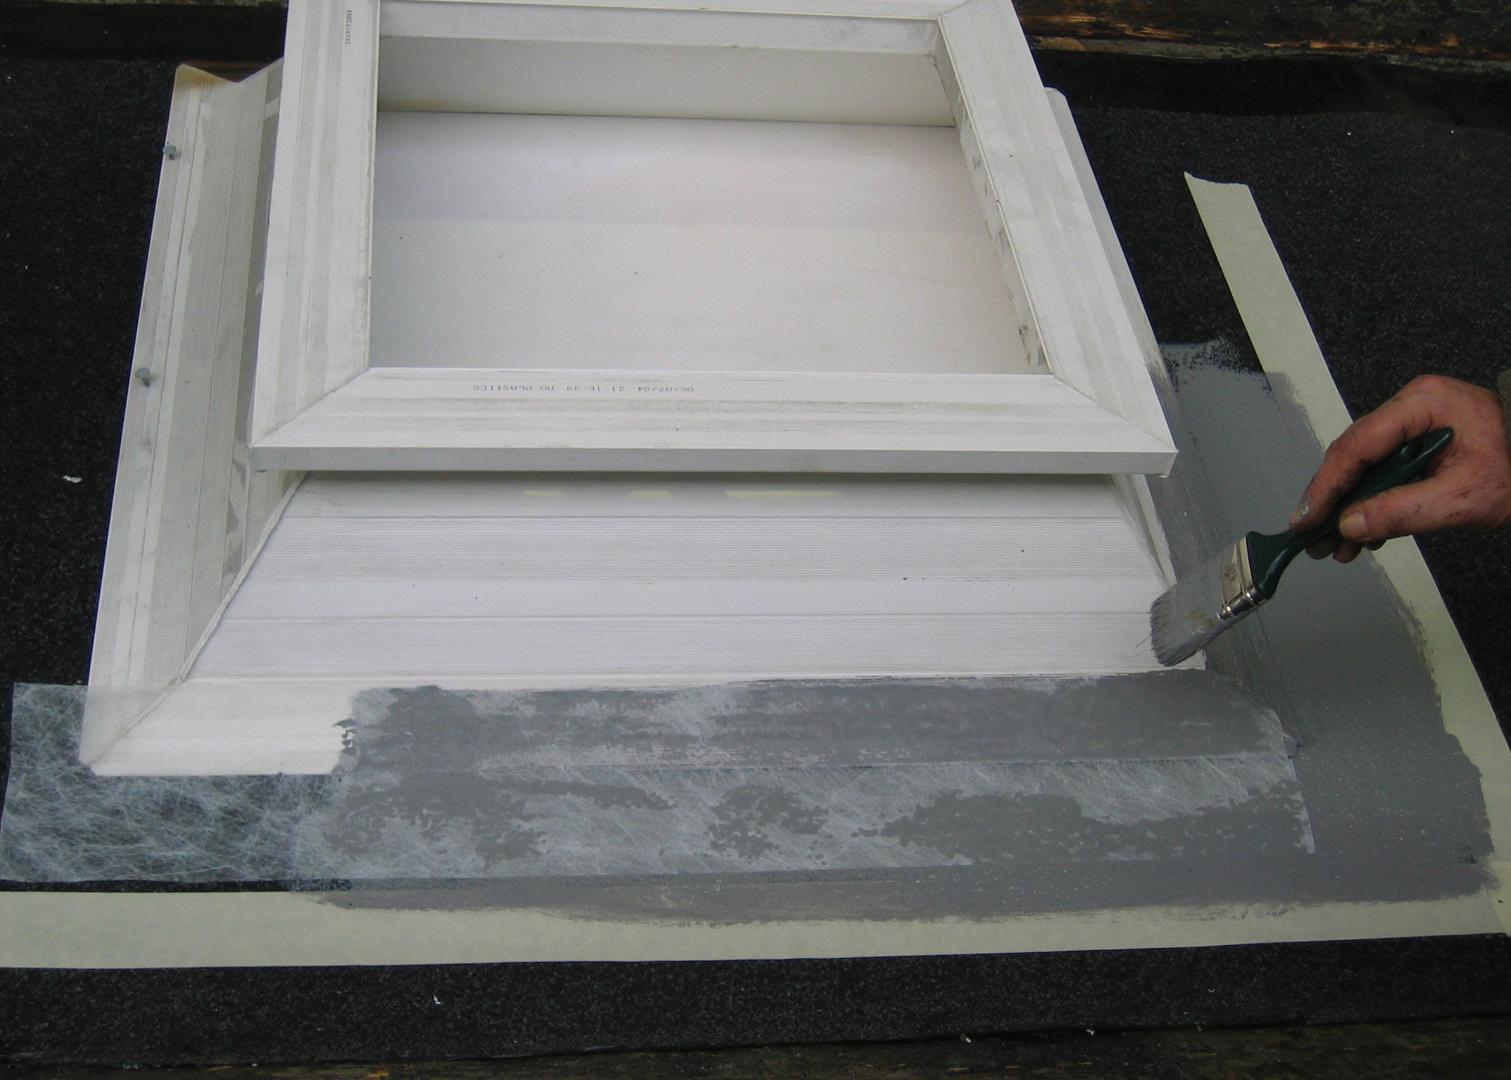
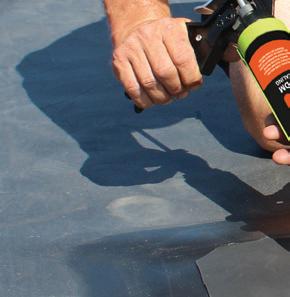
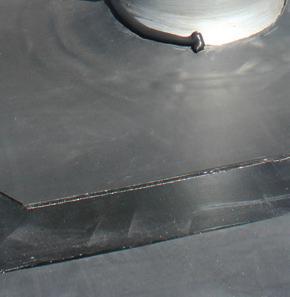
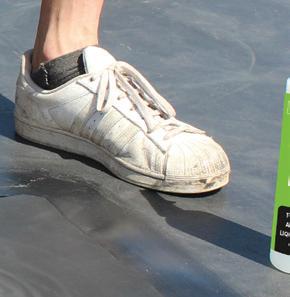
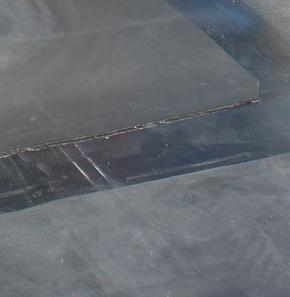
2.3 COLD BONDING OF ROOF MEMBRANES
A bituminous seal of a flat roof consists of one or more layers of finishing, where the top layer consists of polymer bitumen and a reinforcement of polyester. The finishing layer must be provided with a certificate of suitability for use. The bituminous seal can be attached via, for example, flame welding. However, an easy and fire-safe way is to use a bituminous cold glue in which the finishing layer is glued to the substrate.
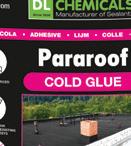
PARAROOF COLD GLUE
• Flexible bituminous cold glue
• Reinforced by fibers
• Only 1 layer needed
• Levels minor irregularities
• Bonding bituminous sealing layer without fire hazard on various surfaces such as bituminous roofing, concrete, insulation, metal, etc.
METHOD
Make the surface dry, smooth, clean and dust-free. Use Pararoof Quick Primer. Stir product well.
Apply in one layer with a floor squeegee or brush. Unroll the roofing rolls and press them into the adhesive, with 8 cm overlaps without adhesive.
For detailed finishing, upstanding edges, and overlaps, bond with Pararoof Super and seal with Pararoof Super or Pararoof Bitumen.
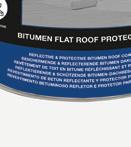
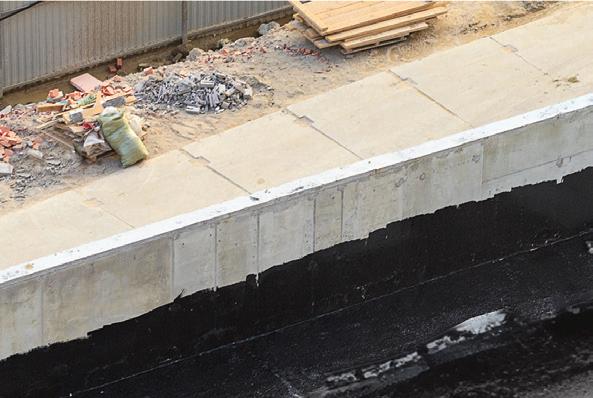
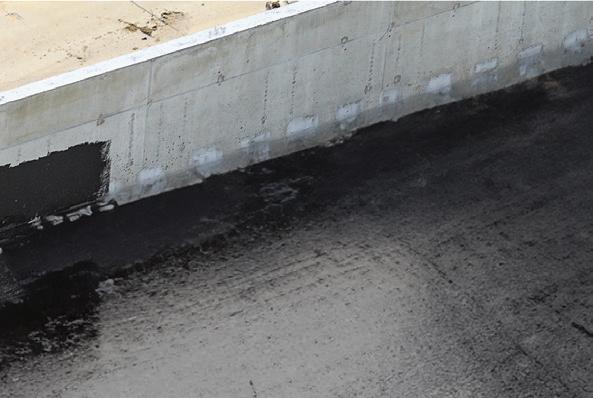
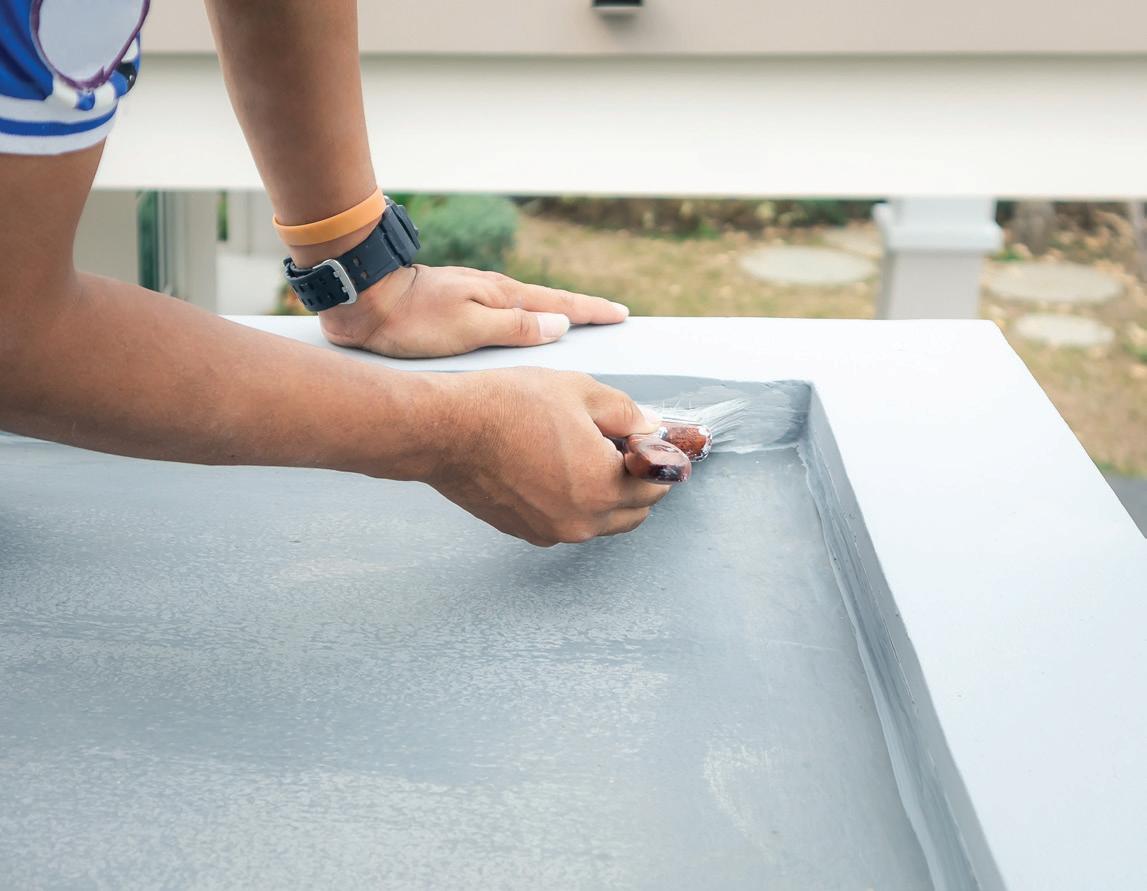
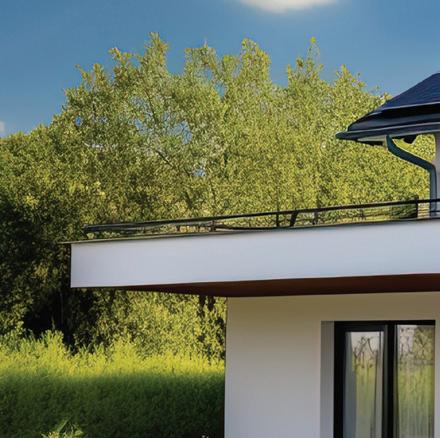
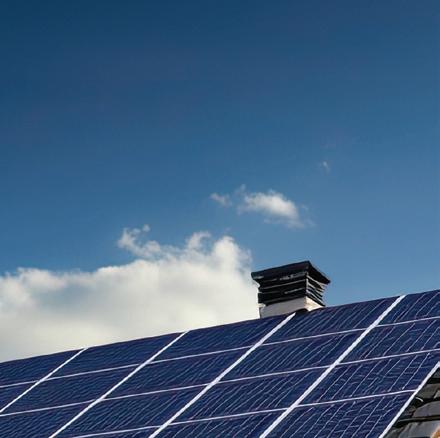
3. PROTECTION OF BITUMINOUS FLAT ROOF
Although bitumen roofing offers many advantages, it is important to know that bitumen is naturally less resistant to UV radiation. Over time this can lead to damage to the bitumen layer, which increases the risk of leaks. To give bitumen additional advantageous properties, polymers are added.
For example, a plastomer (APP) can make the bitumen firmer and offer better UV resistance. Adding elastomers (SBS) makes the bitumen more manageable, even at colder temperatures, and improves peeling resistance. However, it is important to note that the UV resistance is still not optimal. To improve UV resistance, a mineral protection layer with slate flakes or granulates (available in different colours) can be integrated, or a ballast layer can be added, consisting of gravel, slate or roof tiles.
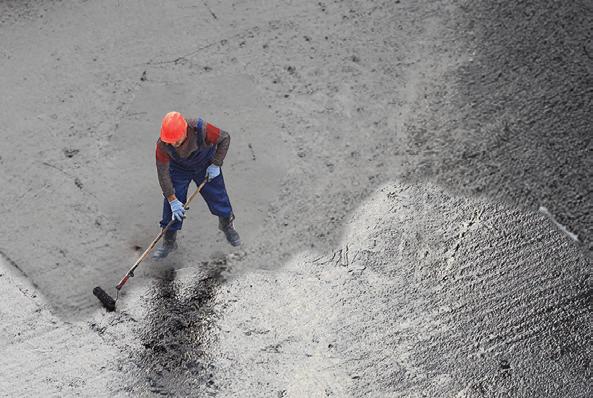
IMPROVED OPERATION WITH A REFLECTIVE COATING LAYER
An alternative approach is to apply a reflective coating layer on top of the bitumen roofing.
In addition to protecting the bitumen layer, this type of roof coating offers additional advantages.
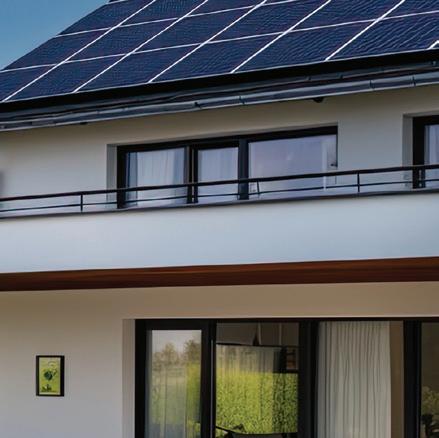
The sunlight is strongly reflected, so that the roof heats up much less. This can lead to a reduced cooling requirement in the summer.
In addition, the operation of solar panels placed on such a roof will provide an improved efficiency of up to 15% and extend the life of the photovoltaic installation. This leads to increased energy generation and therefore additional savings.
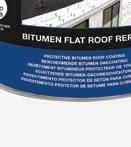
PARAROOF REFLEX
• Protective and energy-saving bituminous roof coating
• Sun-reflective (enriched with aluminum pigments)
• Thermal insulation: provides lower indoor temperatures and reduced energy costs
• Prevents early wear and cracking
METHOD
Make the surface dry, smooth, clean and dust-free. Use Pararoof Quick Primer on porous surfaces and existing bituminous roofing. Stir the product well.
Apply with a brush in 2 coats for maximum protection. Apply the second coat only after the first coat has completely dried (approximately 24 hours). Do not apply Pararoof Reflex on too hot surfaces. Ensure that the applied layers do not get wet during drying to prevent cracking.
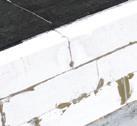
4. RENOVATION OF BITUMINOUS FLAT ROOF
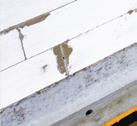
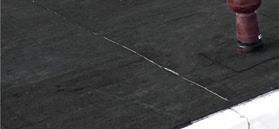
If, despite protective measures of the bituminous roof, wear and/or bladders occur, the roof must be repaired to extend its lifespan. A first option is to apply a renovation layer that has a nourishing and restorative function. If the wear has gone too far, it is necessary to apply an additional layer of bitumen.
In both cases, the method is the same:
• Clean the existing surface so that it is clean and flat
• Repair bladders by cutting them open, drying and sticking them, shut and repair possible cracks and fissures with Pararoof Super
• Application of a bituminous primer (Pararoof Quick Primer)
• Apply a renovation layer (Pararoof Renovation) or a new bituminous layer and seal with Pararoof Bitumen or Pararoof Super
If there is no insulation layer yet, it can still be installed during the renovation of the flat roof (reversing roof method).
PARAROOF RENOVATION
• Semi-liquid bituminous roof coating
• Repairs, nourishes and maintains existing bituminous roofing materials, fibre cement boards and concrete
• Reinforced with fibres
• Extends lifespan
• High resistance to aging, UV and atmospheric load
METHOD
Make the surface dry, smooth, clean and dust-free. Use Pararoof Quick Primer on porous surfaces and existing bituminous roofing. Stir the product well.
Apply with a brush in 2 coats for maximum protection. Apply the second coat only after the first coat has completely dried (approximately 24 hours). Do not apply Pararoof Renovation on too hot surfaces. Ensure that the applied layers do not get wet during drying to prevent cracking.
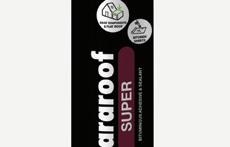
PARAROOF SUPER
• Flexible adhesive and sealant based on bitumen and SBS elastomers
• Used for waterproof sealing of joints, seams, roof edge closures, skylights, drains, roof ducts, chimneys...
• For sealing leaks and emergency repairs during rainy weather
• For plugging cracks, fissures and blisters in roofs and gutters
• Suitable for use on wet surfaces and even underwater
Make the surface dry, smooth, clean and dust-free. Apply with a manual gun. In the case of a wet surface or application underwater, rest the nozzle on the surface.
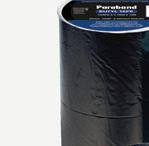
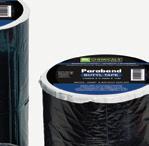
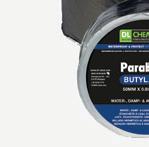
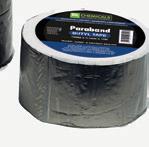
PARABAND BUTYL TAPE
• Strong cold vulcanizing sealing tape
• Consists of metal film (PET/aluminum) and butyl rubber
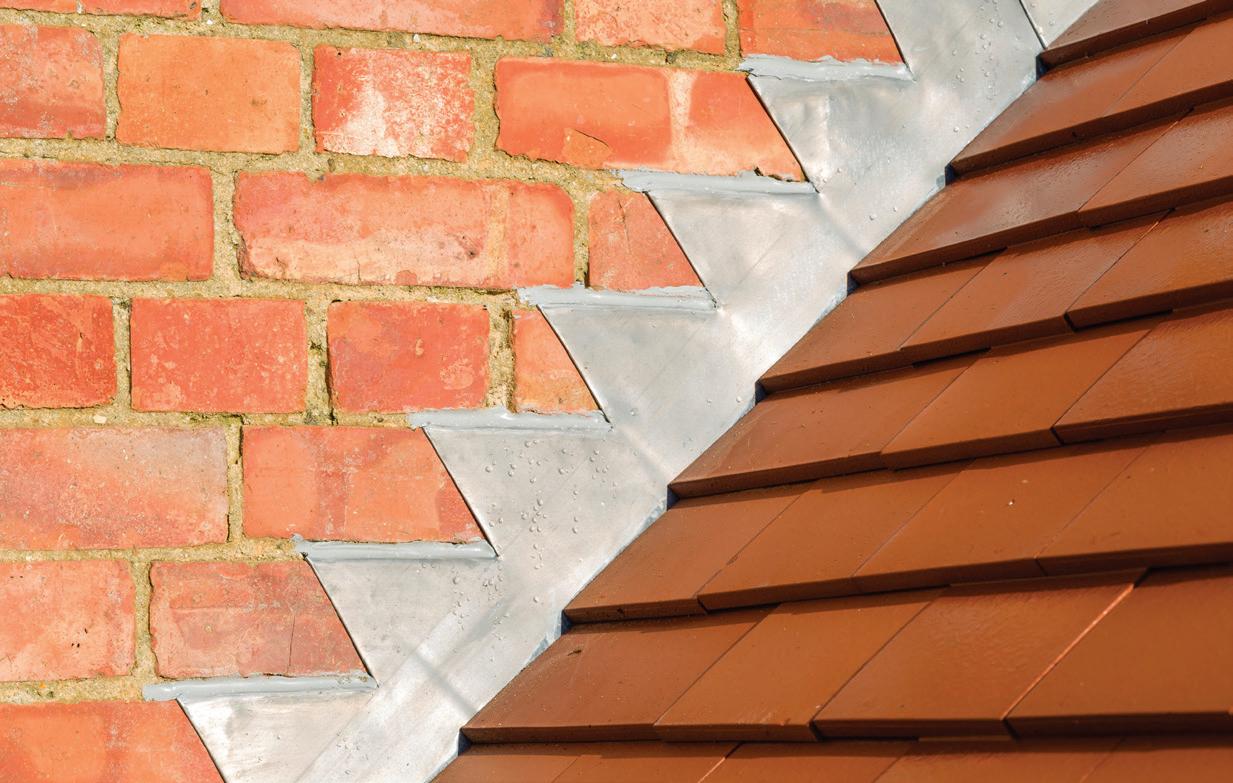
• Used for making rough construction elements, roof edges and chimneys water-, vapour-, and airtight
• High resistance to water, UV, and excellent temperature resistance
• Adheres to glass, steel, concrete, stone, wood, aluminum, etc.
Make the surface dry, smooth, clean and dust-free. Use Pararoof Quick Primer on porous surfaces.
Apply Paraband Butyl Tape directly to the substrate after removing the protective film. The contact surface on either side of the joint should be at least 50 mm wide. Press firmly. To join 2 pieces, a 25 mm overlap is required.
Adhesion occurs in the first few minutes after application, and maximum strength is reached after 24 hours.
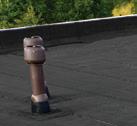
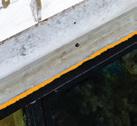
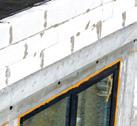
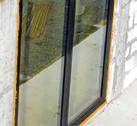
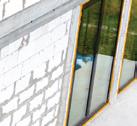
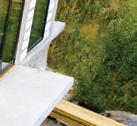
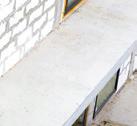
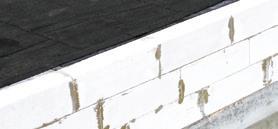
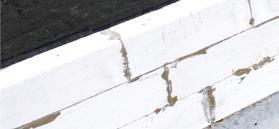
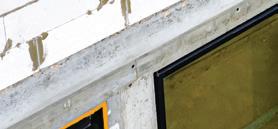
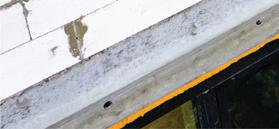
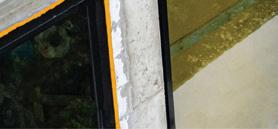
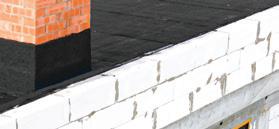
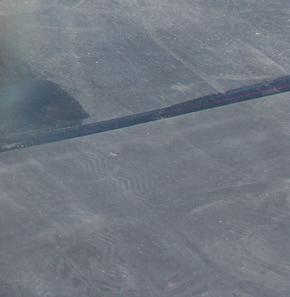
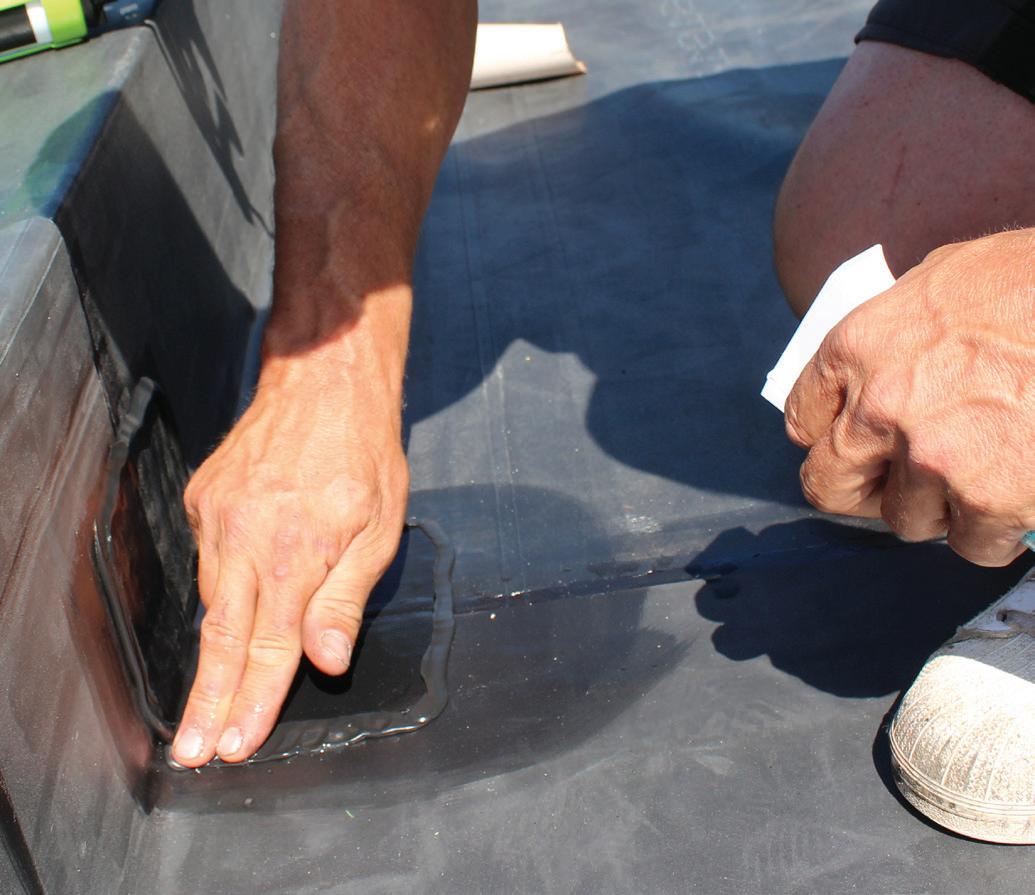
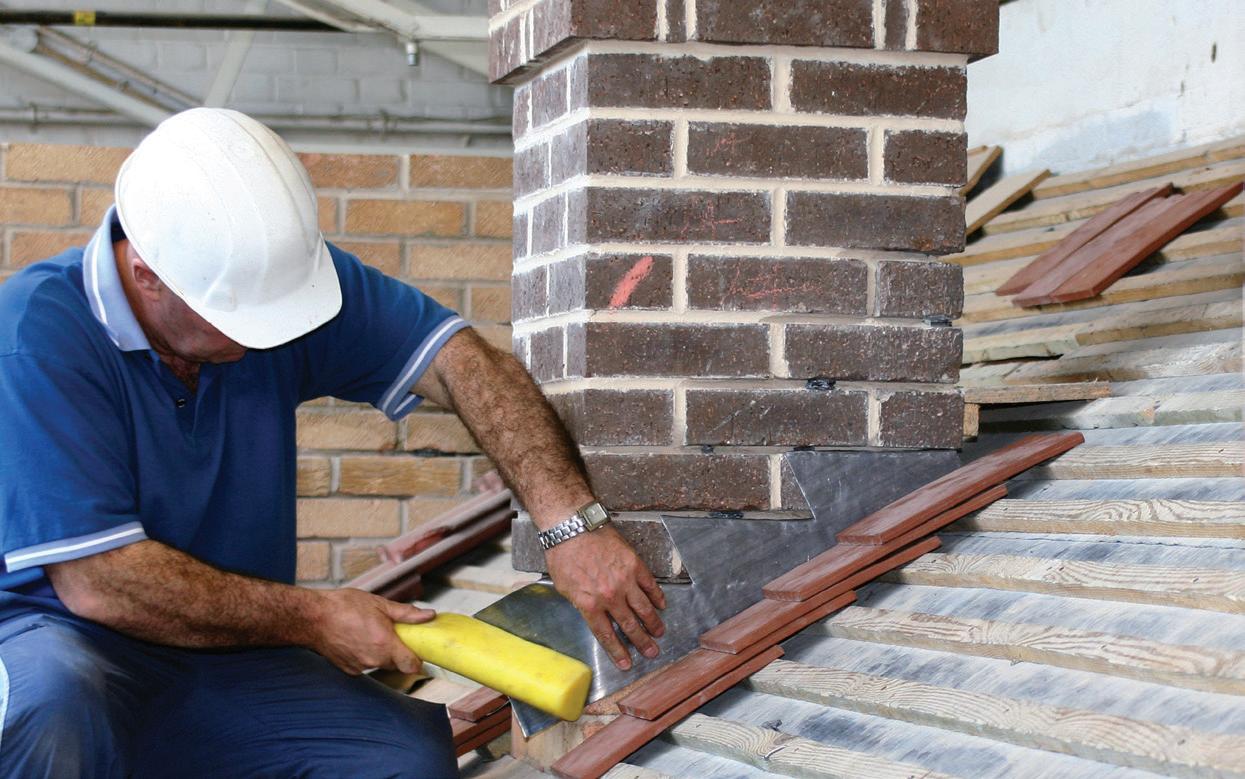
5. FINISHING FLAT & PITCHED ROOFS
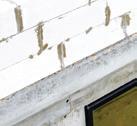
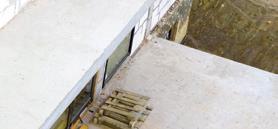
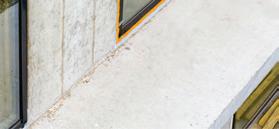
After a waterproof layer is applied to a flat roof or roofing is installed on a pitched roof, careful detail finishing is essential. Improper or neglected finishing of all joints, cracks and material transitions on the roof and roof details can cause leaks and moisture problems.
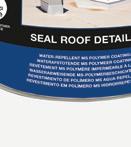
PARAROOF SEAL
• 1-component coating based on elastic MS polymer
• Very good UV and weather resistance
• Waterproof finishing of complex roof details such as domes, upstands, skylights, chimneys, ventilation pipes, gutters, etc.
• Due to its high viscosity, no backflow on vertical applications
• Adheres to bitumen roof membranes, concrete, metal, wood and hard plastics
l 120
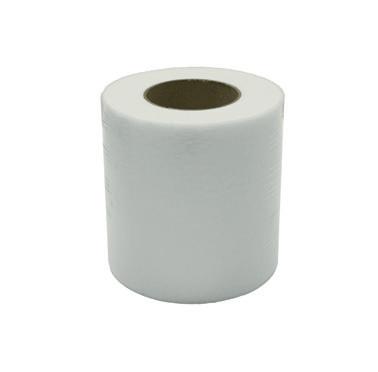
GEOTEXTILE
• Reinforcing coating for cracks, joints and edges
• To be used with Pararoof Seal or Parabond Flex Seal F
METHOD
Make the surface smooth, clean, free of dust and grease. Remove any water, water film or raindrops. The best adhesion is obtained on a dry surface, however the surface does not have to be completely dry.
Apply an initial layer of Pararoof Seal at a rate of 0.7 l/m². In case of right angles and flexible components, apply Geotextile in the first wet layer.
A second layer of Pararoof Seal at a rate of 0.5 l/m² may be applied on top of the first wet layer until the Geotextile is completely covered.
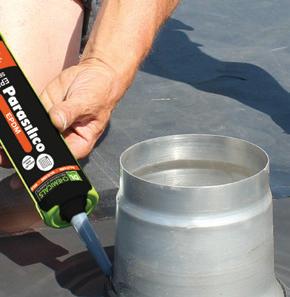
PARASILICO EPDM
• Neutral 1-component silicone
• Bonding and finishing of EPDM roofing
• Adheres to EPDM and most construction materials.
• Permanently elastic
• Good UV and weather resistance
Make the surface dry, smooth, clean and dust-free. On highly absorbant surfaces (concrete, brick...), first use Silicone Primer Porous Surfaces. Due to the wide variety of EPDM membranes, it is necessary to perform compatibility tests beforehand.
Apply Parasilico EPDM with a manual gun.
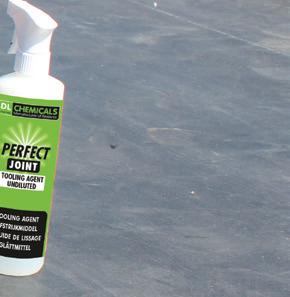
Smooth the joint before skin formation with the Perfect Joint Tooling Agent.
METHOD
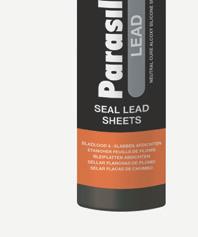
PARASILICO LEAD
• 1-component neutral alcoxy silicone
• Colour-matching with lead for an aesthetic finish on all lead components on roof and facade
• Ideal for joining sheet lead and lead flashings in masonry, stone and concrete
• Sealing joints on roofs, gutters, downspouts, parapets...
• Strong adhesion to lead
• Good UV and weather resistance
• Good adhesion to most porous and non-porous building materials
Make the surface dry, smooth, clean and dust-free. On highly absorbant surfaces (concrete, brick...), first use Silicone Primer Porous Surfaces.
Apply Parasilico Lead with a manual gun.
Smooth the joint before skin formation with the Perfect Joint Tooling Agent.
PARAROOF BITUMEN
• Plastic, rubber-bitumen sealant reinforced with fibres
• For the repair of bituminous roofs and the waterproof detailing of joints, seams, roof edge closures, skylights, rainwater drains...
• Thixotropic consistency: does not drip and does not leave strings
• Resistant to moisture after curing
• Adheres to virtually all building materials: brick, concrete, lead, zinc, some plastics...
Make the surface dry, smooth, clean and dust-free. Use Pararoof Quick Primer on porous surfaces. Apply using a manual gun or putty knife.
PARABOND ZINC
• Hybrid polymer adhesive sealant
• For bonding, positioning, and finishing of gutters, ridge tiles, zinc sheets, fascia boards, emergency overhangs...
• Adheres to all metal connections (zinc, aluminum, copper, steel, lead...) and virtually all building materials
• Adheres to slightly humid surfaces
• Suitable for natural stone
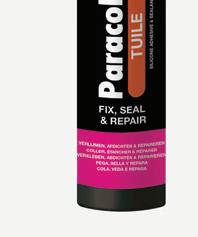
PARACOL TUILE
• 1-component silicone-based adhesive
• For the flexible bonding of hollow roof tiles together, on wooden battens and cement fiberboards, and as a sealing joint between construction elements
• No need for mortar or nailing of the roof tiles
• Complies with standard NF P 85-611: bonding of Roman-style hollow roof tiles
Make the surface dry, smooth, clean and dust-free. The substrate doesn't need to be completely dry (slightly damp). Apply in grooves or dots with a caulking gun on the substrate or on the element to be bonded. The grooves should be applied in vertical bands, evenly distributed over the bonding area. Apply the grooves parallel to each other, allowing humidity to enter the adhesive between them. Apply the part to be bonded as soon as possible. The material can still be adjusted at this point. Press firmly or lightly tap with a rubber mallet.
Make the surface dry, smooth, clean and dust-free. Apply with a manual gun.
II. WATERPROOFING
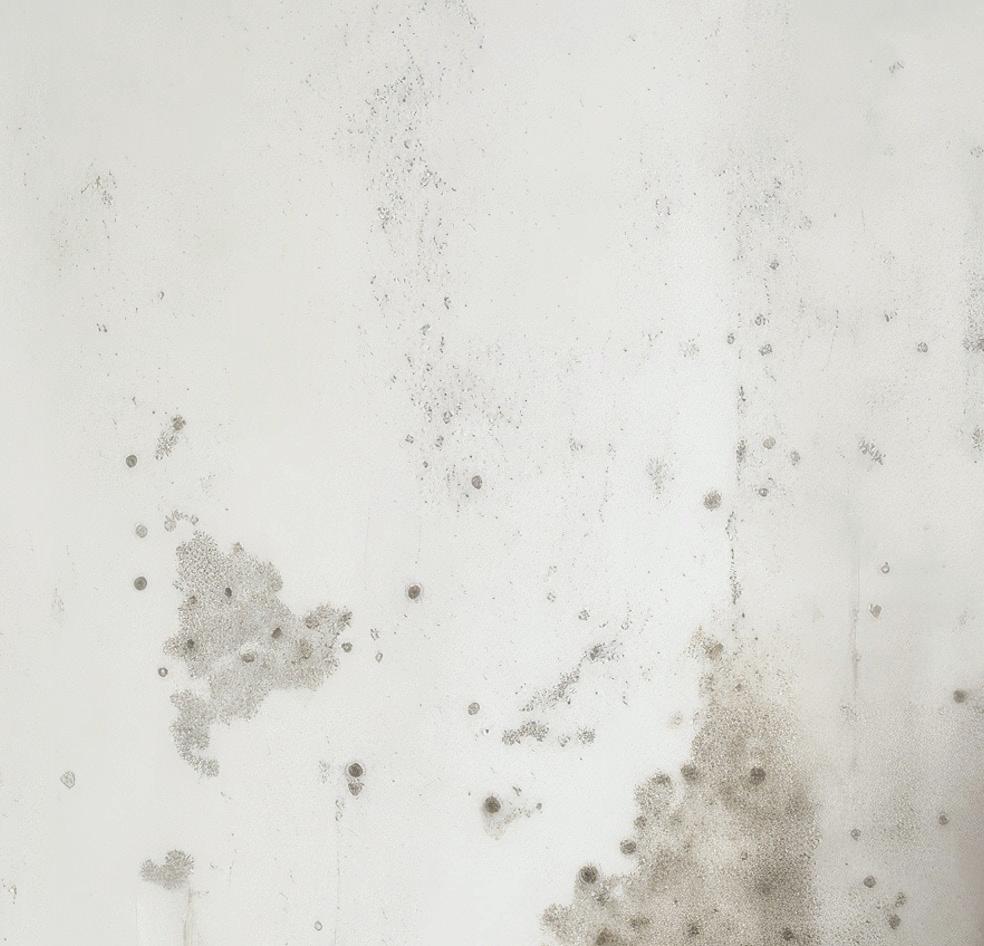
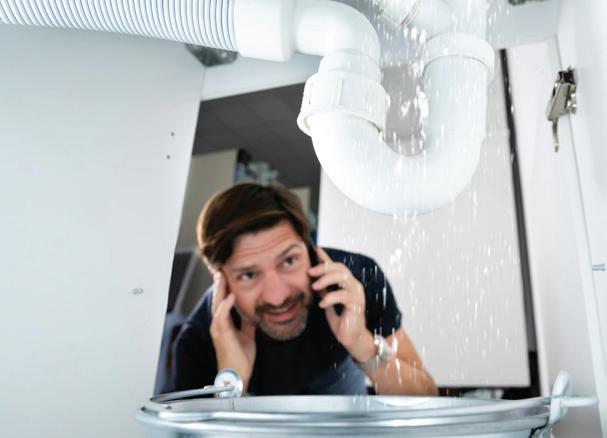
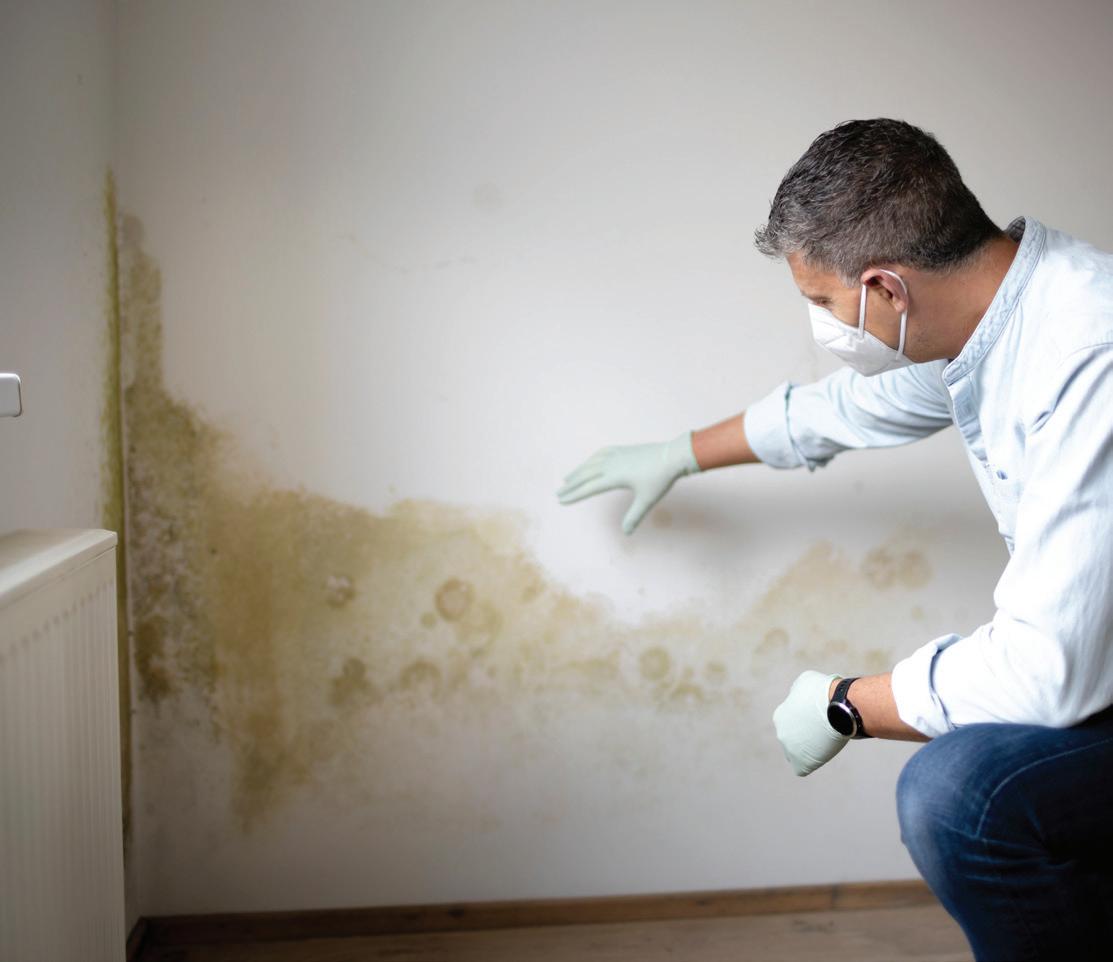
1. MOISTURE, A SOURCE OF CONCERN
CAUSES OF MOISTURE PROBLEMS
Moisture problems in buildings can be a significant source of concern. The problems vary in origin and severity. Understanding the different causes is critical to effectively addressing and preventing damage to buildings.
Common causes are rising damp (p. 18), infiltration of rainwater (p. 21) but also:
Building moisture is the moisture that remains in building materials after the construction period. It is estimated that up to 5,000 liters of moisture remain in the construction of a family home.
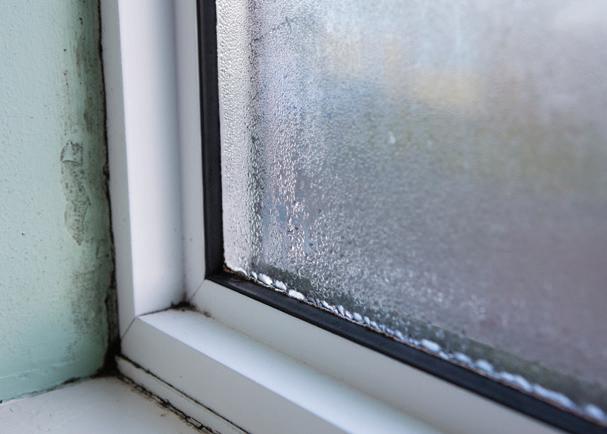
Internal condensation: moisture transport occurs under the influence of a vapour pressure difference between the inside and outside of a building. When the moist air comes into contact with a cold surface in a building element, there is a risk of internal condensation.
Surface condensation: by cooking, showering, moisture released by plants... vapour is created in the house. Depending on the temperature, the air contains a percentage of water vapour. Once 100% relative humidity is achieved, the vapour will condense and surface condensation will occur.
Porous materials absorb moisture from the ambient air, a phenomenon known as hygroscopy.
Soluble salts: salts in building materials easily absorb water. When dried, they can cause cracks and fissures.
Leaks and splashing water
HOW DOES MOISTURE MOVE?
Moisture movement in porous materials has three main mechanisms:
• Vapour transport
In porous materials that are (almost) dry, moisture mainly travels as vapour. This process is slower than the transport of water in liquid form. At high humidity (>70%), the pores gradually begin to fill with water, turning vapour transport into a liquid process.
• Hygroscopic properties
Porous materials can absorb moisture from the ambient air. Hygroscopy is done even without the presence of liquid water. The degree of hygroscopy depends on the number of small pores (<0.1μm) in the material. The more of these small pores there are (for example, with cement), the higher the hygroscopic properties of the material.
• Capillary action
Capillary action is the phenomenon when water comes into contact with the surface of a porous material and it is sucked up by the material. The size of the pores determines how far the water can penetrate into the material. The smaller the pores, the further the water can penetrate. The larger the pores, the faster water is absorbed.
WHAT IS POROSITY?
Porosity is the ratio of the volume of pores to the toal volume of a material. Porosity allows moisture to be transported, which can lead to moisture-related problems. Almost all building materials have some degree of porosity. However, some materials show higher porosity than others.
Sandstone is considerably more porous than concrete.
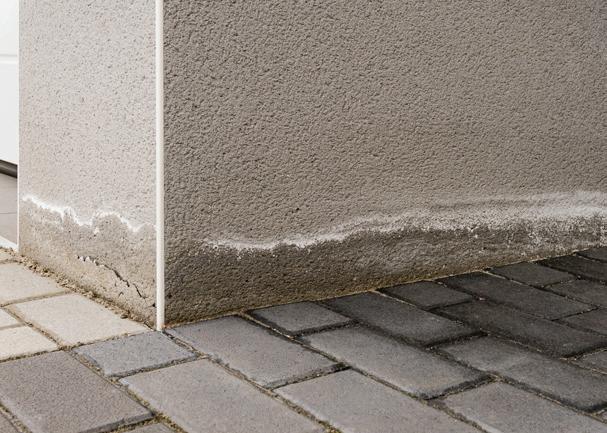
2. PROTECT AGAINST RISING DAMP
Rising damp in walls can be a persistent problem in older buildings and can lead to damage to the structure and interior. Buildings built before 1945 were mainly constructed in solid masonry walls, without a waterrepellent membrane being installed at the base of the wall. This practice has led to the occurrence of capillary ascent of soil moisture and the accumulation of salts in the walls, usually to a height of 0.5 to 1.5 meters.
Modern buildings, on the other hand, often use masonry with an air cavity and a water-repellent membrane to avoid such problems. However, these construction methods have their own challenges:
• Errors in the installation of the membrane or in the design of the structure.
• Grounding added later that is above the membrane level, preventing the membrane from functioning effectively.
To combat rising damp, injection of a moisture repellent is an excellent and effective solution. Rising damp is blocked at the physiochemical level.
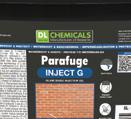
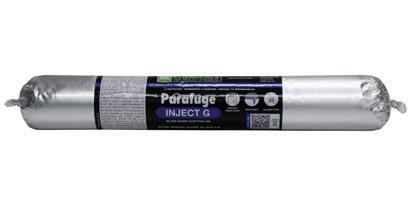
PARAFUGE INJECT G
• Silane-based solvent-free injection cream
• Forms an impermeable barrier against rising damp
• Easy to use and optimized for a pressureless application
• Suitable for walls with a high moisture content
• With WTCB classification: proven reduction of capillary absorption with efficiency class AAA+
Accessories for the foil packaging are available separately:
• Nozzle adapter for foil packaging in caulking gun (104431)
• Injection tubes with nozzle (104374)
The existing wall finish must be removed. Joints in poor condition need to be repaired.
Holes in the wall should be drilled at the correct level, usually in the mortar joint of the wall. The holes should have a diameter of approximately 12 mm and should be spaced about 100 mm apart horizontally. The depth of the drill holes should be about 90% of the wall thickness to ensure even distribution of the injection material.
After drilling the holes, it's essential to thoroughly remove dust from the drill holes to ensure optimal adhesion of the injection material. This can be done by blowing or brushing out the drill hole.
Use the correct amount of the product, typically around 100 ml per linear meter for every 10 cm of wall thickness. Inject Parafuge Inject G evenly into the drill holes.
After injecting, thoroughly clean the used attachments with warm water to prevent the product from drying and causing blockages.
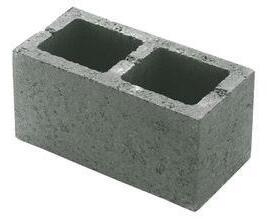
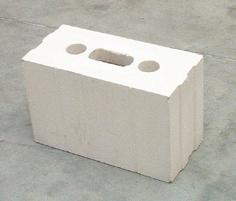
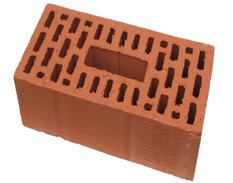
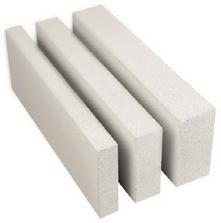
Solid bricks Concrete blocks Silicate stone Lightweight blocks
Hollow concrete blocks
Drill in the horizontal mortar layer Drill just above the mortar layer STONE TYPE
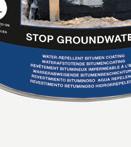
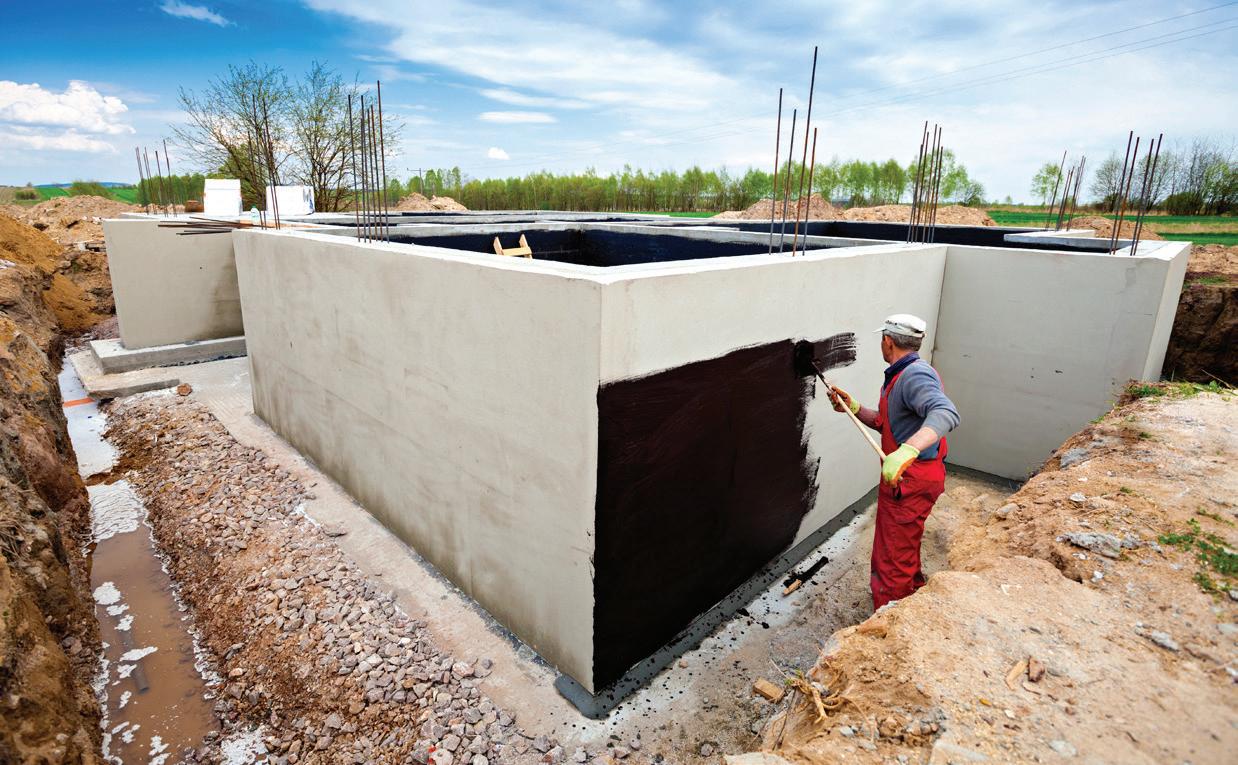
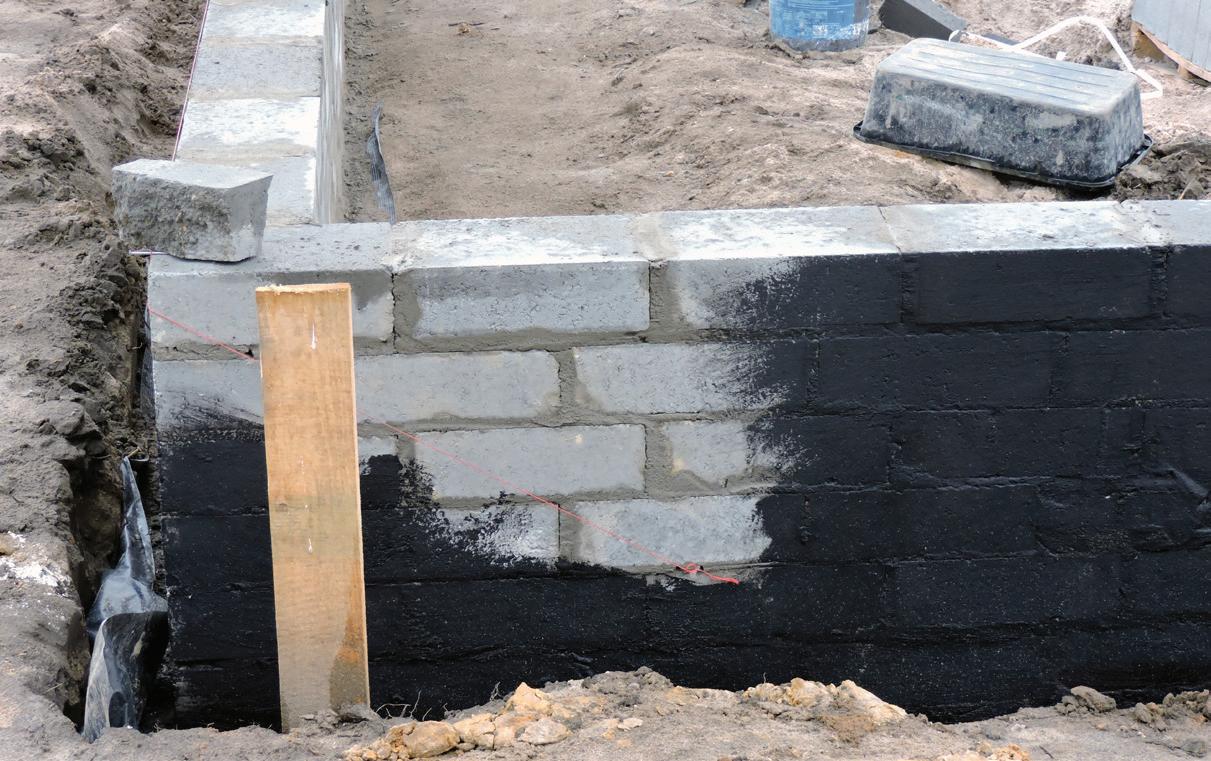
3. PROTECT AGAINST GROUNDWATER
The infiltration of groundwater into basements can occur due to negative pressure, or capillary forces can cause groundwater to result in rising damp through the foundations. Both can lead to potential moisture problems.
The extent to which groundwater plays a role in the moisture issues of buildings depends on the following factors:
• Level of the temporary or permanent groundwater layer
• Circulation direction of the groundwater
• Water supply flow rate
• Nature and relief of the soil
• Nature and properties of the fill between the construction pit and the building
Depending on the conditions of the water load (from low to heavy load), various solutions are possible
• The application of an exterior plaster based on cement mortar.
• The installation of a drainage net and providing the exterior of the structure with waterproof cladding.
• Coving of the underground structure: this can be done with, among other things, a film-forming plaster based on resins or a flexible waterproof exterior cladding based on bitumen.
METHOD
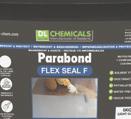
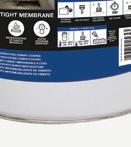
PARABOND FLEX SEAL F
• Universal sealant based on MS polymers
• Flexible waterproof and airtight coating
• Self-leveling and ideal for use on large, uninterrupted surfaces
• Immediately waterproof
• Waterproofing the exterior of foundations, basement walls, masonry
• Waterproof layer beneath concrete roof and terrace tiles and beneath wooden terrace planks
• Waterproofing of shower rooms
• Protect wooden structures underground from wood rot and metal from corrosion
• Plasterable, tileable and paintable
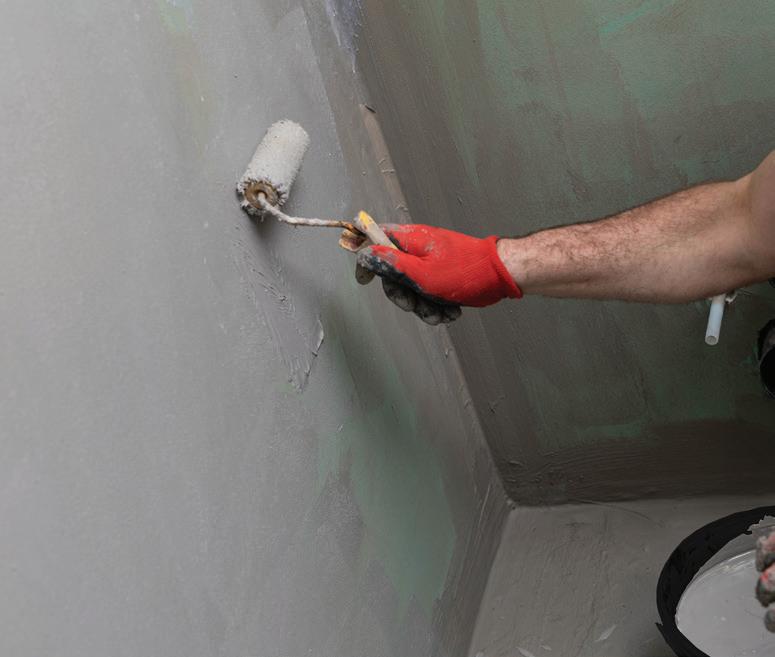
PARABOND FLEX SEAL G
• Universal sealant based on MS polymers
• Flex Seal G can be used for all applications where Parabond Flex Seal F can be used
• For finishing surfaces treated with Parabond Flex Seal F
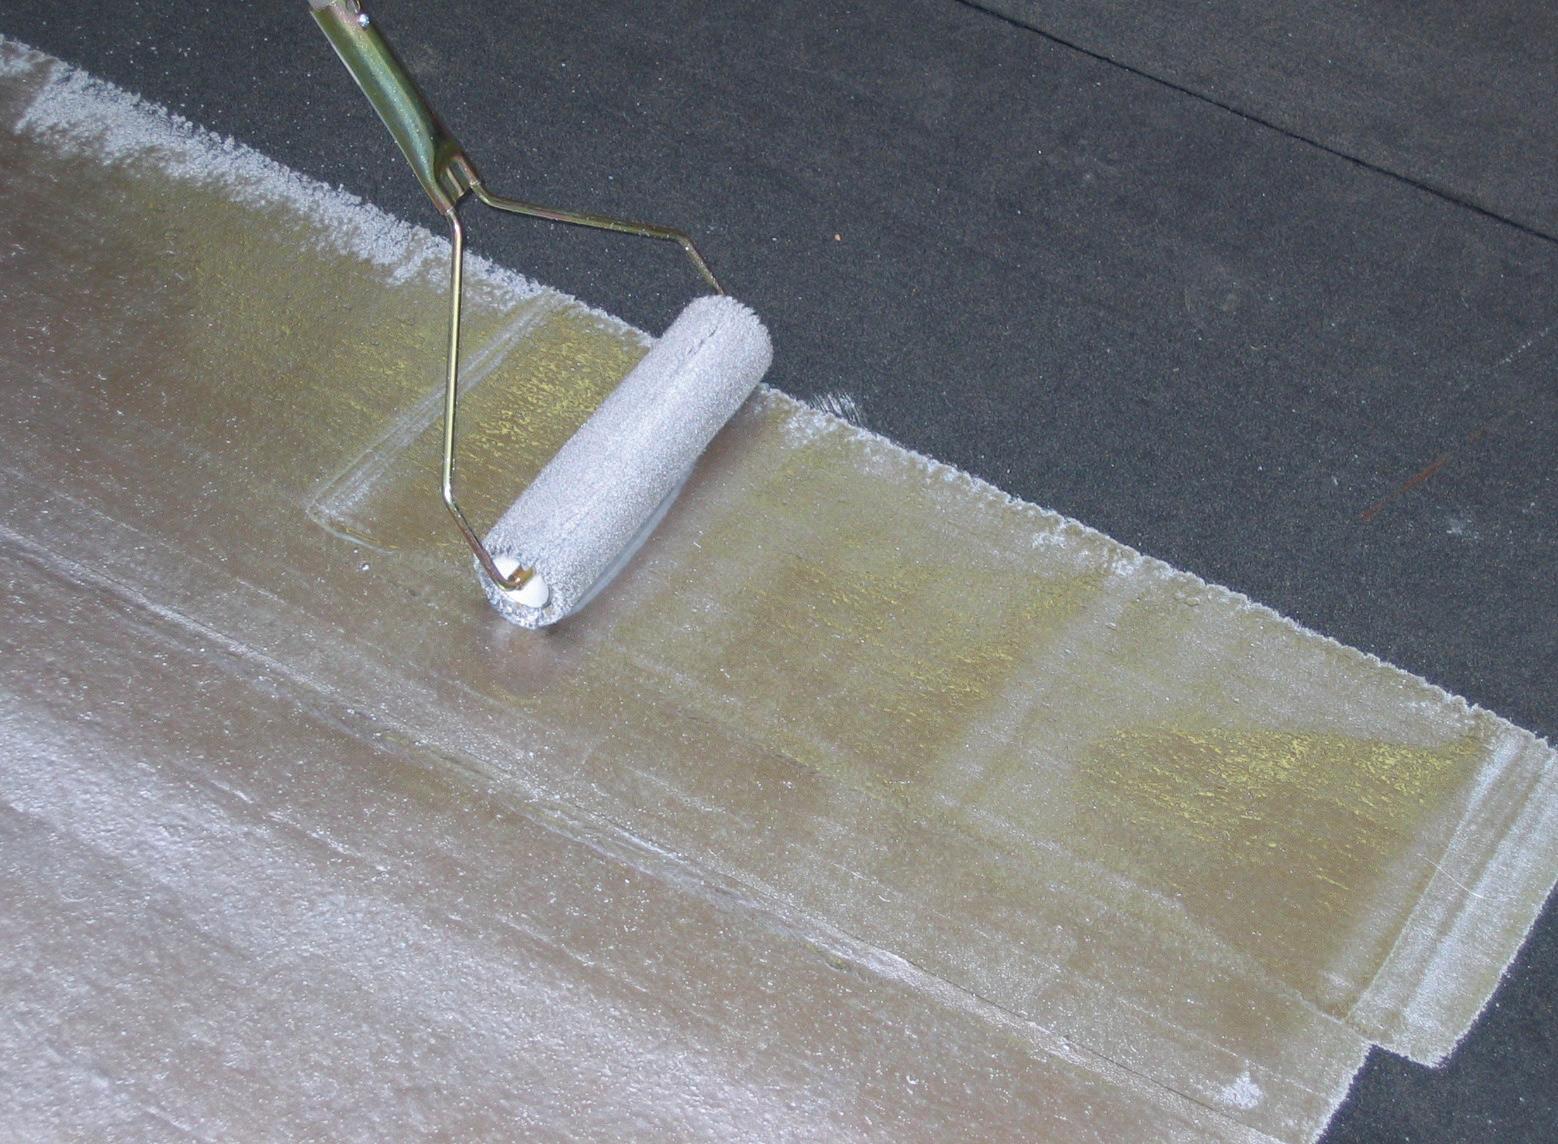
Make the surface smooth, clean, free of dust and grease. Remove any water, water film or raindrops. The best adhesion is obtained on a dry surface, however the surface does not have to be completely dry. Stir product well. Apply Parabond Flex Seal F with a brush or roller in in one or more layers. Only apply the second layer after the complete drying of the first layer. Recommended applications for a 1 mm layer thickness: Anti-slip coating, anti-corrosion layer, protection against wood rot. Recommended applications for a 2 mm layer thickness: Waterproofing, roof protection, crack repair.
In the case of a fissure, joint, or raised edge, apply Geotextile in the first wet layer. Apply a second layer of product onto the first wet layer until the Geotextile is completely covered and press down.
Apply Parabond Flex Seal G with a putty knife on the surface and tool.
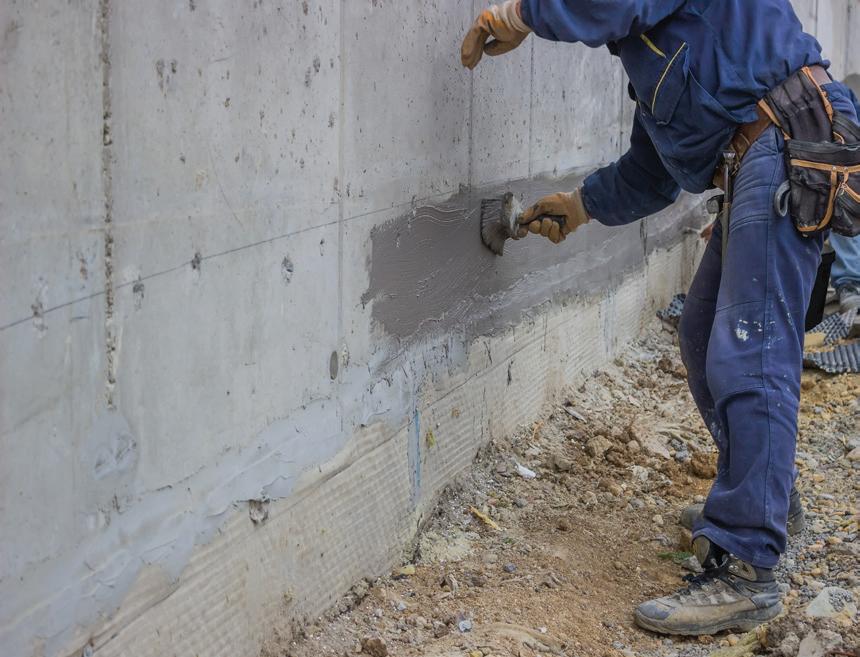
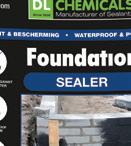
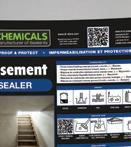
FOUNDATION SEALER
• Protective liquid based on bitumen and solvents.
• Forms a vapour barrier and water-repellent layer on foundations and submerged structures in contact with groundwater
• Suitable for all outdoor applications, even in the most demanding locations
• Can be applied to slightly humid substrates
BASEMENT SEALER
Make the surface smooth, clean, free of dust and grease. Fill voids and imperfections with cement mortar to achieve a smooth and even finish.
Stir Foundation Sealer well and apply with brush.
After 24 hours of drying time for the first coat, apply a second coat for maximum effectiveness
METHOD
Always moisten the substrate, but avoid dripping.
• Waterproof coating based on white-cement
• Forms a waterproof membrane
• Resistant to positive and negative waterpressure
• For interior and exterior waterproofing of foundations, basements, ponds, water reservoirs, consisting of porous mineral building materials such as cement and concrete blocks (not applicable on masonry)
Apply a first coat of 1.5 - 2 kg/m² in a crosswise pattern.
After 24 hours of drying time for the first coat, apply a second coat for maximum effectiveness
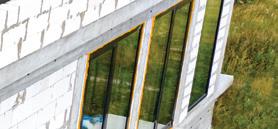
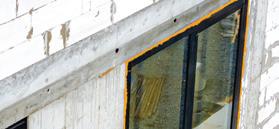
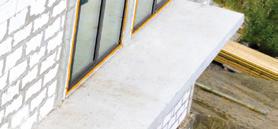
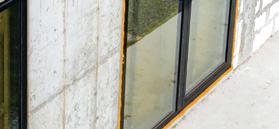
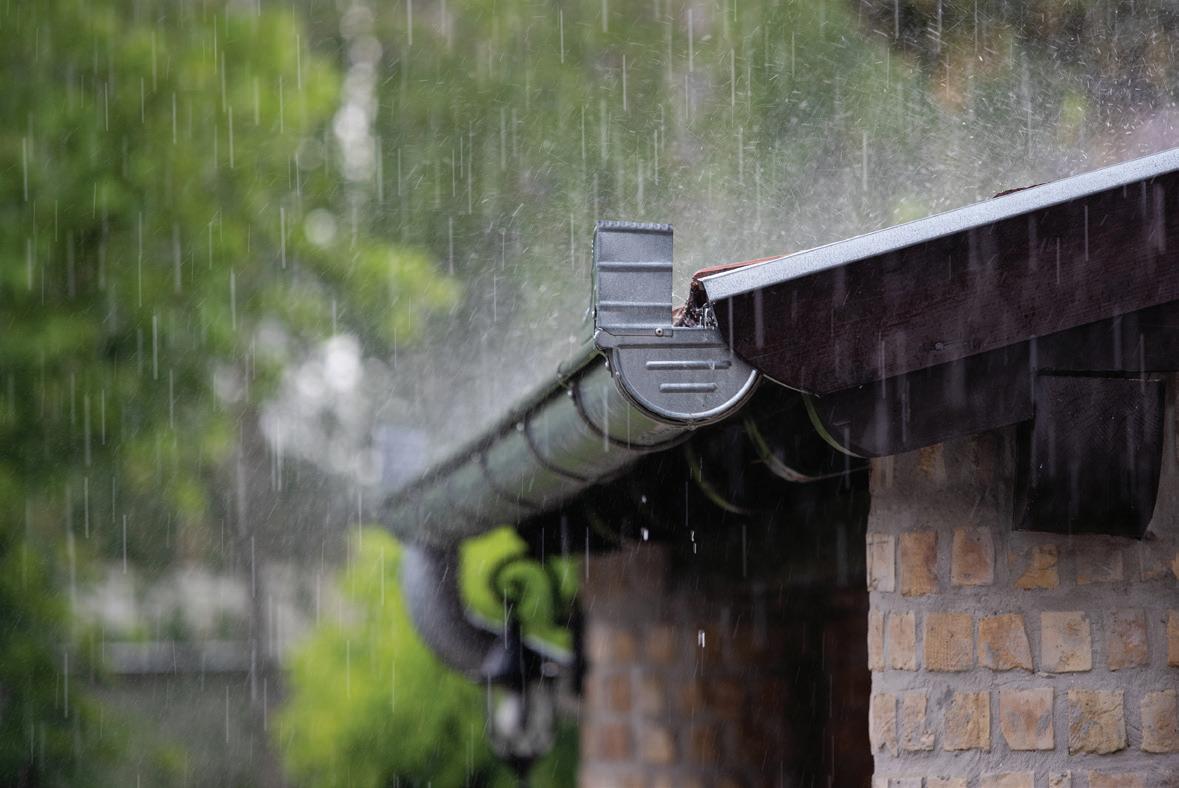
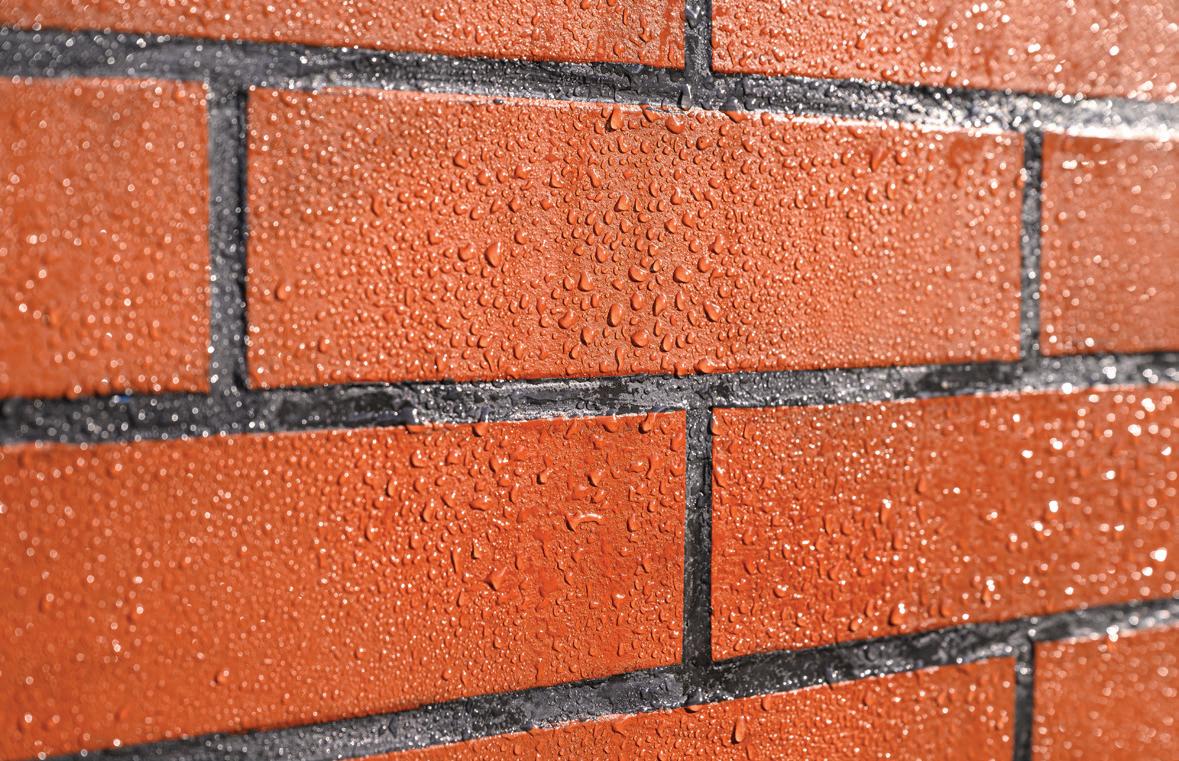
4. PROTECT AGAINST RAINWATER INFILTRATION
Due to the porous nature of most common building materials, there is always a risk of moisture problems resulting from rainwater seeping through the walls, joinery, and the roof. Walls and porous roofs can be easily protected by the application of a hydrophobic agent. This technique involves treating porous surfaces to make them water-repellent. This prevents rainwater from penetrating the wall while still allowing vapour transport from inside to the outside.
In addition to preventing rainwater infiltration, a hydrophobic agent offers additional benefits, including:
• Increased durability of materials, which limits damage from frost and the effects of acid rain.
• Simplified maintenance of facades, as dirt washes off more easily, and the likelihood of dust infiltration is reduced.
• Improved thermal insulation of exterior walls by limiting moisture content.
• Reduction of green algae formation.
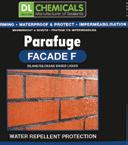
PARAFUGE FACADE F
• Liquid silane/siloxane mixture dissolved in an aromatic-free and odourless solvent
• Forms a water-repellent layer on facade and brickwork, concrete, plaster, porous roofing, and porous mineral substrates
• Maintains water vapour permeability and the appearance of the substrate
• Protects against heavy rain, frost damage and green algae
• Ideal for use on large, uninterrupted surfaces
METHOD
Clean the substrate with Green Cleaner and allow it to dry. Protect the surfaces that are not to be treated. Do not apply in direct sunlight.
Apply Parafuge Facade F with a sprayer in one coat or treatment.
Start the treatment at the top in a 40 cm strip with a back-and-forth motion. Always allow it to flow in a liquid curtain over the surface, saturating the entire area.
Apply Parafuge Facade G with a low-pressure gun, roller or brush.
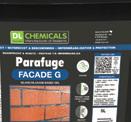
PARAFUGE FACADE G
• Solvent-based silane/siloxane gel
• Forms a water-repellent layer on facade and brickwork, concrete, plaster, cement, bricks, porous roofing and porous mineral substrates
• Maintains water vapour permeability and the appearance of the substrate
• Protects against heavy rain, frost damage and green algae
• Ideal for smaller surfaces
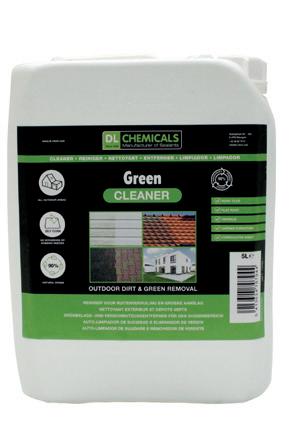
GREEN CLEANER
• Mild acidic cleaning product
METHOD
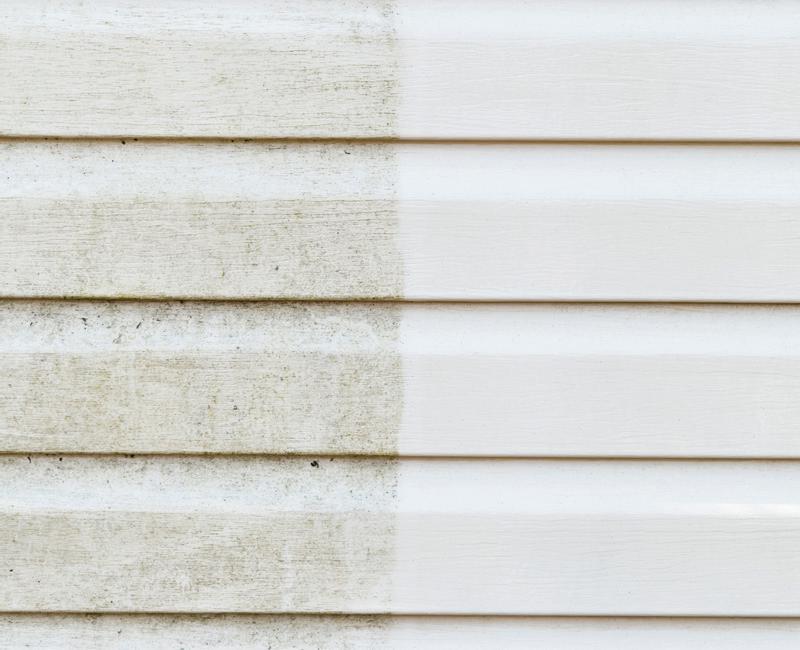
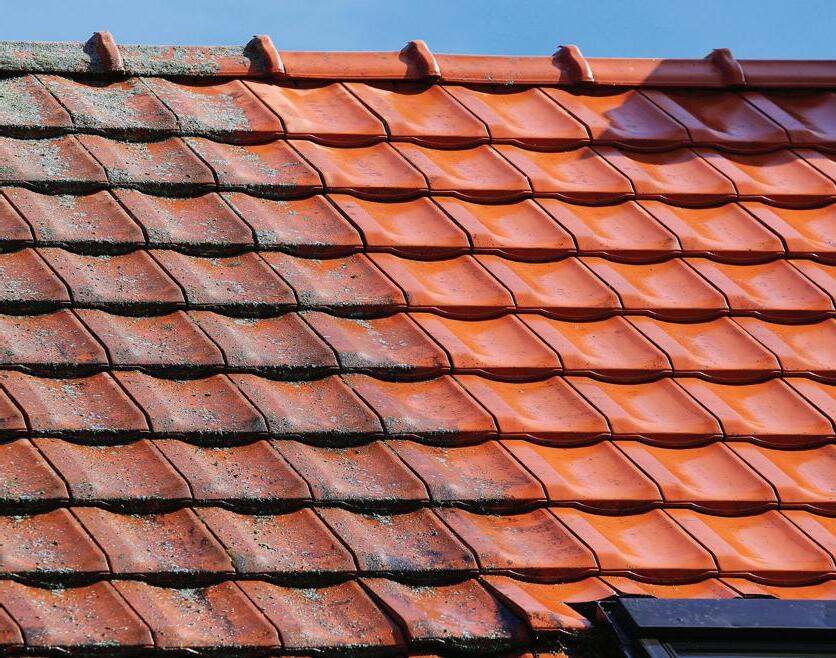
• Self-cleaning: scrubbing or a high-pressure cleaner is not required
• Removes contamination, green staining, and atmospheric deposits on flat and sloped roofs, facades, terraces and garden furniture
• Composed of 90% natural raw materials and is 90% biodegradable
Manually remove large accumulations of dirt for quicker results. The substrate can be dry or slightly damp. Always shake Green Cleaner before use. Apply undiluted with a brush or sprayer in a single layer. Allow Green Cleaner to work. The cleaning process happens on its own, and the results will be visible after a few days. Do not apply in high temperatures, full sun, or when rain is expected within 24 hours.