Master Affiliate Profits First Steps
Welcome! In this guide I show you how to sign up to Maps, set up your account and get my Bonus Package worth 600 USD just for signing up!
My Name is Benjamin, and I have been working online since 2007, you can read more about me here!
Below, you find my fast start guide to get started with MAPs, if you signed up already, you can skip the first steps and head over to the Welcome to the Members area section!
If you need help or assistance, ask your question here inside my Facebook Group, or contact me directly by replying to my emails!
Learn about my Upgrade Bonus for M.A.P.s … Click here!
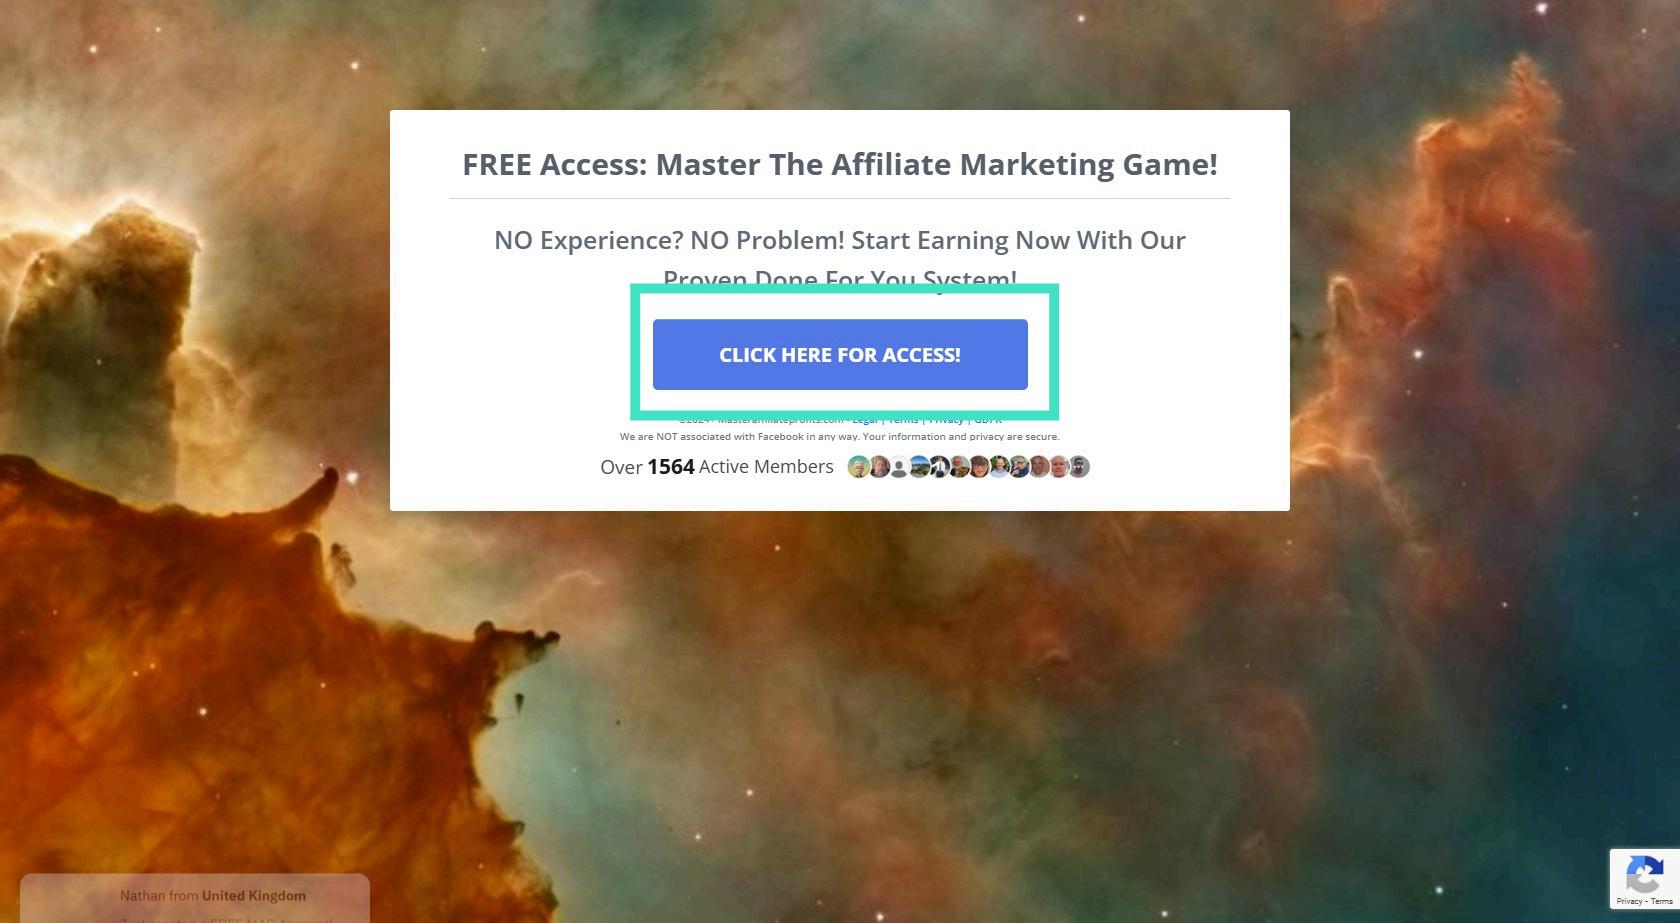
Step 1: Navigate to CLICK HERE FOR ACCESS! Click here to start the sign up process if you have not already!
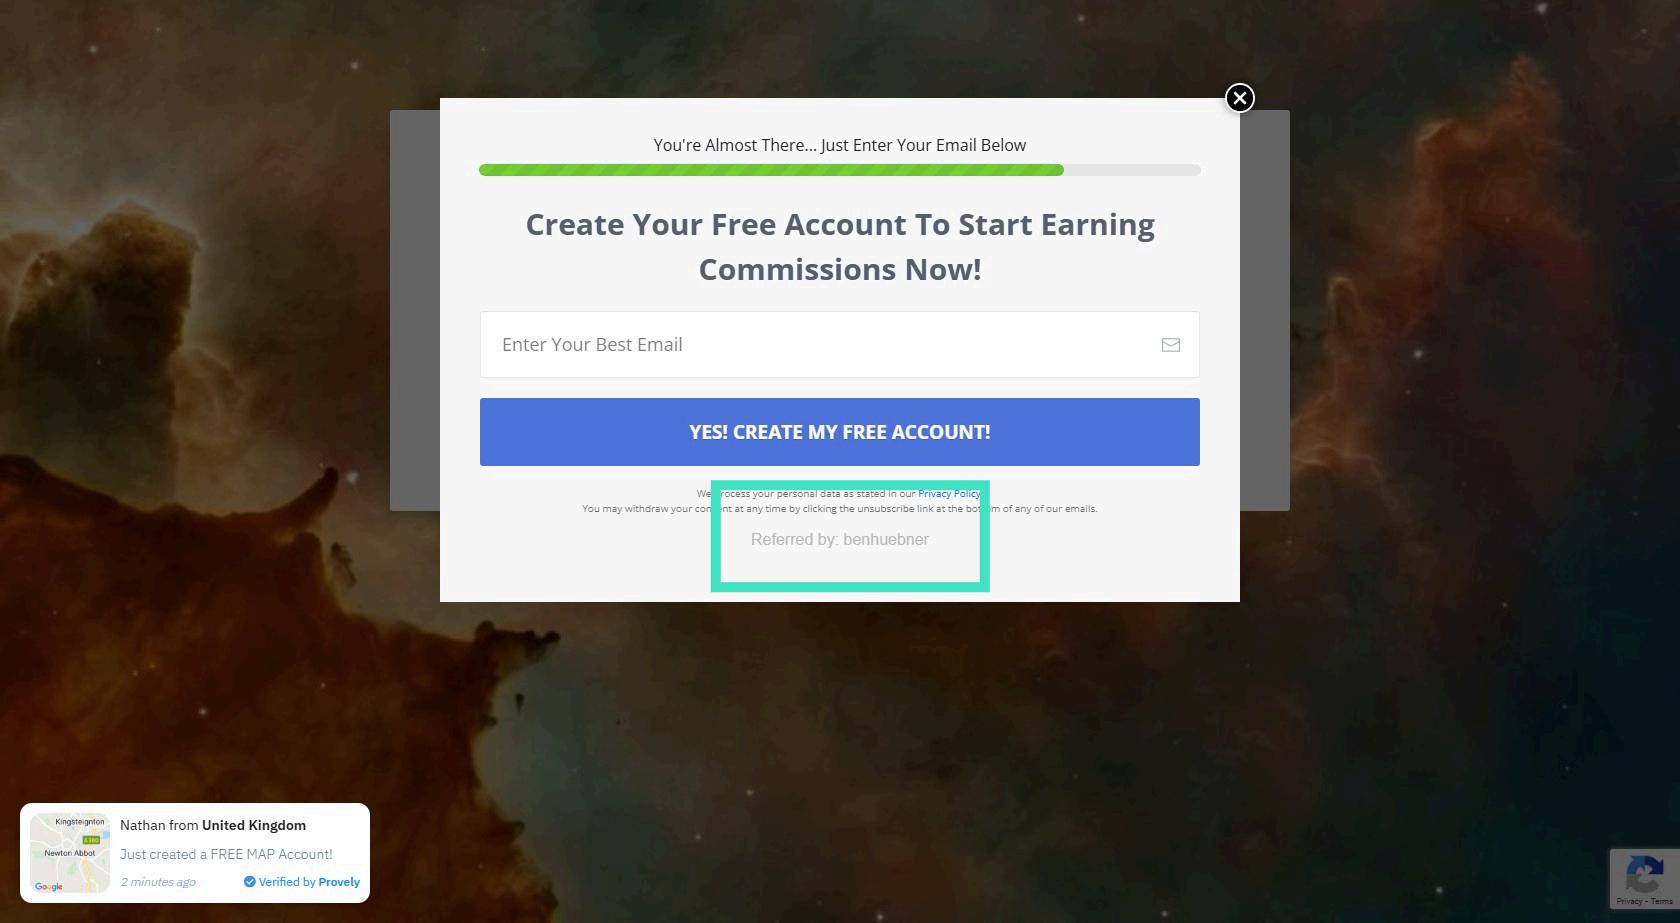
Step 2: Make sure to read "Referred by benhuebner" to qualify for my M.A.P. bonus!
After you sign up, make sure to check your inbox for my email containing your bonus!
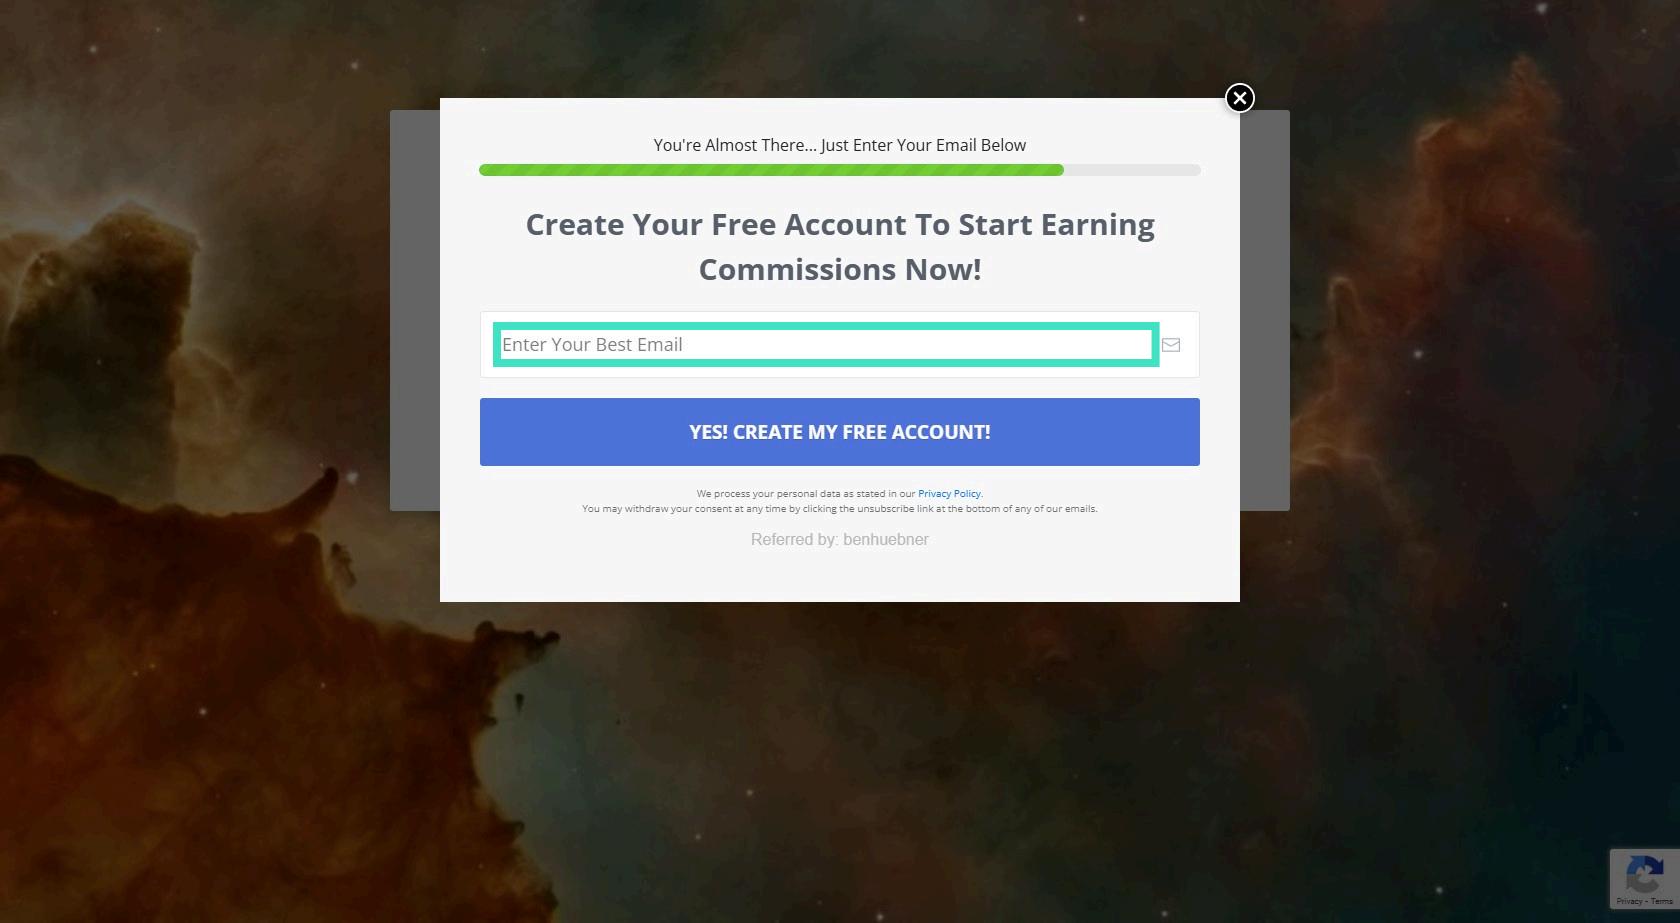
Step 3: Enter Your Email & Click "Create Free Account"
Step 4: Fill the Details & Choose a Username
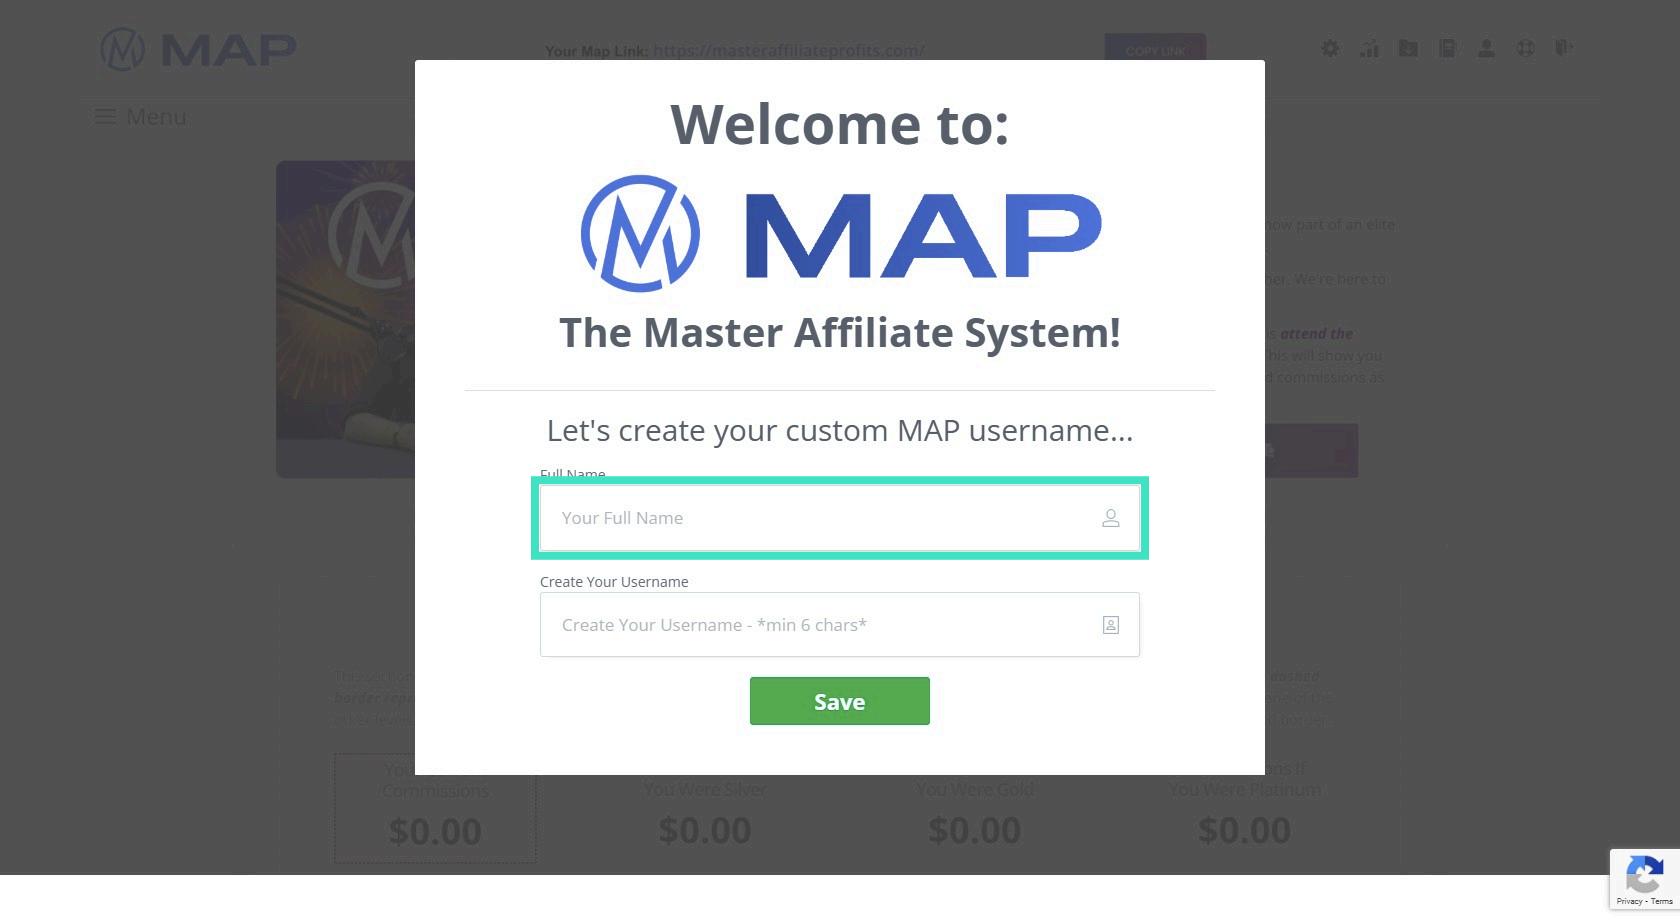
Step 5: Navigate to Save
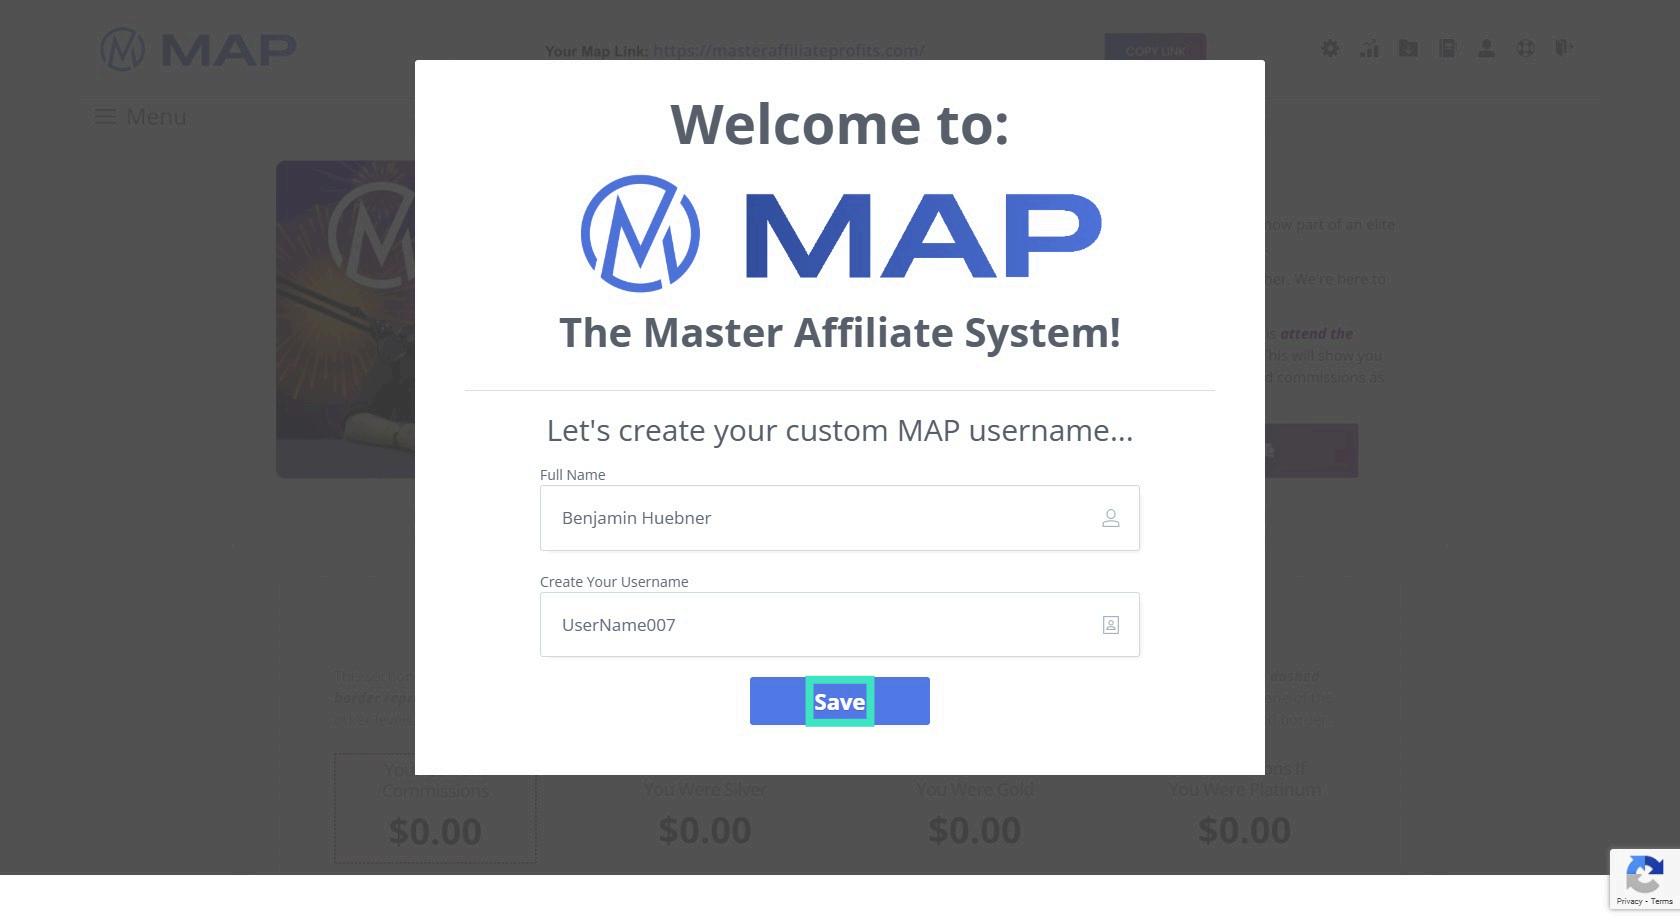
IMPORTANT: You need to check your email and enter your MAP password in the next step! DO Not Miss this!
Welcome to The Members Area
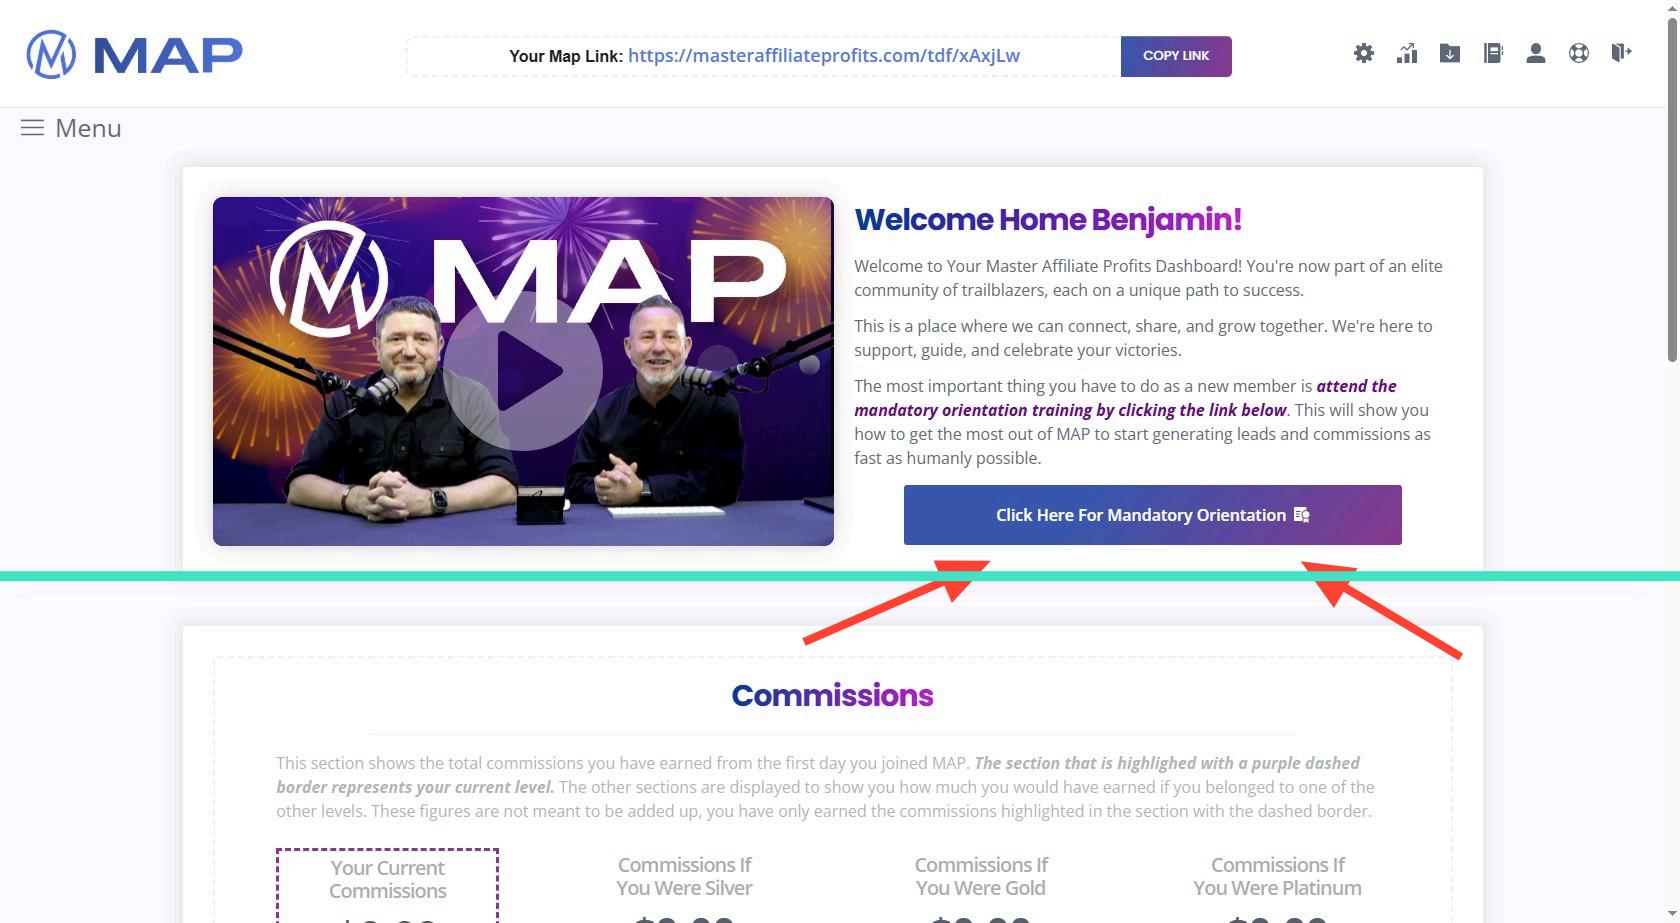
Step 6: Welcome to the Members Area
Watch the welcome webinar first to get all the information to get started!
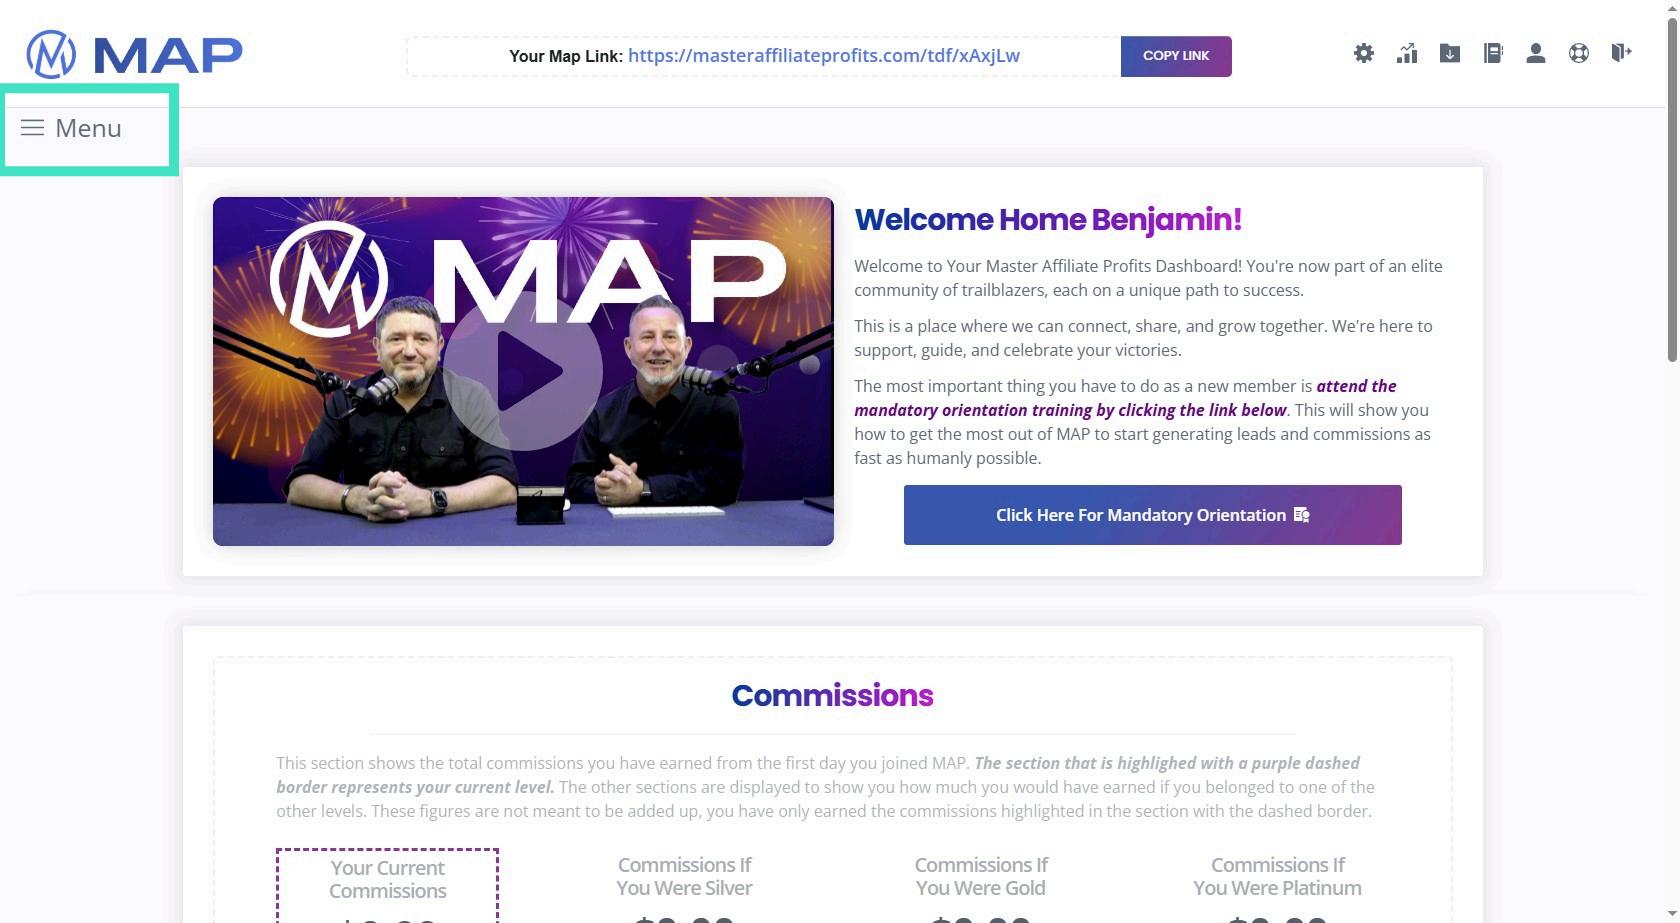
Step 7: Navigate to Menu Here you find the different coaching categories!
Step 8: You see - A Lot of content
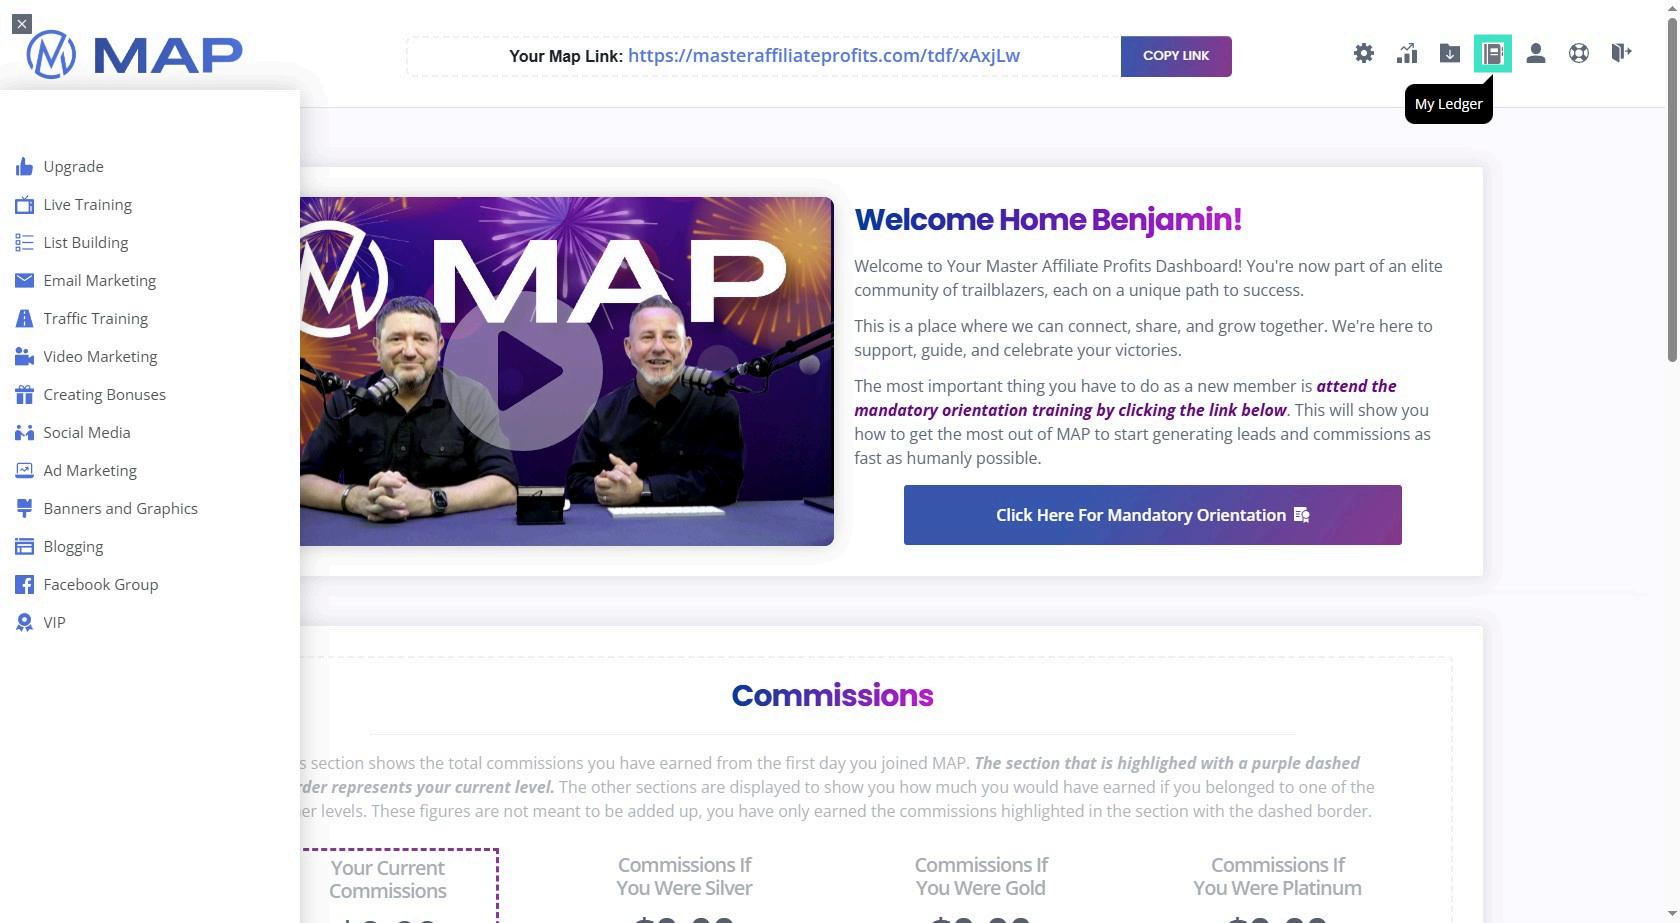
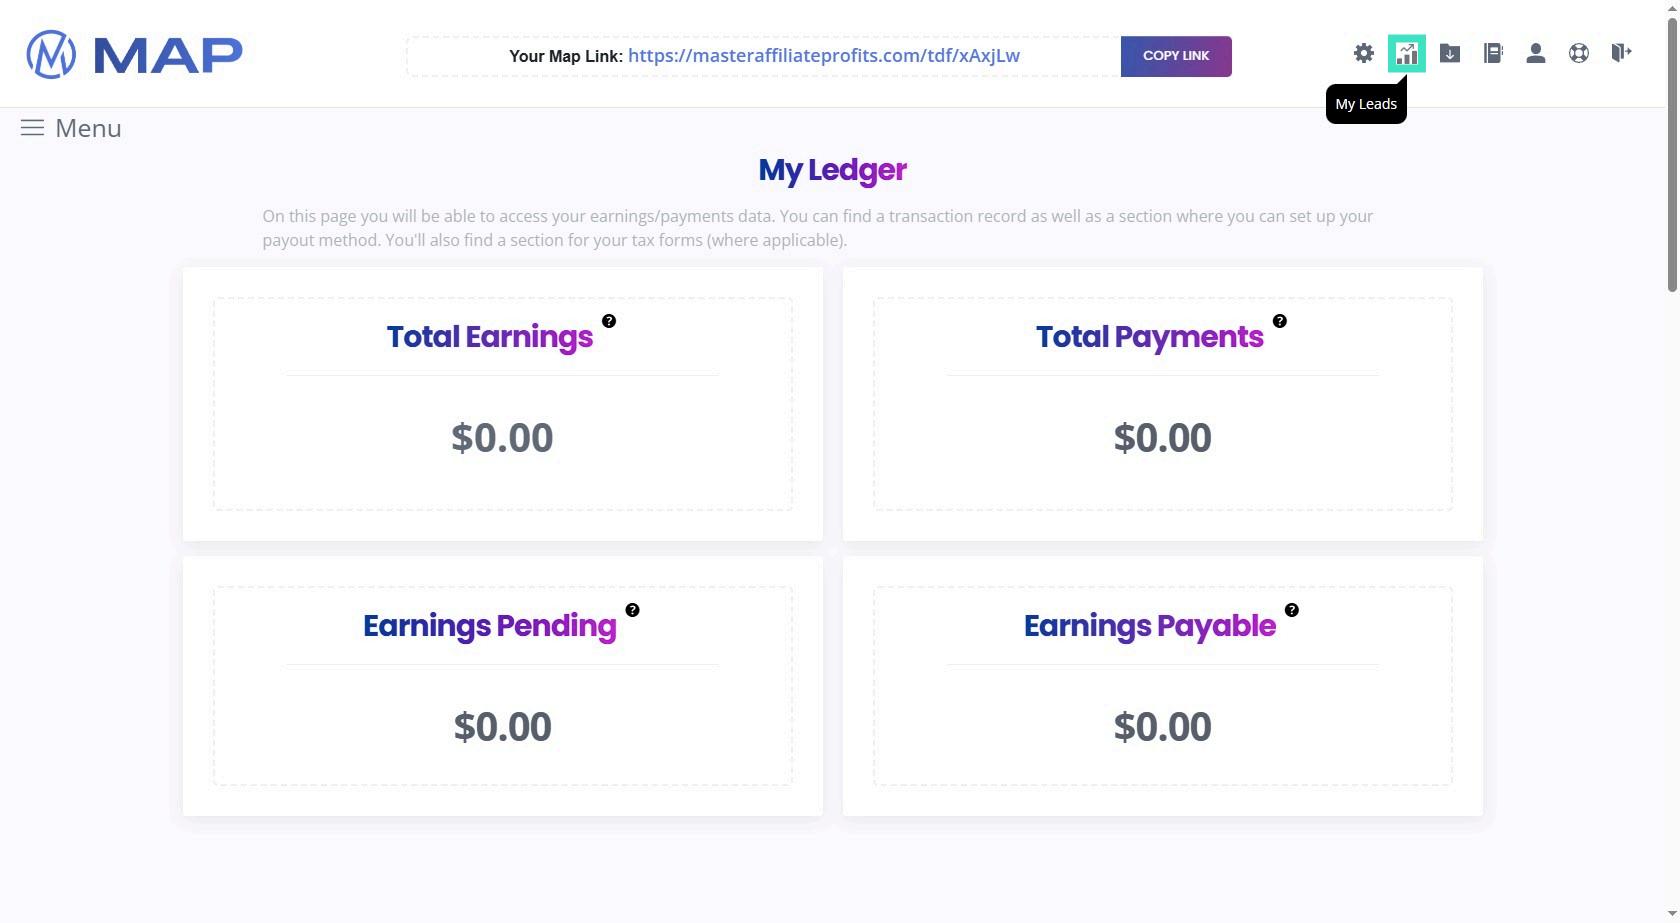
Step 9: Click On My Ledger First Here you see your commission! But first, we set up your email autoresponder!
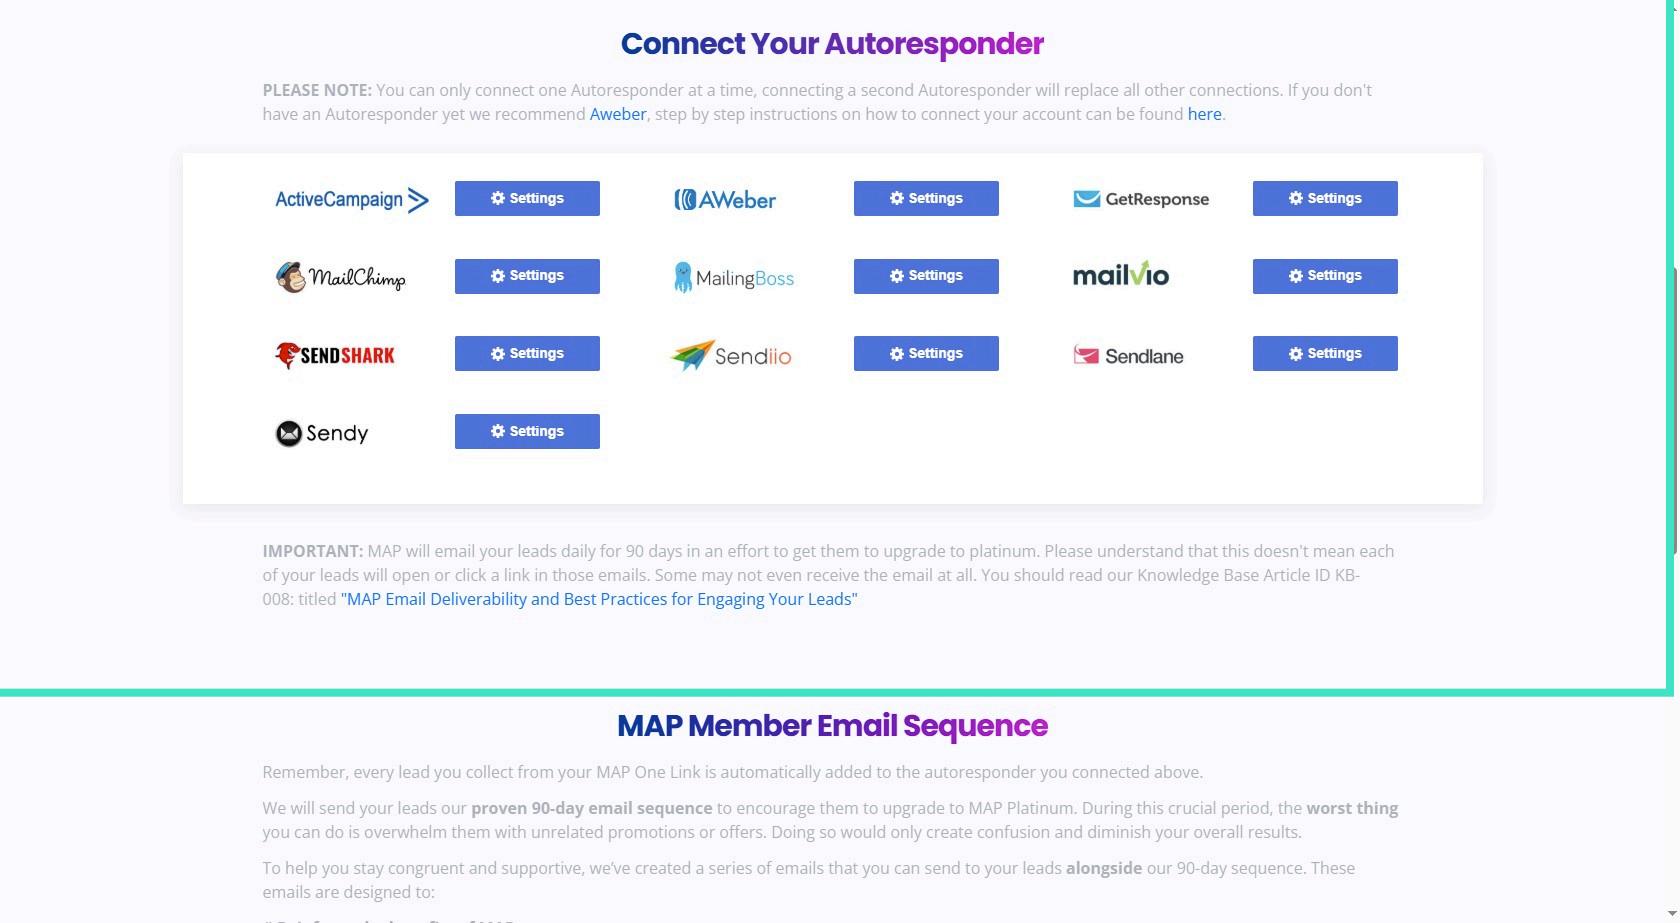
Step 10: Scroll Down - Choose Your Autoresponder I suggest choosing Aweber if you use it! You can open a free account with up to 500 Leads! Visit: https://bit.ly/map-aweber to get your free account!
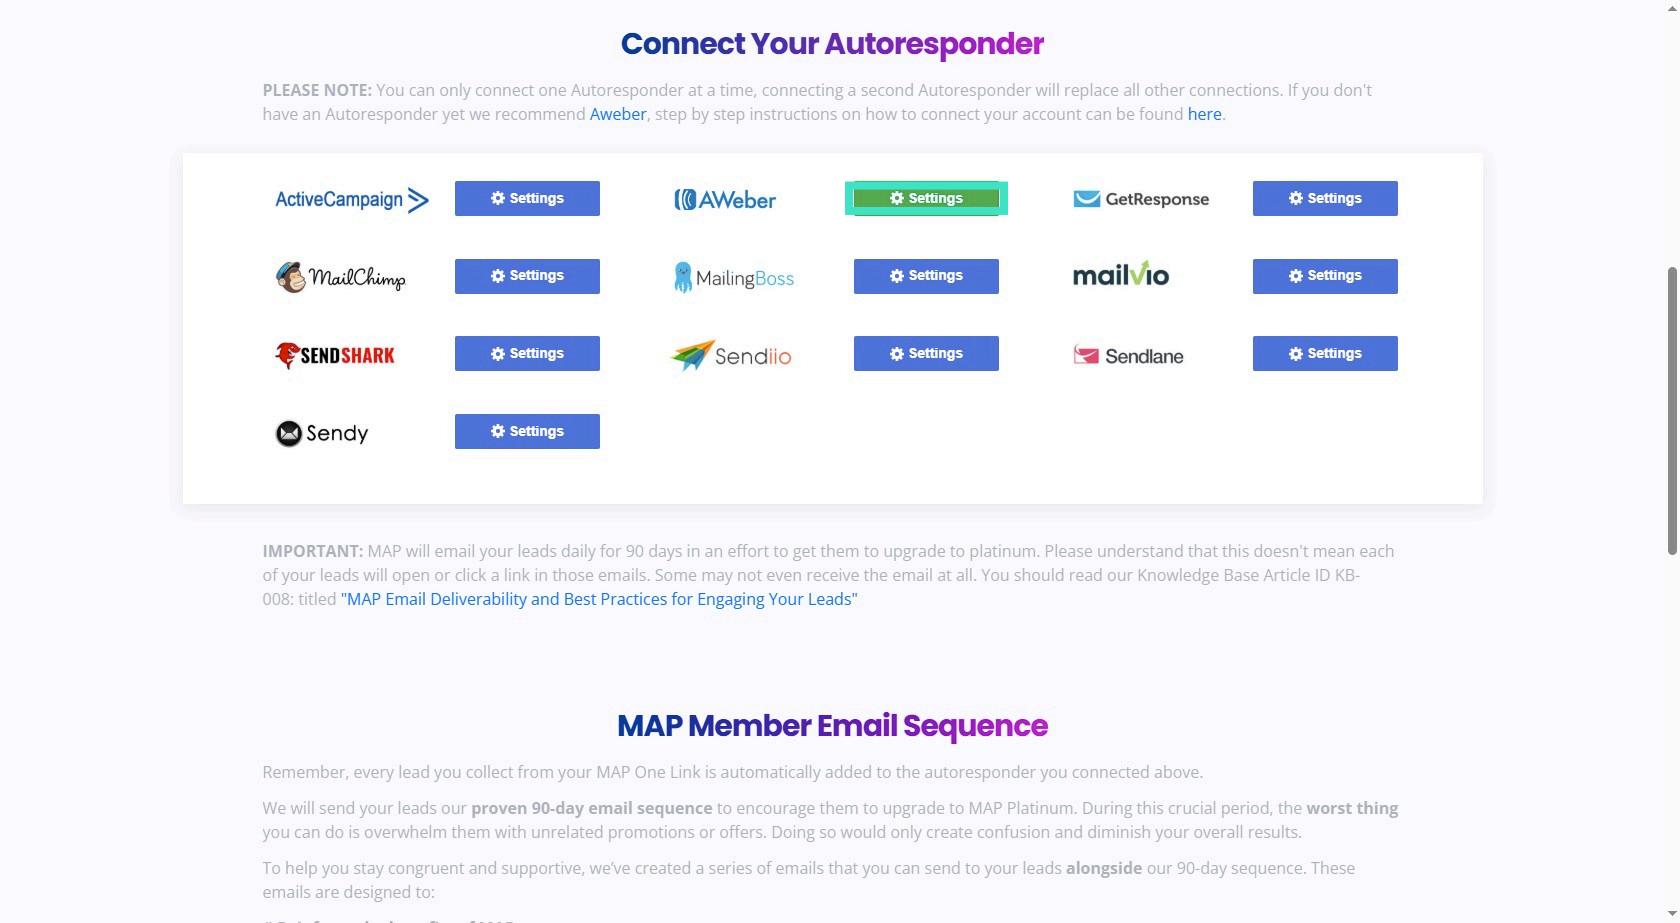
Step 11: Click on Aweber Settings and follow the instructions to Connect!
Step 12: Log in To Aweber - Confirm - Get your Code!
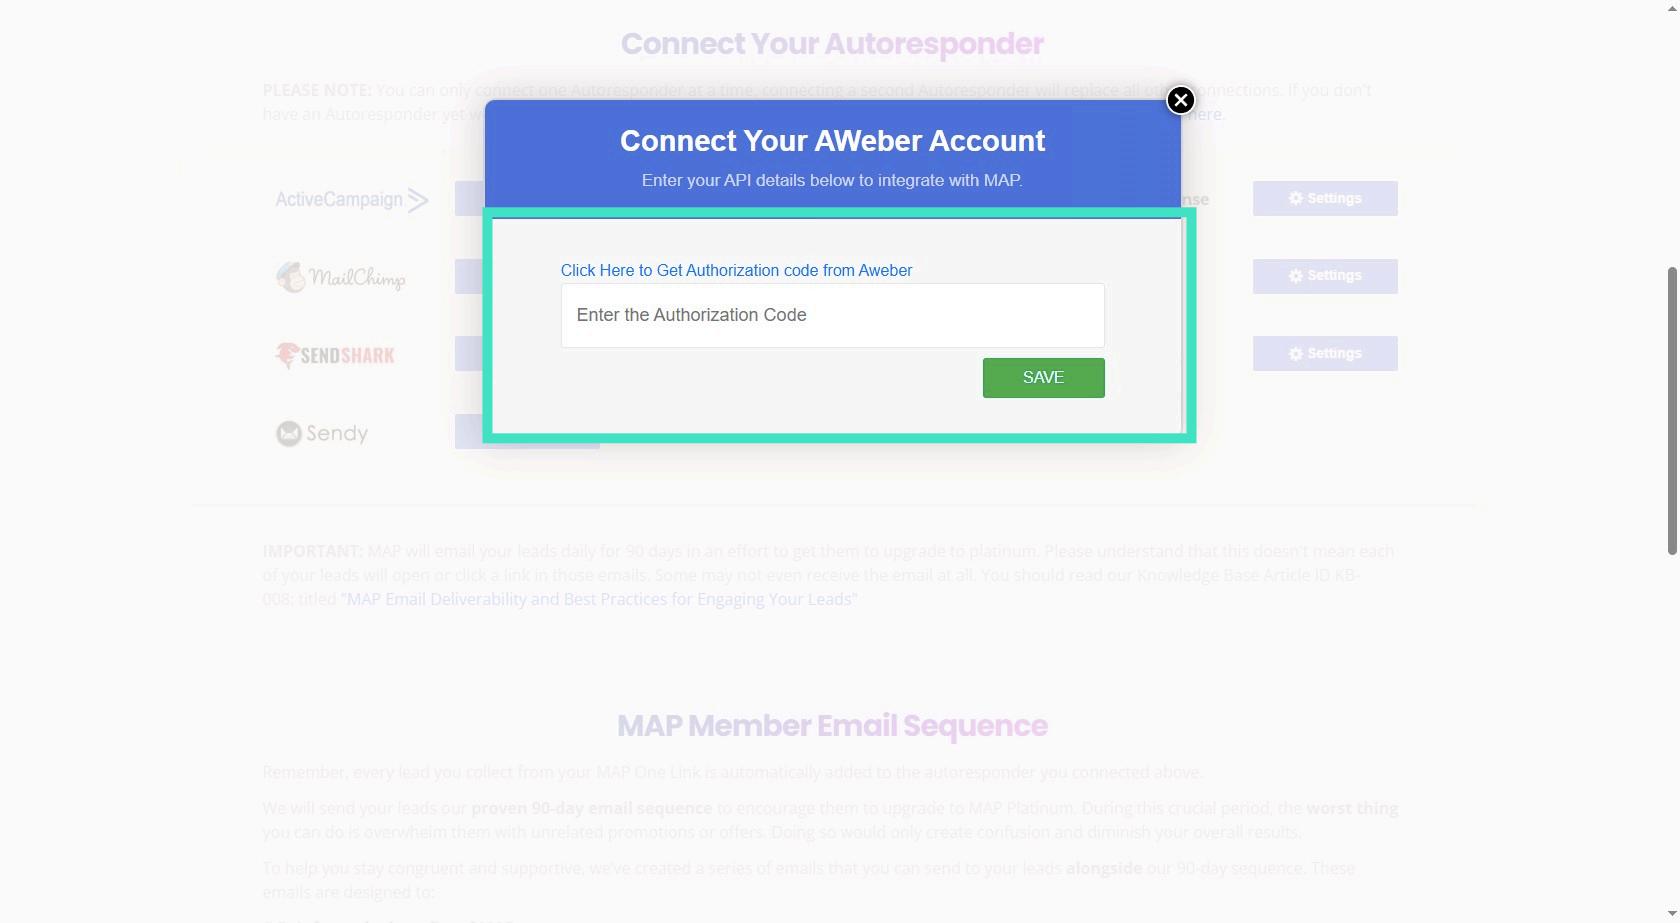
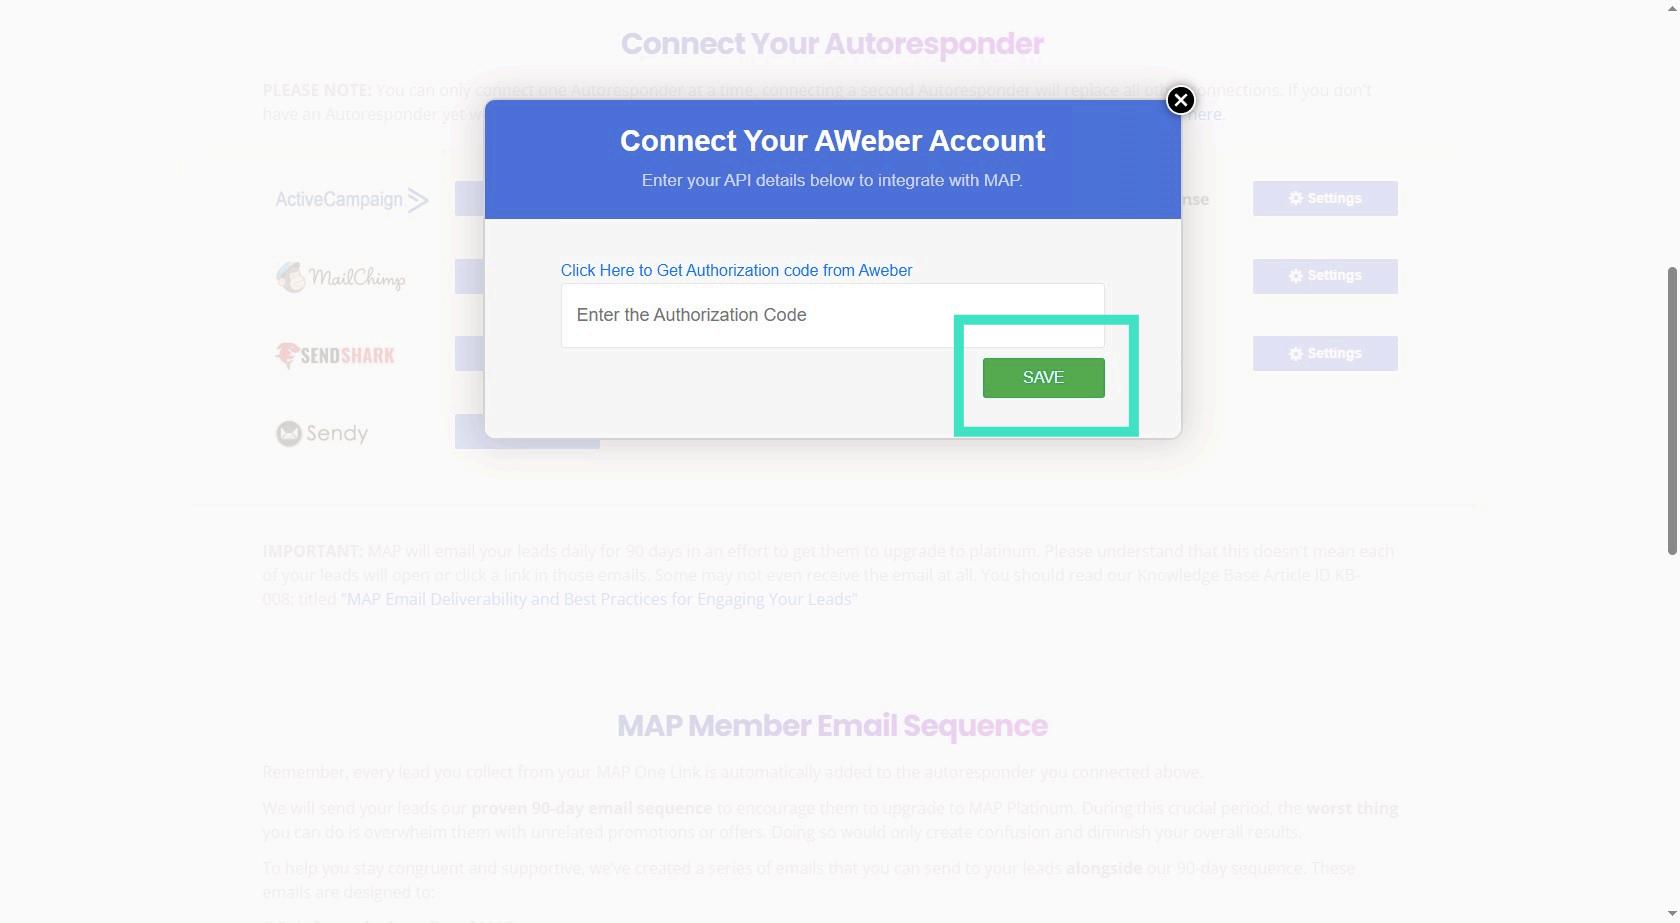
Step 13: Save (Do Not Miss to Set Up Your Welcome Email Inside Aweber - I do A video on This!)
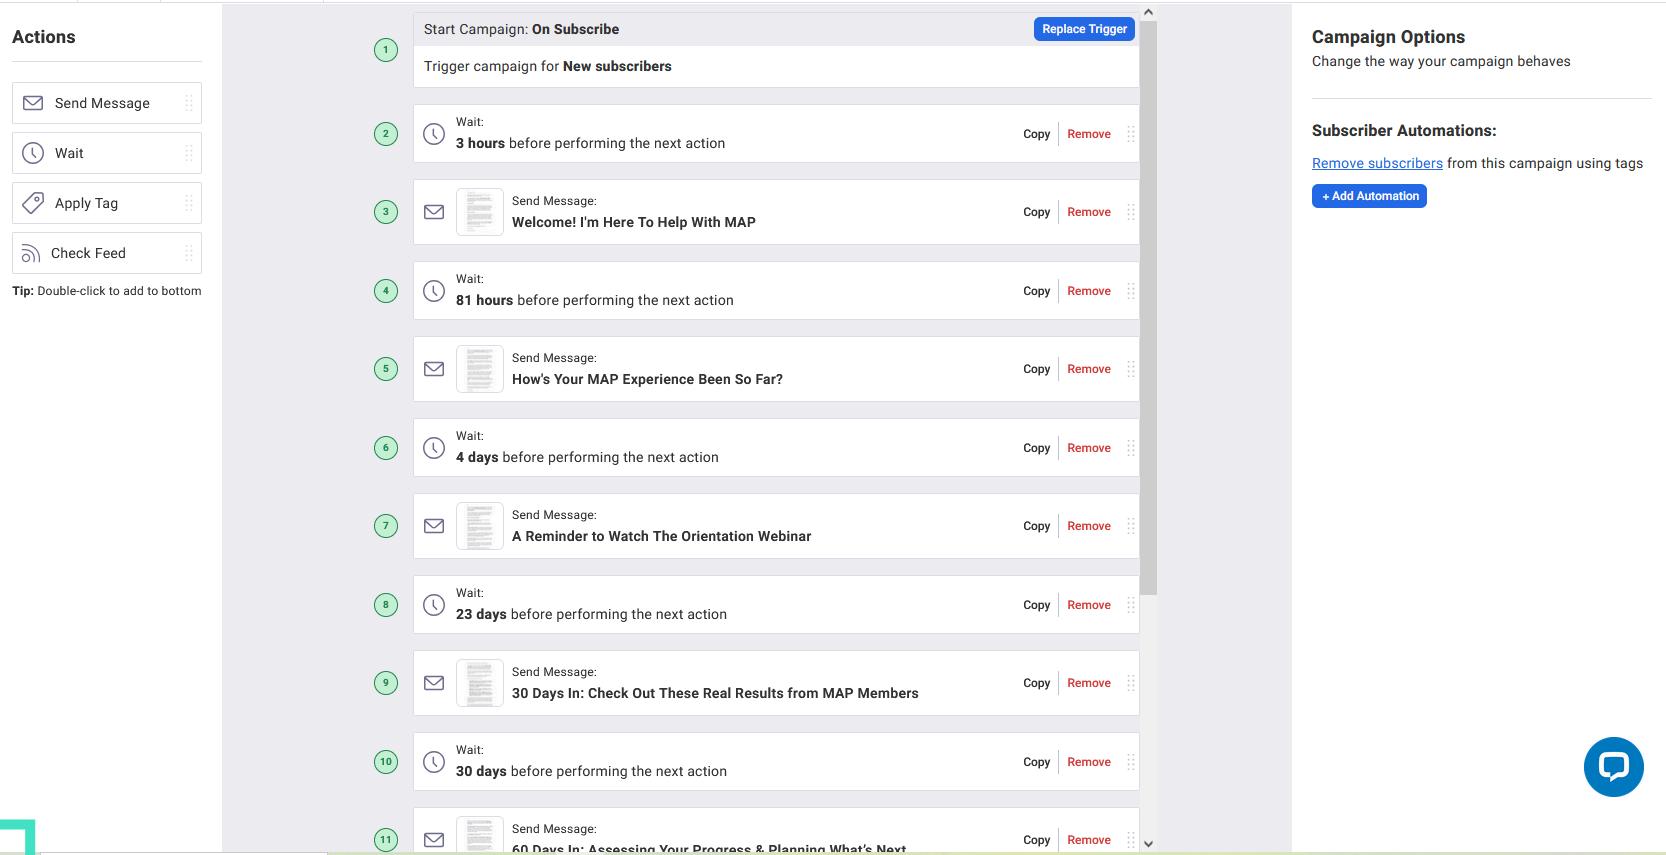
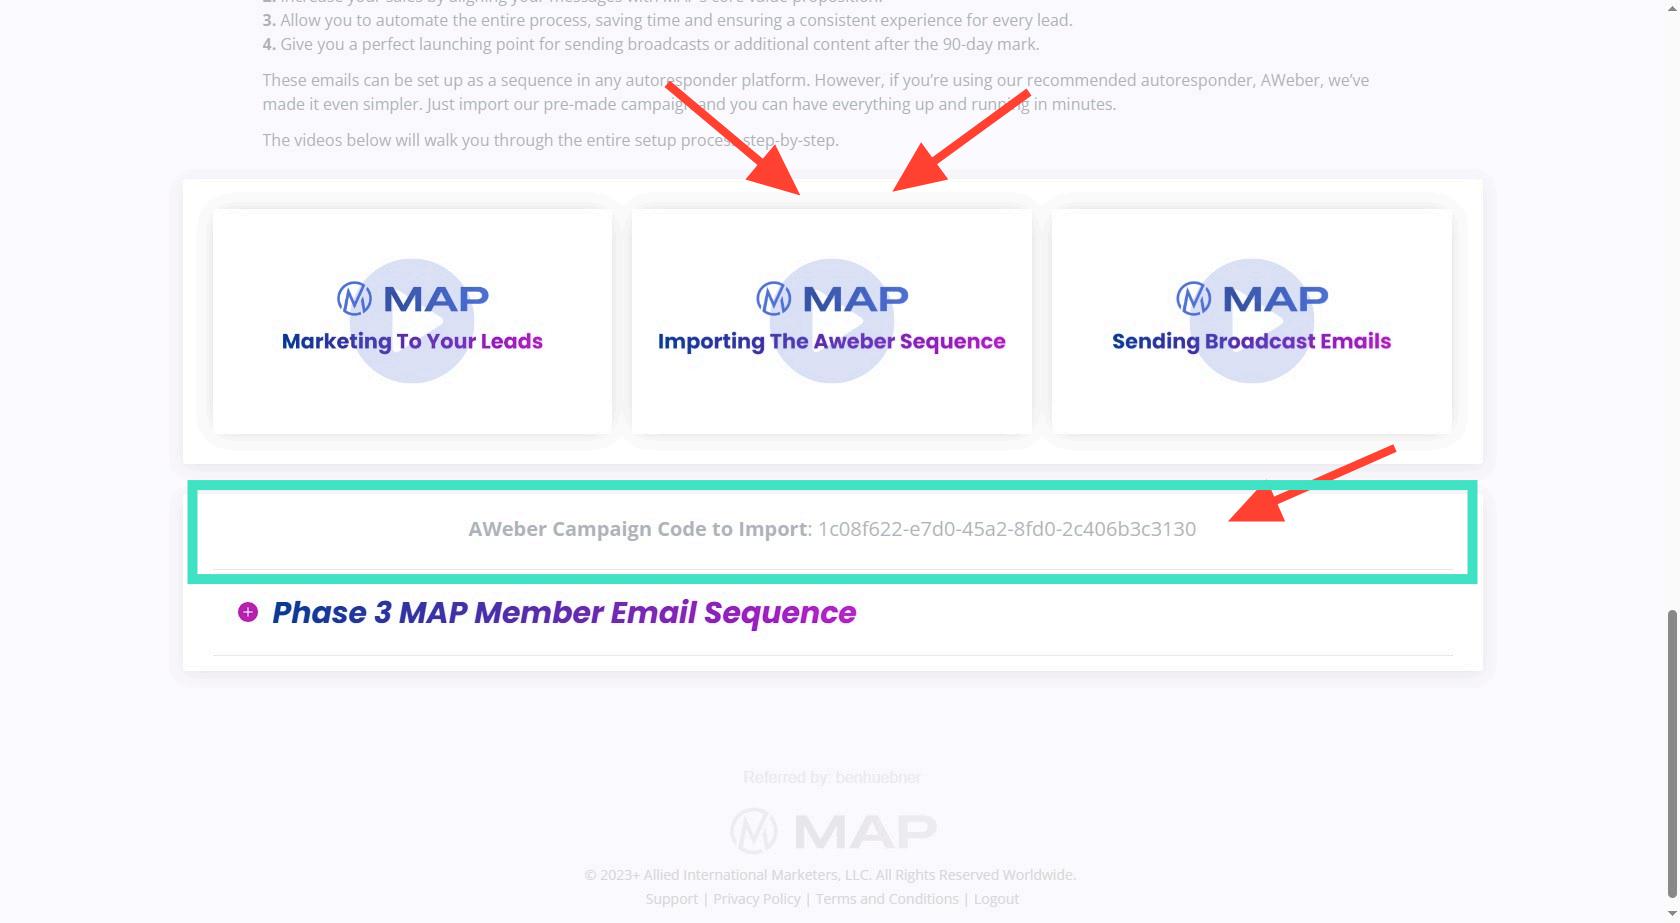
Step 14: Watch the Video How to Import the campaigns Or Click on the + Button below to get the emails to copy and past into your account!
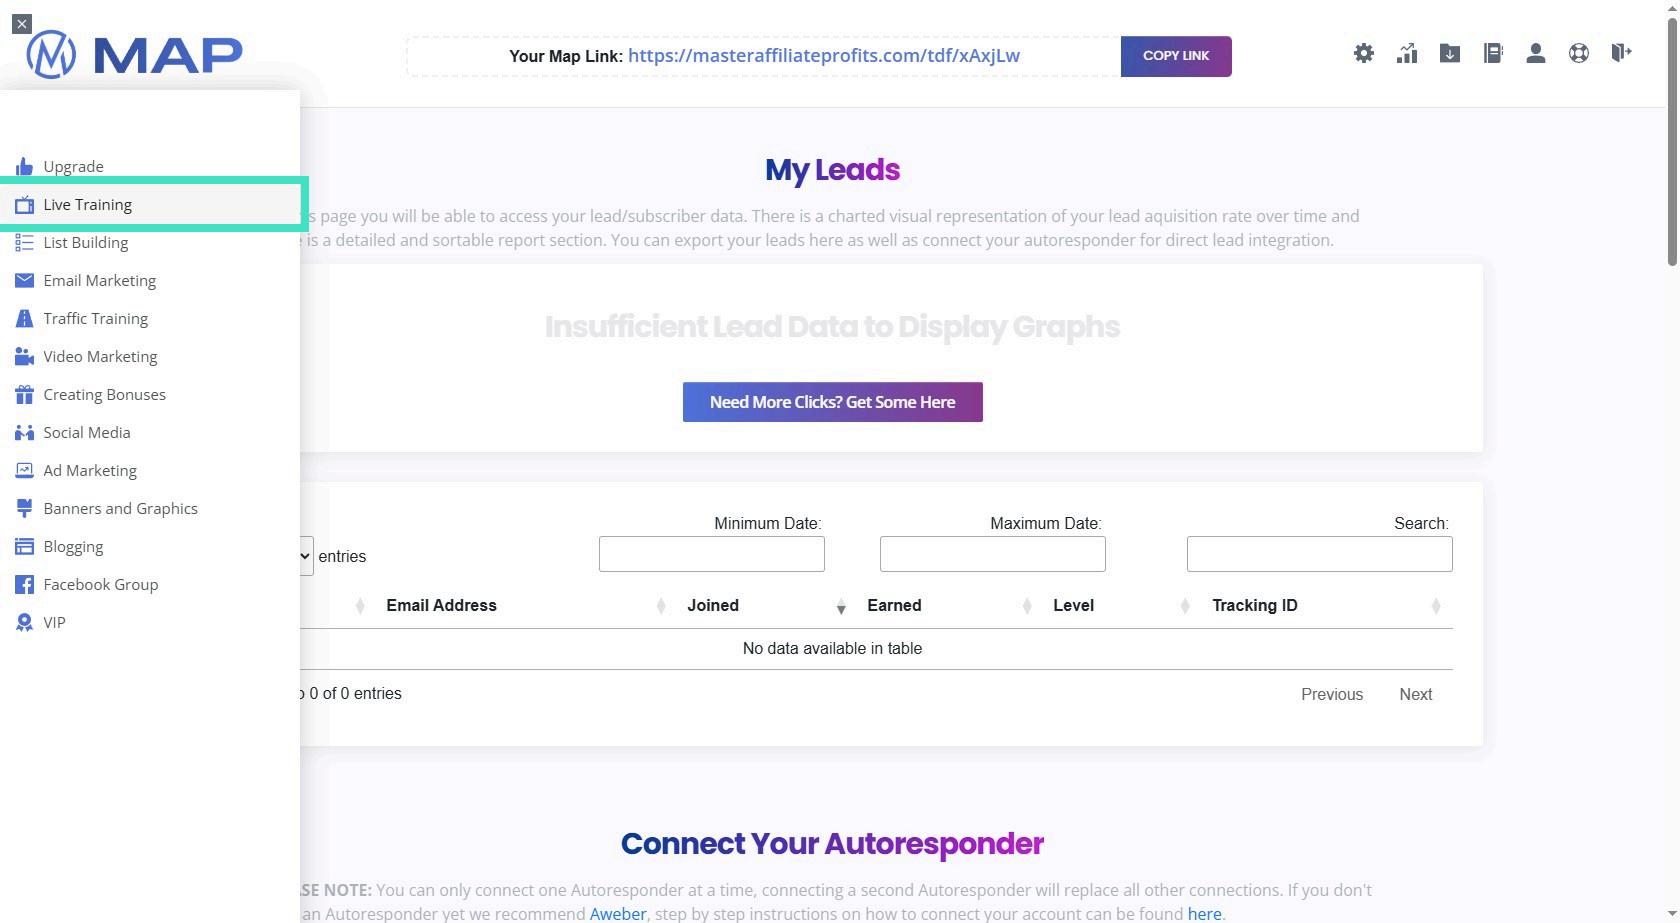
Step 15: Now - Check out The Training
Go through the training after you set up your autoresponder! There are intersting methods, as well as marketing material like Videos (in Video marketing), Bonus Ideas,Social Posts you can use, Images and much more!
Step 16: Navigate to Ad Marketing
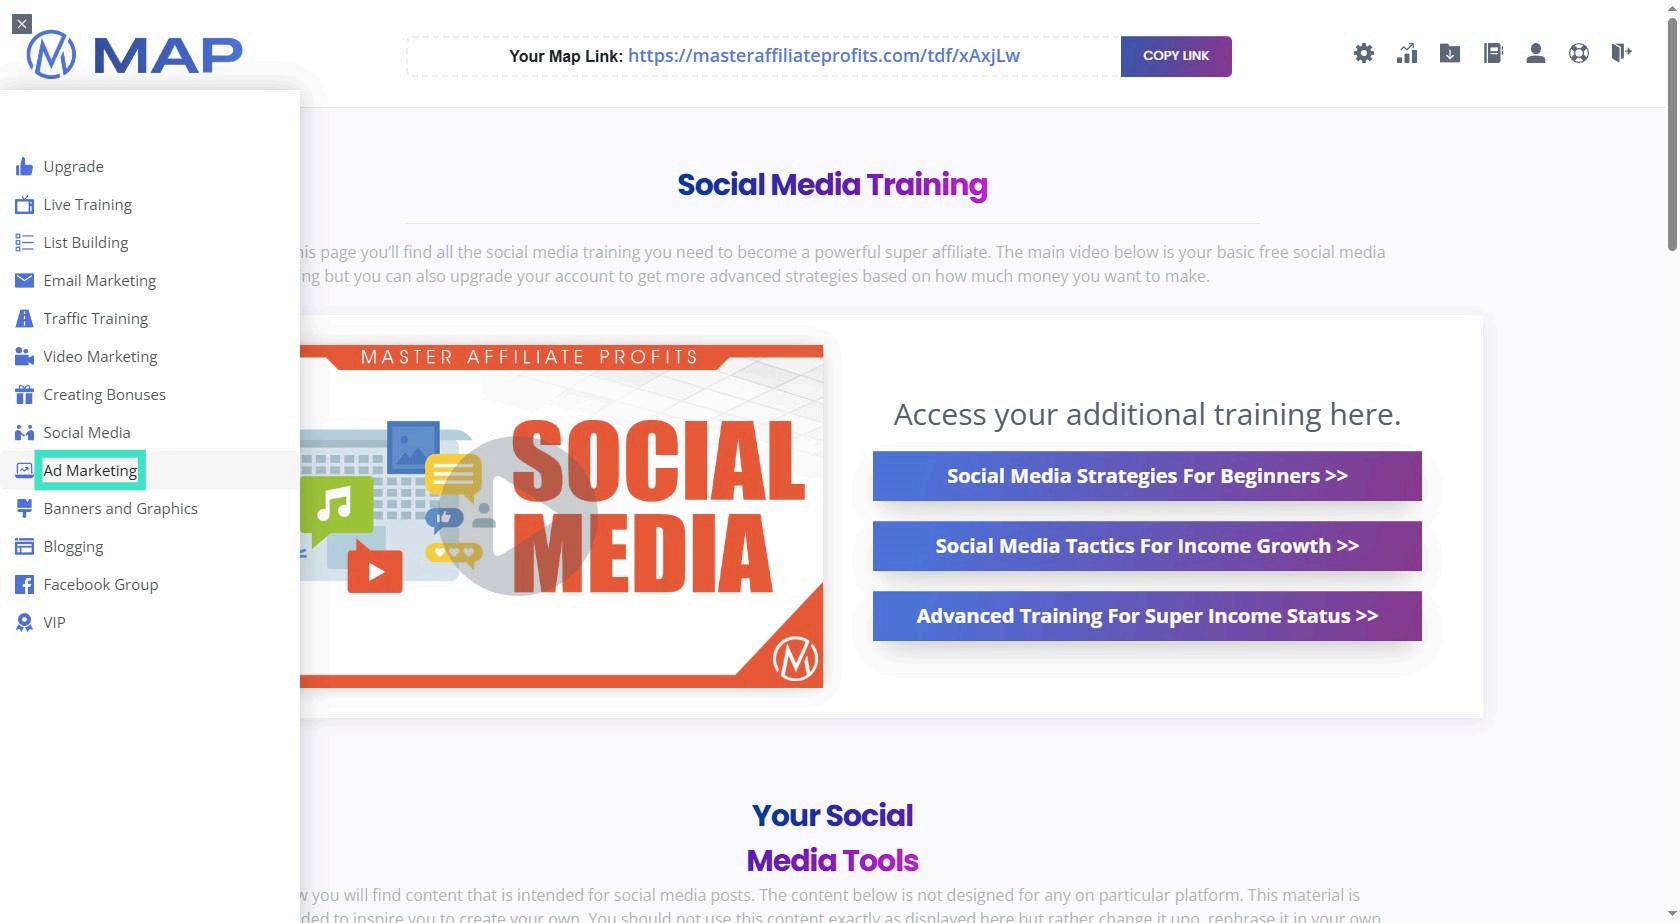
Step 17: Here you find Ads you can Use
Here is the paid traffic section! Tip: Use this traffic source first for best results!
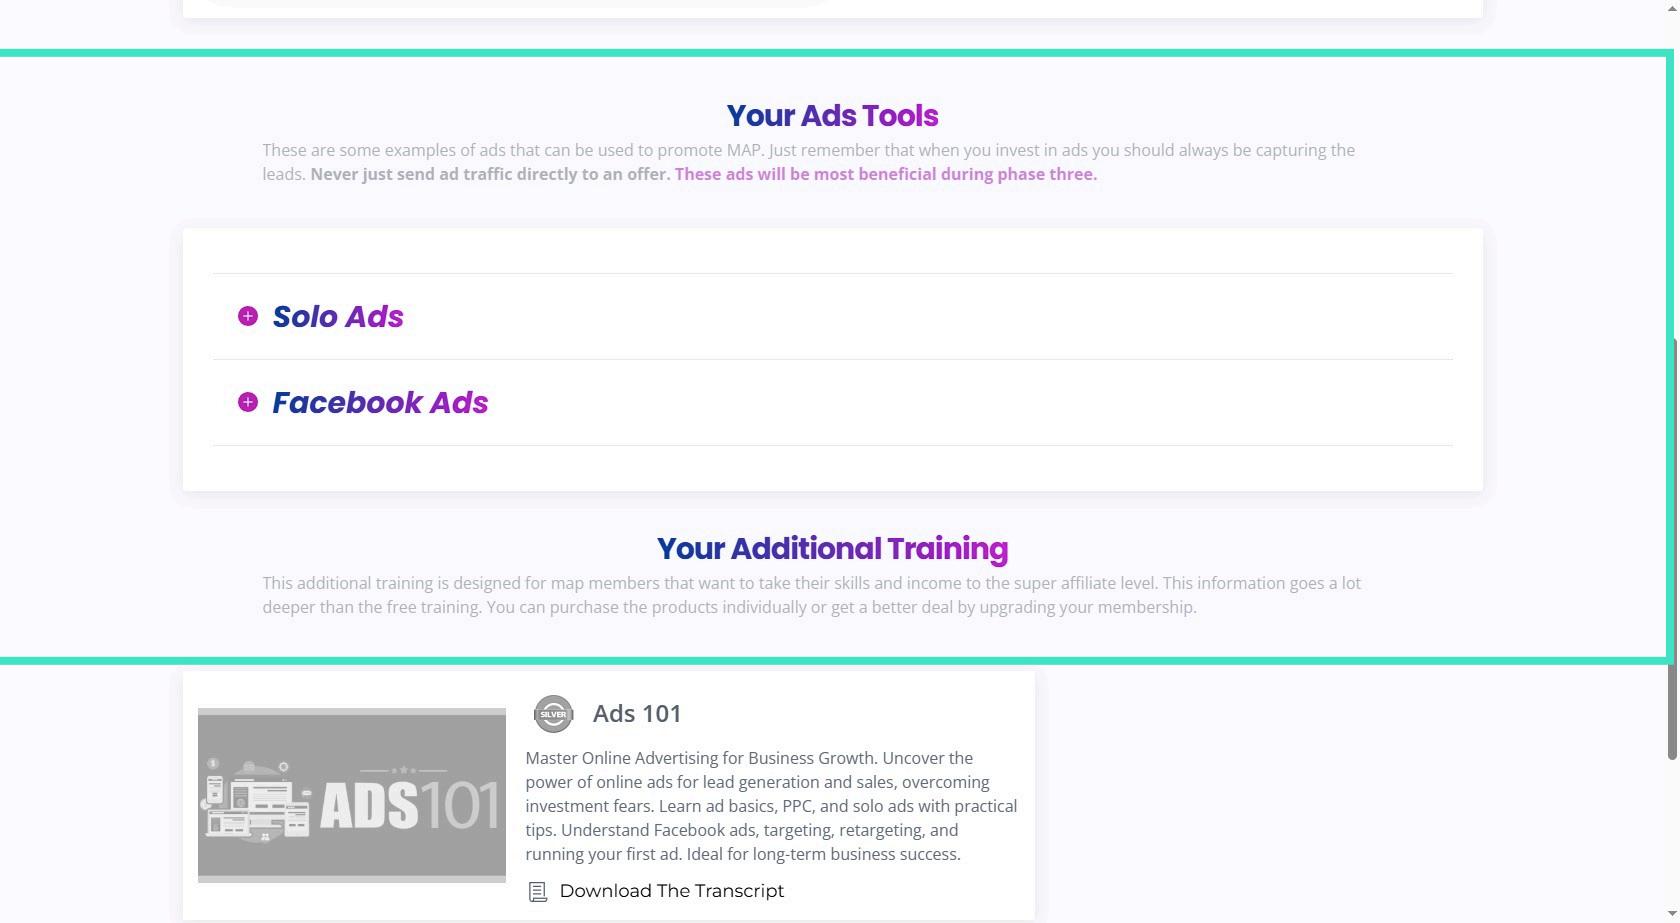
Step 18: Here is your One Link to promote MAPs and the Other Products
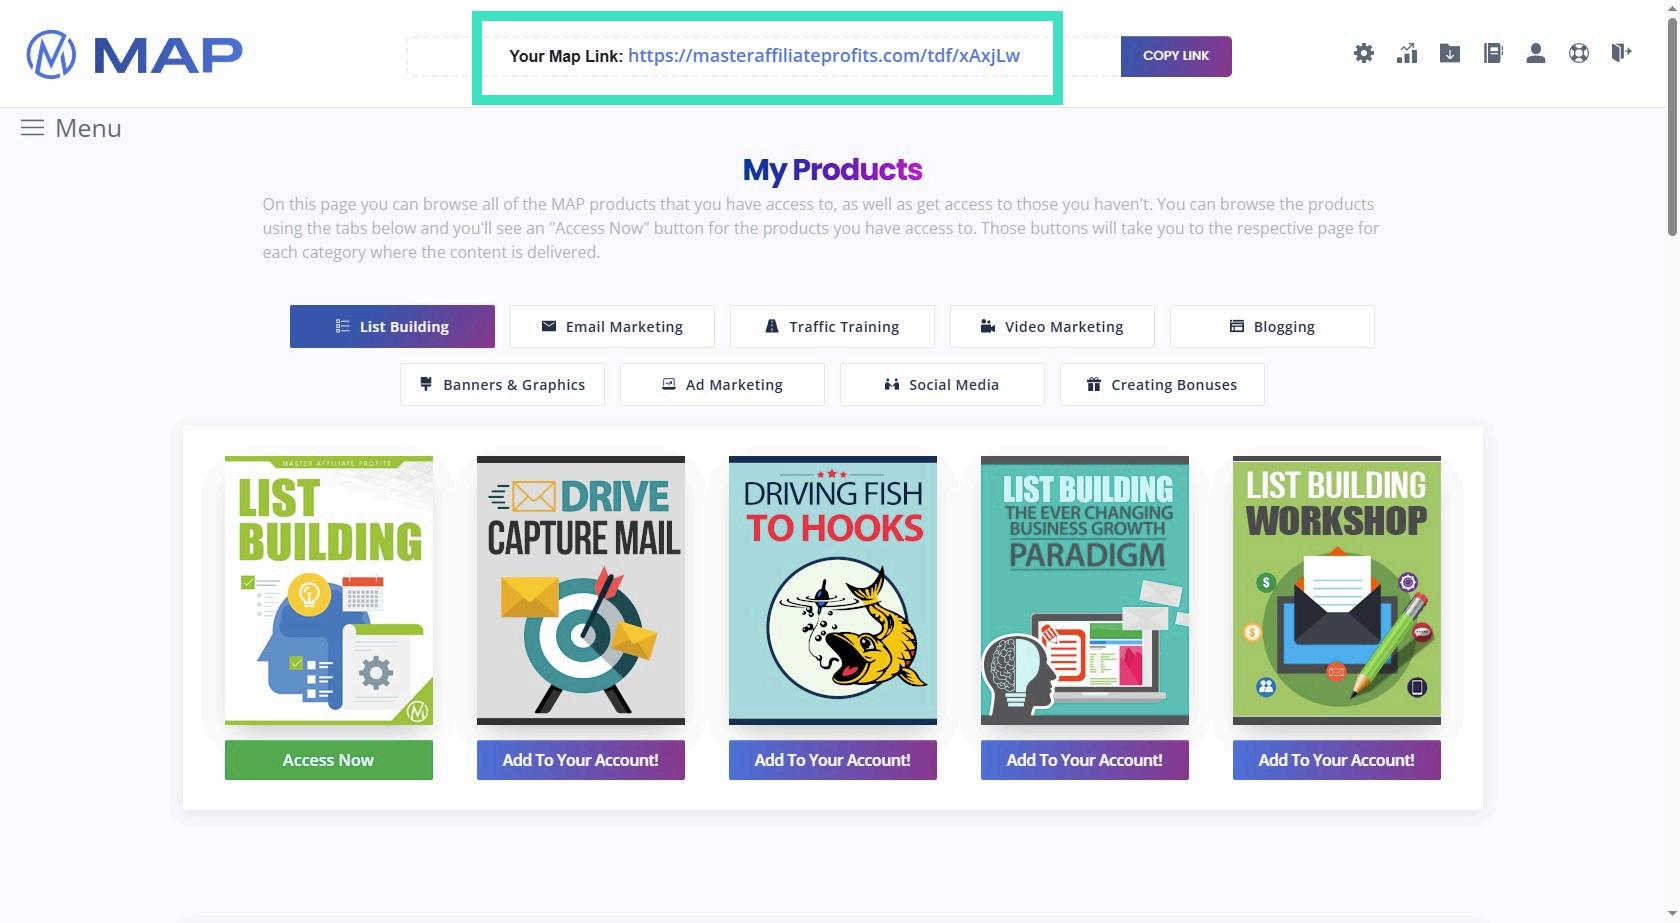
Step 19: Or Navigate to Link Settings
Next head over to link Settings
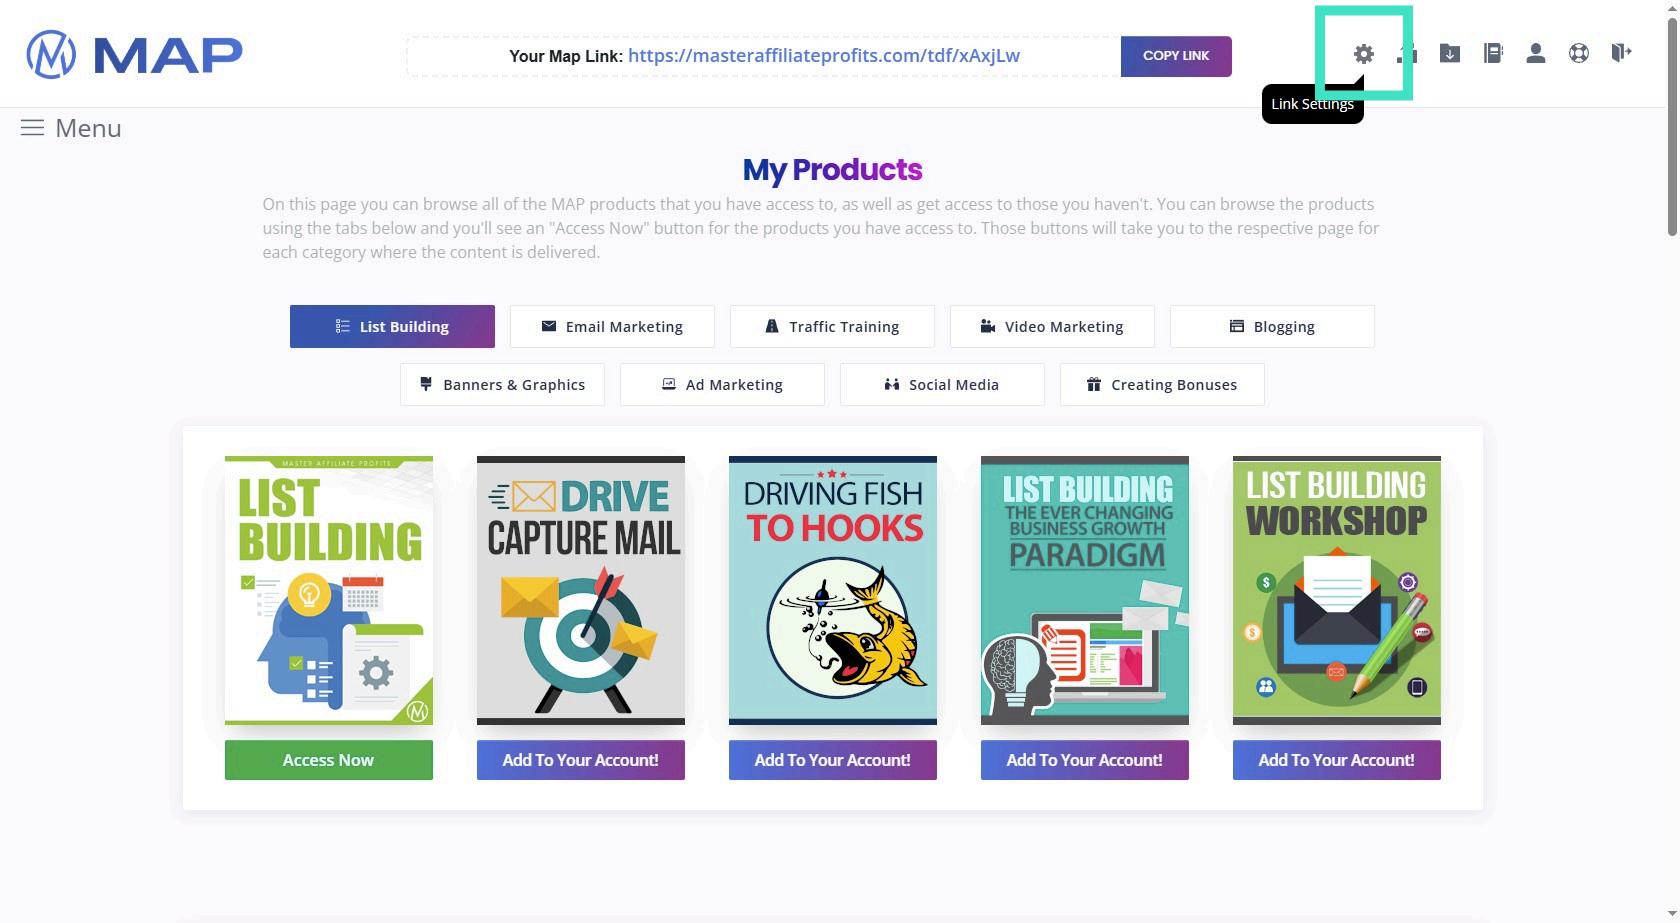
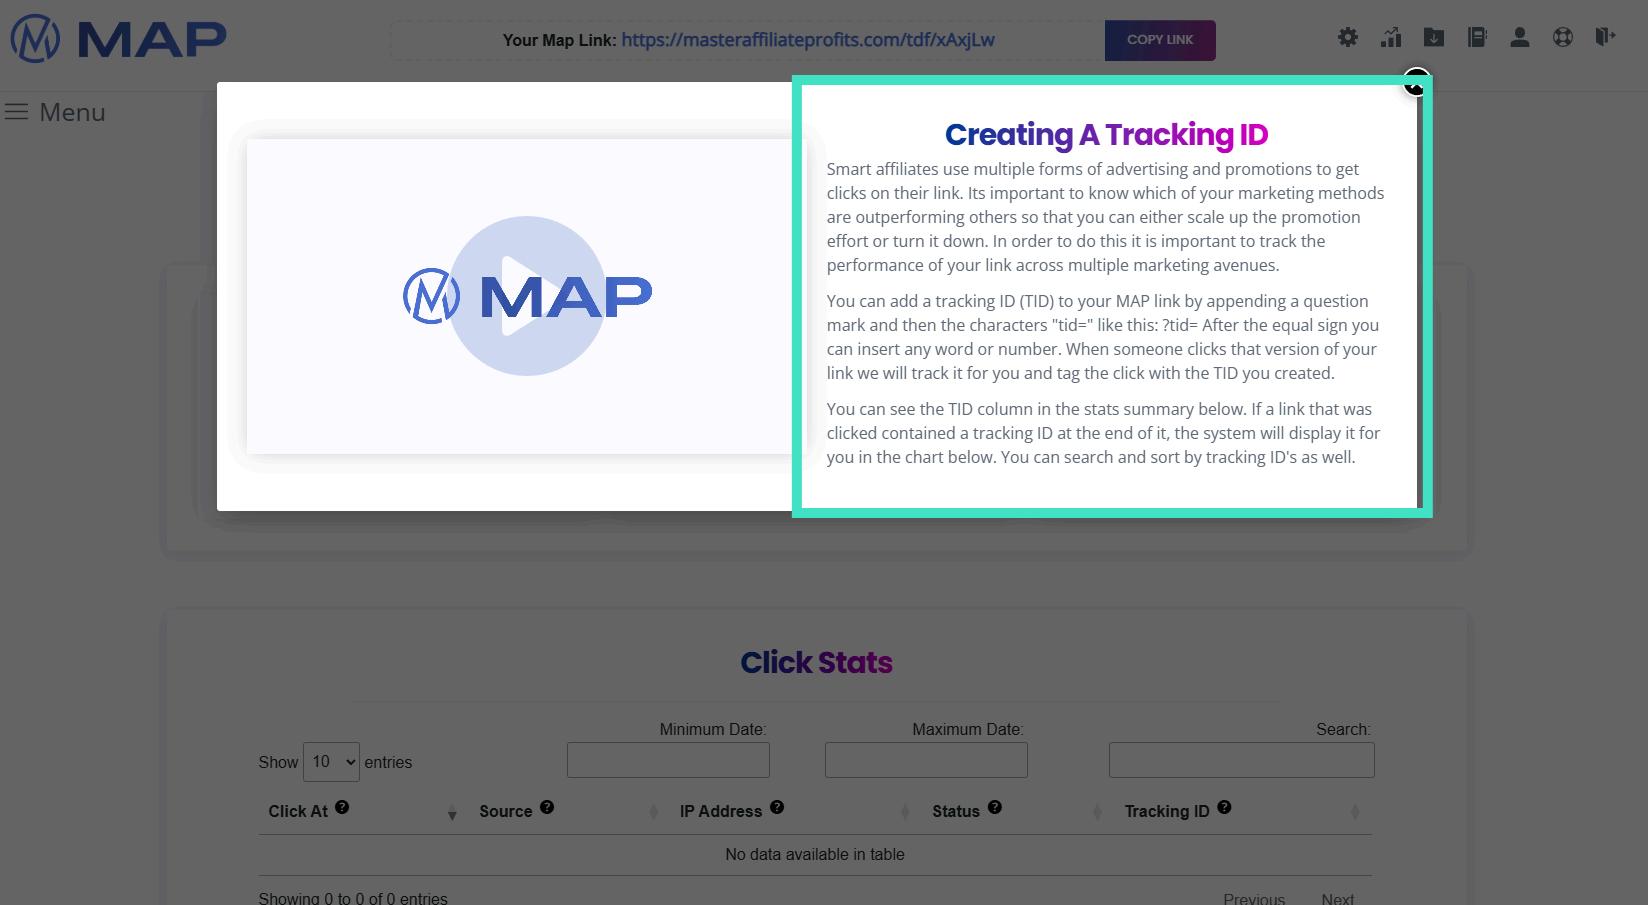
Step 20: Click on "Creating a Tracking Link" Or simply add this ?tid=YOURTRACKINGID to your link! This way you can see what traffic sources convert!
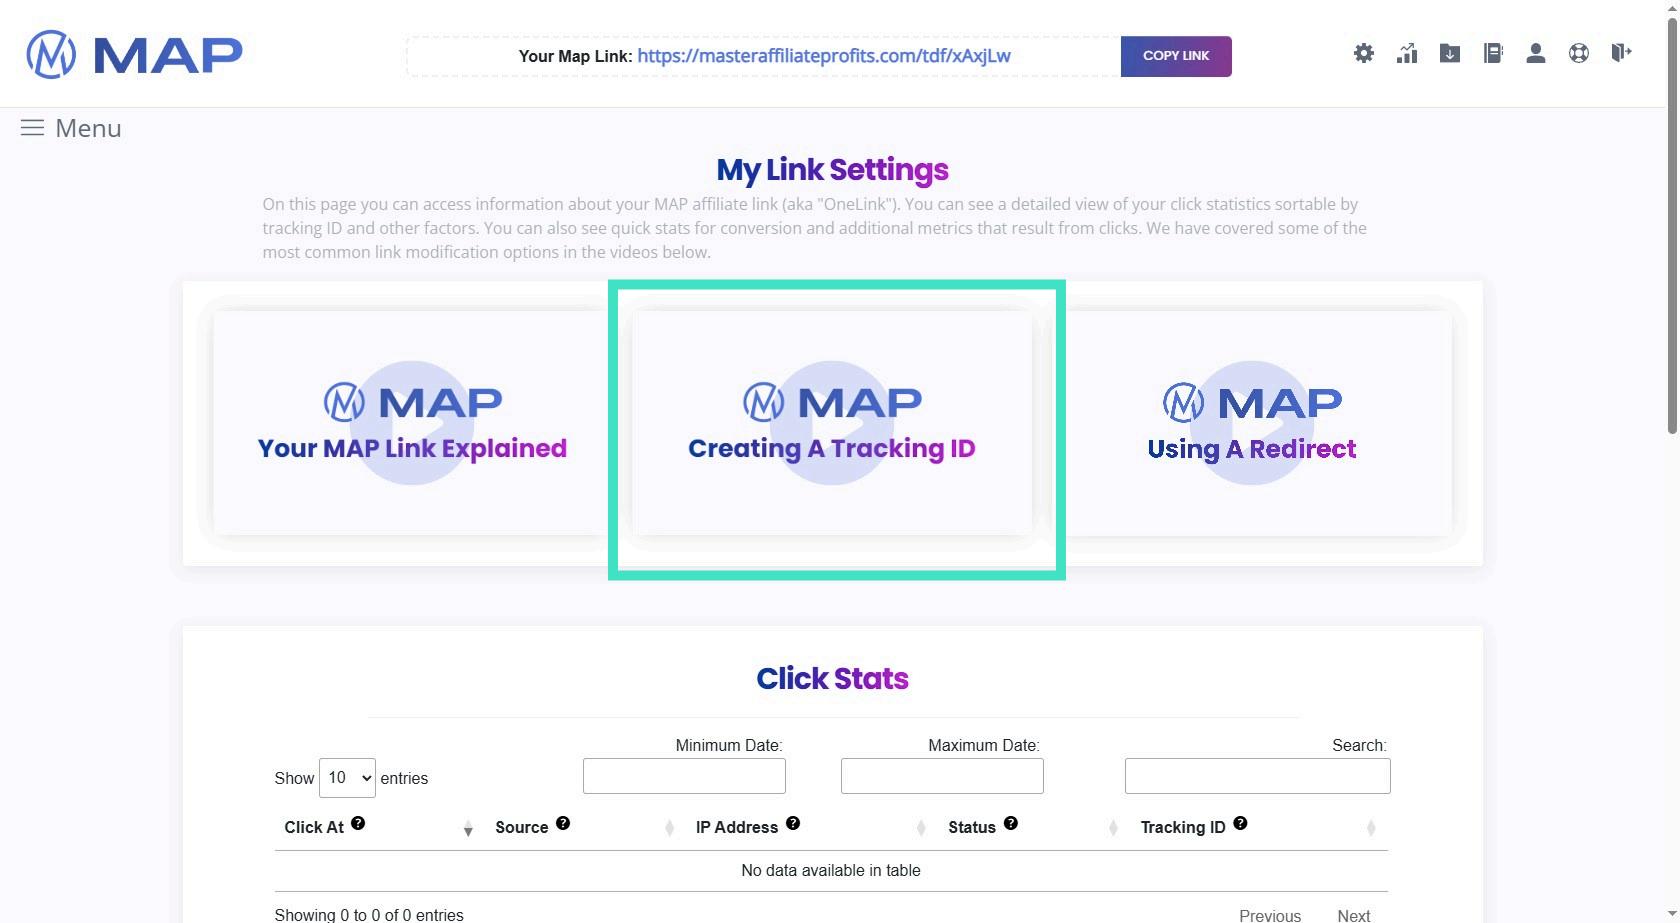
Step 21: It is explained in detail here!
Aweber Set Up And Campaign Import
Step 1: After Logging In to Aweber (And Filling out your Profile) If you have no Aweber accoutn right now, create one for free here: XXX
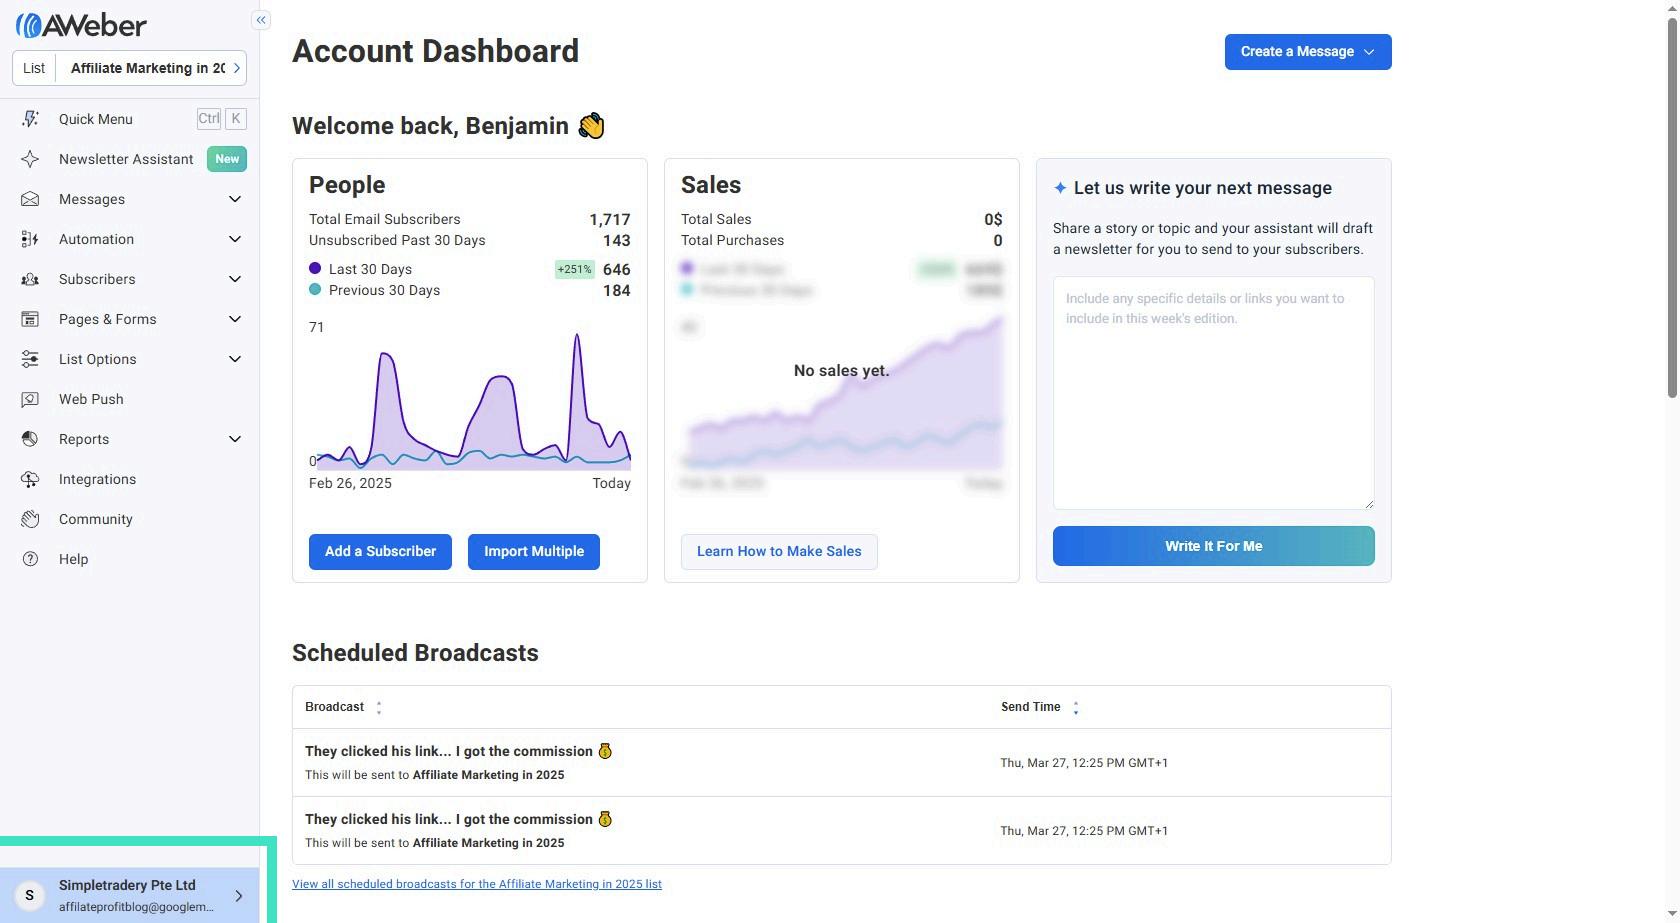
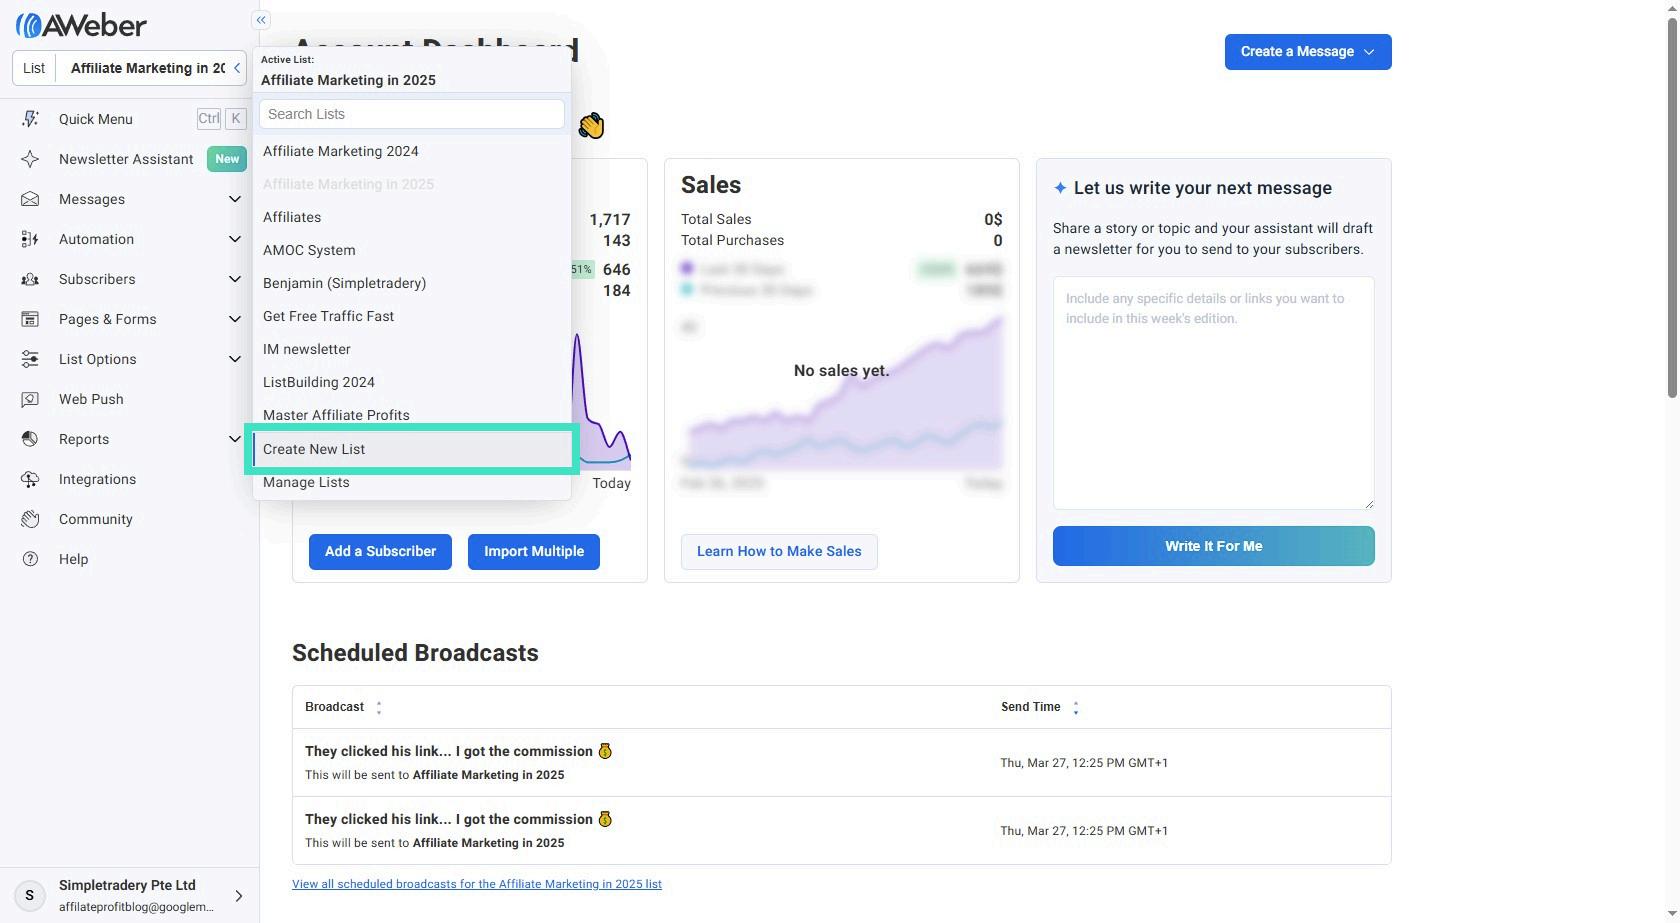
Step 2: Click on the List Dropdown
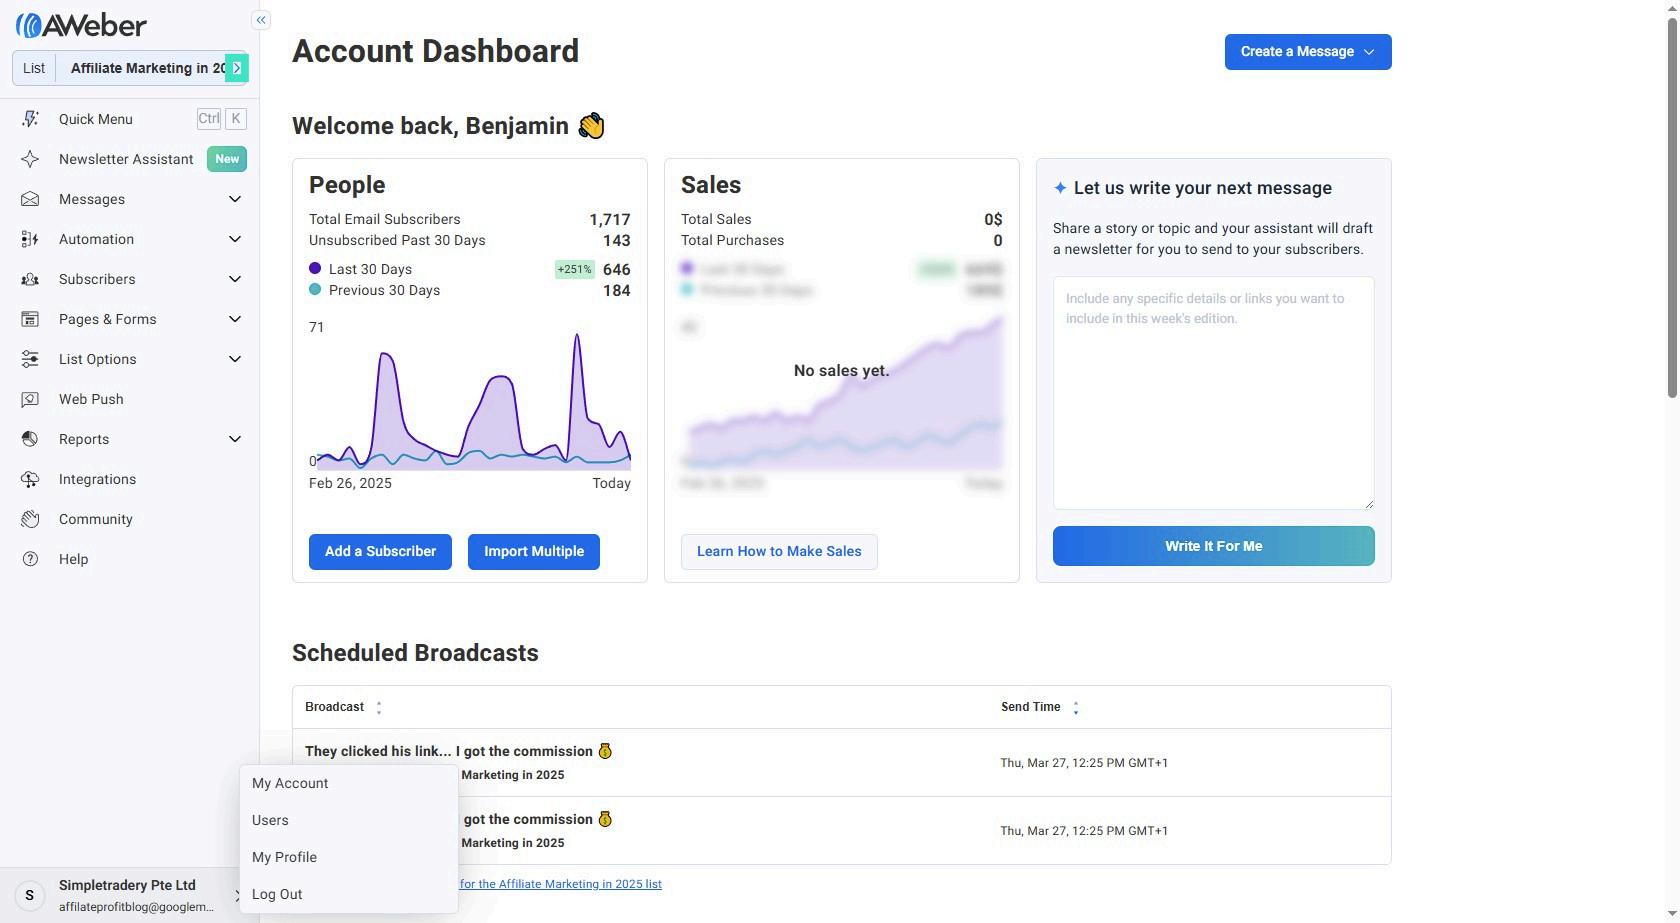
Step 3: Choose Create New list
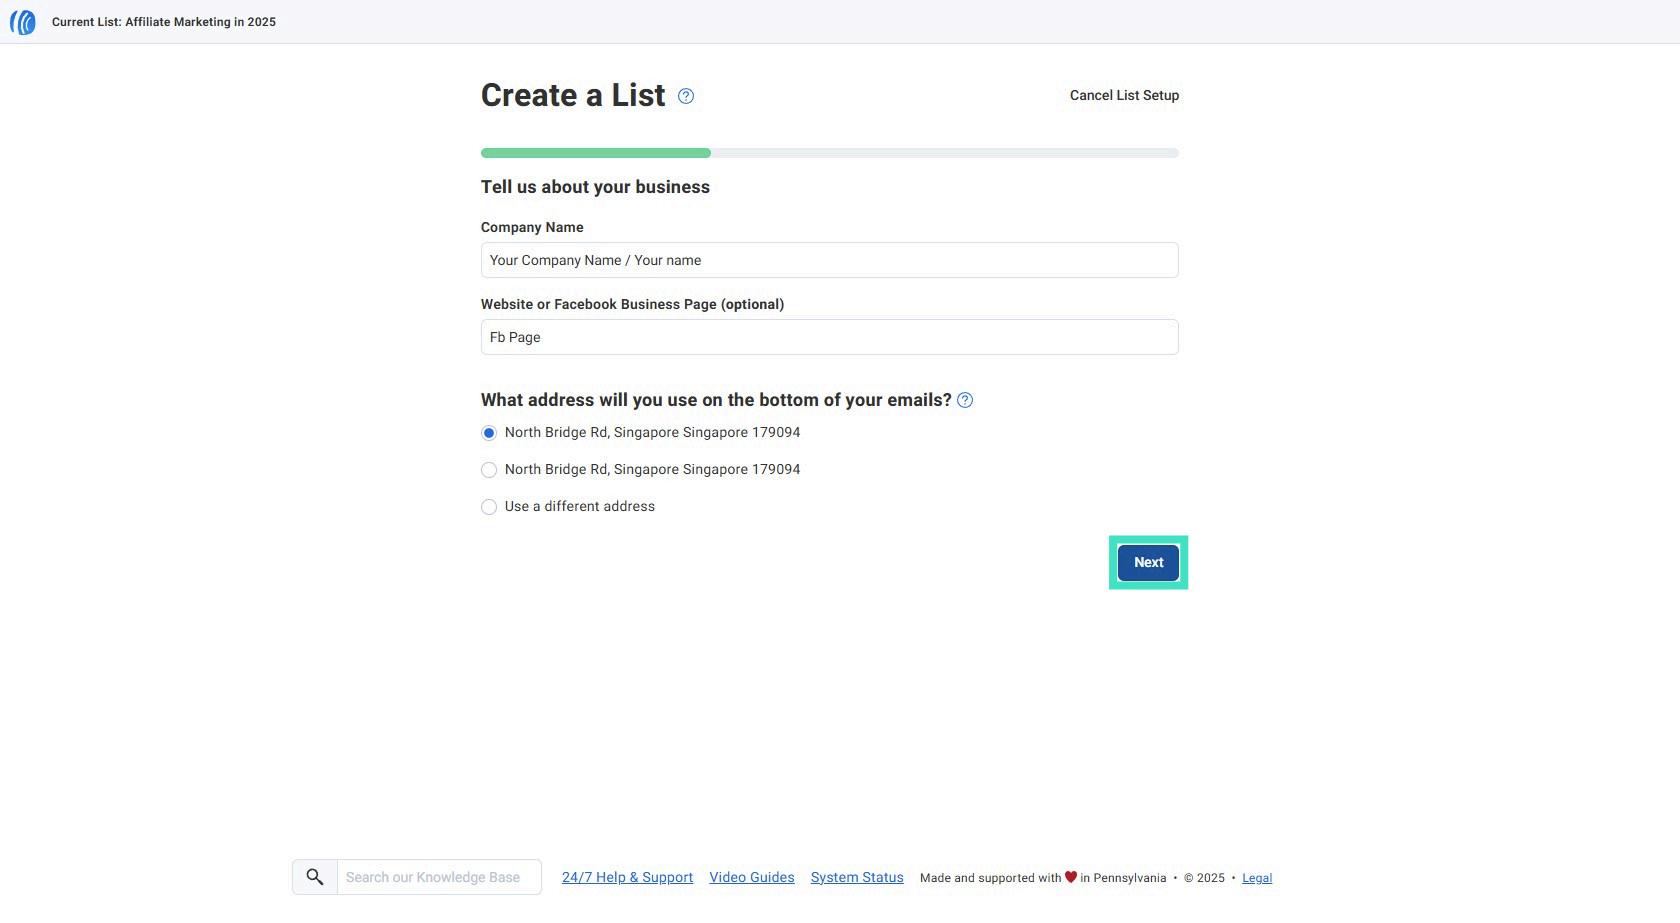
Step 4: Click Next button
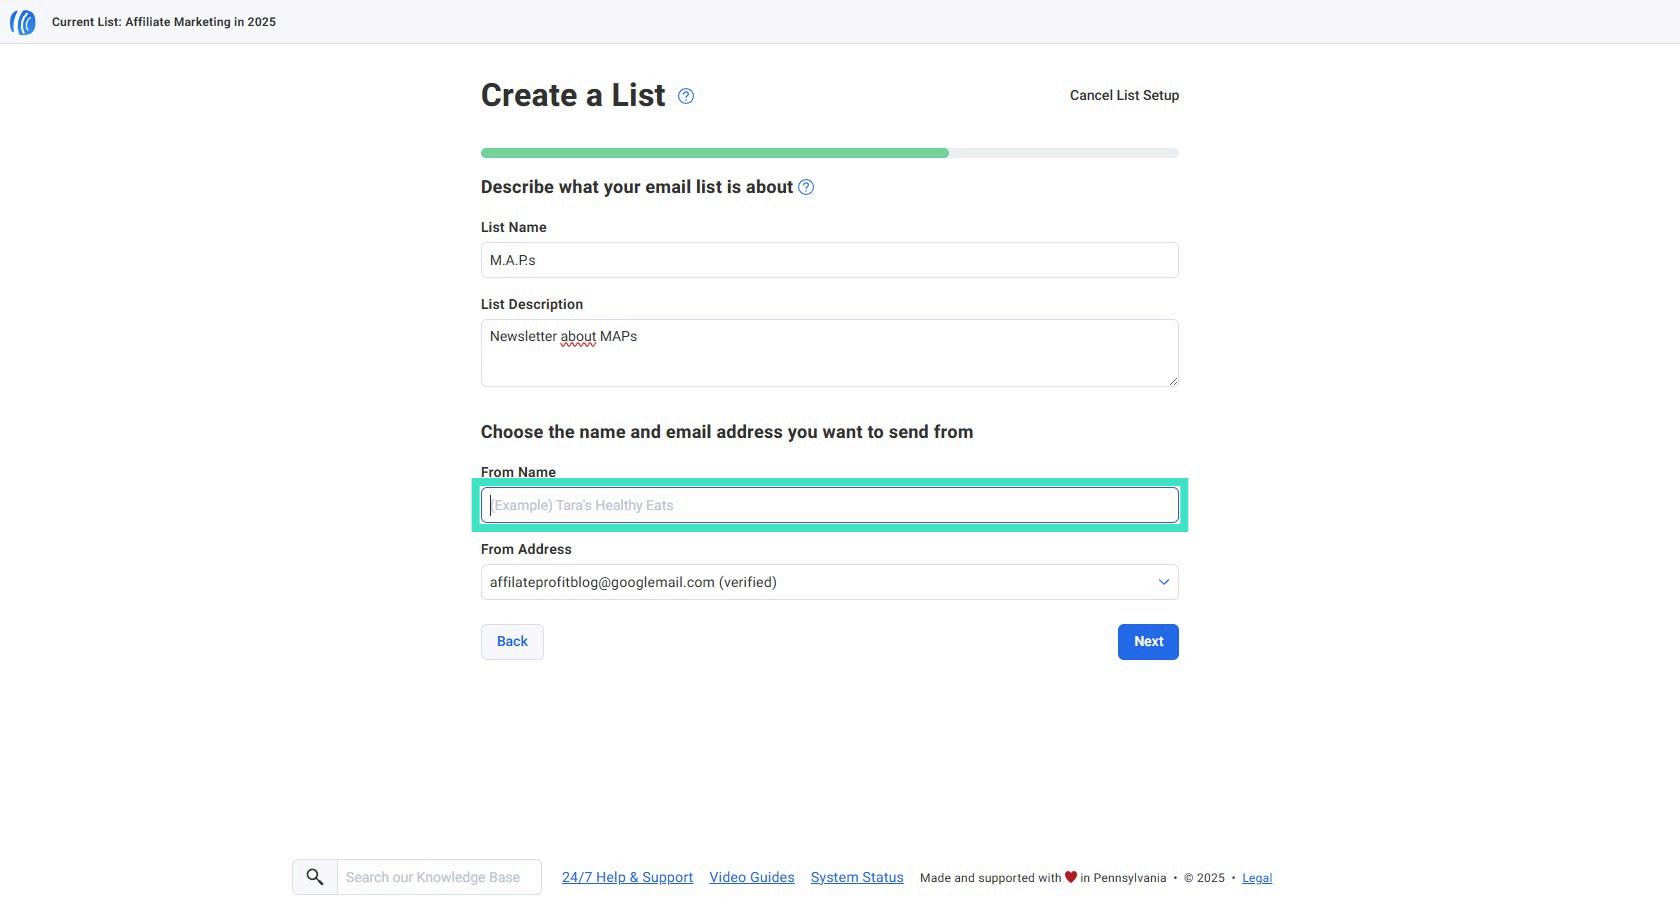
Step 5: Choose a Freom Name! Tip: Use your Personal Name Here
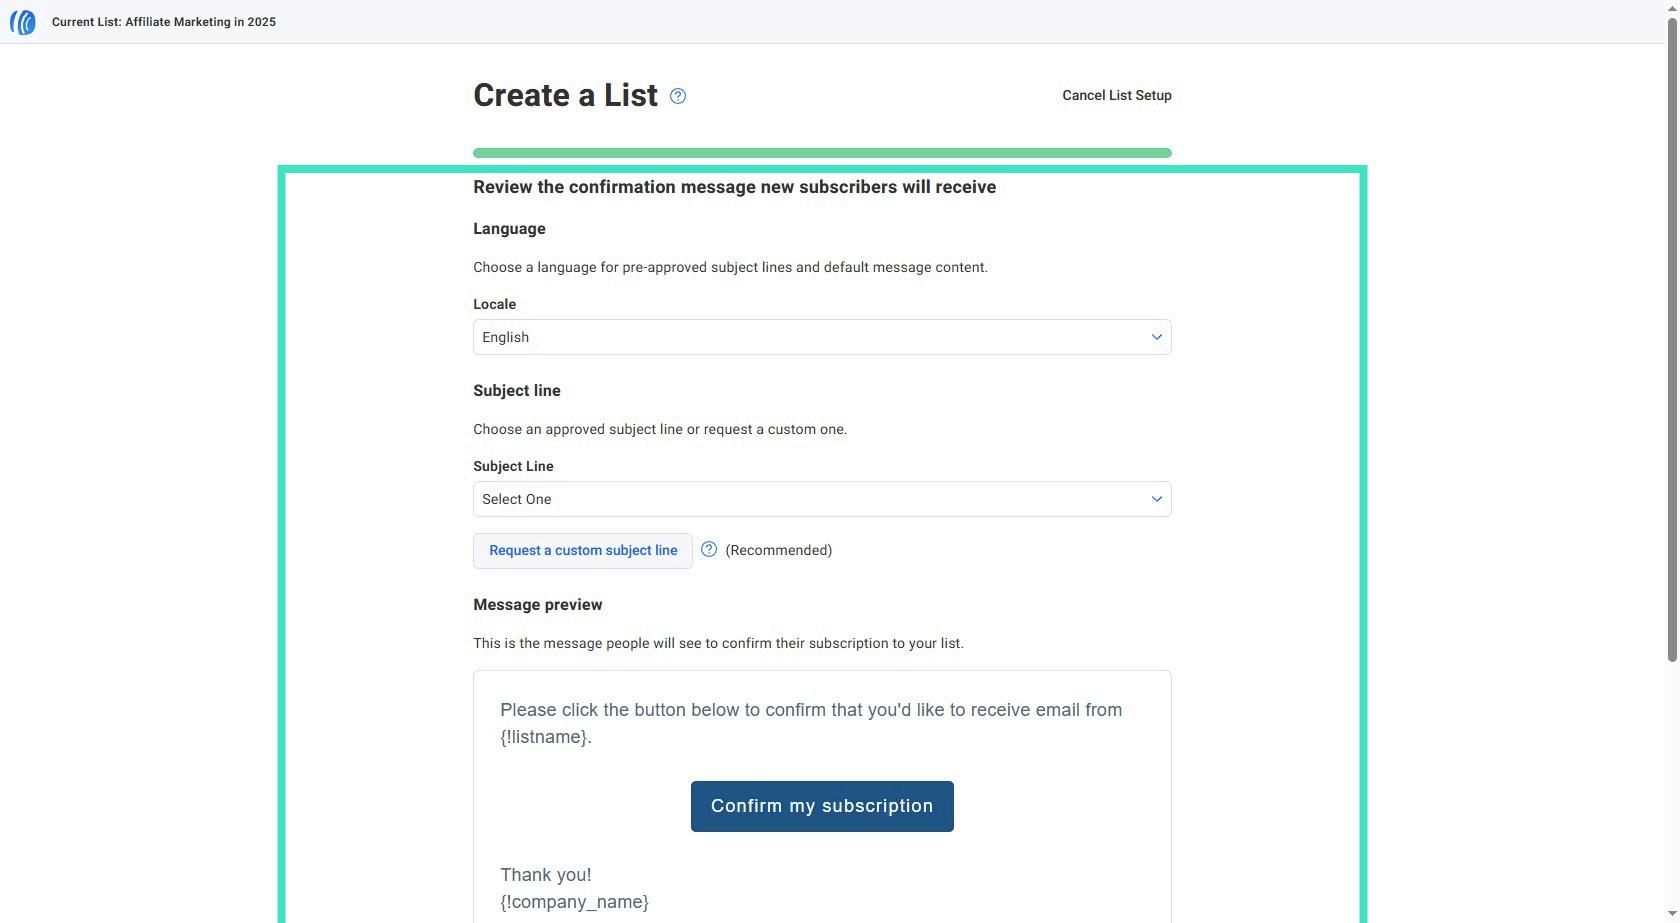
Step 6: Choose the Language (English) & Choose a Subject Line! (Dont care about which one, it wont be used)
Step 7: Click List Options Expanded Menu button
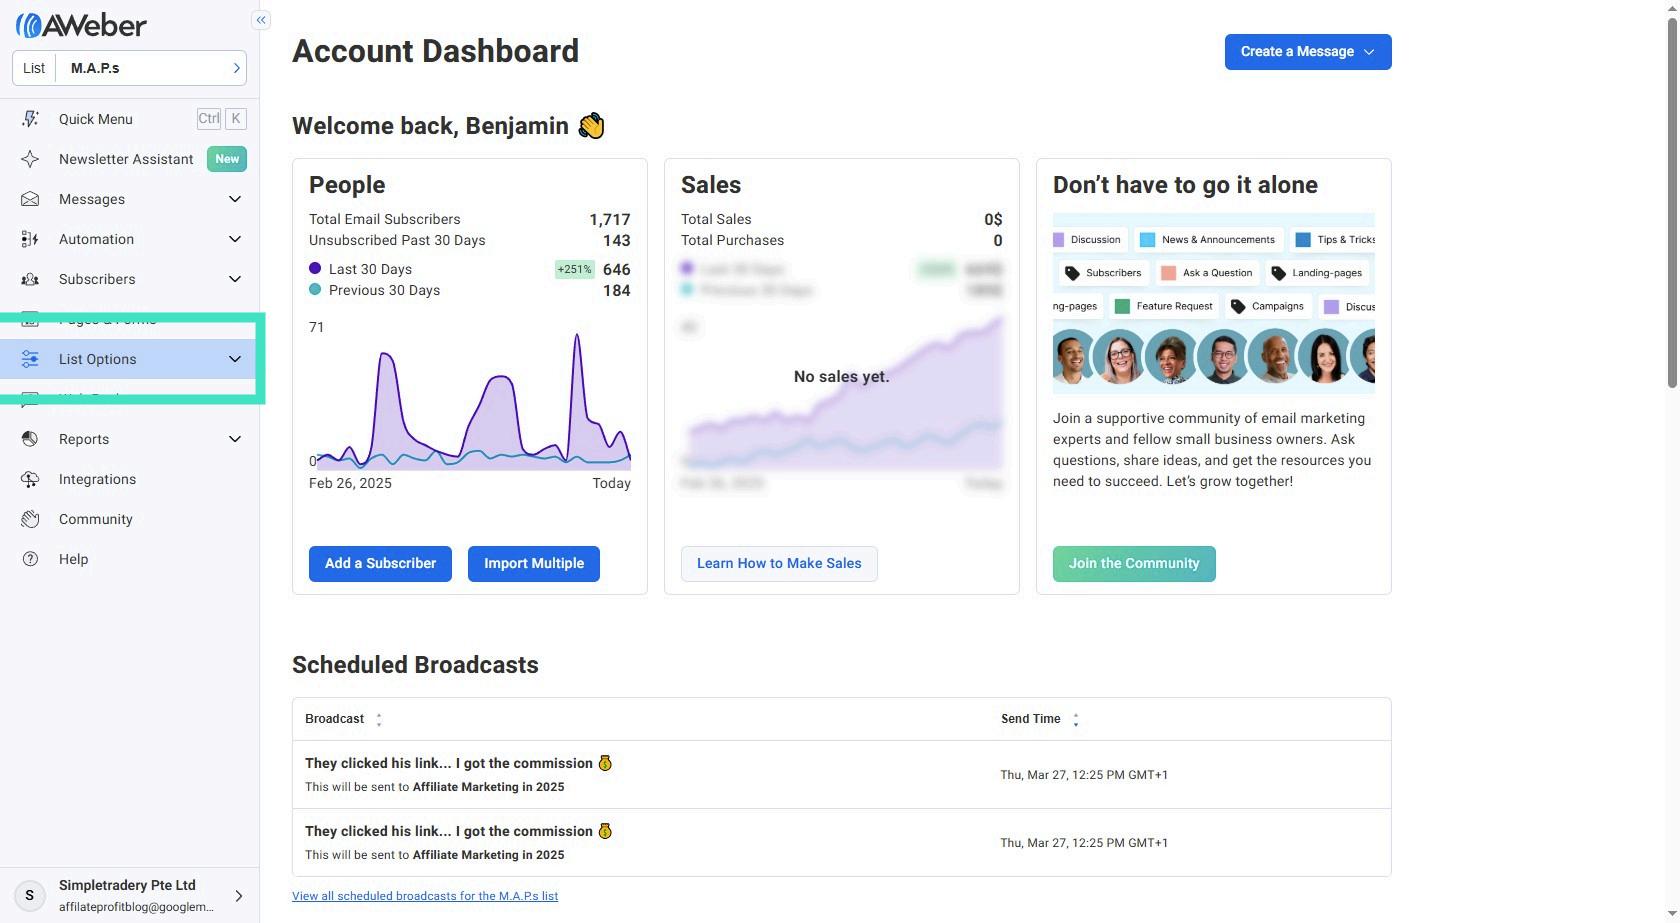
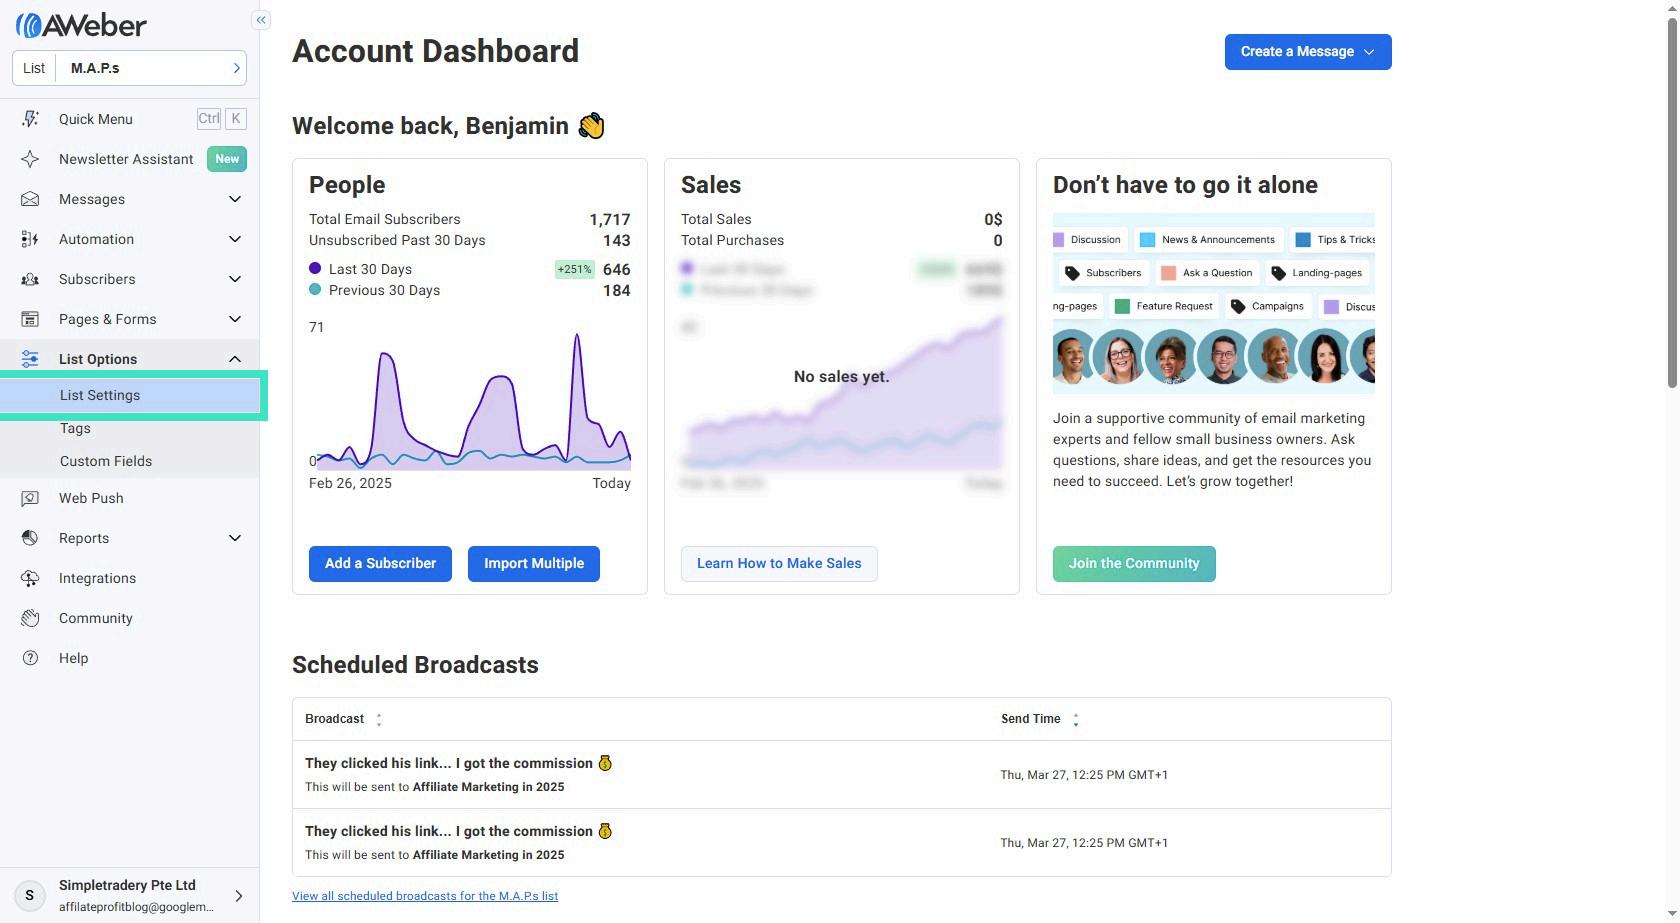
Step 8: Navigate to List Settings
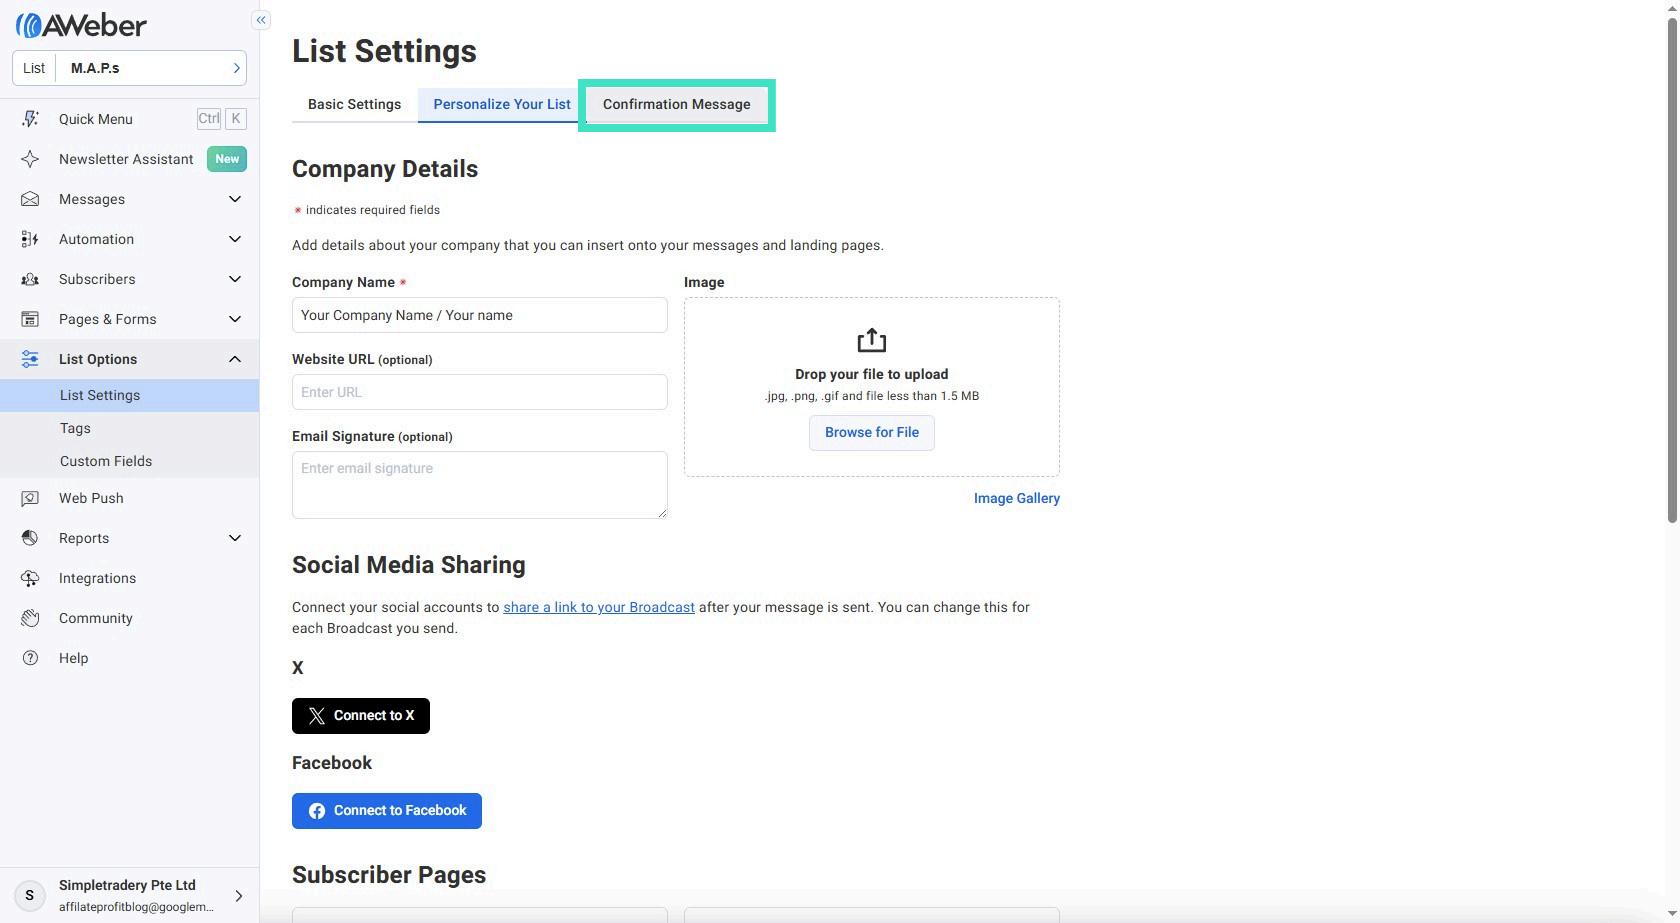
Step 9: Navigate to Confirmation Message & Scroll Down
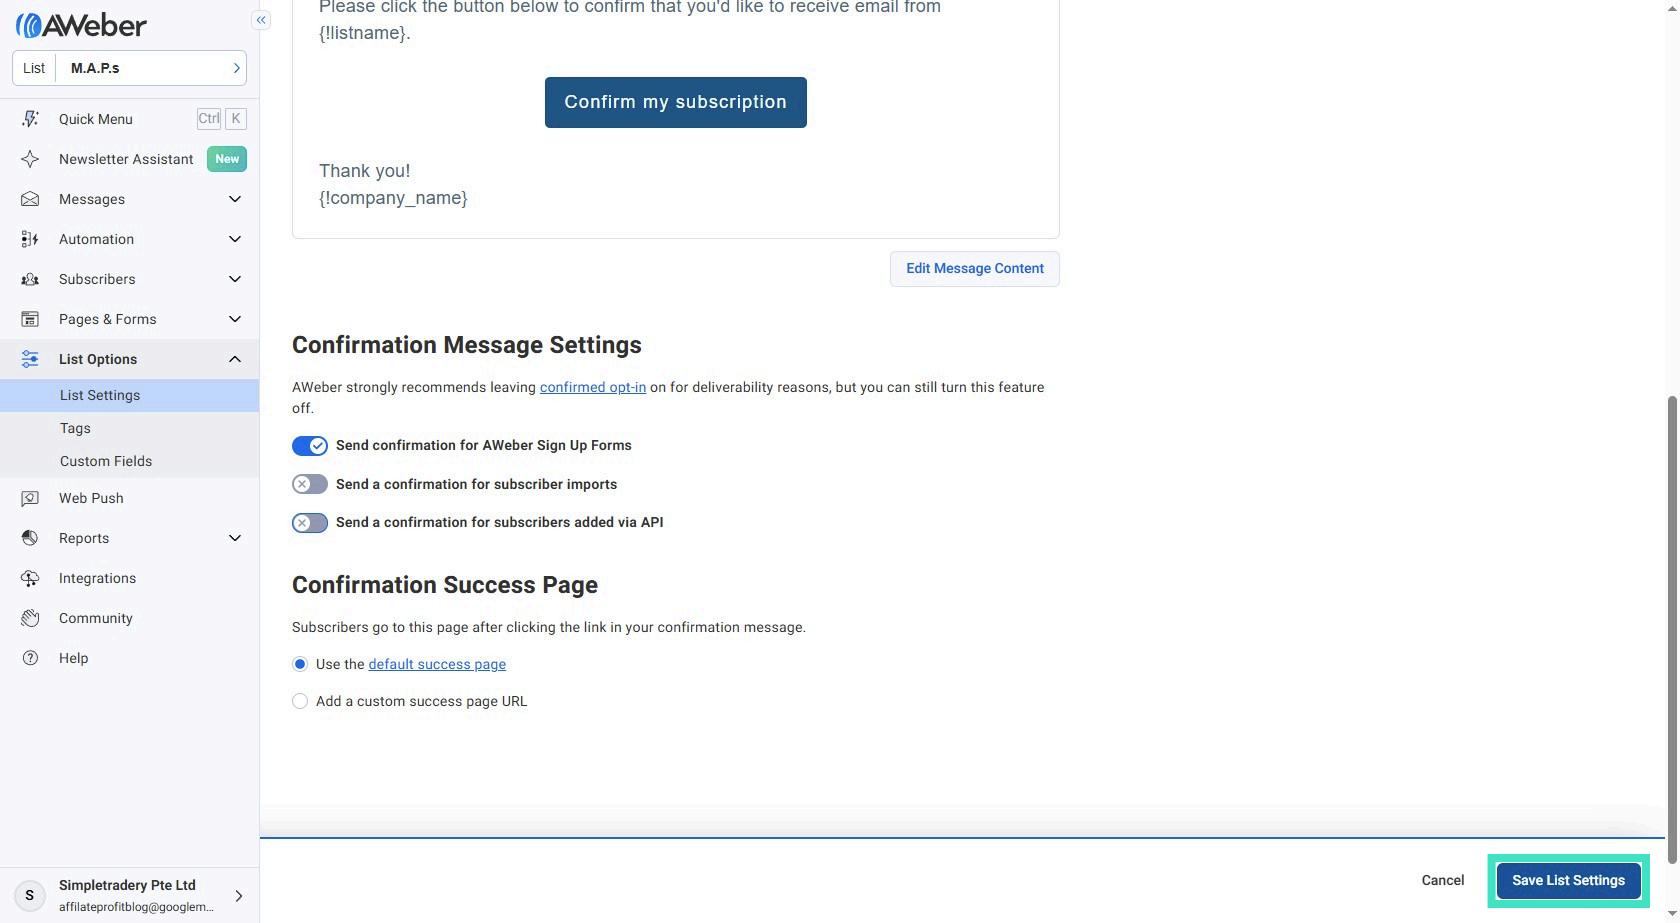
Step 10: Click Save List Settings button
Step 11: Navigate to Personalize Your List
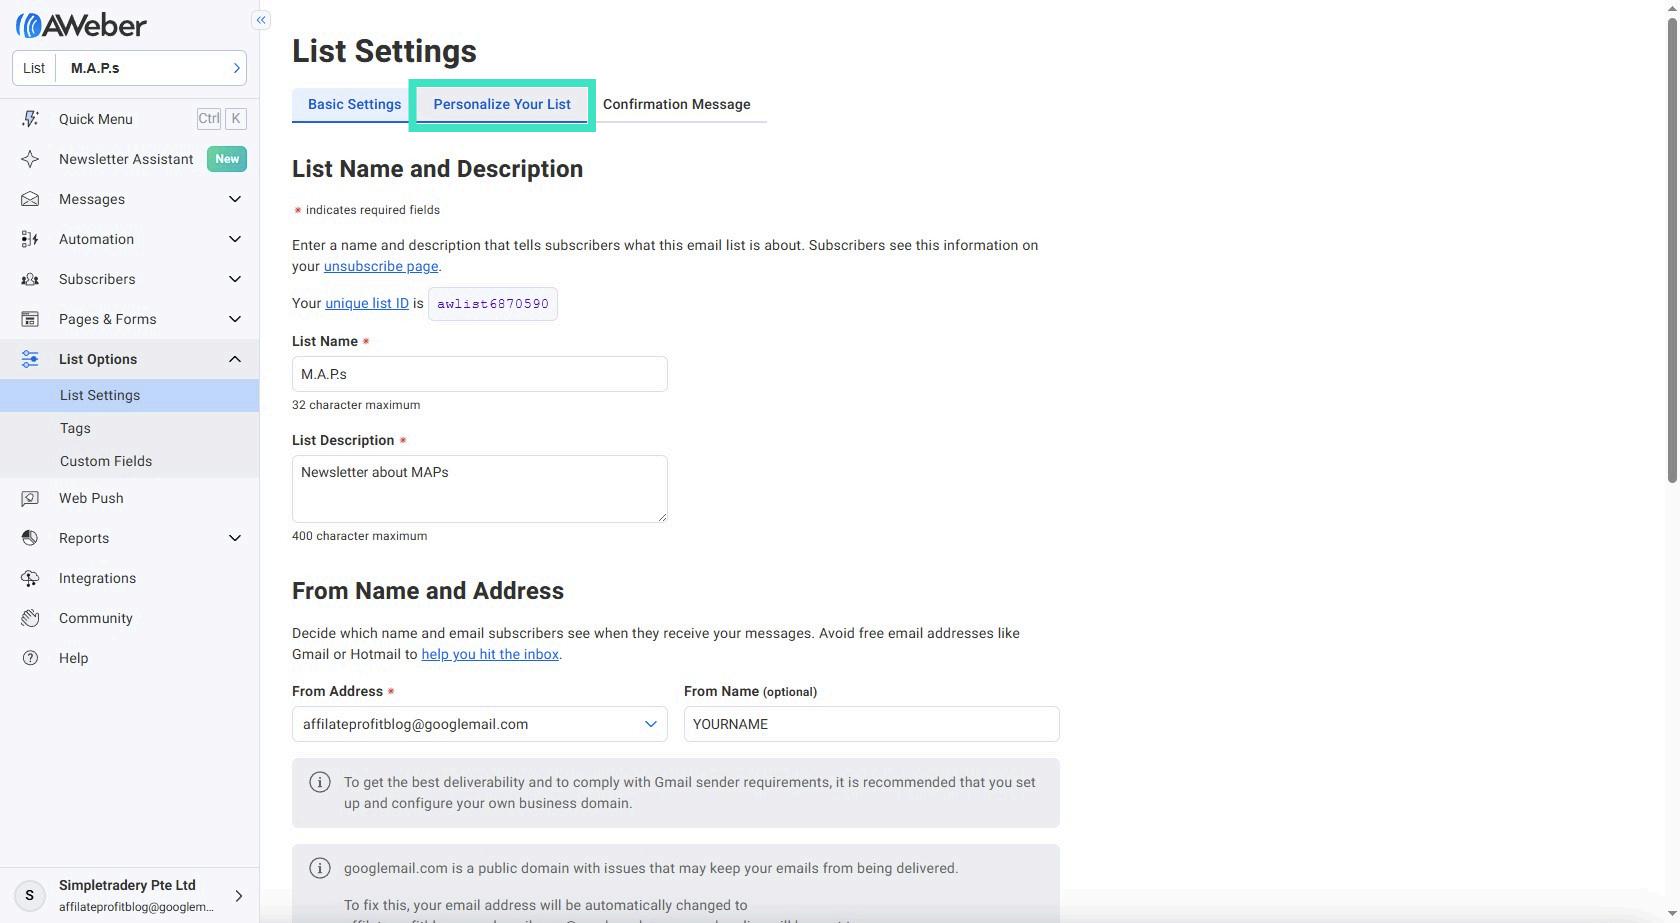
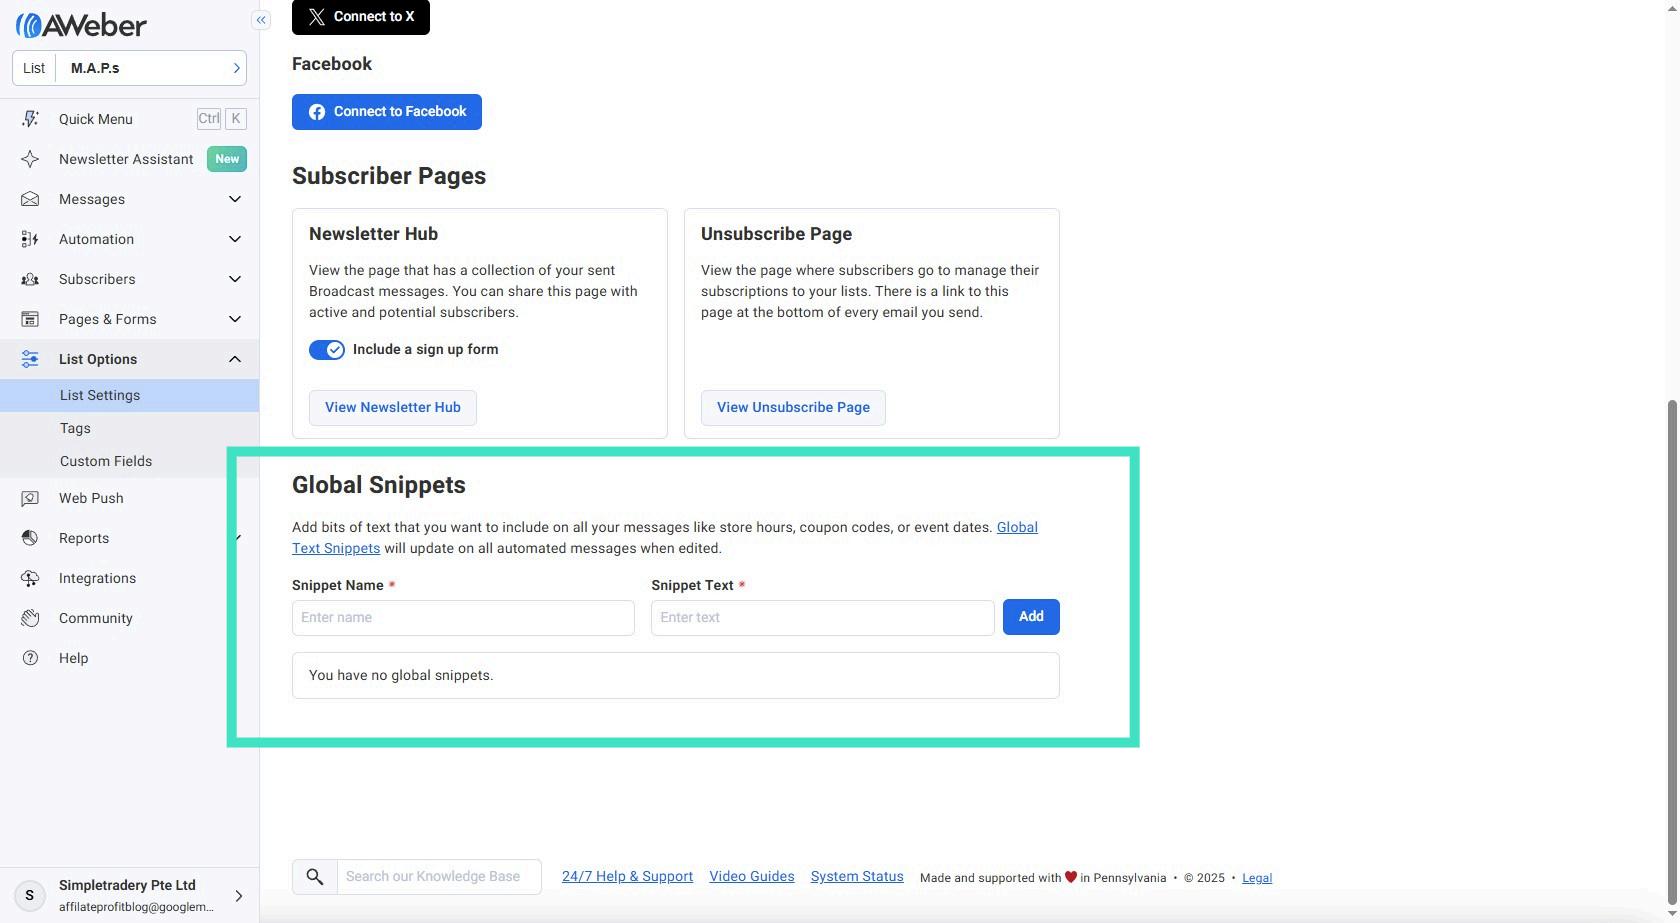
Step 12: Add a Global Snippet Snippet Name = "myname" Snippet text = enter your full name here!
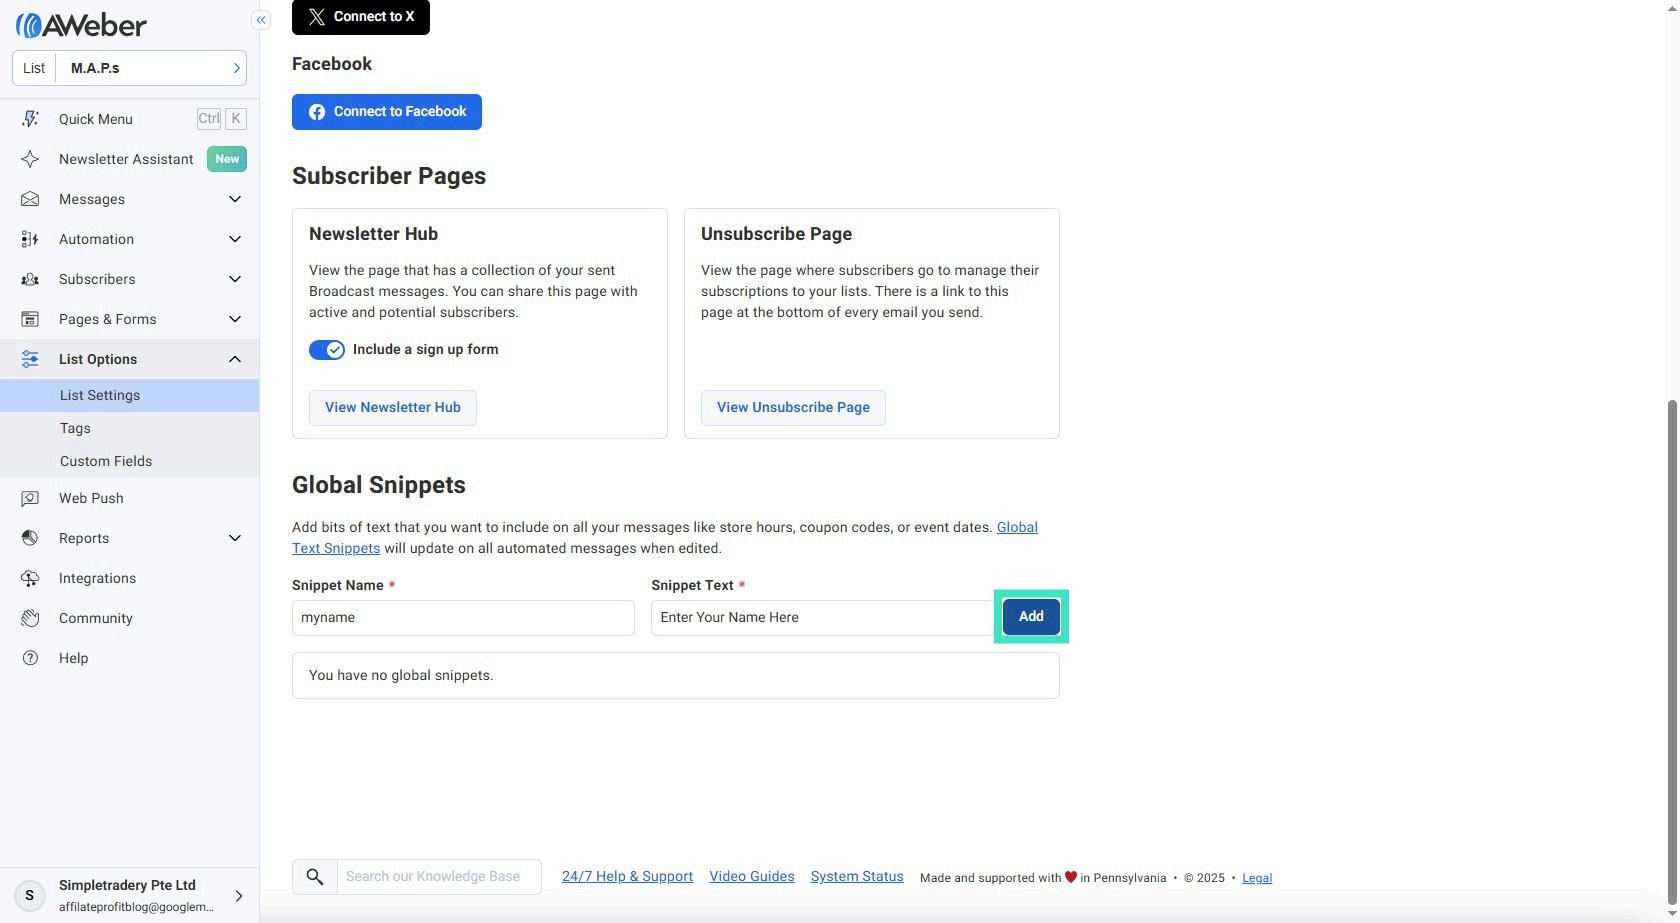
Step 13: Click Add button
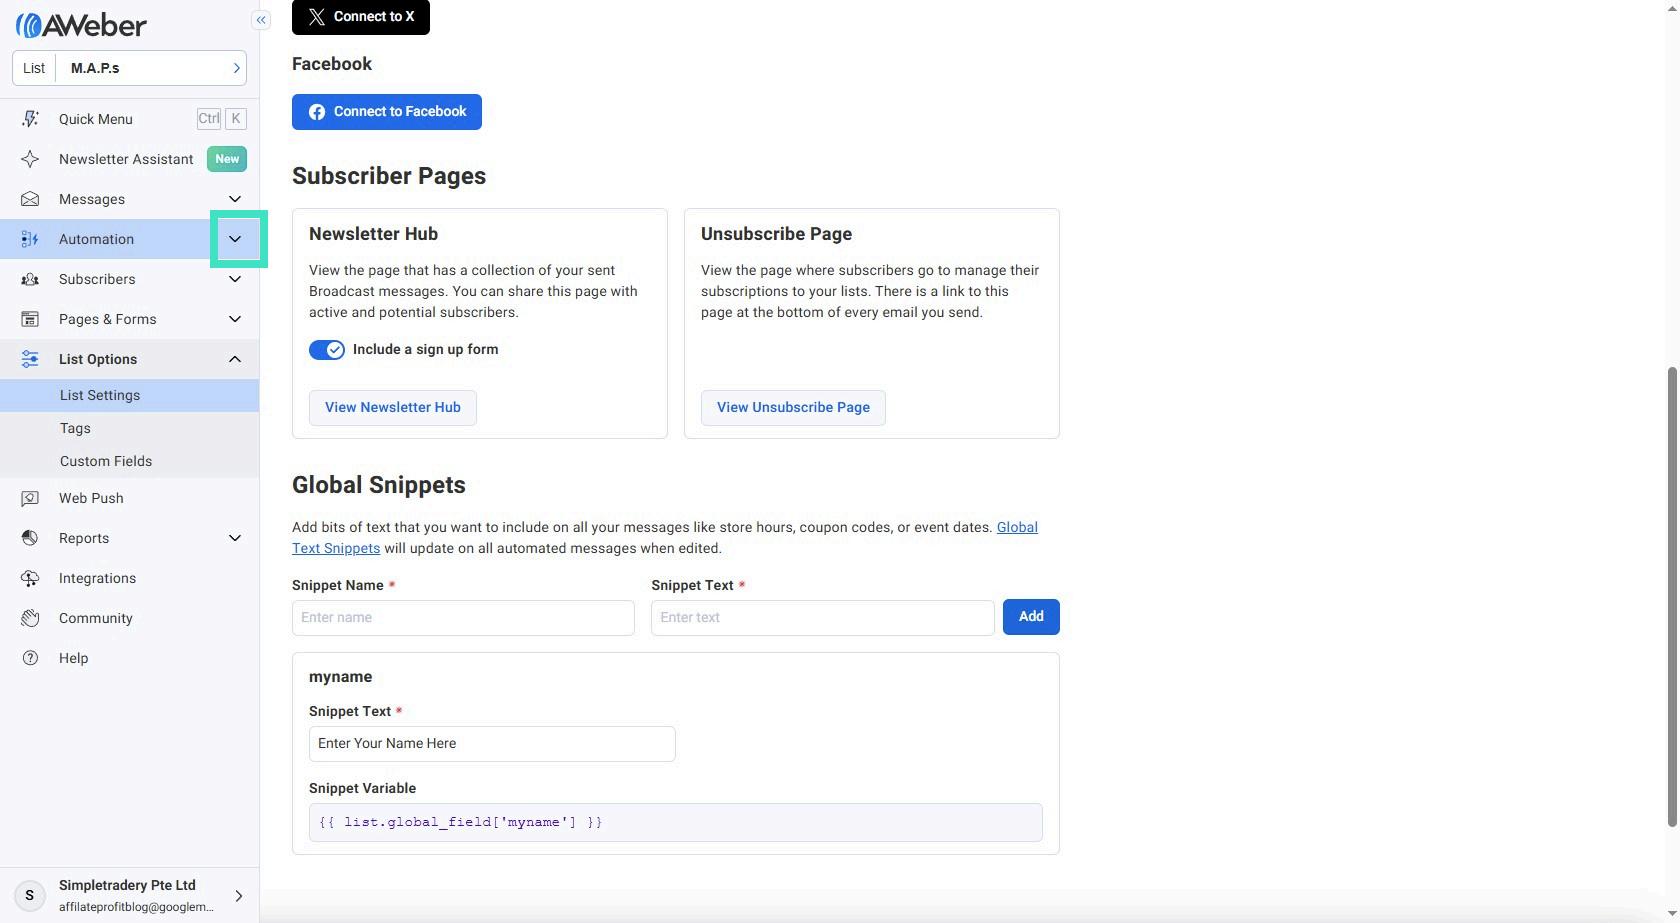
Step 14: Click Automation Expanded Menu button
Step 15: Navigate to Campaigns
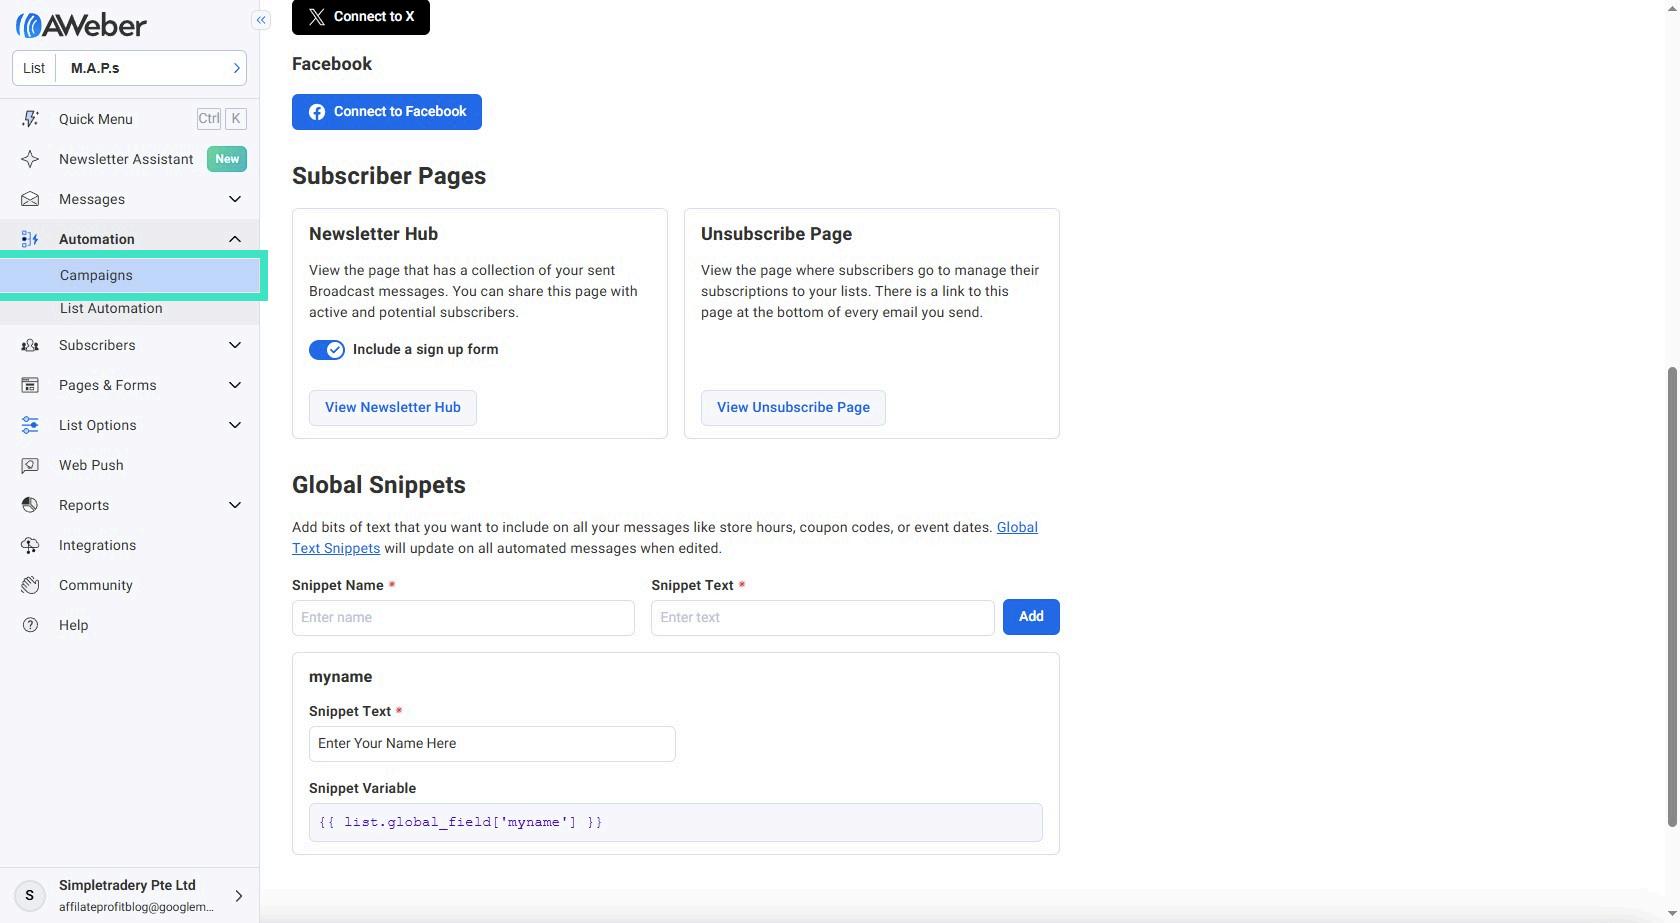
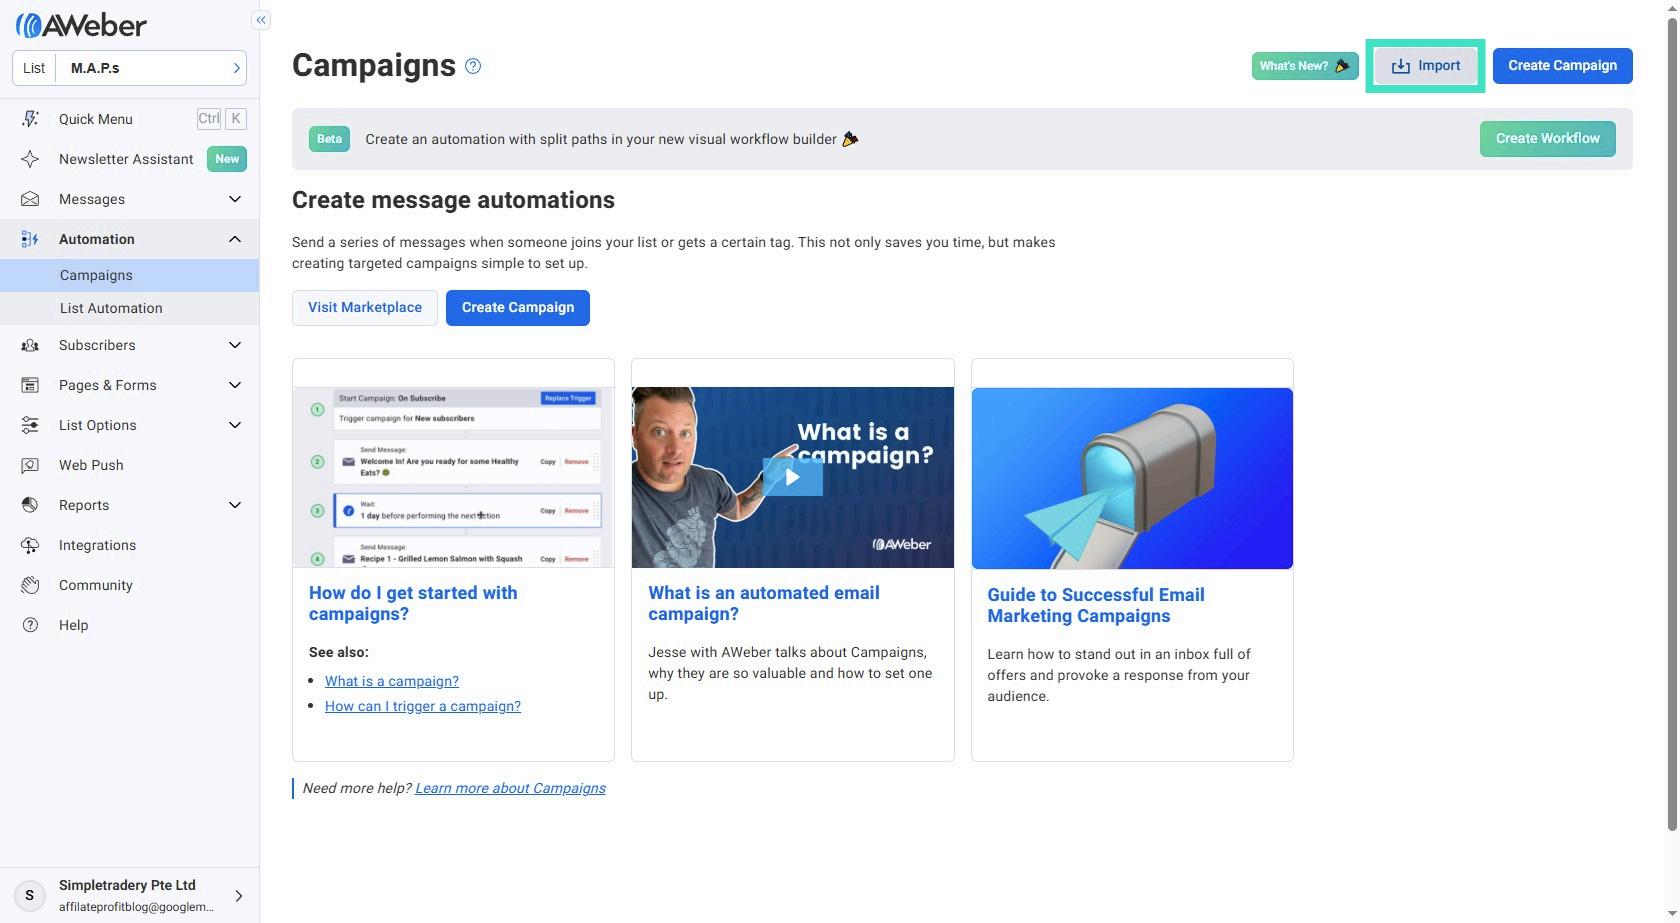
Step 16: Click Import button
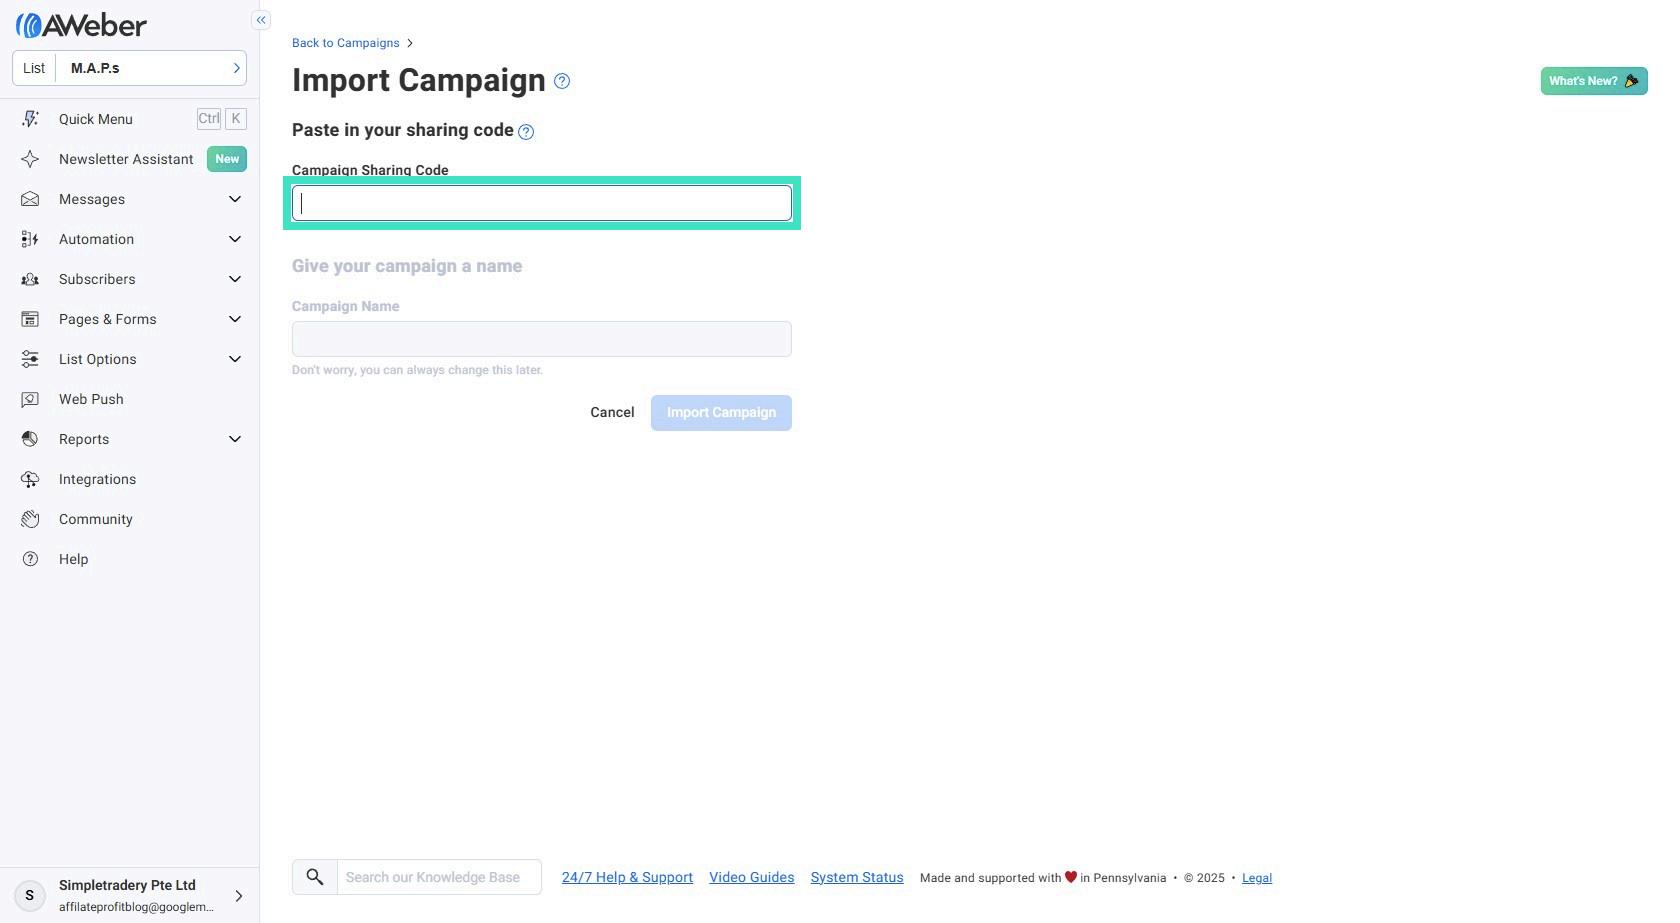
Step 17: Enter the value Click here You find this inside the Leads Tab in the MAP Members area, just scroll down!
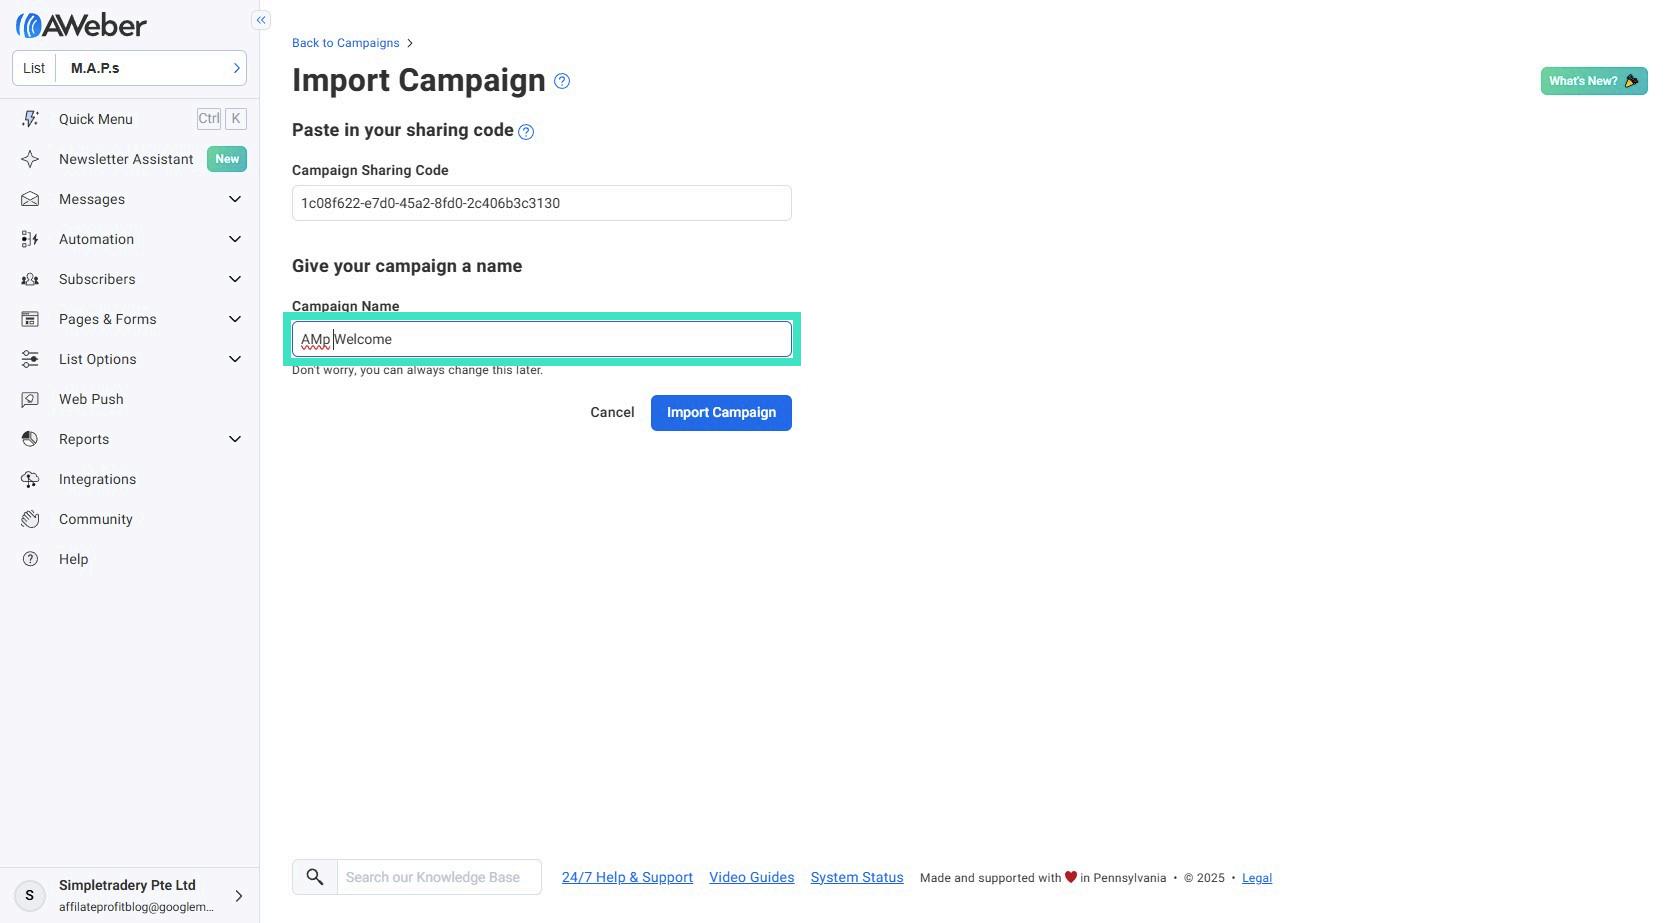
Step 18: Give it a Name and Import!
Step 19: Here you see the Email Campaign No Need to Change anything here, its already done by the system!
