What will you make next?

What will you make next?

Introduction
Featured Projects
Enchant Your Space
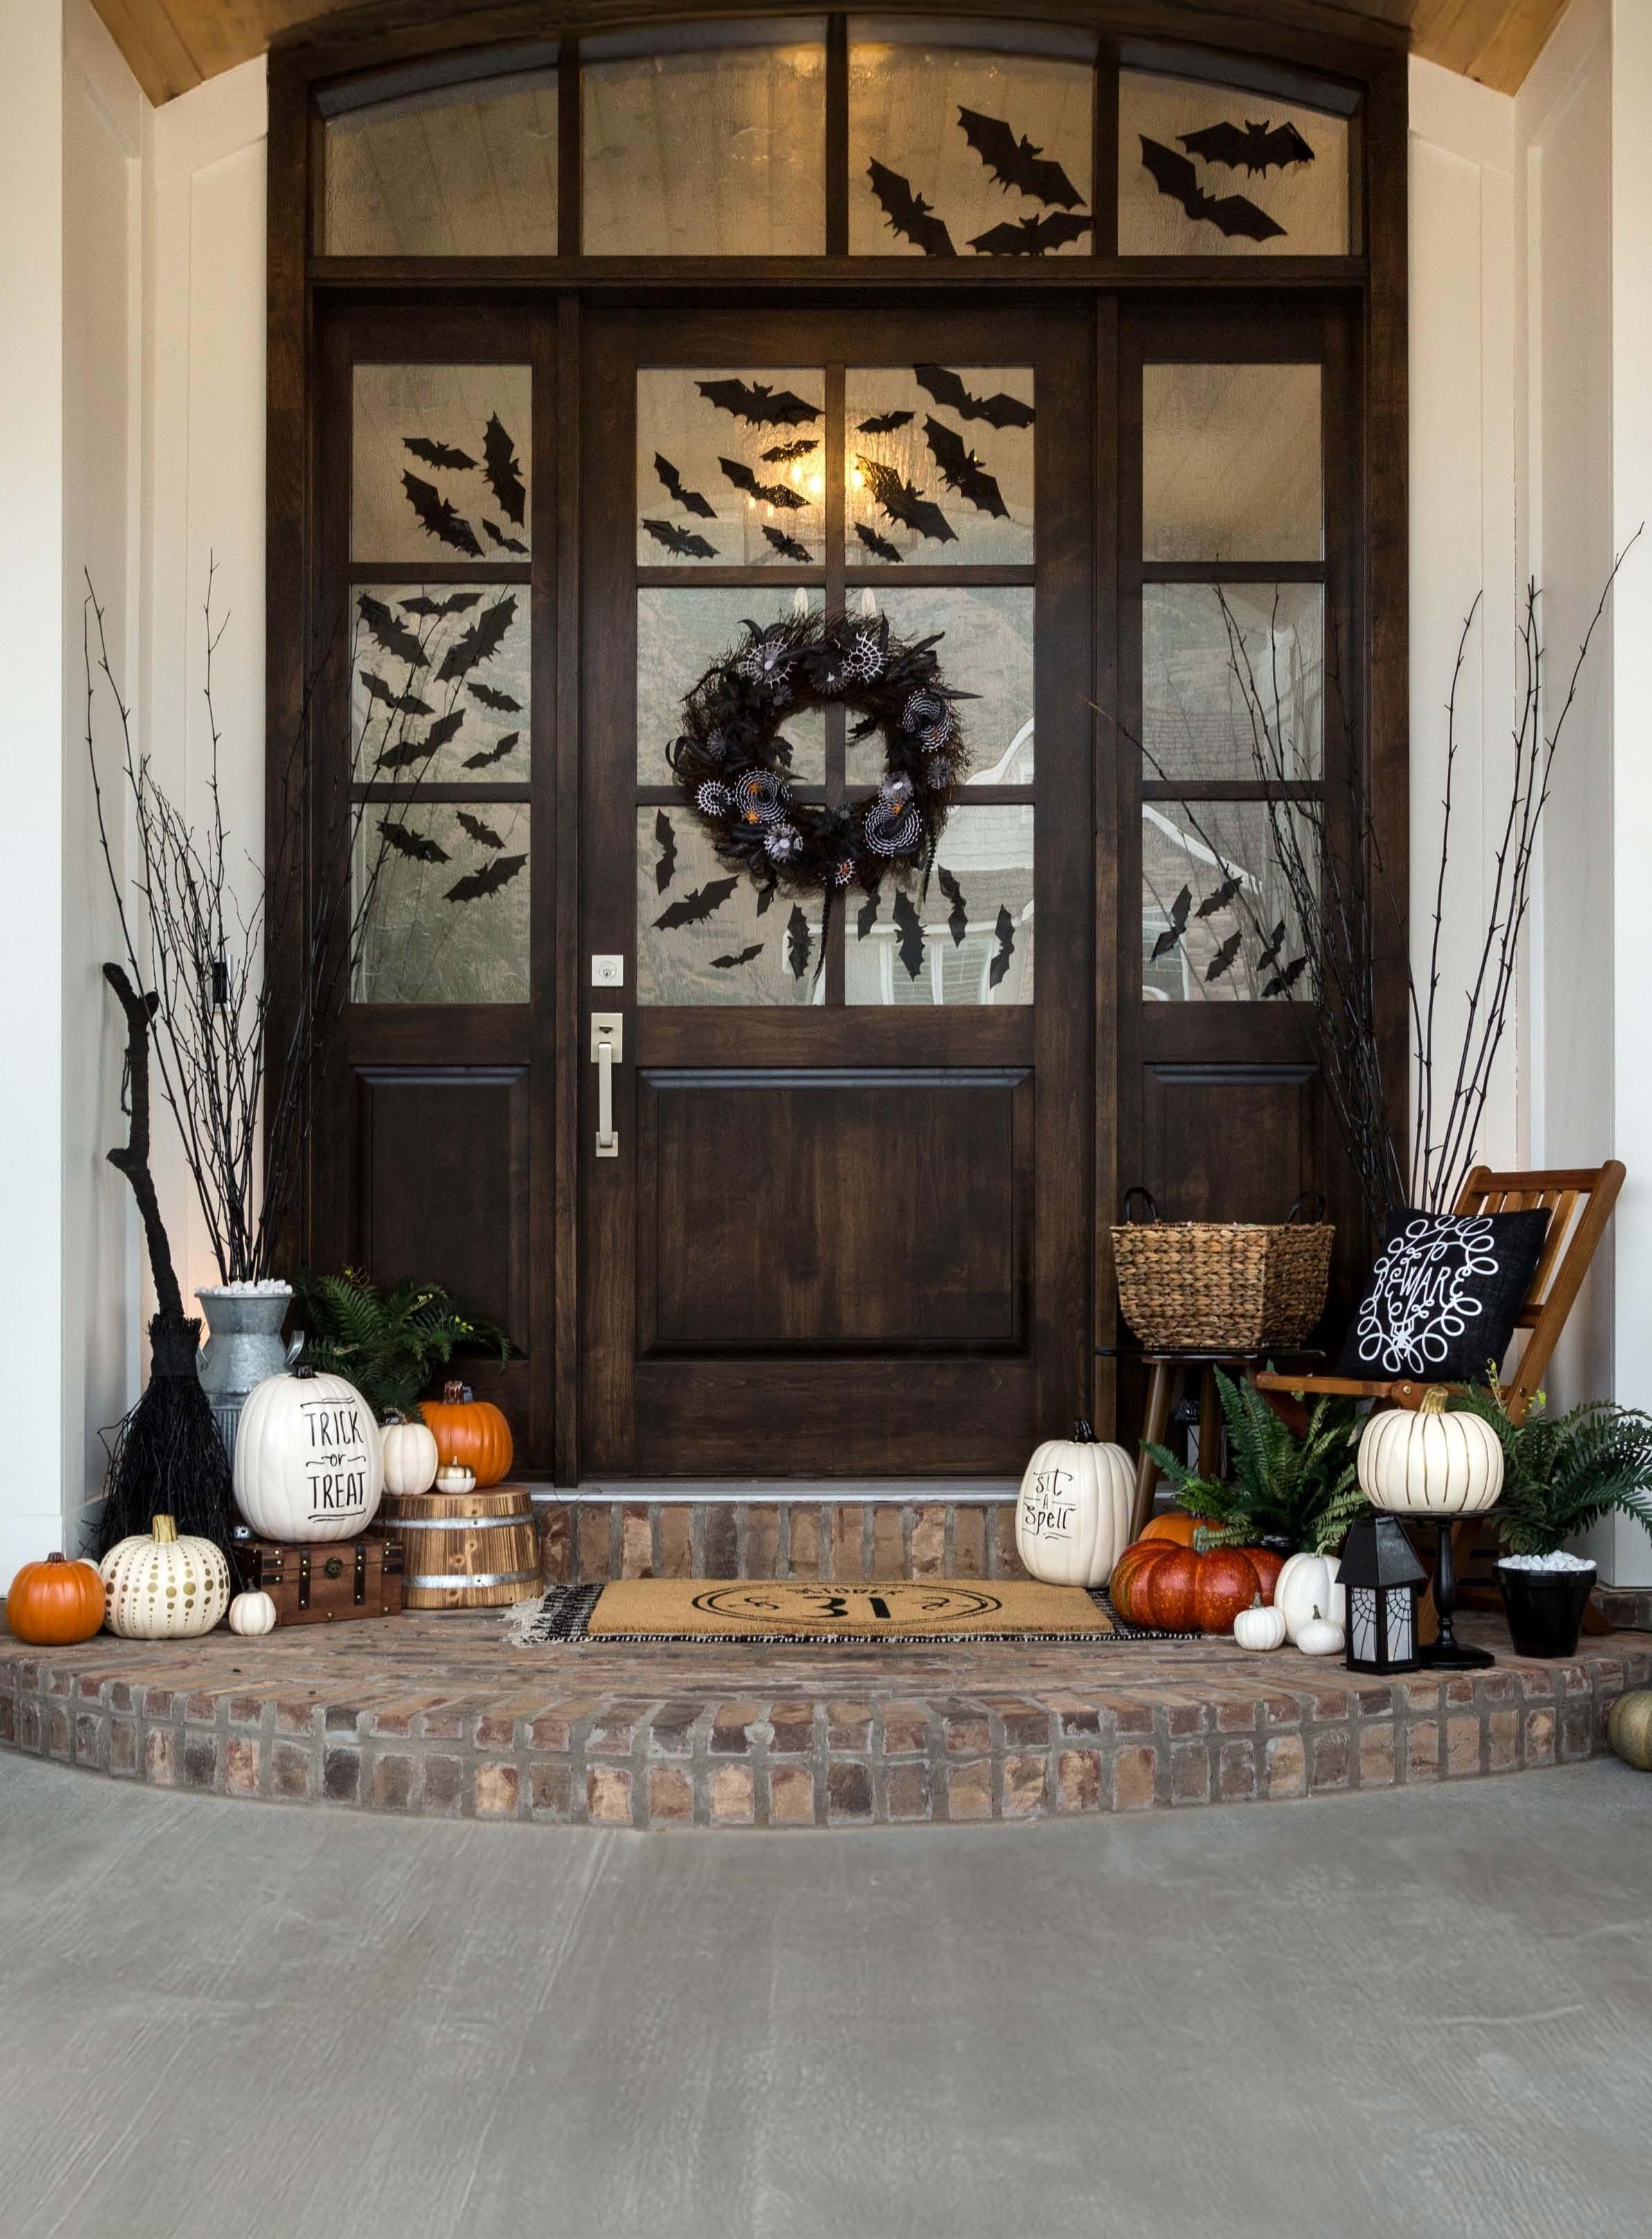
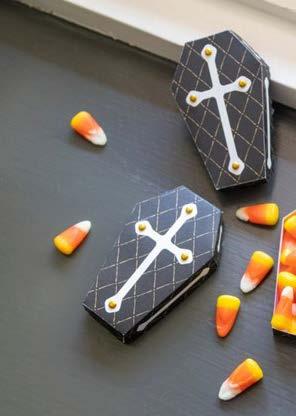
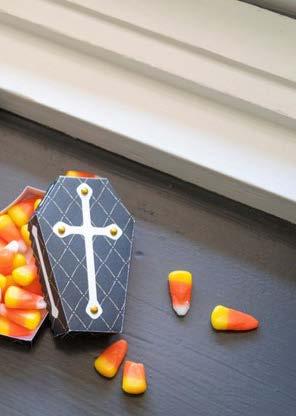
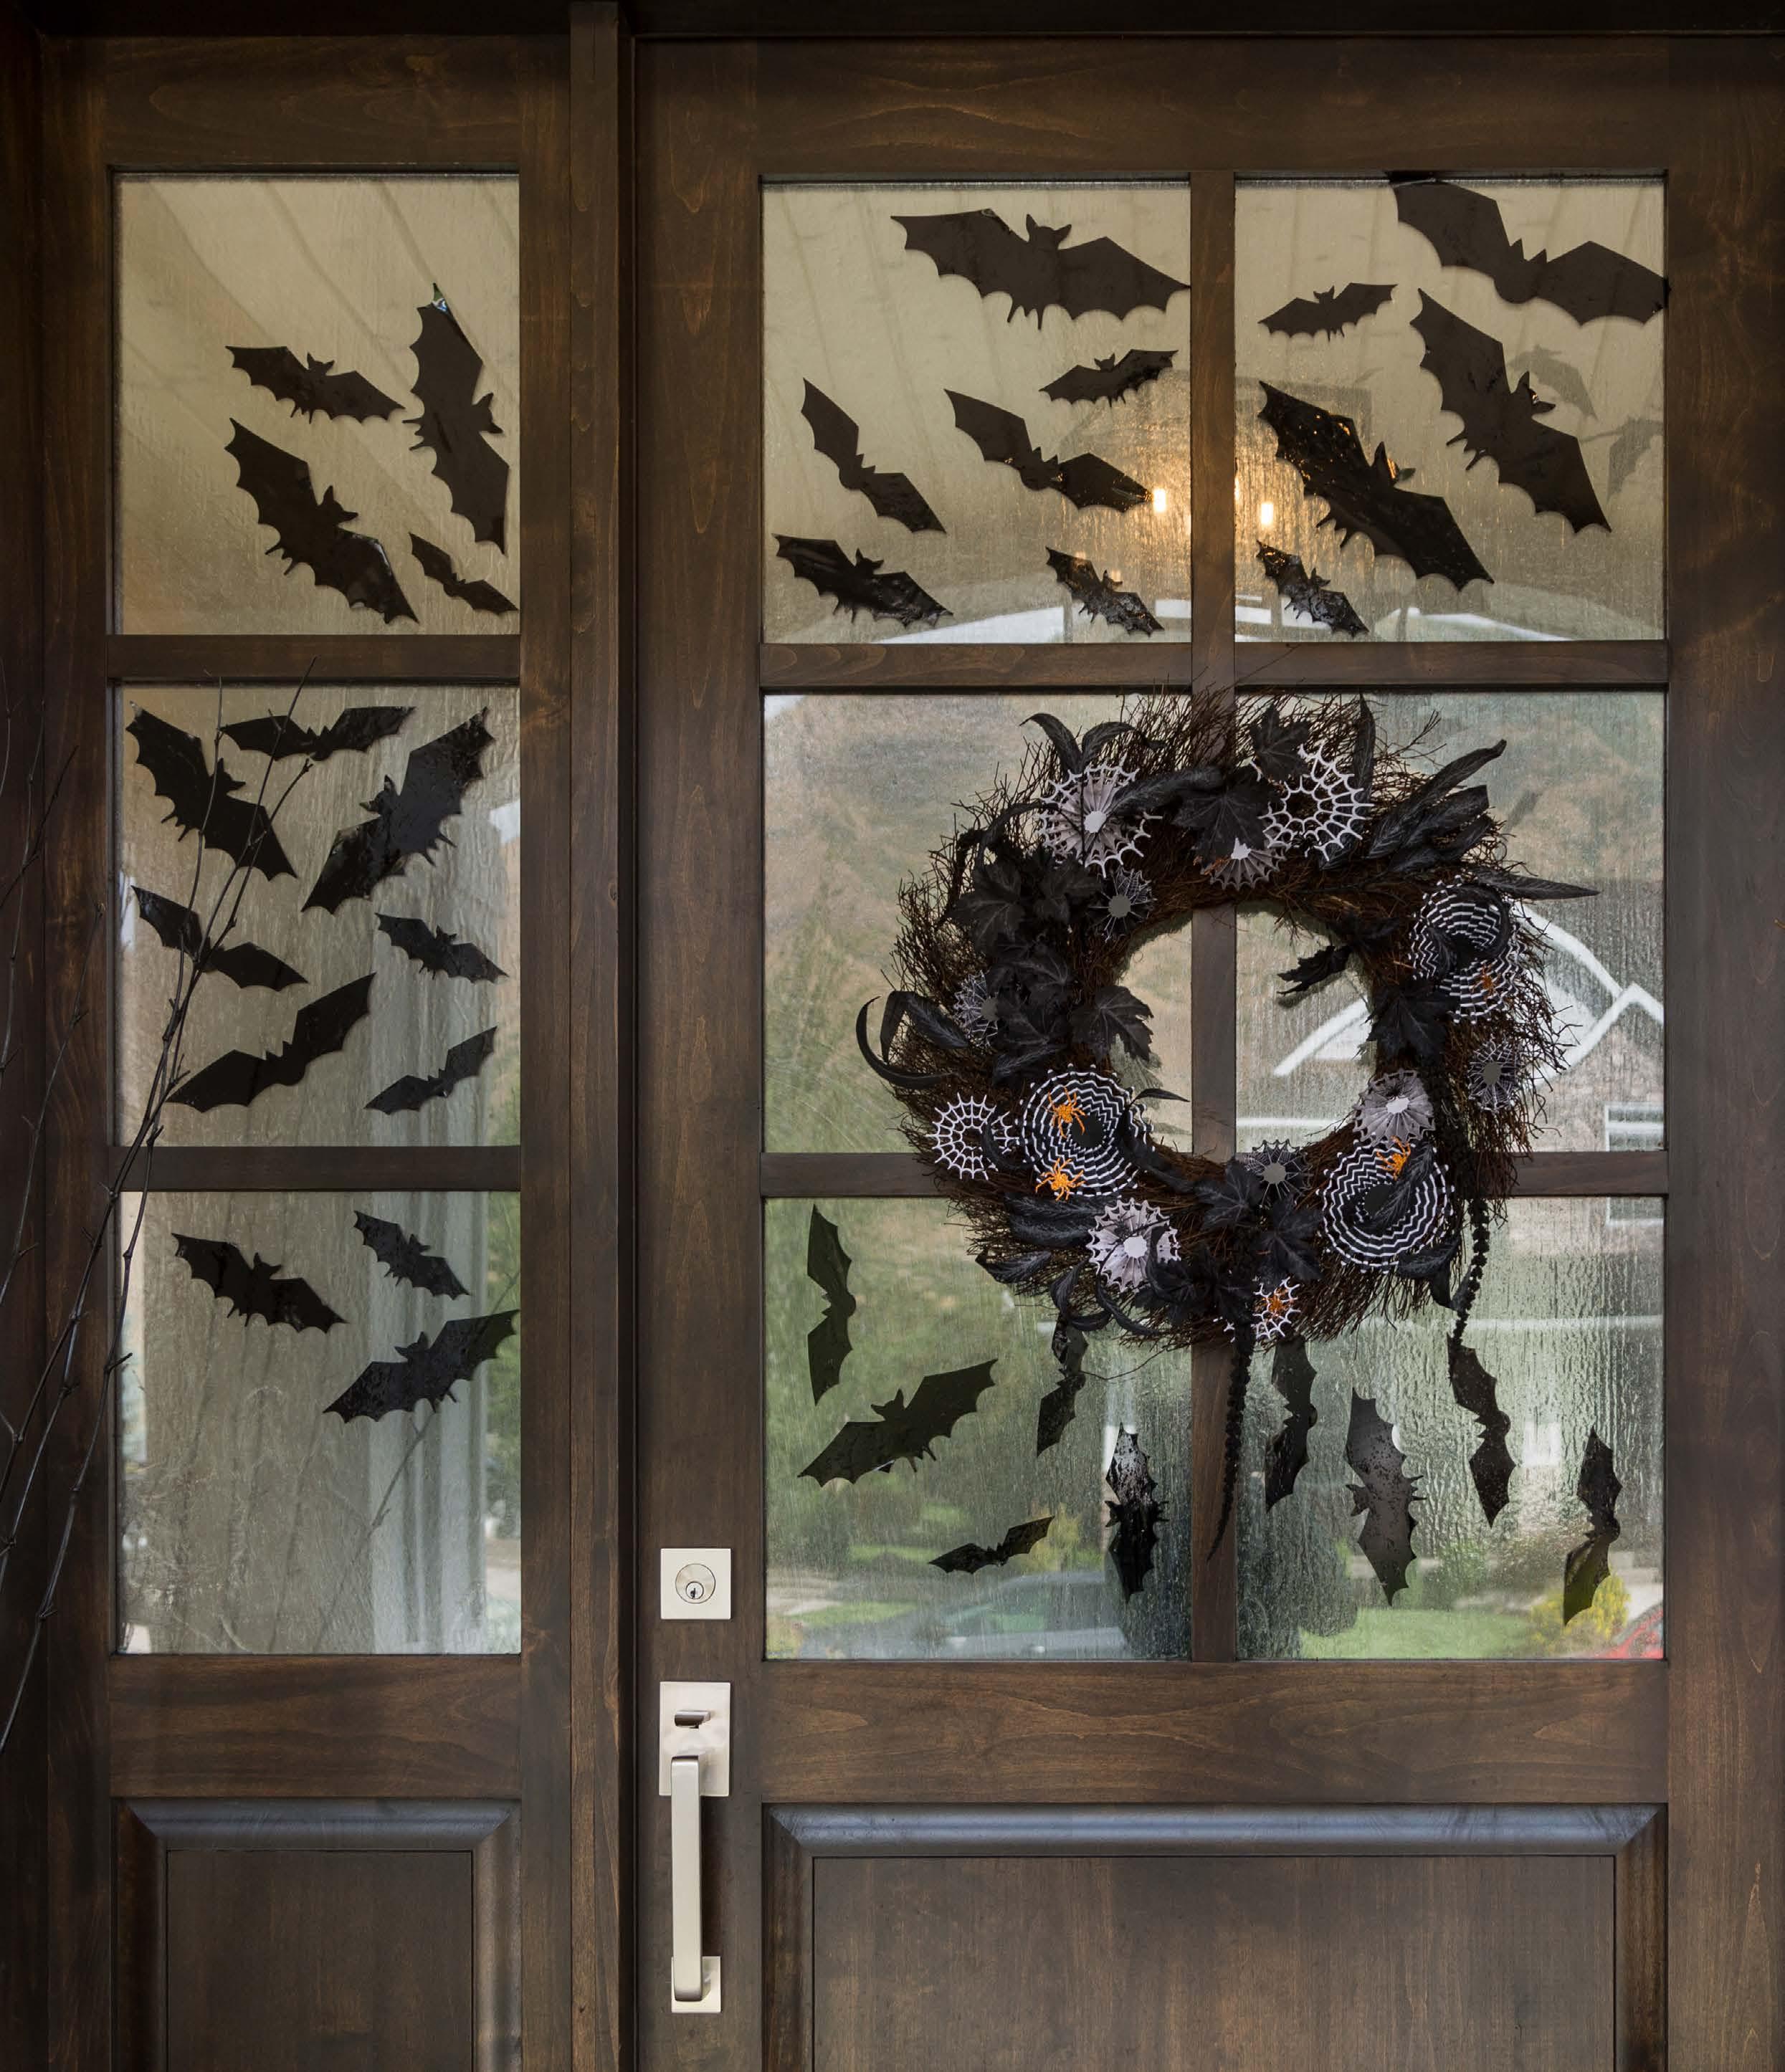
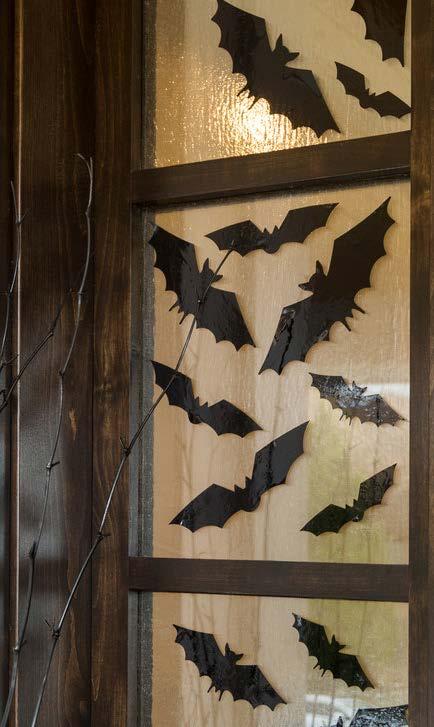
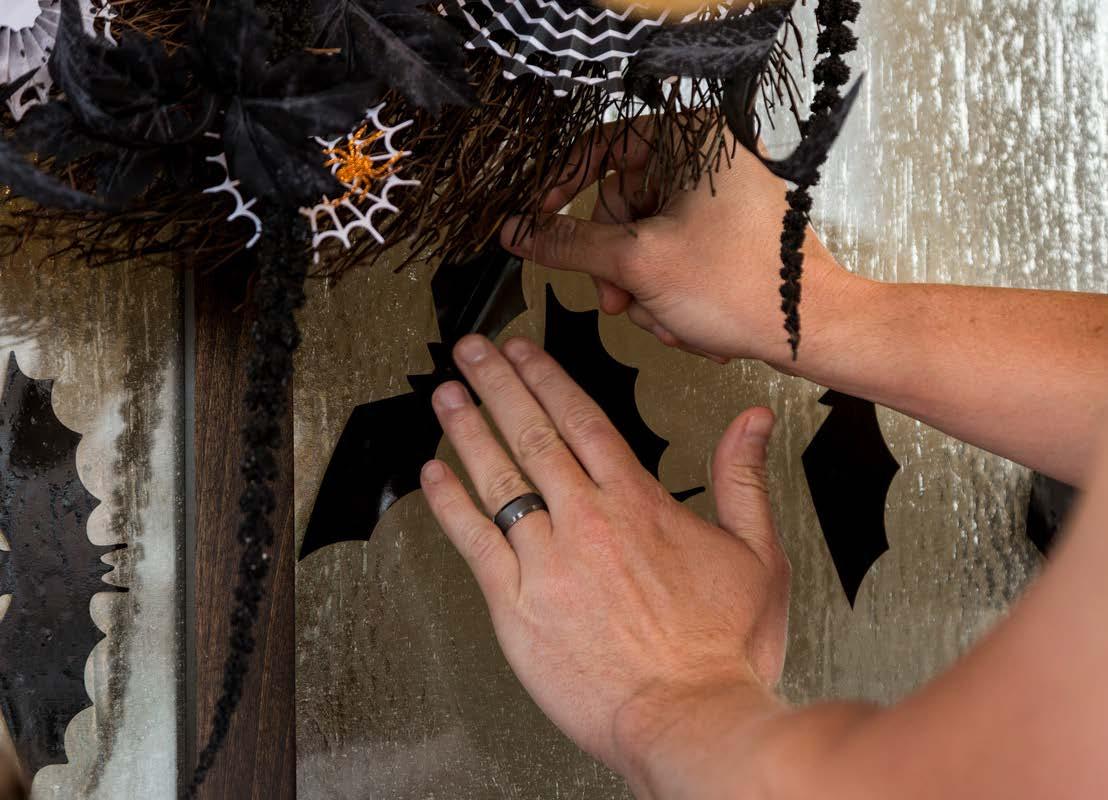
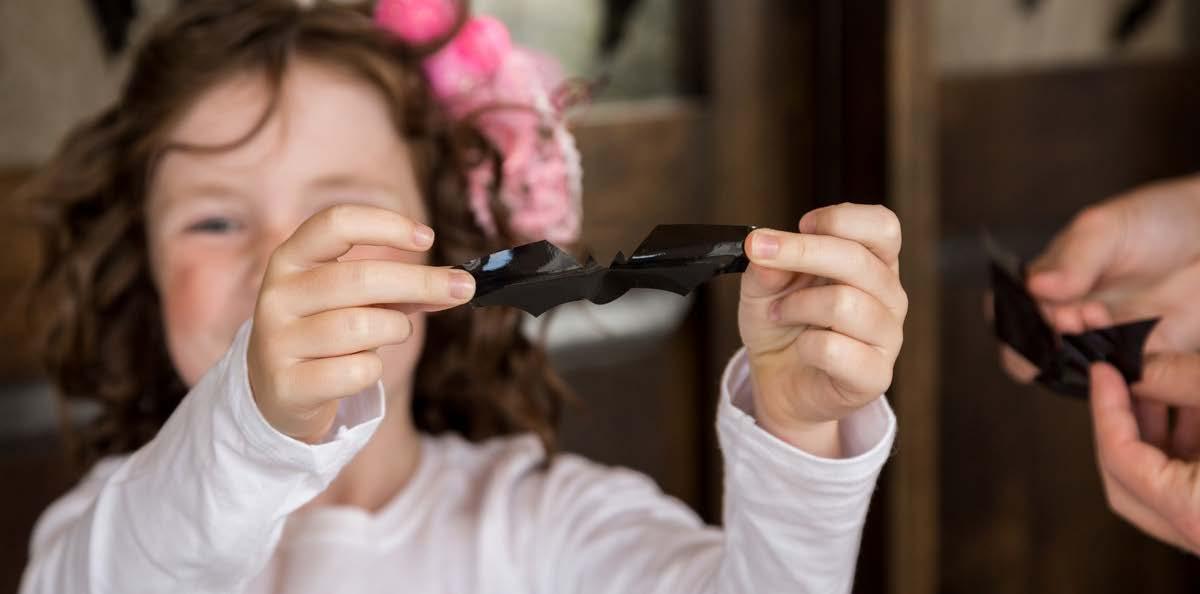
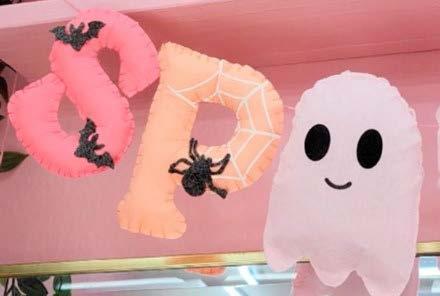
Halloween Window Bats
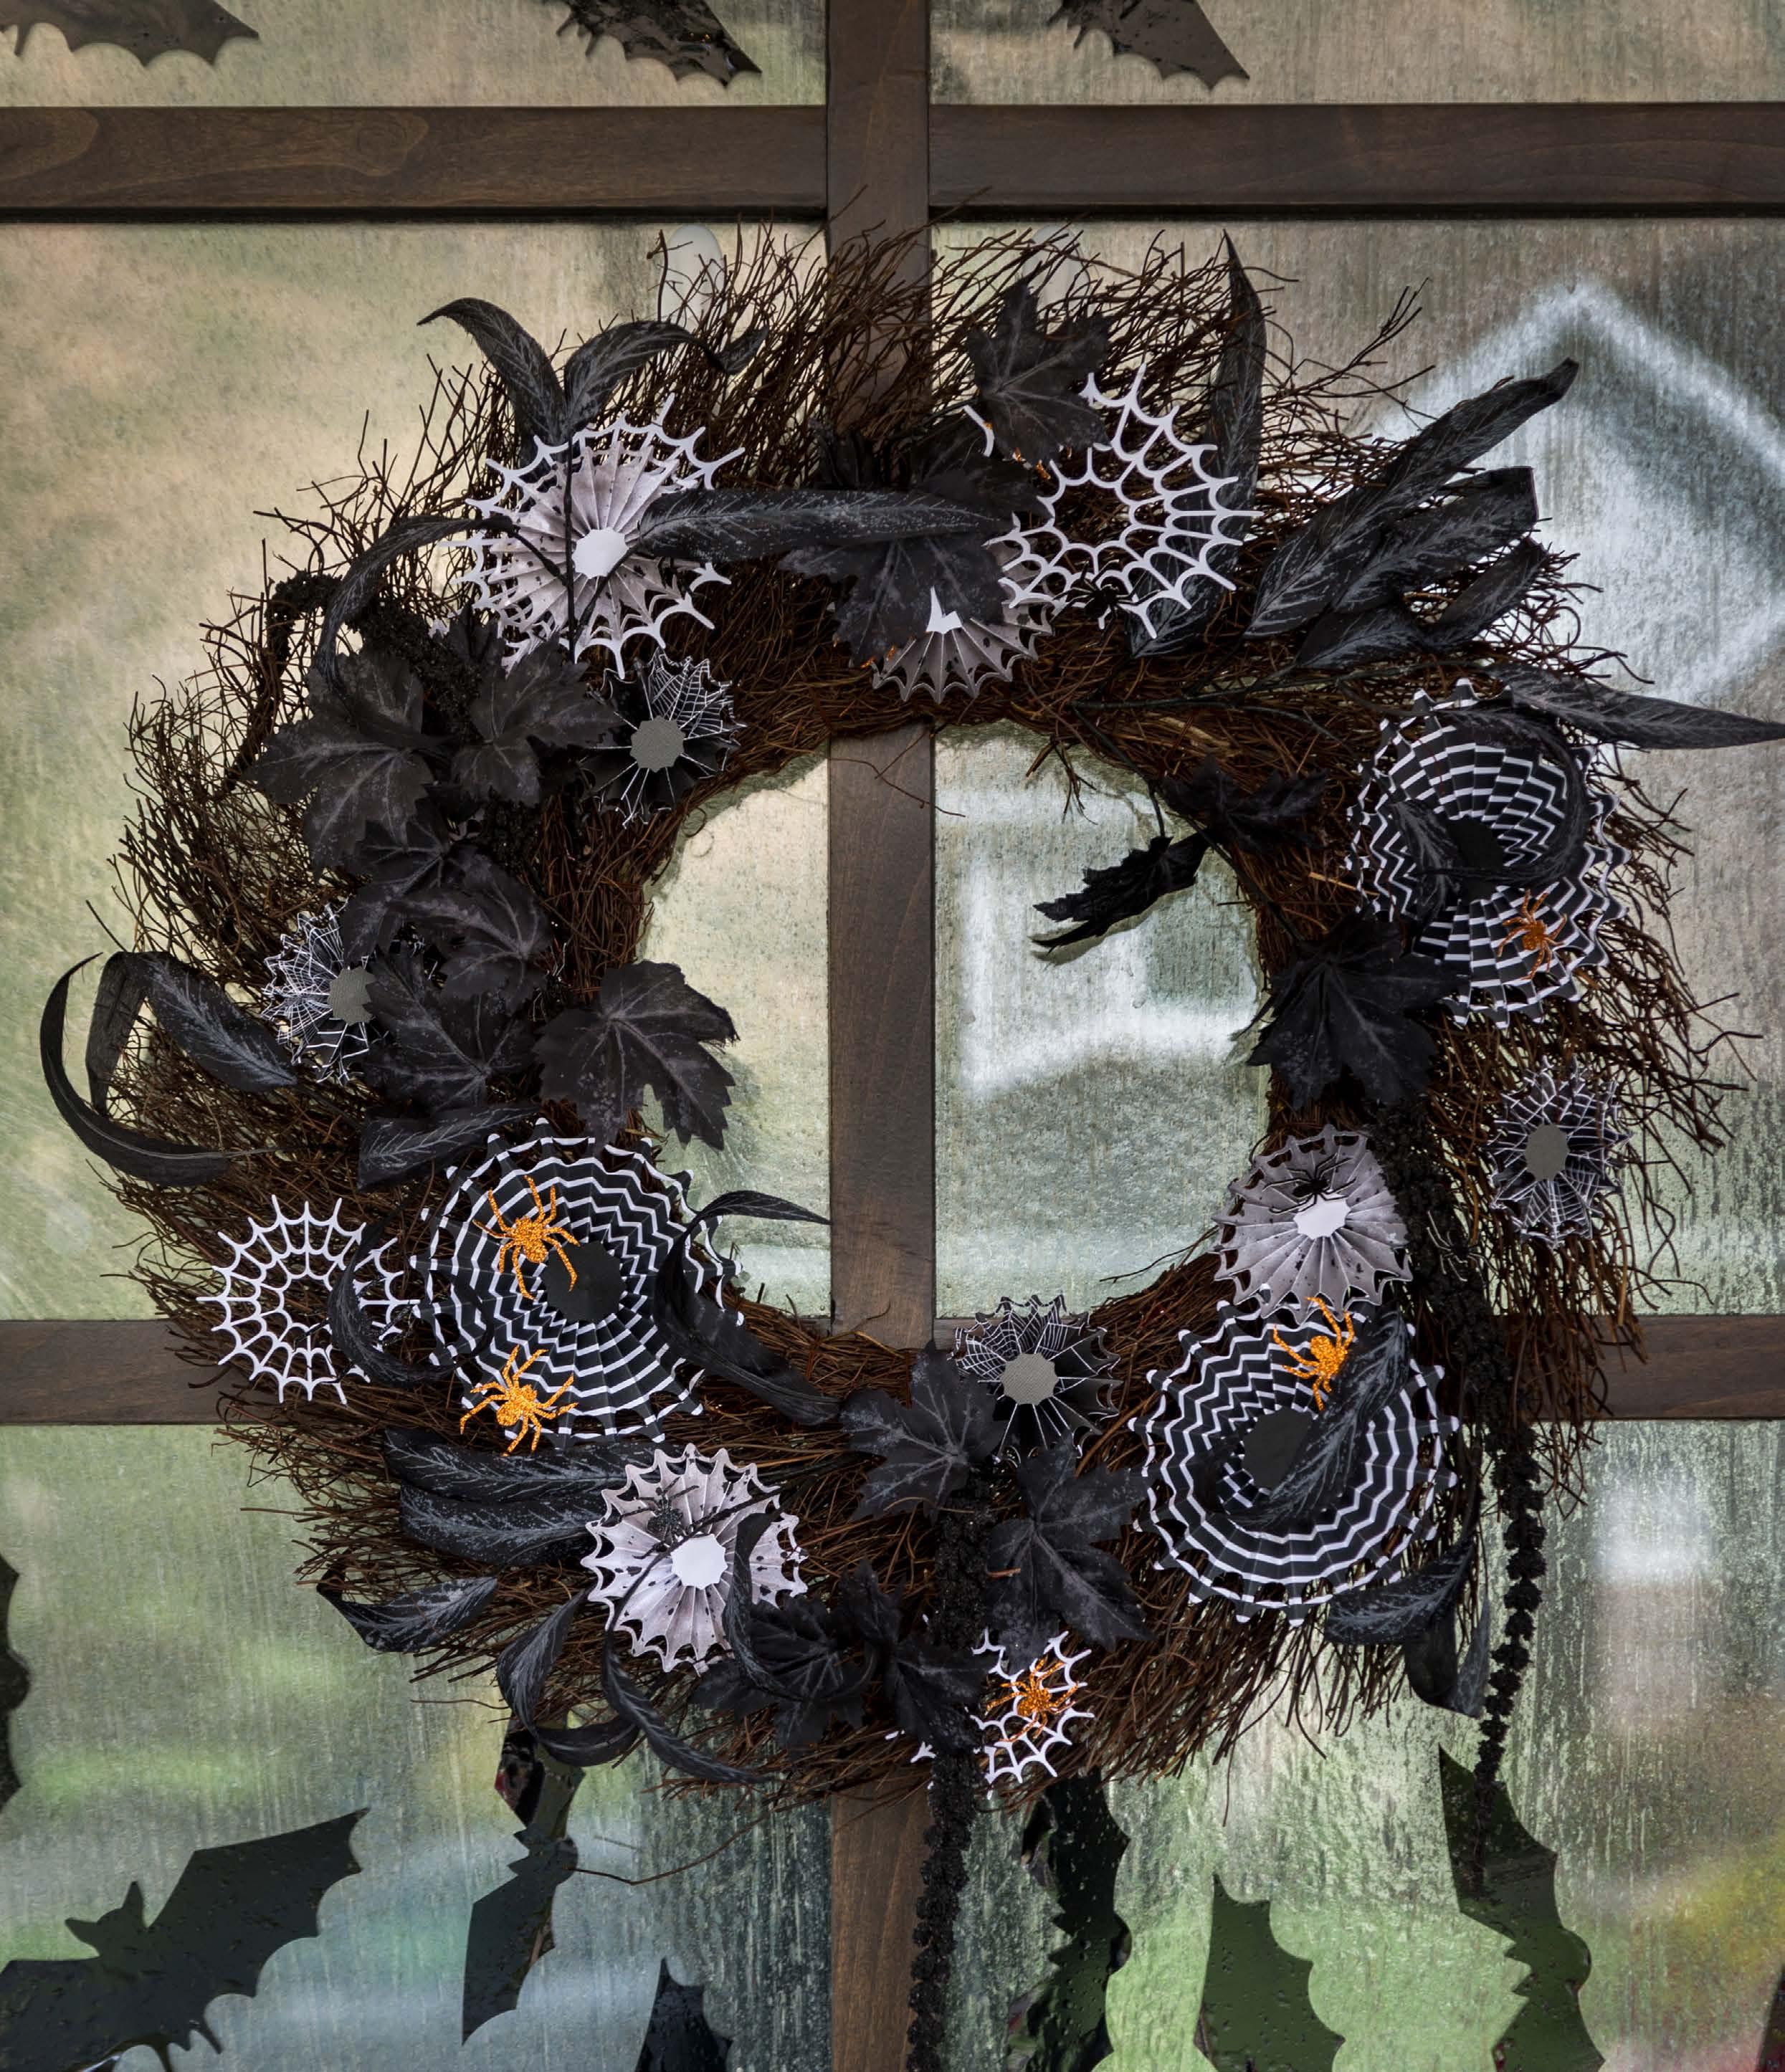
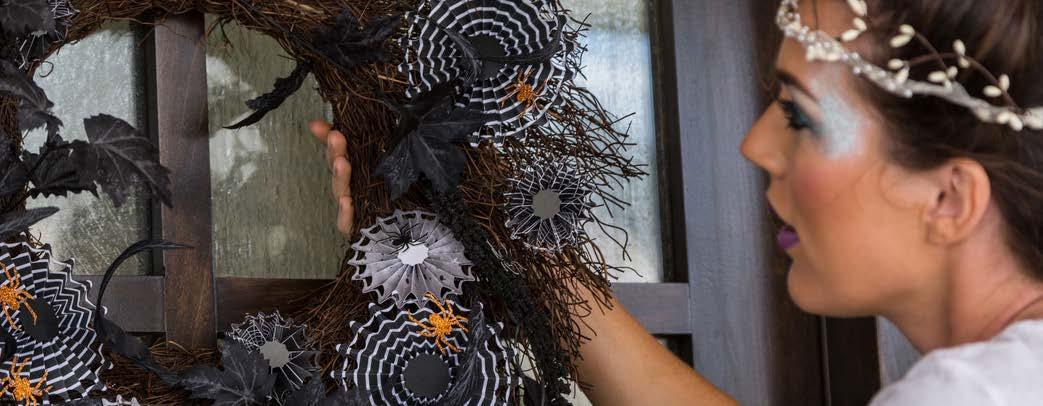
Spider Wreath
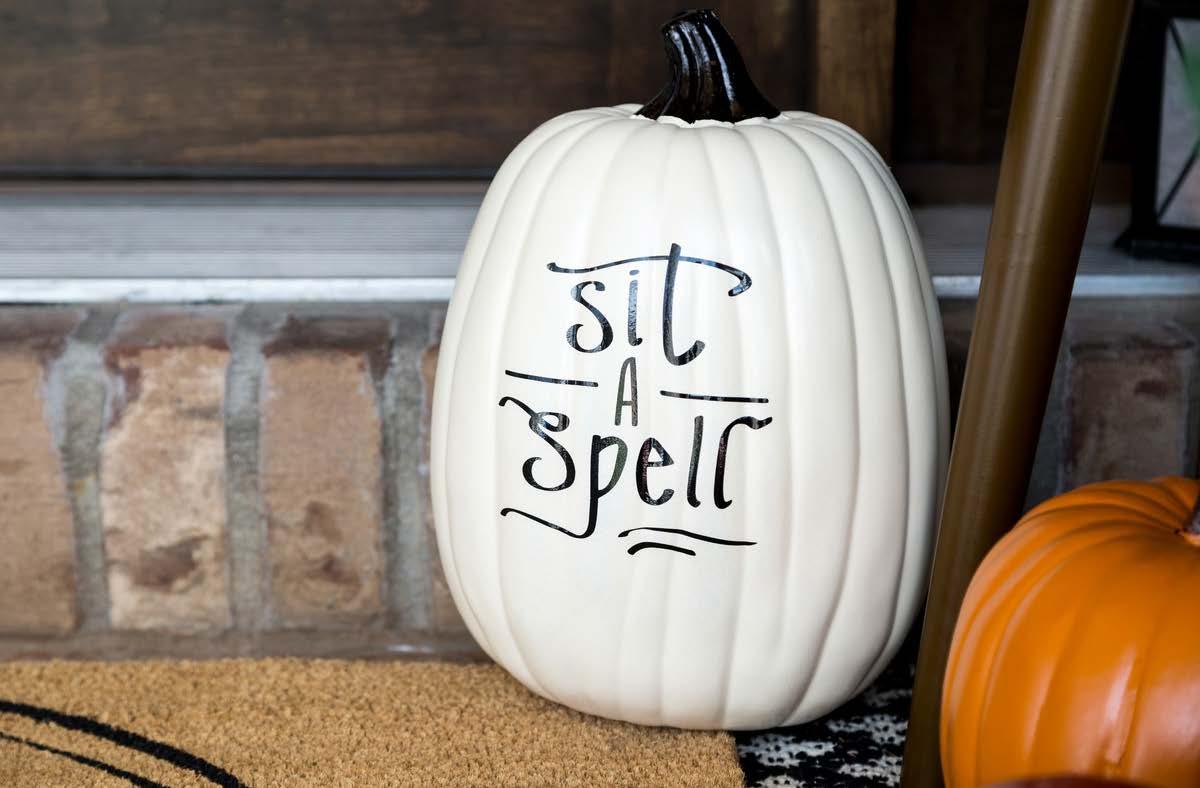
Phrase Pumpkin Pair
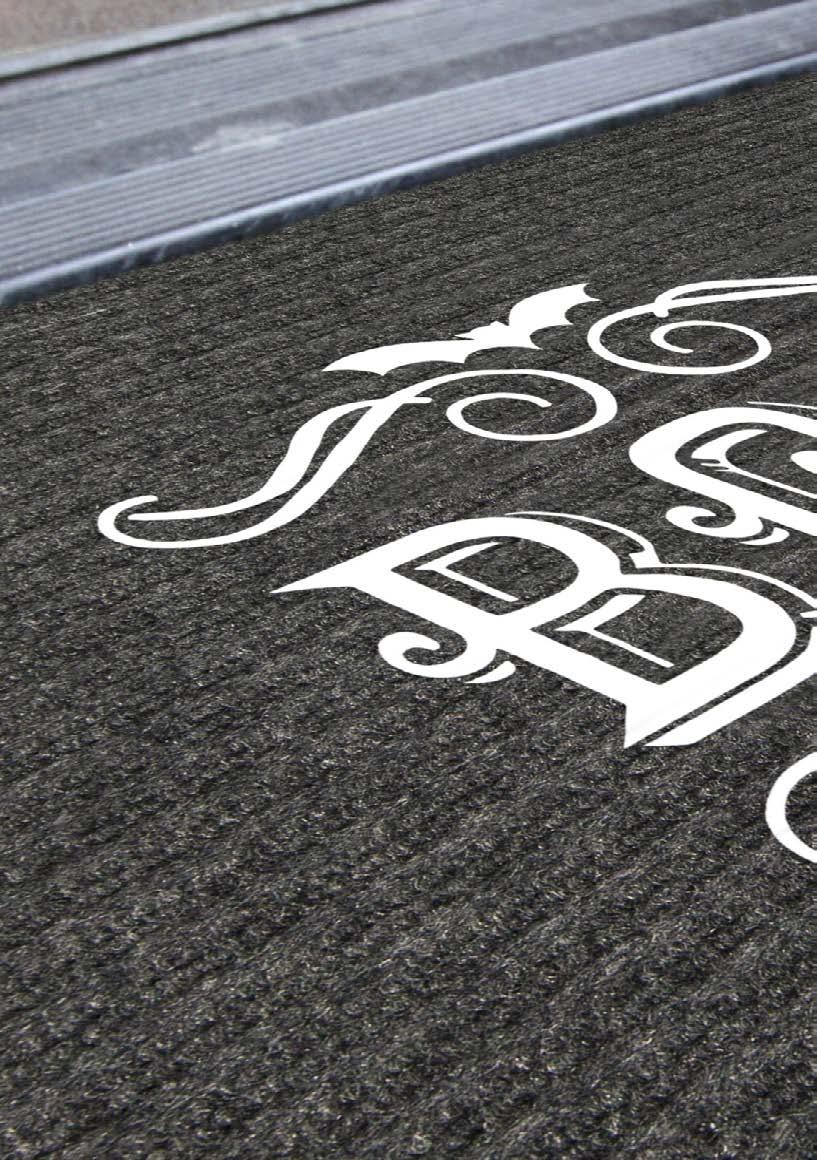
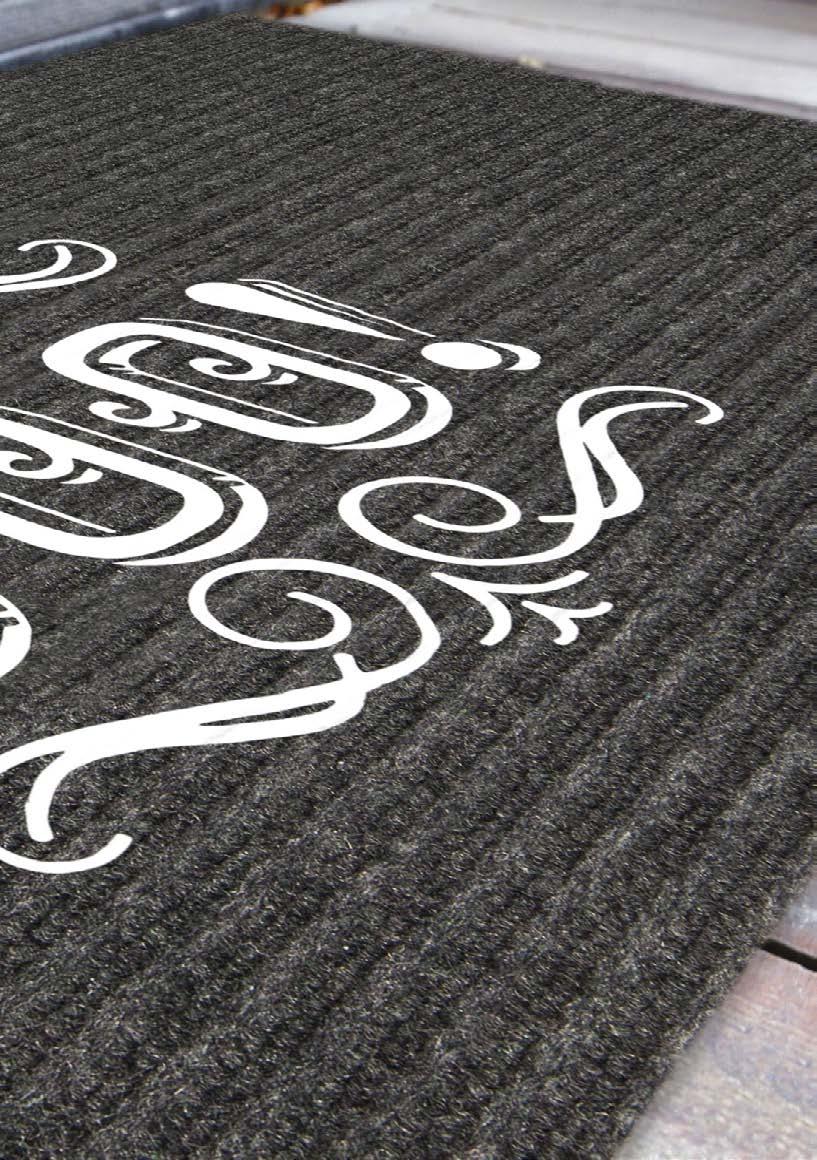
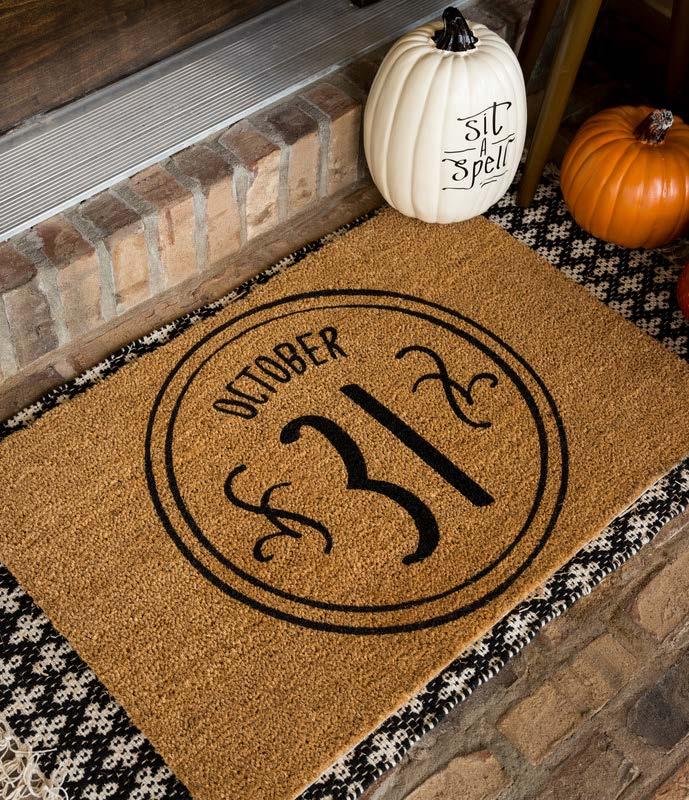
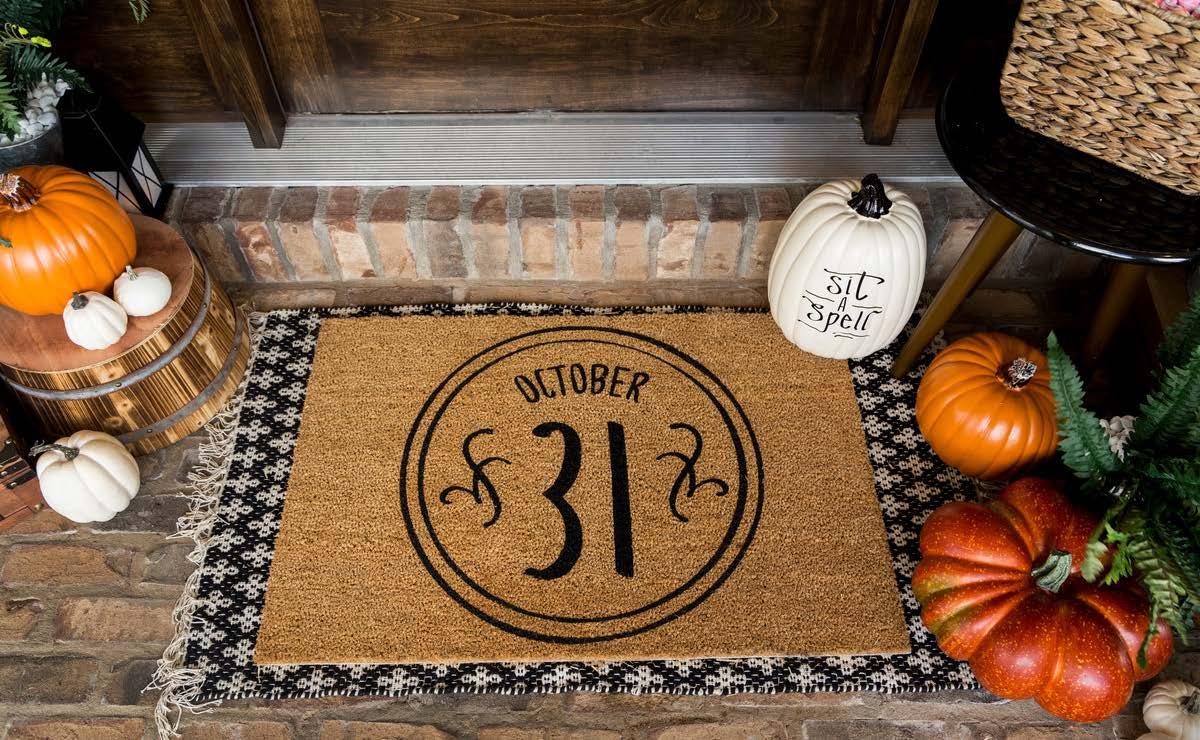
Oct 31st Doormat
Frightfully Fast Costumes
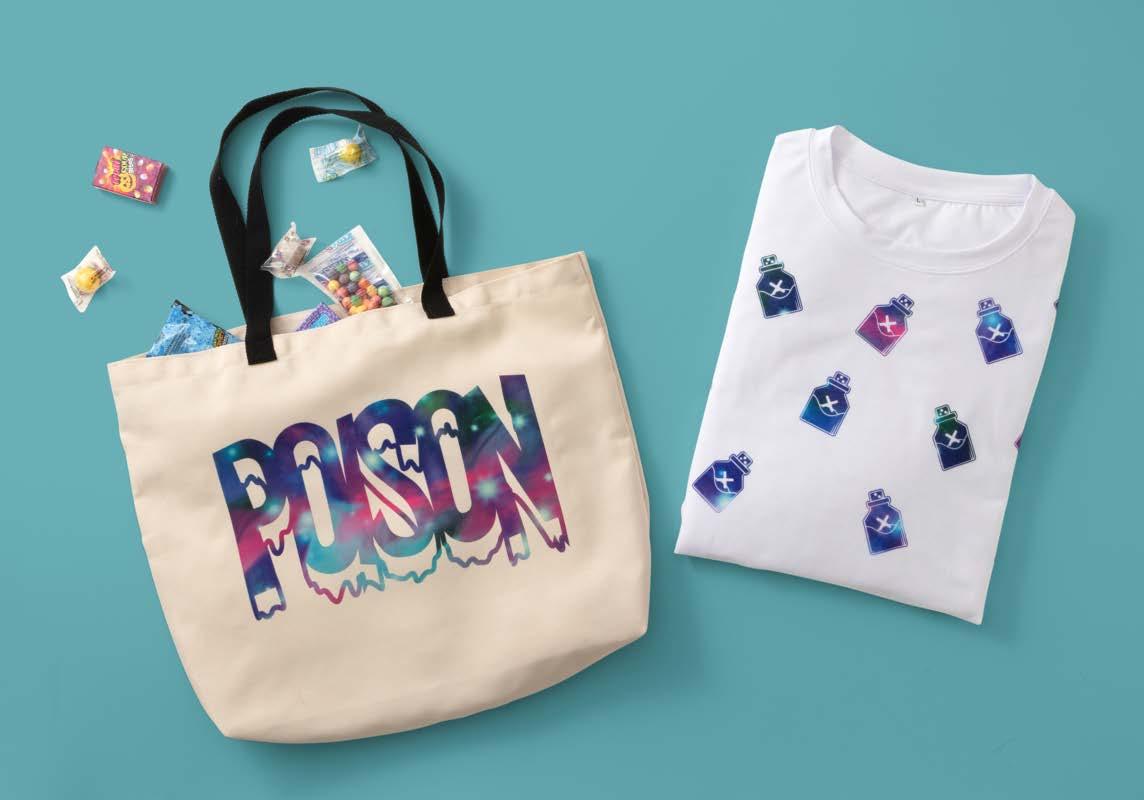
Beach Guard Tank Top
Salt & Pepper Couples Costume
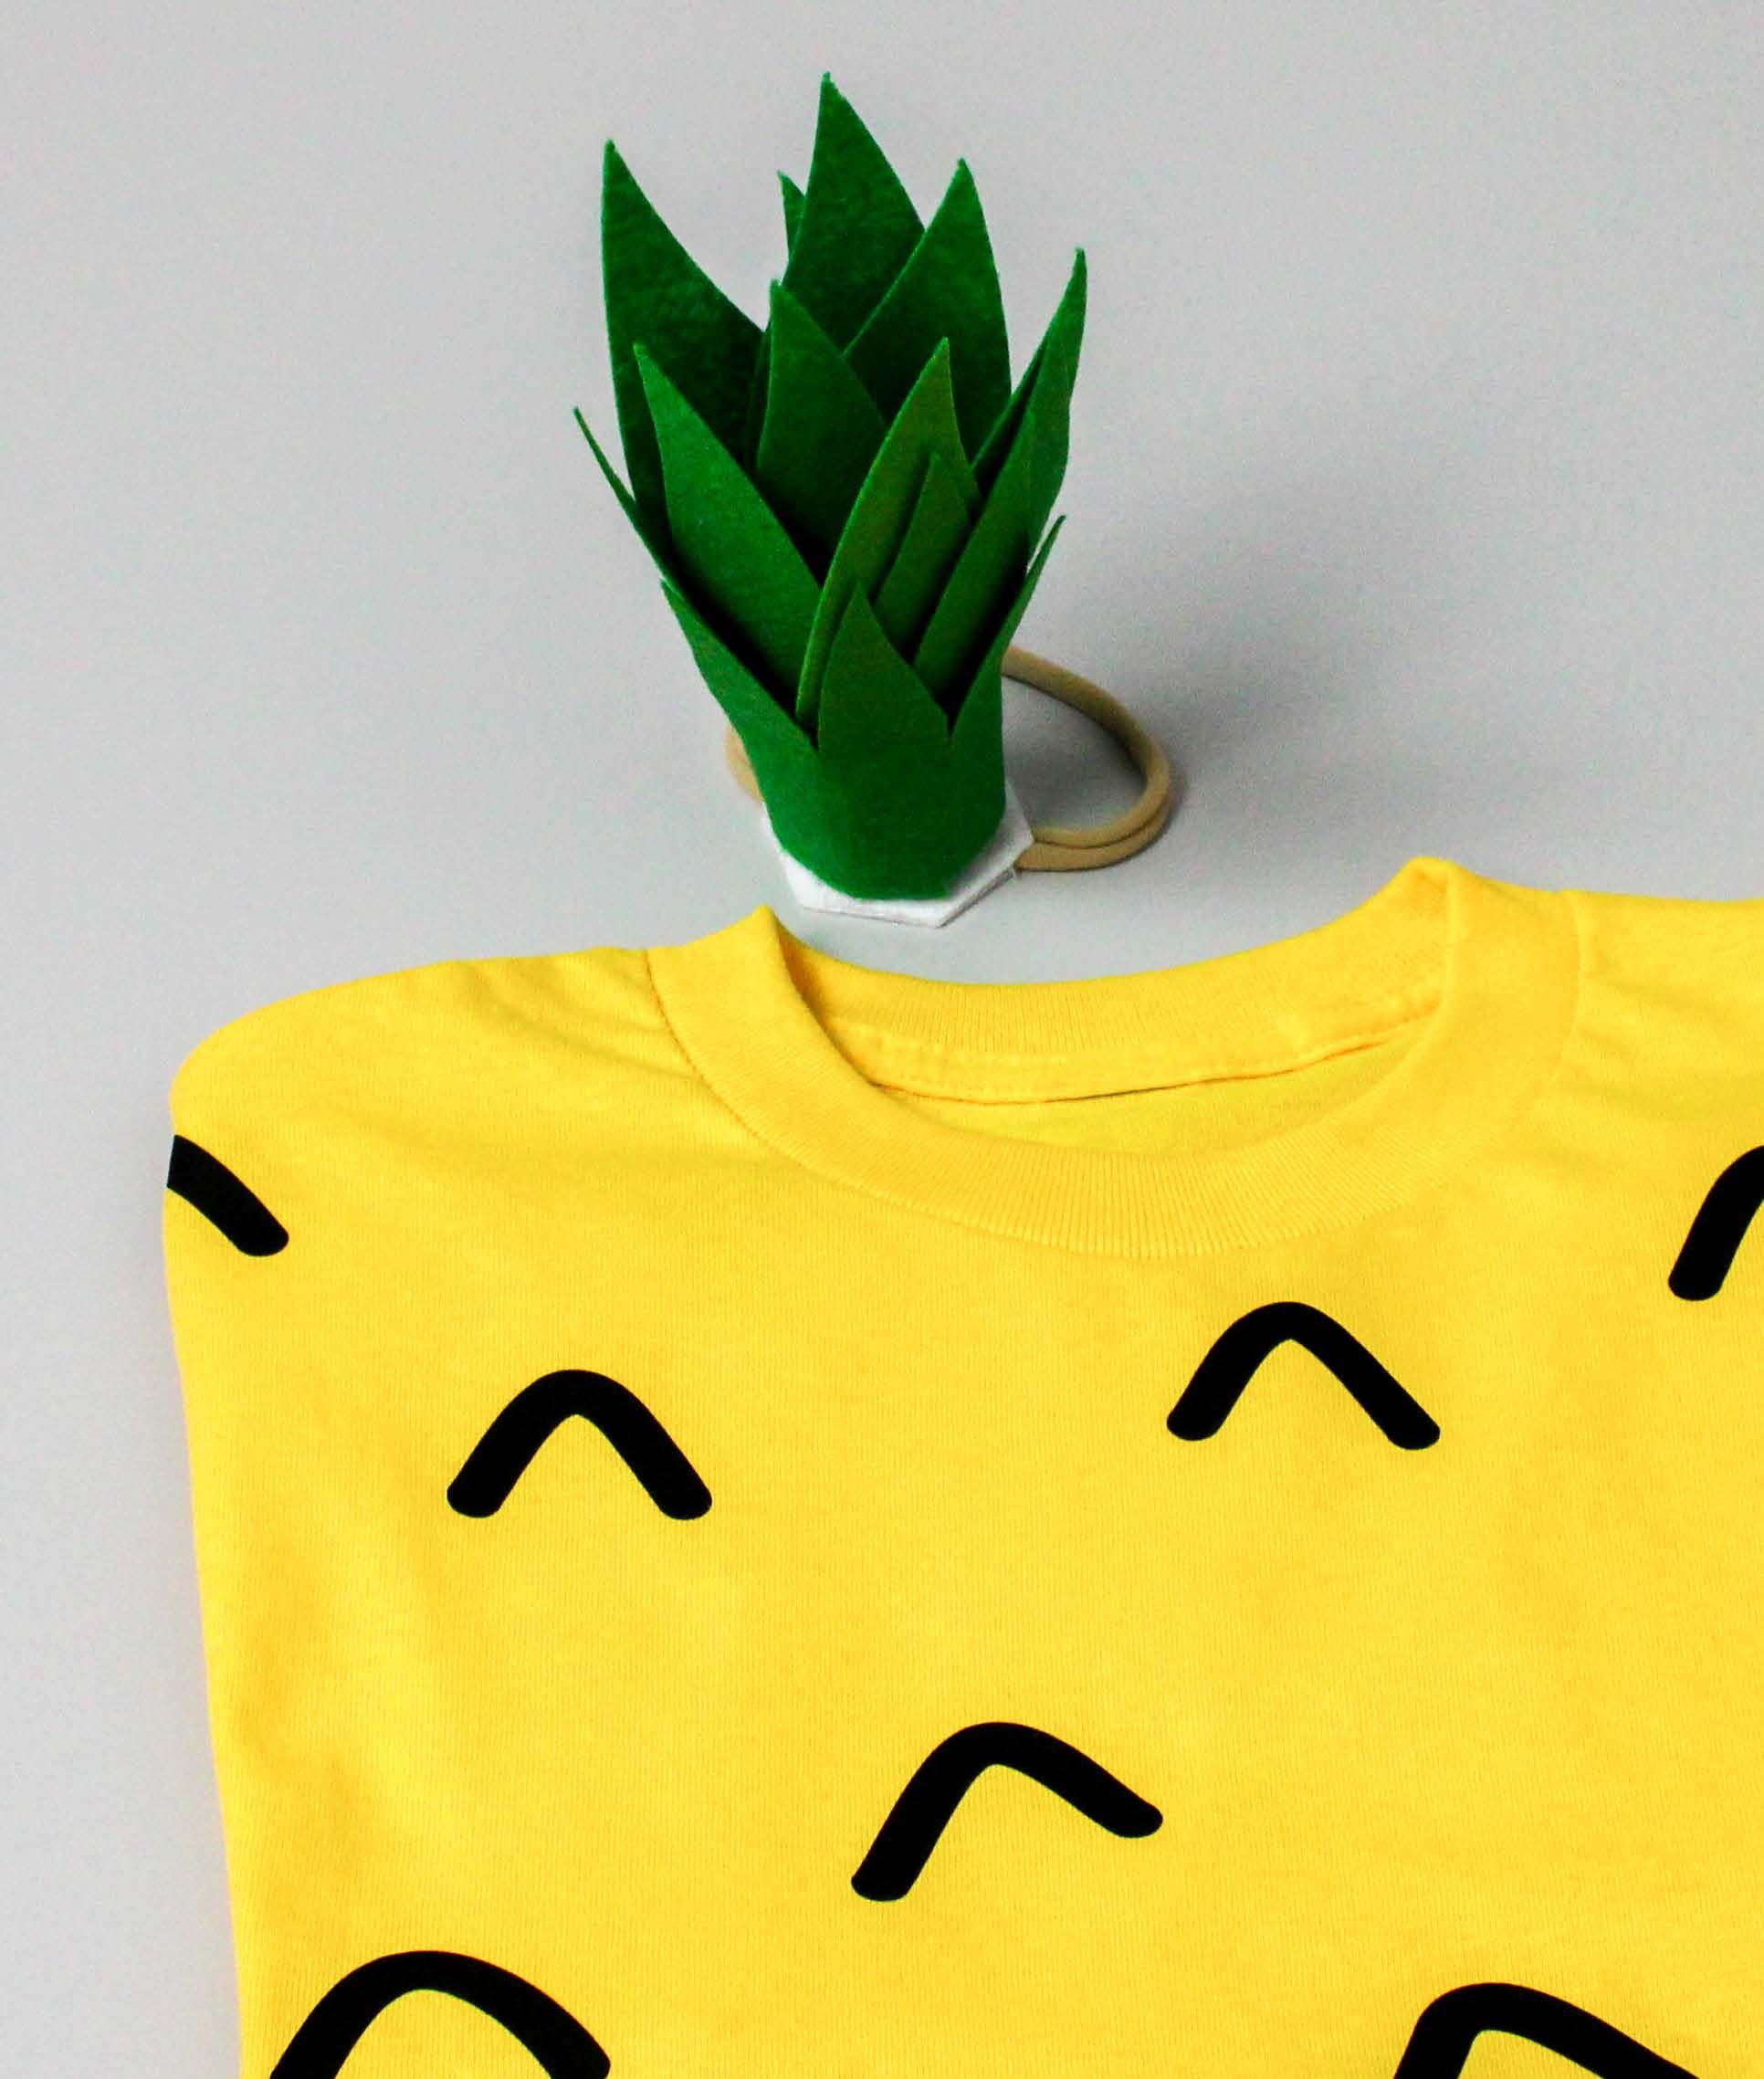
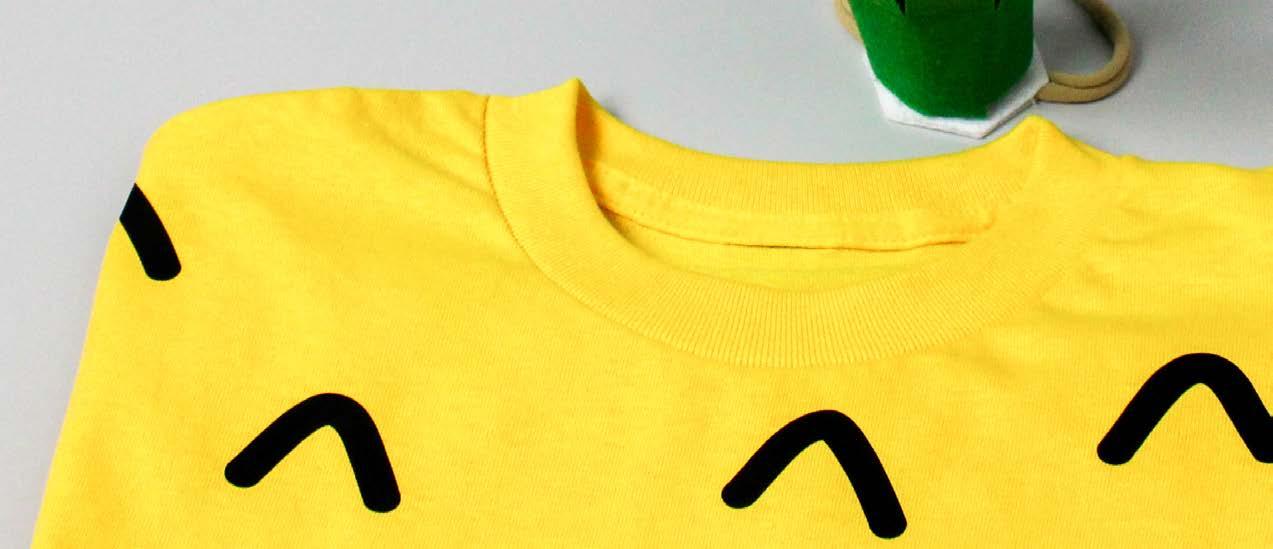
Pineapple Costume
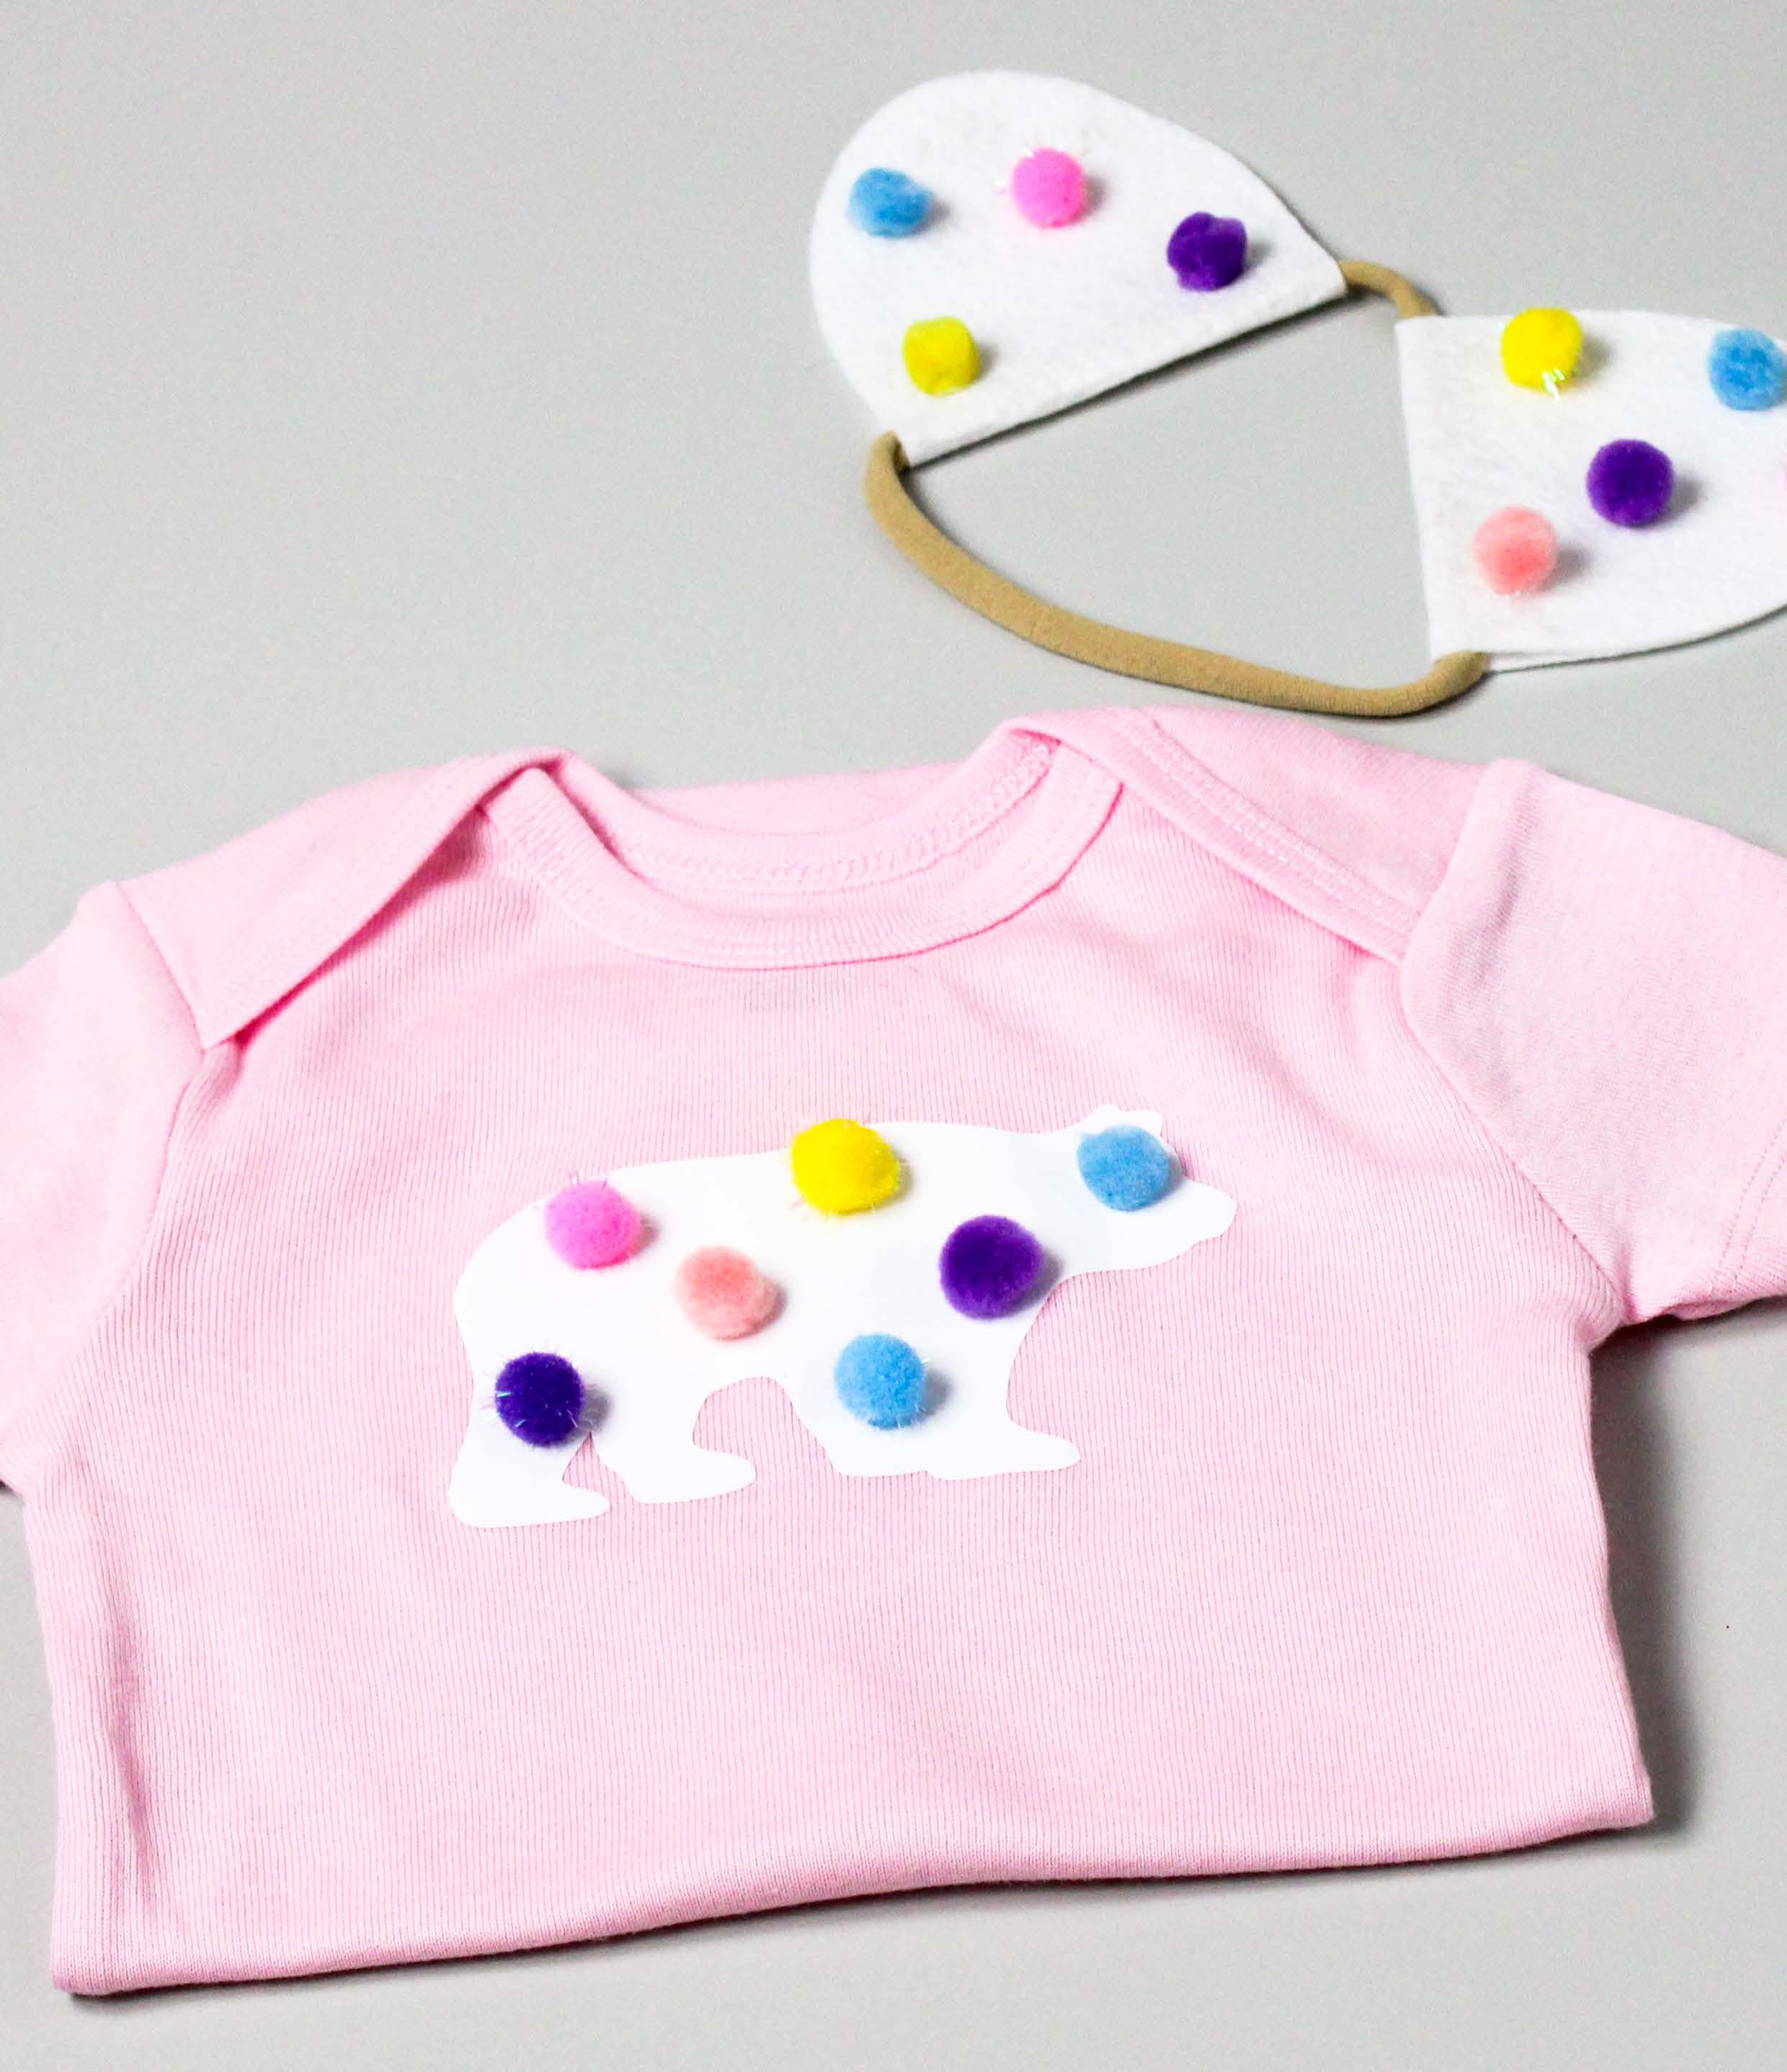
Animal Cracker Costume
Design Inspiration
In My Halloween Era
Witchy Ouija
Gothic Romance
Timeless Traditions
Welcome to Your Spooktacular Halloween Guide!
At Cricut, we believe that every haunting detail, from eerie decor to show-stopping costumes, has the power to transform Halloween into a magical celebration. Whether you’re planning a ghoulish gathering or simply want to add a touch of spooky charm to your home, we’re here to help you bring every bewitching idea to life. Whether you’re crafting intricate party decorations, whipping up costumes that will make everyone scream (with delight!), or designing decor that’ll give your guests goosebumps, Cricut has everything you need to make this Halloween your most creative yet. So grab your favorite materials, fire up your Cricut machine, and let’s make some Halloween magic together. Because with Cricut, there’s no limit to what you can conjure!
Looking for a spark to ignite your Halloween creativity? We’ve got all the ideas, colors, and designs to help you craft something truly spooktacular!


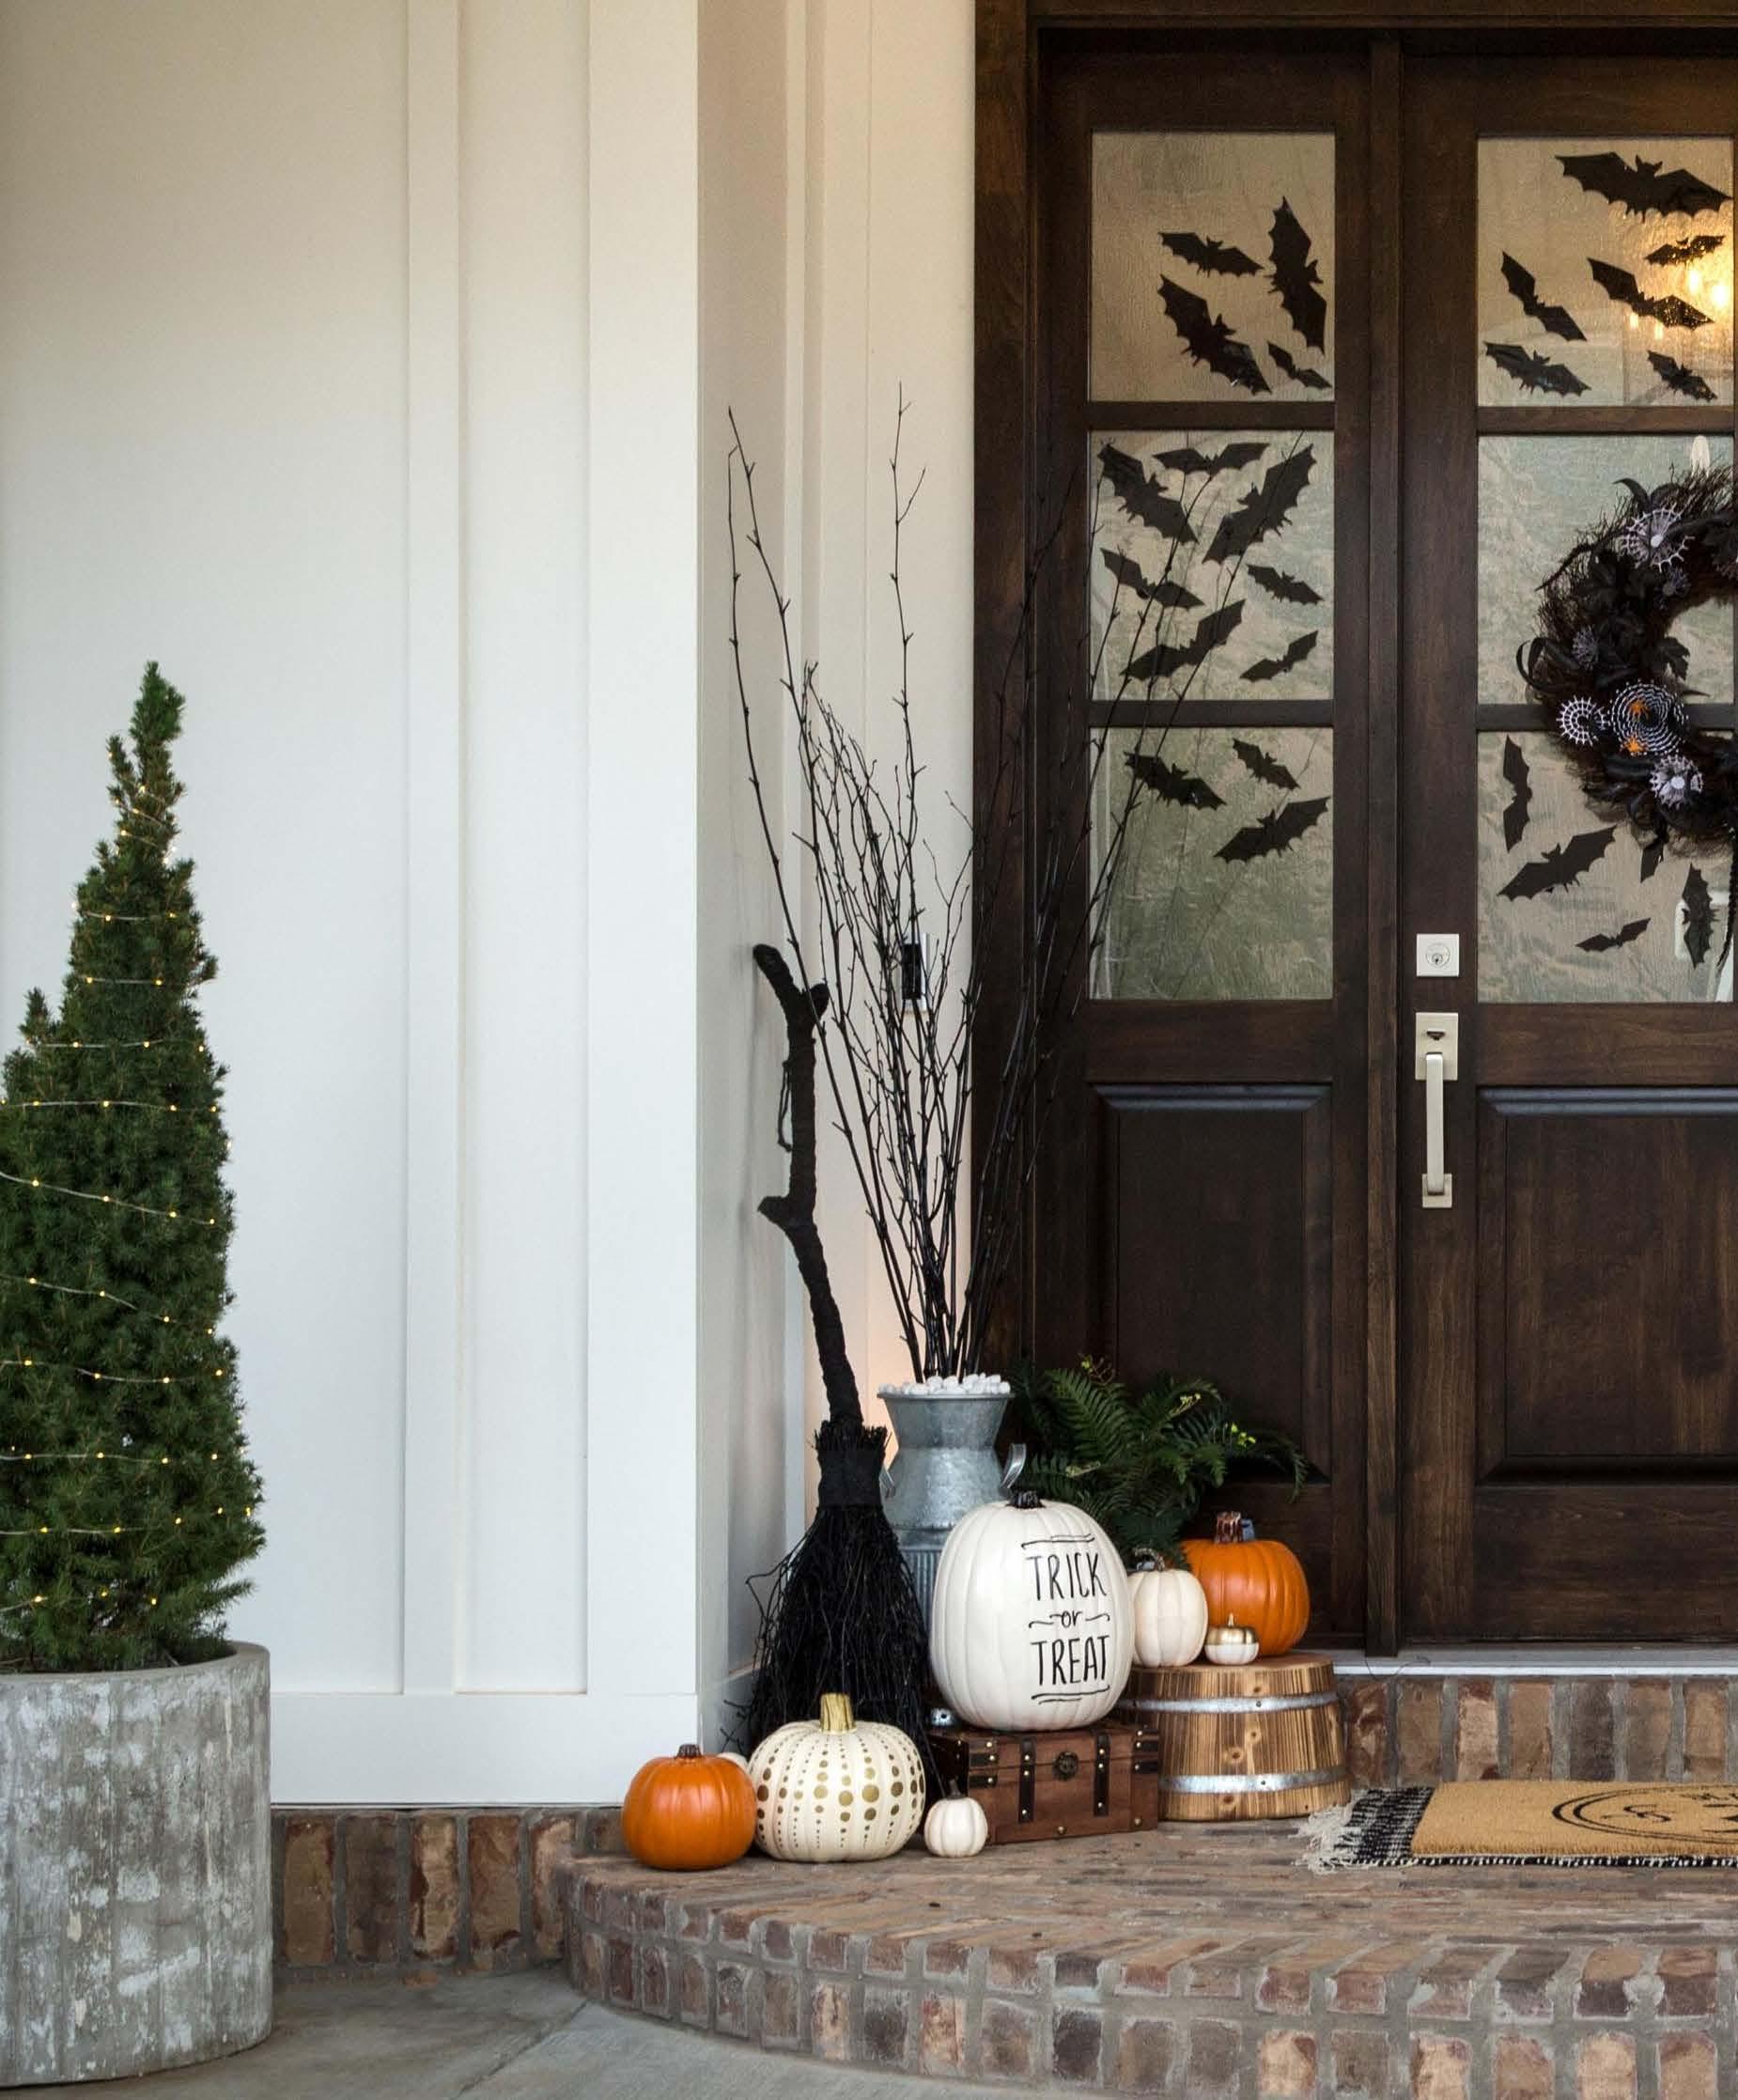

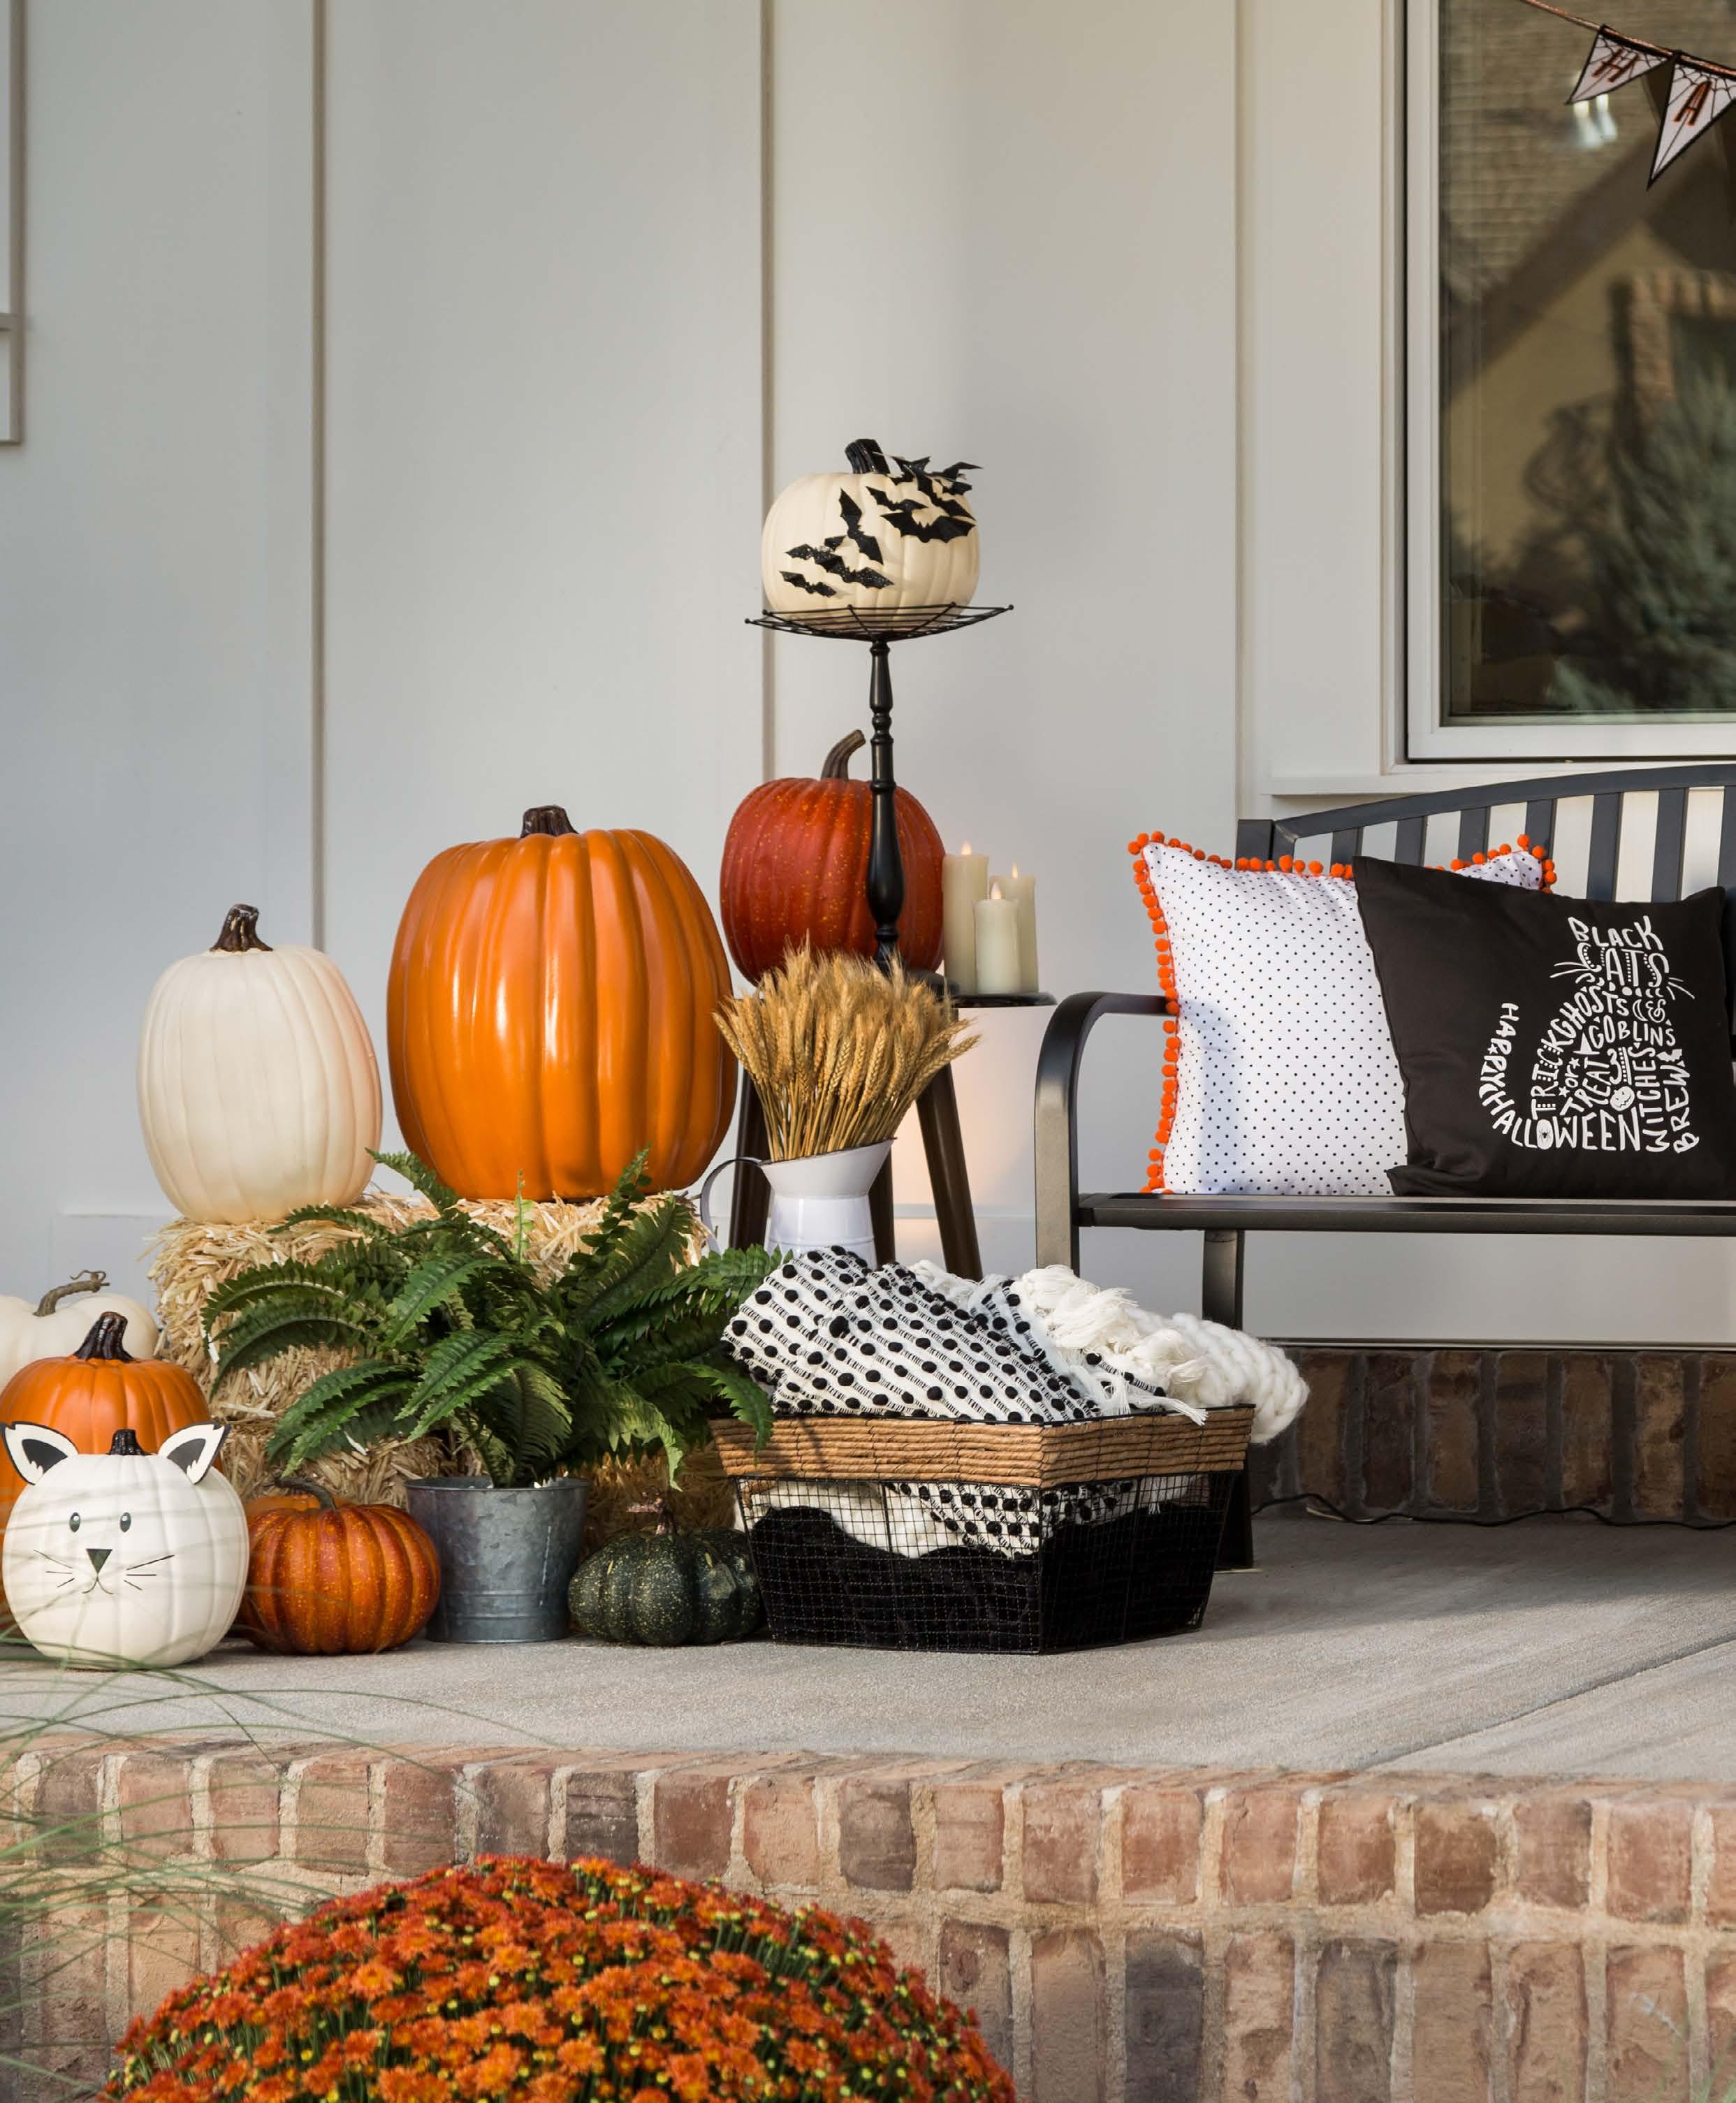
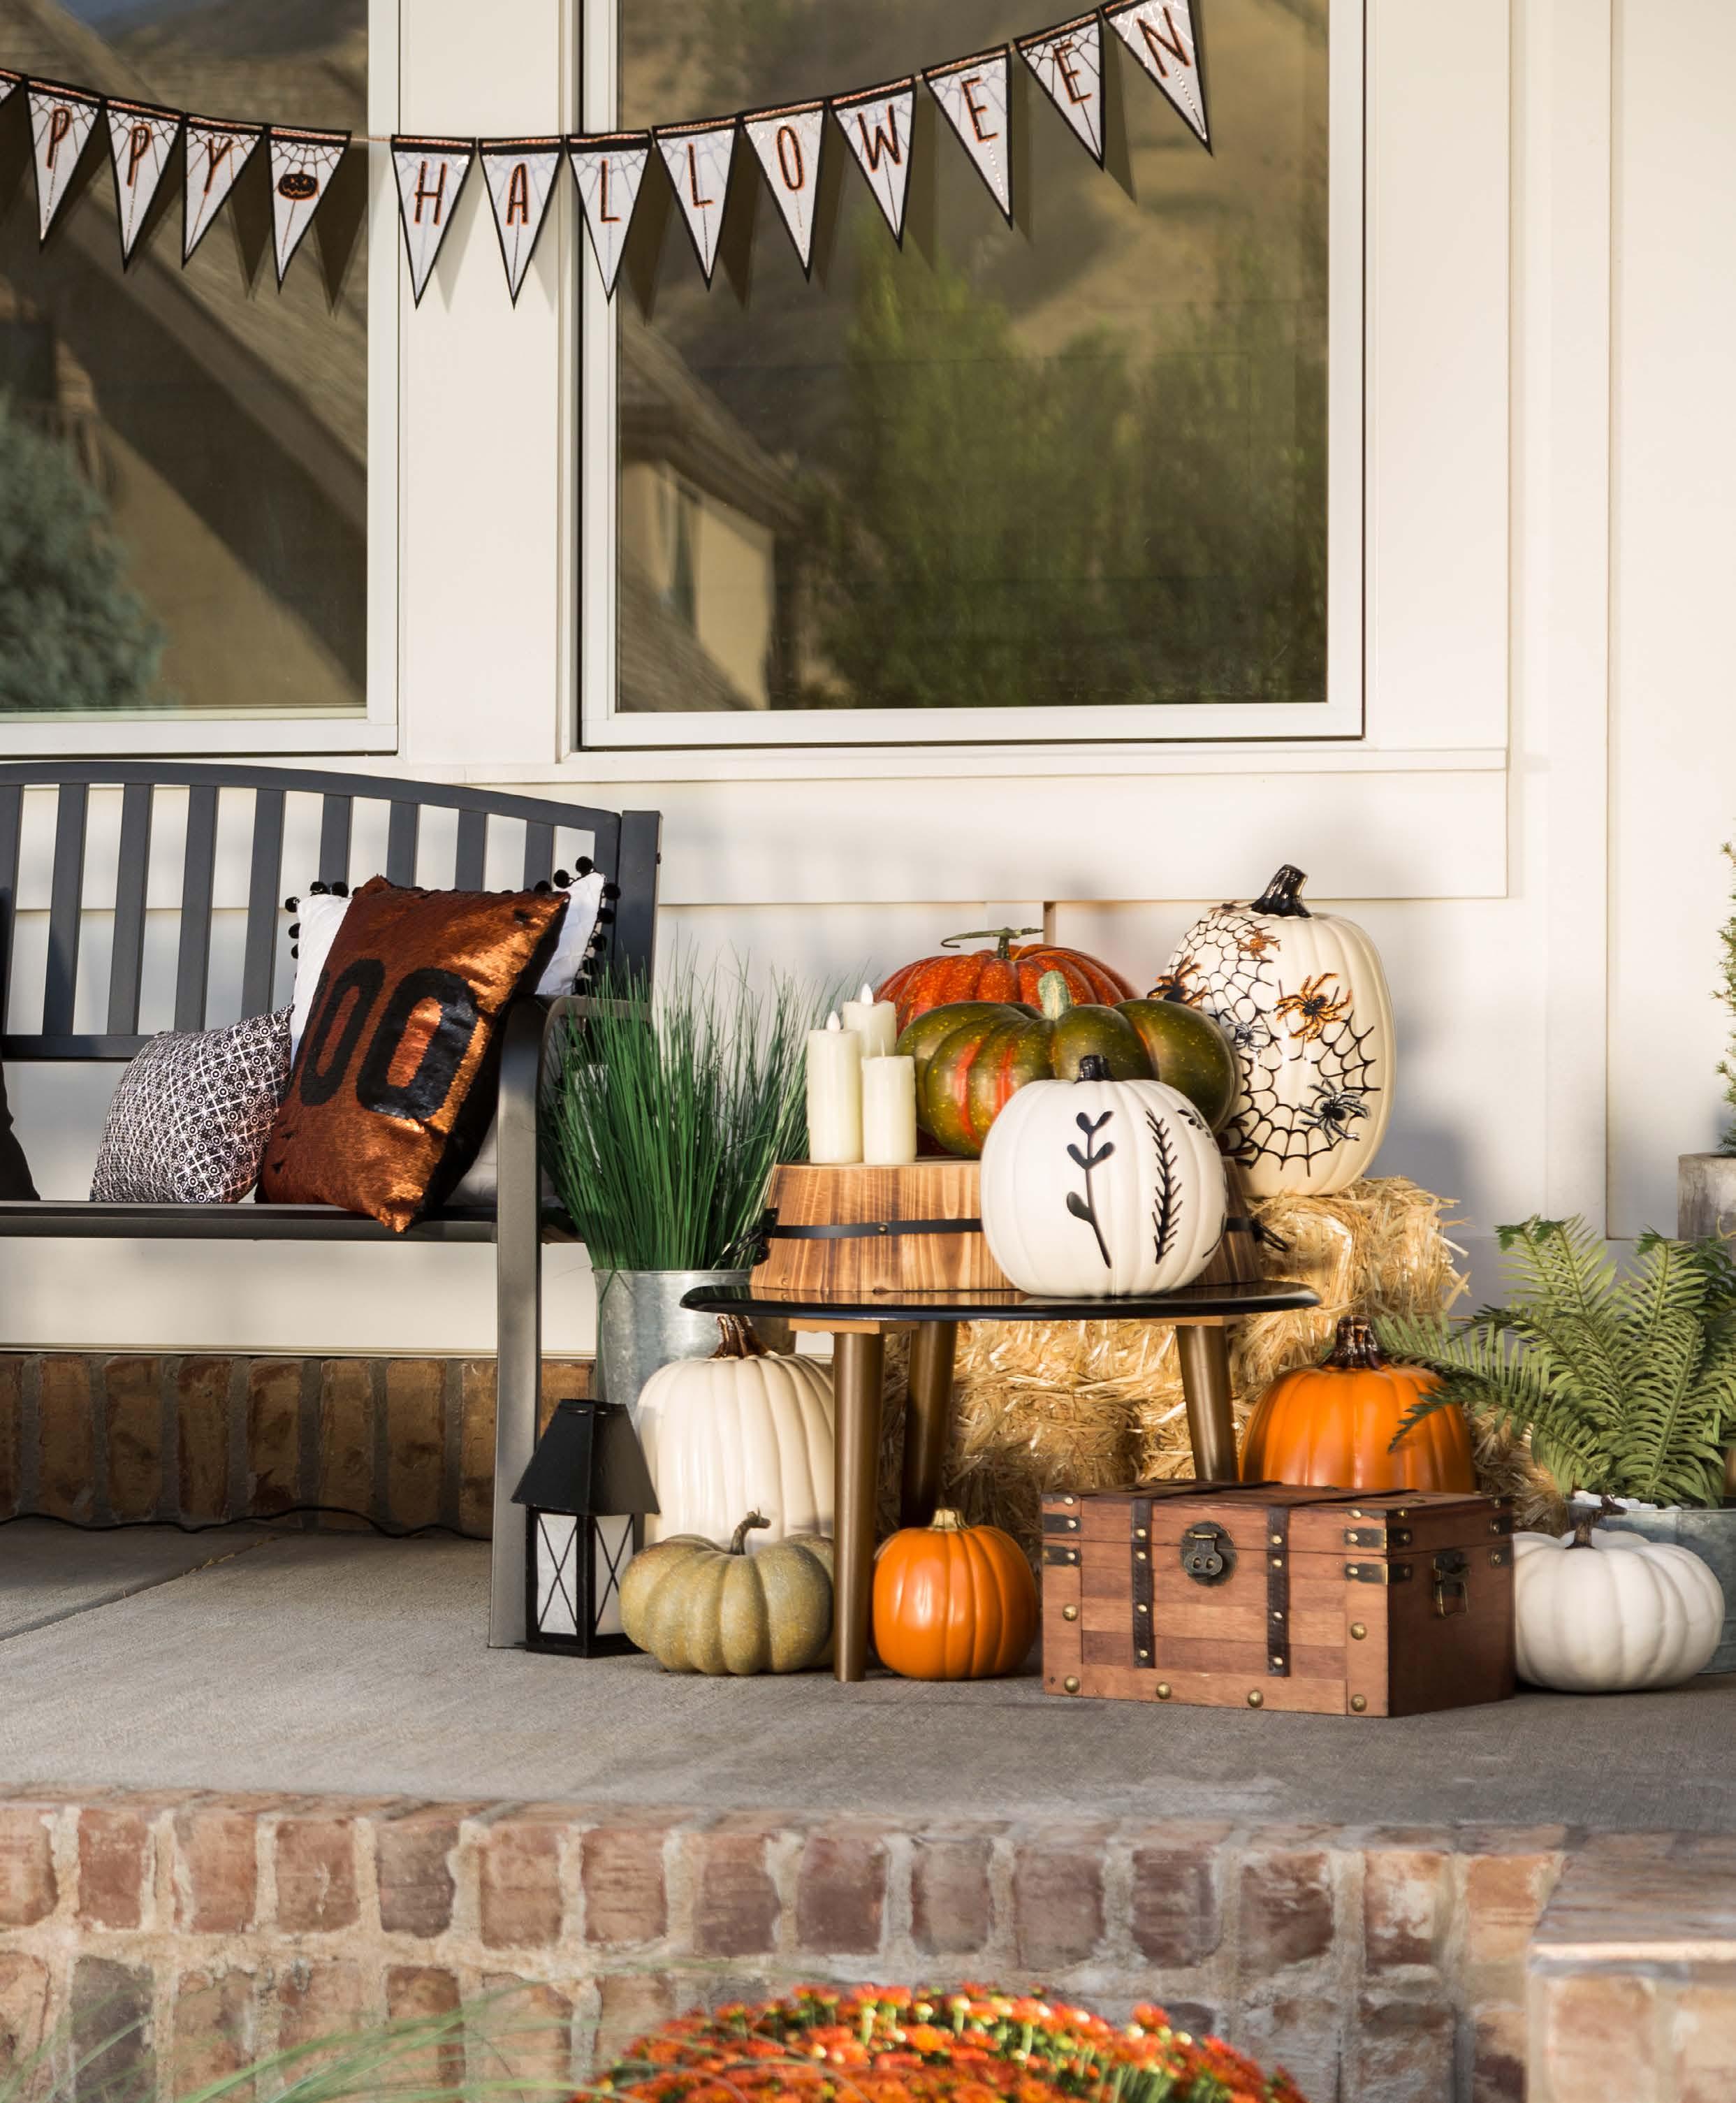
Ready to transform your space into a Halloween masterpiece? From eerie entranceways to haunted table settings, let your Cricut create the perfect spooky scene.
Materials to Cut
Cricut Premium Vinyl™Removable, Black or
Cricut Smart Vinyl™Removable, Black
Everything Else
Cricut Weeder
Cricut Scraper
Cricut Transfer Tape
Cricut Standard Grip Machine Mat
(*Premium Vinyl only)
If you want to alter the project, click “Customize”, then use the tools in the Edit panel to make changes before you cut.
Follow the prompts in Design Space® to cut the images from the vinyl.
Assemble
Remove the unneeded pieces using a weeder tool. It is usually easiest to move from the inside out while weeding.
Use transfer tape and a scraper tool to apply the vinyl cuts to your window. Make sure surfaces you plan to adhere to are clean and dry.
Materials to Cut
Cricut Cardstock, White
Cricut Glitter Cardstock
Sample, Classics
Halloween Patterned Cardstock
Everything Else
Cricut Standard Grip Machine Mat
Cricut Single Scoring Wheel or Double Scouring Wheel
Adhesive for Paper
Dark Autumn Wreath, 9”
Cricut Hot Glue Gun and Glue Sticks
If you want to alter the project, click “Customize”, then use the tools in the Edit panel to make changes before you cut.
Follow the prompts in Design Space® to cut the images.
To assemble the rosettes, fold them into an accordion shape, gluing them together at the tabs to make one continuous strip.
Curl the accordion folded strip into a circle, and secure the end tab with glue.
Glue the center of the rosette over a center wheel to hold it in place. Use as much glue as necessary to secure the center, and hold in place until secure. Take care not to burn your fingers during this step!
Glue the spider webs onto the rosettes, then embellish them with the glitter cardstock spiders.
Attach the rosettes onto the wreath, and add any other embellishments you wish. Ours came with black leaves, and some other ideas to use are synthetic spider webbing, fall foliage, or feathers.
Hang your wreath on your front door and prepare for spooks!

Materials to Cut
Cricut Premium Vinyl™Permanent, Black Or
Cricut Smart Vinyl™Permanent, Black
Everything Else
Cricut StandardGrip Machine Mat
Cricut Transfer Tape
Cricut Weeder
Cricut Scraper Pumpkins
If you want to alter the project, click “Customize”, then use the tools in the Edit panel to make changes before you cut.
Follow the prompts in Design Space® to cut the images.
Remove the unneeded pieces using a weeder tool. It is usually easiest to move from the inside out while weeding.
Use transfer tape and a scraper tool to apply the vinyl cuts to your project. Make sure surfaces you plan to adhere to are clean and dry.
Materials to Cut
Cricut Stencil Vinyl
Everything Else
Cricut StandardGrip
Machine Mat
Cricut Transfer Tape
Cricut Weeder
Cricut Scraper
Stipple Brush
Coir Doormat
Pins, Short
Acrylic Paint, Black
Follow the prompts in Design Space® to cut the images from the vinyl.
Assemble
Remove the unneeded pieces using a Weeder tool. It is usually easiest to move from the inside out when weeding.
Use Transfer Tape and your Scraper Tool to apply the vinyl cuts to your project. Make sure surfaces you plan to adhere to are clean and dry.
Stipple paint over the vinyl stencil. Take care around edges and fine points. It is better to do several thin layers than a thick layer that could bleed under the stencil.
Allow to dry, then remove the vinyl stencil.
Use a pair of small scissors to trim off any stray bits of paint on the coir and to sharpen up edges if necessary.


Need a costume in a pinch? These quick and easy DIY ideas will have you Halloween-ready in no time—no tricks, just treats!

Cricut Everyday Iron-on™, Red
Everything Else
Cricut StandardGrip
Machine Mat, 12” x 12”
Cricut EasyPress™, or Household Iron and Press Cloth
Cricut EasyPress™ Mat
Cricut Weeder
Tank Top, White
If you want to alter the project, click “Customize”, then use the tools in the Edit panel to make changes before you cut.
Be sure to Mirror the image when using iron-on and place the shiny side (clear liner) down on the mat.
Follow the prompts in Design Space® to cut the images from the iron-on material.
Use a weeder tool to remove the negative pieces so just your design remains on the clear liner.
Apply the iron-on layers to your project using a Cricut EasyPress™ and Cricut EasyPress Mat with our Interactive Guide, linked below, for the perfect time and temp settings; or use a household iron or heat press and a press cloth.


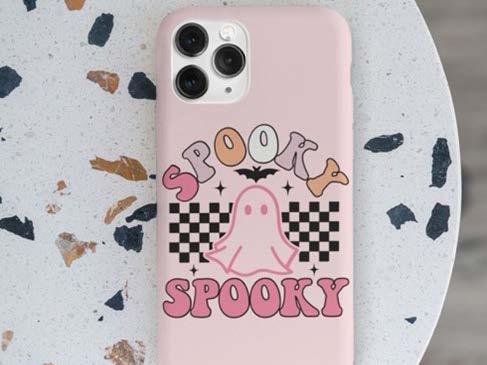
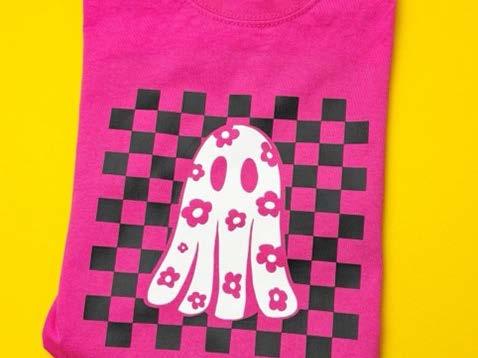
Cricut Everyday IronOn™, Black
Cricut Everyday IronOn™, White
Everything Else
Cricut Cutting StandardGrip Machine Mat
Cricut Heat Press
Cricut Pressing Mat or Cricut EasyPress™ Mat
Cricut Weeder
Cricut BrightPad™ (Optional)
Cricut Trucker Hat Blanks (2)
T-Shirt Blanks (2)
To alter the project, select Customize, then use the Edit panel to make changes.
When you’re ready, select Make It, and mirror your design. Place iron-on material, shiny side (clear liner) down, on mat. Follow Design Space® prompts to cut images.
Assemble
Use a Weeder Tool to remove unneeded iron-on pieces, leaving design on clear liner.
For Cricut EasyPress® 3 download the Cricut Heat™ app to get precise settings and step-by-step instructions. For other Cricut heat press models, get time and temperature settings and instructions on the Cricut Heat Guide.
Materials to Cut
Cricut Everyday IronOn™, Black
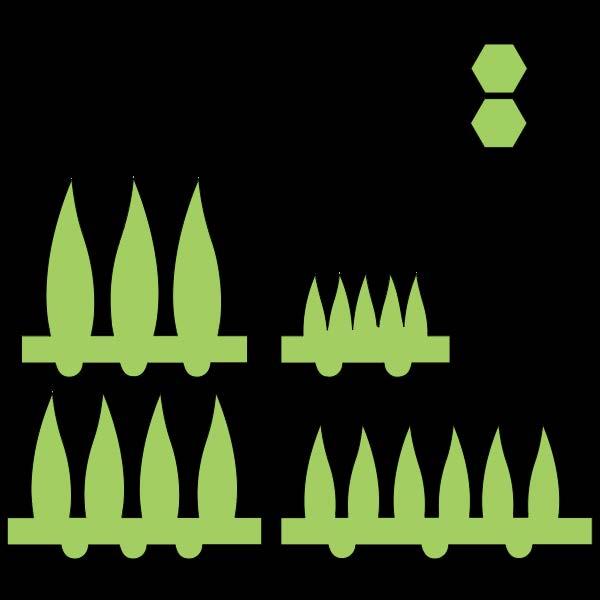
Felt, Green
Everything Else
Cricut Cutting
StandardGrip Machine Mat
Cricut FabricGrip Machine Mat - 12 in x 12 in
Cricut Rotary Blade
Cricut Heat Press
Cricut Pressing Mat
Cricut Weeder
Cricut BrightPad™ (Optional)
Cricut Hot Glue Gun and Glue Sticks
Yellow T-Shirt
Headband
To alter the project, select Customize, then use the Edit panel to make changes.
Cut
When you’re ready, select Make It, and mirror your design. Place iron-on material, shiny side (clear liner) down, on mat. Follow Design Space® prompts to cut images.
Assemble
Use a Weeder Tool to remove unneeded iron-on pieces, leaving design on clear liner.
Individually place the triangle iron-on pieces on the shirt where desired, then press. For Cricut EasyPress® 3 download the Cricut Heat™ app to get precise settings and step-bystep instructions. For other Cricut heat press models, get time and temperature settings and instructions on the Cricut Heat Guide linked below.
For the headband, take the smallest felt leaves and glue one end to the other.
Glue tabs to one felt hexagon.
Take next largest leaves, repeat process, then glue to inside the smaller leaves. Repeat till all 4 layers have been glued to the hexagon.
Glue the hexagon with leaves to headband.
Take remaining hexagon and glue to the bottom of headband and leaves.
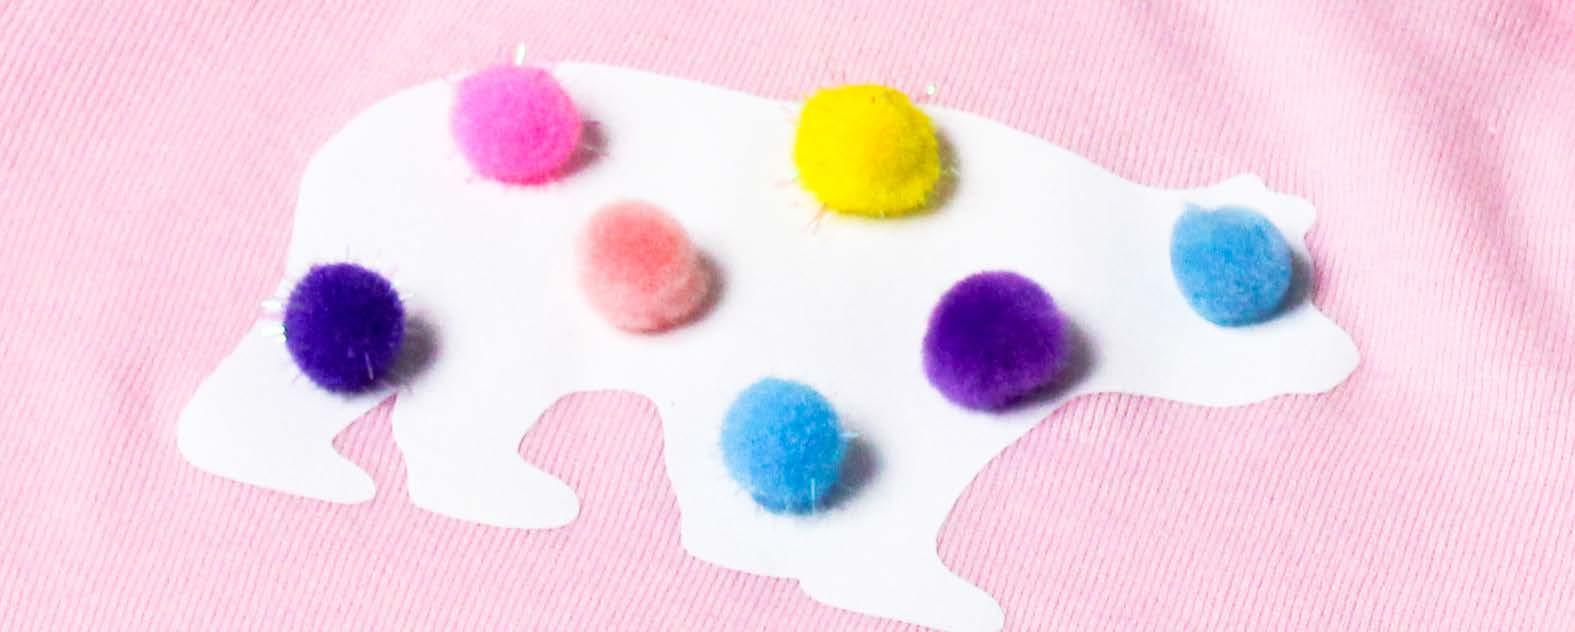
Materials to Cut
Cricut Everyday Iron-On, White
Felt, White
Everything Else
Cricut Cutting
StandardGrip Machine Mat
Cricut Heat Press
Cricut Pressing Mat or Cricut EasyPress™ Mat
Cricut Weeder
Cricut BrightPad™ (Optional)
Pink Baby Bodysuit Blank
Baby Headband
Hot Glue and Glue Gun
Pom-poms, assorted colors
To alter the project, select Customize, then use the Edit panel to make changes.
Cut
When you’re ready, select Make It, and mirror your design.
Place iron-on material, shiny side (clear liner) down, on mat.
Follow Design Space® prompts to cut images.
Assemble
Use a Weeder Tool to remove unneeded iron-on pieces, leaving design on clear liner.
For Cricut EasyPress® 3 download the Cricut Heat™ app to get precise settings and step-by-step instructions. For other Cricut heat press models, get time and temperature settings and instructions on the Cricut Heat Guide linked below.
Iron-on bear to bodysuit then embellish using pom-poms and hot glue gun.
Fold felt ears in half and glue headband inside. Embellish ears with pom-poms.
Allow to dry, then remove the vinyl stencil.
Use a pair of small scissors to trim off any stray bits of paint on the coir and to sharpen up edges if necessary.
With this playful design board, you can make Halloween designs that are both trendy and enchanting, perfectly balancing vibrant vibes with festive flair.


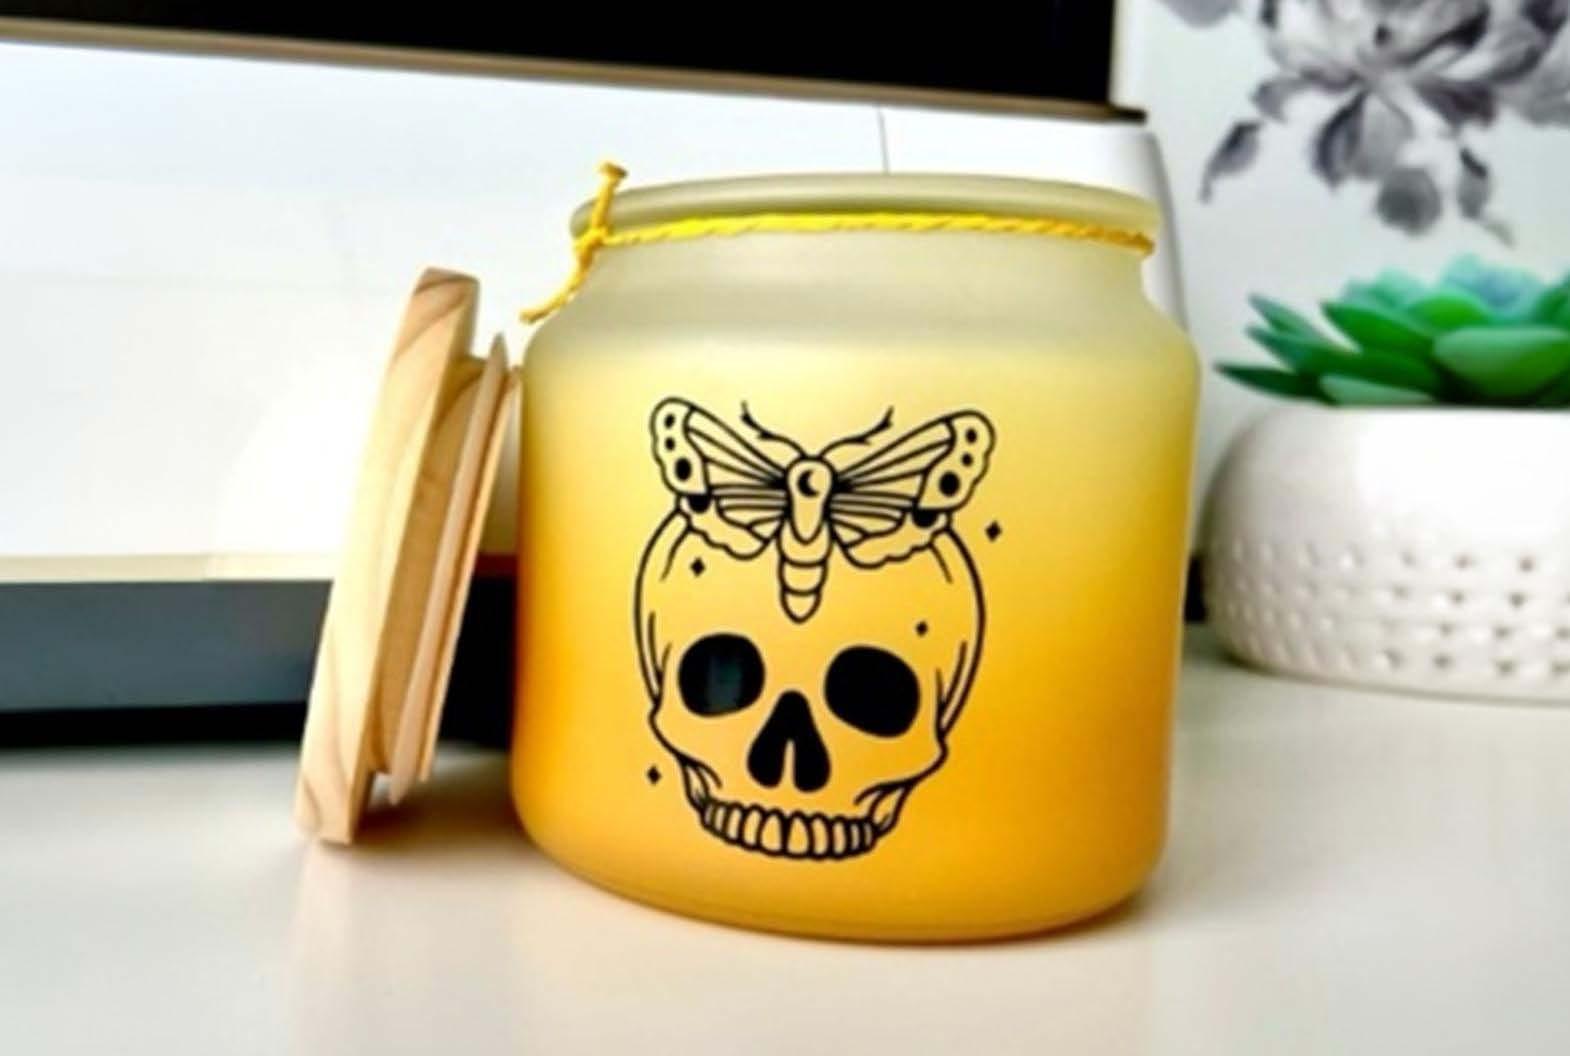
Unleash your inner sorceress with enchanting magical inspiration, where the mystical realm of magic and witch vibes intertwines, inviting you to craft spellbinding designs that capture the essence of the supernatural this Halloween.


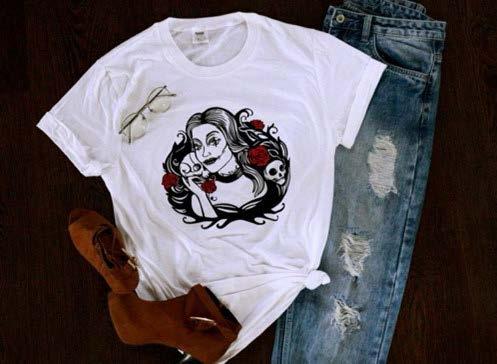
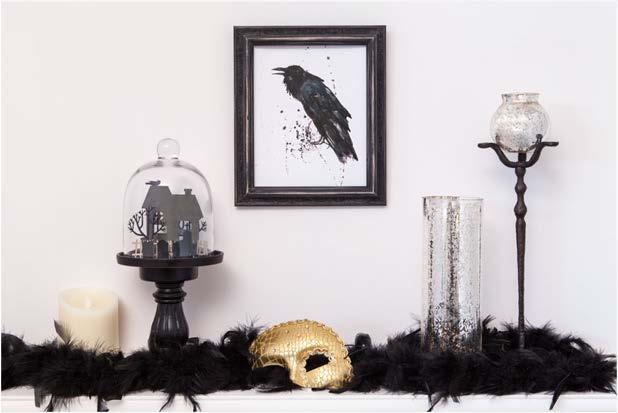
Dive into the world of gothic romance with this moody inspiration board, where dark elegance meets captivating charm, offering you enchanting colors & designs that evoke mystery and allure.


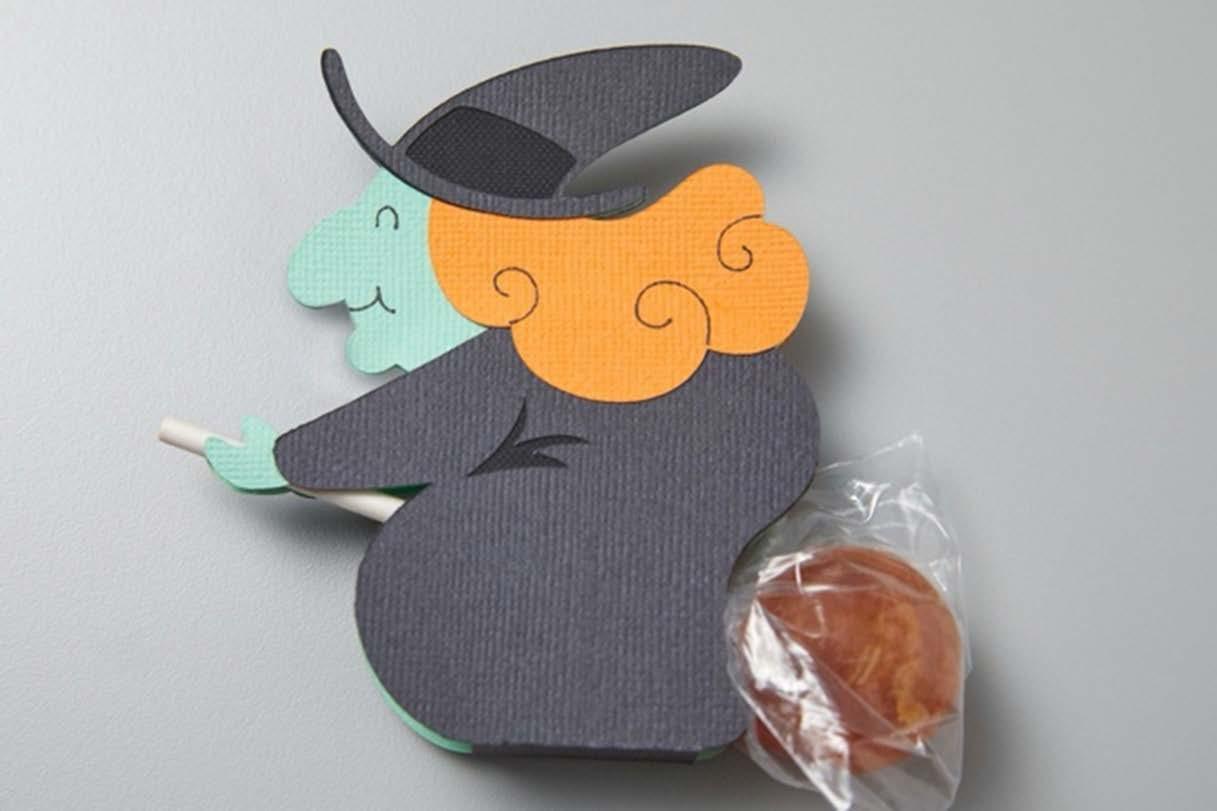
Celebrate the spirit of Halloween with this timeless inspiration, featuring classic motifs and vibrant colors that bring festive decor, playful apparel, and unforgettable party vibes to life!