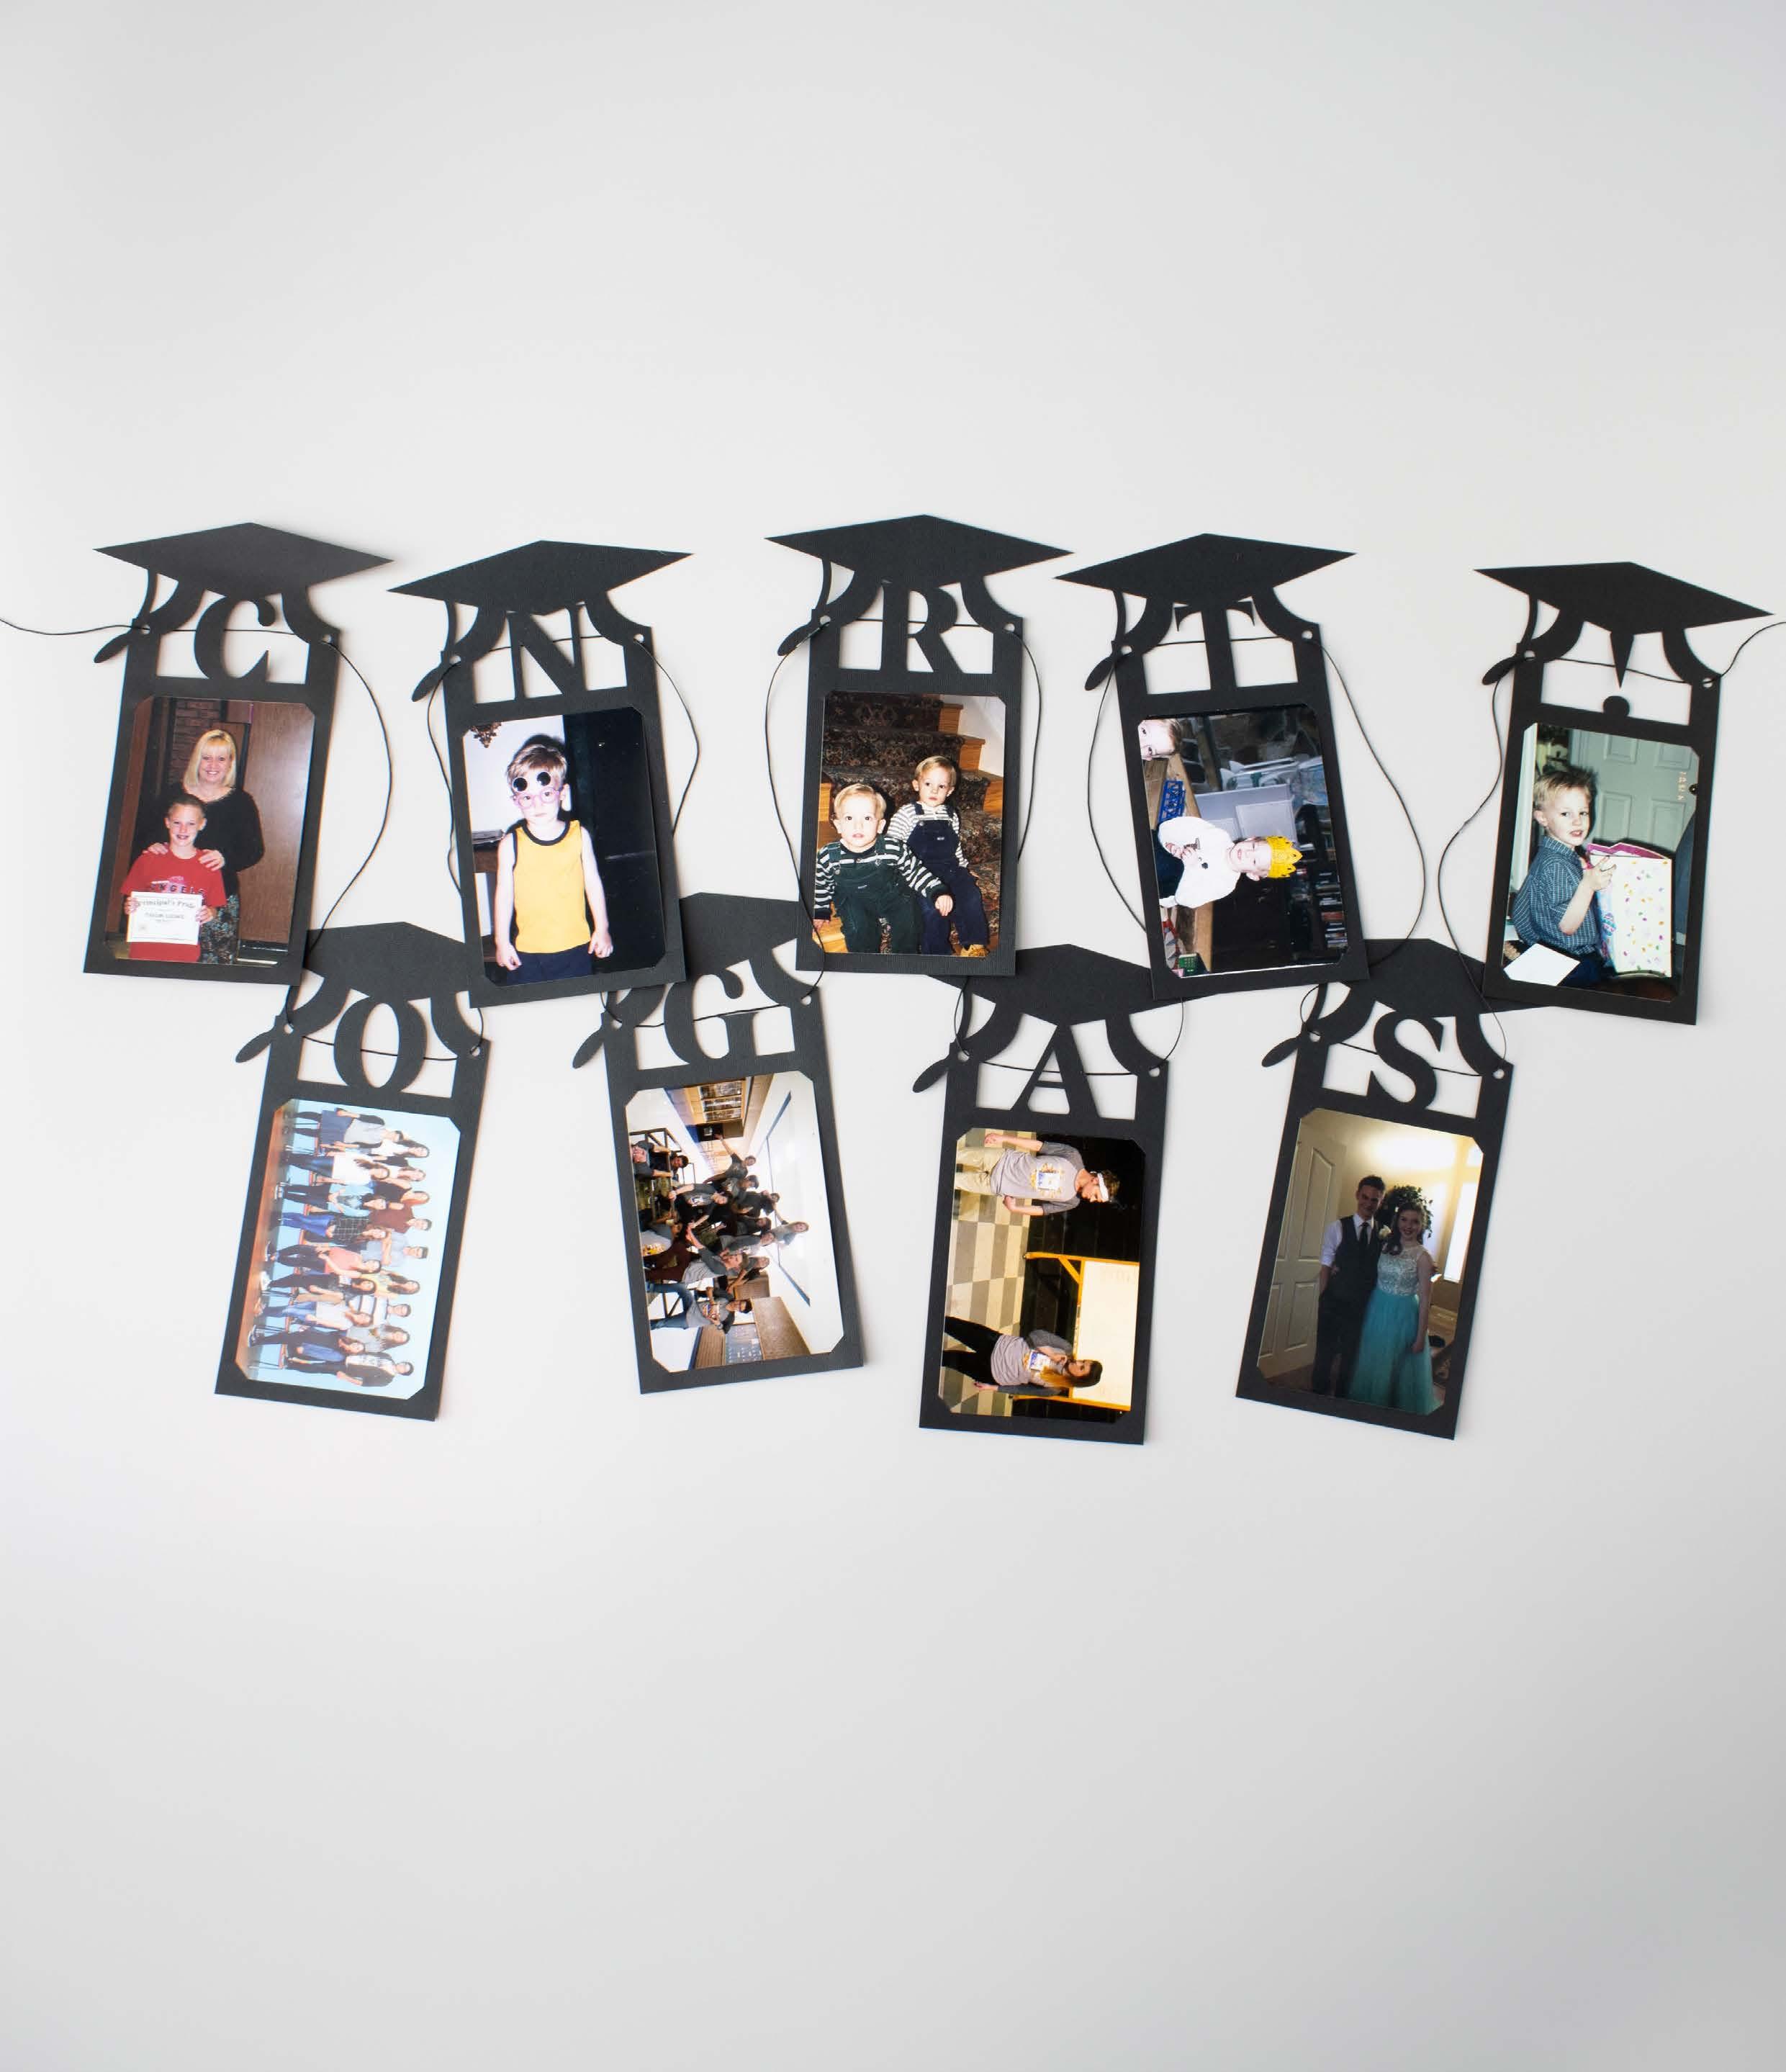
Every graduation is more than just a ceremony—it’s a celebration of hard work, big dreams, and the incredible journey that led to this moment. Whether they’re tossing their cap, stepping up from kindergarten, or marking a major life milestone, every grad deserves a celebration that feels as special as they are.
With Cricut, it’s easy to add a personal touch to every part of the big day. From custom caps and heartfelt cards to one-of-a-kind gifts and party décor, these projects help you create keepsakes that grads (and their biggest cheerleaders) will cherish forever. So grab your Cricut, get creative, and let’s make this graduation one for the books!
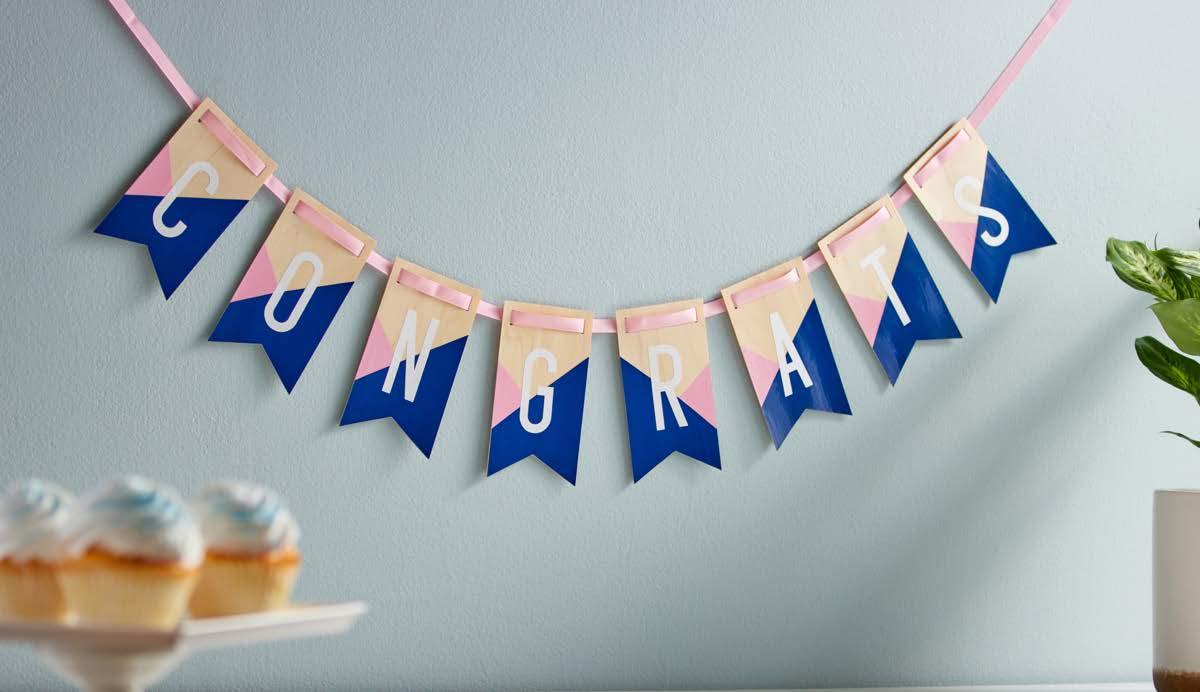
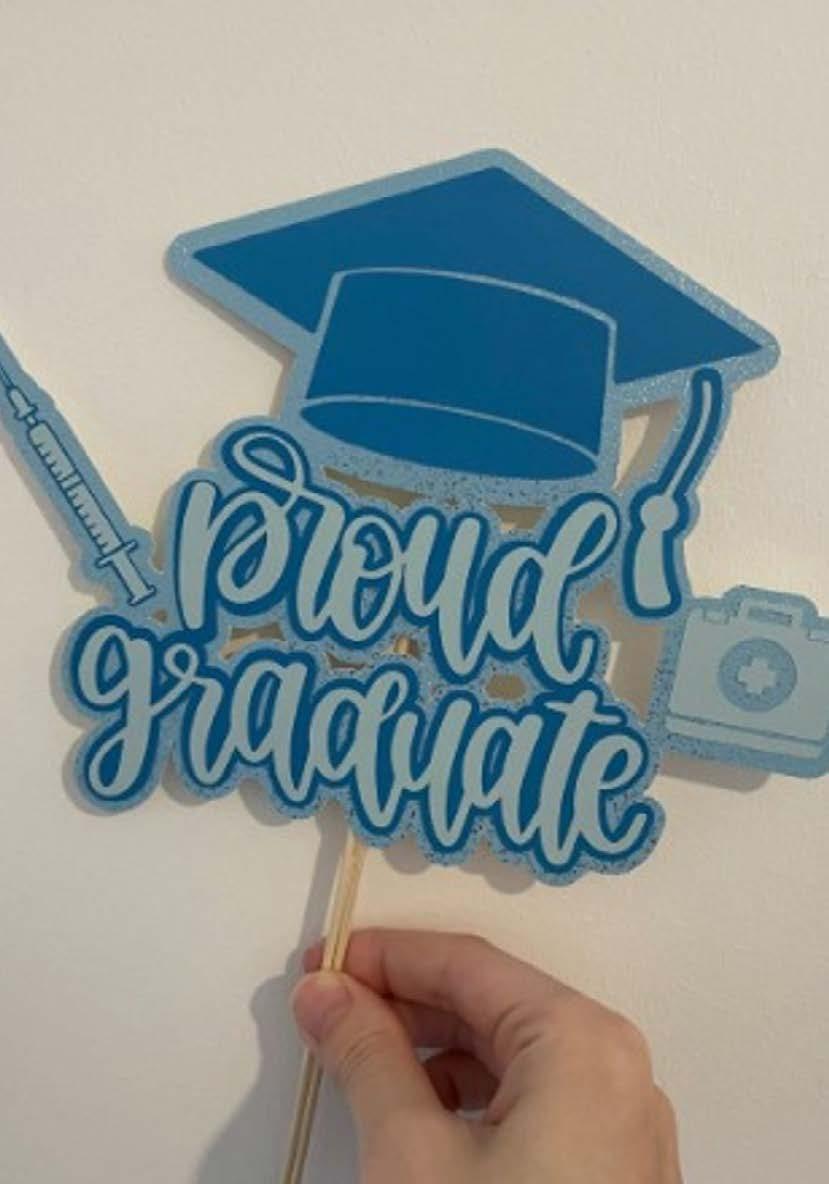
Graduation is more than a milestone—it’s a moment to celebrate in style! Whether you’re throwing a backyard bash, an elegant dinner, or a high-energy grad party, Cricut makes it easy to add personal touches that wow.


Materials to Cut
Cardstock, Black
Everything Else
LightGrip® Machine Mat (Blue)
Fine Point Blade
Adhesive for Paper
String
To alter the project, select Customize, then use the Edit panel to make changes.
To add text, use the text tool to add desired text. To fasten text to another layer, use Attach.
TIP: If you’ve yet to use the Text tools, see link below in the More Help section.
When you’re ready, select Make It. Then follow Design Space® prompts.
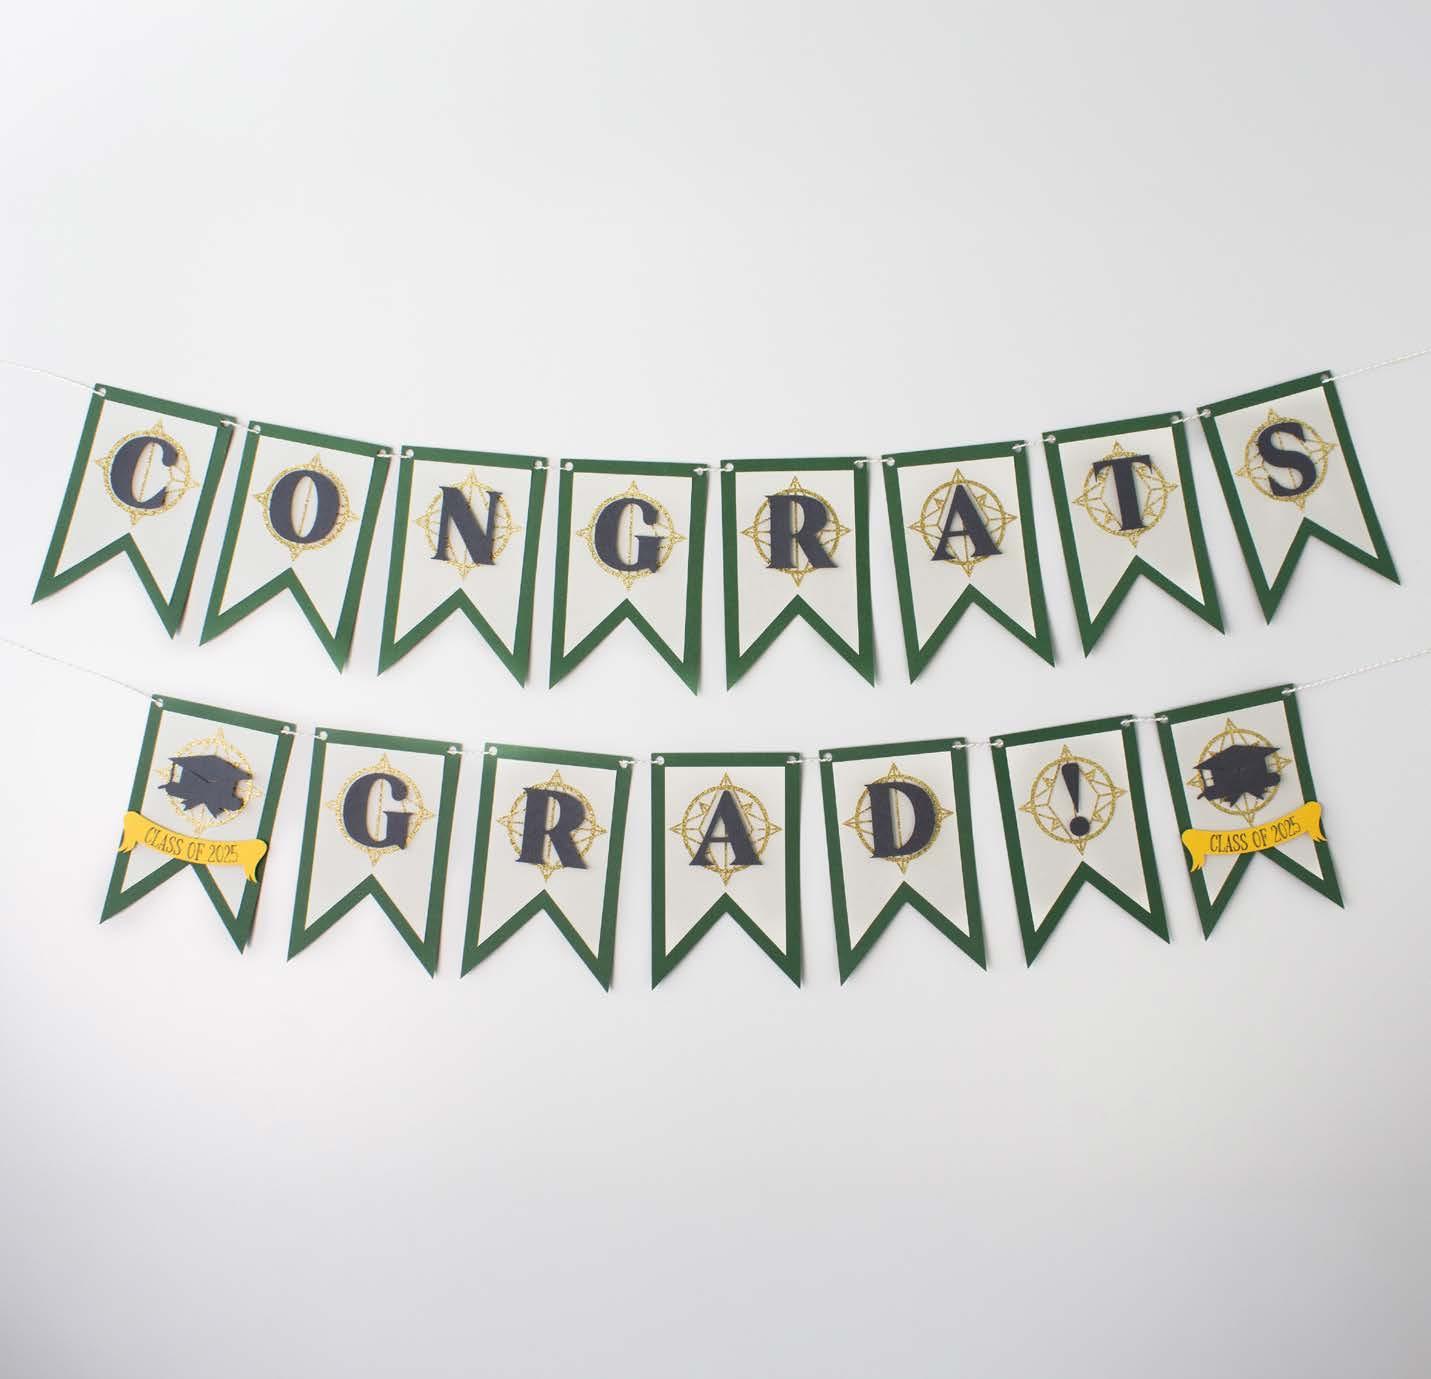
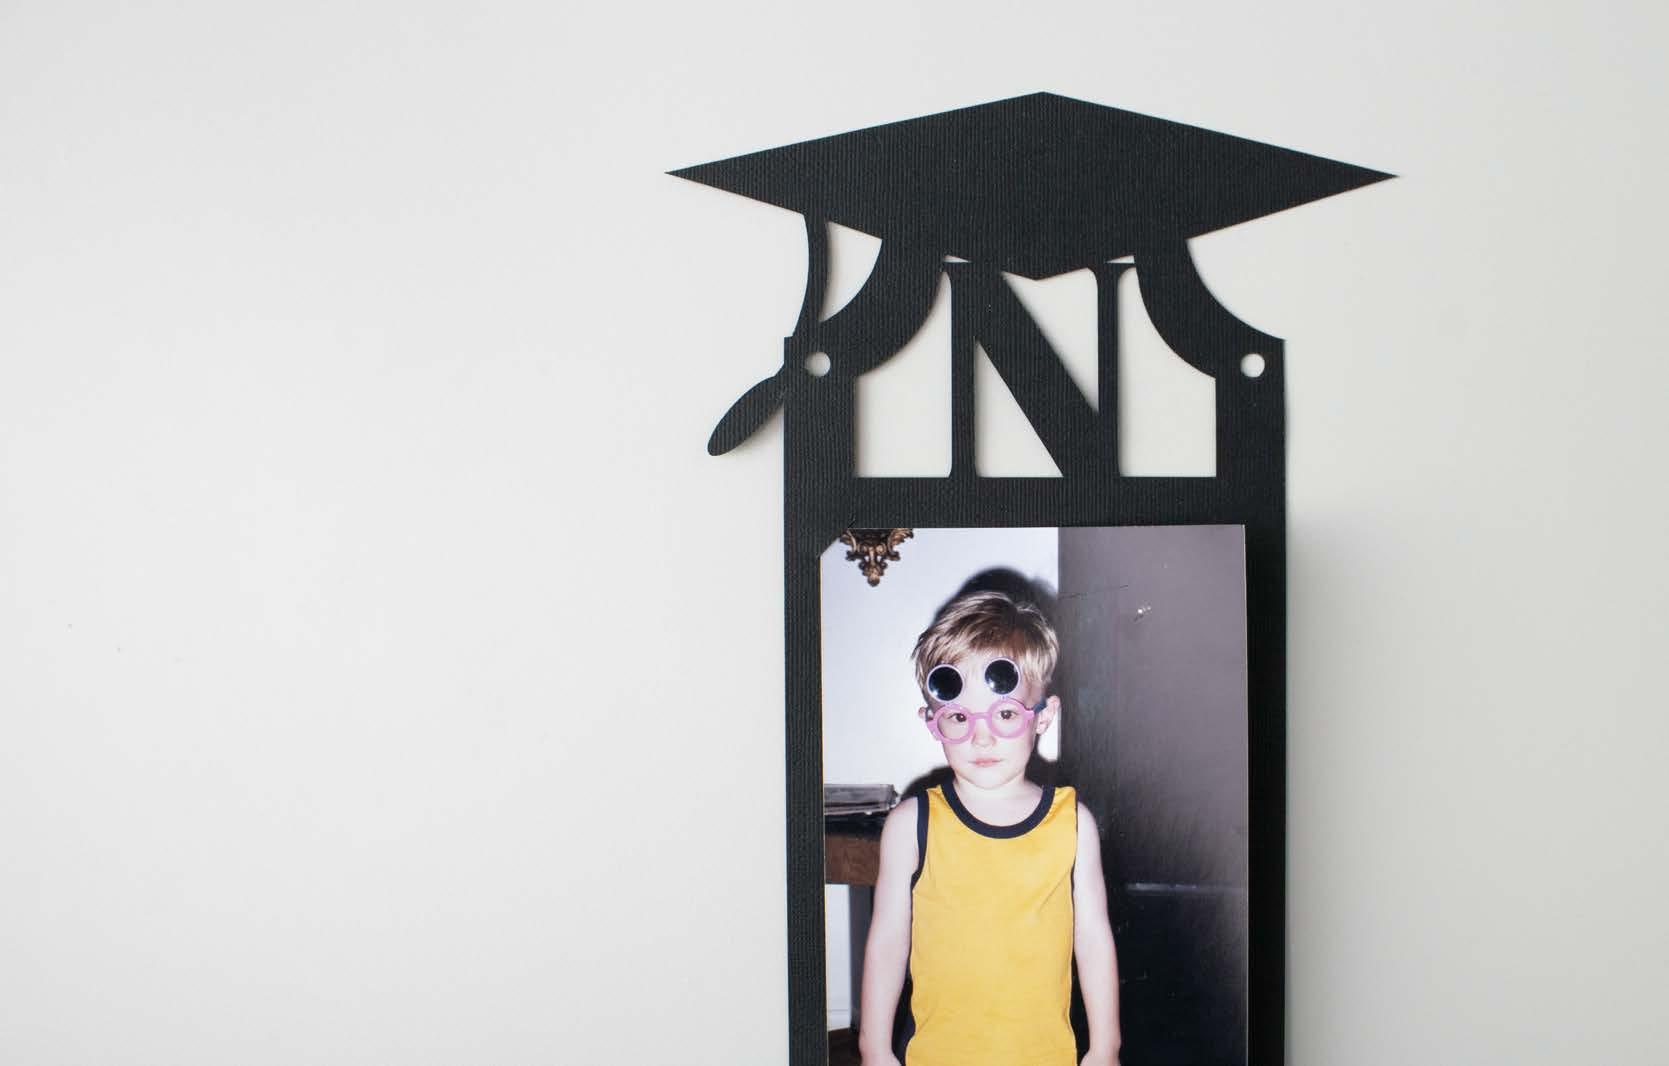
Assemble
Gather materials and insert selected photo corners into the cut slits on the banner pieces.
String and hang your banner. Your project is now complete!

Materials to Cut
Cardstock, Black
Everything Else
LightGrip Machine Mat
Single Scoring Wheel or Double Scoring Wheel (depending on material)
Hot Glue Gun and Glue Sticks
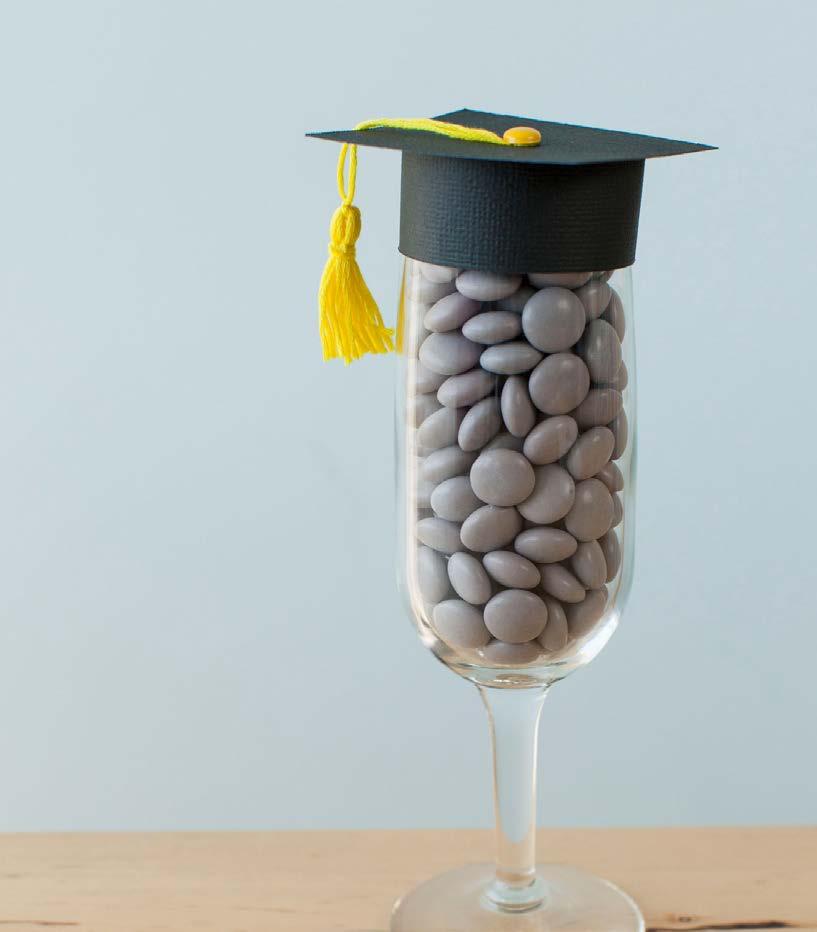
Embroidery Thread, Yellow
Brad, Yellow Champagne Glass
If you want to alter the project, select Customize, then use the tools in the Edit panel to make changes before you cut.
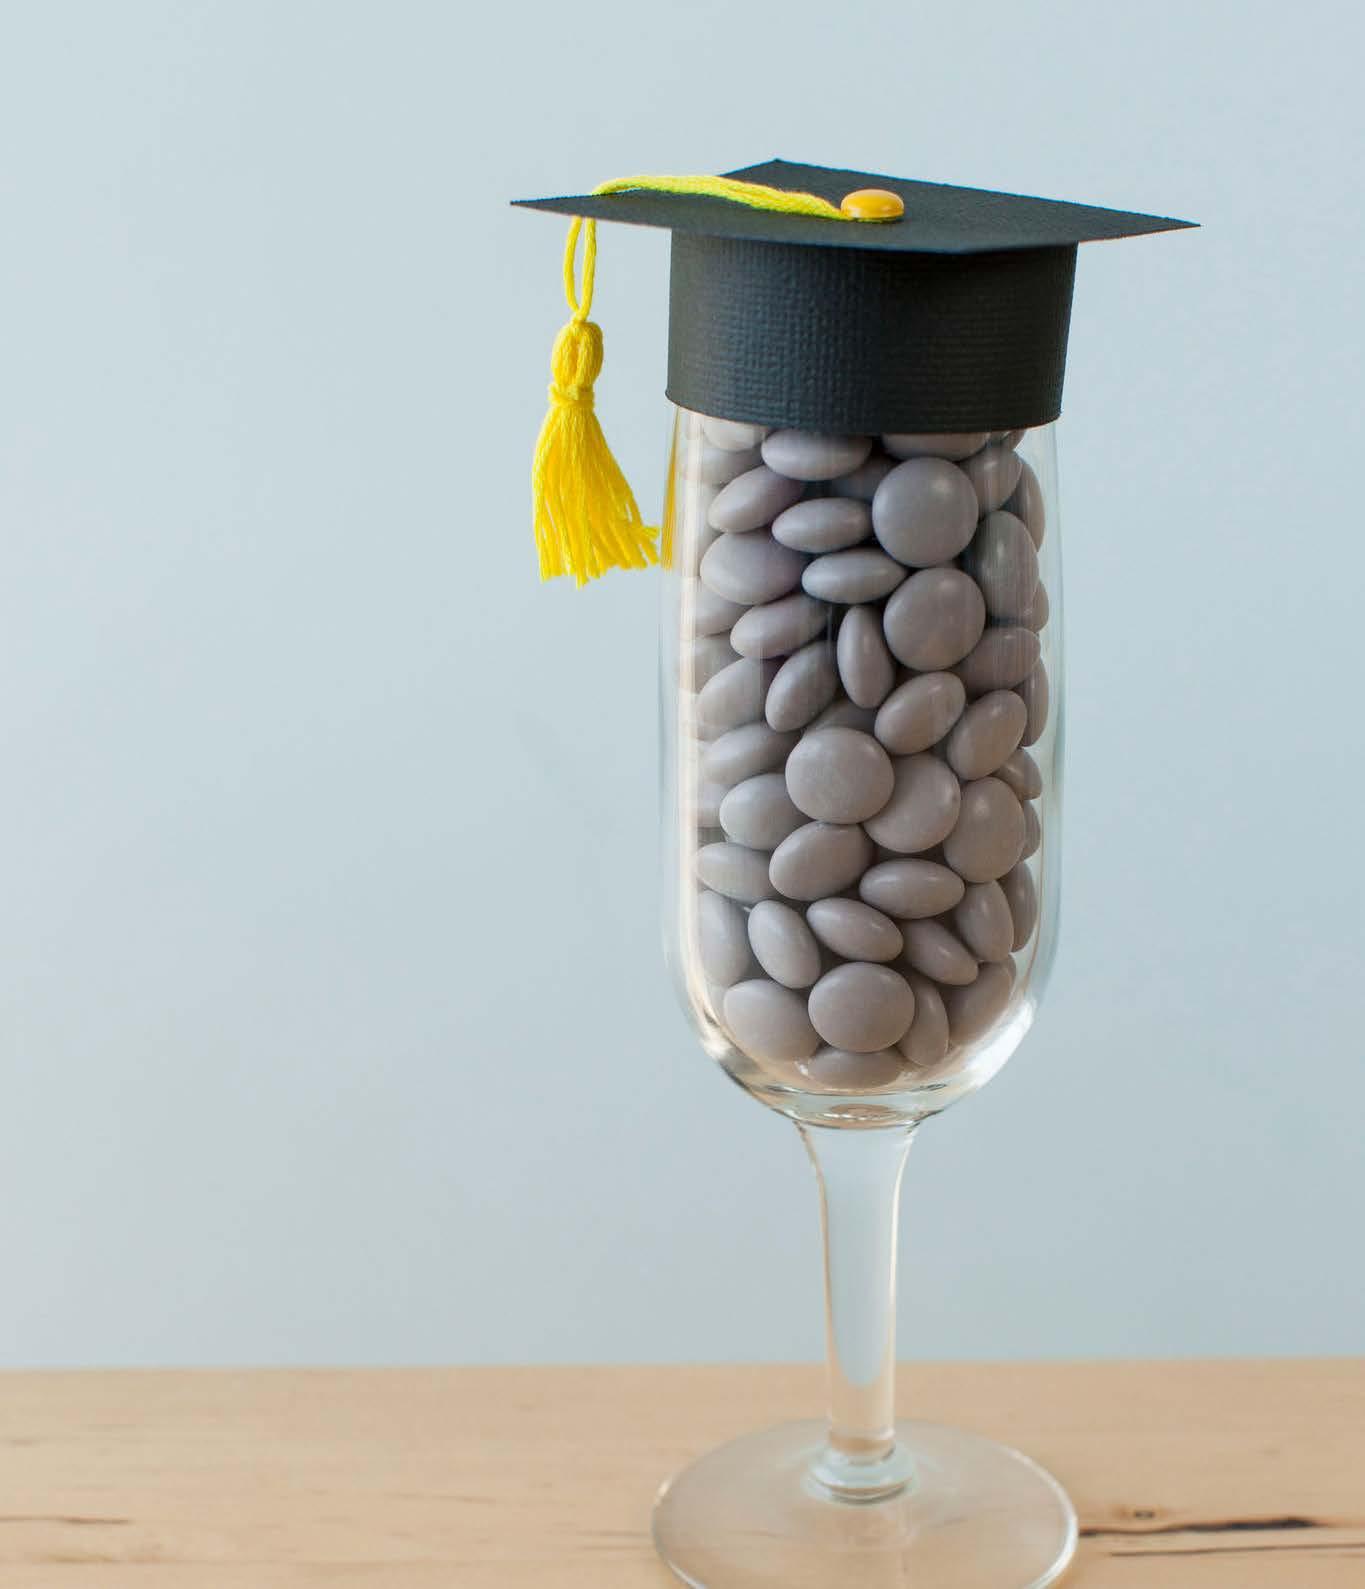
Using your yellow embroidery floss, create a tassel by tying together several layers of thread.
Follow the prompts in Design Space® to cut the images from the cardstock.
Insert your scoring tool when prompted.
Using your glue gun, glue the long black rectangle around the top of your glass.
Pin your tassel to the top of your hat with your yellow brad.
Glue the top hat to the base. Fill glass with treats if desired.
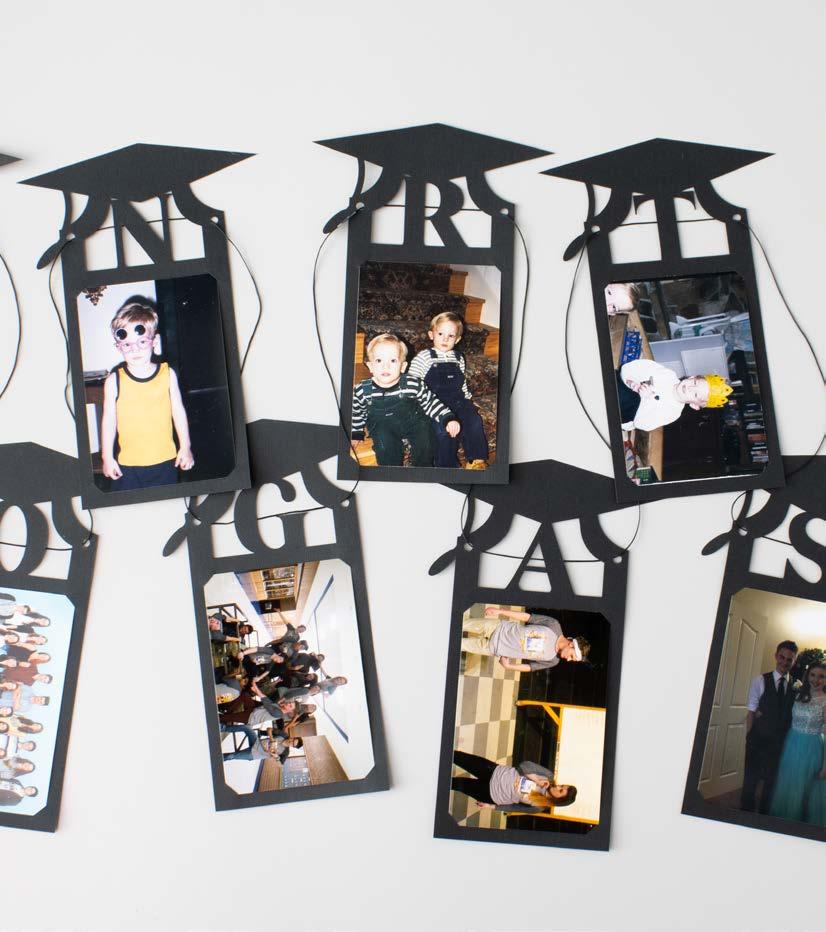
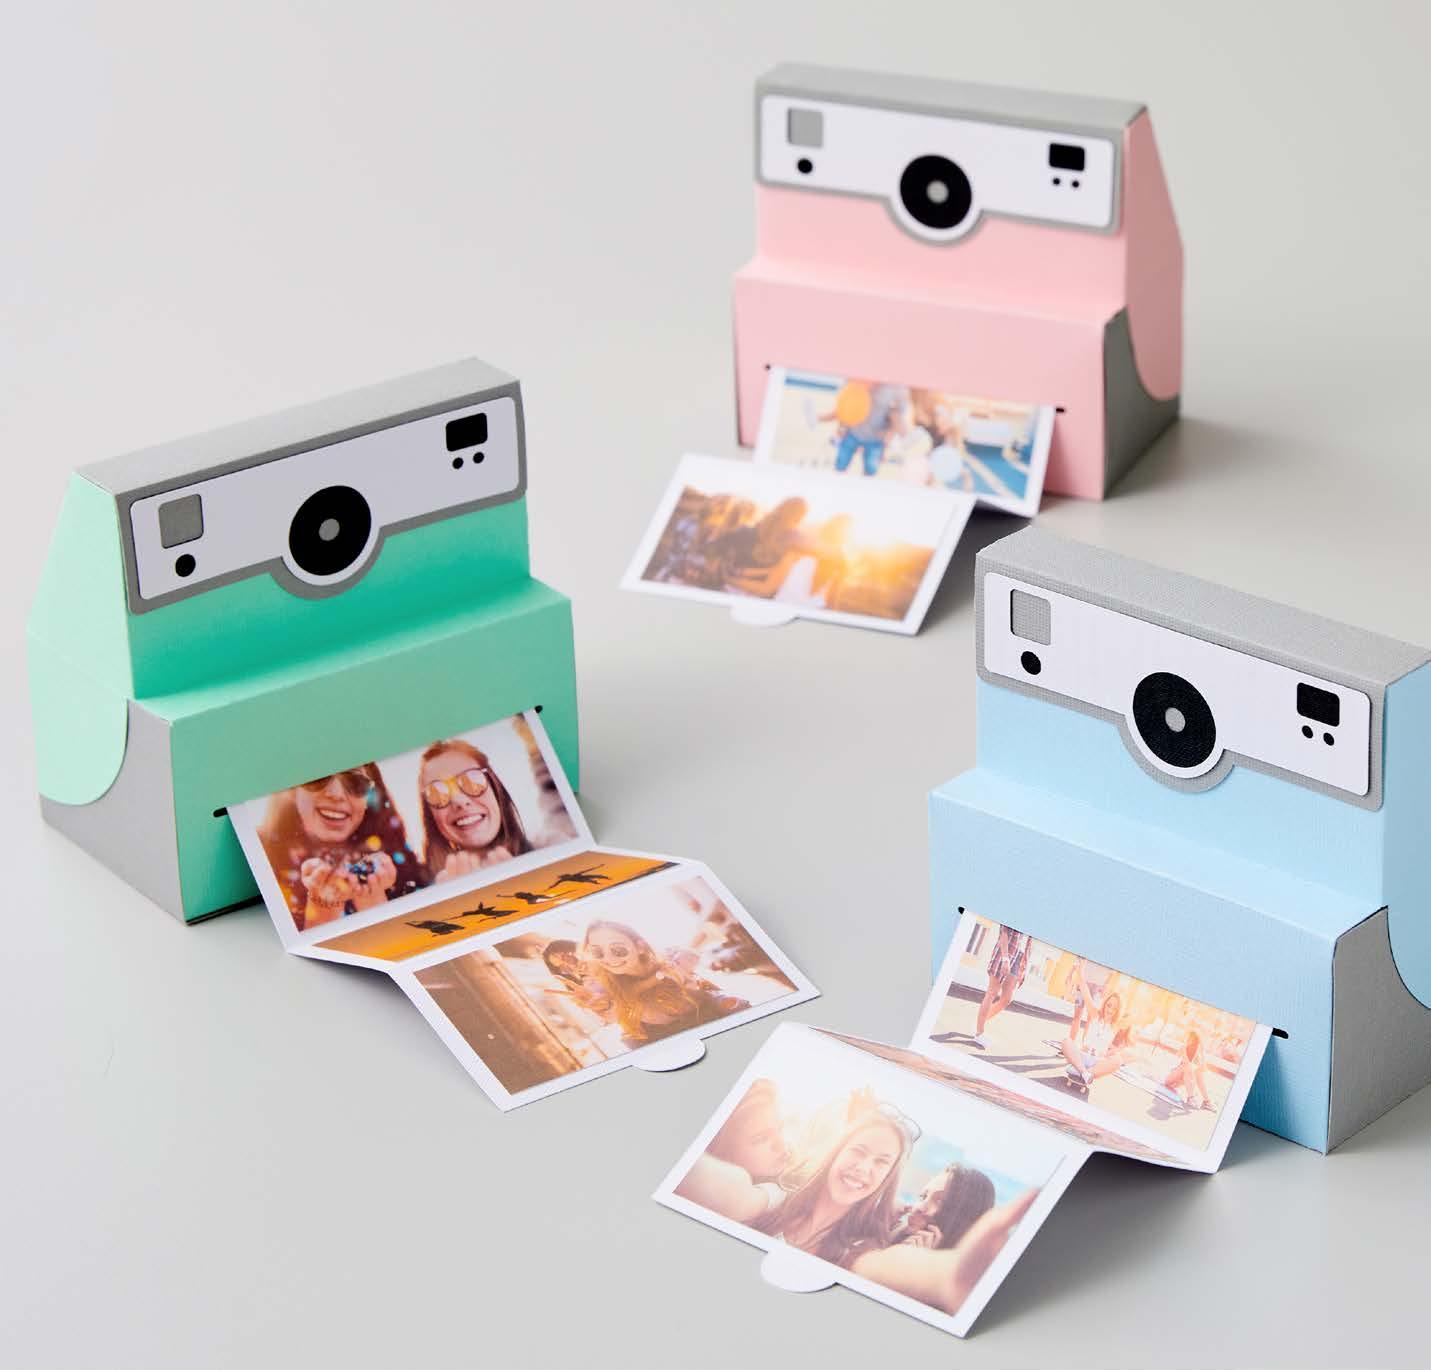
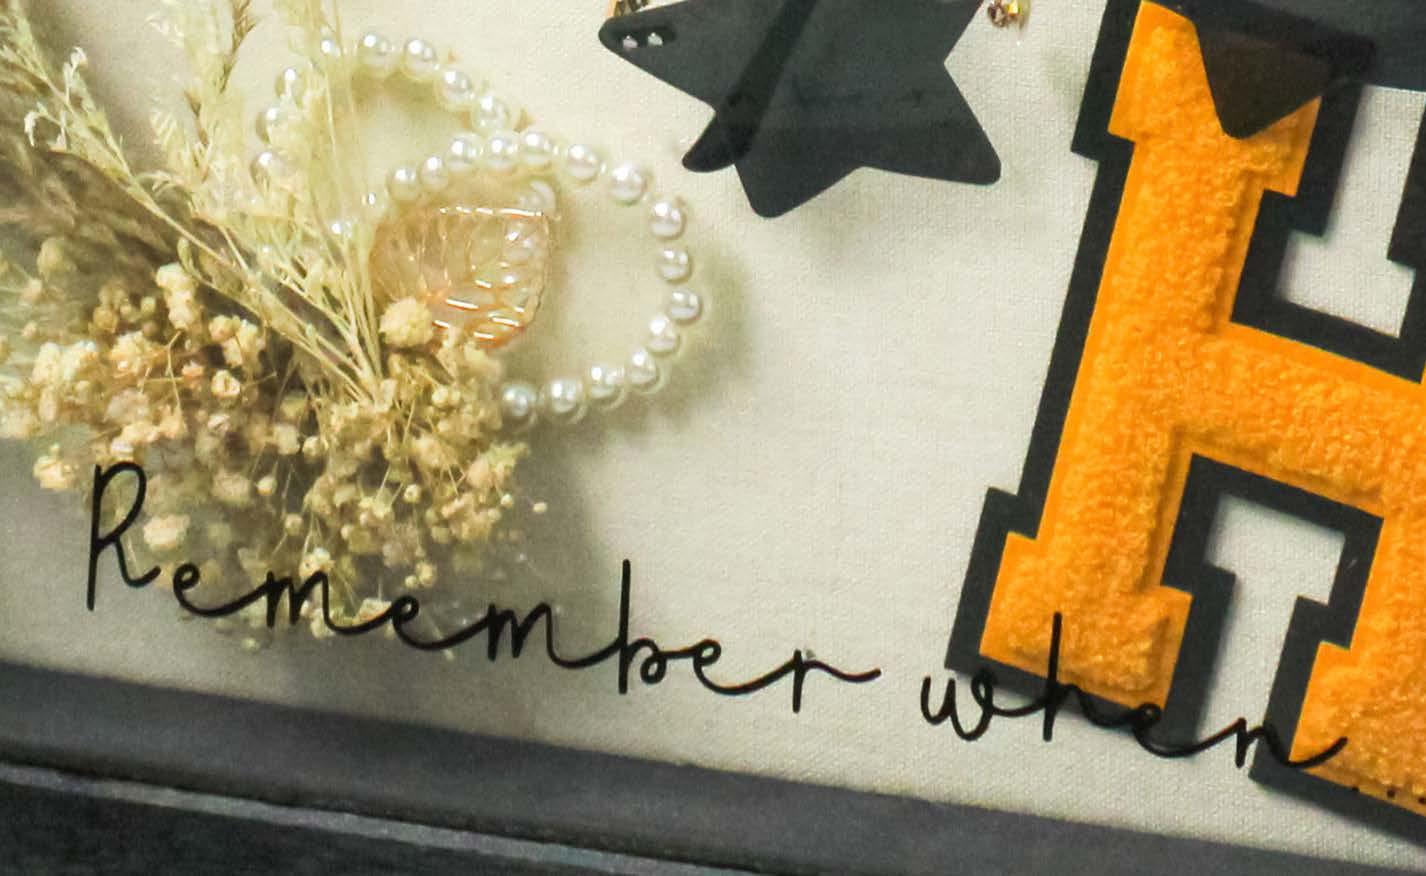
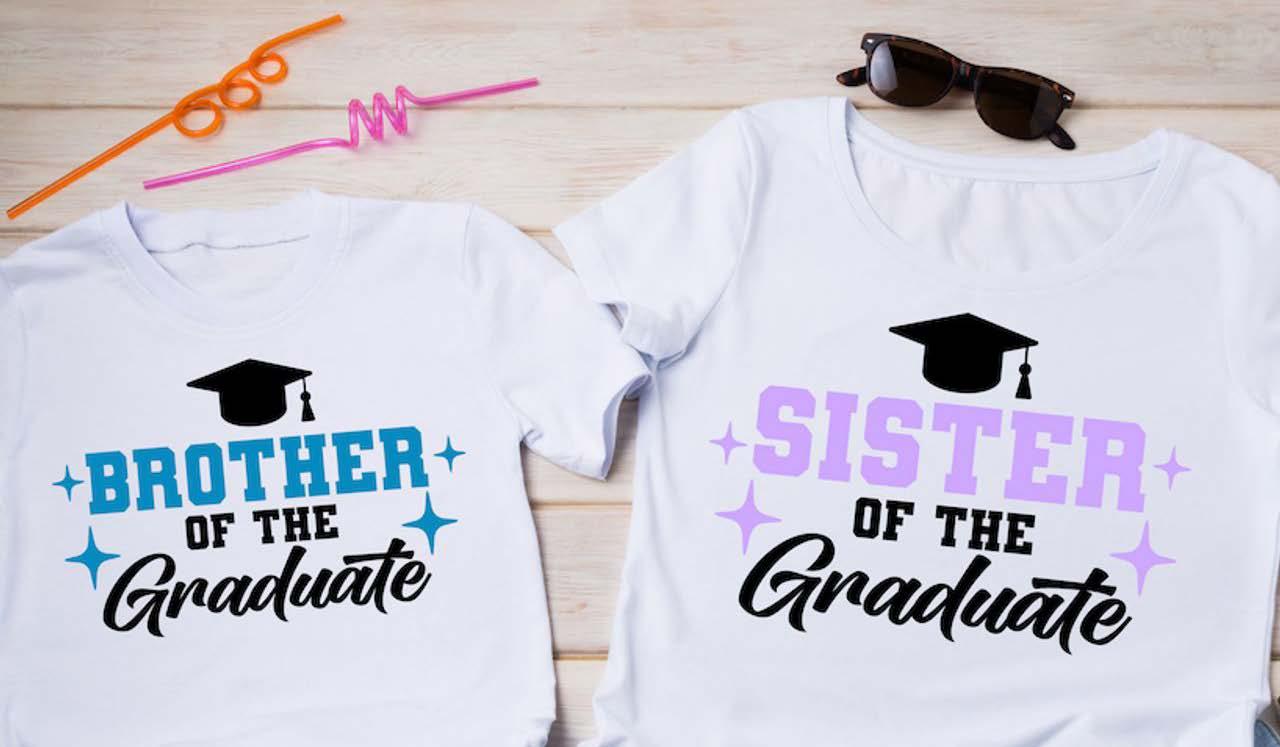
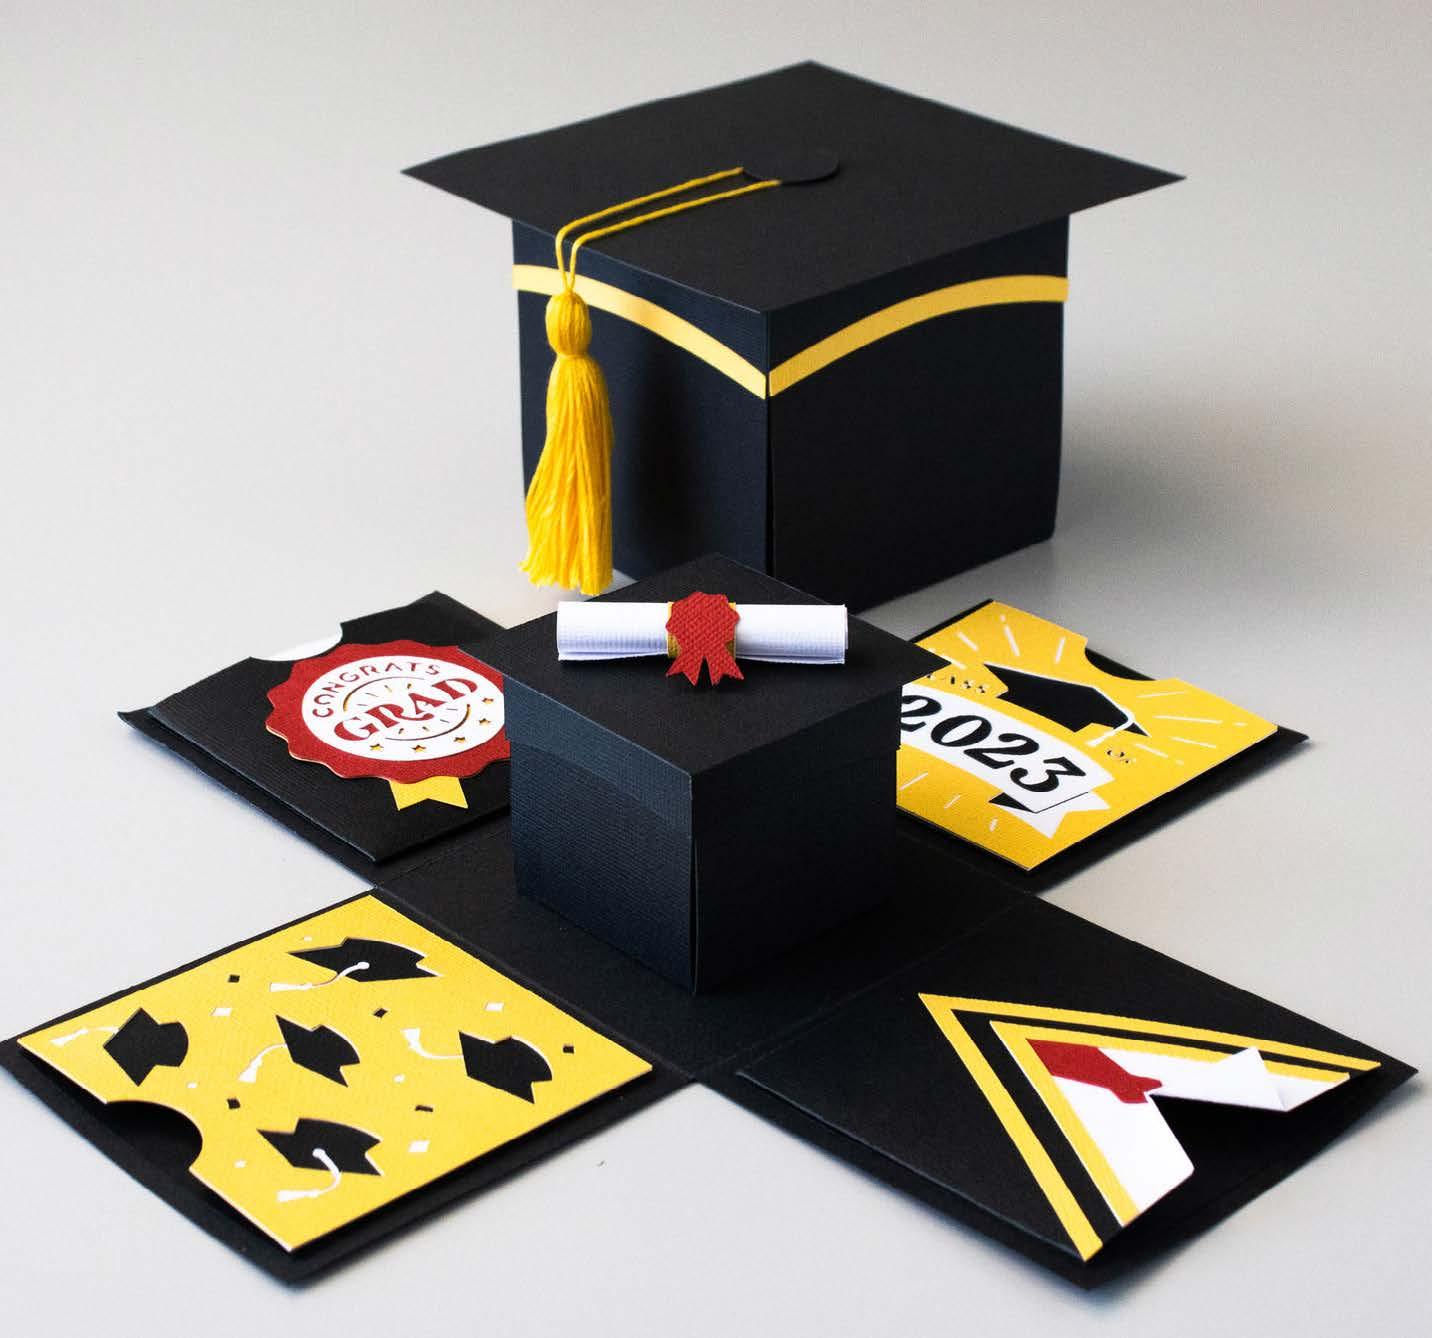
Some memories deserve more than just a photo on your phone. With Cricut, you can turn graduation moments into lasting keepsakes—personalized, heartfelt, and totally unique.
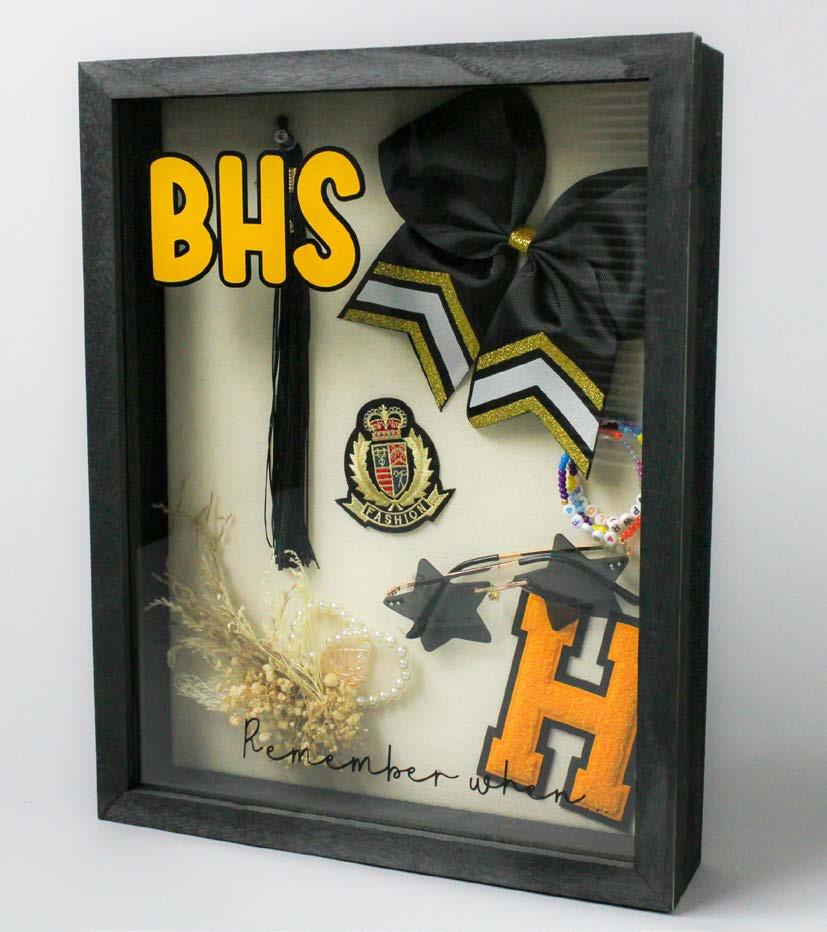

Hannah Lou


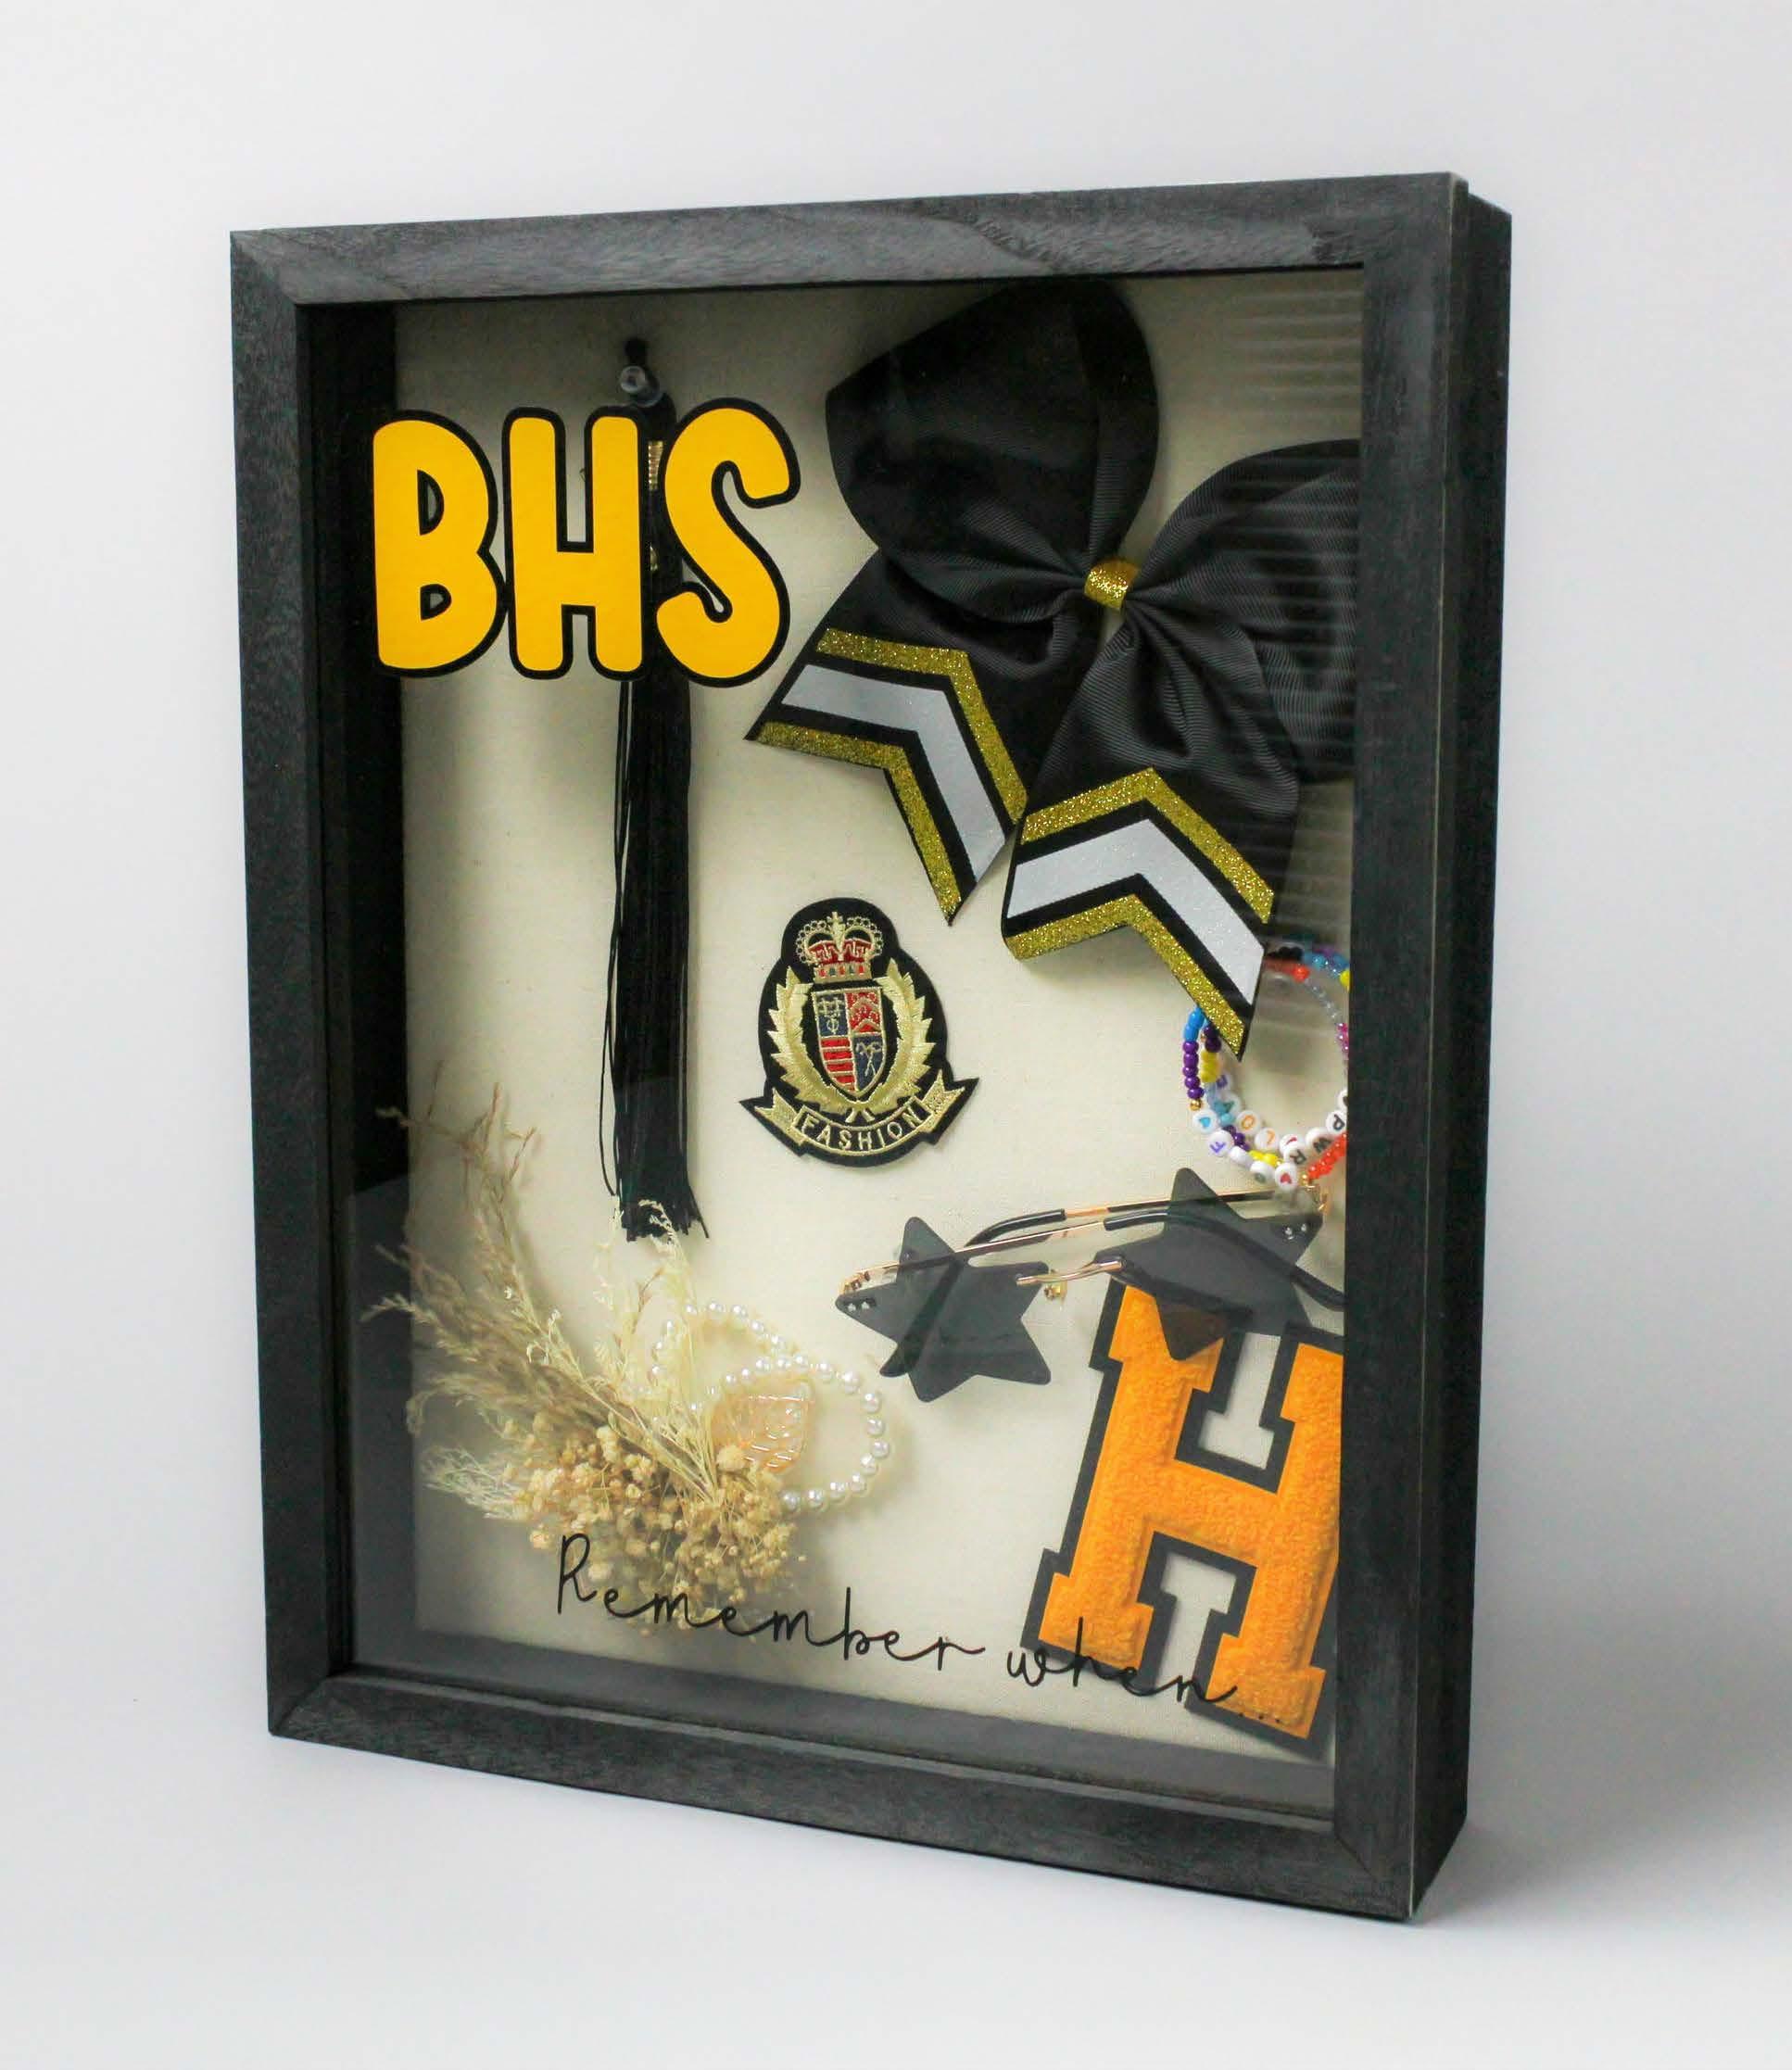
Materials to Cut
Smart Vinyl™ –Permanent (3 ft), Black
Smart Vinyl™ –Permanent (3 ft), Maize
Everything Else
StandardGrip Machine
Mat - 12 in x 12 in
Transfer Tape
Weeder
Scraper Shadow Box
To alter the project, select Customize, then use the Edit panel to make changes.
To edit text use the text tool to select the text you want to change, and type in your desired letters. To lock the text in place, use Attach.
Cut
Follow Design Space® prompts to cut images from vinyl.
Assemble
Use weeder tool to remove unneeded vinyl pieces. When weeding, start from inside and move out.
Use Transfer Tape and a Scraper Tool to apply vinyl cuts to your project. Make sure surface is clean and dry.
Apply vinyl in order as Layers panel, starting from the bottom layer and working up.
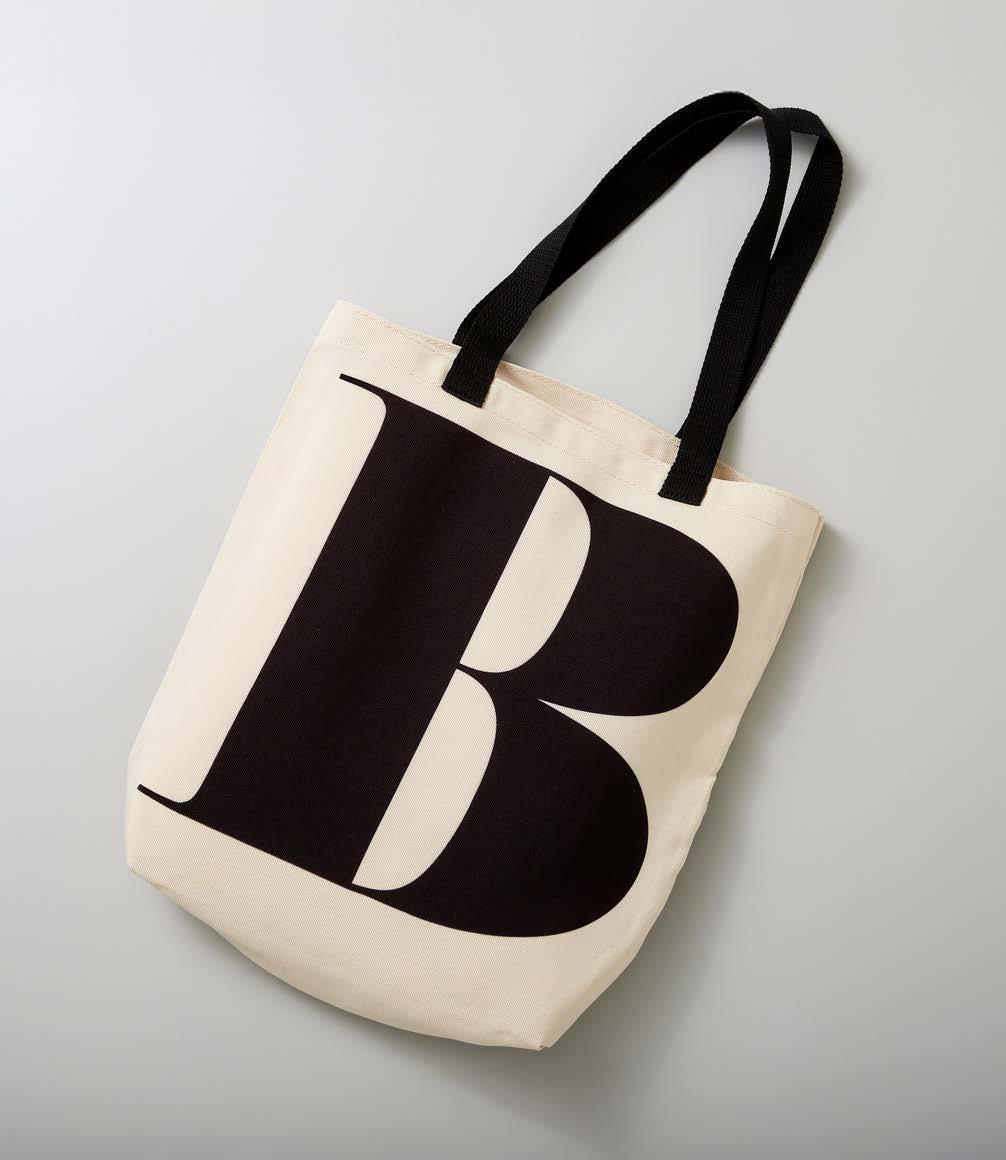
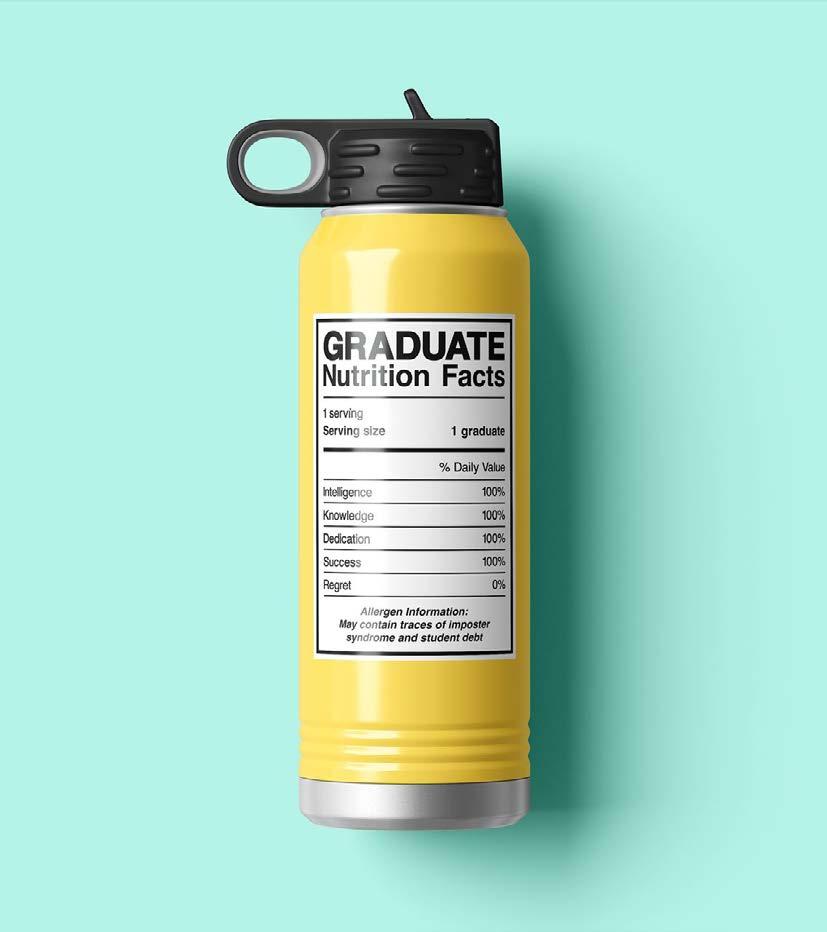
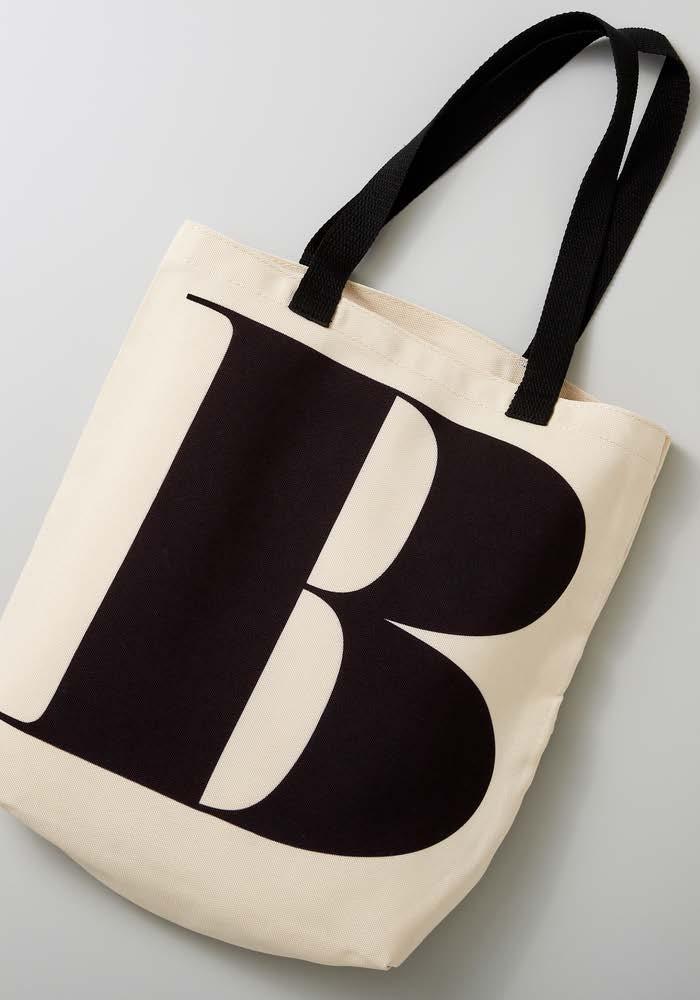
Materials to Cut
Infusible Ink™ Transfer Sheets, Black
Everything Else
Cricut Cutting
StandardGrip Machine Mat
Cricut Heat Press
Cricut Pressing Mat or Cricut EasyPress™ Mat
Heat Resistant Tape
Reverse-Action
Tweezers
Lint Roller
Butcher Paper
Cardstock, White
Tote Bag Blank

To alter the project, select Customize, then use the Edit panel to make changes.
When you’re ready, select Make It, and mirror your design.
Place Infusible Ink material, shiny side (clear liner) down, on mat.
Follow Design Space® prompts to cut images.
Assemble
Remove unneeded pieces, leaving design on clear liner.
For Cricut EasyPress® 3, download the Cricut Heat™ app to get precise settings and step-by-step instructions. For other Cricut Heat Press models, get time and temperature settings and instructions on the Cricut Heat Guide.

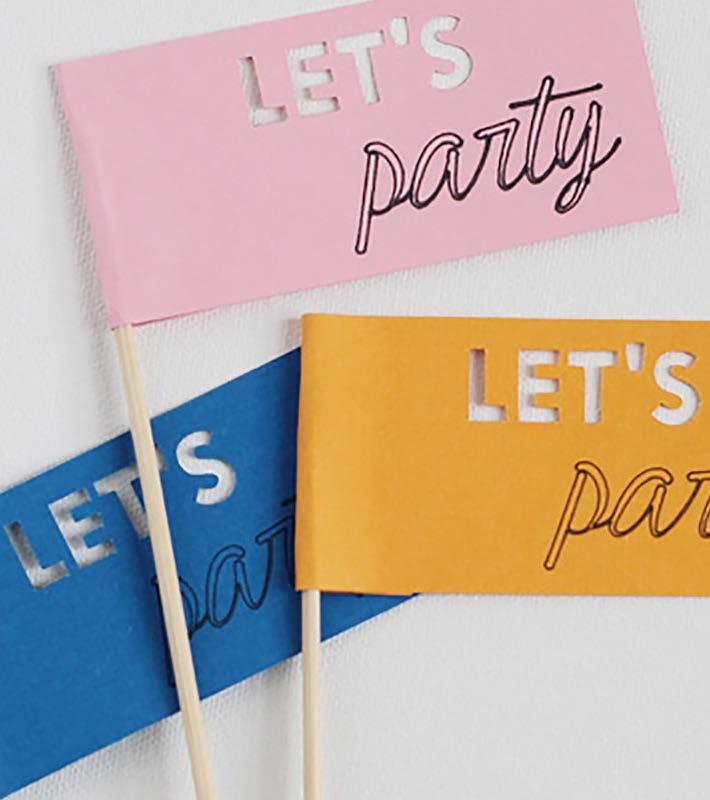
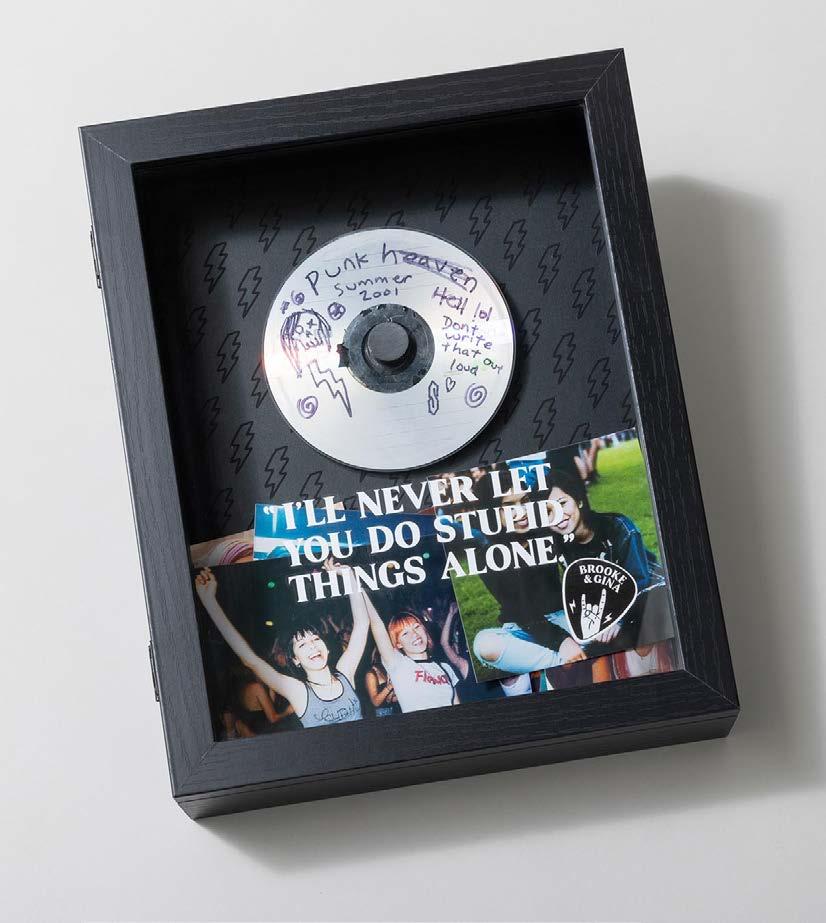
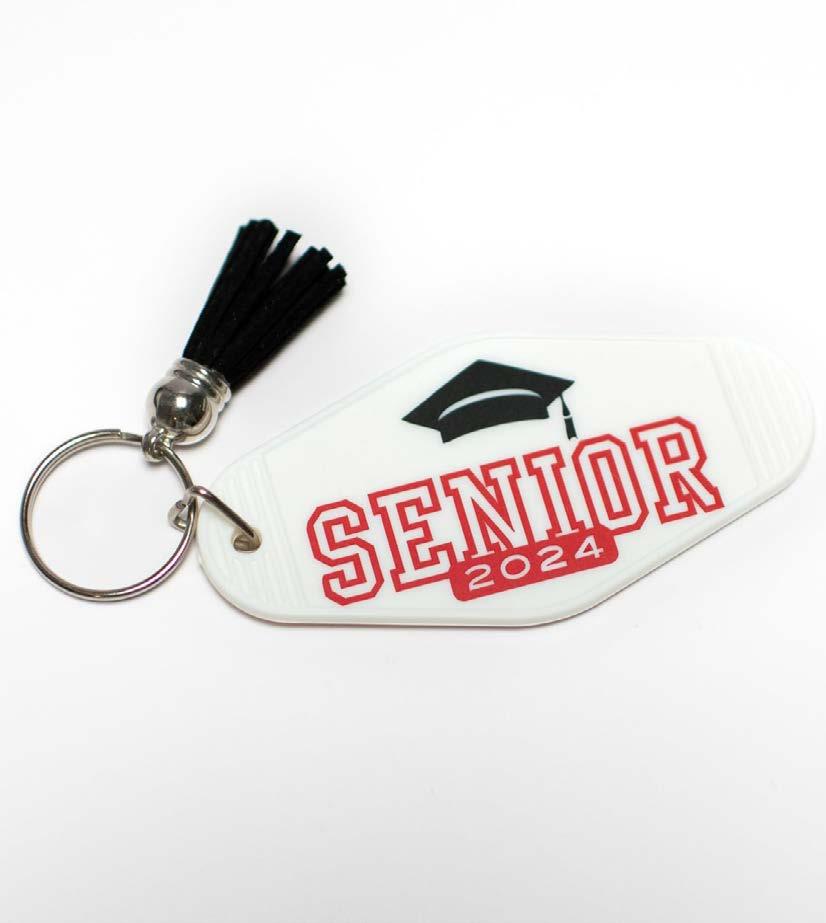
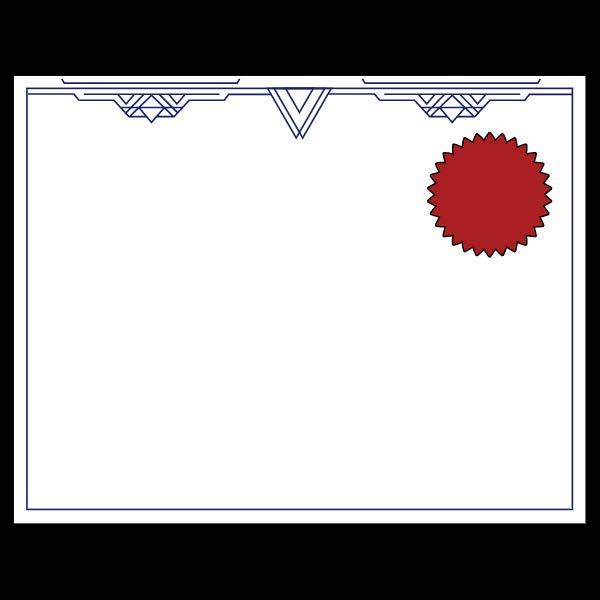
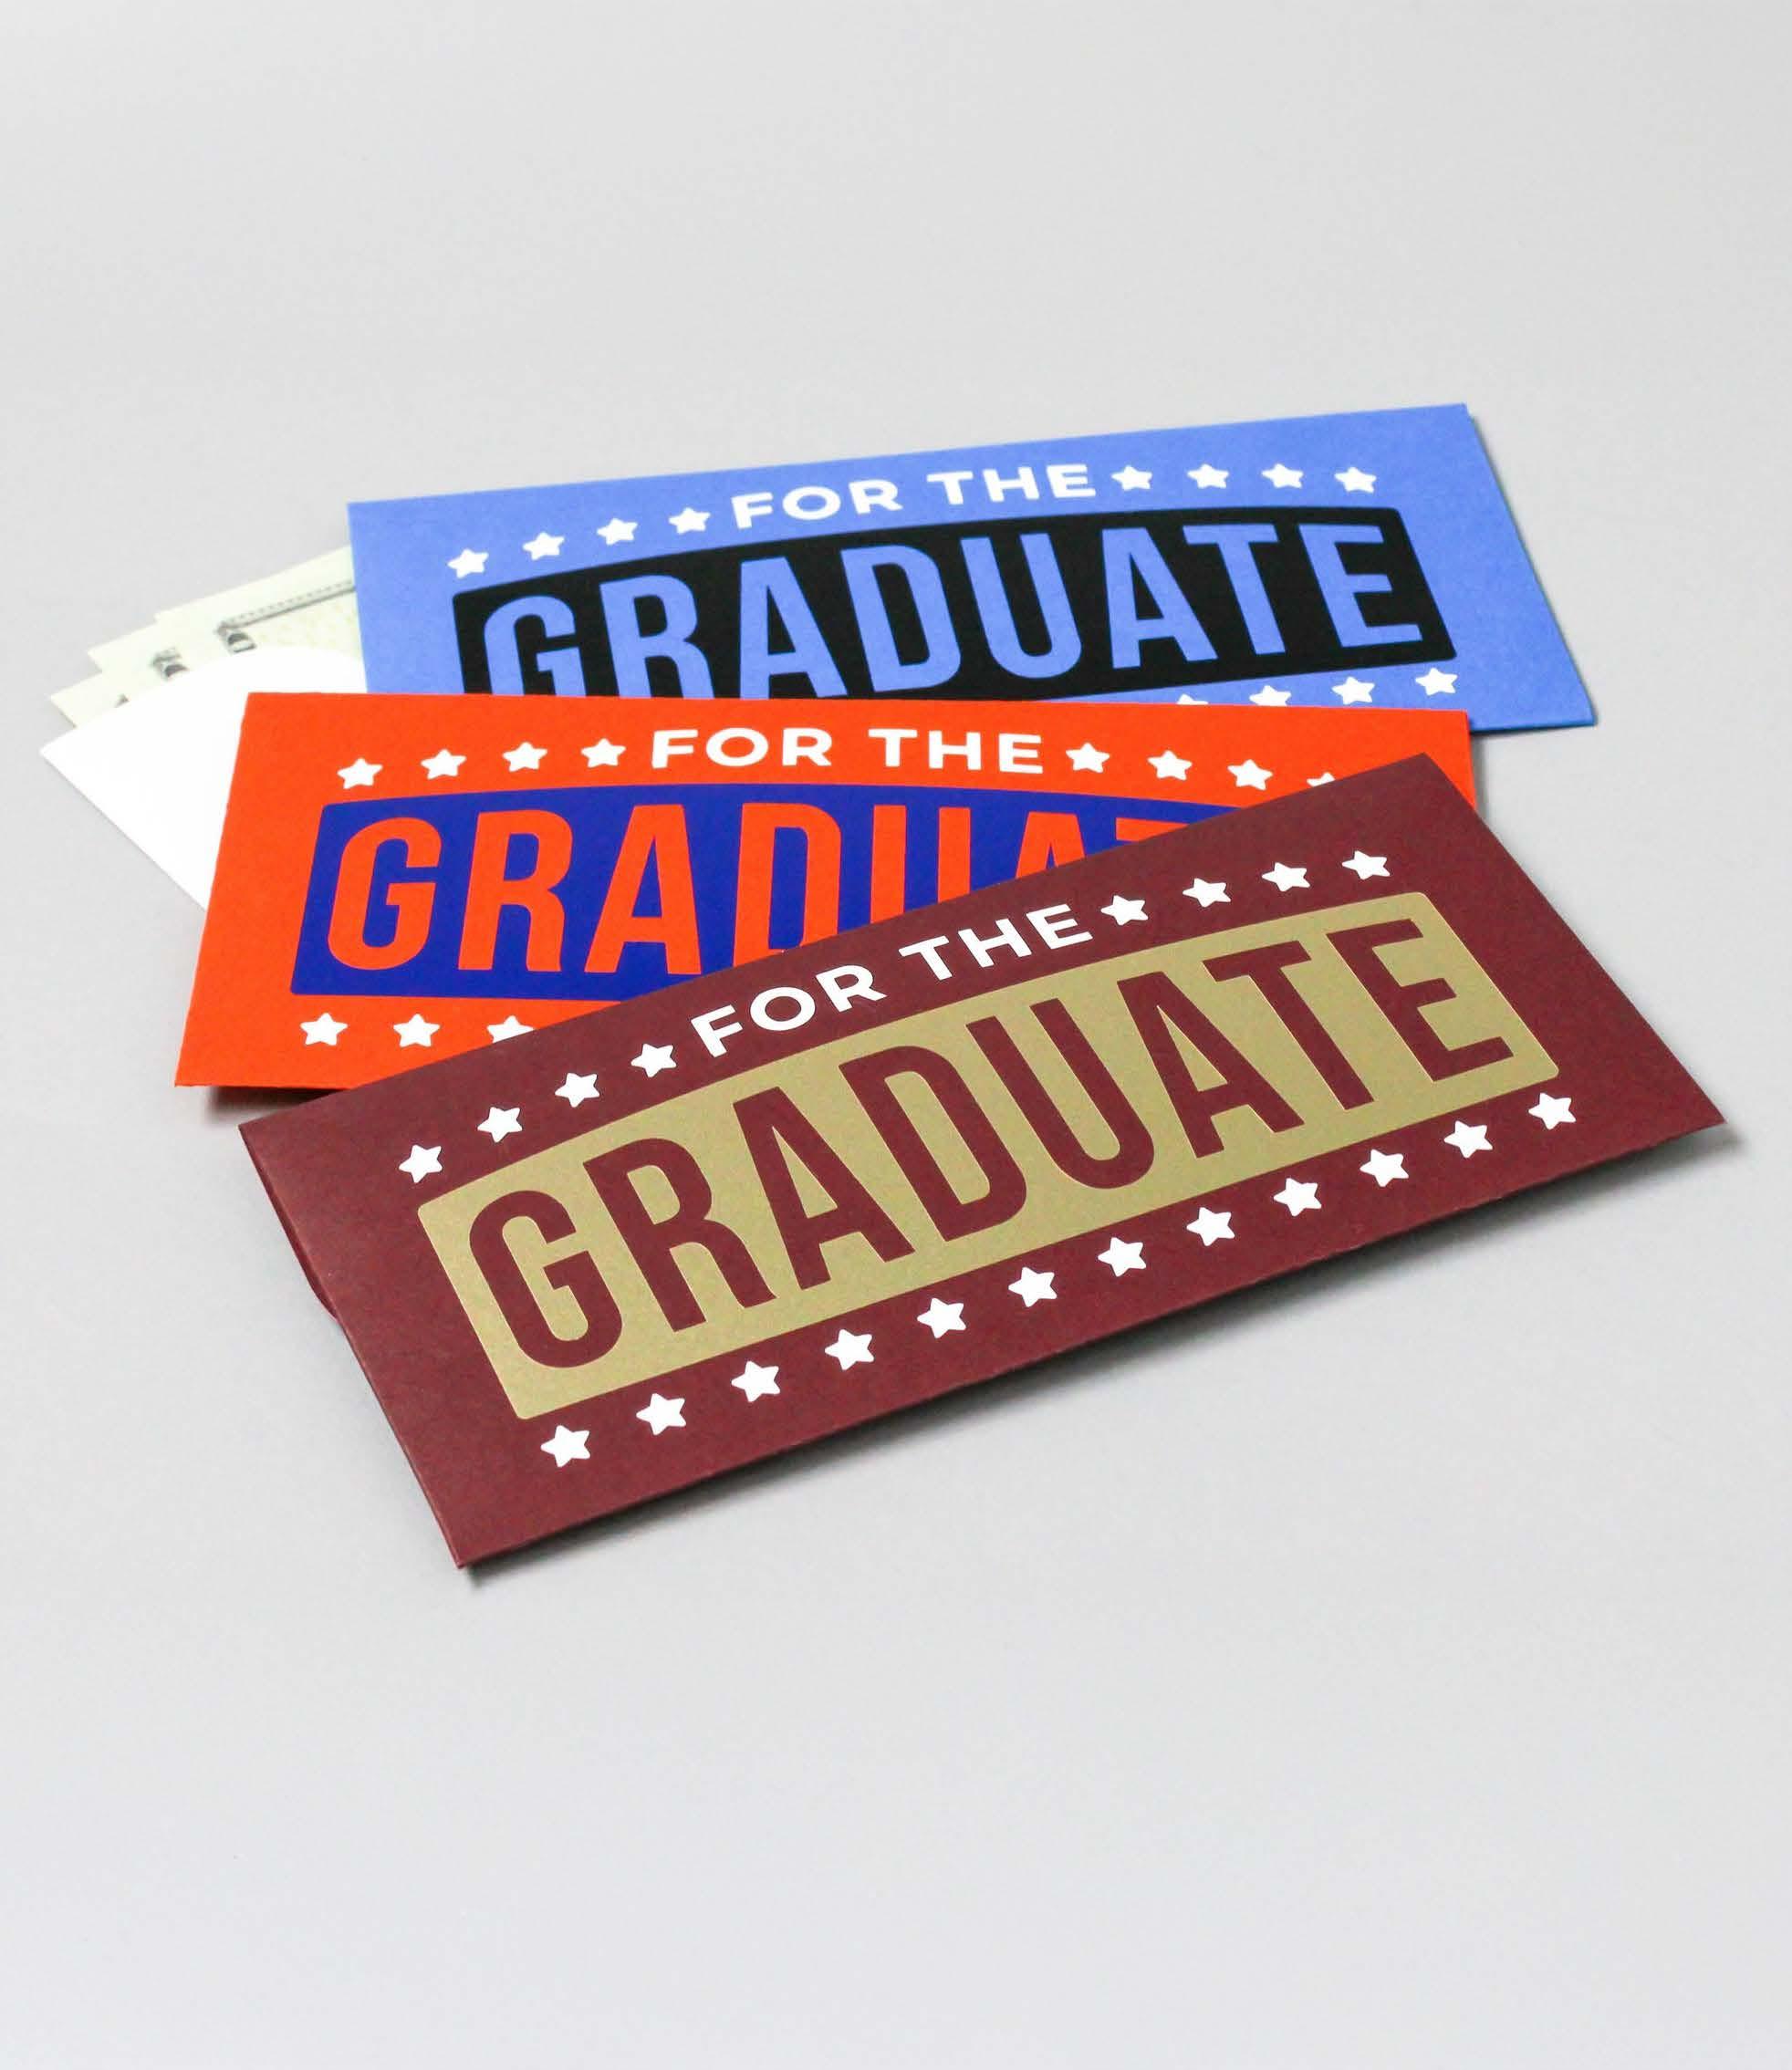
Highlight all the moments—big, small, and unexpected—that make graduation meaningful, because graduation isn’t just about the cap and gown, it’s about the journey, the little victories, and the people who made it happen.
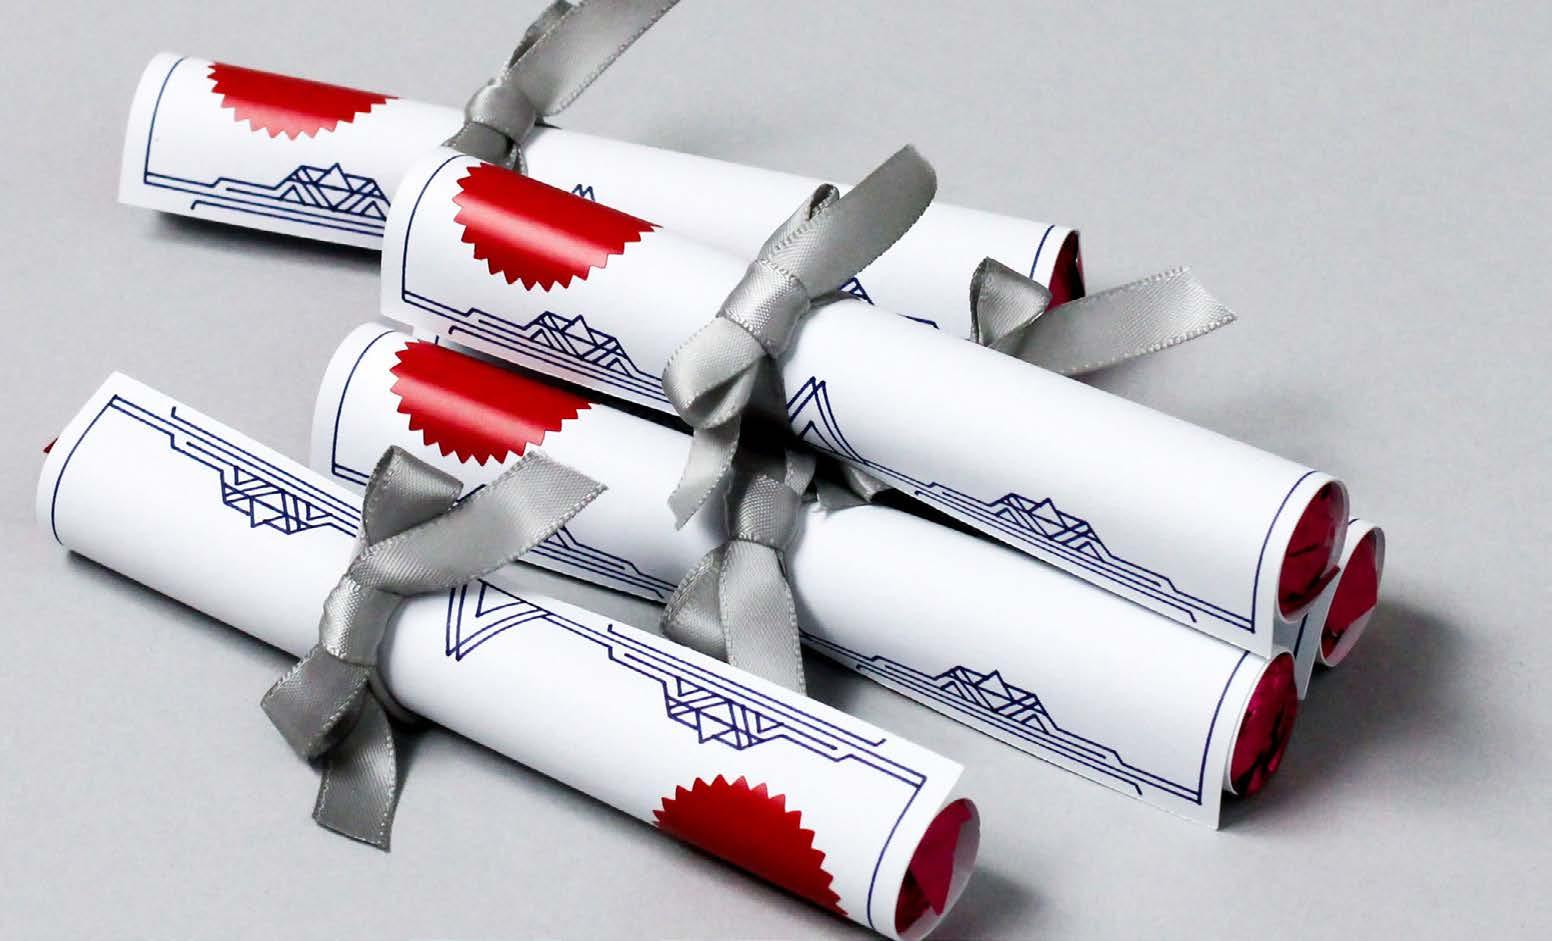


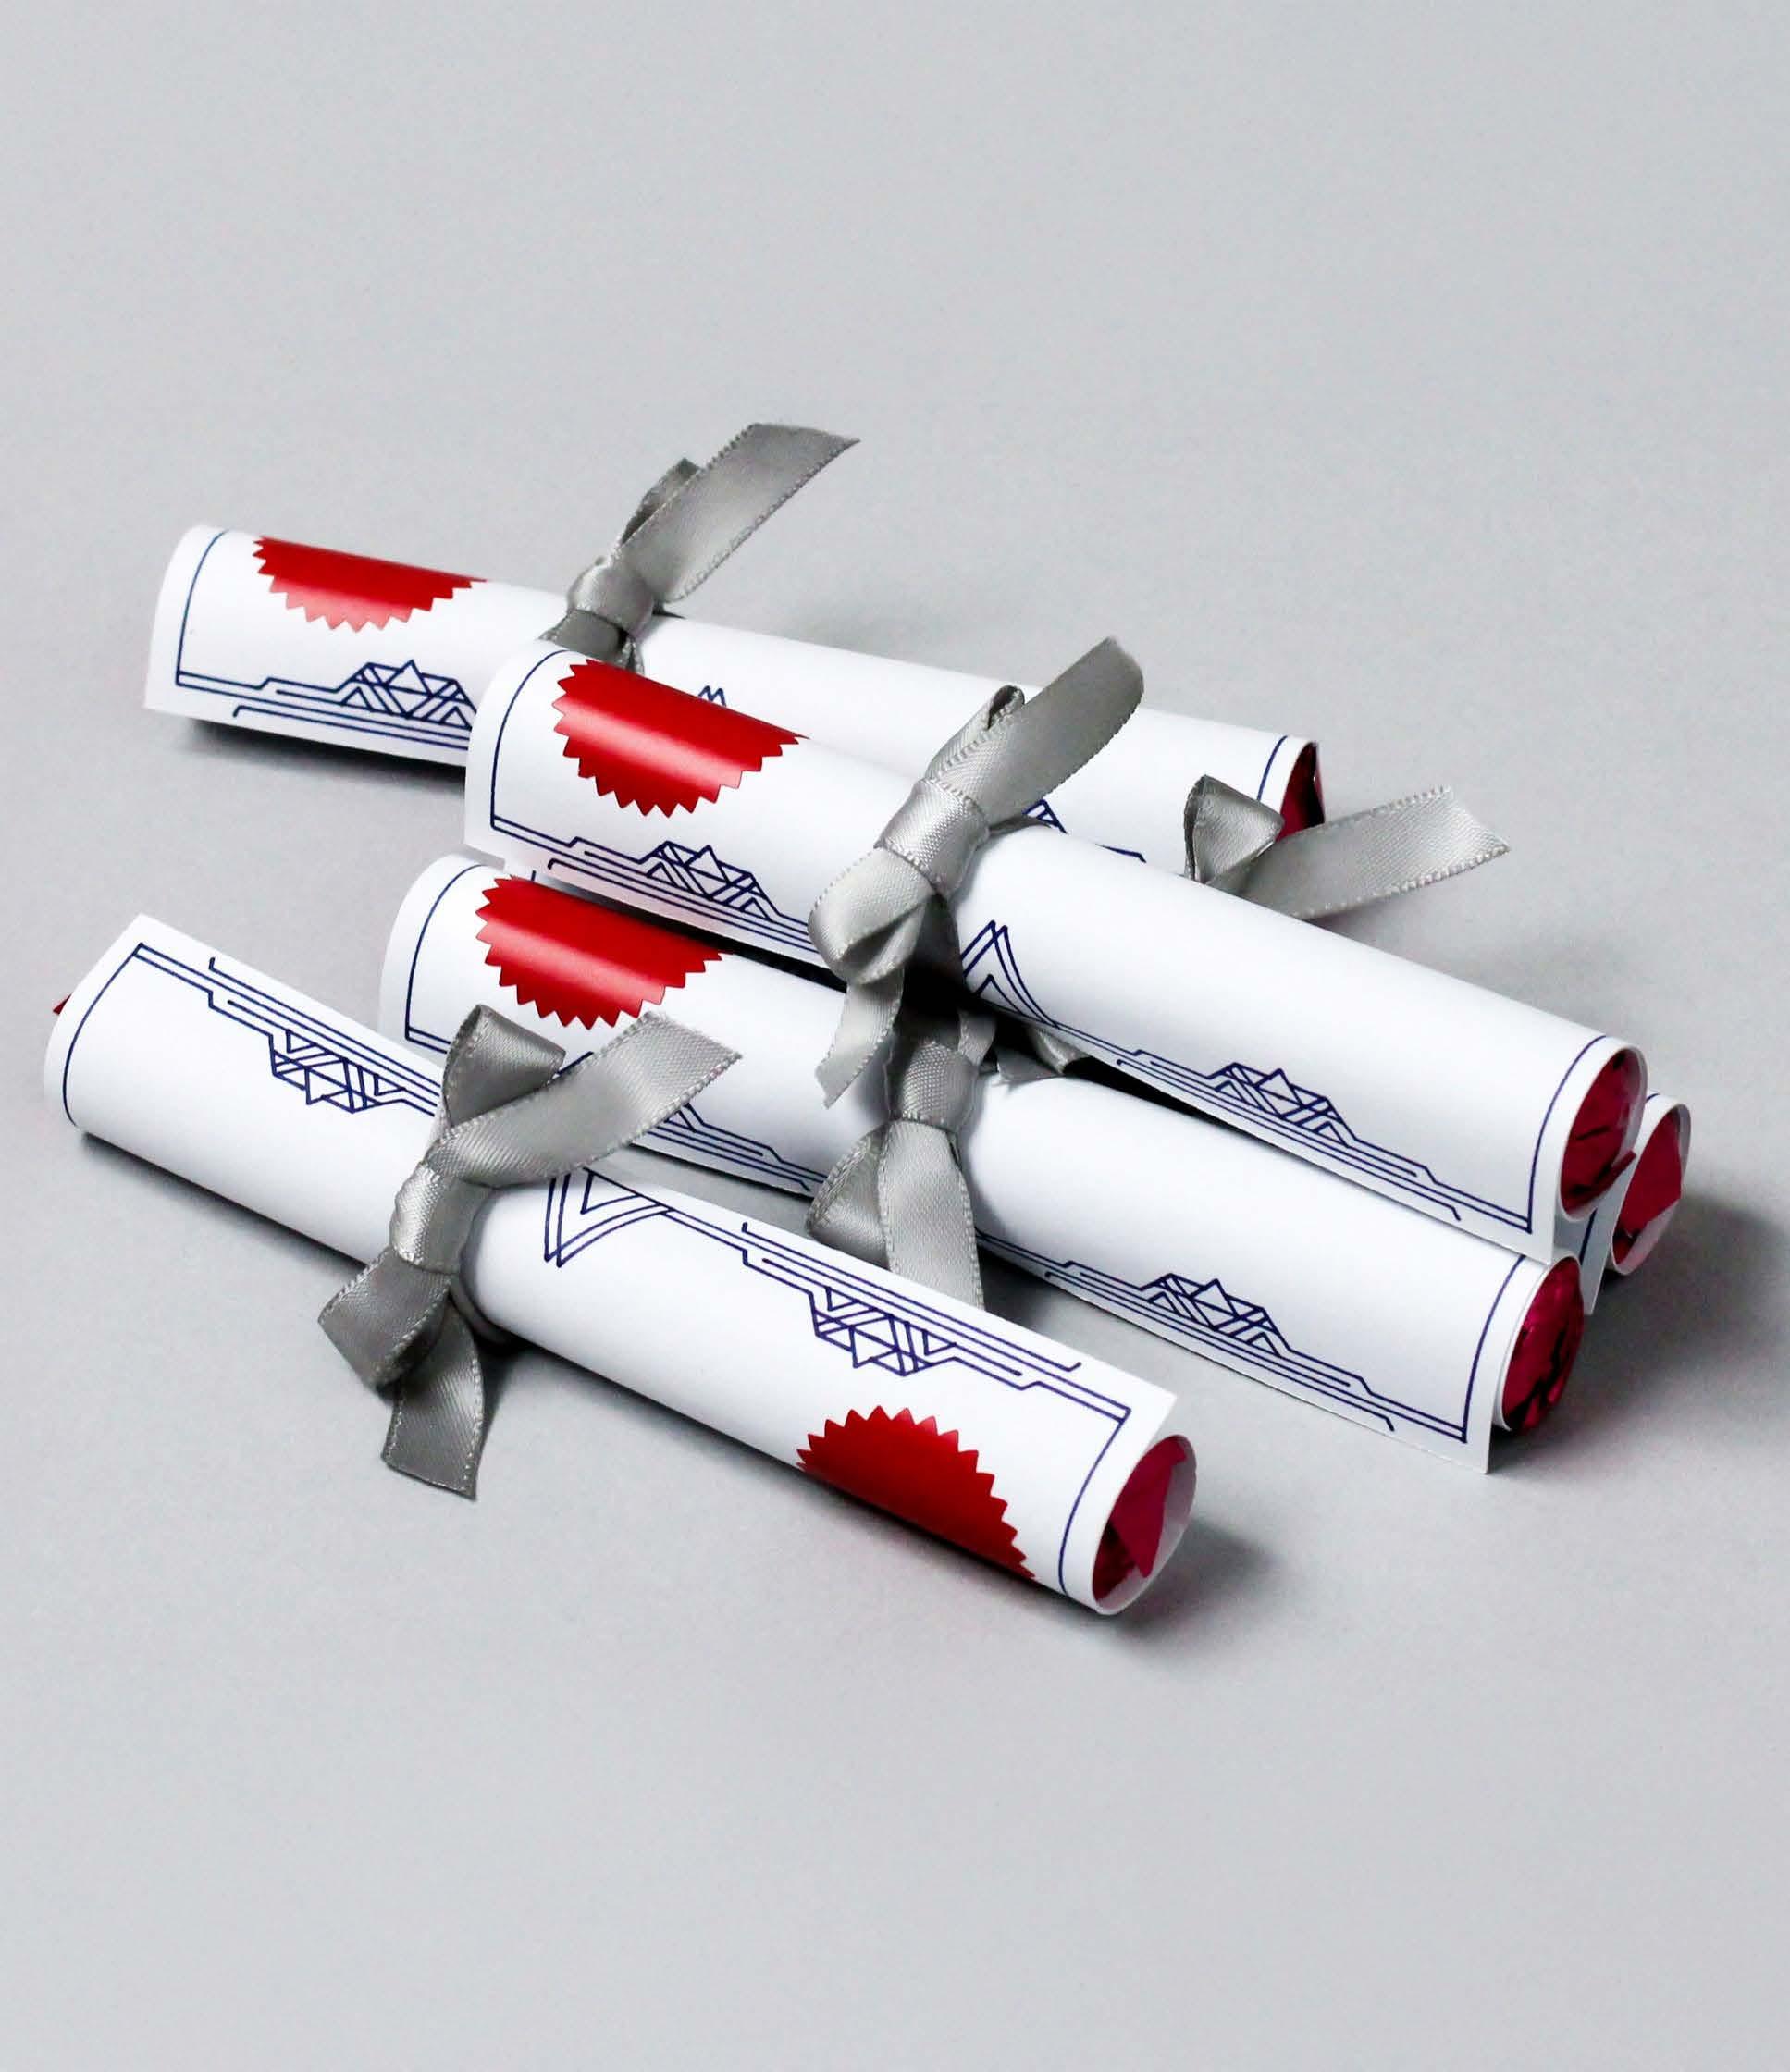
Materials to Cut
Smart Vinyl™Permanent, Red
Cardstock, White
Everything Else
StandardGrip Machine Mat - 12 in x 12 in
LightGrip Machine Mat12 in x 12 in
Transfer Tape
Fine Point Pen, Navy
Weeder Scraper Ribbon Candy
To alter the project, select Customize, then use the Edit panel to make changes.
To edit text use the text tool to select the text you want to change, and type in your desired letters. To lock the text in place, use Attach.
Cut
Follow Design Space® prompts to cut images from vinyl.
Assemble
Use weeder tool to remove unneeded vinyl pieces. When weeding, start from inside and move out.
Use Transfer Tape and a Scraper Tool to apply vinyl cuts to your project. Make sure surface is clean and dry.
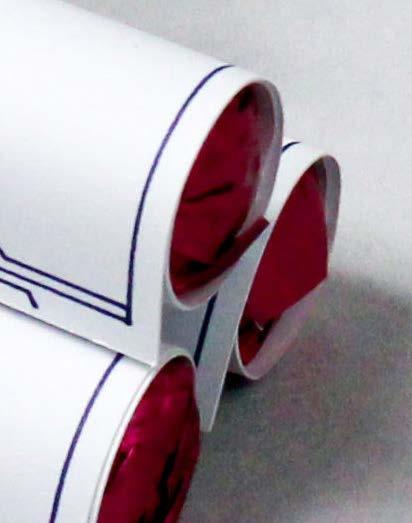
Roll candy into the scrolls and tie with ribbon.
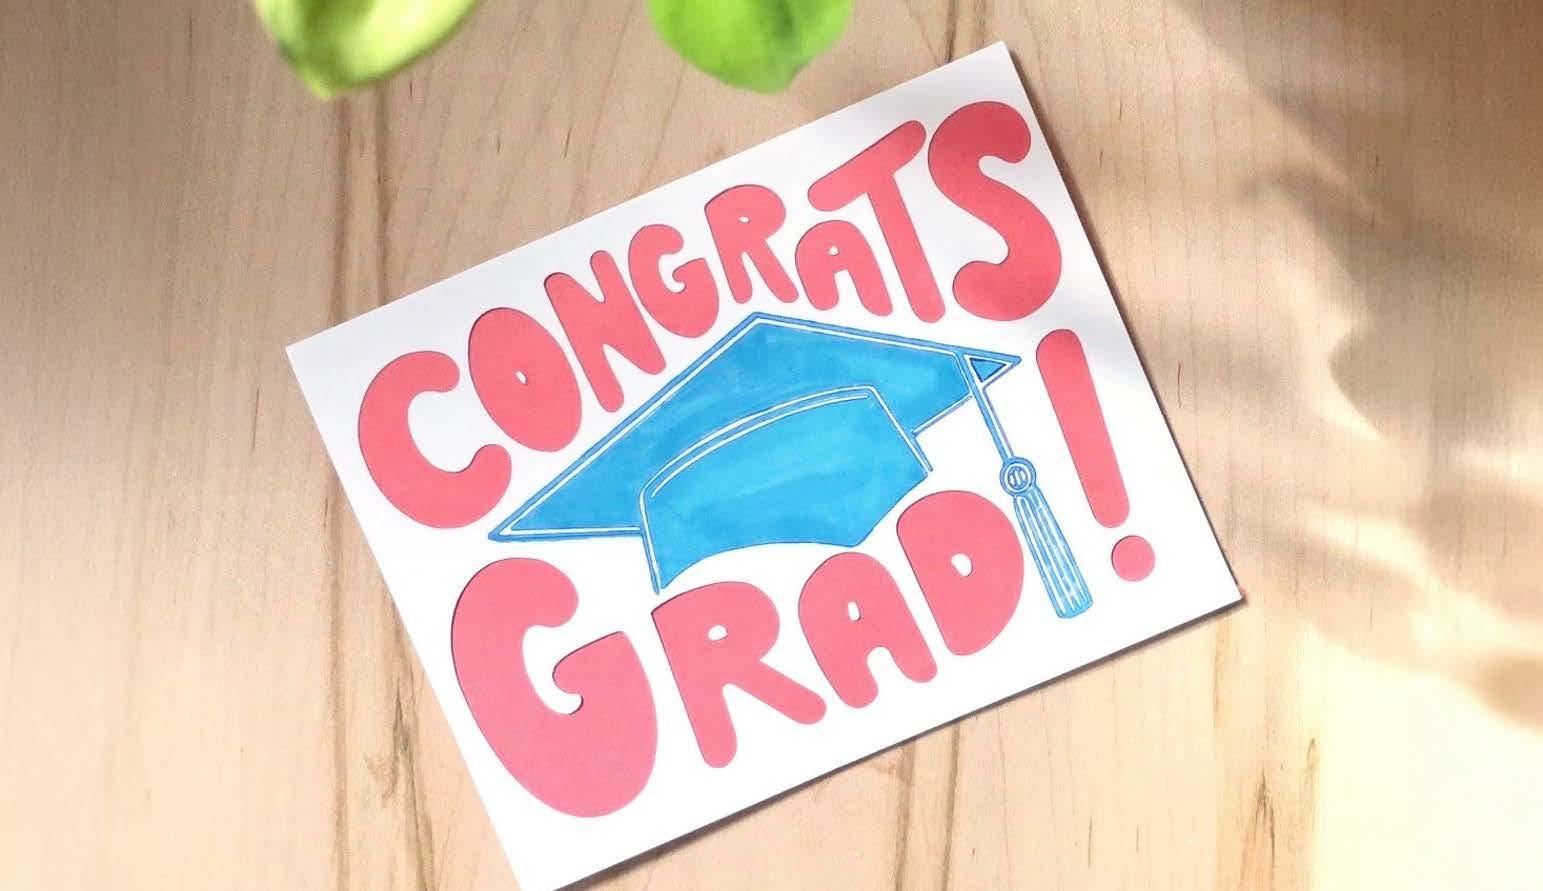
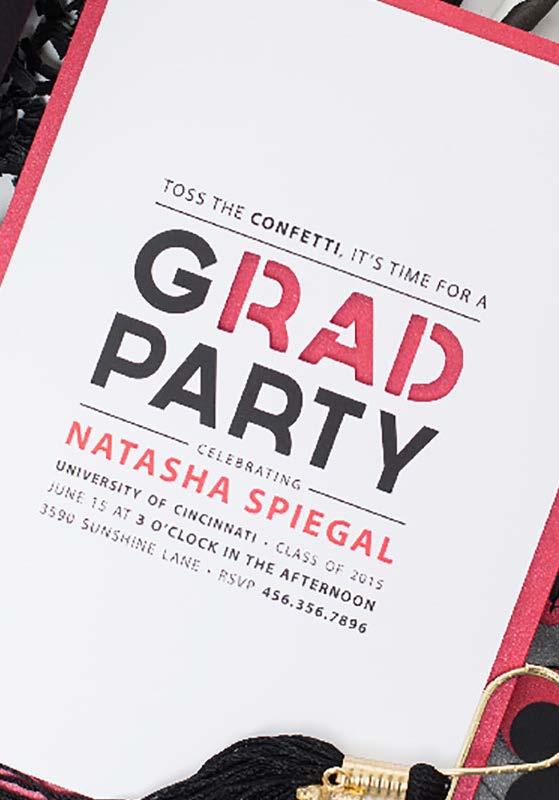
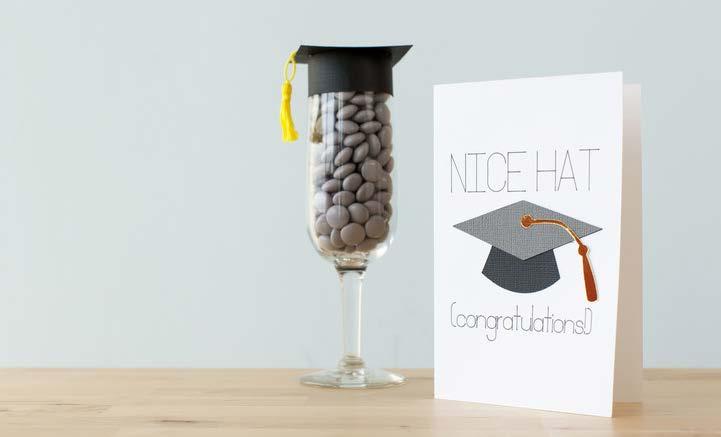
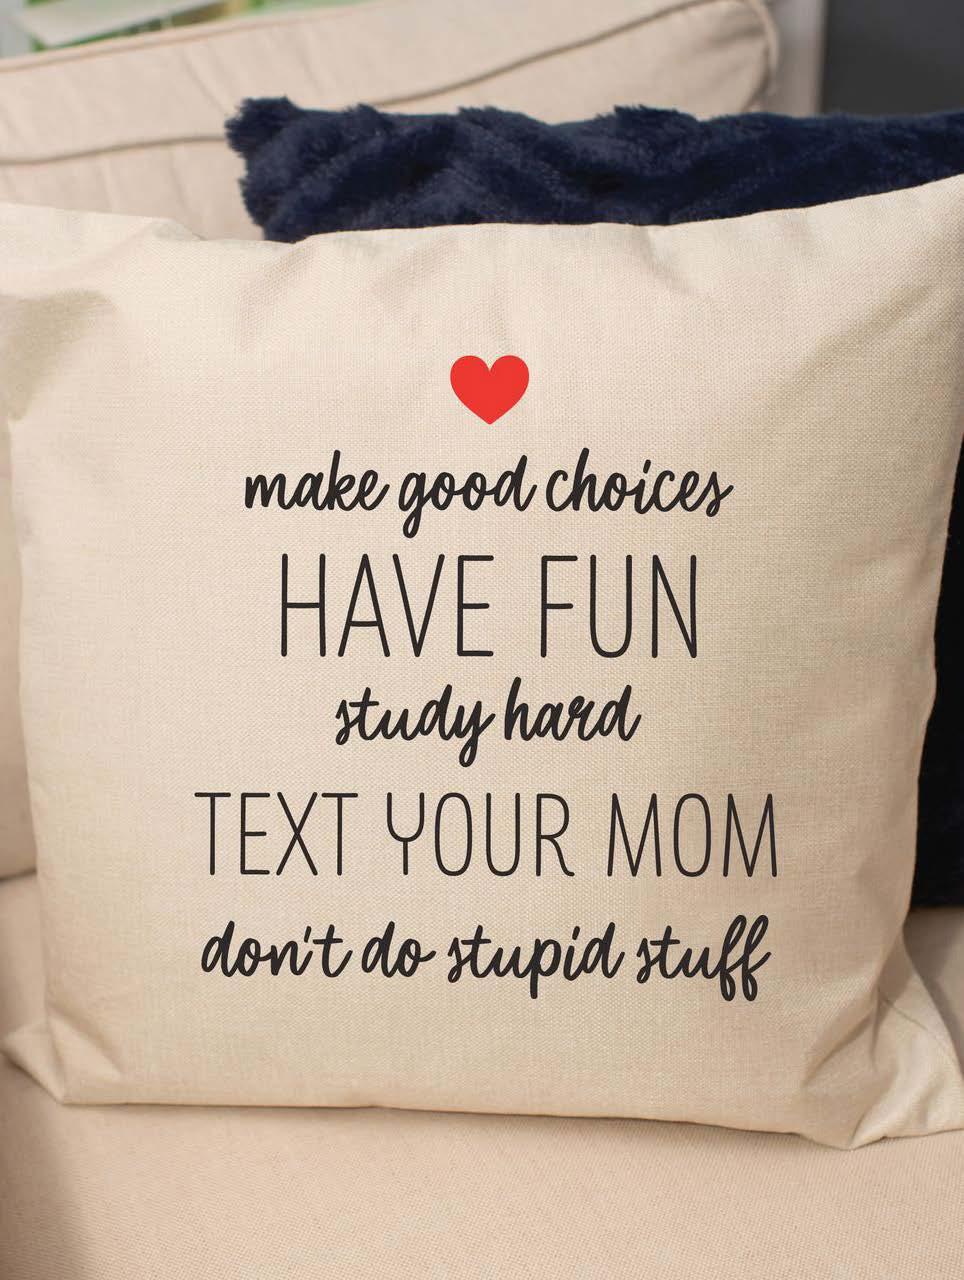
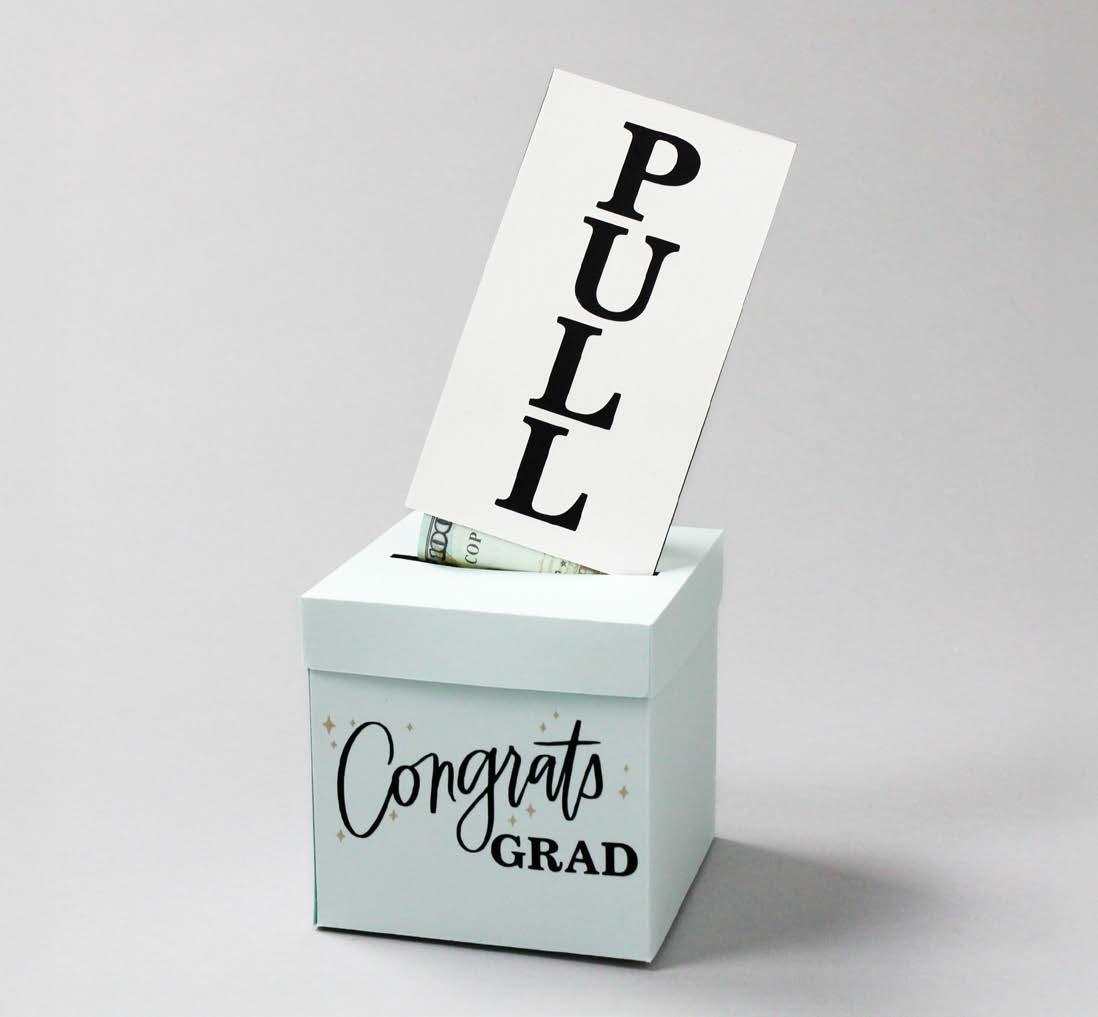
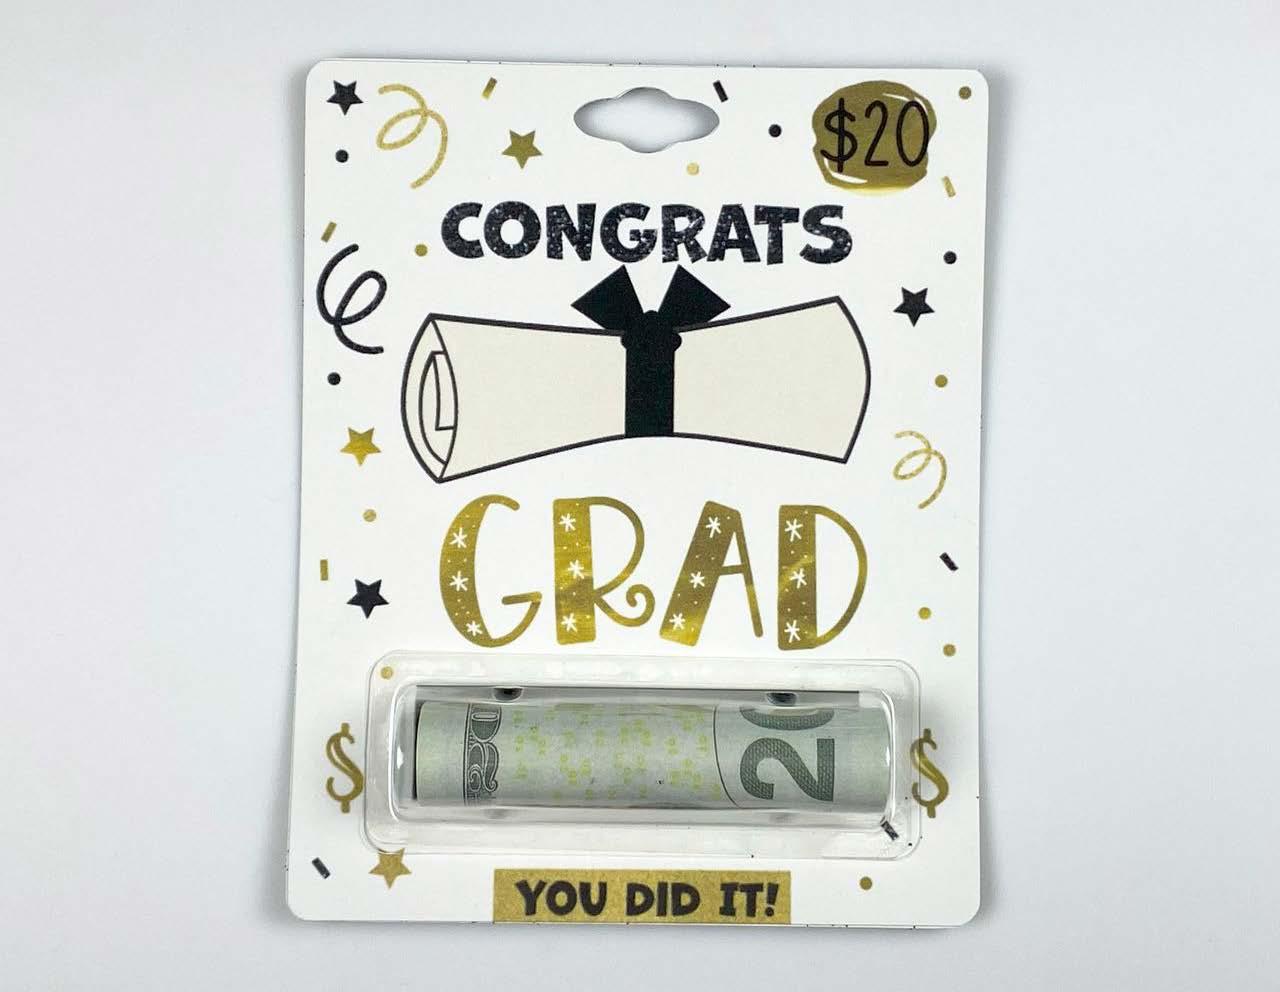
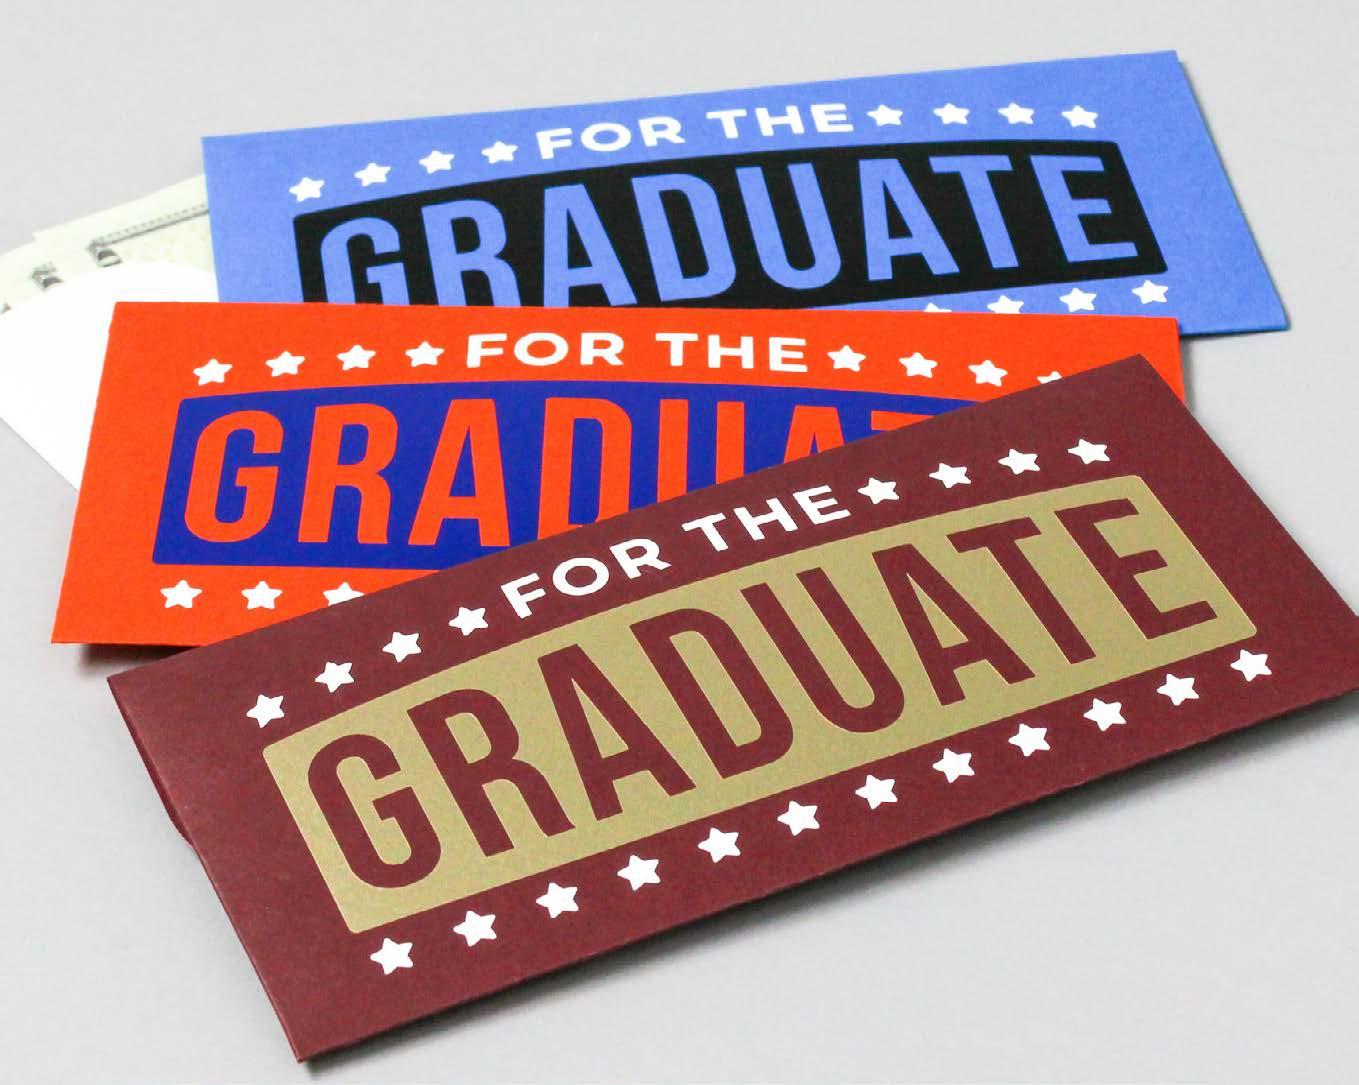
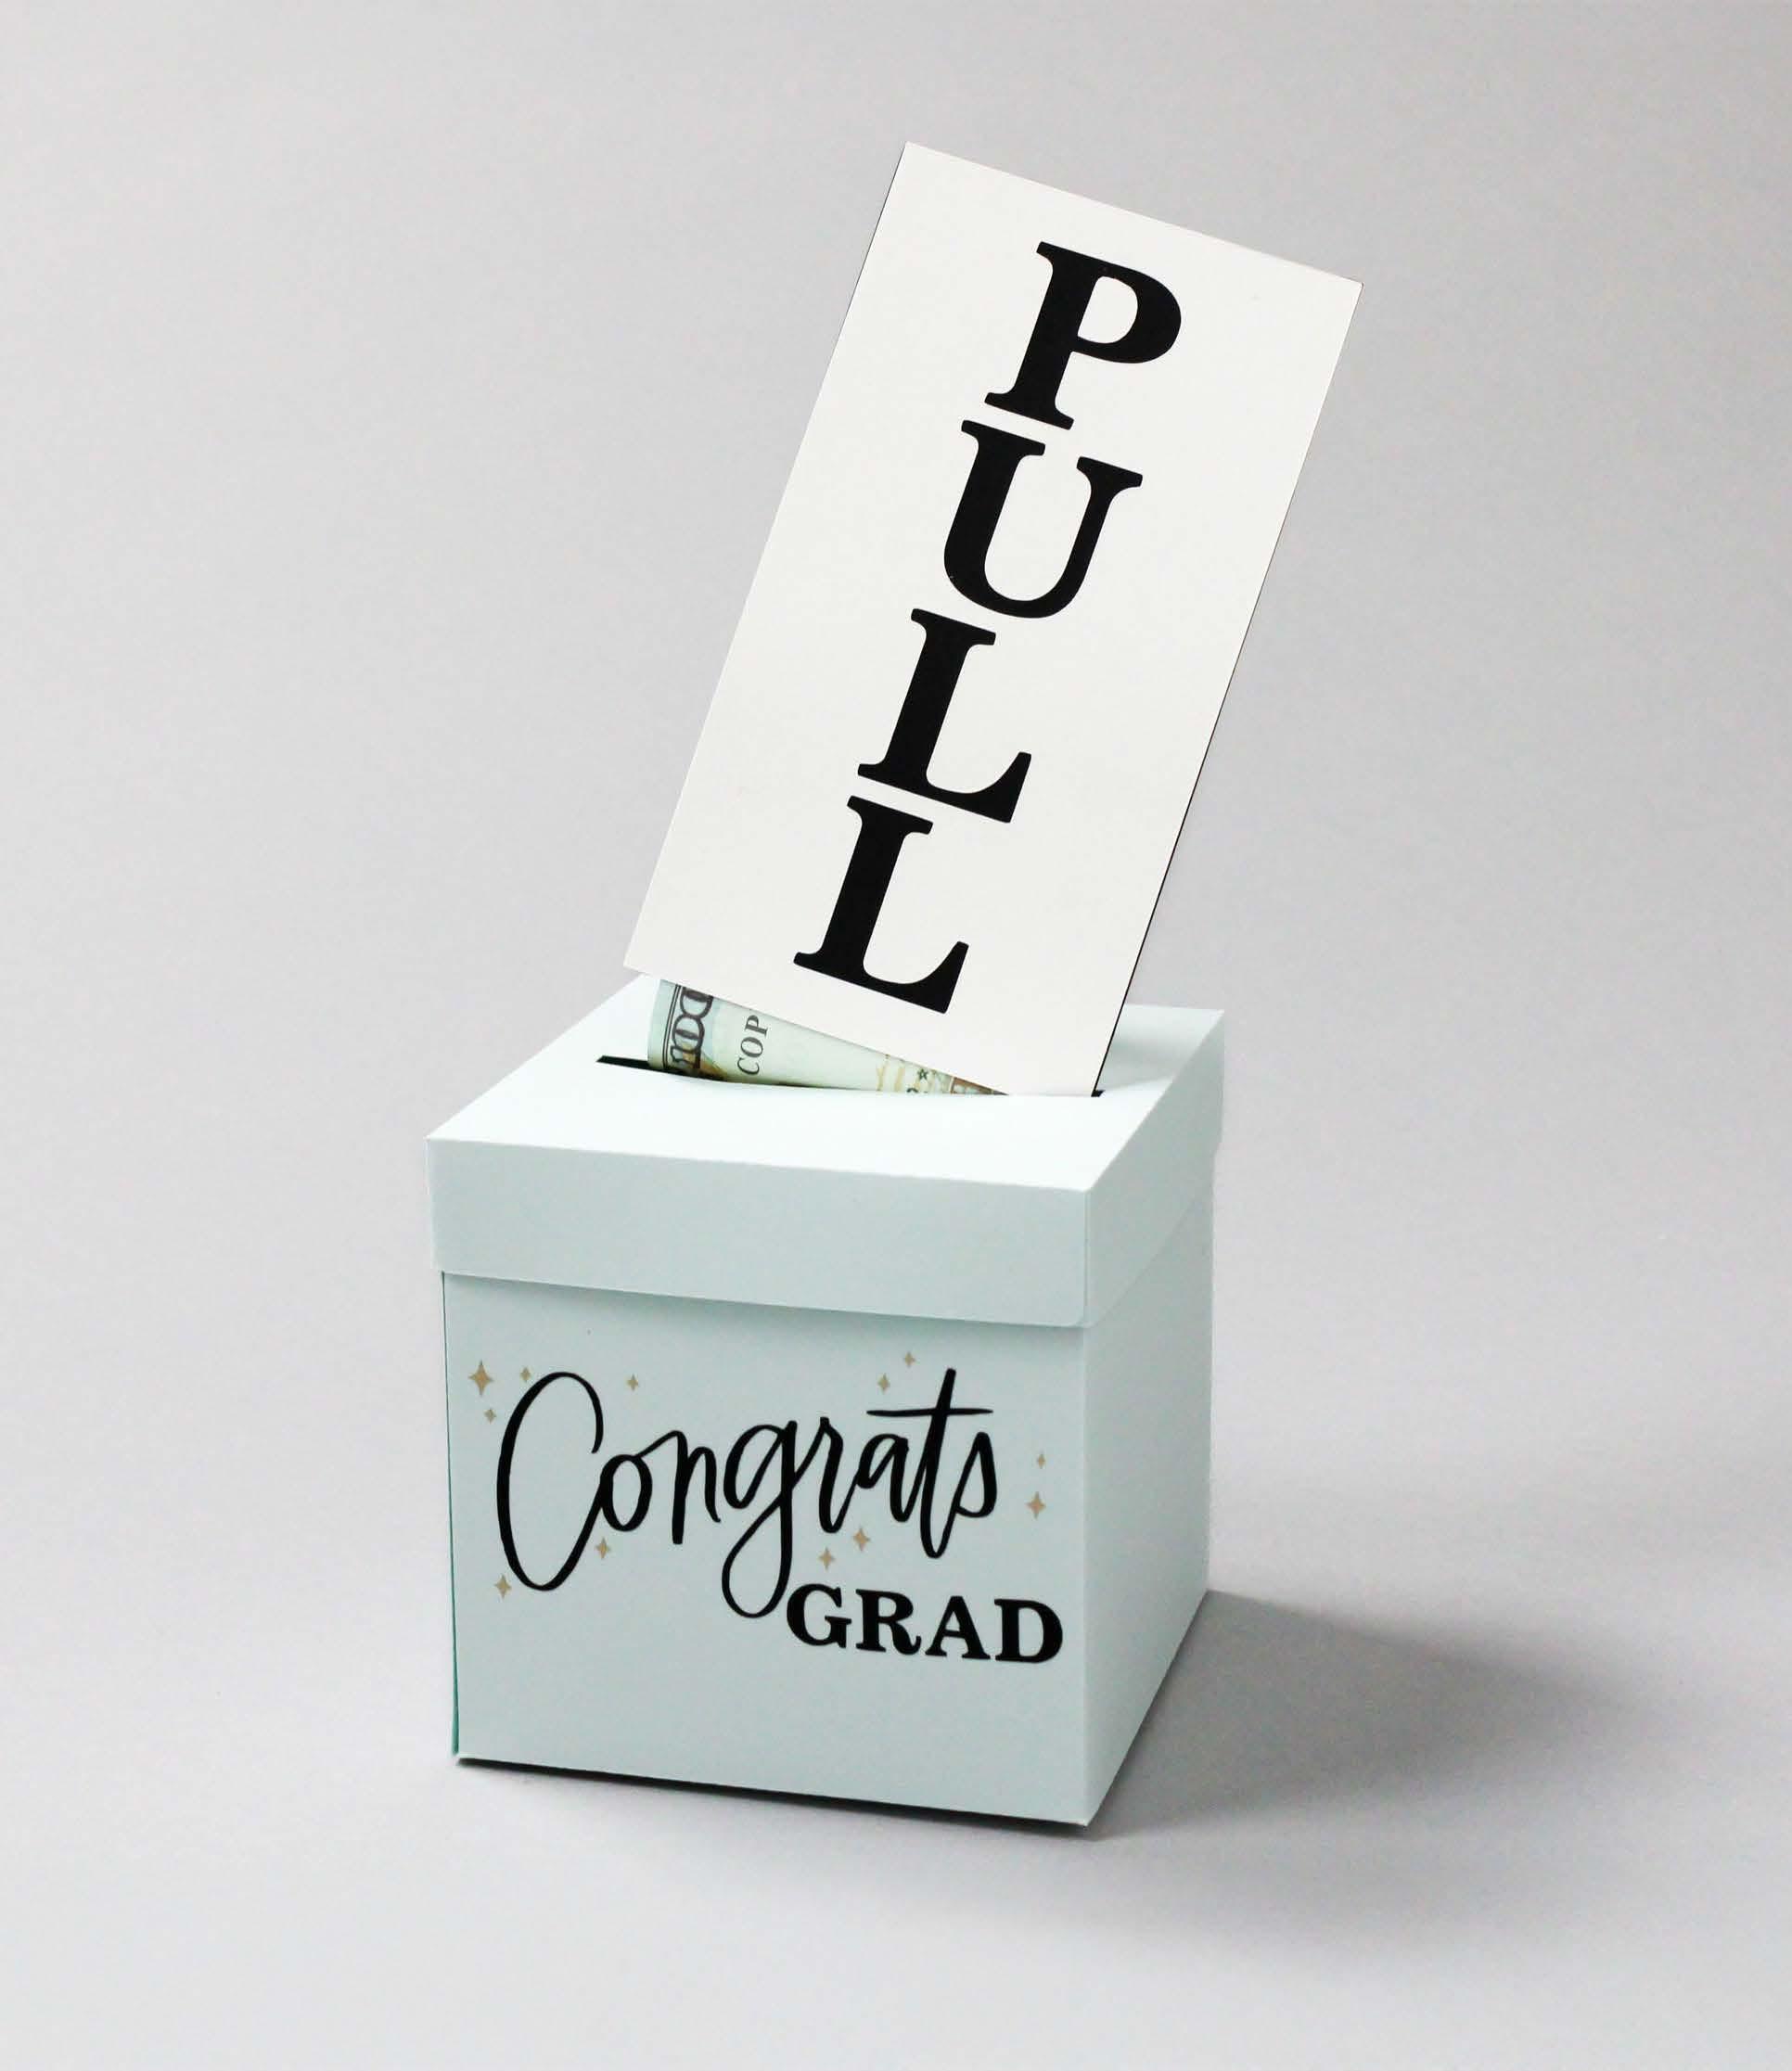
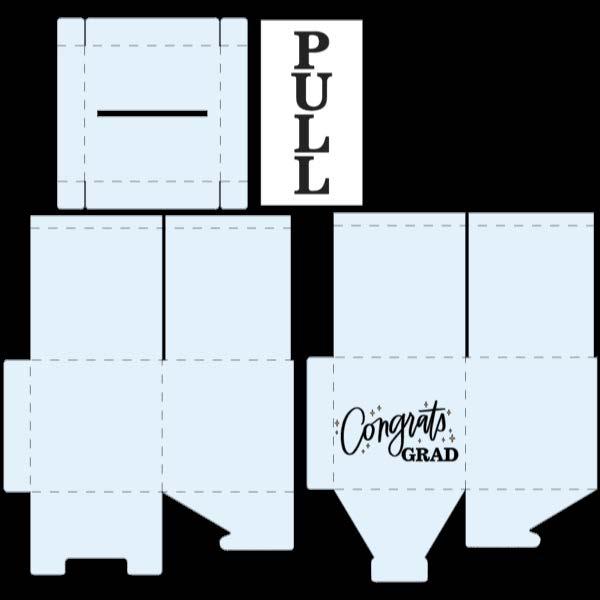
A graduation card should be just as special as the person receiving it! Whether it’s a pop-up masterpiece, a heartfelt handwritten note, or a gift card holder with a clever twist. Say goodbye to store-bought and hello to one-of-a-kind creations—because every grad deserves a card as unique as their journey.
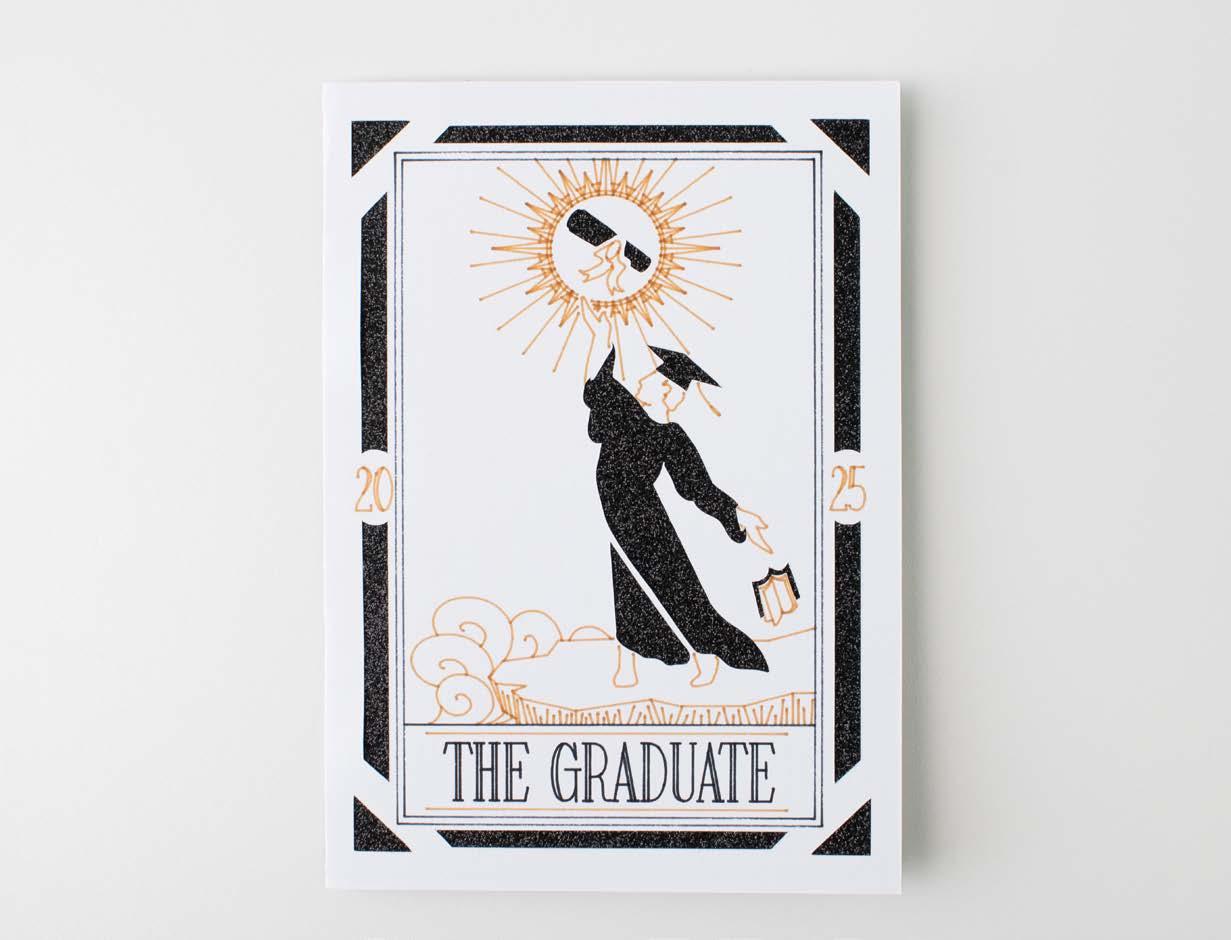

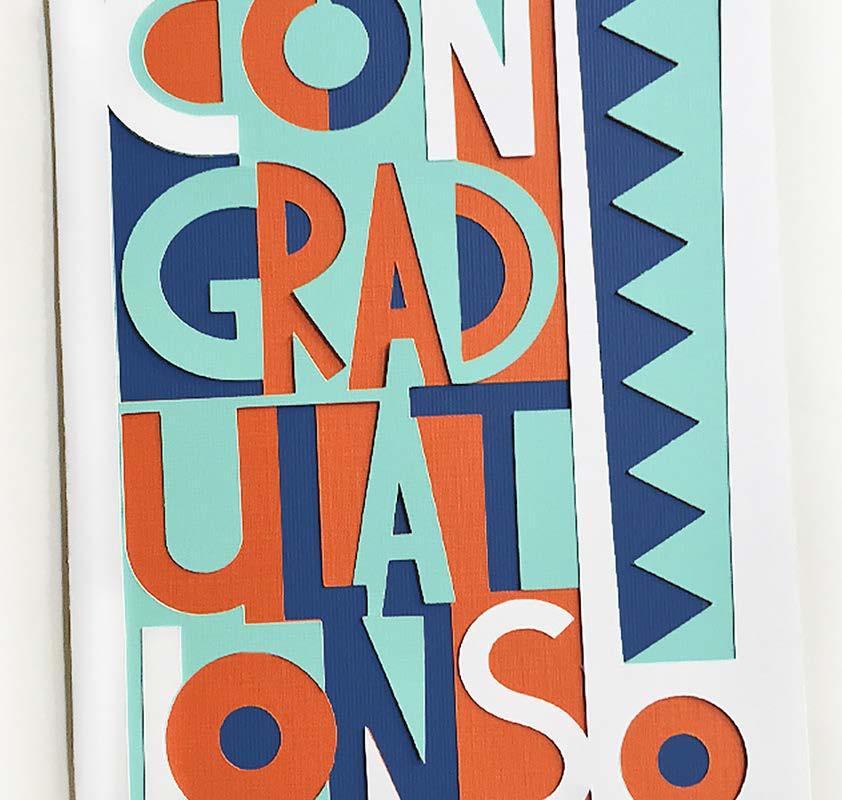
Materials to Cut
Cardstock, Light Blue
Cardstock, White
Cardstock, Black
Premium Vinyl™ or Smart Vinyl™, Black
Smart Vinyl™ - Matte Metallic, Gold
Everything Else
Single Scoring Wheel + QuickSwap Housing or Scoring Stylus
Transfer Tape
Weeder
Scraper
To alter the project, select Customize, then use the Edit panel to make changes.
To edit text use the text tool to select the text you want to change, and type in your desired letters. To lock the text in place, use Attach.
Cut
Follow Design Space® prompts to cut images from vinyl.
Assemble
Use weeder tool to remove unneeded vinyl pieces. When weeding, start from inside and move out.
Use Transfer Tape and a Scraper Tool to apply vinyl cuts to your project. Make sure surface is clean and dry.
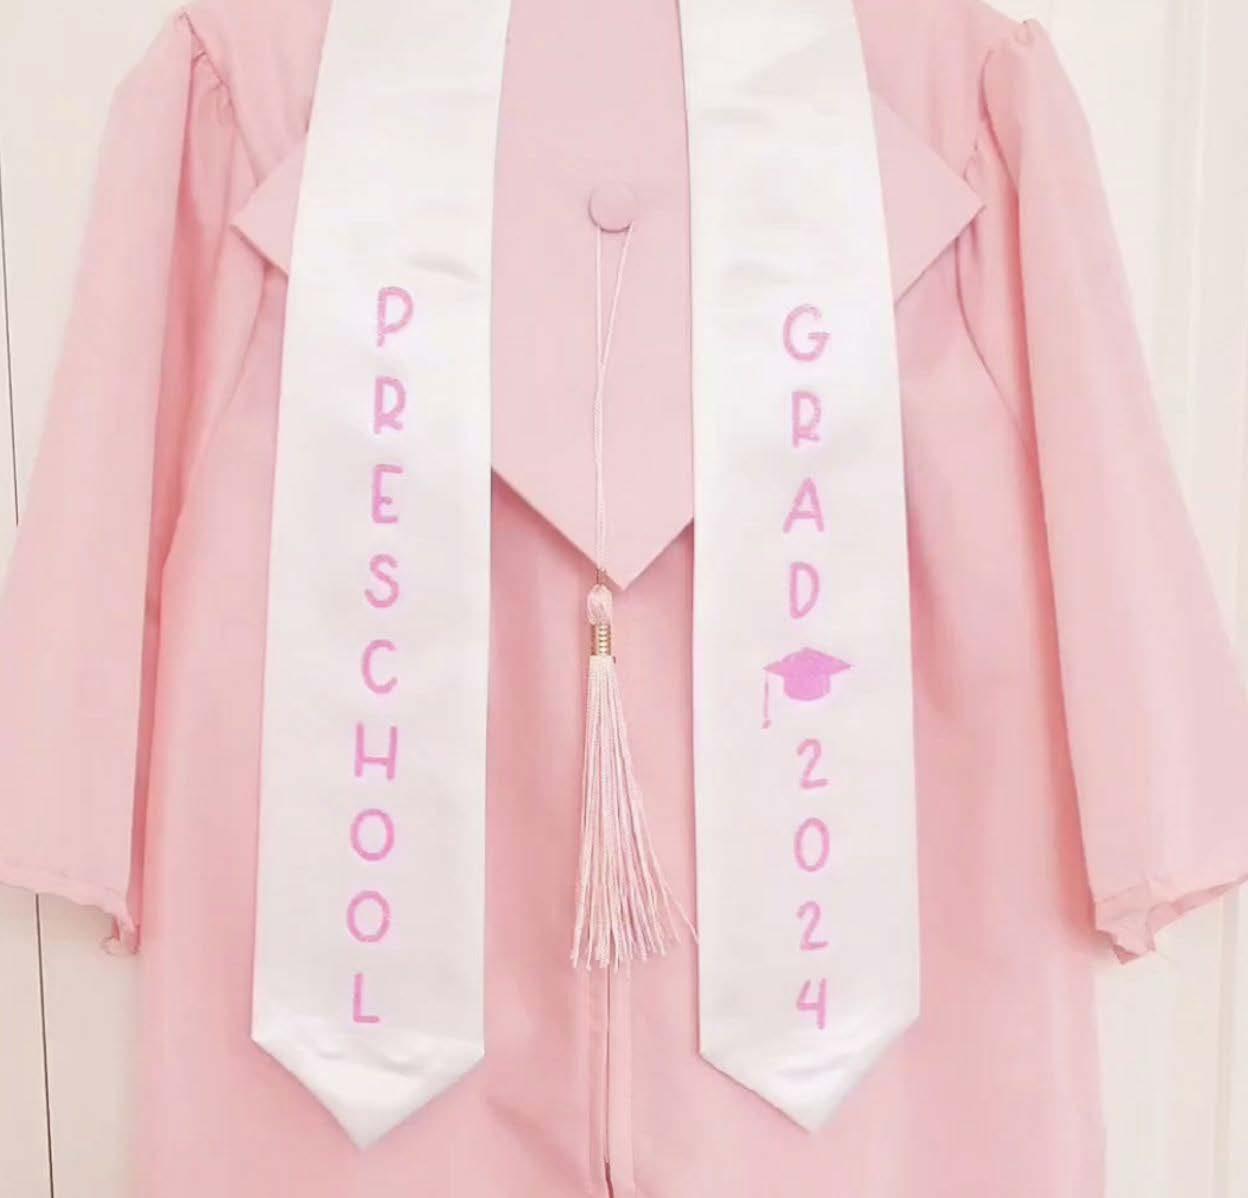
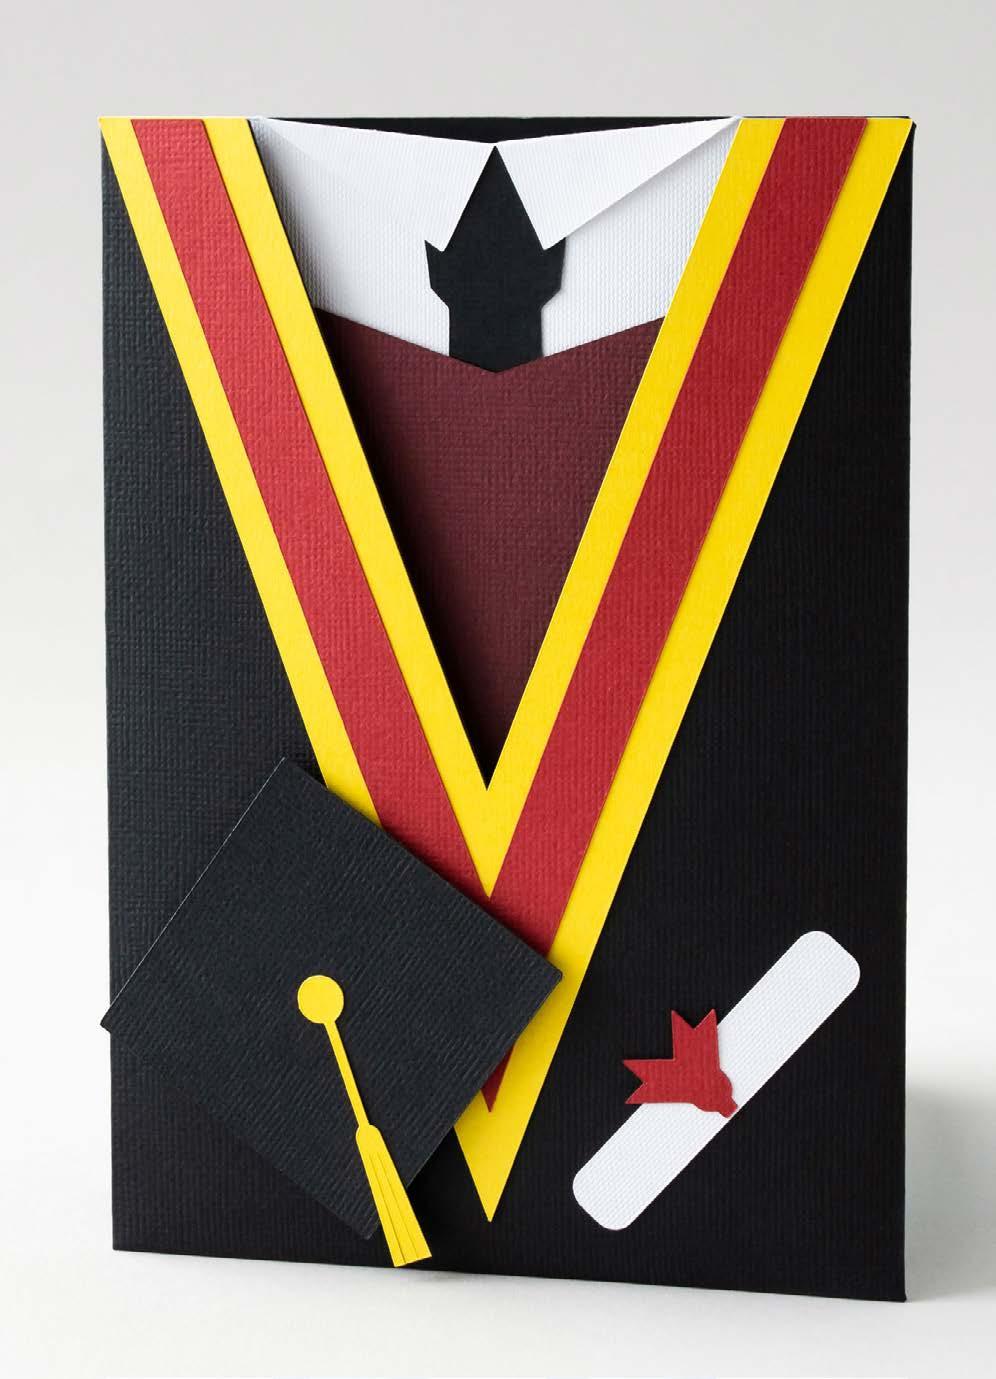
Materials to Cut
Smart Vinyl™ Matte
Metallic – Permanent, Champagne
Smart Vinyl™ –Removable, White
Cardstock, Maroon
Everything Else
LightGrip Machine Mat12 in x 12 in
Transfer Tape
Adhesive for Paper
To alter the project, select Customize, then use the Edit panel to make changes.
To edit text, double-click the text you want to change, then update as needed. To fasten text to another layer, use Attach.
Cut
When you’re ready, select Make It. Then follow Design Space® prompts.
Assemble
Using your glue gun, glue the long black rectangle around the top of your glass.
Pin your tassel to the top of your hat with your yellow brad. Glue the top hat to the base. Fill glass with treats if desired.


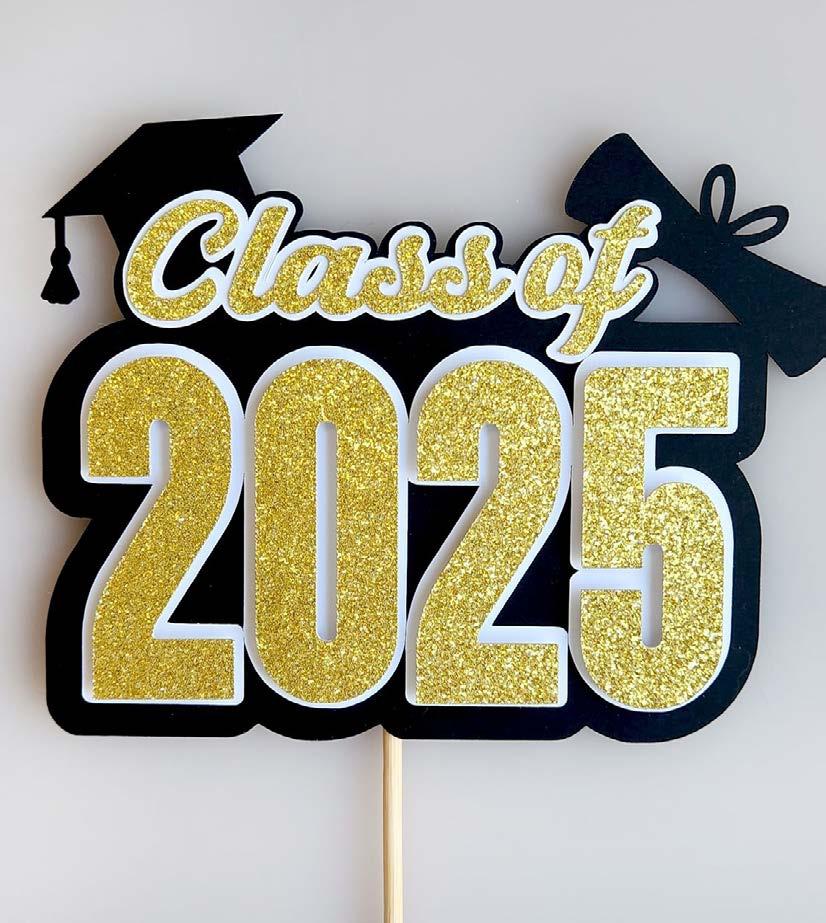
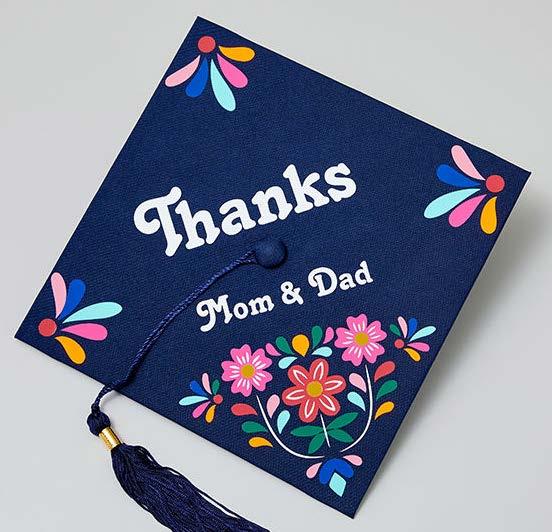
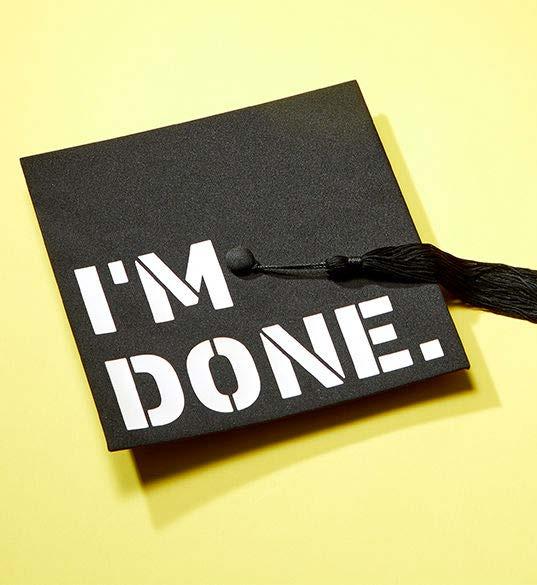
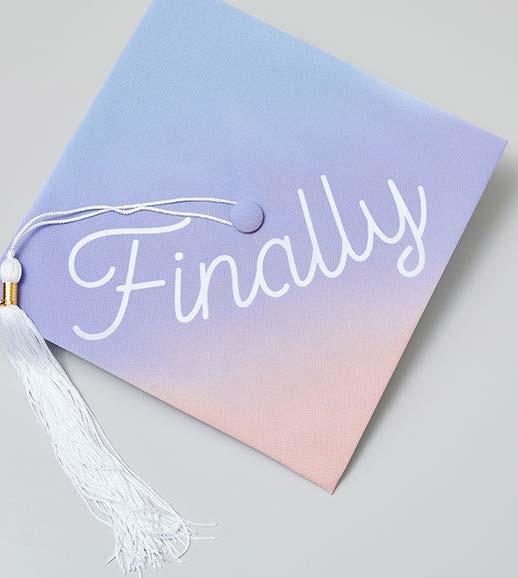
The perfect grad look isn’t complete without a custom cap! Whether it’s bold, heartfelt, or full of sparkle, make a graduation cap that stands out as much as their achievement. From vinyl decals to 3D embellishments, these projects help grads celebrate their journey their way.
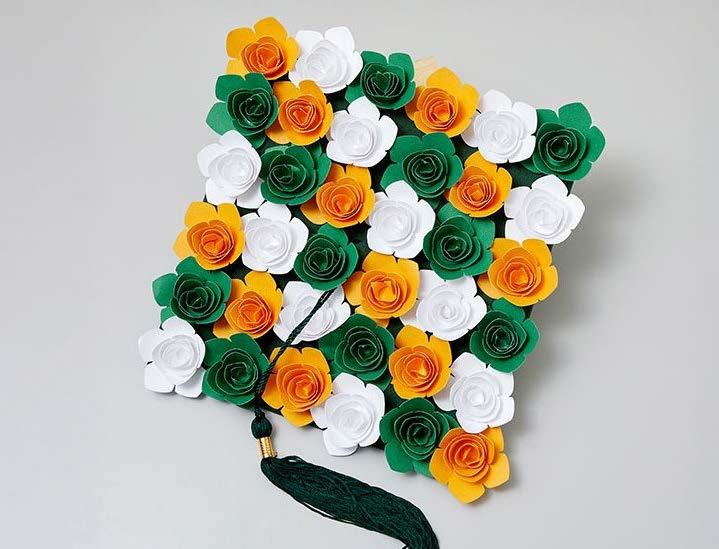
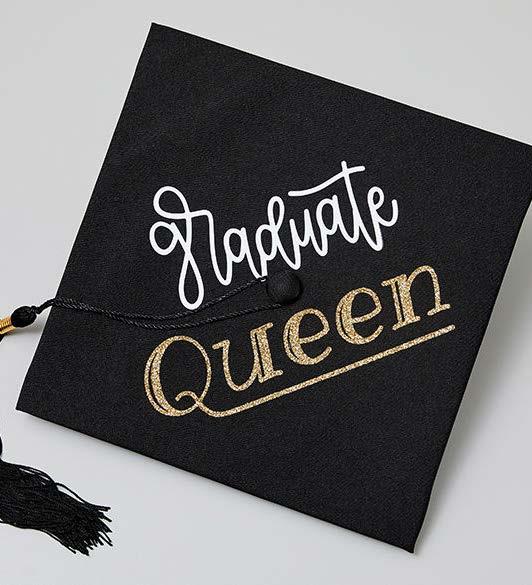

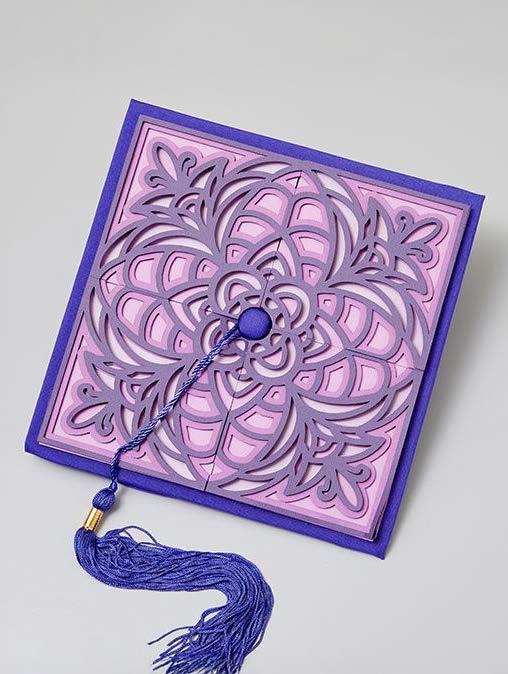

Materials to Cut
Cardstock, White
Cardstock, Golden Yellow
Cardstock, Green
Everything Else
LightGrip Machine Mat
Hot Glue Gun and Glue Sticks
Quilling Tool or Tweezers (optional)
Graduation Cap
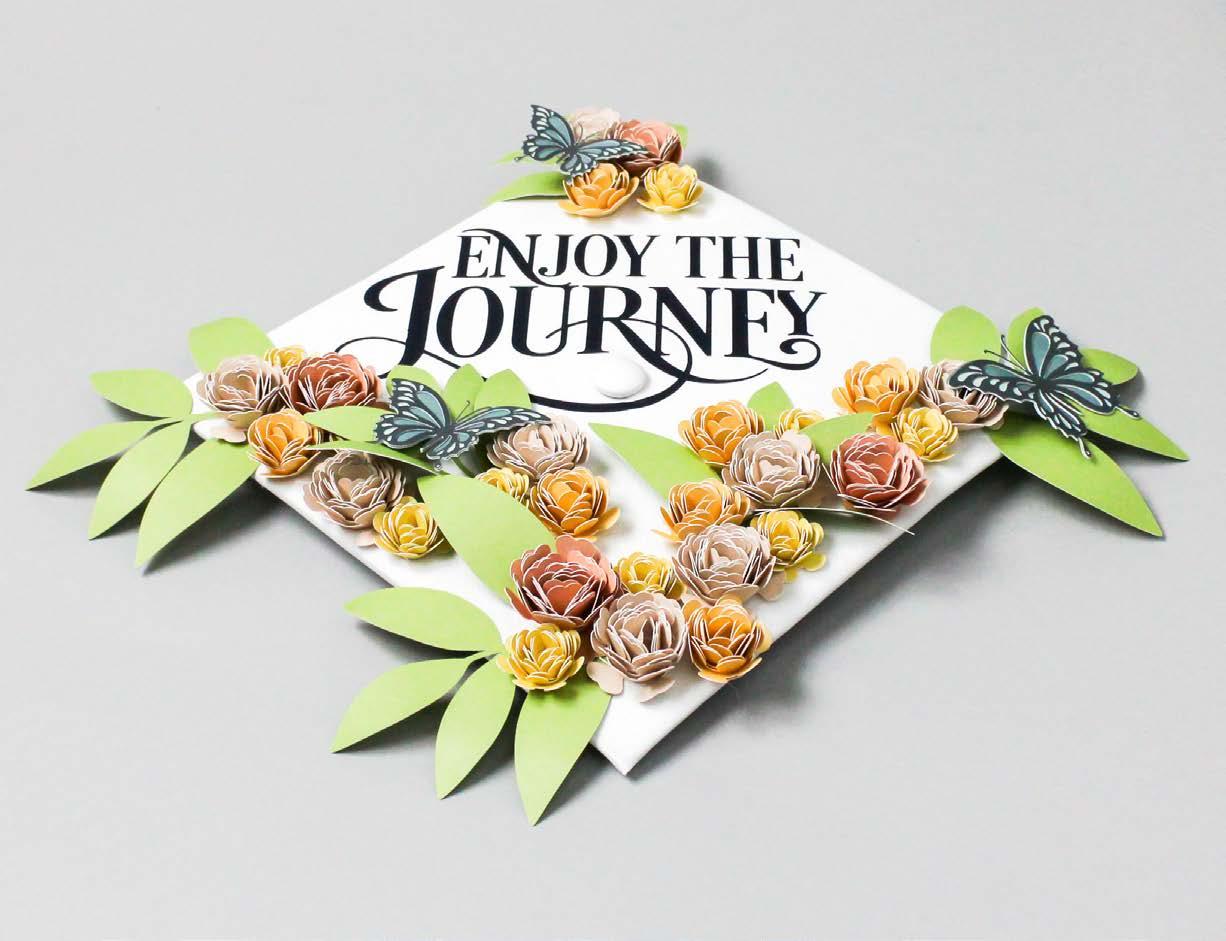
To alter the project, select Customize, then use the Edit panel to make changes. Increase project copies and arrange flowers on the mat to maximize material space.
When you’re ready, select Make It. Then follow Design Space® prompts.
Assemble
Gather all materials.
Optional: Use a Cricut Mat Scraper tool or another blunt edge to curl the scalloped edge.
Begin rolling the flower spiral. Start from the outside end and roll in. If you curled the edges, roll in a way that the petals are away from the rolled middle.
Continue rolling the spiral. Create roll as tight or loose as you desire. Tight flowers will be smaller. Loose flowers will be wider.
Roll completely with exception to the circle base flap.
Use hot glue or strong adhesive to adhere base flap to the rolled spiral.
That’s it! Repeat for remaining flowers.


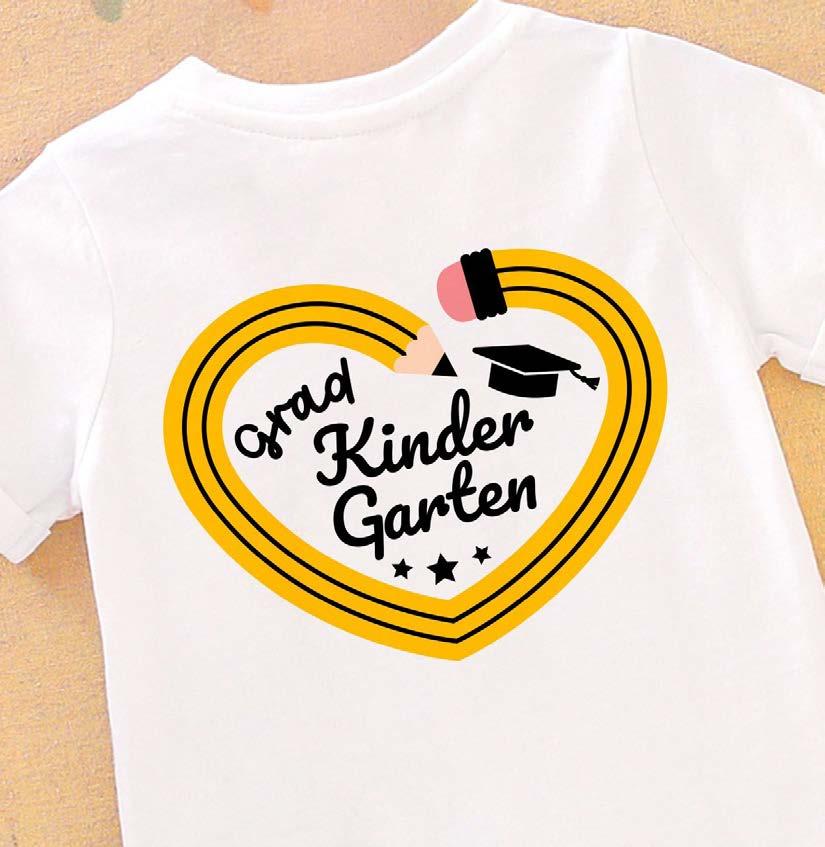
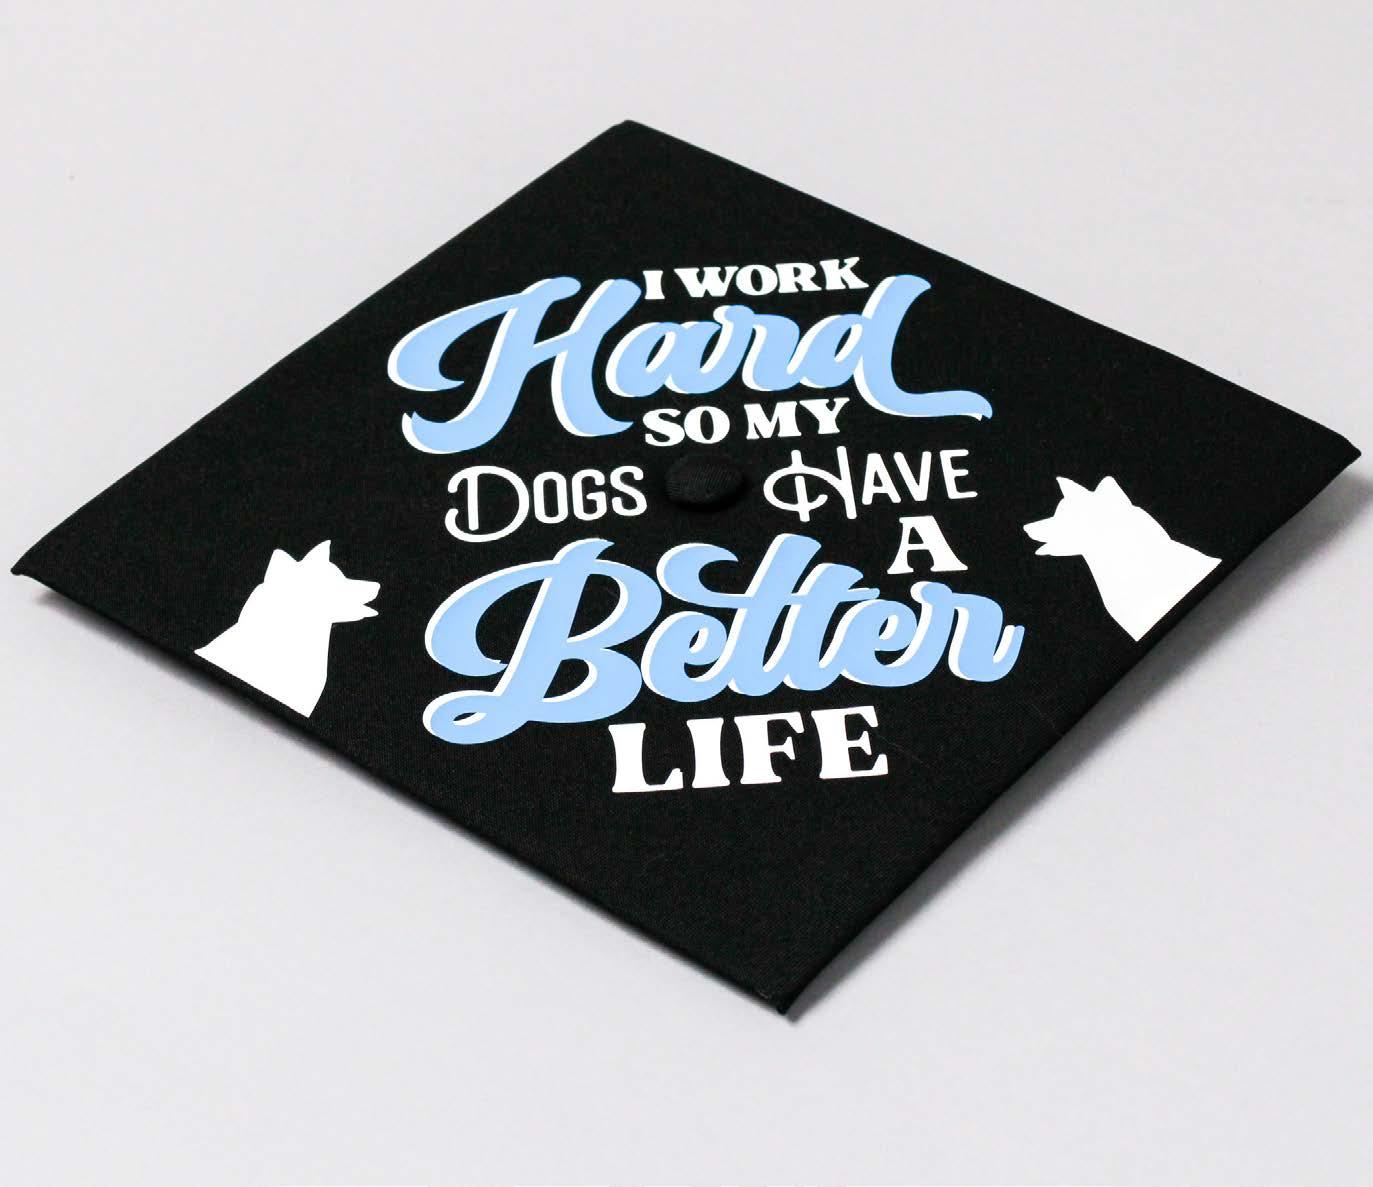
Materials to Cut
Everyday Iron-On™, White
Everything Else
StandardGrip Machine Mat, 12” x 12”
Cricut EasyPress™ Mini
Cricut EasyPress Mat
Weeder
Graduation Cap
To personalize the text of this project, use the text tool to select the text you want to change, and type in your desired letters. Use the Attach option to preserve the arrangement of text before cutting.
Be sure to Mirror the image when using iron-on and place the shiny side (clear liner) down on the mat.
Follow the prompts in Design Space® to cut the images from the iron-on material.
Assemble
Use a Weeder Tool to remove the negative pieces of iron-on so just your design remains on the clear liner.
Apply the iron-on layers to the cap using a Cricut EasyPress Mini™ and Cricut EasyPress Mat with our Heat Transfer Guide, linked below, for the perfect time and temp settings.