What will you make next? Be My Valentine!

What will you make next? Be My Valentine!
This Valentine’s Day, celebrate all the loves in your life — not just the romantic ones. From the friends who have been there for every love story and heartbreak to the kids who know how to push your buttons, but also make you laugh. With Cricut, you can turn inside jokes, memorable moments, and more into personalized gifts that everyone will love.

Whether you’re curating a special moment with your kids or having a girl’s night in with the gals, we’ve got all the projects you need to make Valentine’s Day extra personal and heart-warming.


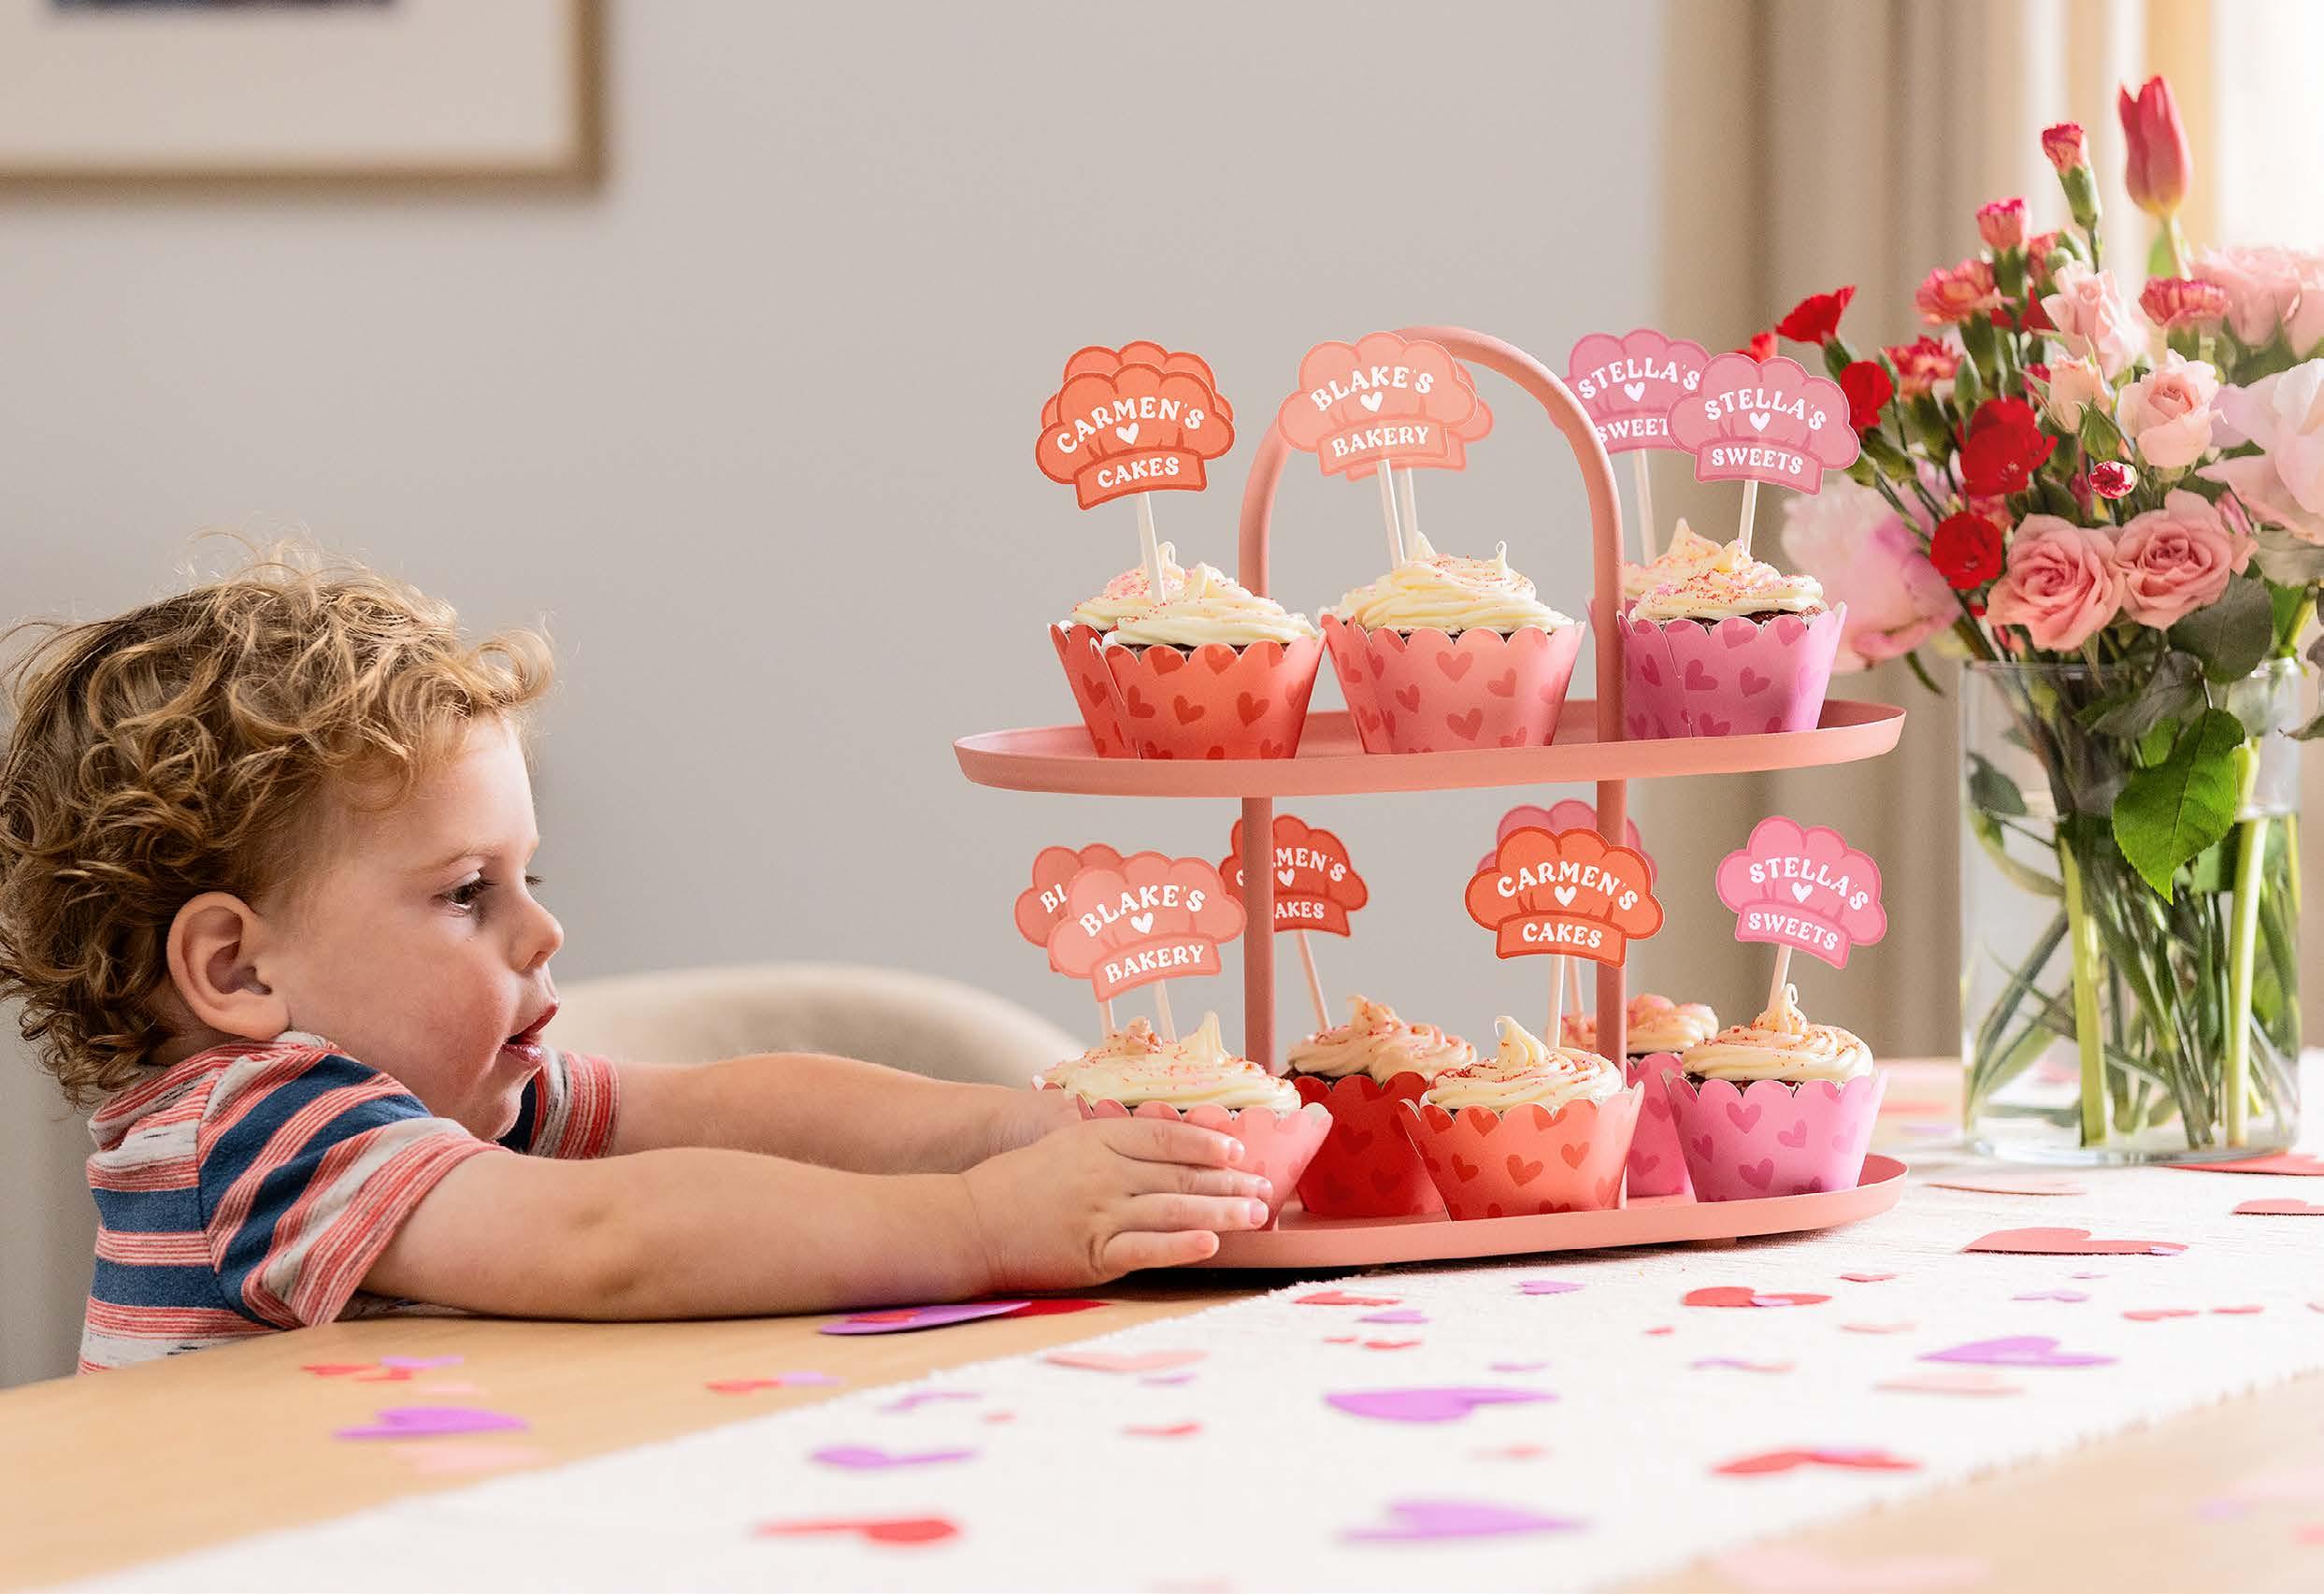
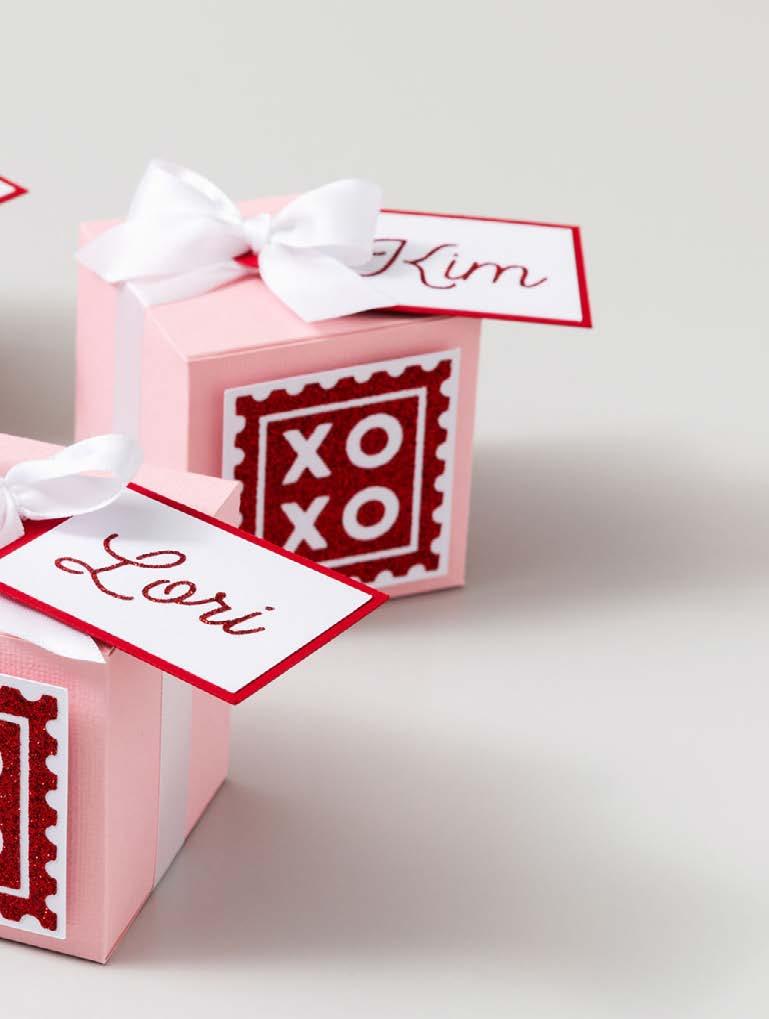
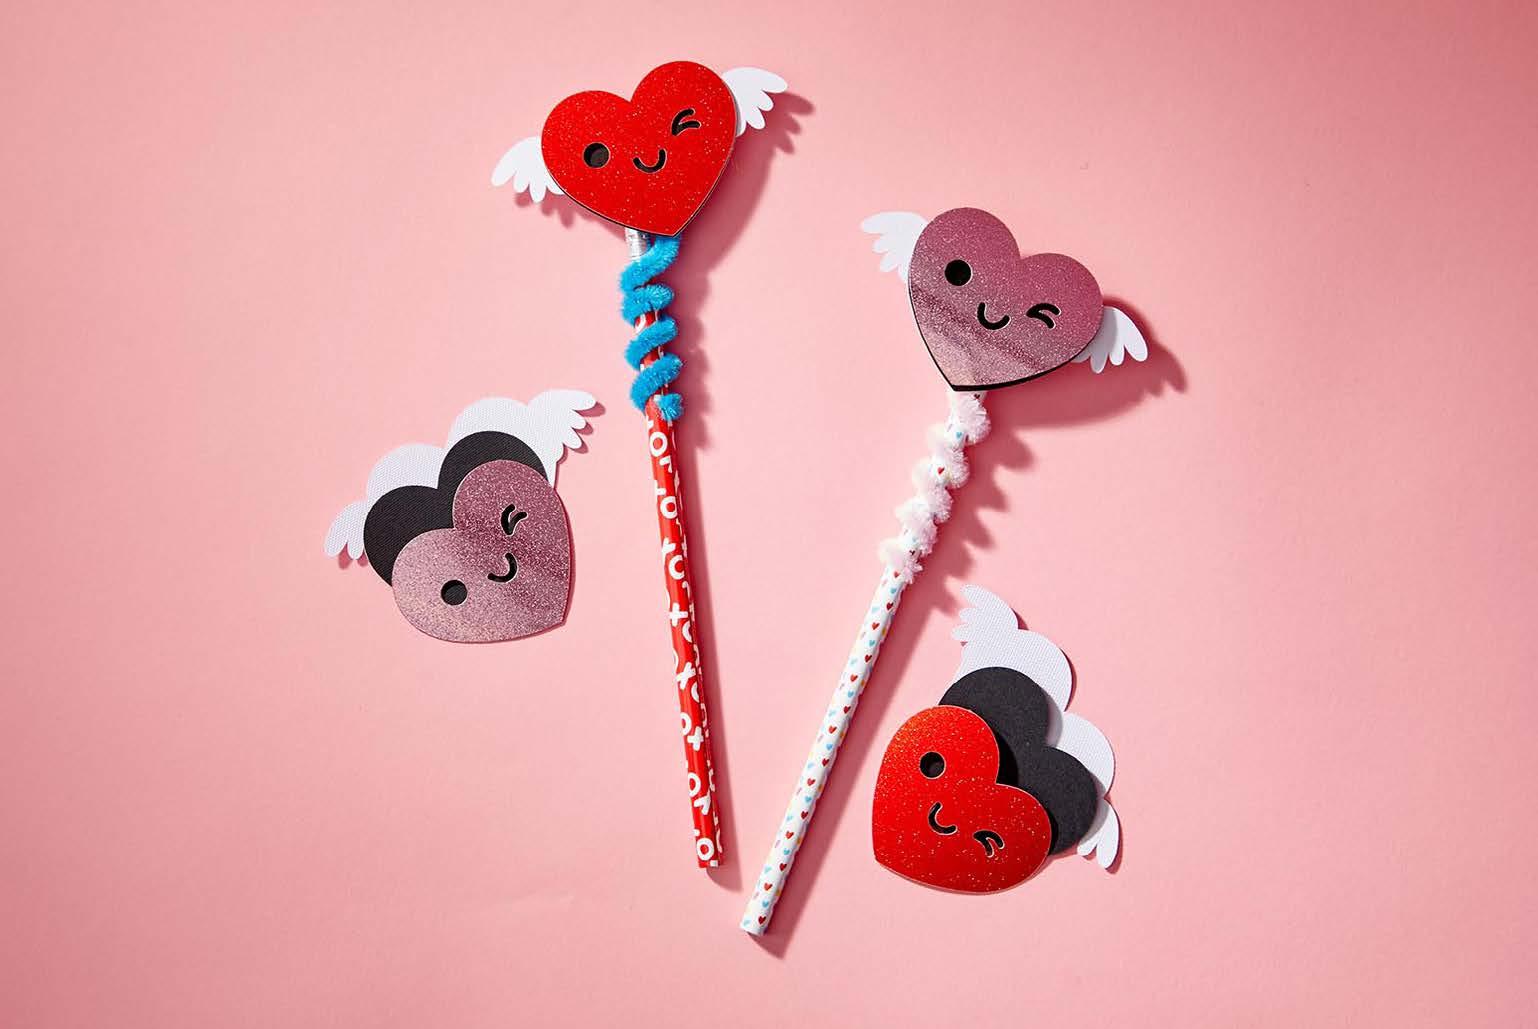
Get your kids in on the fun with personalized party decor and gear for Valentine’s Day. With Cricut®, you can make any celebration an unforgettable moment.
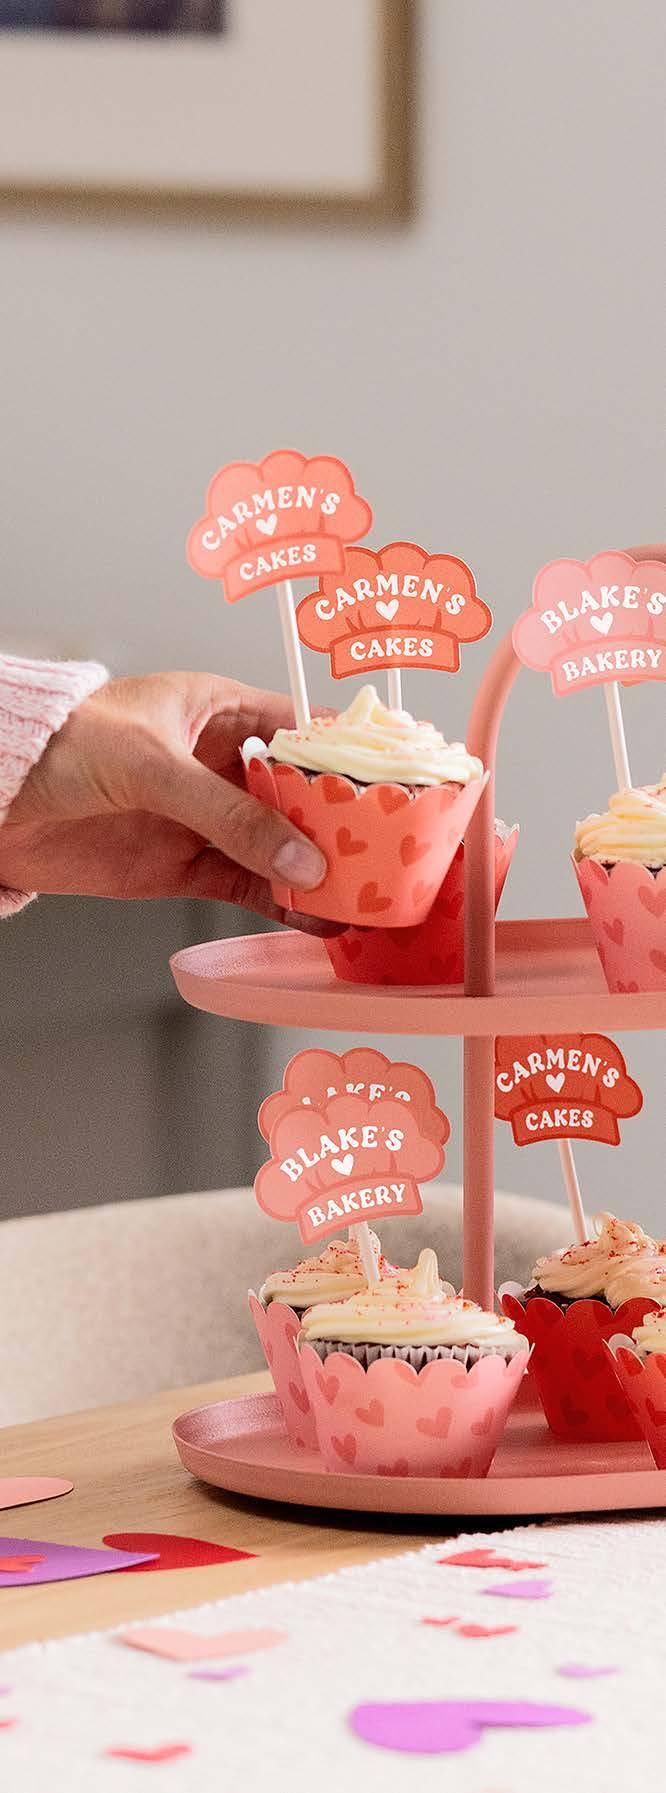
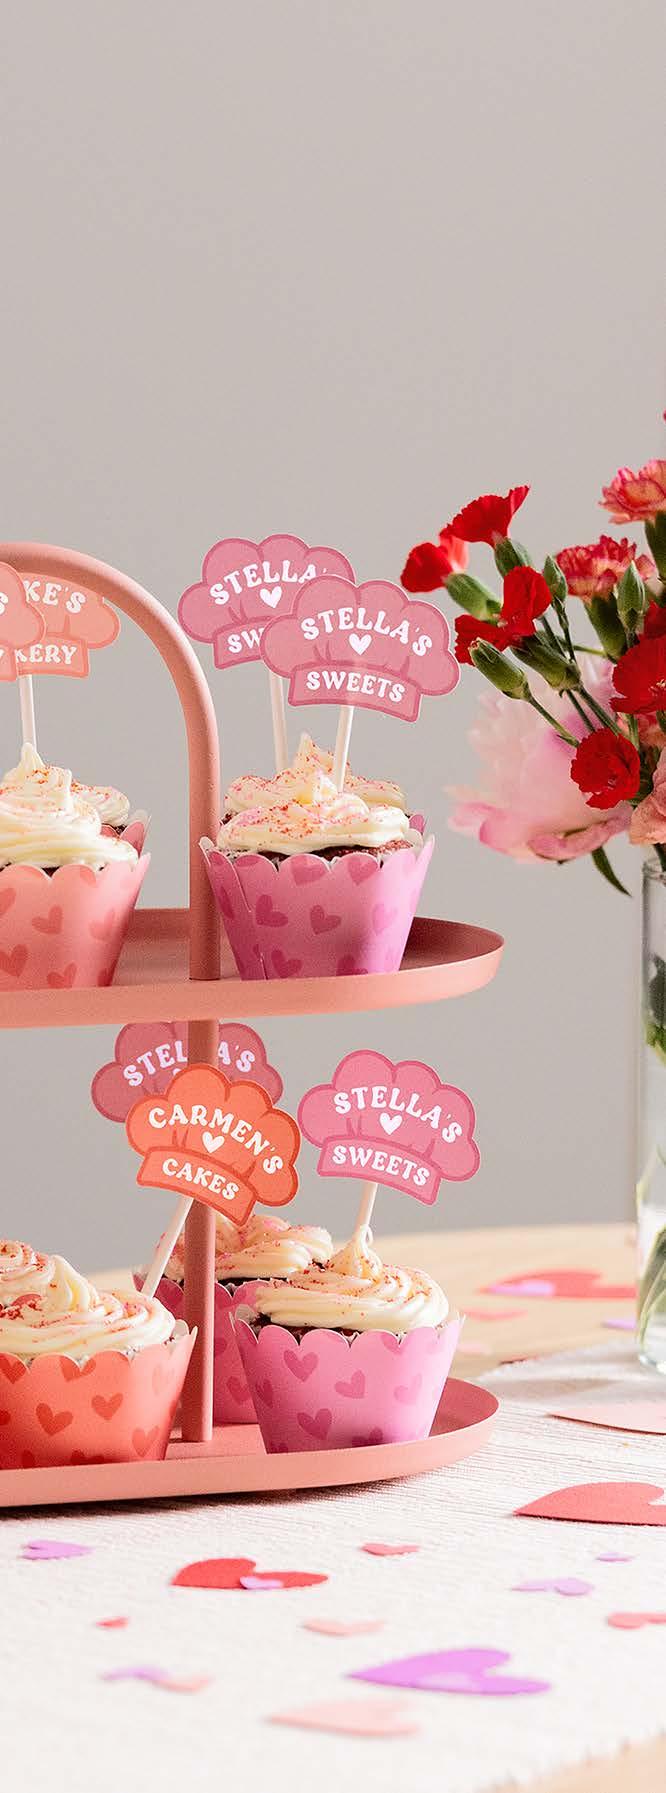

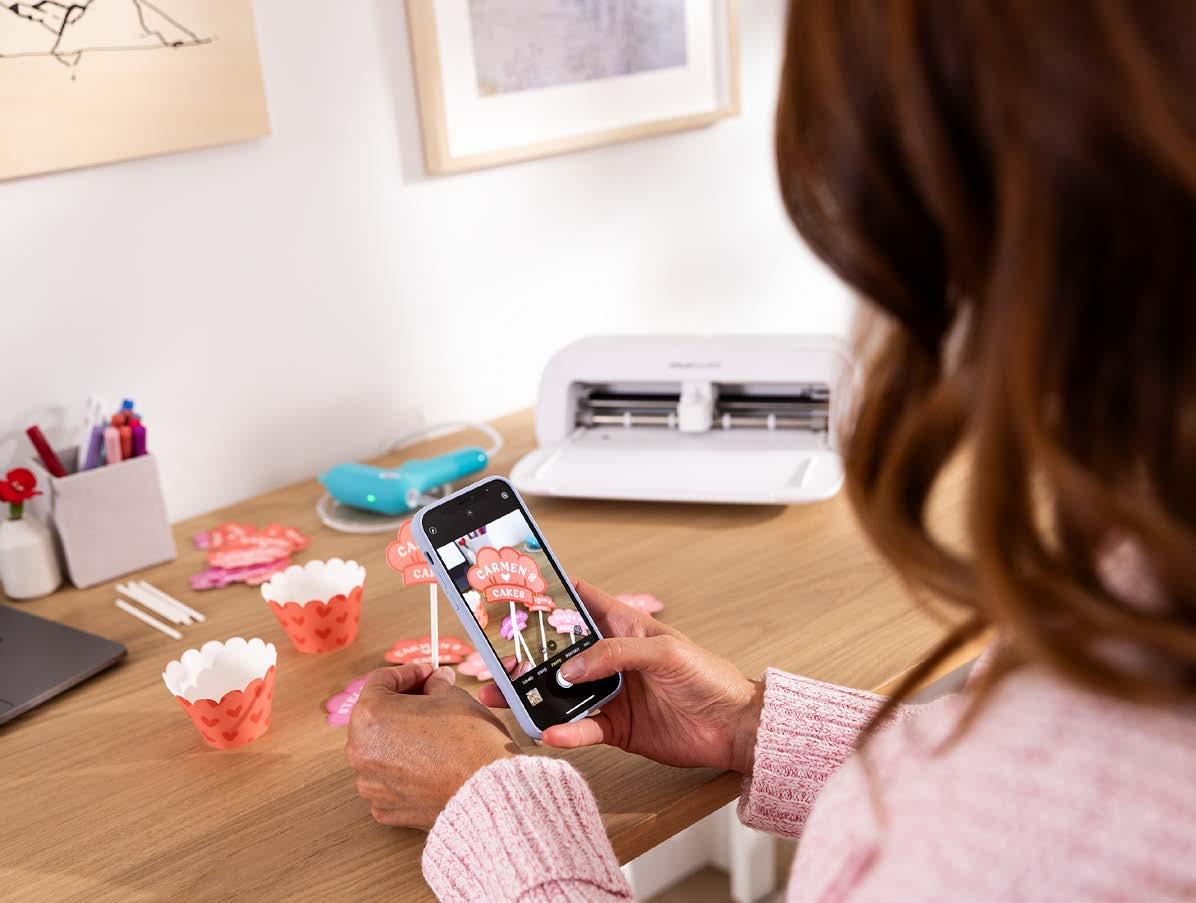
Project Tutorial:
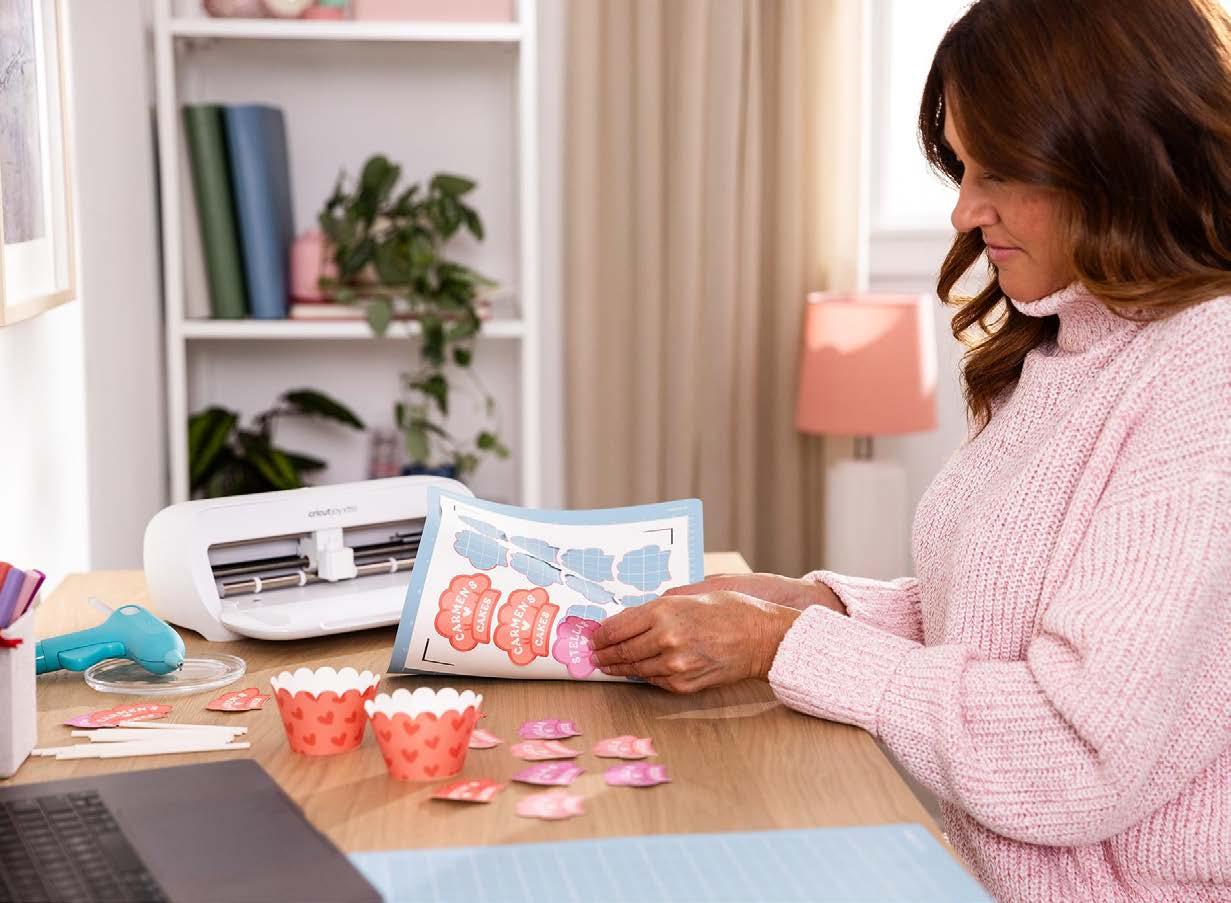
This project uses Print Then Cut to create colorful, personalized cupcake toppers.

Start making! Click here to open the Design Space® project.
Materials to Cut
Cardstock, White
Everything Else
Cricut Joy Xtra™
Light Grip Machine Mat
Inkjet Printer*
Hot Glue Gun
Glue Sticks
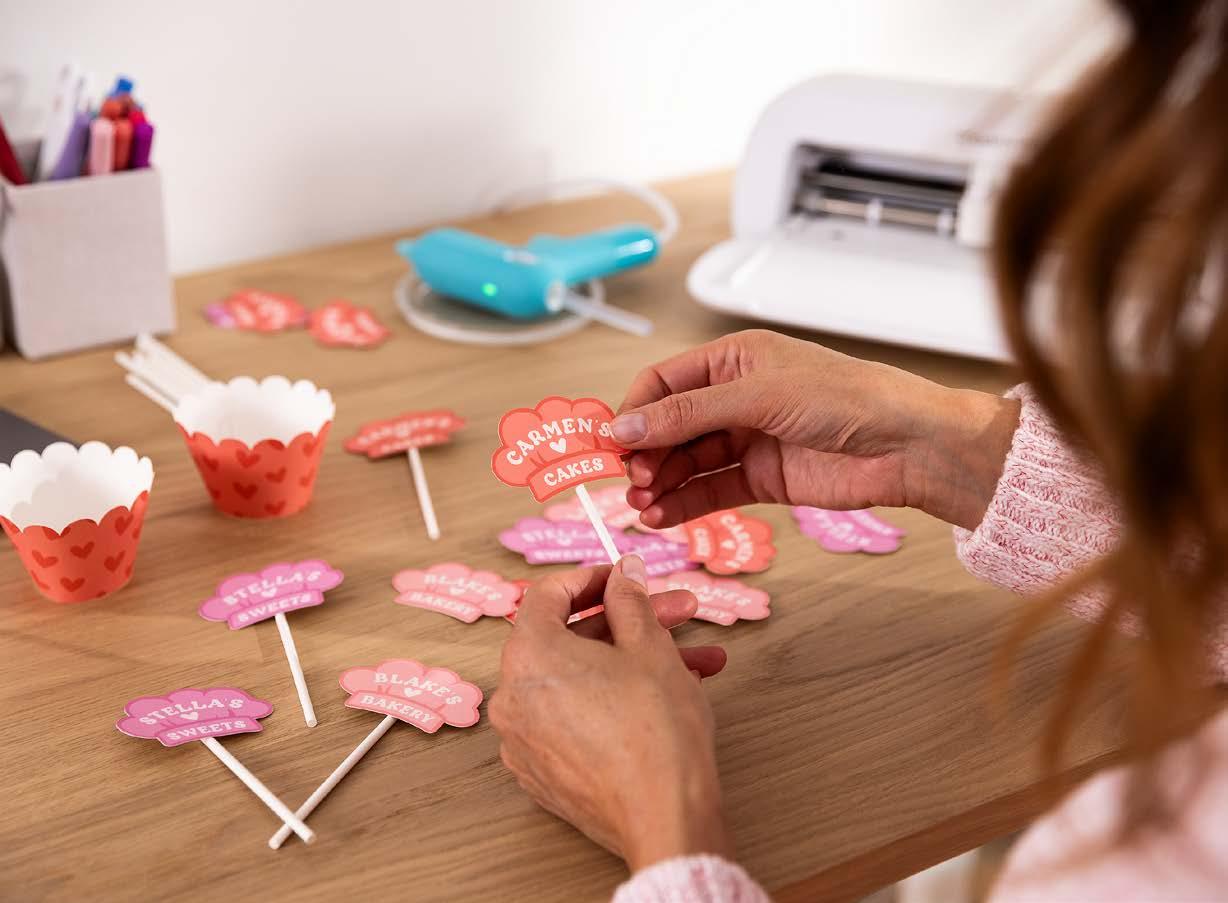
Cake Pop Sticks
Cupcakes
Cut
To personalize the project, select Customize, then edit text boxes to your liking
Follow Print Then Cut prompts to send your design to your inkjet printer, then print on plain cardstock
When you’re ready to cut, select Make, then follow prompts to cut design from cardstock
Remove cardstock from machine mat, then place protective cover back on machine mat
Slowly curl the cupcake wrapper, then insert the tab into the slit to hold it in place
Glue the cake pop stick onto the back of the cupcake topper
Place cupcake inside of wrapper, then slide topper into cupcake top
*Requires home inkjet printer


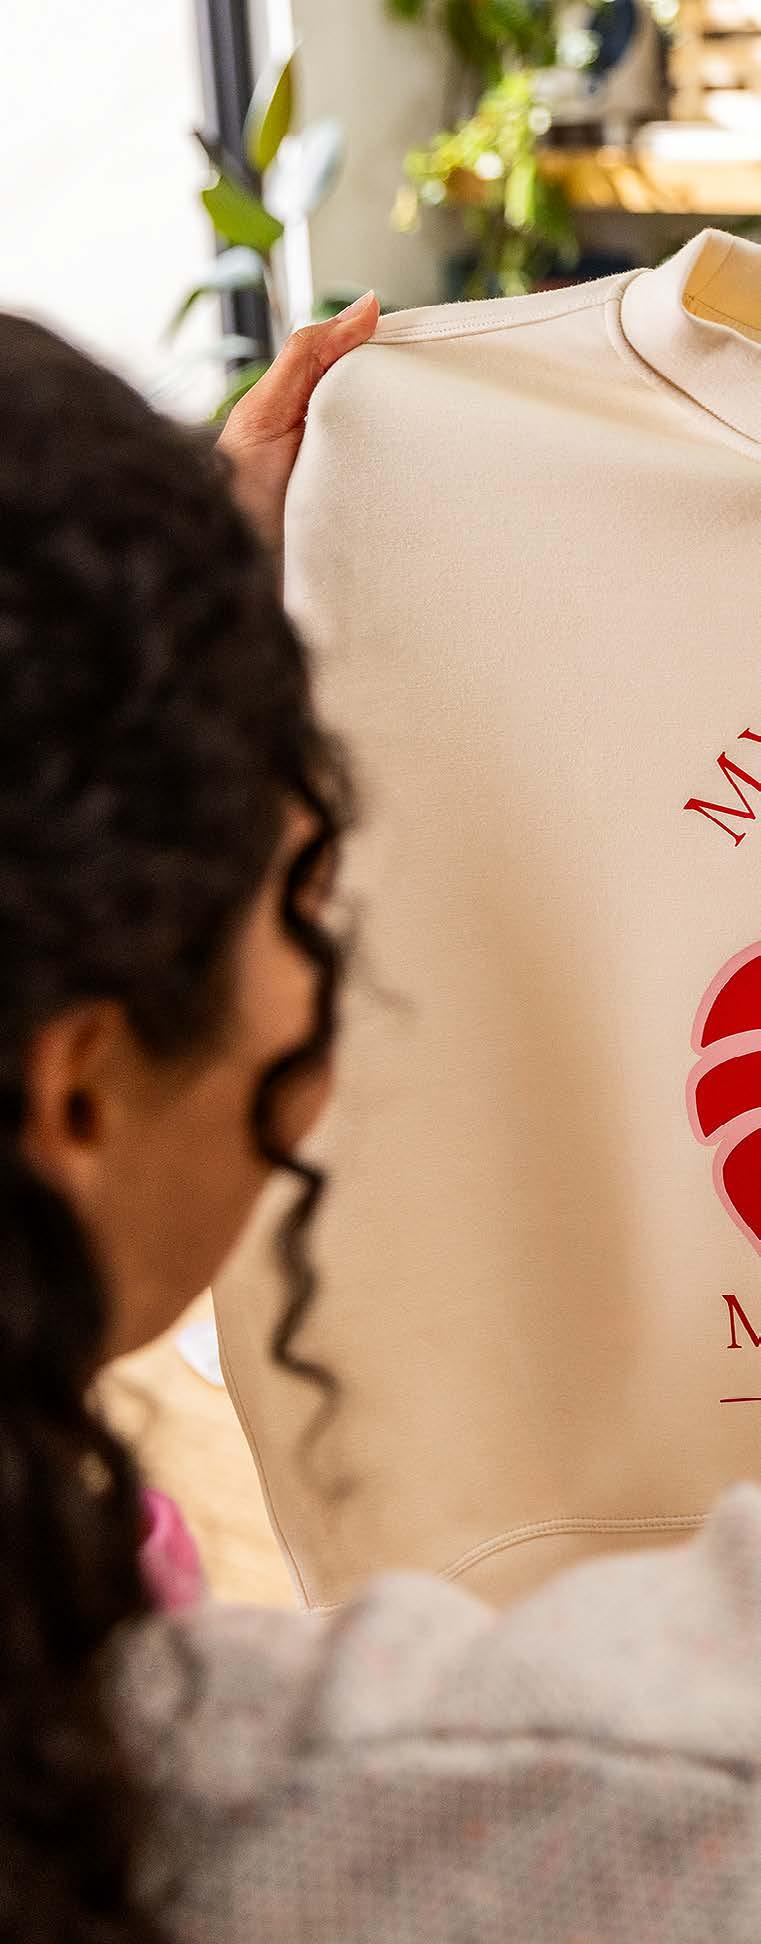
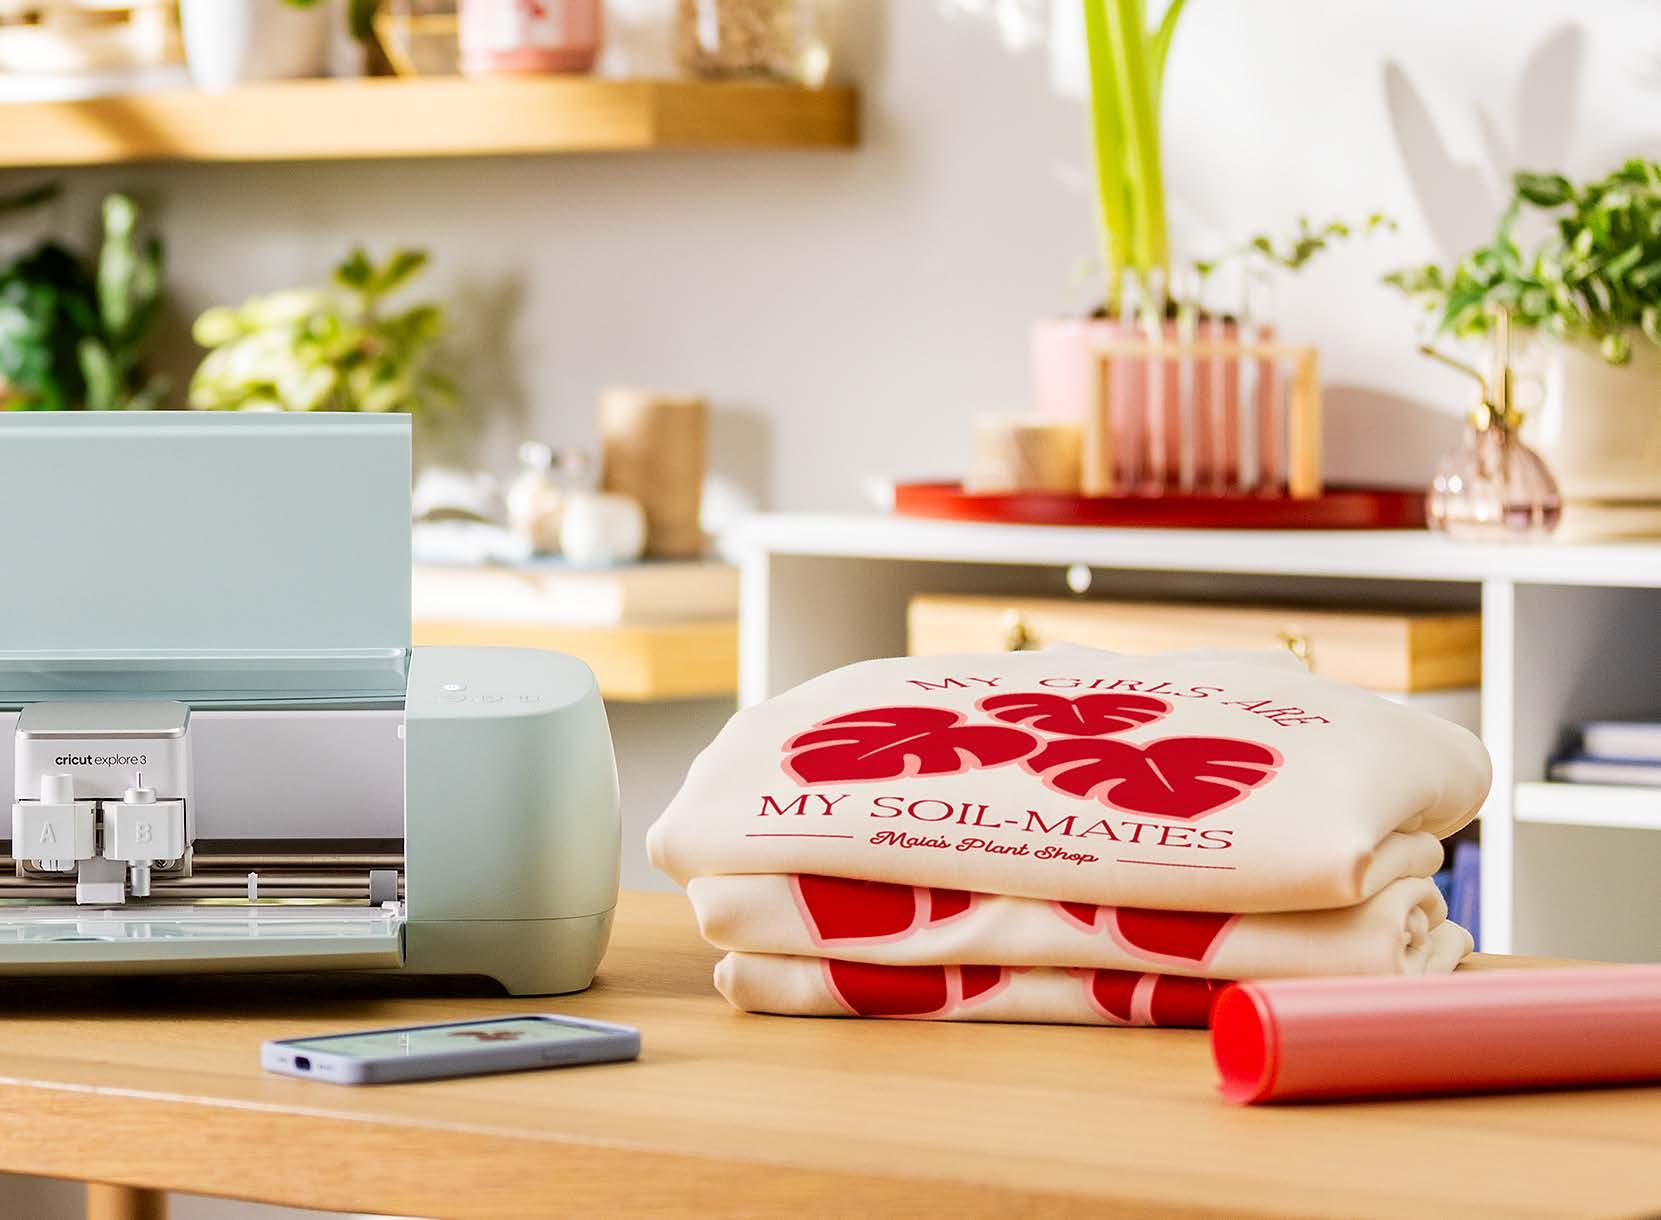
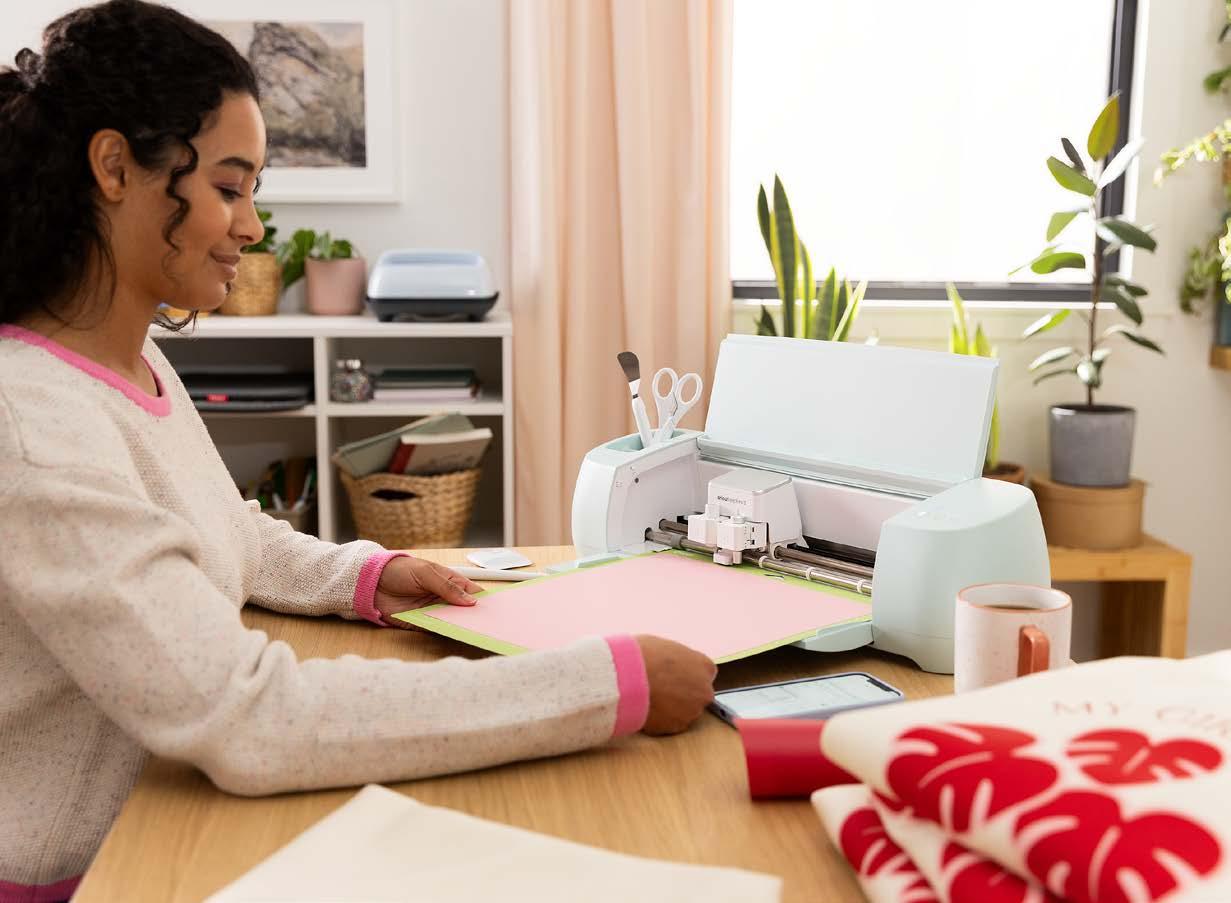
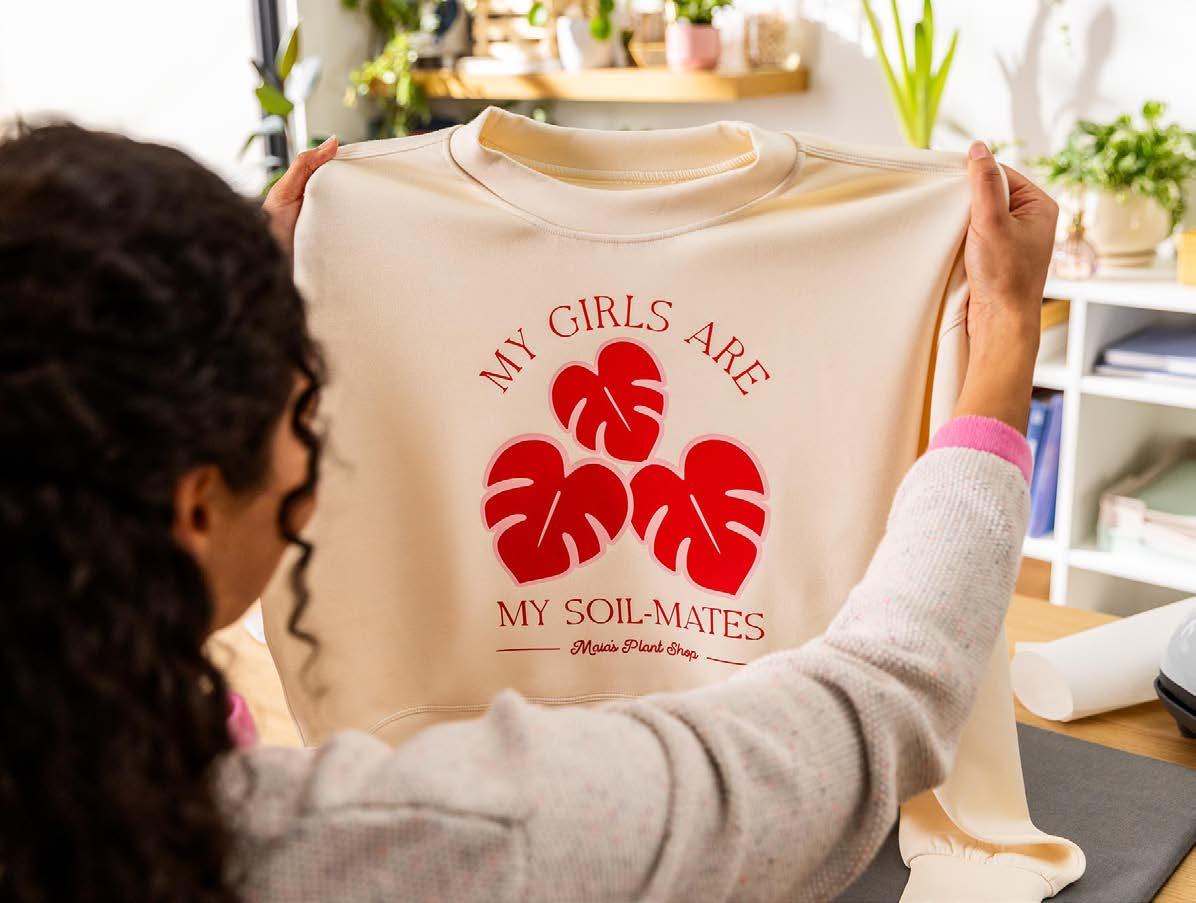
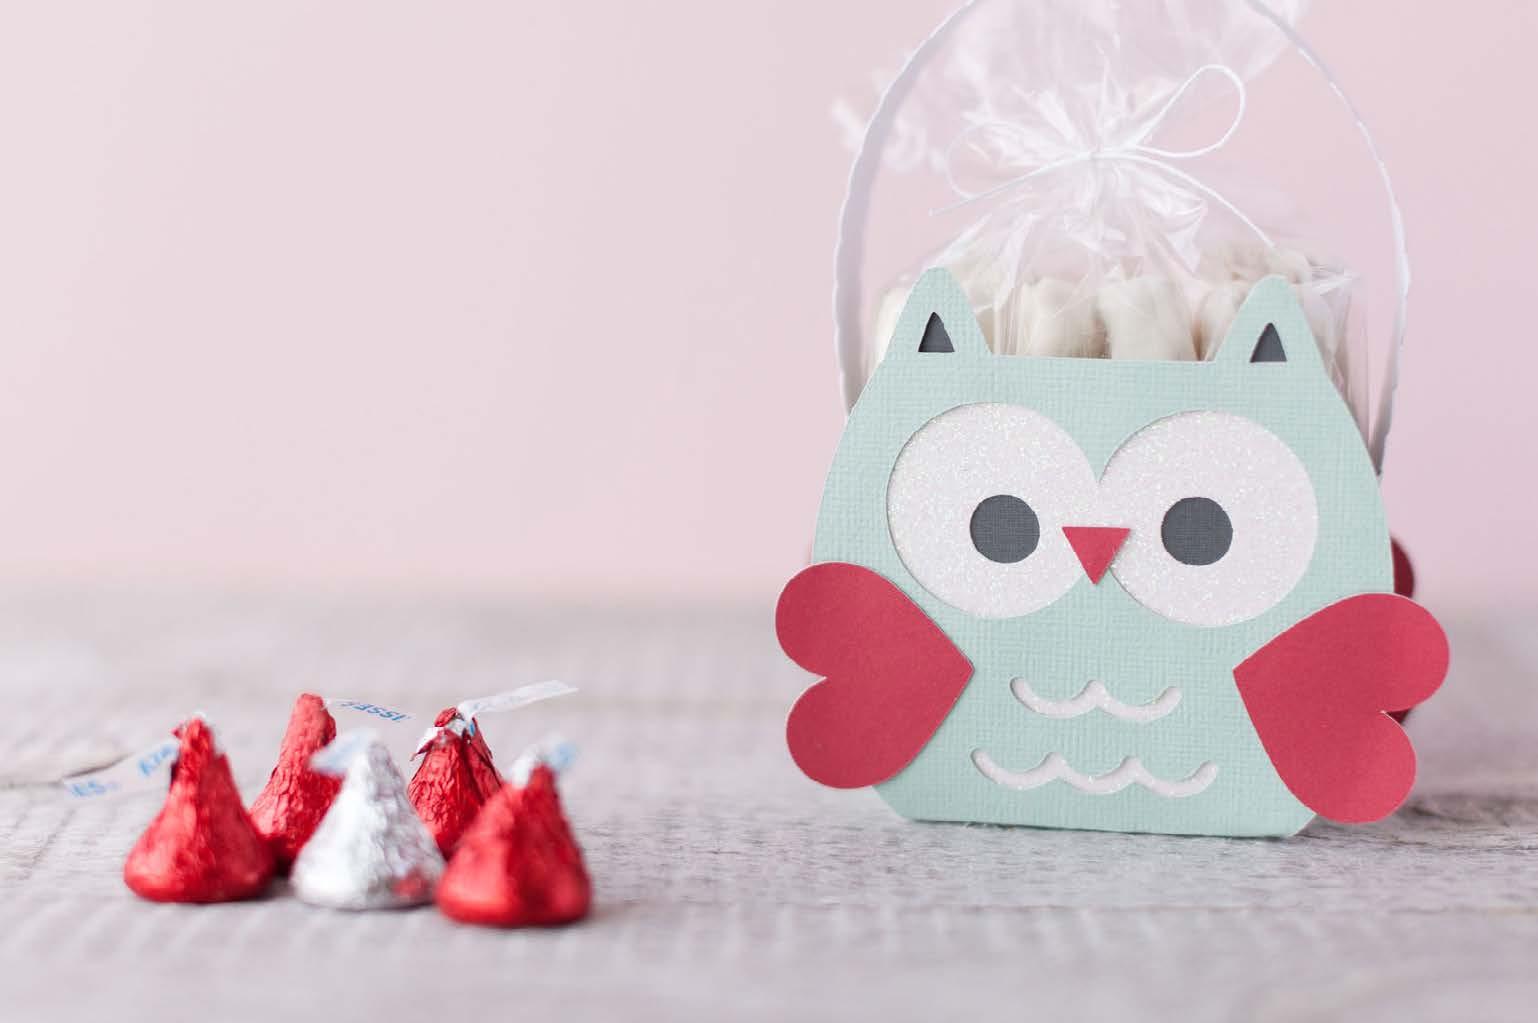
Get the gang together for a Galentine’s Day like no other. With Cricut®, you can make matching sweatshirts with your gals or create the cutest gift baskets — for less!

Project Tutorial:
This project uses iron-on to create a personalized crewneck.
Start making! Click here to open the Design Space® project.
Materials to Cut
Smart Iron-On™, Red*
Everyday Iron-On, Blush
Everything Else
Cricut Explore® 3
Standard Grip Machine Mat
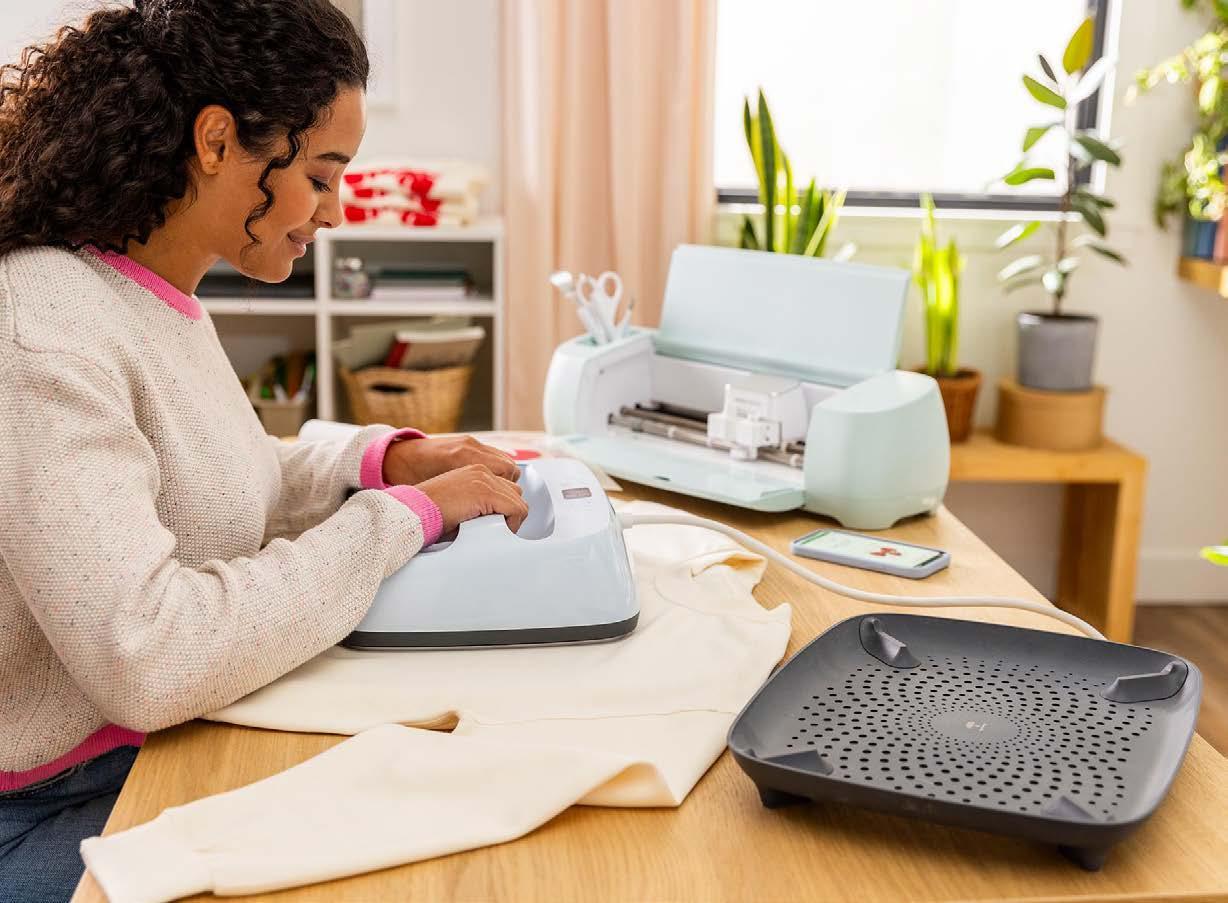
Cricut® Heat Press
Cricut EasyPress™ Mat
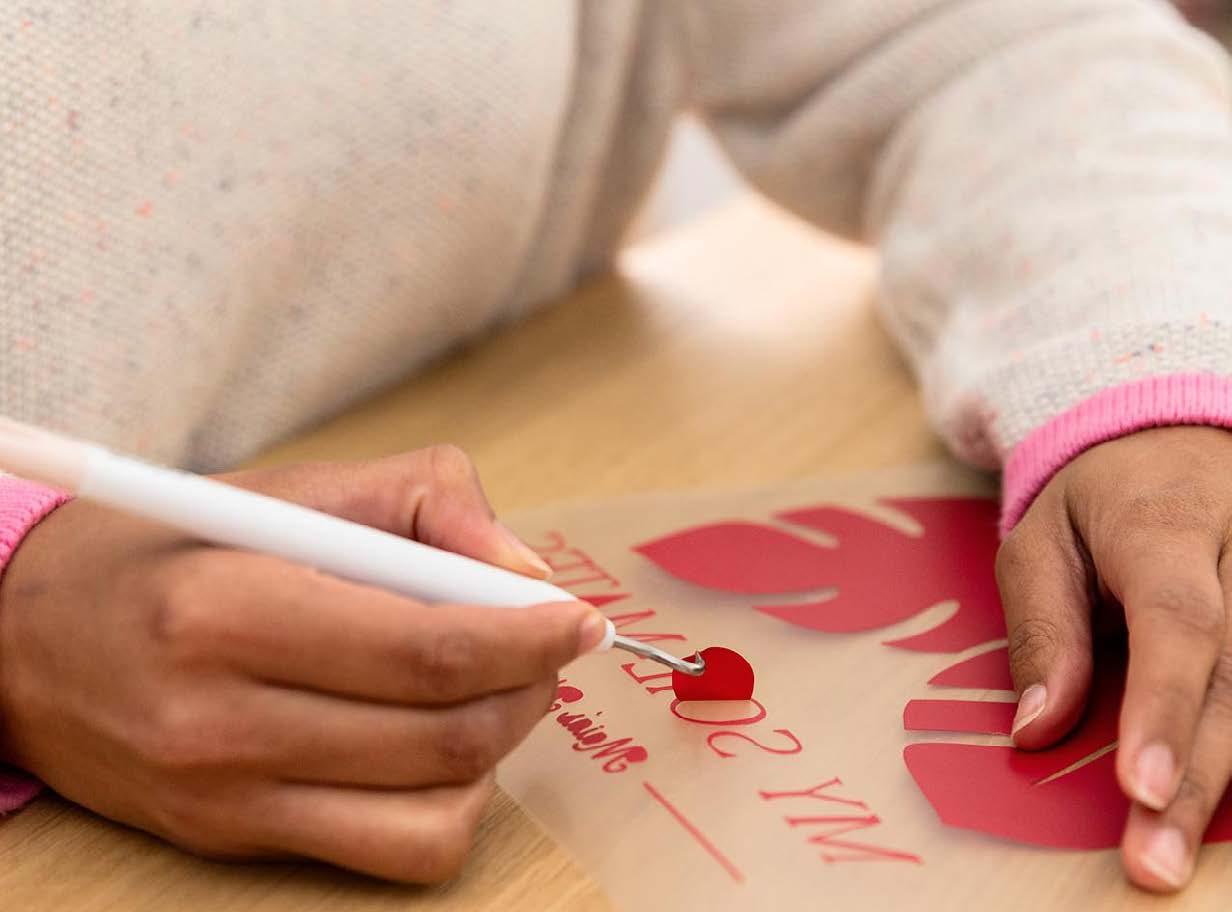
Weeder tool (or tweezers)
Crewneck Sweaters
Optional: Thin Cotton Pressing Cloth (if material is delicate)
To personalize the project, select Customize, then edit text boxes to your liking
When you’re ready to cut, select Make, then follow prompts to cut design from iron-on
Remember to Mirror your design on the Preview screen
Remove Iron-On from machine mat, then place protective cover back on machine mat (if using Smart Iron-On, skip this step)
Use a Weeder tool to gently lift and peel away unwanted material from liner, leaving only desired design
Position design where you want it on your base material, clear carrier sheet (shiny side) face up
Design has two layers of iron-on and each will need to be pressed
Place Cricut heat press over entire design for 30 seconds, applying consistent, firm pressure
Flip material so your design is face down on your mat, then press again for a few more seconds
Let design cool, then carefully peel liner away from project
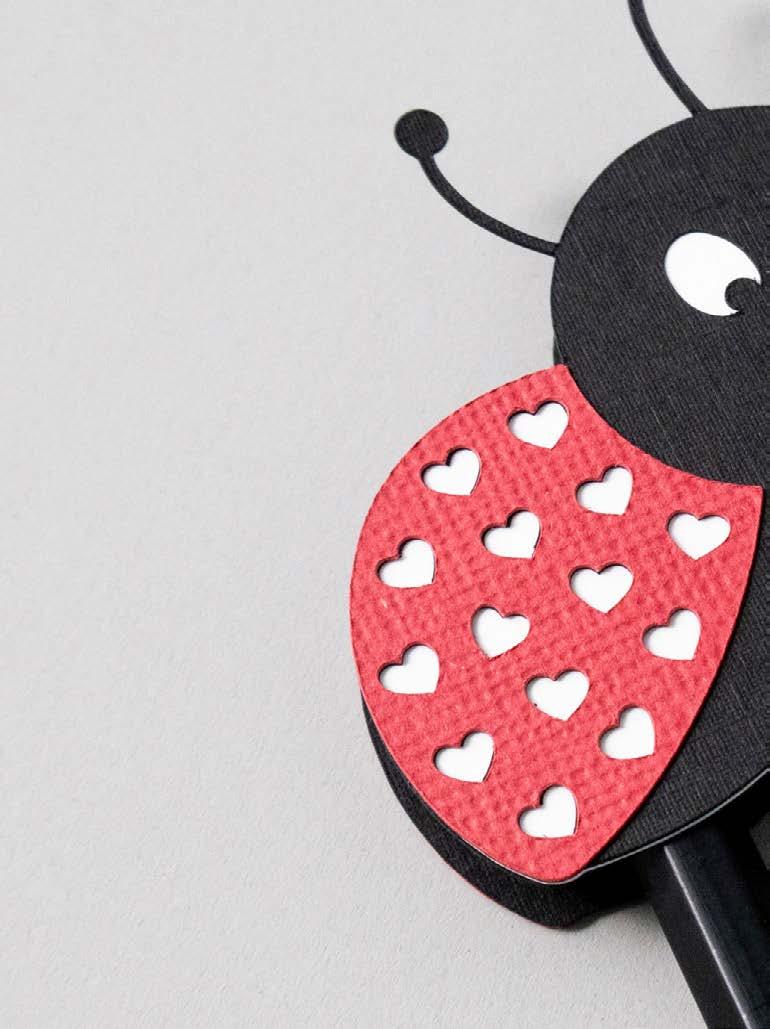
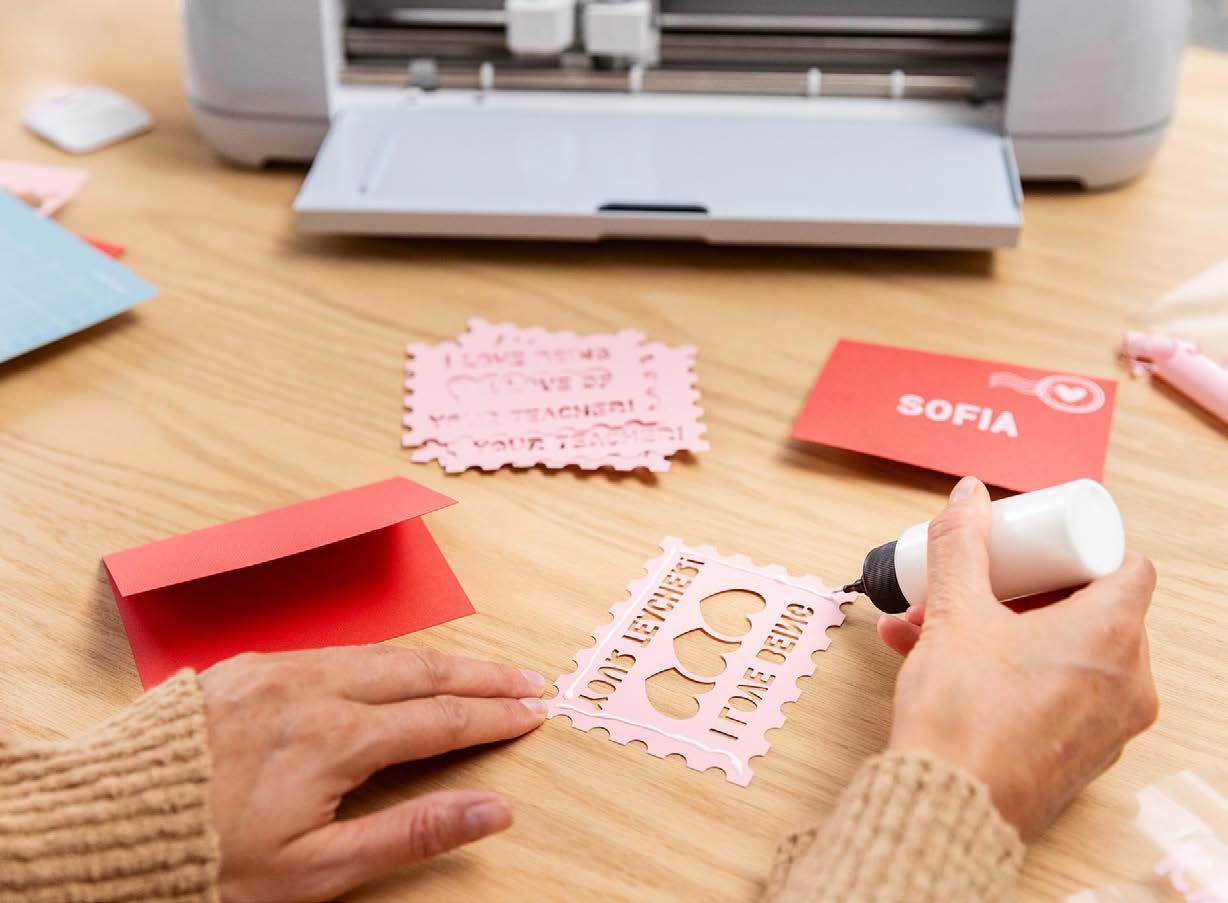
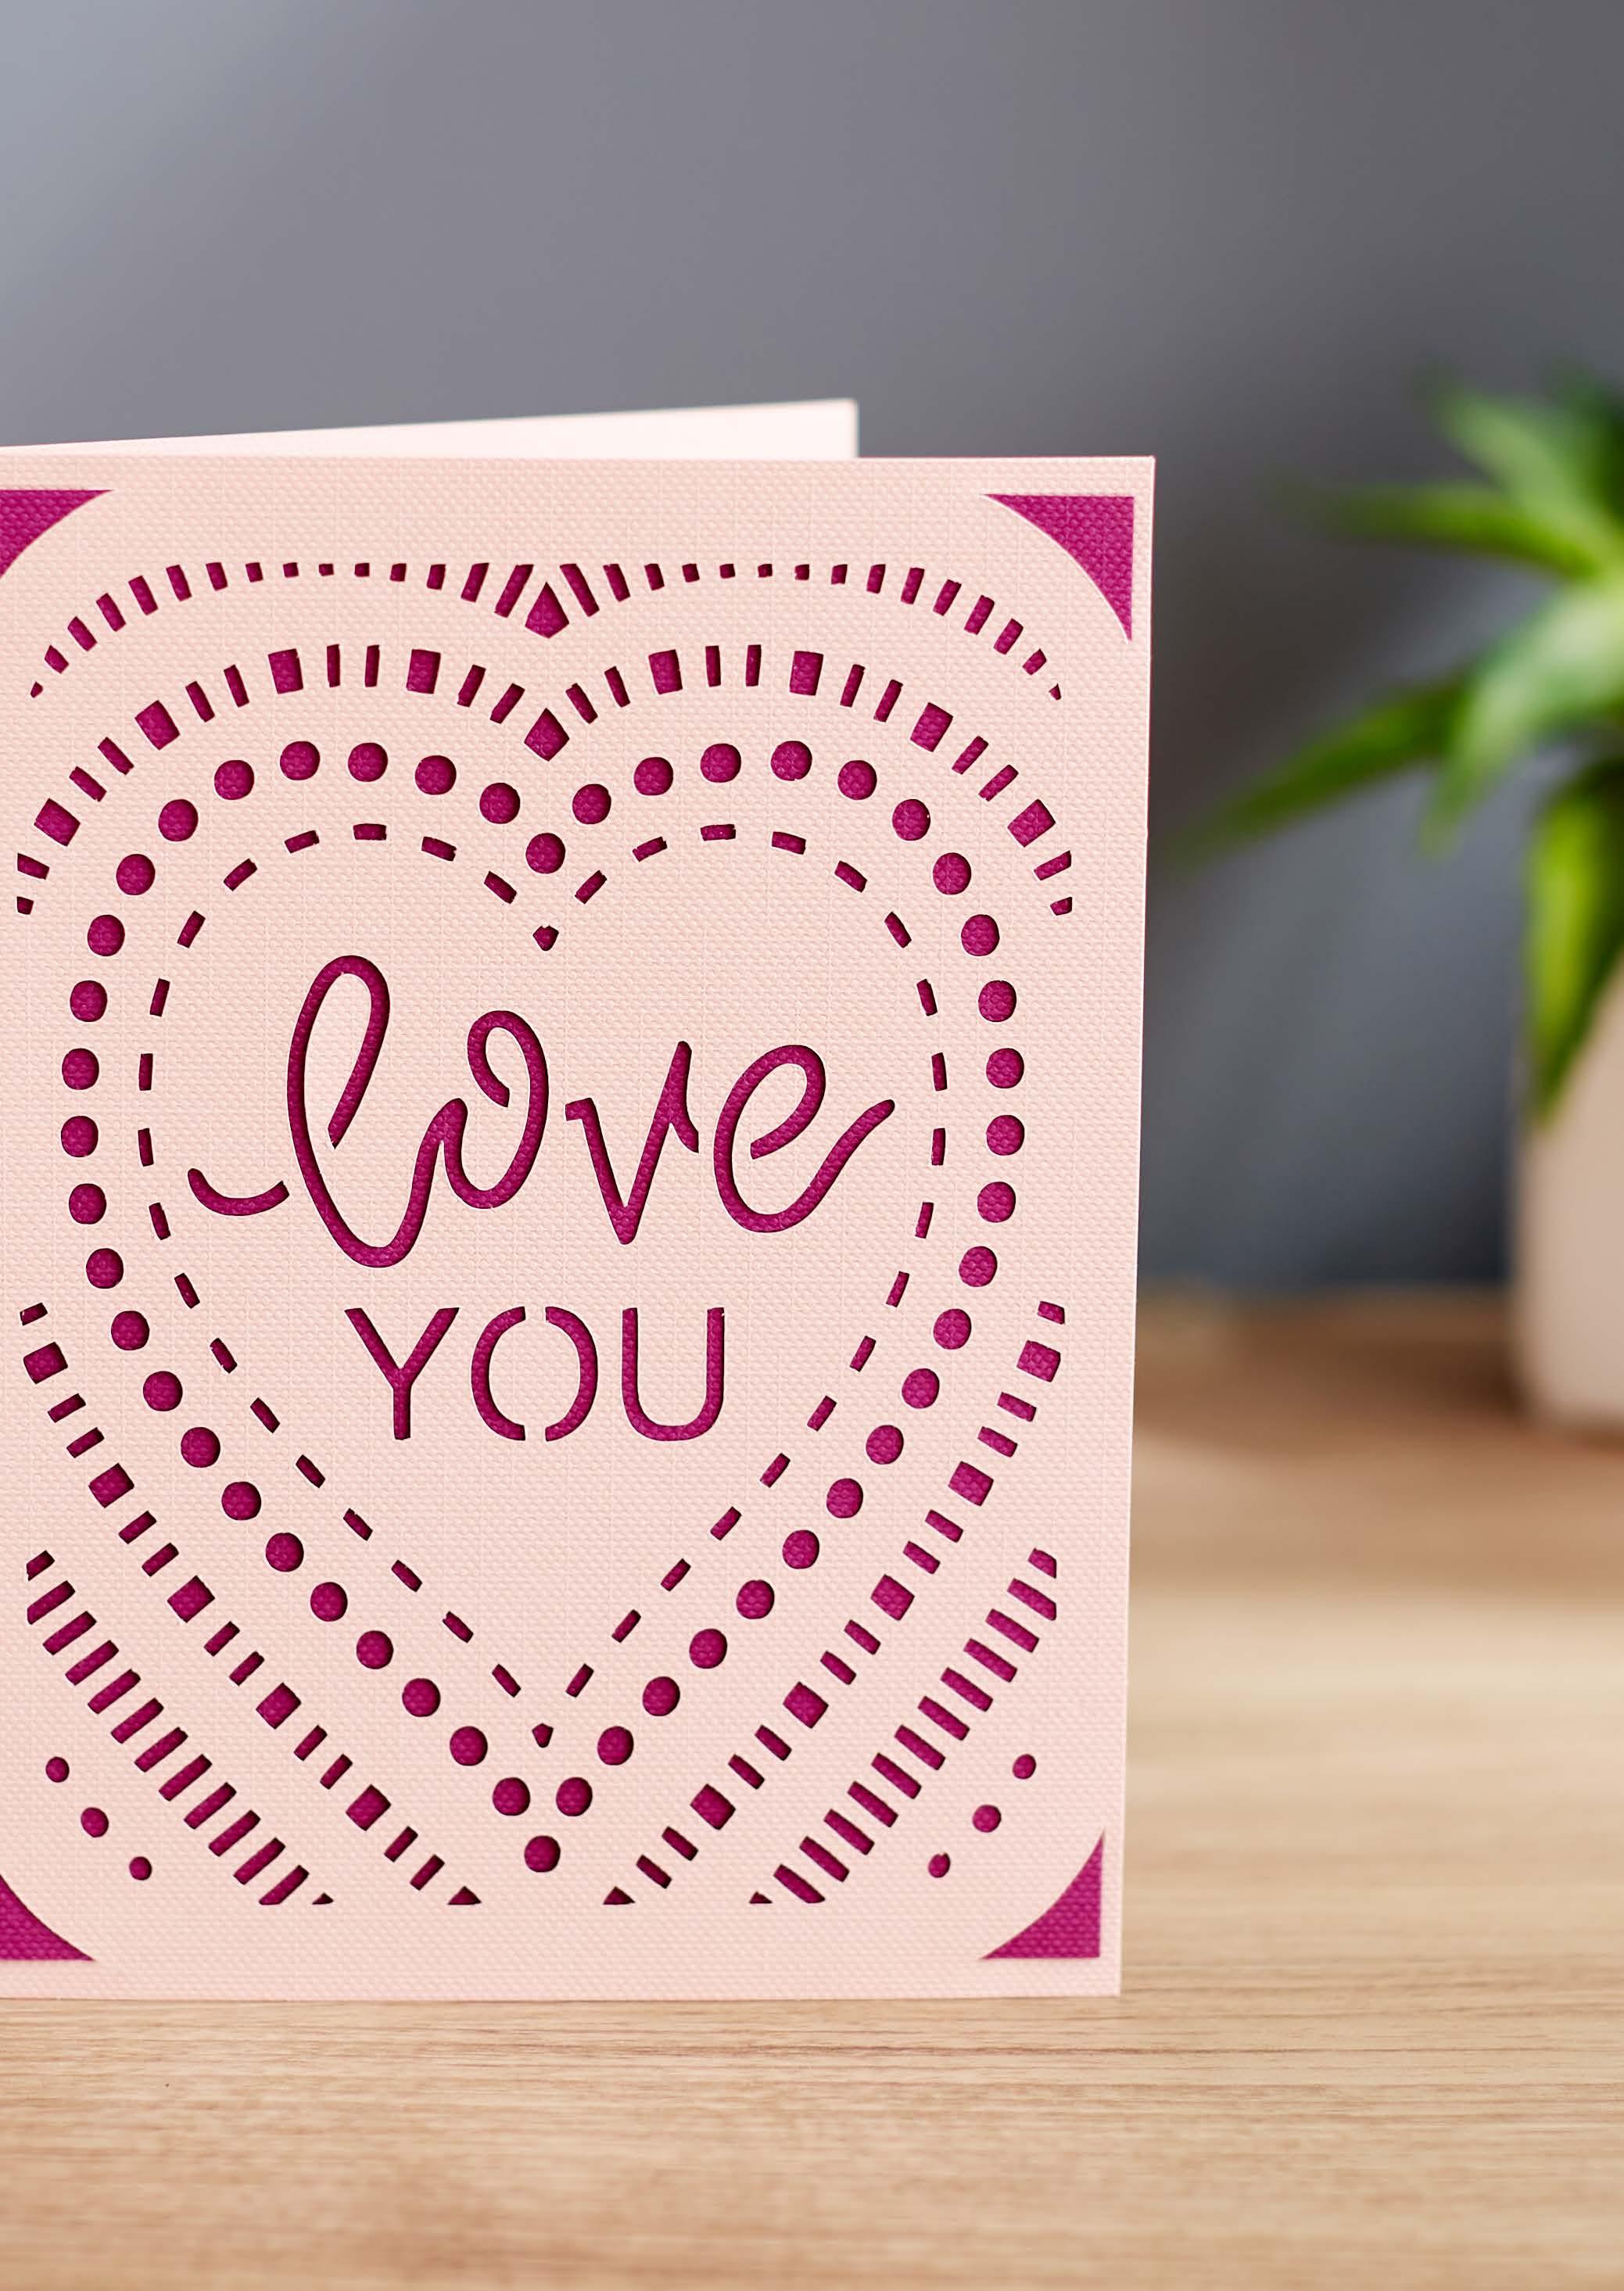
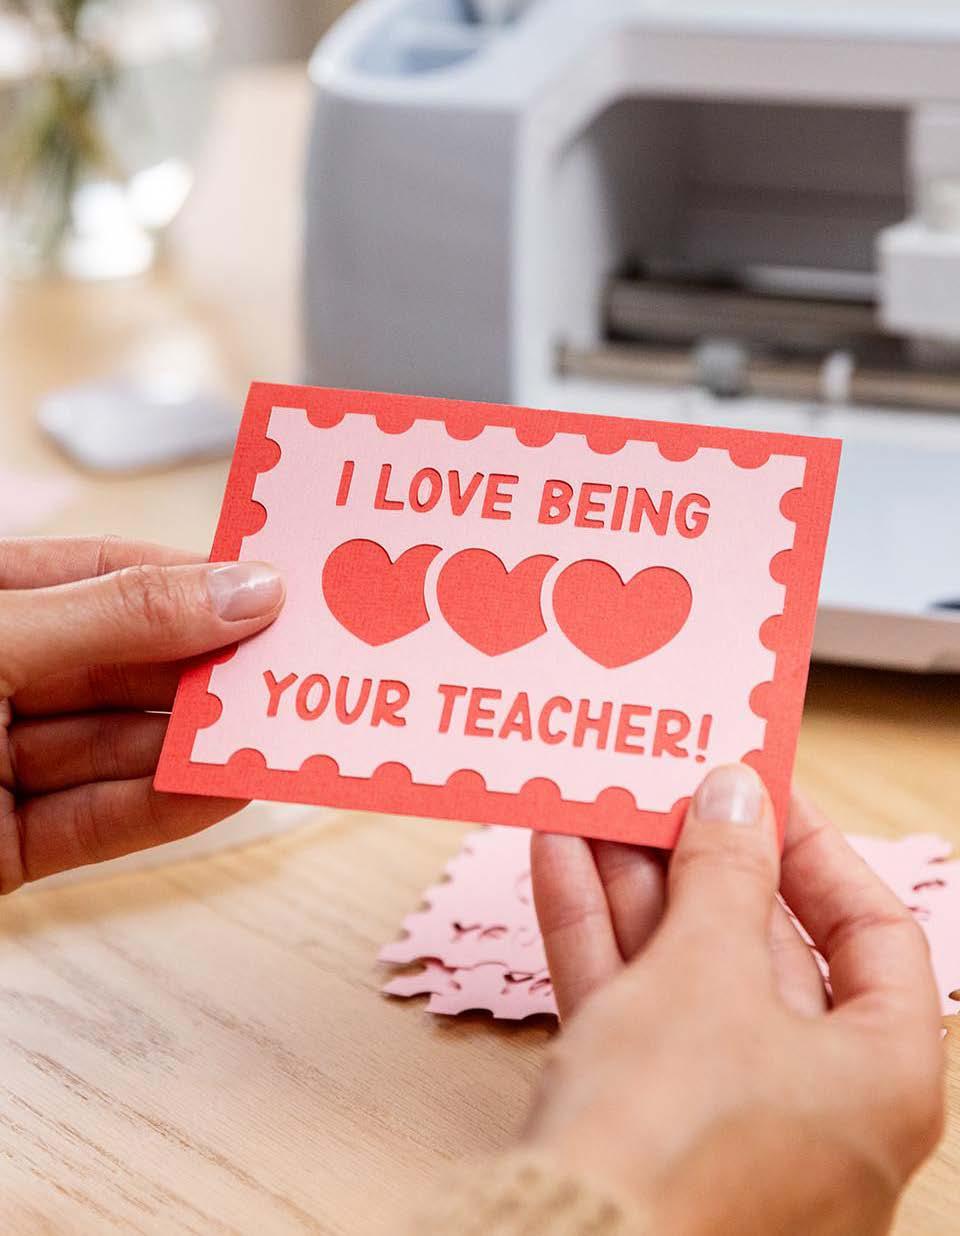
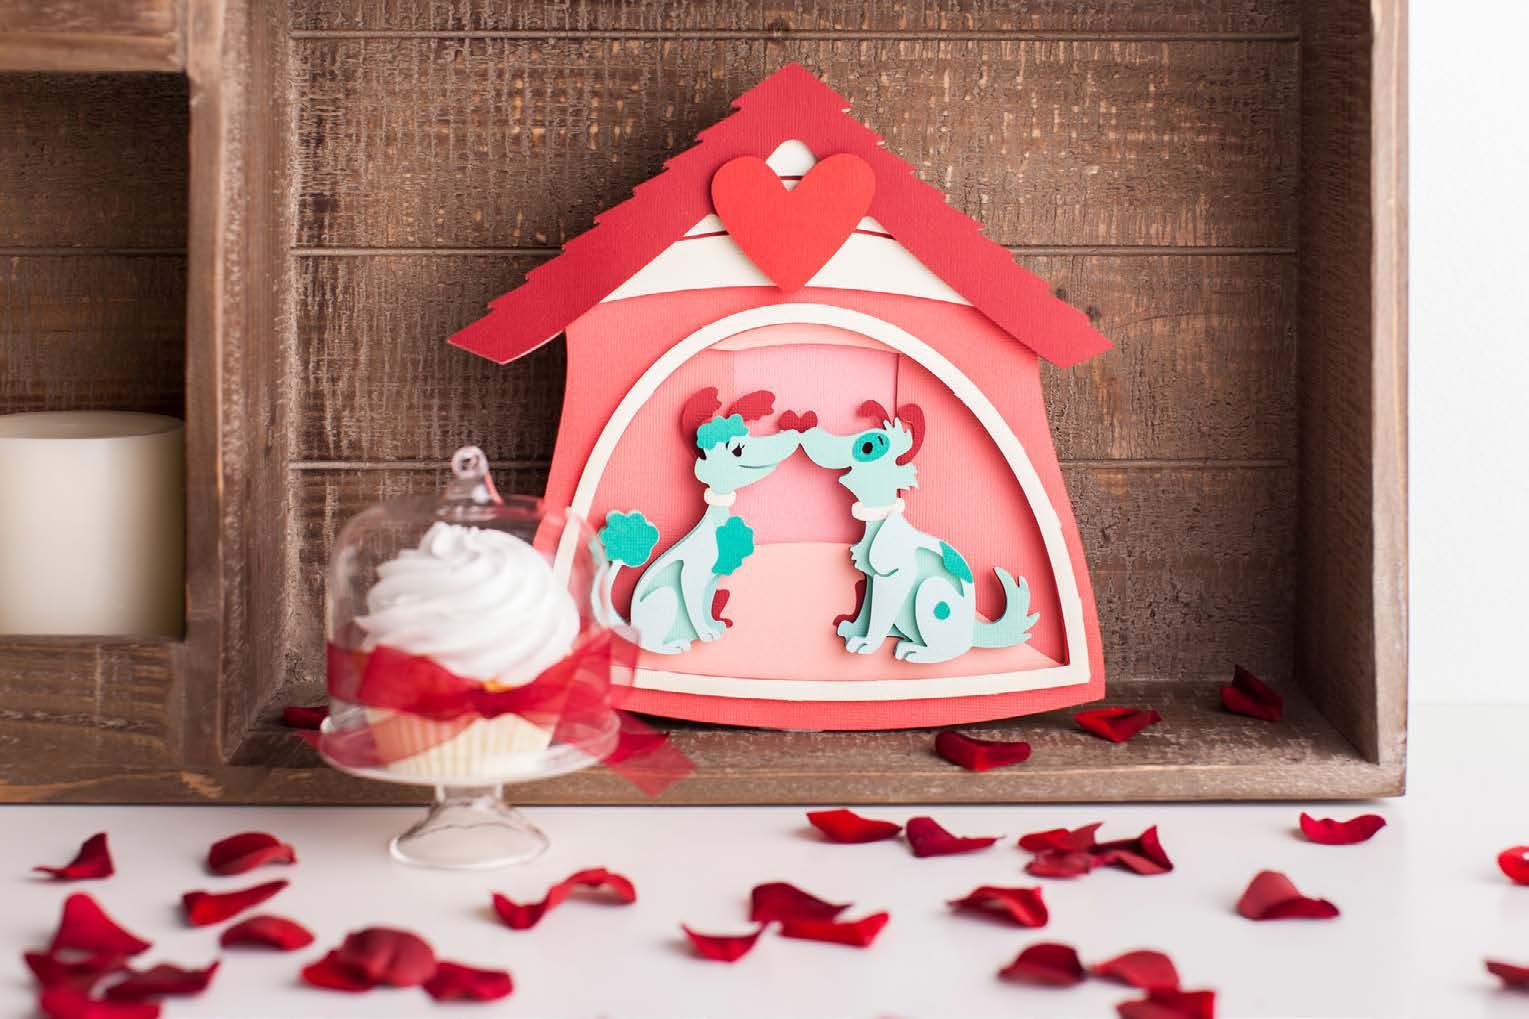
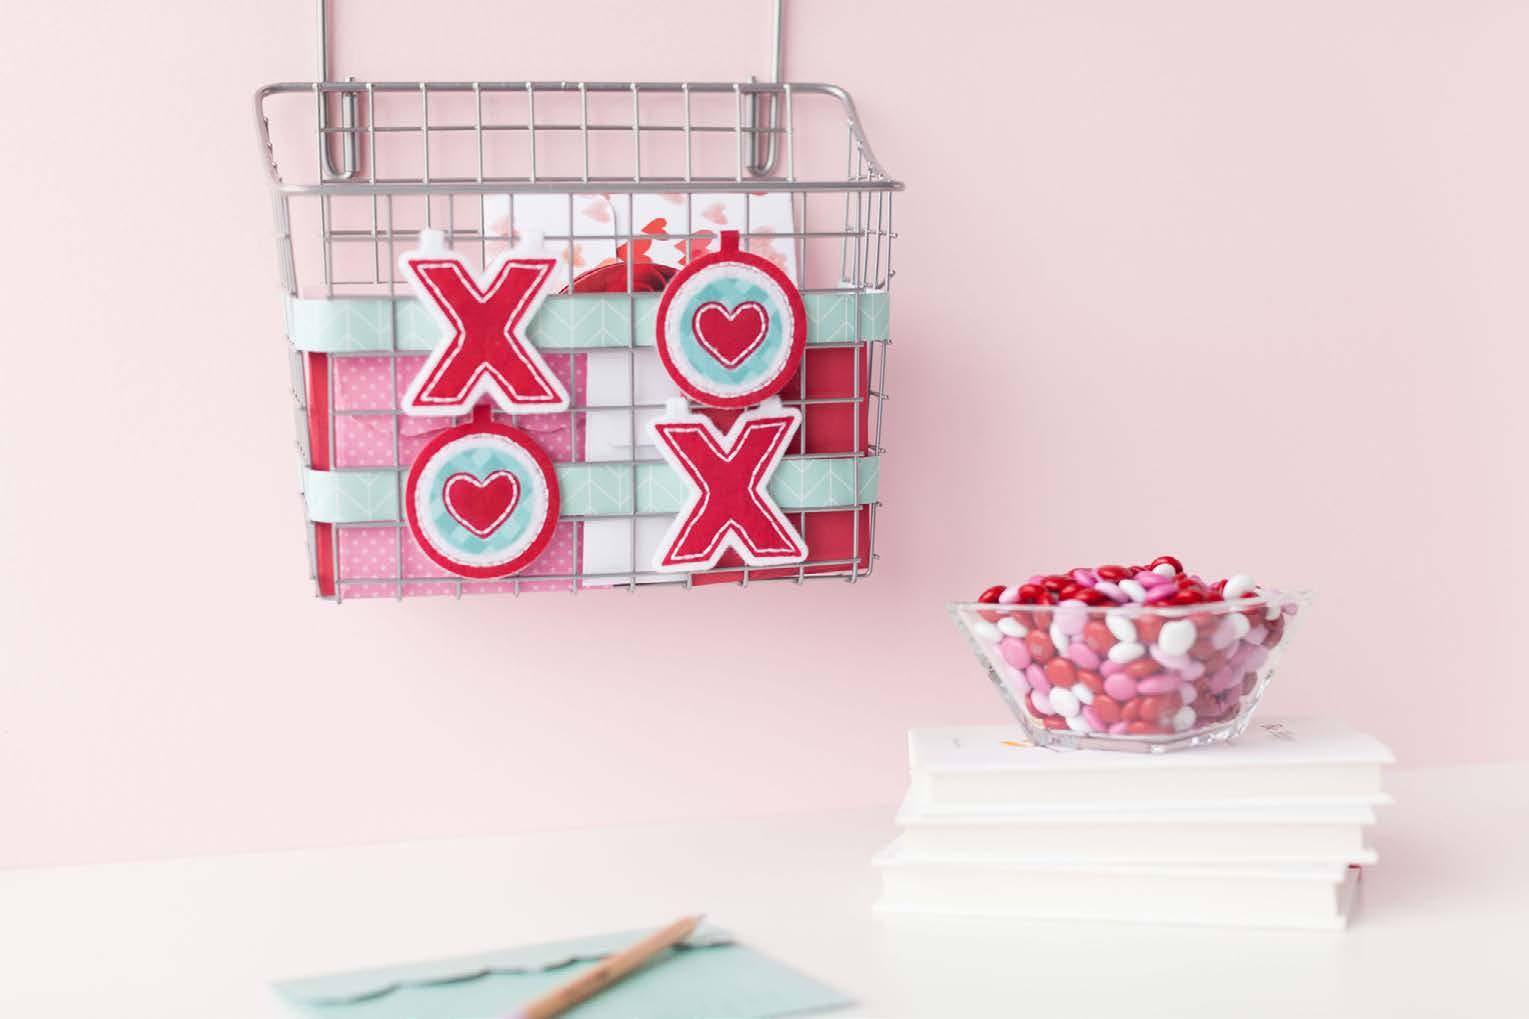
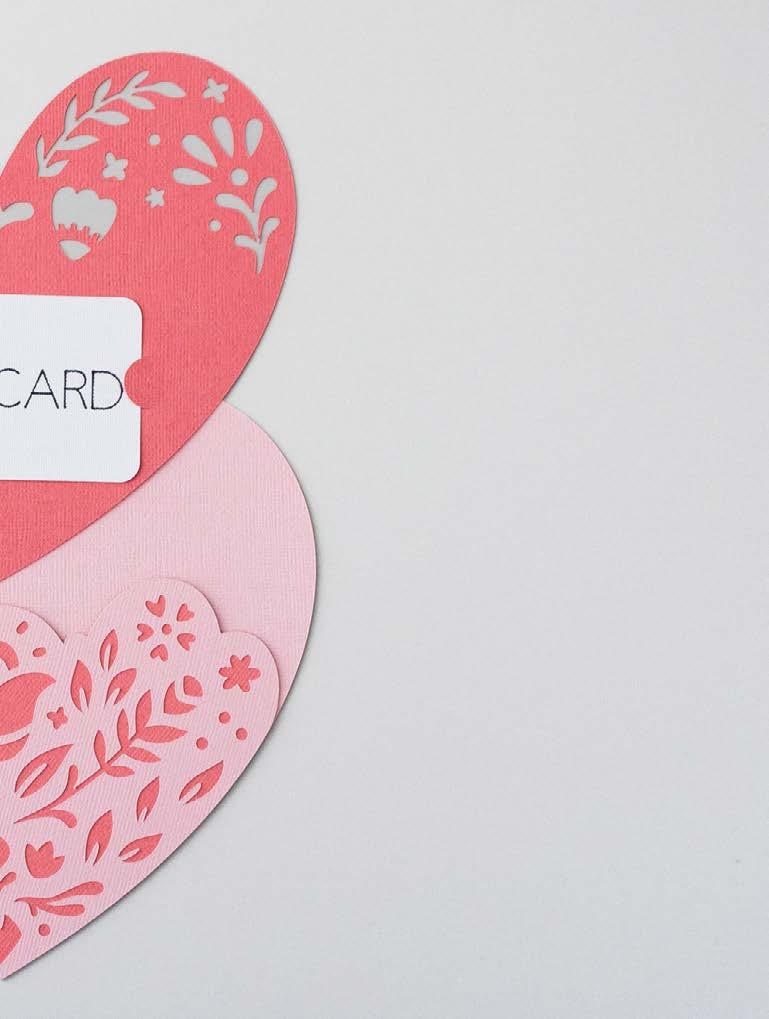
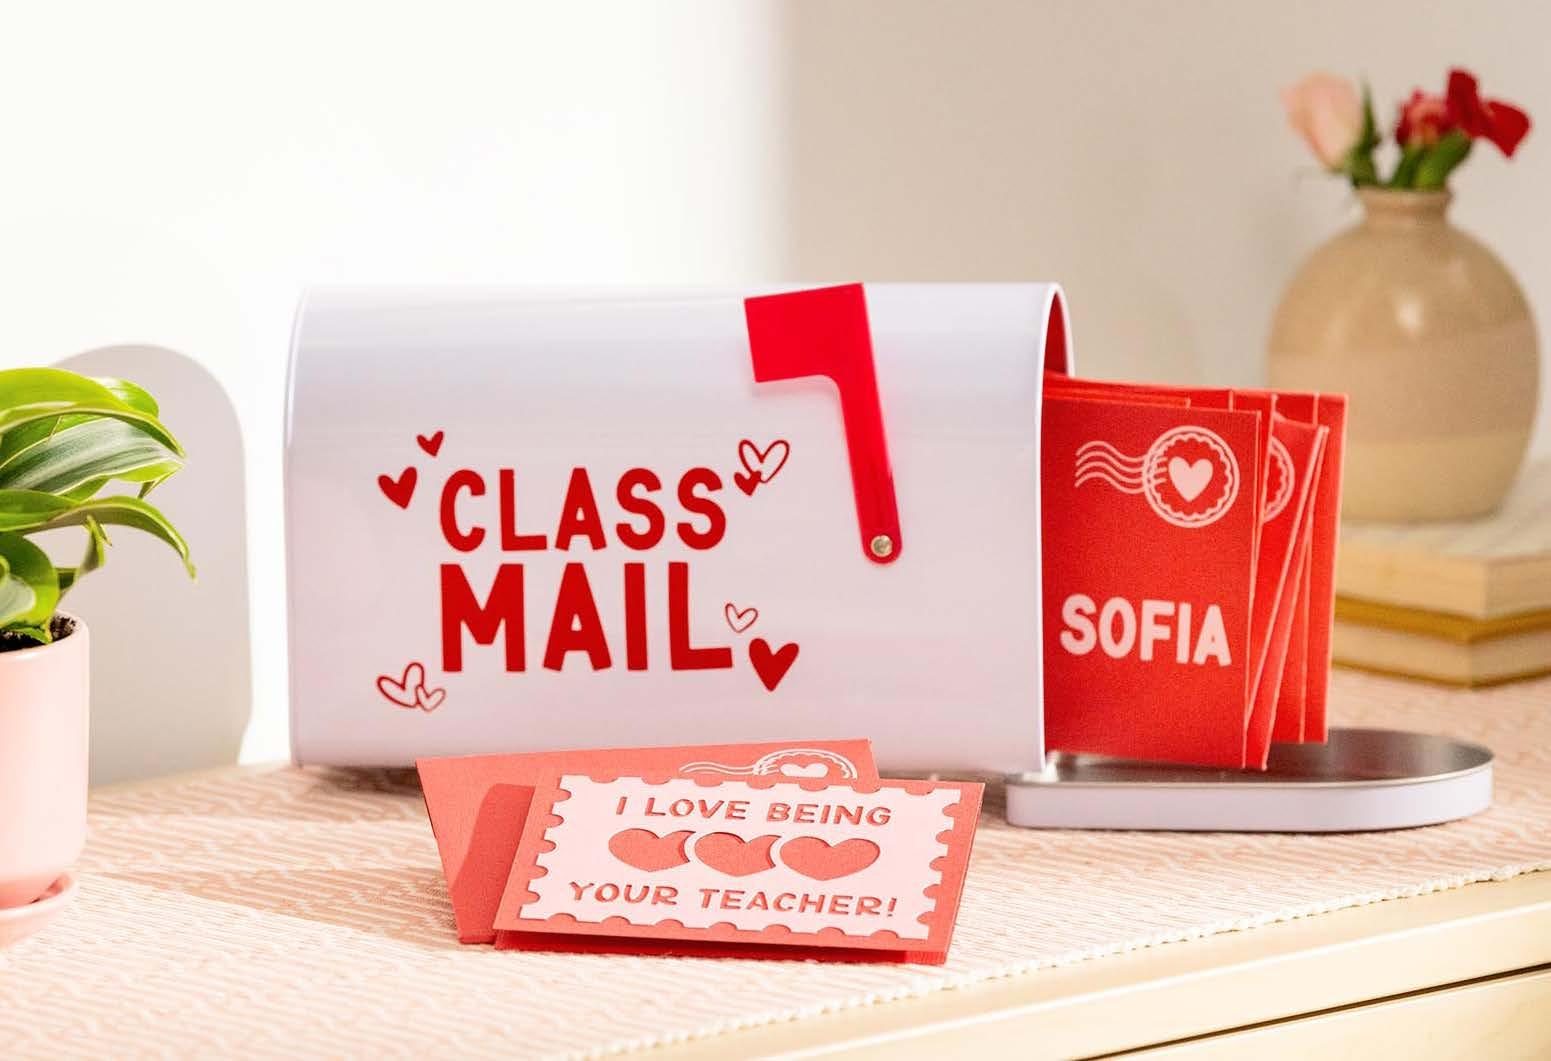
Create special moments for your students with custom cards, candy holders & more. With Cricut®, you can transform your classroom into a Valentine’s Day wonderland — and save!

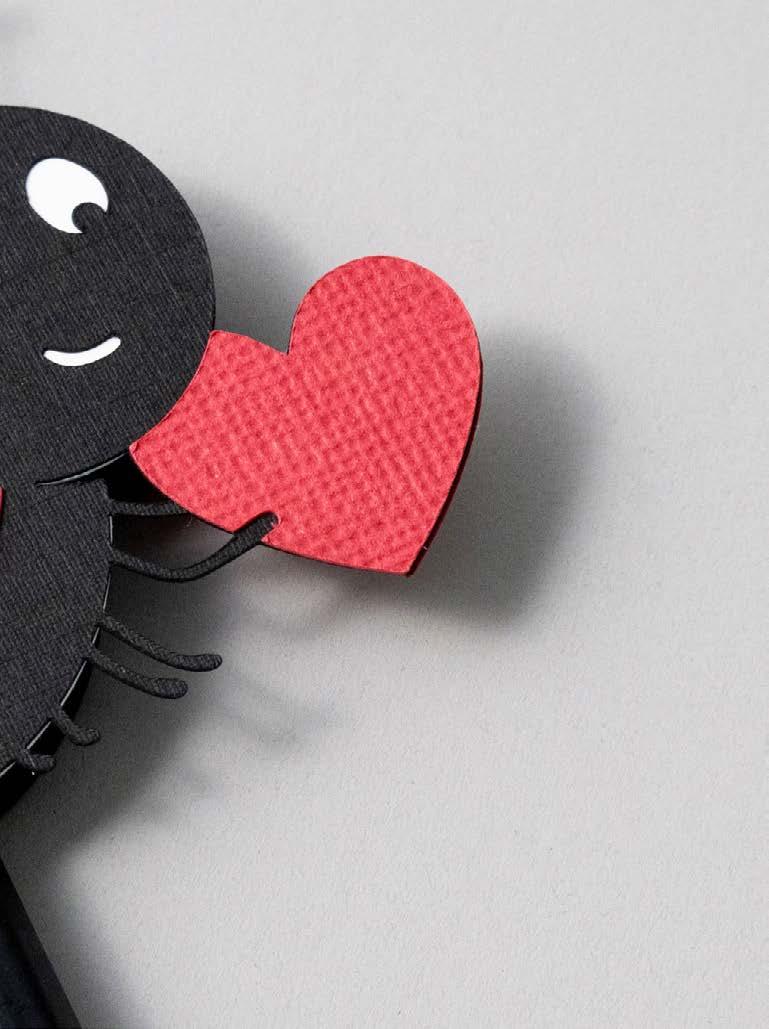
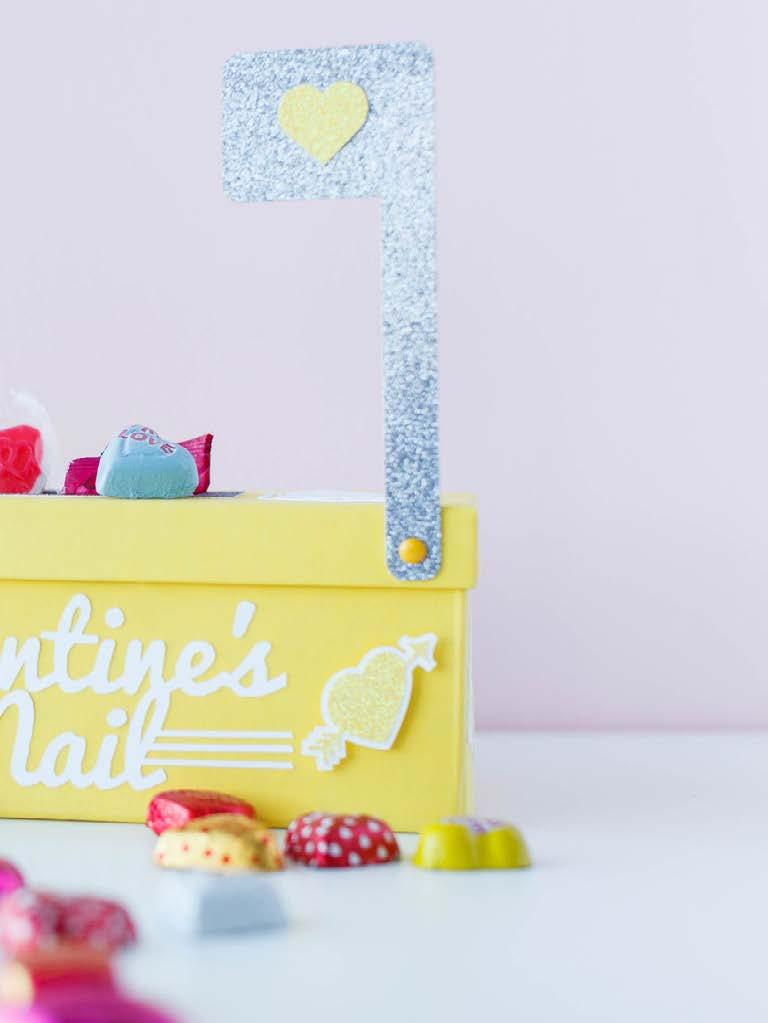
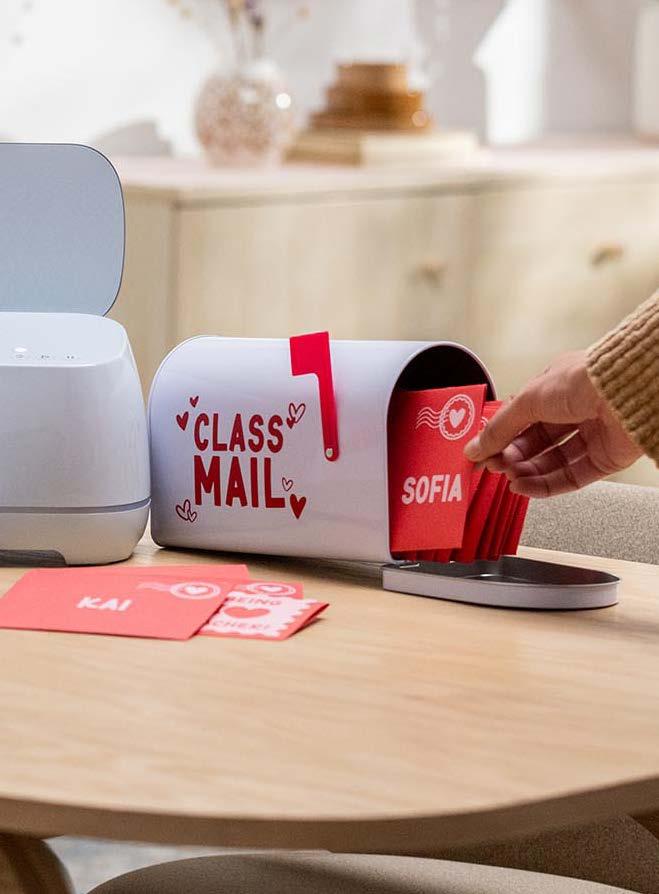
This project uses cardstock to create a personalized Valentine’s Day message.
Materials to Cut
Cardstock, Red
Cardstock, Pink
Everything Else
Cricut Maker® 3
Light Grip Machine Mat
Fine Point Blade
Adhesive for Paper
Single Scoring Wheel + QuickSwap Housing or Scoring Stylus
Cut
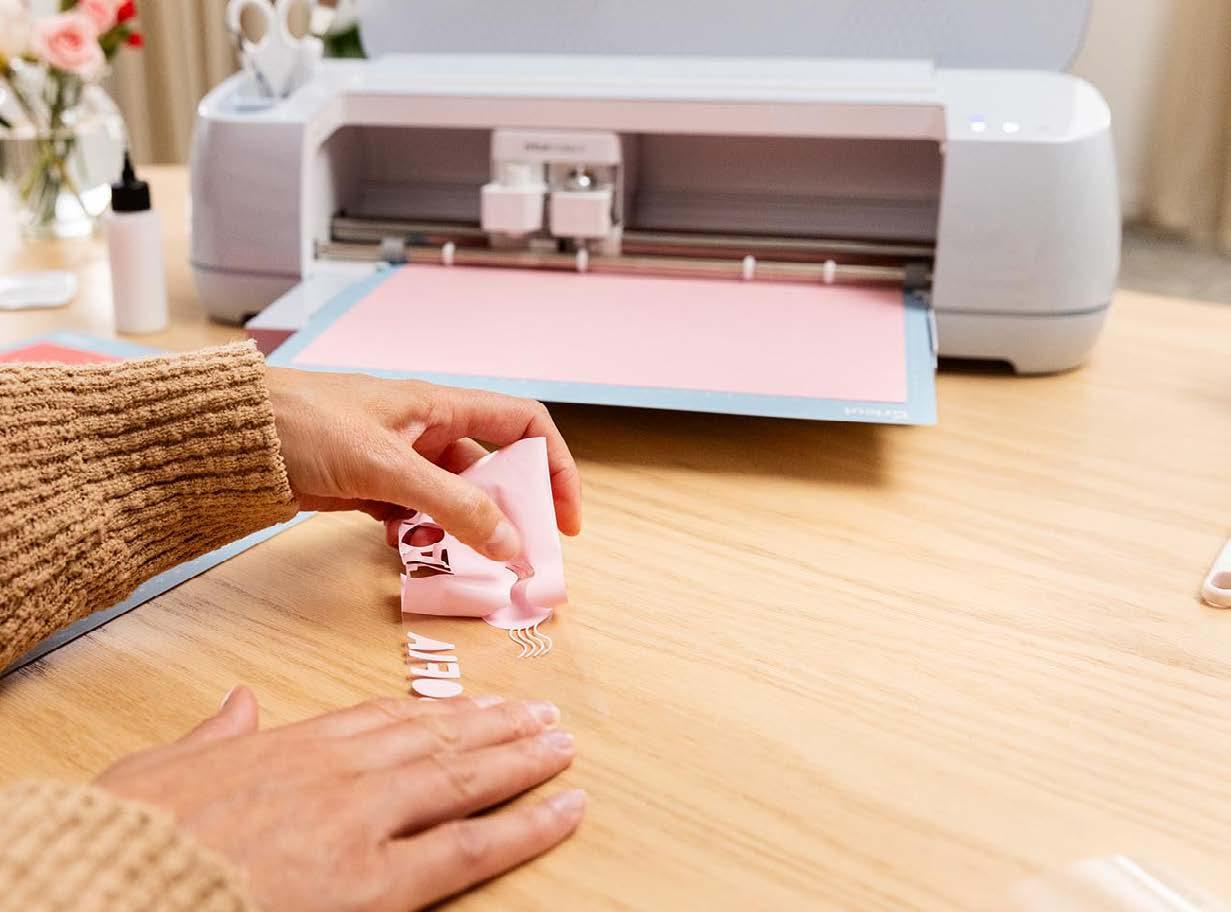
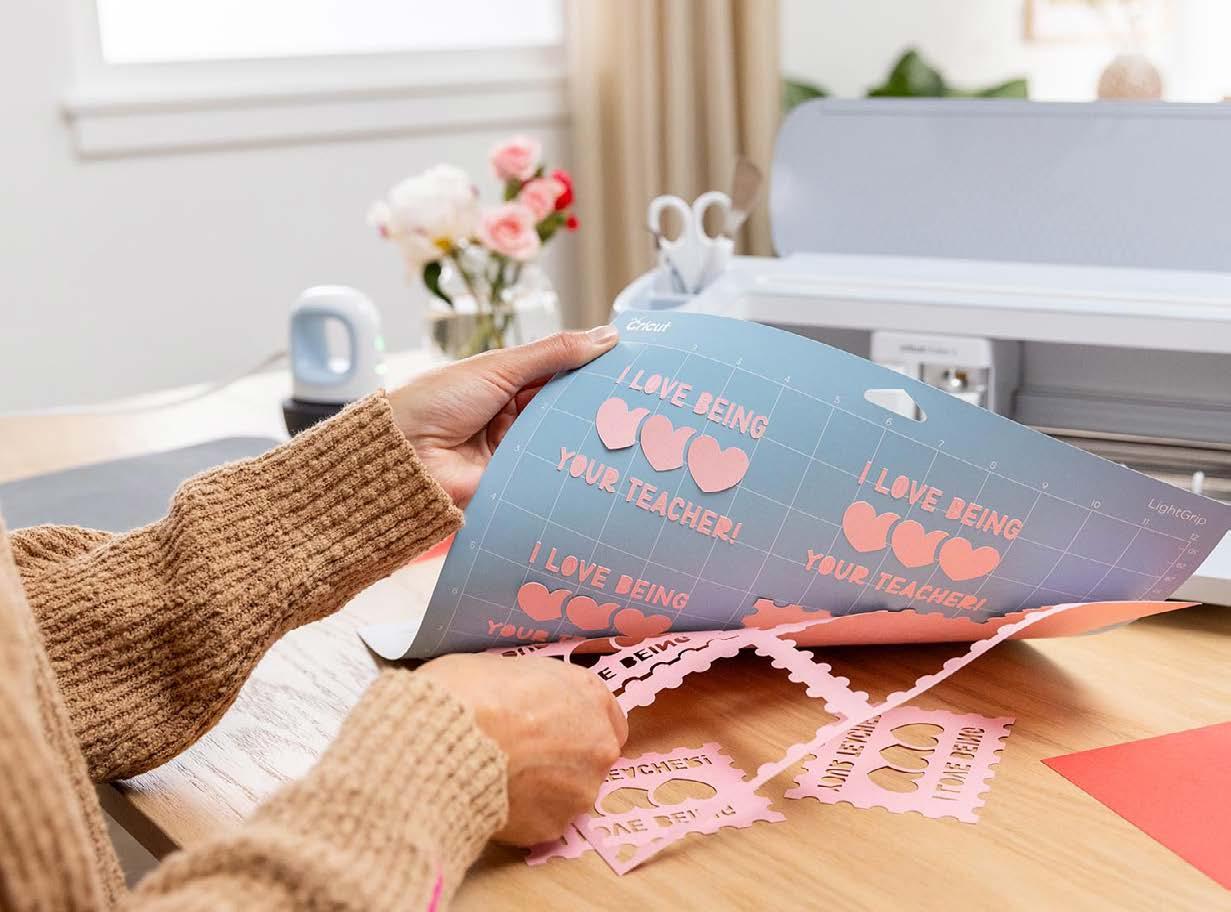
To personalize the project, select Customize, then edit text boxes to your liking
To cut more than one, increase project copies on mat Preview screen
When you’re ready to cut, select Make, then follow prompts to cut design from cardstock
Insert Scoring Tool when prompted
Assemble
Remove cardstock from machine mat, then place protective cover back on machine mat
Fold the card along the score lines
Adhere the pink cardstock to the center of the front of the card
Adhere the center pieces of the Os, Rs, B and A
Note: To prevent paper from tearing, bend and peel the machine mat away from cardstock Start making!