

Make Your Day
Cricut - your ultimate partner in helping you celebrate every moment in your journey to getting married Your DIY Wedding Guide


Make Your Day
Cricut - your ultimate partner in helping you celebrate every moment in your journey to getting married Your DIY Wedding Guide


From your proposal moment, to the wedding organization, bachelorette party, the wedding day (civil & religious), the guest’s gifts and thank you note, Cricut is there to elevate your celebrations.
Every bride-to-be or bridesmaid needs a Cricut machine. It is your ultimate companion that will help you bring all your wedding events and activities to life, from the bridesmaid proposals, to the engagement party, to the bridal shower, to the bachelorette party, to the day she says ‘I Do’.
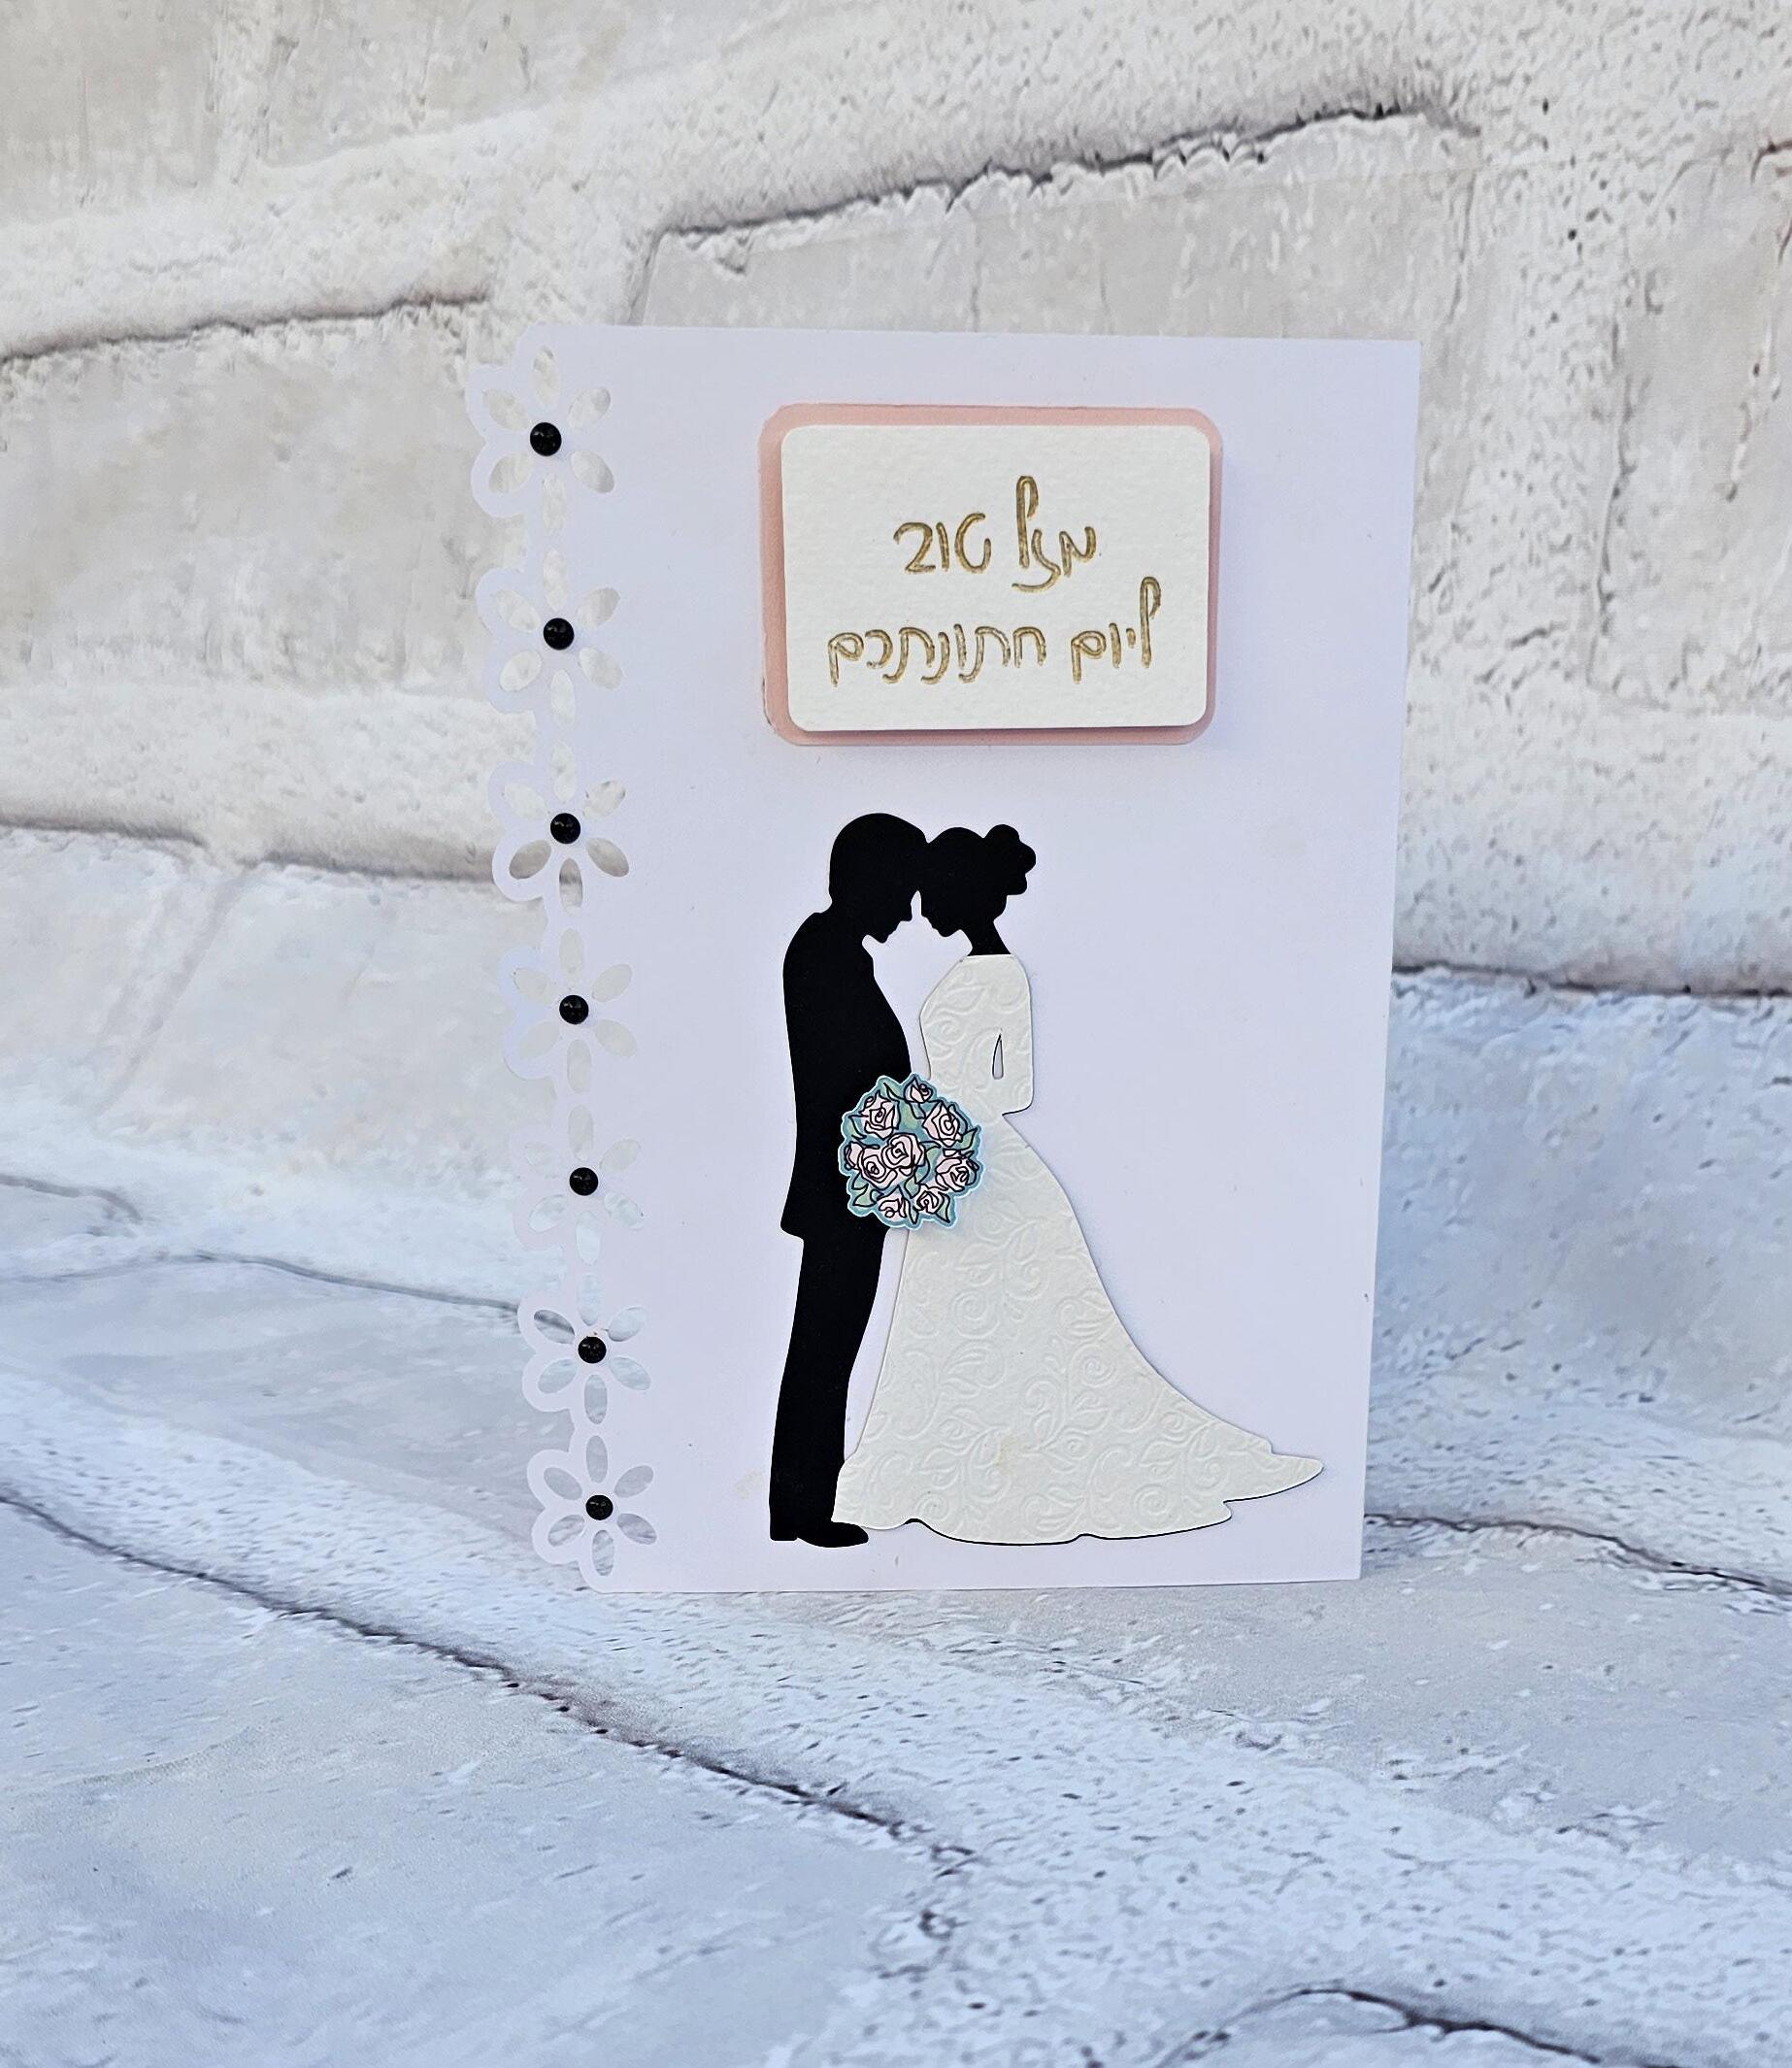
What could be more important than making a bride and groom happy on their wedding day. After the ceremony and the party it is time to open the presents and what could be more heartfelt than receiving a beautiful hand made greeting card with Cricut.
Hi, I’m Liat, Mother of three amazing children and happily married. I became a Cricut ambassador about a year and a half ago and I love the creativity world. My professional background is as a procurement manager, import, export and I am also a graphic designer because I need to give place to my creative side as well. I purchased my Cricut Maker 3 about two years ago and I fell in love with the large variety of options it has and how it assists me in turning the designs into a finished item that brings joy to the person that receives it and to bring my personal touch to everything that I make or upgrade and with Cricut the options are endless.
Materials To Cut
Cardstock - white, black and pink, slightly textured white
Gold foil sheet
Small dot stickers for decoration
Everything Else
Cricut Maker 3 machine
Printer
Fine point blade
Scoring wheel + housing
Foil transfer tool (Fine+Bold)
LightGrip Mat
Adhesive
If you want to alter the project, select Customize, then use the tools in the Edit panel to make changes before you cut.
Cut
Open the project in Design Space and press Make It. Choose to load the materials On Mat and press confirm. You will now see a preview of the mats on your screen, place the elements on the mats as needed.
On the mat that shows the wedding dress and the rectangle with the writing on it, let’s move the rectangle to a new mat by pressing the 3 dots, choose Move Object , choose New, pick a color for the new mat’s background and press Confirm.
Follow the instructions on Design Space to choose the material type, pressure needed and blade replacement in clamp B to scoring wheel / deboss / foil / fine point when asked to do so.
Assemble
Fold the base of the card on the scoring line. Adhere the pink cardstock with the foil design to the left inside part of the card.
Adhere the white wedding dress with the debossing to the black bride and groom element and then place and paste it on the front of the card.
Use adhesive foam pads to paste the Print Then Cut flowers to the bride and groom element to create a 3D effect.
Adhere the white slightly textured rectangle with the foil writing on it to the pink rectangle using adhesive foam pads to create a 3D effect and then place and paste it to the front of the card above the bride and groom element.
Adhere the dot stickers in the middle of each flower on the side of the card and the card is ready.
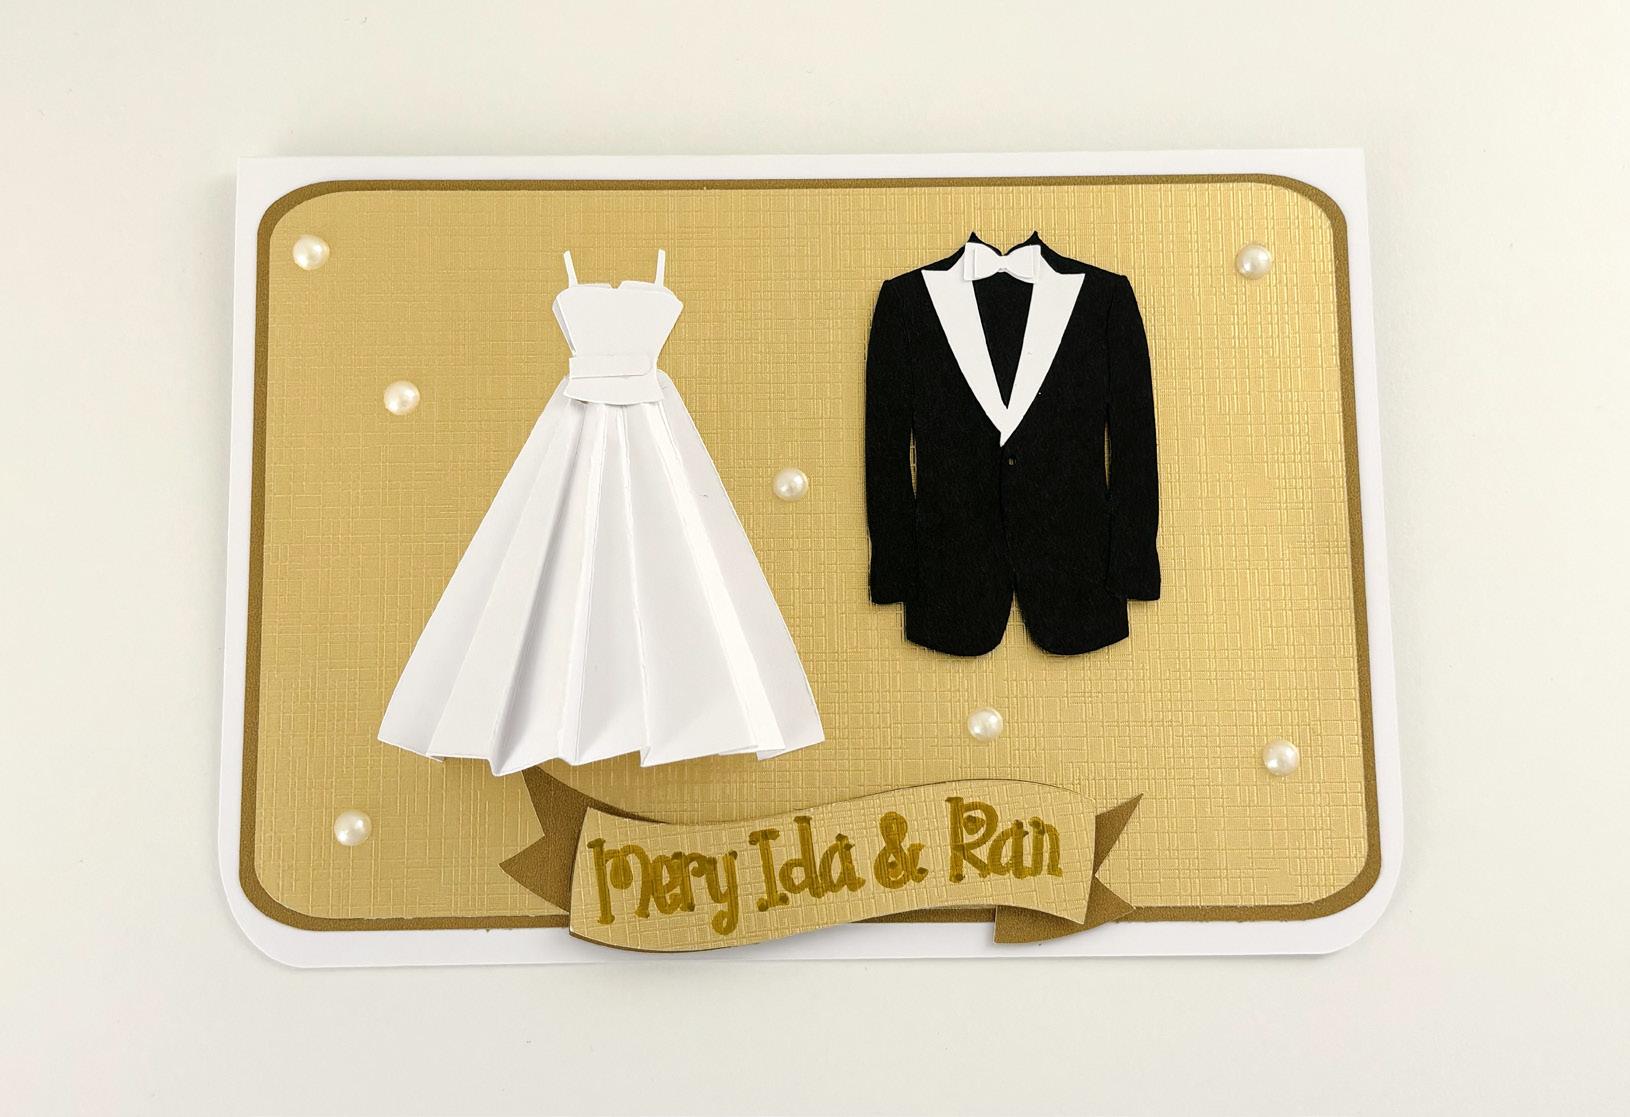
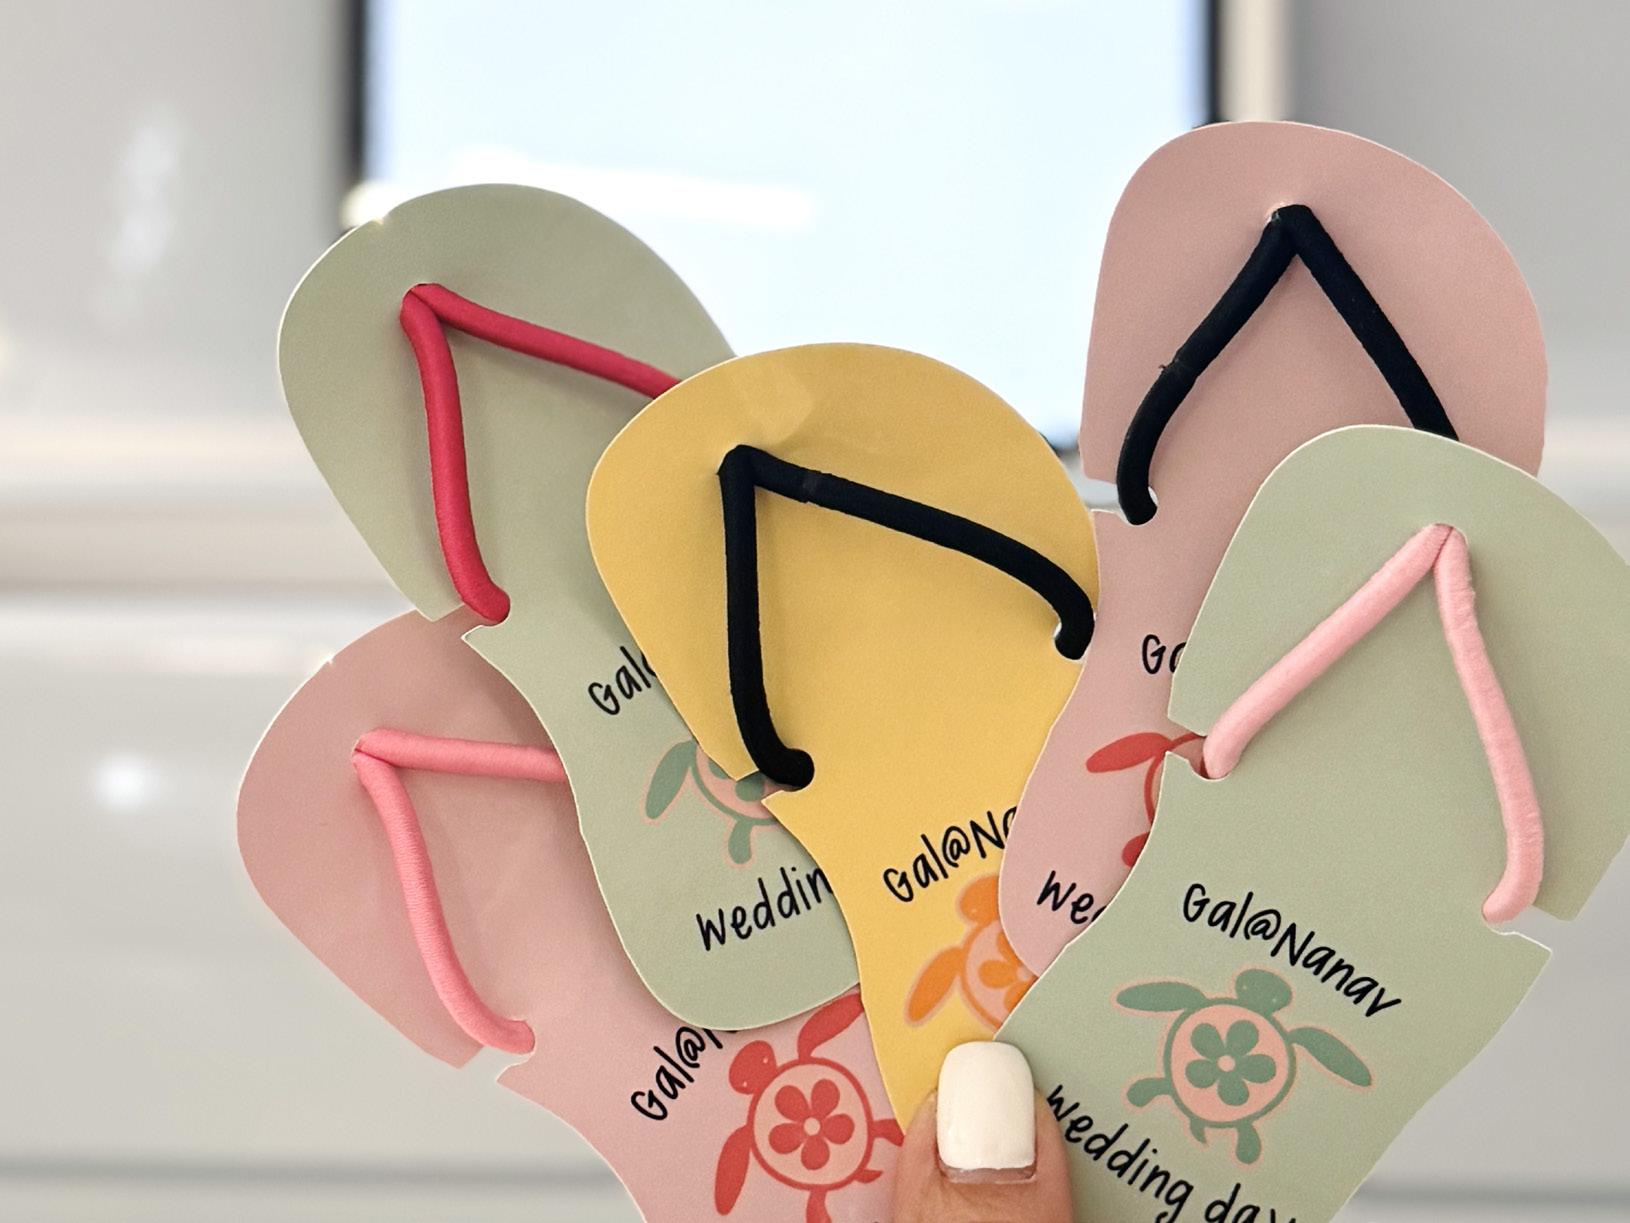
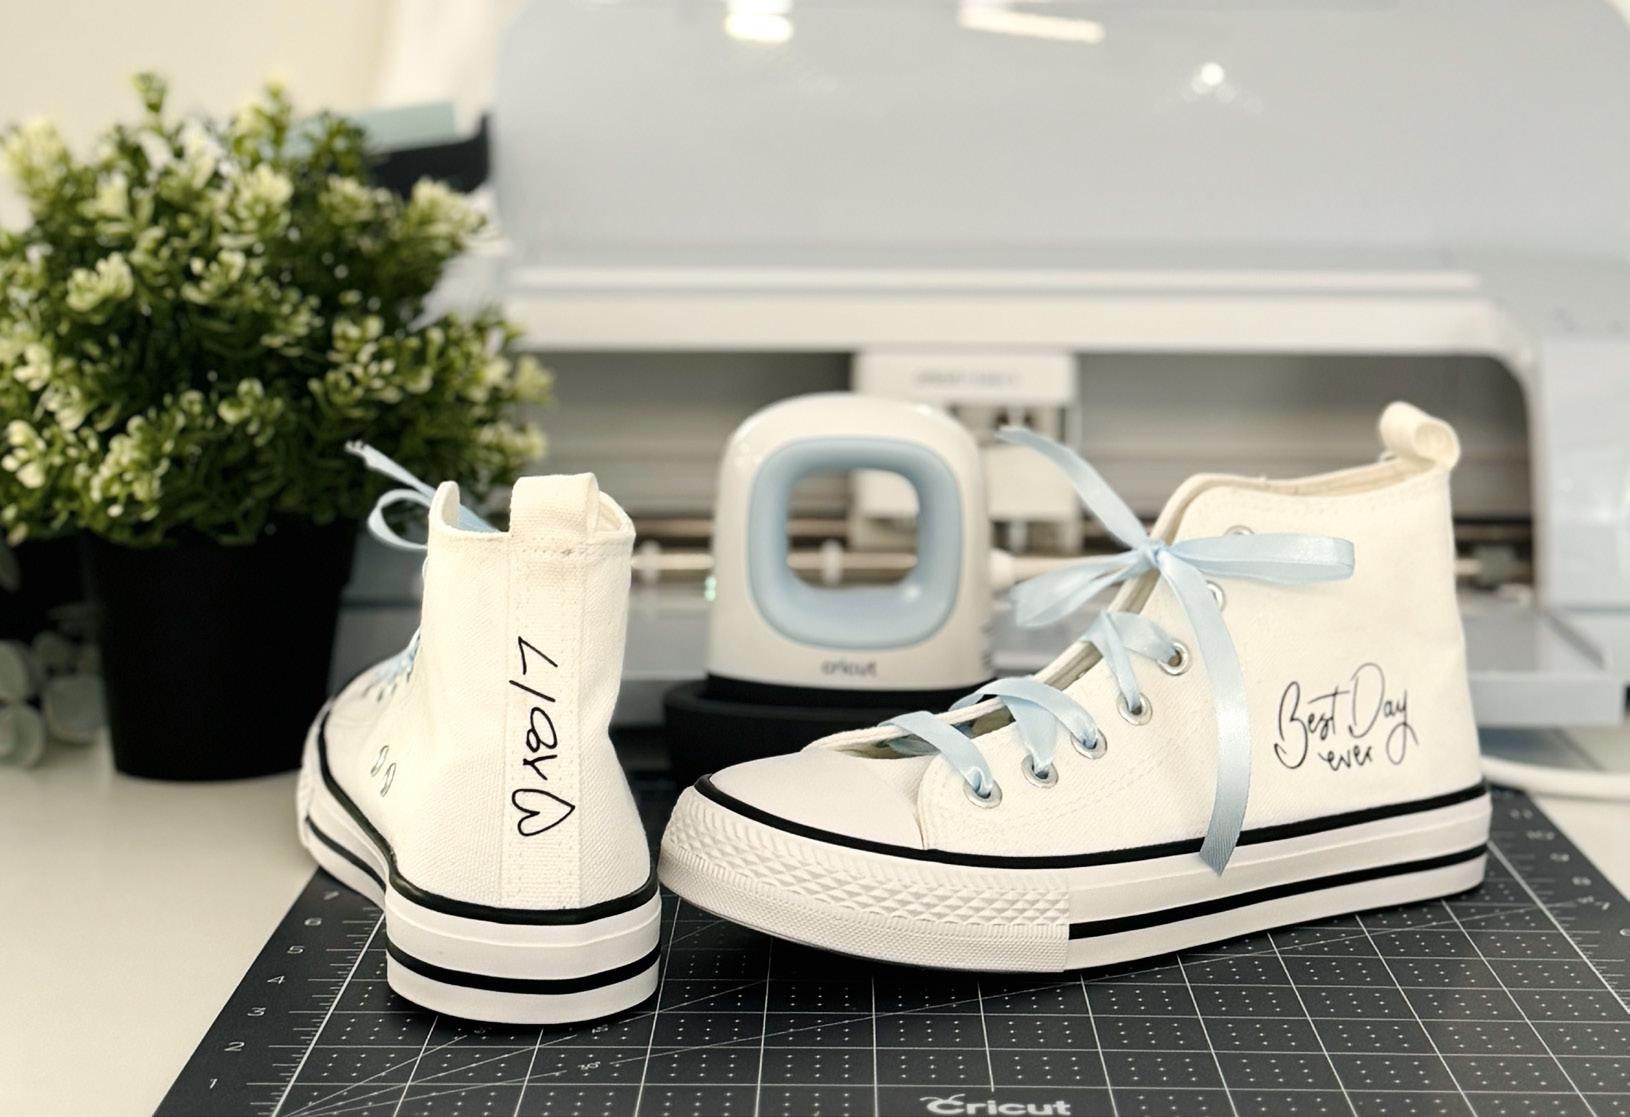
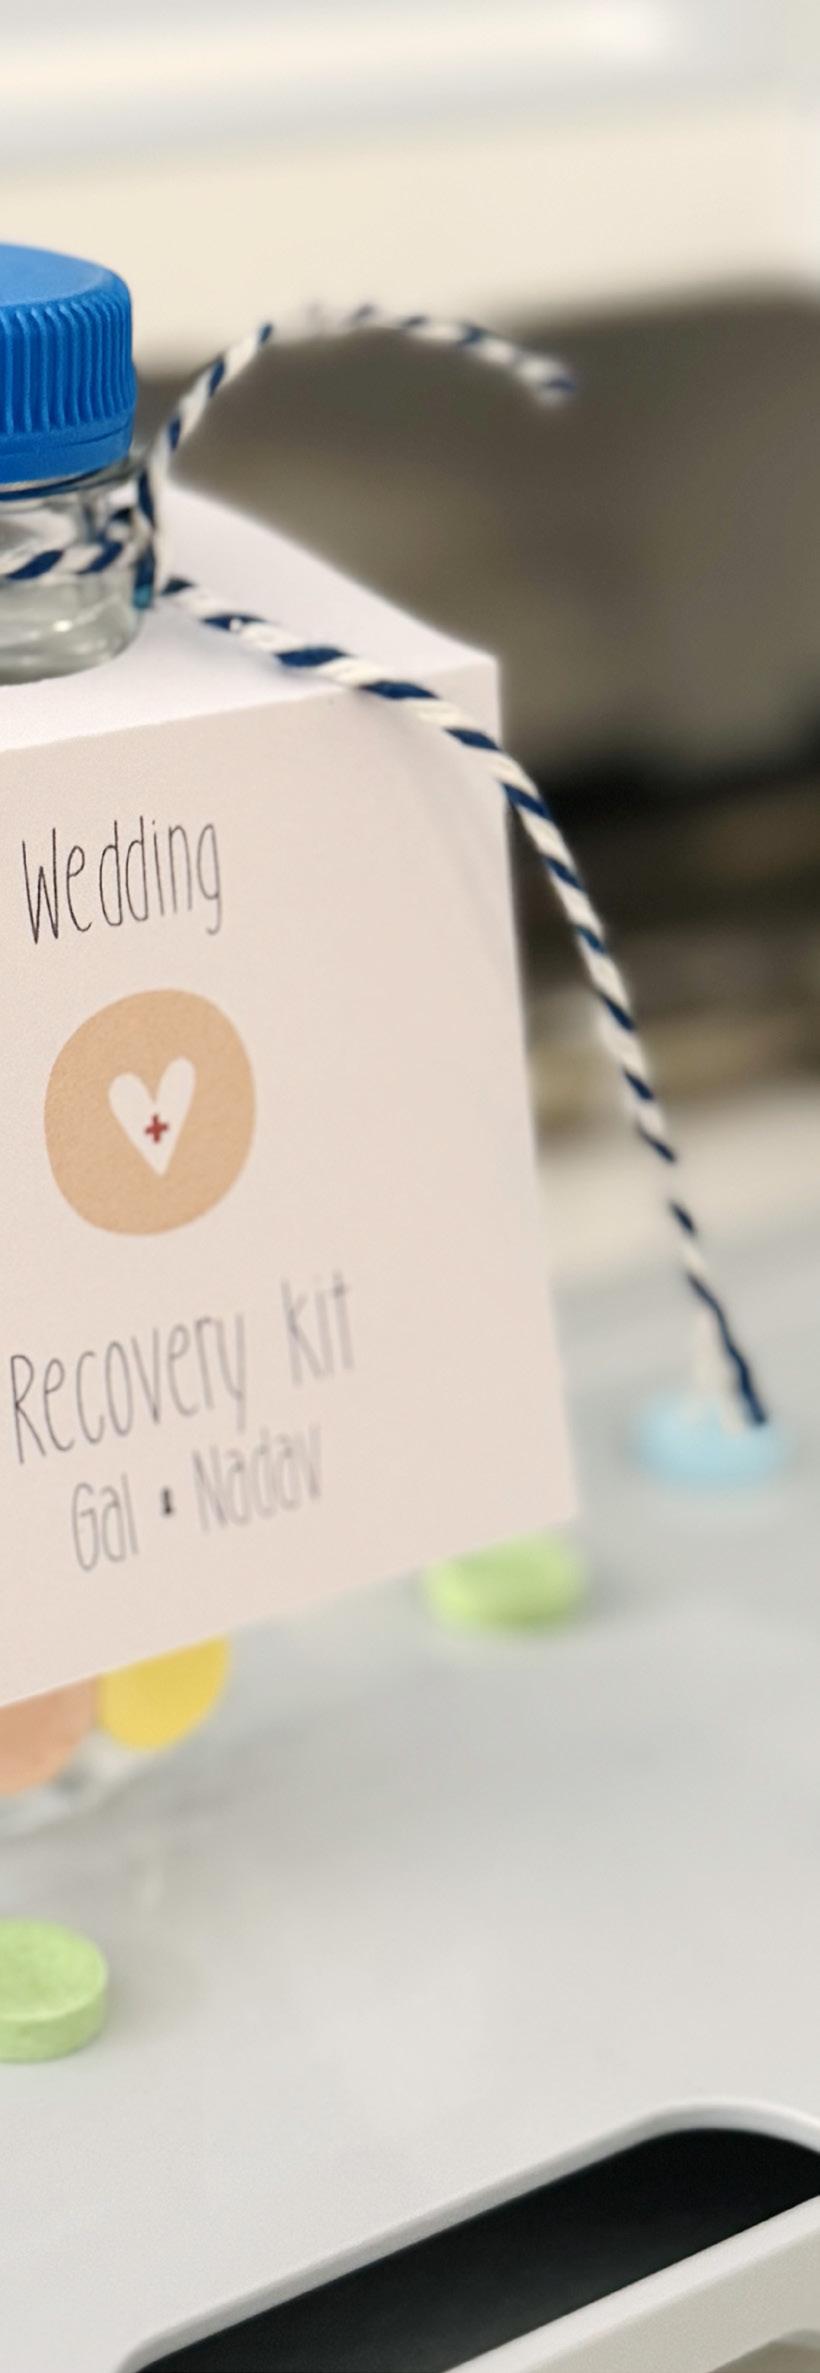
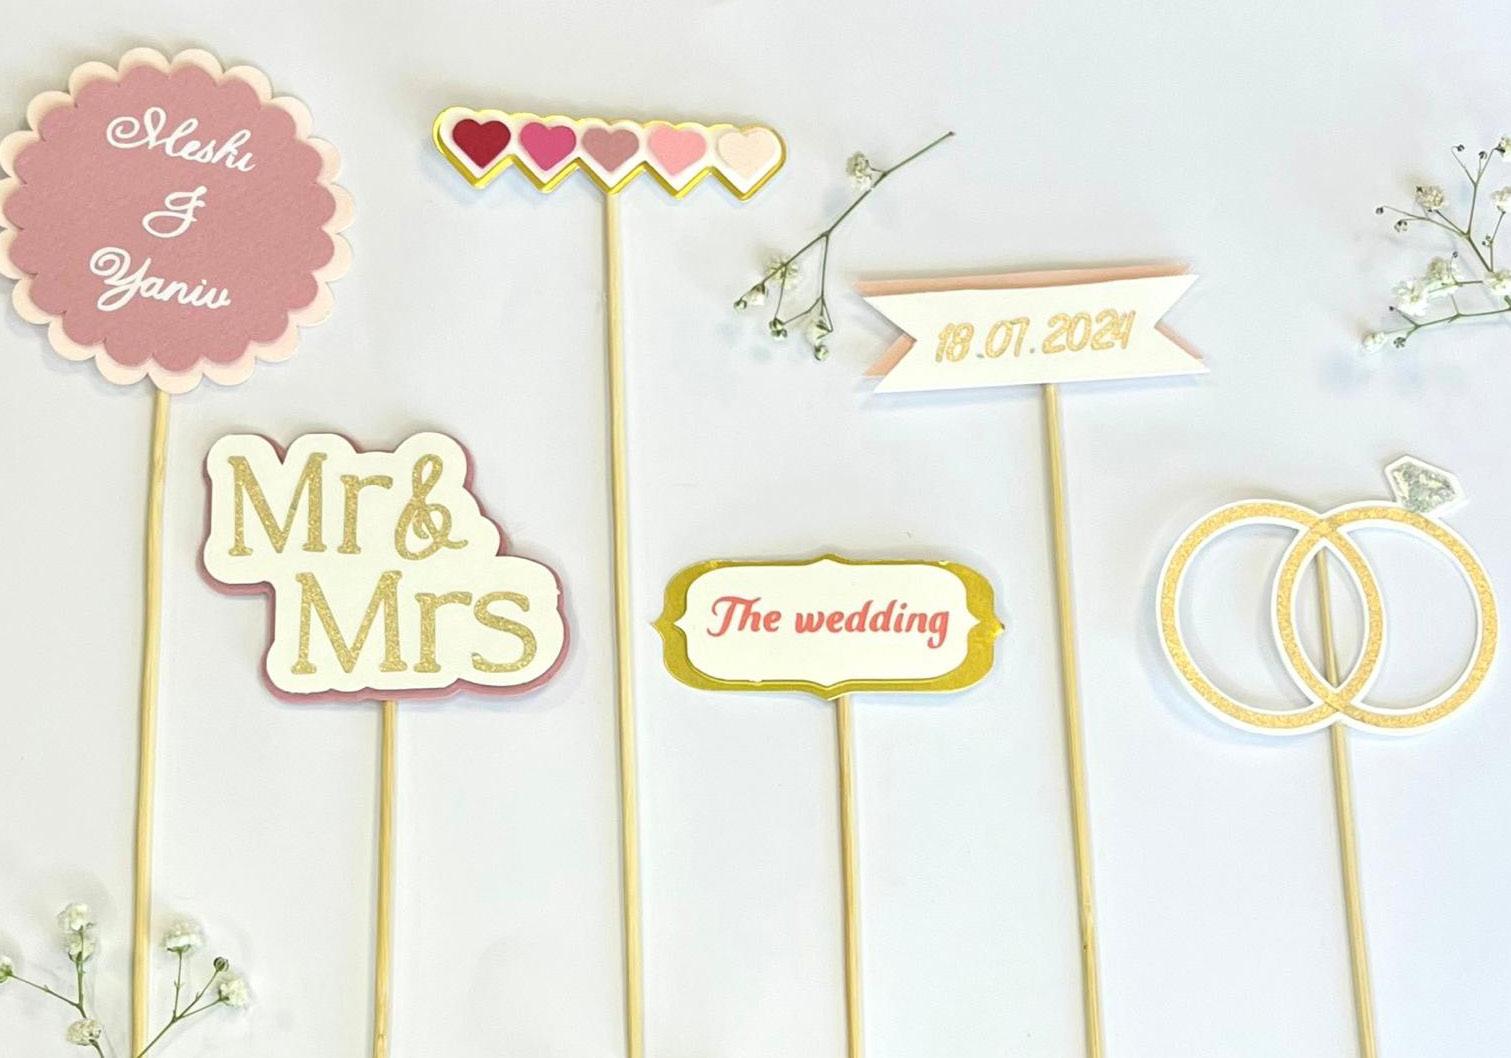
Cricut is the ultimate sidekick for a personalized wedding that is special to the couple - helping you save money in the long run on all the different wedding decor/ favours you need for the special day. From idea to I Do - Cricut will make it happen.
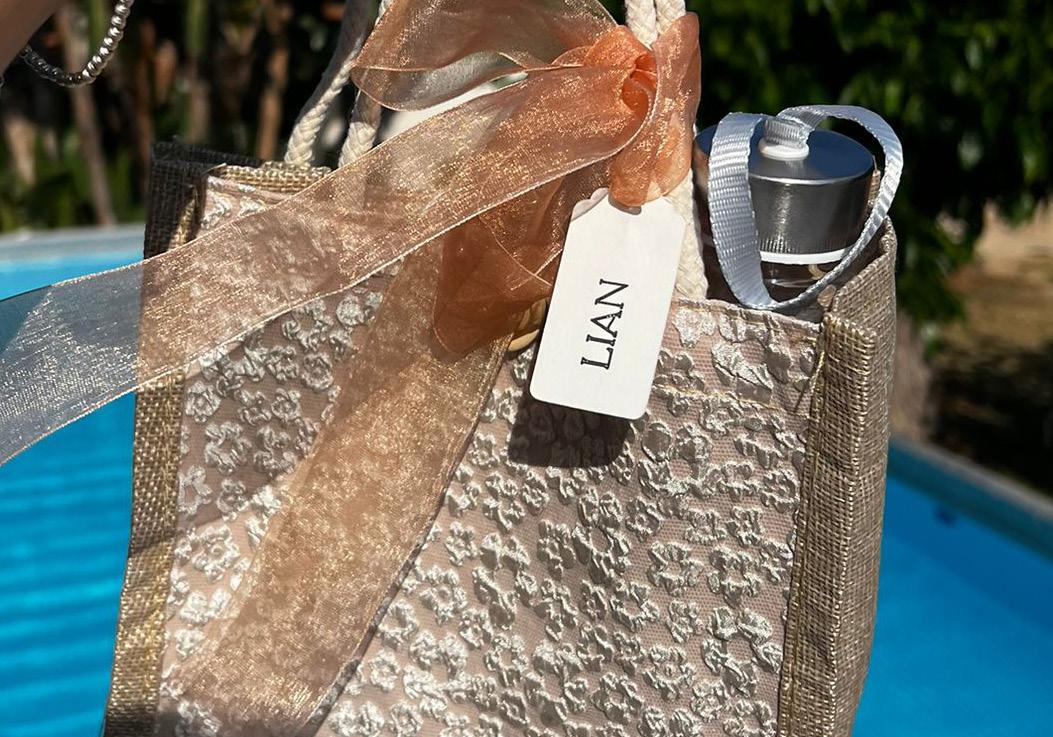
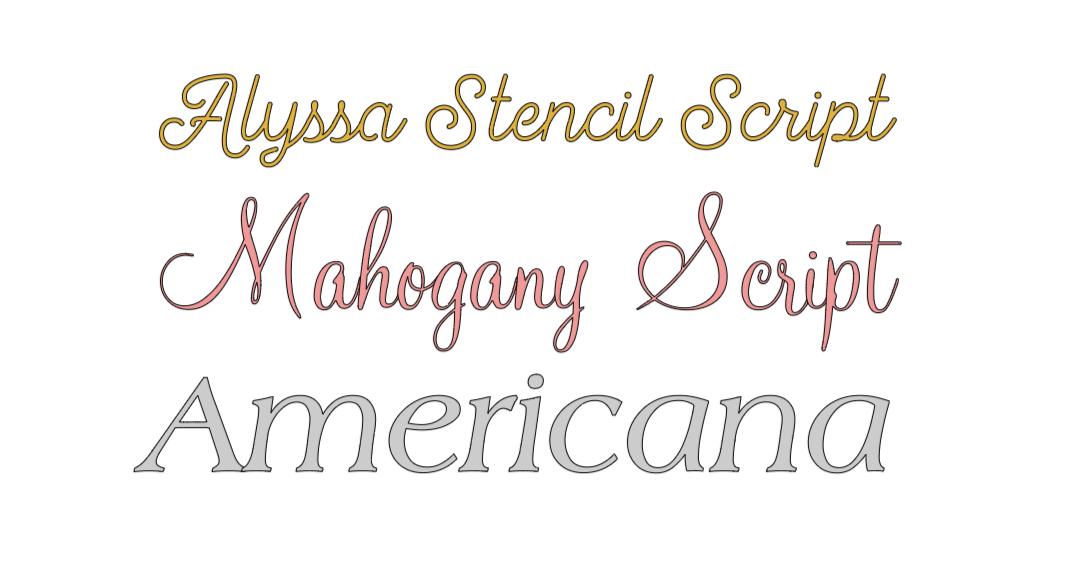
A personalized T-shirt for the Wedding Party, personalized mugs for wedding favours, invitations, cake toppers, DIY Decor elements with a unique flairmake it all with a Cricut® cutting machine, colorful materials, plus images and fonts in Design Space®. Save money and DIY your Wedding the way you want with Cricut.
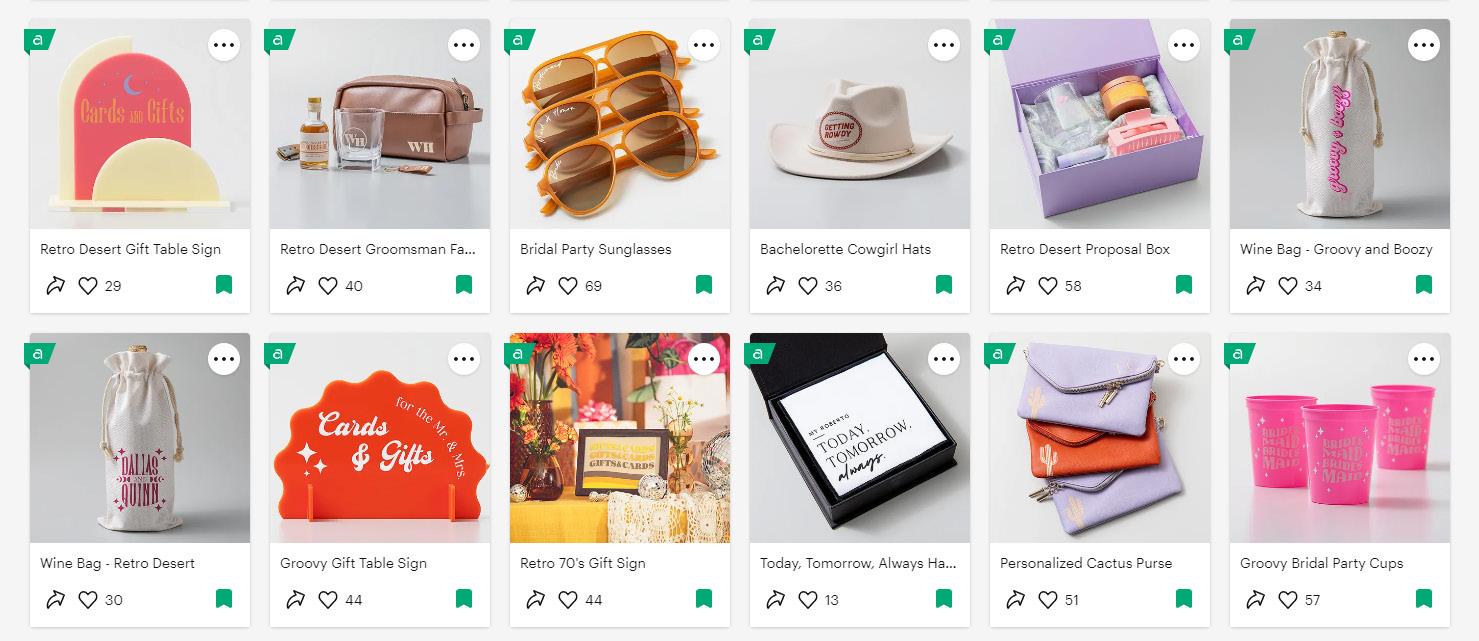
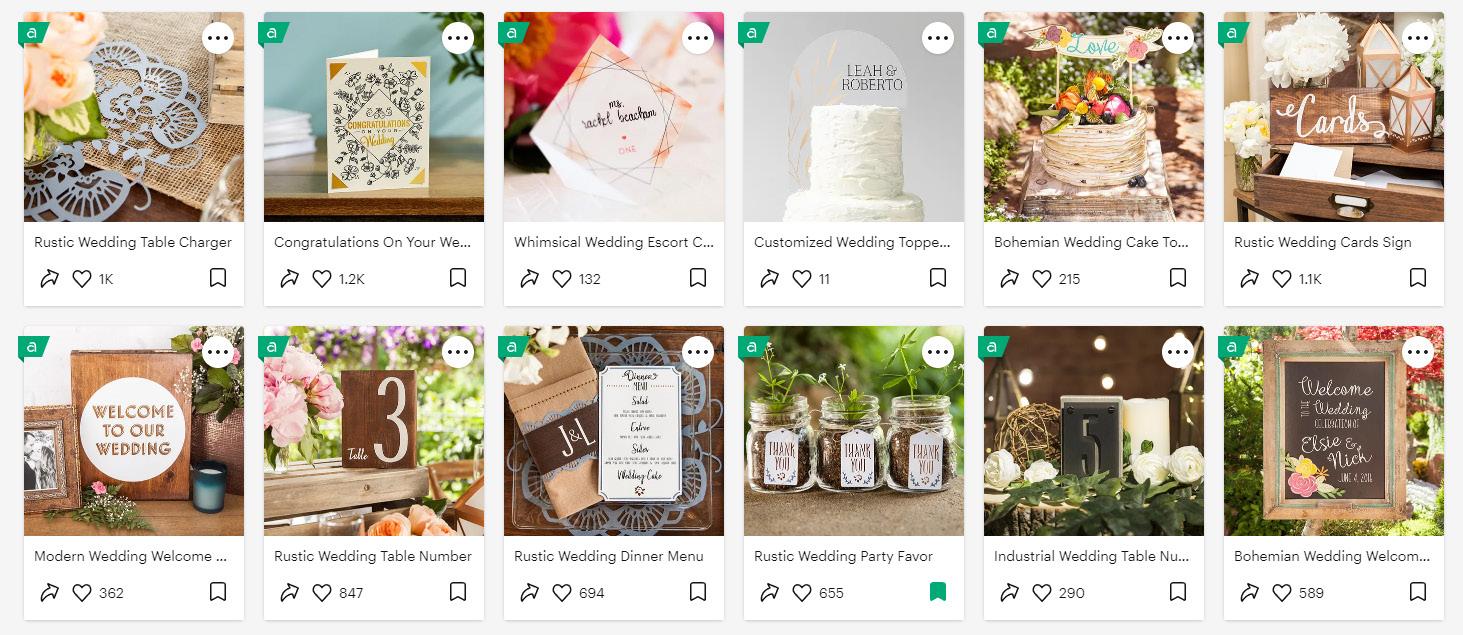


All the best Wedding & Celebration creative inspiration at your fingertips with Cricut. From Creative Challenges, events, in-store demos to loads of prizes to be won. You don’t want to miss any of whats happening in July. Save the dates and don’t miss out
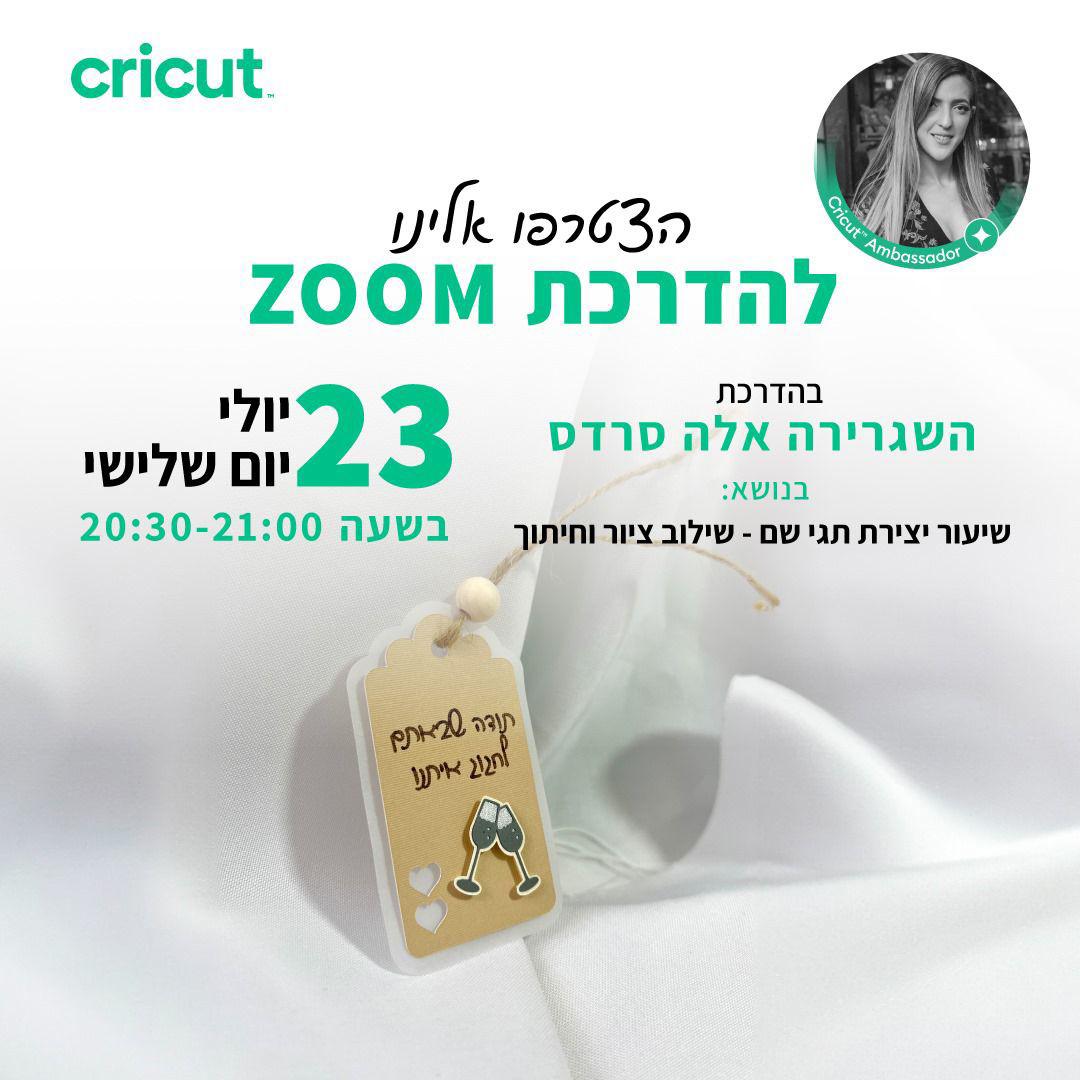
We will learn how to design a special name tag project perfect for a wedding. A tag that can be an addition to a gift or a centerpiece decoration. The project consists of several functions: cutting, vinyl, and pens. Design the project together with us, assemble it correctly with tips and tricks, to create a unique name tag perfect for any special occasion.
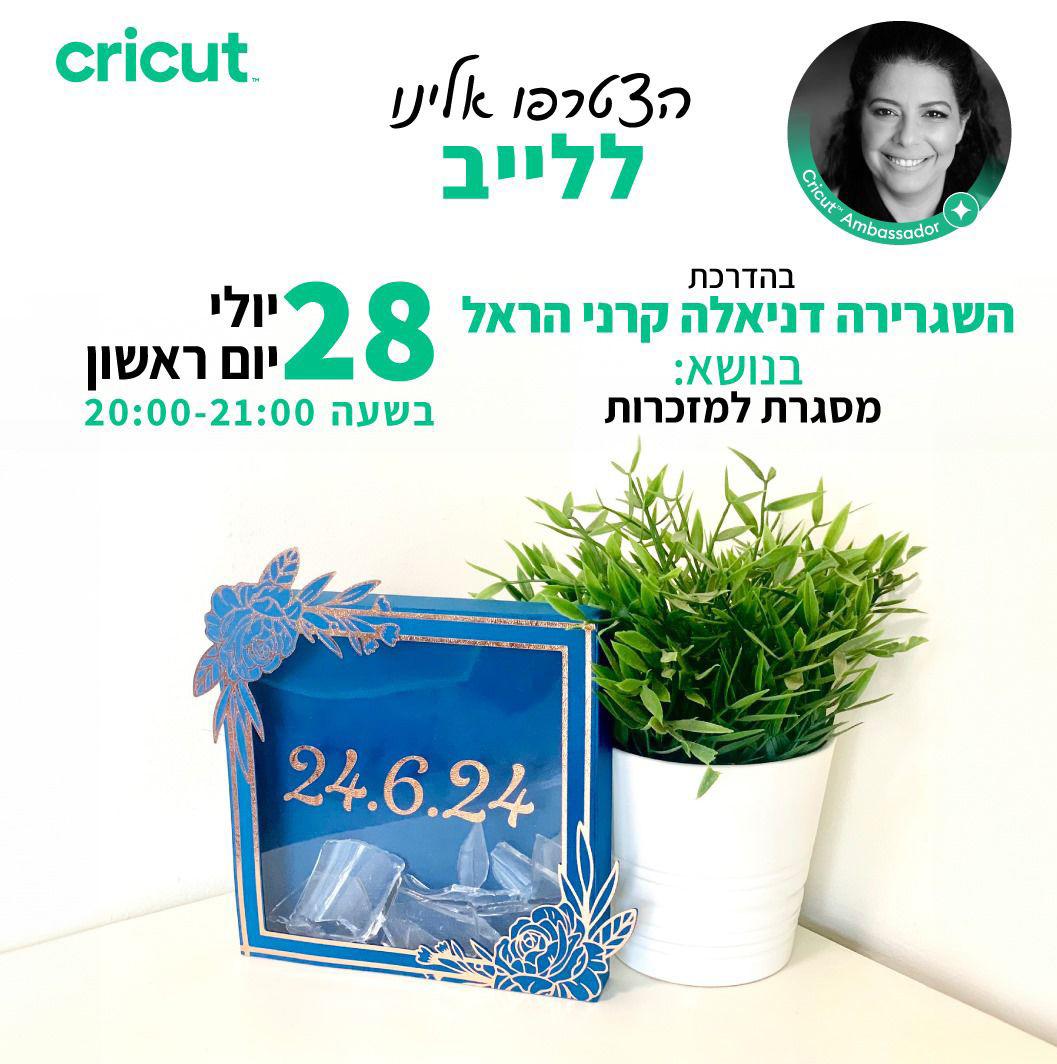
Come and make an elegant memory box that is suited as a decoration for any room. In the class, we will learn how to plan the project, combine different materials like cardstock, vinyl, and acetate to create this stunning project. Learn how to use some complex functions in Design Space and create this keepsake box for your favourite Wedding memories.

Theme: I made it for a Wedding / Celebration
Create a unique craft to celebrate - think Hens Party, Grooms gifts, bridesmaids boxes, wedding favours, invitations, table numbers and anything related to Weddings and Celebration.
Categories for creating
Wedding Party T-Shirts: Create some special t-shirts for a celebration.
Wedding Sign: Make a custom signboard for a celebration.
Wedding Bouquet: Create beautiful blooms using cardstock or felt for a floral bouquet perfectly suited for any occasion.
Guest Book: Design and make or personalize a Guest book for friends and family to write a special message inside.
Bridesmaid’s Box: Make a special gift box for your wedding party, family + friends.
Groomsmen Gift: Make or personalize a special gift for the guys - this can be for a wedding or any other celebration.
General Category: Create something for someone to celebrate a special occasion
Let’s make.