
Our TOP picks on consumables for Passover creativity


Our TOP picks on consumables for Passover creativity


Passover is often celebrated with a special family meal called the seder. Small gifts for kids can be given often consisting of nuits and chocolates.
Passover, also called Pesach, is a major Jewish holiday, one of the three pilgrimage festivals, that celebrates the Biblical story of the Israelites’ escape from slavery in Egypt. The Seder table is decorated and set beautifully in anticipation of the feast.


Cricut™ makes smart cutting machines that work with an easy-to-use app to help you design and personalize almost anything — custom cards, unique apparel, everyday items, and so much more.


Ultra-compact cutting machine for fun and functional everyday projects like custom cards, decals & labels.


Get ready to meet your Cricut match. To discover which Cricut cutting machine is right for you, just take this short quiz


Scan here to take the quiz


Cricut Joy™ fits in any space, but fills every room with endless possibility. Make custom stickers, labels, T-shirts, cards & so much more. The perfect addition to any family home for craft and work.


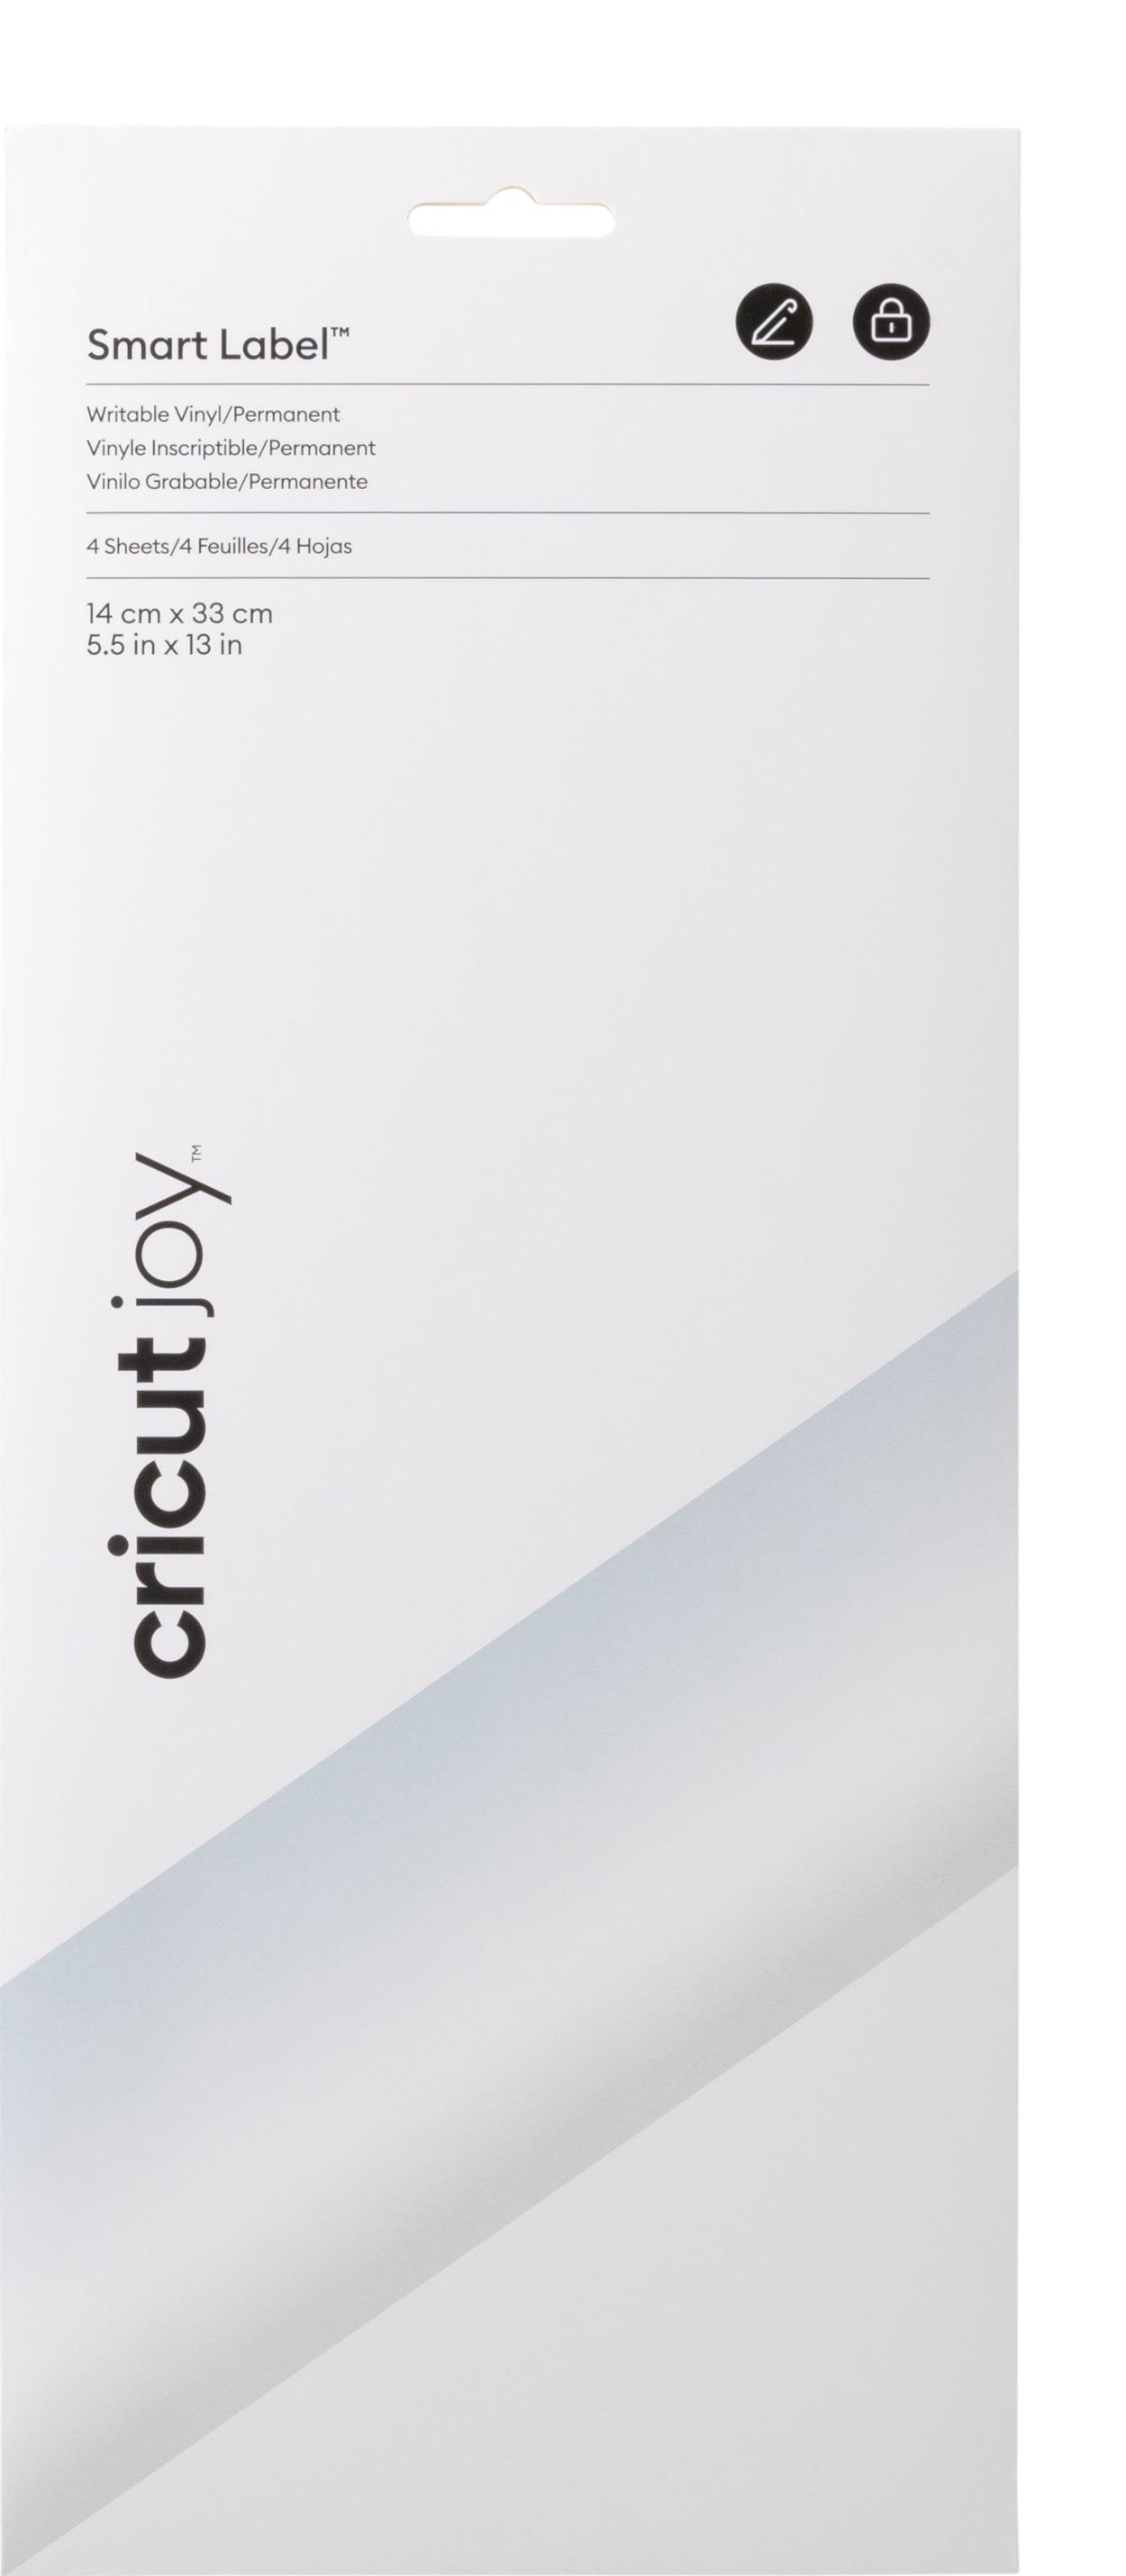
Writable Vinyl makes beautiful labels easy.


 Cricut Joy Smart Label
Every Cricut cutting machine connects to Design Space® — our free, easy-to-learn app. It’s where you can discover, design, and make custom projects. You can upload your own image or find inspiration in the design library to customize to your liking. Then, use your machine to make your projects come to life. No design experience needed — learn as you make!


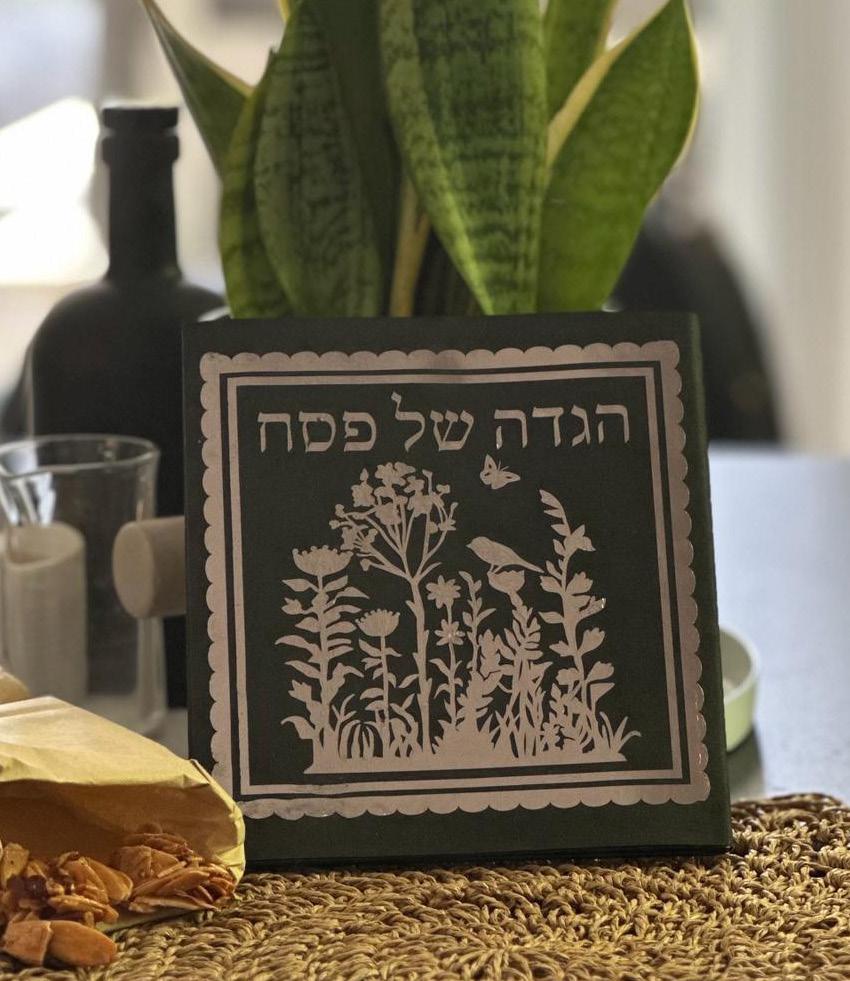
The Passover Haggadah is a set form of benedictions, prayers, psalms, and commentary recited at the Passover seder - create your own book using Cricut and make it extra spoecial.


With a whole library of ready to make images, and project designs, Cricut Design Space Access offers you unlimited opporunities to create anything for Passover. With so many designs available everyone can become a DIY expert using Cricut.
Part of creating a beautiful Celebration table is having an amazing centrepiece. Using cardstock to create this beautiful vase and flowers that will last a long time, this piece will make any table festive - the perfect accessory for a celebration.

Cardstock in different colours
Holographic vinyl
- 12 in x 12 in


Adhere a piece of Holographic vinyl to a sheet of cardstock. Cut your butterflies out of this piece of cardstock as well as the wording.
Follow Design Space prompts to cut images from vinyl covered cardstock and cardstock.
Cut all elements and set aside to make the assembling process easier.
Group the flower pieces in matching colours together. Fold the scored lines first to shape the flowers lightly.
Use your bonefolder to shape the petals and give them dimension curling them outwards.
Adhere the edges of the flowers together to start forming them. Use a strong asdhesive or glue gun to adhere the layers together and form the completed flowers.
Once all elements are formed assemble your vase and adhere the flower cluster on top of the vase. Finish off with butterflies and leaves.
Finish off your vase with the cardstock bow around the bottom of the vase.
Time to get organized and clean around the home with beaufiul personalized labels for your spice jars But this is not the only place, personalize and organize the entire home with custom labels for easy clean up and storing of toys, clothes, food and so much more.

What you need
Materials To Cut
Permanent Vinyl, White
Everything Else
Cricut StandardGrip Machine Mat

Cricut Transfer Tape
Cricut Weeder
Cricut BrightPad (Optional)
Glass Spice Bottles


Prepare the surface of the bottles by wiping them with an alcohol swab to remove all dirt and oily residue before applying the vinyl to the dry and clean surface.
Cut Assemble
When you’re ready, select Make It, and customize the text to use your favourite DS font.
Use Smart Vinyl or cut vinyl to size and place onto your mat.
Follow Design Space prompts to cut images.
Use a Weeder Tool to remove unneededvinyl pieces, leaving design on the backing. For text add text weeding boxes.
Weed the boxes around the text first and then remove the smaller inside pieces of the letters.
Add transfer tape to the words, burnish and apply to your spice bottles.
Time to make some beautiful cards to give to family and friends. Use Cricut insert card packs for quick and easy crafting sessions.


Cricut Machine Card Mat


Cutaway Cards give you greater creative flexibility – design cards without the need for corner tabs or stencil designs.
Start a new project in Design Space. Create your design using any image, text, draw, or foil element you wish.
Tip: To ensure your design will fit on your card, use the Cutaway Card Design Setup project or the Square Cutaway Card Design Setup project. Just choose your card size from the Finished Size selector, select Customize and you’ll have access to guides that help you leave a 0.25 in (6 mm) margin between your artwork and the edge of the card on all sides. Keeping your design within the dotted lines ensures the card adhesive will hold down all elements of your design.
Choose On Card Mat > Continue, then ensure the material size selection matches your card size. Your design will be auto-centered on the mat preview. Select Continue/Next.
Select Browse All Materials and choose Cutaway Card + Backer.
Open card. Remove liner from inside of card.
Start on an outside corner (away from the fold) and slowly peel up the corner of the paper liner. If the adhesive is coming up with the liner, use a Cricut scraper to scrape down the outside edge of the Cutaway Card.
Next, on the opposite outside corner use a Cricut weeding tool to tease the liner up from the adhesive. Once the edge is lifting, slowly pull it off with your fingers.
Apply backer to adhesive — decorative side facing adhesive.
When cut is complete, peel mat away from card.
Carefully weed away cutouts to reveal your design. Use your fingers to remove the pieces. If the pieces are too tiny, very carefully use a weeding tool to remove. Be careful, the weeding tool can scratch and/or damage the backer.
To write or draw on the inside of your card, fold the card inside out and repeat the steps above. Be sure that your Draw design is properly oriented and positioned on the project preview screen.
The cuts will leave impressions on your mat. This is normal.
Cricut Joy Cutaway Cards are compatible with all Cricut Joy Pens and Markers, and the Cricut Joy Foil Transfer Tool.
Seder night approaches swiftly, and this year, we aim to add an extra touch of delight for the children by decorating the seder table with a small surprise. Let’s craft a cardstock pyramid gift-box filled with nuts or chocolates for the table. How


Start making! Start Making!
StandardGrip Machine Mat
- 12 in x 12 in
Cut Assemble Cardstock
Gold Cricut foil transfer sheets 30.5X30.5 cm
Clear Acetate Sheet
Cricut Foil Transfer Tool
Fine Point Blade
Cricut Scoring Stylus
Cricut Scraper
Glue
Cutting the Acetate triangle shape:
Add the acetate sheet onto the cutting mat and cut as per the instructions on Design Space.
Once the cutting is completed, remove the material from the surface and carefully peel off the protective plastic layer on the acetate for protection.
Affix the cardstock onto the cutting surface and adhere to the instructions provided in Design Space:
- Select the appropriate material type for cutting based on the thickness of the cardstock.
- Insert the Scoring Stylus into clamp A to score the fold lines on the cardstock.
- Replace the Scoring Stylus with the Cricut Foil Transfer Tool, equipped with the 2-line head (medium).
- Securely attach the foil sheet, ensuring the shiny side faces upwards, using white stickers. Ensure the foil sheet is evenly stretched.
- Execute the embossing process with the foil tool tip.
- Remove the foil sheet without moving or unloading the mat with the cardstock.
- Replace the knife in clamp A with a Fine Point Blade and proceed to cut the cardstock.
Upon completion of the cutting, unload the mat and remove the cardstock from the cutting mat.
In this project, we will construct a pyramid box measuring 6.5 cm in height.
If you wish to alter the dimensions of the pyramid, please access the project in Design Space, click on “Customize,” and adjust the dimensions to your preference.
Burnish the folding scored lines using the scraper tool.
Apply adhesive to affix the triangle-shaped acetate to the cardstock piece.
Adhere the sides of the pyramid together.
Fill the pyramid with nuts or chocolates.
Seal the bottom of the pyramid using glue or a transparent sticker.
I’m Sapir Lauzon, a Cricut Ambassador for the past year. At 44 years old, I’m happily married and a proud mother of three wonderful children. My professional background lies in management within high-tech companies. However, if I’m being honest, my true passion lies in creation. I’m utterly captivated by the process of trying out and experimenting with new things. With Cricut’s arrival, my maker and I have become inseparable. I adore the versatility of the machine and the myriad of wonderful creations it enables me to create.
Join our community of like-minded crafters and creatives. Here you will find inspiration, projects to try, news, challenges and stand the chance to win amazing prizes. Need help? We have an entire army of creatives to support and guide you on this exciting journey.


Learn with us as we share tips & tricks for easy making Daily Project Inspiration


FREE live classes to learn and make with us


Prepare a Feast for family and loved ones for Passover. Food labels, elegant serviettes and tablescapes, name tags and decor elemants will adorn a feast of creativity and celebration.
Material Colors
Images

Fonts

Pronto MF
Vilna MF
Alyssa Stencil Script
Black Gold Brown Clay


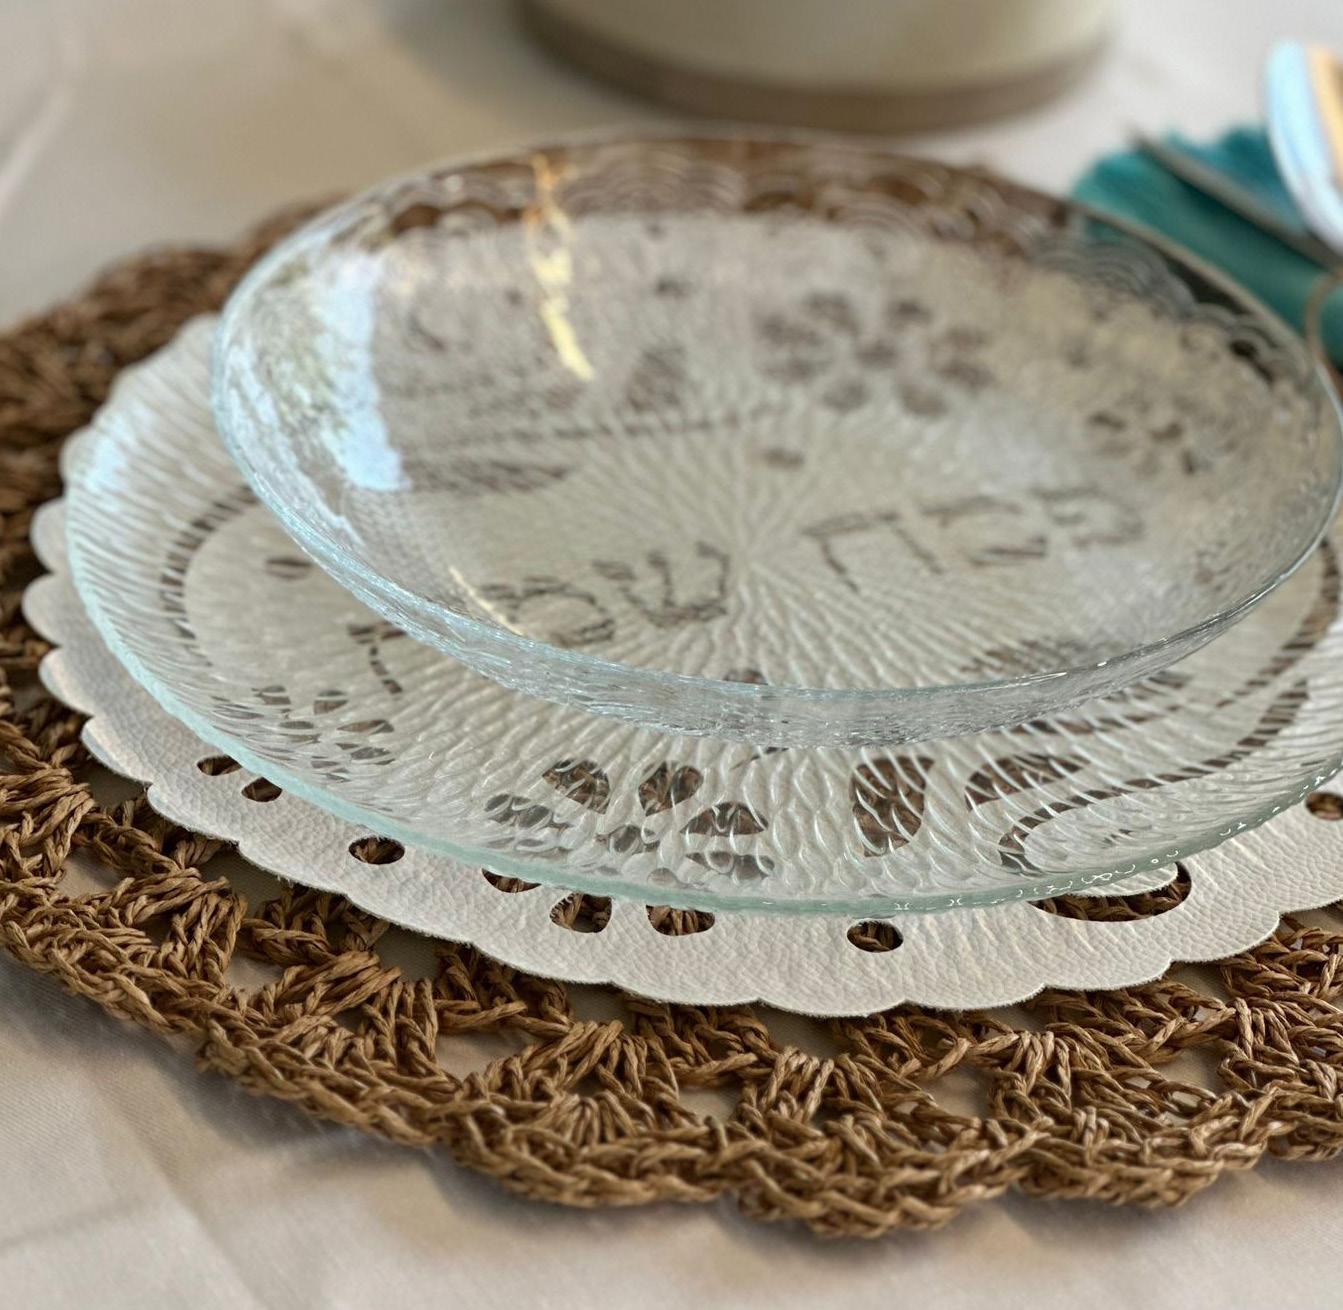
Create a beautiful table setting for an elegant Passover feast. Using designs together with a Cricut® cutting machine, metallic materials, plus images and fonts in Design Space®, you can easily create décor and elements dressed in gold and silver.
Material Colors
Images

Fonts

BFC Backyard Haystacks
BFC Craft Table
BFC Fashion Statement
Desert Sun Lavender Ivory Blue Iris Pink


Brighten up your home with fun and cheery organiasatiuon for the kids, festive table setttings, flower decor for the table and so much more with a Cricut® cutting machine. Colourful materials, plus images and fonts in Design Space® will help make Passover a true family and festive experience for everyone young and old.
Material Colors
Images

Fonts

Poker Night
Remachine Script
Ribbons & Rosettes
Turquoise Hot Pink Salmon Neon Yellow Cotton Candy


Create some fun kid’s activities for Passover. Create easy colouring pages and activities to keep them busy on your Cricut and a colouful cutlery set will keep them engaged at Seder.


Gift giving.
Create beautiful and personalized hostess gifts for Passover. As family and friends gather around for a feast, spoil them with table decor, flowers that will last, personalized wine bottles, treats boxes and so much more.


Kraftboard
When projects need support, or floppy paper just won’t do. This versatile material creates sturdy 3D projects, decor, mini books, boxes, tags, banners, and more. You can cut, score, and write on it without creating cracks, tears, or white score marks. Strong and easy to work with.

Make your projects shine with pro-level, polished foil accents that last. Simple Design Space® prompts tell you when to lay the foil sheets onto your base material. When your machine is done embellishing, peel to reveal the glimmer & gleam of foiled elements.

Give any project a gorgeous, industrial look with these metallic hues. Intricate designs are simple to cut with your Cricut machine, and you’ll weed with ease to prep for flawless application. Create unique fashion that’s so you, and add brilliant accents to party and home decor. Fun and reflective shapes, logos, and phrases are all a cut and a press away with this easy heat transfer material. Turn heads by adding eye-catching shine to pillows, blankets, basket liners, wallhangings–and that’s just the beginning. For use with all Cricut cutting machines. For effortless application, use Cricut EasyPress. Or apply with household iron.

Metallic Pens
Add an extra-special touch to written or drawn projects small and large with these Cricut Joy Gel Pens and Cricut Joy Metallic Markers.


Bring in some bling with two timeless metallics. Outlasts 50+ washes!* Everyday Iron-On with StrongBond™ Guarantee works fabulously with the widest variety of base materials, including wood! Intricate designs are simple to cut with your Cricut machine, and you’ll weed with ease to prep for flawless application. Make a T-shirt with an inspirational quote, design heartwarming home decor, embellish accessories with oneof-a-kind designs, and create handmade gifts that will leave a lasting impression. Use one color or layer up to three for standout patterns and projects. For use with all Cricut® cutting machines. For a flawless iron-on application, use Cricut EasyPress™

Why buy it when you can make it? From truly custom stationary to one-of-a-kind gifts on demand, you can make it all, and save with Cricut.
Gone are the days of spending a small fortune on personalized labels for home, business or gifting! With Cricut and a little time and initial start up investment you can make on-demand labels as you need them. The decision between making something yourself or buying it ready-made has never been easier. Saving you time and money by doing it as you need it.
MAKE for less & on demand


as you need
Buying may cost more - consider this:
• Ordering something custom may cost more and you will have to order in bulk or minimum quantities
• You may want something different before you have finished your stock
• You may not get the design that you really want
• A custom design and vision may cost more than what you can afford to pay
*Make price does not include the upfront machine buying price
