


• 3D Cardboard Globes – White – Pack of 10 21090
• CleverPatch™ Glitter Liquid Watercolour 250ml – Set of 8 Colours – 16682
• Micador Large Oil Pastels – Metallic Pack of 12 – 10578
• CleverPatch™ Glue Stick – 40g – 13974
• EverZart Permanent Pens – Black Pack of 20 – 19810
• Other materials required: Pencil, scrap paper and paint brushes.
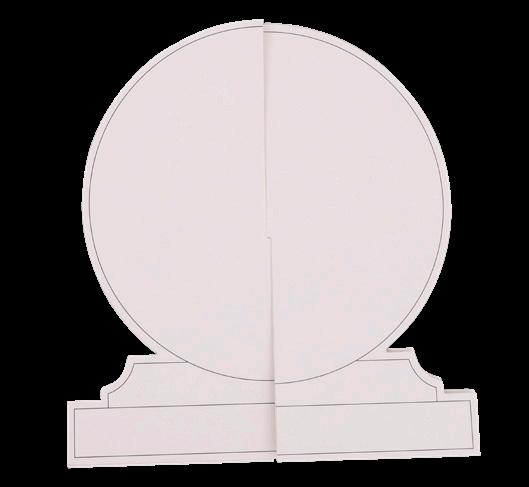
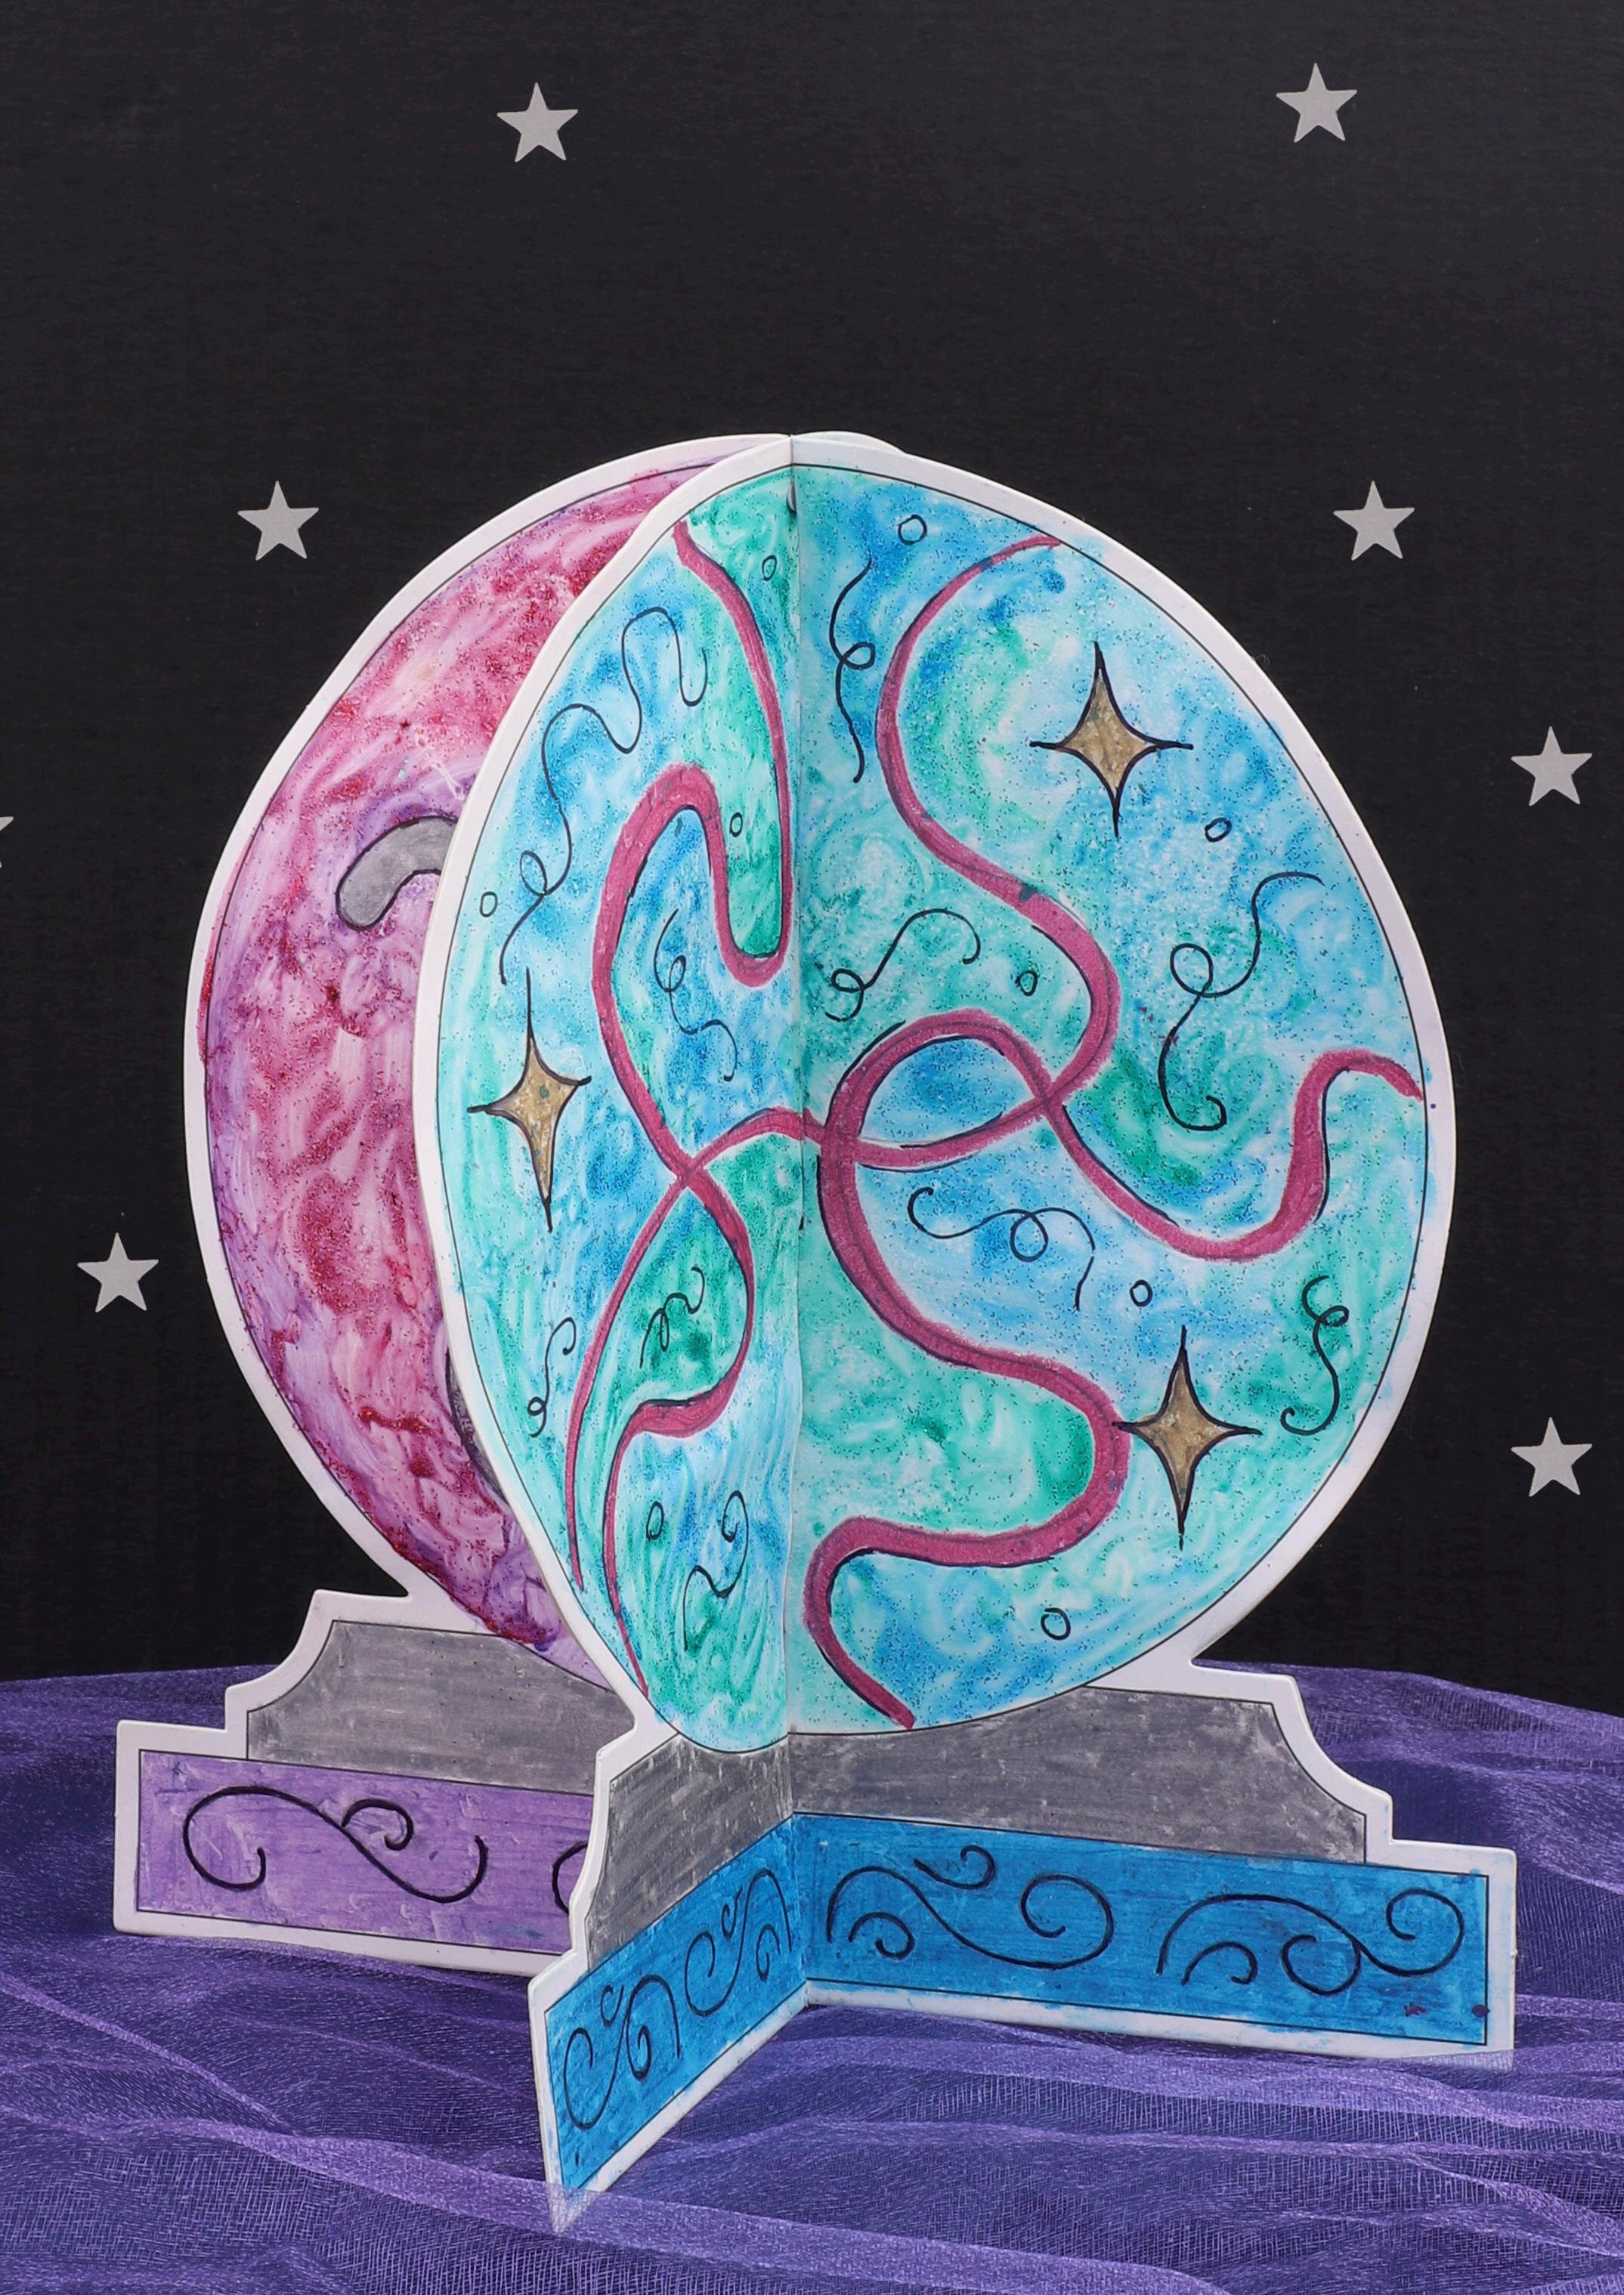
1. Gather your cardboard globe pieces: two pieces with the slot at the top and two with the slot at the bottom. For each matching pair, lay the printed sides facing out with the edges aligned. Glue the pieces back-to-back and allow to dry. You should now have two globes, one with a slot at the top and the other at the bottom. Slot the two pieces together to construct your globe then lay flat as shown.

4. Decorate the globe faces using oil pastels according to your plan.


2. Plan a design for each of your globe faces. You might like to use scrap paper and experiment with patterns and colours using oil pastel and watercolour paint. The oil pastel will resist the watercolours so ensure you plan your design using oil pastel before adding watercolours. Don’t forget to think about a design for the base of the globe!

5. Fill in the background using glitter liquid watercolours to create a crystal ball effect. Allow each side to dry before moving onto the next.
CleverTip: Use a clean brush to apply a small amount of water to your globe to create a wet surface so the liquid watercolours will easily blend together.
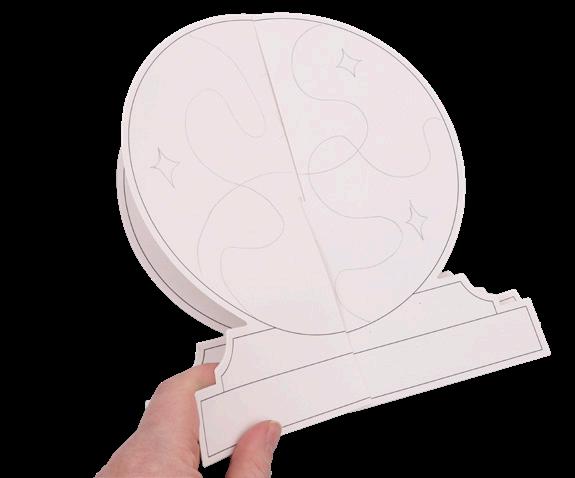
3. Use a pencil to sketch one of your designs onto one side of the globe. Flip the pieces over, like you’re turning a page in a book, to view each side. Sketch the remaining designs onto each side of the globe.

6. Use a permanent pen to add details or hidden messages. You might like to add a pattern or give your globe a title. Open out the globe so your crystal ball can stand. Your Crystal Ball is now ready to display!
GLUE GUN
• Papier Mache Book Box – 18183
• CleverPatch™ Glue Gun Starter Set – 12505
• CleverPatch™ Gloss Finish – 240ml – 18797
• CleverPatch™ Acrylic Paint Tube – 75ml – Burnt Sienna – 16884

• CleverPatch™ Acrylic Paint Tube – 75ml – Black – 16885
• CleverPatch™ Acrylic Paint Tube – 75ml – White – 16886
• CleverPatch™ Acrylic Paint Tube – 75ml – Gold – 16888
• CleverPatch™ Glue Stick – 40g – 13974
• Other materials required: Pencil, paint brushes and paper towel.
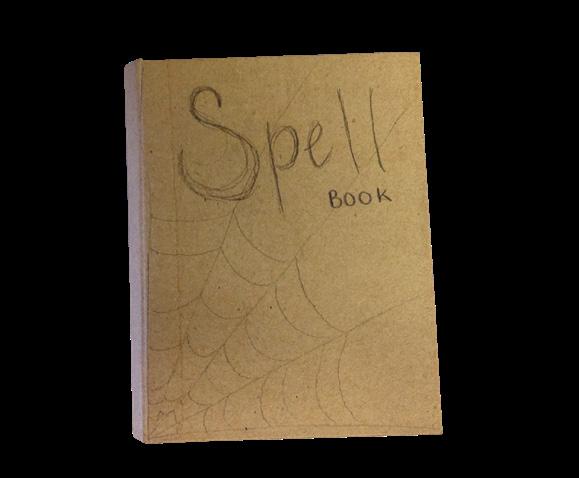
1. Use a pencil to sketch out your design on the front cover of your papier mache book box.

3. Apply a coat of gloss finish to the front of your book box.

6. Mix burnt sienna paint with a small amount of black paint to create dark brown. Paint the entire cover area of the book box. Use white paint to colour the middle, pages section of the box. Allow to dry
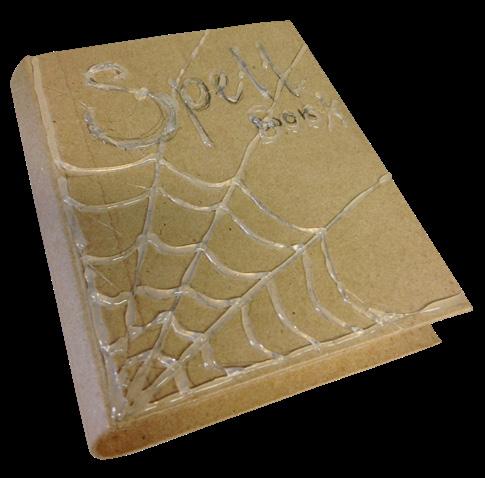
2. Use a glue gun to trace over the design. This will add texture to your book box! Allow to dry.
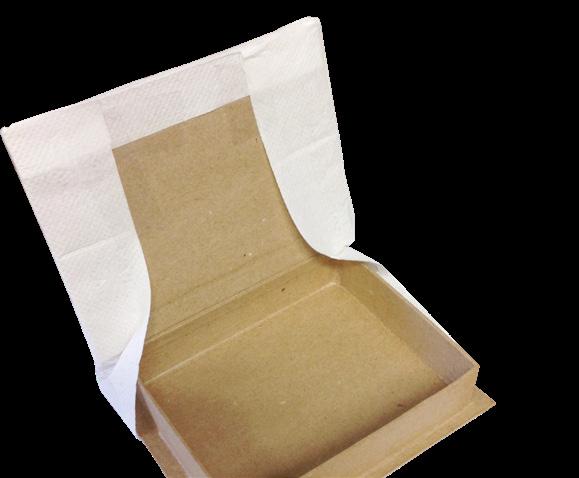
4. Place a sheet of paper towel over the front cover while the gloss finish is still wet. Secure it to the inside of the book box using a glue stick.
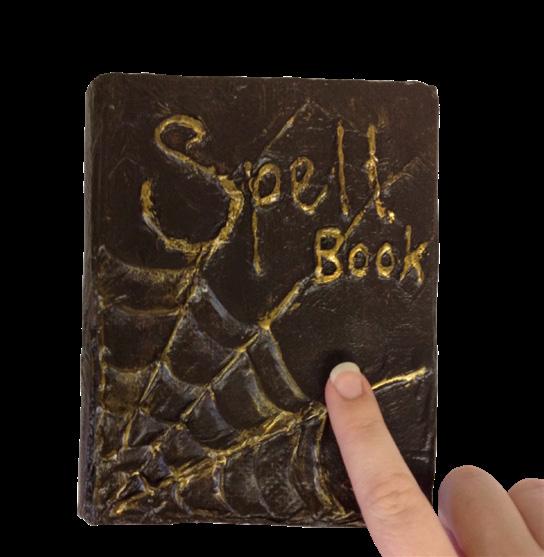
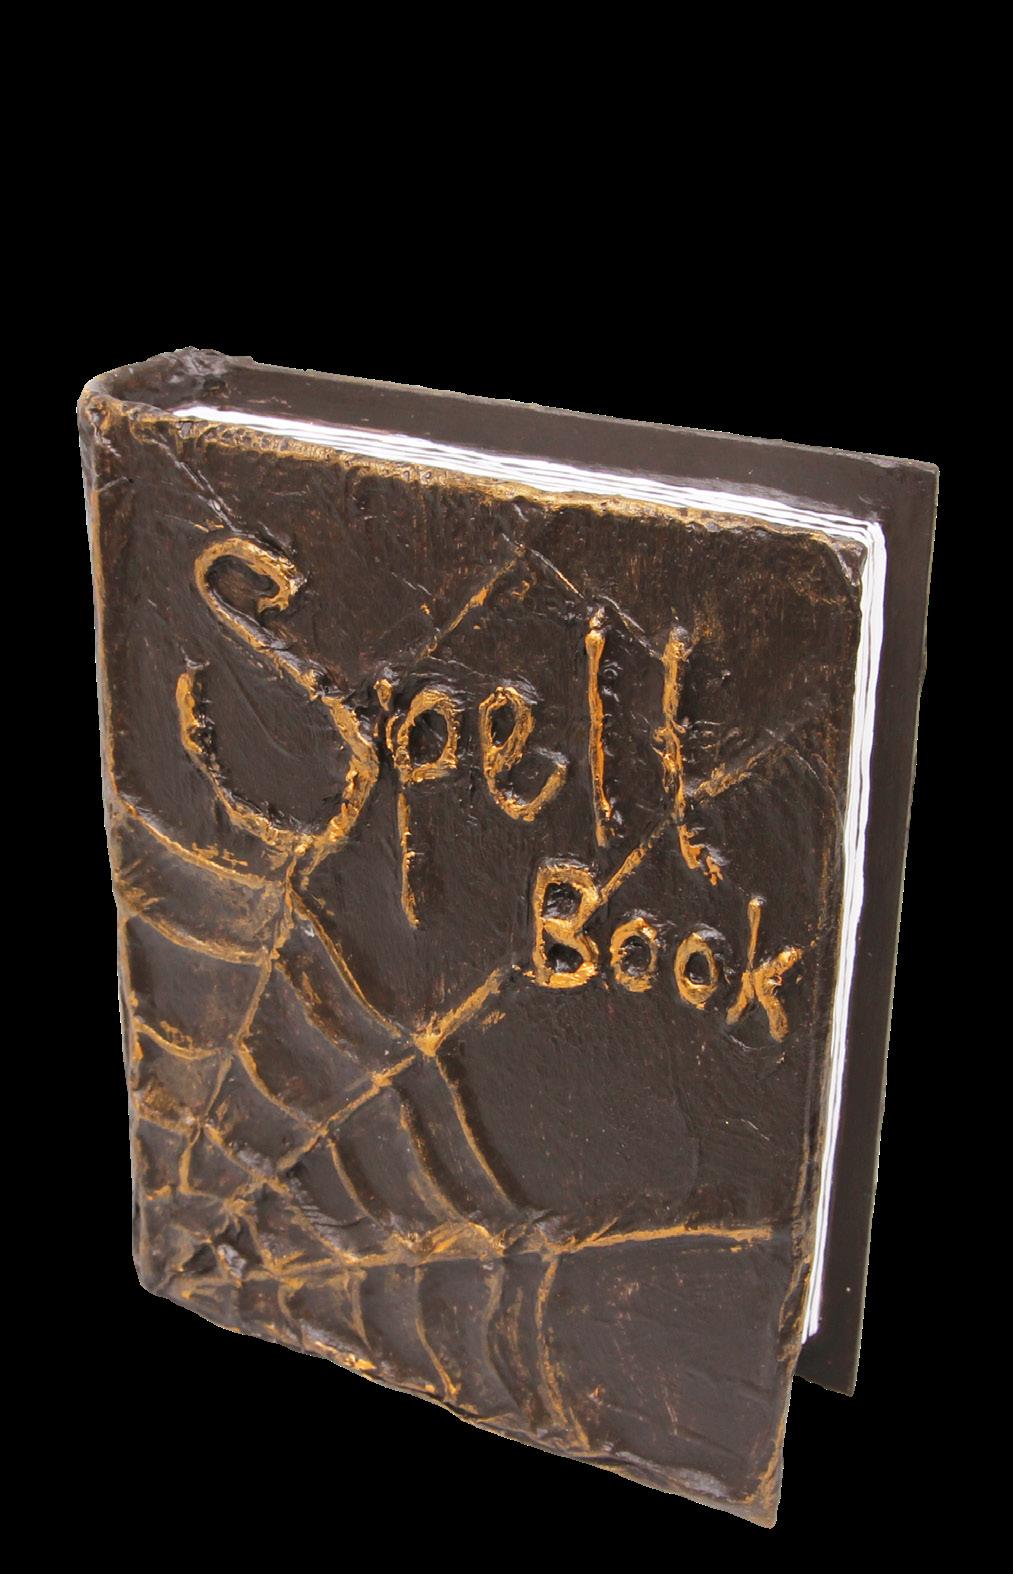
7. Place a small amount of gold paint on your finger, and carefully rub onto the raised parts of your design. Allow to dry.
Perfect for hiding small trinkets!

5. Coat the paper towel on the outside of the box with a generous amount of gloss finish so it sticks to the book box. Allow to dry.
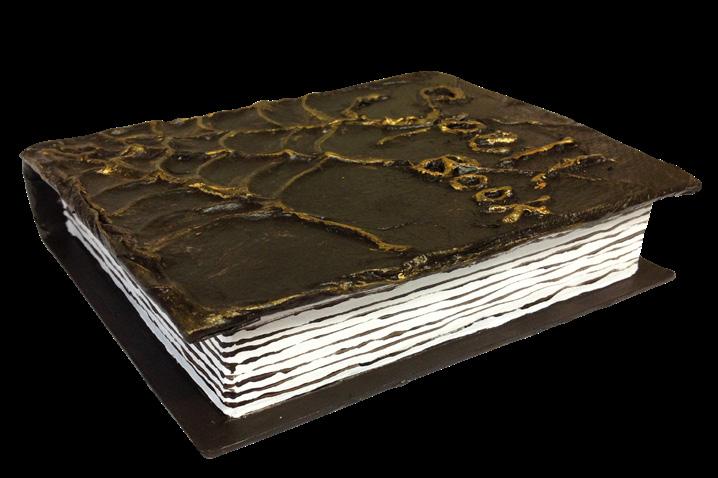
8. Use the dark brown paint mixture to add lines to the white section of your book box. This will create the illusion of pages. Allow to dry. Your Spell Book is now ready to fill!
• Paper Pulp Full Face Masks – Pack of 24 12988
• CleverPatch™ Acrylic Paint Tube – Black 75ml – 16885
• CleverPatch™ Cover Paper – White – A4 Pack of 250 – 16142
• CleverPatch™ Tacky Glue – 250ml – 16494
• Other materials required: Pencil and paint brushes.

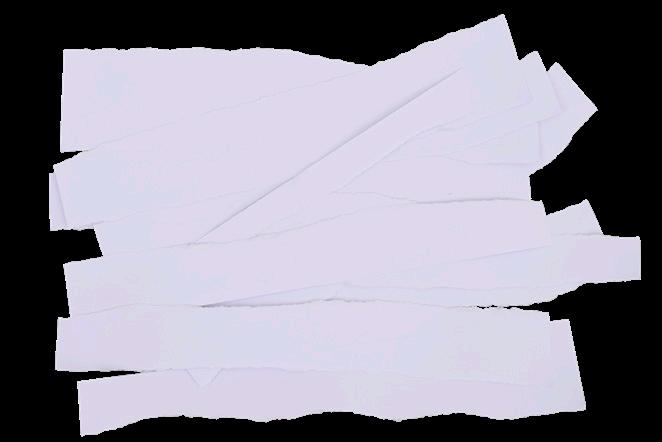
1. Tear 2 sheets of white cover paper along the short edge. Make some pieces thick and some pieces thin.
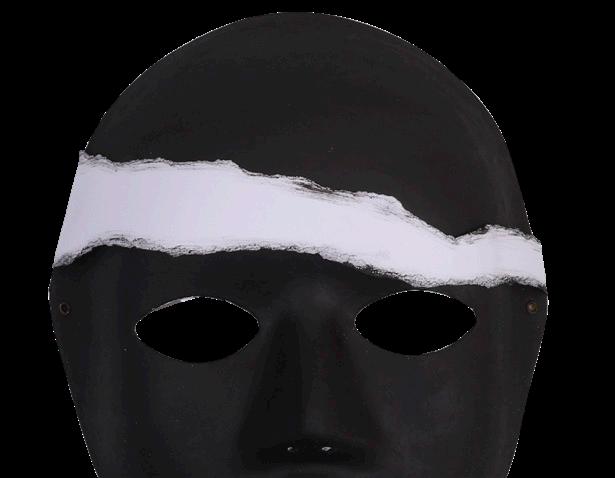
4. Place a paper piece over your mask. Fold over the edges and apply a small amount of glue on the ends to secure to the inside of your mask. You may need to glue the centre of the paper to the mask, however try to keep some sections loose to give the illusion of lots of layers.
Complete your Mummy costume with this Mummy Face Mask, ready for trick-or-treating! You’ll win best costume with this mask!
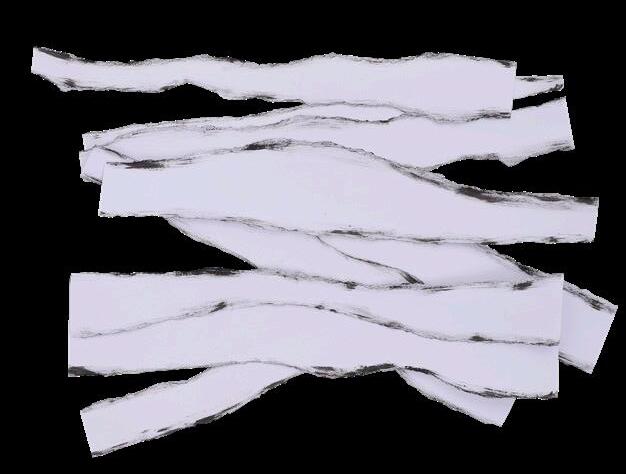
2. Using a dry brush and black paint, add brush strokes along the edges. Try to use a small amount of paint to create texture. Allow to dry.

5. Continue adding on your paper pieces, overlapping as you go to add to the layer effect. Ensure you don’t cover the nose and eye holes! Allow to dry.

3. Paint your face mask black and allow to dry.

6. Use a small brush to paint details and shadows on the paper pieces. Allow to dry. Your Mummy Face Mask is now ready to wear for Halloween!
• Soft Yarn – 100g – Set of 10 Colours – 12257
• Cardboard Pom Pom Makers – White – Pack of 20 – 10649
• Self-Adhesive Wiggle Eyes – Monster – Pack of 120 – 19749
• Felt Squares – Pack of 100 – 10785
• CleverPatch™ Tacky Glue – 250ml – 16494
• Other materials required: Scissors, pencil and templates (page 8).
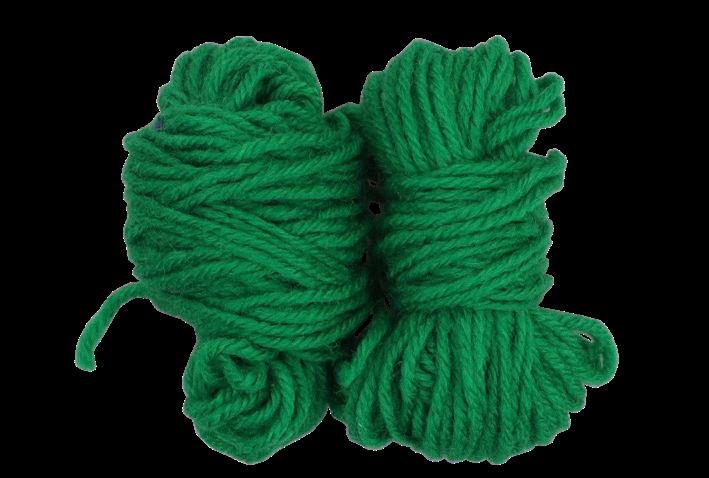
1. Cut two 15m lengths of yarn in your chosen colour. Gather the ends of one length ensuring the length is even. Wrap the looped end around your fingers to create a small ball. This will help you wrap around the pom pom maker. Repeat for the other length to create a second ball of yarn. Cut a 30cm length and set aside.

4. Insert scissors into the wrapped yarn and cut the strands along the outer edge, between the two cardboard pieces.

7. Position the felt feet, ears and teeth onto your pom pom to decide where you would like them to be. Once you are happy with the position, glue in place with tacky glue and allow to dry.
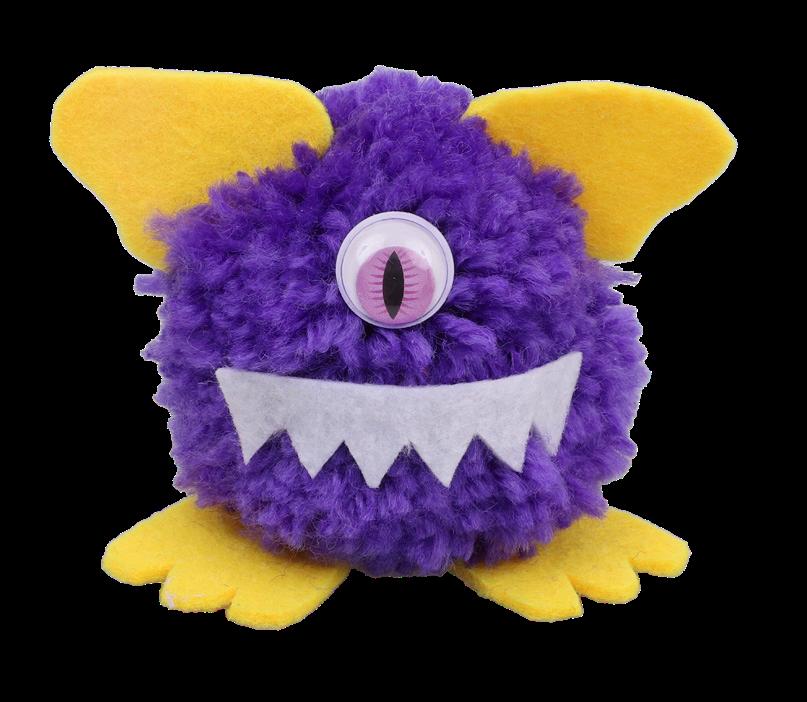
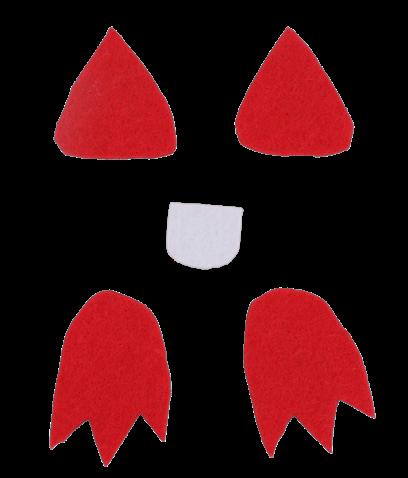
2. Print out the templates on page 8. Choose a set of feet, ears and teeth. Cut out the template pieces and place them onto your choice of coloured felt. Trace around the shapes and cut them out.


3. Place two pom pom maker circles together. Tie the ends of a yarn bundle to the cardboard. Wrap the yarn around the cardboard ring, weaving through the middle hole. Once you reach the end of the first bundle, tie the second bundle onto the loop at the end of the first. Continue wrapping the remaining length and cut the loop at the end of the yarn length.
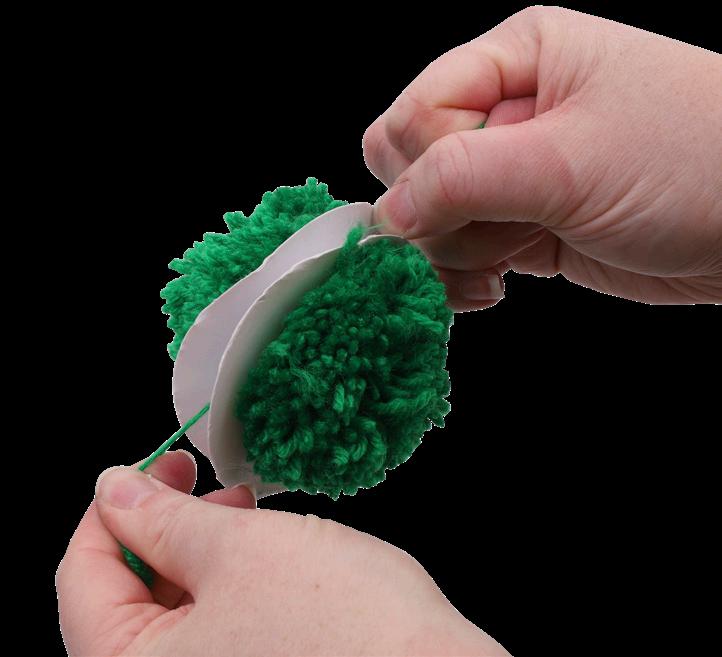
5. Wrap the 30cm length of yarn around the centre of the pom pom between the cardboard pieces. Tie a tight double knot to secure in place.
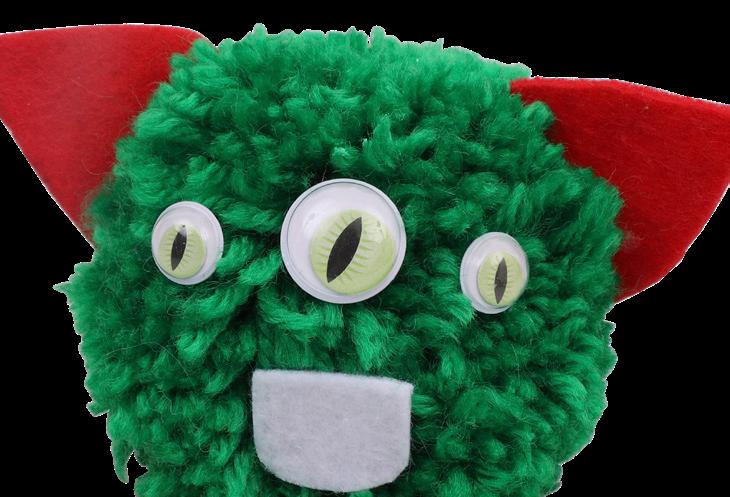
8. Remove the backing paper from the self-adhesive monster eyes. Attach your desired amount of eyes to complete your monster’s face.
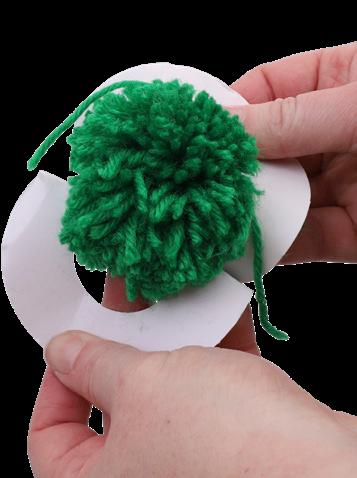
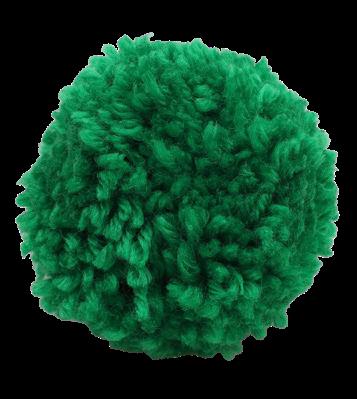
6. Remove the cardboard pieces from the pom pom and fluff out the yarn. Use scissors to trim the pom pom to create a round fluffy shape.

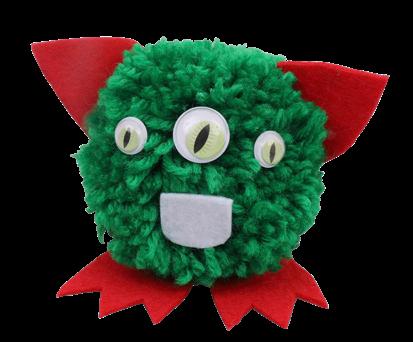
9. Repeat steps 1-8 to create as many monsters as you like. You might like to mix and match colours. Your Pom Pom Monsters are now ready to display!
• Natural Jute Drawstring Bags – Pack of 3 – 20822
• Paper Raffia – Natural – 50 Metres – 12386
• Felt Stickers – Shapes – 100g Pack – 21059
• Wiggle Eyes Black – 1.5cm – Pack of 100 – 10816
• Embroidery Thread – Black – 48m – 12374
• Sewing Needles – Blunt Tip – Pack of 25 – 11591
• CleverPatch™ Tacky Glue – 250ml – 16494
• Other materials required: Scissors, pencil and your choice of treats.

1. Sketch a mouth across the bottom section of a jute bag.
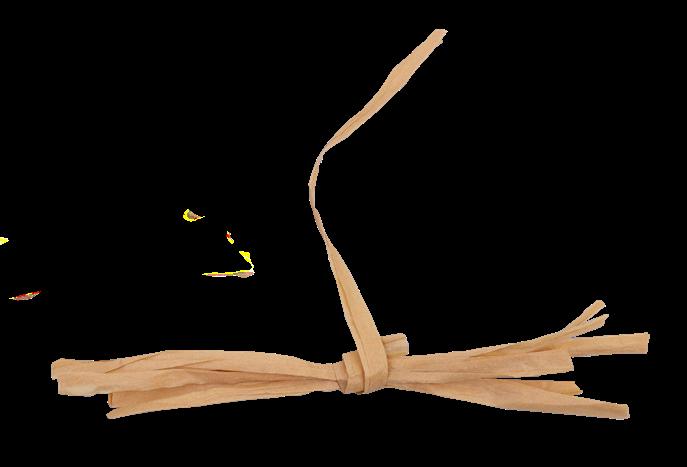
4. Cut six strands of paper raffia into 15cm lengths. Cut another length of raffia 30cm long. Tie one end of the 30cm length to the middle of the six strands. Wrap the length around the knot a few times, leaving a 15cm tail.


2. Thread a 70cm length of black embroidery thread through a needle. Back stitch along the sketch from step 1 to create the mouth.
CleverTip: Click here to see how to sew a back stitch.

3. Turn the bag inside-out and tie a knot to secure. Trim the excess thread. Turn the bag right-side out.

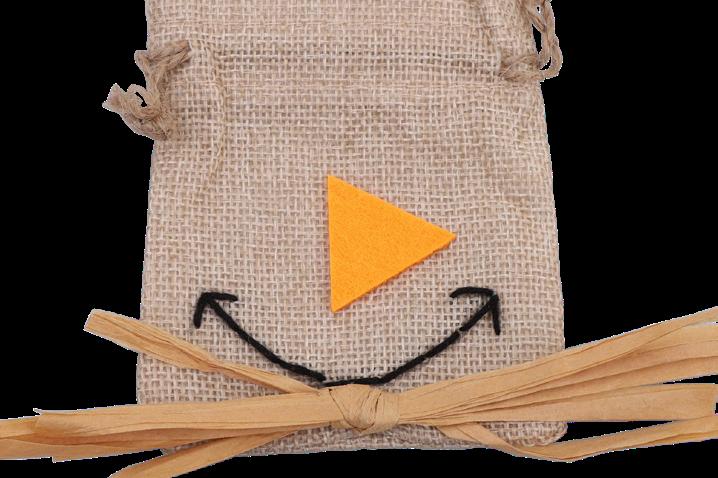
7. Choose a coloured felt sticker for the scarecrow’s nose. Attach the nose to the centre of the bag, above the mouth.
5. Thread the raffia tail through a needle. Thread the needle through the bottom part of the jute bag, under the mouth, and back out about 1cm next to it.

8. Use tacky glue to secure two wiggle eyes to the bag just above the nose. Allow to dry.

6. Stitch the raffia bundle to the bag by threading the needle and raffia through the middle of the section of wrapped raffia. Tie a knot to secure. Remove the needle and trim the raffia length to blend with the rest of the bundle.

9. Your Scarecrow Treat Bag is now ready to fill with treats for Halloween!
Use these templates to help you complete the activity on page 6.