SLOW LIVING, LASTING TRADITIONS
Twenty years in professional kitchens taught me how to move fast, push harder, do more. But it was a weathered box of recipe cards that taught me how to slow down.
I found them on my mother’s counter, where they’d sat for 43 years—my grandmother Alberta’s precise handwriting detailing everything from tomato sauce to peach preserves. Between the cooking-stained cards and careful notes, I found something more valuable than recipes. I received clarity about how I want to design my life and the steps I’m going to take to get there. And hence, my personal journey toward slow living took shape.
I’m not a homesteading expert or a back-to-the-land guru. I’m a chef, mother, and entrepreneur who spent two decades in the relentless pace of professional kitchens before realizing I was chasing the wrong dream. My real dream? It’s simpler—and harder. I want to live off the land as much as possible. I want to homeschool my son, teaching him that real wealth isn’t measured in dollars but in the freedom to do what lights you up and to be present for the people who mean the most to you. I want slow Sundays with dirt under my fingernails and lazy midweek mornings where I can sip a cup of coffee and watch the sunrise.
Surrounded by modern gadgets in my commercial kitchen, I realized that all my technical expertise had somehow disconnected me from the simple wisdom that kept our ancestors fed and communities connected through countless seasons.
This yearning for simplicity is something many of us experience. It’s a recognition that our rush toward convenience has come at a great cost. We’ve traded food security for instant gratification, genuine connection for digital interaction, and generational knowledge for Google searches.
I see this same hunger reflected in others: young parents wanting to feed their children without plastic, urban professionals seeking something real in an increasingly artificial world, retirees recalling the rhythm of snapping beans with their grandmothers …
Quality of life, for me, means having time—time to explore, to create, to work the soil, to teach my son what it means to truly appreciate what we have. You can’t find that kind of time in a convenience culture that constantly pushes for more, faster, easier. But you can create it, one jar of preserves at a time. My grandmother Alberta’s recipe cards showed me how. Beyond the instructions for timing and temperatures, they contained a philosophy for living:
Start early on canning days; the morning air is cool, and your energy is fresh.
Label everything right away; the memory of what’s in those jars fades quickly.
Share your abundance freely; extra jars are deposits in the community bank.
Use the right tools when you can, but remember:
My grandparents preserved entire harvests with just a pot and some jars.
Many of us are choosing to step away from the hustle and toward something more intentional. Each recipe, each technique, each bit of preserved wisdom is a small act of rebellion against a system that wants us to be dependent on industrial food and industrial schedules. Whether you have an hour or a day, this book will help you reclaim the lost art of food preservation. More importantly, it will help you reclaim your time, connecting you to the natural rhythms of the seasons and the satisfaction of providing for yourself and your family.
This book serves as a bridge between old wisdom and modern needs. You won’t find complicated equipment lists or intimidating techniques. Instead, you’ll discover how your great-grandmother’s methods of food preservation remain relevant today. Whether you’re preserving your garden’s bounty or maximizing farmers market finds, these pages will guide you through canning methods that would make our ancestors proud.
As you embark on this journey, remember that every expert was once a beginner. Every grandmother who mastered canning started with her first jar. The most important step is to begin where you are, with what you have, and let your skills grow naturally.
Just as generations of home canners have done before us, we’ll start by understanding where we’ve been so we can better appreciate where we’re going.
oCHAPTER 1
GETTING STARTED
THE WORLD OF FOOD PRESERVATION
Long before pressure canners or mason jars, our ancestors devised ingenious ways to keep food edible through lean times. Every culture had its methods, its wisdom born of necessity and refined through generations of careful observation.
Although our ancestors were drying and fermenting foods for millennia, canning as we know it emerged around 1795, initiated by Napoleon’s need to feed his armies. Chef Nicolas Appert discovered that sealing food in glass bottles and heating them properly prevented spoilage. He won a government prize for his discovery in 1810, forever changing food preservation.
Appert was a culinary professional who spent 14 years perfecting his technique. The technology spread quickly. By 1813, England had its first commercial canning factory, and by 1825, Americans were selling canned oysters, fruits, meats, and vegetables in New York. During the Great Depression, community canning centers emerged, where people shared equipment and knowledge to ensure their neighbors had enough food.
During World War II, growing victory gardens and using home canning became acts of patriotism. In 1943 alone, Americans canned more than 4 billion jars of food. This history proves our capacity for resilience and community care. By learning to preserve our food, we’re continuing a tradition of knowledge-sharing that has helped communities survive countless challenges.
In the pages ahead, we’ll explore both the science and art of food preservation. We’ll learn the rules that keep us safe and the techniques that ensure our food remains delicious. Most importantly, we’ll reconnect with a tradition of taking care of ourselves and one another, just as our ancestors did. As my grandmother used to say, a full pantry is better than a full wallet.
BUILDING CONFIDENCE AS A BEGINNER
If the thought of canning makes you a little nervous, you’re not alone. Plenty of beginners worry about messing up a batch, getting the seal right, or—let’s be honest—botulism (see page 12). The idea of putting food into jars that will sit on a shelf for months might feel intimidating at first. I want to reassure you that canning is completely safe when you follow a few simple, time-tested steps. I promise, those steps are easier than you think.
Step 1. Confident canning is understanding that there are two main methods: water bath canning and pressure canning. Water bath canning is used for high-acid foods like fruits, jams, and pickles, while pressure canning is necessary for low-acid foods like vegetables, meats, and soups. Knowing which method to use is the key to safe, successful preservation.
Step 2. Keep your workspace clean and organized. A tidy setup not only makes the process easier, but also helps prevent contamination. Before you get started, wash your jars, lids, and tools, and make sure everything is ready to go.
Step 3. Start with trusted recipes from reputable sources, like the USDA Complete Guide to Home Canning, to build a solid foundation in safe canning techniques. Every tested recipe is carefully designed to keep your food safe and shelf-stable, so resist the urge to tweak ingredient amounts or skip steps—no matter how minor they seem. By following time-honored methods from the start, you’re mastering the craft the right way.
Step 4. After your jars have been processed and cooled, check the seals. A properly sealed jar means your food is safely preserved and ready for long-term storage. The lid should be concave and shouldn’t flex when pressed. This is your sign that the vacuum seal is holding strong.
THE ROLE OF p H IN BOTULISM PREVENTION
Let’s talk about botulism for a second because I know it’s a big fear. It only thrives in low-acid, oxygen-free environments, which is why low-acid foods like meats and vegetables need pressure canning. If you follow a tested recipe and process your jars correctly, botulism isn’t a concern. High-acid foods like jams, pickles, and tomatoes with added acidity are naturally safe for water bath canning, and pressure canning ensures that low-acid foods reach the right temperatures to destroy harmful bacteria. When you use the correct method, your preserves will be safe, shelf-stable, and delicious.
The best way to get comfortable with canning? Just start. Every experienced canner once stood right where you are—feeling unsure, second-guessing, and probably overthinking the whole thing. But the only way to get past that discomfort is to get a few jars under your belt. Ease in with a simple jam (see page 38 for a strawberry jam recipe for beginners) or a batch of canned vegetables (see page 54 for a green beans recipe for beginners). Once you see how easy and satisfying canning can be, you’ll wonder why you didn’t start sooner!
Trust the process, take it one step at a time, and before you know it, canning will feel like second nature.
SETTING UP YOUR CANNING KITCHEN
Having the right tools on hand makes all the difference in home canning. The proper equipment not only creates a quicker and easier process, but also ensures that your preserves are safe and shelf-stable.
Getting started doesn’t have to be expensive or overwhelming. Many of the essentials are budget friendly, and if you keep an eye out, you can often find jars, canners, and tools at thrift stores or yard sales, or you could even borrow them from friends and family.
You don’t need a fancy, high-tech setup to start canning—just the basics. Once you get comfortable with the process, invest in extra tools that streamline your workflow and save time. For now, focus on what matters most: having the right foundational tools to help you work
efficiently, to avoid common mistakes, and to ensure that every jar you seal is safe and ready for long-term storage.
Since this book is designed for absolute beginners, I’ve put together a comprehensive list of everything you’ll need, including the most basic kitchen tools. I also explain why each item is important, so you’ll know exactly what you need—and what you don’t—to get started confidently.
CANNING EQUIPMENT
Boiling water bath canner (or large stockpot with a canning rack): For processing high-acid foods like jams, pickles, and tomatoes. It must be deep enough to fully submerge jars with at least 1 to 2 inches of water covering the lids.
Pressure canner: A must-have for safely preserving low-acid foods like vegetables, meats, and soups. Unlike a regular pressure cooker, a true pressure canner is designed to maintain the high temperatures necessary to eliminate harmful bacteria. Choose between a dial-gauge pressure canner, which requires periodic calibration, or a weighted-gauge pressure canner, which is easier to maintain but offers fewer pressure adjustments.
Canning rack: For keeping jars elevated inside the pot (preventing direct contact with the bottom, which causes breakage). If you don’t have one, a round cake rack or a layer of extra jar rings works in a pinch.
Mason jars with lids and bands: For safely containing preserves. Bands can be reused, but always use new lids for every batch to ensure a proper seal.
Jar lifter: For safely lifting hot jars in and out of boiling water.
Canning funnel: For filling jars neatly while maintaining proper headspace (the space between the food and the lid).
Bubble remover/headspace tool (or chopstick): For removing trapped air bubbles inside jars and helping to measure correct headspace.
Kitchen timer: For tracking precise processing times, which is critical for food safety.
CHOOSING THE RIGHT JARS
There are many brands of canning jars available. The most important thing is to use jars that come with both a lid and a screw band. These two-piece lids are essential for creating a vacuum seal, which ensures your food stays safe and shelf-stable. Two well-known and trusted brands in the United States are Ball and Kerr, both of which have been used by home canners for generations.
However, there are other jars on the market, including store-brand and imported options. As long as the jars are designed for home canning and use standard two-piece lids, they should work.
STANDARD JAR SIZES AND THEIR USES
Canning jars come in a variety of sizes, but the following are the most common.
Half-pint (8 oz): Perfect for jams, jellies, and sauces.
Pint (16 oz): A versatile size used for fruits, vegetables, salsas, and sauces.
Quart (32 oz): Great for whole fruits, large batches of tomatoes, and soups.
Half-gallon (64 oz): Typically used for pickling and fermenting, but not recommended for canning low-acid foods.
WHY YOU NEED NEW LIDS EACH TIME
The flat metal lid on a canning jar has a special sealing compound that softens during processing, creating an airtight seal as the jar cools. But here’s the important part: This compound only works once. Once a lid has been used, it may not seal properly again, which could lead to spoilage or food-safety issues, so always use a fresh lid for every batch. The screw bands, however, are reusable. Their only job is to hold the lid in place during processing. Once your jars are sealed, take the bands off for storage and use them again for your next canning session.
Most jars come in both regular-mouth and widemouth varieties. Regular-mouth jars have a smaller opening and are best for liquids, jams, and sauces. Wide-mouth jars have a larger opening, making them easier to fill with whole fruits and vegetables. If you’re just starting out, look for canning jar sets that include jars, new lids, and bands together. If you’re reusing jars from previous batches, make sure to inspect them before using and discard any with cracks, chips, or rusted bands. Start with the essentials, then add equipment as your skills grow. Prioritize safety and durability, and remember: Great canning doesn’t require expensive tools, just the right ones!
CHOOSING THE BEST PRODUCE FOR CANNING
Canning is all about capturing the best flavors of the season, but the final product is only as good as the ingredients you start with. That means if you start with bland, overripe, or bruised produce, your preserves will reflect that. The key to high-quality canned goods is starting with produce that’s fresh, at peak ripeness, and free from damage. No technique fixes poor ingredients. It might be tempting to think, This fruit is a little past its prime. I’ll just can it instead of throwing it out. Remember: Canning doesn’t improve quality; it preserves what’s already there. Overripe fruits break down faster, leading to mushy textures and displeasing flavors. More importantly,
canning does not kill spoilage bacteria. The best rule of thumb? If you wouldn’t eat it fresh, don’t can it.
When selecting produce, look for firm, ripe, and unblemished fruits and vegetables. Tomatoes should be deep red, slightly firm, and fragrant—not streaked with green (underripe) or mushy (overripe). Peaches and pears should give just slightly when pressed but not be too soft. Cucumbers for pickling should be crisp, with no yellow spots (a sign of over-ripeness). Green beans should snap cleanly when bent, and corn kernels should be plump and release a milky liquid when pierced.
HANDLING AND STORING PRODUCE PROPERLY
How you store fresh produce before preserving is just as important as how you can it. Not all fruits and vegetables should be stored the same way, and handling them correctly helps slow spoilage while maintaining quality.
Some produce, such as berries, leafy greens, and soft fruits (peaches, plums), should be kept in the refrigerator so they stay fresh longer. On the other hand, tomatoes, onions, garlic, potatoes, and squash should never be refrigerated, as cold temperatures alter their texture and flavor. Storing these items in a cool, dry place helps them last longer and retain their natural taste. It’s also best to hold off on washing produce until you’re ready to use it. Moisture speeds up spoilage, especially for delicate foods like berries and soft fruits. Keeping them dry and rinsing just before processing ensures they stay fresh for as long as possible. Additionally,
SHOP SMARTER FOR THE BEST QUALITY AND PRICES
The best preserves start with the freshest ingredients, and a farmers market is one of the best places to find just-picked produce, often harvested only hours before it reaches the stand. If you’re looking for the widest selection, shop early in the day, before popular items sell out. But if your goal is to save money, consider shopping right before closing, when some vendors discount leftover produce rather than take it home.
Buying in bulk during peak season is another great way to save money while getting the best quality. When fruits and vegetables are at their most abundant, prices drop, making it the perfect time to stock up. If you plan ahead, using my seasonal availability guide (see page 18), you’ll be in a position to take advantage of these lower prices and preserve food at its freshest. Another budget-friendly option is purchasing “seconds,” which are slightly imperfect or misshapen produce often sold at a discount. These work just as well for jams, sauces, and salsas, where appearance doesn’t matter as much as flavor.
If you want a steady supply of local produce, consider joining a Community Supported Agriculture (CSA) program or a community garden, both of which offer fresh, seasonal food at a lower cost while supporting farmers. If you grow your own produce, swapping with like-minded neighbors is a great way to add variety to your pantry without spending extra money.
handling produce with care is key. Bruising leads to early decay, so take extra caution when transporting and storing delicate items.
PRESERVING WITH THE SEASONS
A little planning goes a long way when it comes to canning. The best time to start is as soon as crops begin ripening, whether you’re harvesting from your own garden or keeping an eye on what’s showing up at the farmers market. With a little strategy, canning becomes more efficient, less overwhelming, and—most importantly—a whole lot more enjoyable.
SETTING YOURSELF UP FOR SUCCESS
A successful canning season begins long before the first jar is filled. One of the best ways to prepare is by thinking about what you and your family actually eat. Assessing your household’s eating habits will help you determine not just what you eat, but how much.
Once you have a clear idea of what you want to can, take stock of your storage space. Even if you plan to preserve a variety of foods, there’s only so much room in a pantry or basement for jars. Consider whether you have shelves, bins, or cabinets available and if you need additional storage solutions. Some foods may be better suited for freezing or dehydration, both of which can stretch
GET TO KNOW YOUR HARDINESS ZONE
Home canning allows you to plan ahead and make the most of each season’s bounty. Whether you’re aiming for a pantry stocked with essentials or simply want to enjoy your favorite summer flavors year-round, successful canning requires a bit of foresight. Without a plan, you may find yourself overwhelmed by a sudden influx of ripe produce, short on storage space, or scrambling to find the right equipment at the last minute. Anticipating when produce is in season in your area and taking the time to think ahead will allow you to work efficiently, reduce waste, and enjoy the process without stress.
The produce guide in this book is based on USDA Plant Hardiness Zones 4 to 7, which cover a large portion of the United States, including much of the Midwest and Northeast and parts of the Pacific Northwest. If you live in a warmer or colder climate, you may need to adjust your timeline accordingly. If you’re unsure what’s in season in your area, here are a few great resources to help:
• Your state’s cooperative extension website: Most university-run extension programs offer seasonal availability charts and food preservation guides.
• Online tools like seasonalfoodguide.org: Provides state-by-state seasonal availability.
• Farmers markets: Talking to local growers is one of the best ways to find out what’s coming when.
your storage capacity. Having a realistic view of your available space will prevent you from overcanning and will help you focus on the most useful and space-efficient foods.
TIMING AND BATCHING
The key to making canning manageable is to break it into smaller, planned sessions rather than attempting to process everything at once. Each season offers different preservation opportunities, so aligning your canning schedule with peak harvest times ensures you are preserving food at its best.
Batch processing is another way to streamline canning days. Grouping foods by preservation method makes the process smoother; focus on high-acid foods like jams and pickles one day and tackle lowacid foods like vegetables and meats on another day. Some foods lend themselves to a multistep approach. For example, when pressure-canning tomato sauce, consider simultaneously dehydrating the tomato skins to make tomato powder. Finding ways to integrate multiple preservation methods helps make the most of your harvest while maximizing efficiency.
Keeping a canning journal is also a helpful tool for planning. Writing down what you preserved, how much you made, and any recipe notes will help guide your decisions for the following season. Tracking your canning efforts ensures you’re preserving food in a way that best meets your needs.
A MONTH-BY-MONTH CANNING GUIDE TO SEASONAL PRODUCE
By following nature’s rhythm, you can build a pantry that’s stocked with peak-season flavors all year long—without feeling rushed or overwhelmed. Here’s a month-by-month breakdown of what’s in season and how best to preserve it.
MARCH
Asparagus: Freeze or pickle.
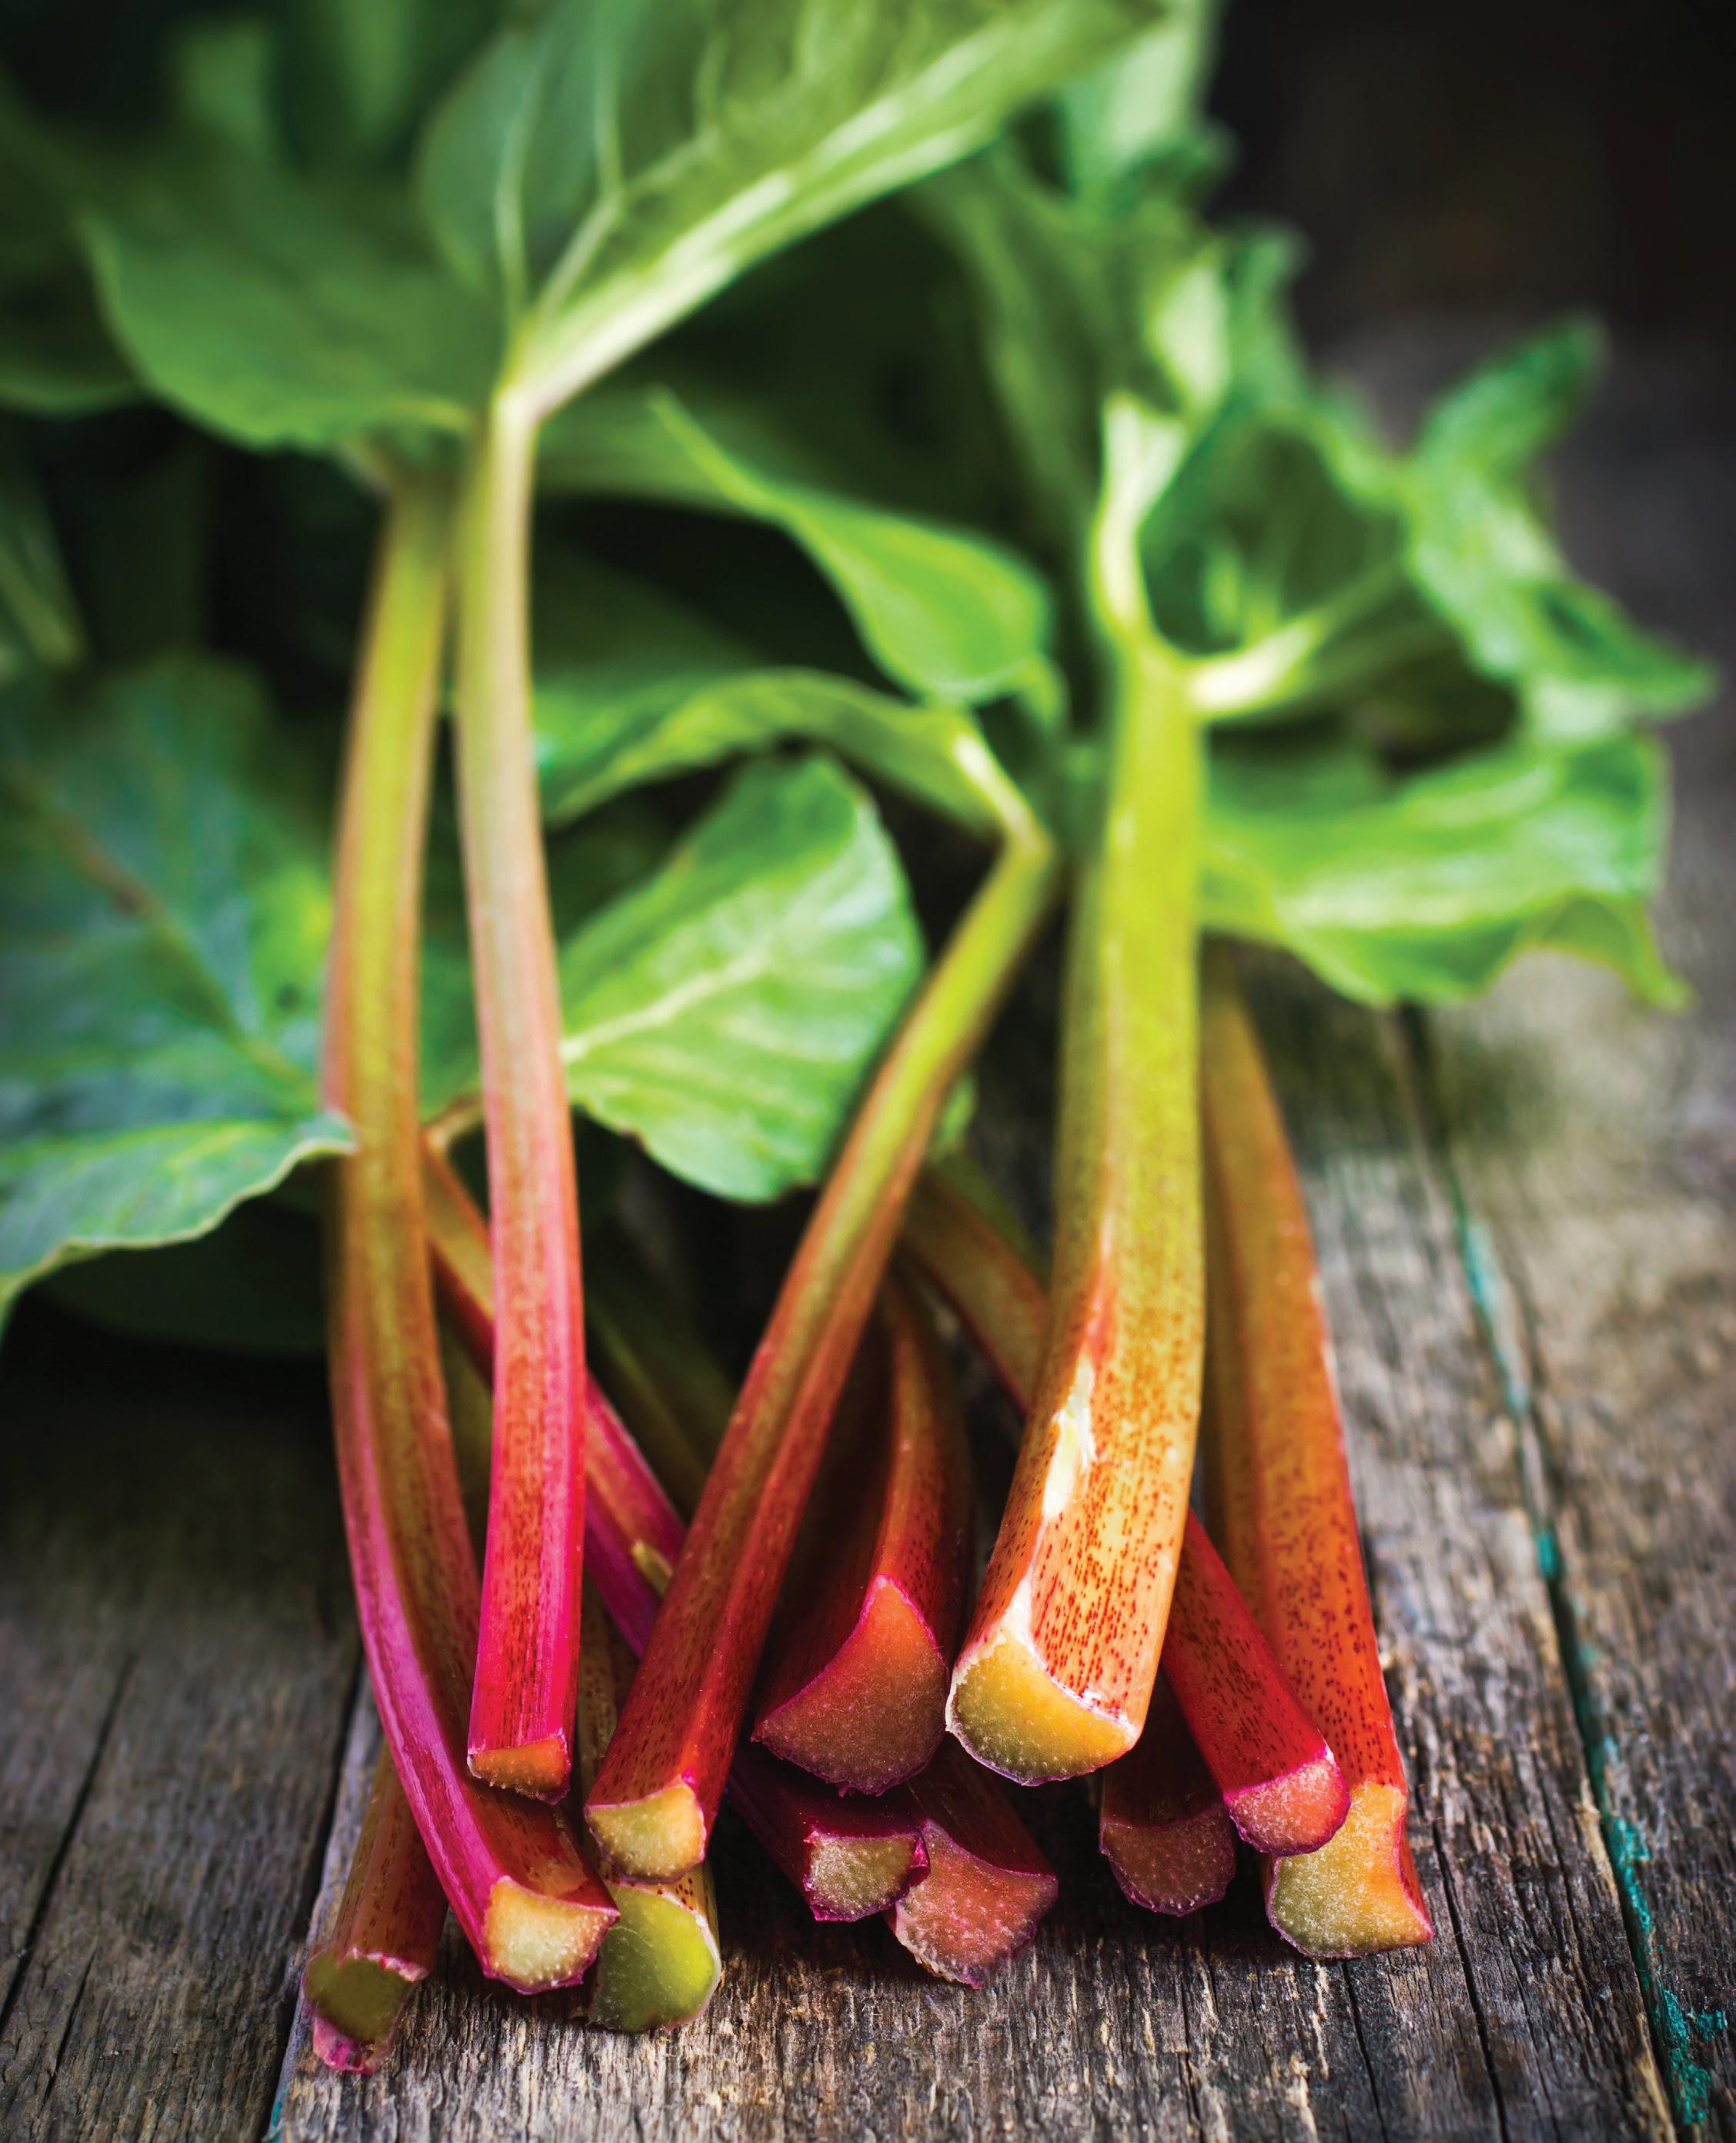
Rhubarb: Freeze, candy, or make jam.
Spinach: Freeze or dehydrate.
APRIL
Mustard greens: Freeze or dehydrate.
Strawberries: Make jam, freeze, or can as syrup.
Swiss chard: Blanch and freeze for later use.
MAY
Berries (various): Make jam, freeze, or dehydrate.
Peas: Freeze or pressure-can.
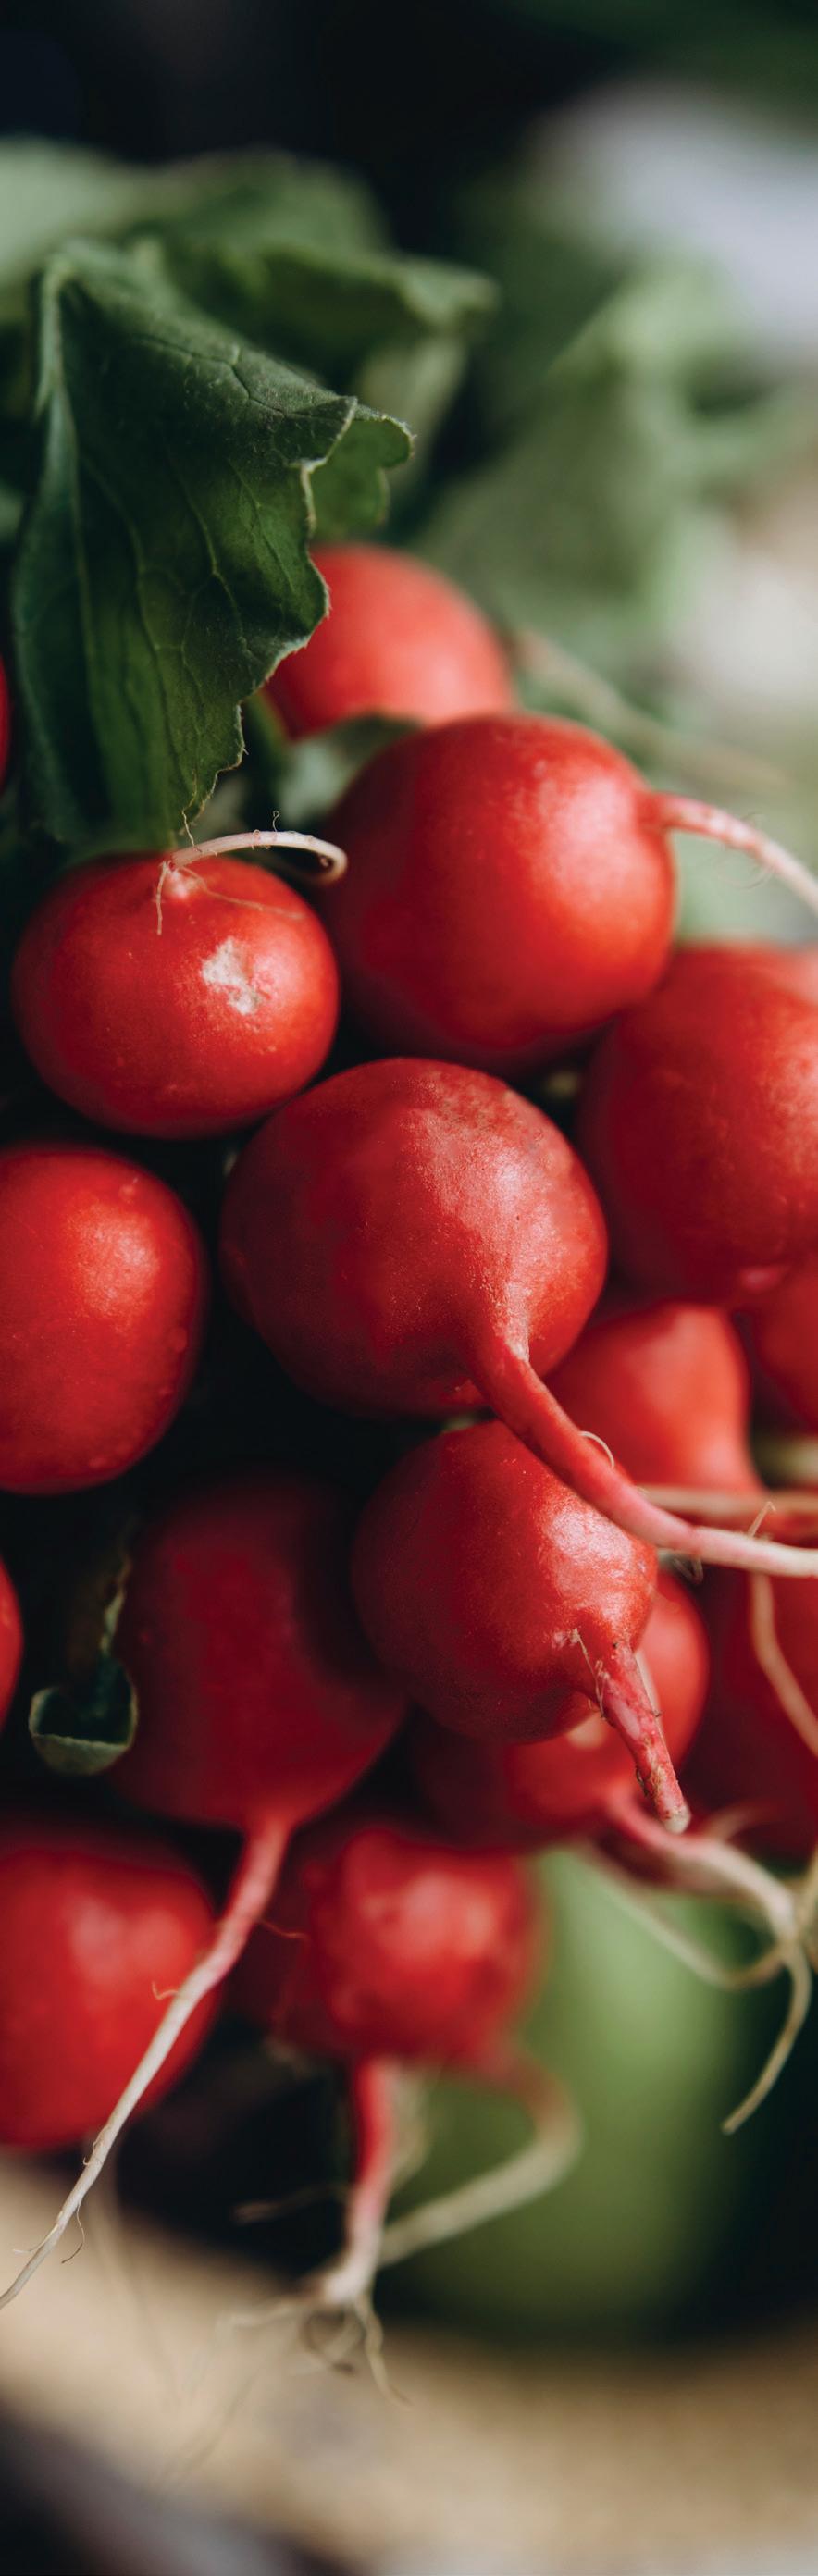
Radishes: Pickle or ferment.
JUNE
Cherries: Make jam, freeze, or can in syrup.
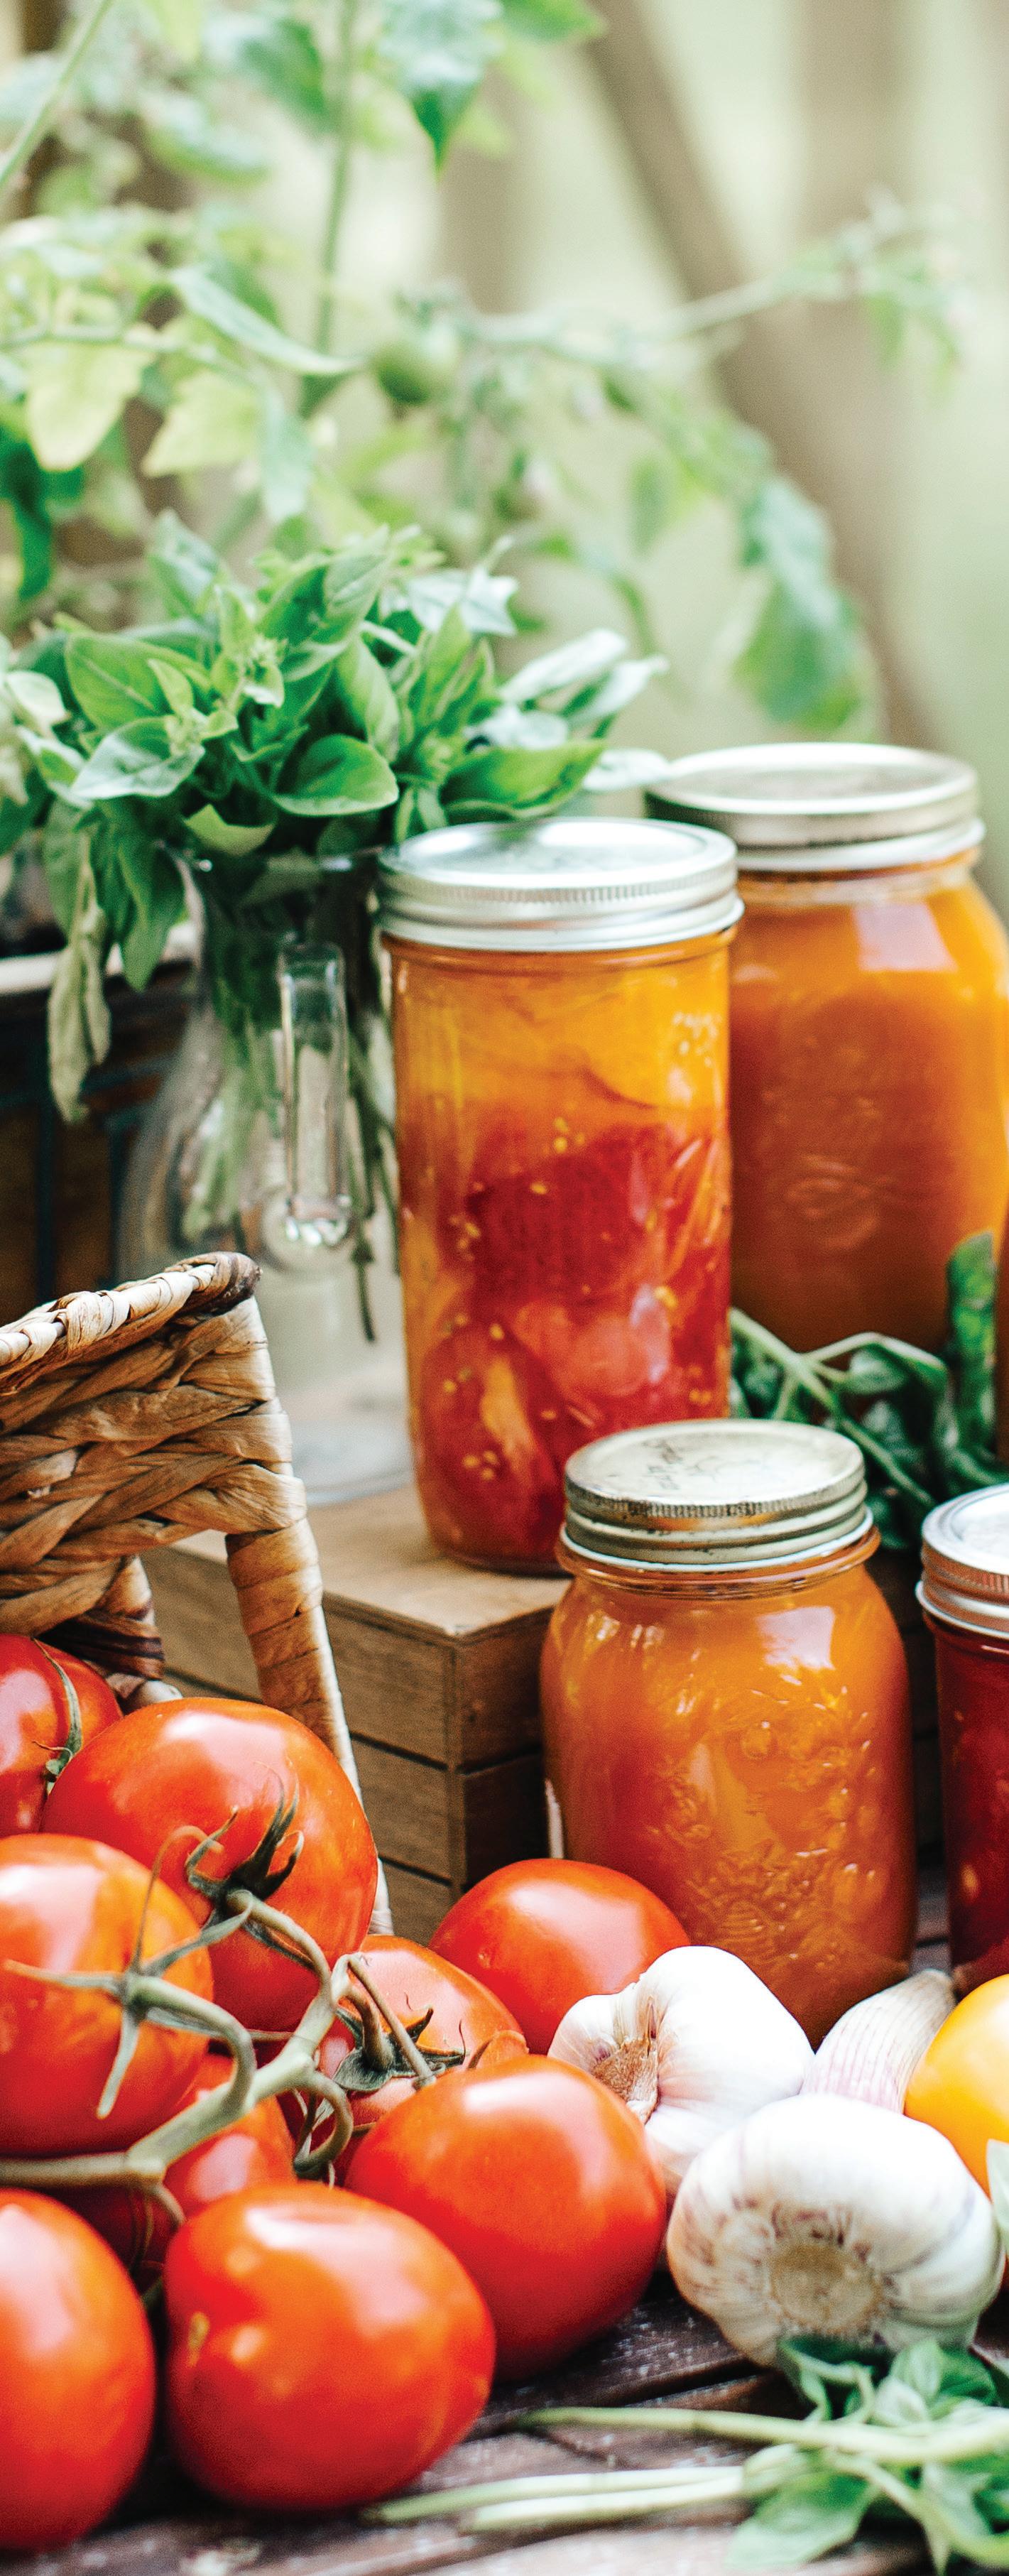
Tomatoes: Can into sauces or salsas, or pressure-can whole.
Zucchini: Freeze, dehydrate, or pickle.
JULY
Cucumbers: Pickle, using water bath canning.
Peaches: Make jam, can in syrup, or freeze slices.
Peppers (bell, hot, etc.): Freeze, dehydrate, or pickle.
AUGUST
Corn: Freeze, can as soup, or dehydrate.
Melons: Freeze for smoothies or make fruit syrup.
Tomatoes: Continue preserving through canning or freezing.
SEPTEMBER
Apples: Make applesauce or butter or dehydrate slices.
Pears: Make jam, can in syrup, or dehydrate.
Pumpkins: Pressure-can purée or dehydrate for powder.
OCTOBER
Beets: Pickle, pressure-can, or store in a root cellar.
Carrots: Pressure-can, freeze, or dehydrate.
Squash (winter varieties): Freeze purée or store whole in a cool, dry place.
NOVEMBER TO FEBRUARY
Cranberries: Make sauce, can in syrup, or dehydrate.
Garlic: Store in a cool, dry, well-ventilated space.
Onions: Store in mesh bags or dehydrate for powder.
Potatoes: Pressure-can or store in a root cellar.
Sweet potatoes: Store at room temperature to cure or freeze mashed.
SMART STORAGE
It’s important to make sure your jars are properly sealed, but it’s equally as important to store them correctly. Once your jars have cooled and sealed, what’s next? Where you store them, how you track them, and how you check for spoilage are just as important as the canning process itself.
Proper storage extends the shelf life of your preserves and helps you stay organized, so nothing gets lost or forgotten. Even properly sealed jars can be compromised by poor storage conditions. Here are my six best practices for safe and smart storage.
1. Label and date everything. It’s easy to lose track of when a jar was processed, so always write the contents and date on the lid or jar label.
2. Store in a cool, dark place. Avoid direct sunlight. Light causes color and texture changes, and over time it degrades nutrients in canned foods. The best storage temperature is 50°F to 70°F. Avoid places that are too warm. Never store jars near stoves, radiators, or water heaters, where heat can weaken the seal. Extreme heat or freezing temperatures break down the quality of food and weaken seals.
3. Prevent moisture exposure. Rusty lids lead to broken seals, so store jars in a dry area. If you live in a humid climate, check regularly for moisture buildup.
4. Don’t stack jars. While it might be tempting to stack jars to save space, the USDA advises against it because stacking creates pressure on the seals, leading to seal failure over time. If you must stack, place a sturdy piece of cardboard between layers to reduce the pressure.
WHAT TO LOOK FOR AFTER OPENING
Fizzing or spurting liquid. If the liquid foams or bubbles out when you open the jar, that’s a sign of bacterial activity. Discard the jar contents immediately.
Unpleasant or off smell. Good canned food should smell fresh. If something smells sour, musty, or just off, it’s not worth the risk. Discard the jar contents immediately.
Slimy or mushy texture. If the food feels slimy or unusually soft, bacteria may have started breaking it down. Discard the jar contents immediately.
If you notice any of these signs, discard the food immediately—do not taste it! When in doubt, throw it out.
TROUBLESHOOTING COMMON STORAGE ISSUES
Even if you follow best practices, small issues can still arise. Here’s how to handle them.
Cloudy brine in pickles? Hard water or table salt (which contains additives) causes cloudy liquid. Use canning salt or distilled water to prevent this.
Mold on lids? Food residue on jar rims allows mold to grow under the lid. Always wipe rims clean before sealing and check for proper headspace.
Rusty lids? Storing jars in a humid or damp environment causes lids to rust. To prevent this, remove the bands after jars have sealed and store jars in a dry area.
CHAPTER 2
SAFETY AND SCIENCE
Canning is a simple, time-tested way to preserve food, but like anything worth doing, it’s important to do it the correct way. When you understand the process and follow a few key safety principles, you’ll end up with jars that seal properly, food that stays safe to eat, and a pantry stocked with homemade preserves you feel good about.
Water bath canning is the go-to method for preserving high-acid foods like jams, jellies, fruits, pickles, and tomatoes with added acid. The process is simple: Filled jars are submerged in boiling water, reaching 212°F, and held there for a set amount of time. This heat kills bacteria, yeasts, and molds while driving out air, allowing the lids to seal as the jars cool. The natural acidity of the food, combined with the heat from processing, creates an environment where botulism spores can’t survive, making this method both effective and safe for long-term storage.
Pressure canning is a game changer when it comes to safely preserving low-acid foods like vegetables, meats, poultry, soups, and broths. Unlike water bath canning, which relies on acidity to keep bacteria at bay, pressure canning harnesses high heat and steam to do the job. Inside a sealed pressure canner, temperatures climb to 240°F to 250°F, hot enough to destroy botulism spores that could otherwise survive in a low-acid, oxygen-free environment. Without that level of heat, harmful bacteria multiplies undetected, which is why following proper processing methods is so crucial.
When it comes to food safety, there are no shortcuts. Stick with tested, science-backed methods, and you’ll have preserved foods that are both safe and packed with flavor.
HOW CANNING WORKS: THE BASICS
At its core, canning is about using heat to kill microorganisms, sealing food in an airtight jar, and preventing spoilage. There are two key parts to this process:
1. Heating the food in jars to destroy bacteria, yeasts, and molds that cause spoilage
2. Creating a vacuum seal as the jar cools, preventing new bacteria from getting in
When you submerge a jar of food in boiling water (for high-acid foods) or process it under high pressure and steam (for low-acid foods), you’re raising the temperature high enough to destroy harmful microorganisms. As the jar cools, the air inside contracts, pulling the lid down and forming a vacuum seal. This is what makes canned food shelf-stable.
One of the most important safety rules in canning is matching the correct processing method to the food’s acidity level. High-acid foods—tomatoes, apples, peaches, pears, berries—are safe for water bath canning because the acid naturally prevents the growth of dangerous bacteria. Low-acid foods—beans, peas, carrots, corn, potatoes—must be pressure canned to reach high enough temperatures to kill botulism spores, which thrive in low-acid, oxygen-free environments, like a sealed
ABOUT THE AUTHOR
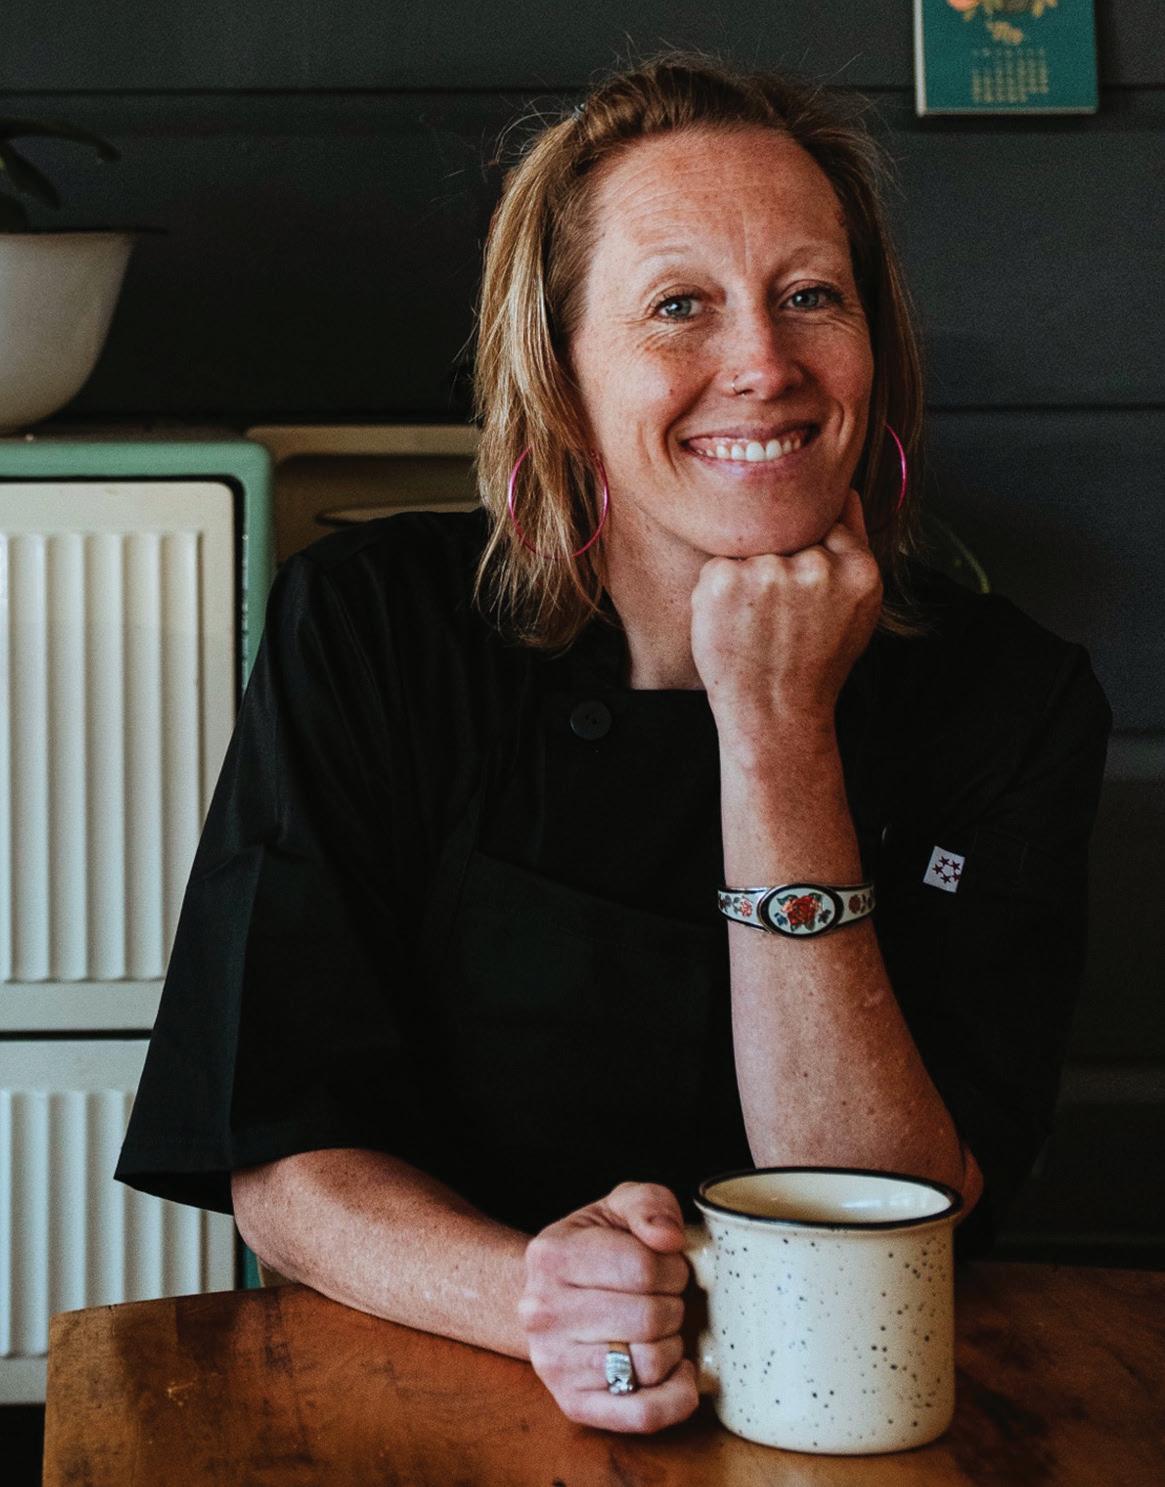
Molly Bravo is the founder of Wylder Space, a movement dedicated to reclaiming traditional food preparation and intentional living. With nearly two decades as a chef, educator, and advocate for the Real Food Movement, Molly empowers families to reconnect with their kitchens and roots through simple, wholesome cooking.
Molly’s passion for local, seasonal ingredients and timeless practices like canning and fermenting inspires others to embrace the magic of home-cooked meals. Through Wylder Space, Molly makes even the most intimidating techniques approachable, helping people rediscover the joy of real food and meaningful connections. Learn more at www.wylderspace.com
Author image by John Valenti, javelinteacreative.com